
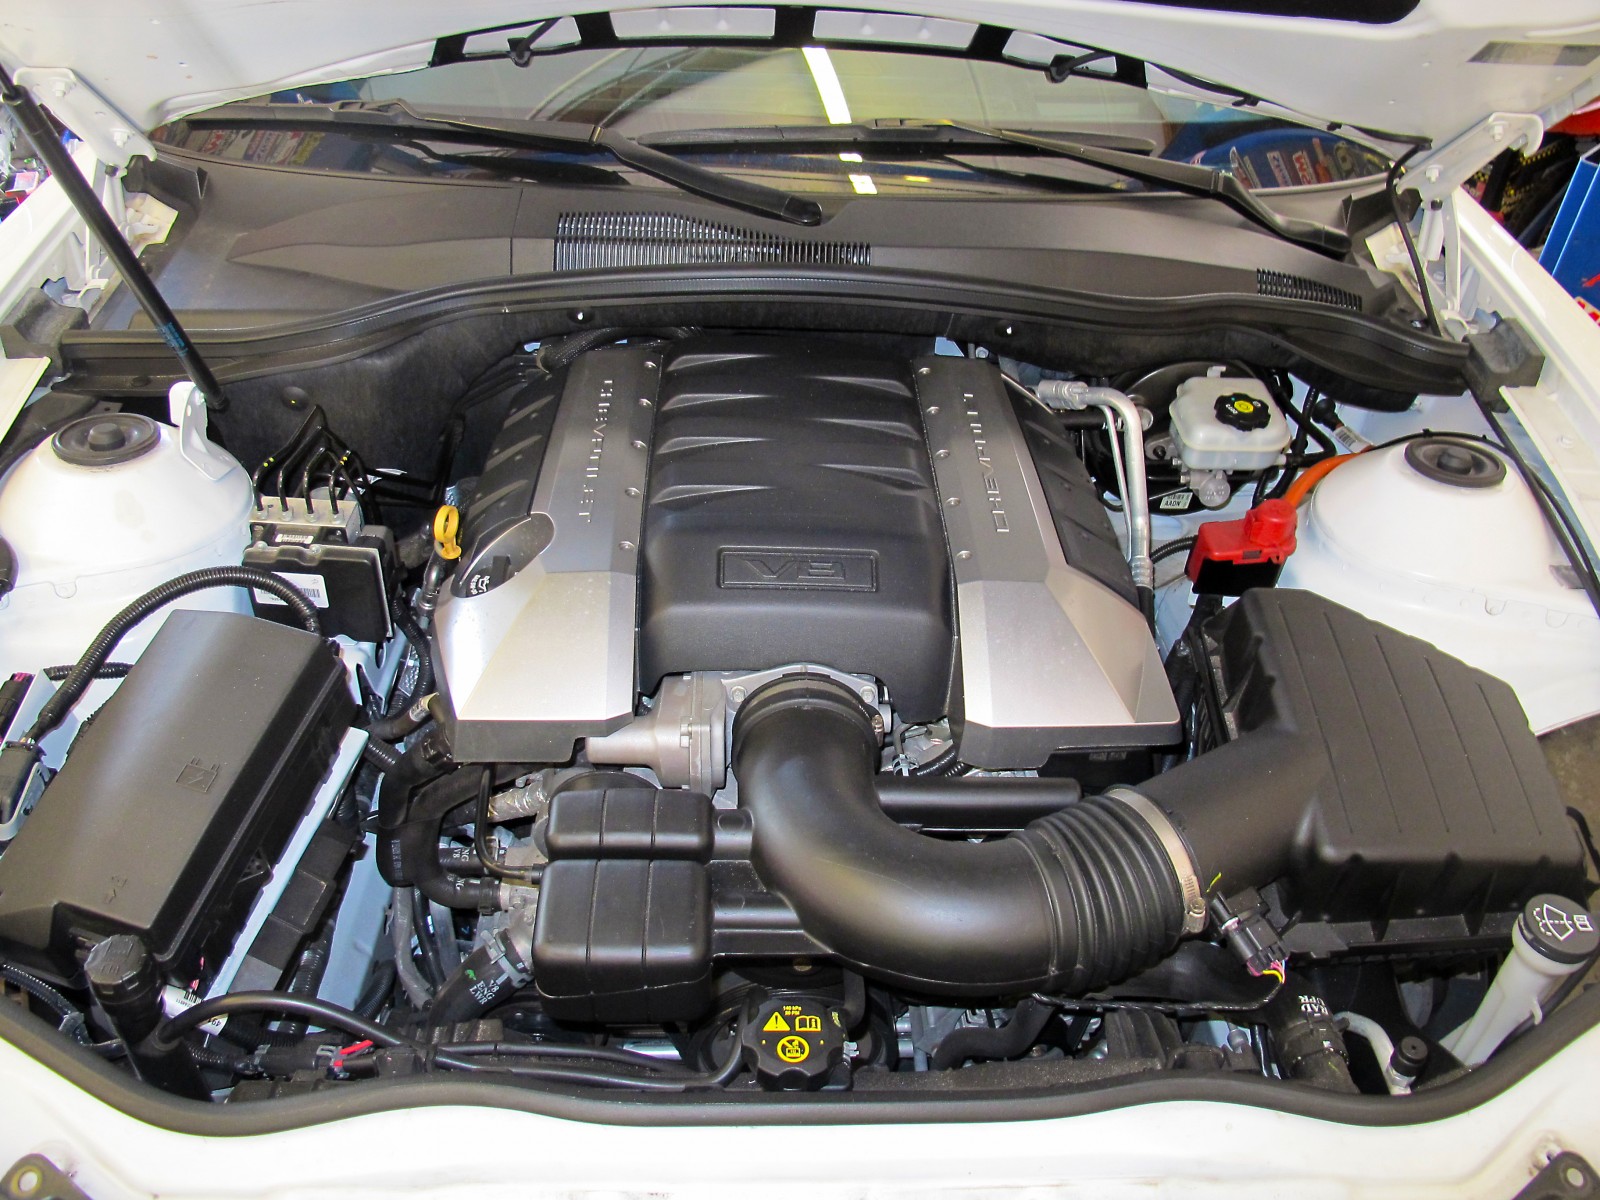
The 5th Gen Camaro SS (2010-2015 model years) left the factory loaded with power—425 ponies for a manual trans car or 400 in a 6L80E equipped 5th Gen. But even with all that power, the SS still has a lot of room to grow. Heads, cam, intake, and even larger displacement will net more power but involve major engine disassembly and down time.
Adding boost is an easy way to squeeze over 100 extra horsepower out of an engine without a complicated disassembly. While a supercharger, either roots/TVS/screw or centrifugal type, adds boost, they typically have heavy impacts on drivability in regular driving conditions when the extra power and boost isn’t needed.
The advantage of turbocharging (either with a single or dual setup) is the more controlled application of boost, easier tuning, and the lack of parasitic power loss to drive the turbocharger. While superchargers are driven off an engine’s crankshaft, turbochargers are driven by an engine’s exhaust. This means no engine power is expended to create boost, as opposed to a supercharger/blower. Turbonetics’ Reggie Wynn shared his thoughts with us on the recent increase in turbo popularity and the advantages they offer.
“Unlike blowers which require you to run a belt and adds more strain to the engine, turbos run off generated exhaust gases/flow. It’s also easier to adjust boost on a turbocharged application. Turbos are the way of the future. That is why you see more and more car manufacturers produce vehicles that come turbocharged from the factory,” Wynn said.
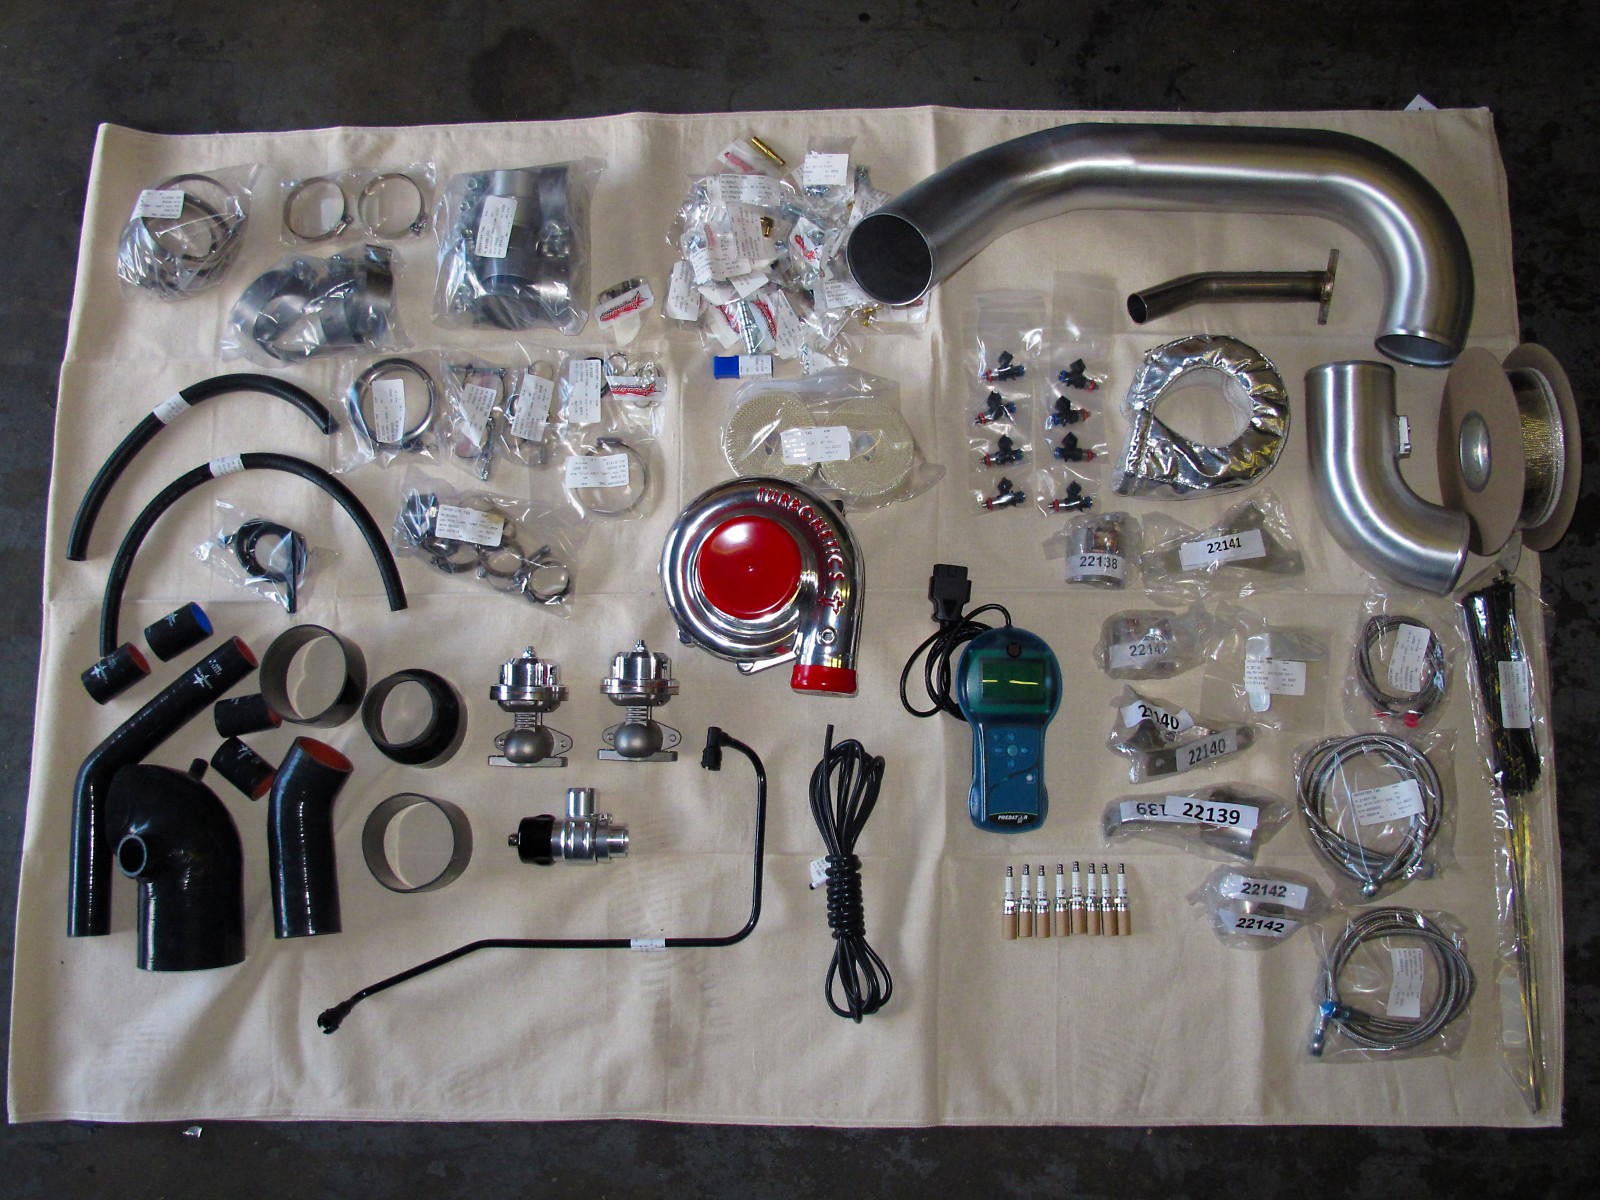
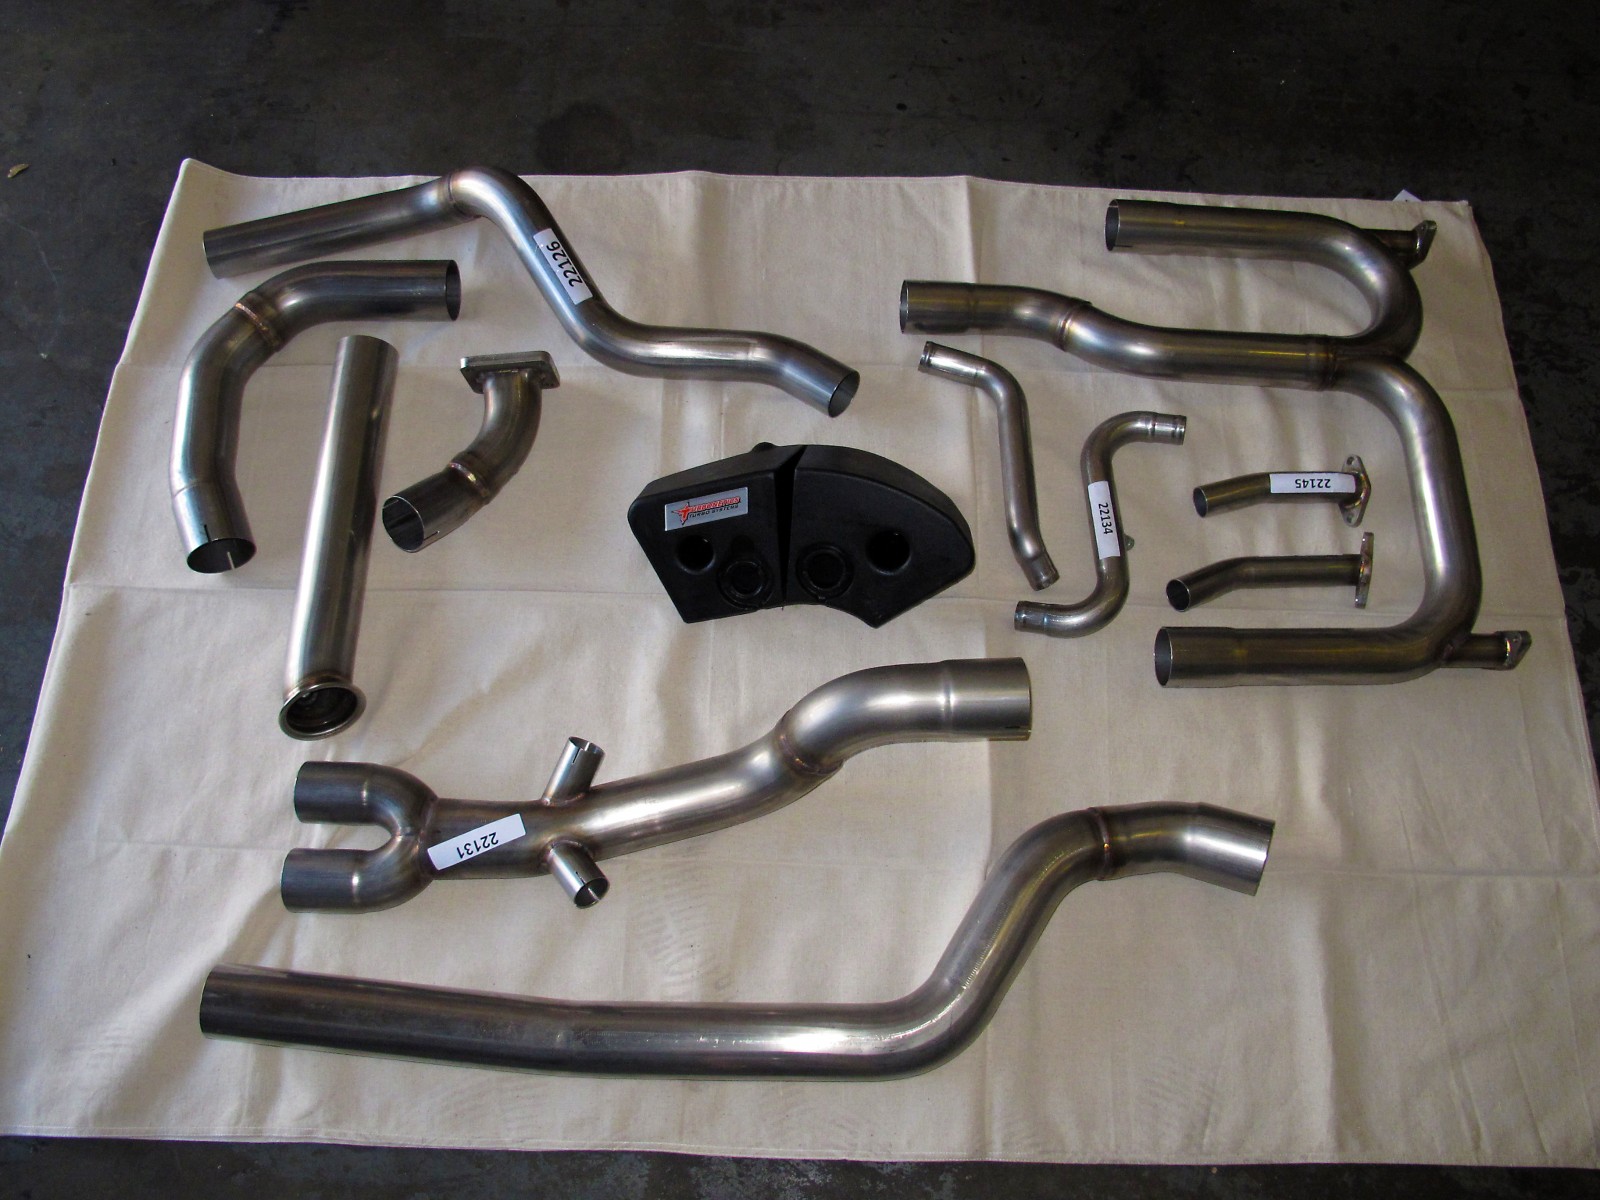
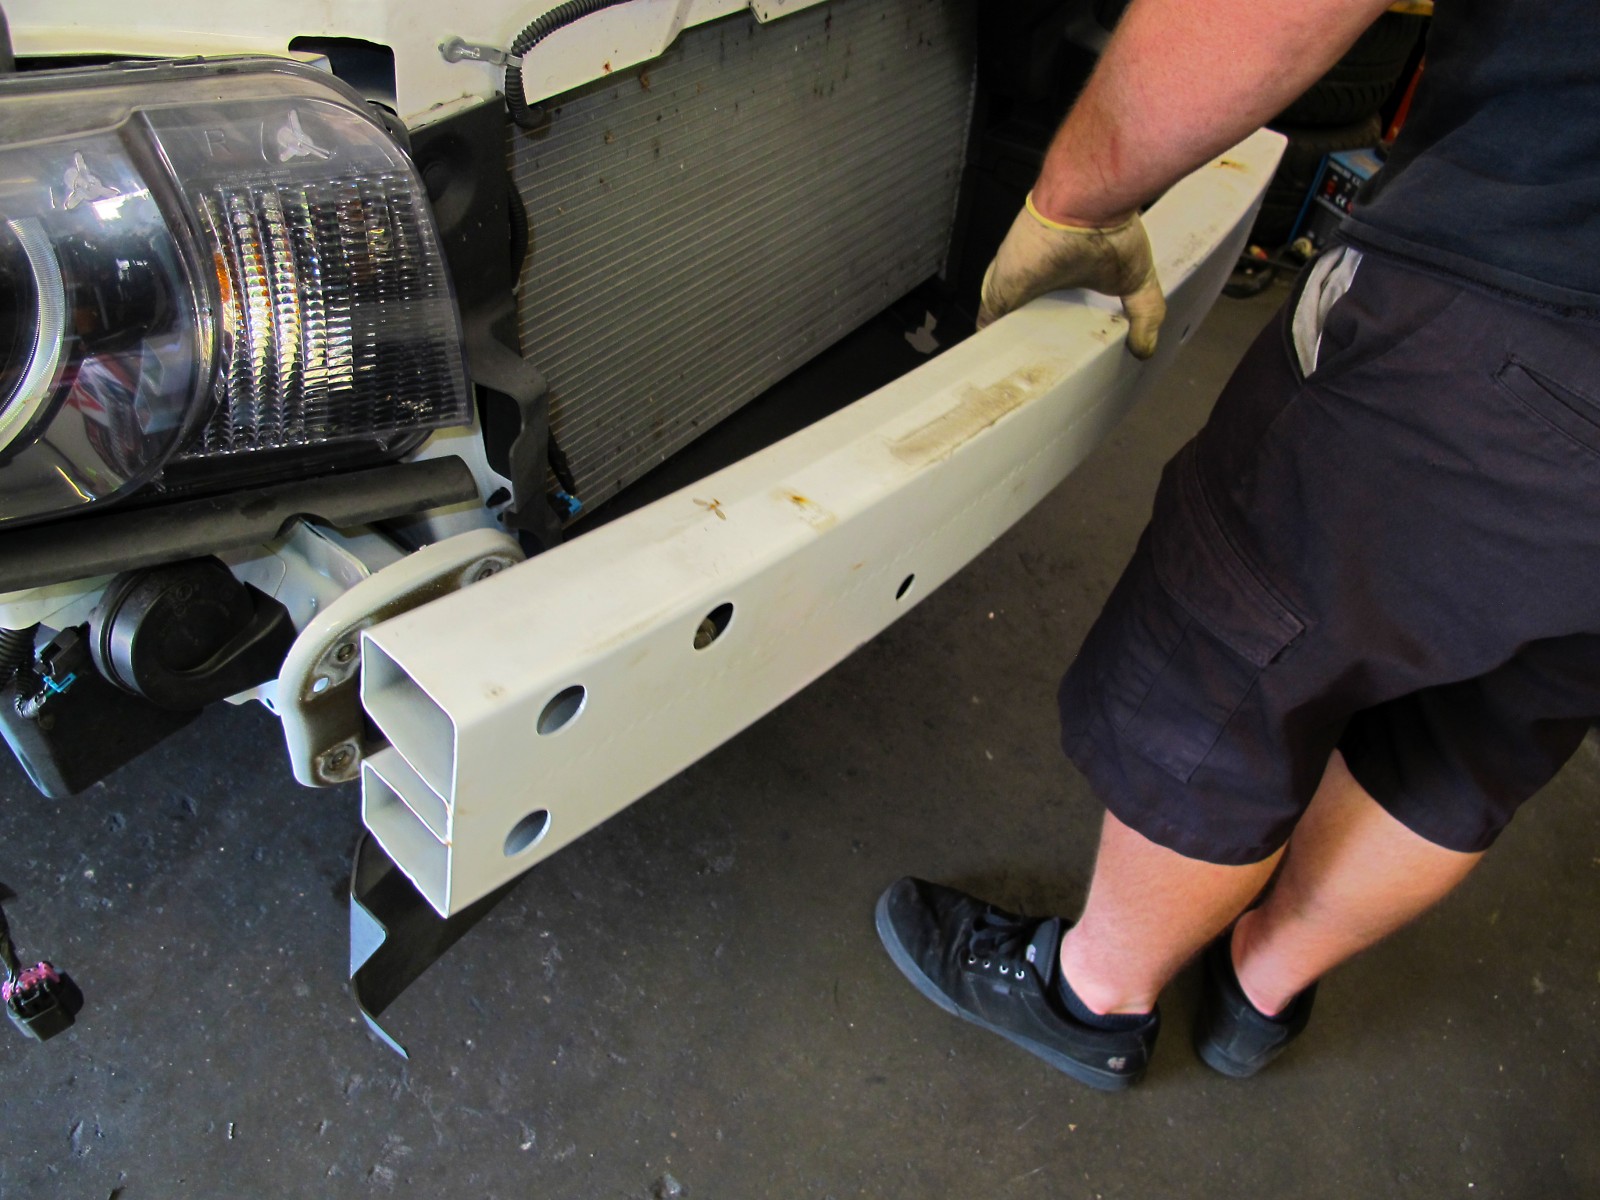
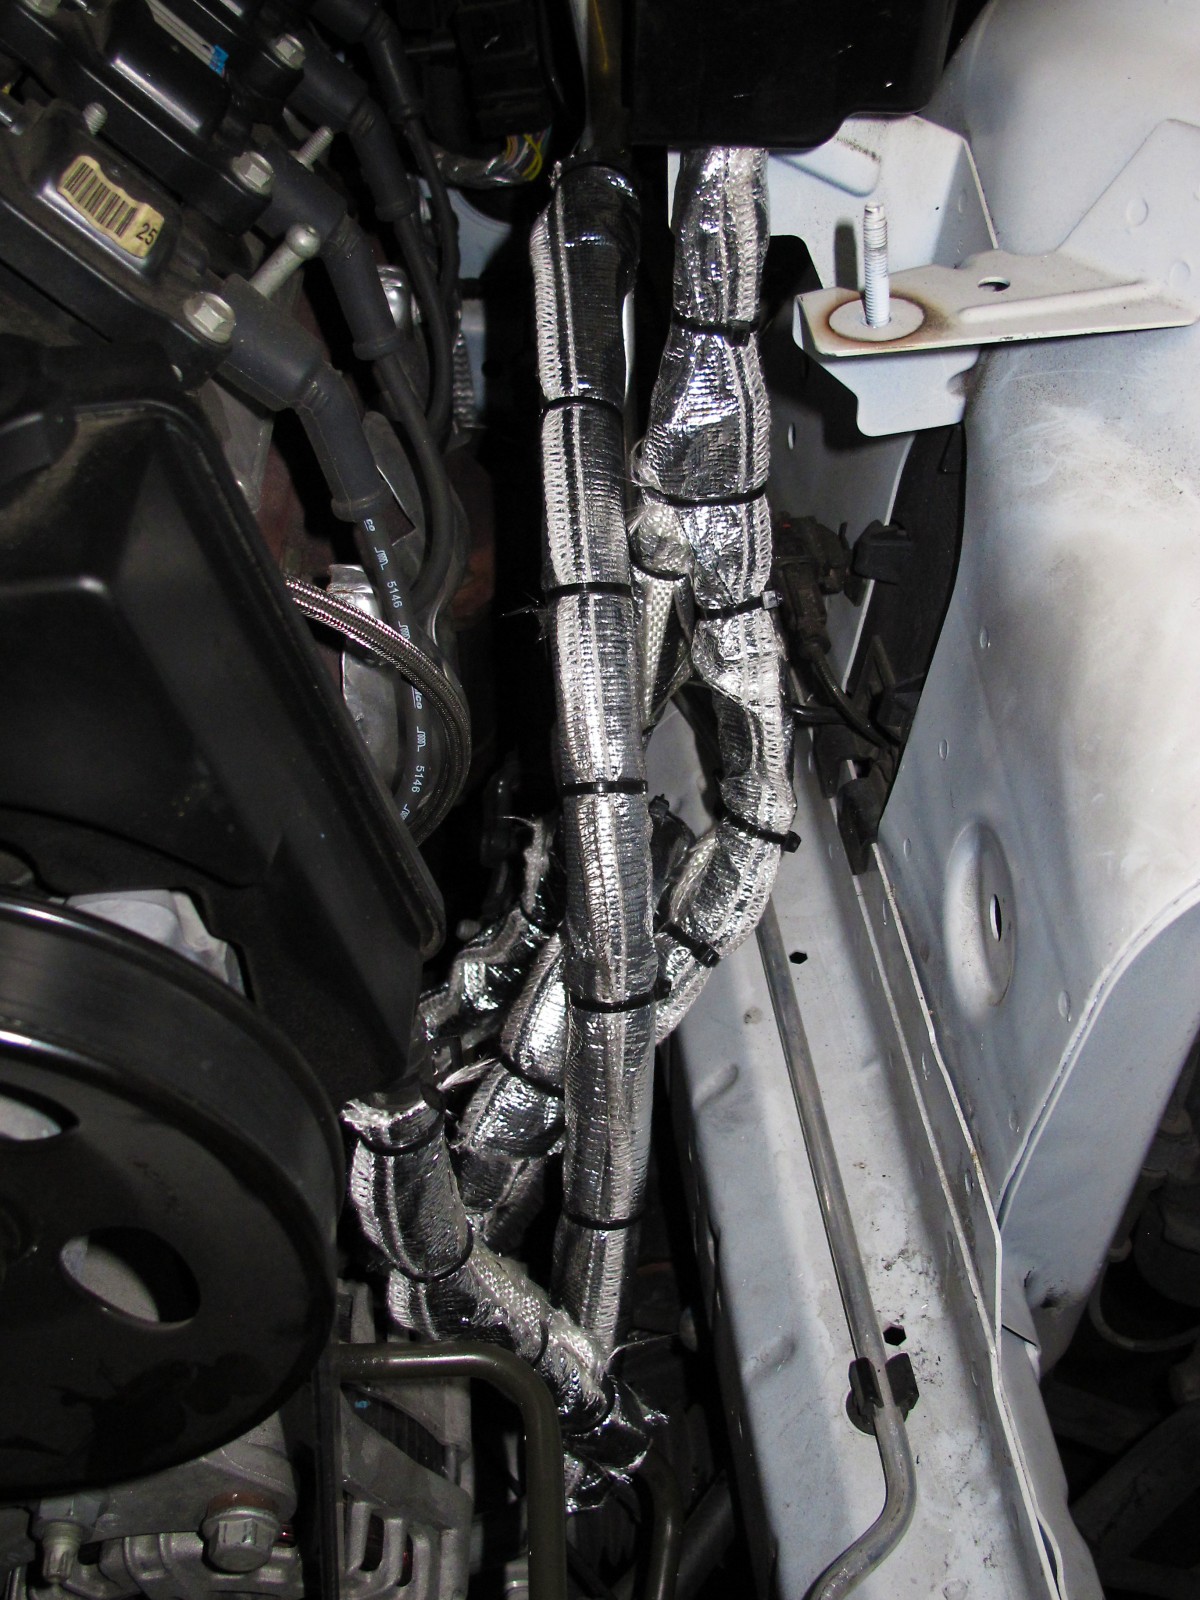
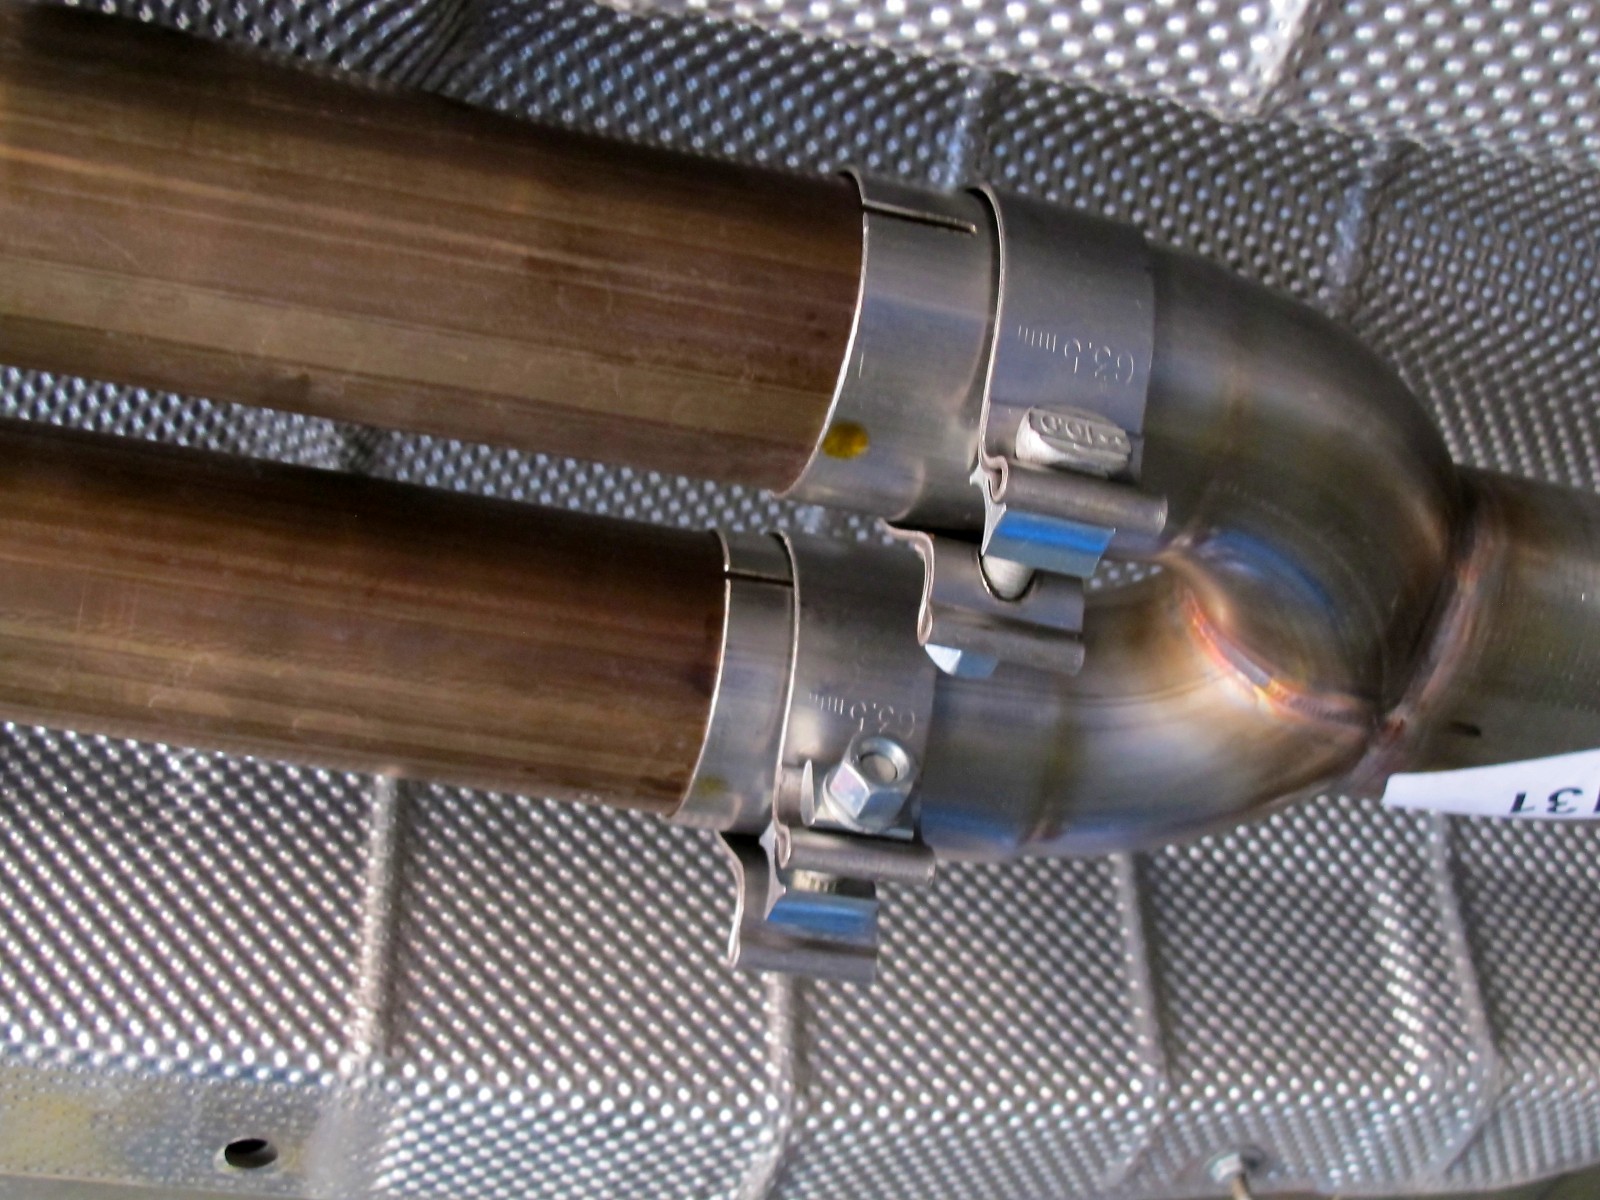
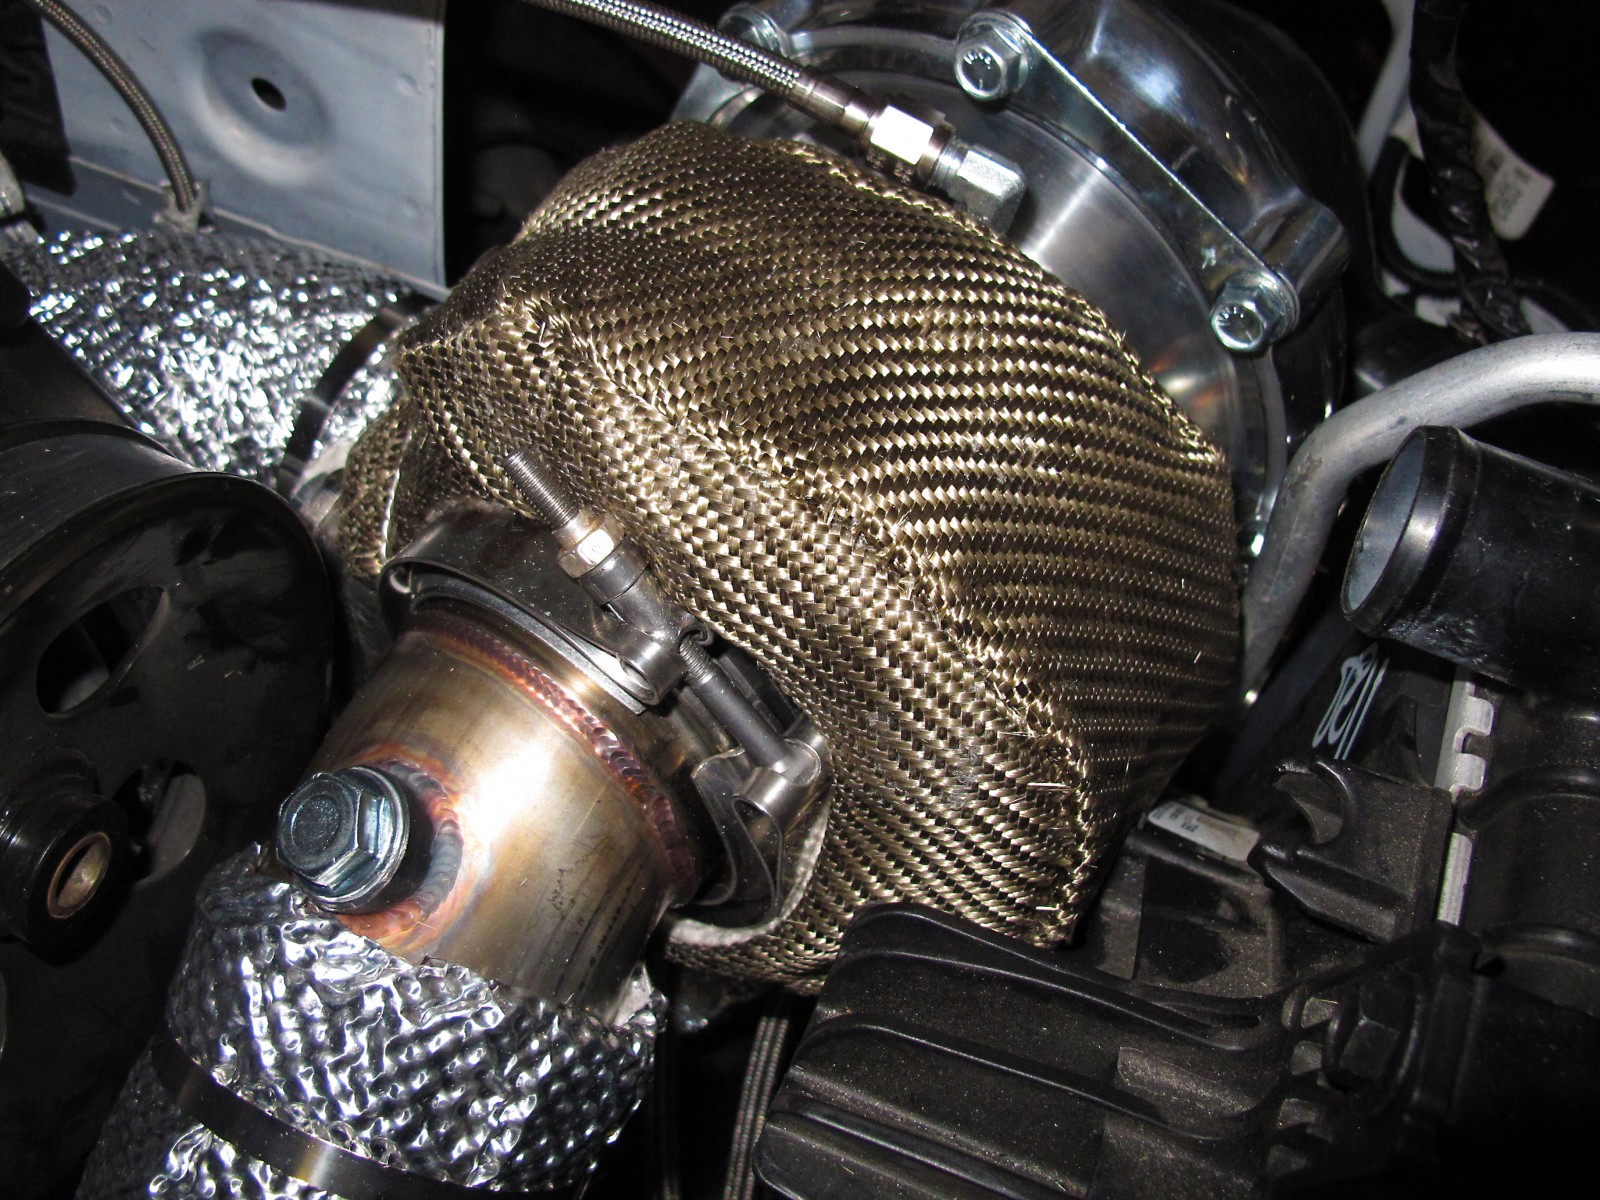
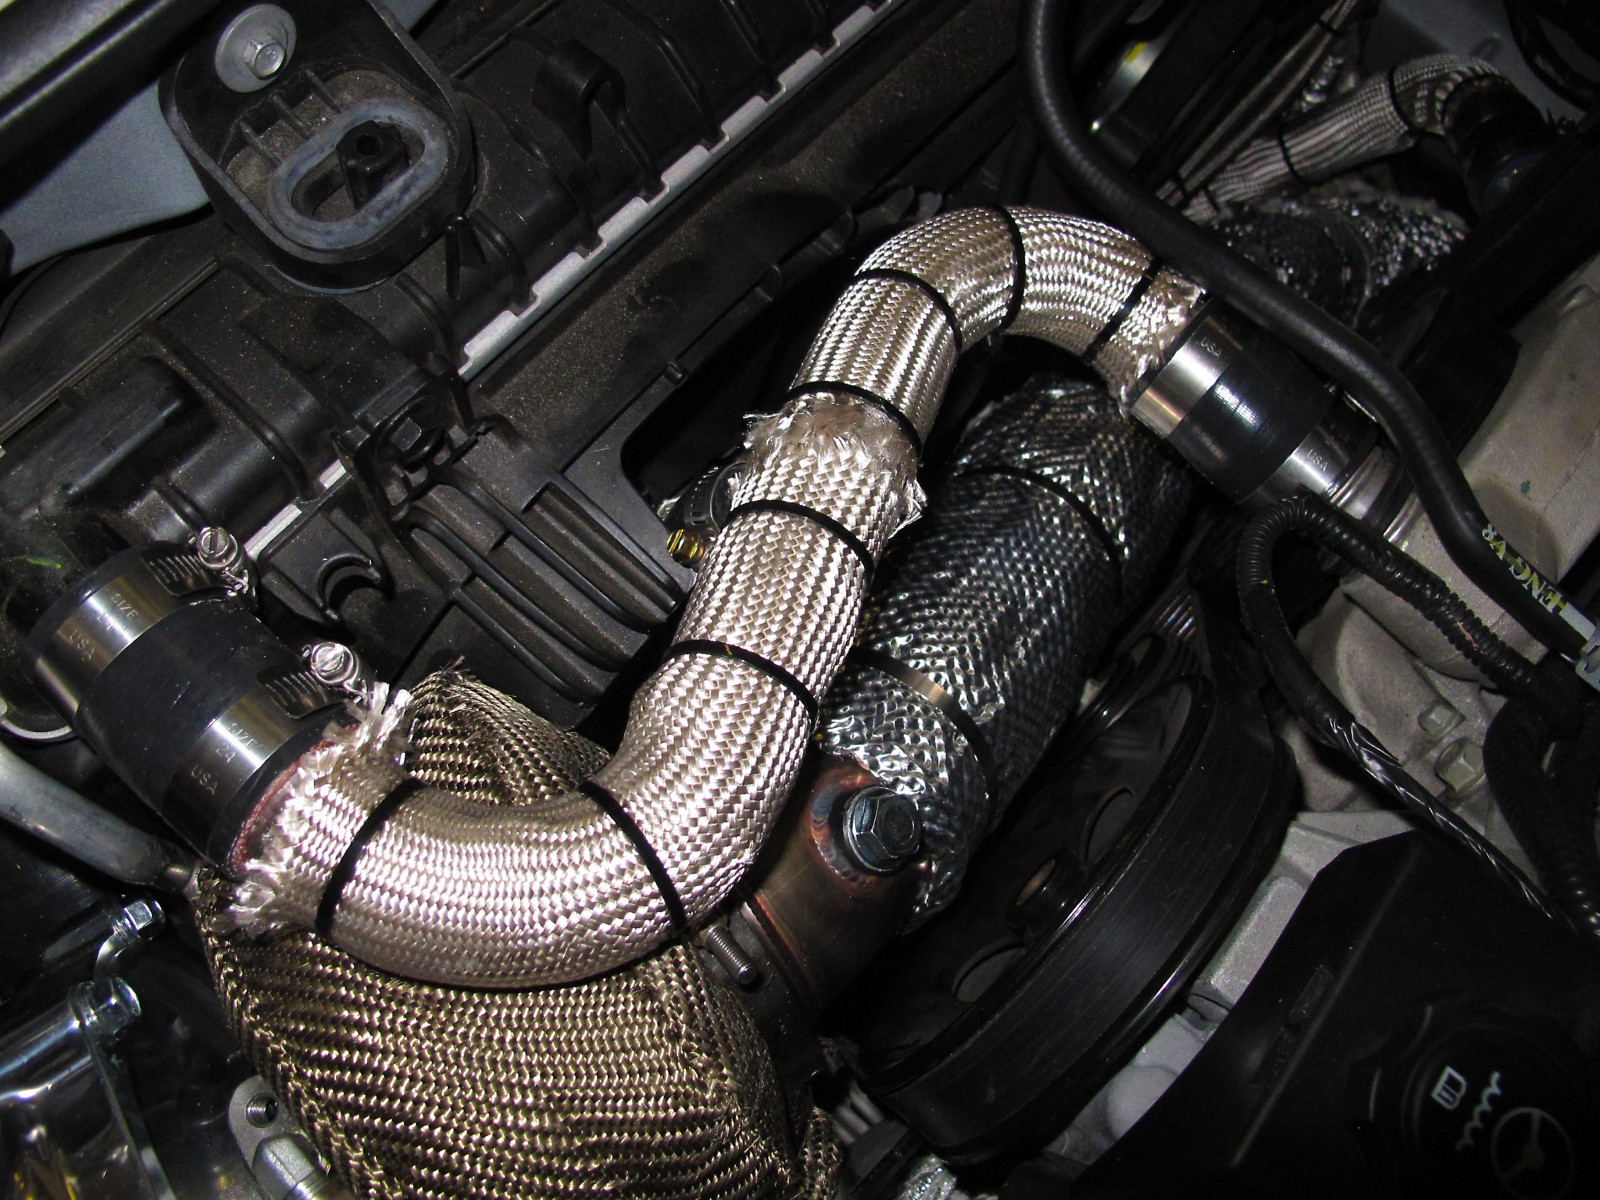
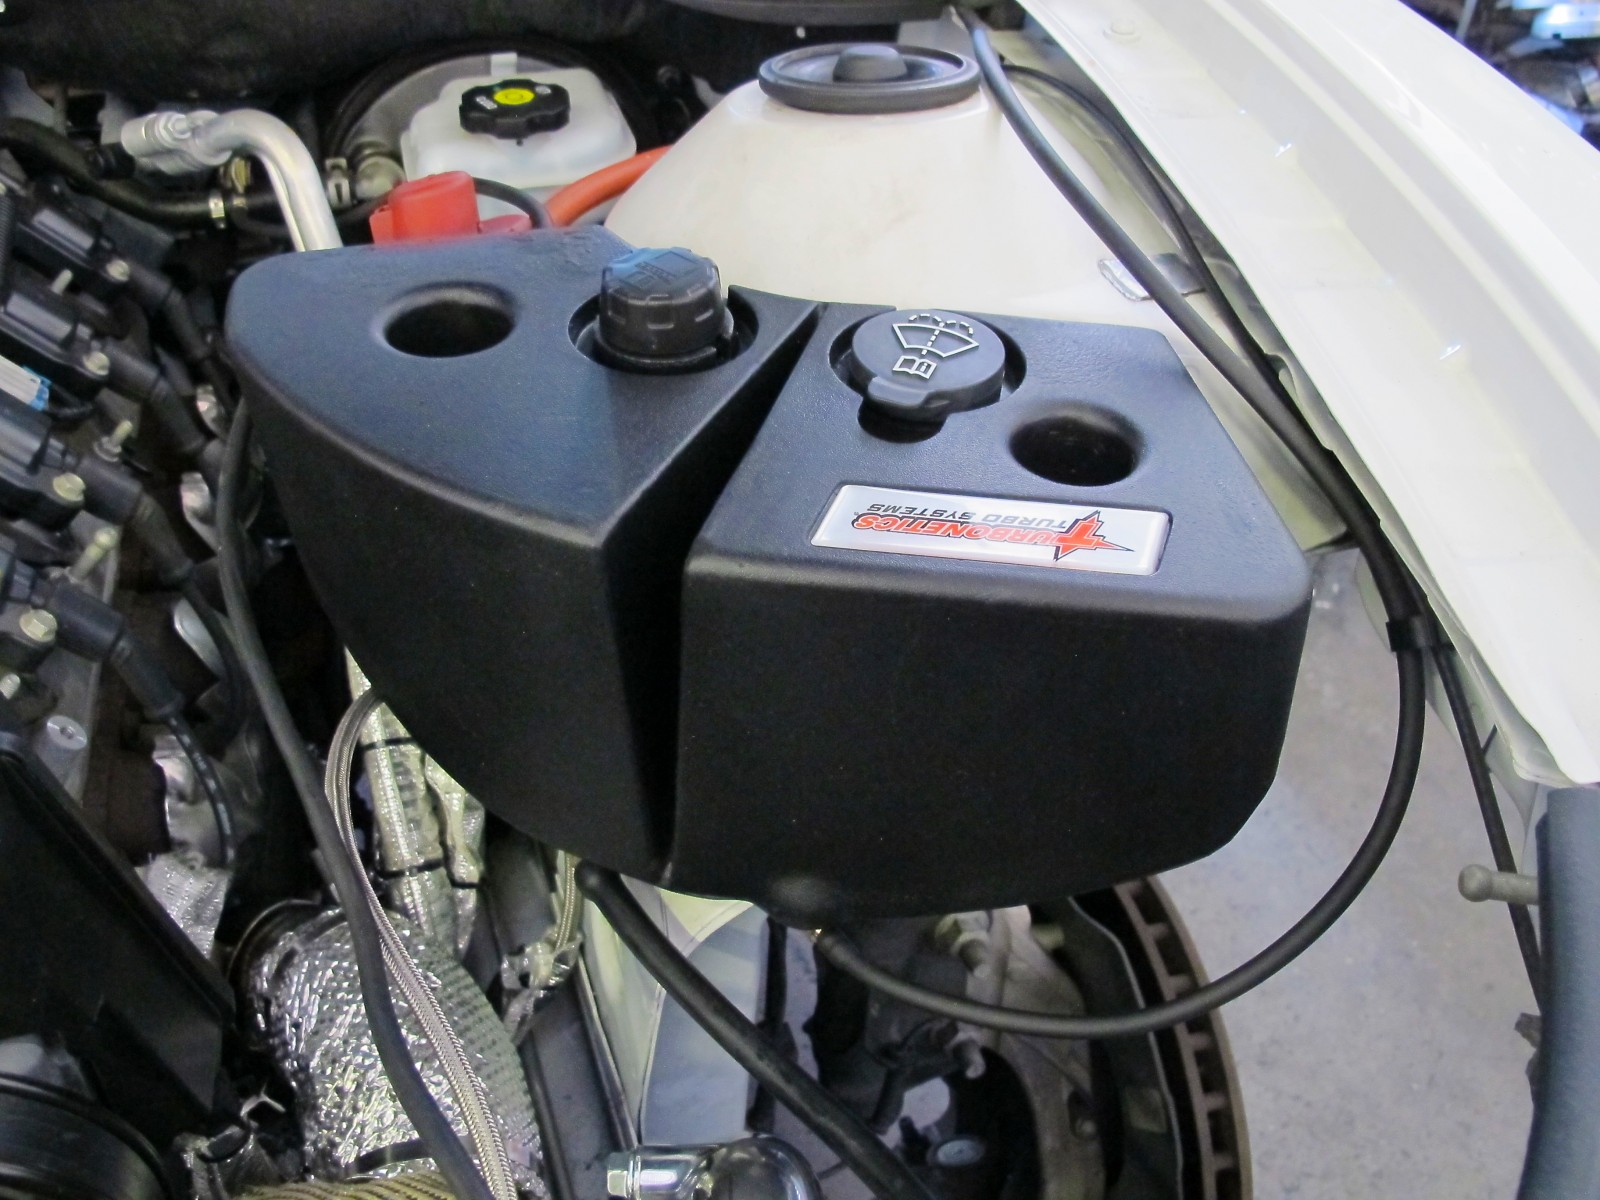
Traditional drawbacks of turbo kits were the fabrication for the feed and exhaust pipes and the mounting and space requirements under the hood. Turbonetics has made this a non-factor now with its new full system turbo kits for the Camaro SS. They include already-sectioned and pre-bent inlet and outlet piping, the necessary connectors to link everything up without need for welding, and the necessary accessories to relocate items underhood to make room for the whole works. And the new kits are 50-state-legal, and come with a preloaded tuner so you don’t have to find a shop for that later.
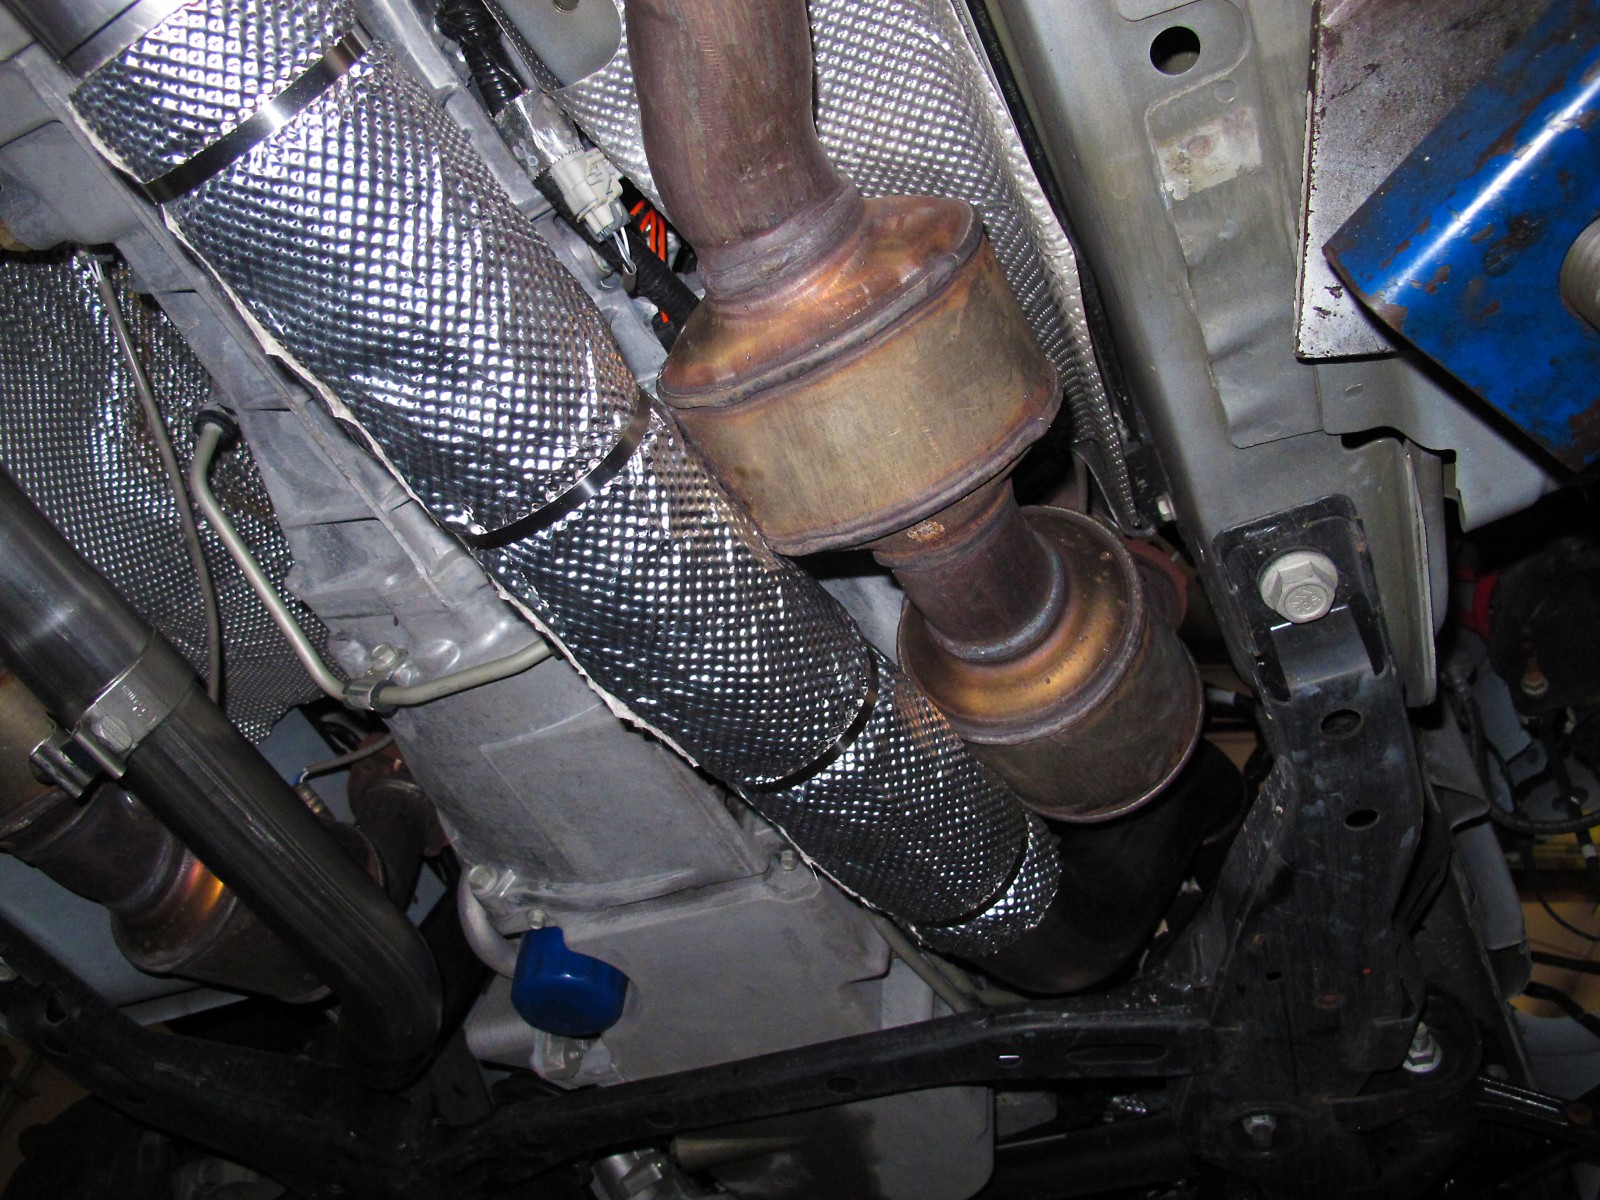
“This kit went through rigorous testing in the CARB Lab here in California, and it passed with flying colors,” Wynn said. “The key features that helped was keeping the factory cats, factory exhaust manifolds, and having the turbos get the exhaust after the cats. The kit comes as complete as you can get. It even comes with a tuner preloaded with an optimal computer tune for the car’s ECU.”
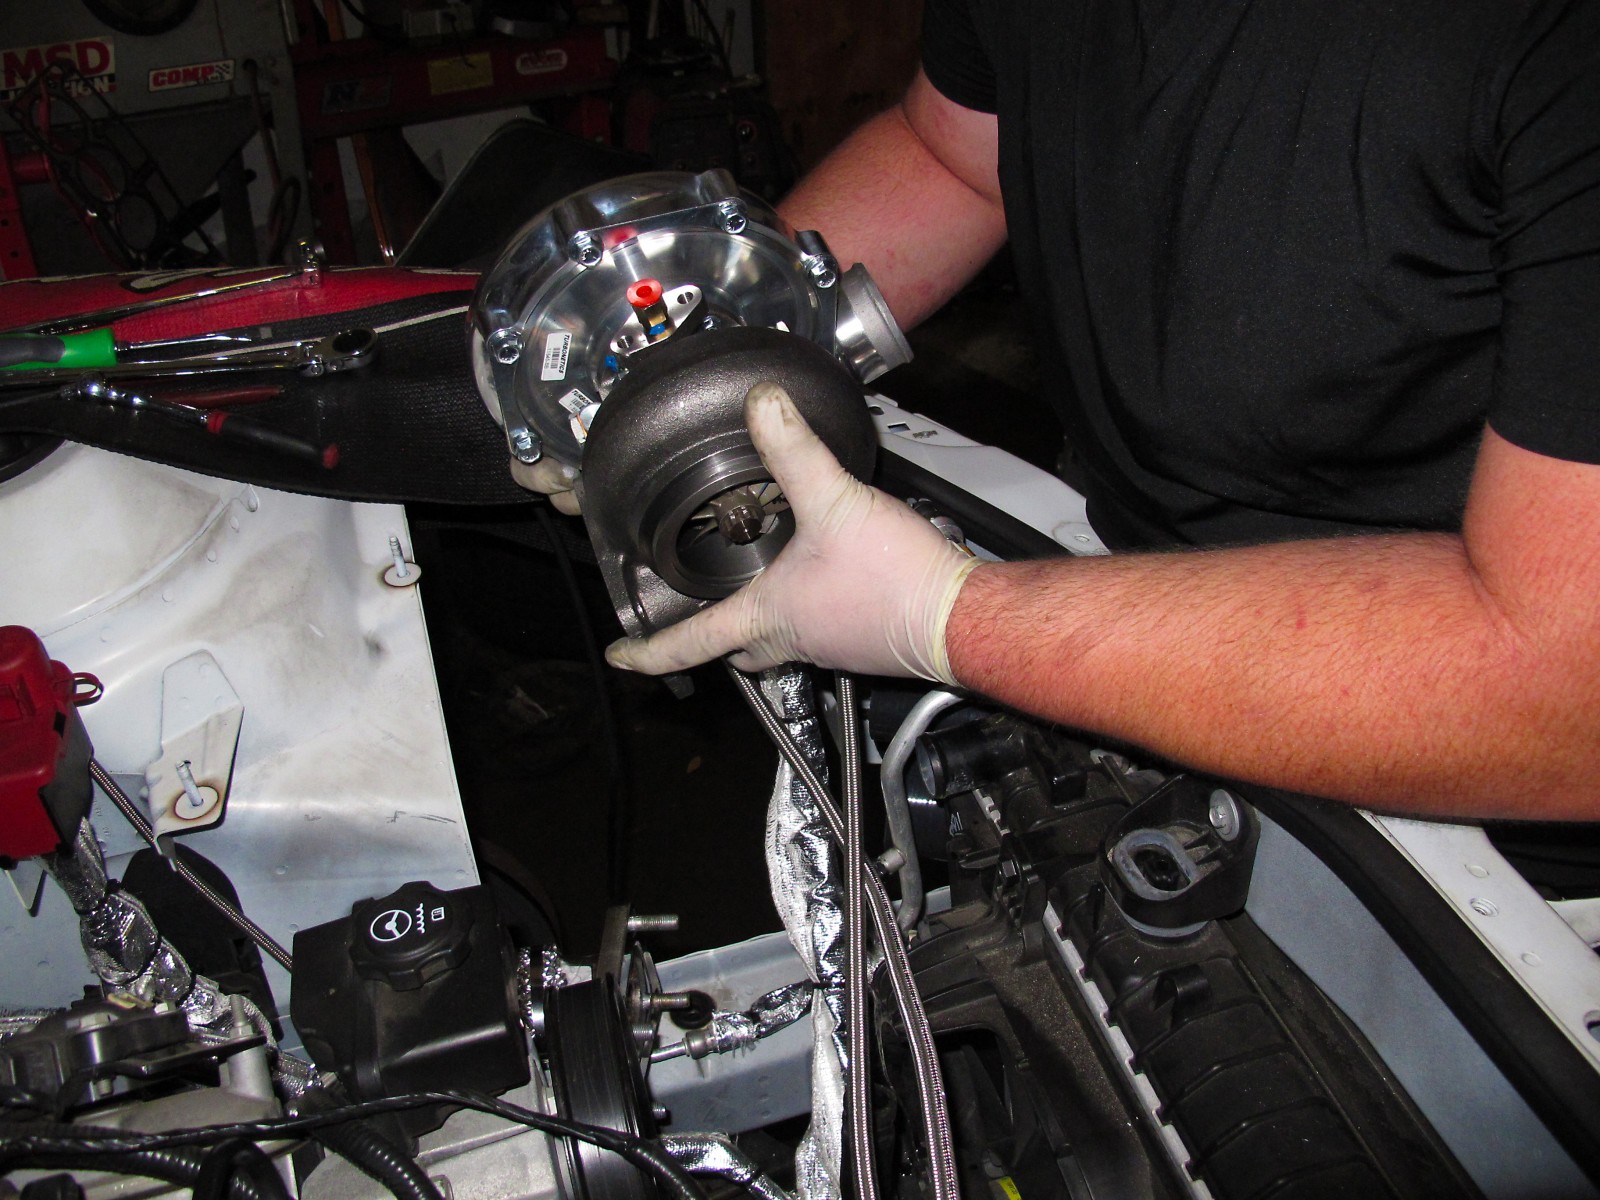
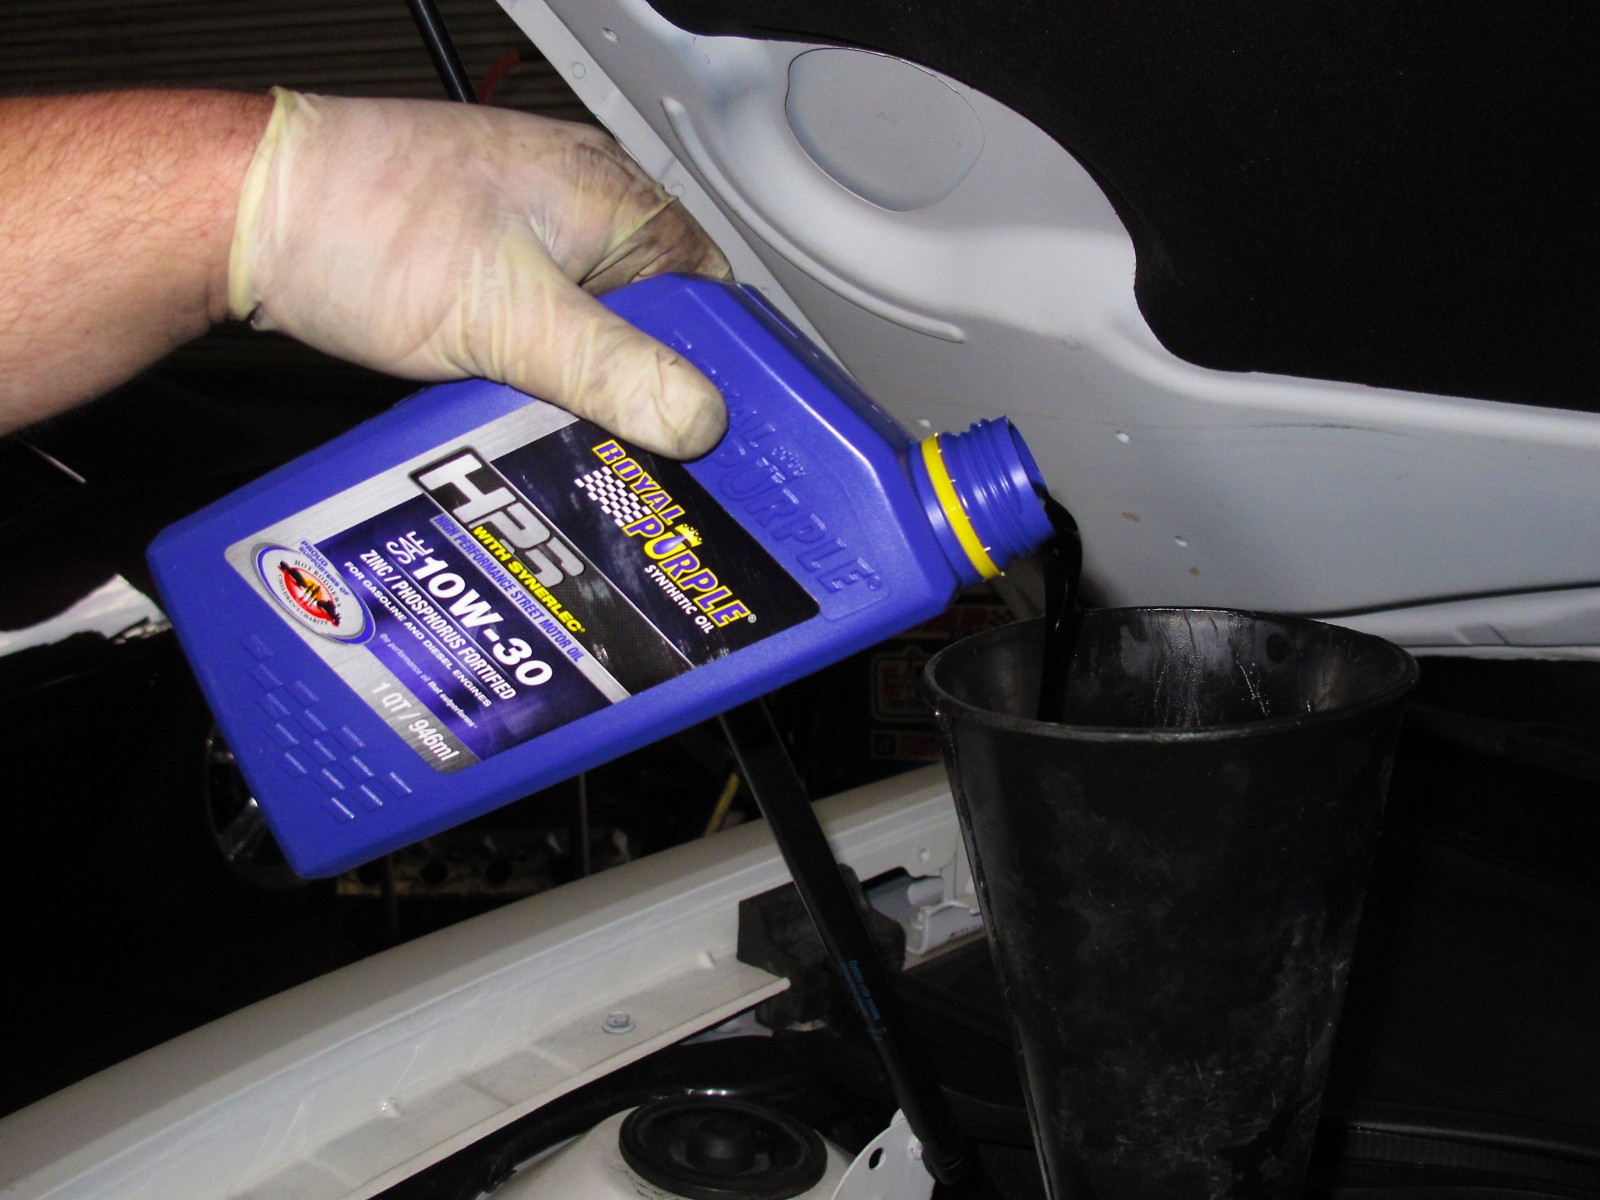
We took our 2011 Camaro SS test subject to Antivenom Performance in Seffner, FL, where Greg Lovell and Kyle Miller installed the kit and handled the before/after dyno testing. We got our Turbonetics turbo kit from Summit Racing. It included larger fuel injectors, special turbo plugs, and a preloaded tuner for the ECU.
Here are the before and after dyno results:
| BEFORE | AFTER | |||
| RPM | HP | Torque | HP | Torque |
| 2900 | 182.11 | 329.75 | 207.95 | 376.61 |
| 3000 | 187.81 | 328.79 | 220.87 | 386.68 |
| 3100 | 194.07 | 328.80 | 231.83 | 392.77 |
| 3200 | 200.02 | 328.30 | 245.83 | 403.48 |
| 3300 | 206.36 | 328.43 | 259.90 | 413.65 |
| 3400 | 214.42 | 331.22 | 276.20 | 426.66 |
| 3500 | 223.45 | 335.31 | 295.62 | 443.61 |
| 3600 | 233.58 | 340.78 | 318.00 | 463.93 |
| 3700 | 243.89 | 346.20 | 337.00 | 478.37 |
| 3800 | 254.91 | 352.32 | 362.83 | 501.43 |
| 3900 | 265.20 | 357.14 | 389.41 | 524.38 |
| 4000 | 264.57 | 347.39 | 414.72 | 544.52 |
| 4100 | 270.27 | 346.22 | 429.15 | 549.75 |
| 4200 | 276.15 | 345.33 | 445.10 | 556.60 |
| 4300 | 286.13 | 349.49 | 463.98 | 566.72 |
| 4400 | 296.89 | 354.39 | 481.35 | 574.55 |
| 4500 | 305.15 | 356.16 | 492.88 | 575.26 |
| 4600 | 315.97 | 360.77 | 494.94 | 565.09 |
| 4700 | 324.26 | 362.36 | 512.17 | 572.31 |
| 4800 | 328.21 | 359.13 | 510.80 | 558.95 |
| 4900 | 336.43 | 360.61 | 524.82 | 562.53 |
| 5000 | 339.64 | 356.77 | 505.03 | 530.53 |
| 5100 | 347.90 | 358.28 | 517.10 | 532.54 |
| 5200 | 351.89 | 355.42 | 537.66 | 543.02 |
| 5300 | 357.39 | 354.16 | 551.08 | 546.07 |
| 5400 | 360.20 | 350.34 | 518.01 | 503.78 |
| 5500 | 360.74 | 344.49 | 536.28 | 512.08 |
| 5600 | 360.29 | 337.91 | 550.63 | 516.43 |
| 5700 | 363.64 | 335.07 | 536.48 | 494.32 |
| 5800 | 363.62 | 329.27 | 567.58 | 513.97 |
| 5900 | 366.39 | 326.15 | 577.25 | 513.90 |
We picked up 211 horsepower and 213 foot-pounds of torque at the rear wheels, easily putting this SS on the same level as a ZL-1 or even a stock C6 ZR-1. Pretty impressive, especially considering that everyday drivability wasn’t compromised, and the power is smooth as silk when the turbo starts making its magic. And even better, it’s 50-state-legal.
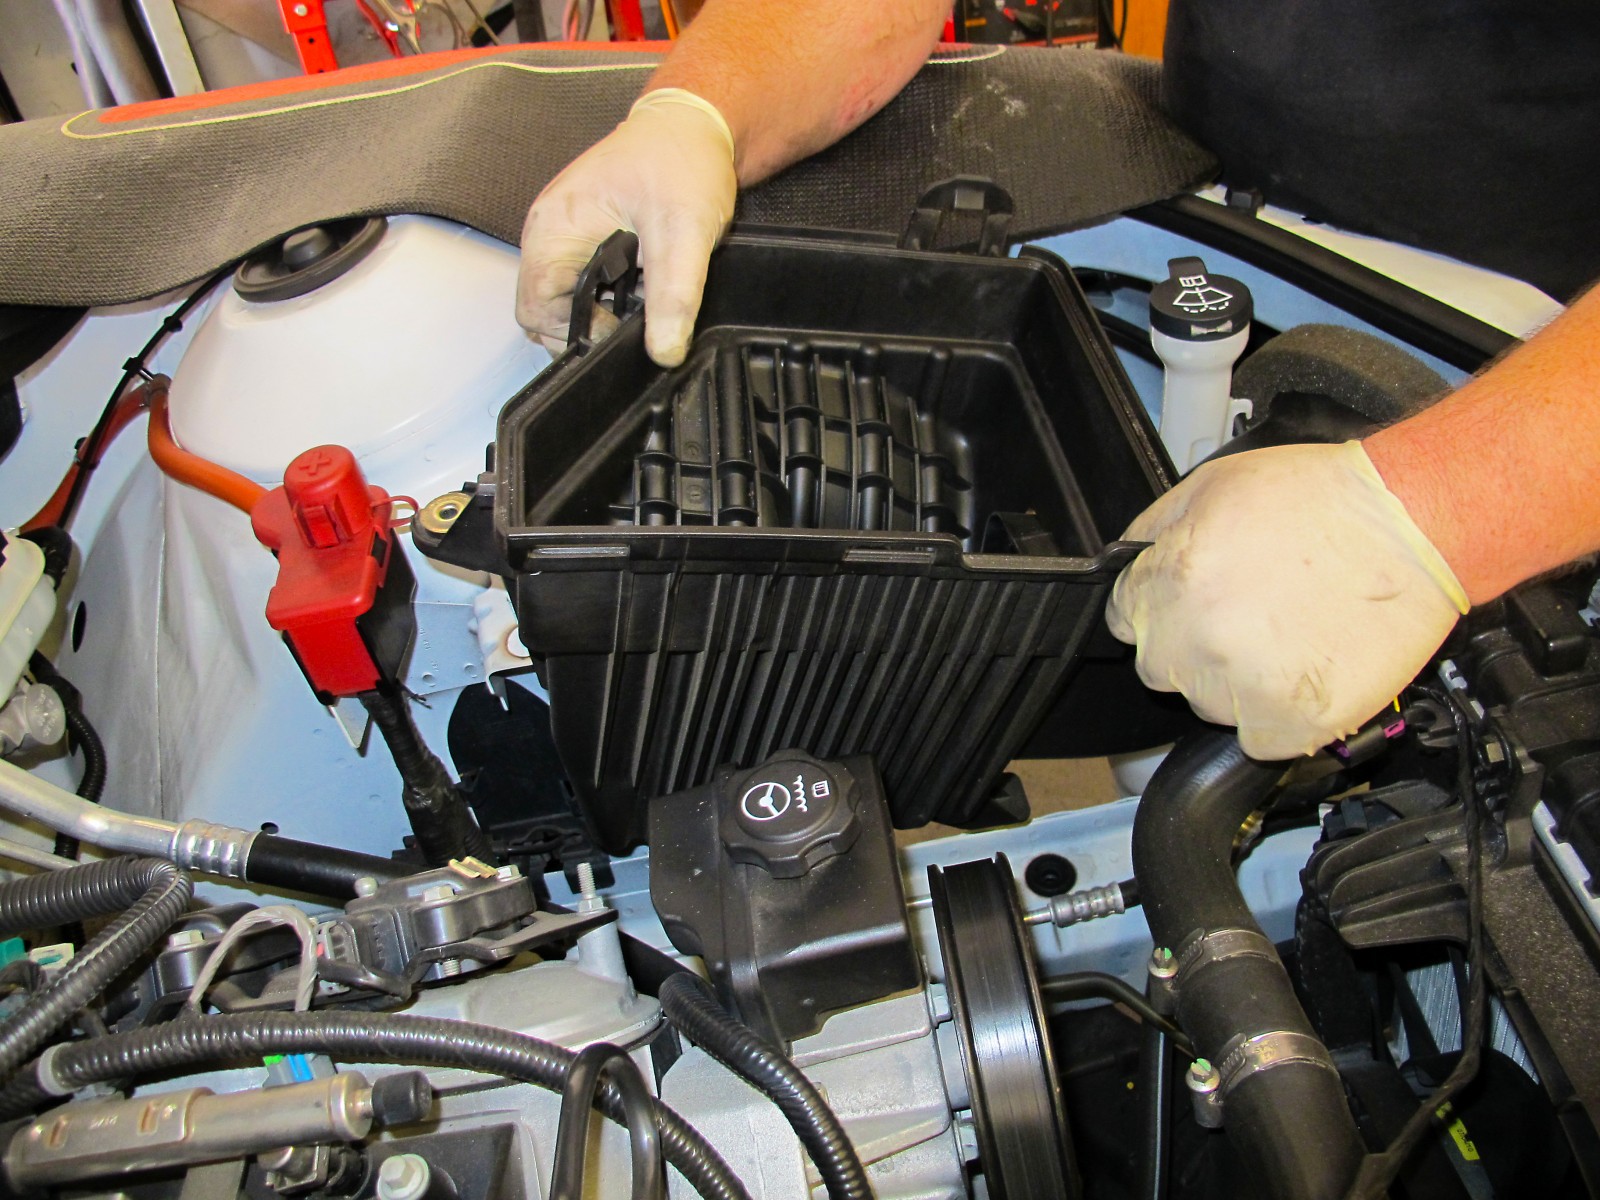
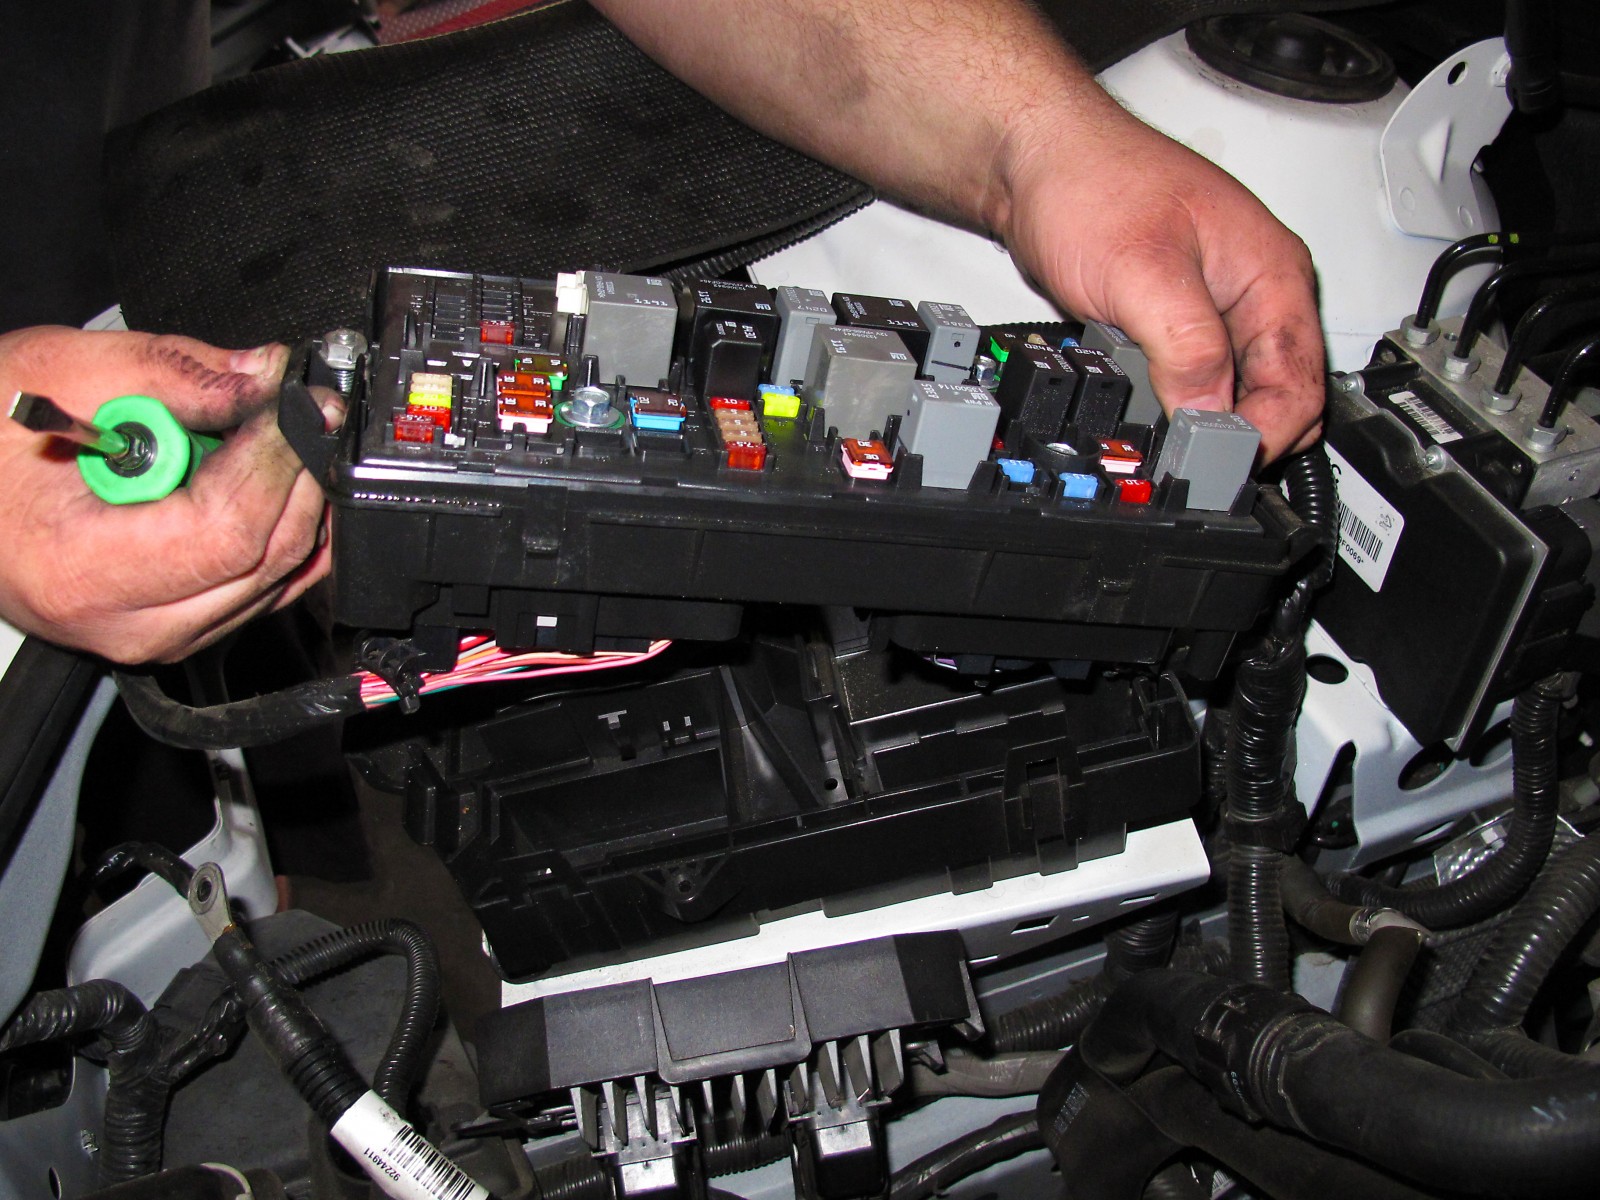
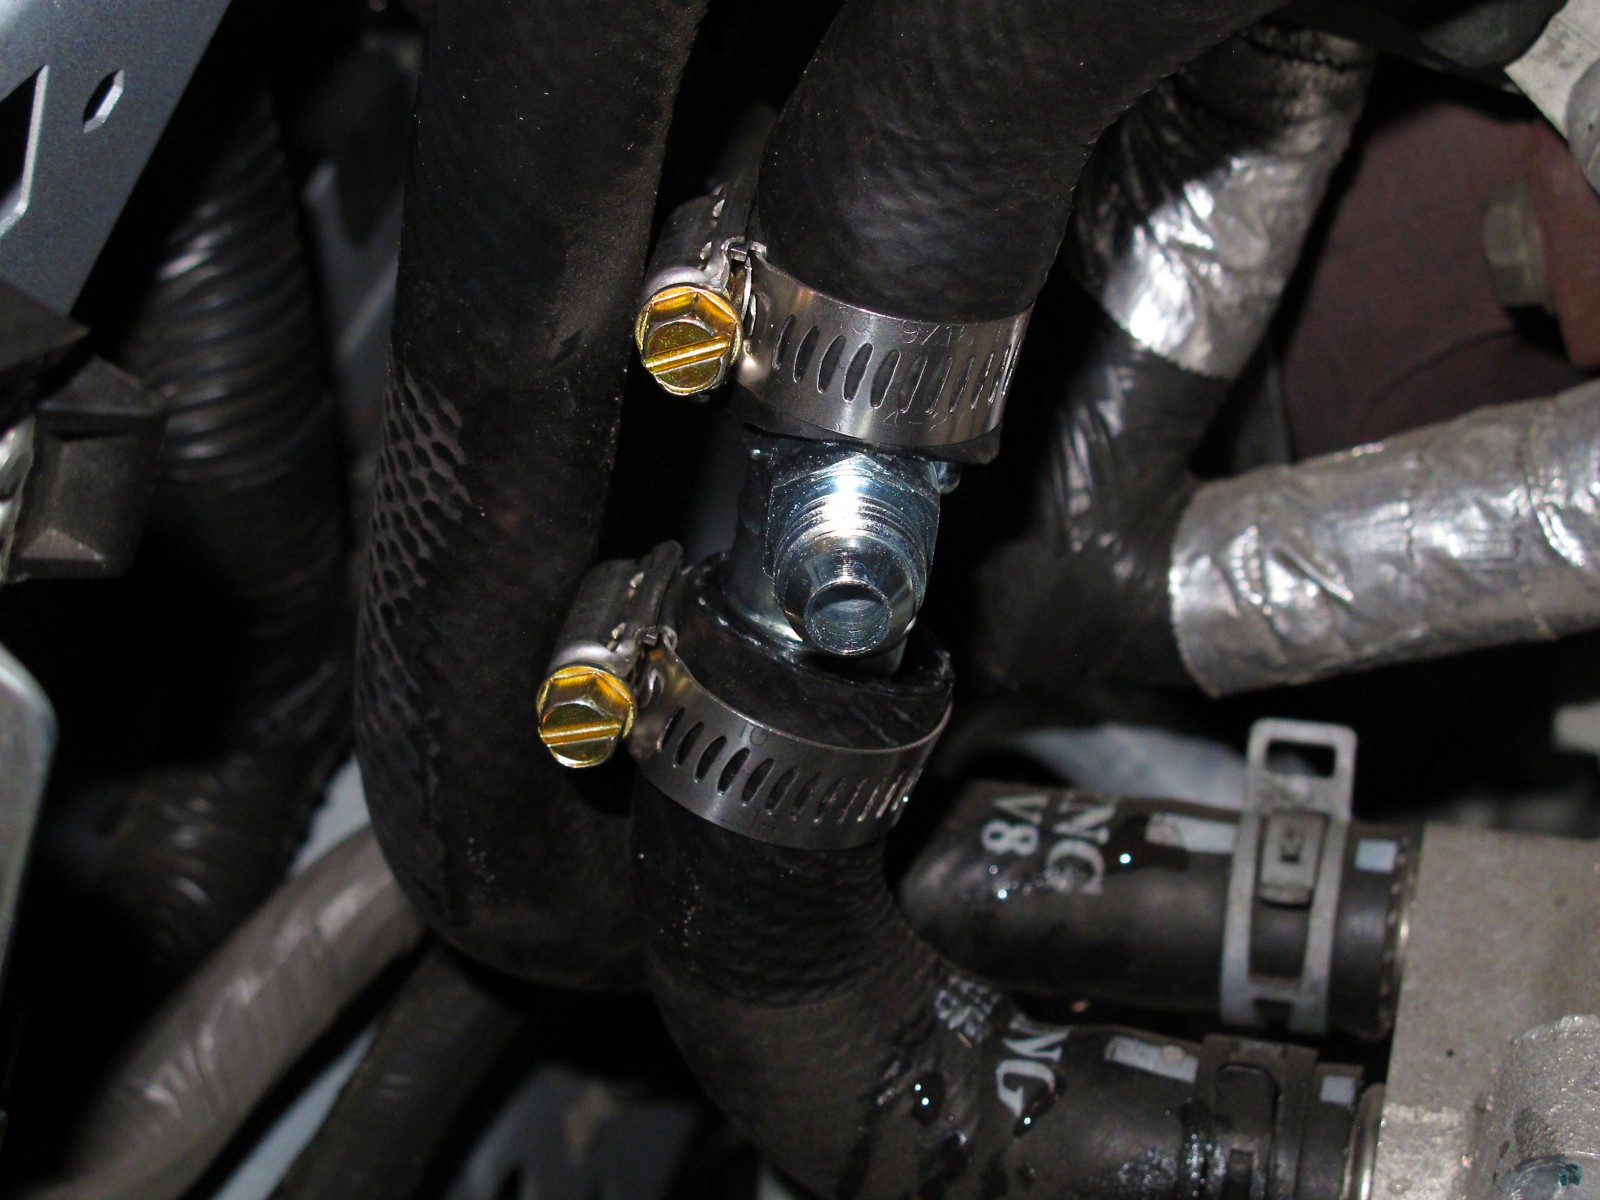
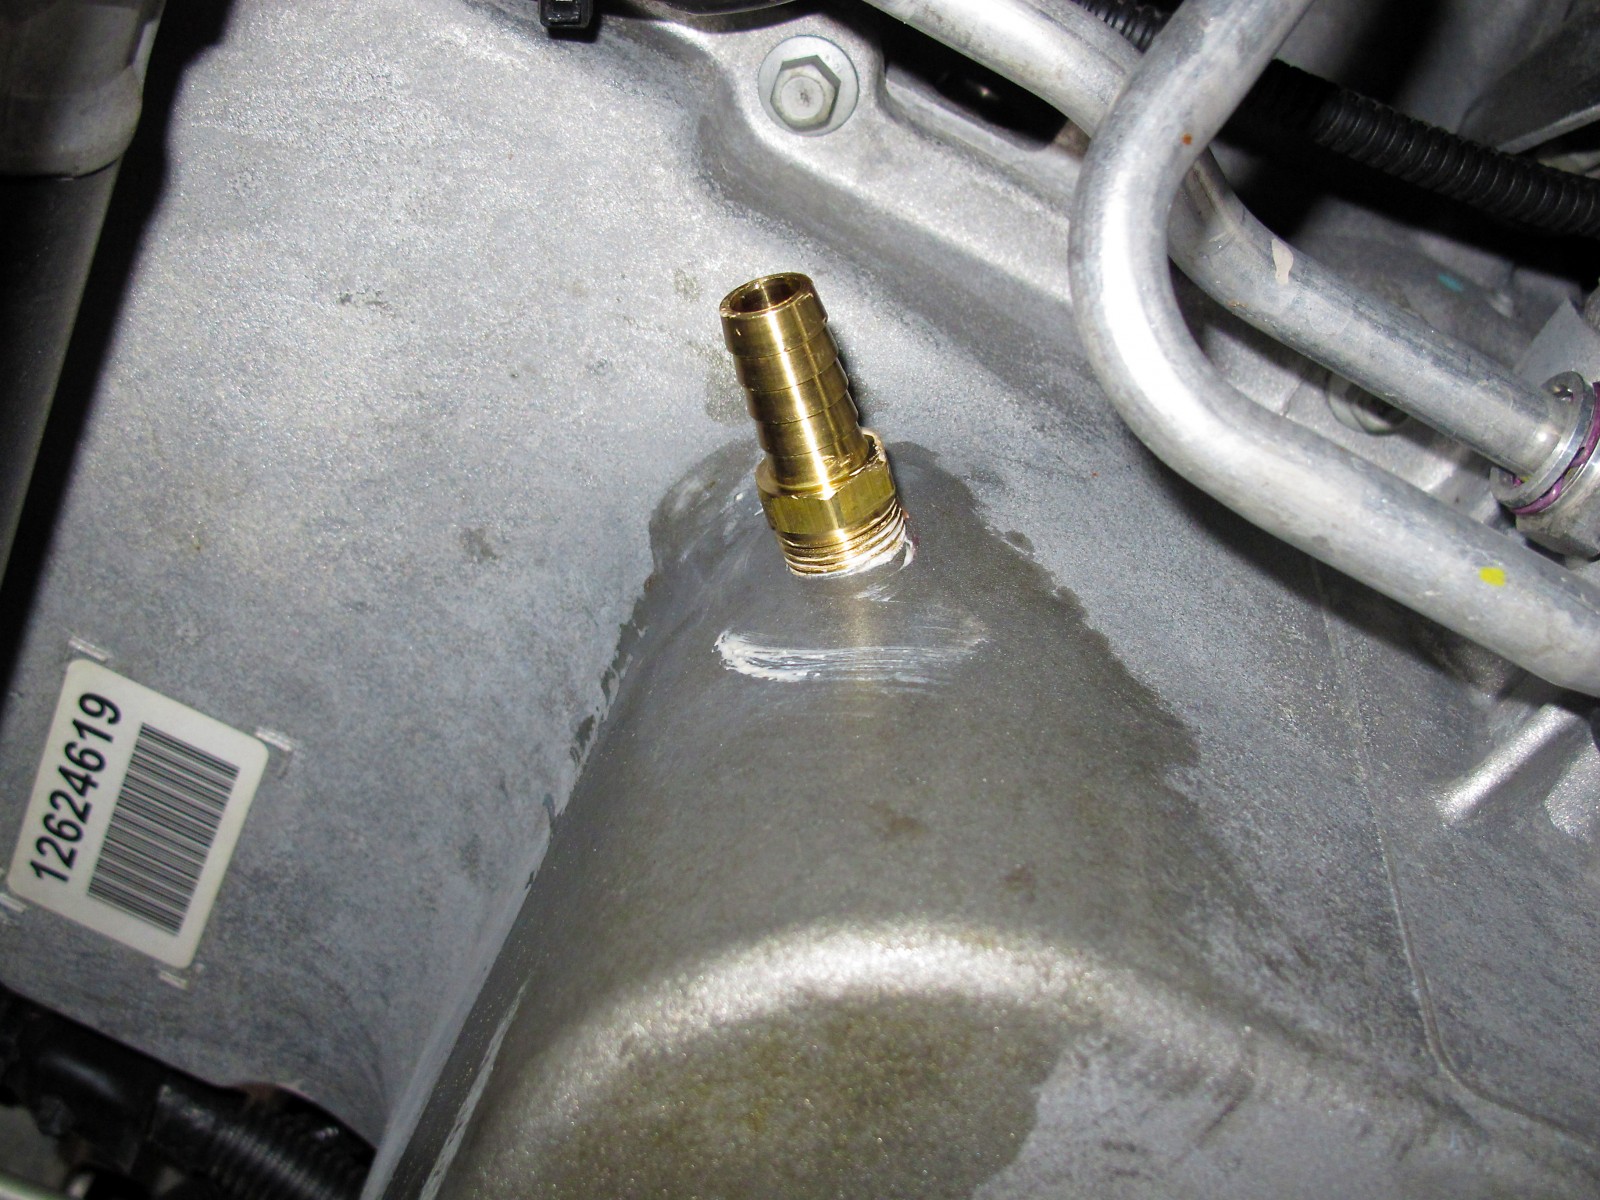
See how the installation went below.


From the dyno numbers looks like there is some valve float issues. That’s why the HP numbers are not constantly increasing every RPM. Adding some Howards 98113 valve springs should fix the problem, and could help squeeze some more power.
I know this is an old post, but in the interest of helping each other learn, I’d like to share that it’s probably not valve float. Valve float occurs when the valves can’t recover completely, typically from too much lift at too high of an RPM.
That 6.2 is designed to run at that RPM all day long, so it’s not an RPM issue, and they didn’t change the camshaft so it’s not a lift issue.
The exclusion would be, if the motor had a LOT of miles on it, then it’s possible the springs are weak and that could cause valve float, but then we’d see that on the before chart, which we don’t.
It’s much more likely a tune issue.
Either way, super impressive numbers!
[…] Turbo Install: We Add 200+ HP to a 5th-Gen. Camaro SS with a Turbonetics Turbo […]
[…] Turbo kits are everywhere. The least-expensive kits start with the factory exhaust manifolds feeding twins in the trans tunnel area. From there you will find tubular manifold kits with the turbo’s placed in the front upper corners of the engine bay. Horsepower increases start at 600 whp and goes up from there. Common street kits are capable of 1000+ whp with the right fueling and well-built engine. […]
[…] Turbo kits are everywhere. The least-expensive kits start with the factory exhaust manifolds feeding twins in the trans tunnel area. From there you will find tubular manifold kits with the turbo’s placed in the front upper corners of the engine bay. Horsepower increases start at 600 whp and goes up from there. Common street kits are capable of 1000+ whp with the right fueling and well-built engine. […]
[…] Turbo kits are everywhere. The least-expensive kits start with the factory exhaust manifolds feeding twins in the trans tunnel area. From there you will find tubular manifold kits with the turbo’s placed in the front upper corners of the engine bay. Horsepower increases start at 600 whp and goes up from there. Common street kits are capable of 1000+ whp with the right fueling and well-built engine. […]
[…] Turbo kits are everywhere. The least-expensive kits start with the factory exhaust manifolds feeding twins in the trans tunnel area. From there you will find tubular manifold kits with the turbo’s placed in the front upper corners of the engine bay. Horsepower increases start at 600 whp and goes up from there. Common street kits are capable of 1000+ whp with the right fueling and well-built engine. […]
Want info on installation in California
How much to put a turbo on a 2012 camero to get the figures you are talking about
[…] Turbo kits are everywhere. The least-expensive kits start with the factory exhaust manifolds feeding twins in the trans tunnel area. From there you will find tubular manifold kits with the turbo’s placed in the front upper corners of the engine bay. Horsepower increases start at 600 whp and goes up from there. Common street kits are capable of 1000+ whp with the right fueling and well-built engine. […]
How much is the kit for a 2011 camaro ss
Hey Doug, click here for current prices on the Turbonetics Turbo Kits.
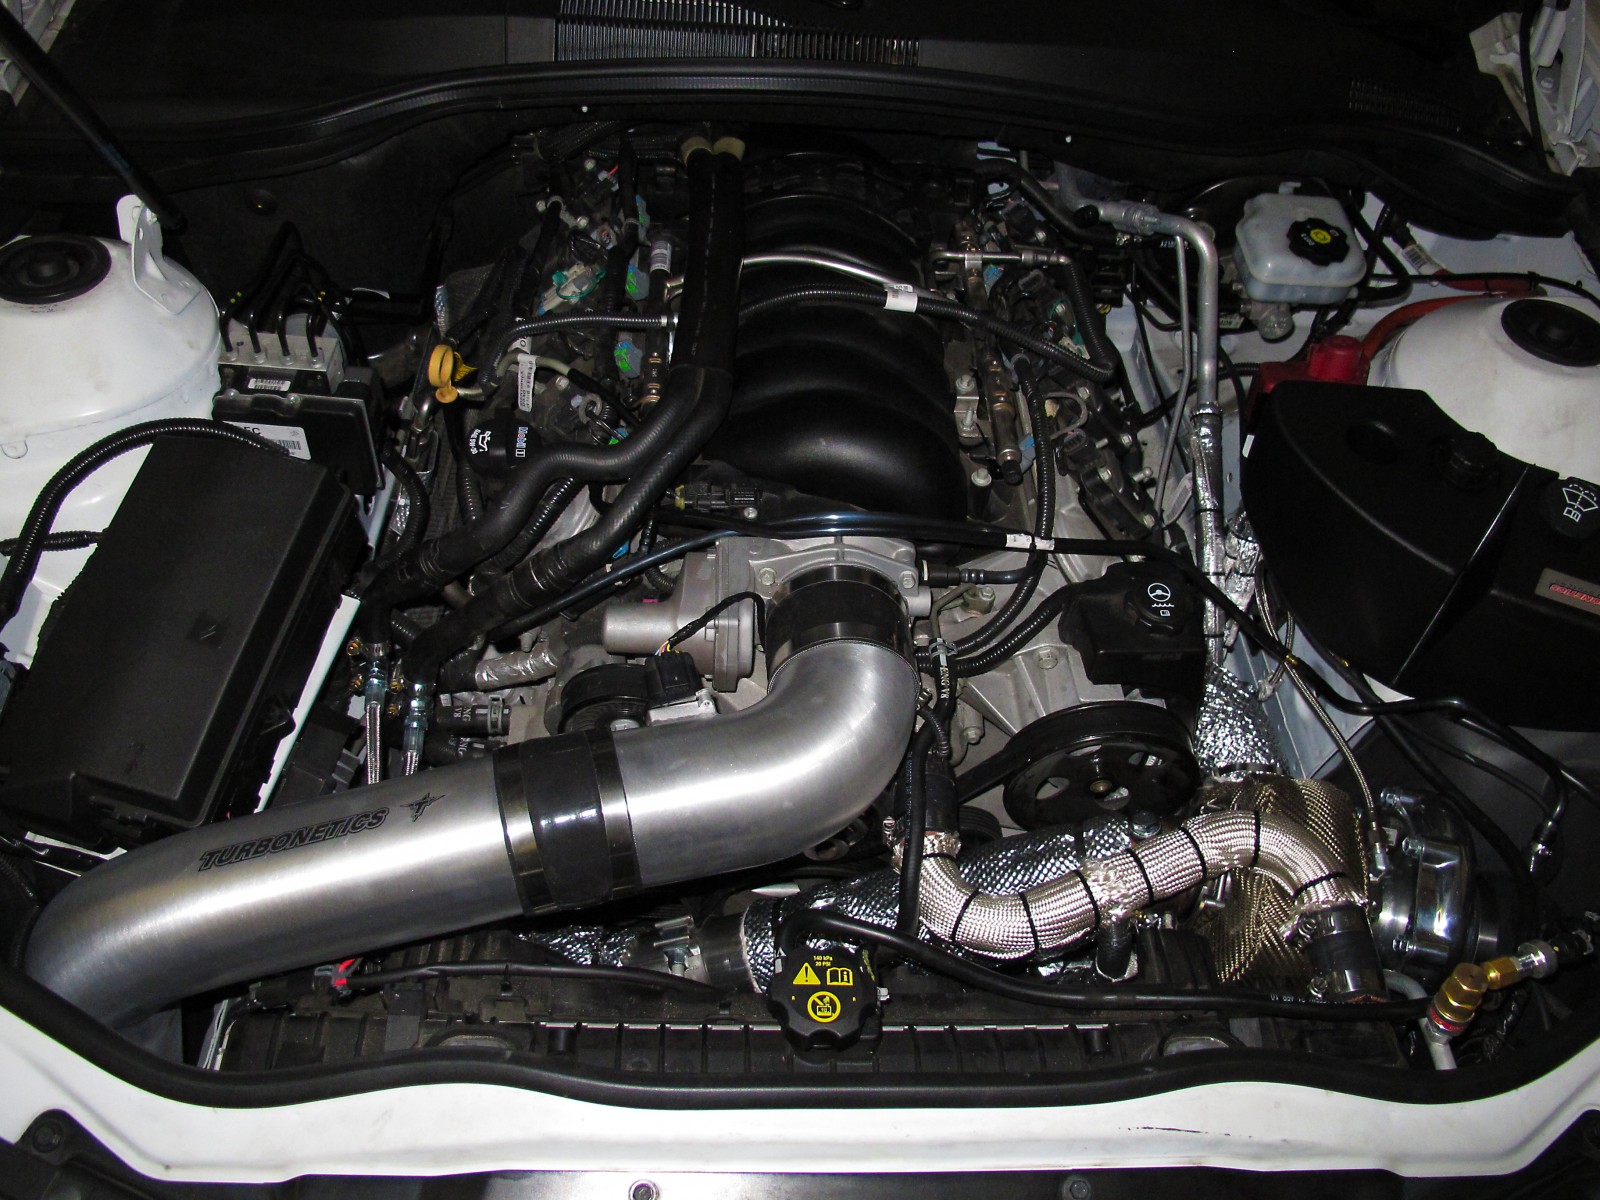
[…] lot of guesswork. This is the engine bay of a 5th-gen Camaro with an aftermarket Turbonetics turbo. Get details on the turbo install here. (Image/Patrick […]