Story Overview
- Learn the basics of automotive wiring harness repairs
- Remove circuits you don’t need to unclutter the wiring harness
- See some of the basic tools and supplies needed for wiring harness repair
- Learn how to rewrap a wiring harness and protect wire terminals
There are two basic approaches to deal with a failing OEM wiring harness assembly: Fix it or replace it. You might be able to salvage some of the original harness assemblies and replace some of the others. It all depends upon the overall condition of the harness, especially if some ham-handed ‘electrician’ has done their thing on it.
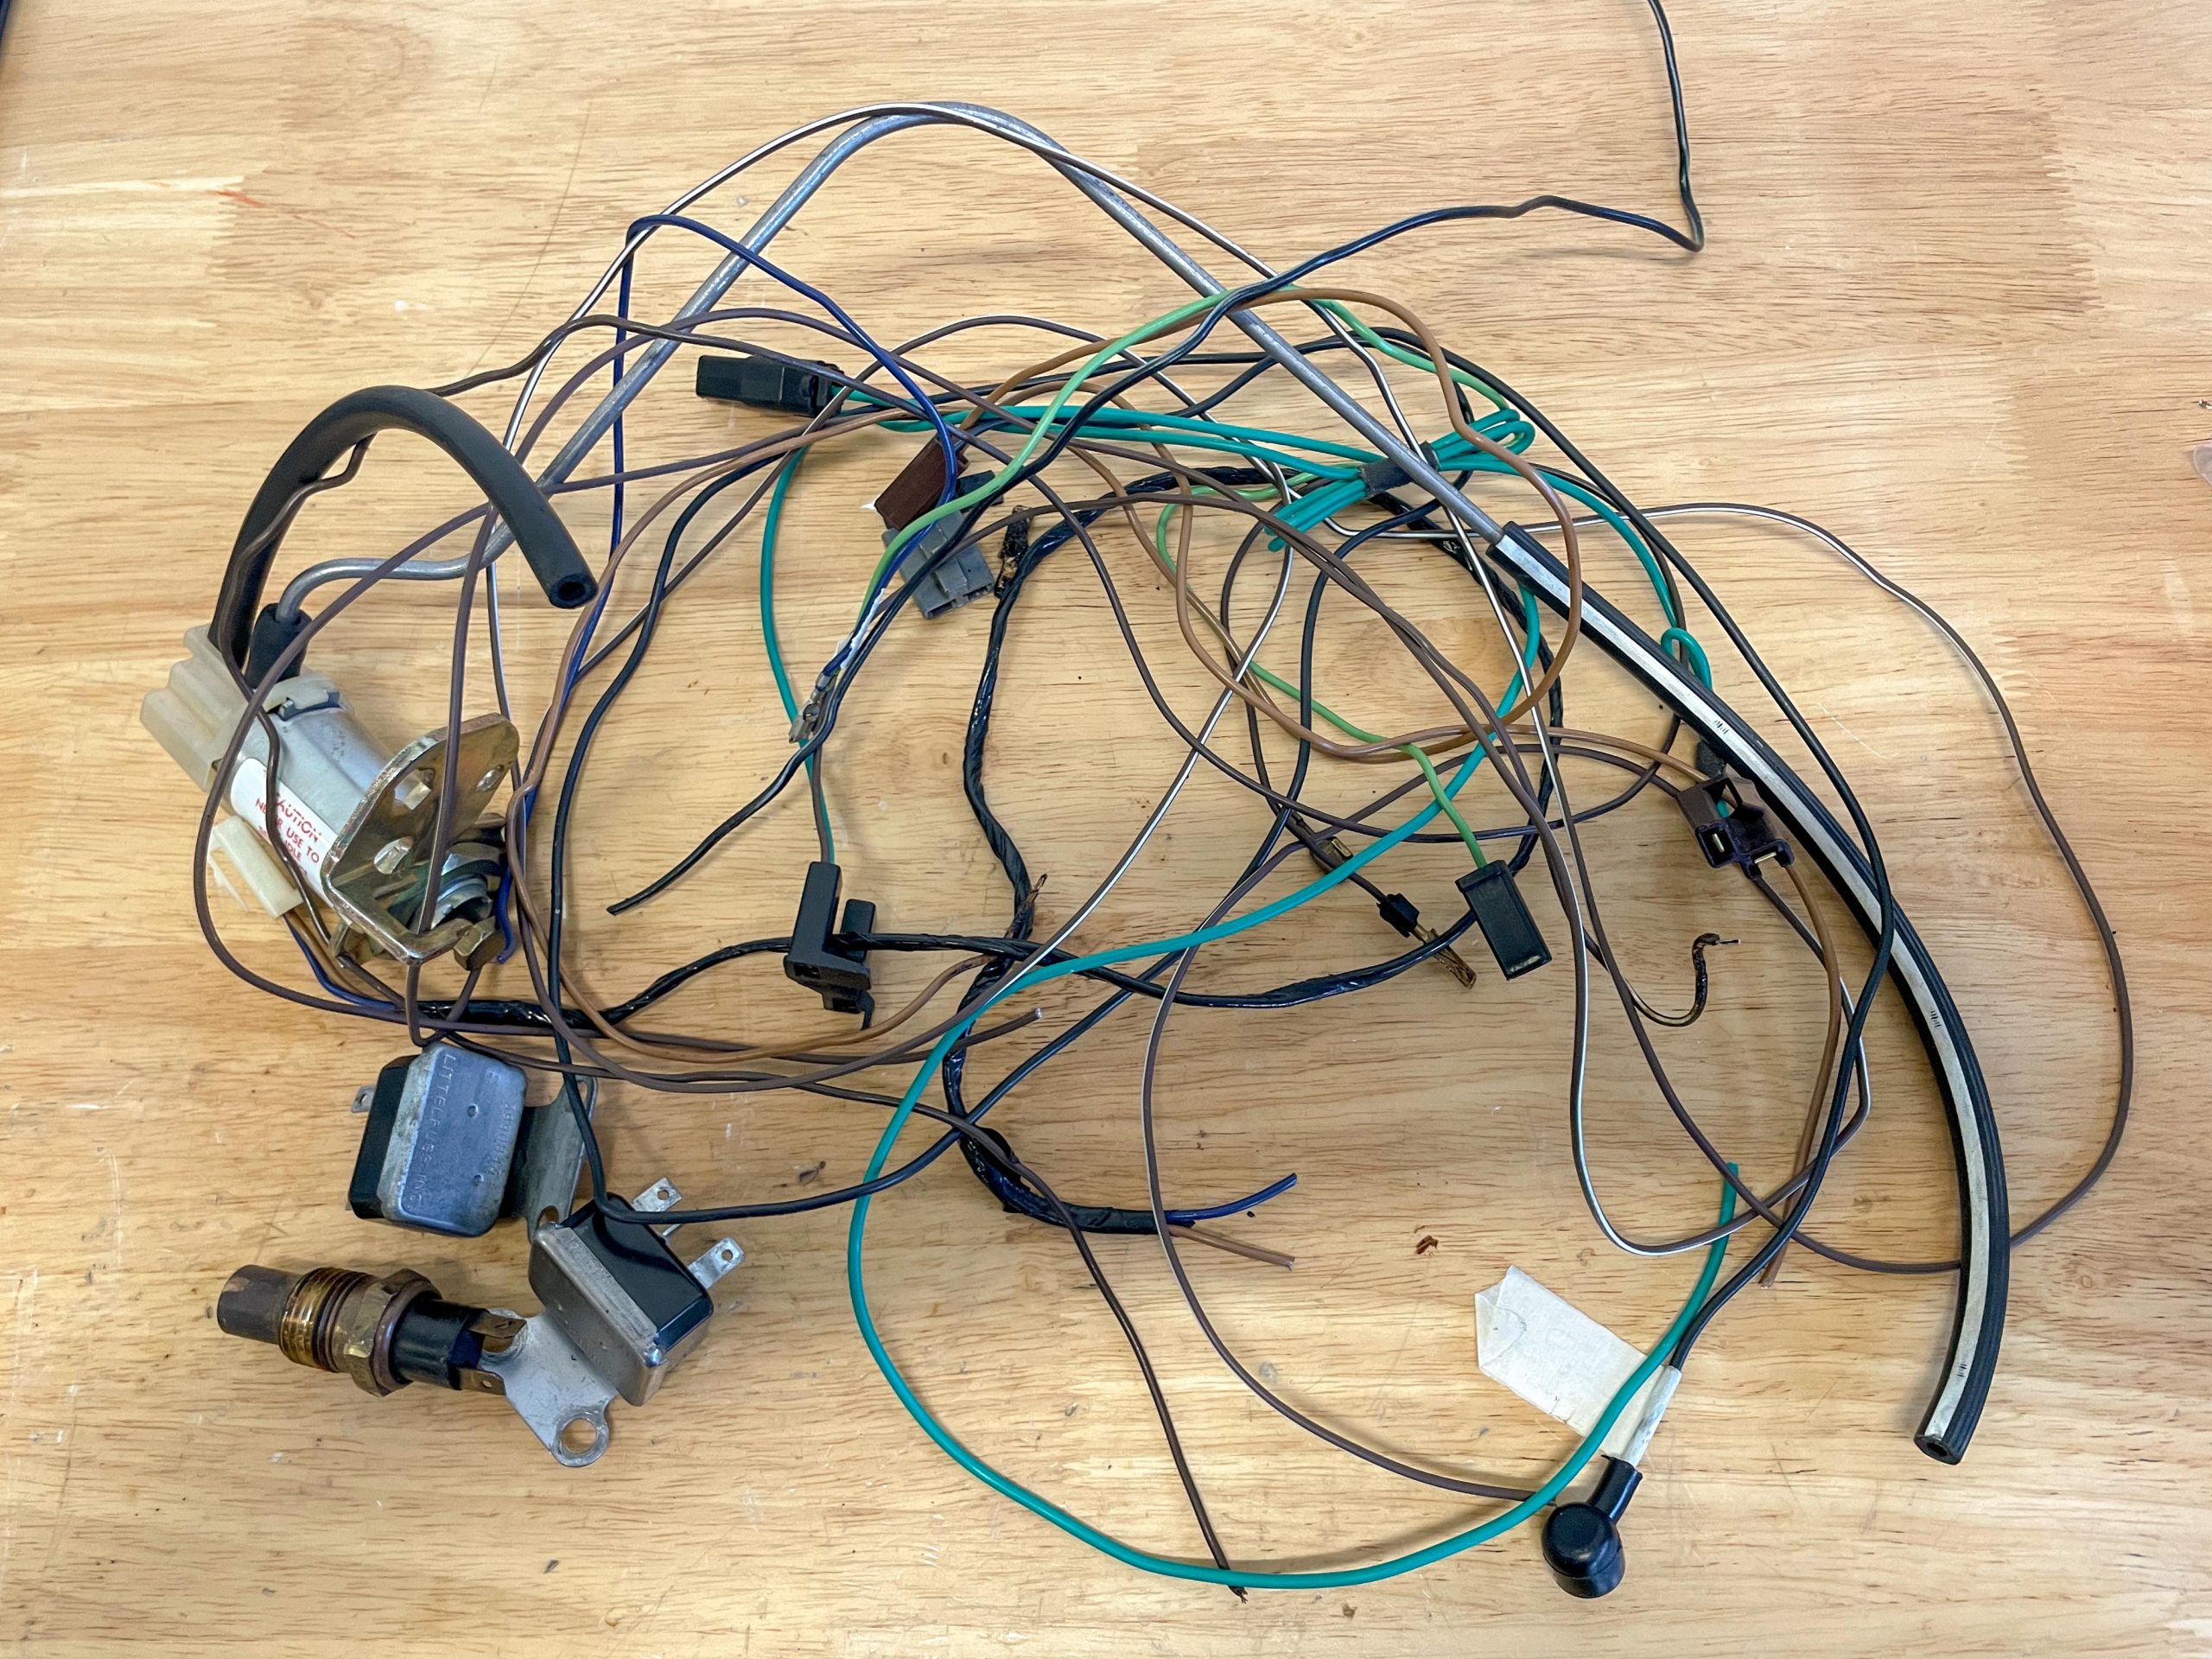
Another tactic is modifying a wiring harness to remove circuits you don’t need. This is common with engine swaps. It allows you to eliminate a lot of bulky wiring, remove stray unconnected wires, and clean up the engine compartment. Removing an unneeded circuit can’t cause you any grief.
Learn more about right-sizing a wiring harness in The Simple Wiring Life article!
I’m going to cover some basics of harness repair and circuit removal using my 1971 Corvette as the guinea pig. Wish me luck.
Where to Start
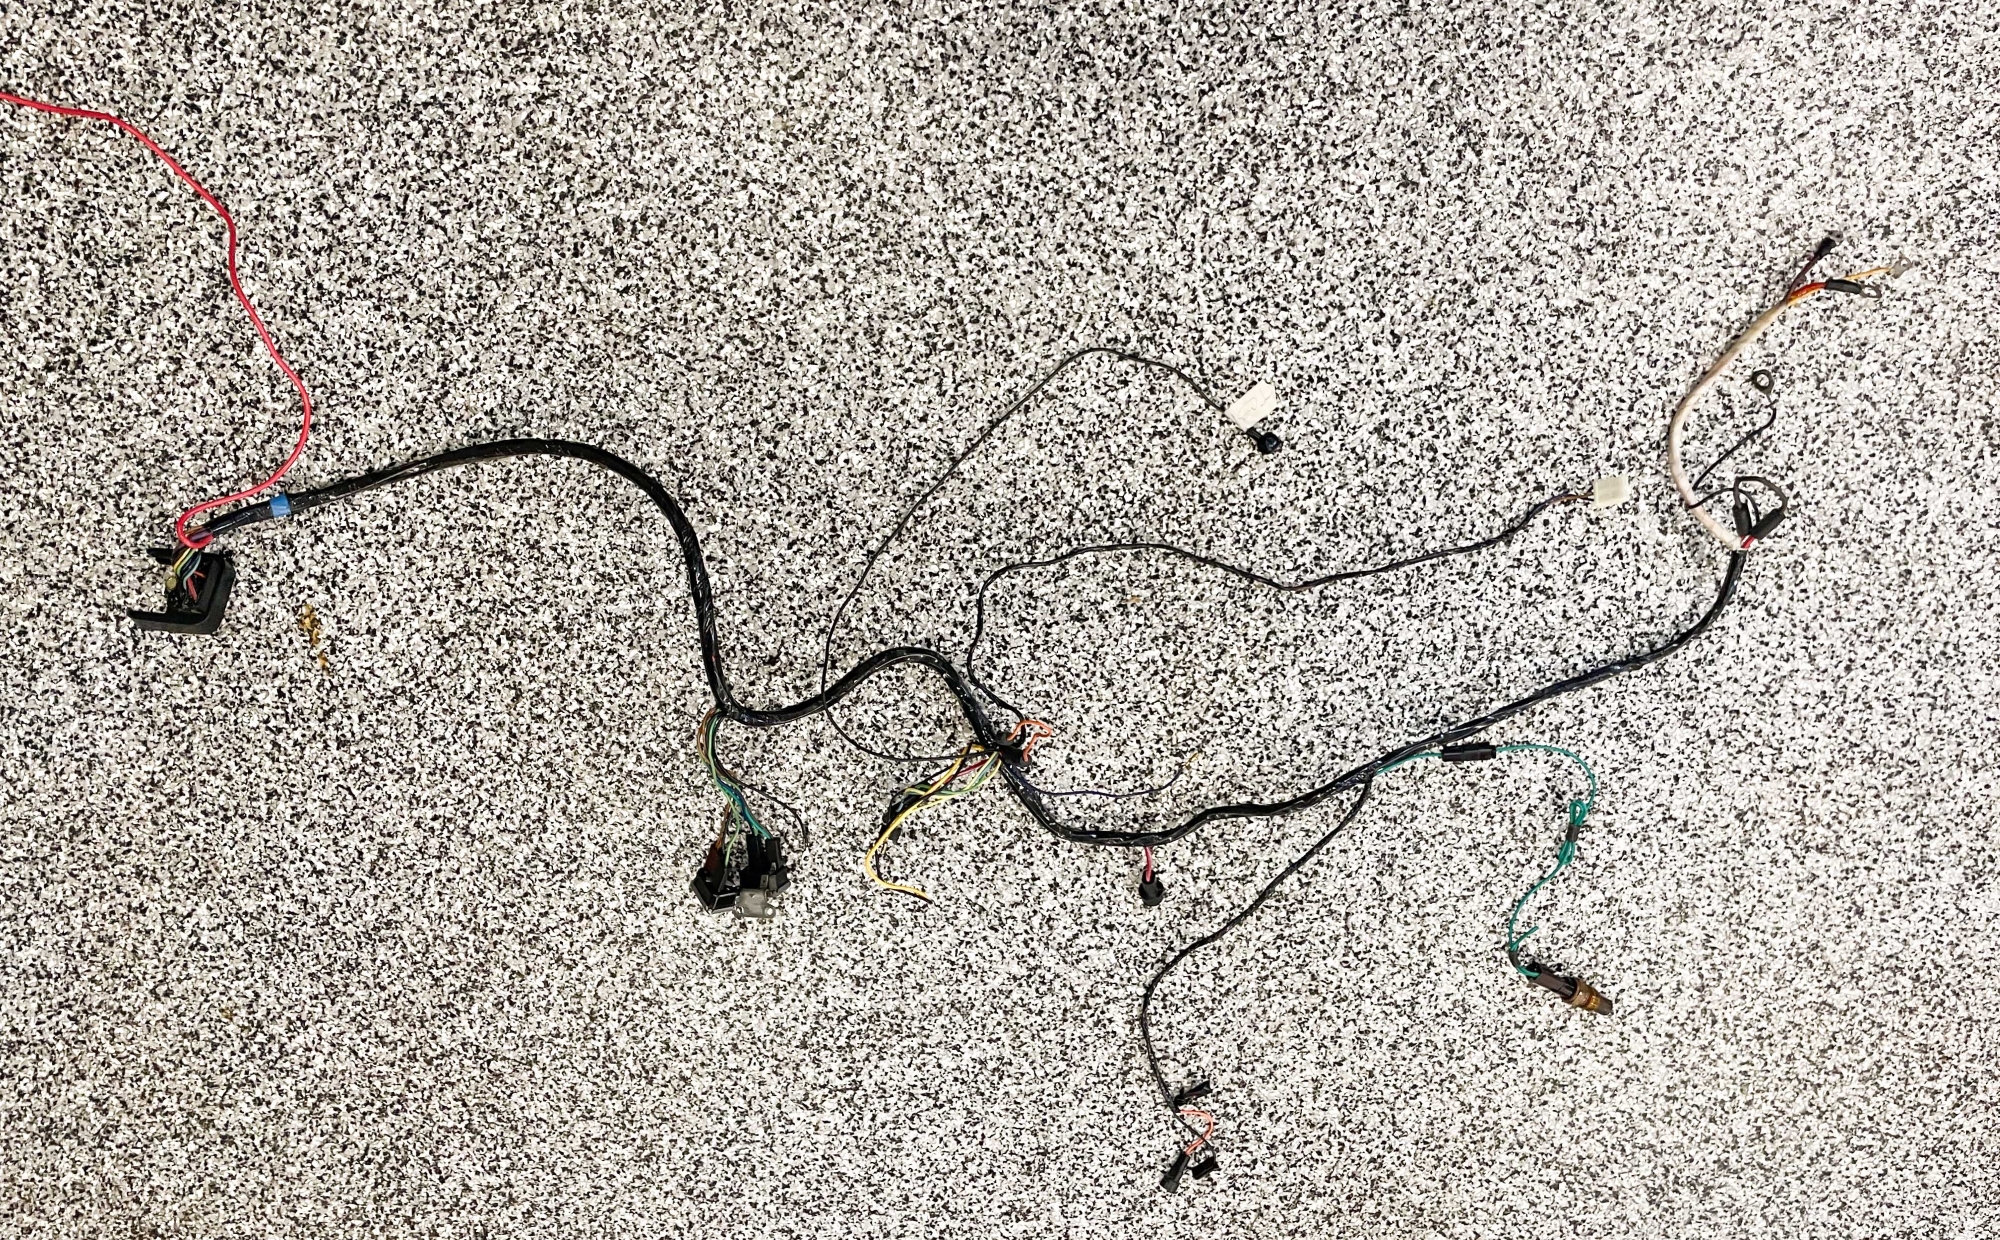
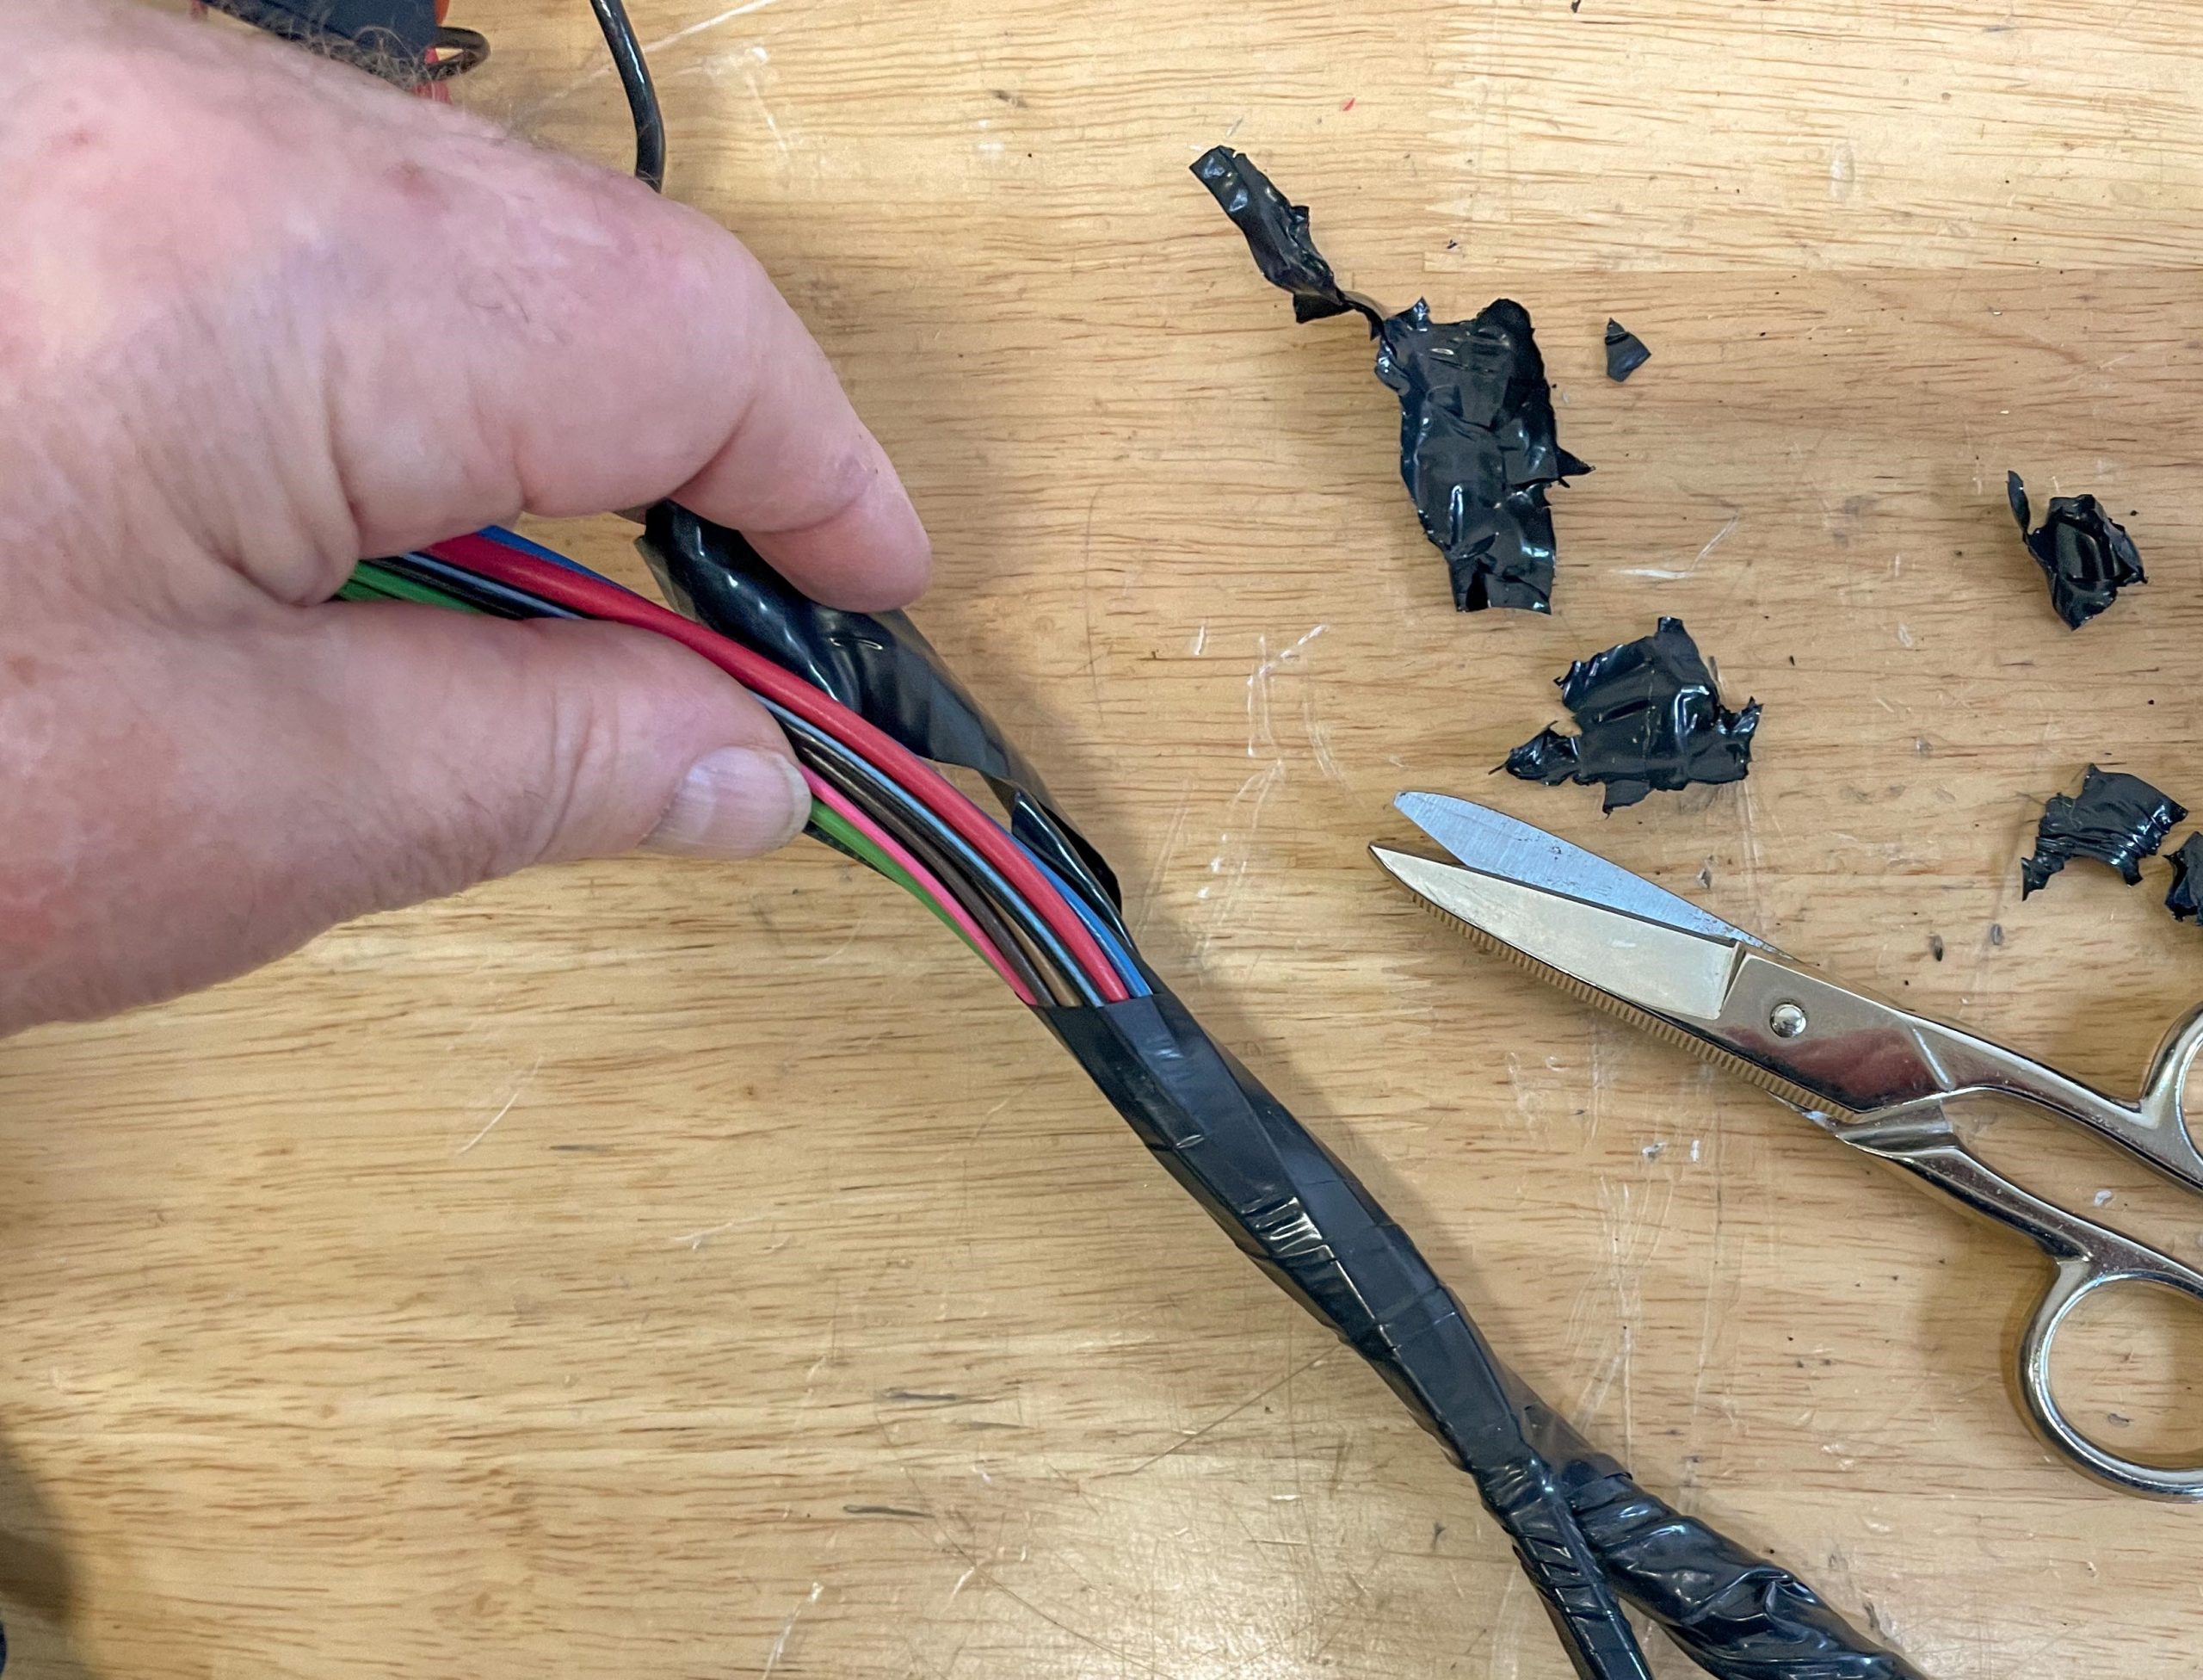
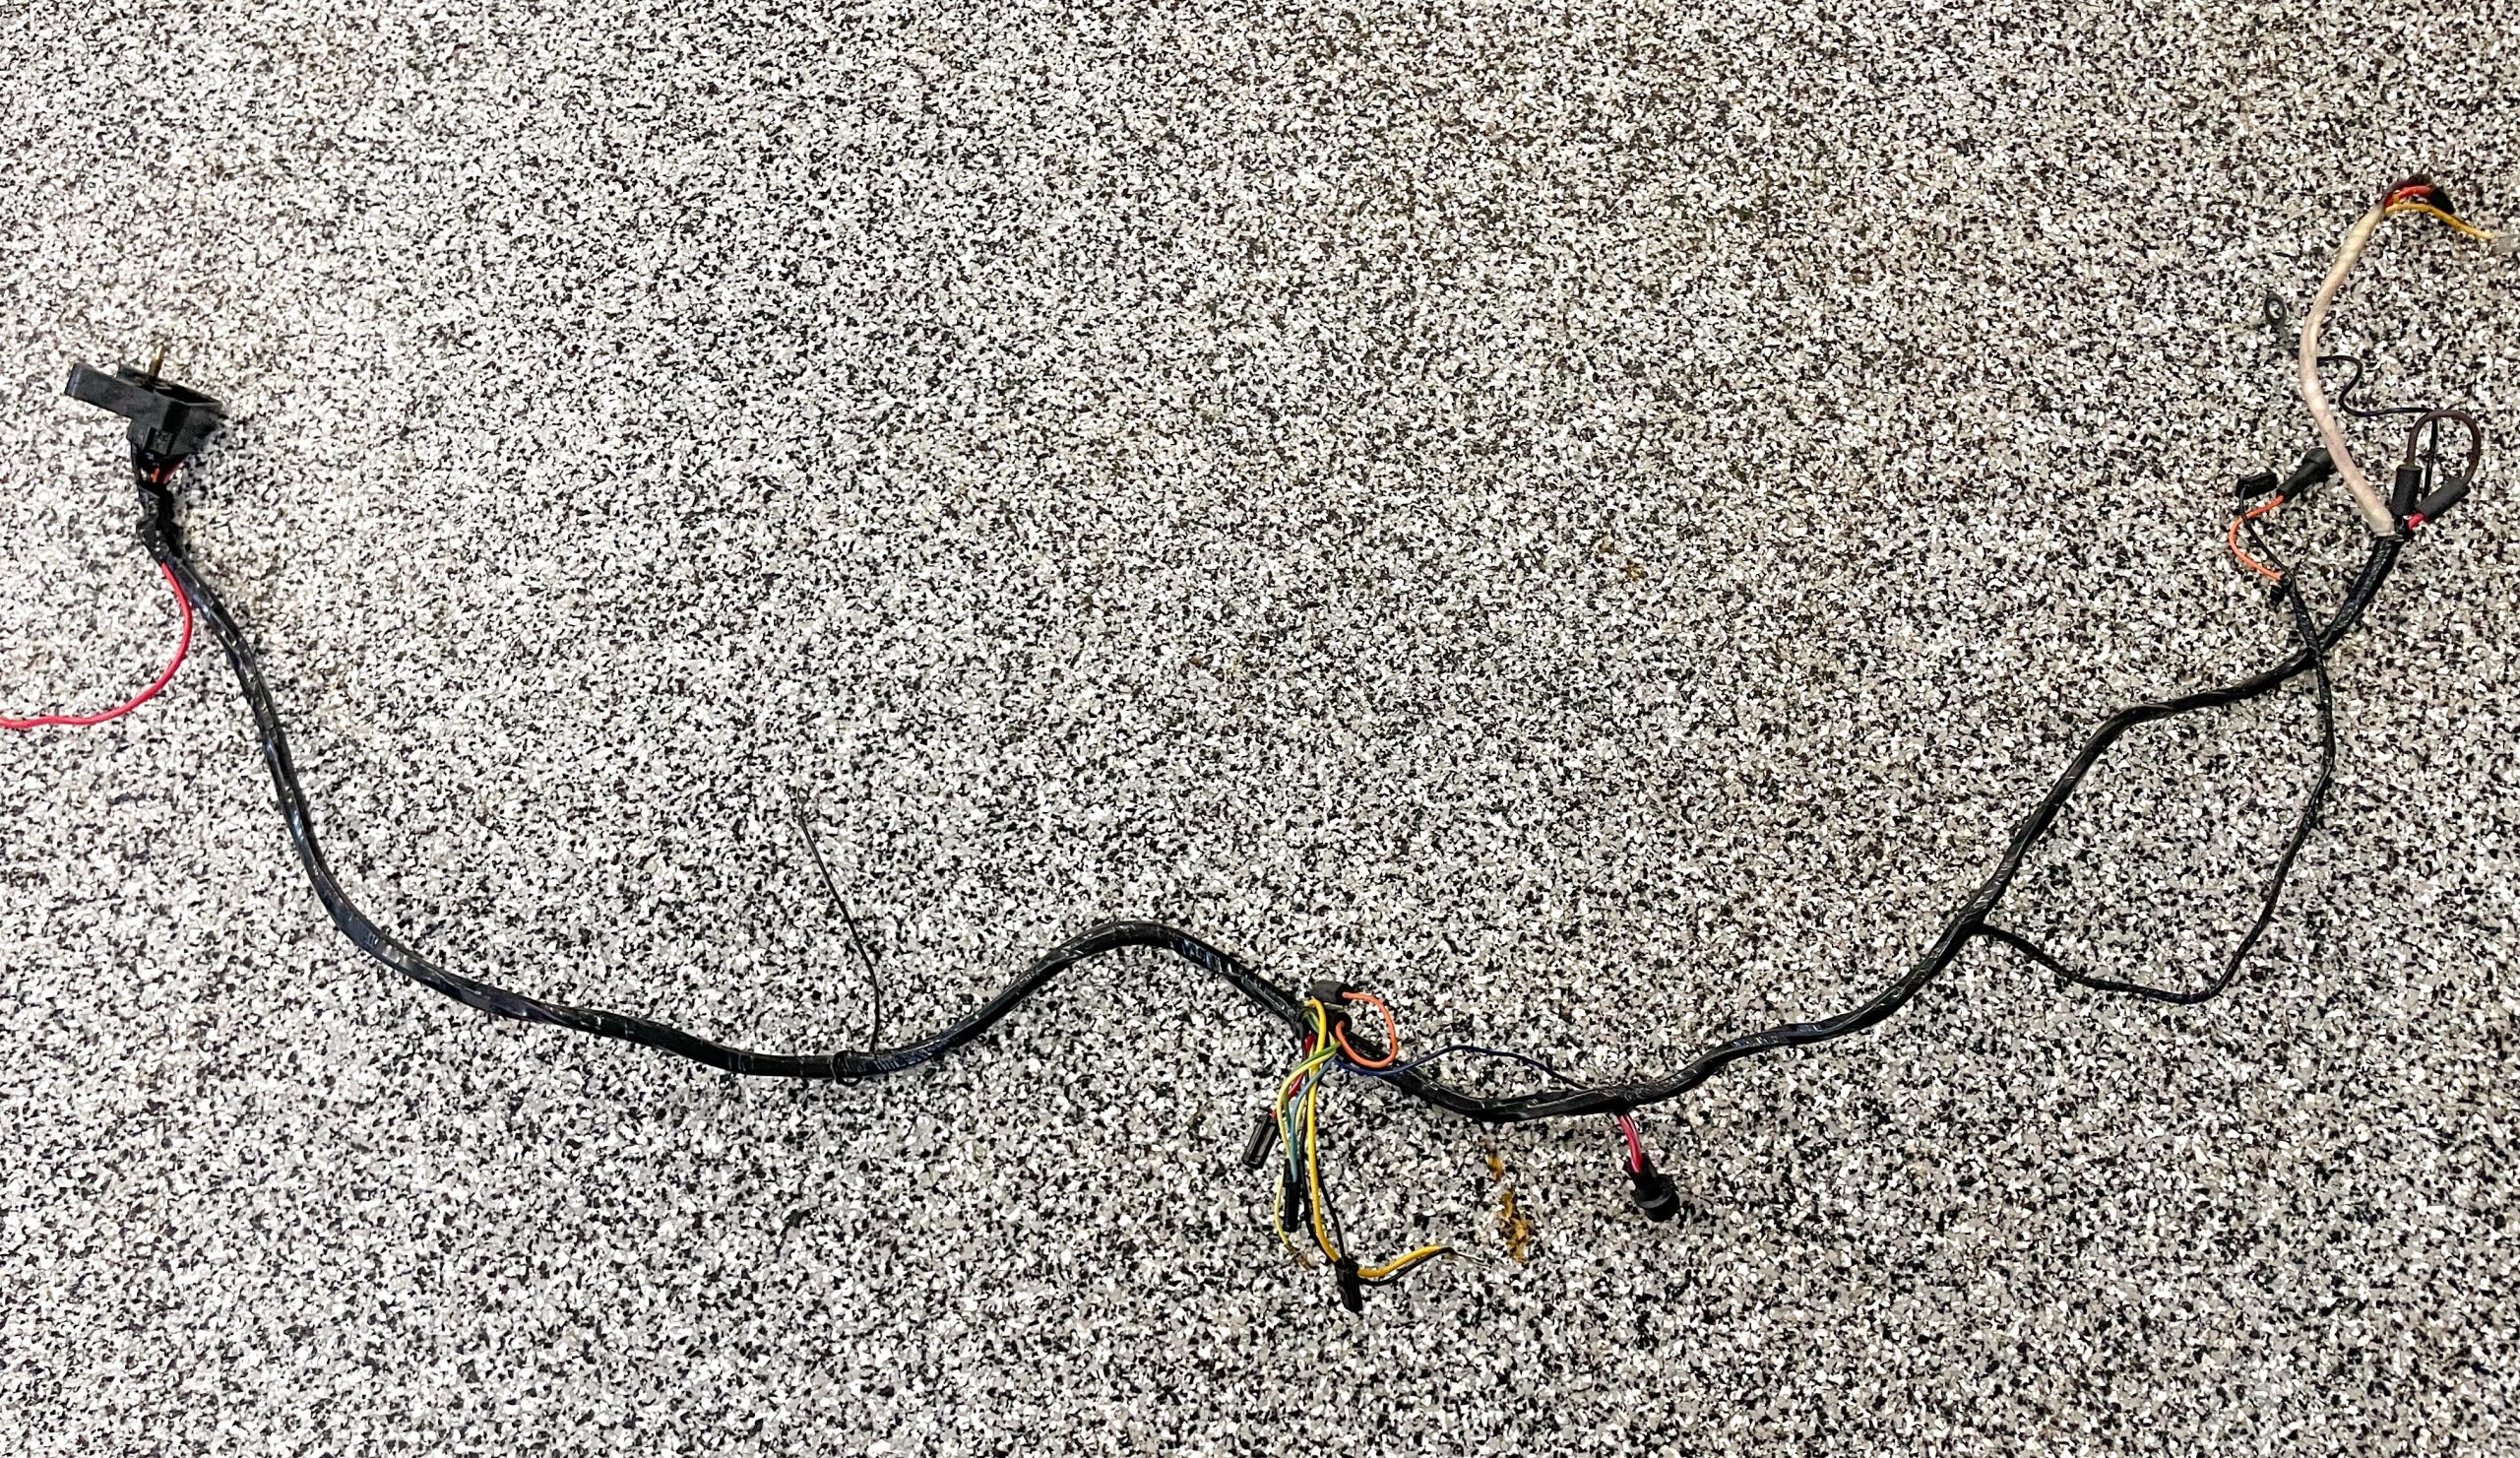
The first thing to do is lay out the wiring harness on your shop floor and photograph it. This will give you visual references for the harness layout. They will be especially helpful when it comes time to rewrap it.
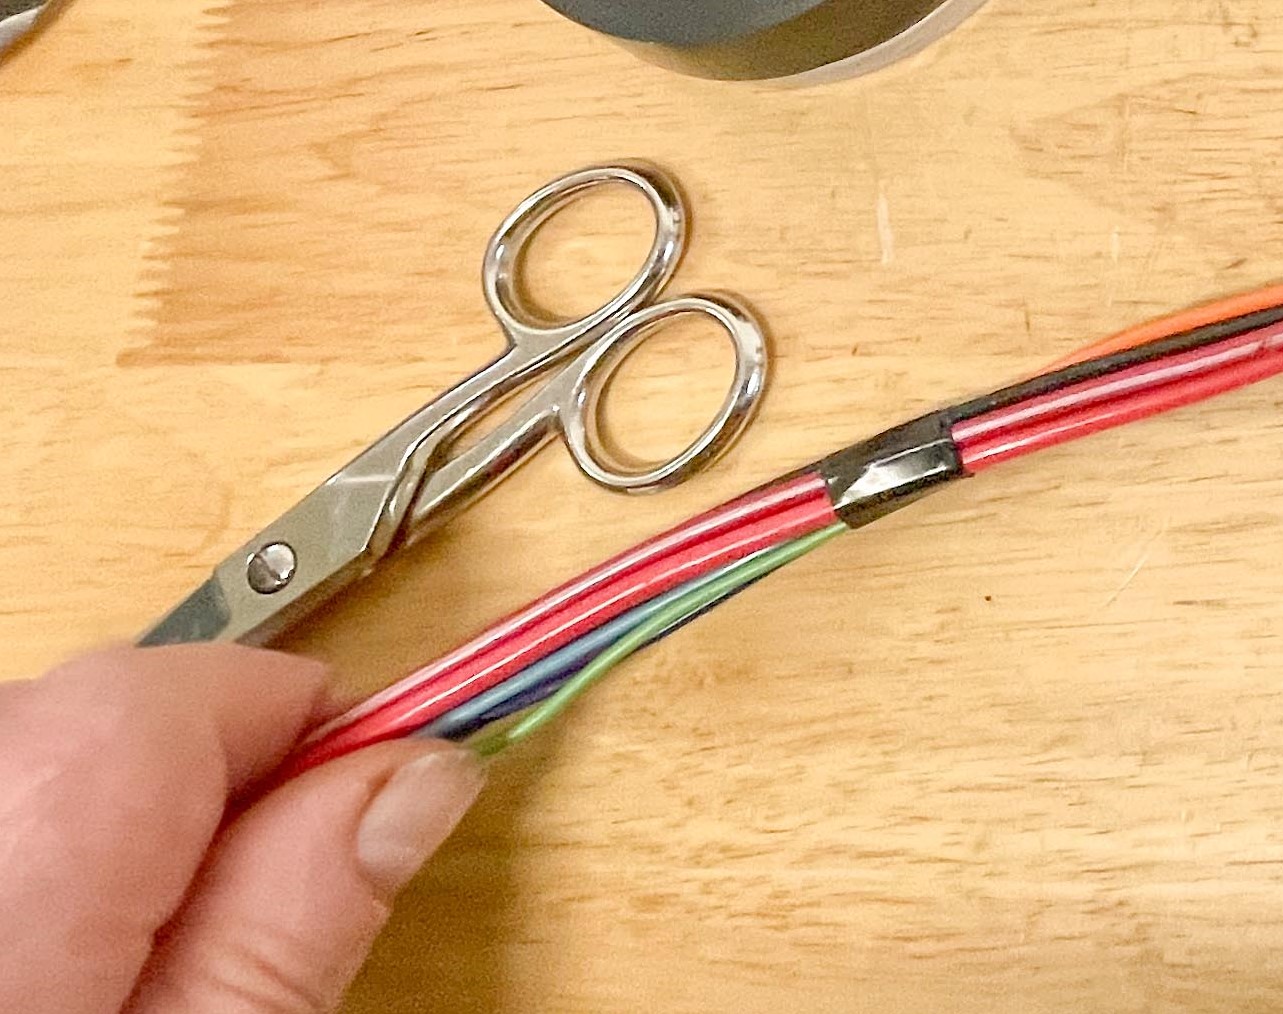
Once you have your photos, you can unwrap the harness. A good pair of scissors is essential for cutting the end of the wrap; I use Klein Tools electrician’s scissors. Once cut, you can simply unravel the harness.
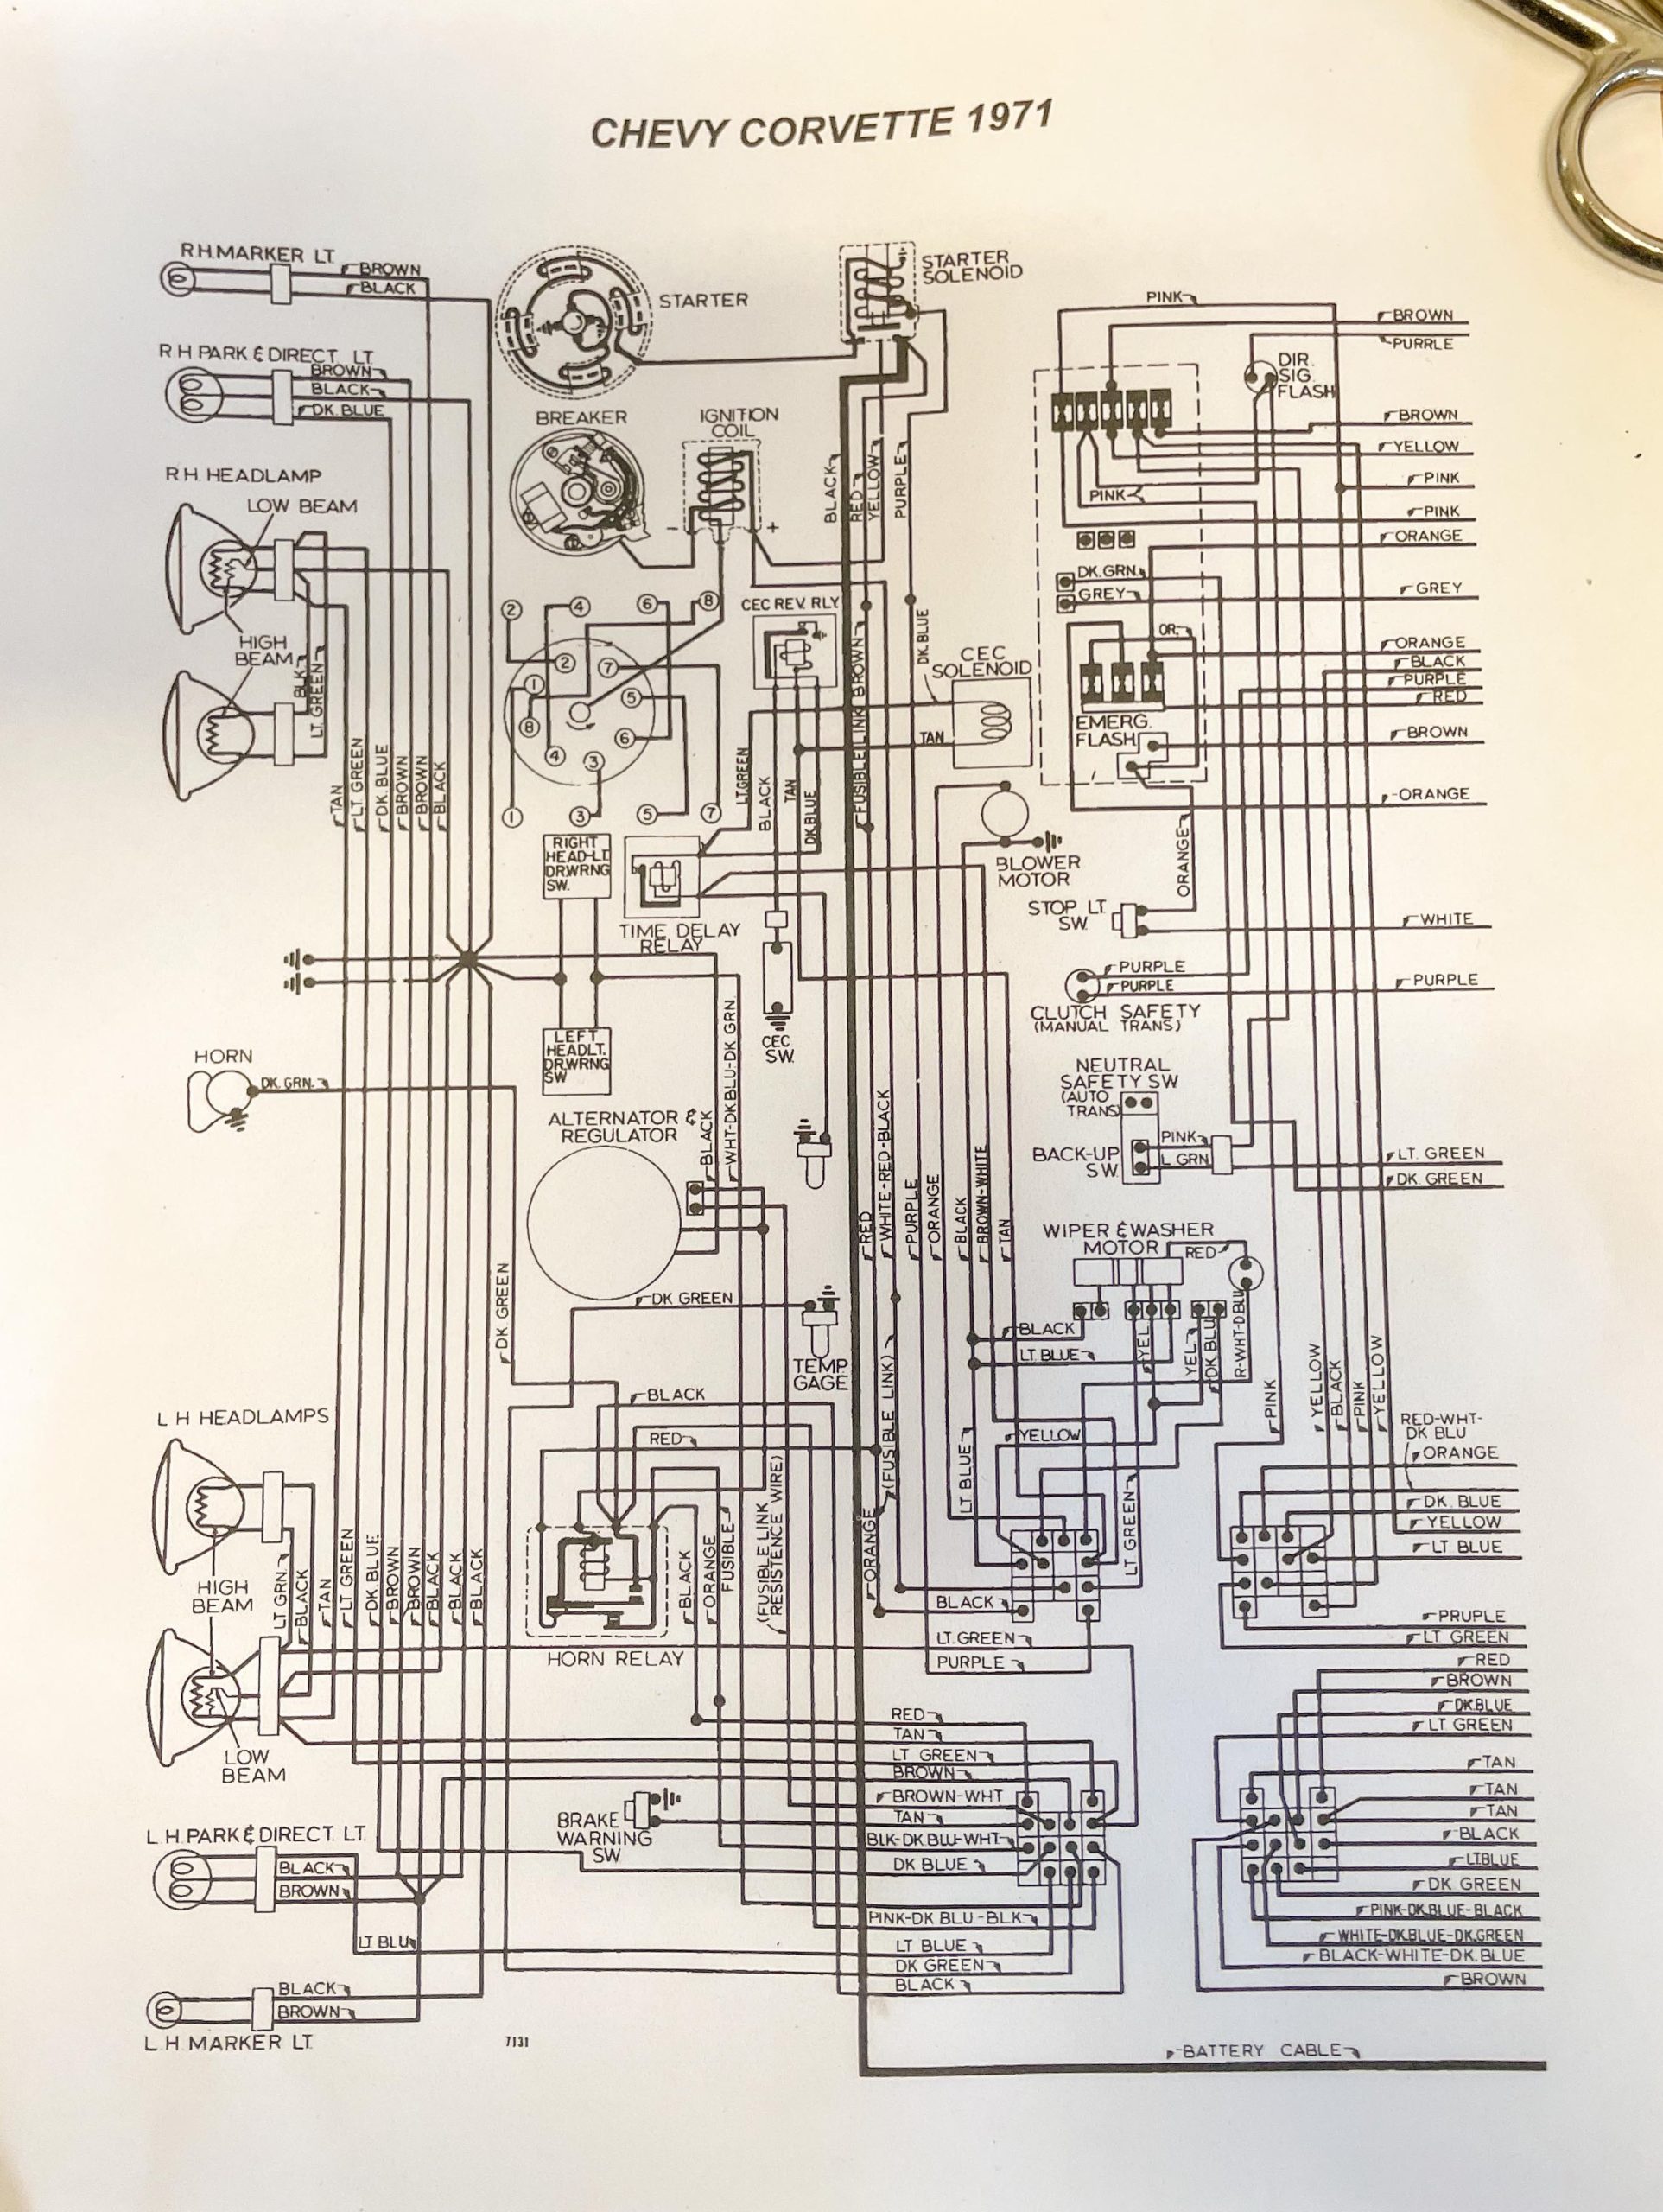
If you’re removing a circuit or two, start the unravelling job at the firewall connector if the car has one. Trace the wire or circuit you’re removing. It’s a good idea to confirm you have the correct wires by referring to a factory wiring diagram. You can often download these from the Internet. An OEM service manual will also include wiring diagrams.
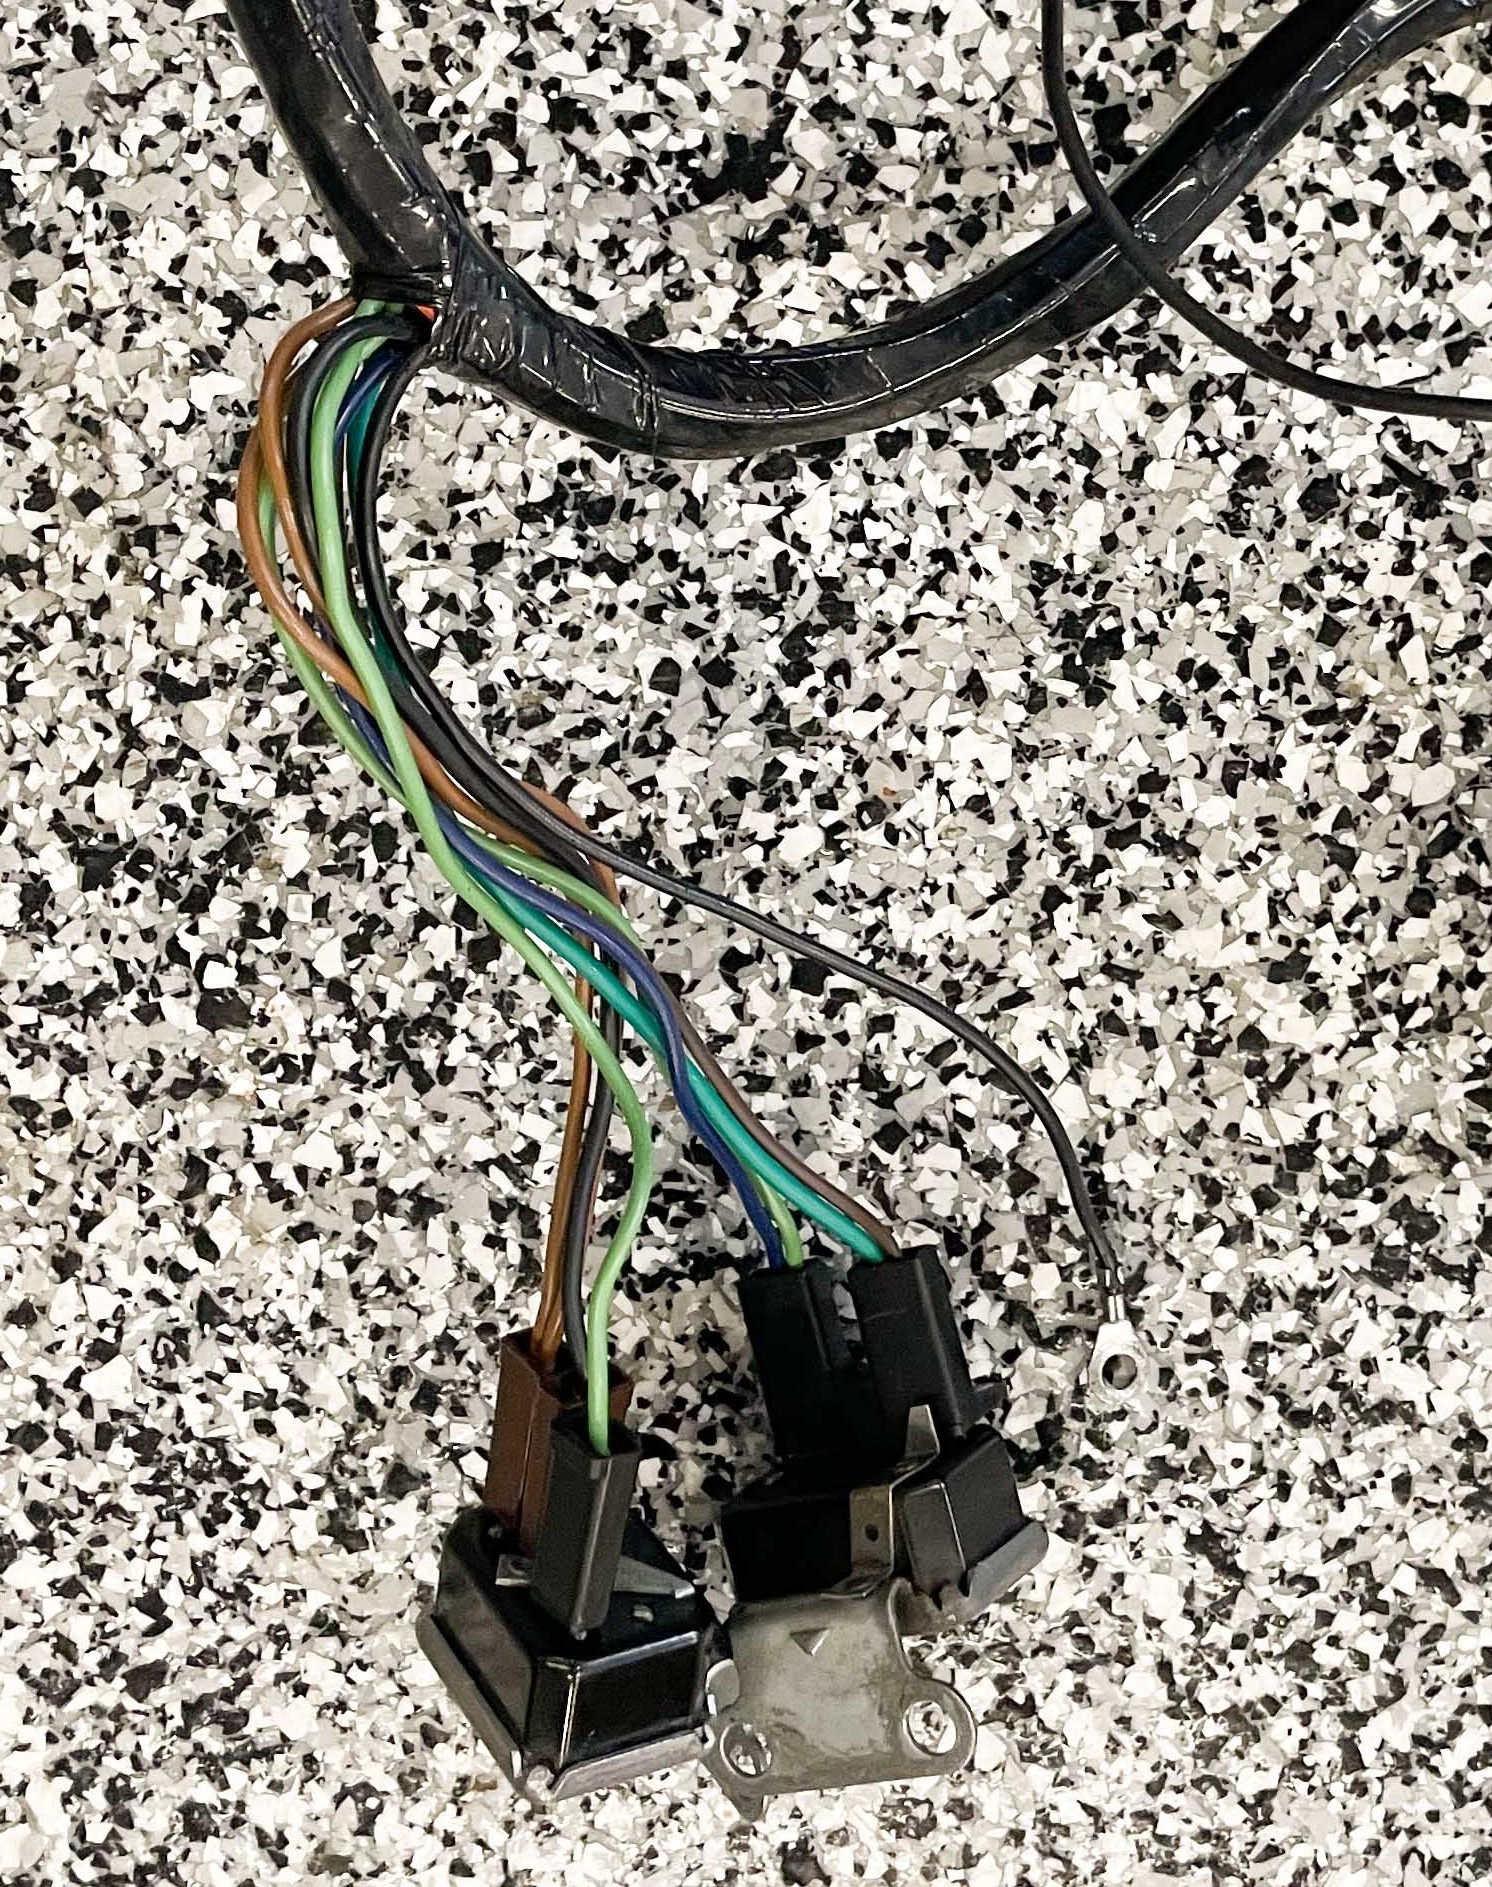
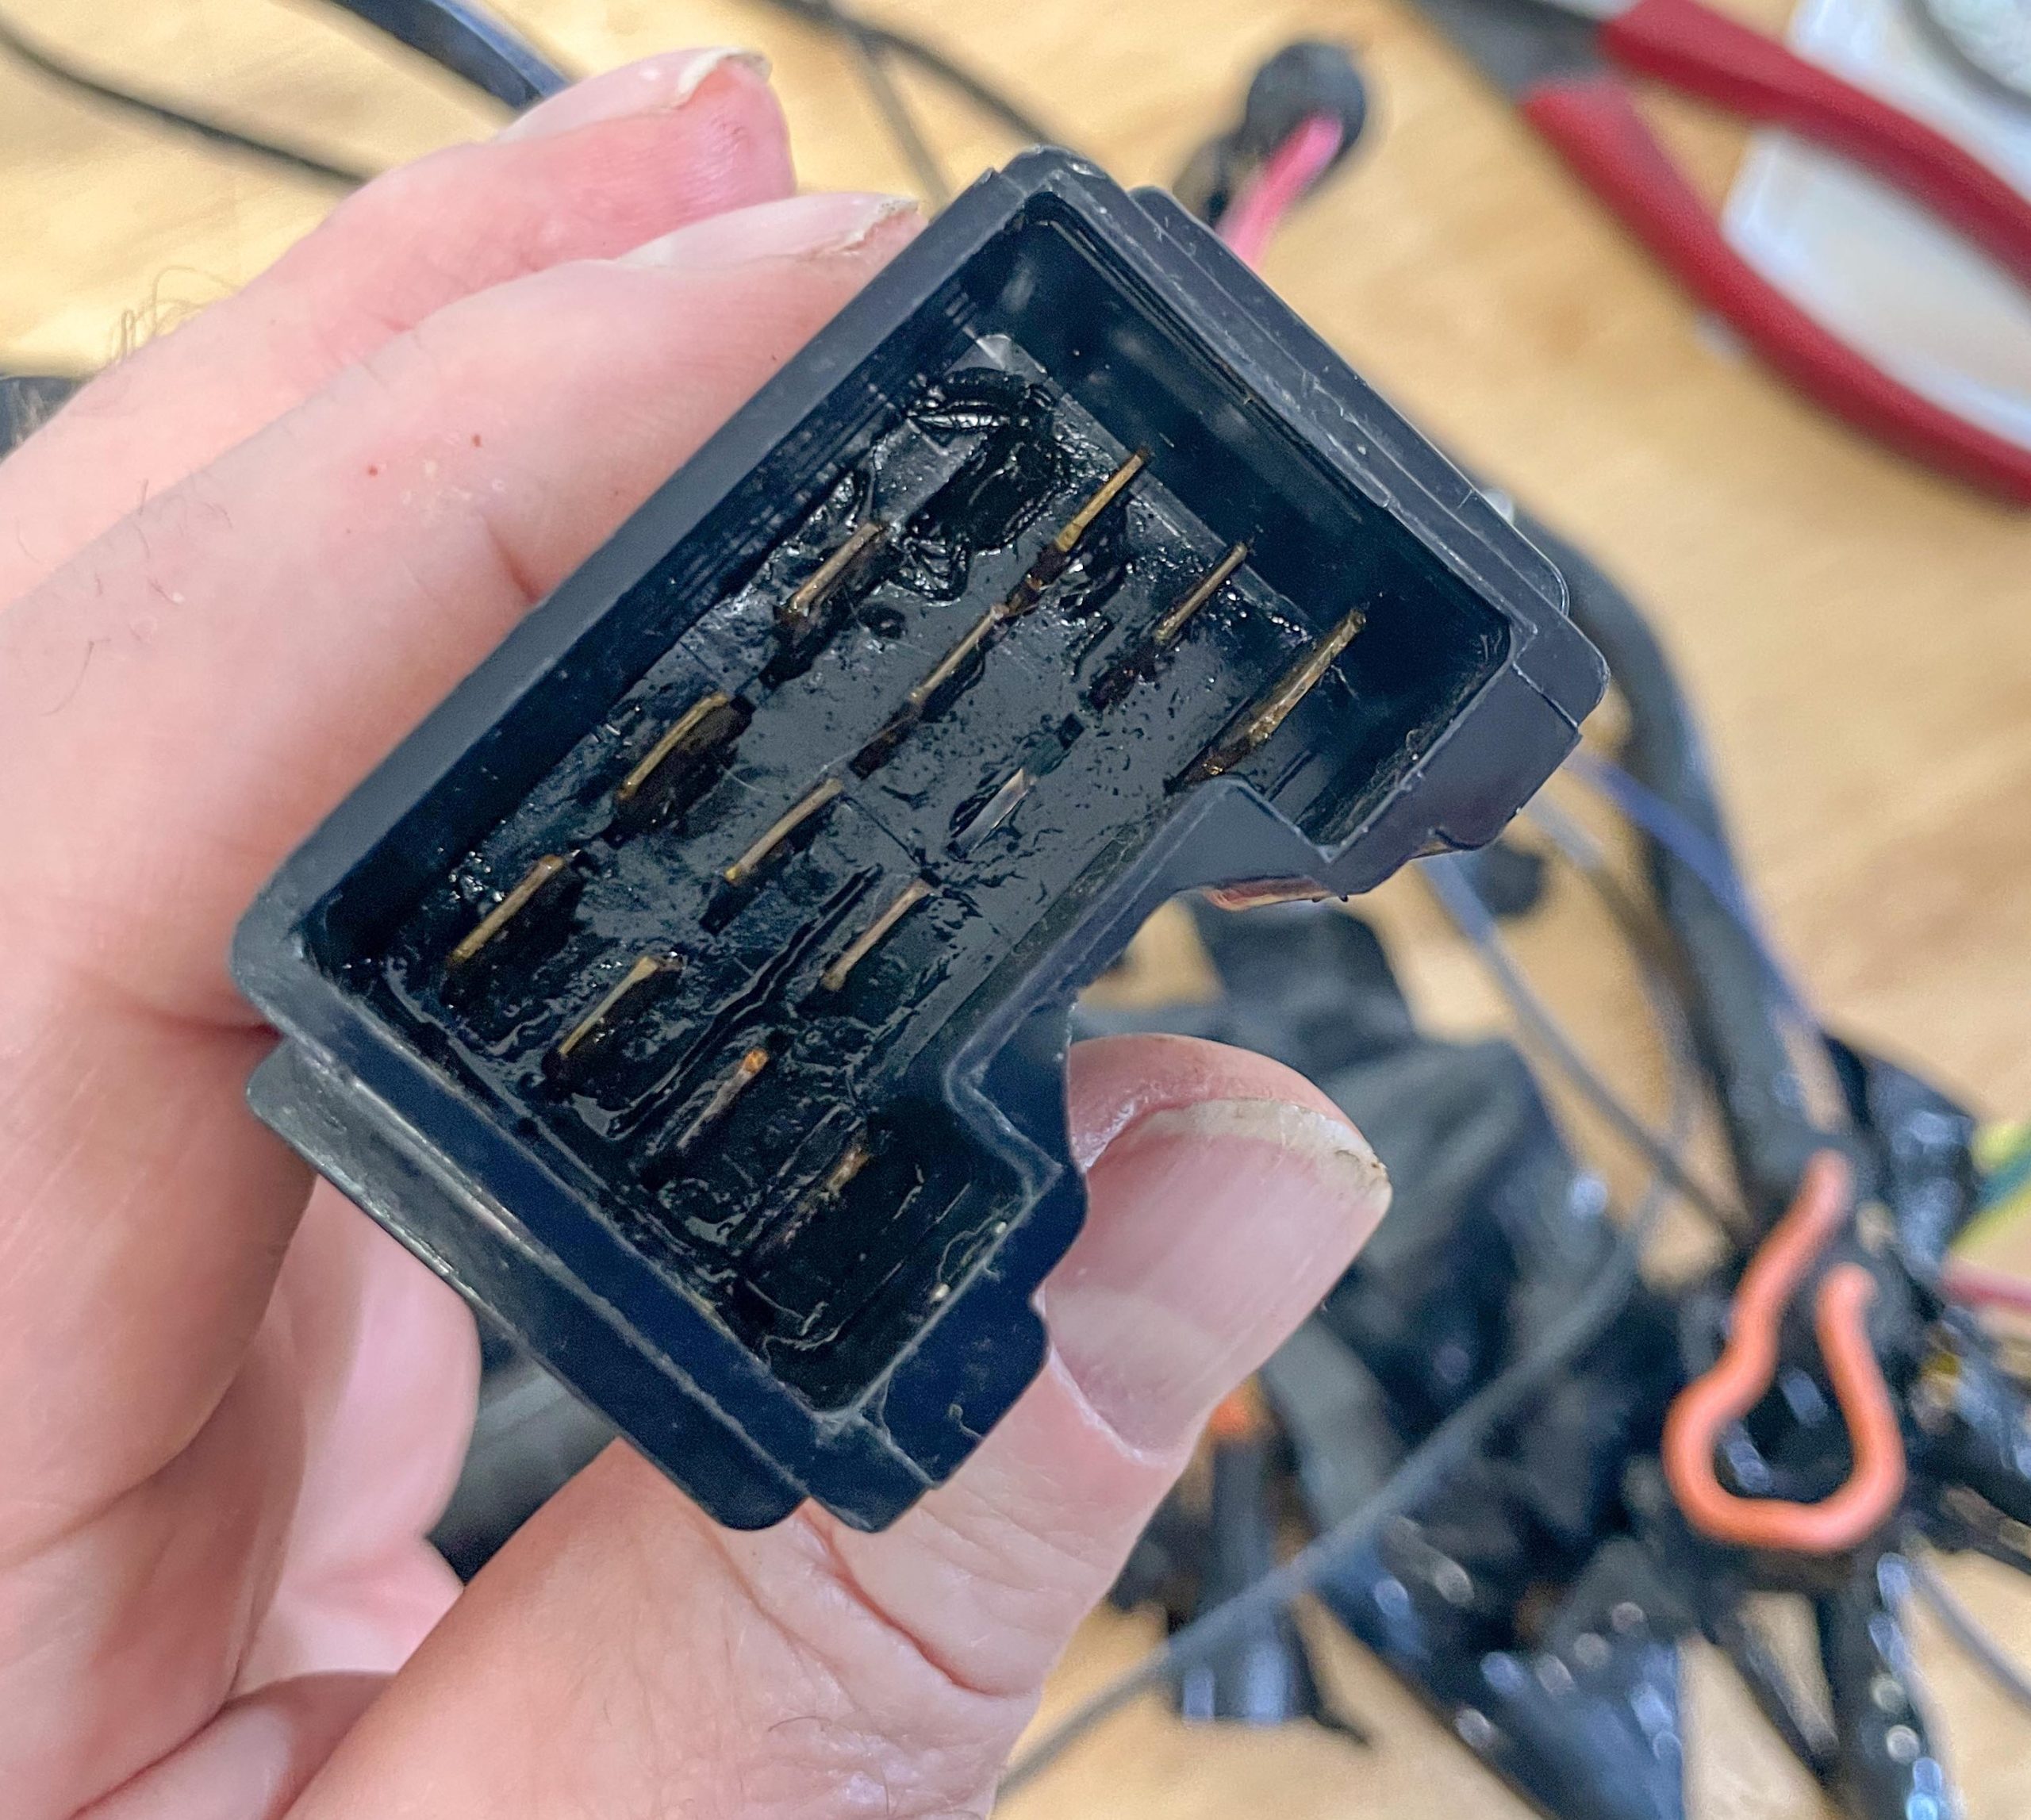
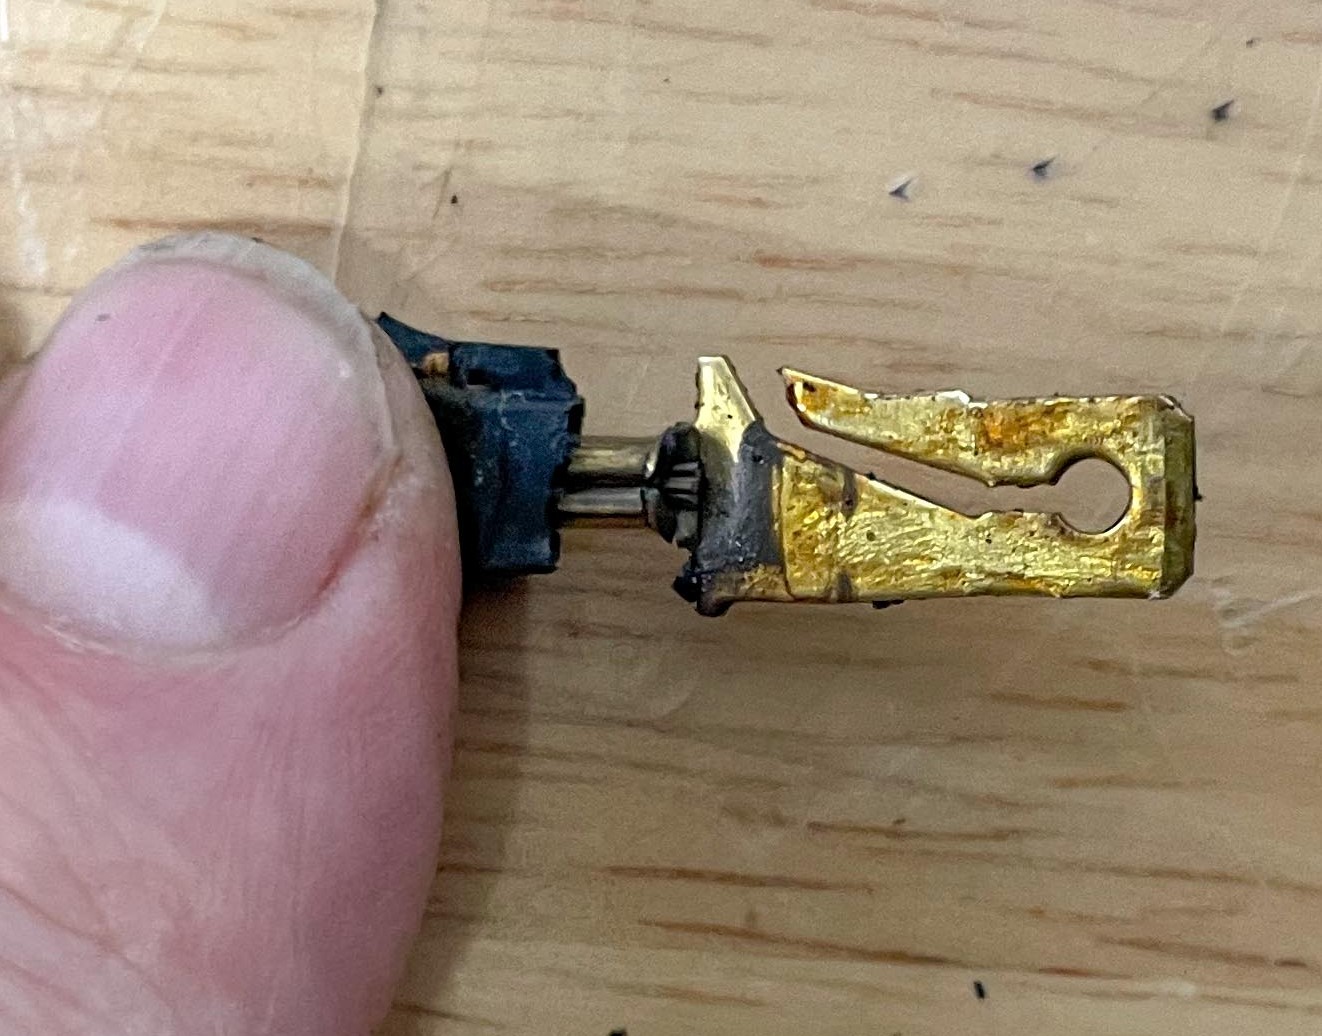
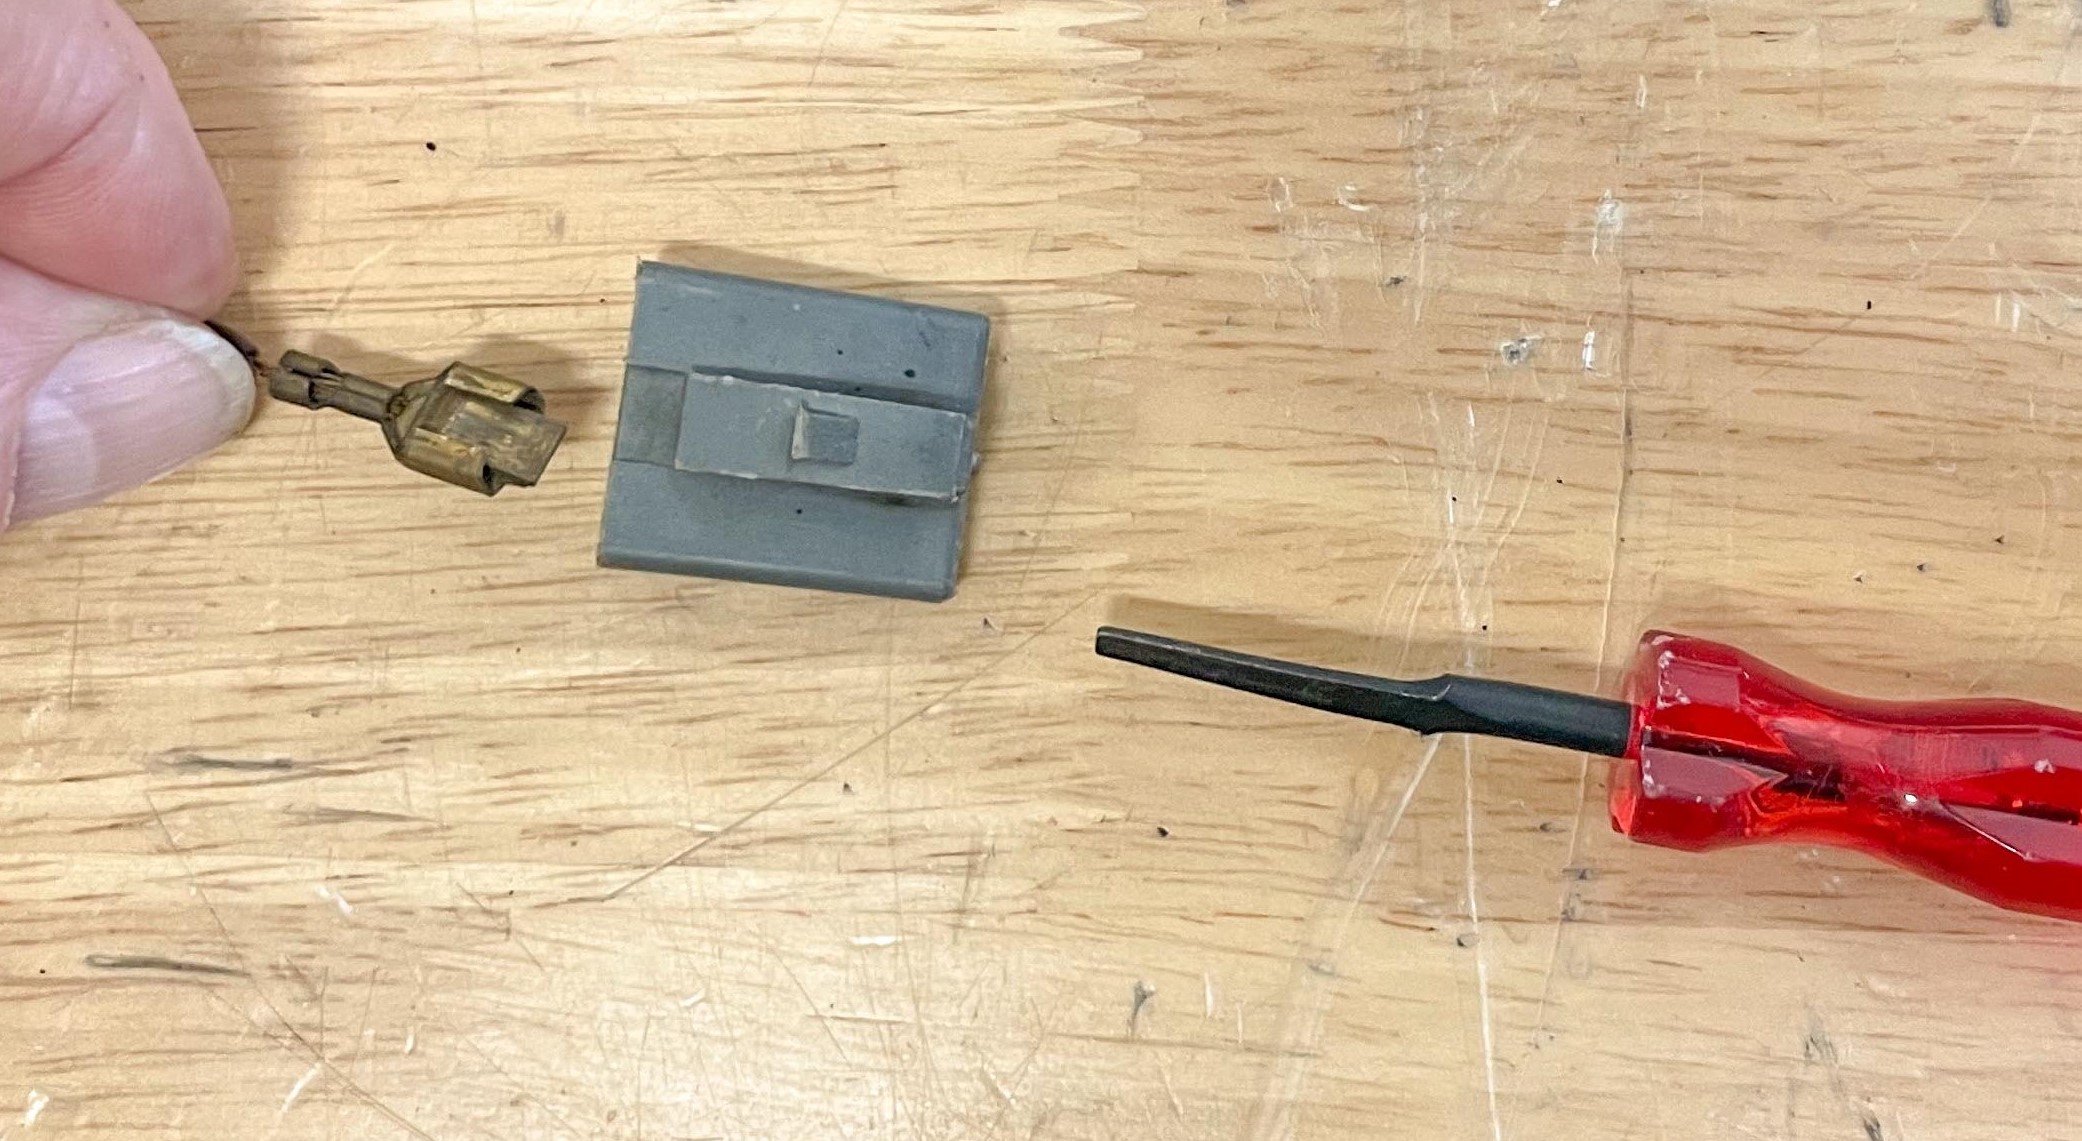
Next, follow the wires back to the firewall connector. In a GM application the wire terminal can be released from the connector as follows:
- Push the terminal forward into the firewall connector. This will move the terminal slightly
- Close the tab on the terminal with a pair of needle nose pliers and pull back on the wire
- If you’ve closed the tab sufficiently, you’ll be able to remove the wire and terminal from the back side of the connector
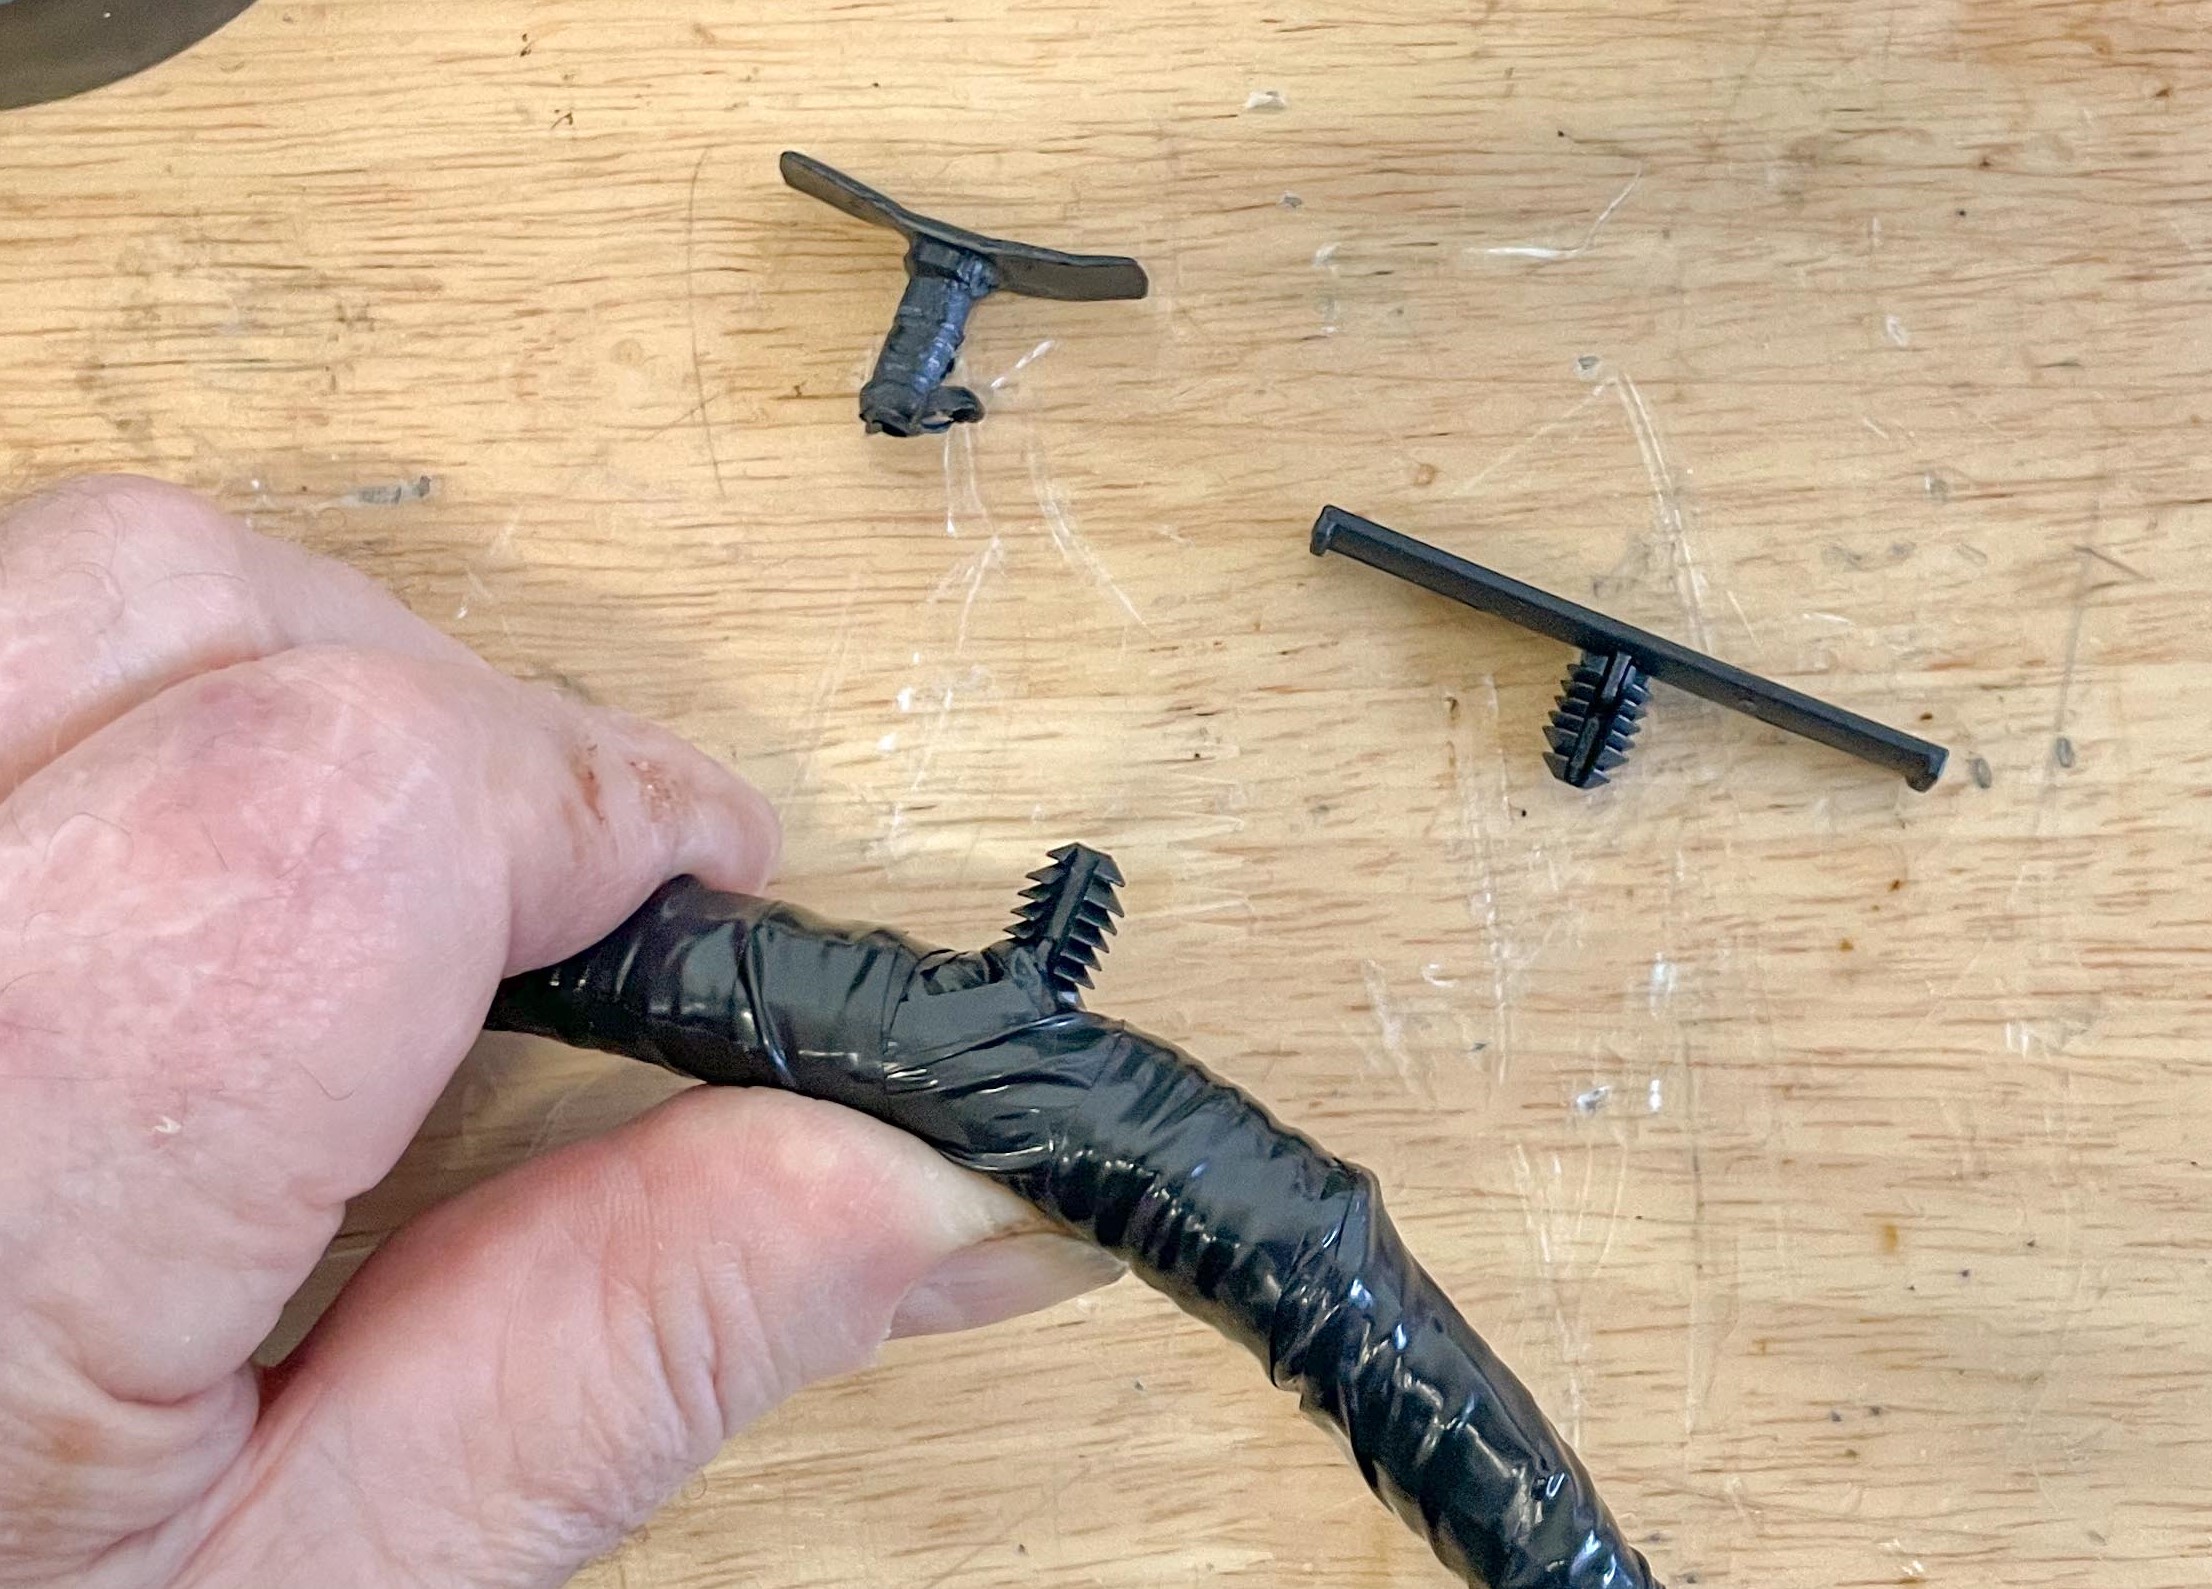
At this point you should be able to remove the wires (and in many cases, the entire circuit) out of the harness. In the accompanying photos you’ll see how many wires and how much bulk I managed to remove with one simple terminal disconnect at the firewall harness connector.
Repairing
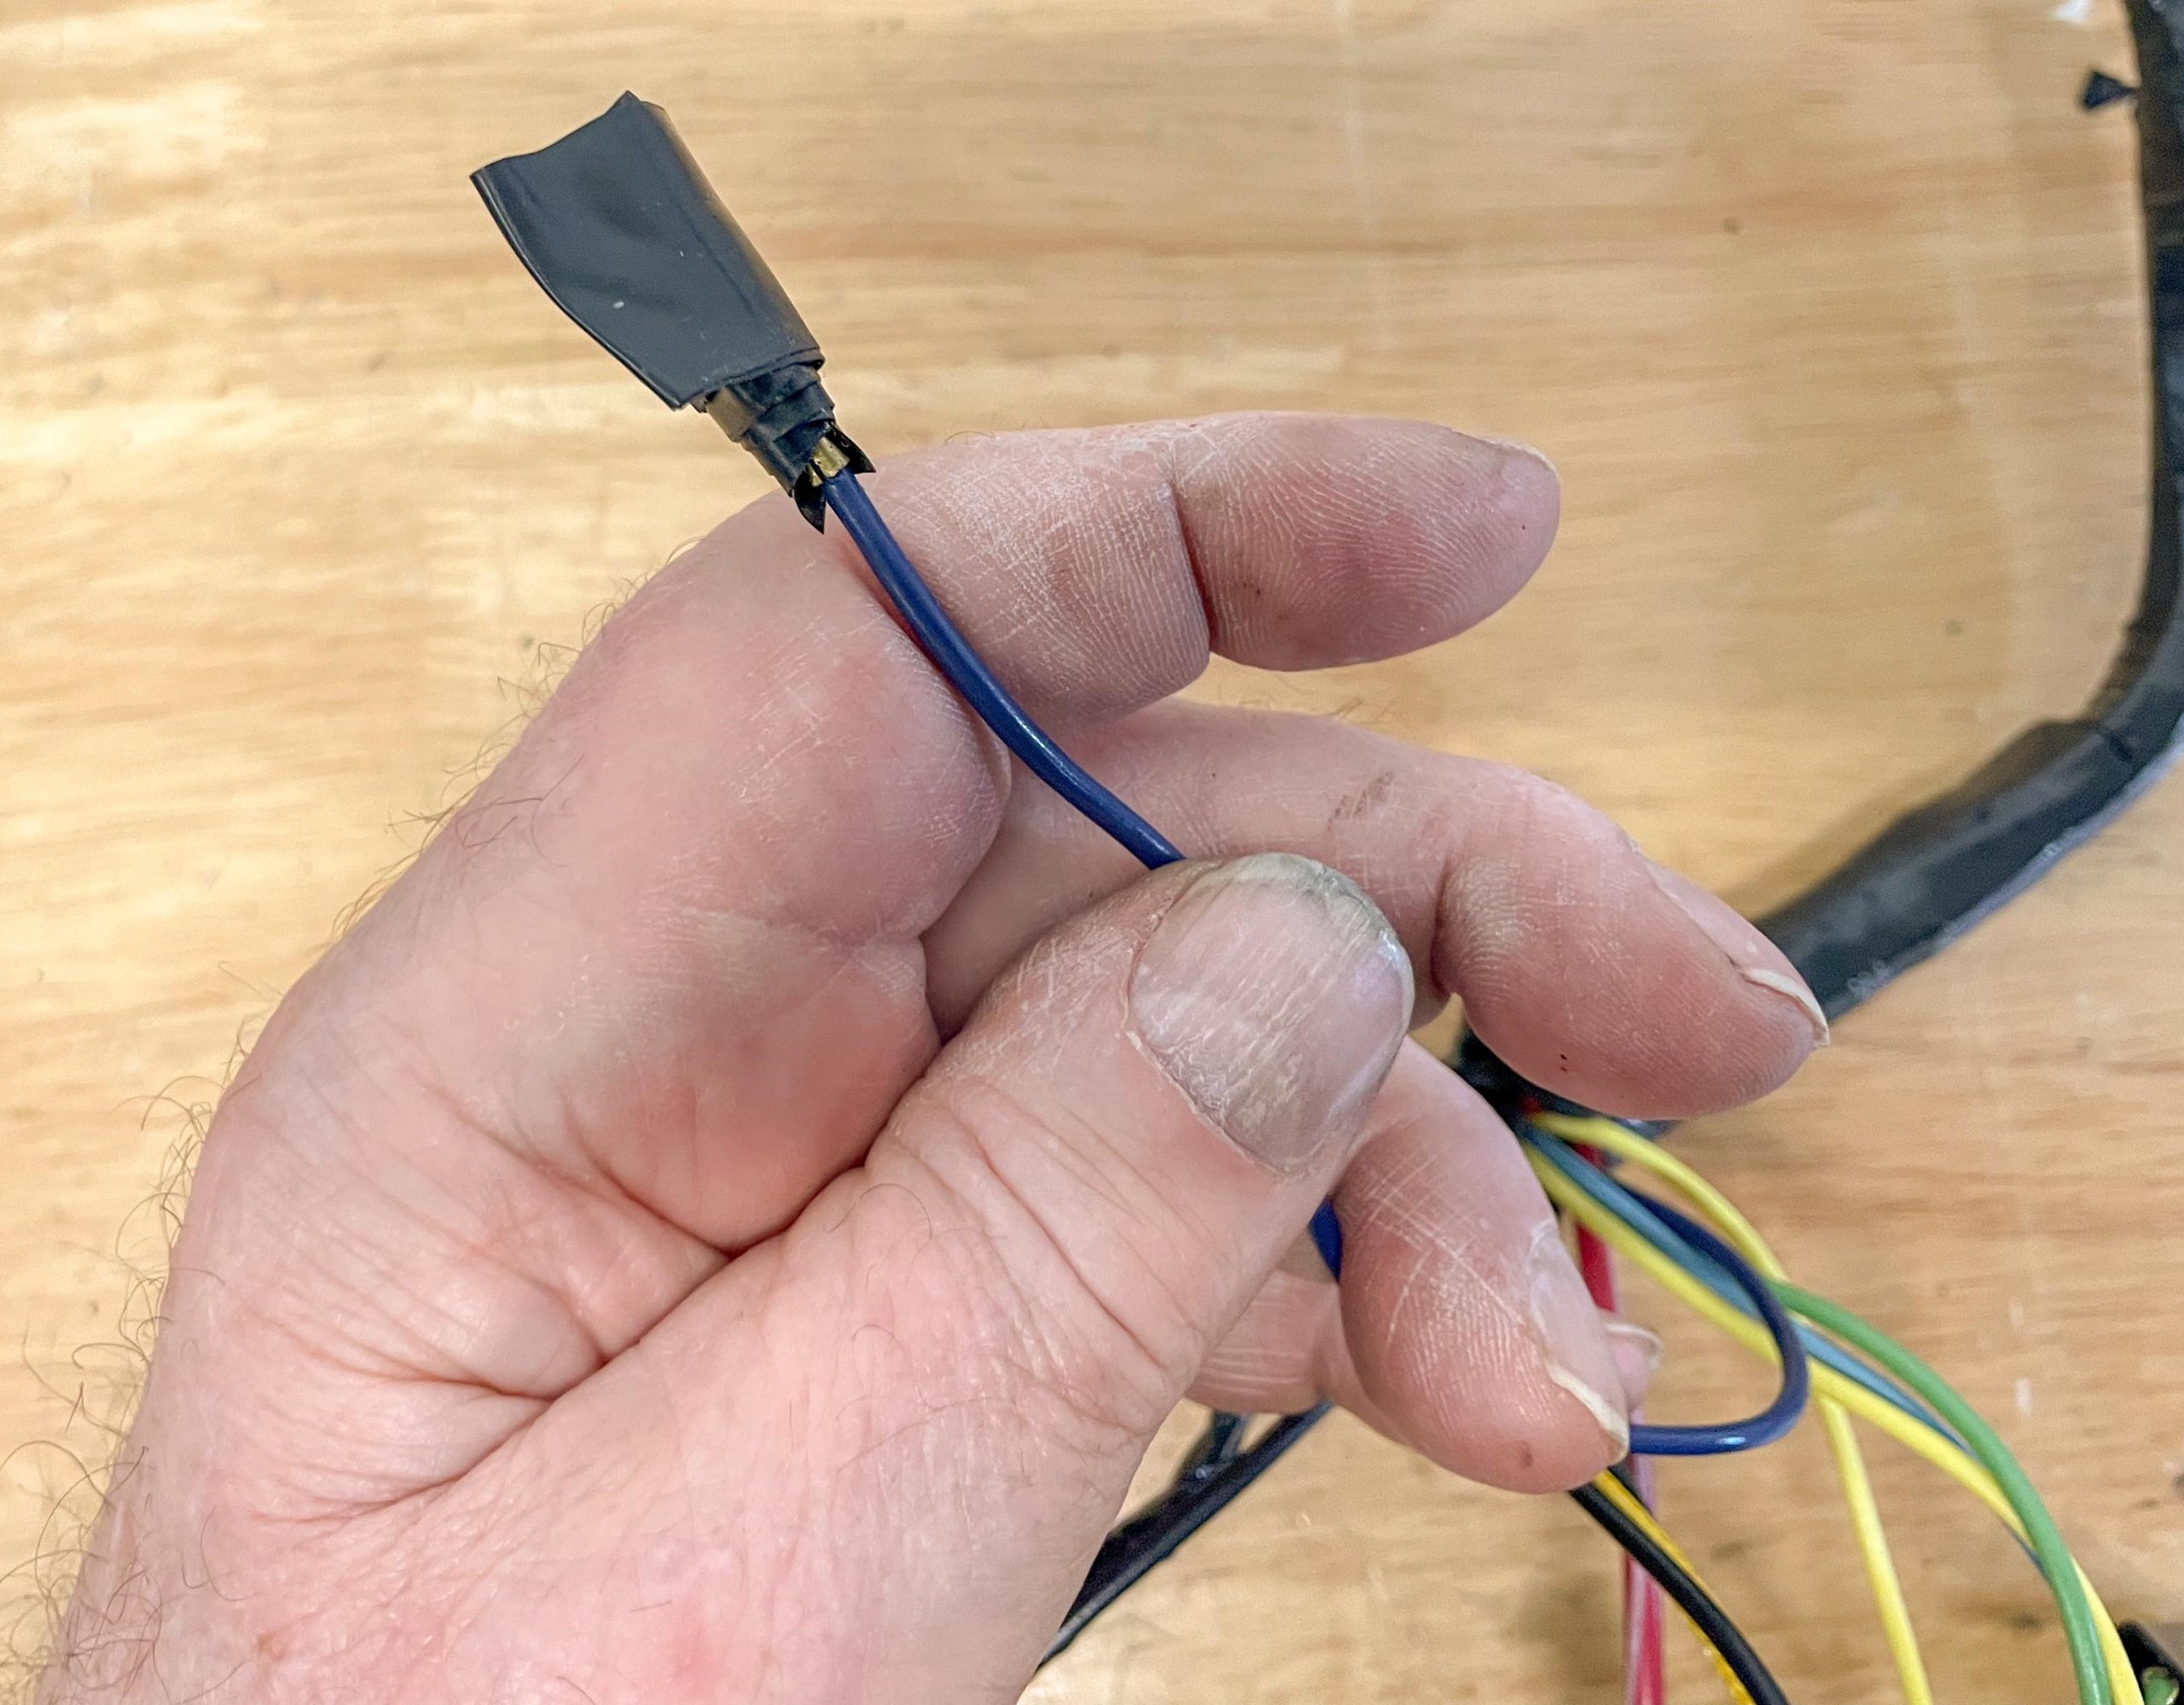
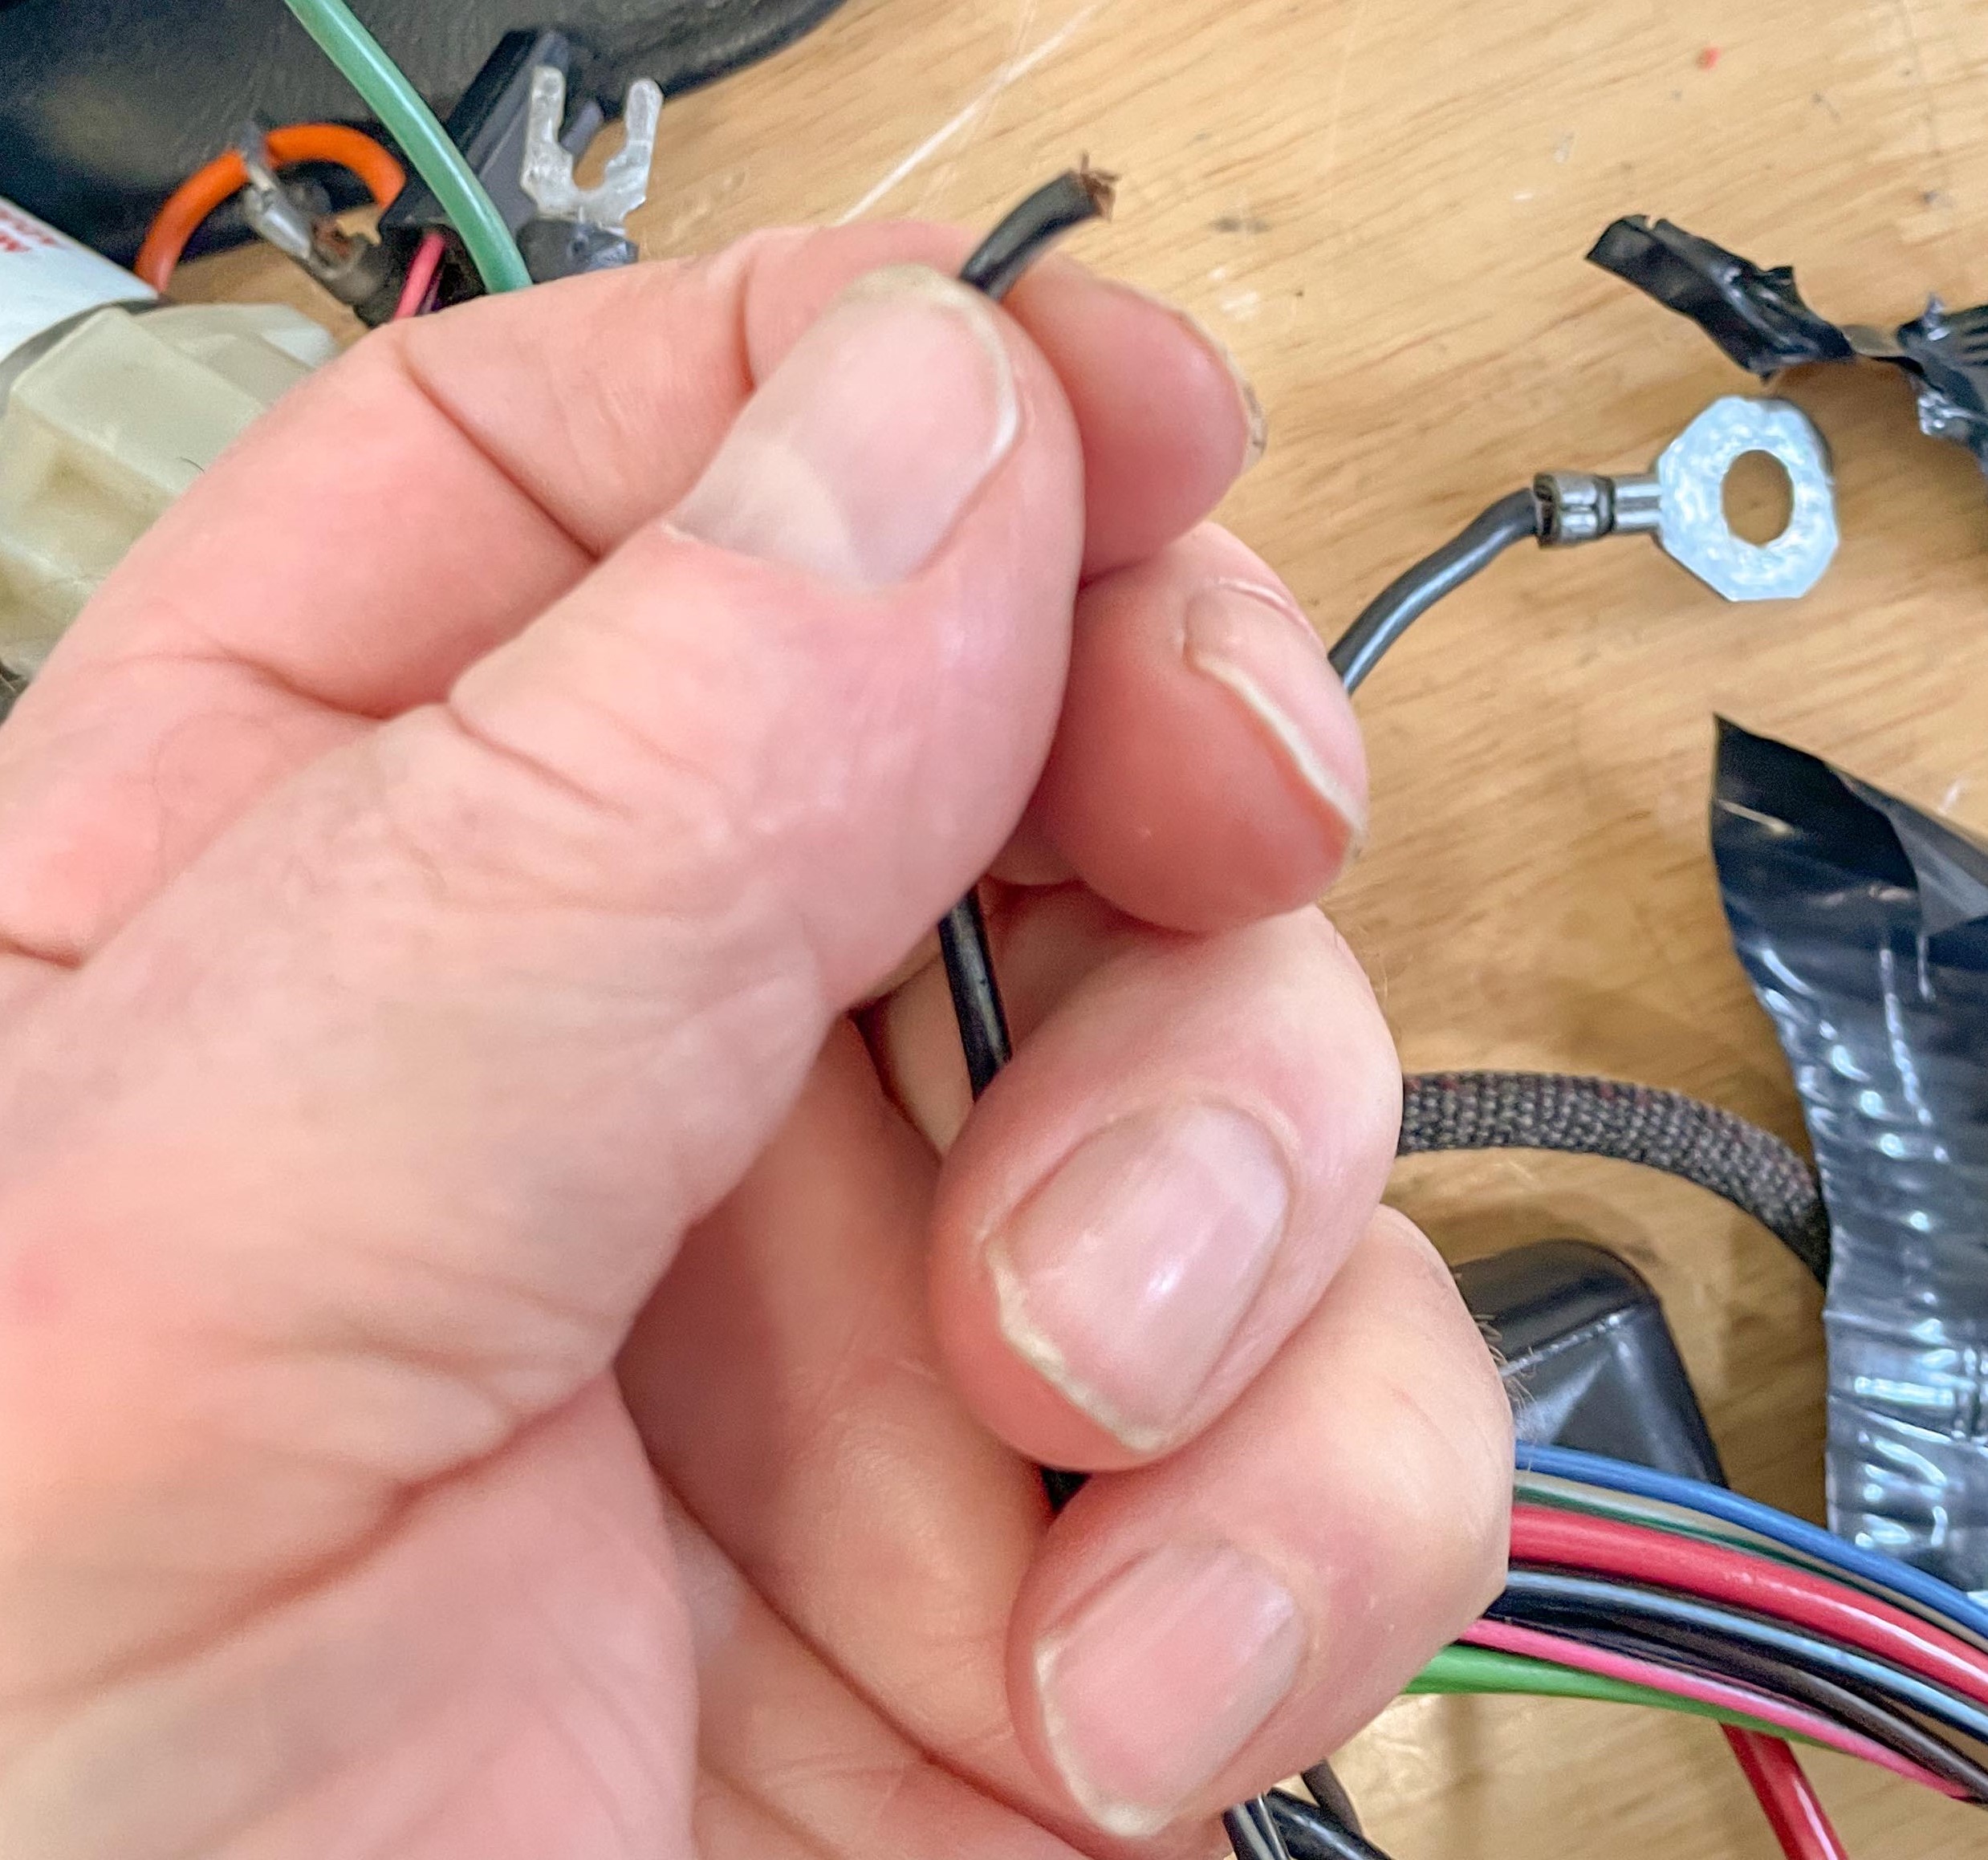
We’re now ready to make repairs. The type of repair usually depends upon whether or not the harness has been modified. Some of the “improvements” in my Corvette harnesses included wires twisted together and wrapped with tape; bare wires; wires with no terminals attached; and wires tapped into other wires with ‘scotch lock’ type tap-in connectors.
OAC Editor: I interrupt this article to tell you not to use scotch lock-style tap-in connectors for your automotive wiring projects. They’re easy to use but will cause you nothing but grief.
Tap-ins allow you to piggyback a new circuit to an existing wire in the harness. The two wires are placed inside the connector. When you crimp it closed, the steel blade or blades cut through the wire insulation and into the wire itself, making the electrical connection. Here are the main reasons why that’s a bad system:
- There is little to no mechanical support for the connection, which can cause poor or intermittent electrical contact due to vibration
- Tap-ins provide no insulation, leaving the wire exposed to air and moisture. That makes the connection vulnerable to corrosion. The corrosion causes resistance in the wire, which can lead to melted wires or a fire
- Cutting strands of wire decreases the amperage load that wire can handle. That can cause circuit or component failure
- Tap-ins are not designed to handle the high amperage loads found in automotive electrical systems. For example, using a tap-in connector rated to handle 7 amps on a 20-amp circuit will create a guaranteed failure point
Now that you know why tap-ins are bad juju, read The Basics of DIY Automotive Wiring Harness Repairs to learn the right ways to make electrical connections.
Back to our story.
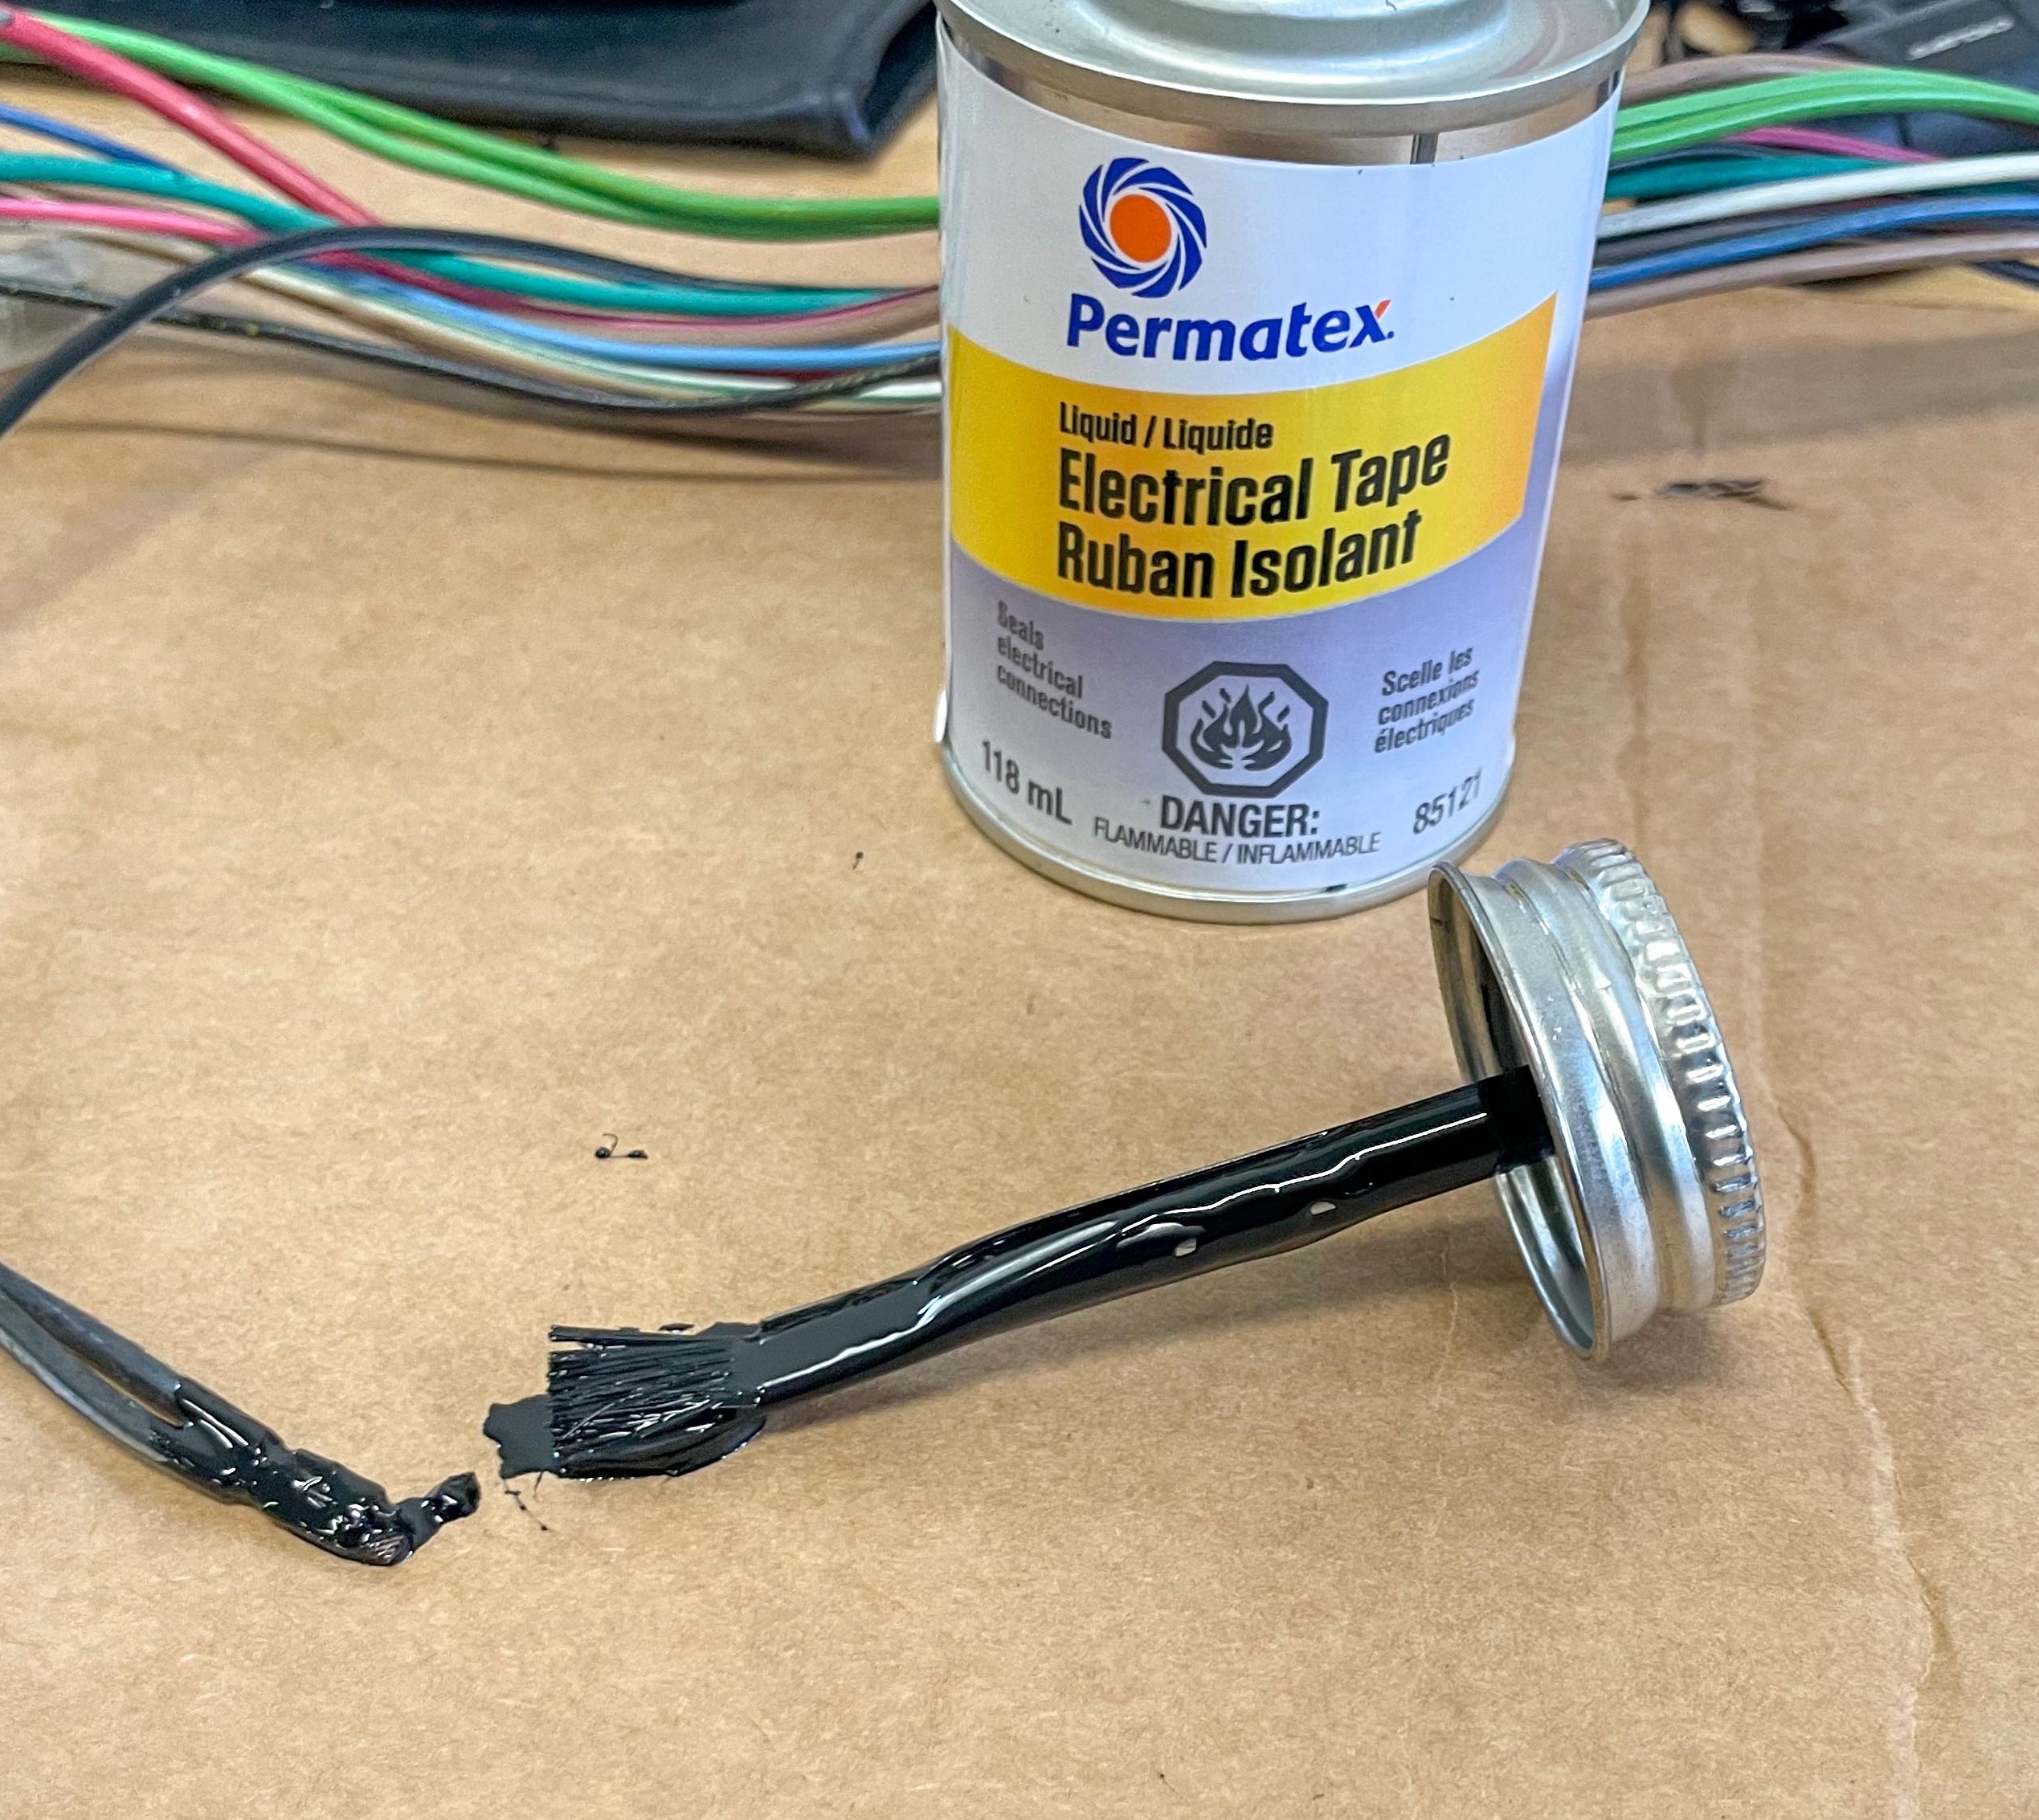
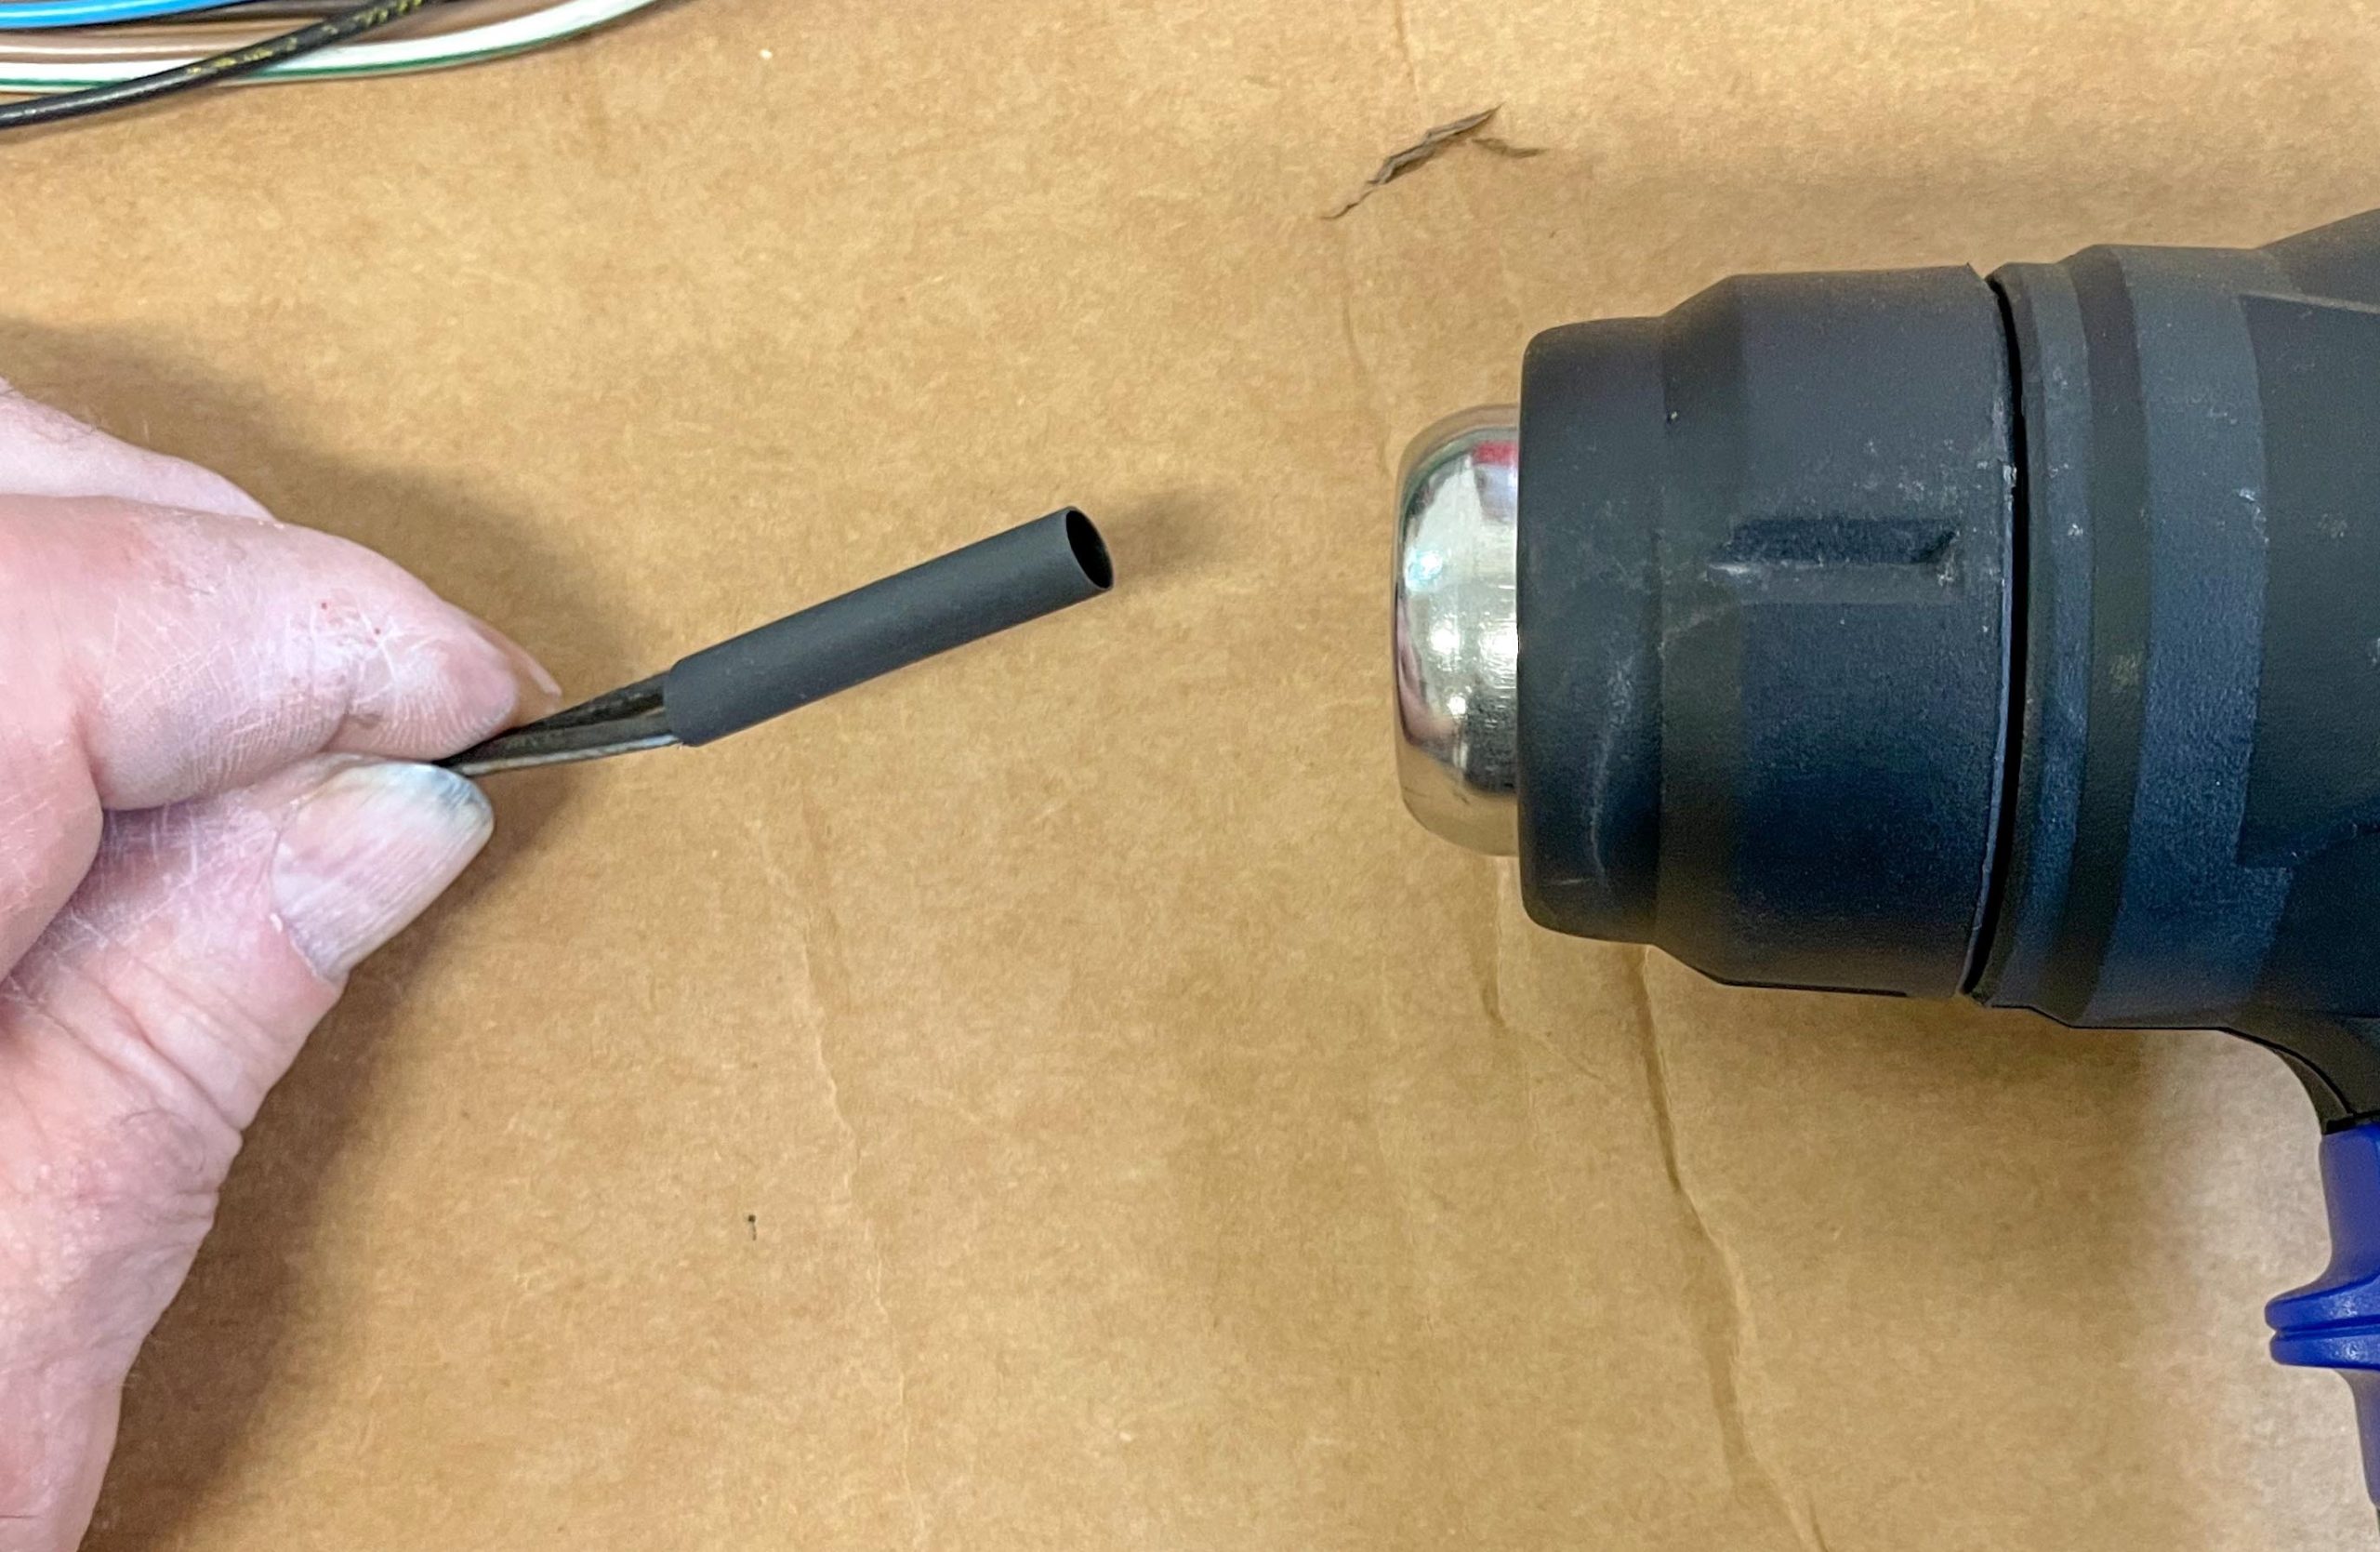
I prefer to do soldered connections. I coat the terminal connection with liquid tape and cover it with heat shrink. When I use non-insulated terminals, I cover the terminal wire end with heat shrink. Some say that vibration can break a soldered joint. That is true to some degree, but poor soldering techniques or using soldered connectors in areas exposed to moisture or corrosive chemicals are more likely culprits.
Stripping and Crimping Wires
I spent many years using basic hand strippers and crimpers. Then I discovered the pleasure of using high-quality tools like the Knipex Automatic Wire Stripper, Klein Tools Automatic Wire Stripper, and the Astro Pneumatic Ratcheting Crimper Tool Set. The Knipex and Klein Tools strippers made the cleanest cuts and nicest strips I’ve ever done. The Astro Pneumatic crimpers come with jaw inserts for various types of terminals.
Rewrapping the Wiring Harness
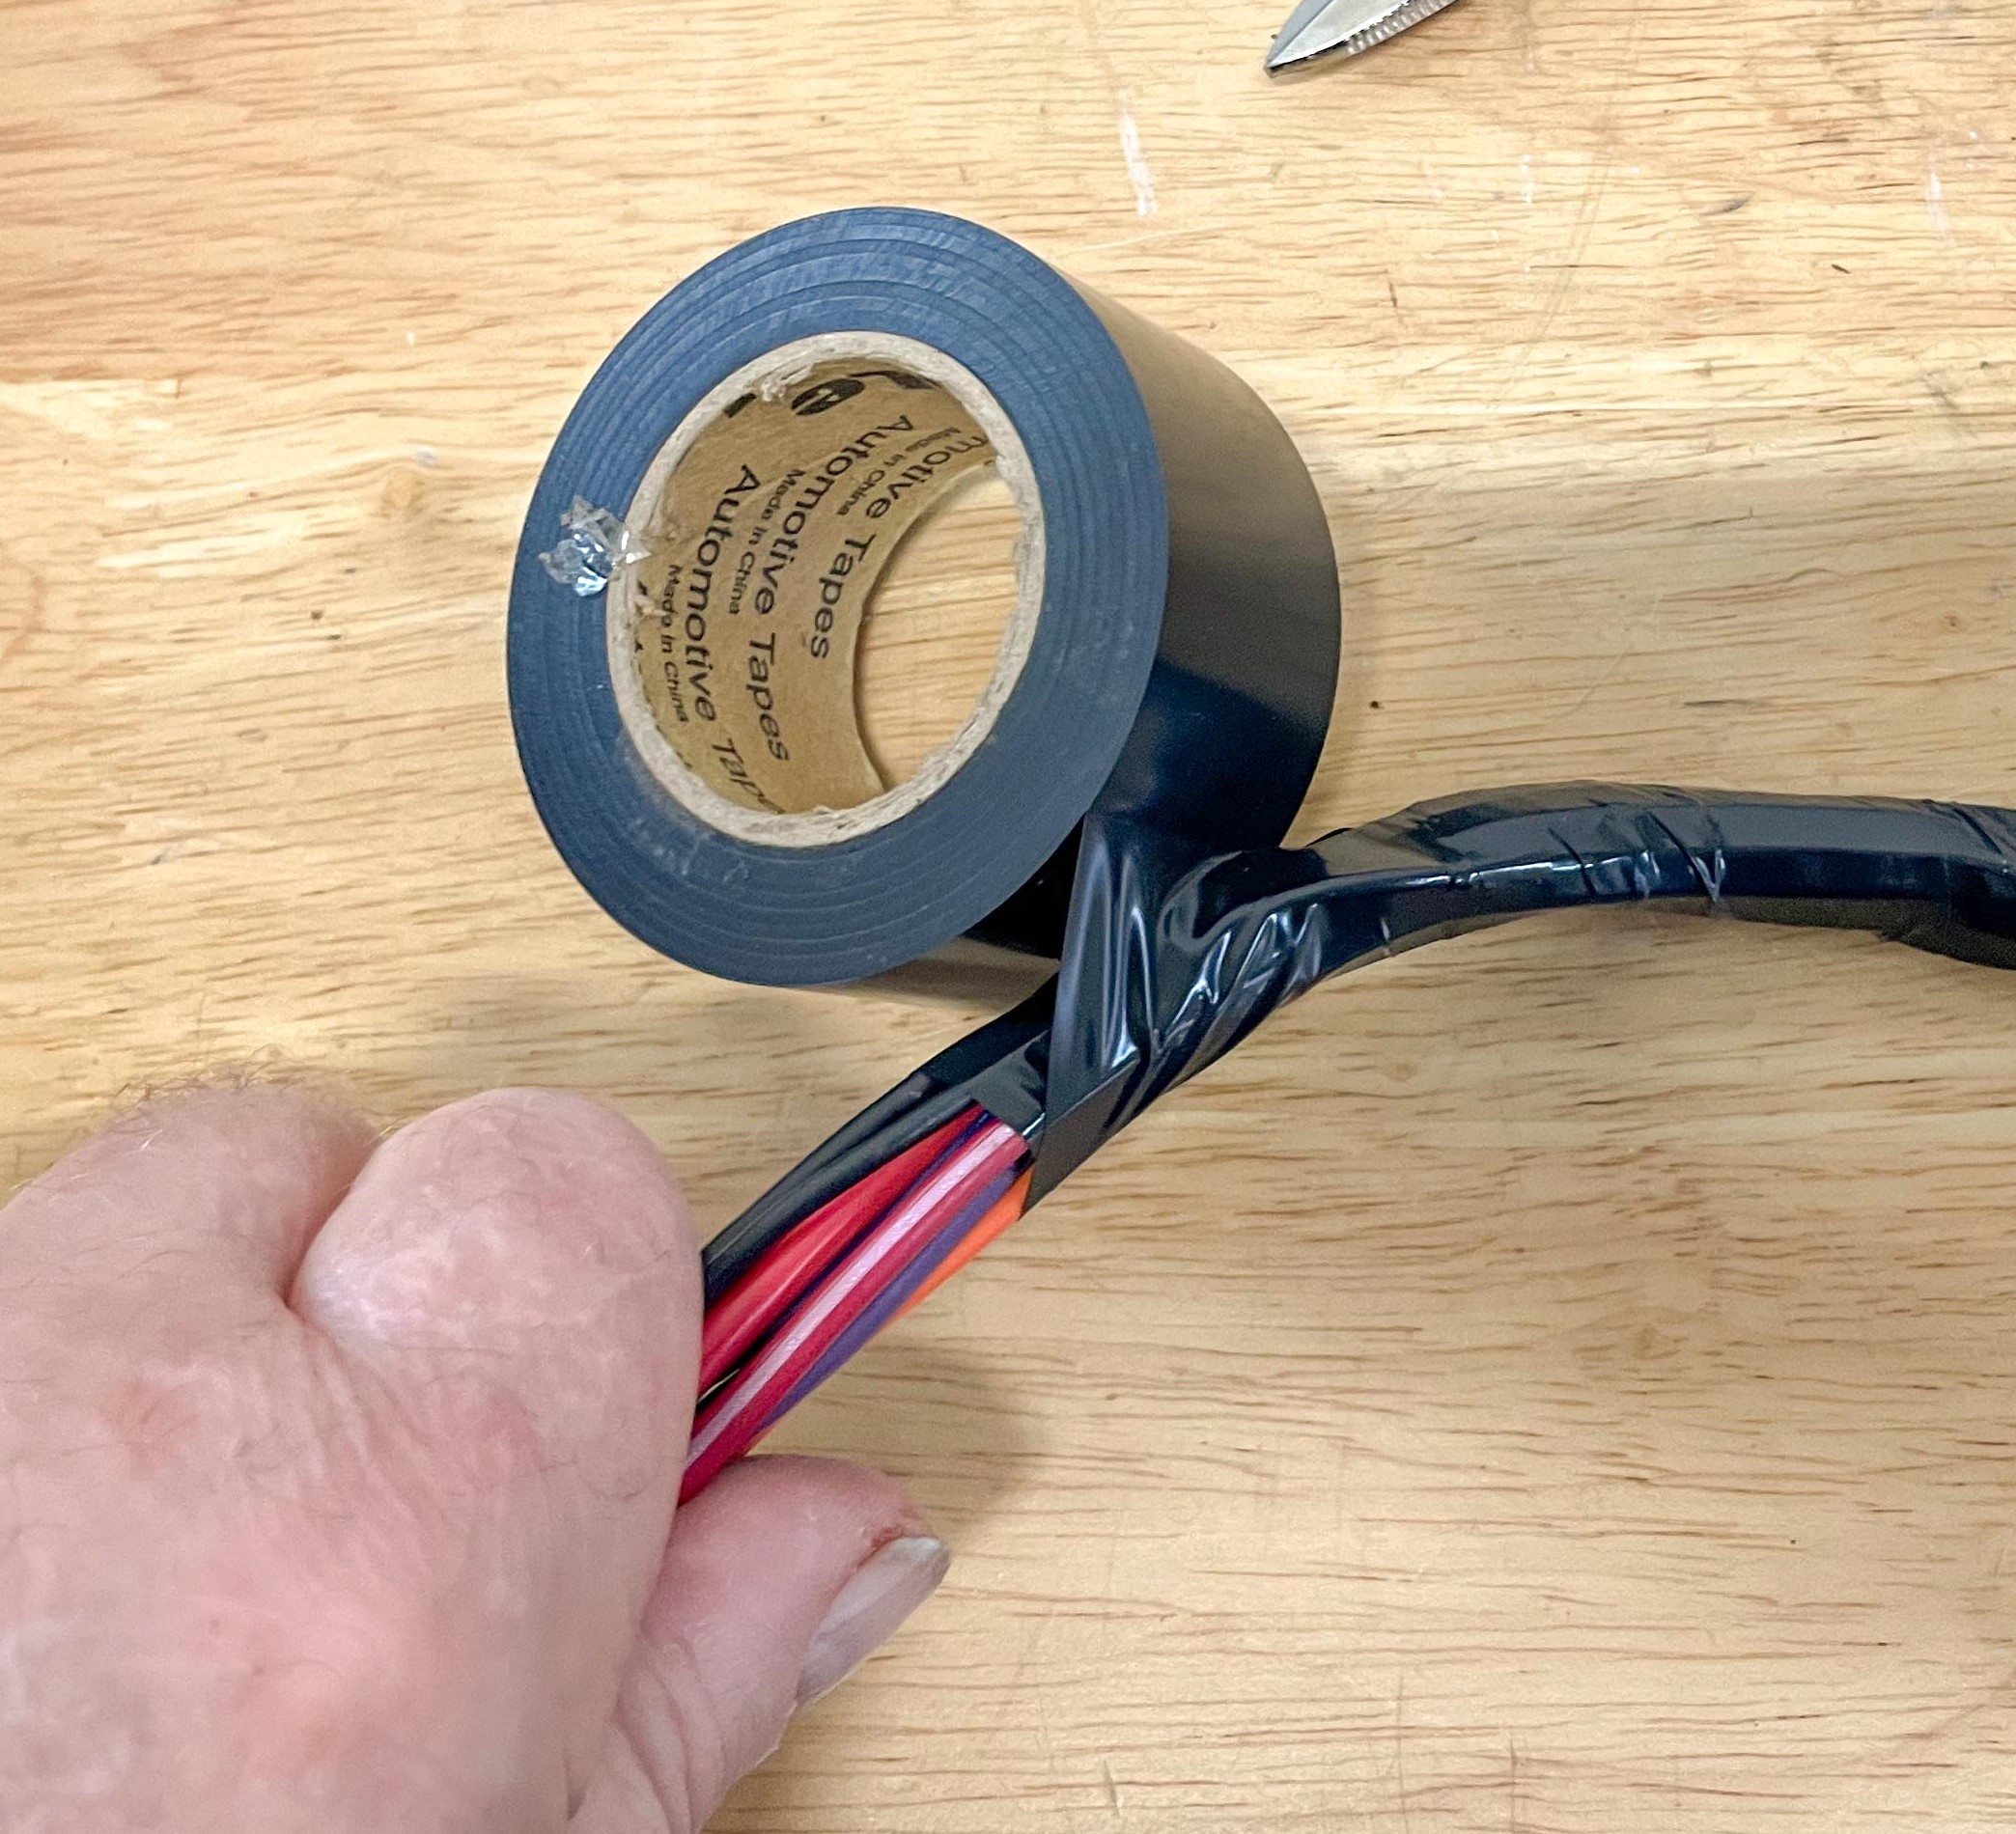
Once the repairs and modifications are done, it’s time to rewrap the harness. In the case of many vehicles from the 1960s and 1970s, the factory used vinyl wrap. It looks like electrical tape but it has no glue—it clings to itself as you wrap.
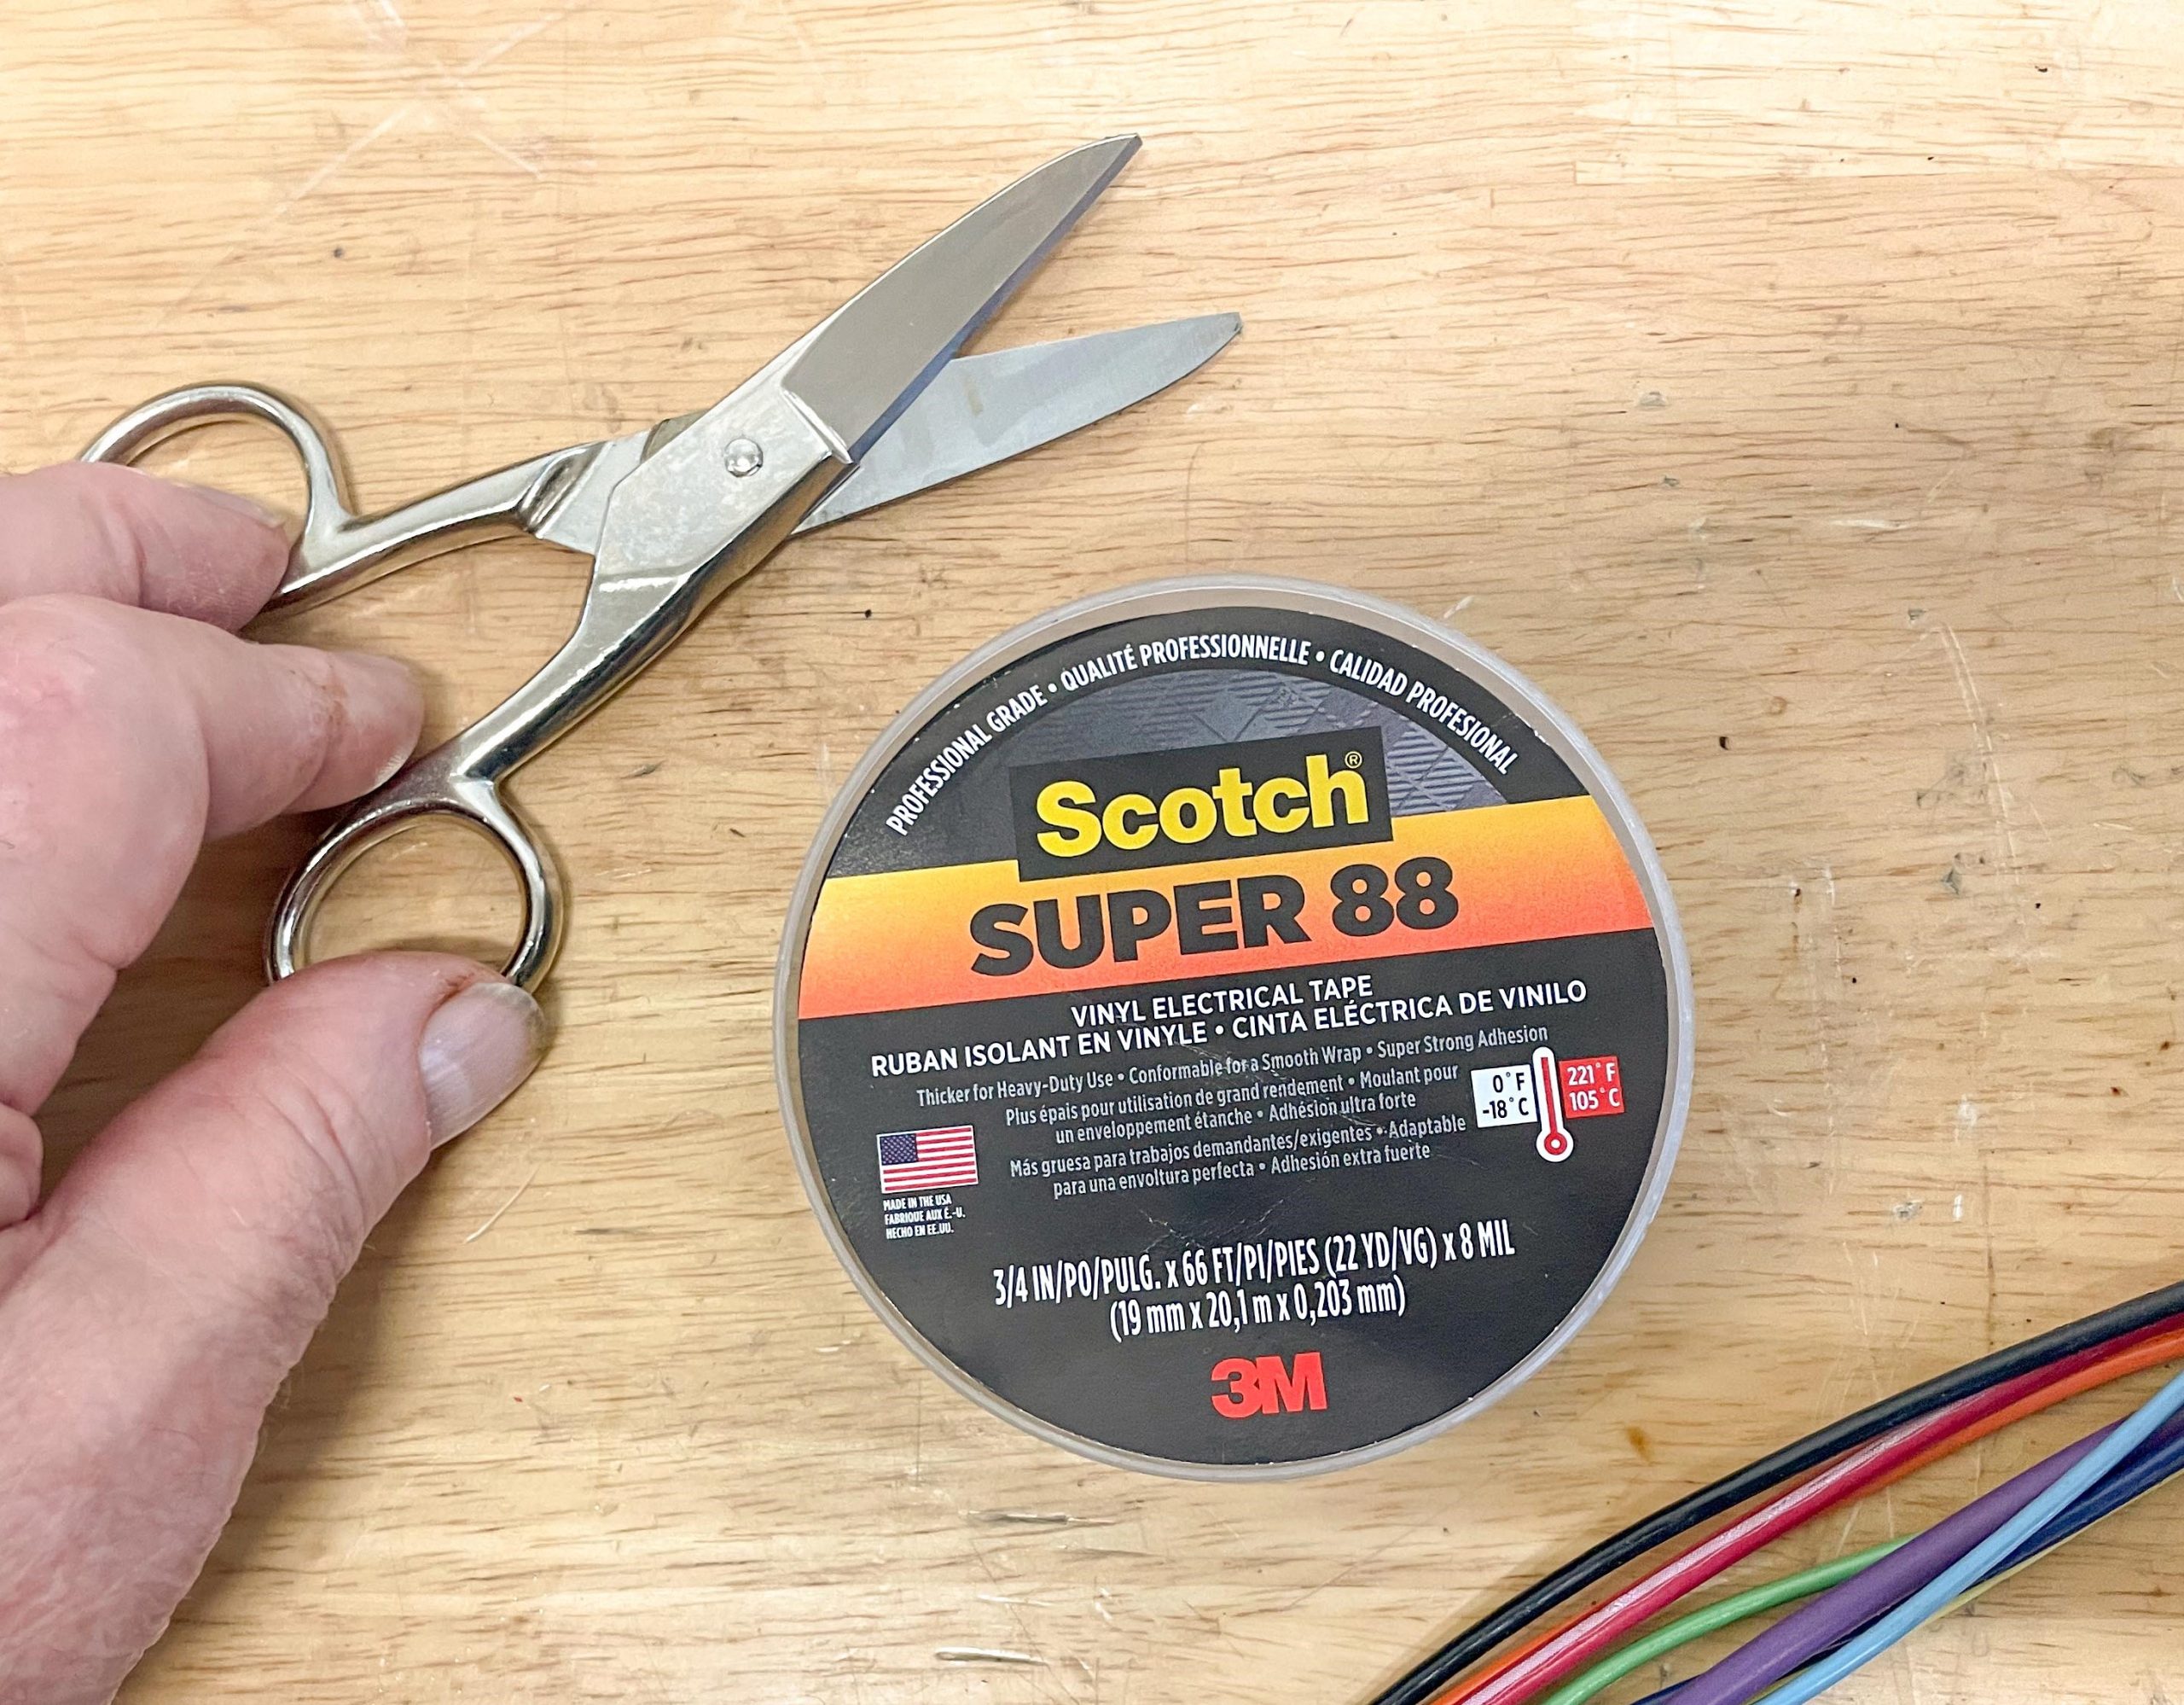
You can begin a rewrap by tying a knot in it at the beginning of the harness assembly—the firewall connector, for example—and winding it tightly around the harness in an angled pattern. Wrapping any wiring branches before you start the main loom will yield better results. When you reach a branch, simply wind the wrap tightly around the joint several times. When you come to the end of the harness, you can tie the wrap or cover the end with high-quality electrical tape. I recommend 3M’s Super 88 tape.
As you can see, repairing a wiring harness isn’t difficult, but it is time-consuming. For example, it takes me a couple of days to reconfigure a simple engine harness. Some lighting harnesses and dash harnesses in particular are much more complex and can take more time. Bottom line, if the harness isn’t butchered too severely, you can fix it.

There is a strong correlation between pieces that start out with a summary in the form of a bulleted list, and the output of a LLM. If enough people could learn to spot the signs and just skip anything that smells like AI we’d be rid of this crap a whole lot sooner.
Hey CC, thank you, as always, for reading.
This was indeed written by our regular contributor Wayne Scraba——no AI here. He sold his old Nova drag car and picked up an early chrome-bumper C3 Stingray Vette project that he’s working through, and you’ll see that reflected in the images that supplement his article. We sometimes include a summary at the top of the article to help folks get to the gist of the piece to make sure it addresses the particular issue or topic they’re researching, without having to pore over the entire story.
***
We agree, there’s been an influx of AI-generated muck spread out over the internet lately, but you will not find that at OnAllCylinders.
***
While we sometimes use the data-generated tools at our disposal to uncover popular topics and questions that gearheads are confronting, we will always have a real, live human writing the story——sitcom references, typos, and all. We also strive to use our own in-house photography and personal insight in the articles we publish too.
***
Again, thank you for reading, we always appreciate the conversation, and we’re glad folks like you are remaining wary about what’s being published online nowadays.
To unloom wiring harness i have found that using a seam ripper ( probably find one in your wife’s craft room) or near sewing stuff in local store has always done a fantastic job for me. I have never cut into wiring using one. I usually find the seam of loom and a little gentle pressure and wires will be safely exposed in no time. Hope this can help someone.