Wiring a vehicle can be pretty intimidating. Just getting the wires where they need to go can cause a serious case of agita. The harness manufacturer will bundle the wires so most of them go where they are supposed to, but there are always a few circuits that need to go somewhere else. You also need to protect your harness from hazards like sharp edges, screws, and pinch points.
Having wired more than a few cars in my day, I’ve collected some tips and tricks that will help make your harness install go a lot smoother.
Layout
As mentioned before, the layout of your harness is usually determined by the manufacturer. If you’re installing a factory replacement or application-specific harness, you should be good to go. But if you start adding, deleting, or moving circuits, you’ll need to do some wire rearranging. If you are using a universal-style wiring harness, you’re pretty much on your own when it comes to routing.
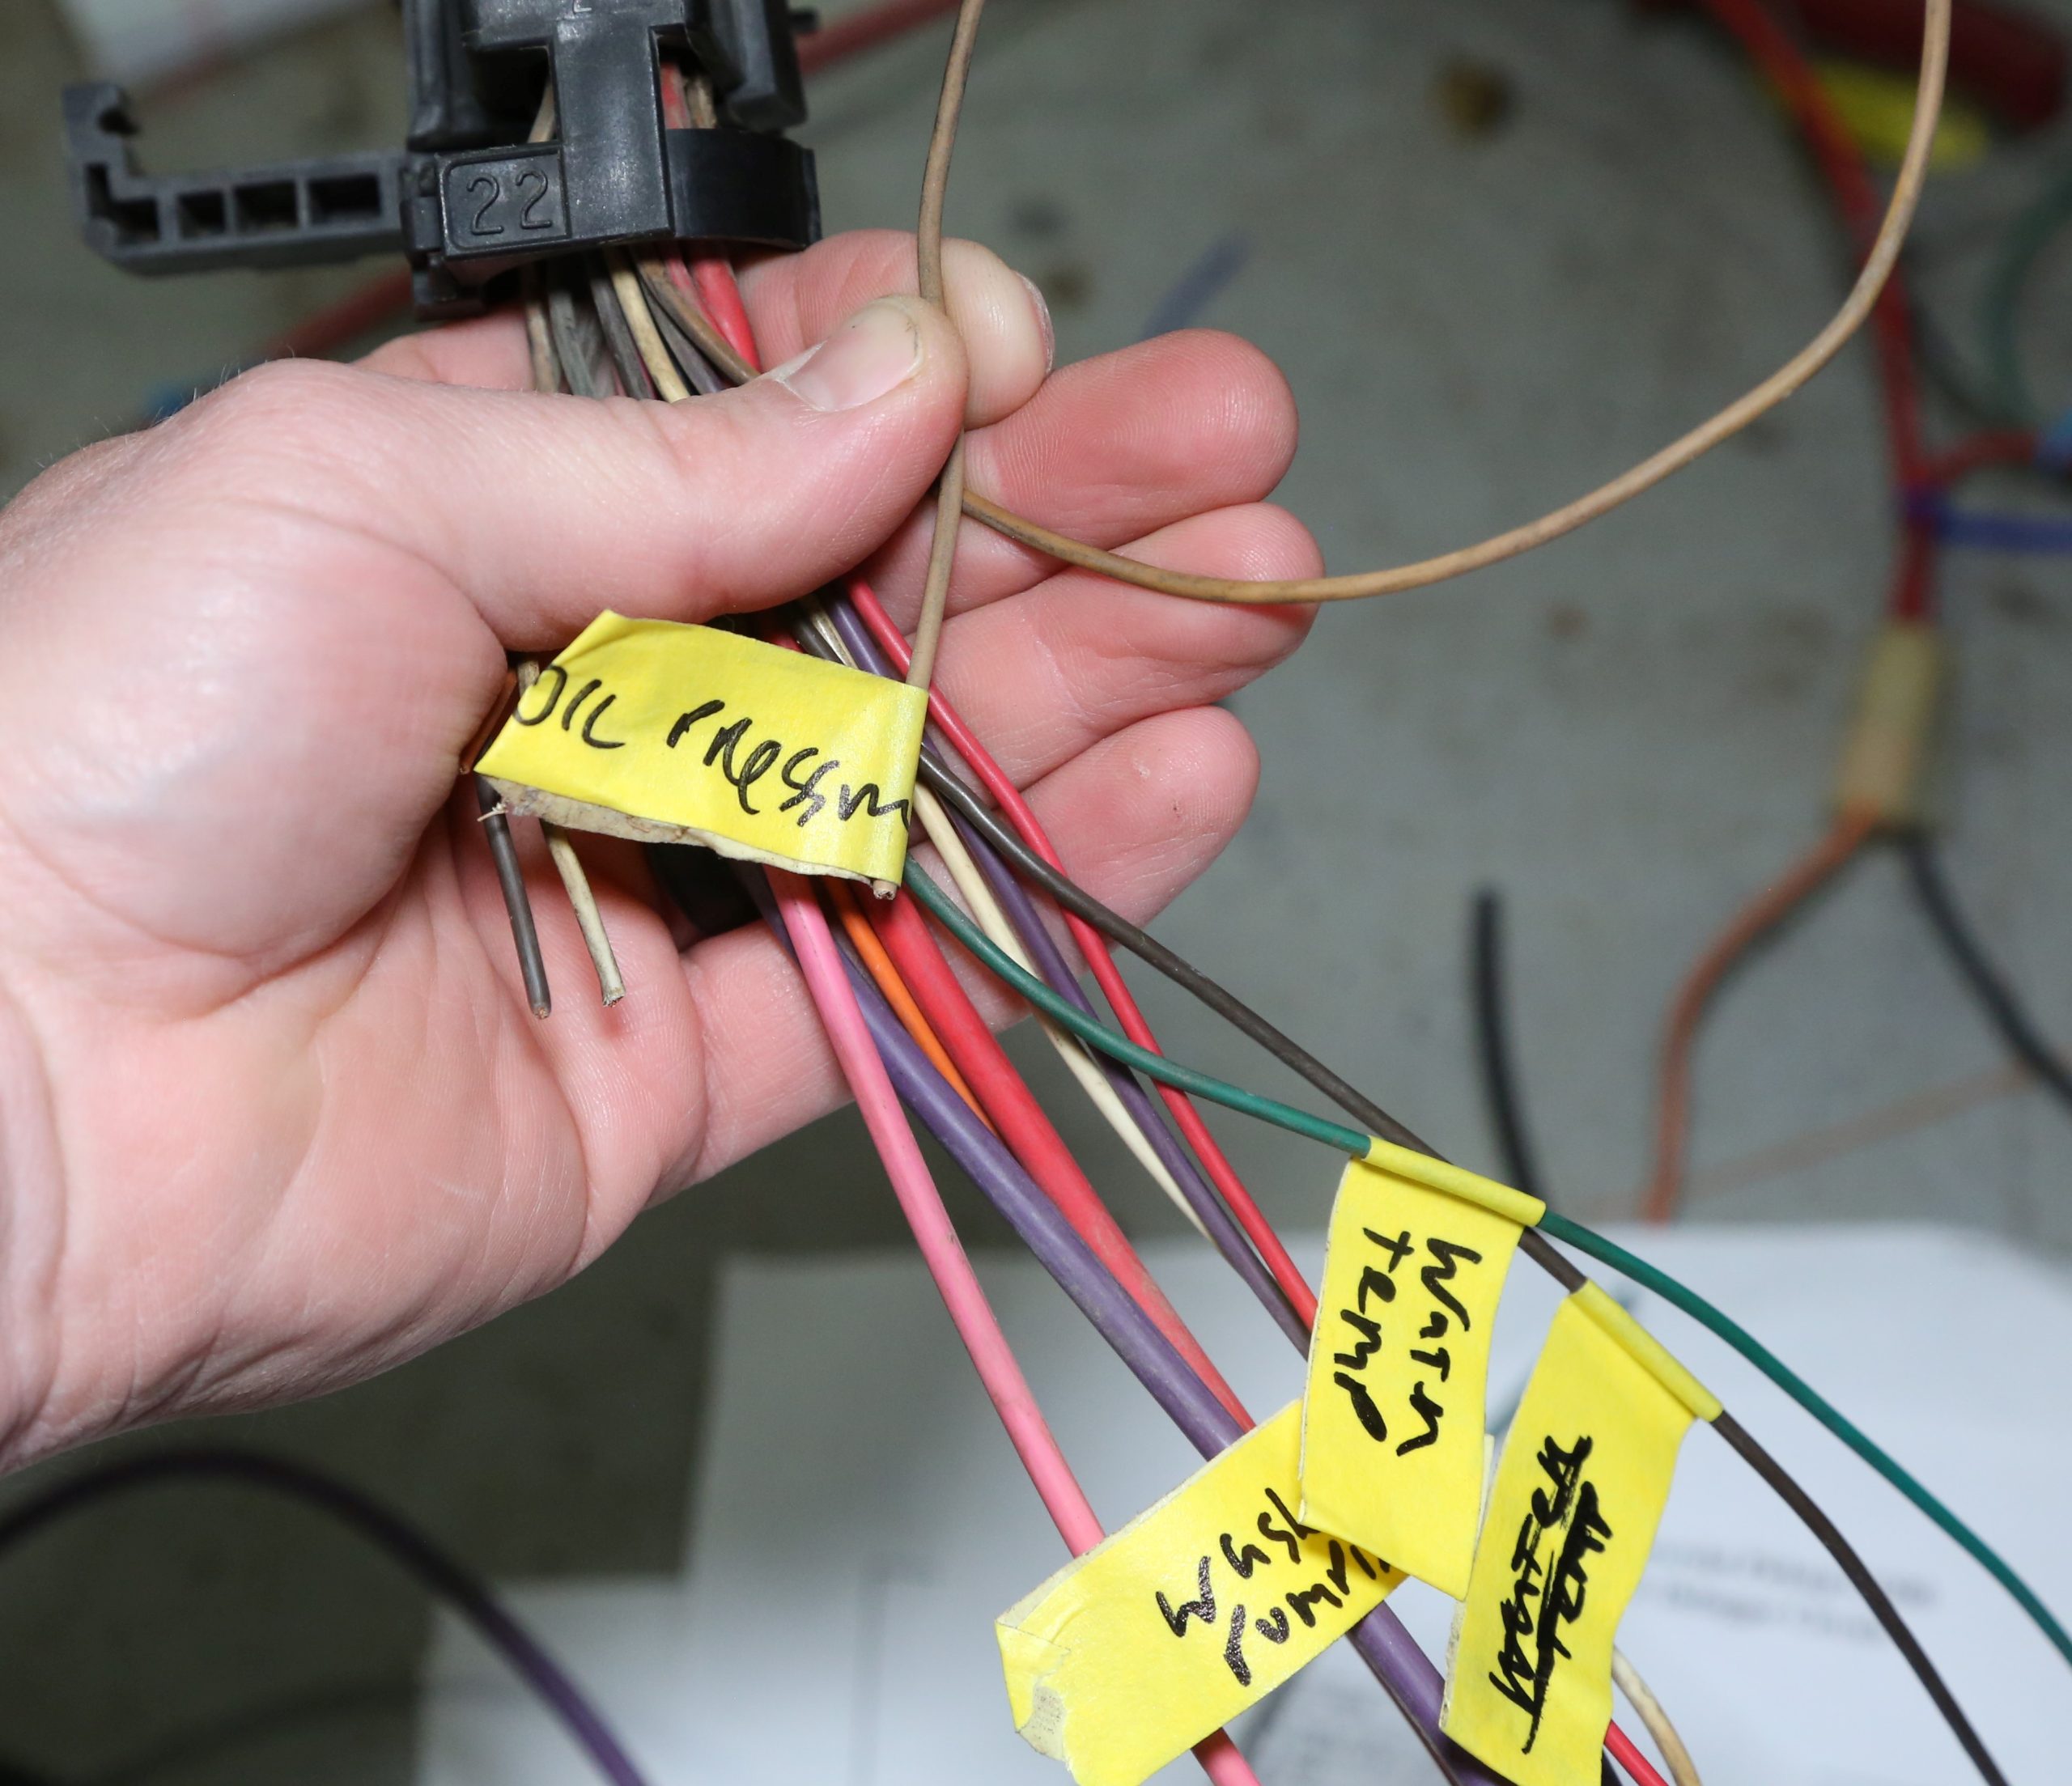
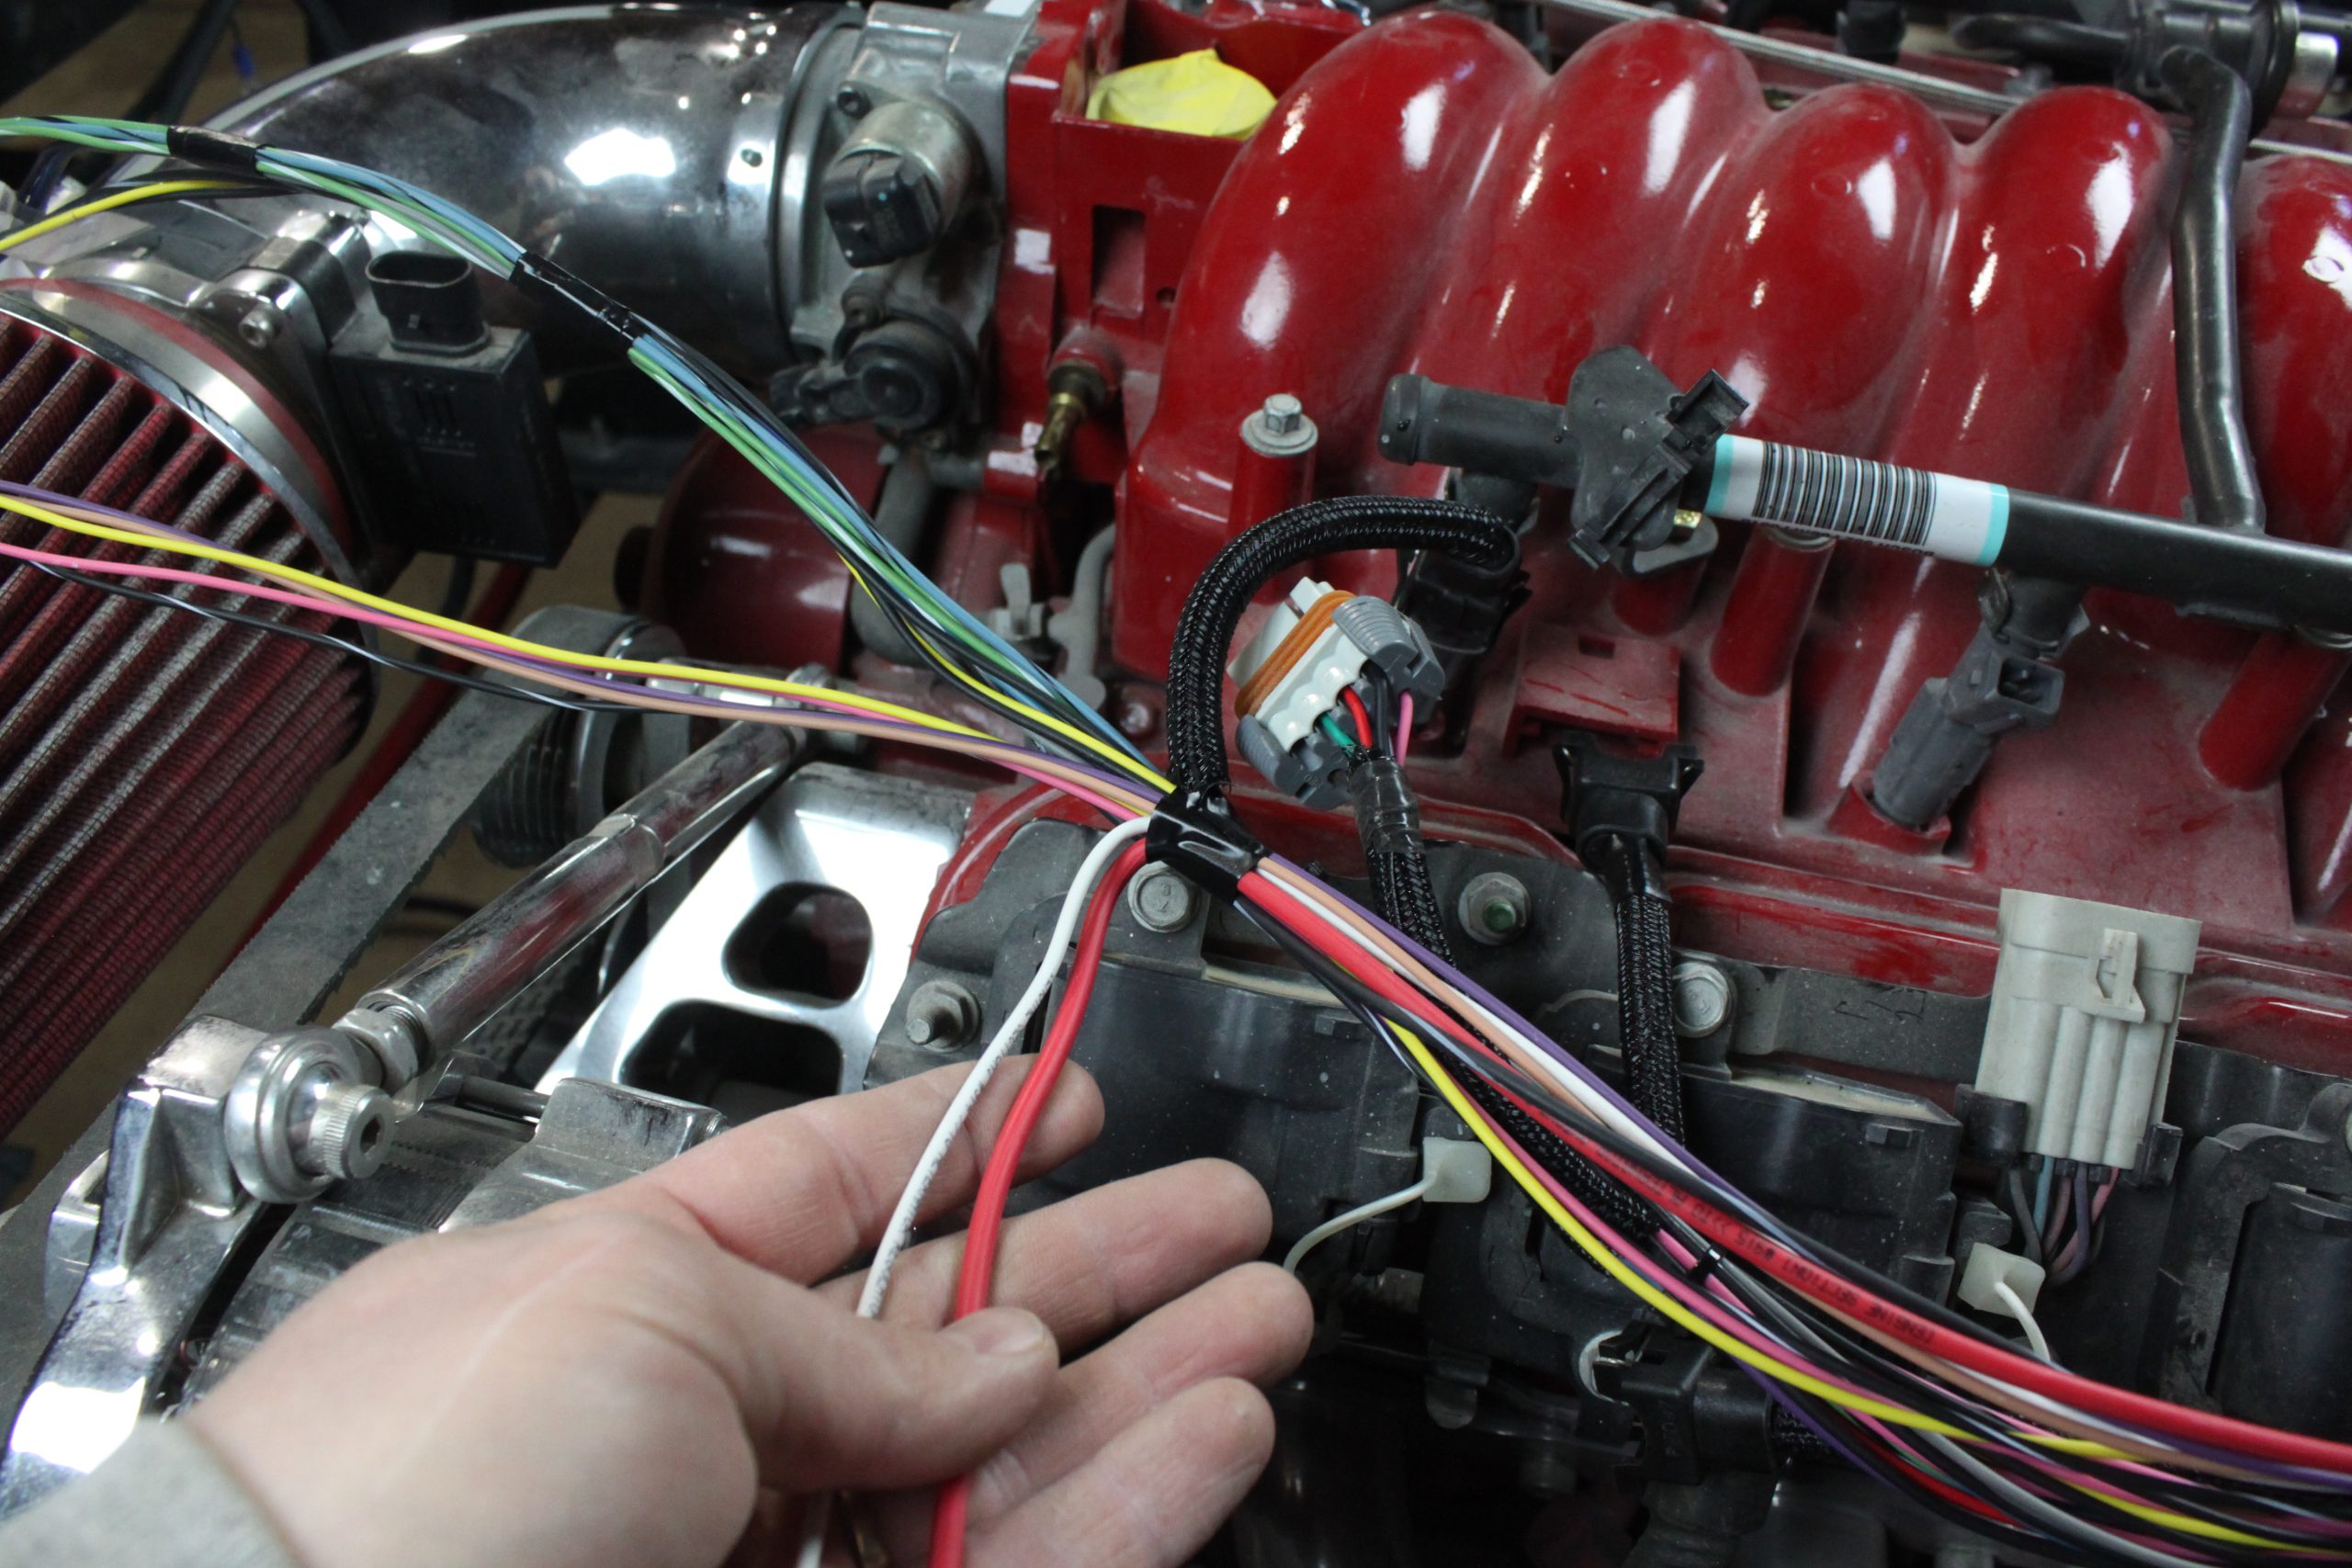
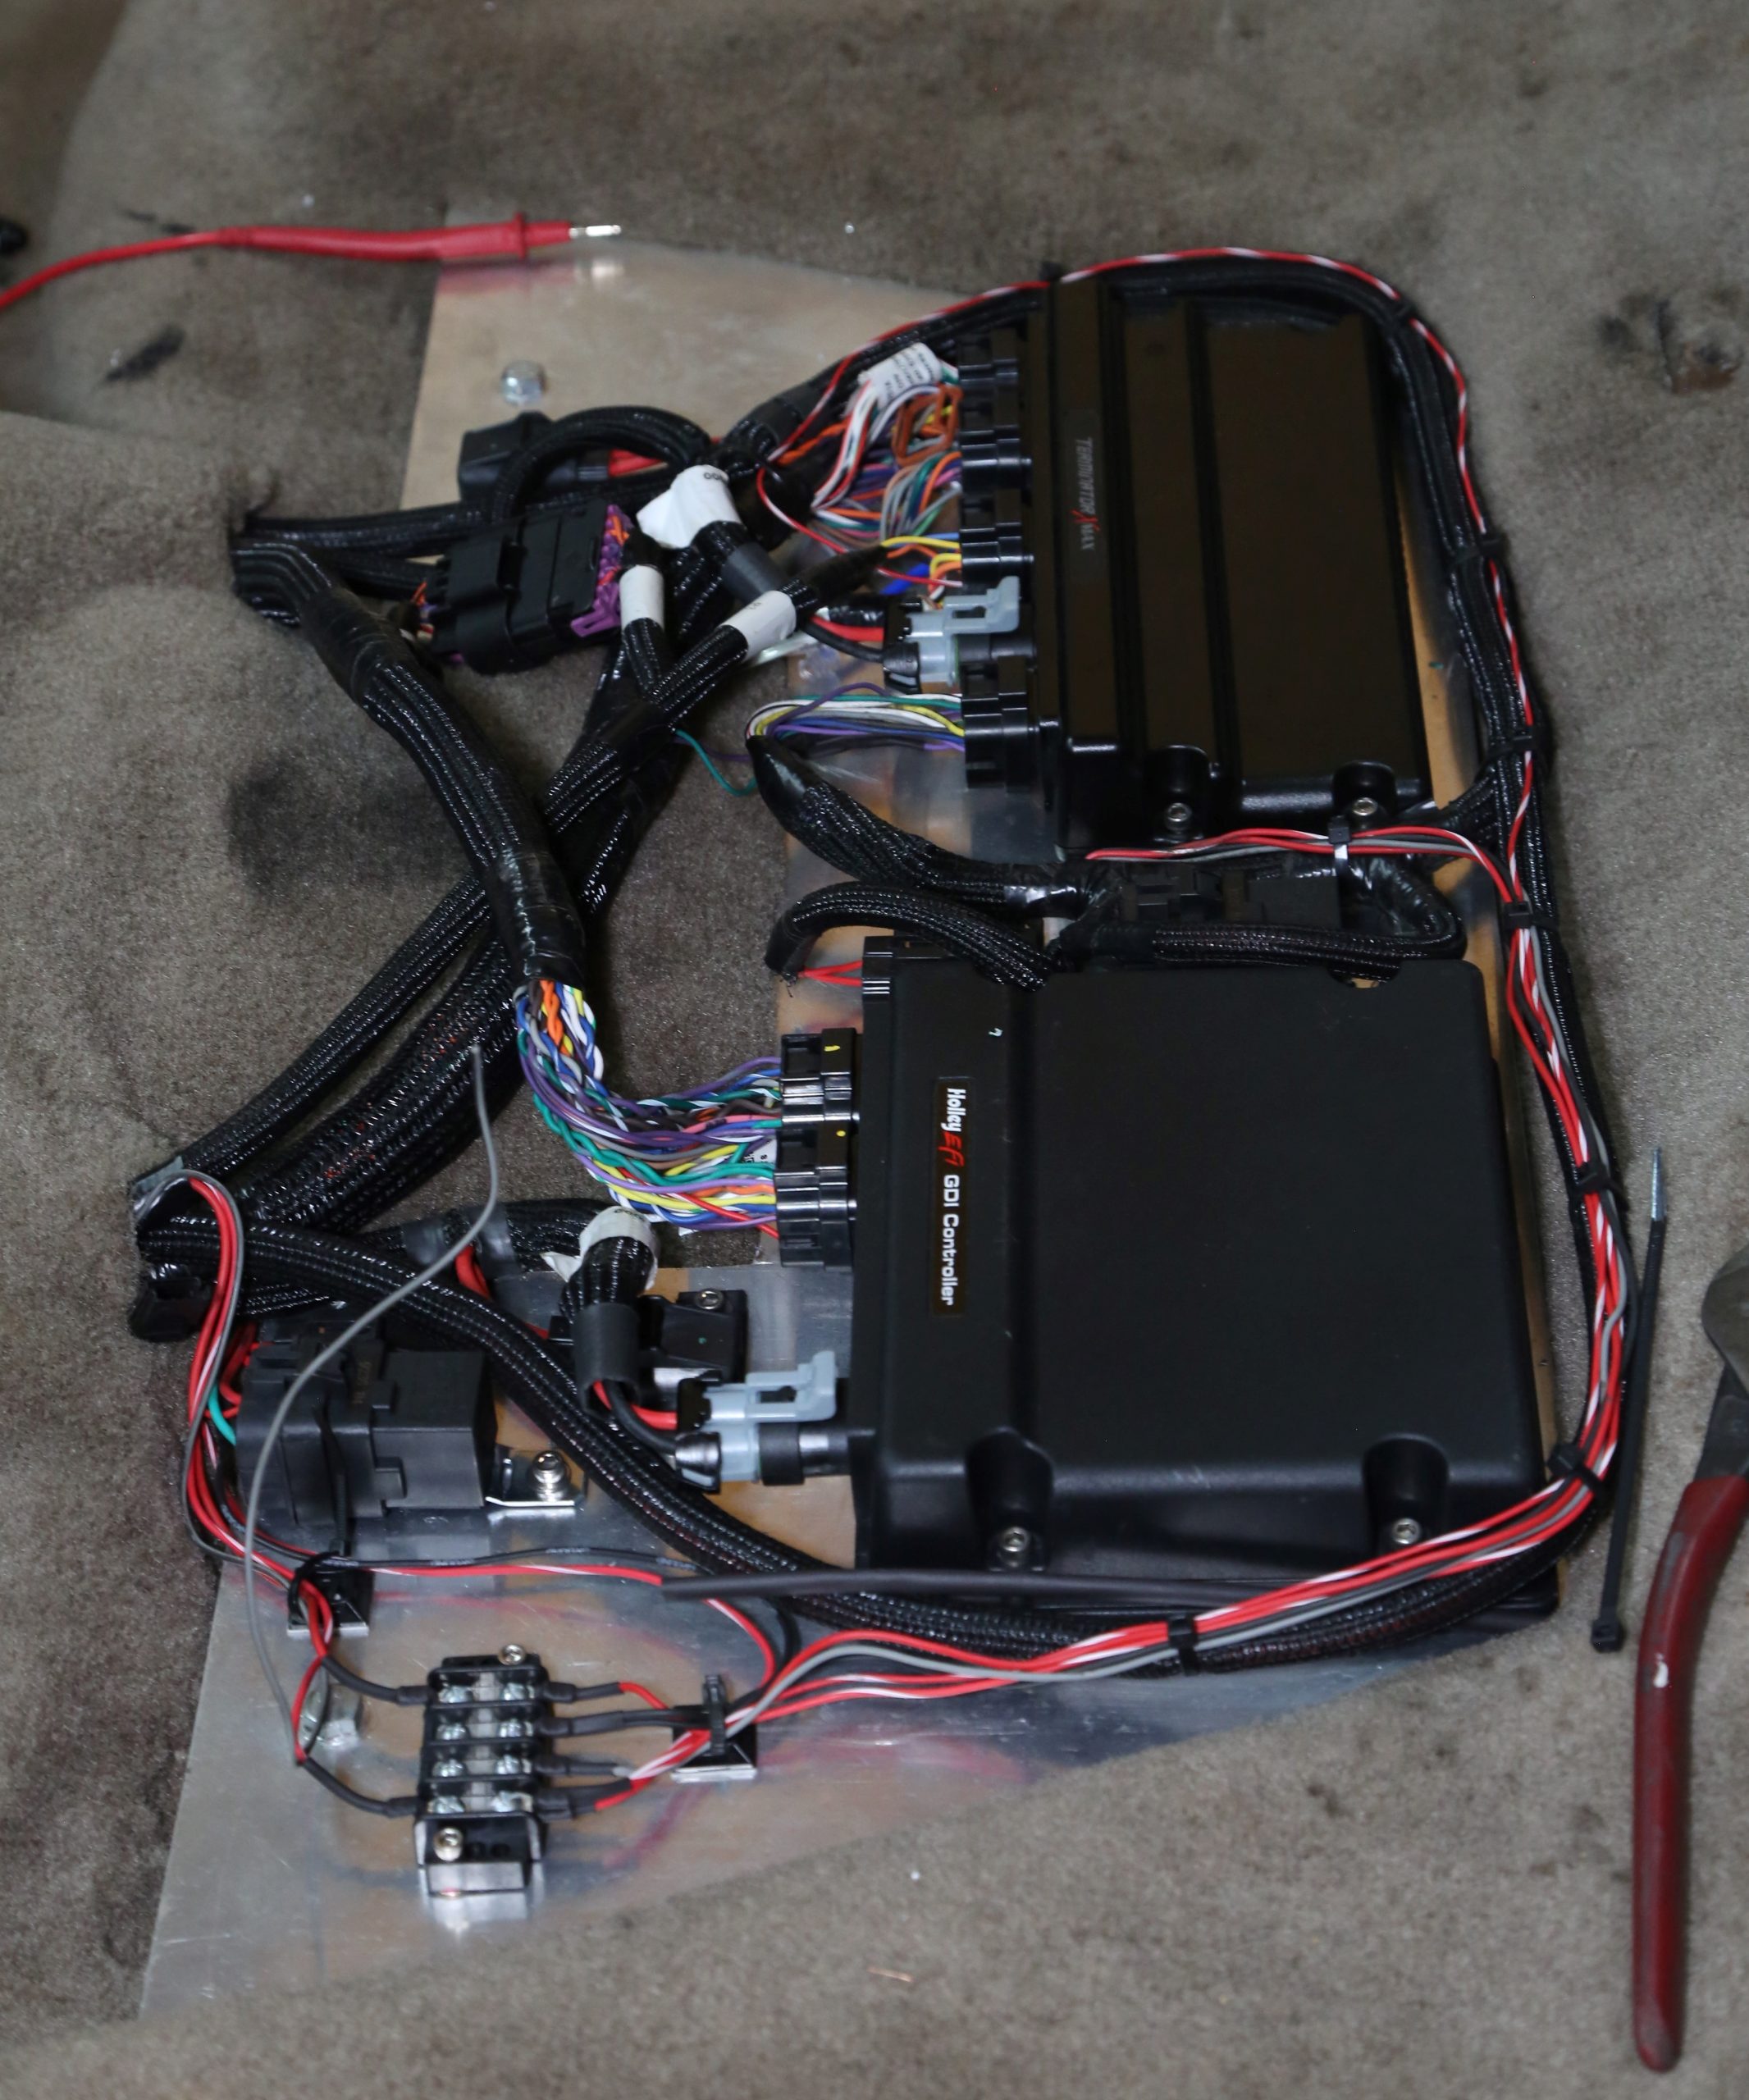
Regardless of what type of harness you have, the first order of business is to lay it out on the floor and see how the circuits are bundled. This allows you to determine if you need to rearrange or add wires to the harness to suit your vehicle. Don’t forget to label each wire (if not already labeled) and bundle. It is really easy to forget what section you’re working on and mix up circuits.
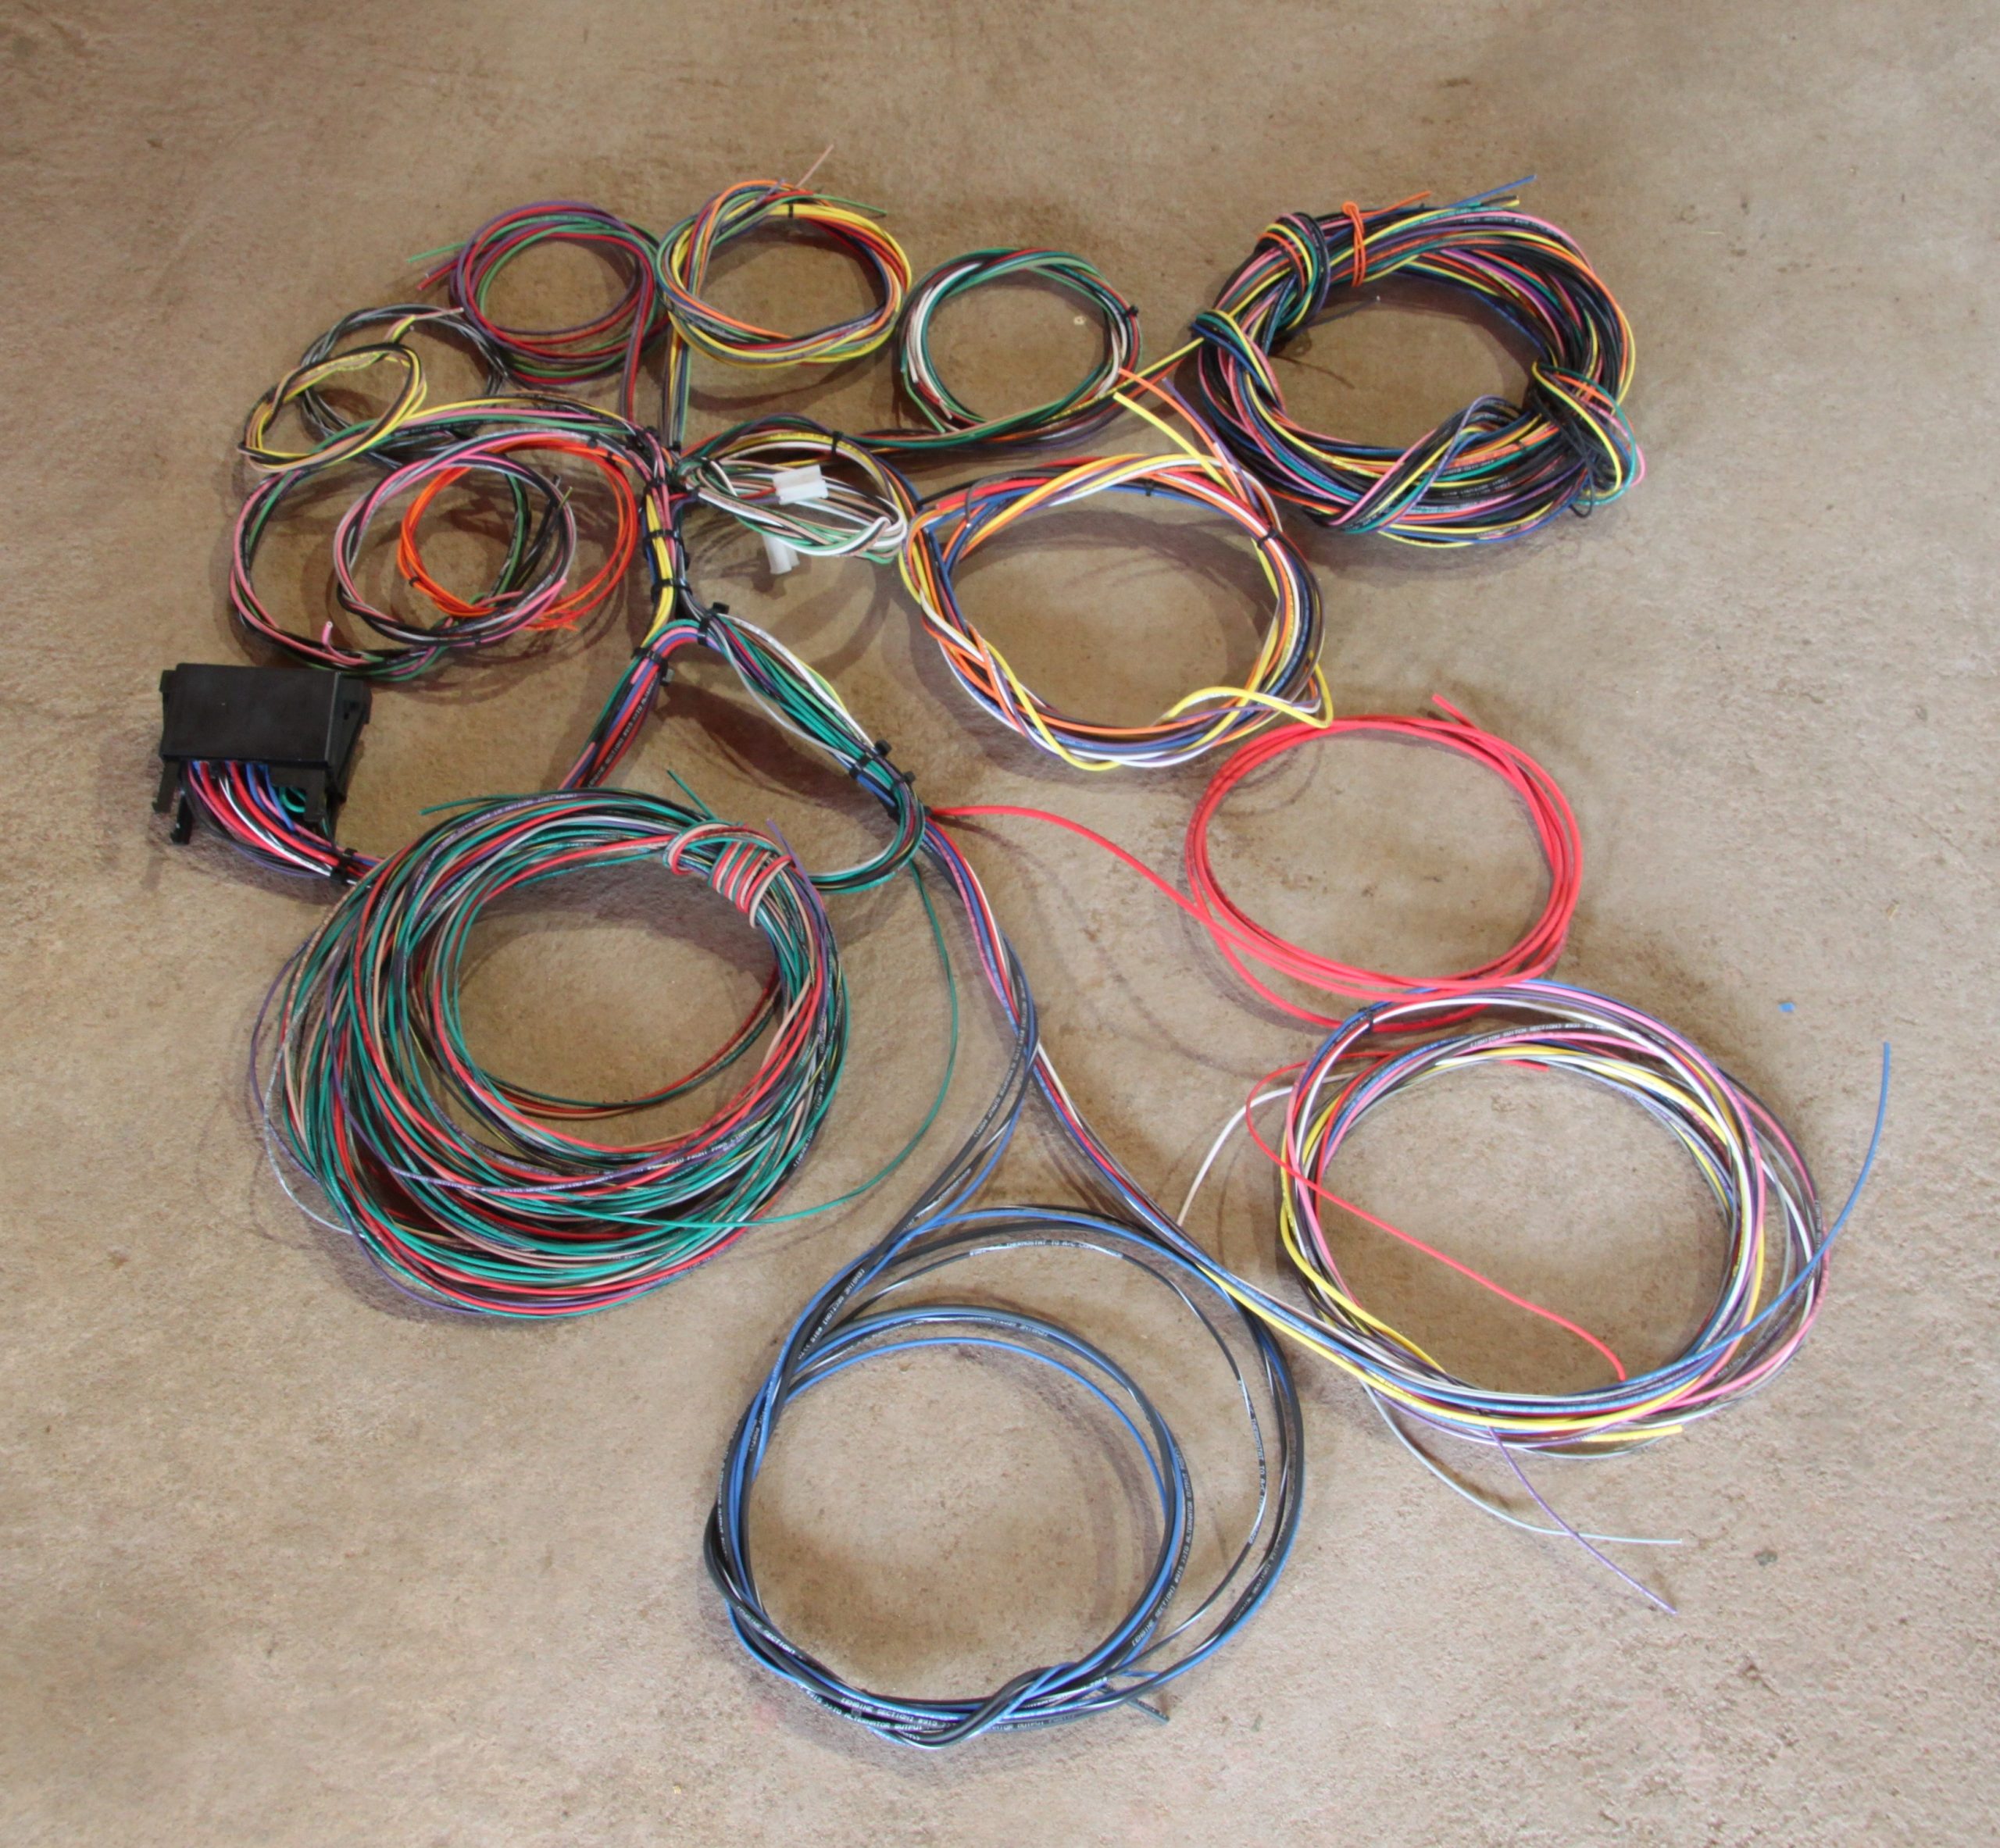
You can use zip ties to secure bundles as you go, but don’t permanently cover them in tape or wire wrap. If you do, Murphy’s Law will bite you hard and you’ll end up pulling it all apart to move one wayward wire.
Routing and Protecting the Harness
Once you have the harness bundled to suit, you have to get it in the car. The easiest method is to lay the harness on the floor in the passenger area. That way, you can determine where to the main harness and fuse block will go and get an idea where the individual bundles will go.
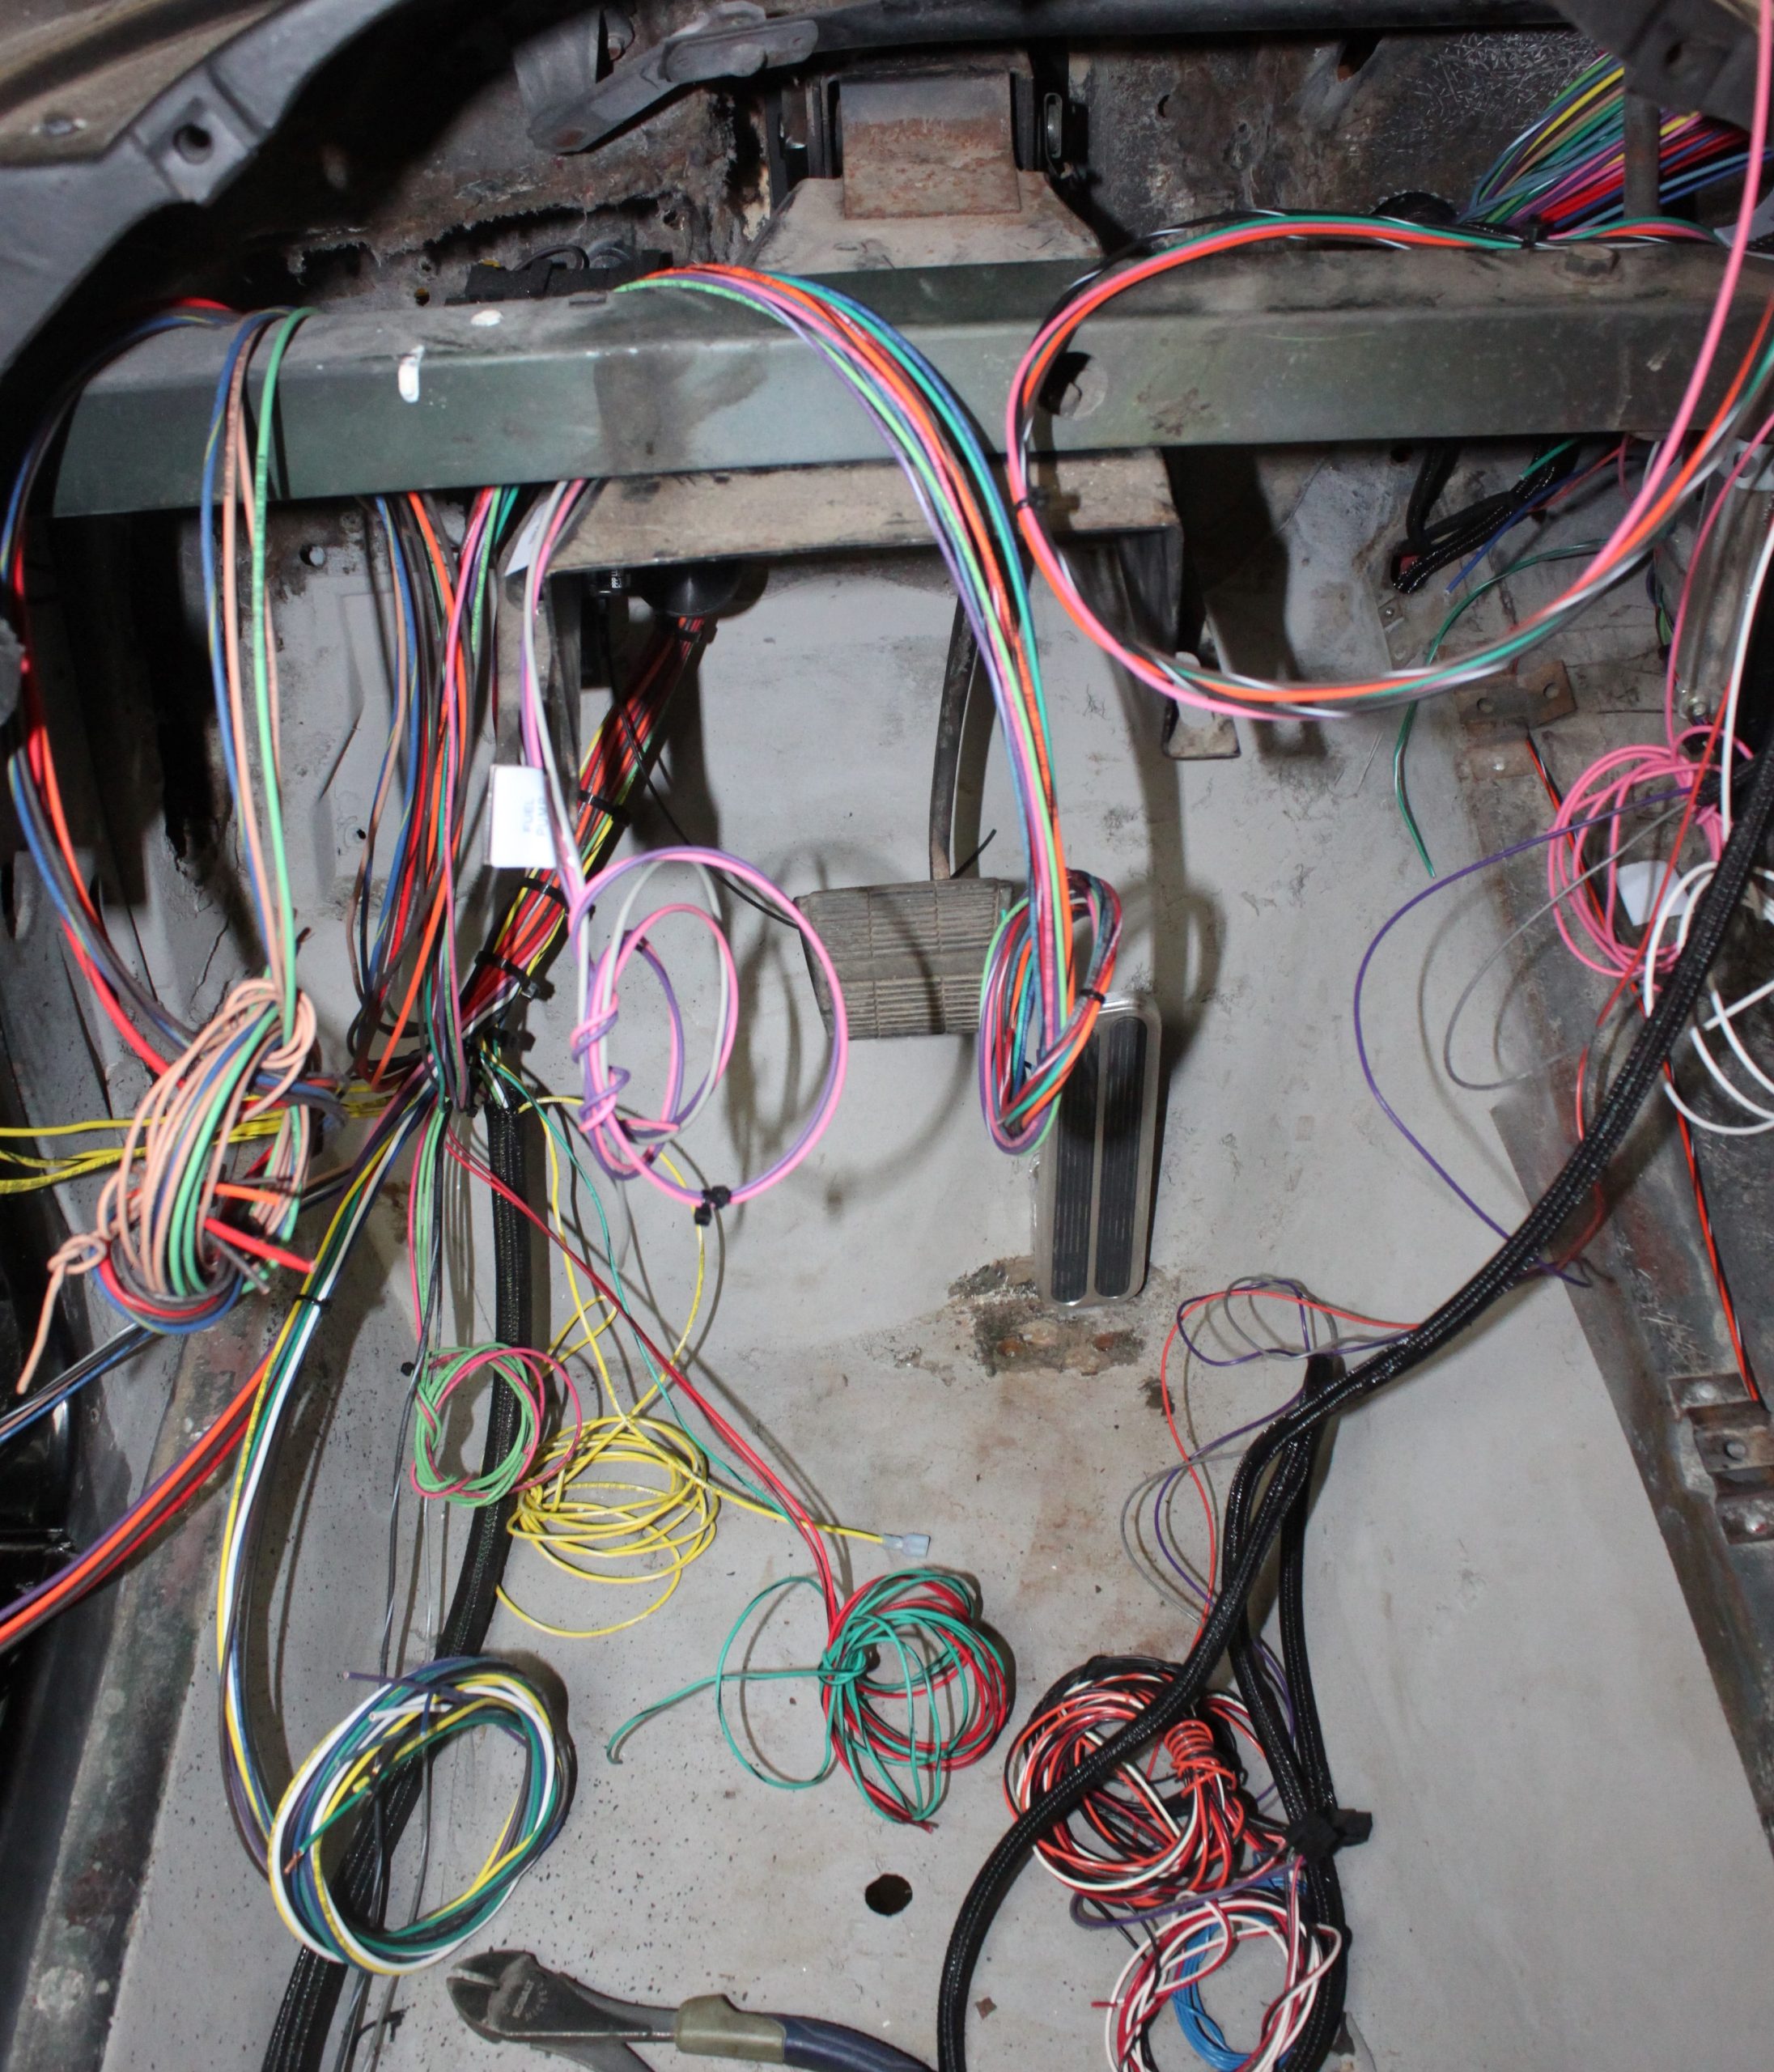
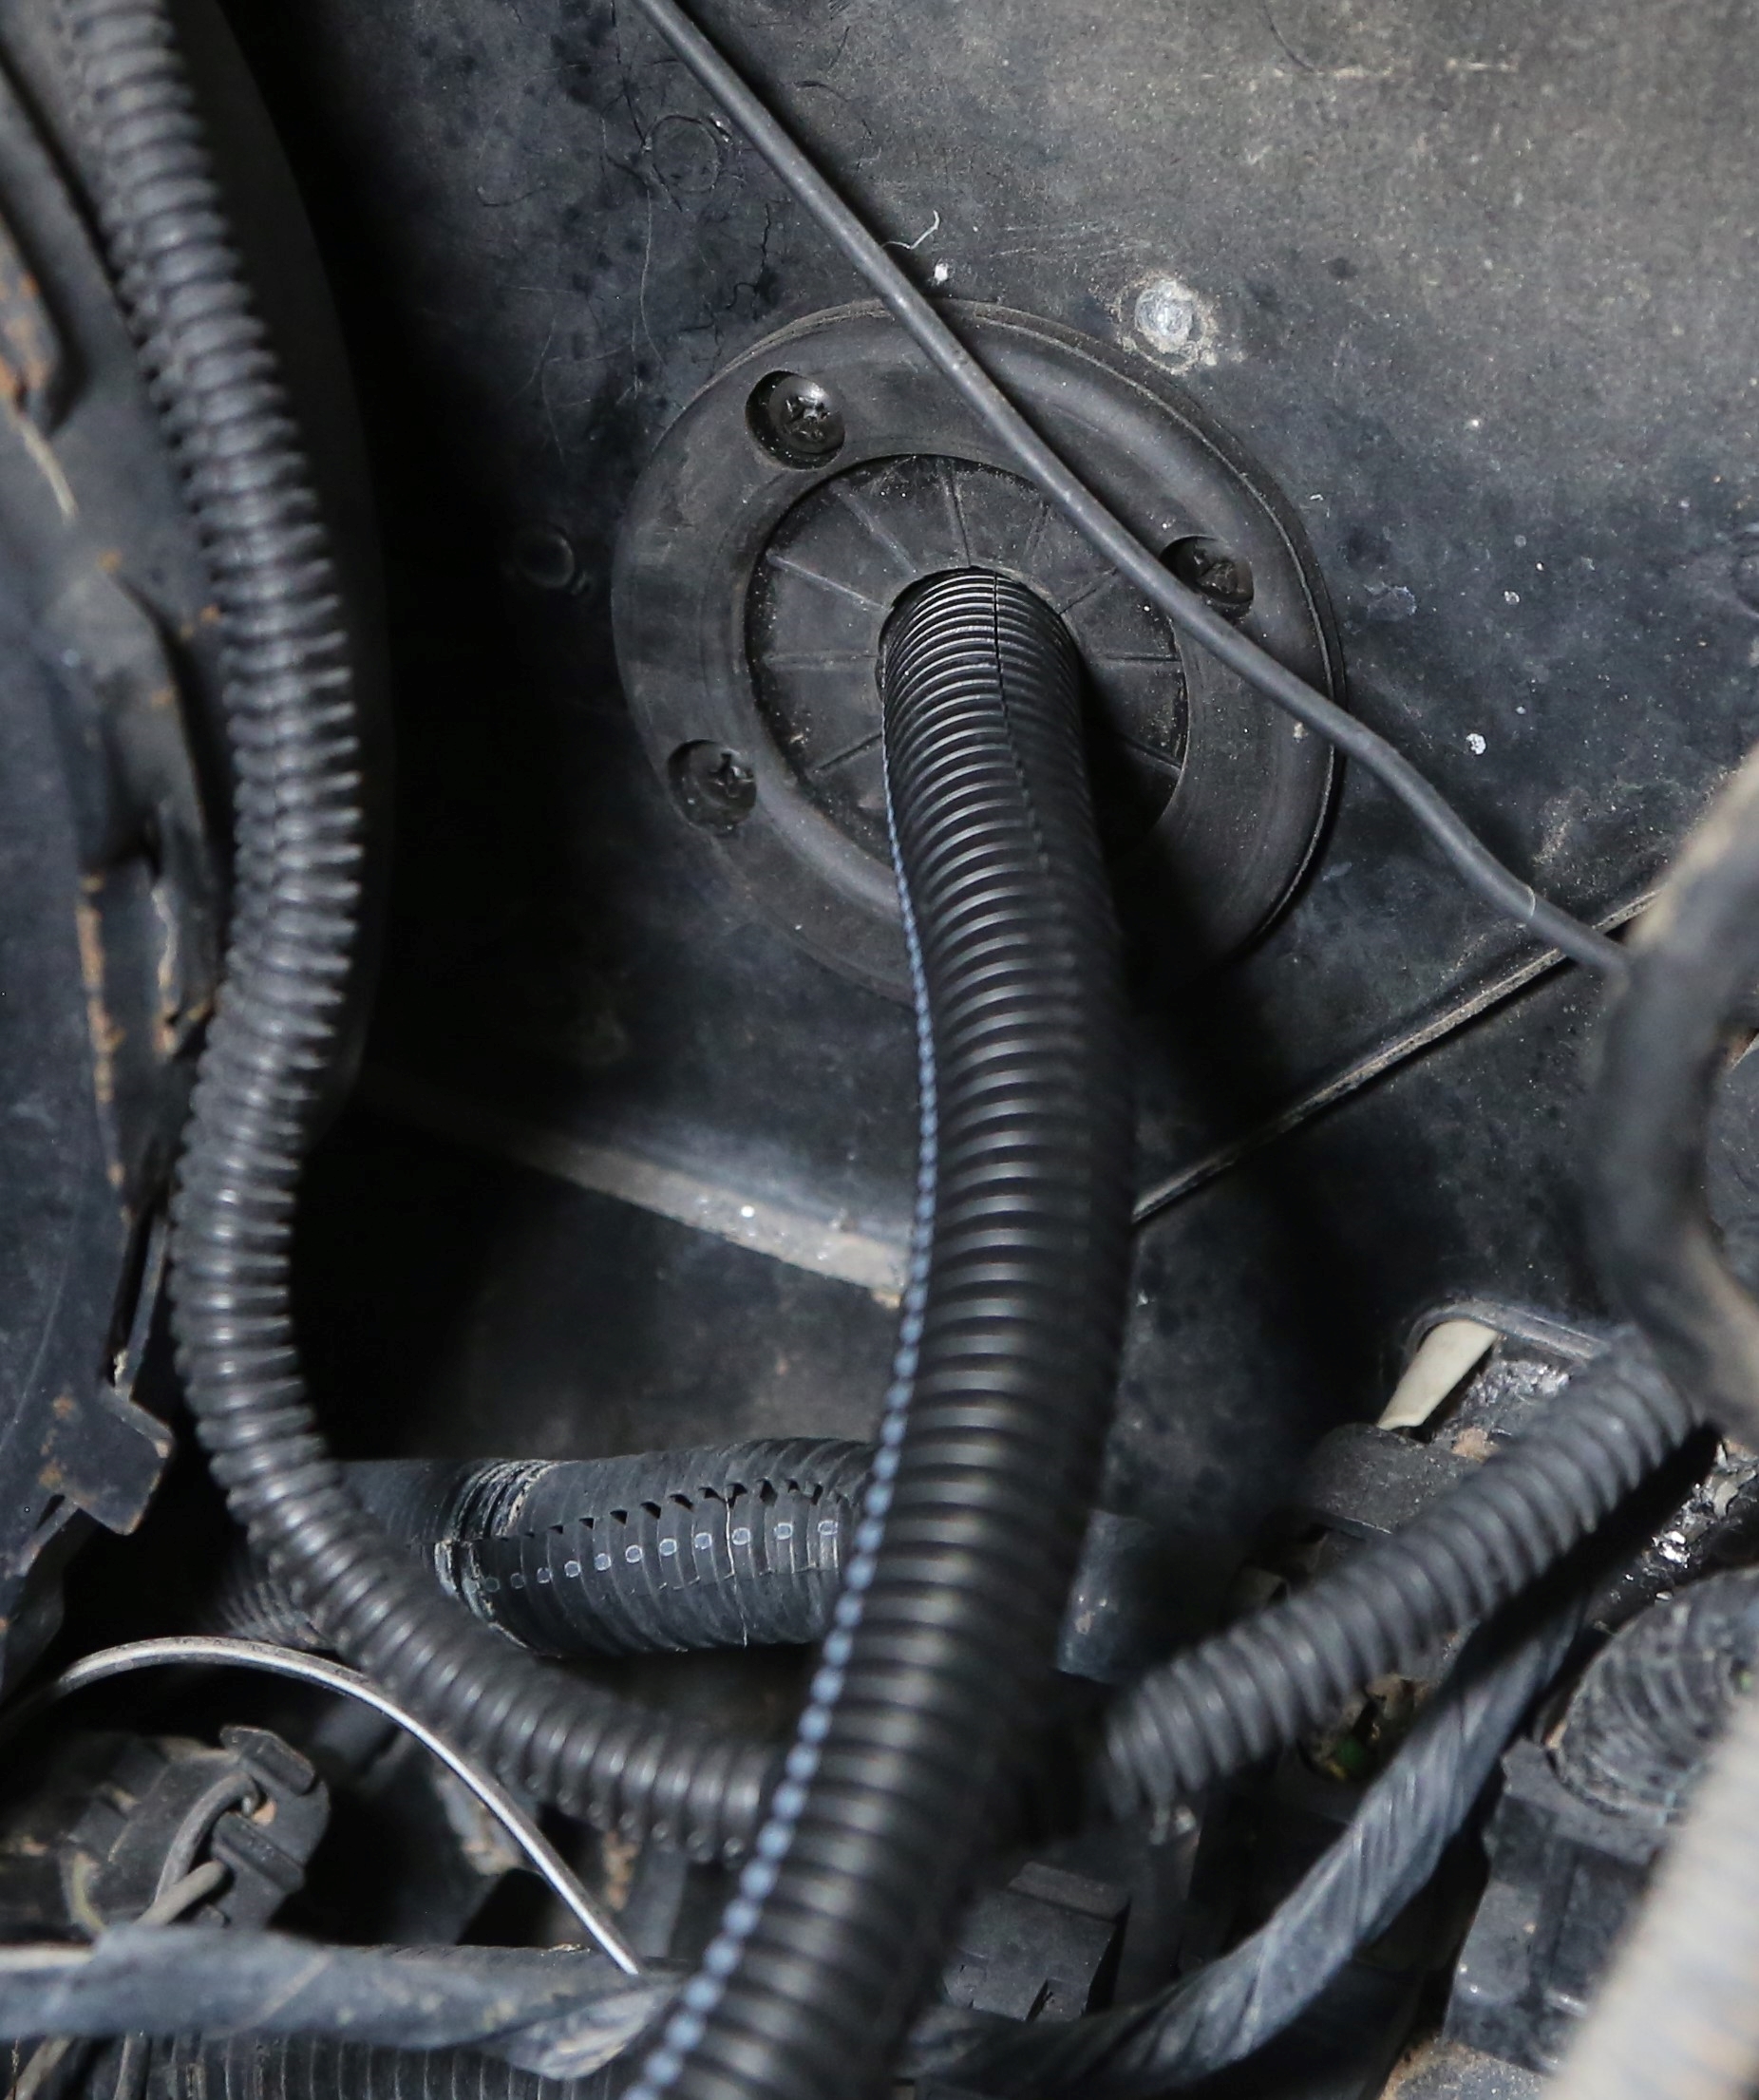
Once the main harness is in position, you can start routing the smaller bundles. Any time you pass wiring through a metal hole in the firewall or other sheetmetal, you must use grommets to protect the wire from cuts and abrasion. Summit Racing has a wide variety of grommets and seals for this purpose.
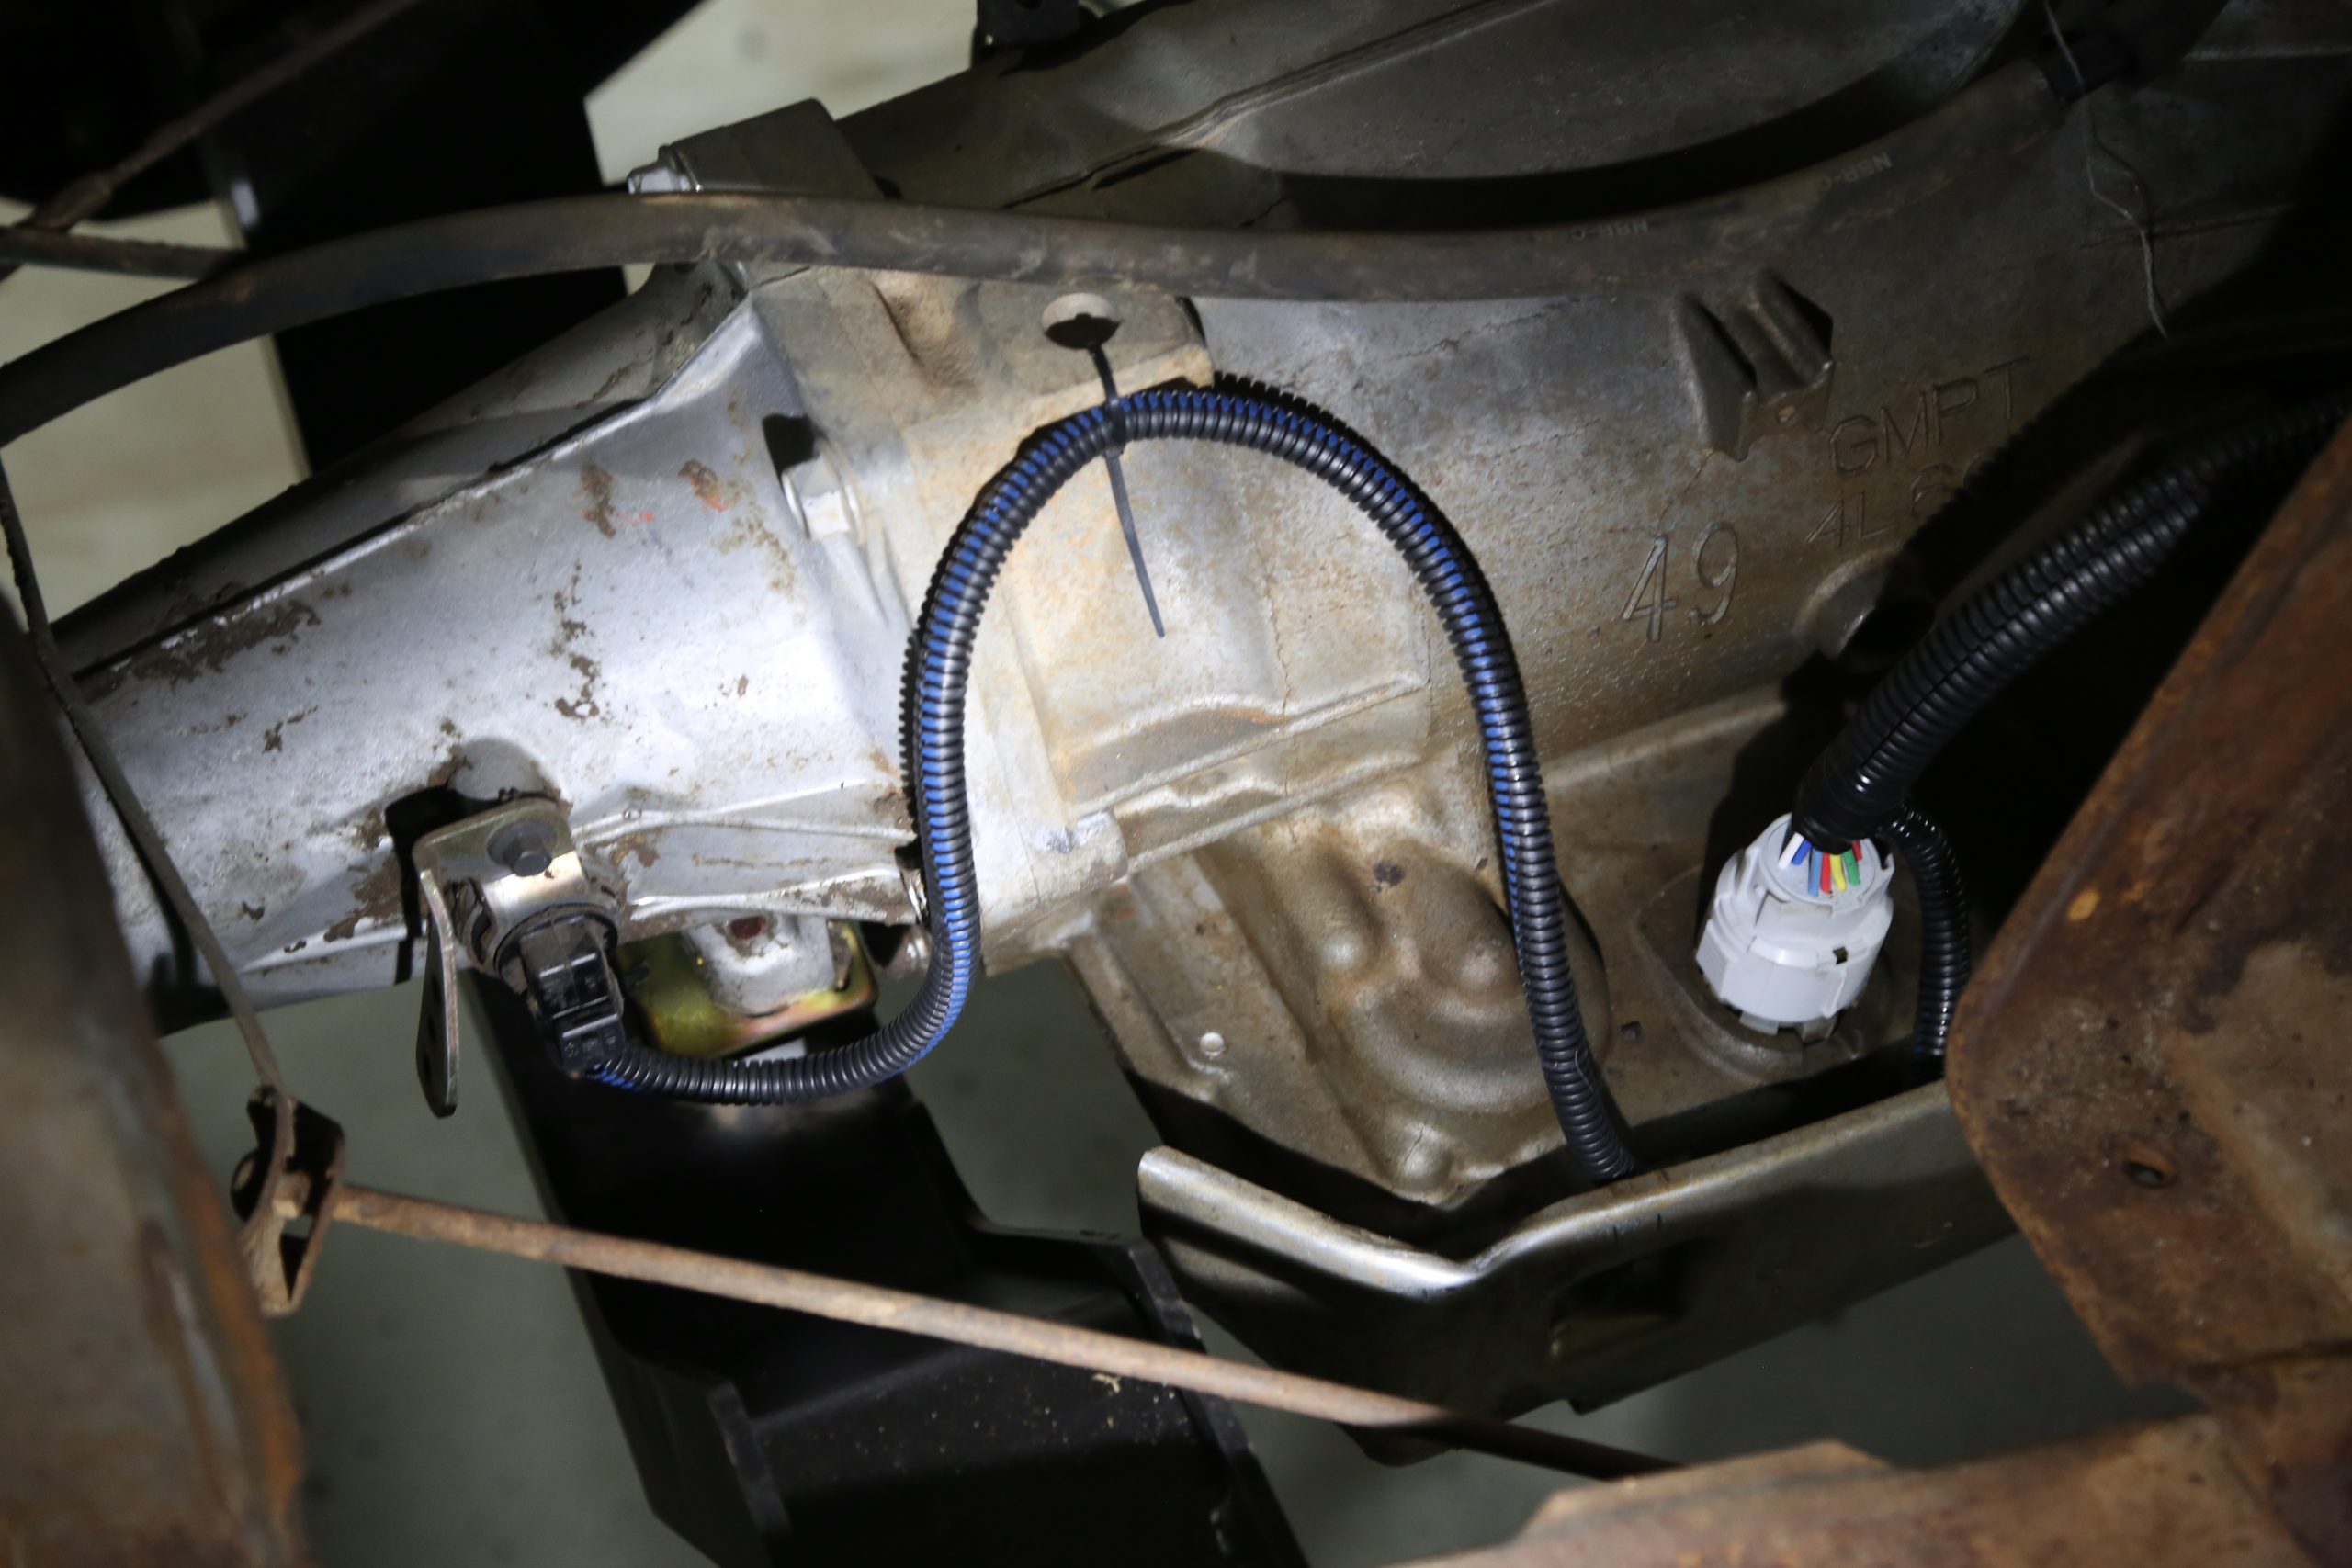
Be aware of other potential hazards when routing the harness. Headers and exhaust systems are really good at melting wire, so keep your wiring at least six inches away from any major heat source. If you have to route wires closer to hot spots, opt for some heatproof shielding to protect them.
Moving parts like linkages, steering columns, shifters, and fans can really do a number on wires. Make sure wiring is secured well away from moving components. You would be surprised how easily something like a steering column rag joint can snag a wire and yank it right out.
Universal chassis harnesses often have circuits you don’t need or want immediately. You could eliminate those circuits by removing the wiring entirely in the layout stage, but you will likely regret that later on. It is a good idea to make a small bundle of such circuits and tie them up under the dash or the carpet. This way they’re ready to go if you decide you need them.
Wrapping
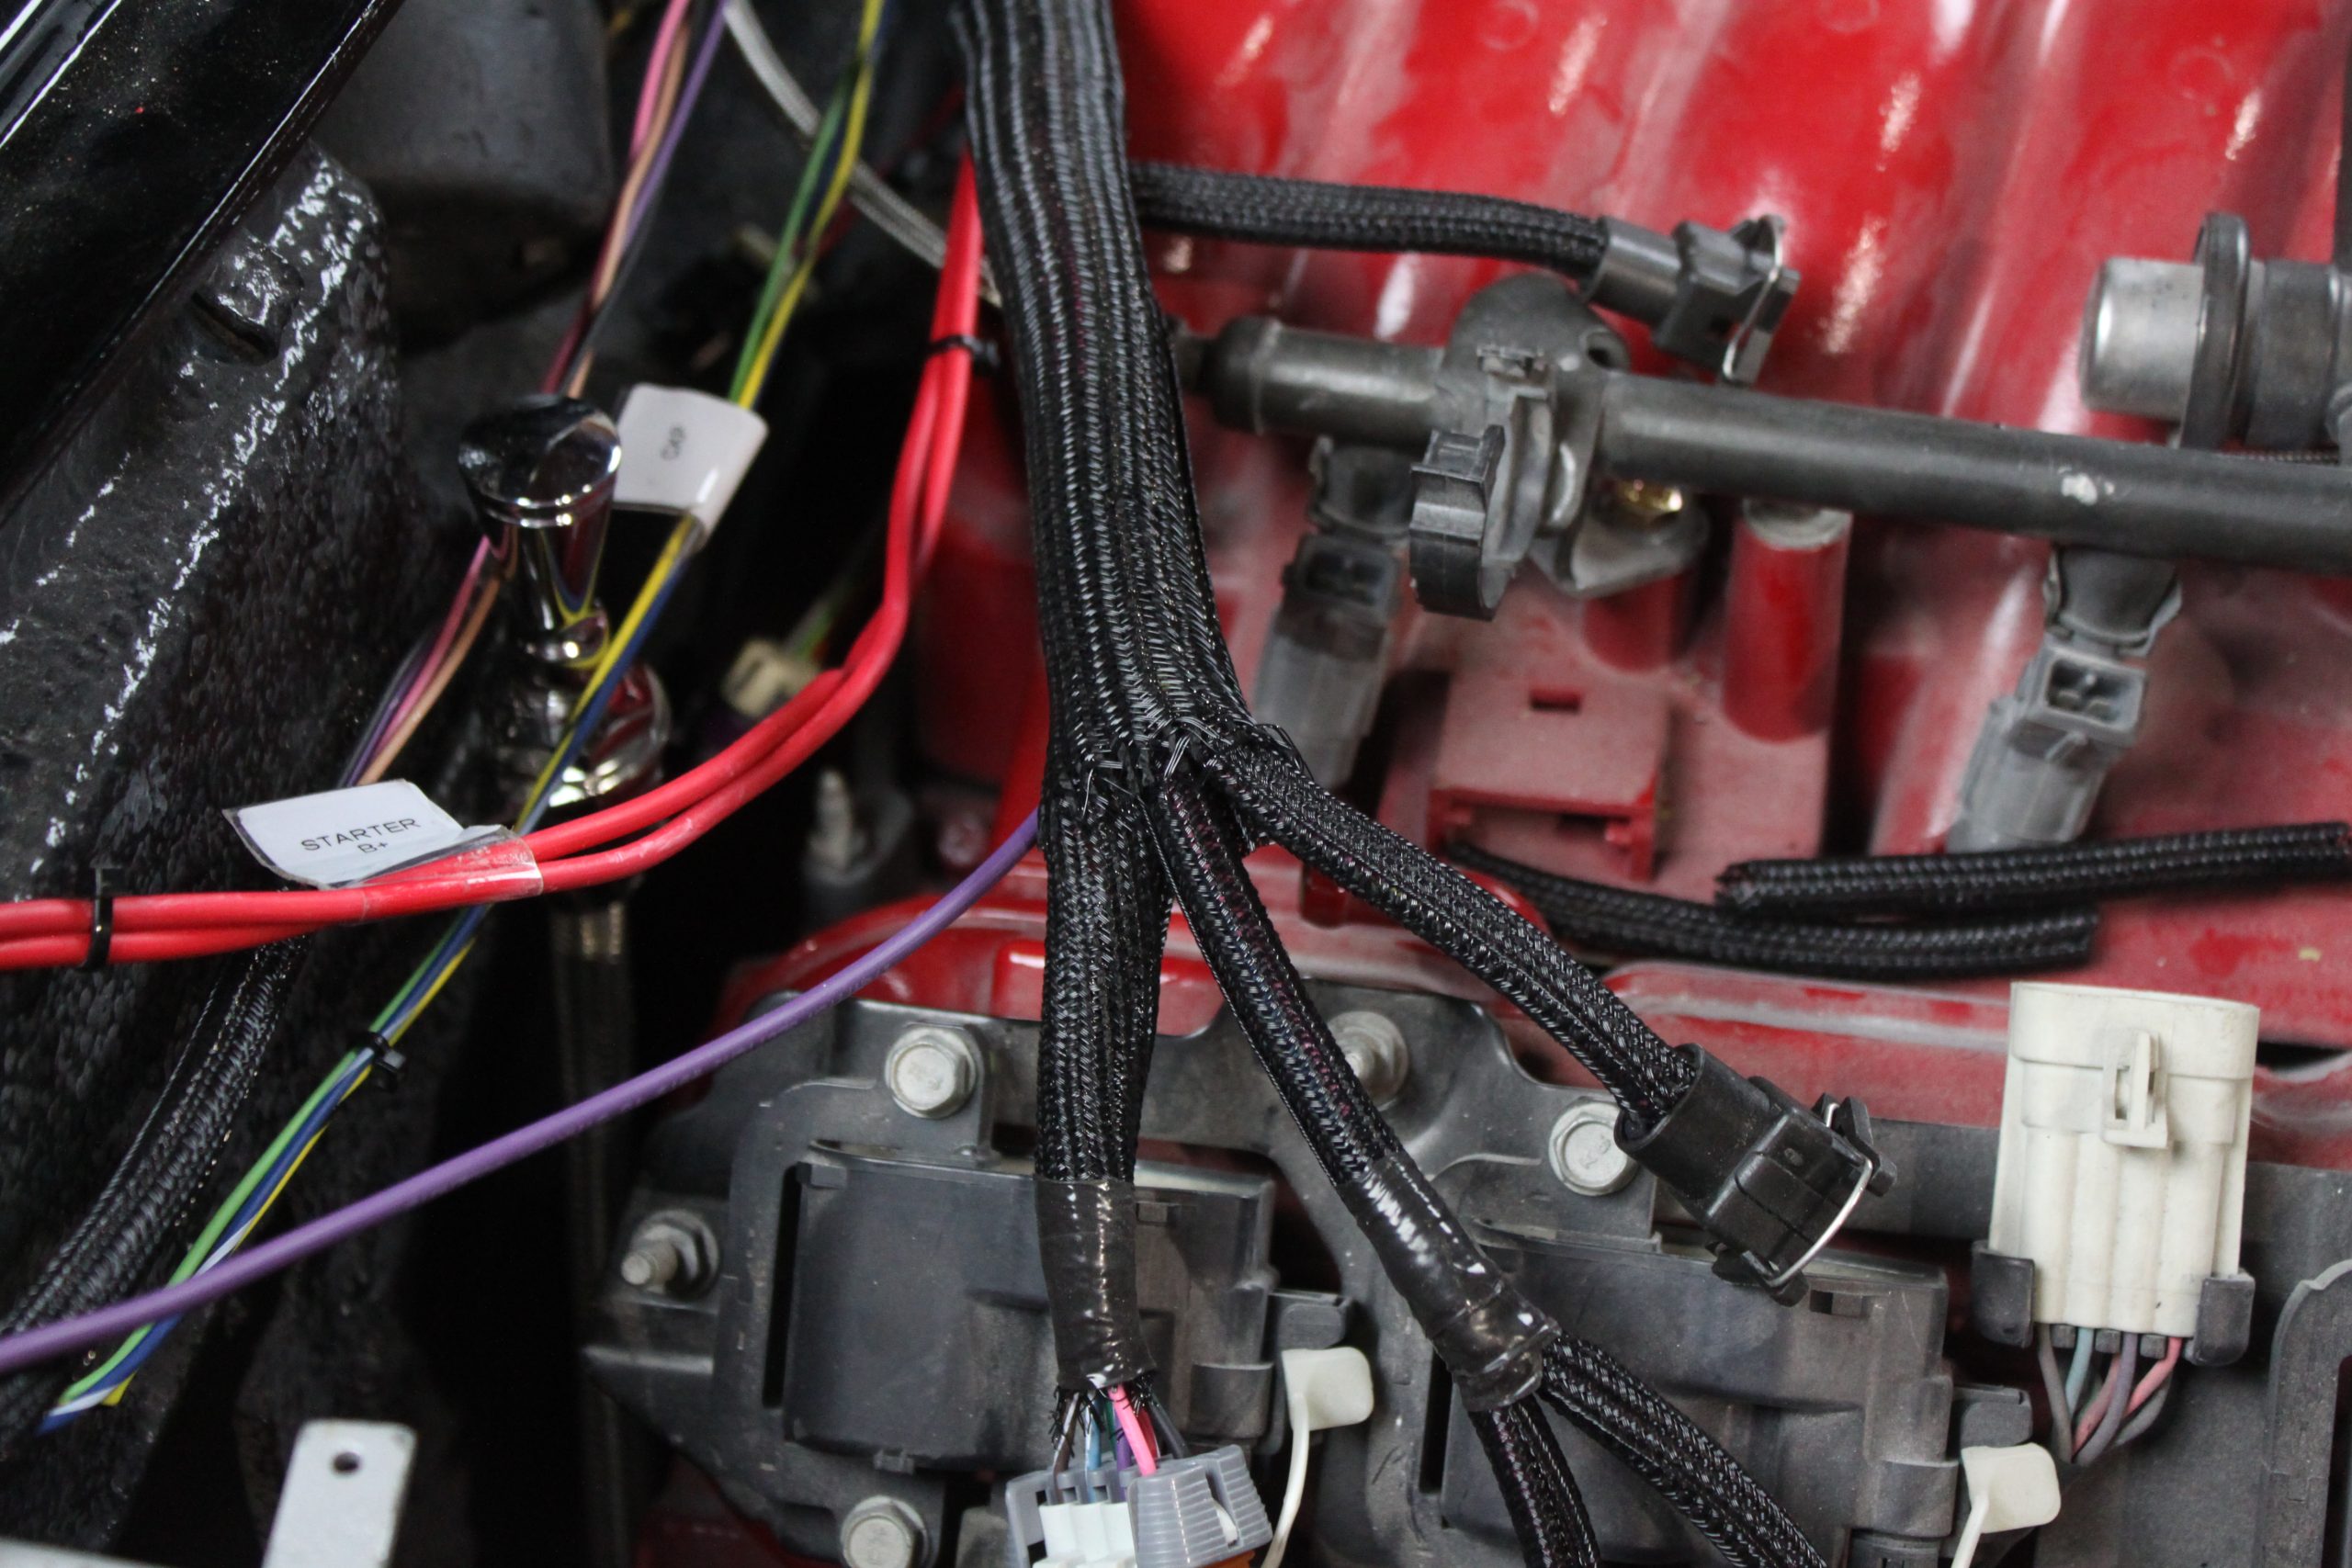
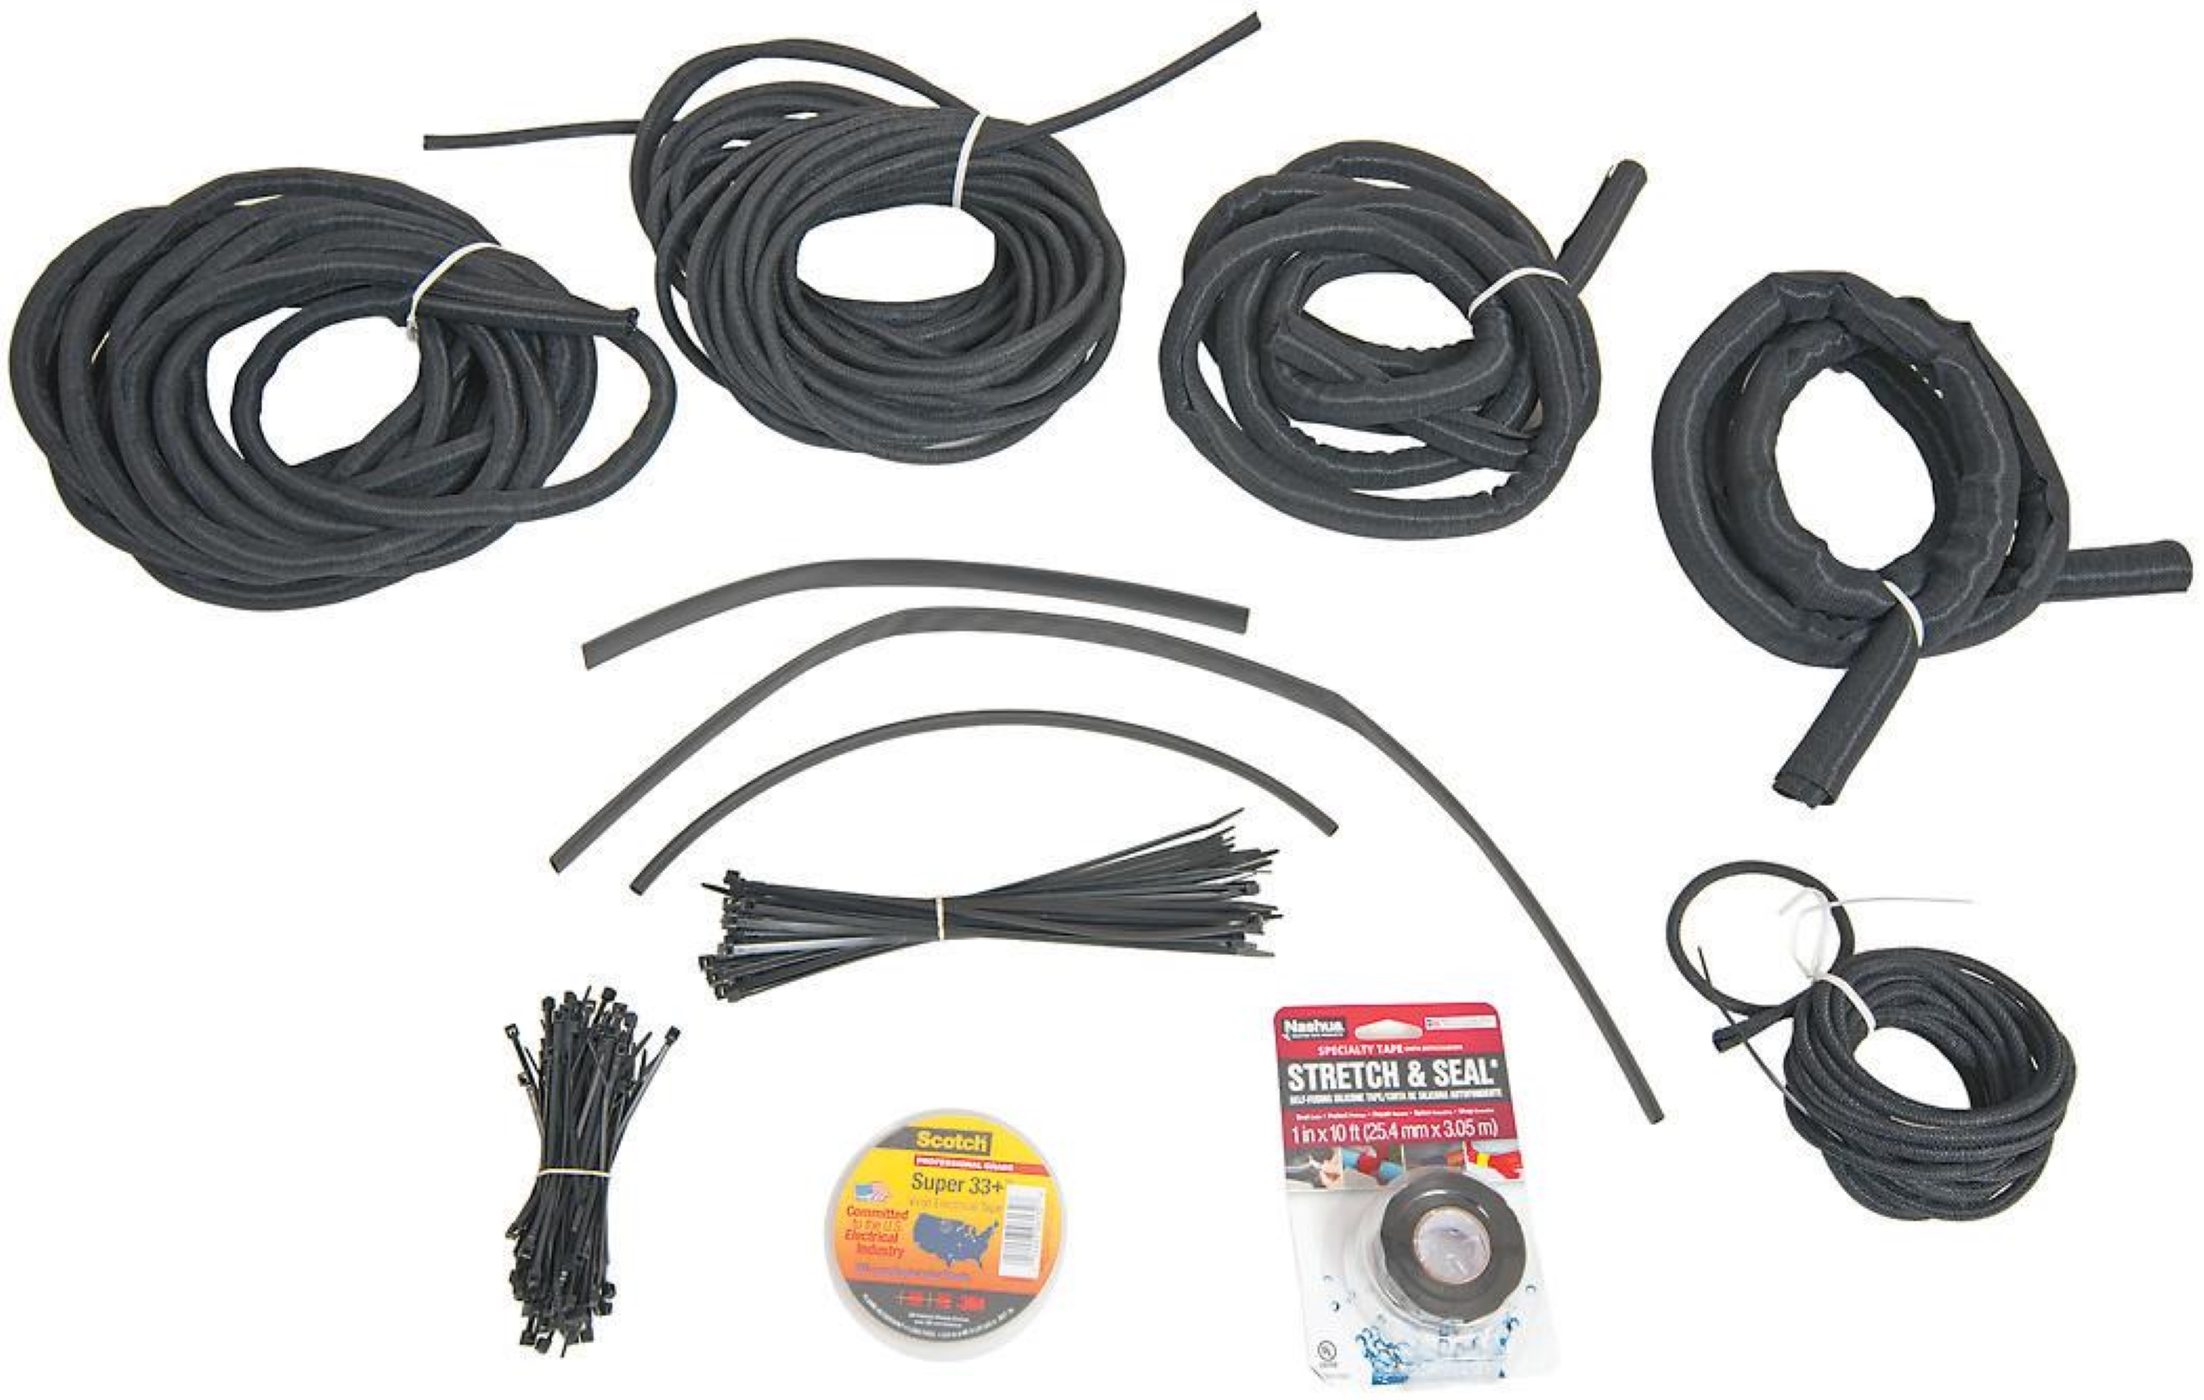
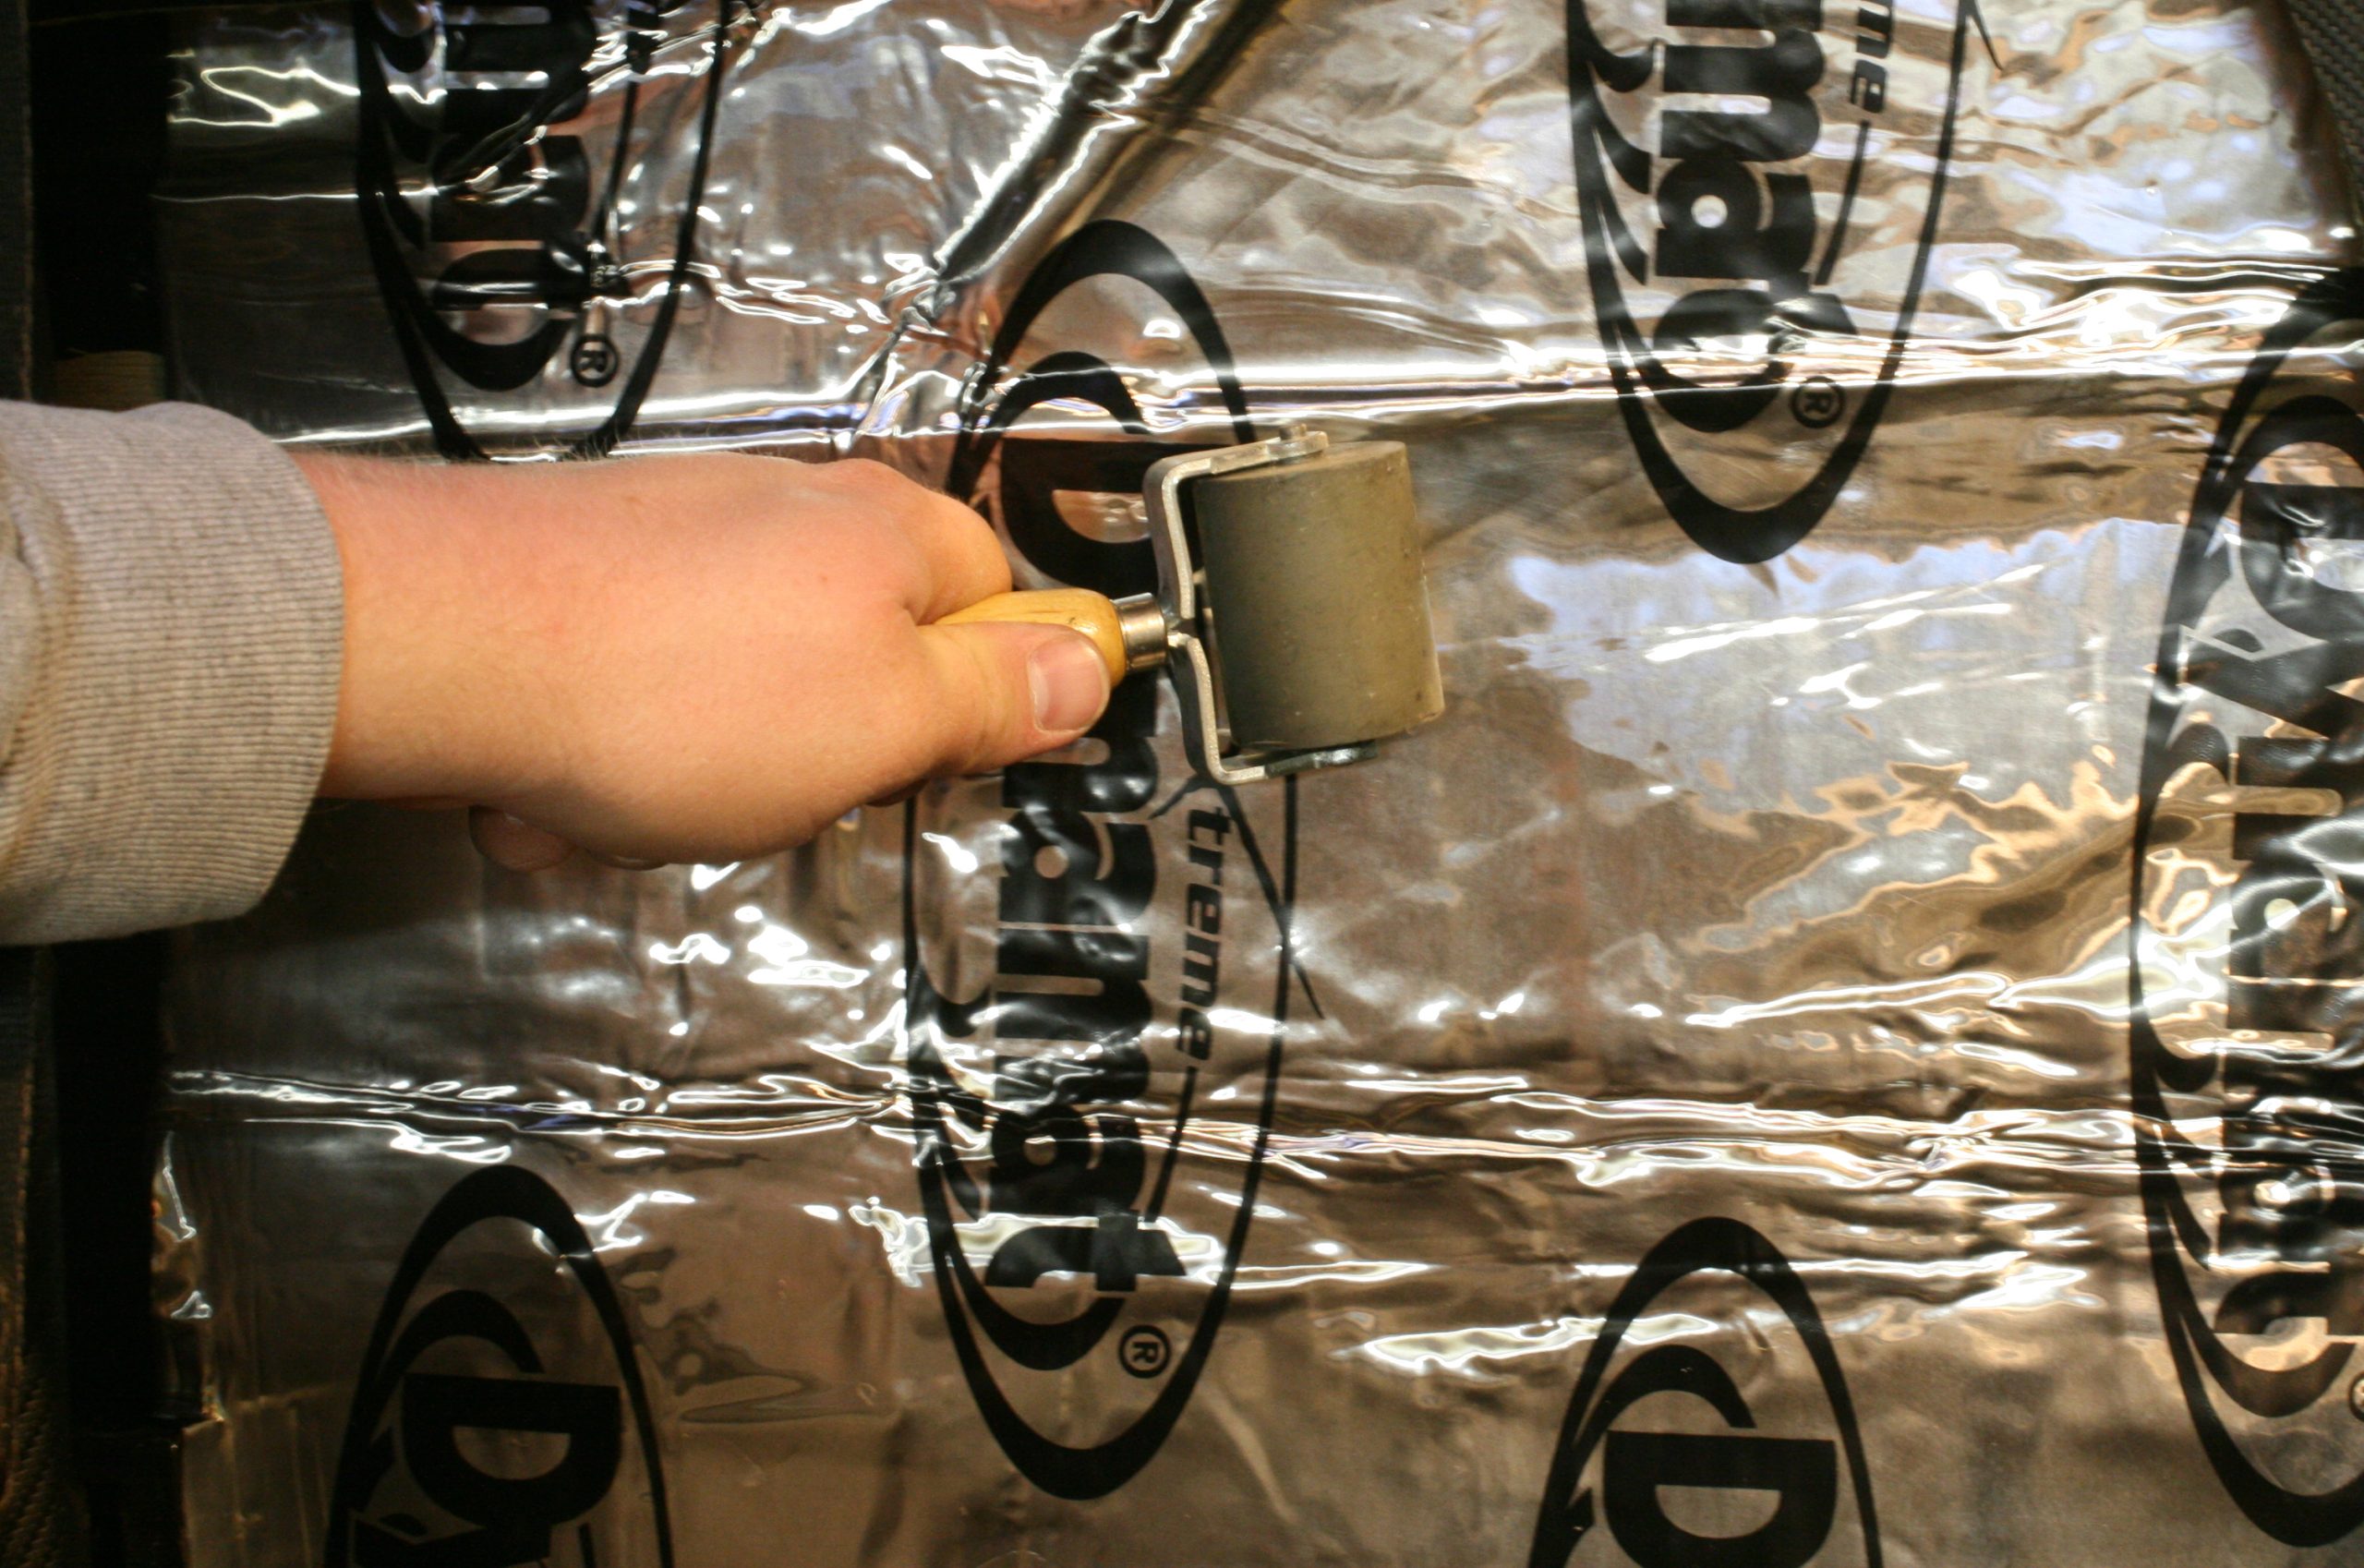
Once you’ve routed all of the bundles, you can start wrapping the harness. Summit Racing offers a ton of options including wrap and sleeving and plastic and cloth tape. I prefer fabric harness wrap. It’s easy to use and allows you to access the wiring—just pull it off, do what needs to be done, and slip it back on. It has some spring to it, so it holds itself closed while being incredibly flexible. I really like Summit Racing’s Woven Fabric Wire Wrap Kit. It comes with wrap in several diameters, zip ties to secure bundles to the vehicle, plus electrical and self-vulcanizing sealing tape to seal the ends and joints if necessary.
Other Considerations
Keep future access in mind when you route your harness through the car. Front to rear runs should be located at the interior edges of the rocker panels. Nobody likes a rats nest or wire hanging from under the dash, so take the time to secure the dash loom where it will be accessible and not covered by bracketry and components.
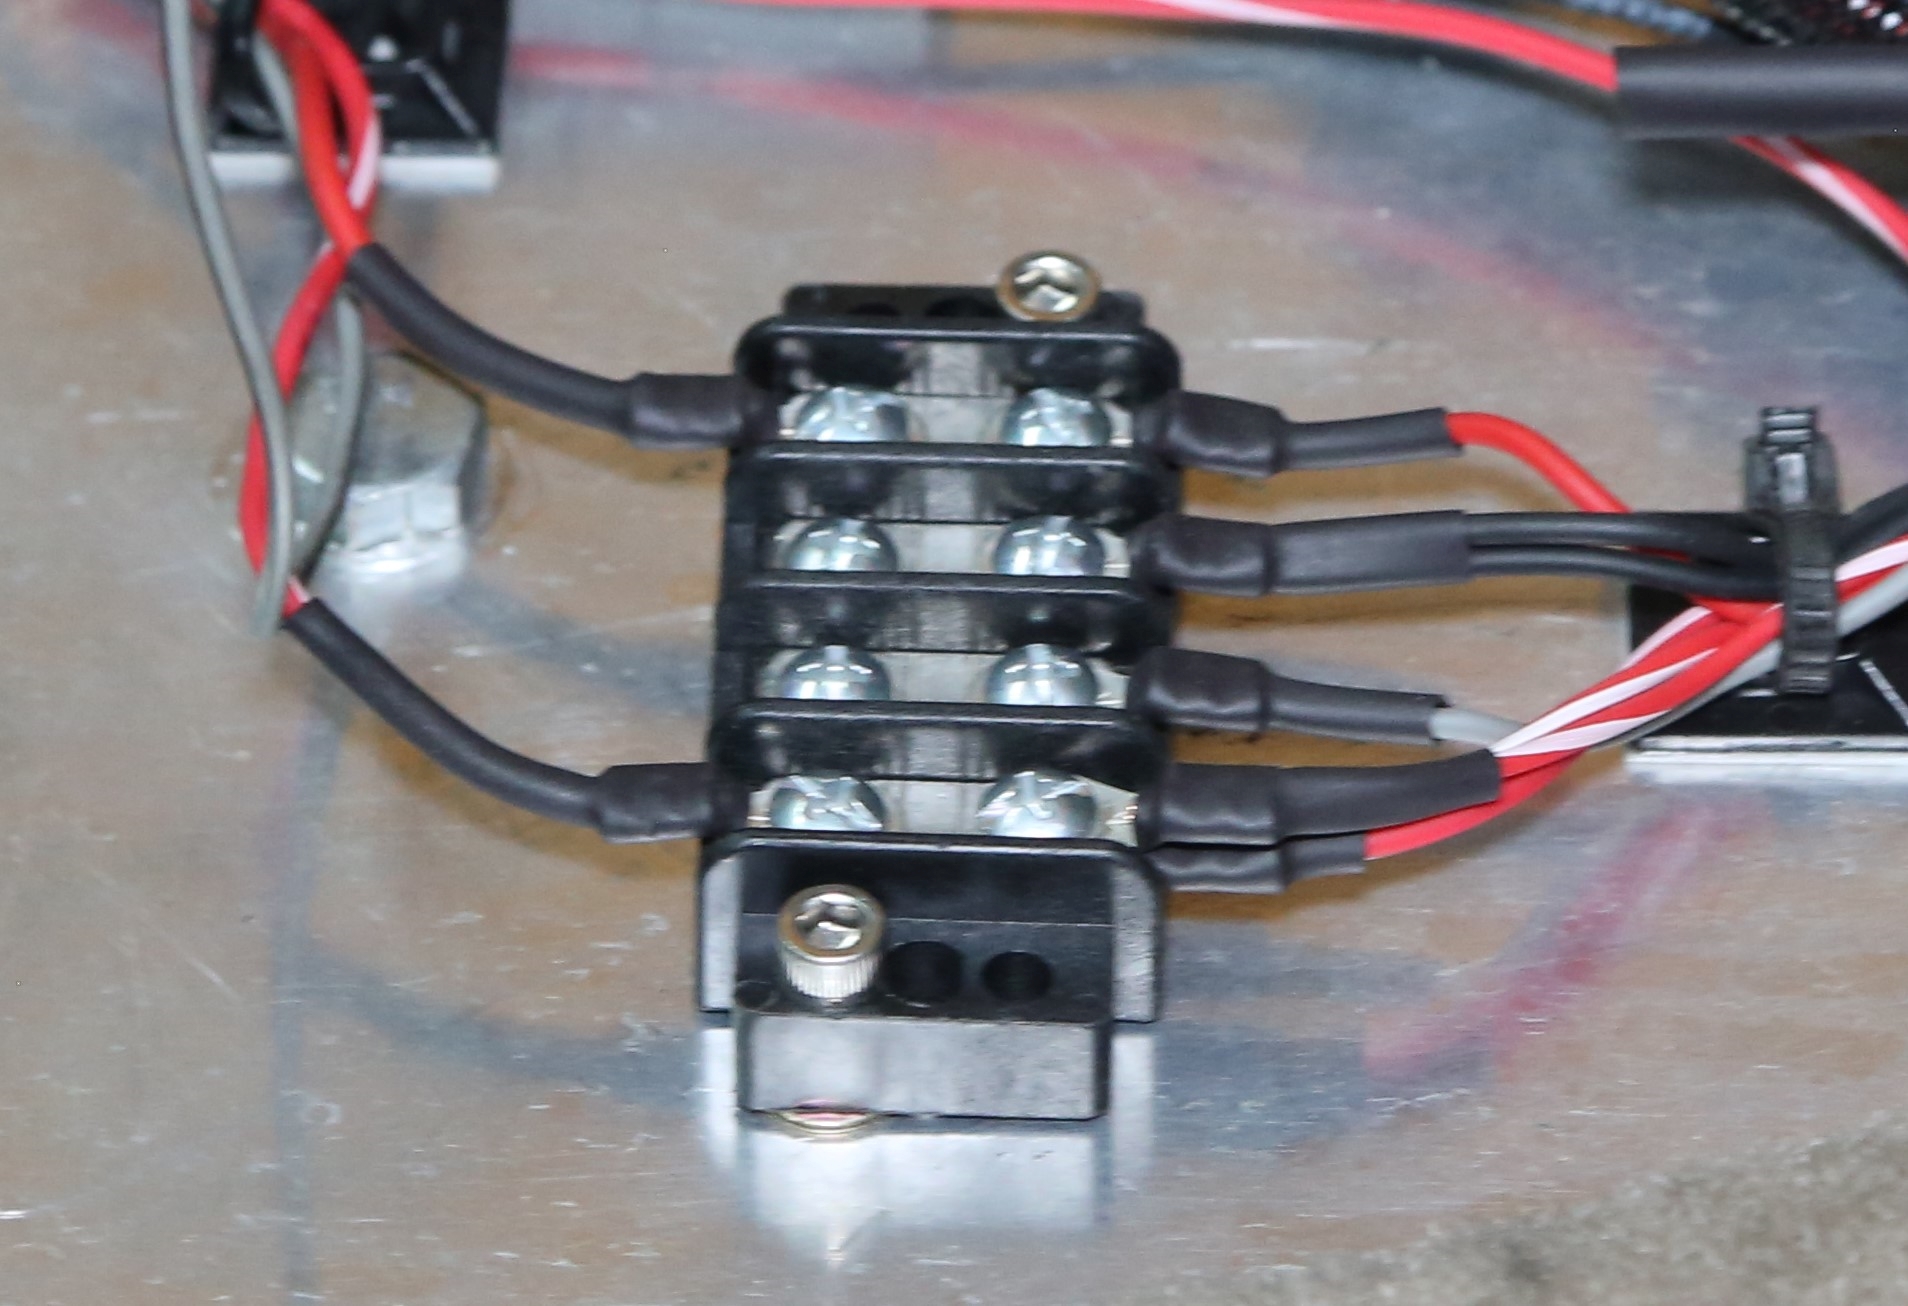
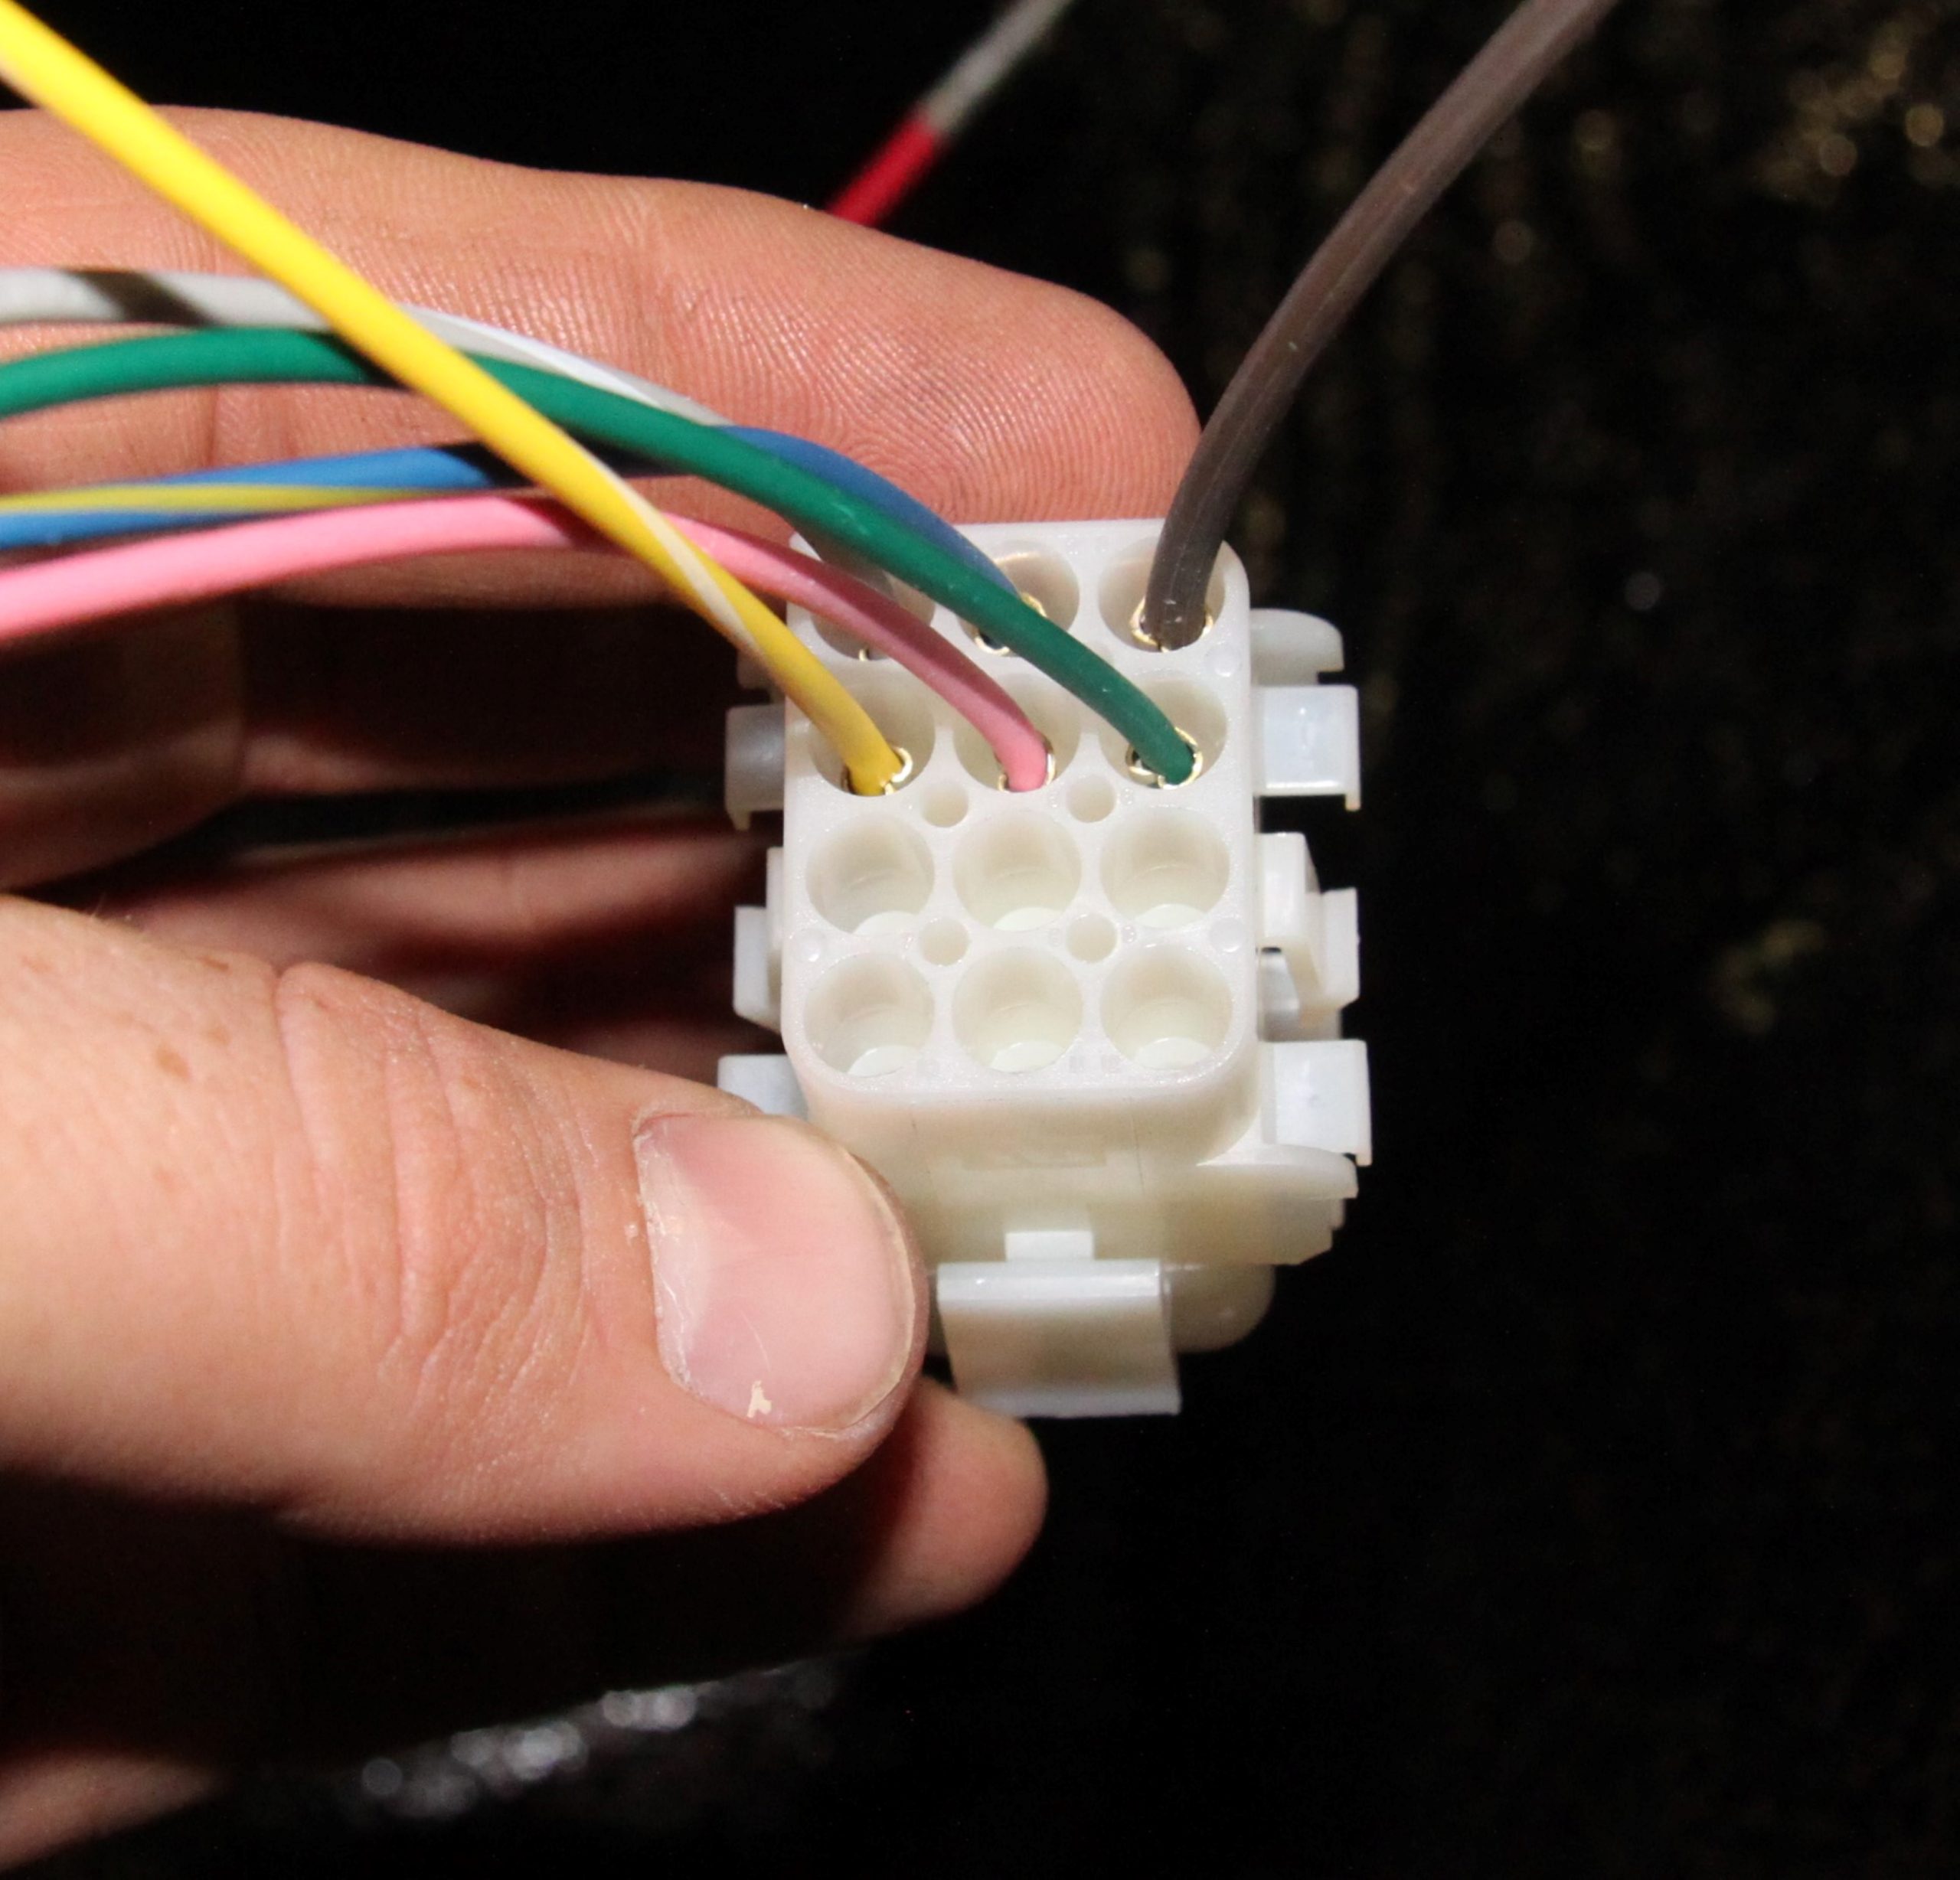
Ground terminal strips and quick-disconnect plugs are great ways to add serviceability to a harness. Instead of tracing a wire, you can simply unplug a section to eliminate potential fault points. Adding quick-connect plugs for the starter, fuel pump, door wiring, and even the entire engine harness makes servicing these items a snap. You can even add fused terminal strips for 12-volt positive constant and hot feeds for accessories.
Routing a wiring harness isn’t difficult if you take your time and stay focused on the job at hand. When you’re finished, you’ll have vehicle wiring that has solid connections, routed neatly, and easy to access if issues arise.
Comments