Classic 1965-70 Mustang underpinnings were carryovers from the compact Falcon from which the Mustang’s platform was derived. The Mustang’s suspension system was rather crude even by 1960s standards because development was all about budget and conceiving an affordable compact automobile with a comfortable ride.
Ford surely hit its target market with the Mustang’s introduction—which was a grand slam. It planned 100,000 units and wound up selling 600,000 in its first model year.
Yet when the Mustang was introduced, journalists of the period criticized the car for its lack of performance options like the 289 High Performance V8 and a competition suspension.
Ford, concerned over the Mustang’s performance image, consulted with veteran Le Mans winner and racecar builder, Carroll Shelby, who took a couple of Mustang hardtops and went to Willow Springs Raceway to work on suspension modifications. One of those modifications was a set of underride traction bars (dubbed “Traction Masters” by Shelby), which kept the rear axle stable when power was applied.
If you’re going to install traction bars on a classic 1965-70 Mustang, the Traction Masters are the best bars to install. They are practically invisible and engineered by Shelby American to keep rubber planted without wheel hop and instability. Thanks to the availability of accurate reproductions from Scott Drake, we’re going to show you how to install these bars.
We reached out to Marlon Mitchell of Marlo’s Frame & Alignment in Van Nuys, California, who has performed thousands of suspension modifications on classic Mustangs.
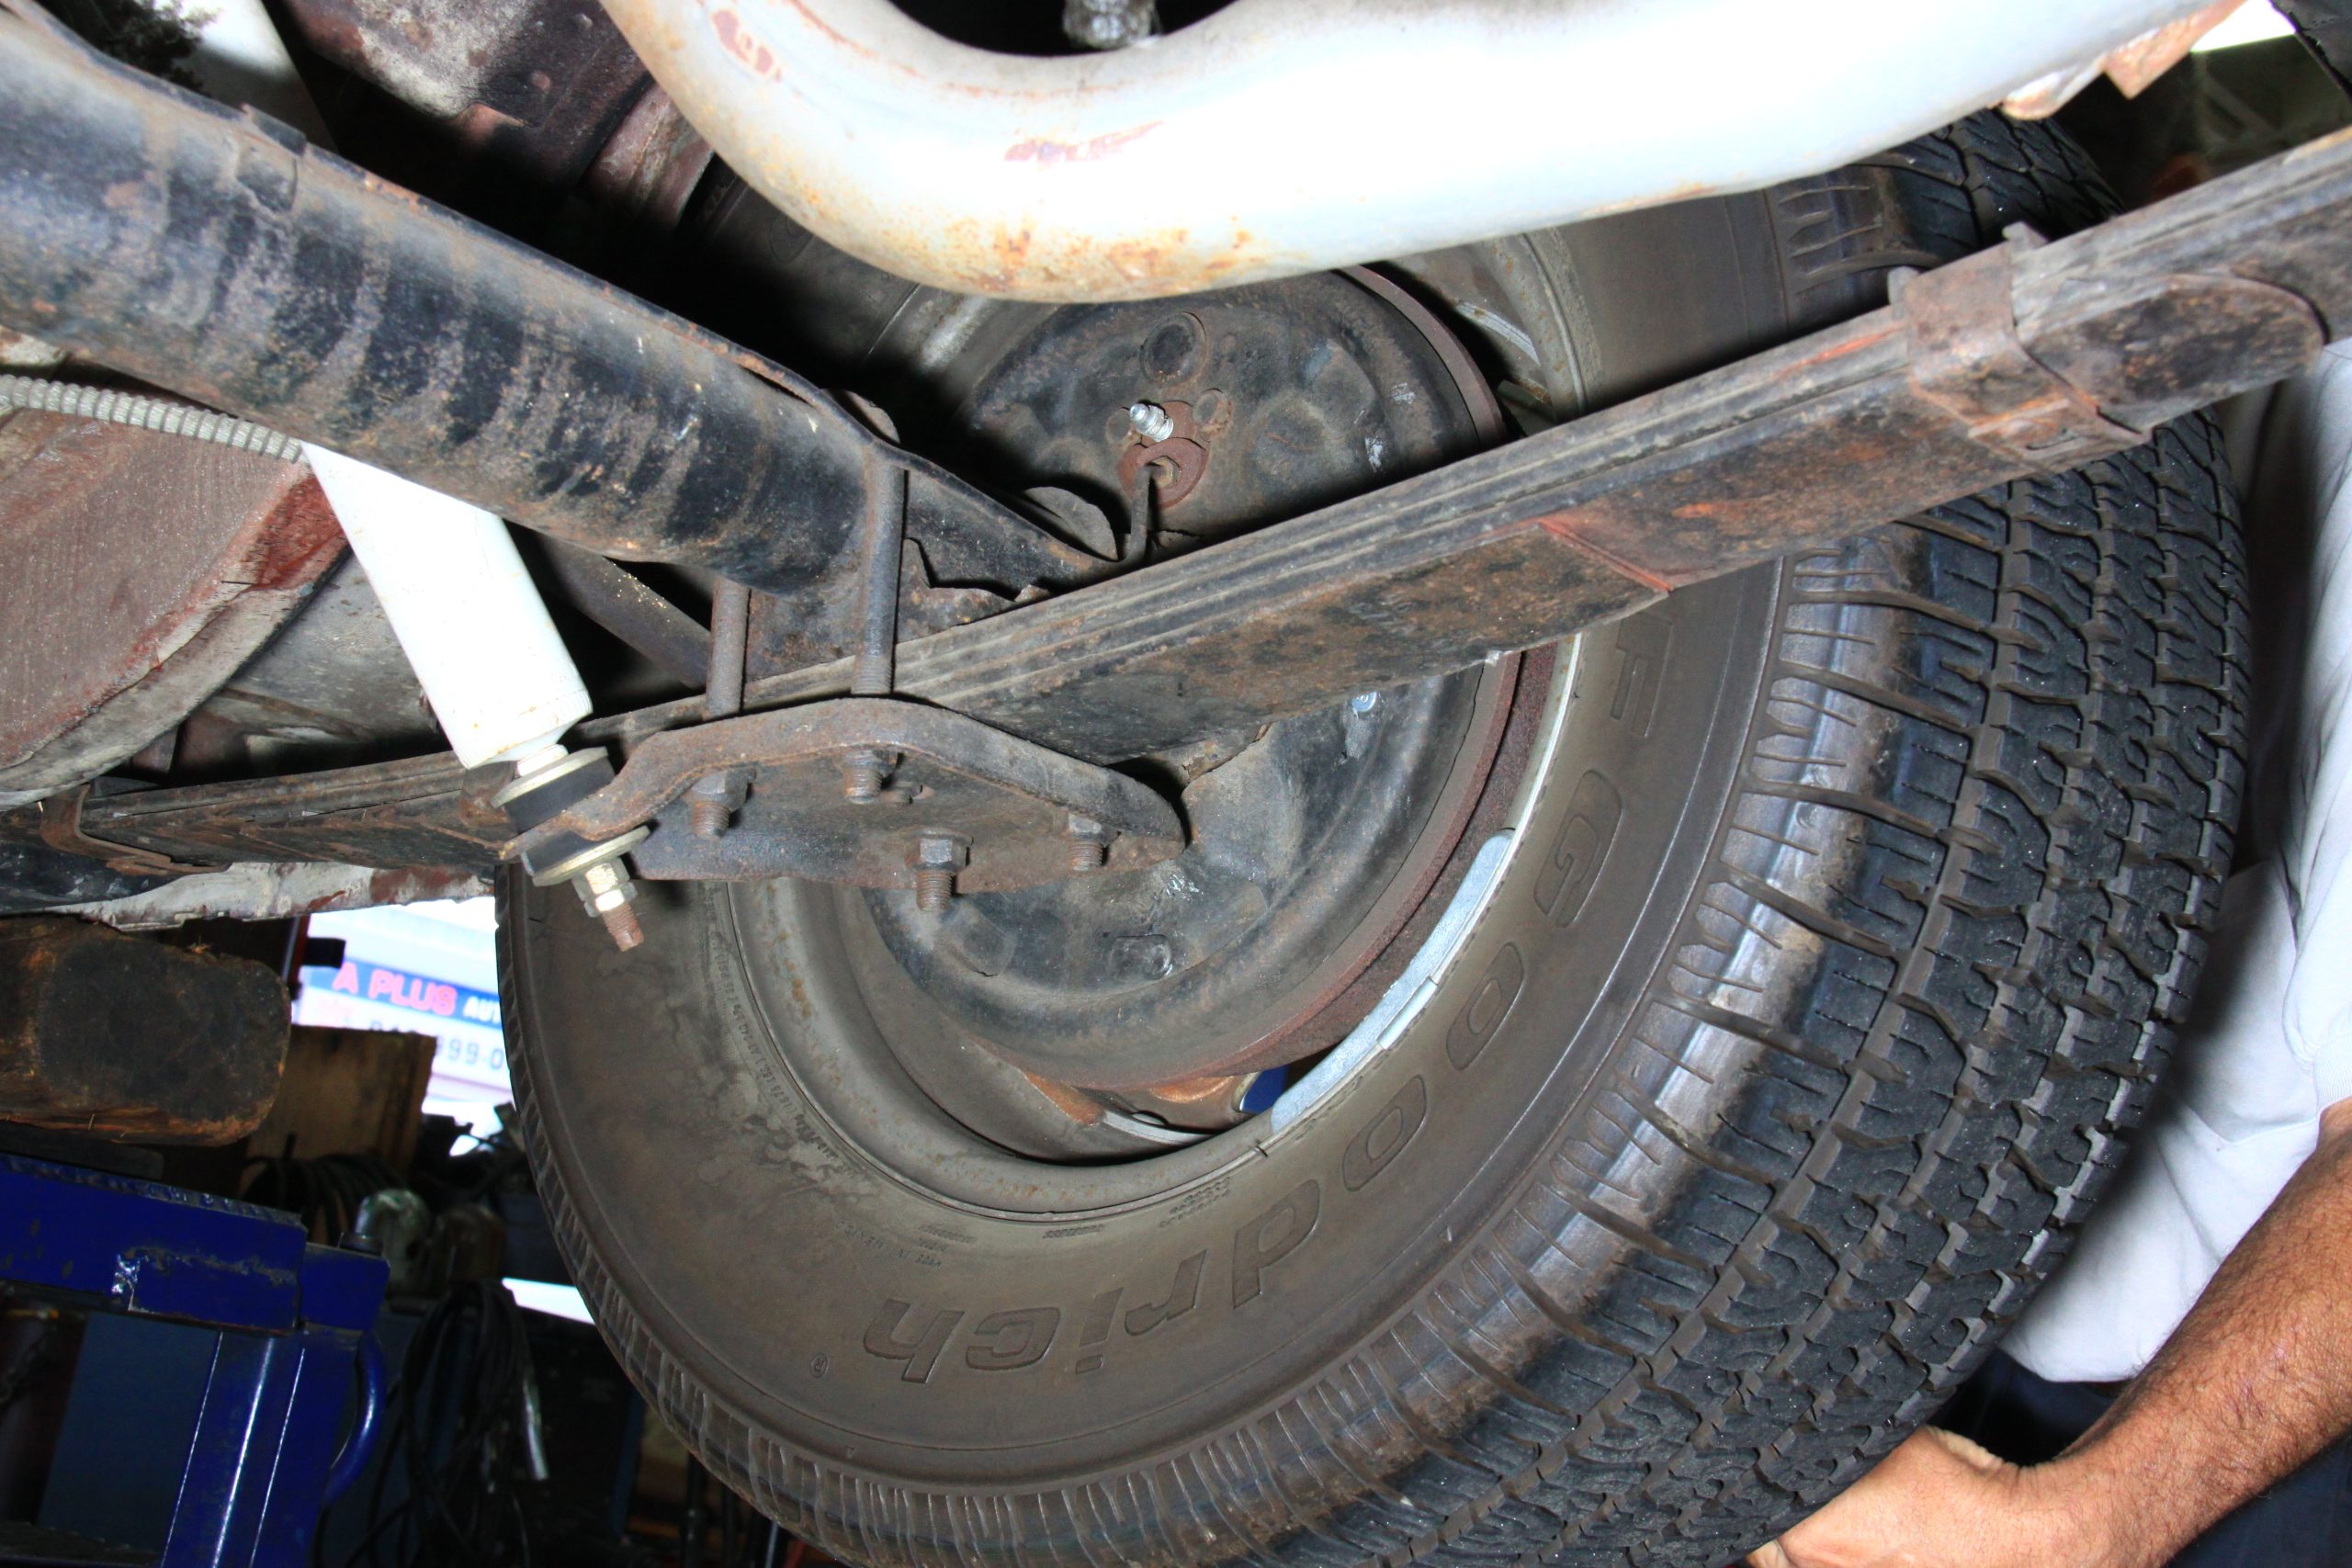
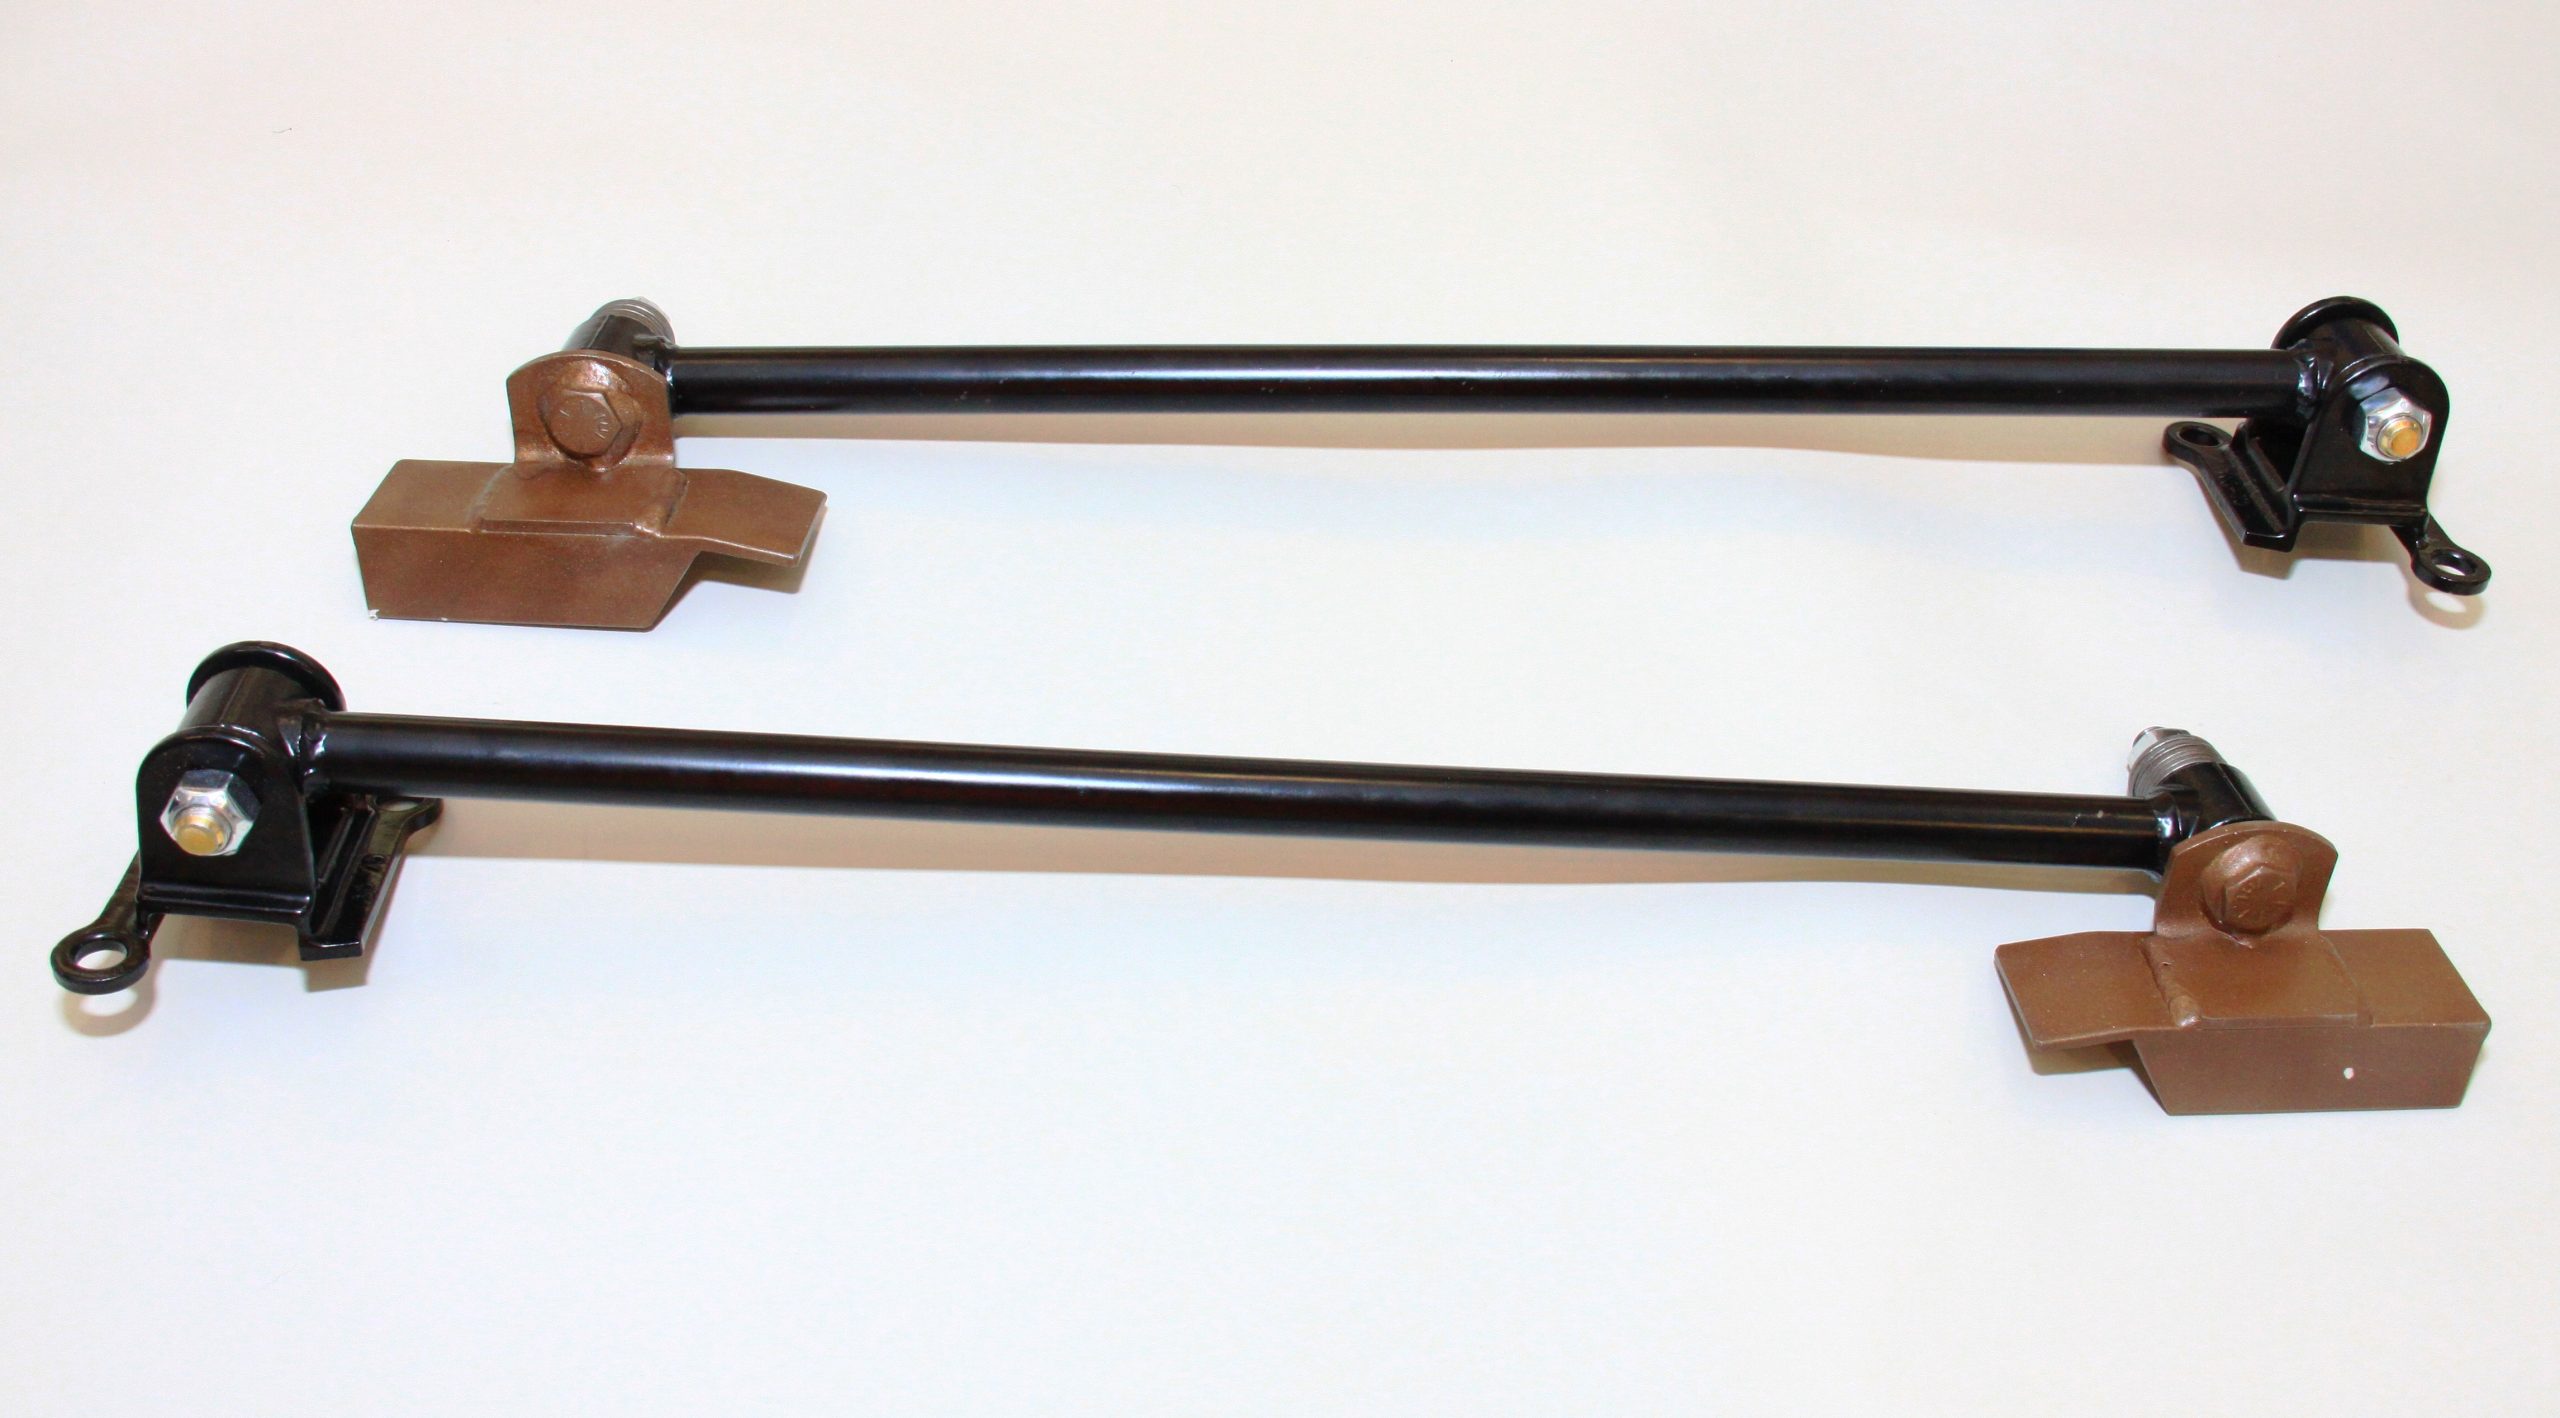
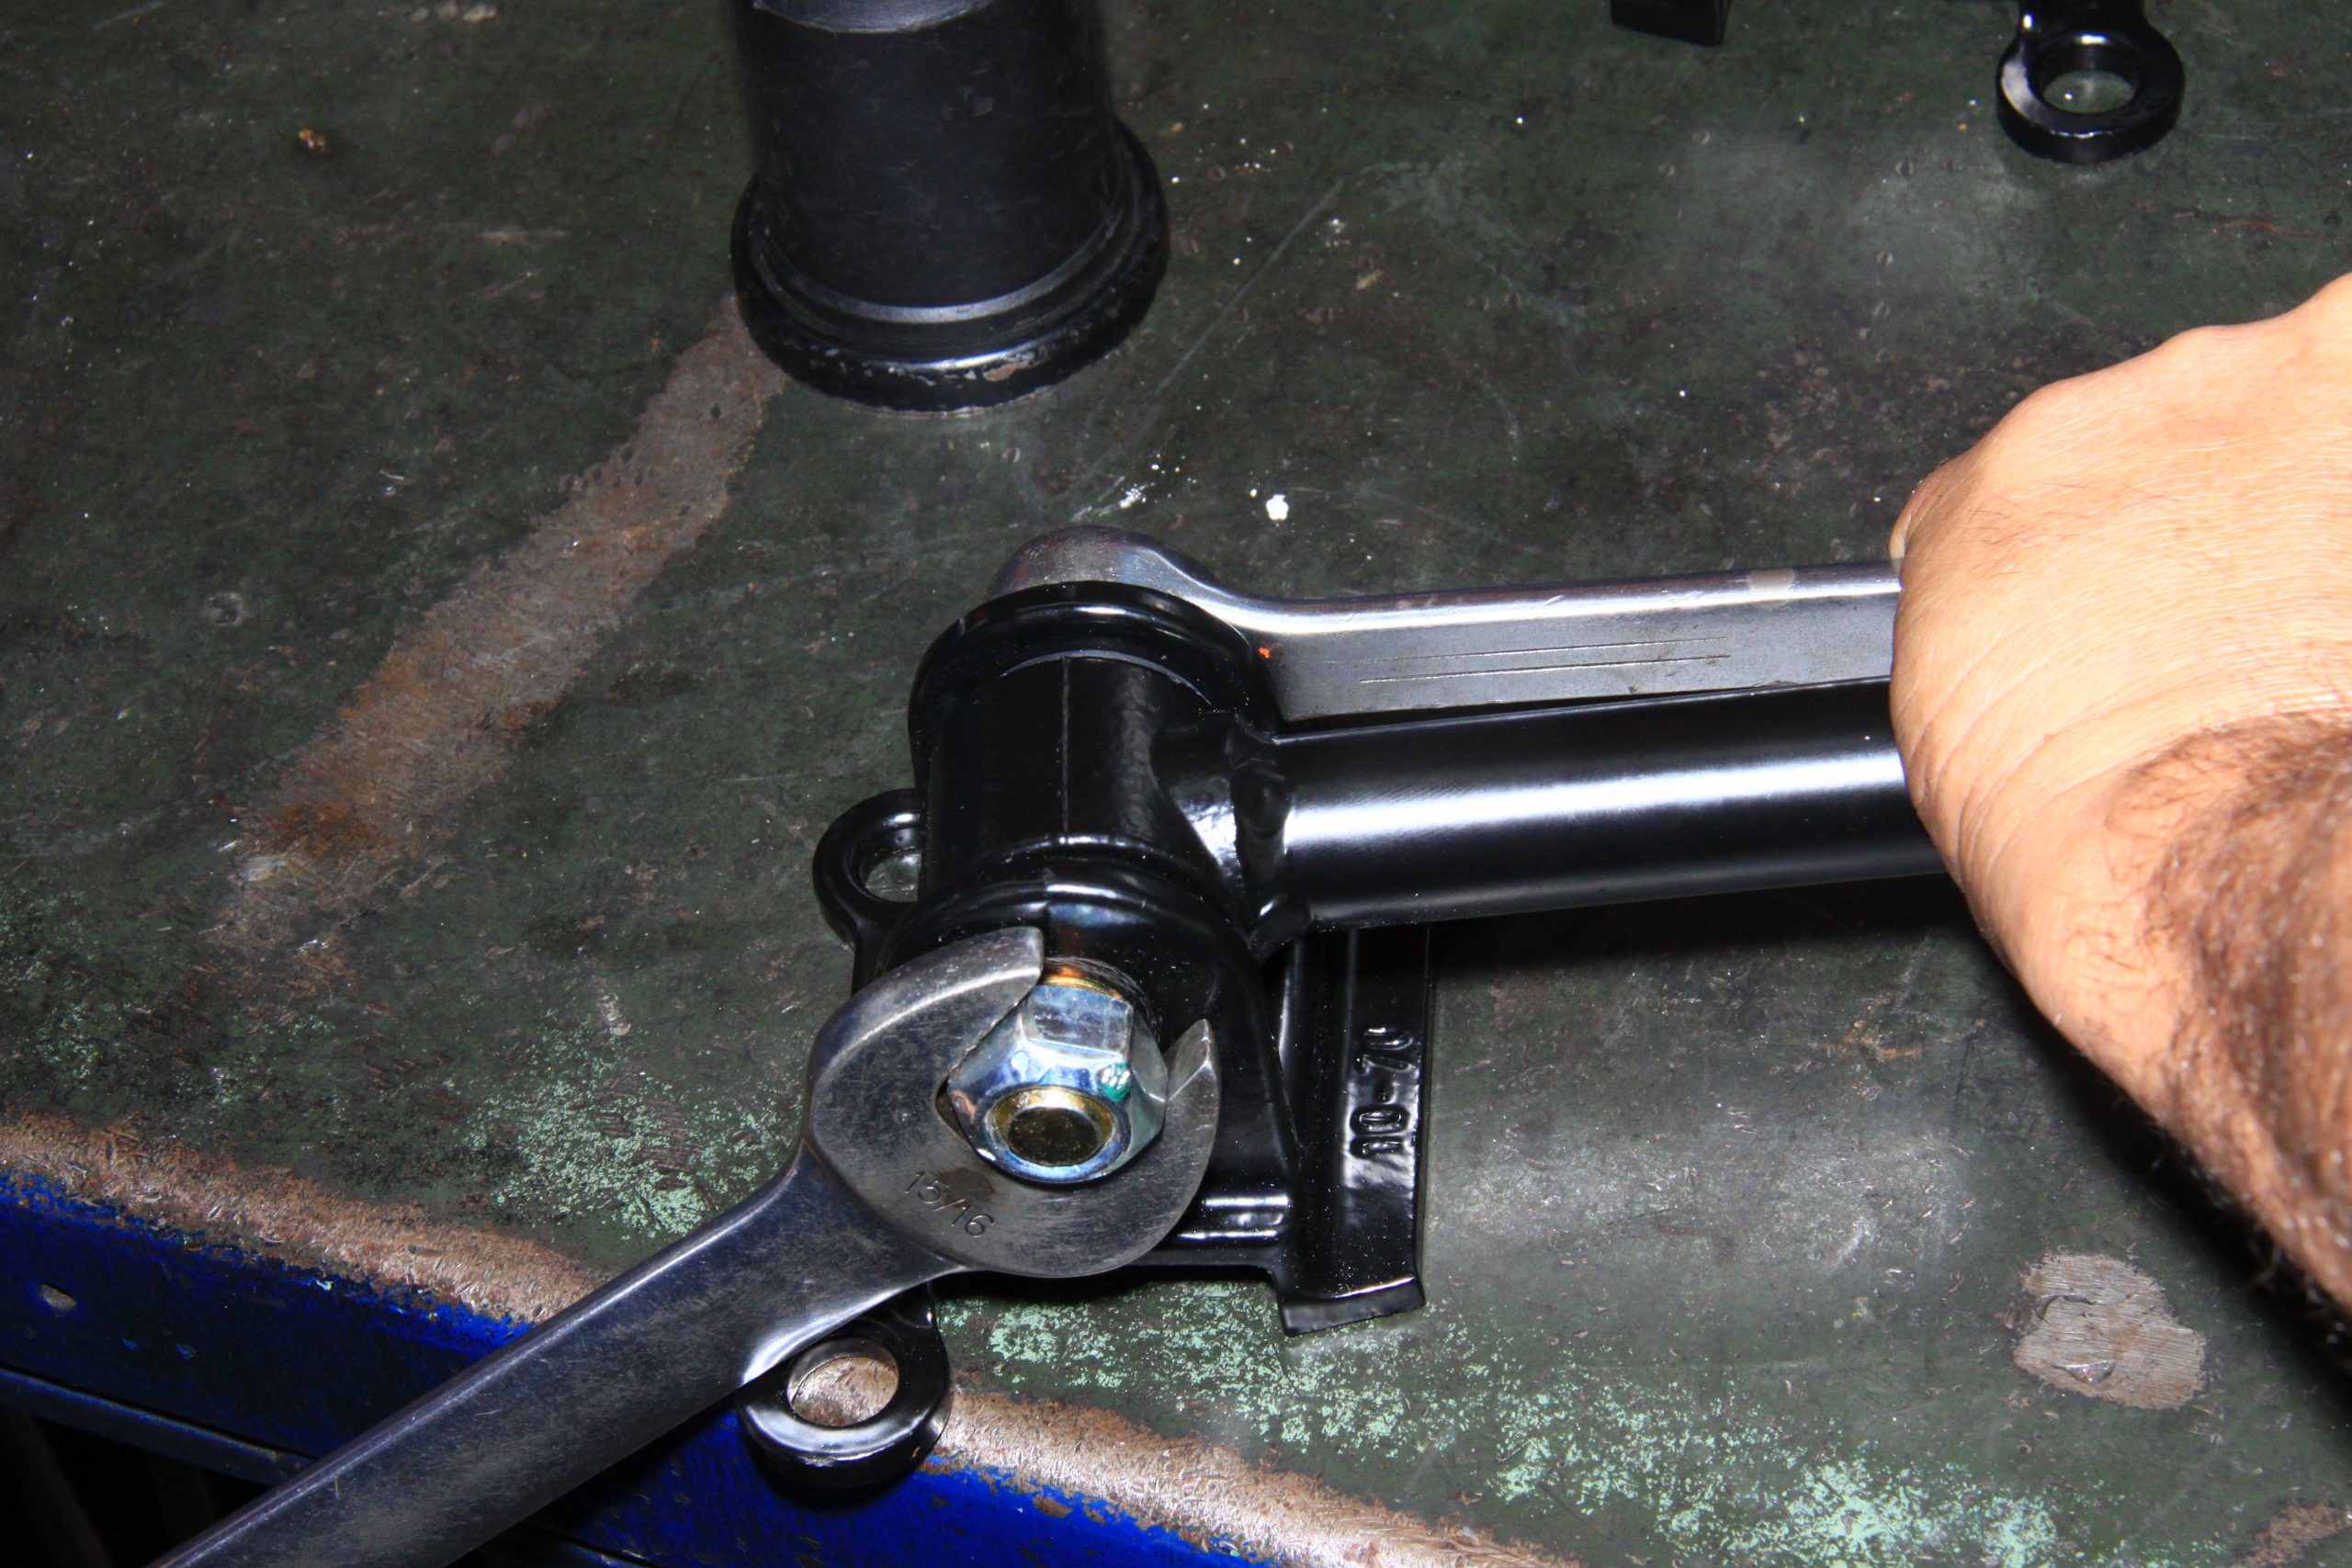
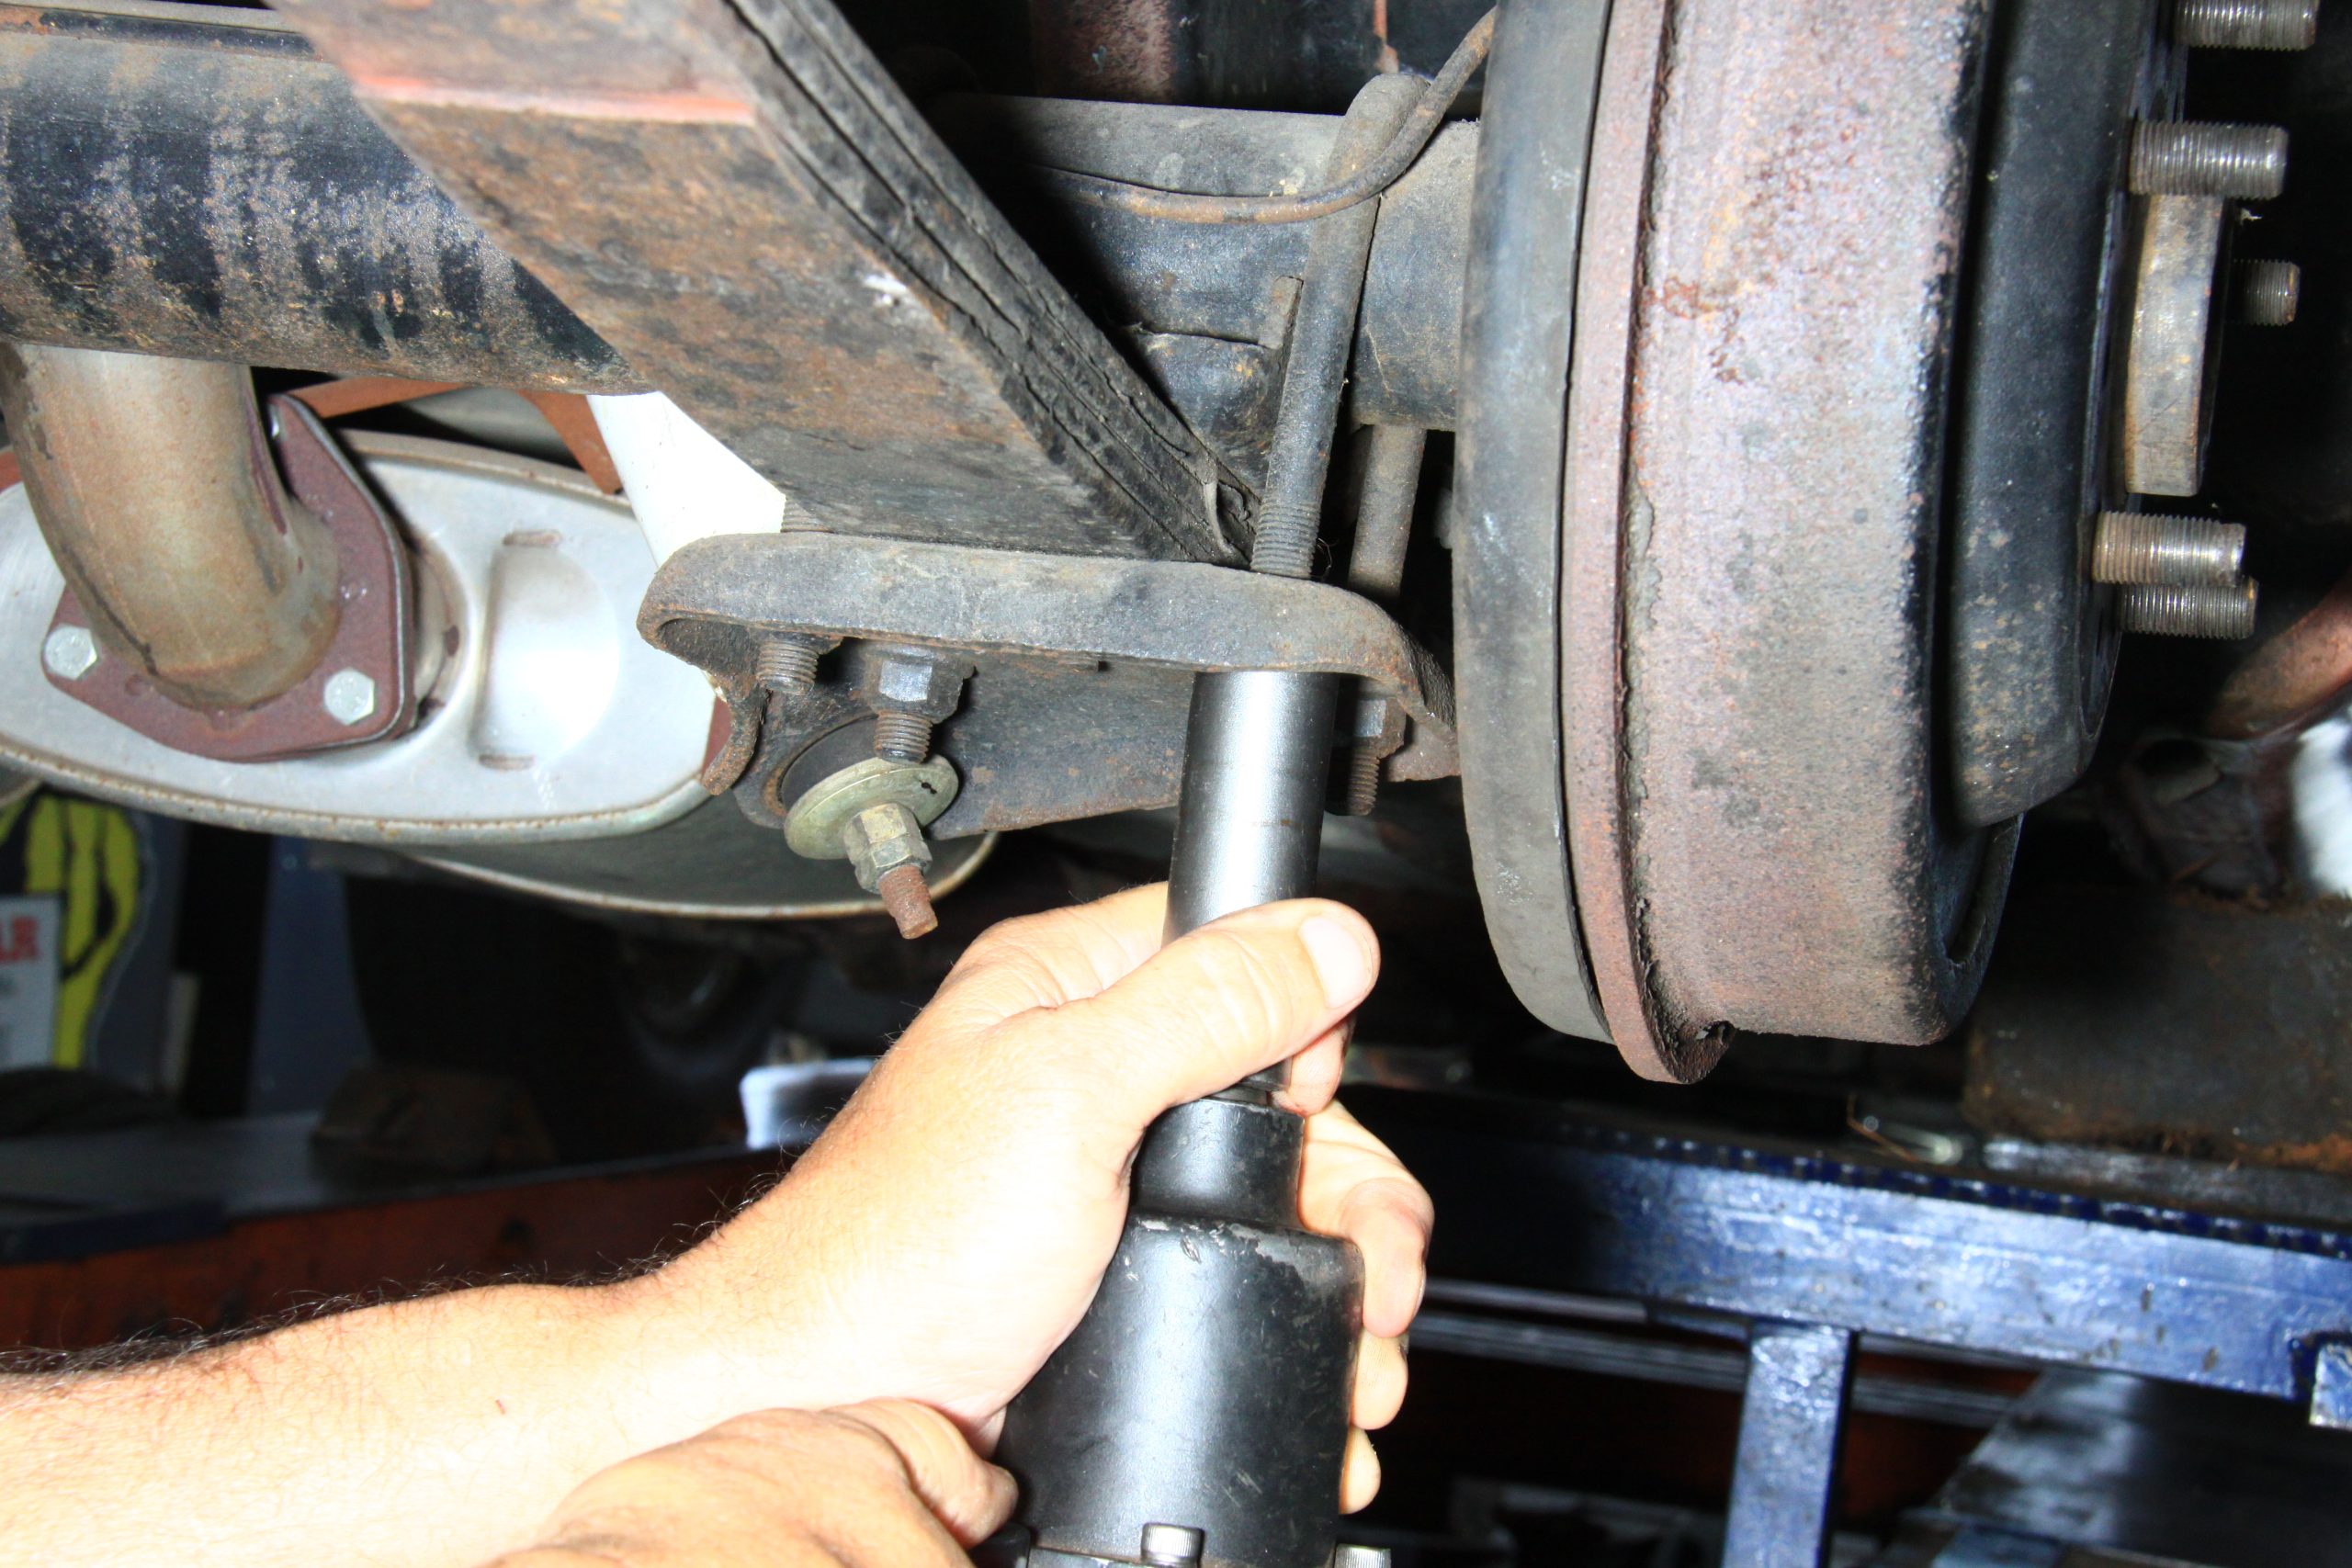
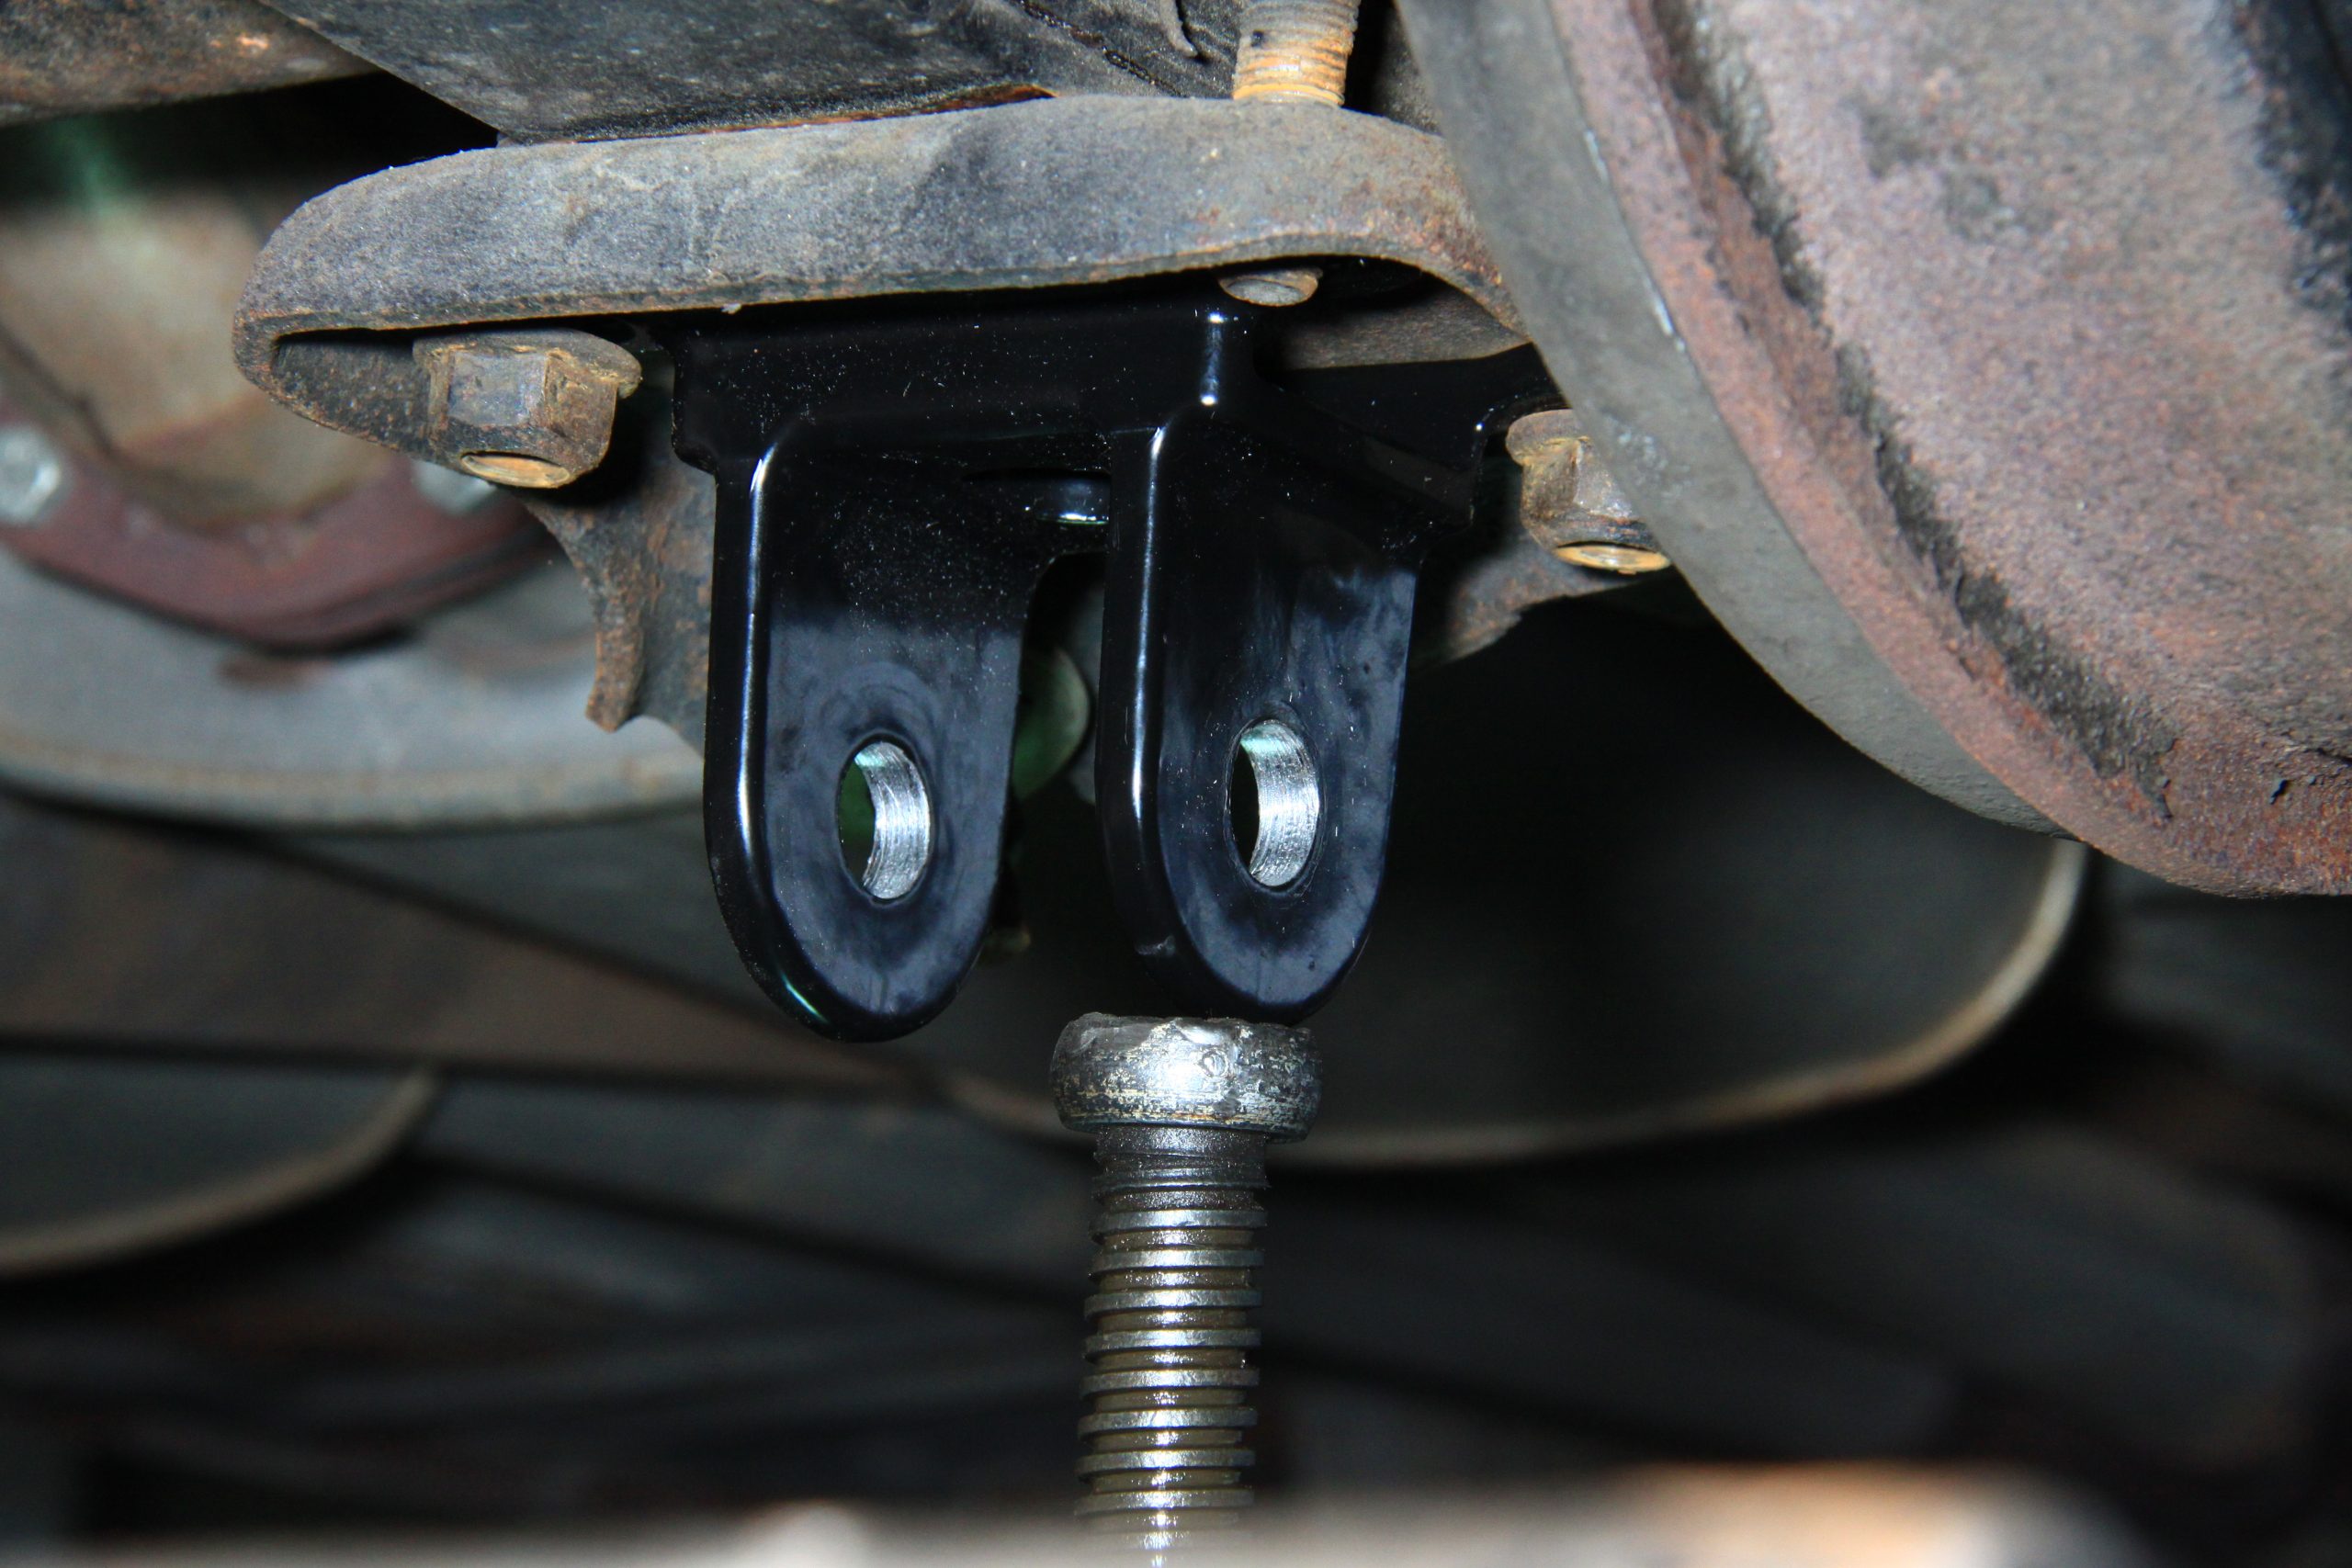
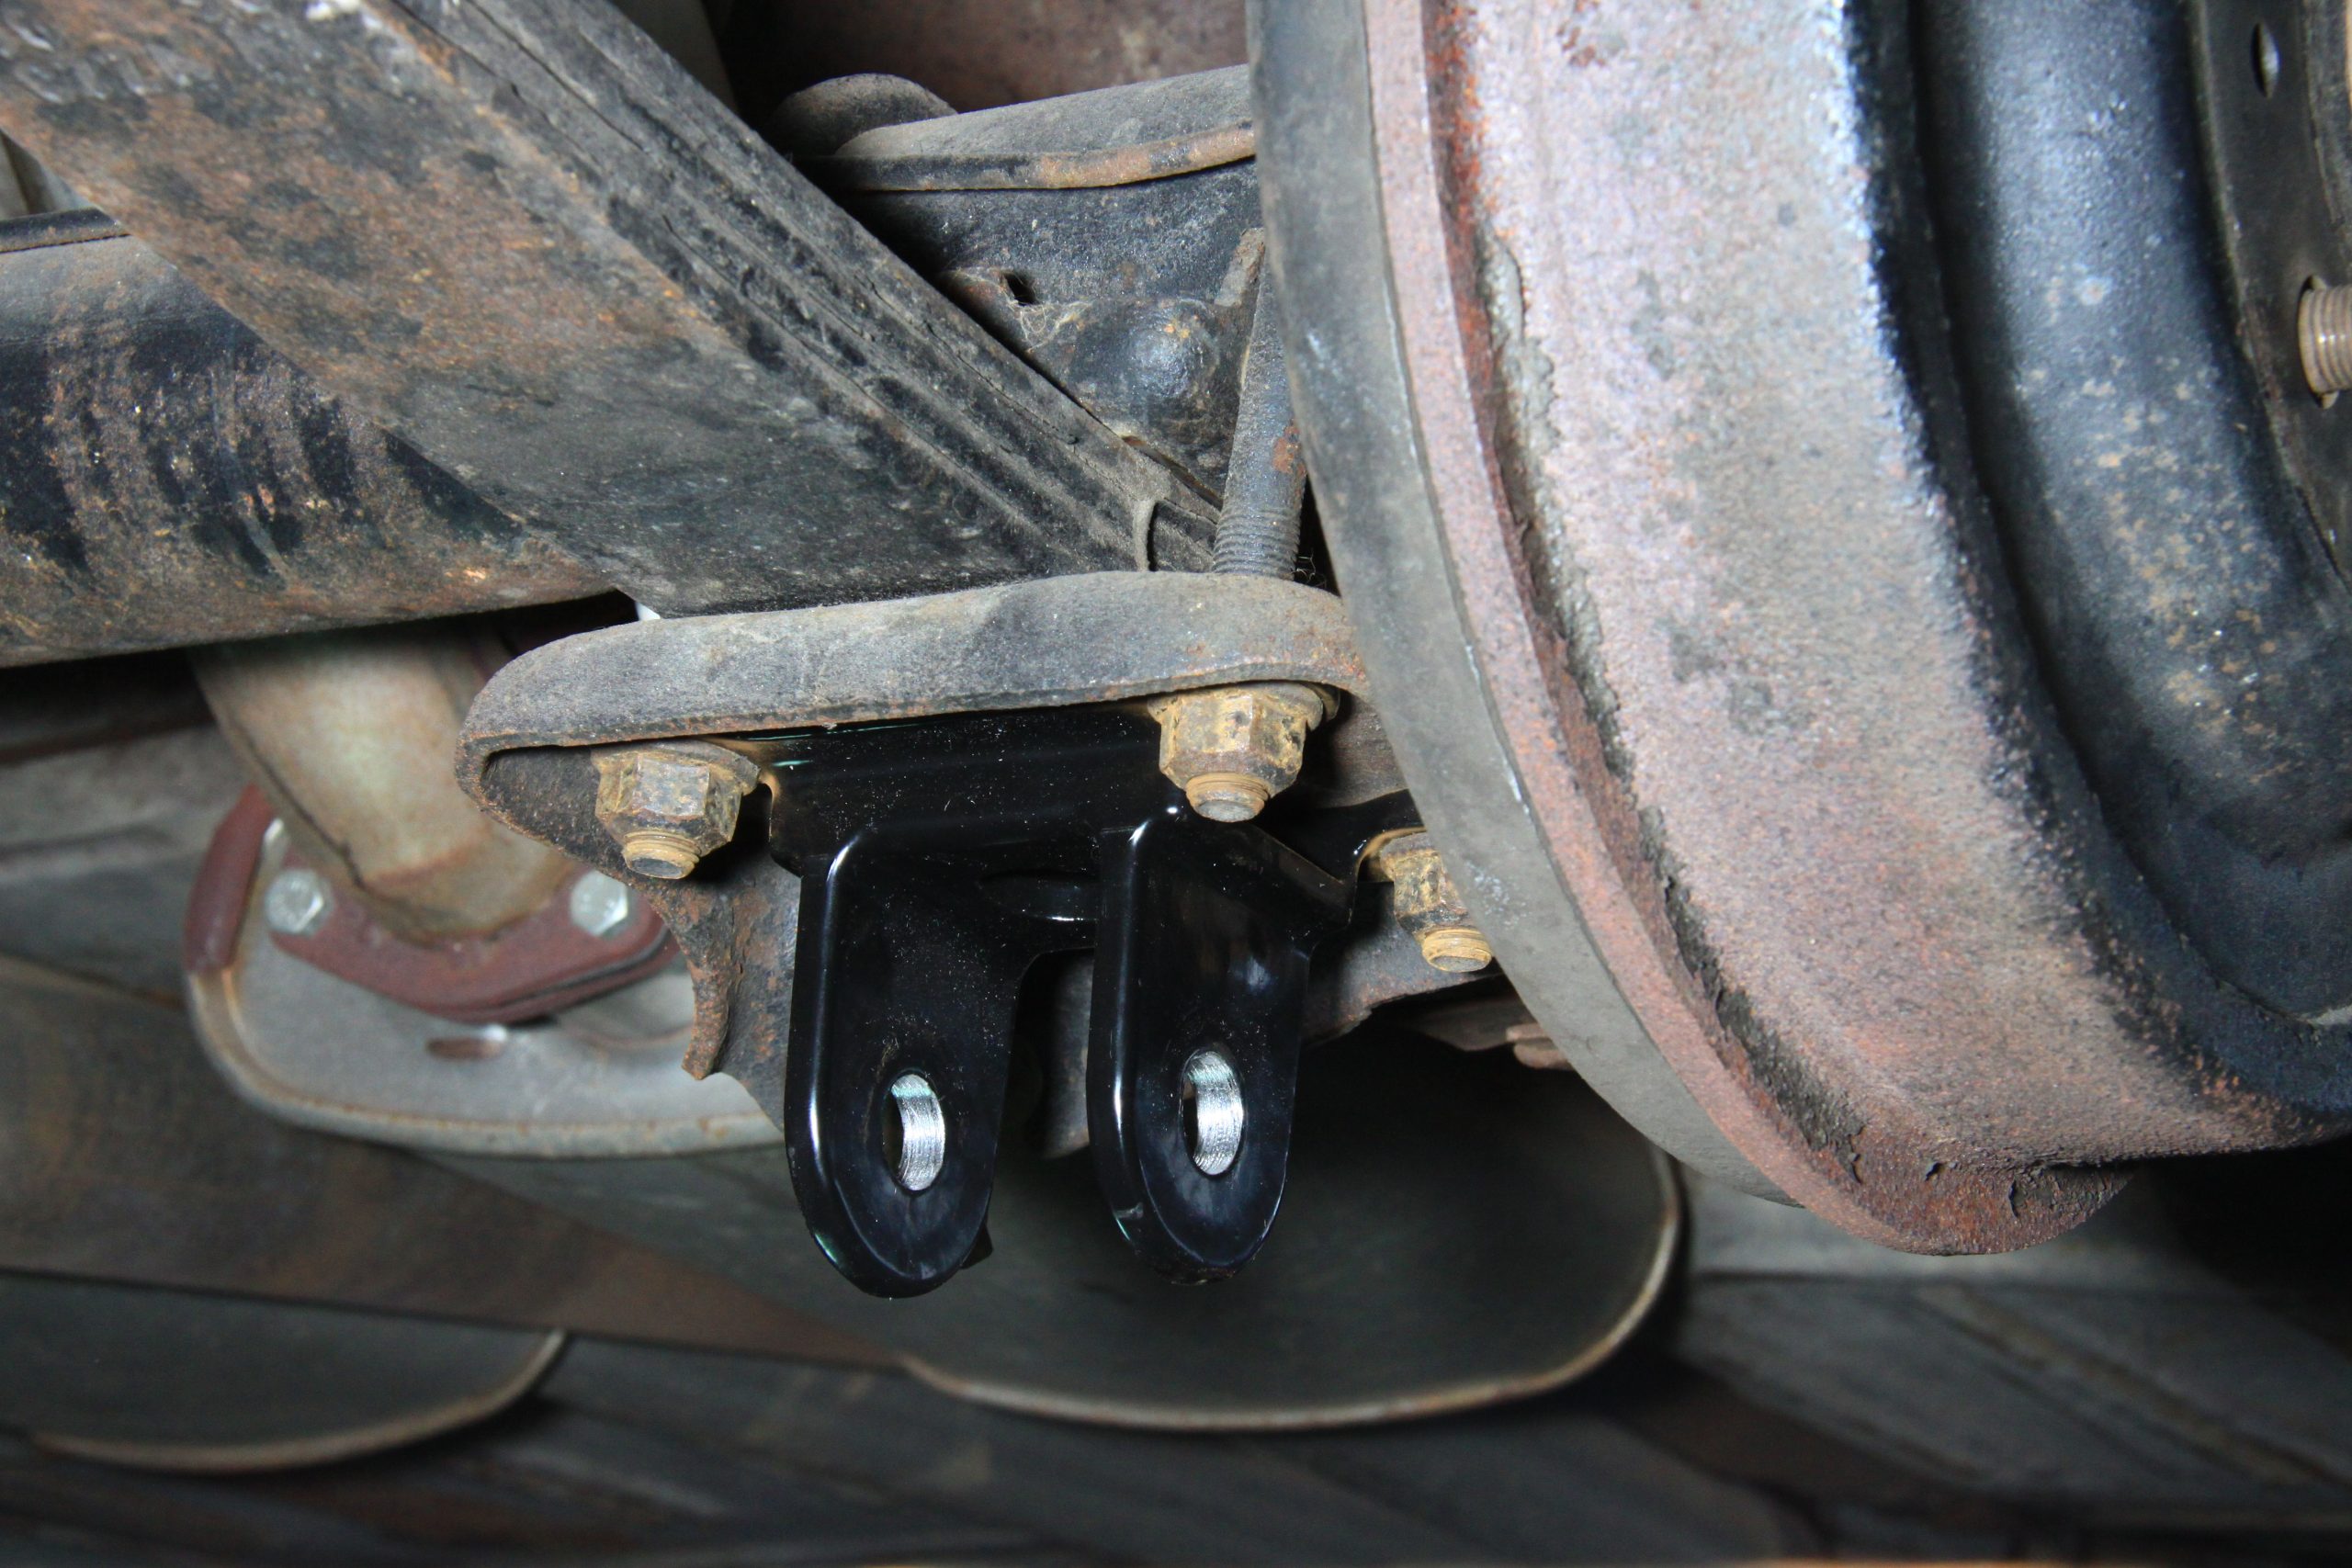
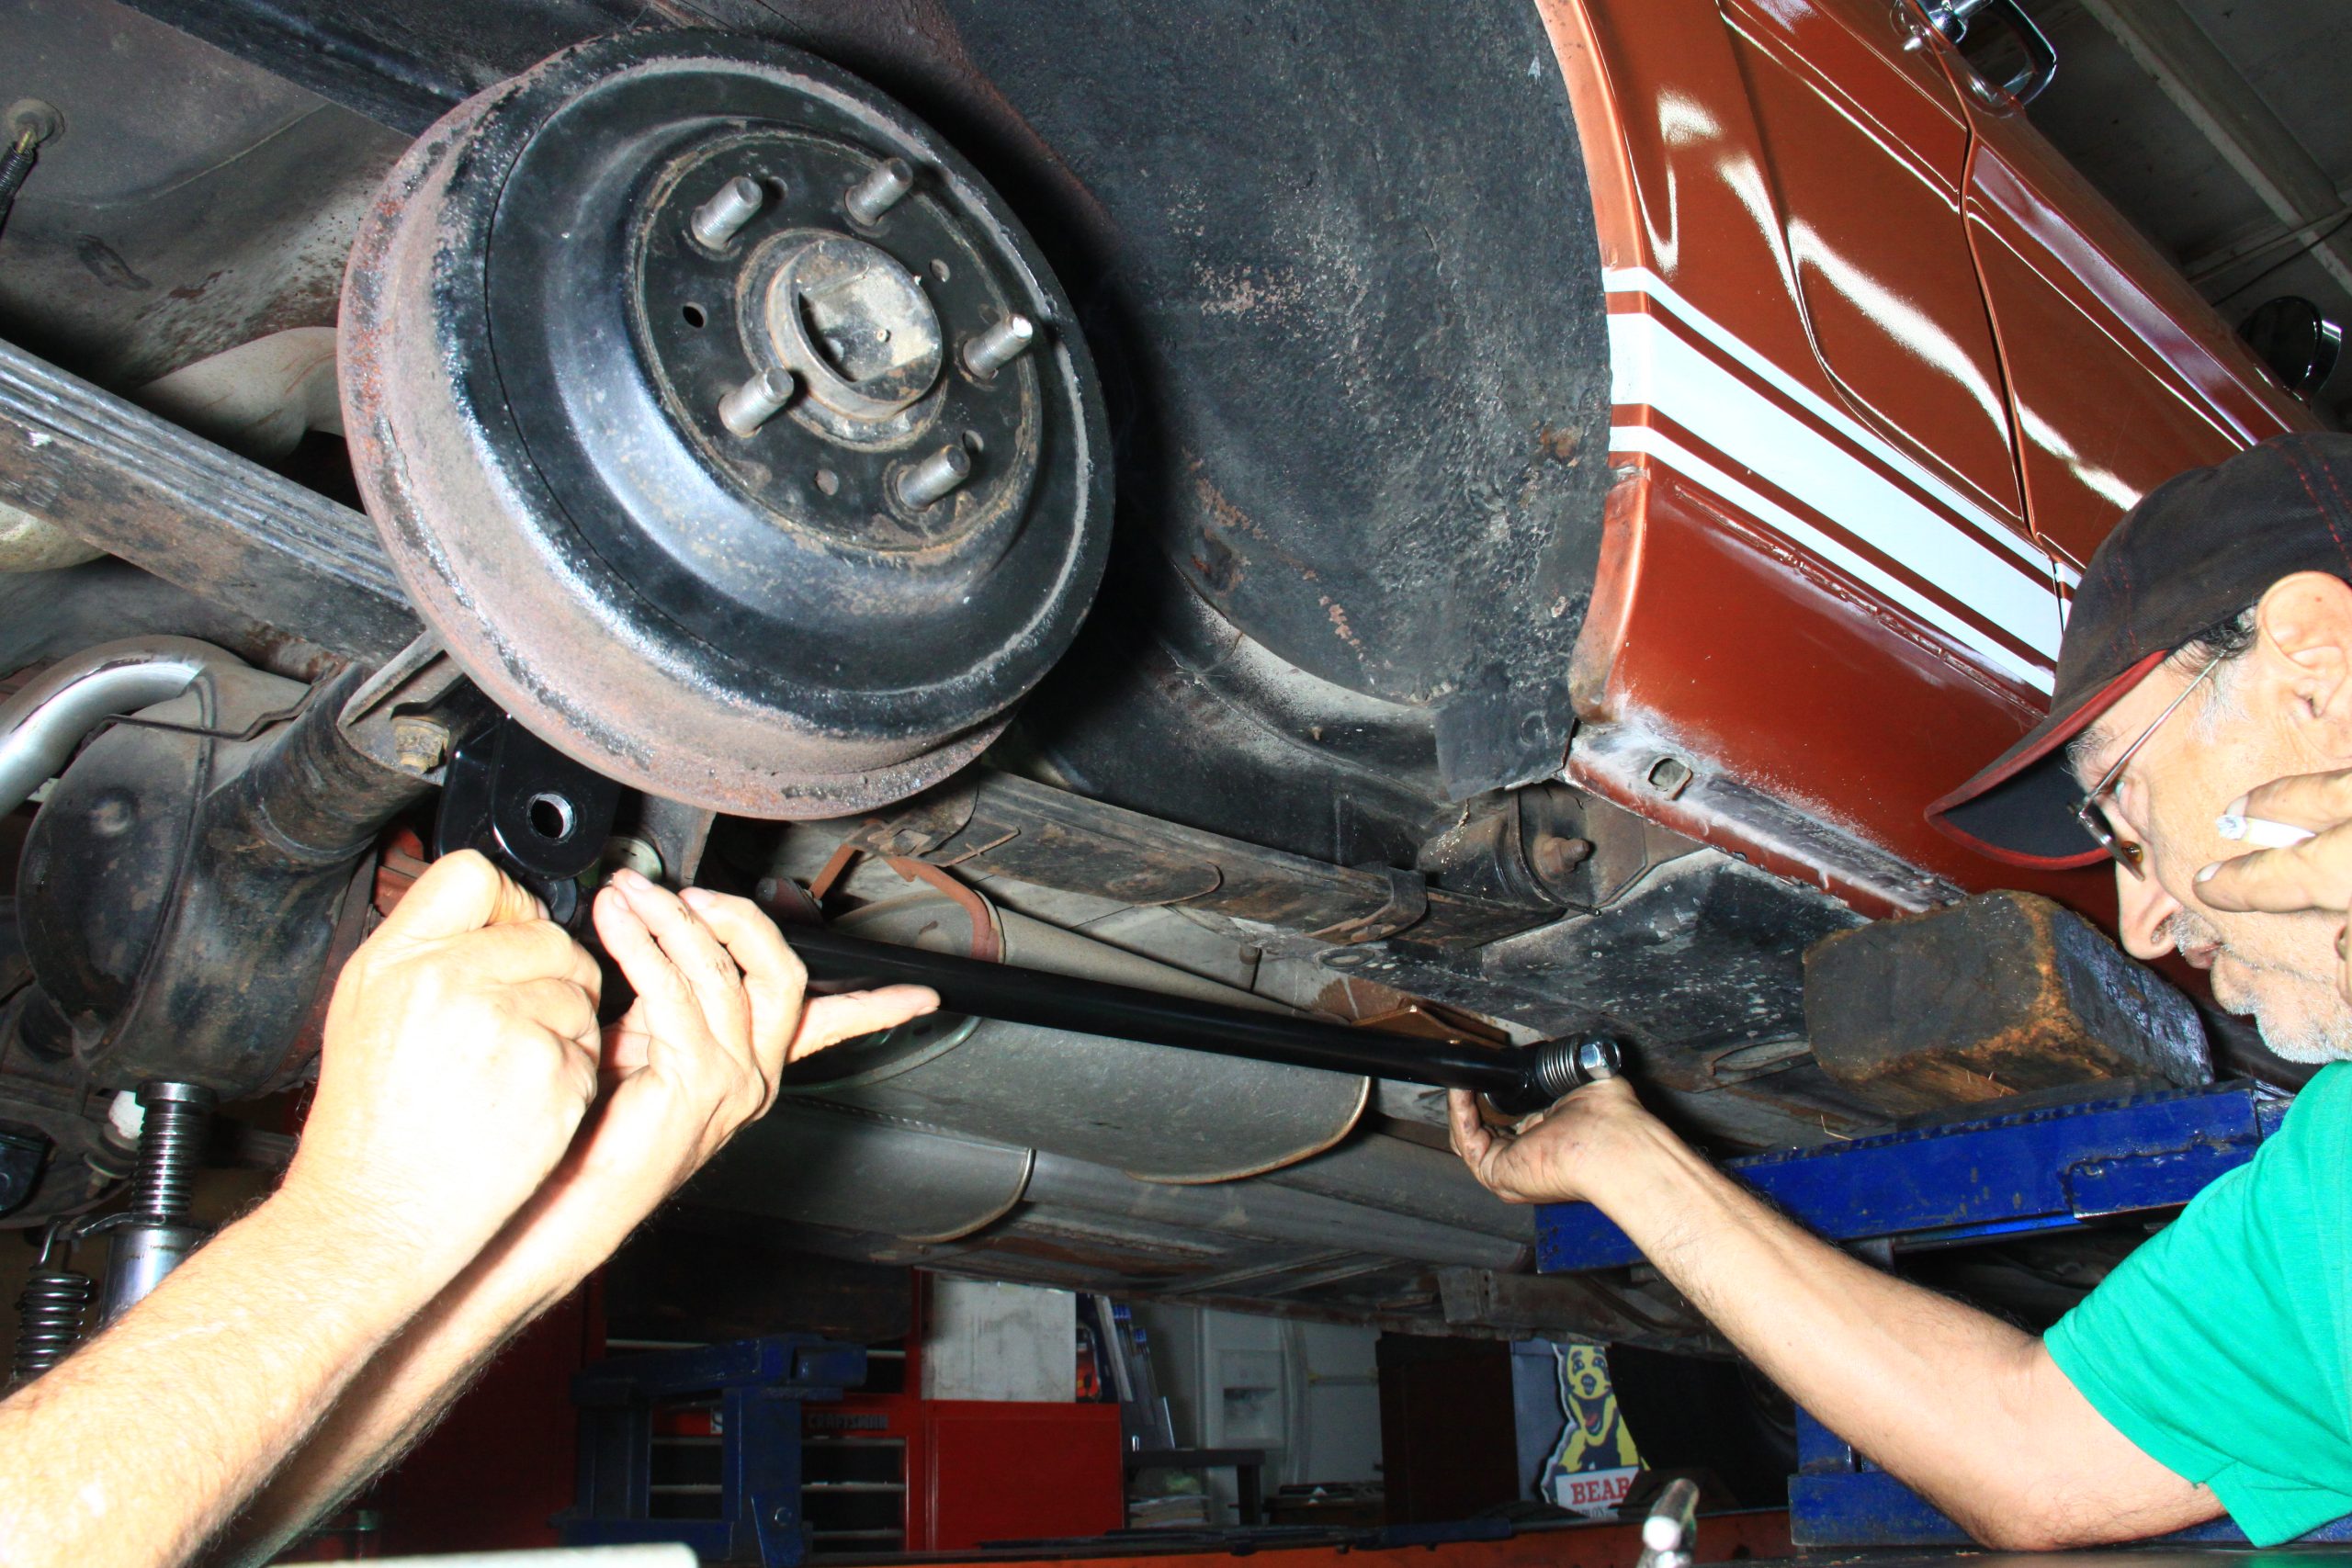
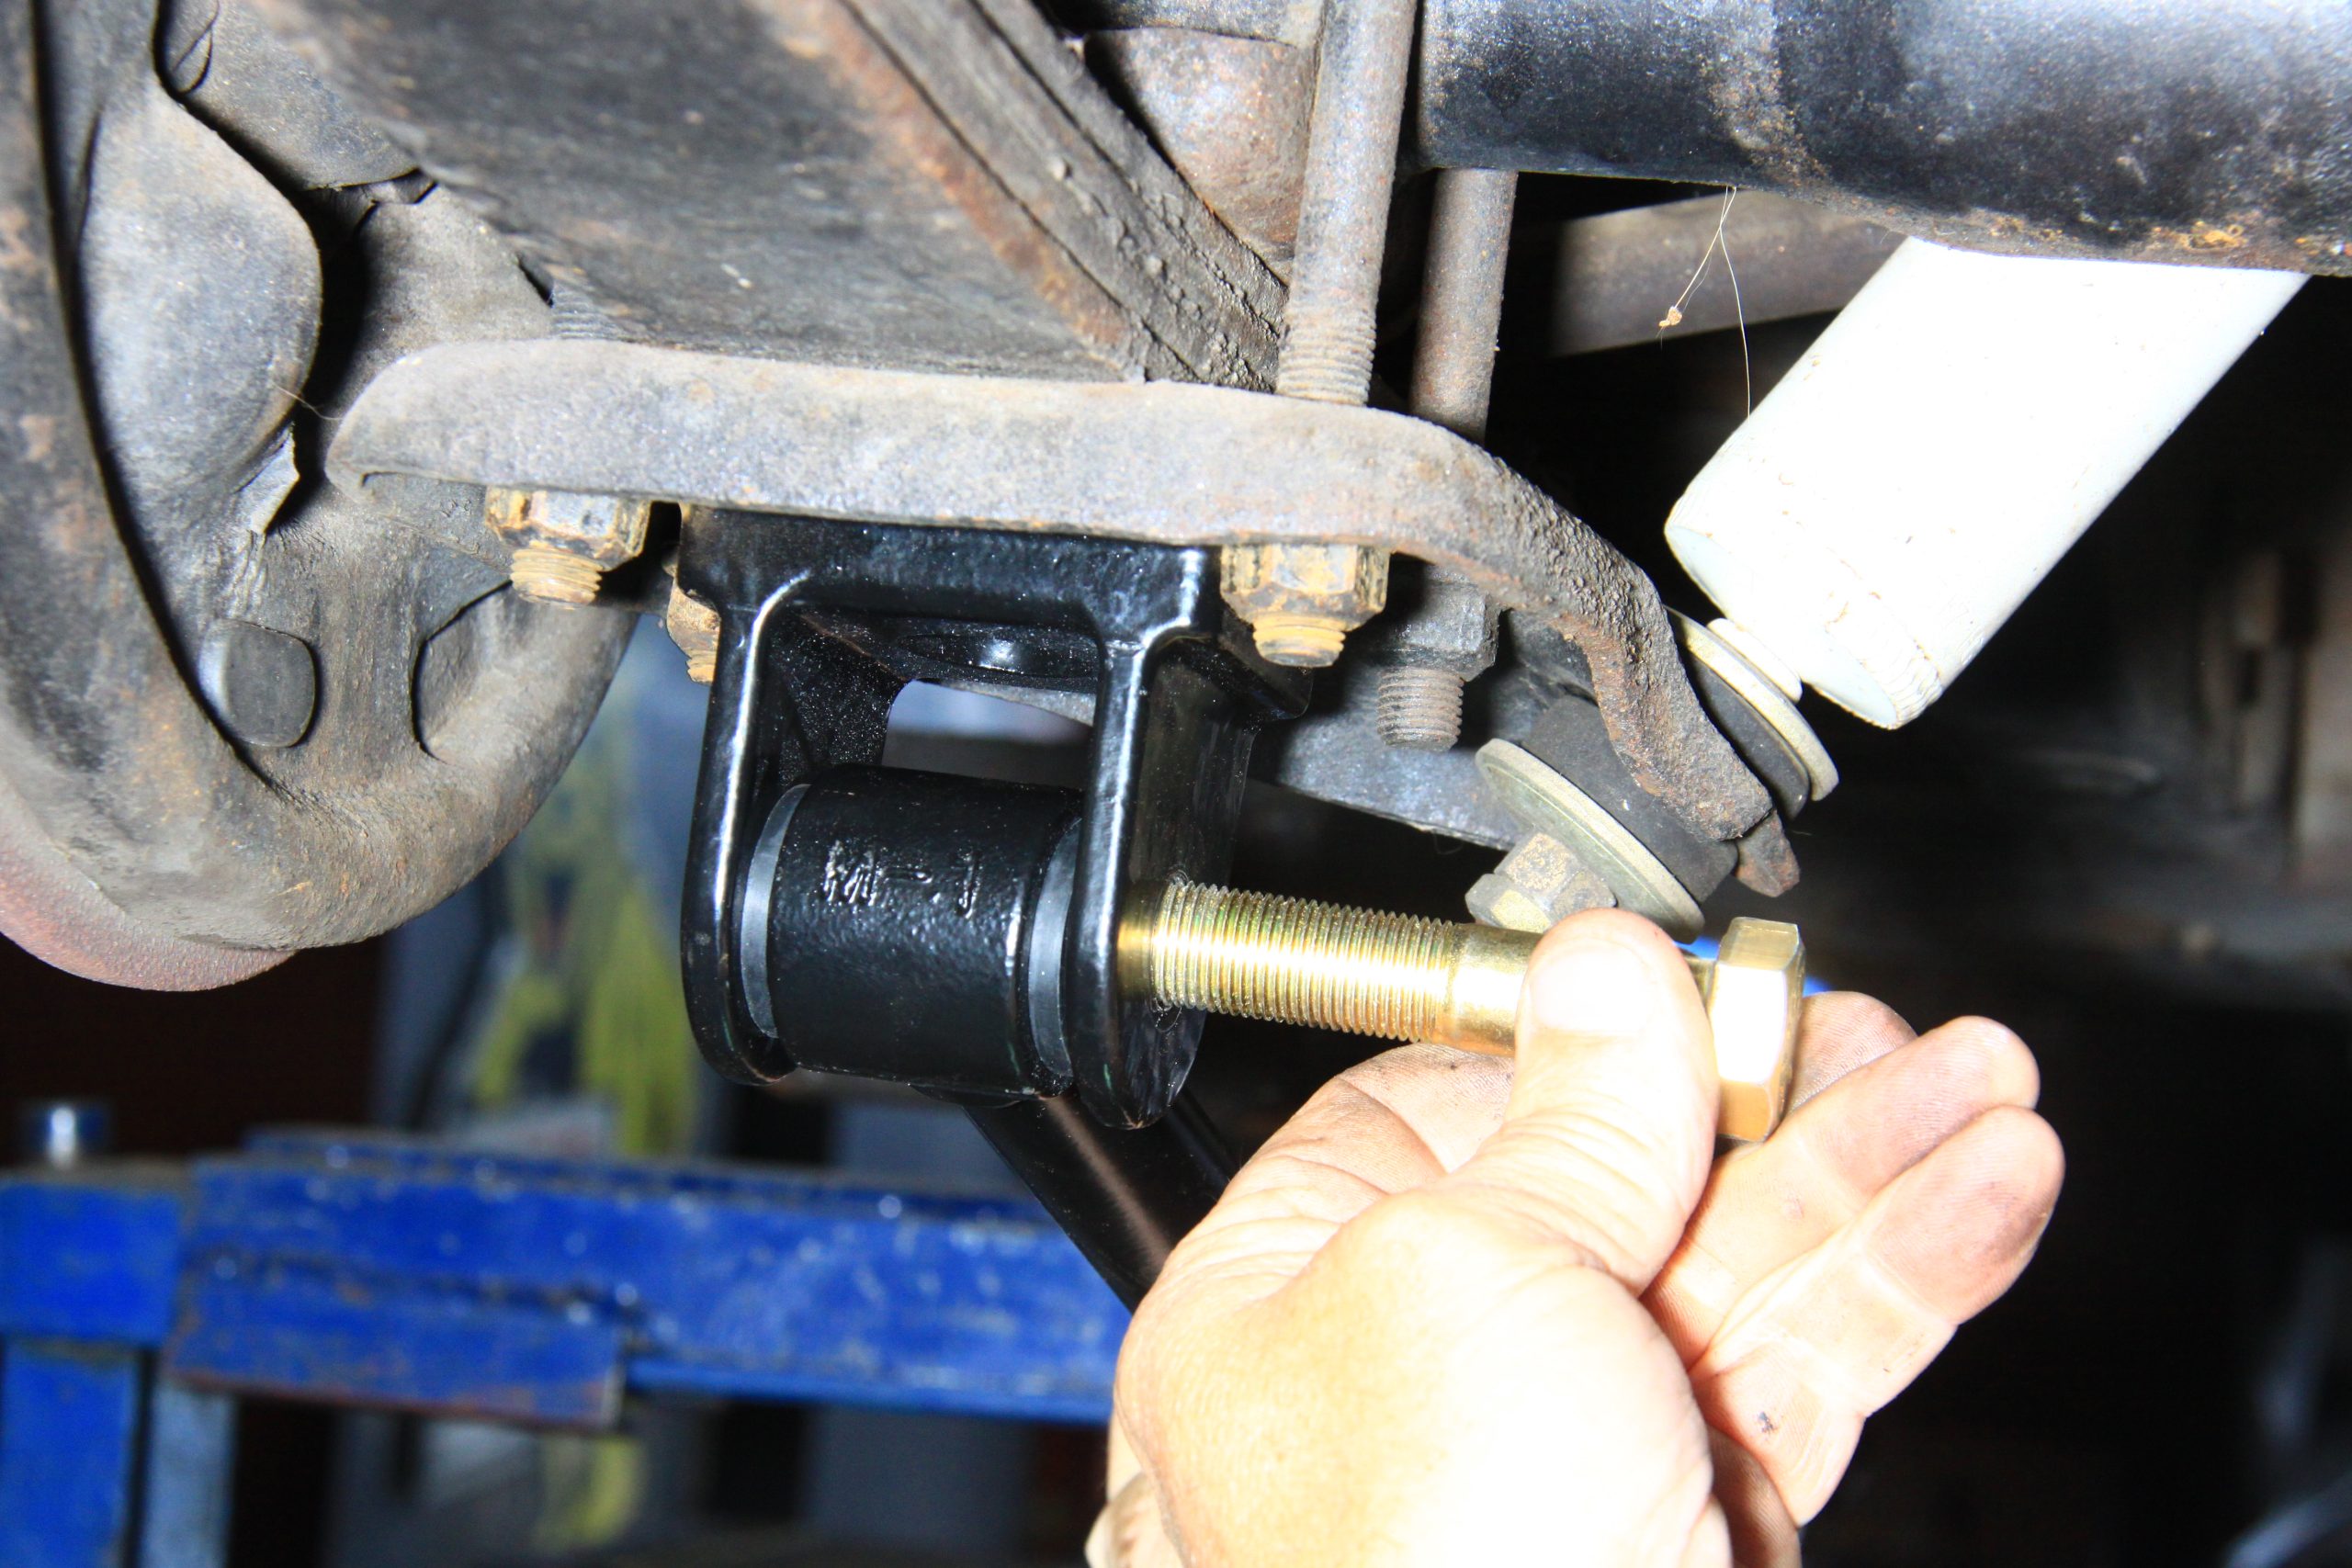
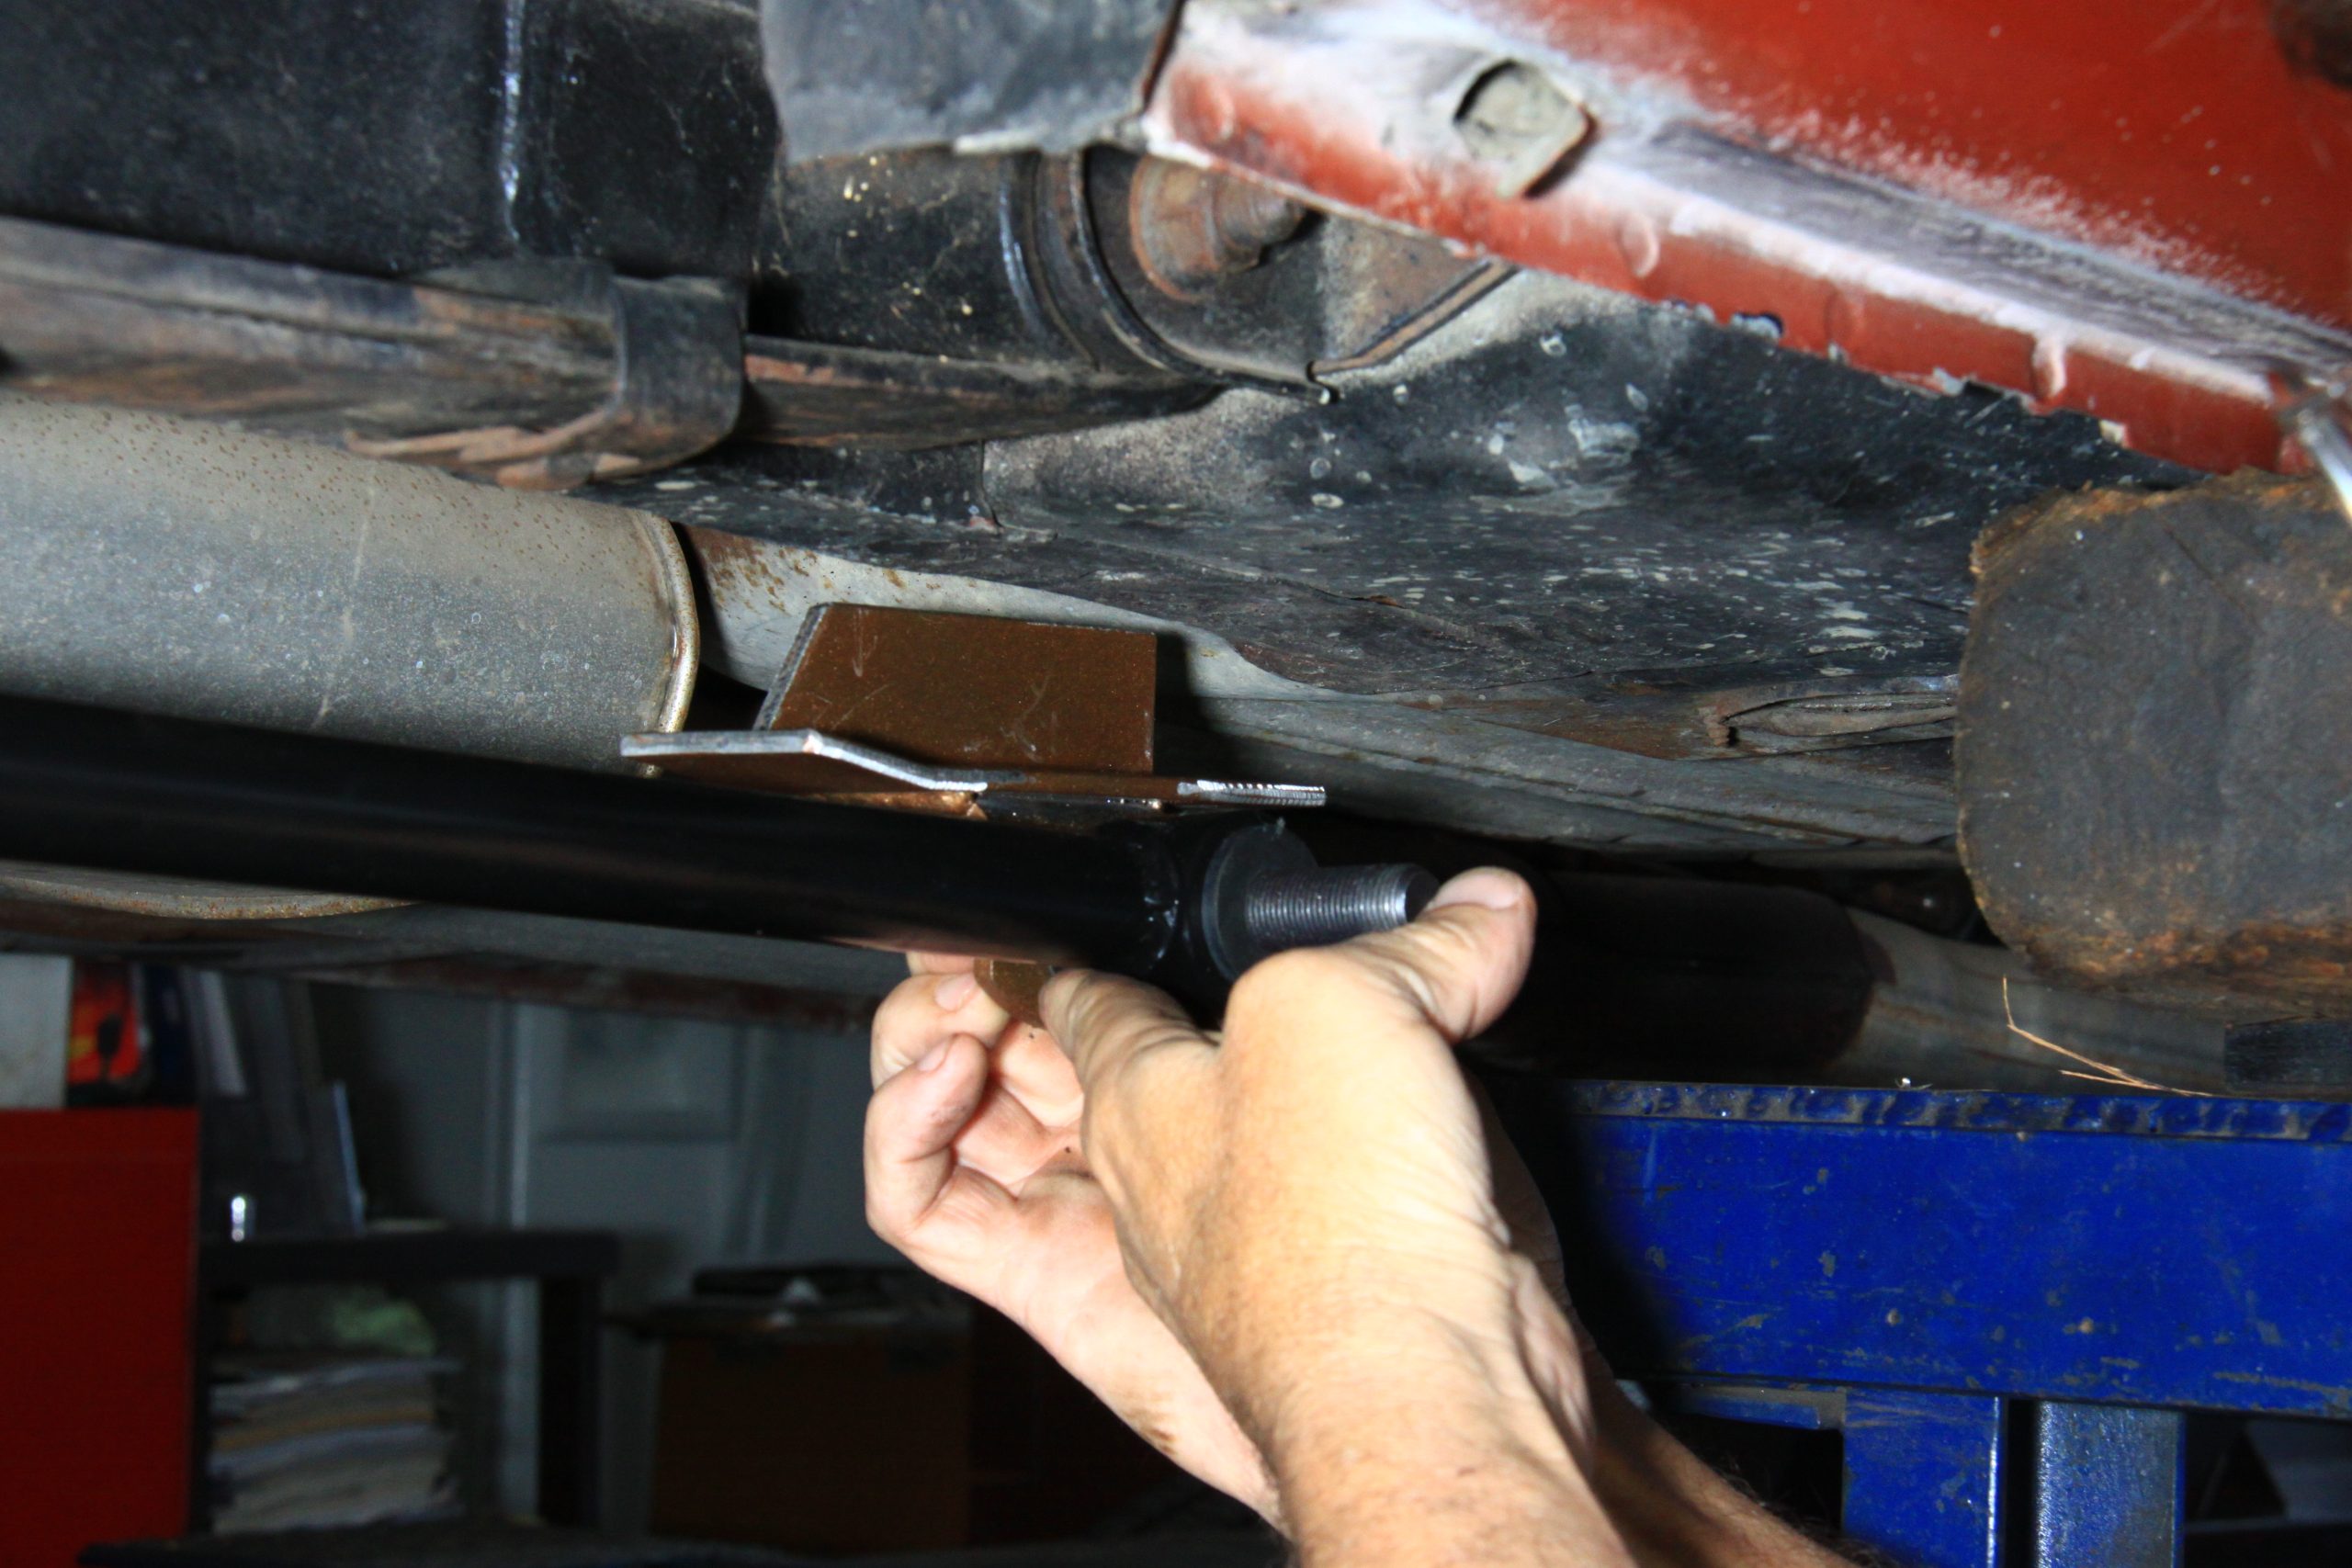
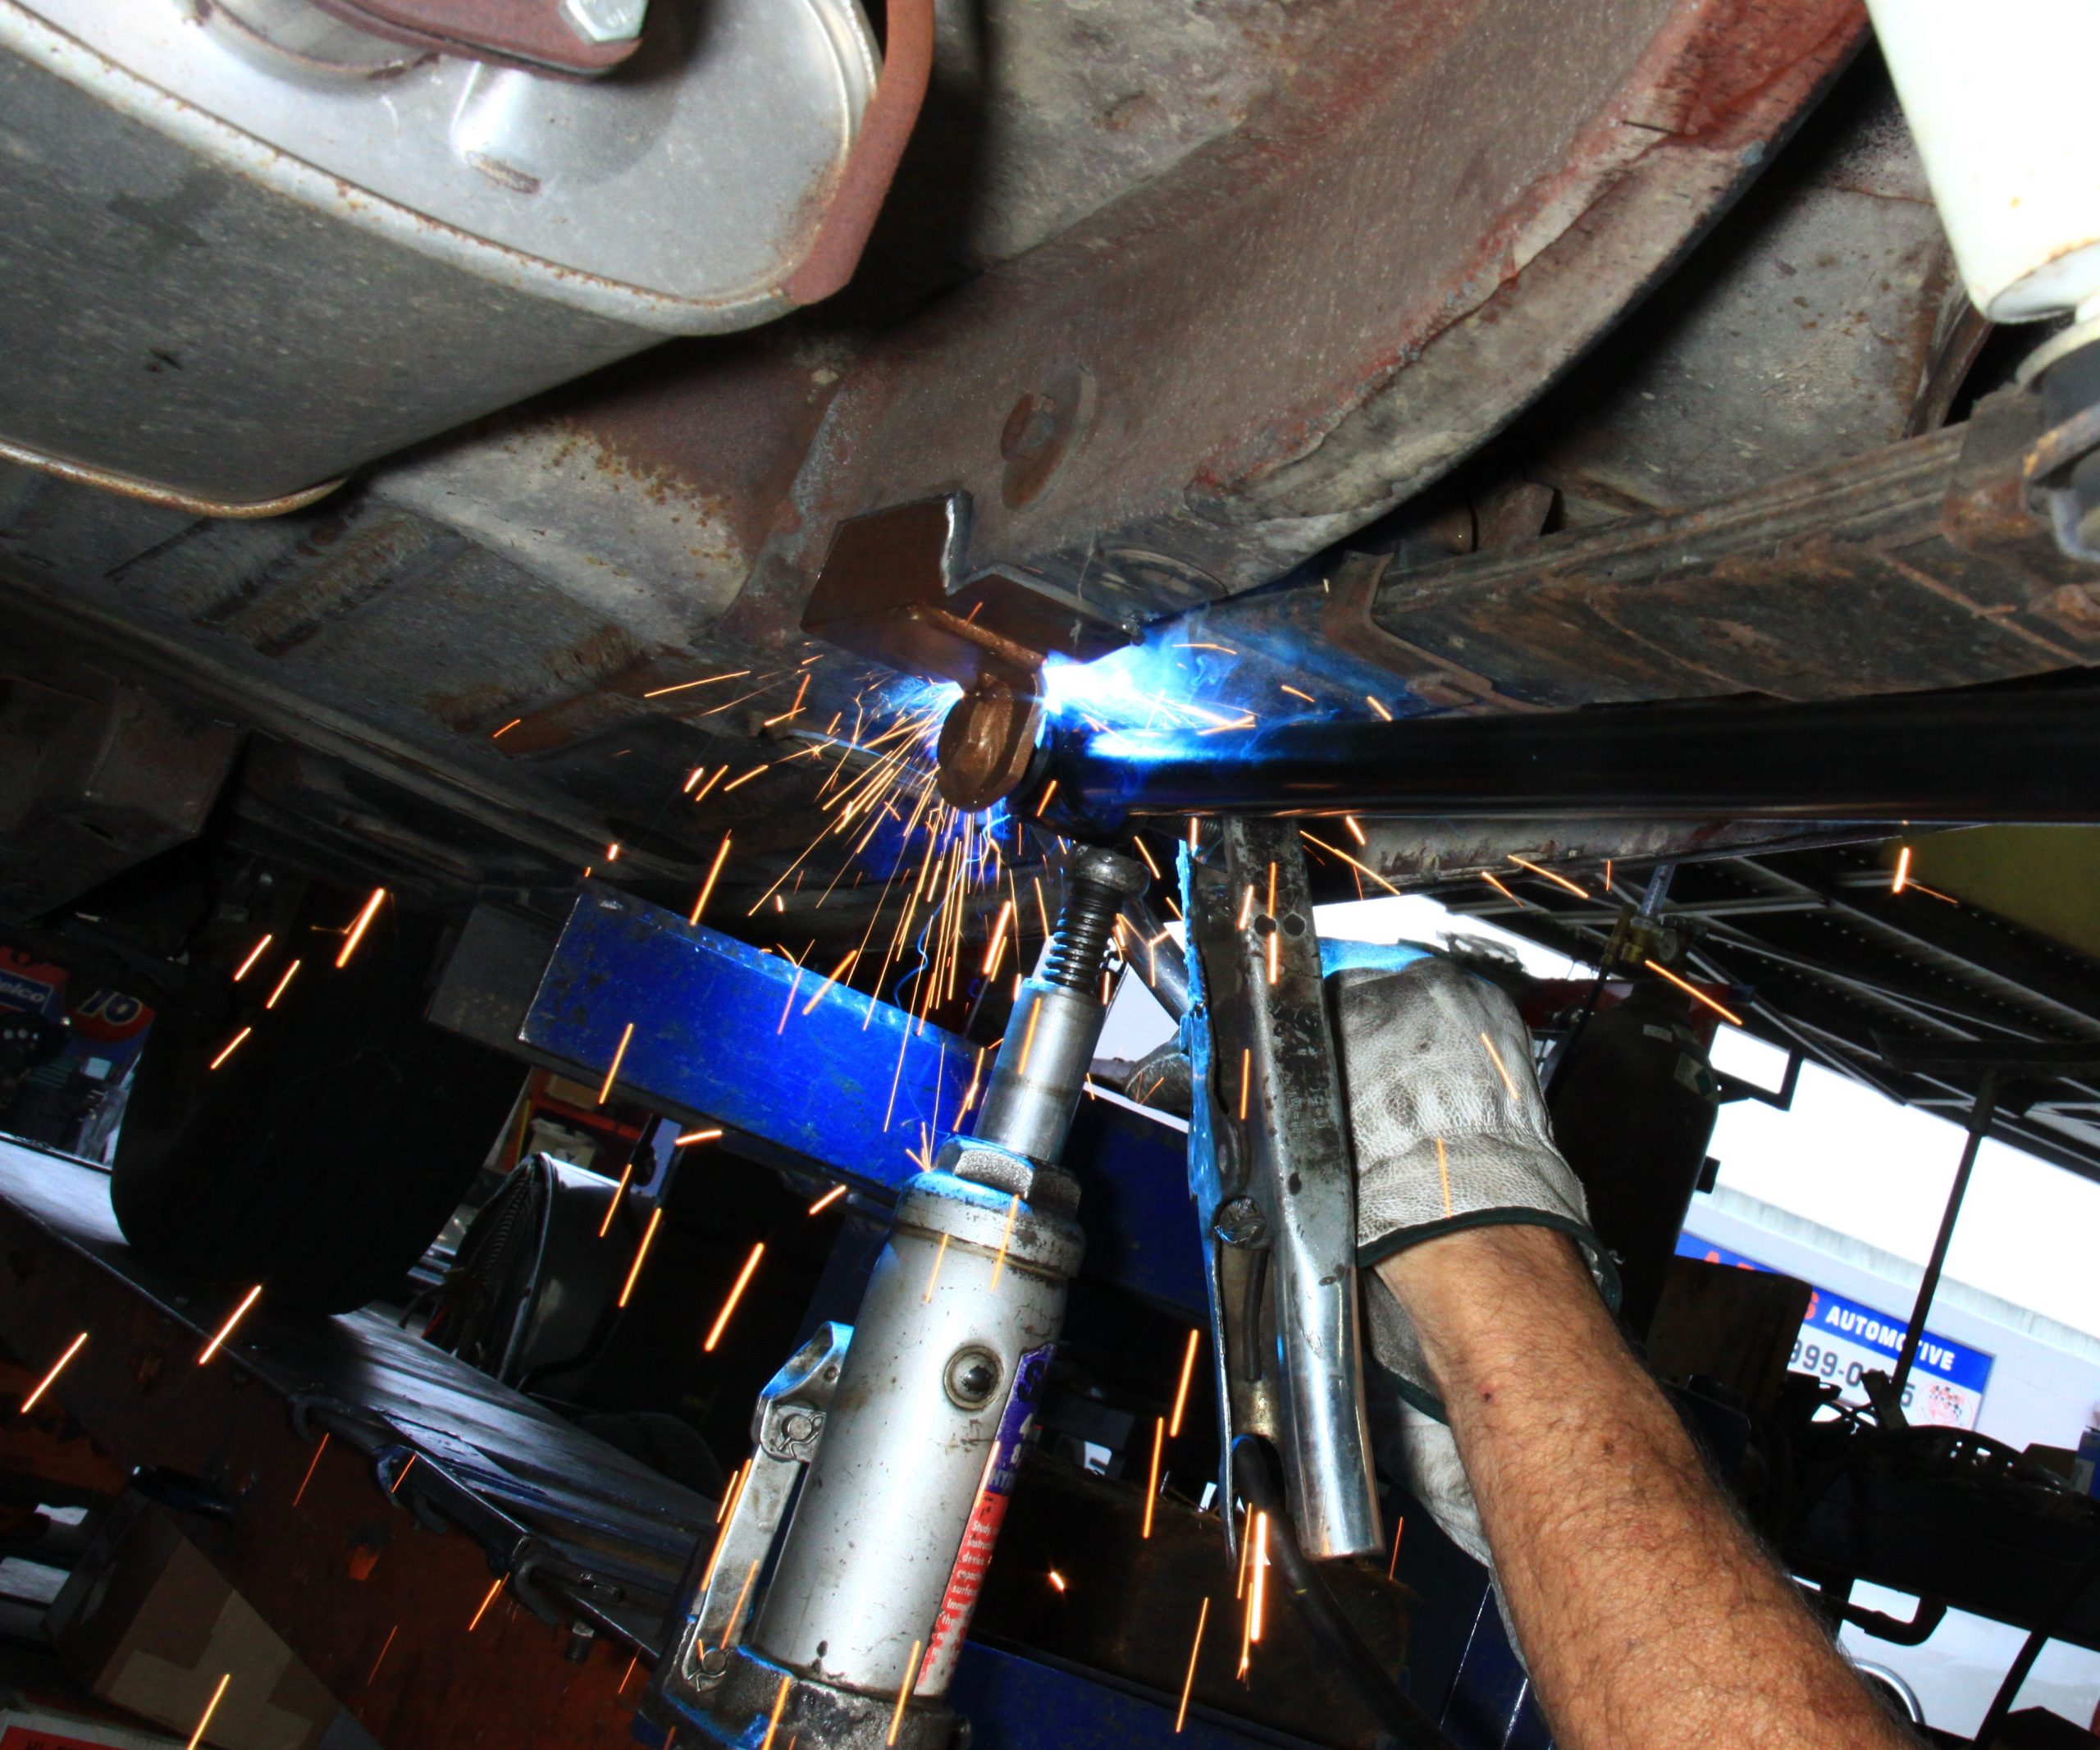
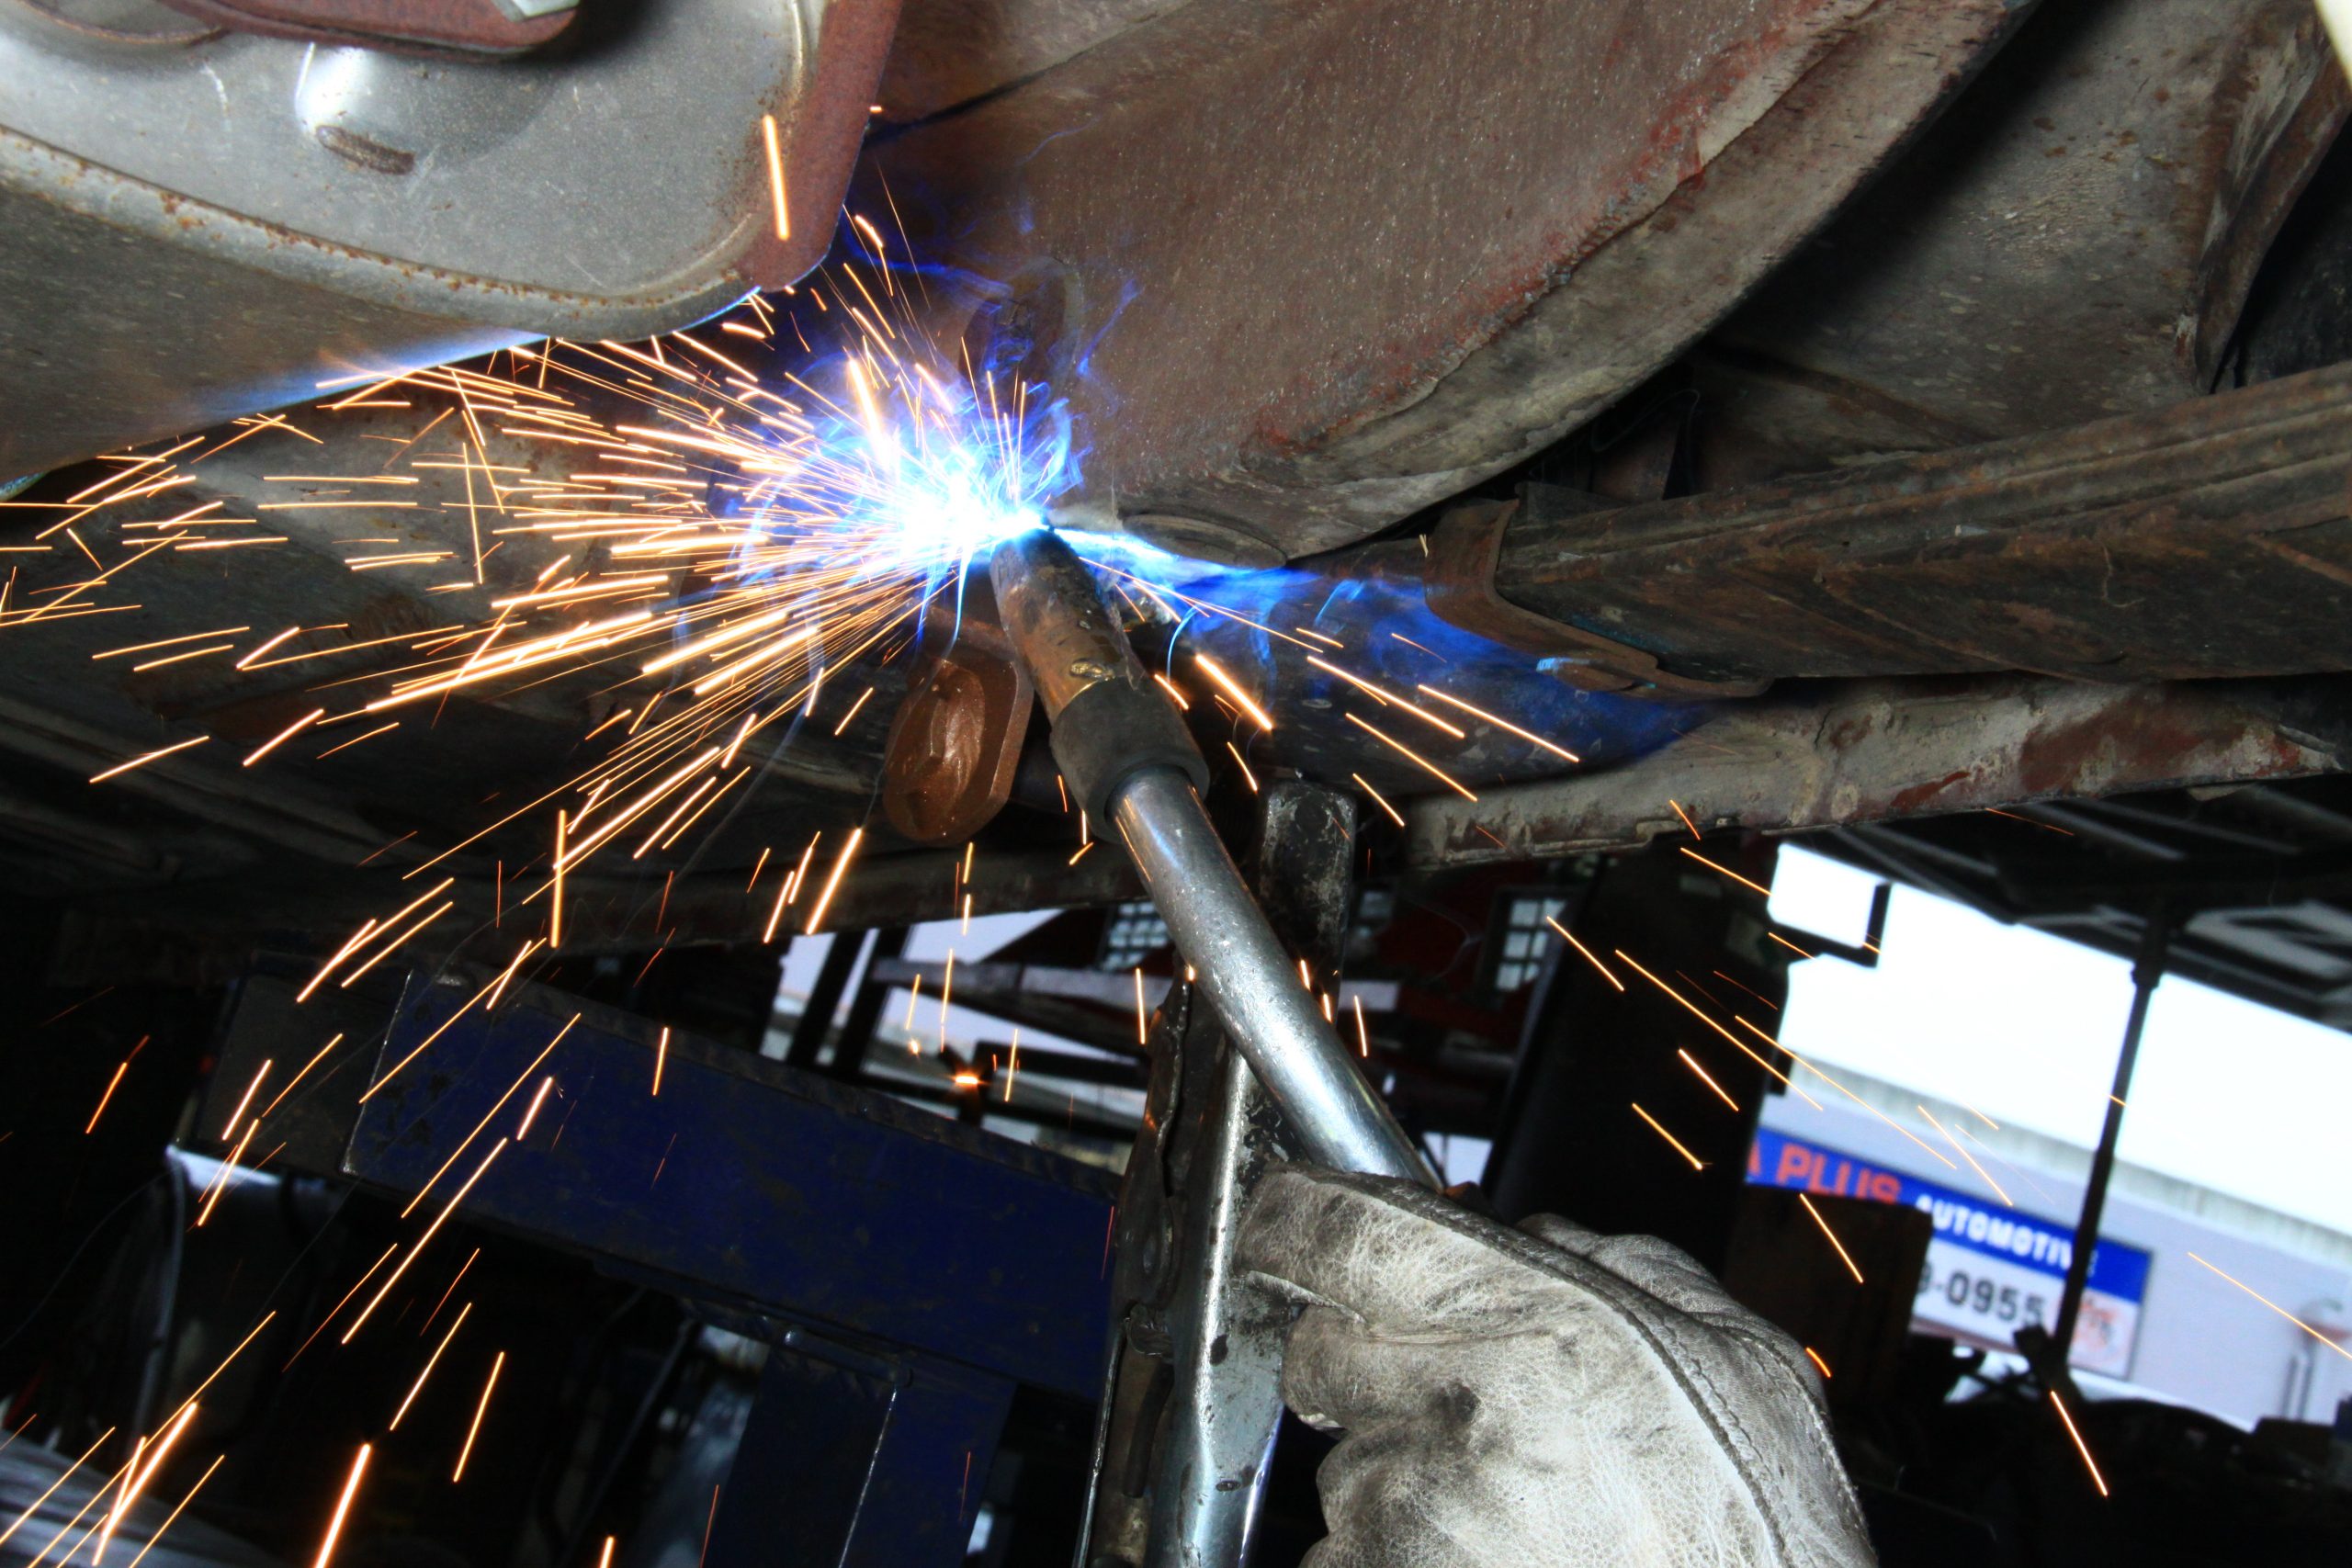
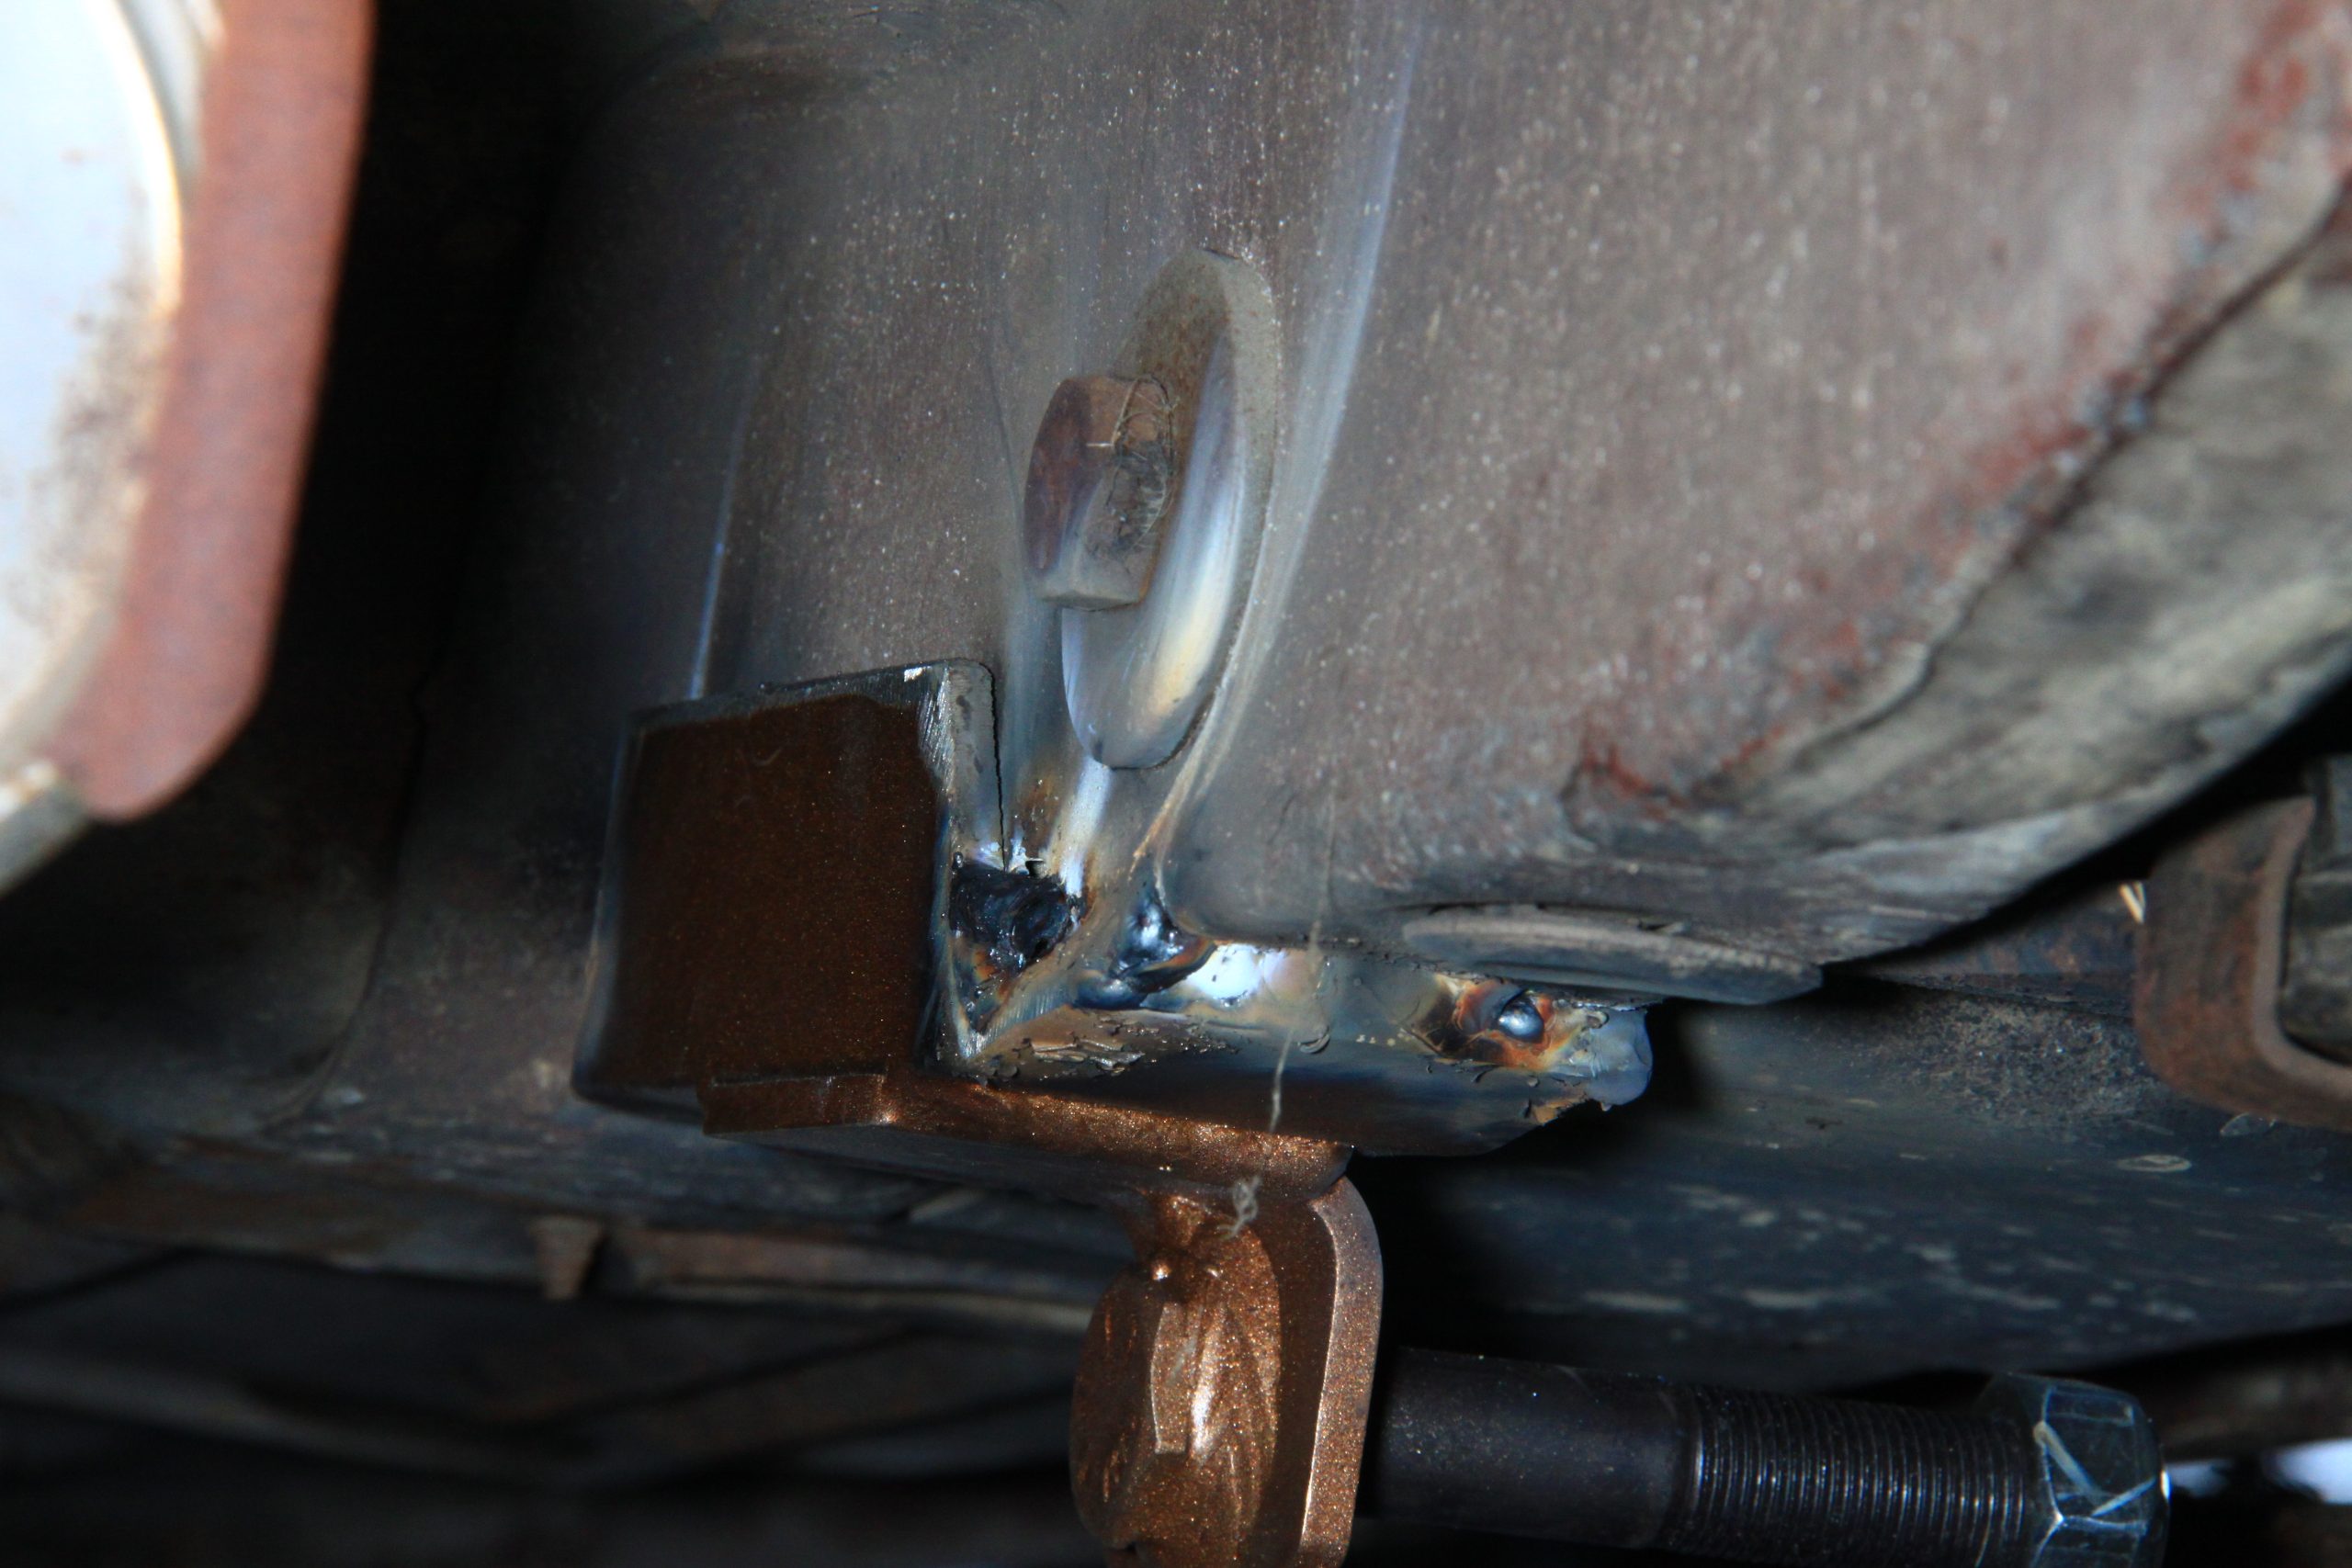
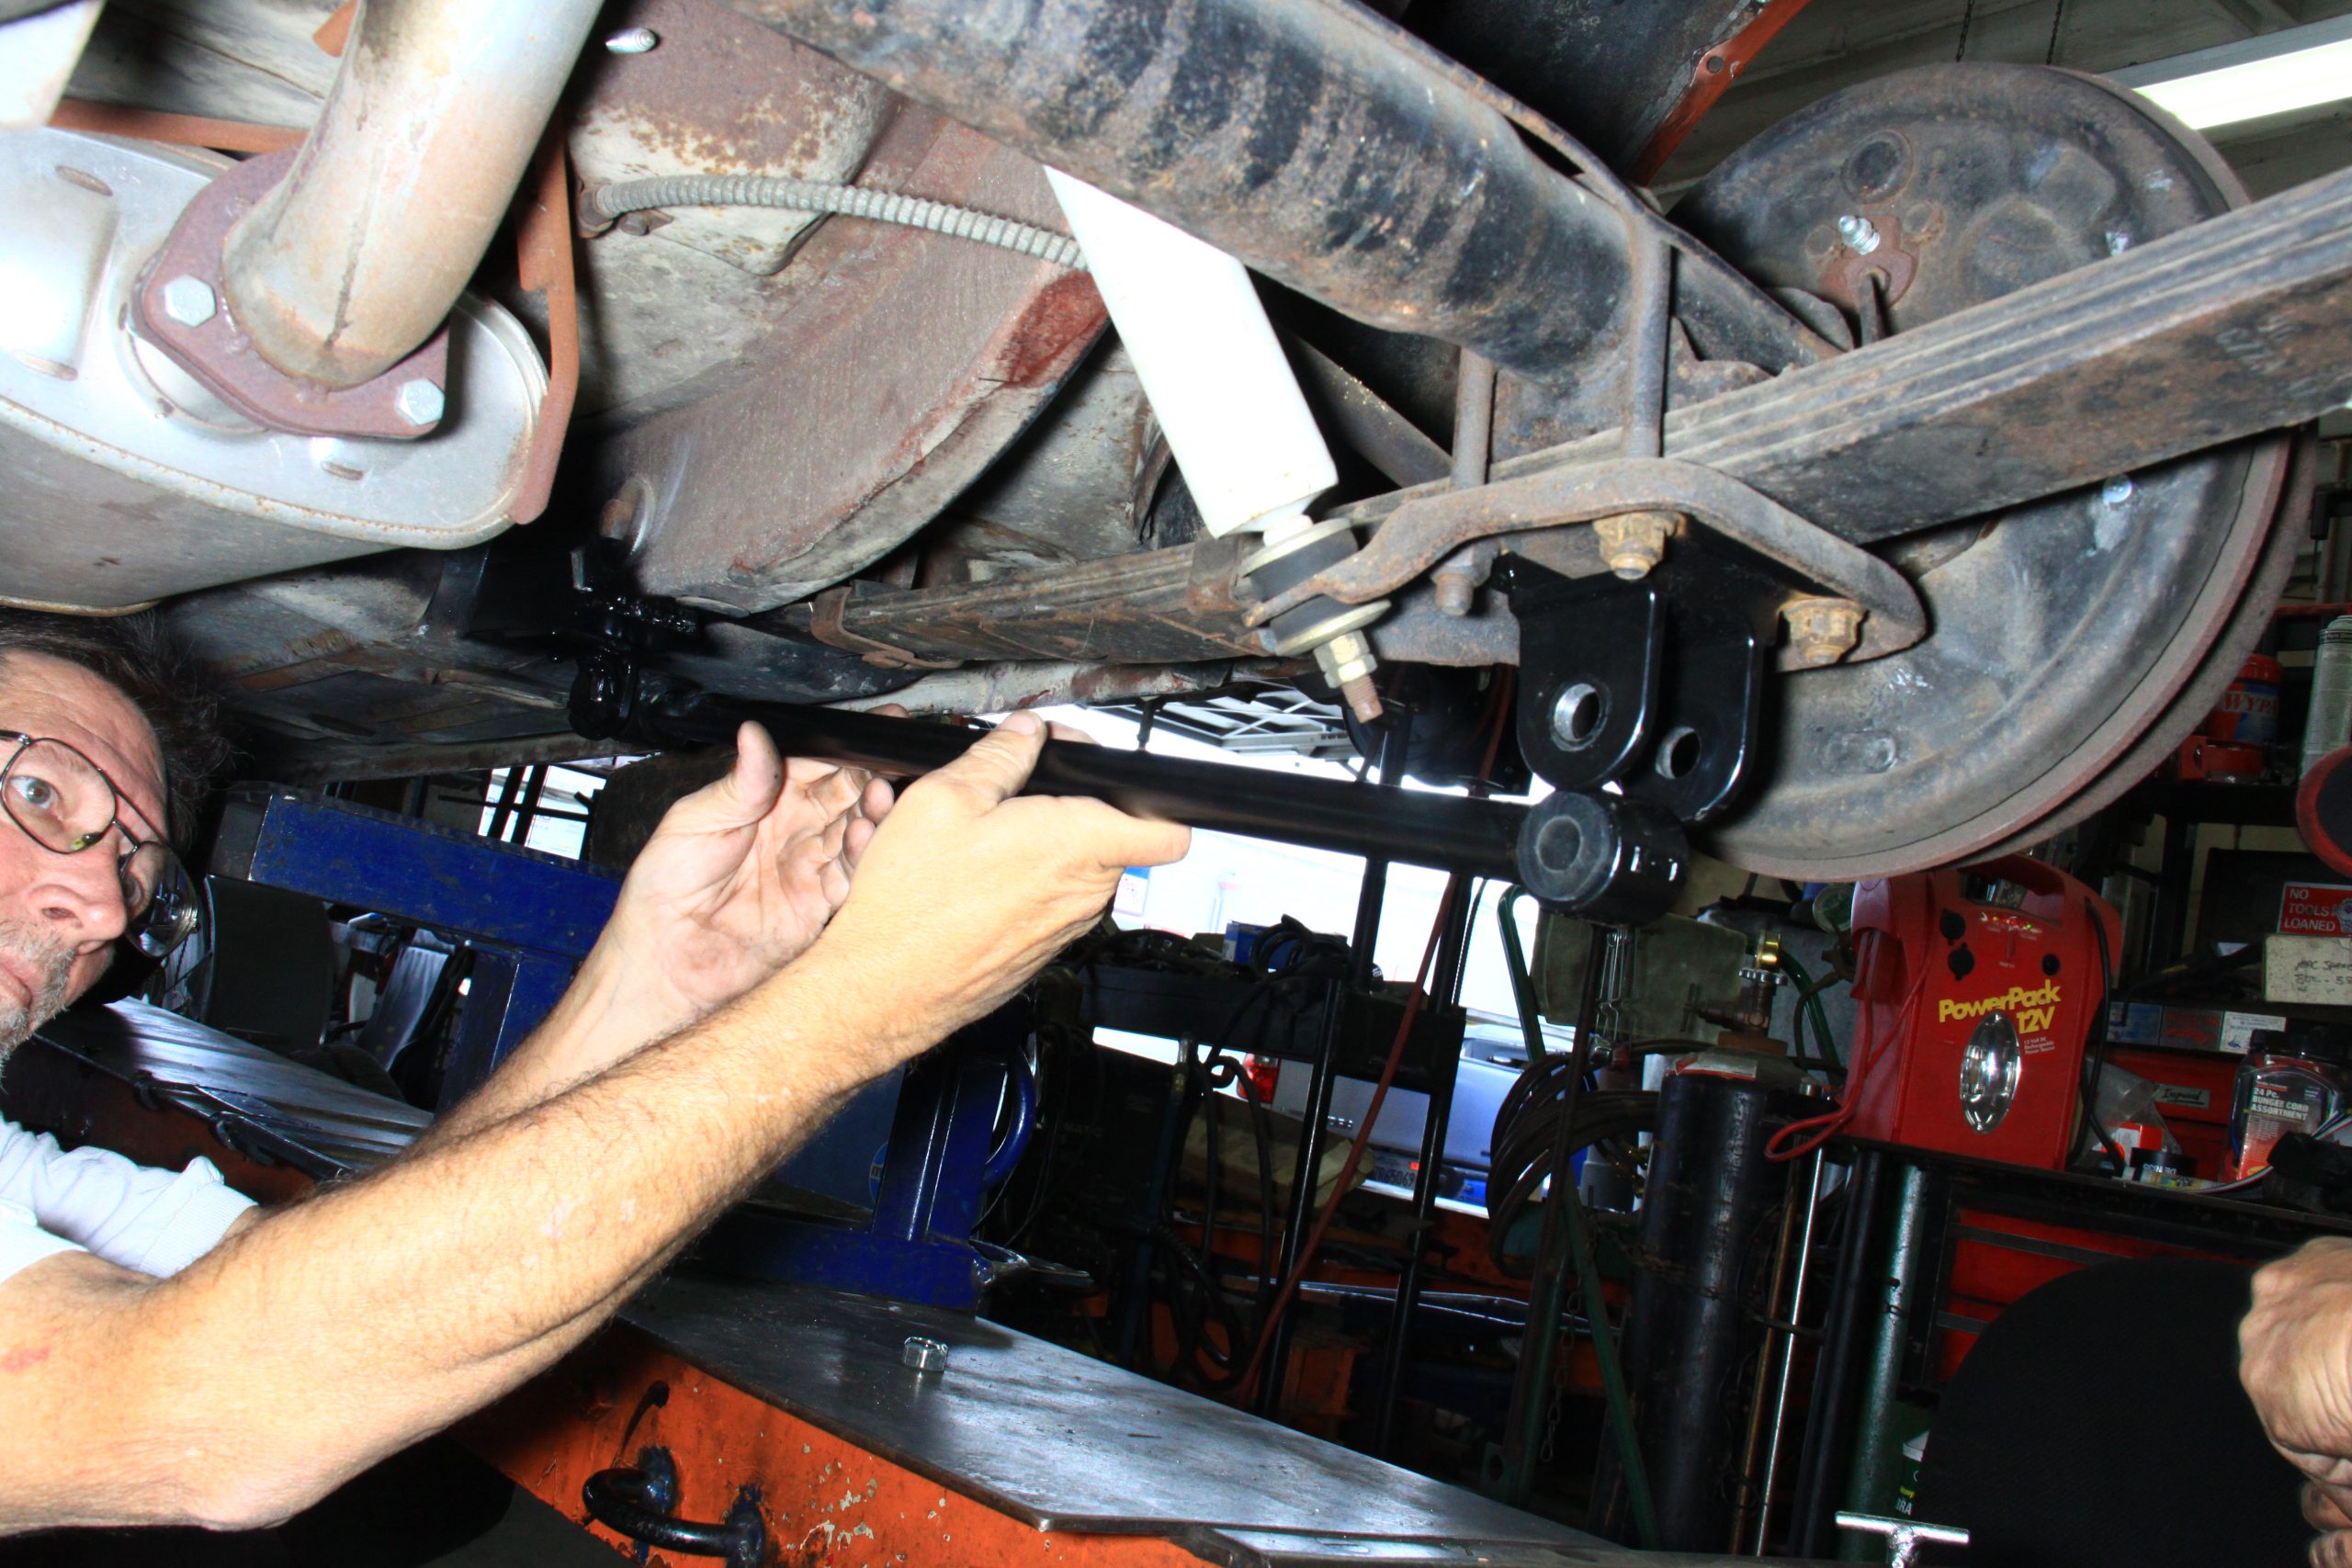
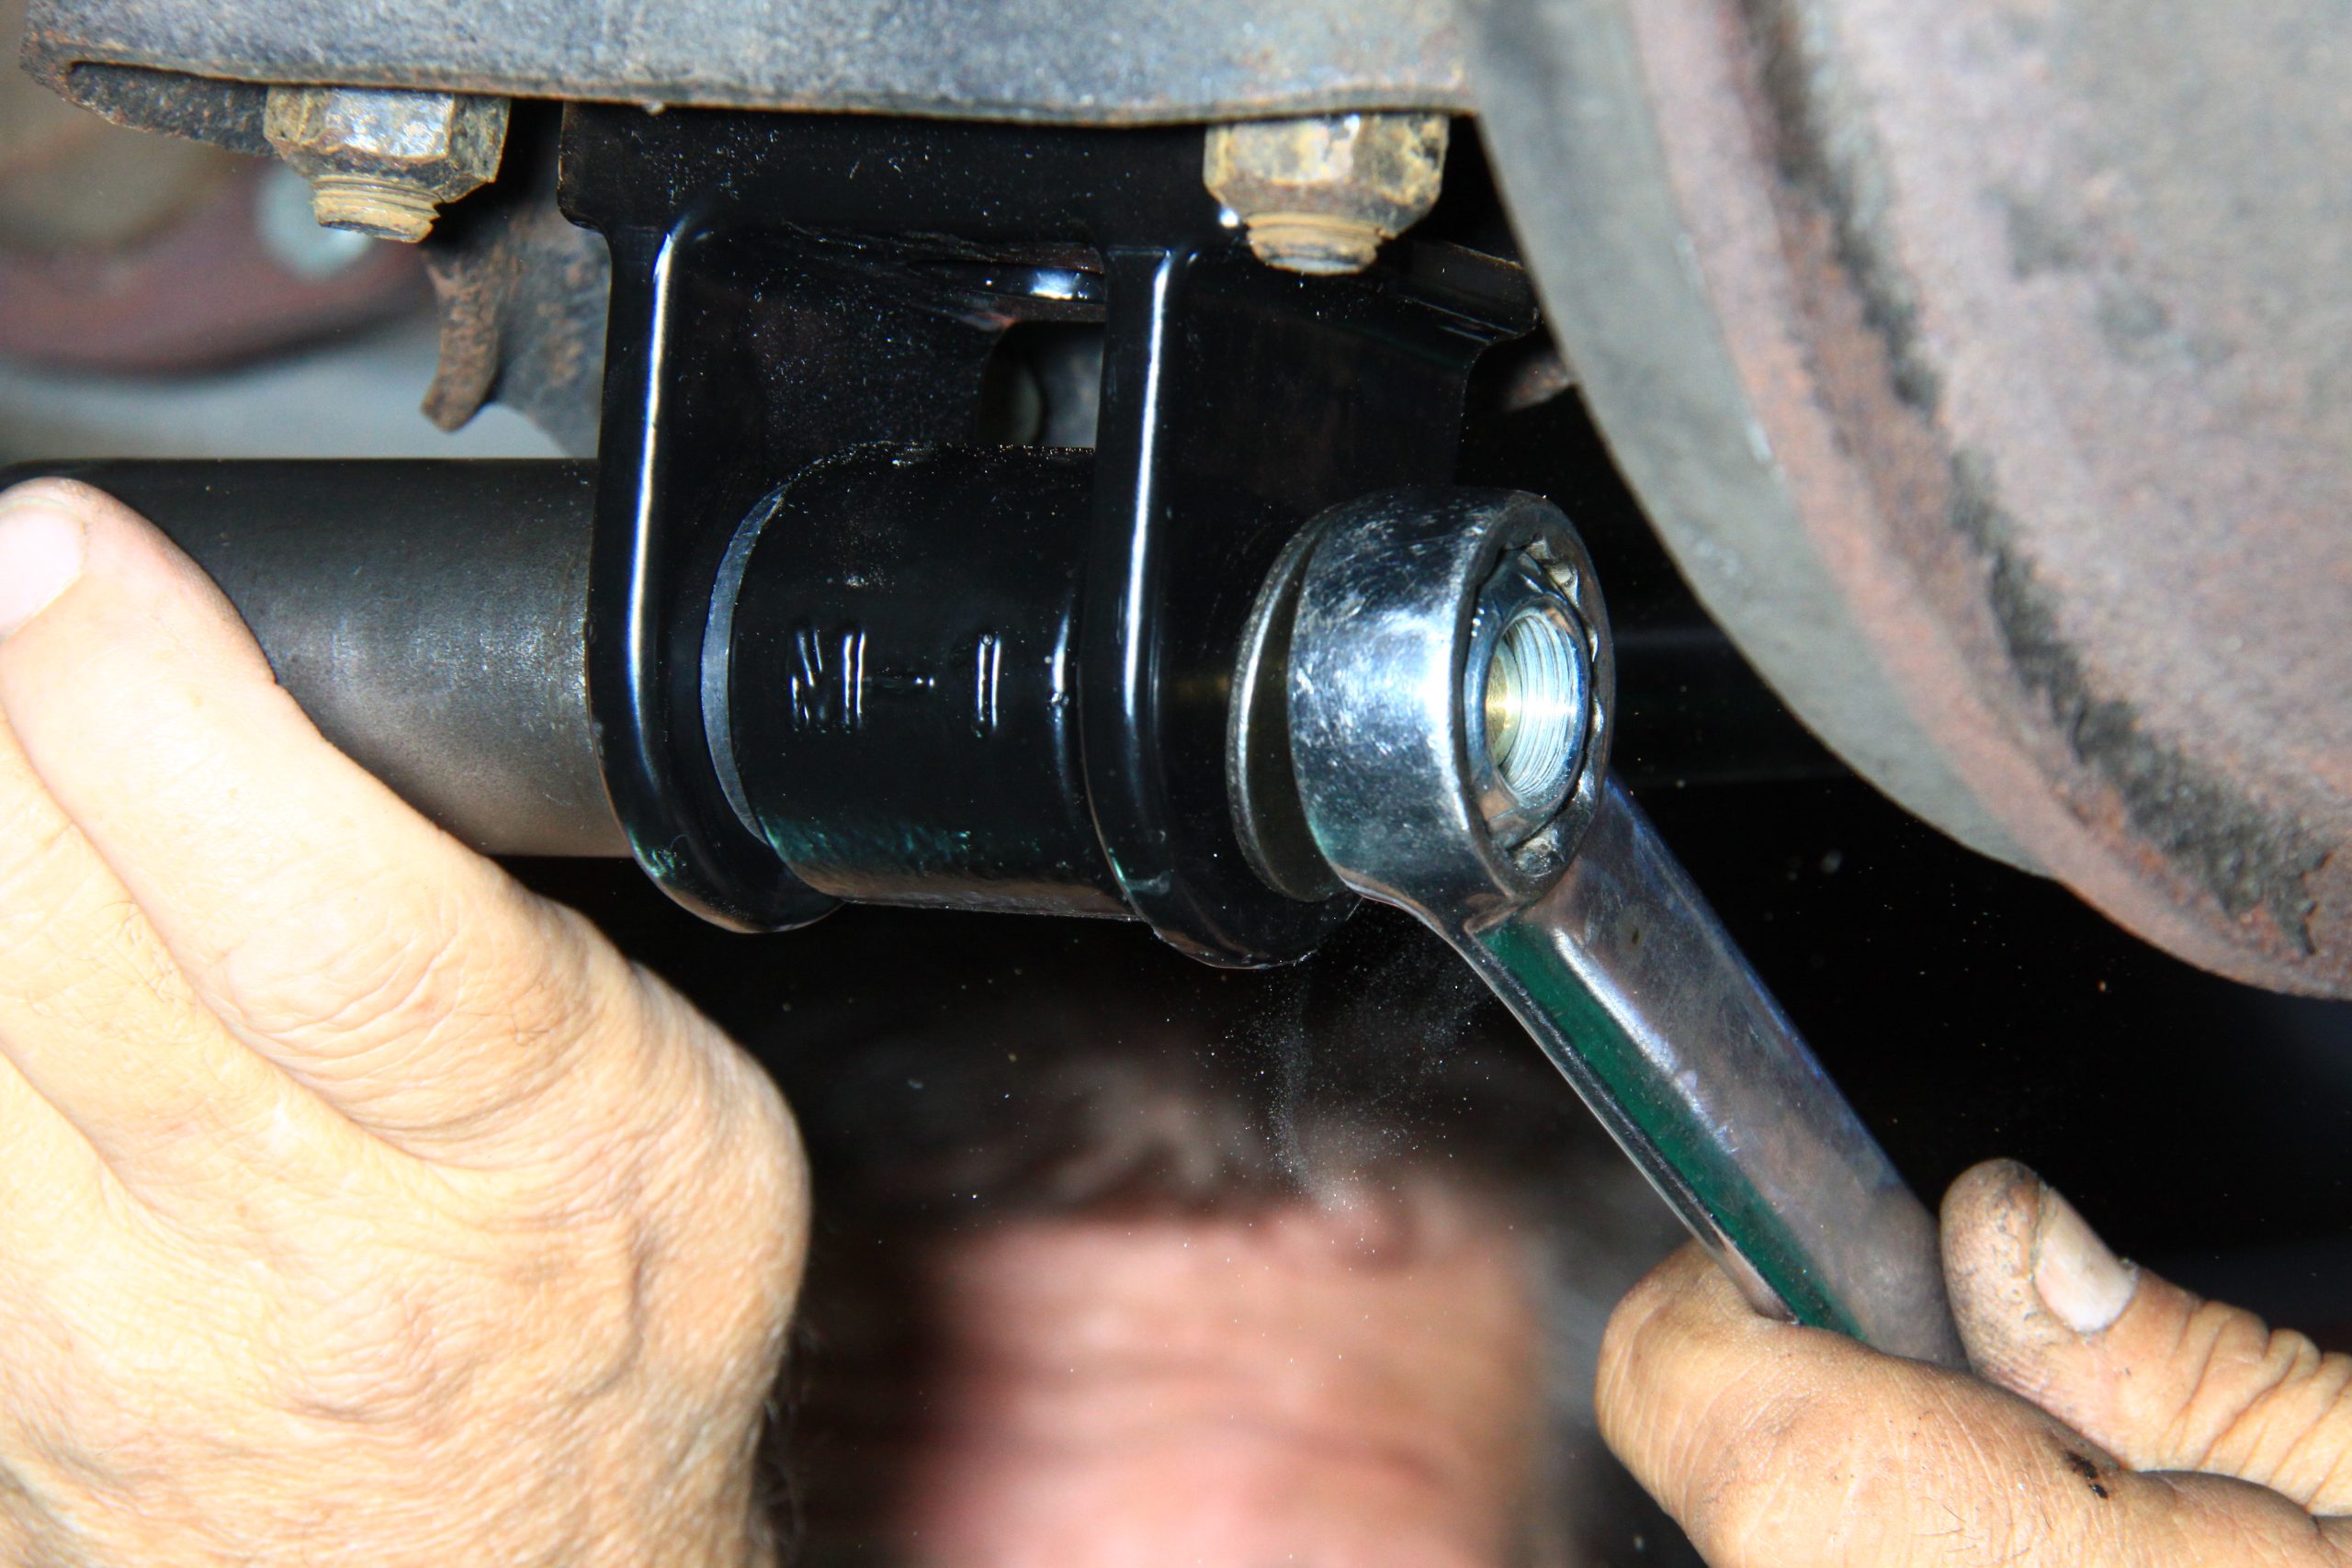
Ford compacts like Mustang, Falcon, Cougar, and Comet struggle with traction issues and wheel hop. Underride traction bars are an easy fix. If you have budget, opt for a rear anti-sway bar, which provides even greater stability. (Image/Jim Smart)Traction Master traction bars from Scott Drake are well engineered pieces ready for installation. They bolt to the shock bracket U-bolts and are welded to the rear frame rails. Scott Drake under ride traction bars are Traction Master originals. These steel and black powder coated pieces arrive on your doorstep with either polyurethane or rubber bushings to reduce wheel hop and enhance acceleration. They prevent leaf spring “unwrapping” during hard deceleration. (Image/Jim Smart)Begin installation by assembling the Traction Master bars as shown. You want them loosely assembled to ascertain fitment, then, disconnected from the forward mounts for welding. (Image/Jim Smart)With the rear axle properly supported, remove the U-bolt nuts. We advise spraying WD-40 on the thread a day prior to disassembly for ease of removal. (Image/Jim Smart)(Image/Jim Smart)(Image/Jim Smart)Install the rear traction bar mount as shown in the three photos above, then, torque the locknuts. Do not overtighten the U-bolt locknuts, which can damage the axle tube. (Image/Jim Smart)(Image/Jim Smart)Temporarily install the bar for fitment purposes to get the forward bracket properly positioned at the frame rail. (Image/Jim Smart)(Image/Jim Smart)Locate the forward mount as shown, using the attached bar for reference. This ensures perfect fit. (Image/Jim Smart)The forward traction bar is secured with a bottle jack. Paint and undercoat must be removed to expose bare steel for welding. It is virtually impossible to weld through paint, undercoating, and debris. (Image/Jim Smart)Begin with tack welds, then check measurements. Never do the complete weld with the bar attached, the heat will damage bushings. (Image/Jim Smart)(Image/Jim Smart)Weld in a solid bead and check your weld. Complete the welding process around the perimeter. (Image/Jim Smart)(Image/Jim Smart)Lubricate the bushings and install the bar as shown. (Image/Jim Smart)
Jim Smart is a veteran automotive journalist, technical editor, and historian with hundreds of how-to and feature articles to his credit. Jim's also an enthusiast, and has owned and restored many classic vehicles, including an impressive mix of vintage Ford Mustangs.
Comments
One response to “Getting Real (Shelby!) Traction on an Early Mustang with a Set of Traction Bars”
Back in the ’60’s many of us weekend drag racers used “Traction Masters” on our cars because of wheel hop with leaf springs. I had them on my 327/360 powered ’57 Corvette. I read how Shelby added traction masters to his road racing cars and always wondered what the benefit (if any) would be for cornering. We all remember that scene from the movie “Bullitt” where McQueen slams his car in reverse and you can see the wheel hop, but when he throws it back in 1st he burns out with no wheel hop. No POSI either because only one tire track shows in the clip. Now everyone swears by Cal-Tracs which are not welded on like the old TMs and there’s some adjustability to get maximum lock of the axle twist action. But back to my question… did Shelby actually need TMs to control axle wrap on a road course? And did his times around the track improve with the addition of a set of fixed TMs with no adjustments? Wish I could find some pix of the original rear suspension on the Shelby GT’s he built/sold in the ’60’s. And wouldn’t TMs with Heim joint ends like Stiflers offers for F150 Lightnings provide improved adjustability on a vintage Mustang?


Back in the ’60’s many of us weekend drag racers used “Traction Masters” on our cars because of wheel hop with leaf springs. I had them on my 327/360 powered ’57 Corvette. I read how Shelby added traction masters to his road racing cars and always wondered what the benefit (if any) would be for cornering. We all remember that scene from the movie “Bullitt” where McQueen slams his car in reverse and you can see the wheel hop, but when he throws it back in 1st he burns out with no wheel hop. No POSI either because only one tire track shows in the clip. Now everyone swears by Cal-Tracs which are not welded on like the old TMs and there’s some adjustability to get maximum lock of the axle twist action. But back to my question… did Shelby actually need TMs to control axle wrap on a road course? And did his times around the track improve with the addition of a set of fixed TMs with no adjustments? Wish I could find some pix of the original rear suspension on the Shelby GT’s he built/sold in the ’60’s. And wouldn’t TMs with Heim joint ends like Stiflers offers for F150 Lightnings provide improved adjustability on a vintage Mustang?