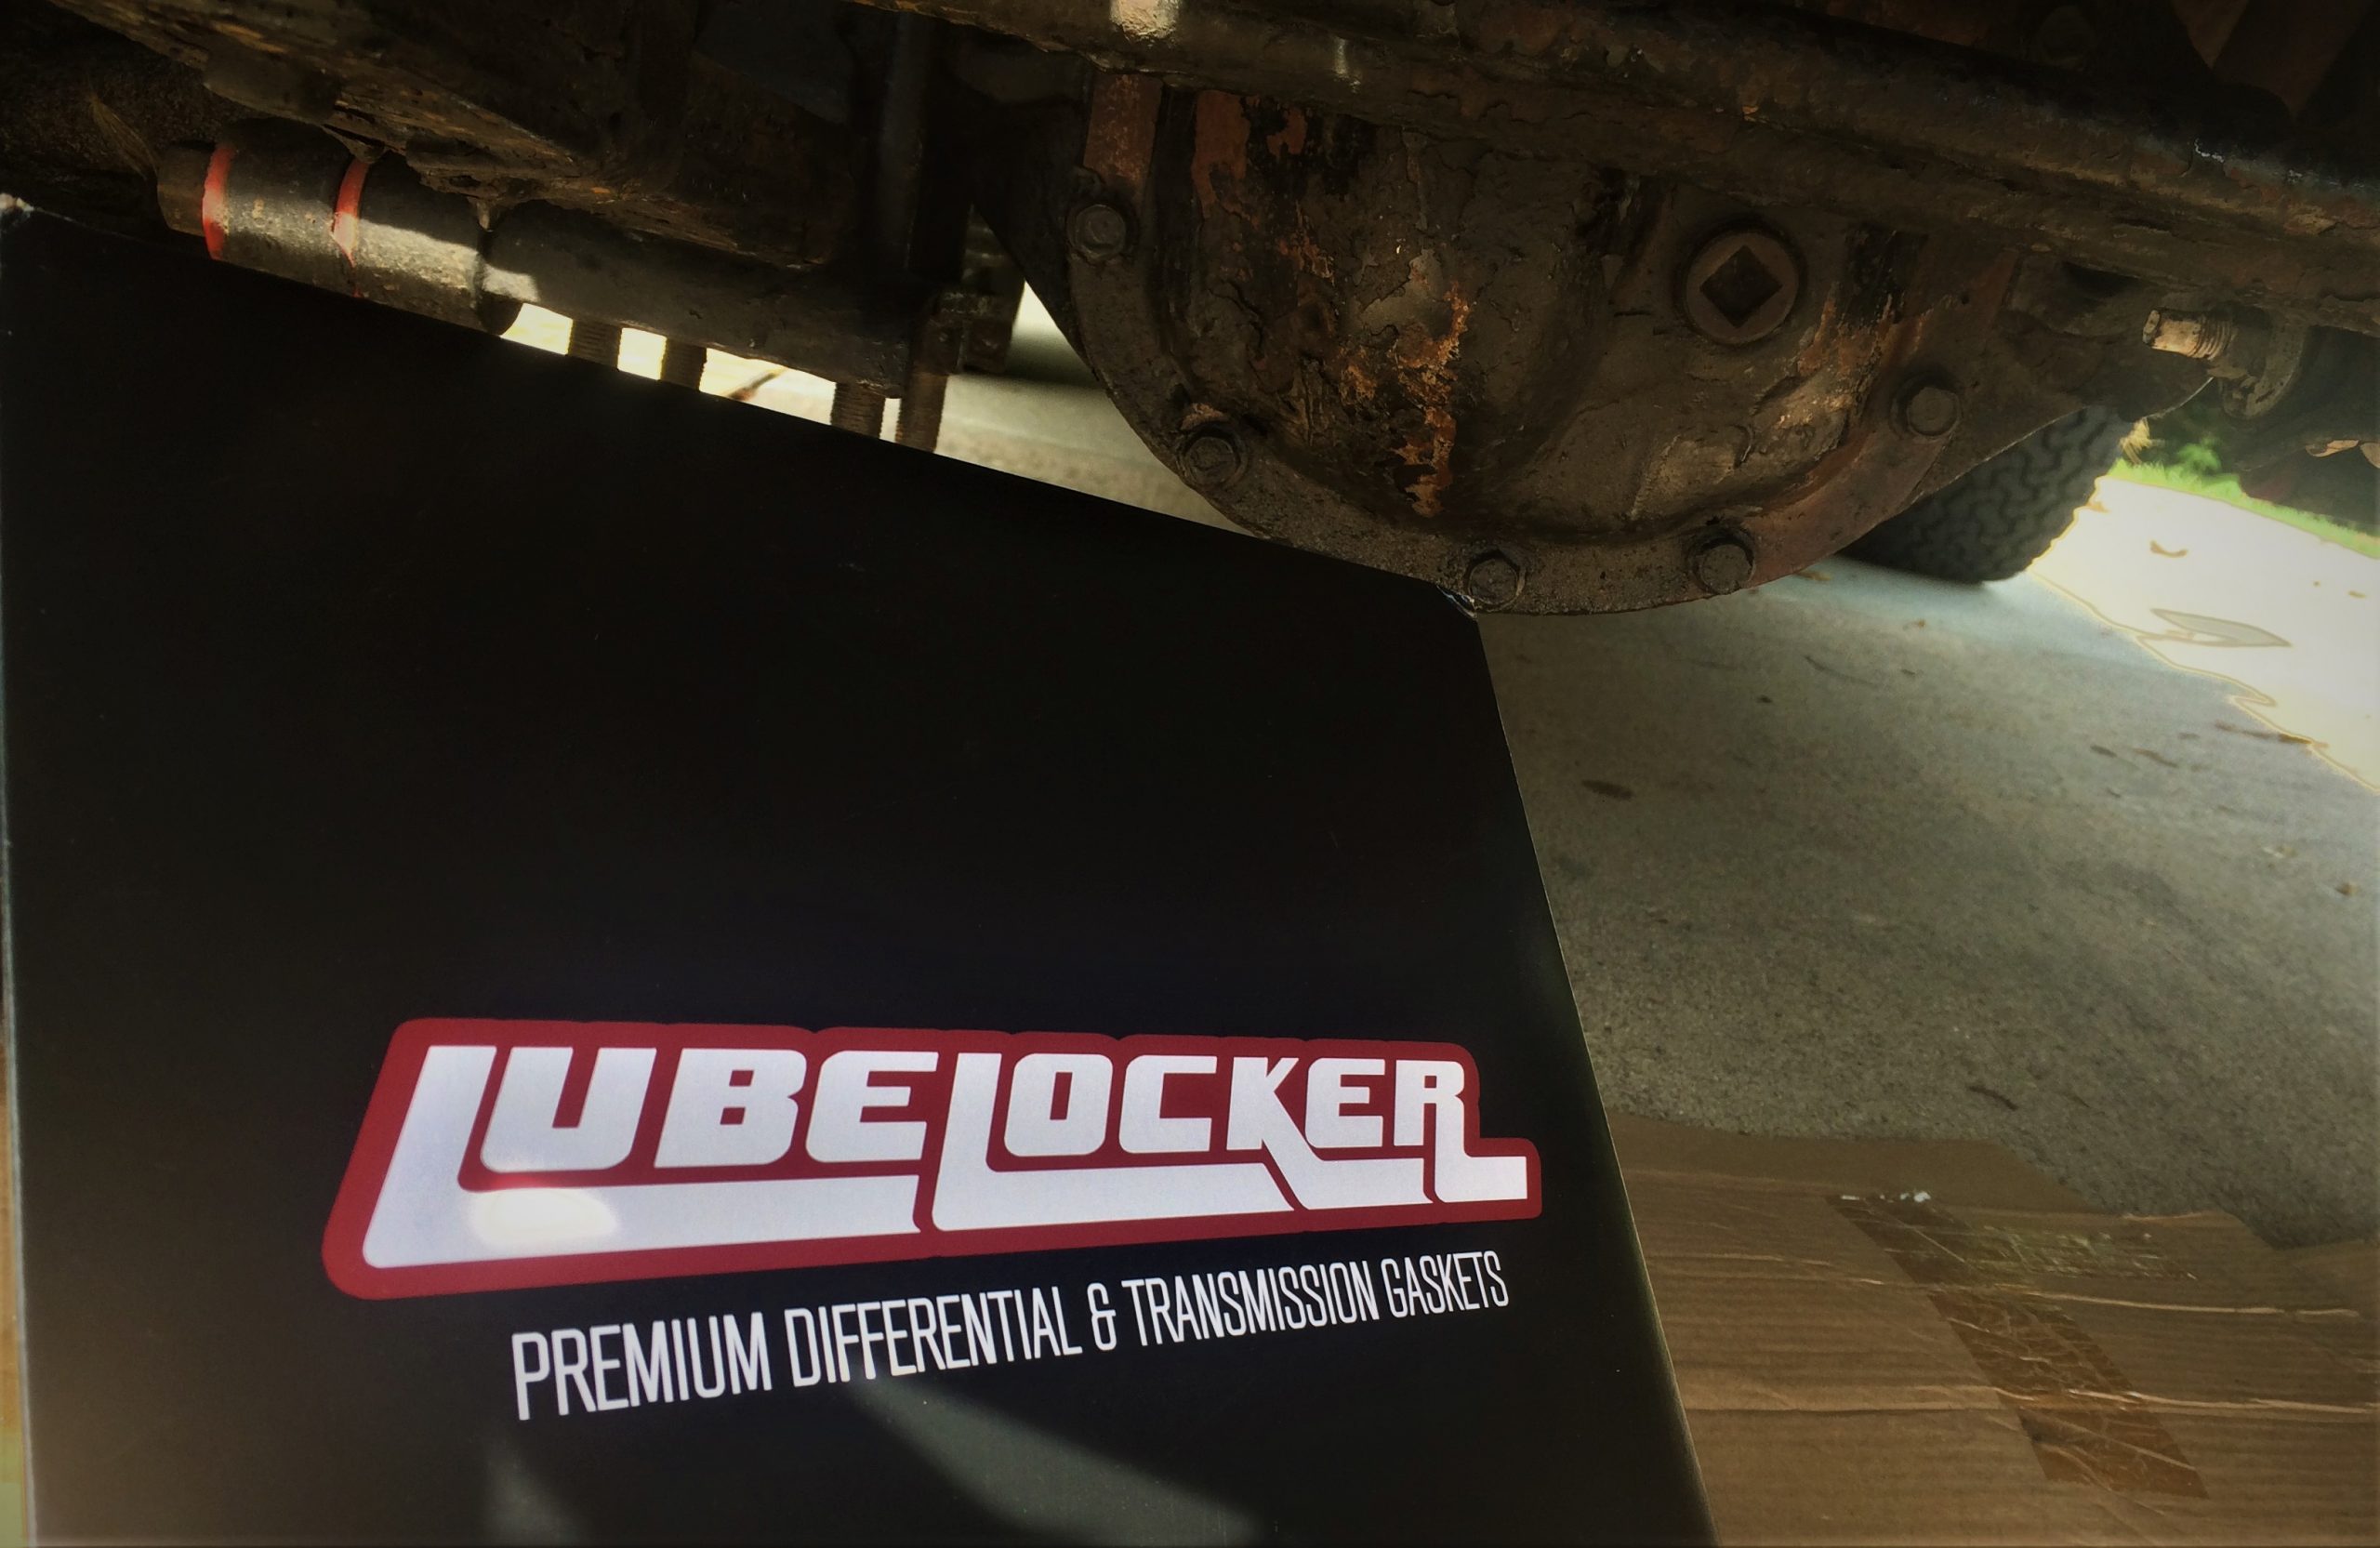
OK, so this walkthrough of how to install a LubeLocker differential cover gasket is going to be pretty short.
But…that’s basically the whole point.
That’s because anyone’s who’s fiddled with a conventional cork differential gasket knows that the process can get messy. You typically have to apply some sort of RTV or other gasket making/adhering compound to ensure everything seals properly and that the gasket stays put while you’re reinstalling the cover.
Though that doesn’t sound too difficult, remember you’re often doing this job on your back. In a tight space. While groping around for blind bolt holes.
So, the folks at LubeLocker built a better mousetrap…err…gasket.
What Makes a LubeLocker Gasket Special?
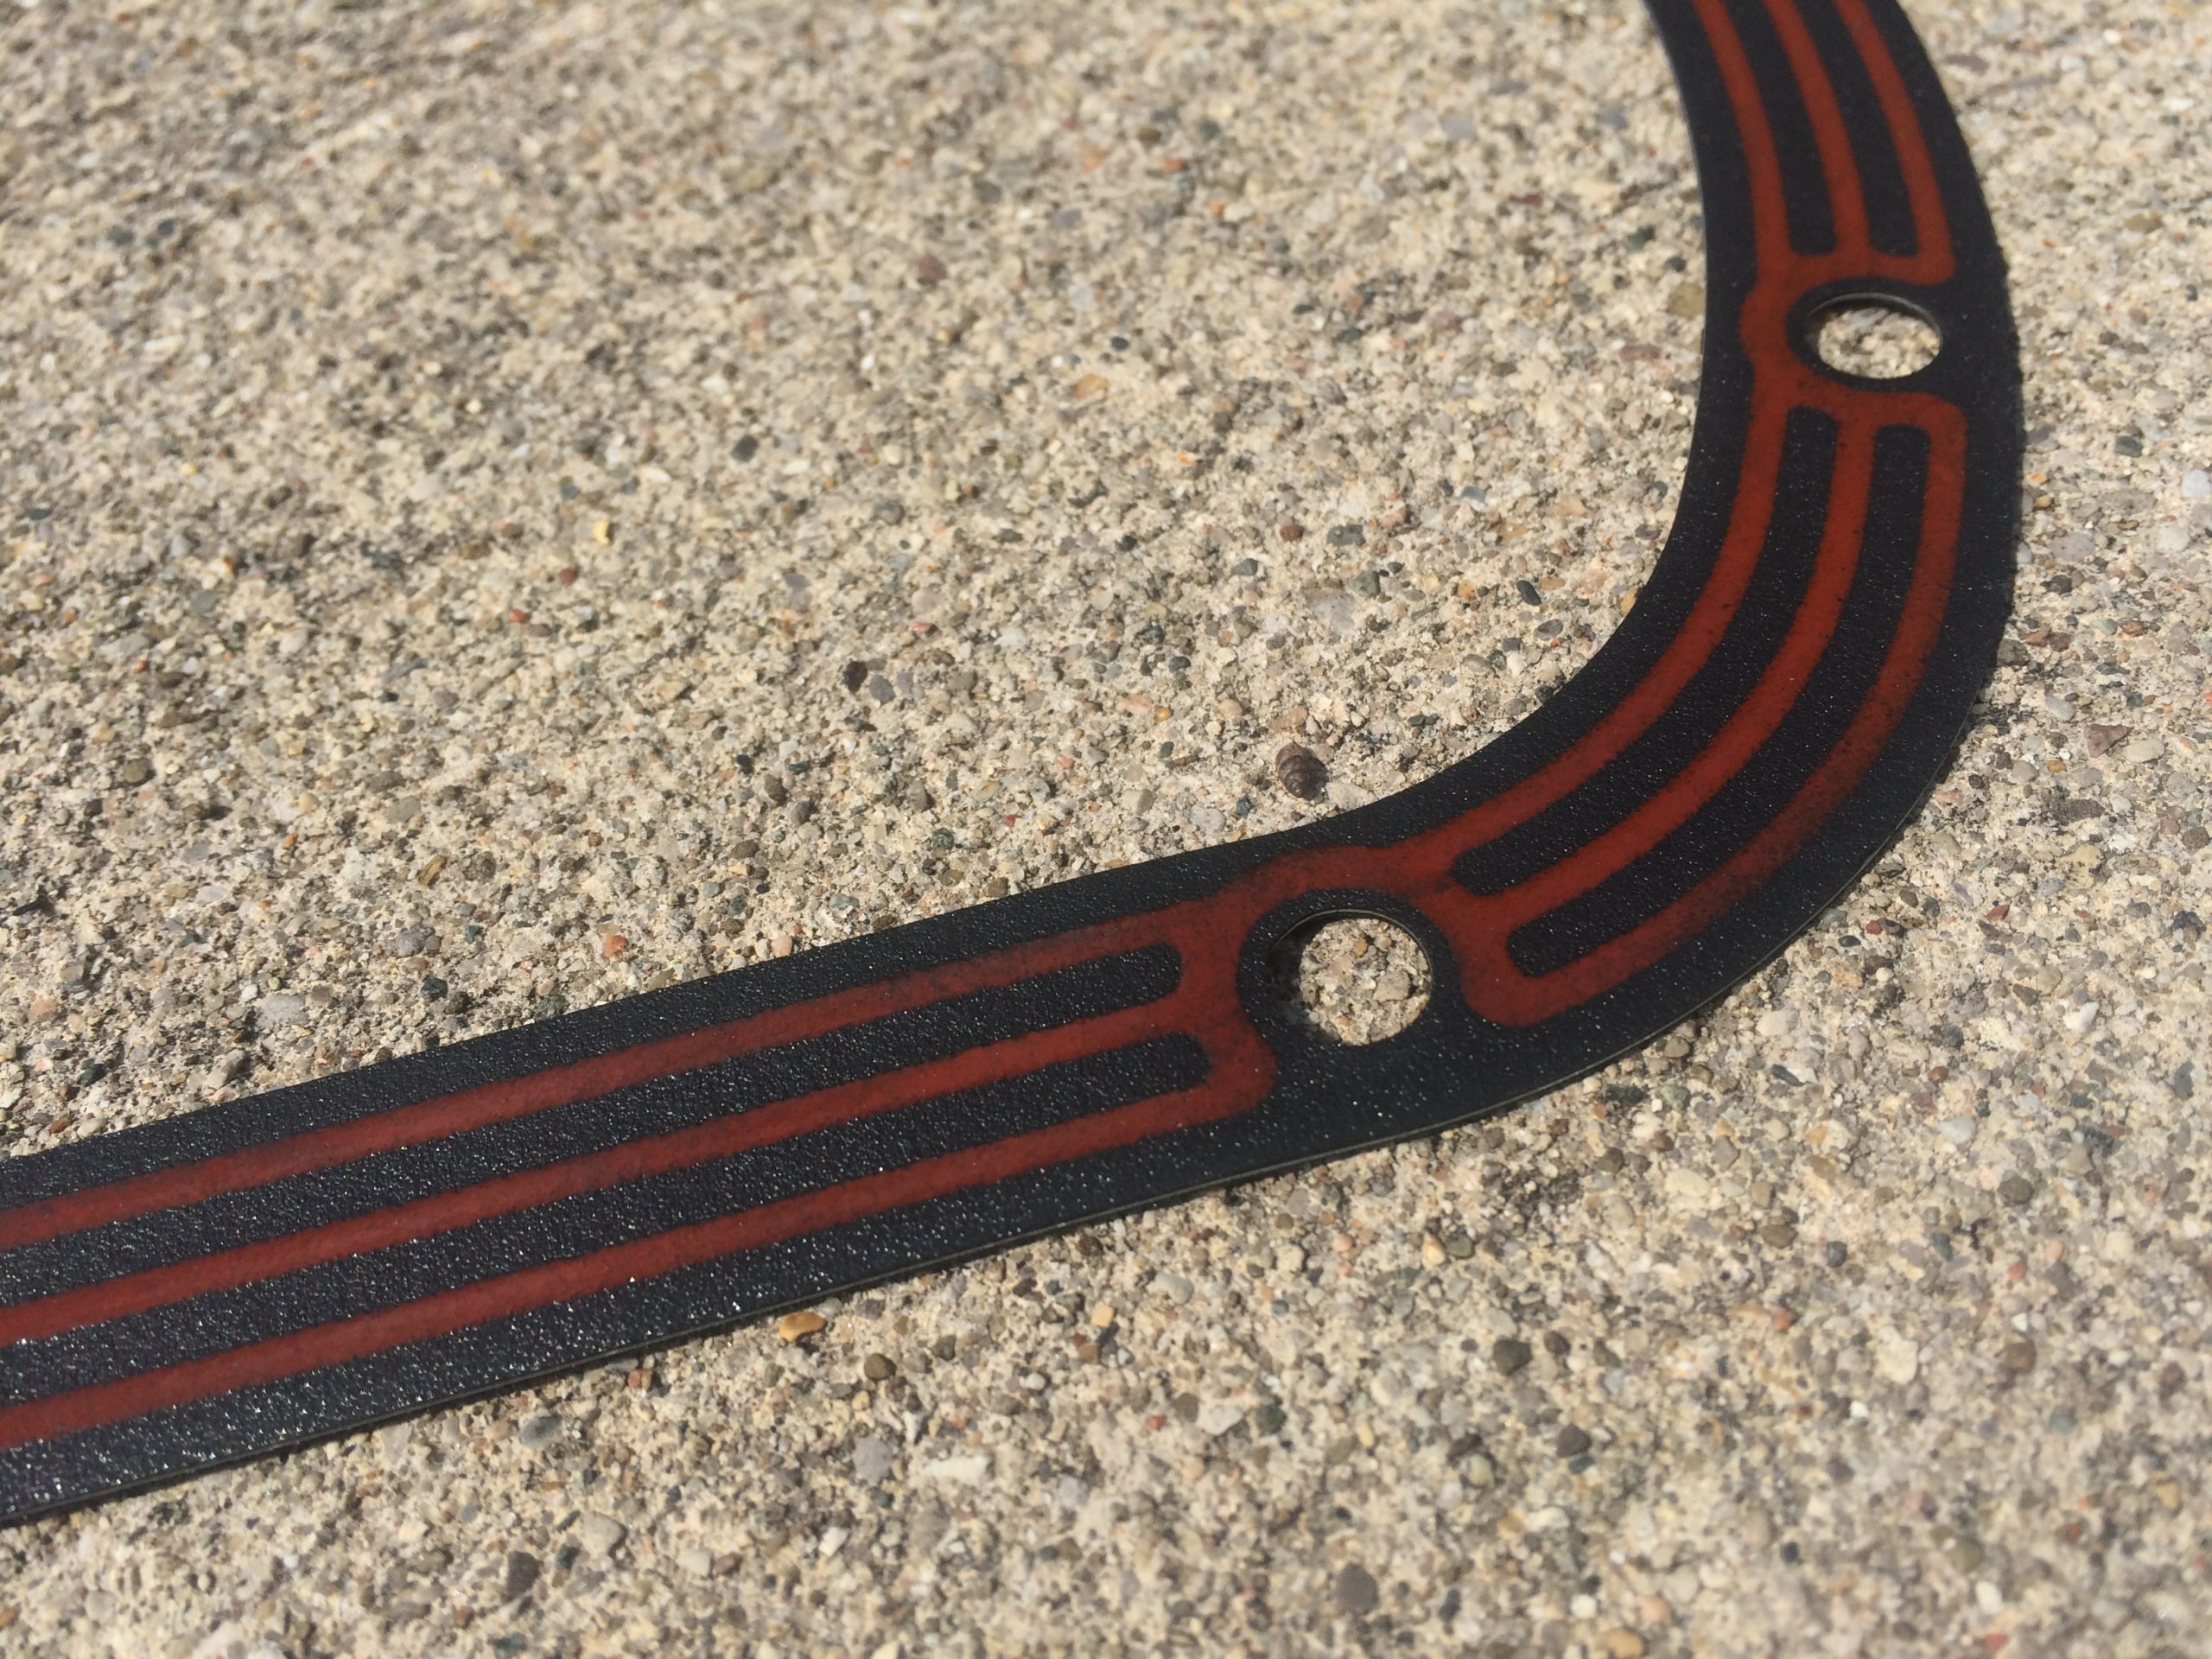
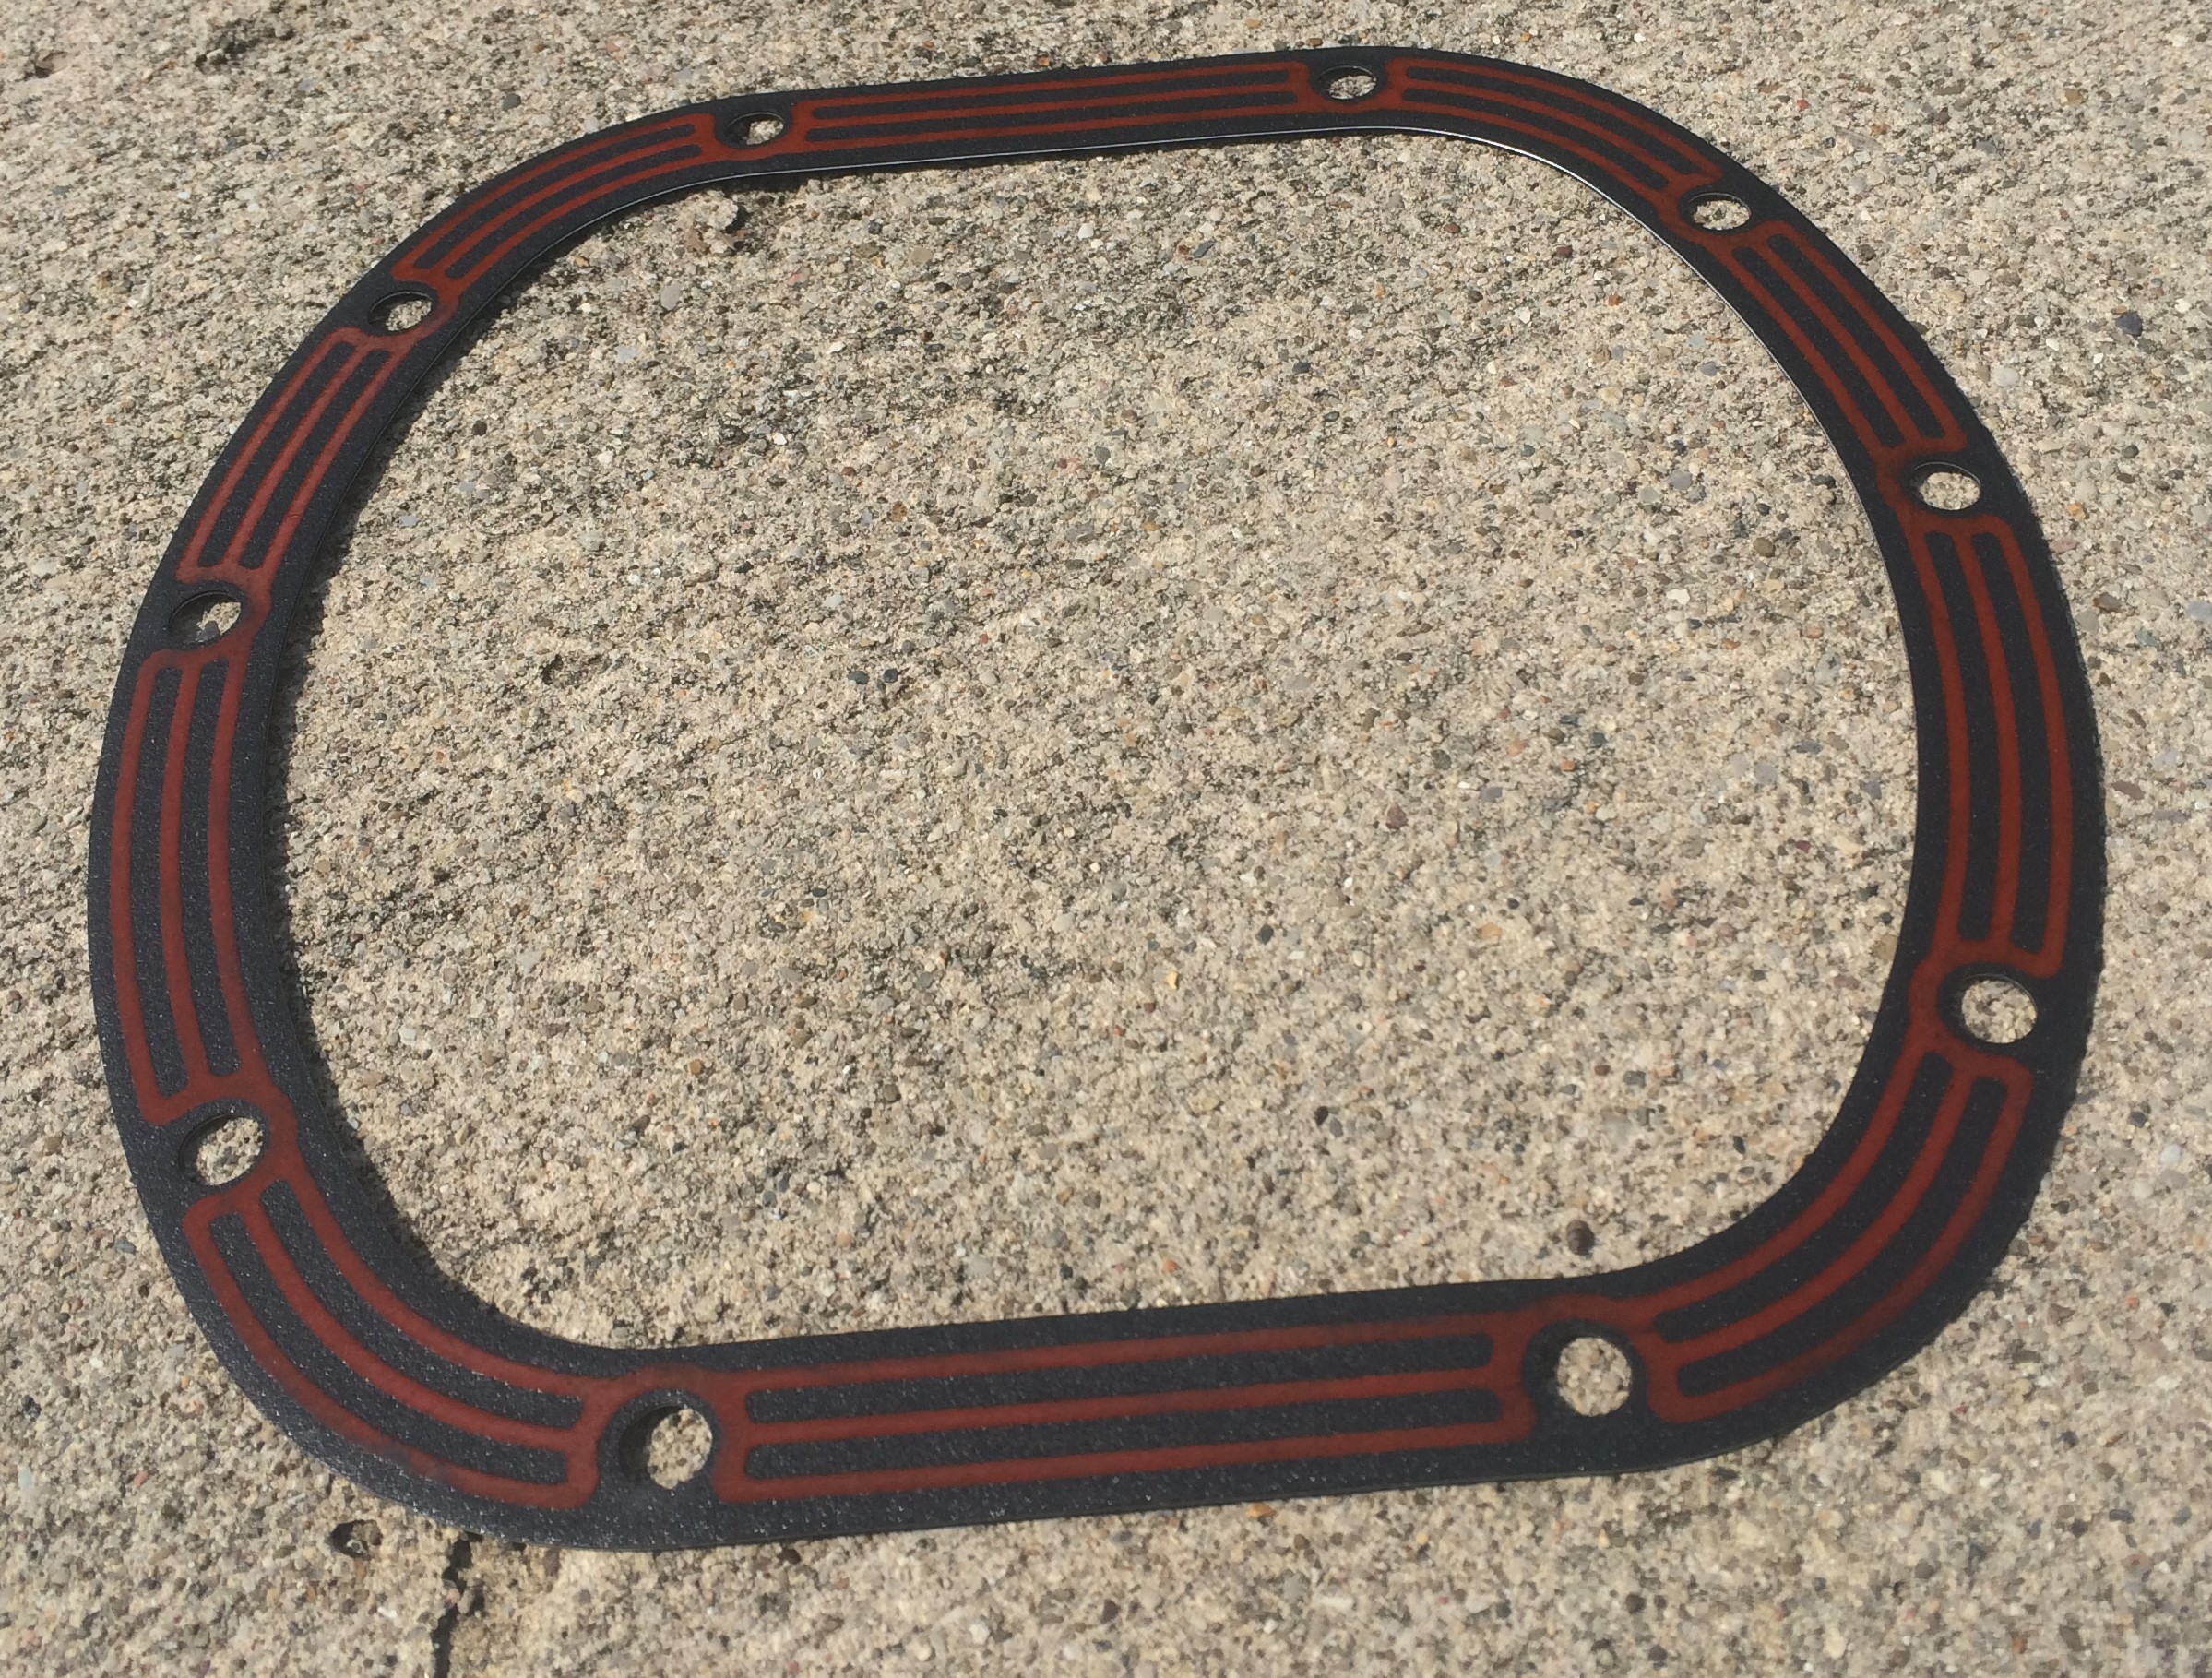
Instead of cork or paper, LubeLocker gaskets are made with a rubber-coated aluminum core. Better yet, the surface features a unique orange elastomer beading to ensure a good seal. In fact, LubeLocker claims that these gaskets are durable and reliable enough to be re-used.
But best of all, these LubeLocker differential cover gaskets don’t need any RTV or gasket sealer. You put them on dry.
That means your hands stay clean and you’re not racing against the RTV’s “curing clock.”
Installing a LubeLocker Differential Gasket
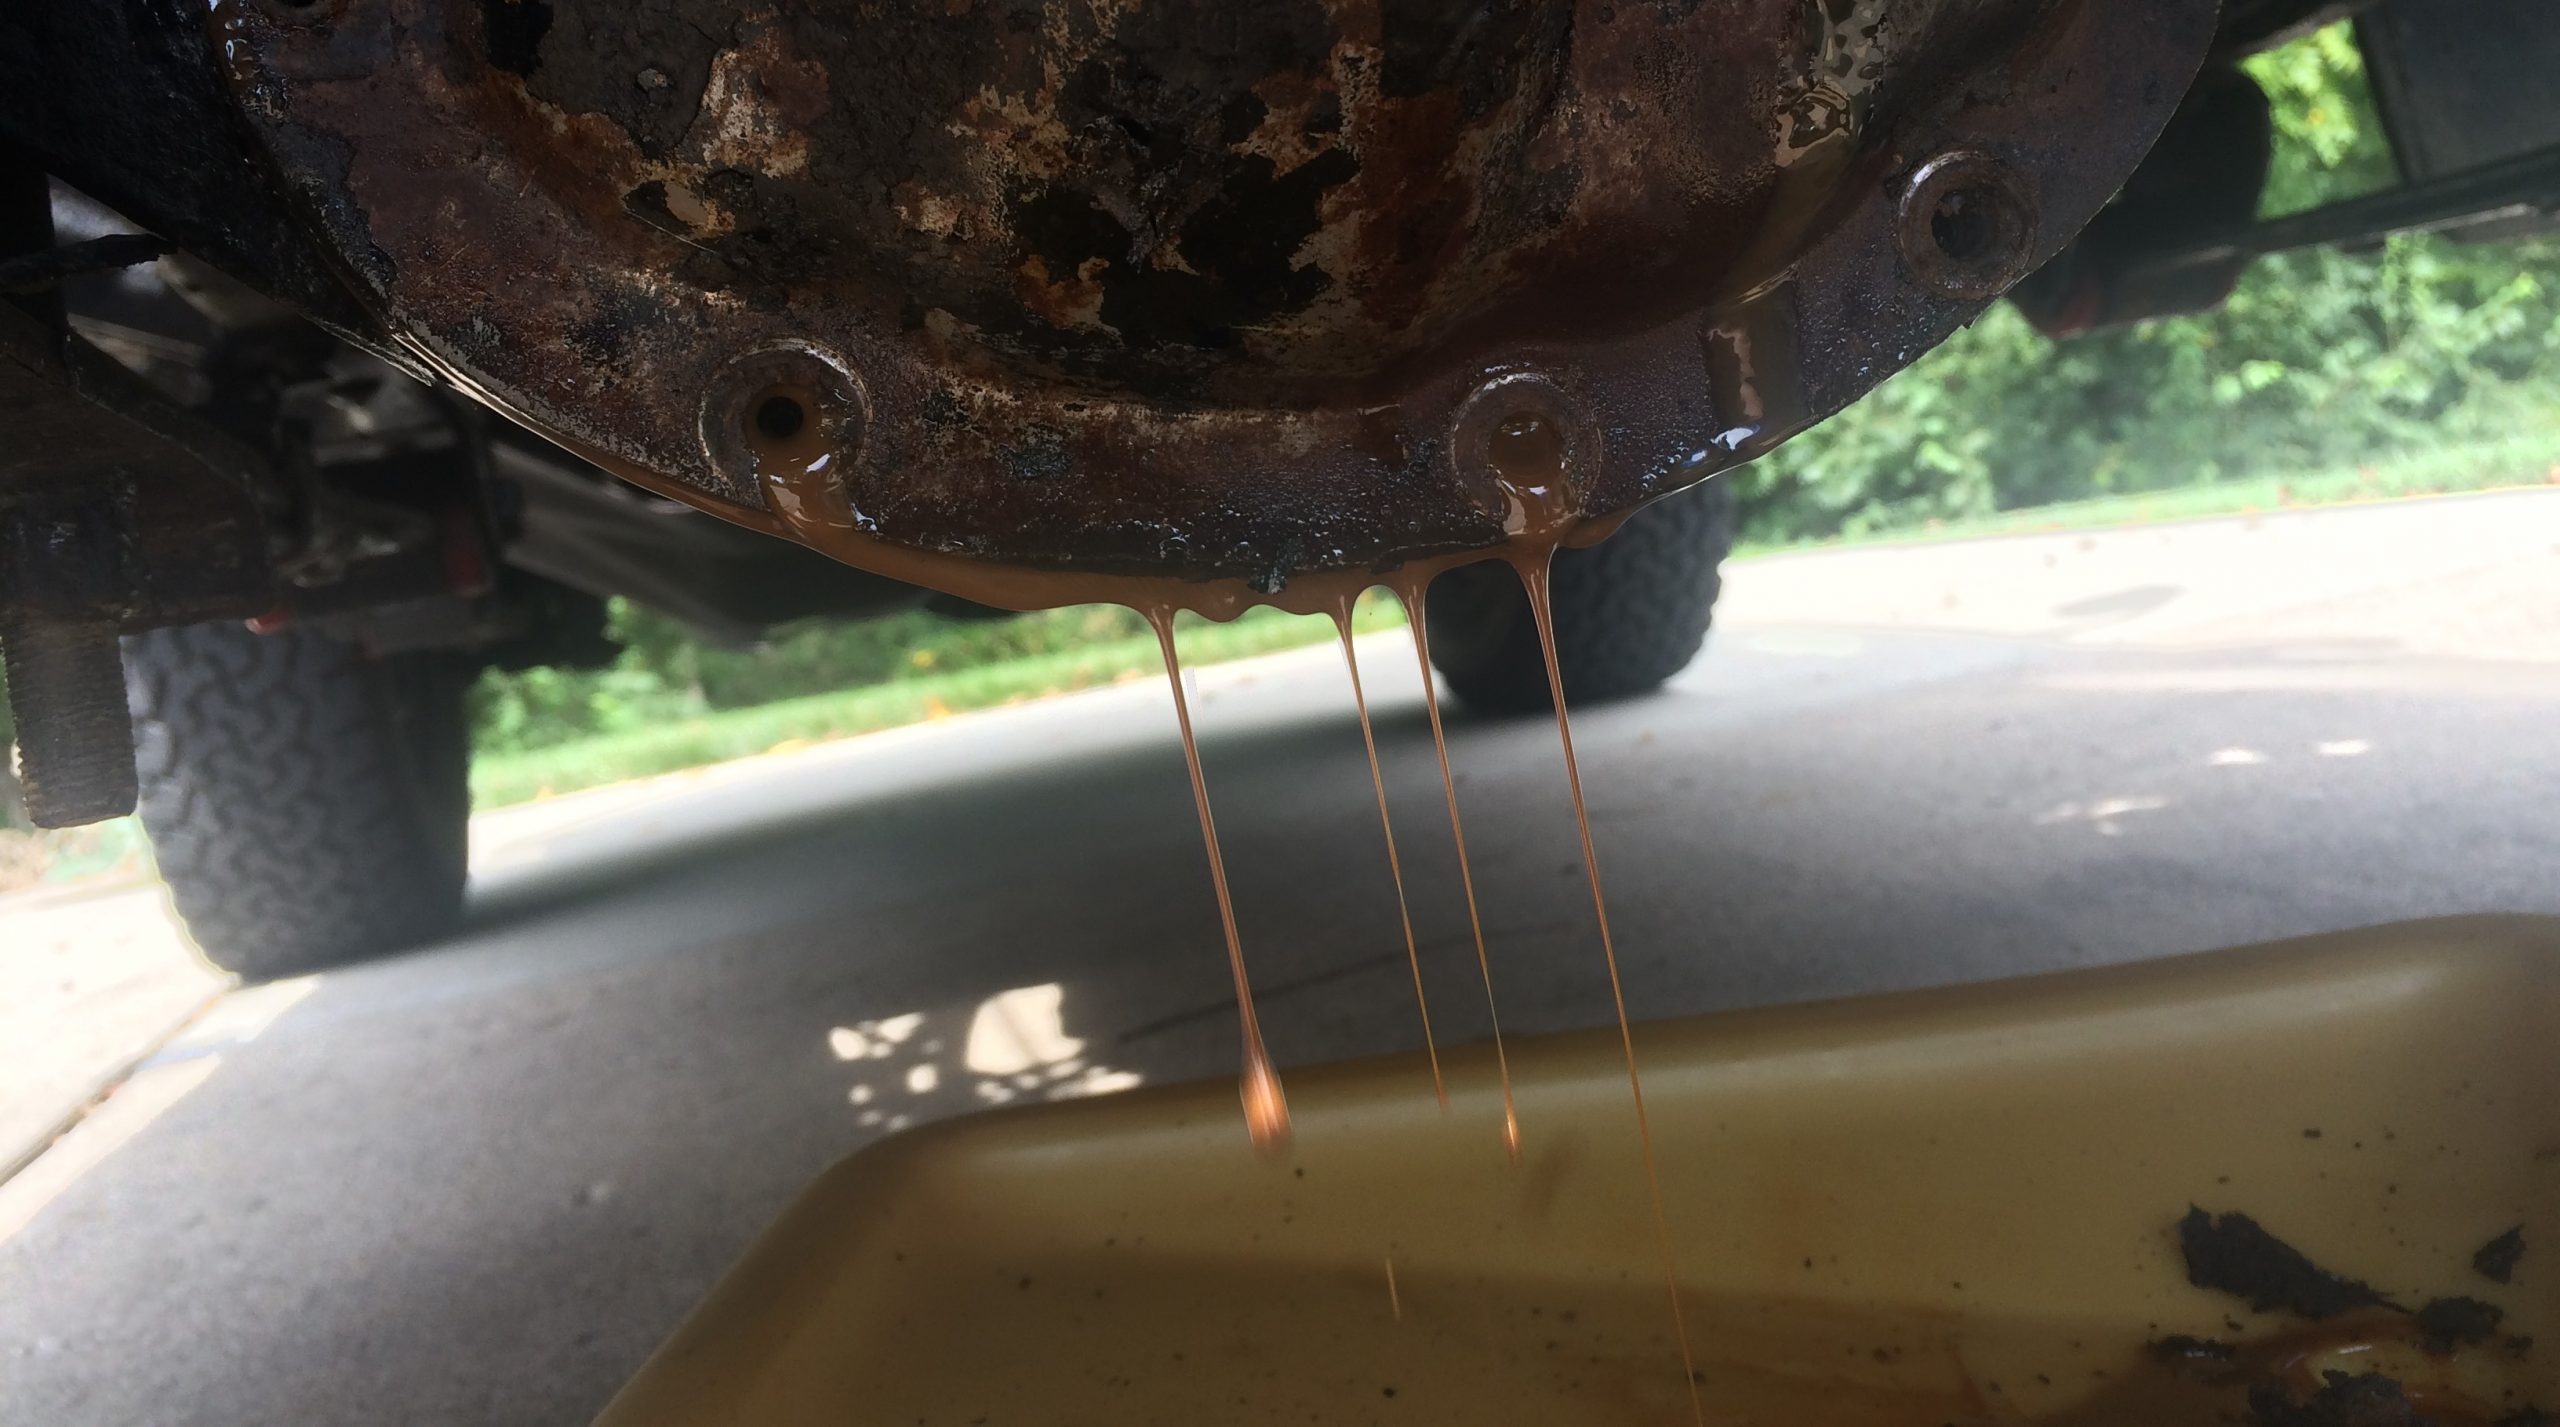
Our test subject today is a front Dana 30 axle with a weepy differential cover.
First order of business was to remove the cover. After removing the bolts, we worked a razor blade around the top of the differential cover, enough to separate the gasket. We popped our finger into the fill port, tugged a bit, and the cover started to come off, causing oil to leak out into our drain pan.
Once the diff was drained, we pulled the cover off completely. Then we began gently scraping off the copious amounts of old gasket maker. You want both mating surfaces to be smooth and free of any excess gunk before installing the new LubeLocker gasket.
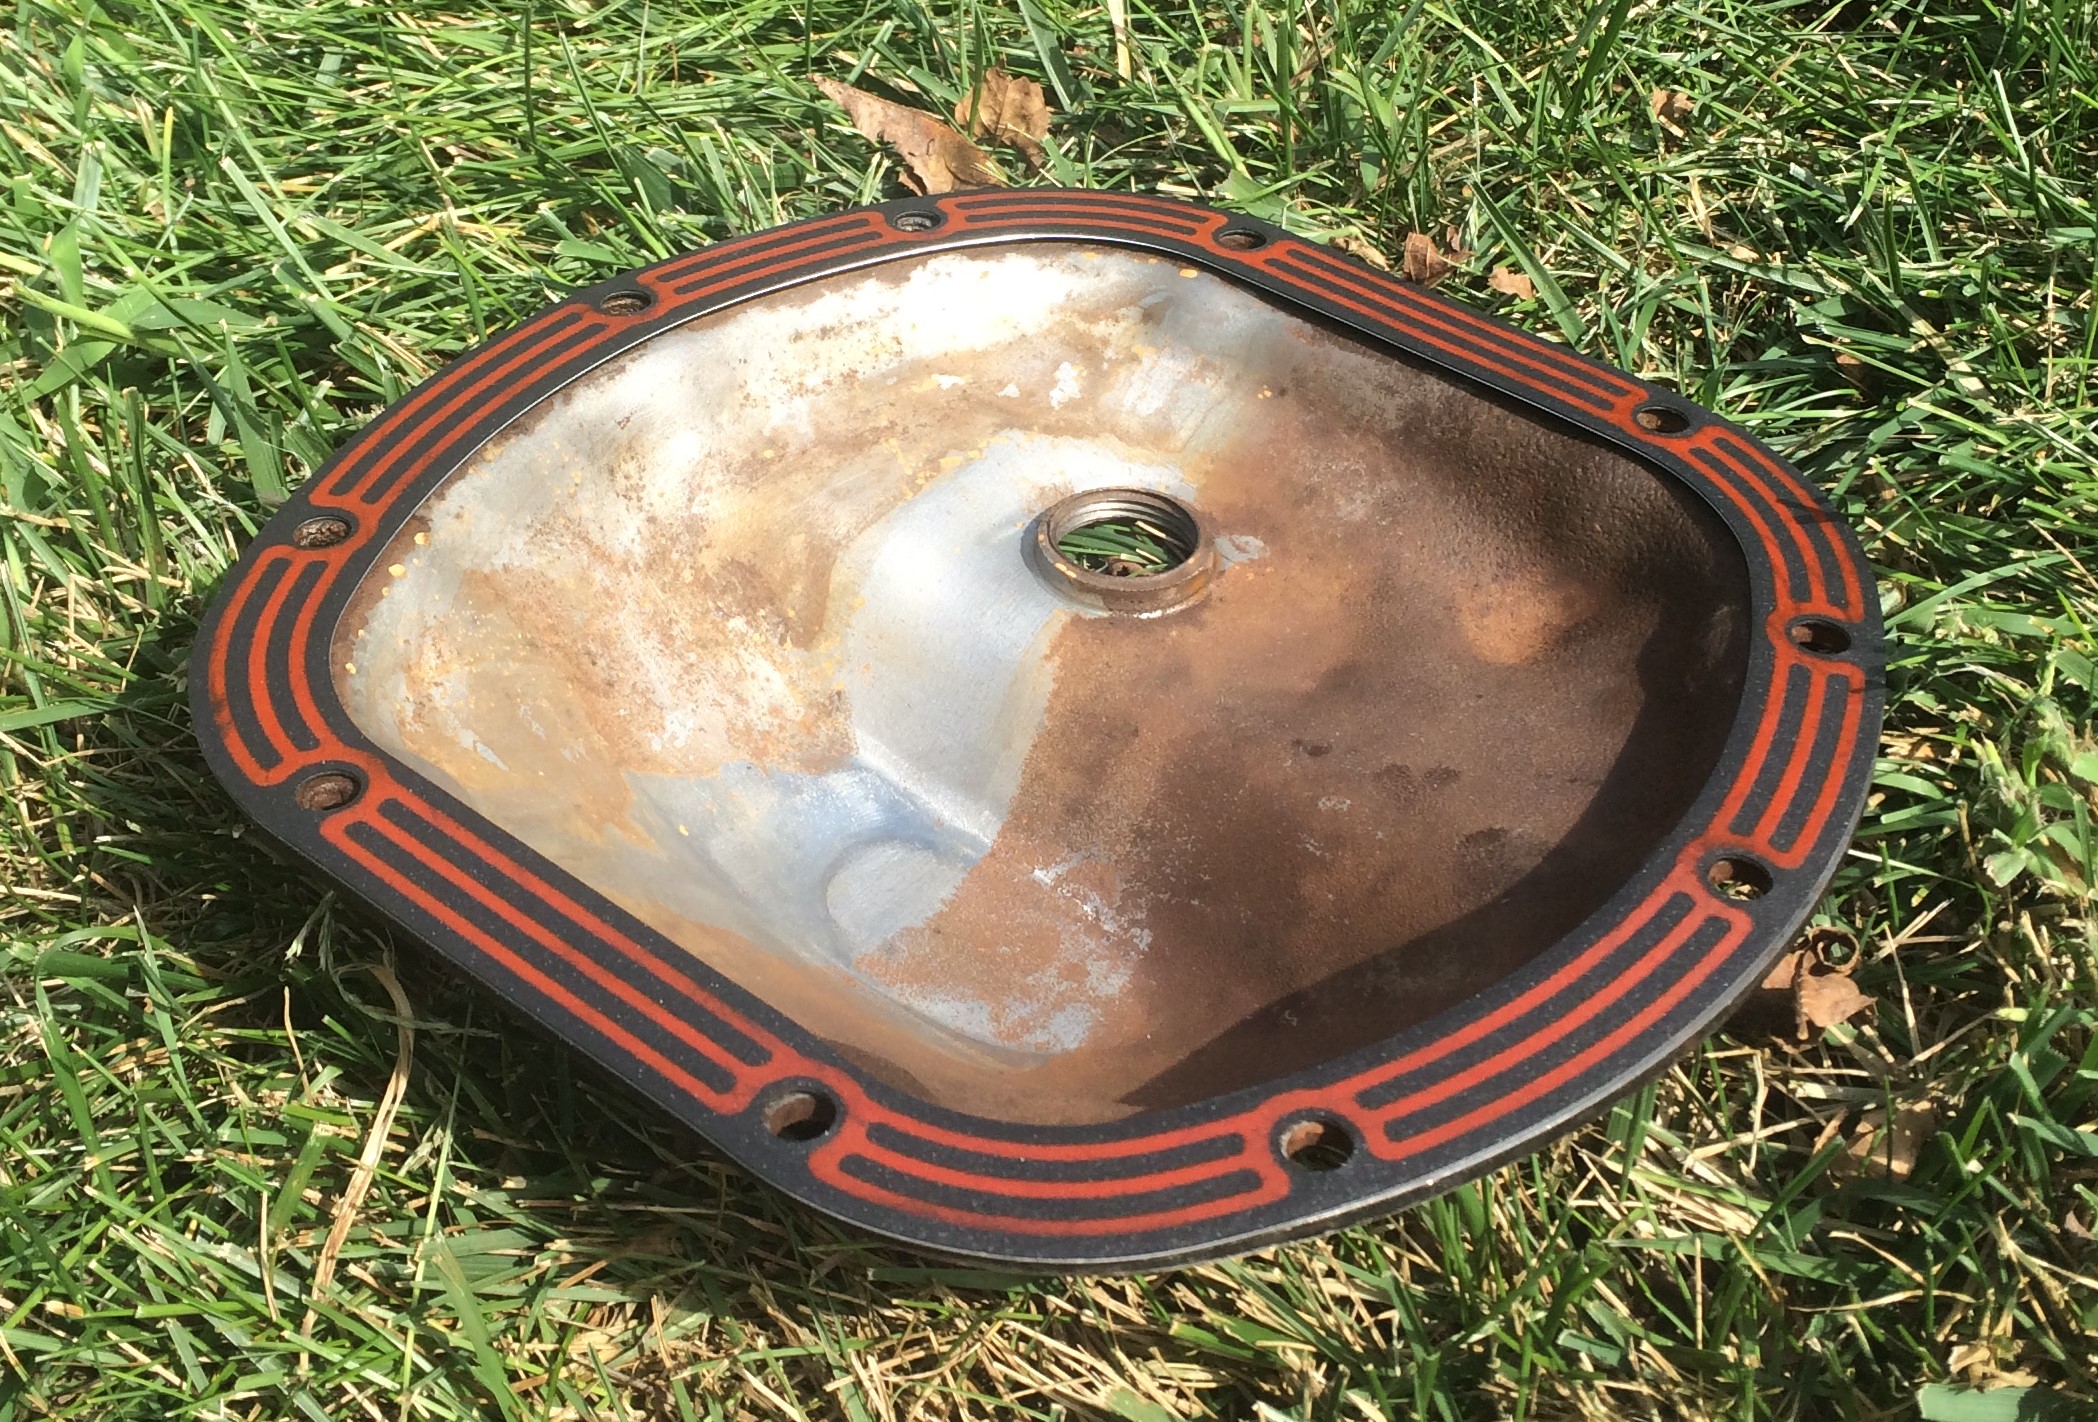
It looked like the differential cover hadn’t been removed in ages, so we also scrubbed off some gunk and buildup from the inside of the cover and the differential itself.
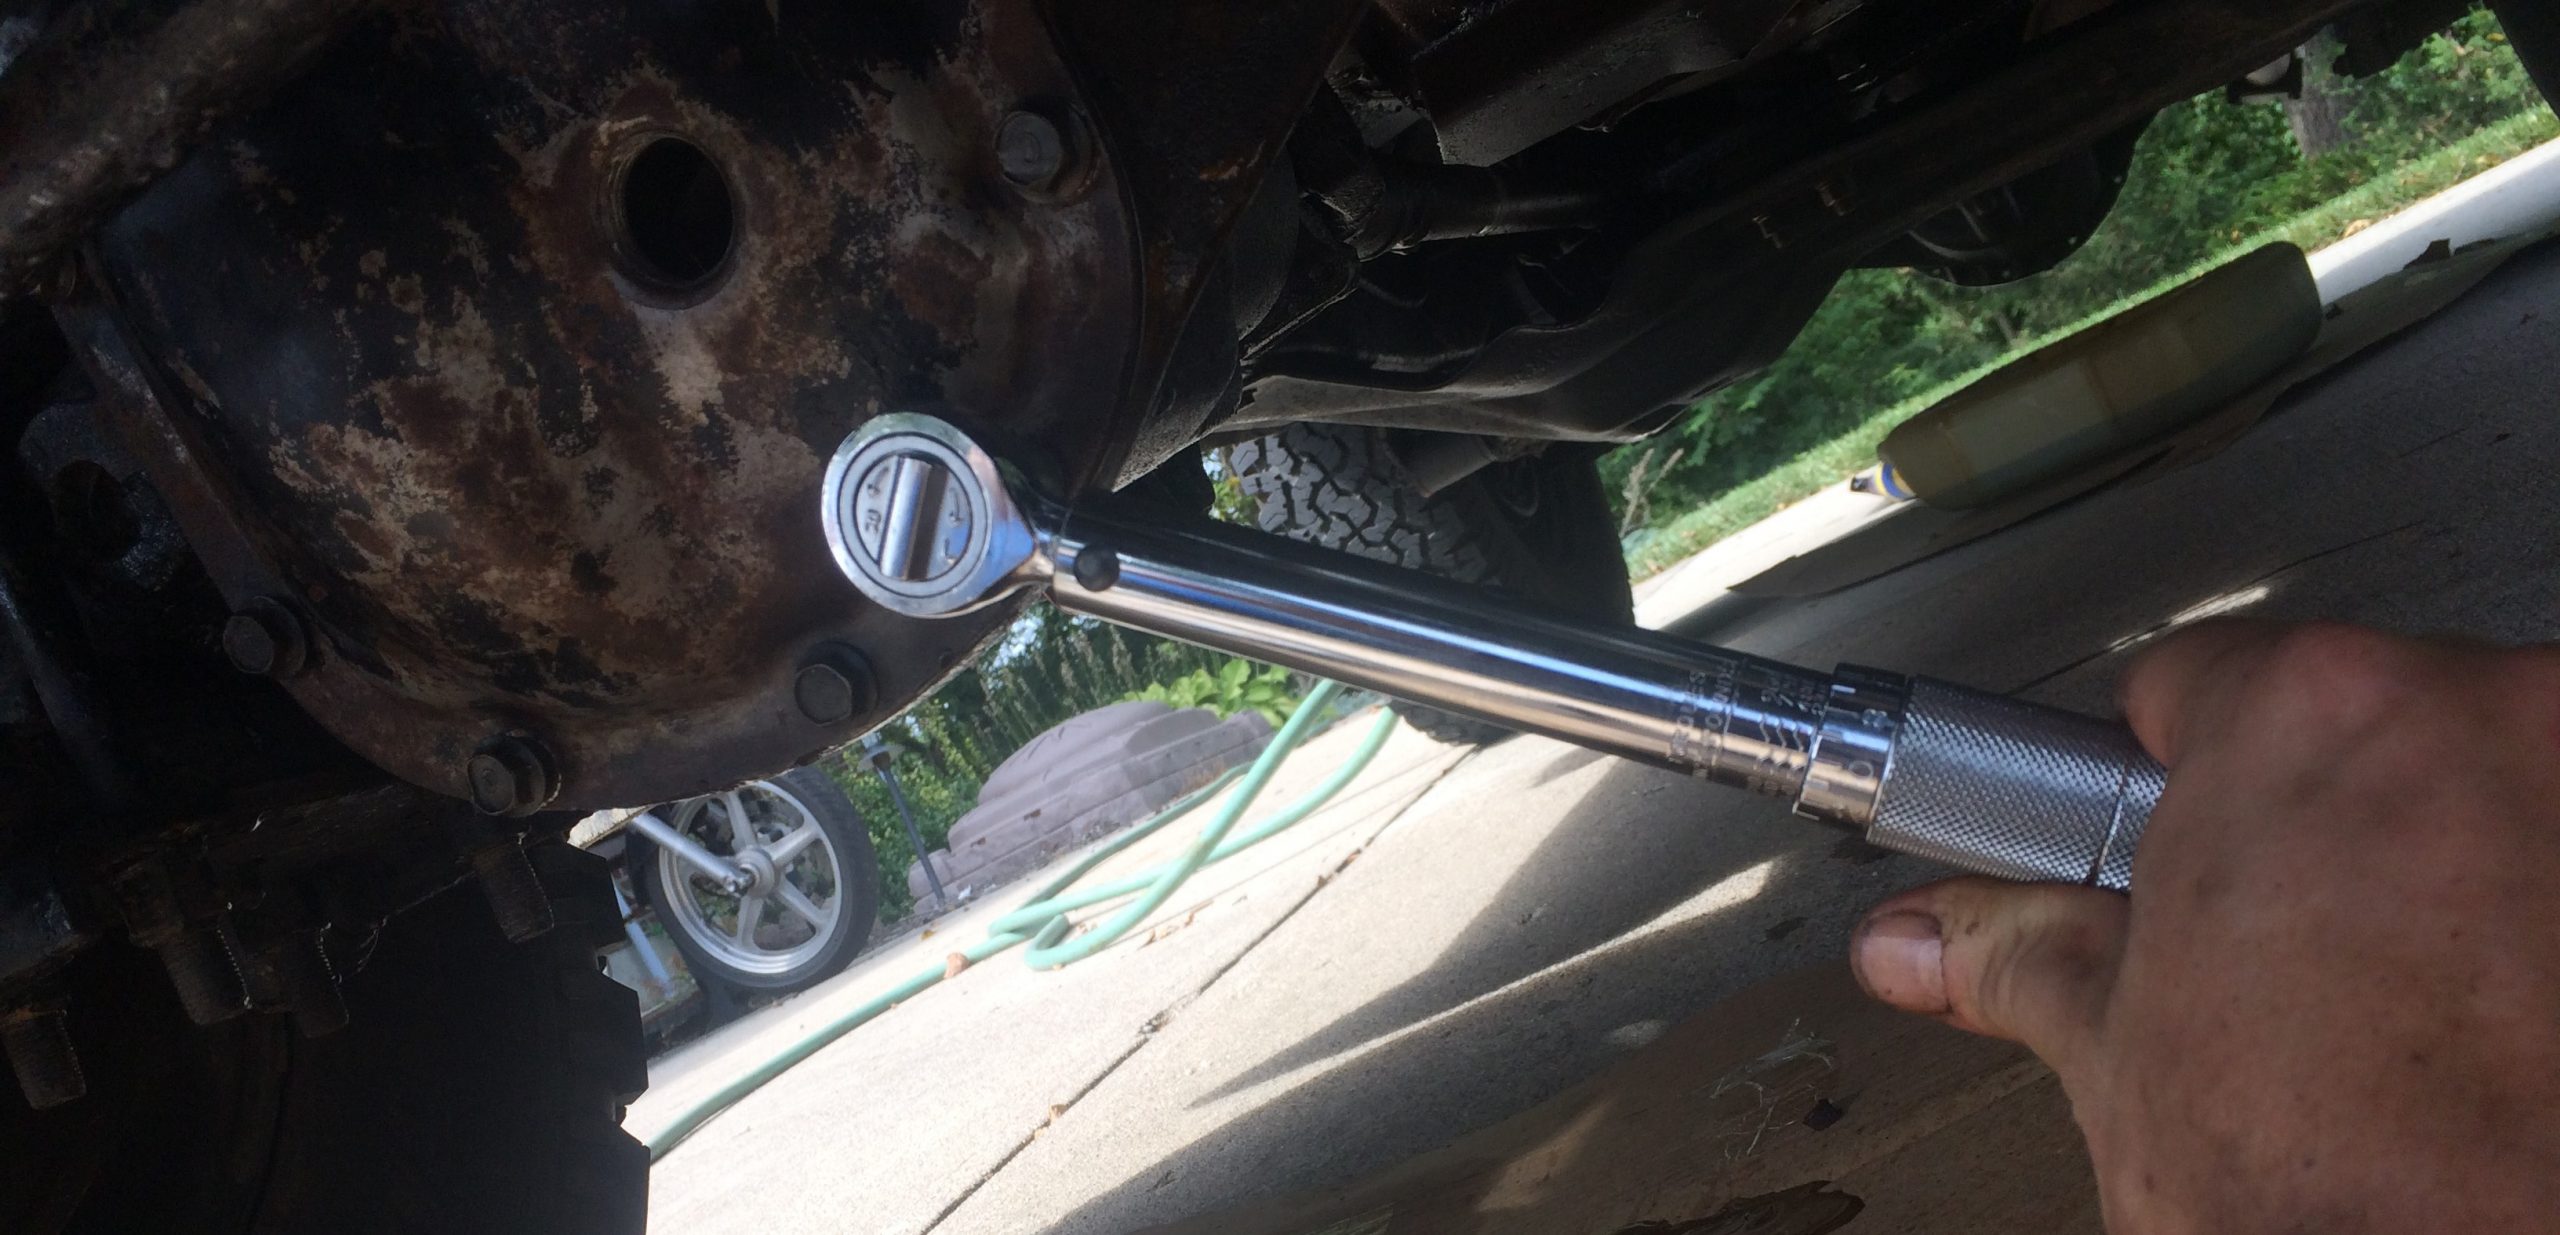
Once everything was clean internally and on the mating surfaces, we placed the gasket and the cover back on the differential and hand-threaded the bolts. On the gasket package, LubeLocker gives you the proper bolt tightening order. Generally speaking, you tighten down the cover in a crisscross pattern to provide a consistent clamping force on the gasket.
Another advantage a LubeLocker gasket has over its traditional counterparts is that there’s no cure time for a gasket sealer. A lot of gasket makers and RTVs require something like an hour wait time to fully cure.
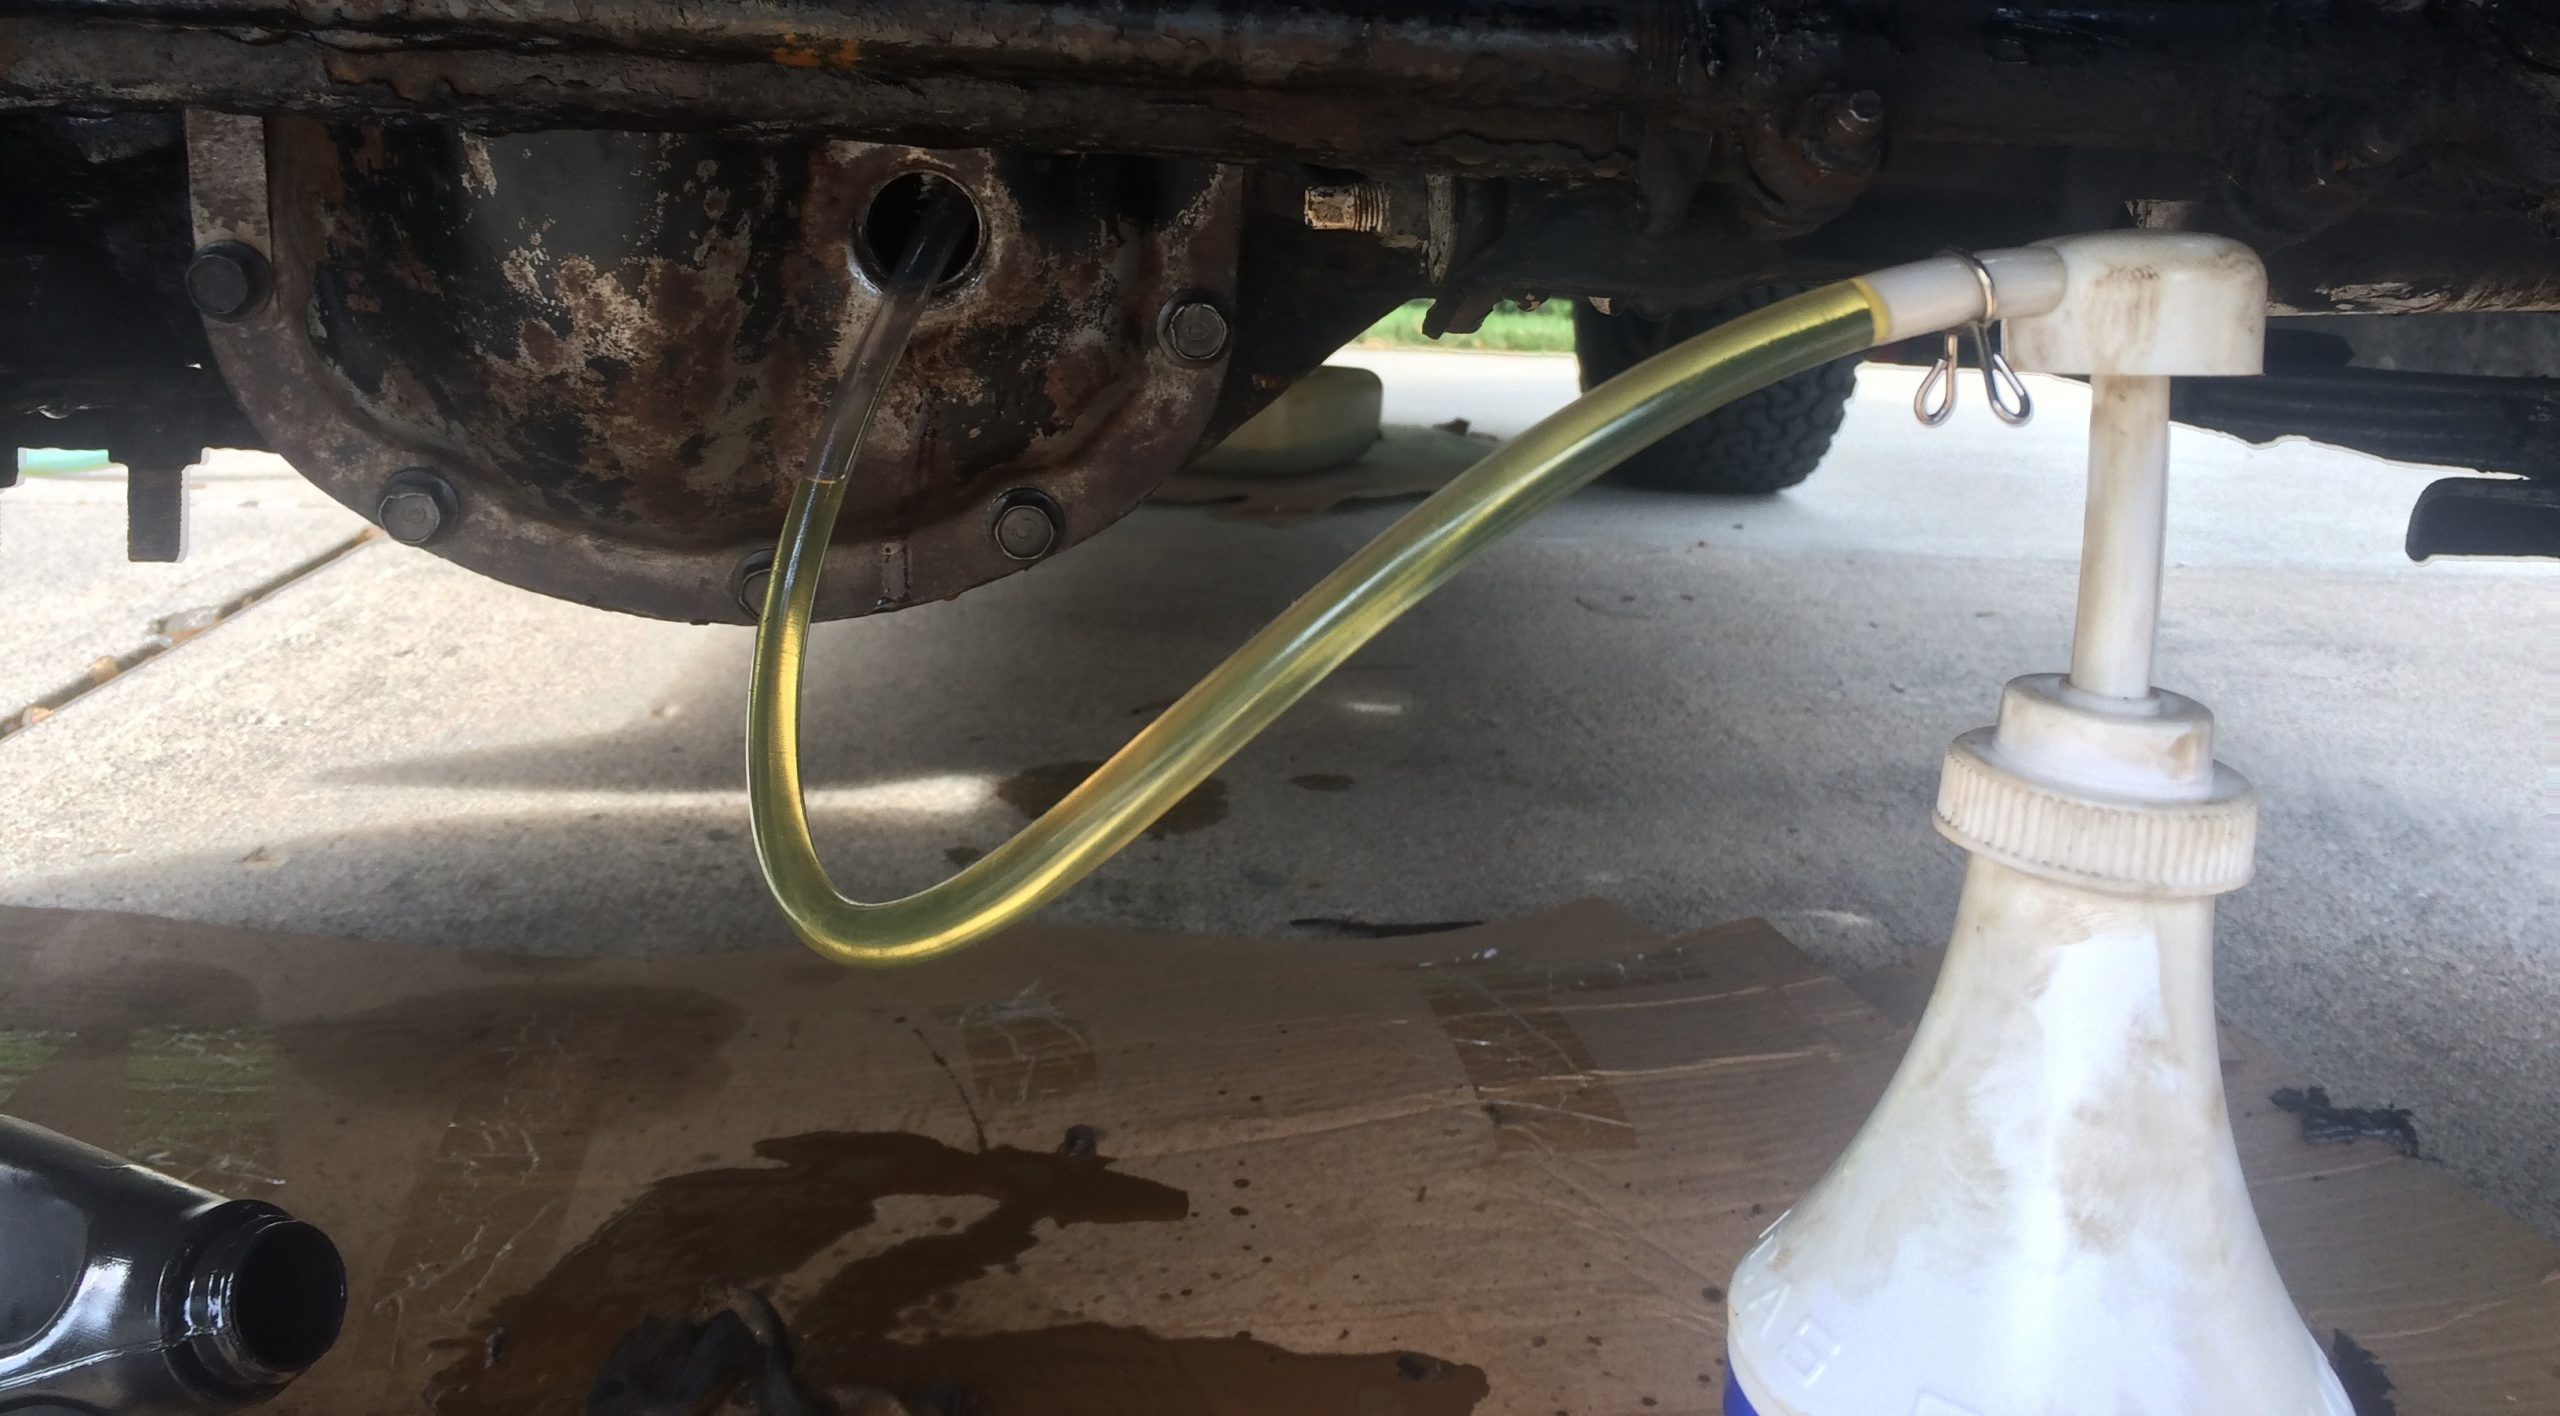
But in this case, we didn’t use any RTV or sealant. Once the cover was nice and snug, we could fill the differential back up with gear oil and be on our way.
All told, what could’ve been a messy, aggravating job took only a handful of minutes.
After a few weeks of driving, we are still happy to report that the differential drips have stopped and we’re no longer marking our territory in parking lots across the city.
I’ve been a fan of LubeLockers since the first time I changed my diff fluid in my 2011 Mustang GT. They are very easy to install and the best part is they are reusable. I wouldn’t use anything else. I actually changed my fluid yesterday and my LubeLocker went right back in. Definitely worth the money!!