File-to-fit piston rings are common today. Typically, they begin with a ring set that has the top (and often the second) ring manufactured with a diameter 0.005 inch larger than the specific cylinder bore size. This allows you to set the ring end gap for your particular engine combination.
The ring fitting and filing process is actually pretty easy, but it’s also very easy to get it wrong. And honestly, it can go wrong in the blink of an eye. If you cut too quickly without measuring it’s easy to end up with a gap that’s far too large and in plenty of cases, not exactly square.
Determining Proper Piston Ring Gap
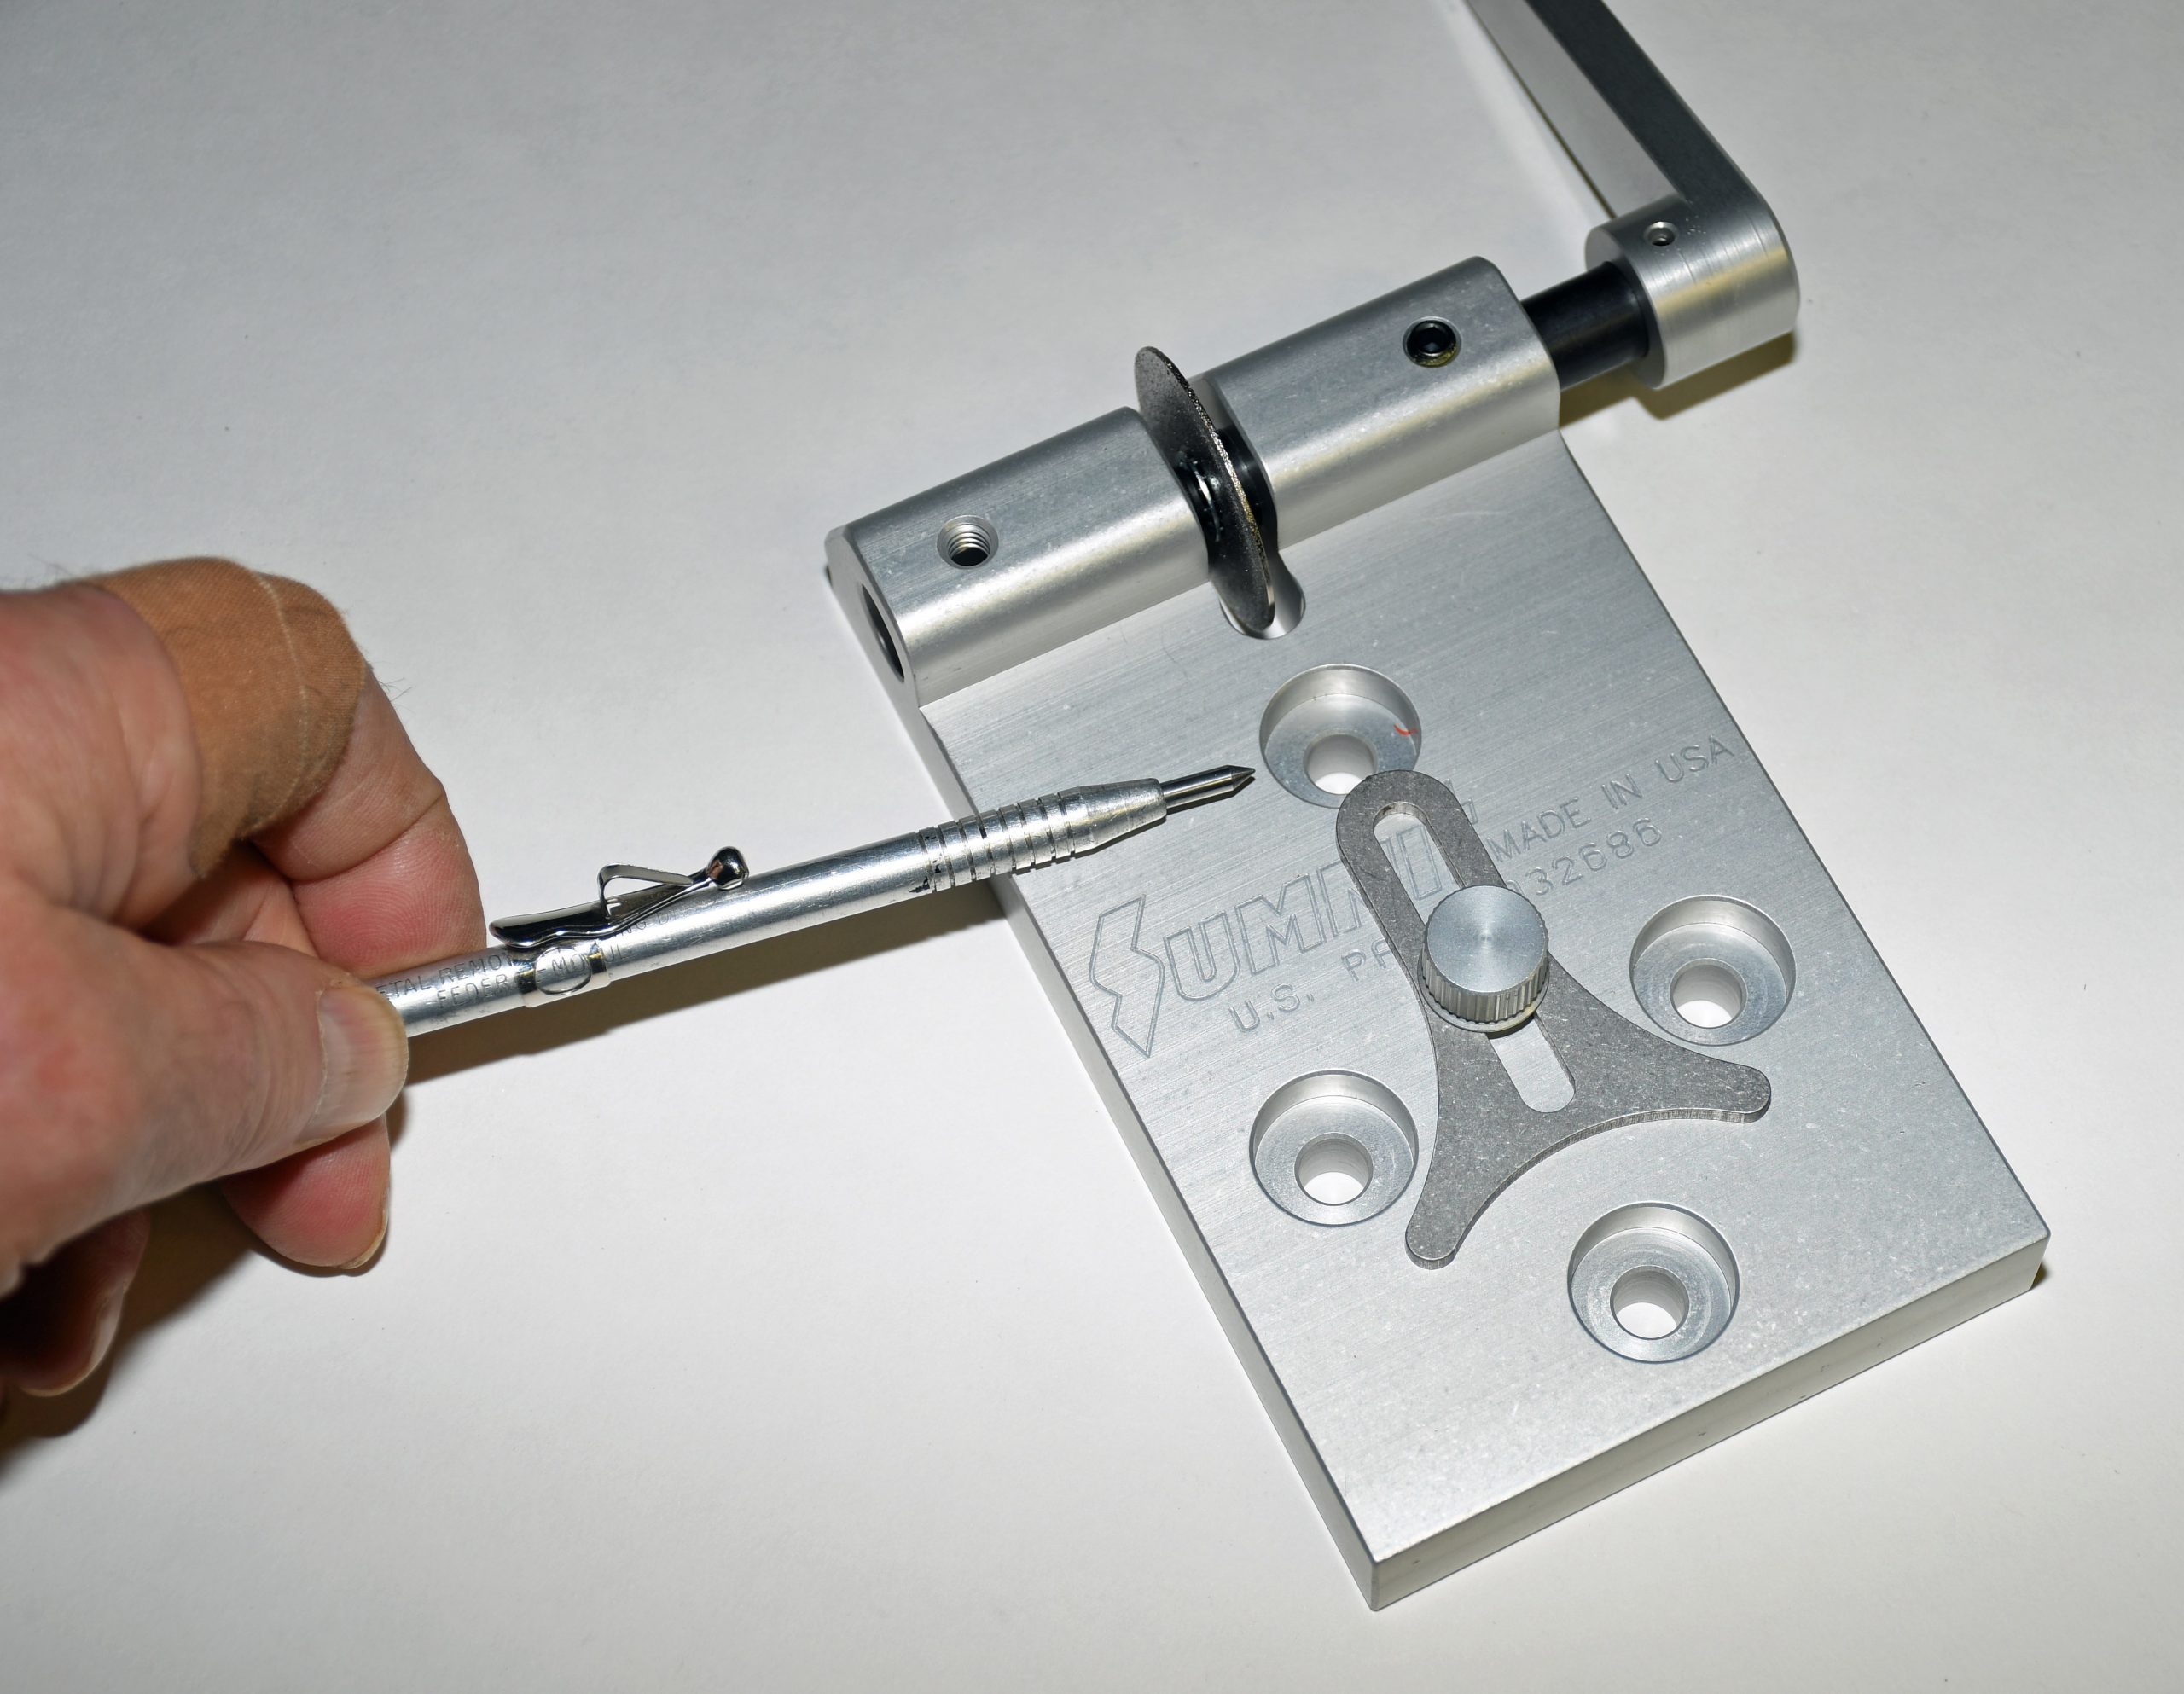
In order to determine initial ring gap, place the ring inside the cylinder near the top of the bore. In some cases, the ends might overlap for this first test. If that’s the case, it will be necessary to file just enough material to position them in the bore. Any time material is removed from the ring, use a fine tooth file to lightly debur the cut.
The ring must be square inside the cylinder bore, in relation to the deck surface prior to checking the gap. A ring squaring tool works perfectly, although a flat-top piston of the correct bore can be used to push the ring down approximately an inch within the bore.
Use a good quality feeler gauge to check the gap. Piston and/or piston ring manufacturers all have recommendations on the desired gap.
How to File Piston Rings to Get the Correct Gap
When filing rings, the idea is to sneak up on the correct gap—being careful to ensure you don’t remove too much material at once. Rings should be filed or ground inward toward the inside diameter of the ring. If filed outward (toward the outside diameter of the ring), there’s a chance the moly in the ring can flake off. Some pros suggest you only file one side of the ring in order to create the necessary gap.
Always remember to lightly file off any burrs or rough edges prior to installing the ring in the bore—even for checking.
Re-square the ring and re-check that the end gap to ensure it is correct. Make certain the edges of the rings (gap) are parallel to each other. When sneaking up on the gap, it might take a number of attempts to get it right. That’s good because you sure can’t add material to the ring should too much be removed!
Selecting the Best Piston Ring Gap Filing Tool
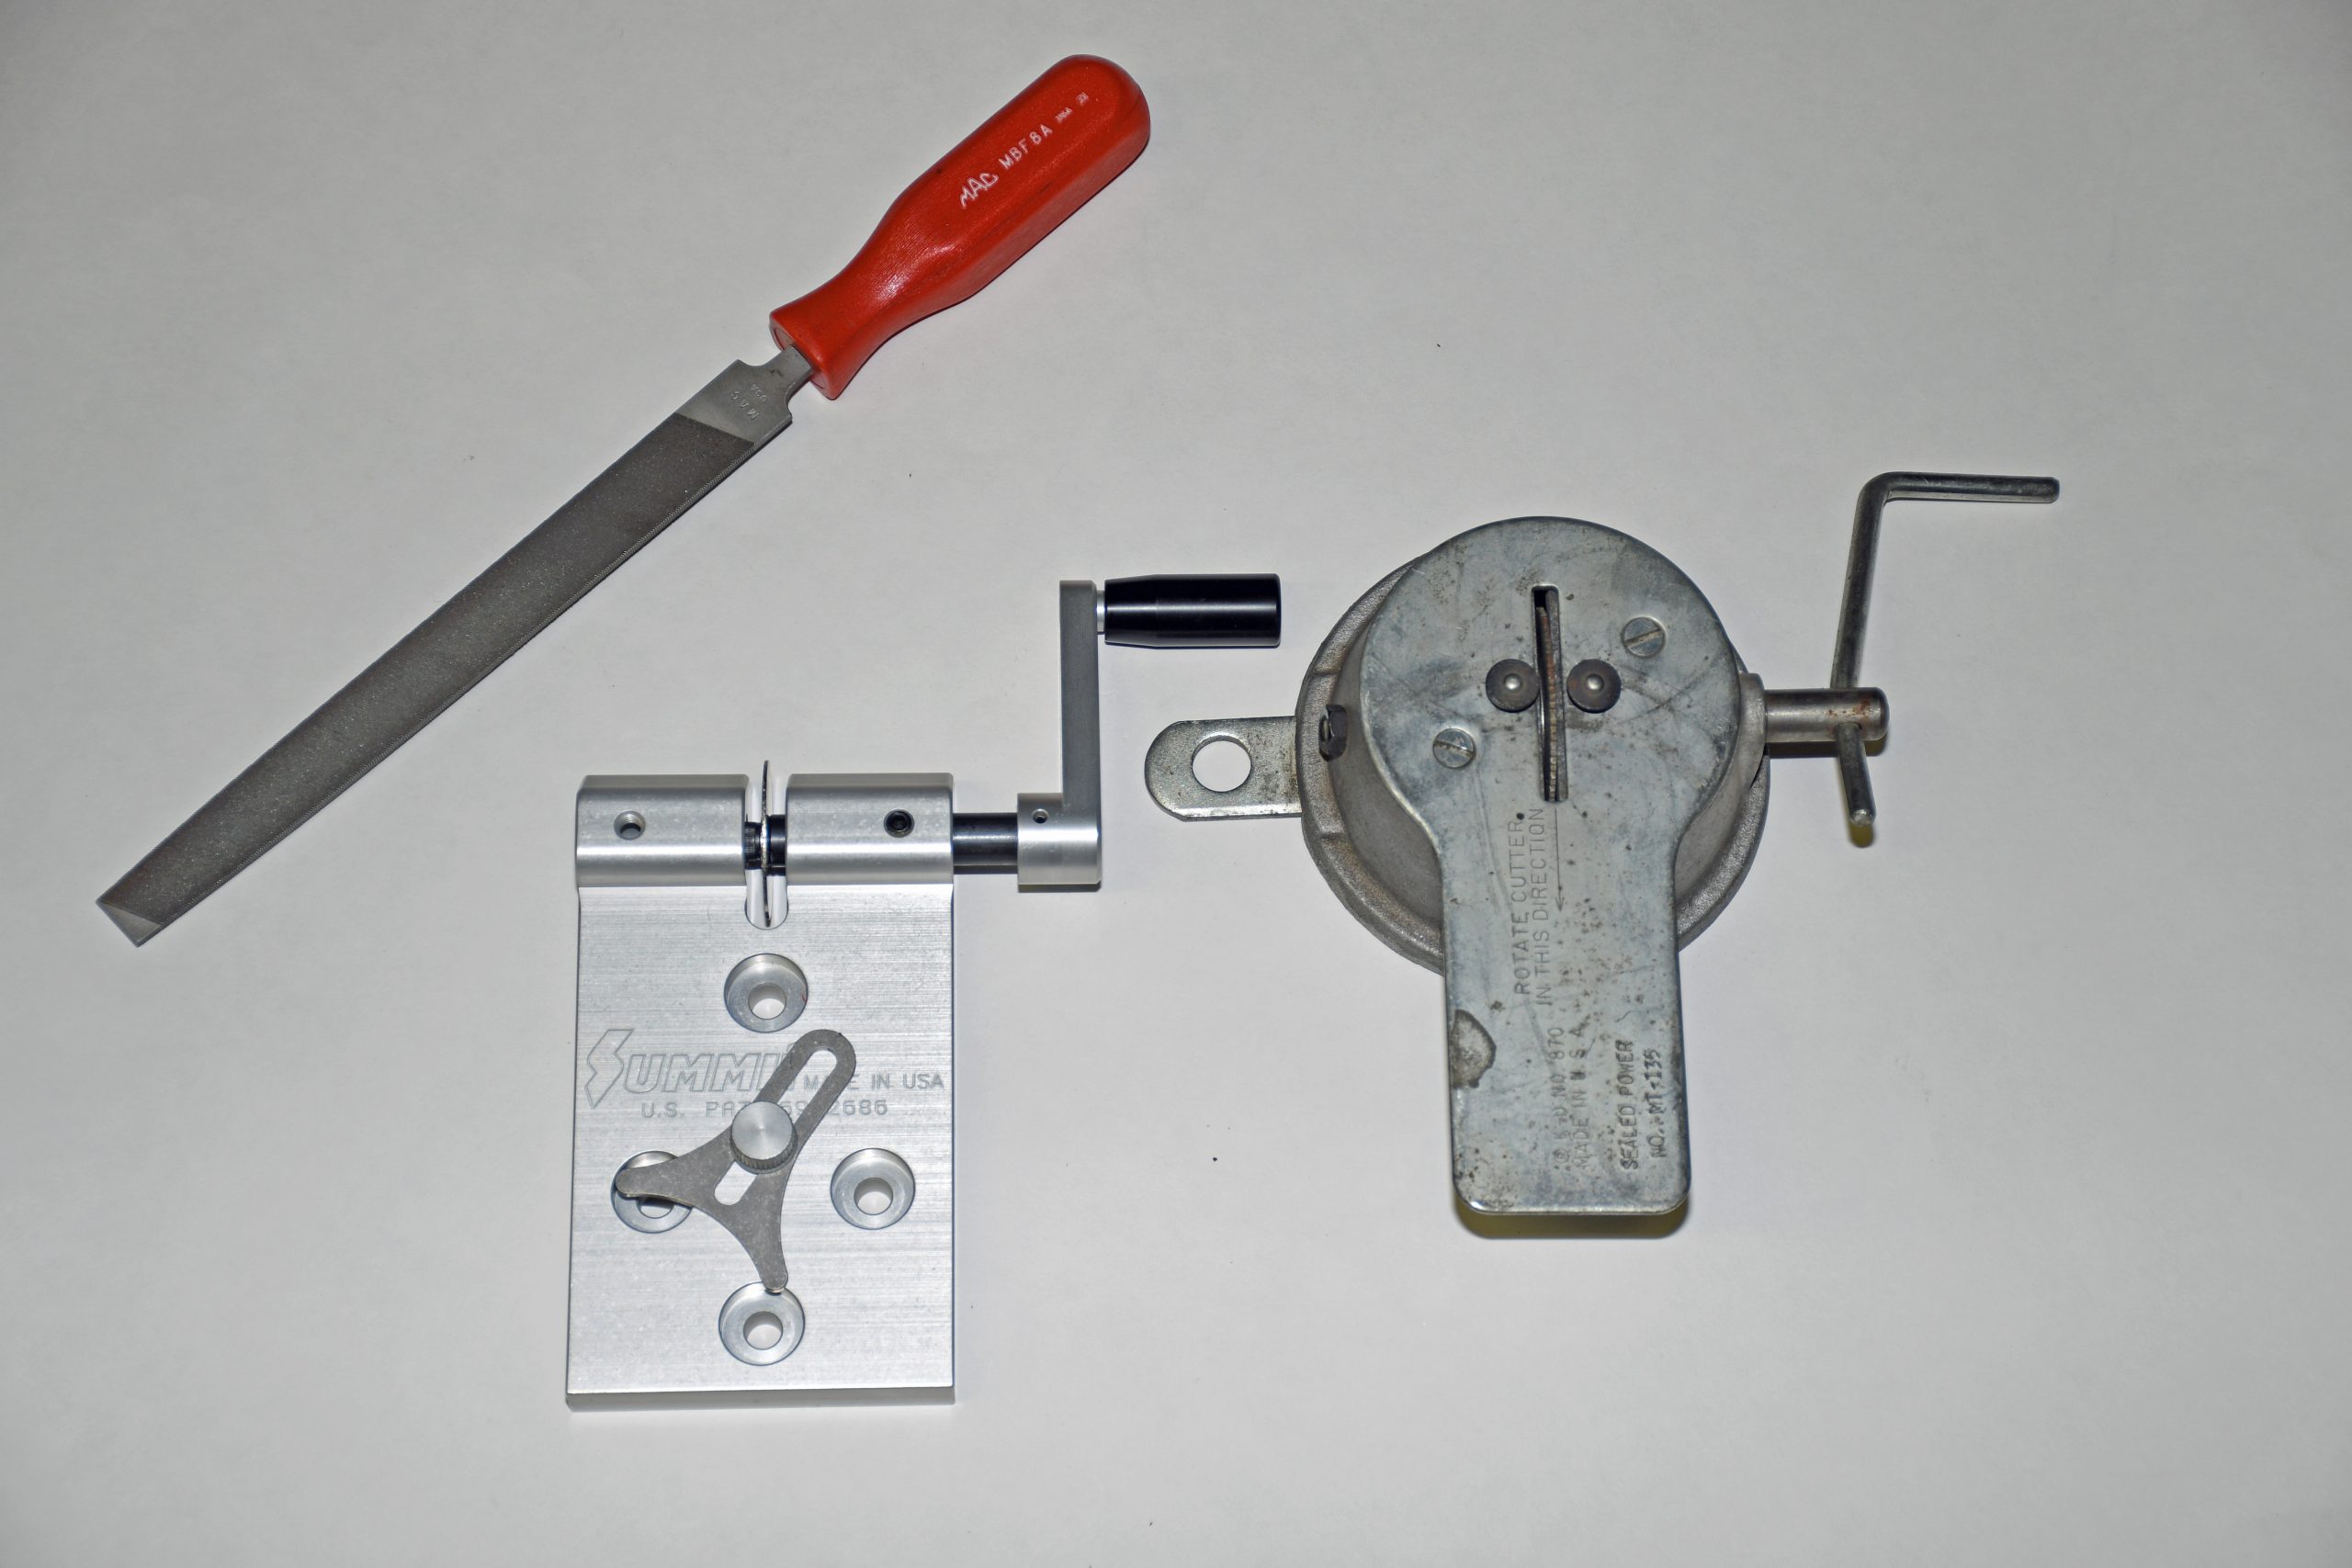
There are many different tools out there designed to file rings. Some are expensive. Some aren’t. Some are sturdy. Some are far less robust. Some are hand operated. Some are electrical.
And some folks don’t bother with a fancy tool at all, opting to use use a fine tooth file clamped in a vice instead. In order to remove material, the ring is simply moved back and forth on the file.
Over the years, I’ve used several different methods of filing rings along with several different tools to get the job done. I can’t afford or justify one of the super expensive electric examples (some cost over $1,000). But I found a really good alternative.
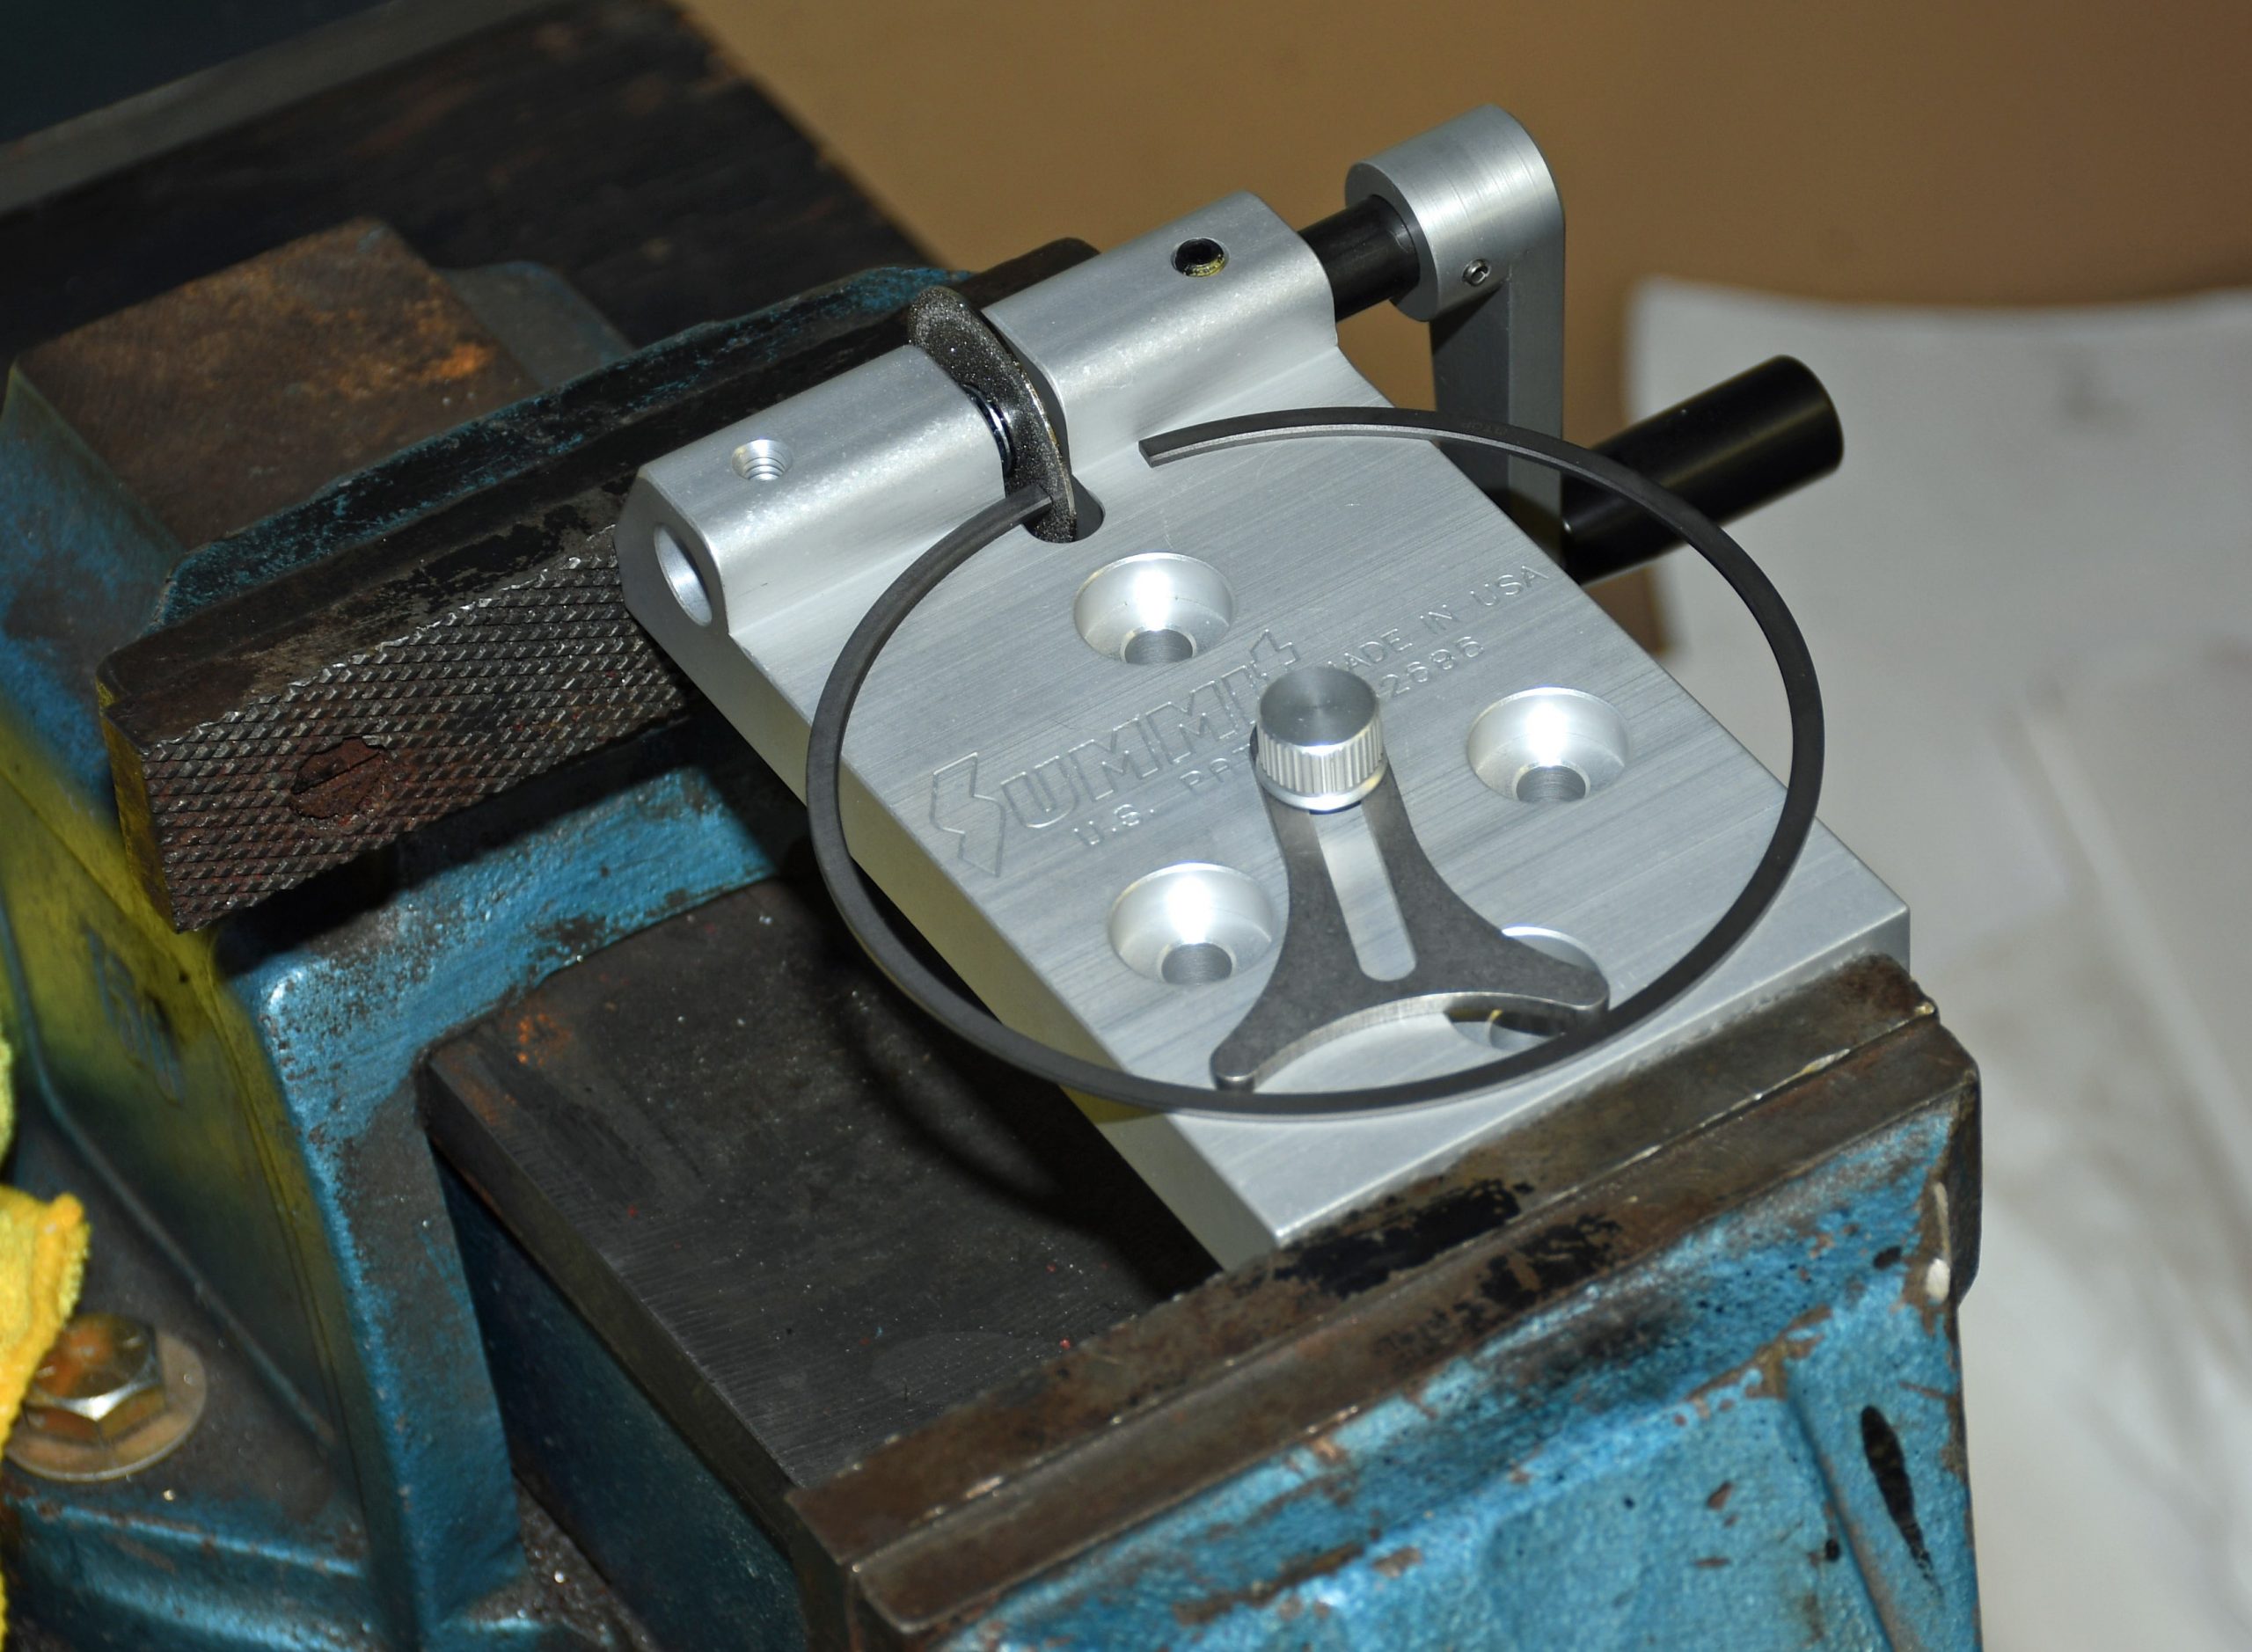
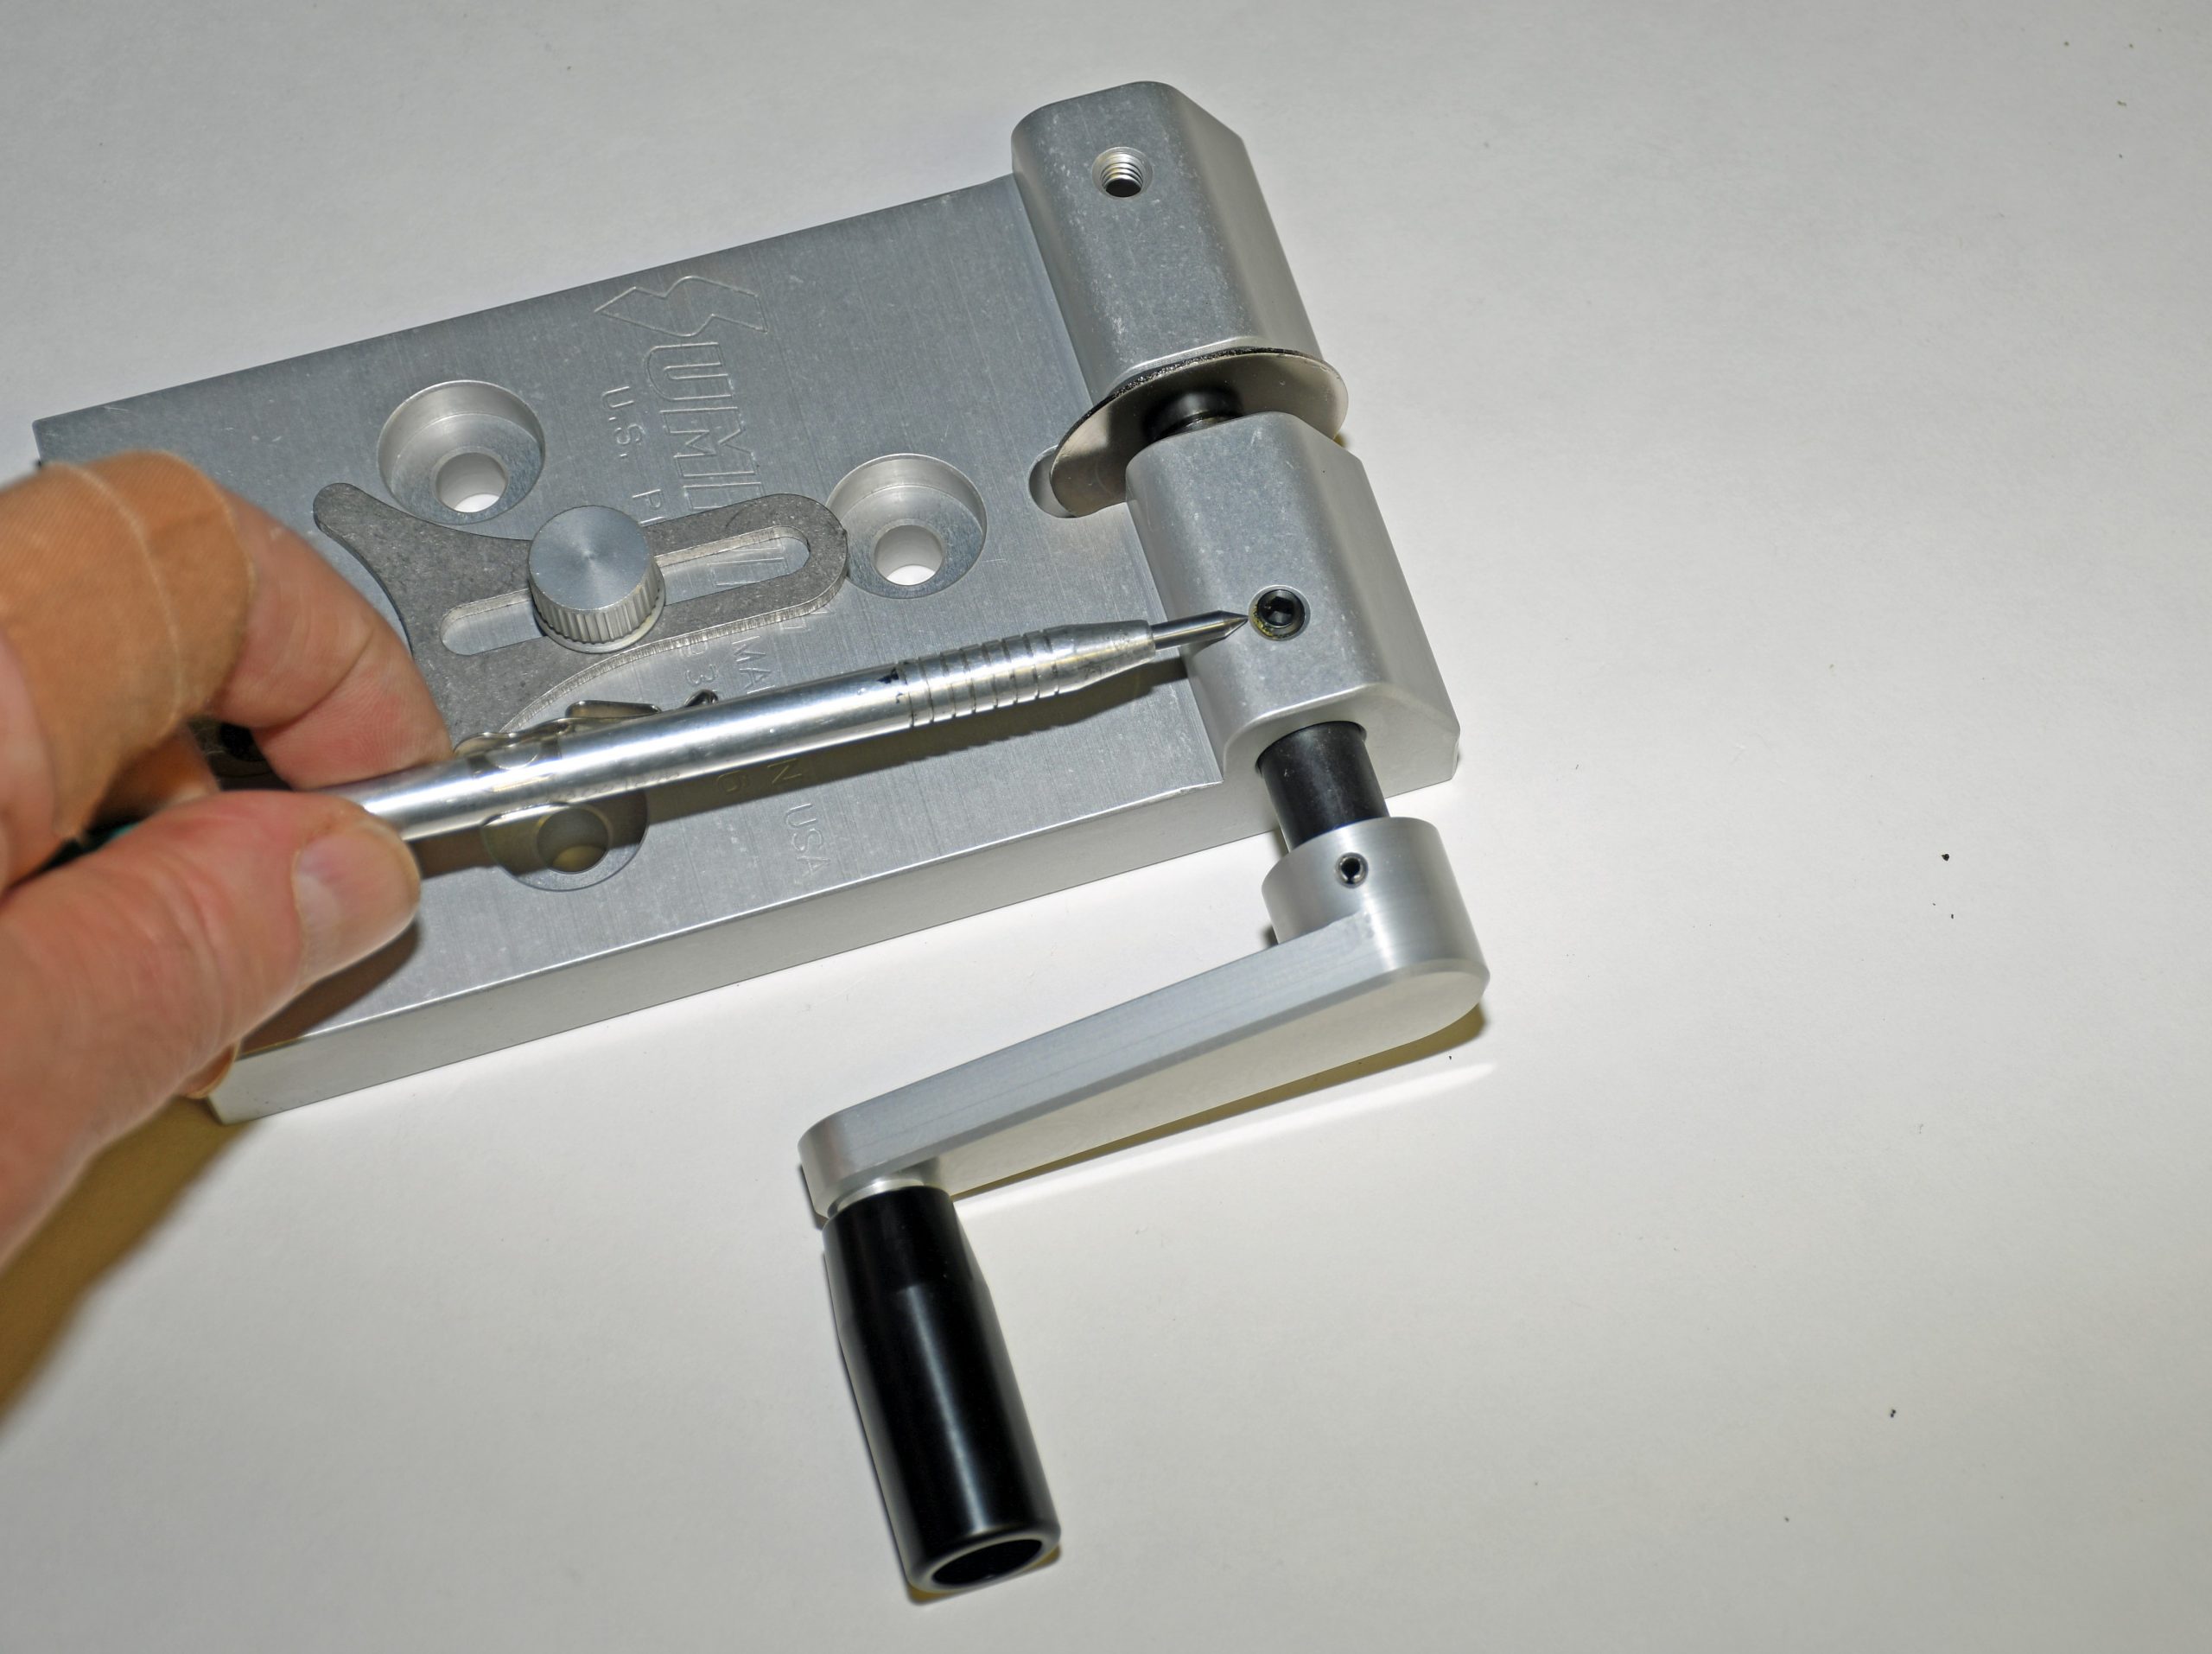
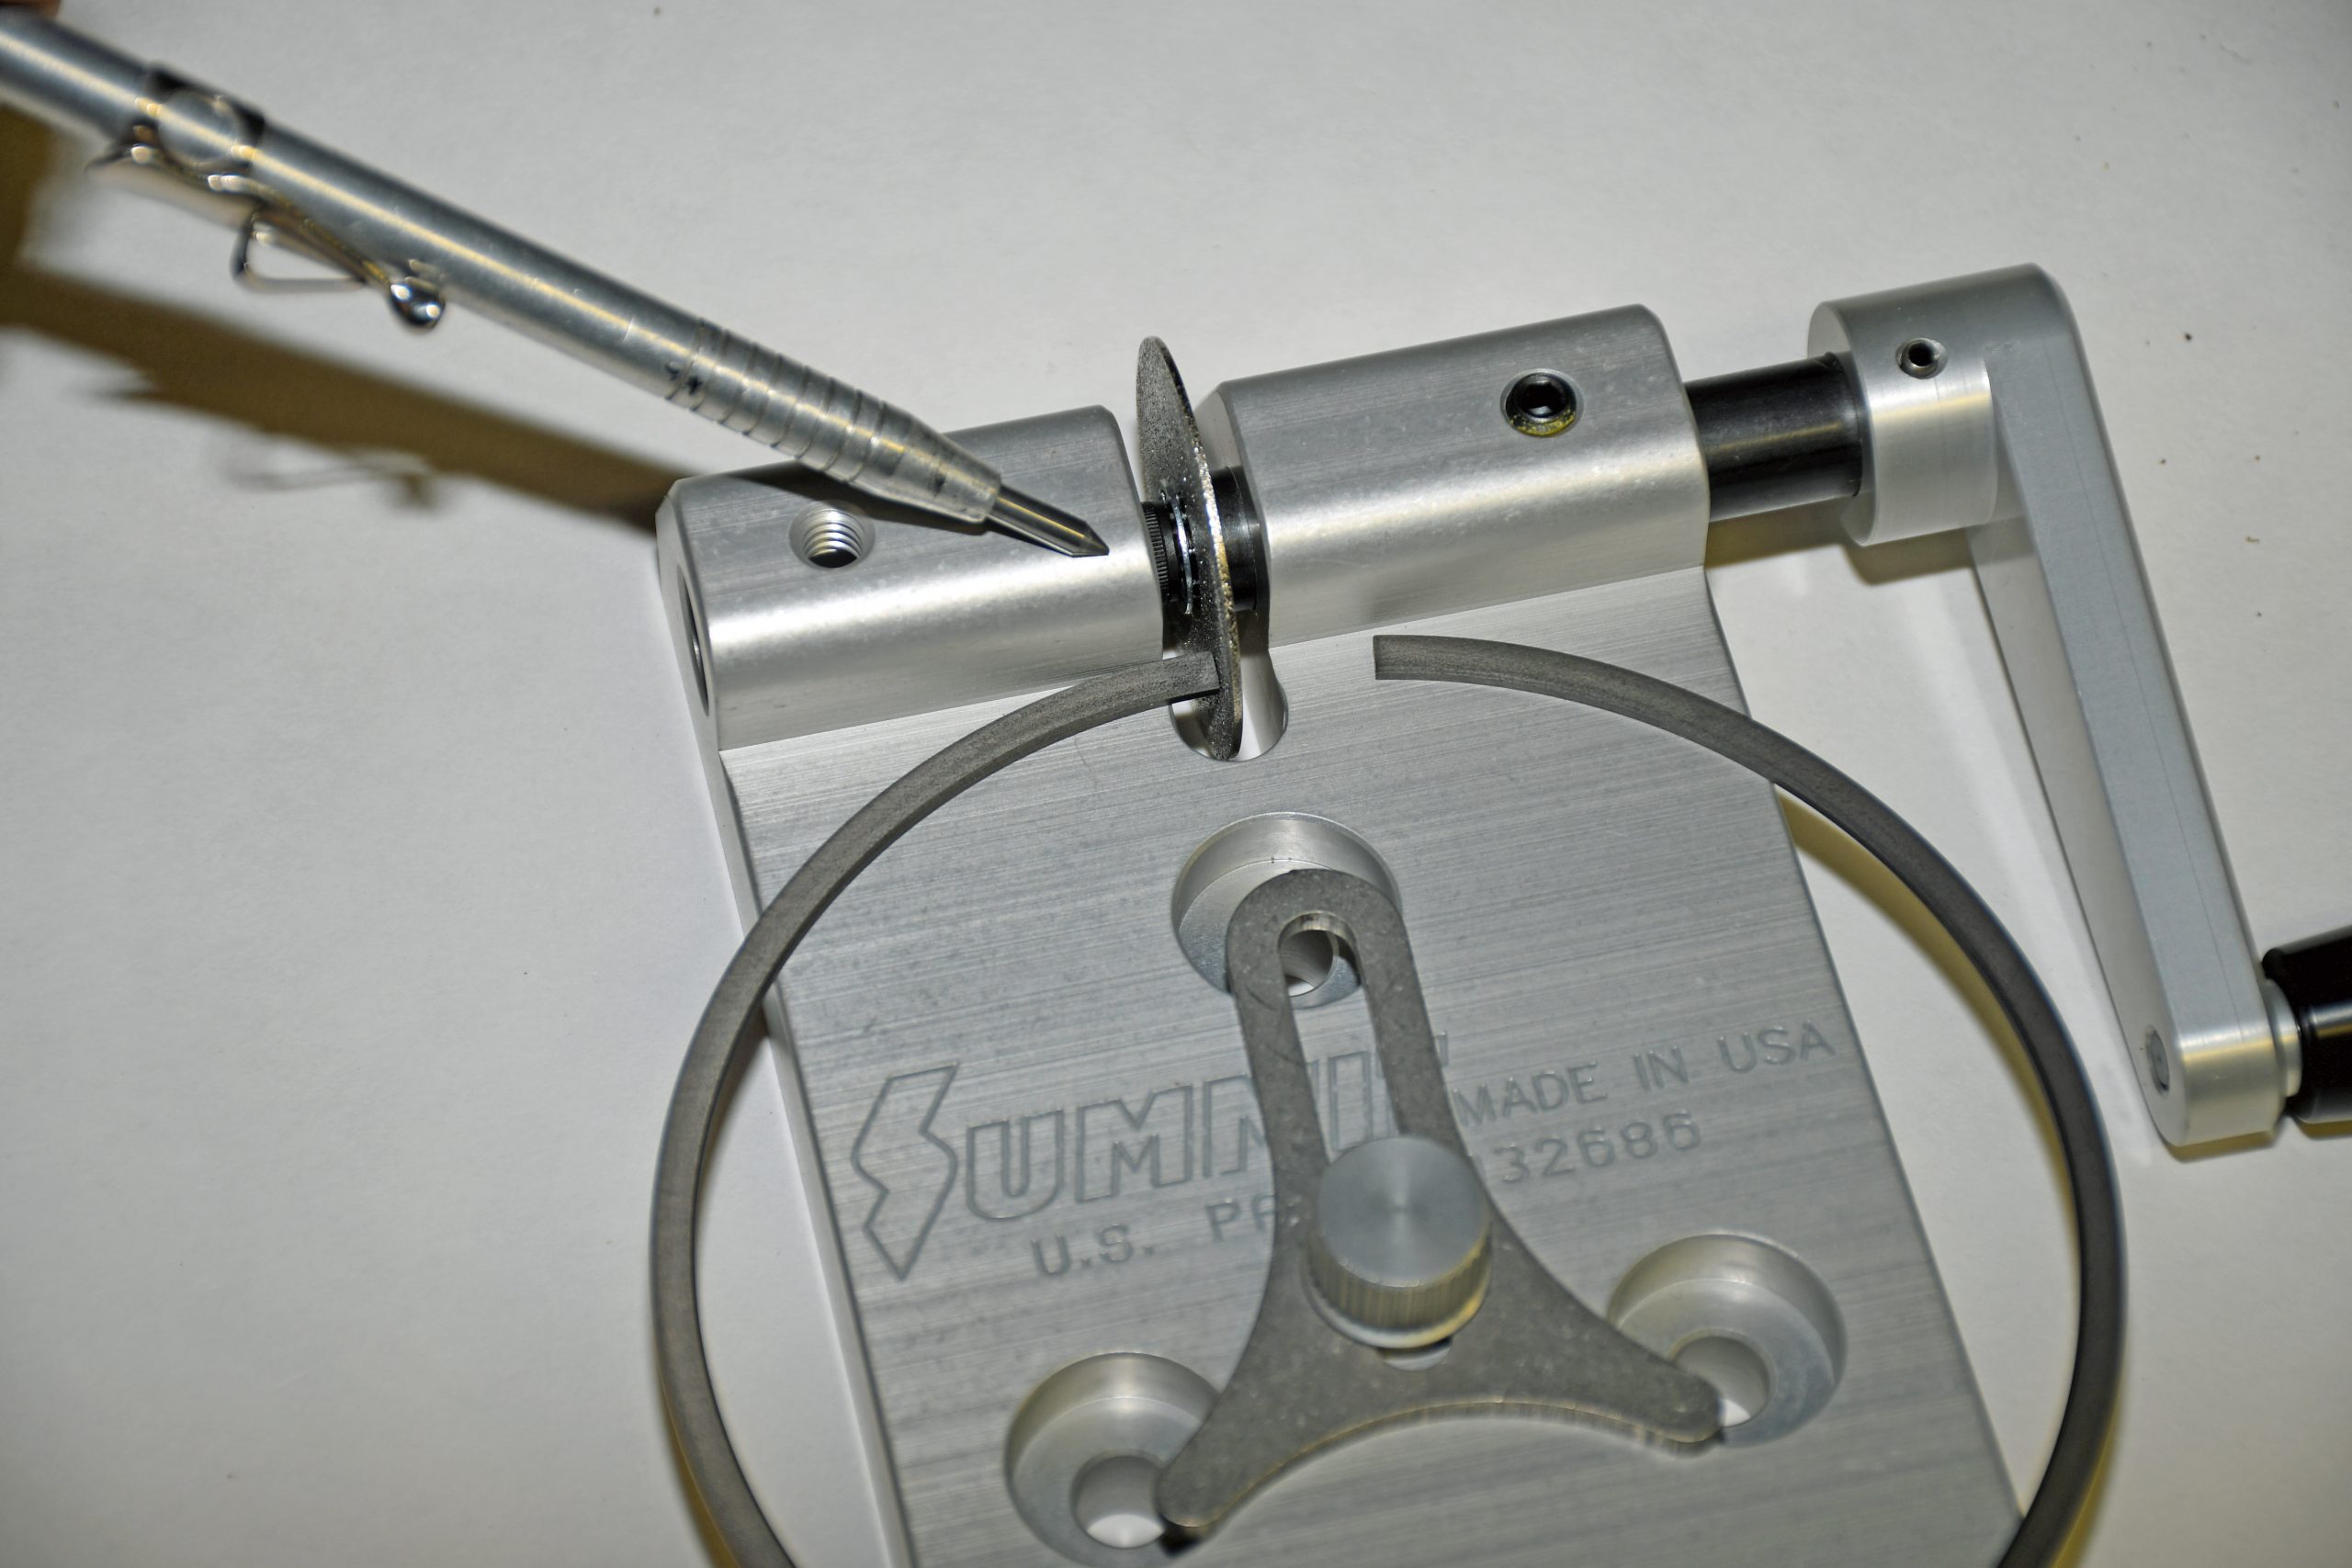
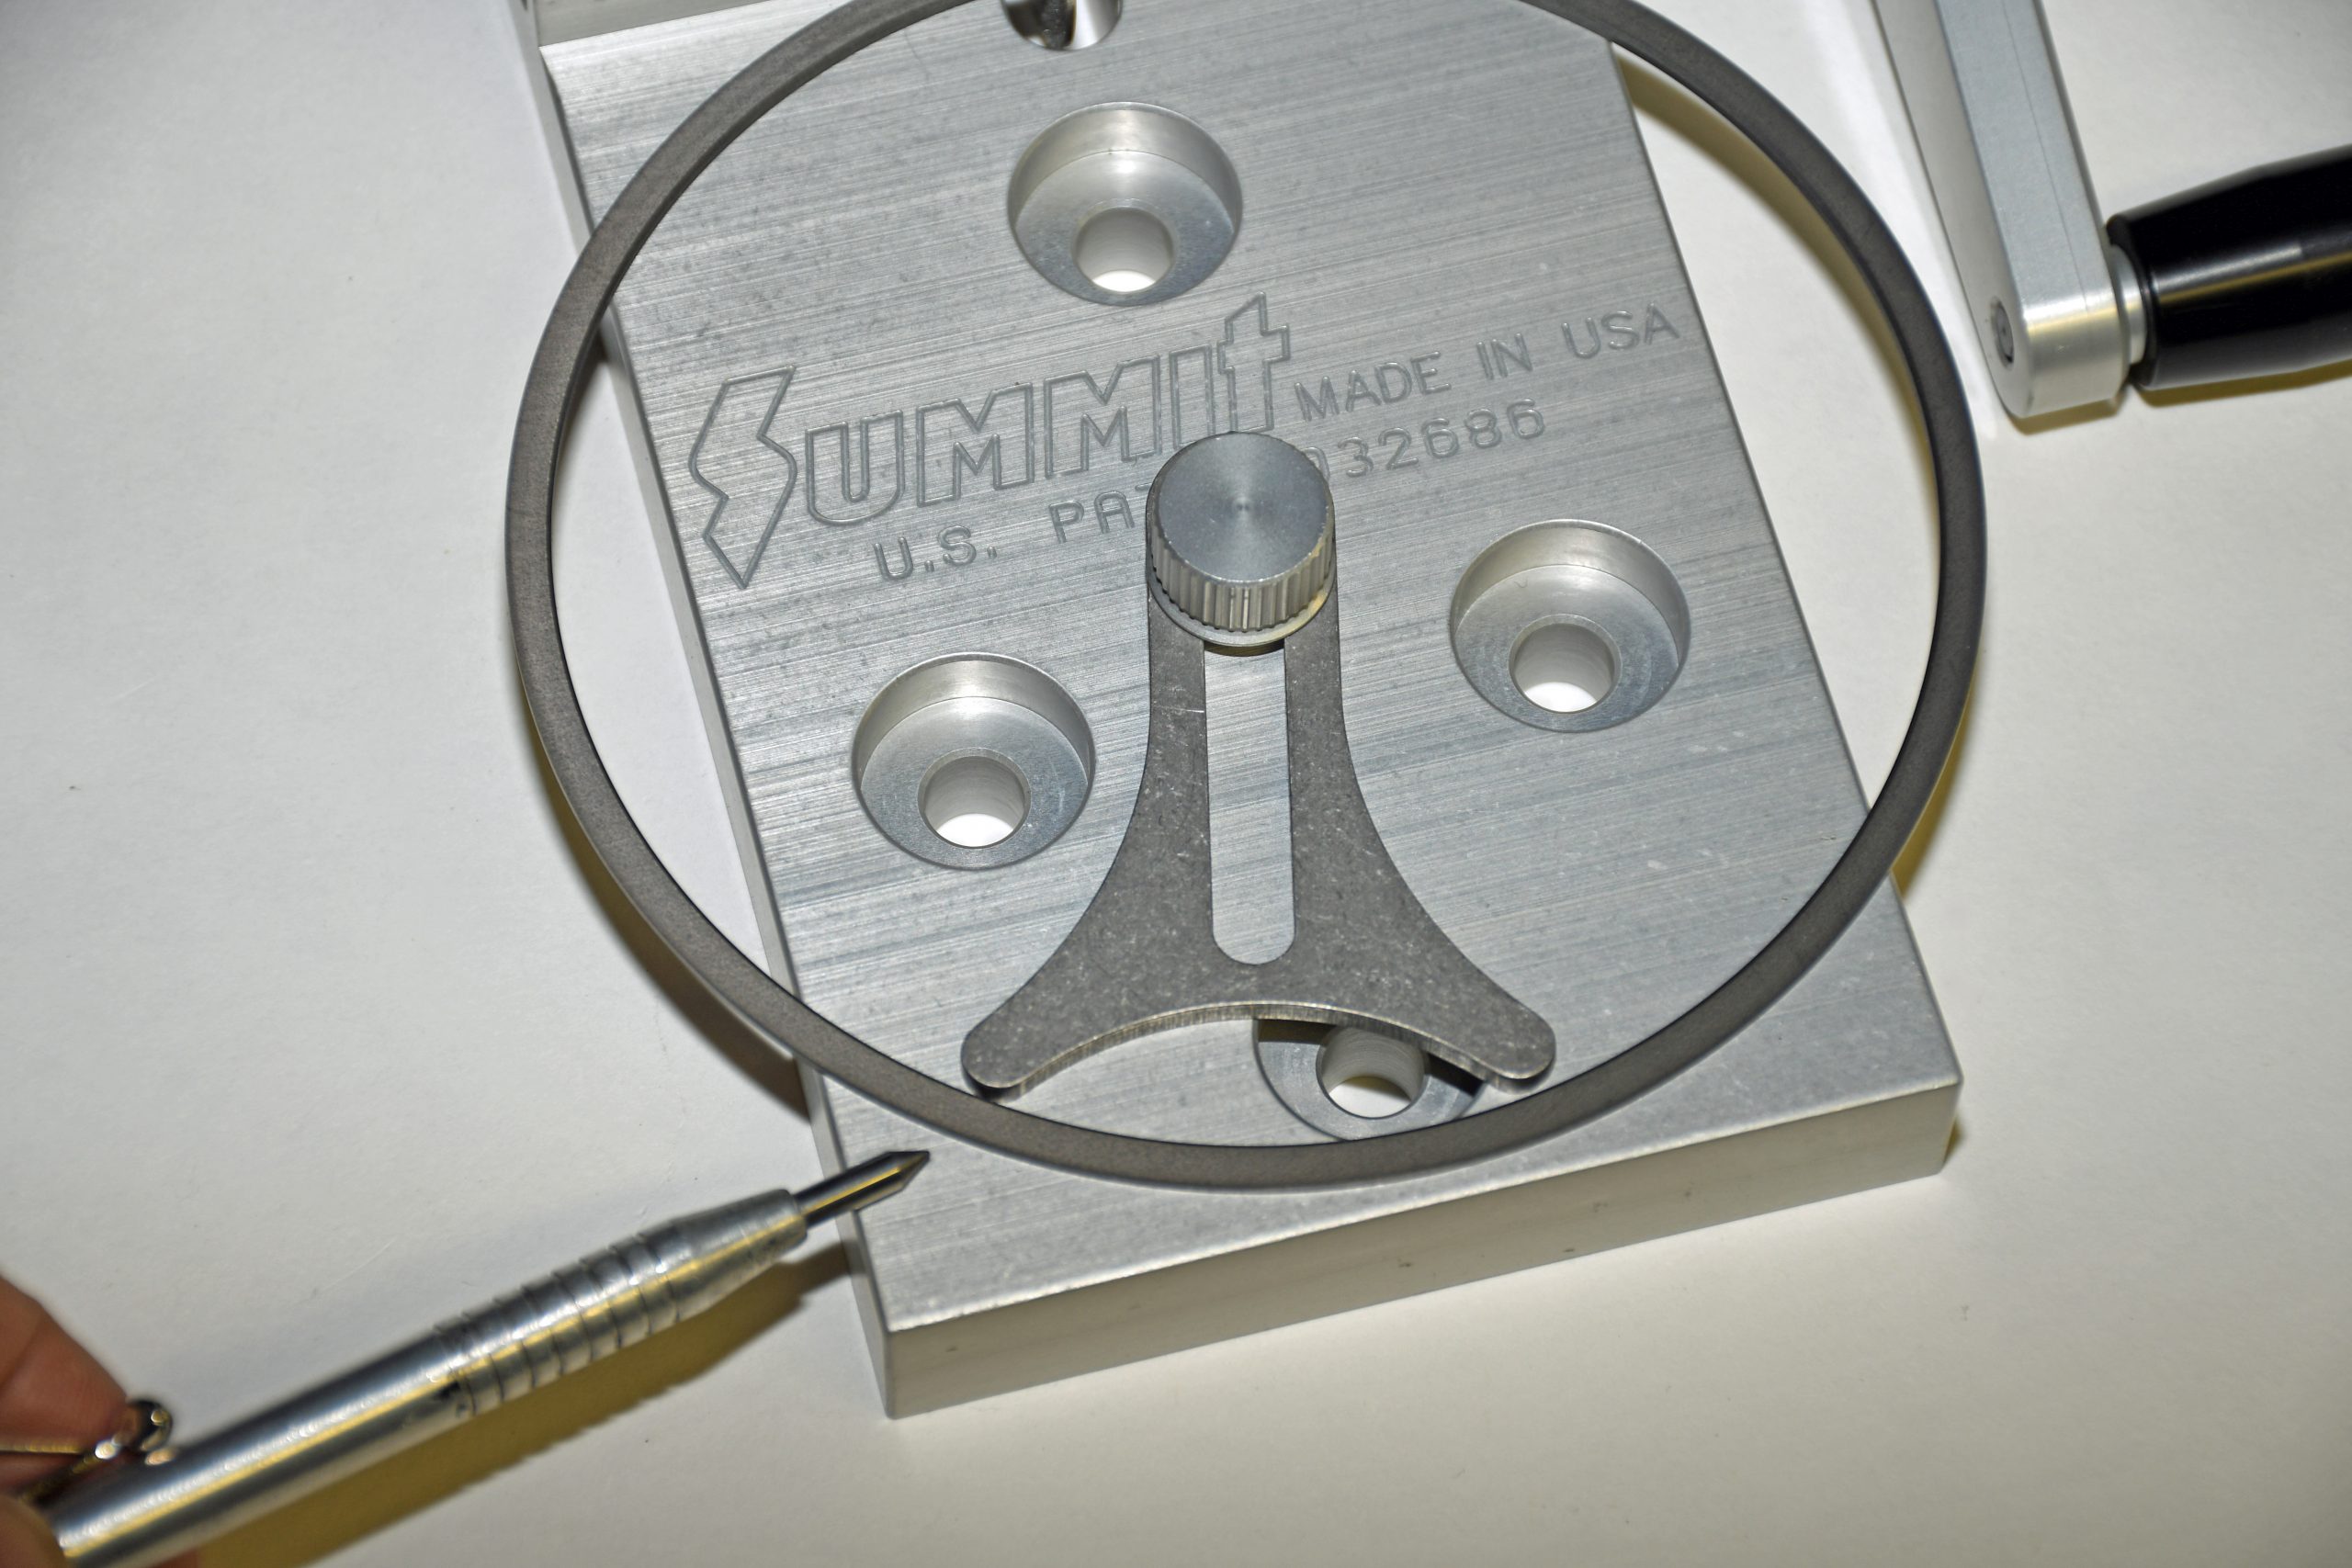
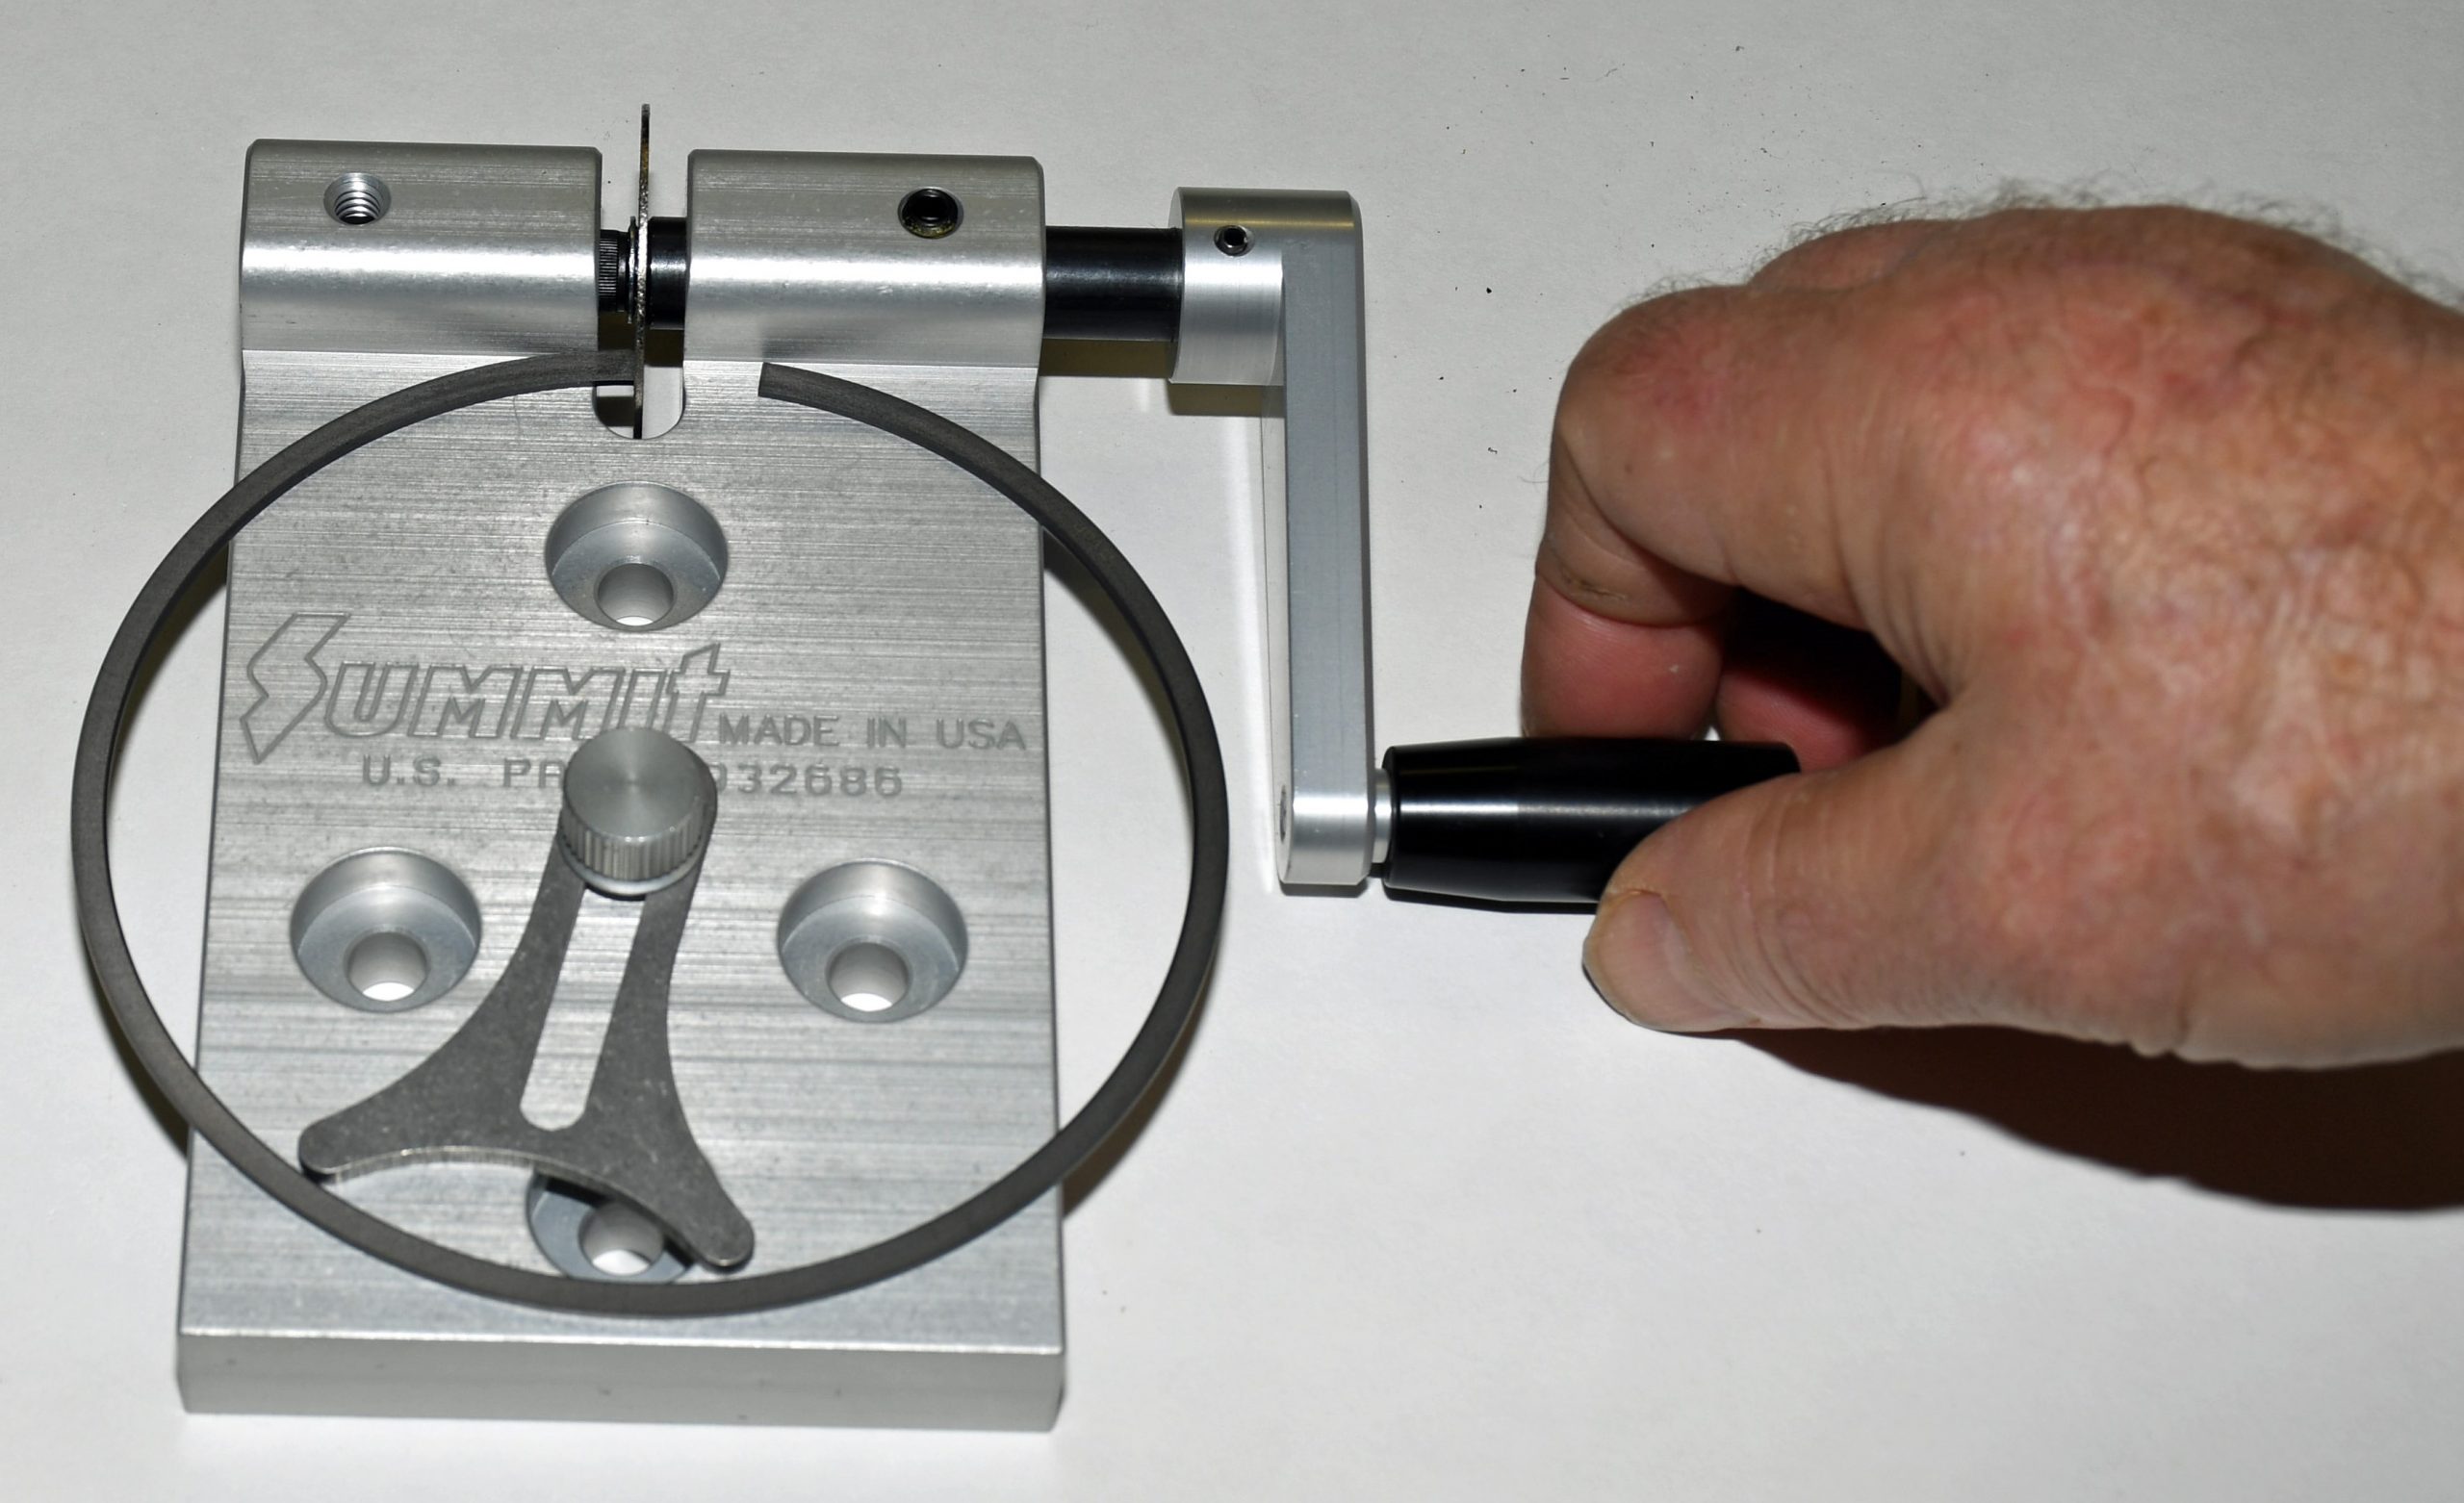
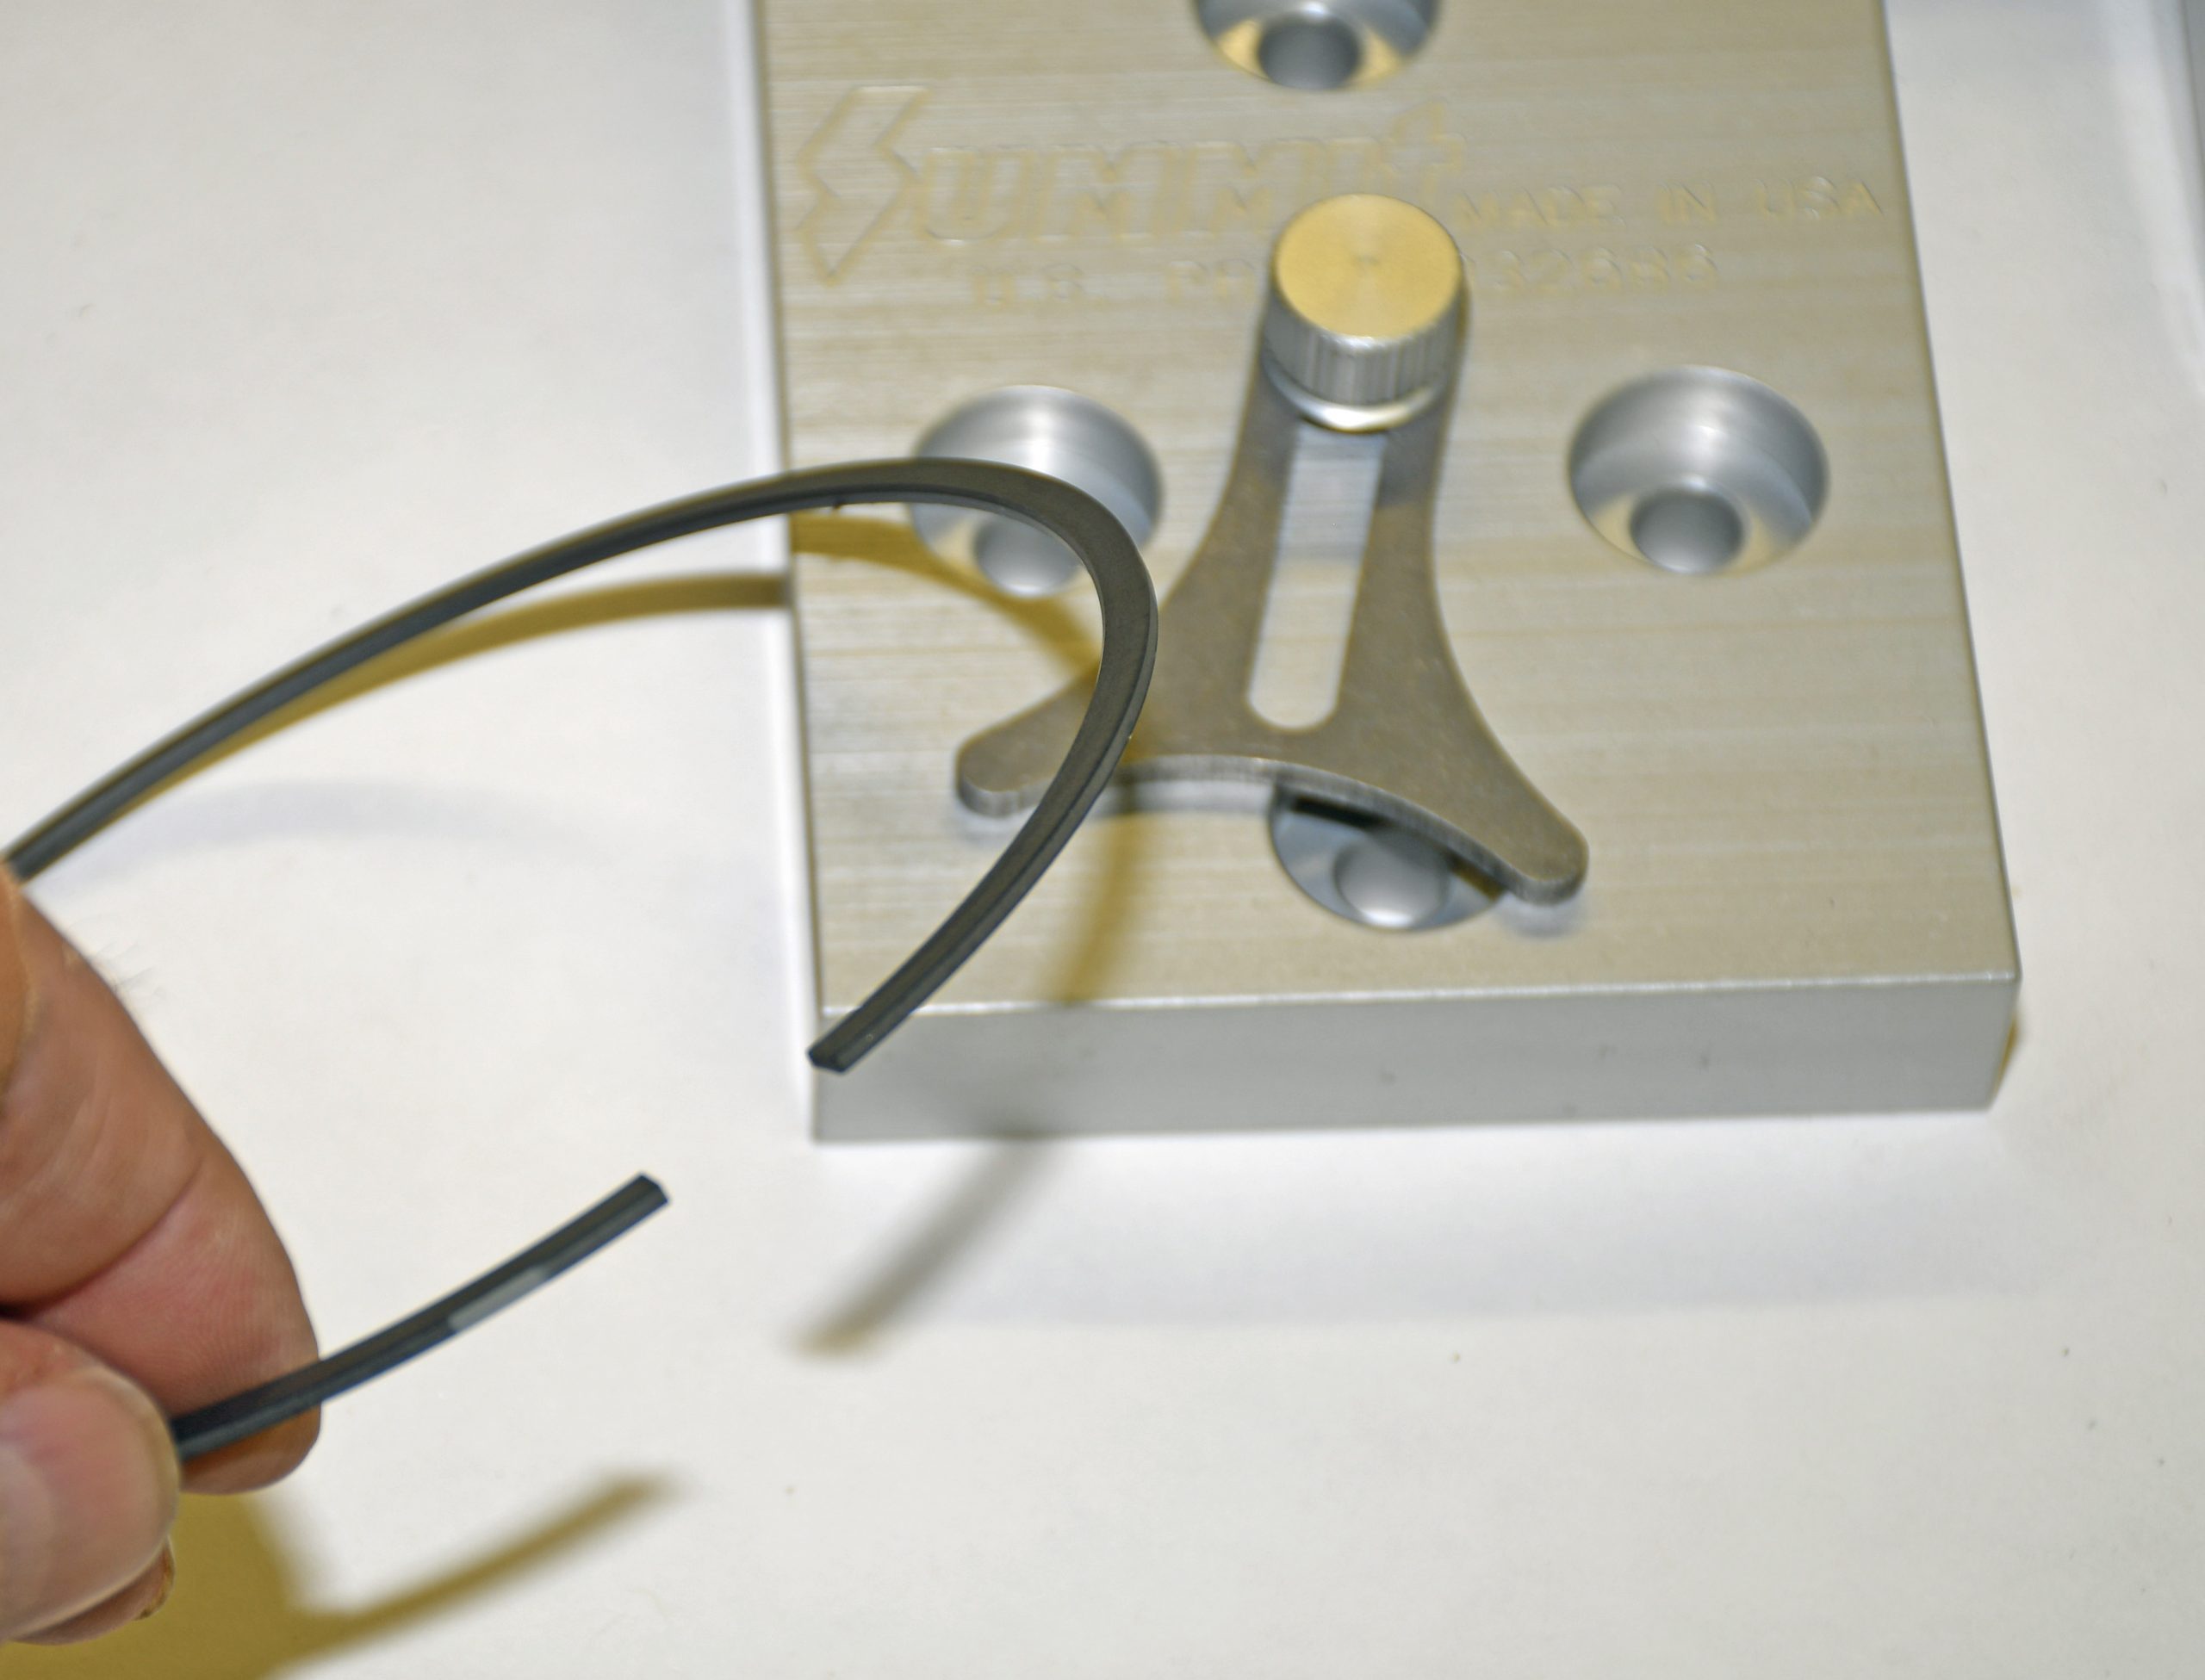
The Summit Racing Precision Piston Ring Filer.
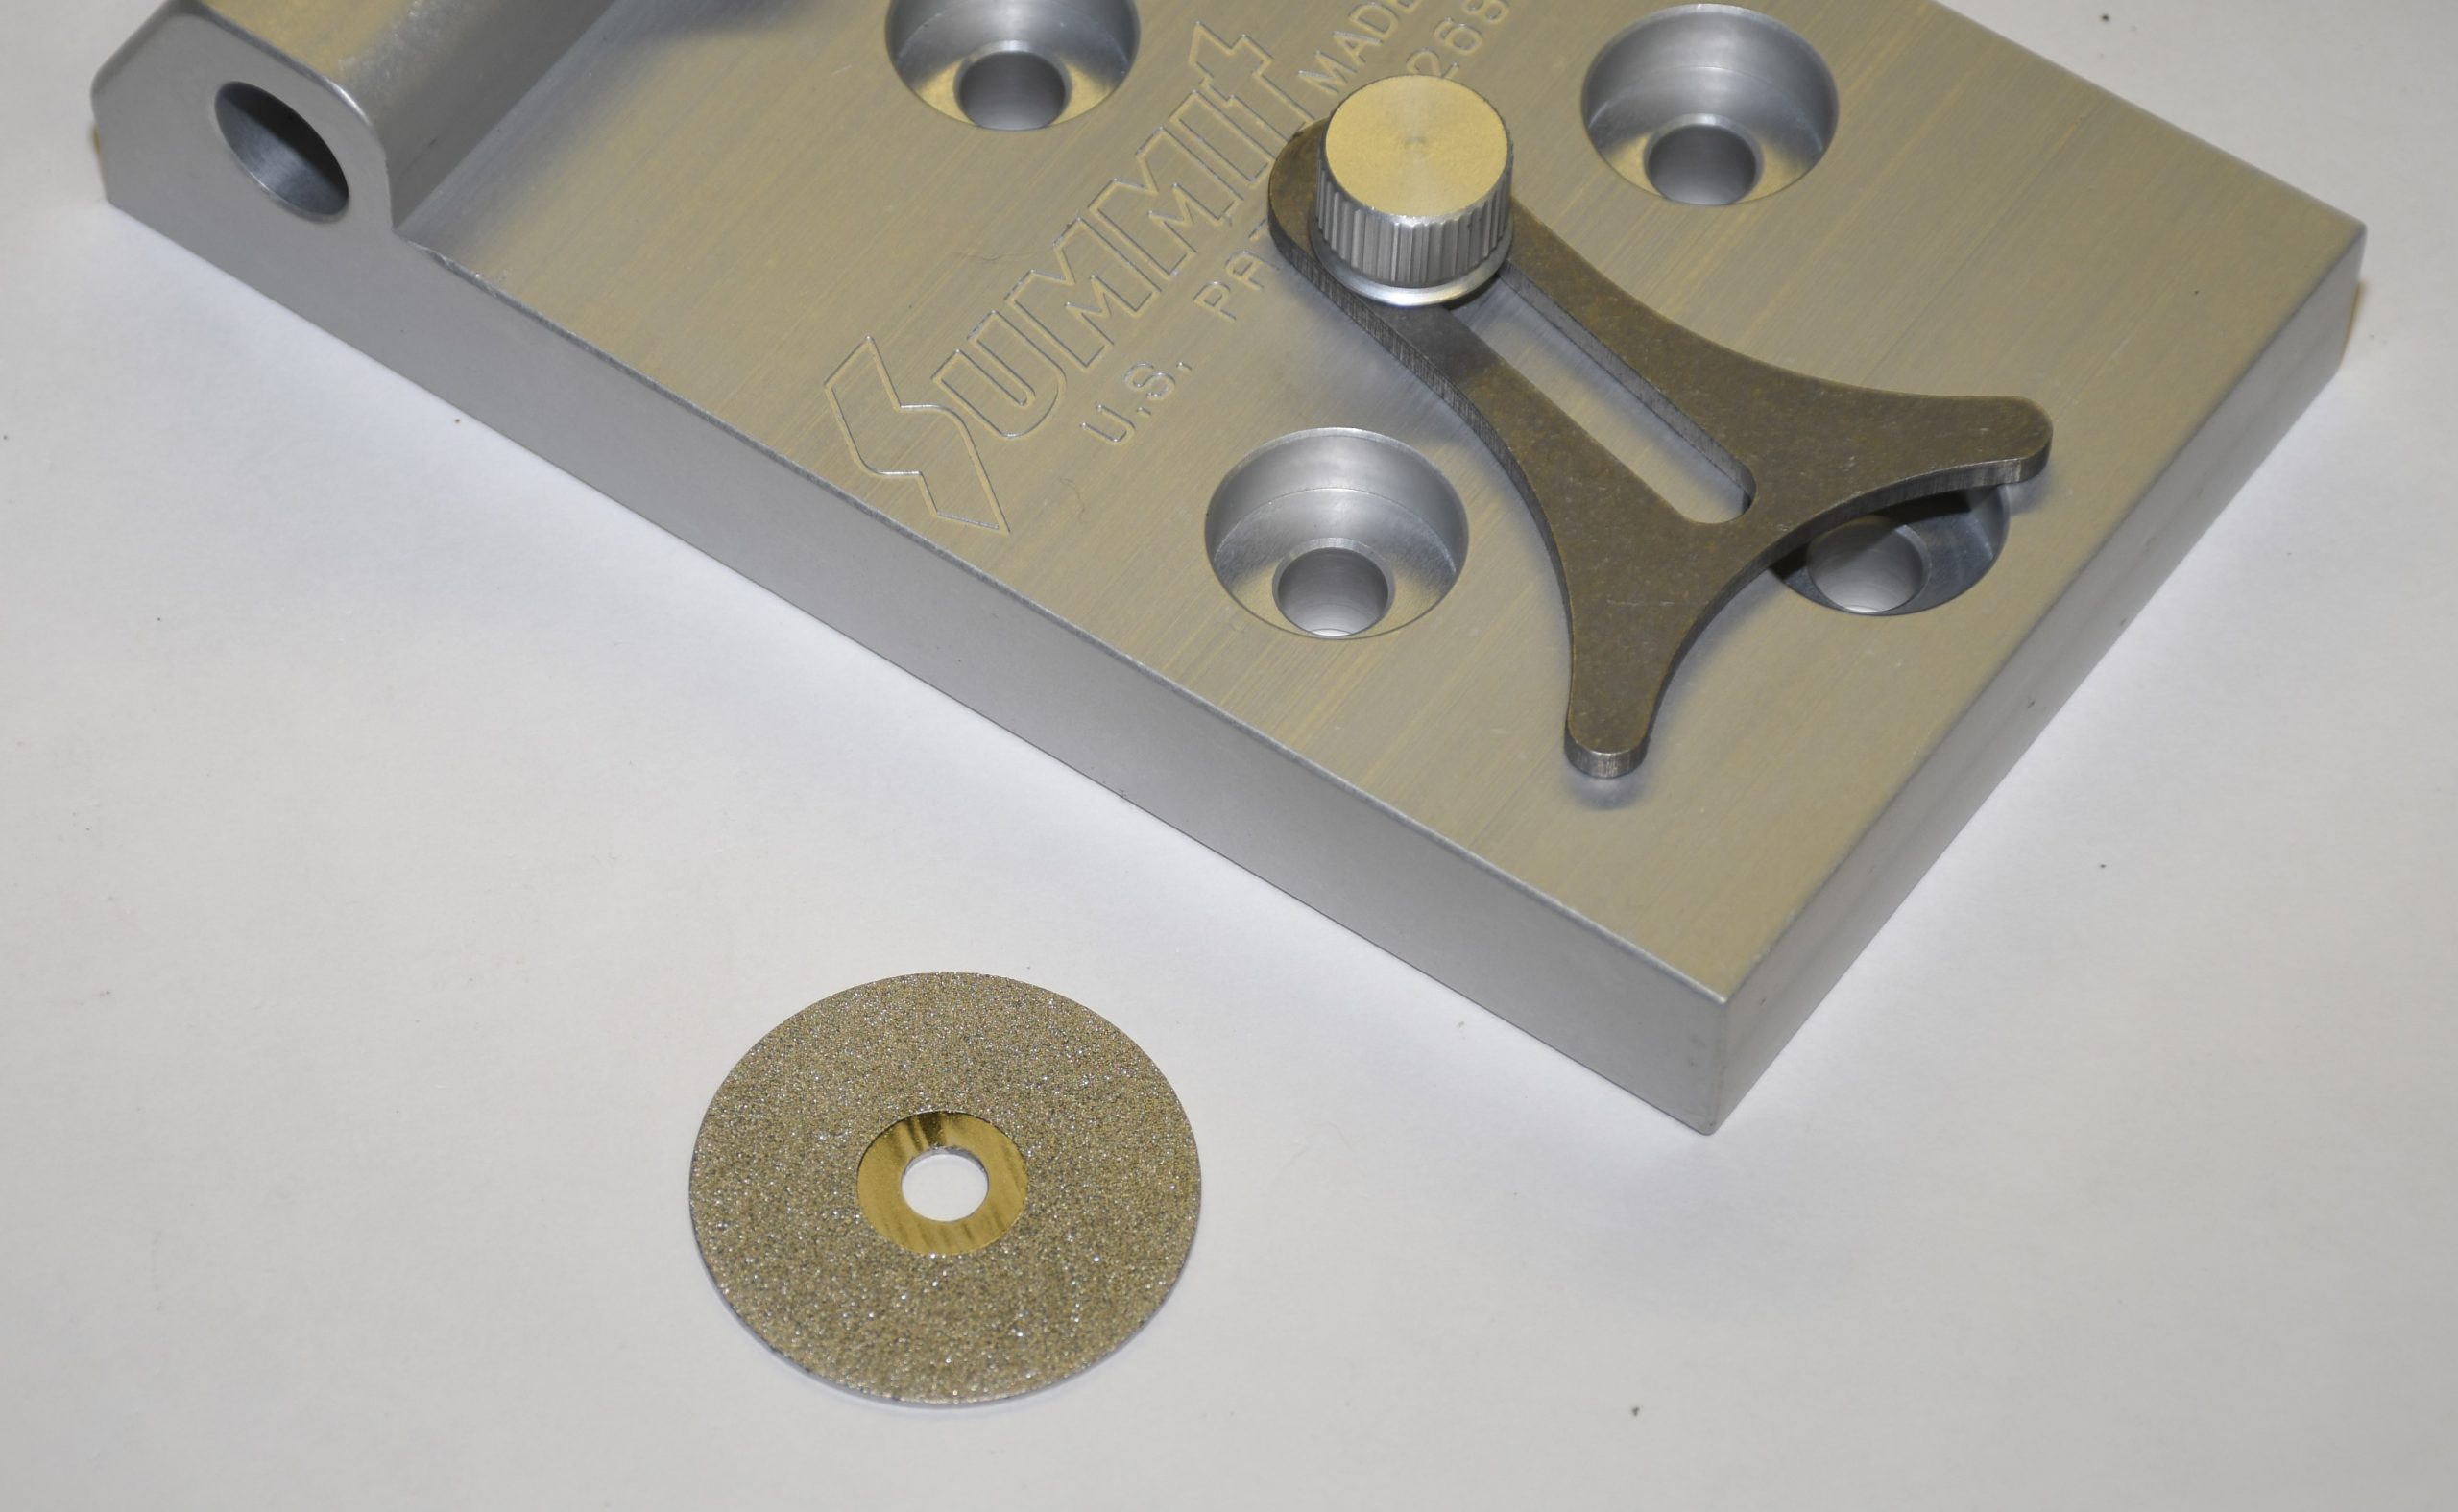
Manufactured with a billet body, the tool has a fixed front stop along with an adjustable ring position locator. The position locator, in conjunction with the front stop, allows you to get repeatable, precise gaps every time you use the tool. The grinding wheel features a diamond abrasive material, and it’s only abrasive on one side. (Summit Racing offers replacement abrasive wheels for the grinder.)
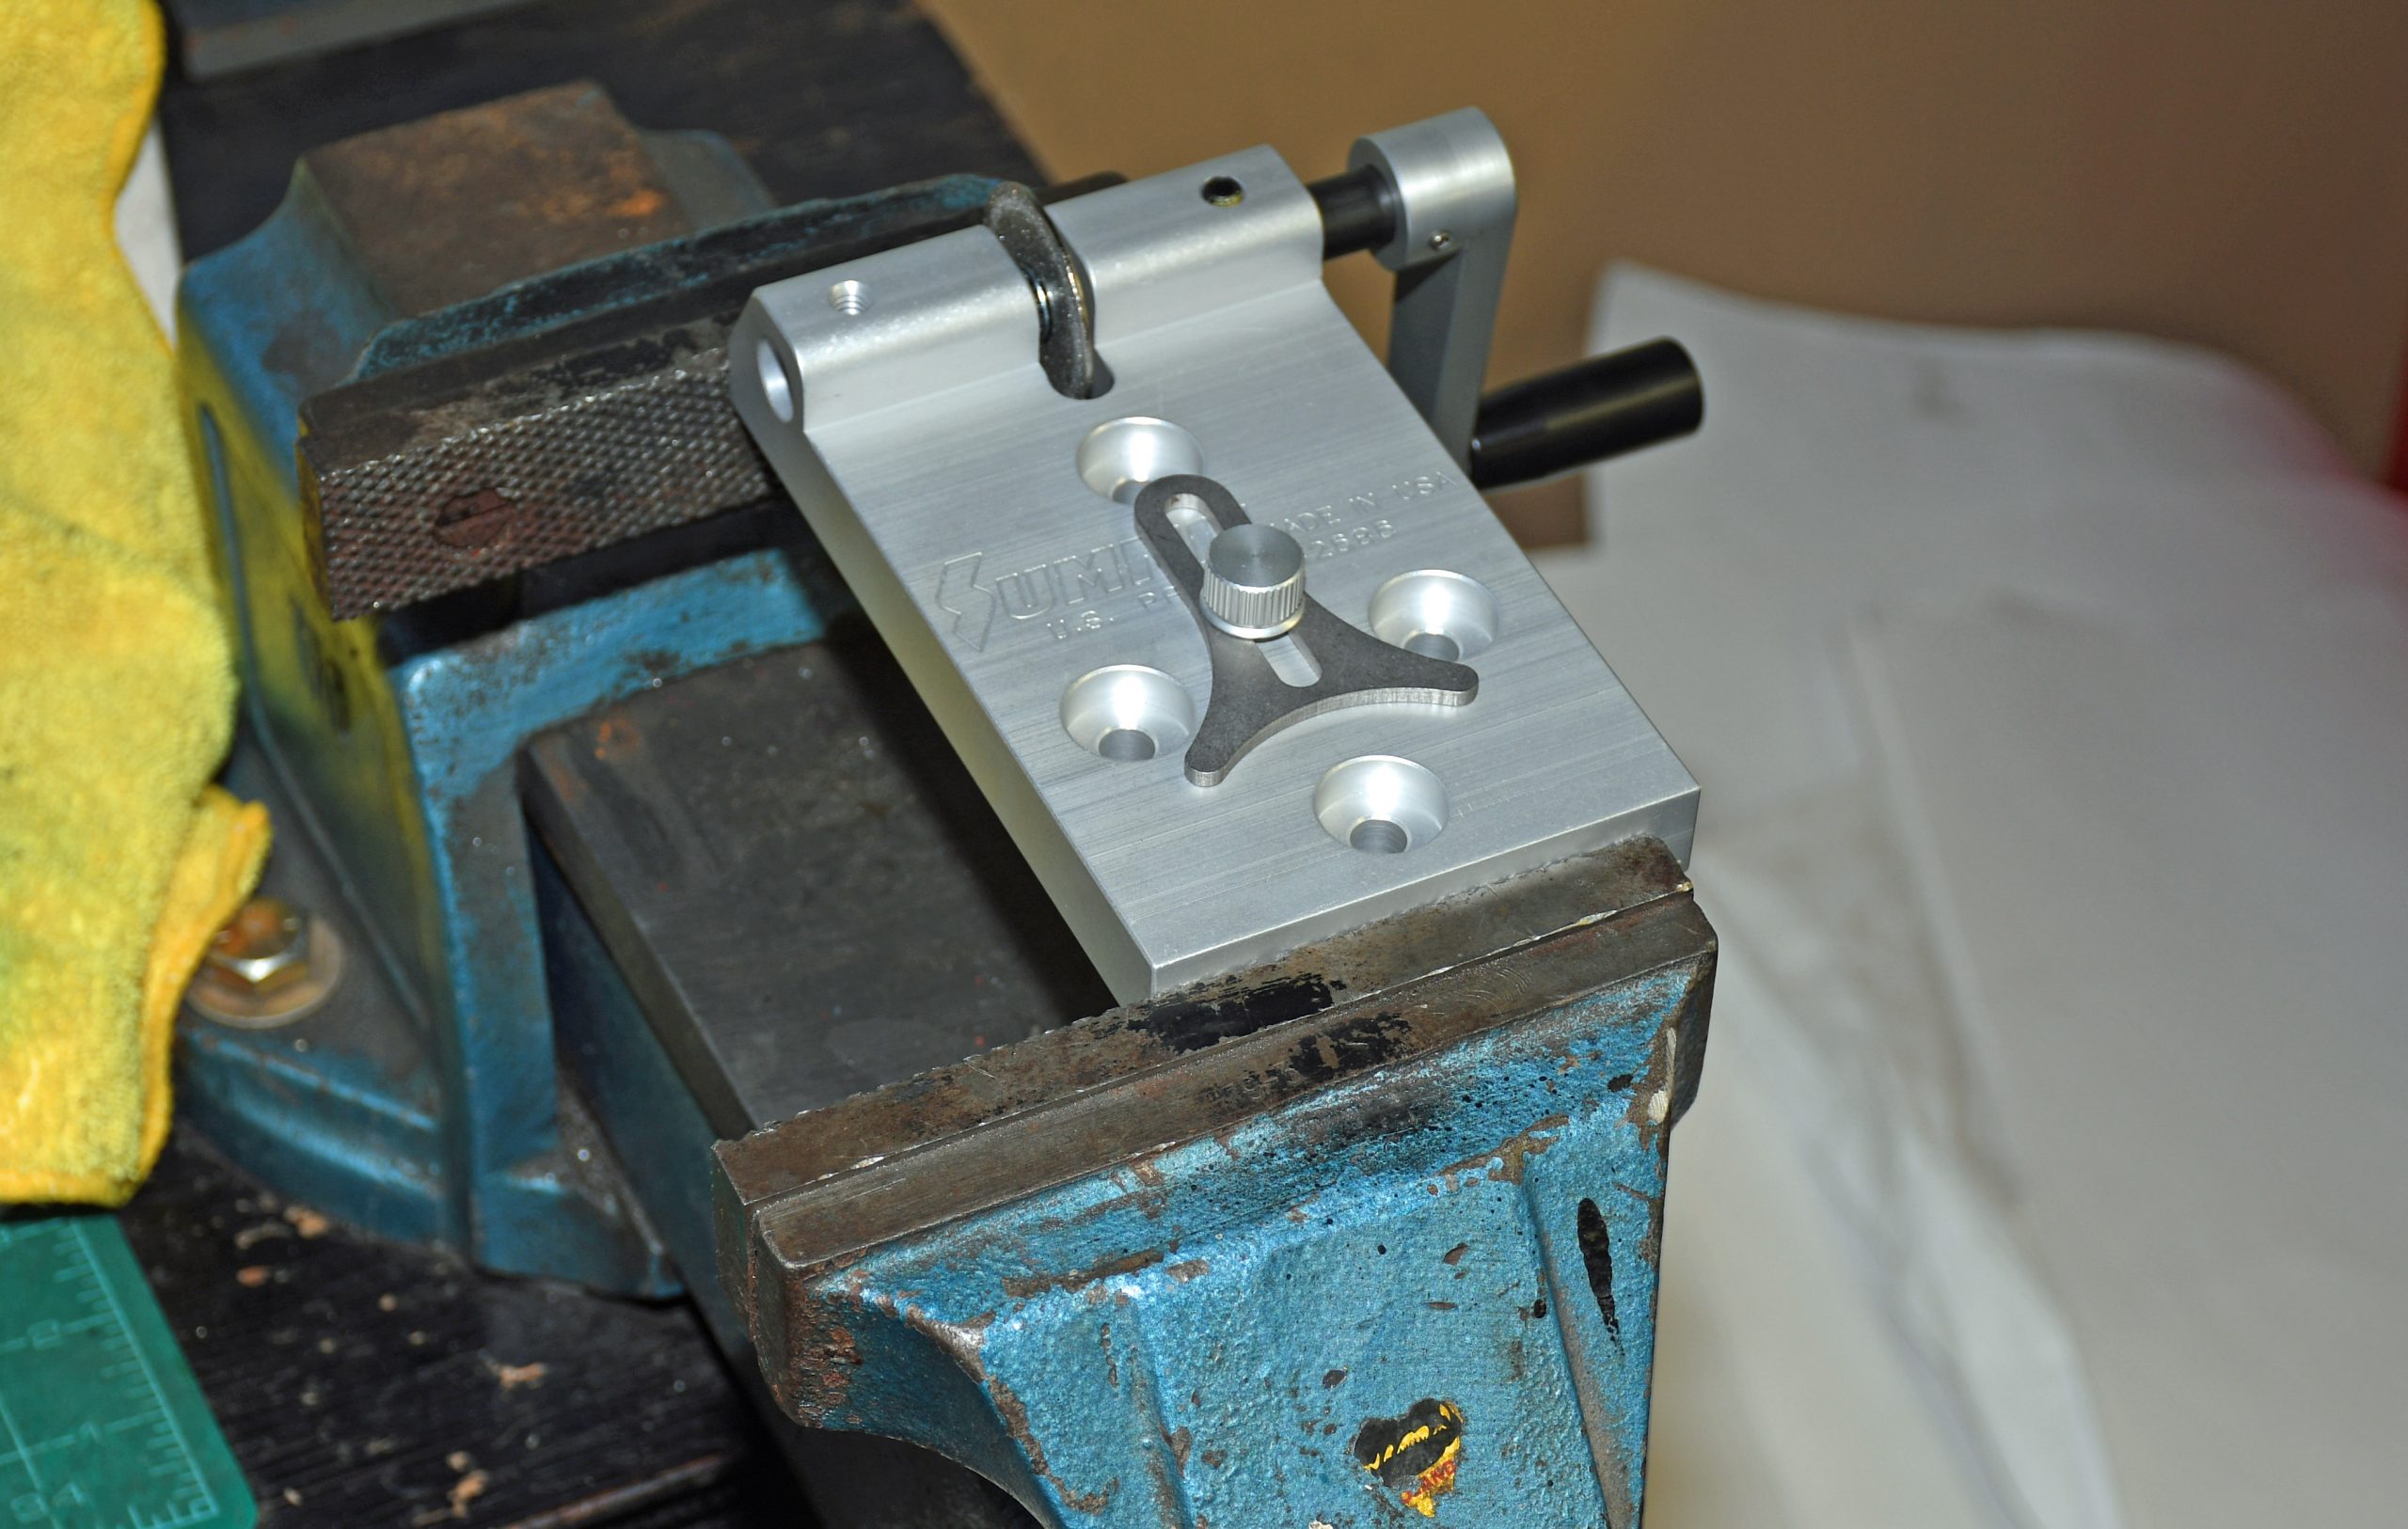
The layout of the tool allows you to permanently mount it to your workbench, or alternatively, mount it within the jaws of your bench vise. The handle can be moved from right to left by removing the wheel and shaft set screw, and then removing the shaft and re-installing in the left side of the tool.
In the photos below, you’ll see exactly how the Summit Racing Precision Piston Ring Filing Tool works. It’s extremely simple and straightforward. Check it out:
Comments