Make no mistake, shocks and struts are regular wear items. That’s because, as your car or truck racks up miles, your struts and shocks will fatigue and lose the ability to control the spring’s compression and rebound—which will adversely affect your vehicle’s handling characteristics and ride quality.
Problem is, unlike a dead battery or blown tire, a shock’s gradual wear typically occurs over years and the performance decline can be subtle. For that reason, it’s not uncommon for shock wear to go unnoticed in a daily-driven vehicle.
So, then…
How Can You Tell if Your Shocks are Blown?
While it’s impossible to diagnose every vehicle with a blanket set of symptoms, there are some common issues that usually point towards worn-out shocks or struts.
- Shimmy/shaking while vehicle crosses bumpy or uneven road surfaces
- Loud clunks (from spring rebound) when crossing low speed bumps
- Bouncy, floating feel when vehicle is moving at highway speeds
- Excessive body roll/lean when cornering
- Nose diving during hard braking
- Body sag, lowered ride height
We dove into this subject in more detail during one of our Mailbag features and you can read it here: Diagnosing Worn Shocks & Struts
Don’t get caught up in the shock or strut nomenclature here: they both basically do the same job, and for the purposes of this article, there’s no real distinction—but you can watch this video here to learn the difference between shocks and struts.

Understanding Shock Assemblies & Loaded Shocks
Not too long ago, a strut or shock absorber was a separate component, divorced from either the coil or leaf spring. But on lots of modern vehicles nowadays, you’ll likely find your strut or shock combined with a coil spring, creating a complete assembly.
That means, in order to replace just the strut or shock, you’ll need to remove the shock/strut assembly, take apart the entire thing, replace the strut, put it all back together, then reinstall the assembly in the vehicle. While that’s not a big deal for pro shops and experienced mechanics, it can be a cumbersome job for the home DIY’er.
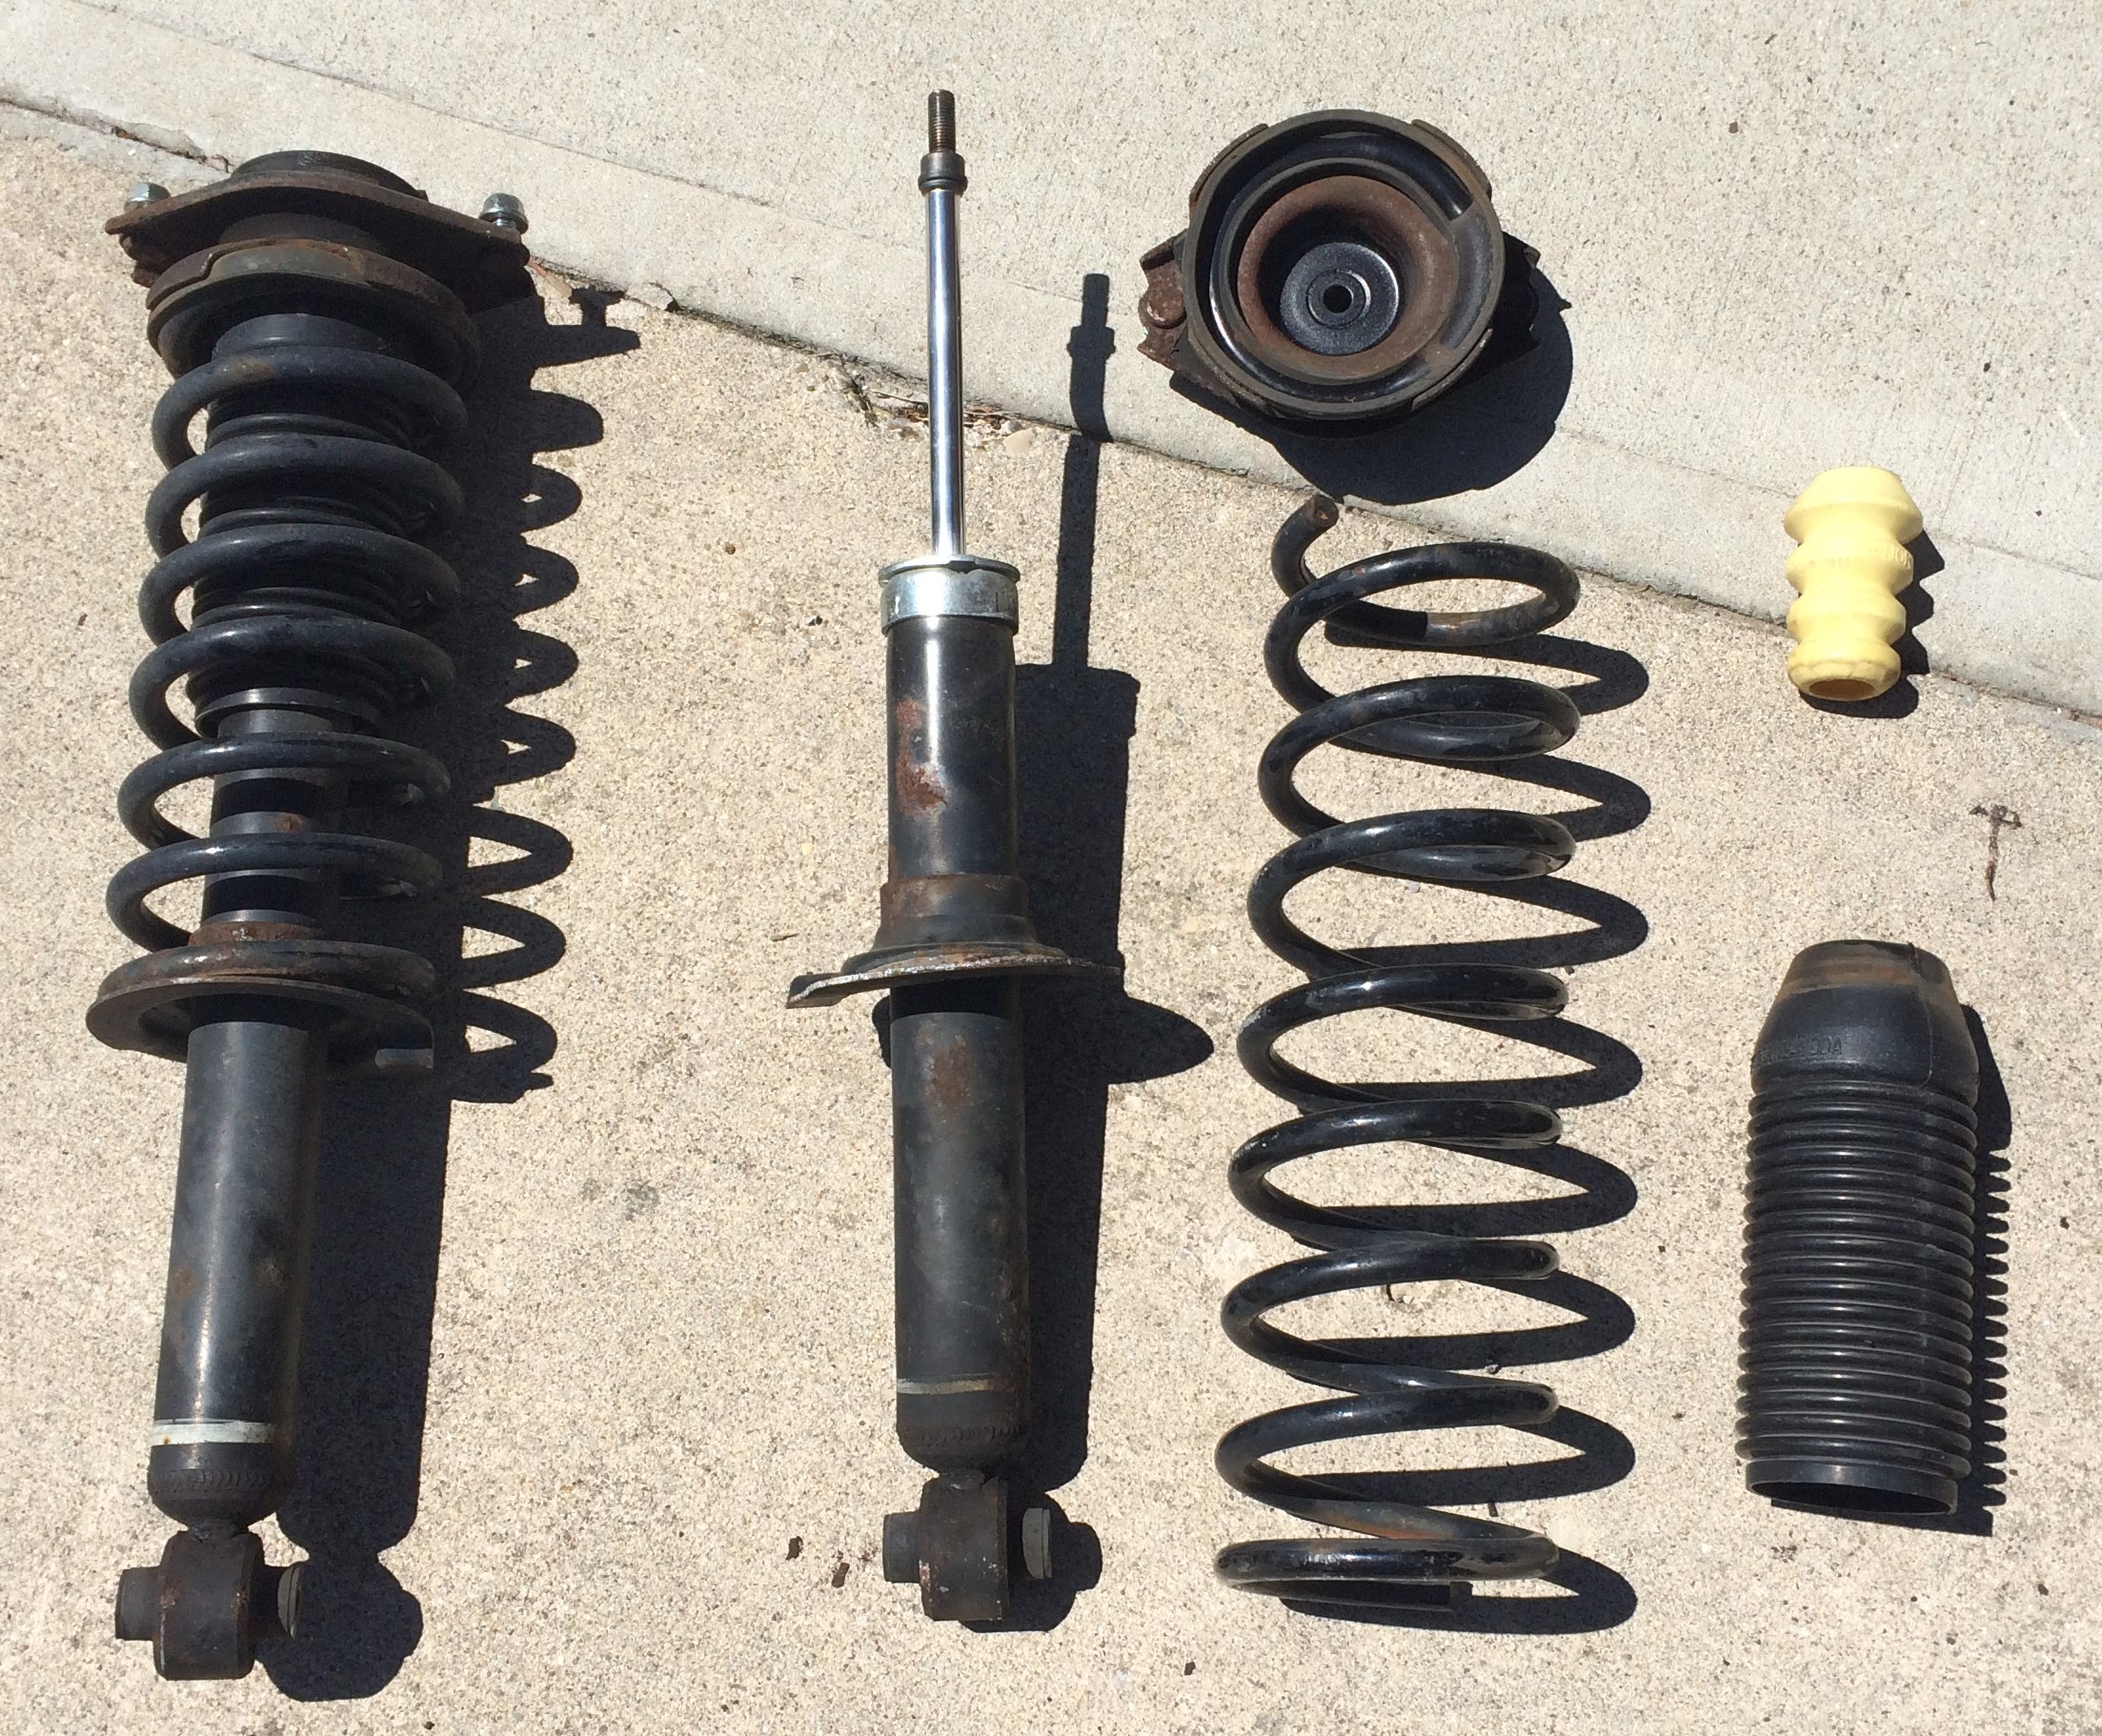
More importantly, taking apart a shock assembly ABSOLUTELY, POSITIVELY requires a specialized suspension coil spring compressor tool to do the job safely and correctly. (We’ll toss in some pictures of this later in the article.)
But, there is an alternative.
Depending on your vehicle, you may have the option of replacing the entire assembly altogether. That makes the install a far more straightforward pop-in/pop-out procedure. Along with the strut/shock, these assemblies include the coil spring and shock mounts—all bolted together and ready to go.
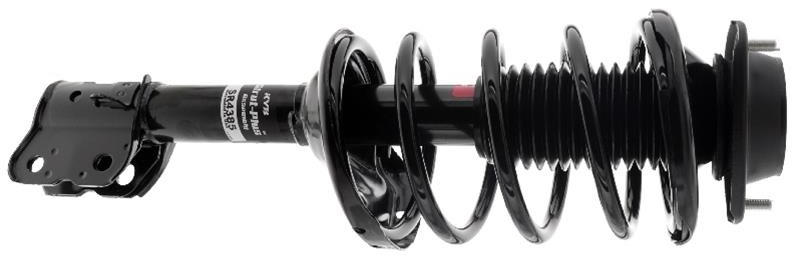
These individual assemblies are often simply referred to as “loaded” or “complete” struts or shocks.
While they’re a bit more expensive, a loaded shock or strut can save you a ton of hassle—especially if you’ve never disassembled a strut before. As alluded to above, removing a coil spring demands a specialized tool. Without it, you risk serious injury or damage caused by unleashing the pent-up energy inside the compressed spring.
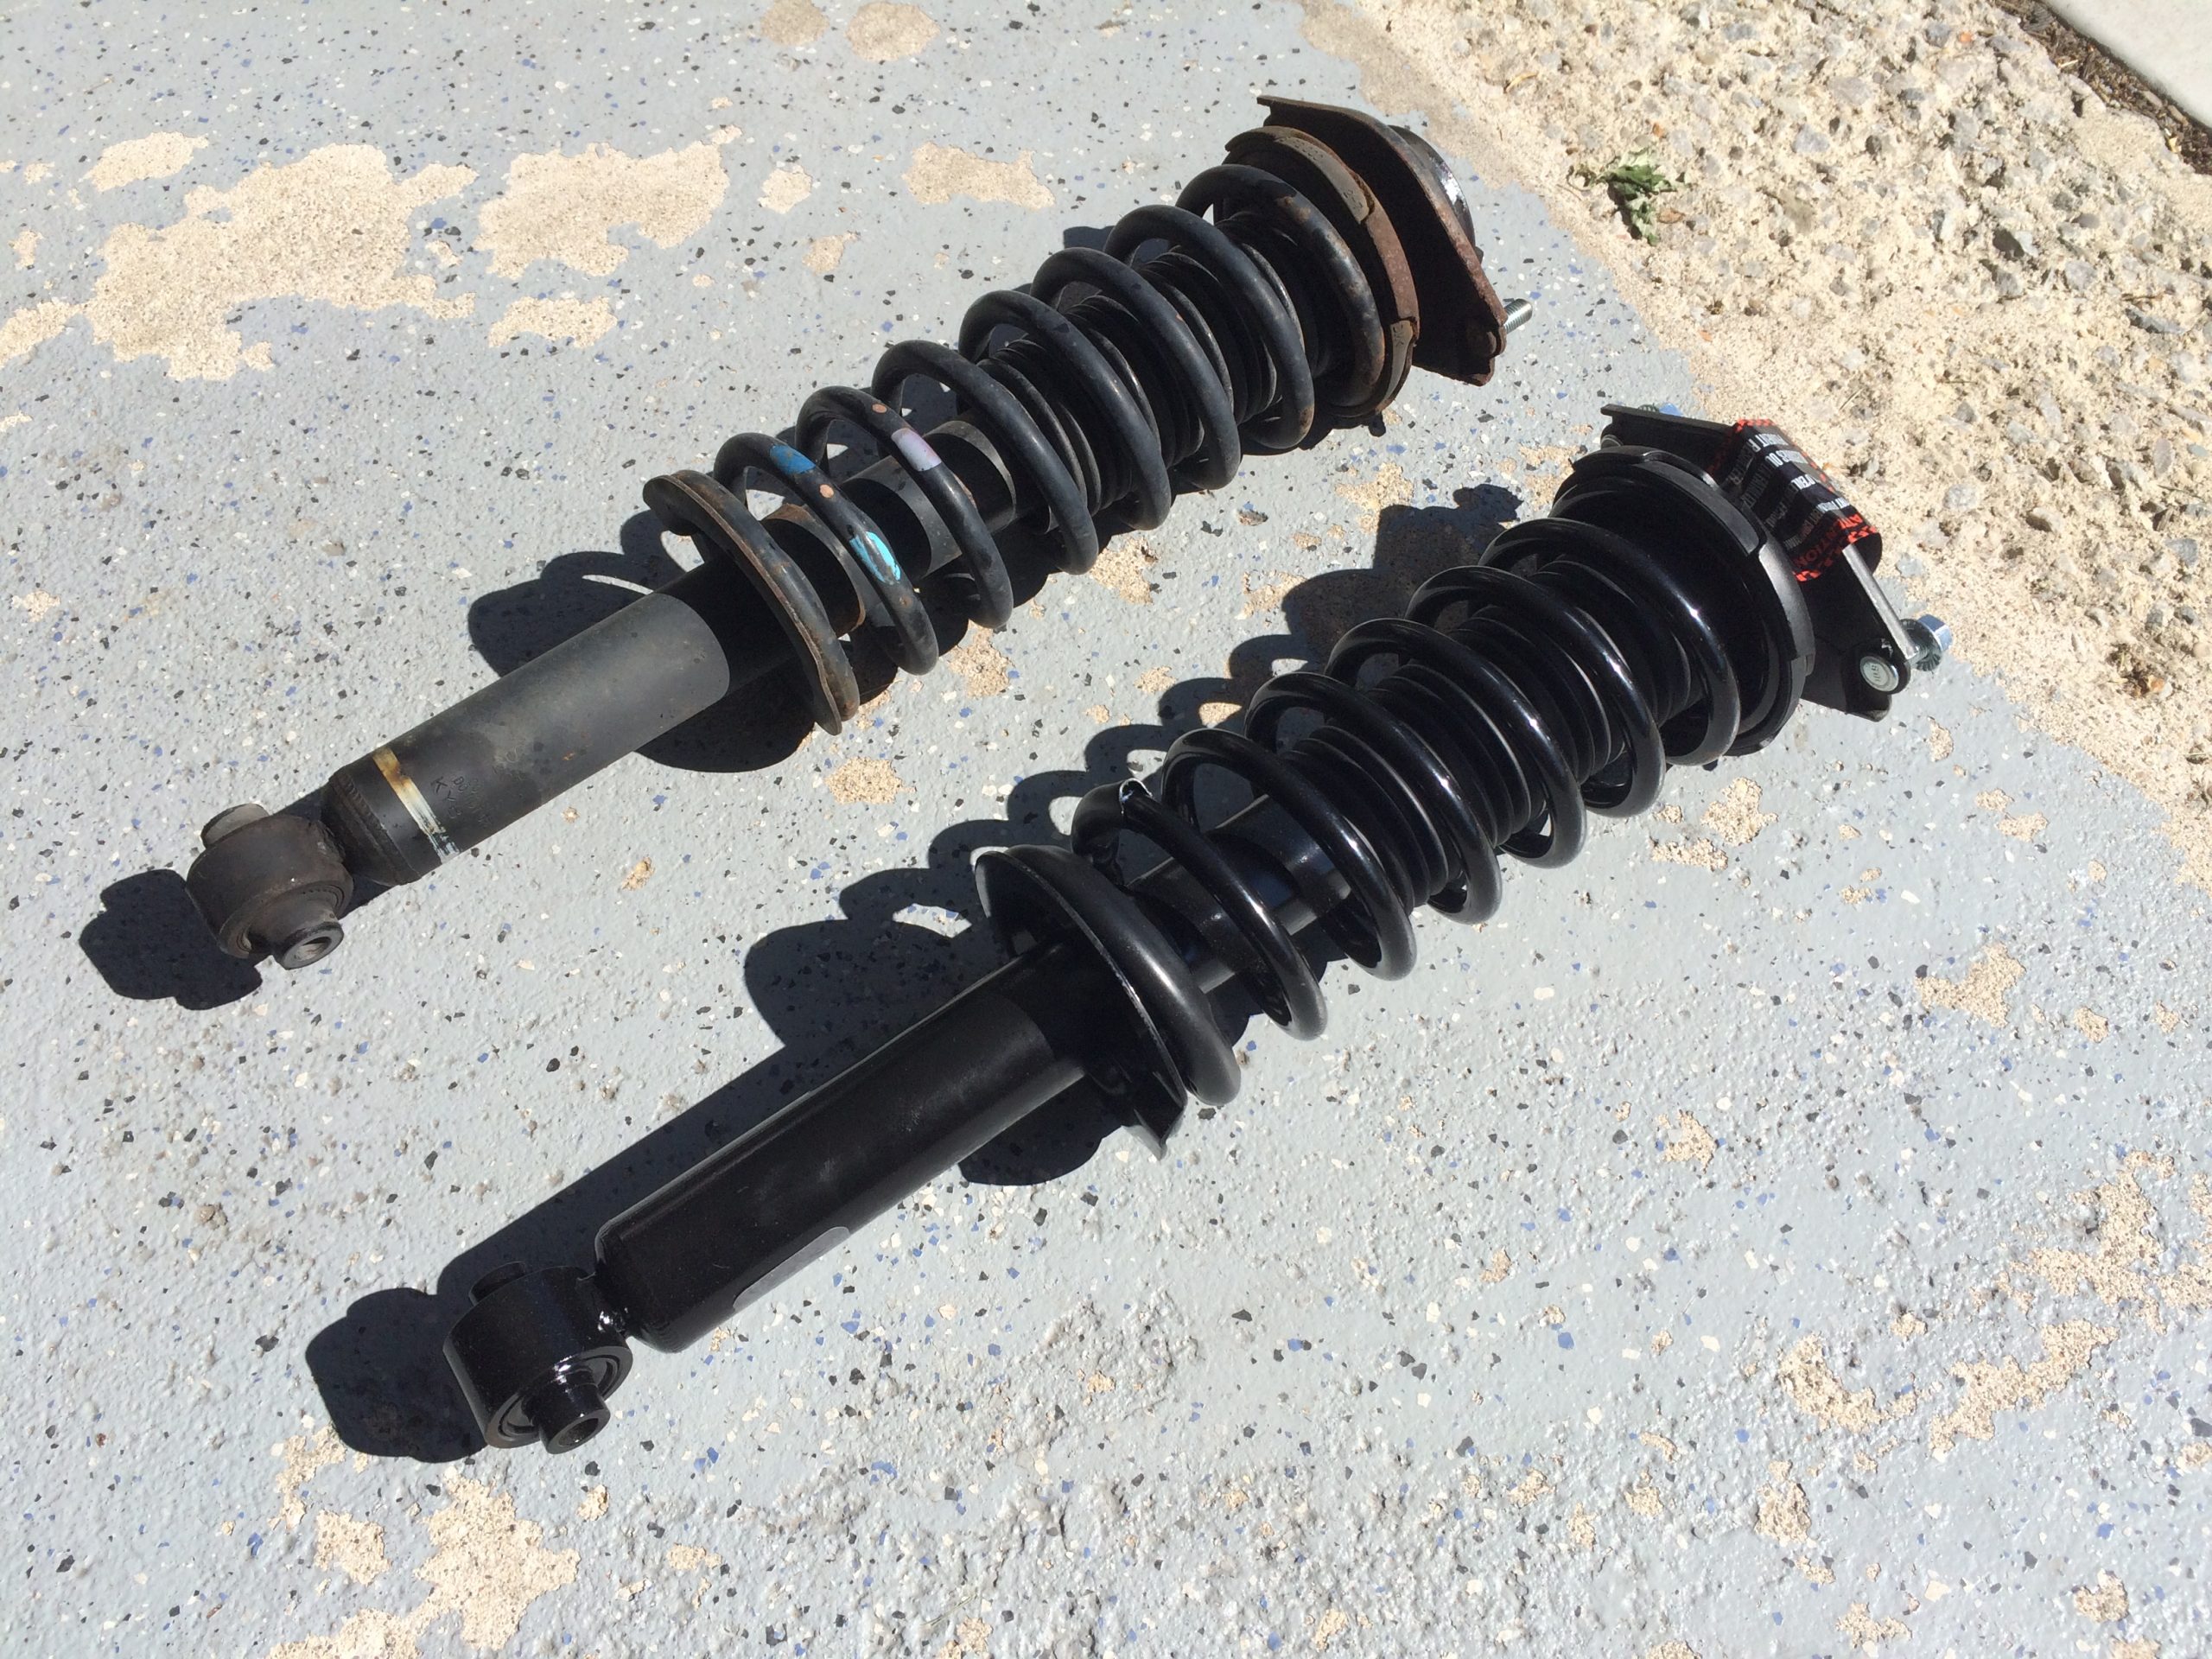
The benefits of a loaded shock or strut involve more than convenience too. If you’ve got a really old shock or strut assembly, like our 175K-mile Subaru specimens here, there’s a good chance the upper mounts are worn out as well.
And that’s important because, on a lot of cars and trucks, the upper mounts are clad in rubber to help reduce road noise and vibration. Replacing the top mounts during a shock install can help restore some of those qualities.
Better still, you’ll likely get shiny new hardware too.
So even though we safely took apart the shock assembly for this article, we still opted to go with a loaded shock with all-new components (instead of simply replacing the individual shock) for all of those reasons outlined above.
Replacing Shocks & Struts
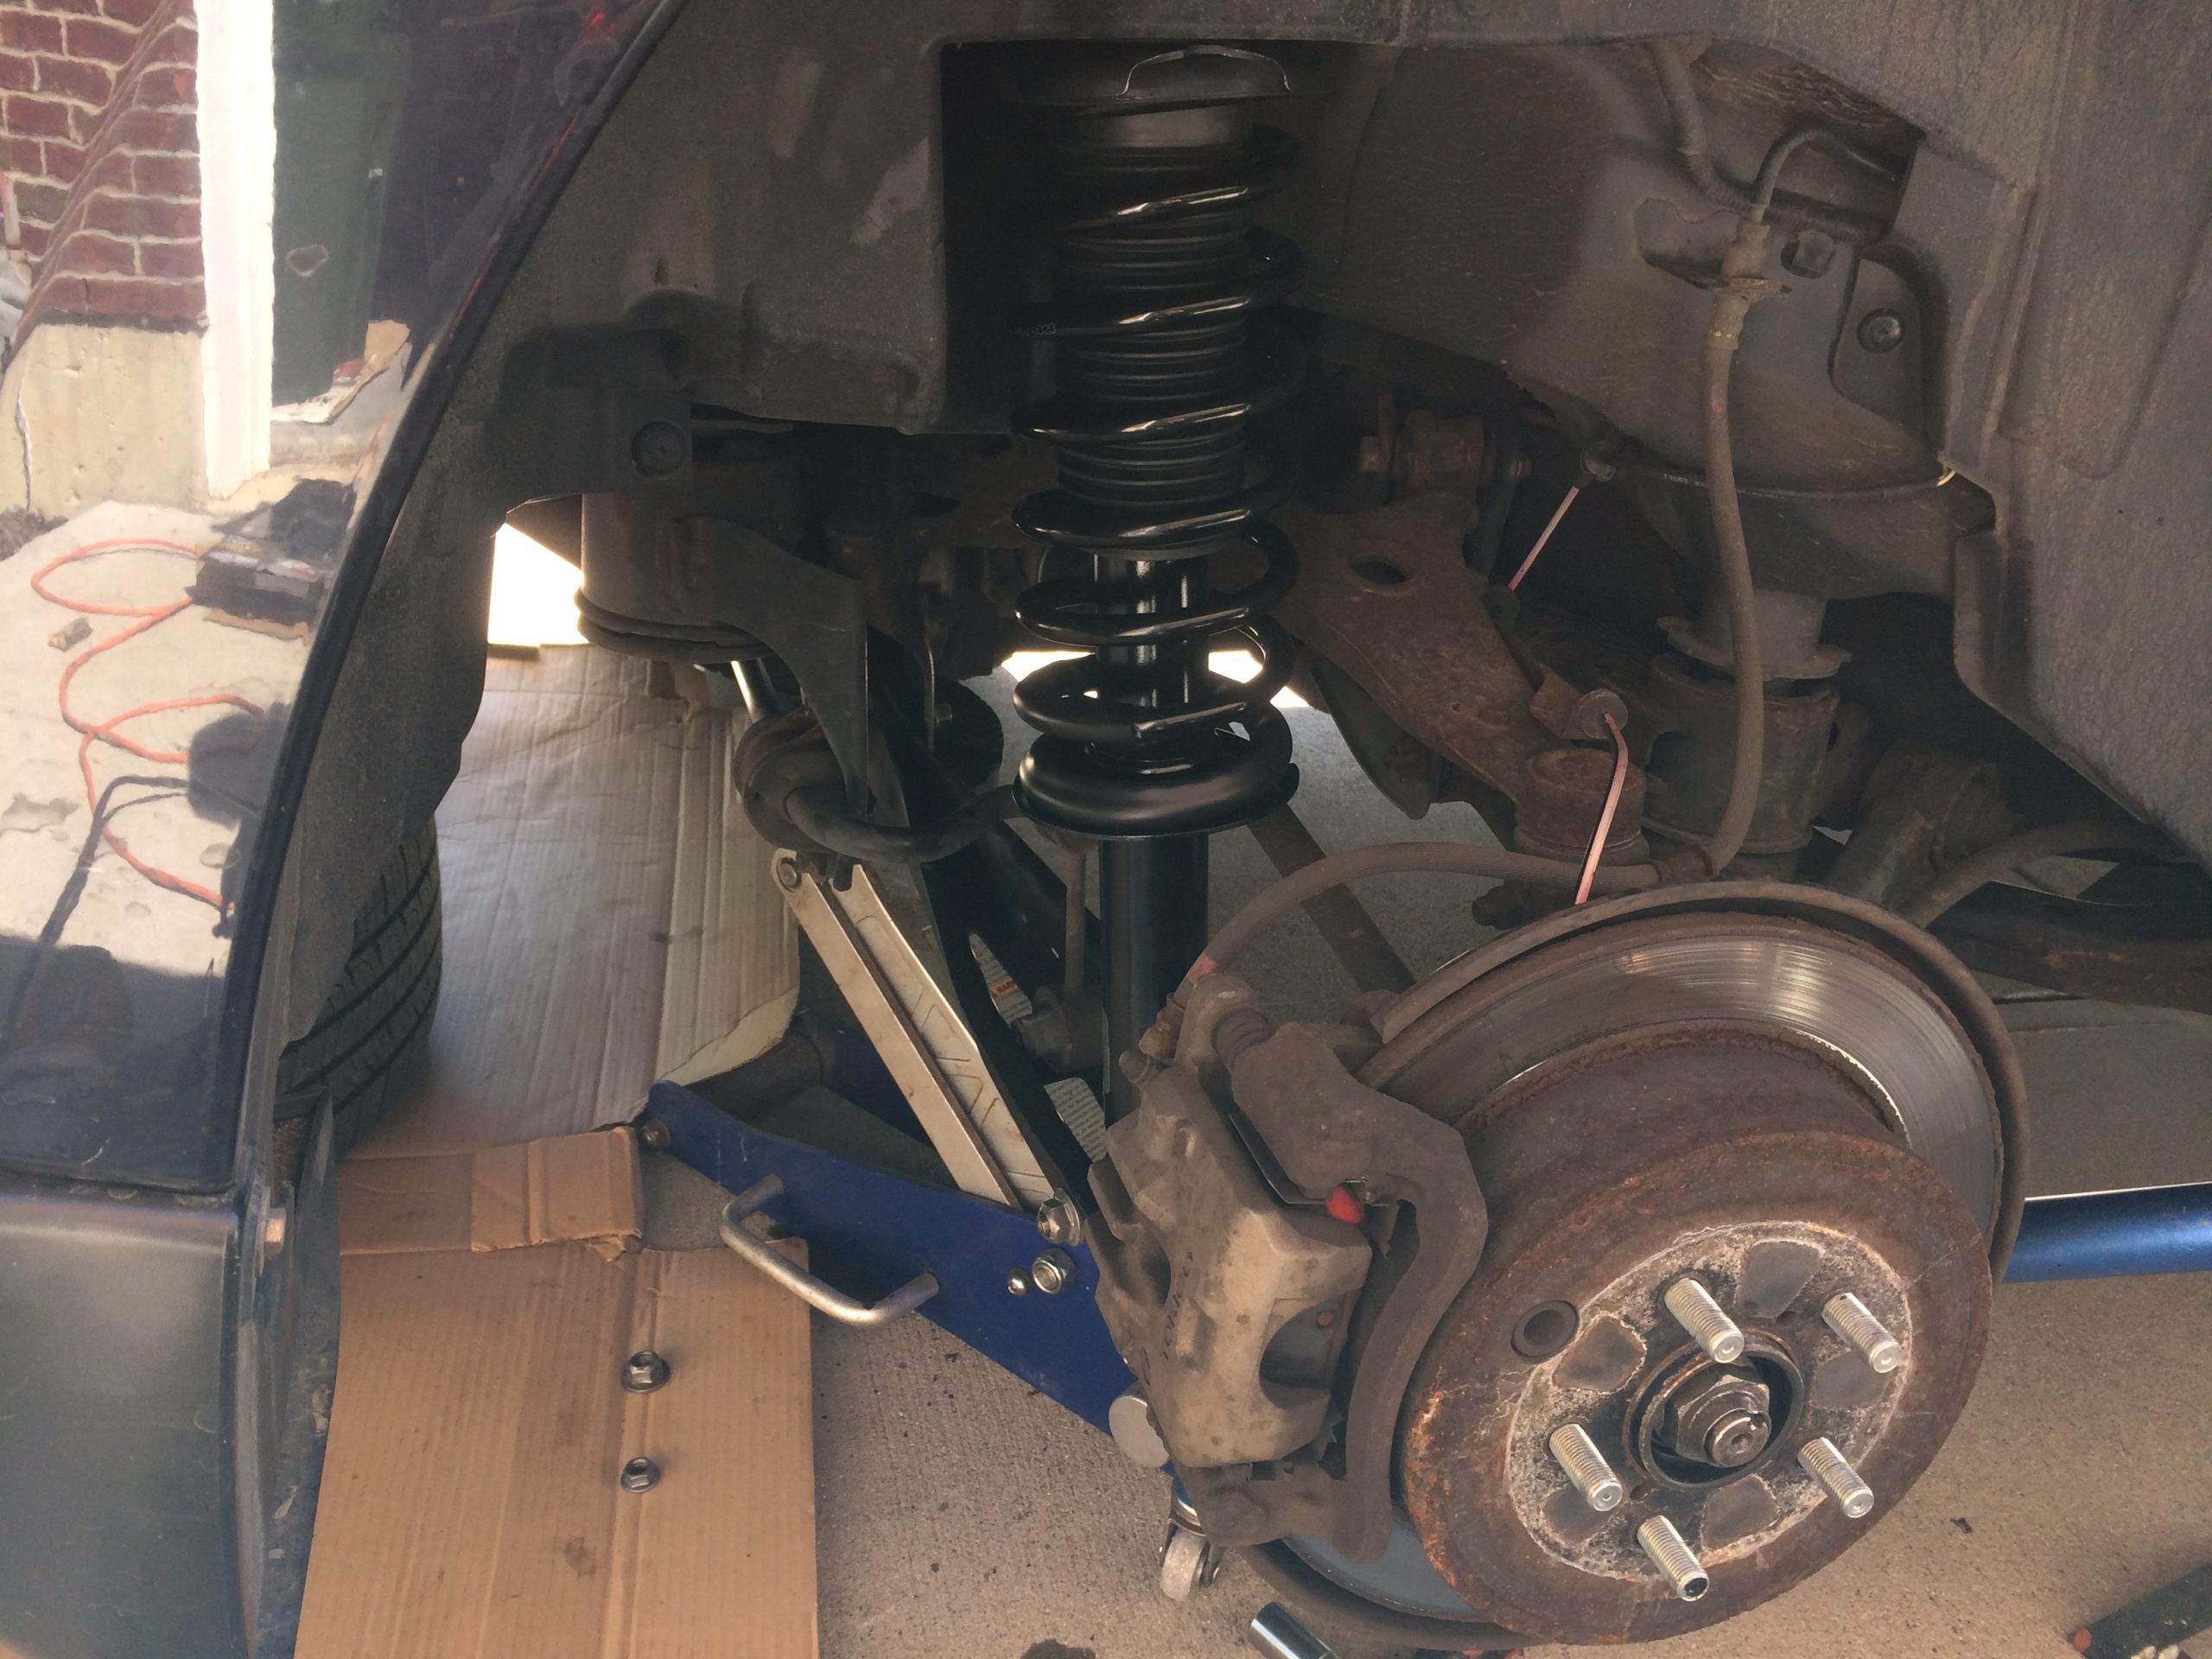
With the tricky shock disassembly out of the equation, popping in a new set of rear shocks on our 2012 Subaru Outback was pretty dang easy. (Hat tip to YouTube’s SubieTech 1.6L for the quick walkthrough video.) You simply jack the car up, remove the wheel, remove a handful of bolts for the sway bar, shock eyelet, and body mount, and take off the pair of top-mount nuts from inside the rear trunk floor. From there, you just swap the assemblies for the new ones.
With the new loaded shock assemblies in place, the job was pretty much done, save for some bolt tightening and cleanup.
Awww Heck, Let’s Take Them Apart Anyway!
Since we had a set of spring compressors handy, we went one step further and took apart the shock to show you the shock disassembly process in a bit more detail.
Disassembling a strut or shock isn’t necessarily a tough job, but again, it demands the right tools and there’s little margin for error. That’s because, even off the vehicle, the coil spring is still significantly compressed inside the shock assembly.
So if you try to take off the top mount without using proper spring compressor tools, there’s a good chance that the mount and spring will fly off with significant energy—we’re talking penetrate-sheetmetal or shatter-jawbone type force here, so be careful!
Check out the pics below and you’ll get a good idea how these particular spring compressors work.


[…] week, we ran an article on strut/shock assemblies, in which we describe a few ways to tell if your shocks or struts are […]
[…] We’ve said this before, but since a shock may wear gradually over several months (or even years), it’s easy to not even notice it’s happening. So every once in a while, it’s a good exercise to step back a bit and pay attention to any peculiar shakes and bounces while you’re driving. Better still, you should take some time to roll around underneath your car, truck, or SUV to make sure everything looks OK with your suspension—any suspicious looking wear or odd residue should be noted and addressed. […]
I have a 2008 gmc yukon denali I wa trying to figure out my measurements for my rear strut compression it’s asking if it’s 25.27 or 25.31 in length
Hey Pete, Is it a stock setup? I’m not entirely sure what your situation is–but 25.31 – 25.27 = 0.04 inch or 1/25–considerably less than 1/16 of an inch, which I would regard as a relatively small margin for a stock replacement strut/spring. The compression would be dictated by the shock/strut itself though, so you should always fit it with the appropriately sized coil spring. Summit Racing carries shock/strut assemblies for your Yukon like the ones described above, so you wouldn’t have to worry about spring compression either. Or you can get individual shocks and Yukon coil springs too. Hope this helps.