One of the most troublesome jobs in hot rodding or racing is brake (or hydraulic clutch) bleeding.
Historically, the common method for bleeding brakes has been to have one person in the vehicle as the pedal pusher, a second person at the brake caliper or drum brake wheel cylinder.
Typically, there’s a hose attached to the bleeder screw leading to a container partially filled with clean brake fluid. With the system topped up at the master cylinder, the pedal pusher slowly depresses the pedal while the person at the bottom end controls the opening and closing of the bleeder screw.
And this method works when everyone is on the same page. If the pedal pumps are herky-jerky, or if the master cylinder runs dry, or if the guy at the bleeder gets the timing wrong, then some of the air will be trapped in the lines. The result is usually a spongy brake pedal.
A Better Way
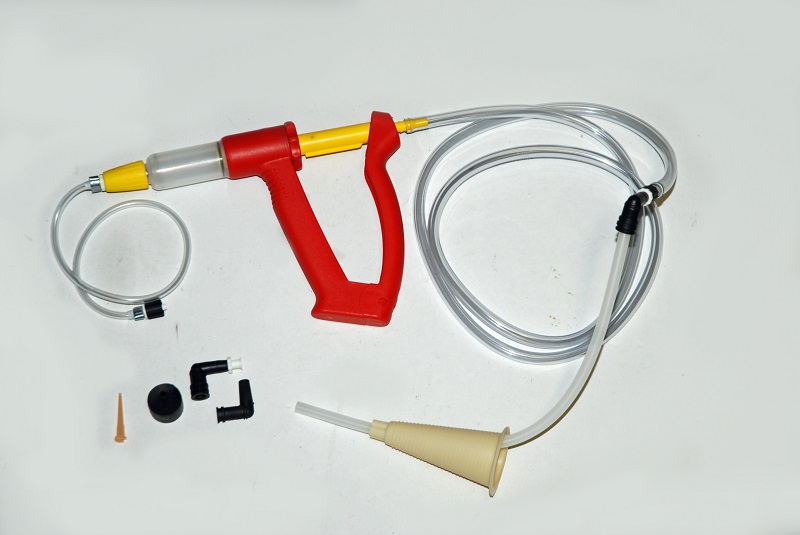
There’s another option. A pressure or reverse bleeder.
Pressure bleeders work great, but can be expensive (some exceed $500). A far less costly option is the Phoenix Systems Reverse Brake & Clutch Bleeder (currently less than $55).
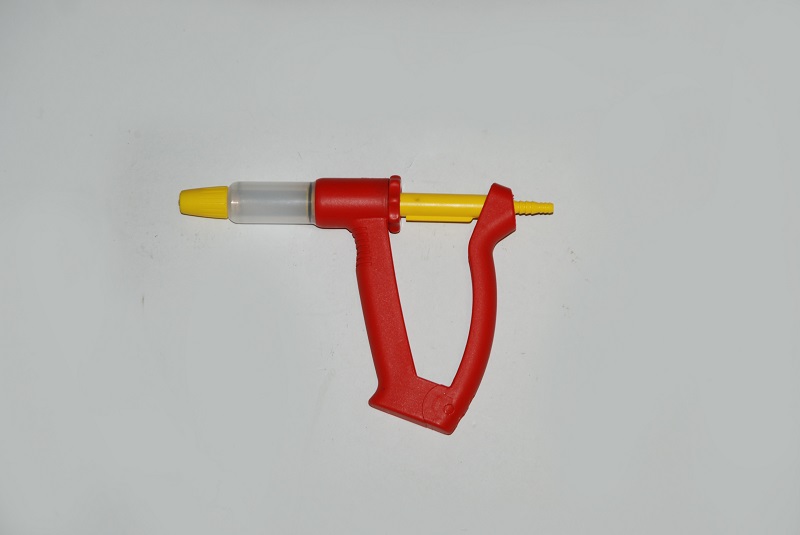
While it’s a plastic tool and might appear flimsy, it’s actually well-made and well-suited for the do-it-yourselfer.
…
You May Want to Read:
Video How-To: Make Brake Bleeding a One-Man Job with the Latest Brake Bleeder Kits
…
Here’s how it works:
Reverse bleeding is performed when fluid is introduced into the system at the lowest point. According to Phoenix Systems: “The Reverse bleeding system takes advantage of the Laws of Physics: Air rises in fluid. The master cylinder is bled by pushing the air up through the master cylinder reservoir. This is the best overall bleeding technique, however there are times when pressure or vacuum bleeding is desirable.”
To begin the reverse bleeding process, set up the bleeder tool as follows:
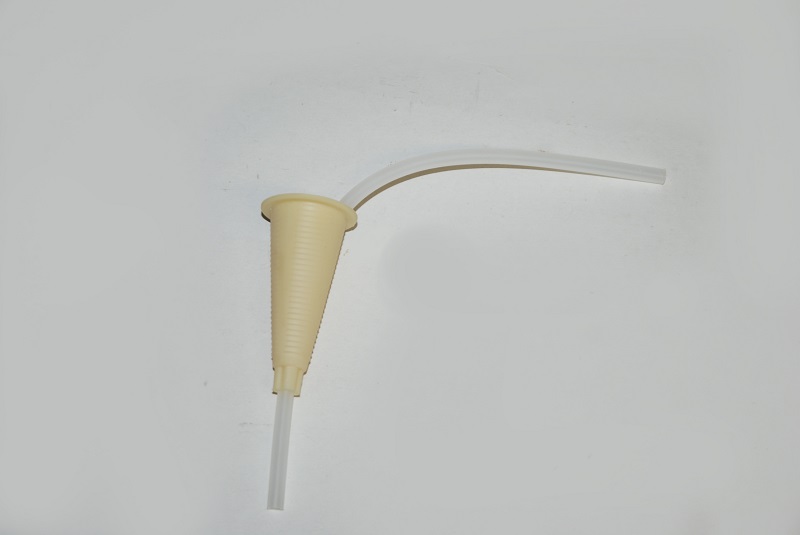
- Begin with a fluid source (typically a fresh can/bottle of brake fluid).
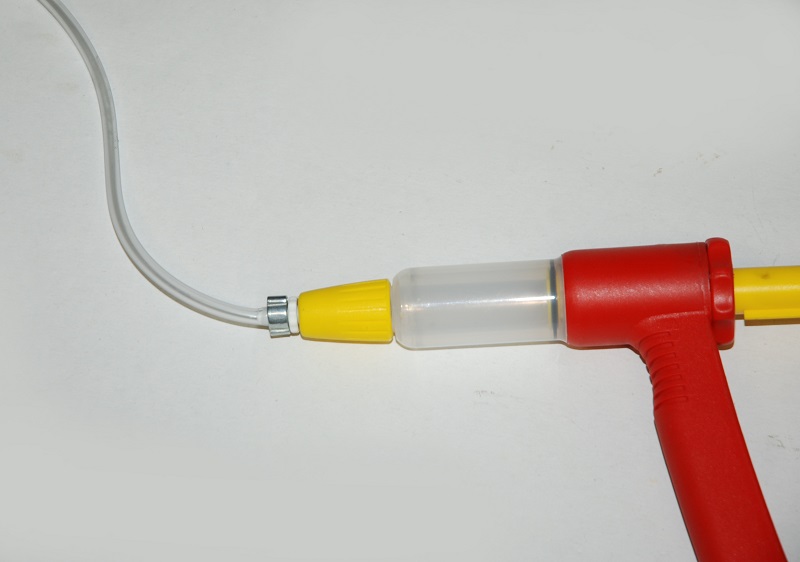
- Install the bottle adapter in the top of the fluid source.
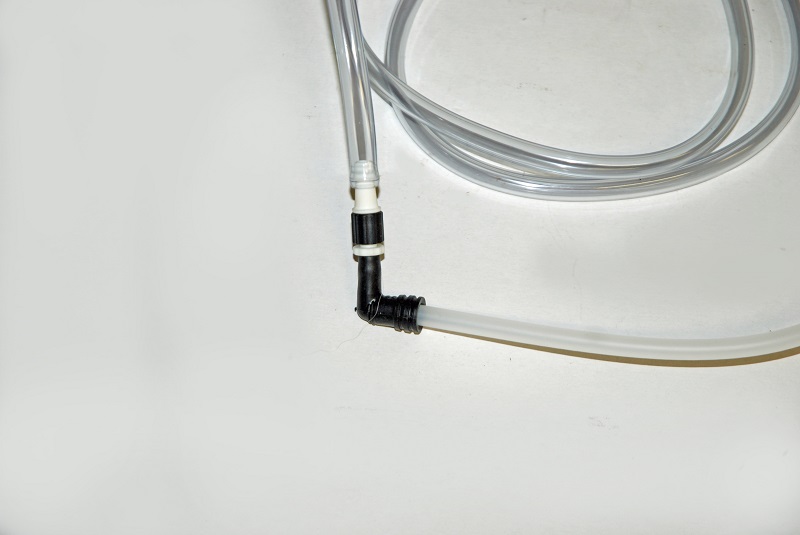
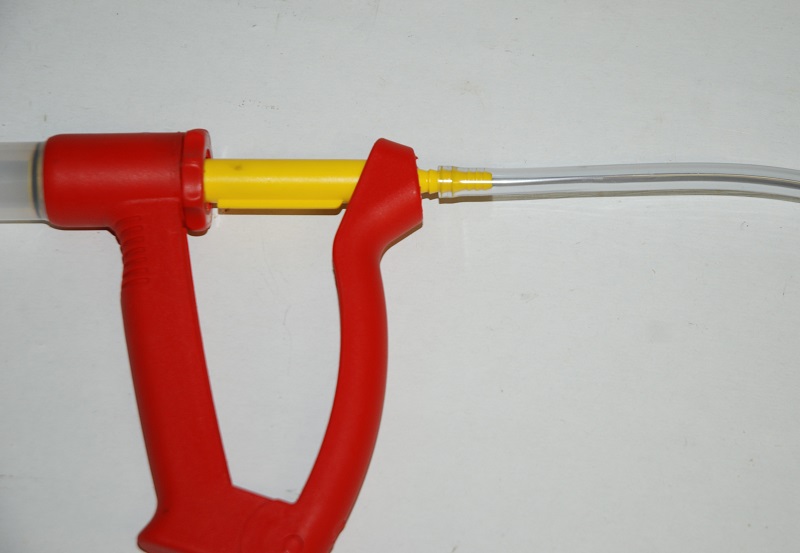
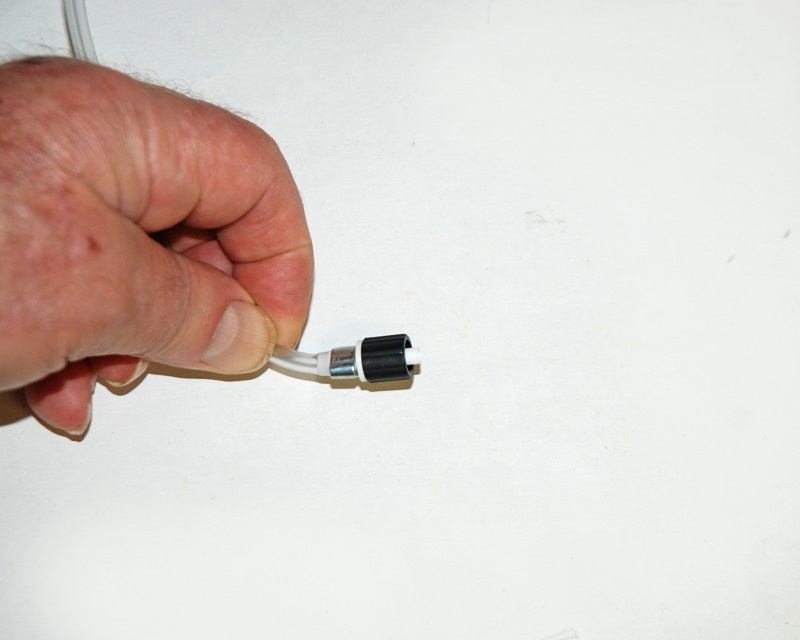
- Install a quick coupler hose in the bottle adapter and install on the Phoenix Systems injector.
- From there, a hose is attached to the brake bleeder screw. Tip: Have a wrench handy to open and close the bleeder screw.
Start the bleeding process at the right rear wheel (which is typically the wheel furthest away from the master cylinder).
Prime the bleeder system. To accomplish this, lightly squeeze the injector handle prior to attachment to fill the fluid void between the brake fluid can, and the brake bleeder screw.
Remove the master cylinder cover and open the bleeder screw. Gently depress the injector handle 3-10 times (the amount of fluid injected depends upon the volume of your brake system). Typically, the first wheel will require more fluid than the rest. Remove the adapter from the bleeder. Allow a small amount of fluid to drip from the bleeder. This causes the wheel cylinder or caliper to burp trapped air. Then close the bleeder screw.
Keep an eye on the fluid level in the master cylinder. If it gets too high, then you’ll have to remove some fluid. A large syringe can be used for this task or you can use the reverse bleeder to pull fluid out. Tip: Don’t remove too much fluid.
Repeat the process on the remaining brake calipers/drums. We typically go to the next wheel furthest away from the master, which is the left rear. Then go to the right front and finally, the left front.
Something else to consider for cars where the master cylinder is angled is to raise the rear of vehicle to level the master cylinder. This prevents air from being trapped in the end of the master cylinder.
In some cases, it may be necessary to vacuum bleed the brakes. In this case, you simply reverse the position of the injector so that when the handle is depressed, it allows fluid to be drawn out of the bleeder and injected into the brake fluid bottle or can. Tip: When using this arrangement, watch the fluid in the master cylinder carefully. You don’t want it to run dry.
This system is inexpensive and easy to use. One person can handle the job, and the reward is a firm pedal.
We think it definitely beats the headaches of having two people struggling to bleed brakes.
Where can Imbuy one?
Can this be used with residule valves such as the Wilwood inline ones
[…] Not familiar with the brake bleeding process or specialized bleeder tools? Read this. […]
Poorly written and confusing. Have you ever actually bled brakes?
Sounds like a pencil pusher who’s never crawled under a car.