A Silverado truck dash with a cropped image of a fire
replacement blower motor resistor and actuator for a chevy Silverado
removing lower valence under a chevy Silverado dash
blower motor resistor location on a chevy Silverado
blower motor harness on a chevy silverado
Old blower motor resistor vs. new on a chevy silverado
blend door actuator location on a chevy Silverado
hvac actuators for a chevy Silverado
blend door shaft location on a chevy silverado hvac system
chevy Silverado HVAC control panel old/new comparison
removing trim from a chevy Silverado interior
plastic clips on a Silverado hvac panel
rear view of silverado HVAC Control panel removed
Silverado truck HVAC Controls

Does it feel a bit warm inside your Silverado? Don’t worry, most of the problems causing that are pretty easy to fix.

The needed replacement parts are fairly easy to come by; just be sure to research your vehicle to get the correct part number, be it an AC Delco replacement or aftermarket. The resistor needed for our 2005 Silverado (at Left) is part number GM 22807123 and ran $33. The blend door actuator (at right) is a Dorman replacement part number 604-106 and cost $45.

To get at both the resistor and the actuator, you need to remove the under dash cover, which is held up with just four screws.

The resistor is mounted just in front of the blower motor. Unplug the main harness followed by the blower motor harness, and then remove the two screws holding it in.

The blower motor harness is sort of hard to get at as it is on the firewall side of the motor. There is a clip in the bottom of it that needs to be disconnected to pull the plug out.

Here you can see the rusty old resistor on the right compared to the new one of the left. It’s always good to give them a onceover to make sure the parts are identical, that way you know they will bolt right in. Just install the new resistor in the reverse order of the removal and you’re done. If you had to replace the harness, you may be in for a bit more work, and there is likely some wire crimping and/or soldering that will need to be performed to graft the new harness into the dash wiring.

The failing blend door actuator in our subject vehicle was located just above the transmission tunnel and it was fairly accessible; start by unplugging the harness and then remove the two screws.

Here we can compare the new and old actuators and thankfully our research paid off as the new one is identical.

As you go to install the new actuator, the only thing you need to look out for is that the blend door shaft, which has two flat sides to it, is mated up properly with the actuator. Then just reinstall the two screws and plug it back in. We tested both items before we reinstalled the under-dash cover.

Our original control panel worked just fine, but unfortunately someone shoddily painted it to match the new dash tone. It also had a crack in the front ace so we found a new replacement through Summit Racing Equipment (PN RNB-599-001) for $96. We’re looking to improve the working order as much as the appearance of things on this truck, and since we spend a large amount of our time inside the vehicle feeling up the HVAC controls, we felt this was money well spent.

To install the new HVAC control panel, start by carefully pulling the dash bezel towards you. There are just metal clips at the back that secure it, and they will pop free as you work your way around. To remove the entire bezel, you’ll need to tilt the steering wheel down all the way and put the vehicle into drive—make sure you have the parking brake engaged.

With the dash bezel out of the way, there are a couple of screws and two clips at each end. With the screws removed, you just need to squeeze the clips—use a gentle touch while doing this, as the plastic is old and somewhat brittle.

At the back of the control panel are two harness plugs, just unplug them, grab the new panel, and pop them back in.

This looks much nicer, doesn’t it? And with the other replacement parts installed, we now can cruise down the road with the AC blowing nice and cold.

No one likes sweating in a hot car in the middle of summer, and it’s especially infuriating when there is a perfectly good air conditioning system on board that doesn’t exactly function like it should. The 1999-2007 Silverado/Sierra/Tahoe, and other similar GM trucks all suffer from several maladies that eventually affect the HVAC system, and this is how to fix a couple of the more prevalent ones.

When we purchased this 2005 Silverado crew cab, we knew the good deal moneywise meant a little work on our part to fix things here and there, but that’s ok, because who doesn’t like fun weekend projects. In all reality, many of these issues can happen even on newer trucks with far less mileage than our subject vehicle. Luckily it doesn’t cost and arm and a leg to fix them.

There are a number of symptoms of a problematic HVAC system, and while we won’t be covering the under-hood issues that can arise, what we found when researching our particular set of issues was that they were very common among these models of trucks. And most are remedied with replacement parts inside the cabin.

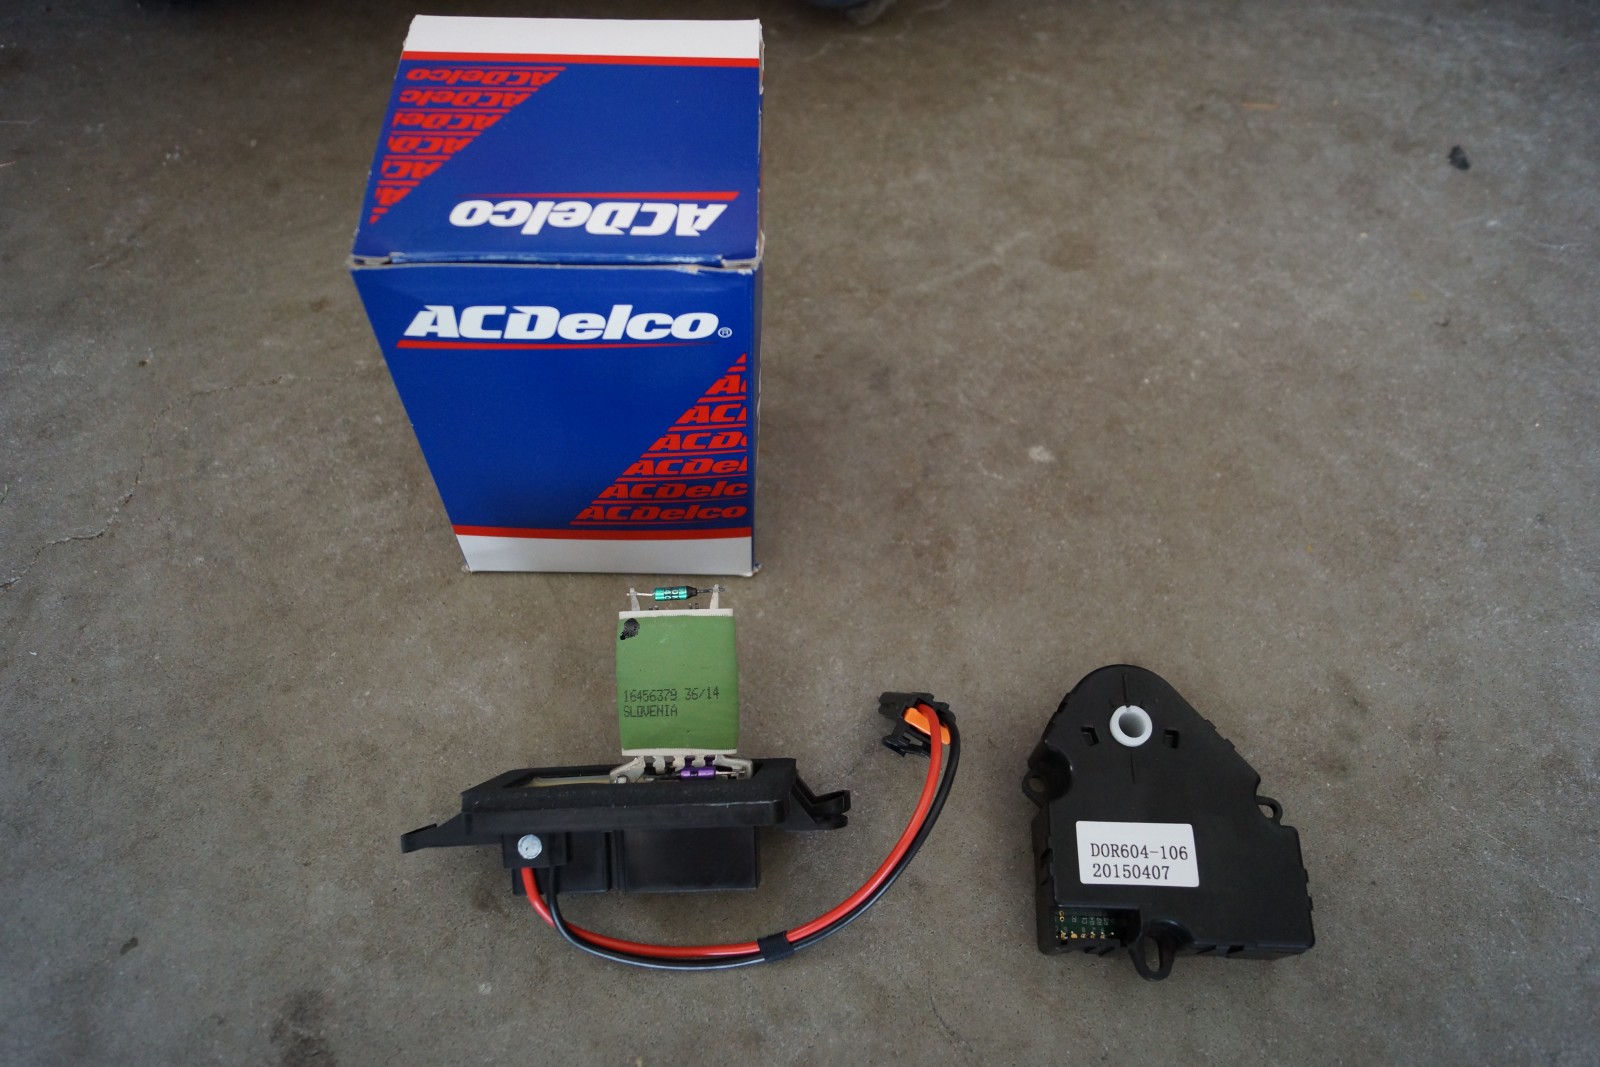
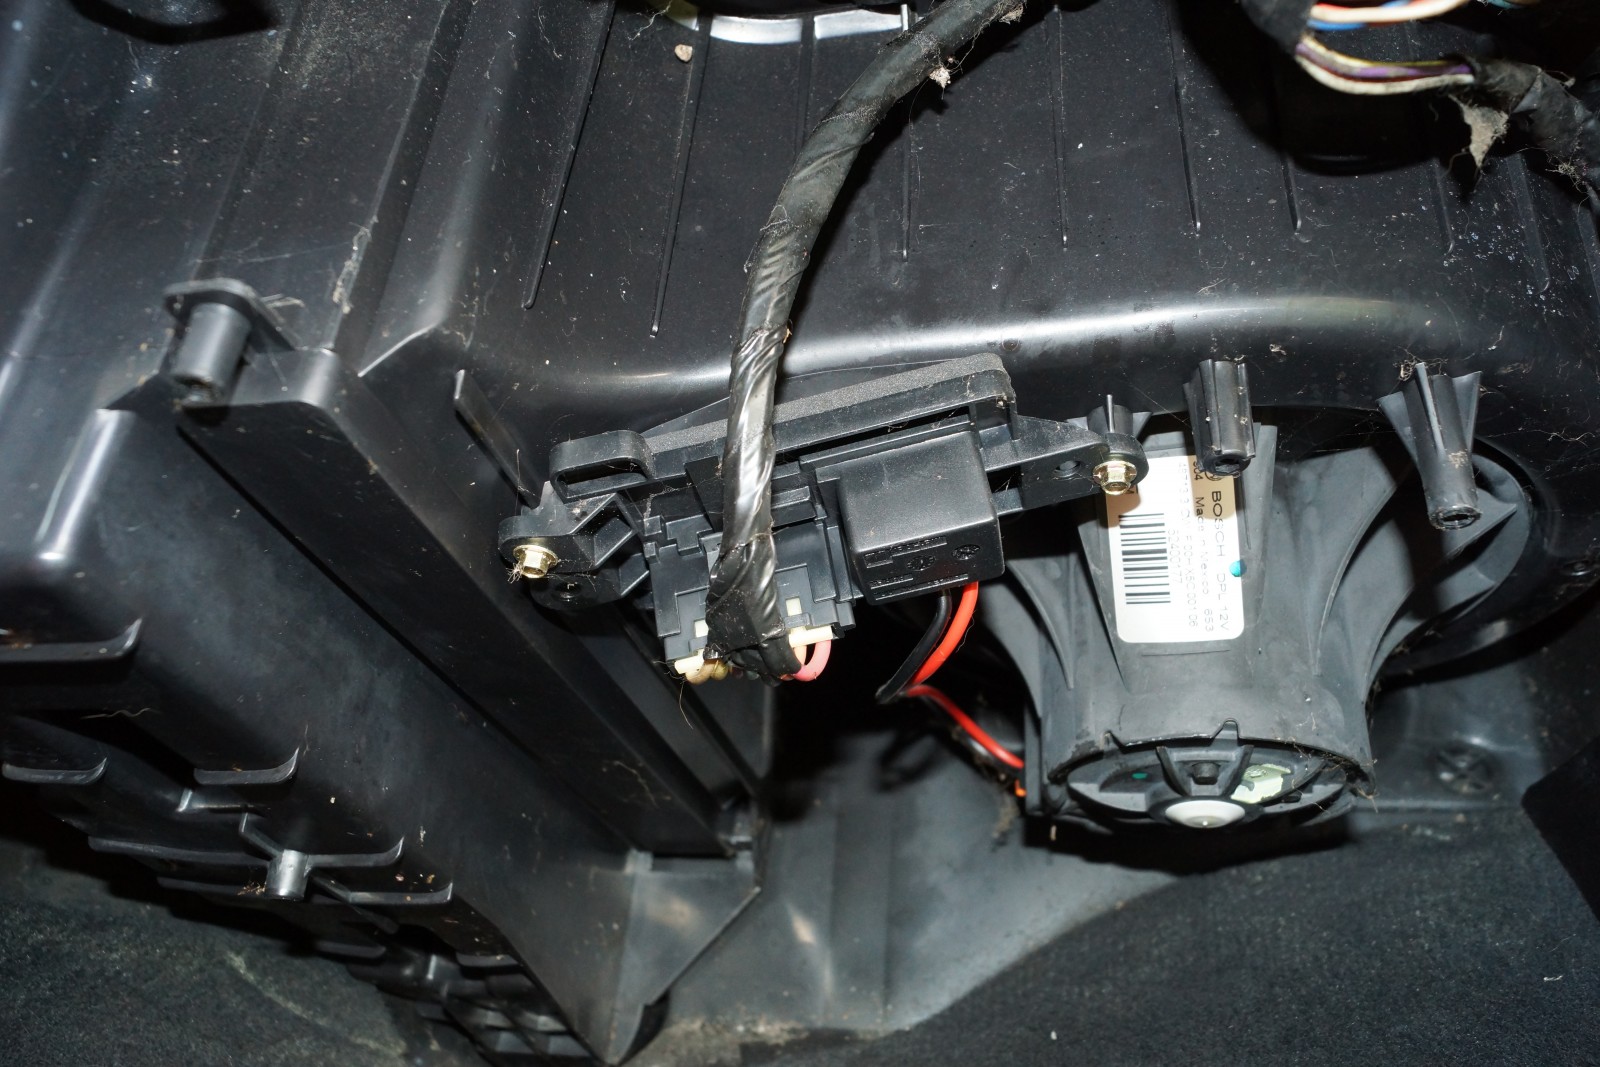
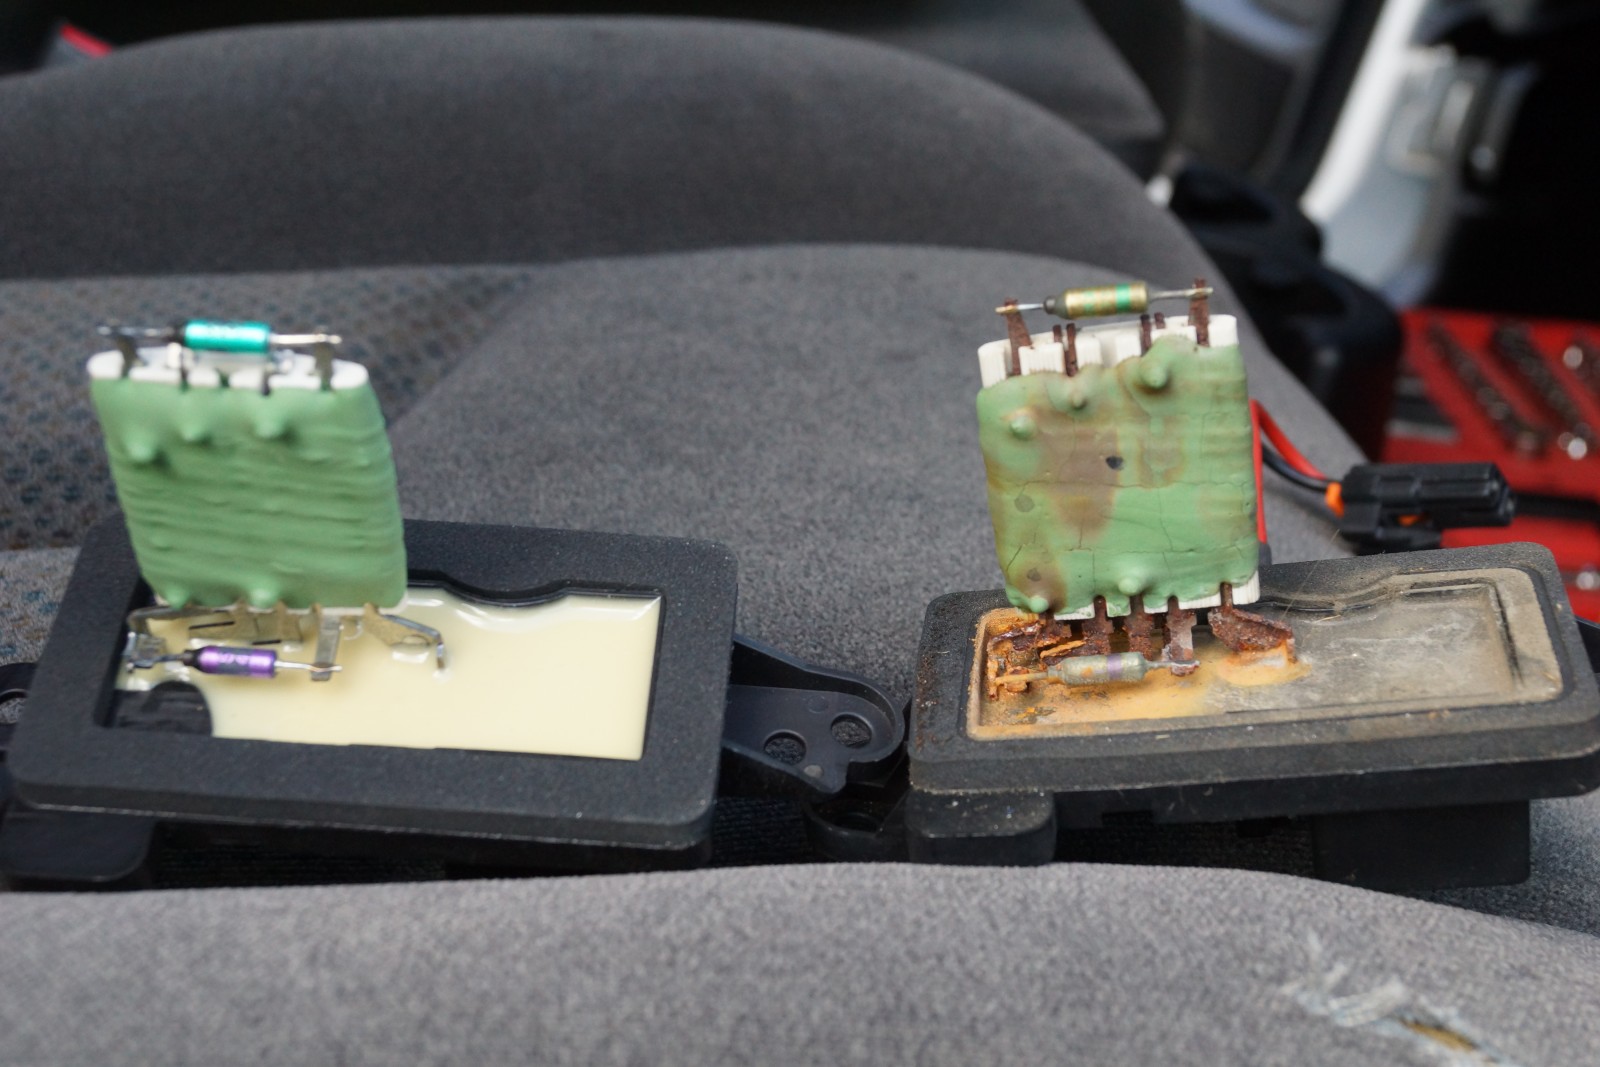
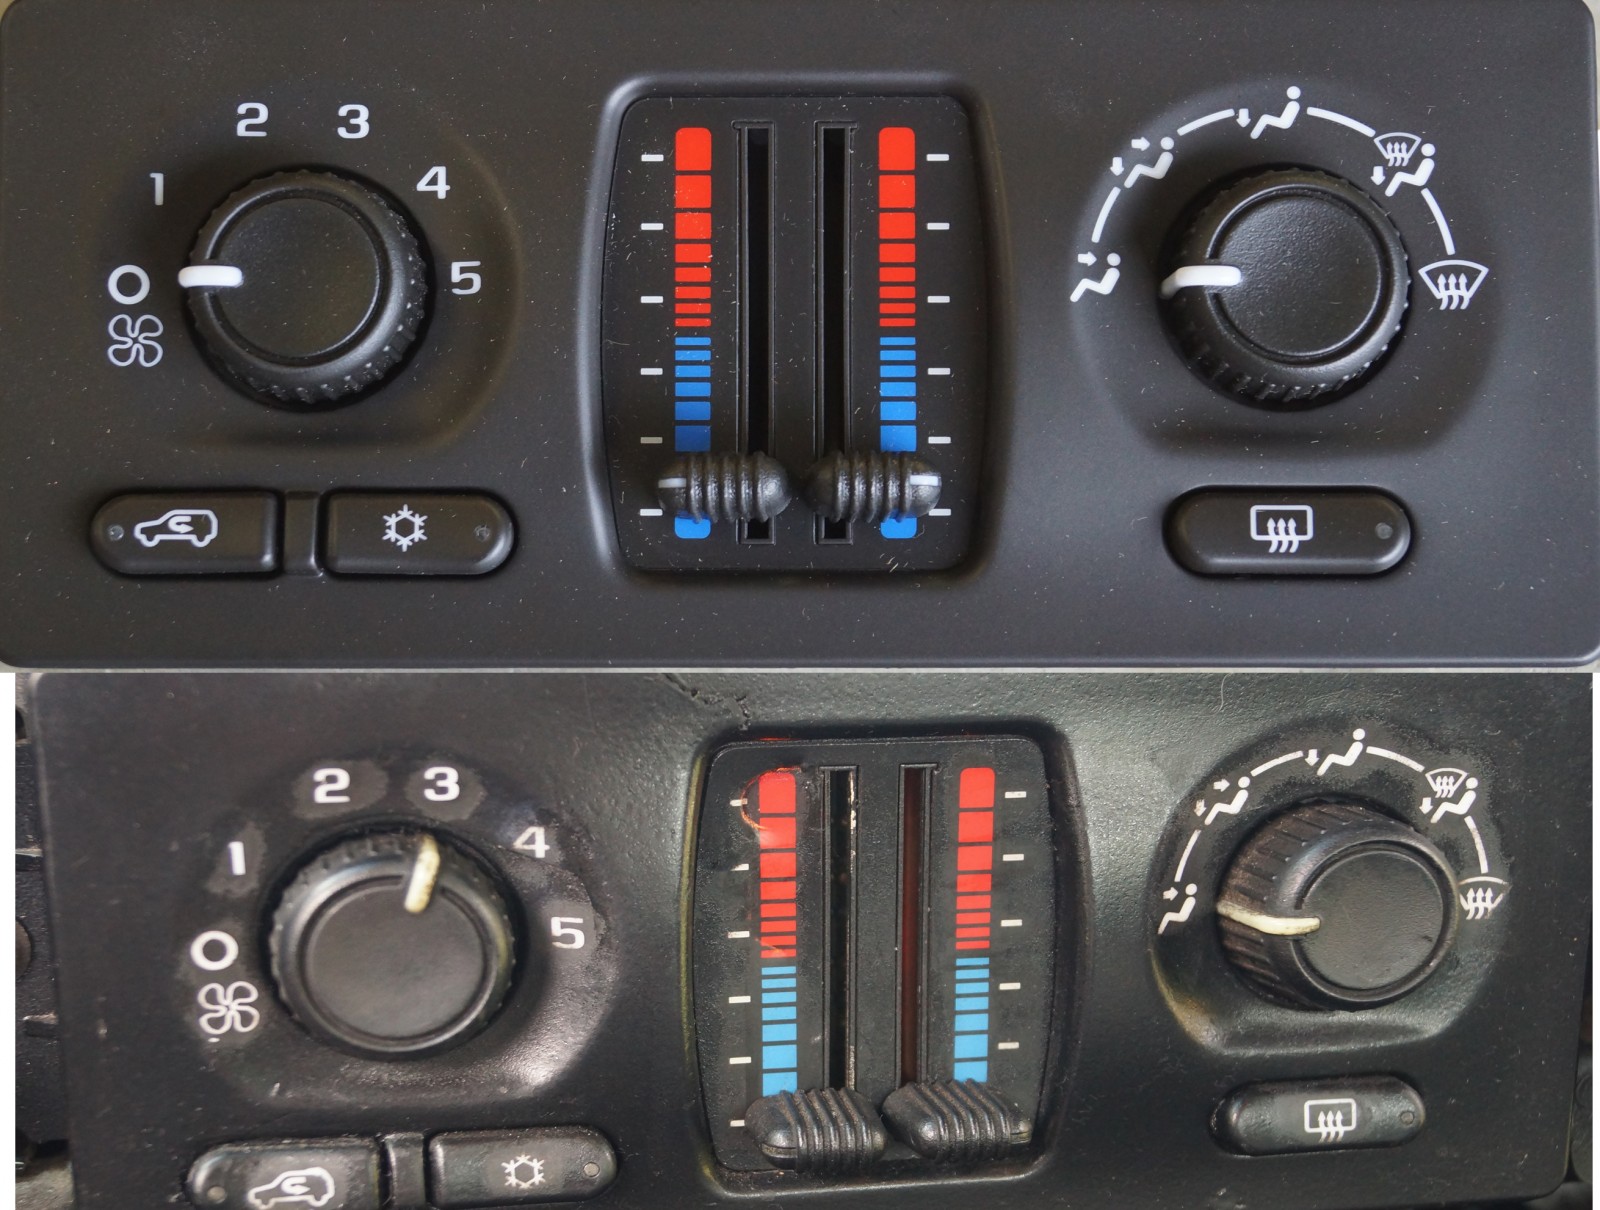
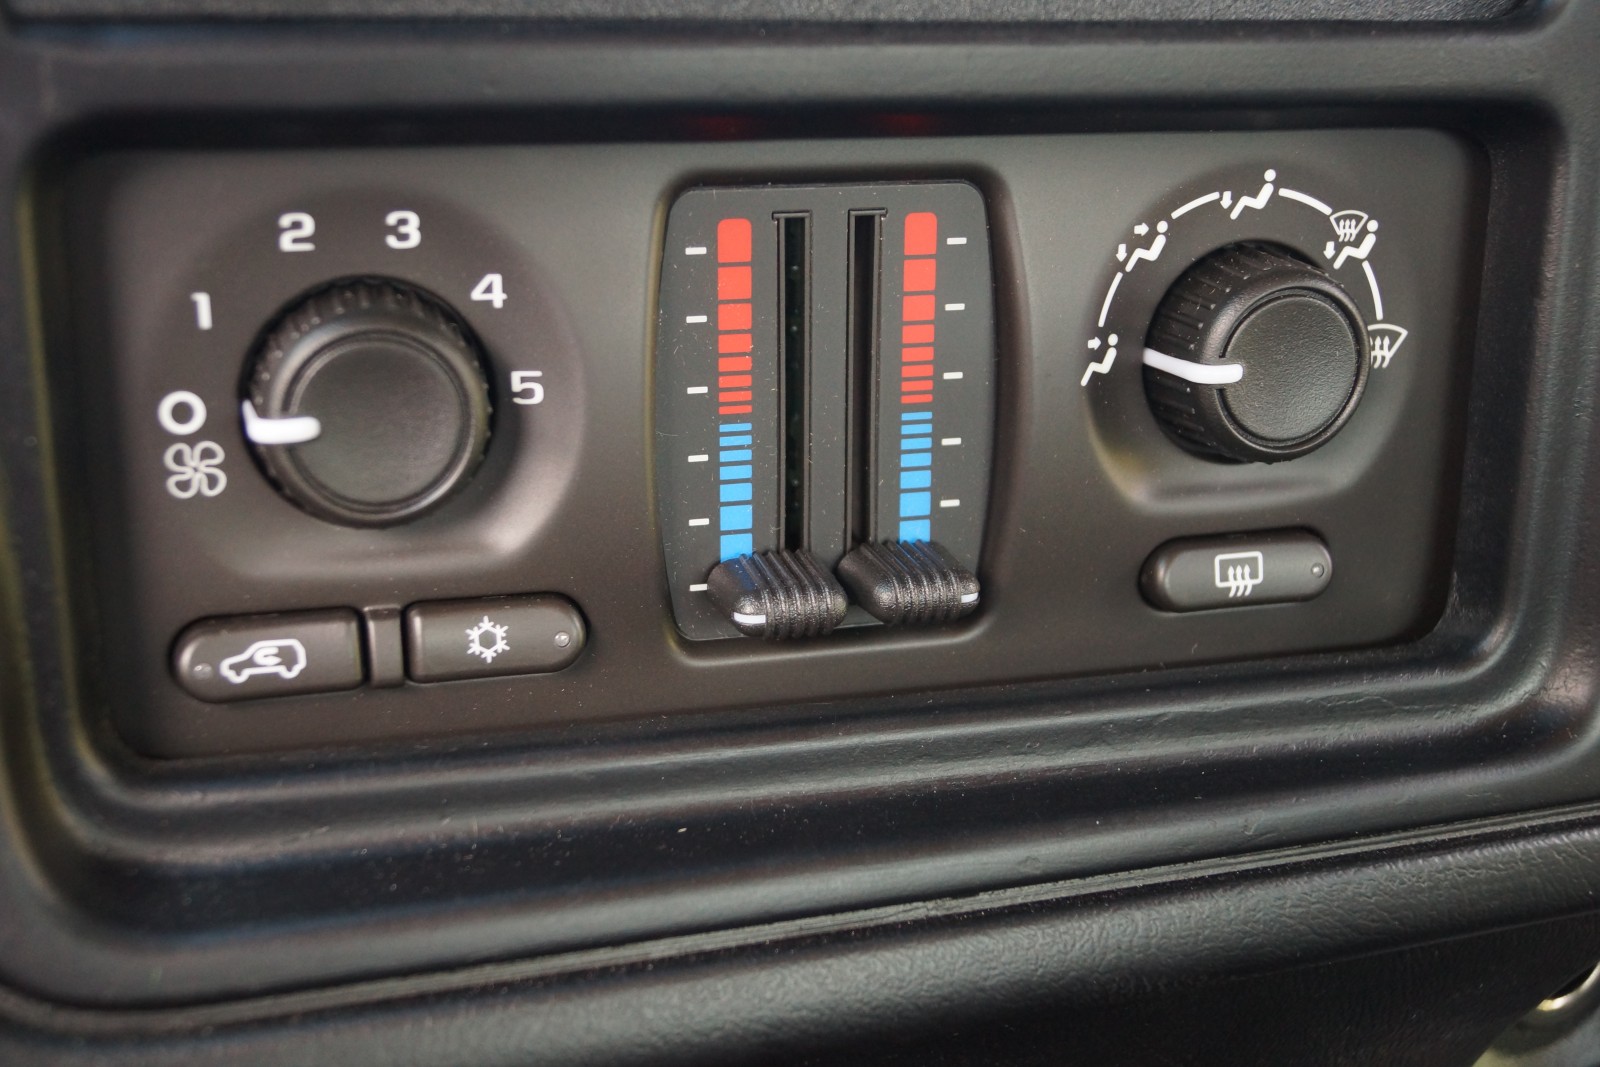
Our first issue was that the #4 speed on the control dial would seldom work. One might immediately think it is the dial or HVAC control panel, but it is far more likely to be a bad blower motor resistor. Sometimes it’s one speed and sometimes it might be multiple speeds that you have lost. One other thing to note about the blower motor resistor is that the harness has also been known to fail, so if you think you have a bad resistor, go ahead and inspect the harness before you purchase your new one, as it can be had with and without the harness.

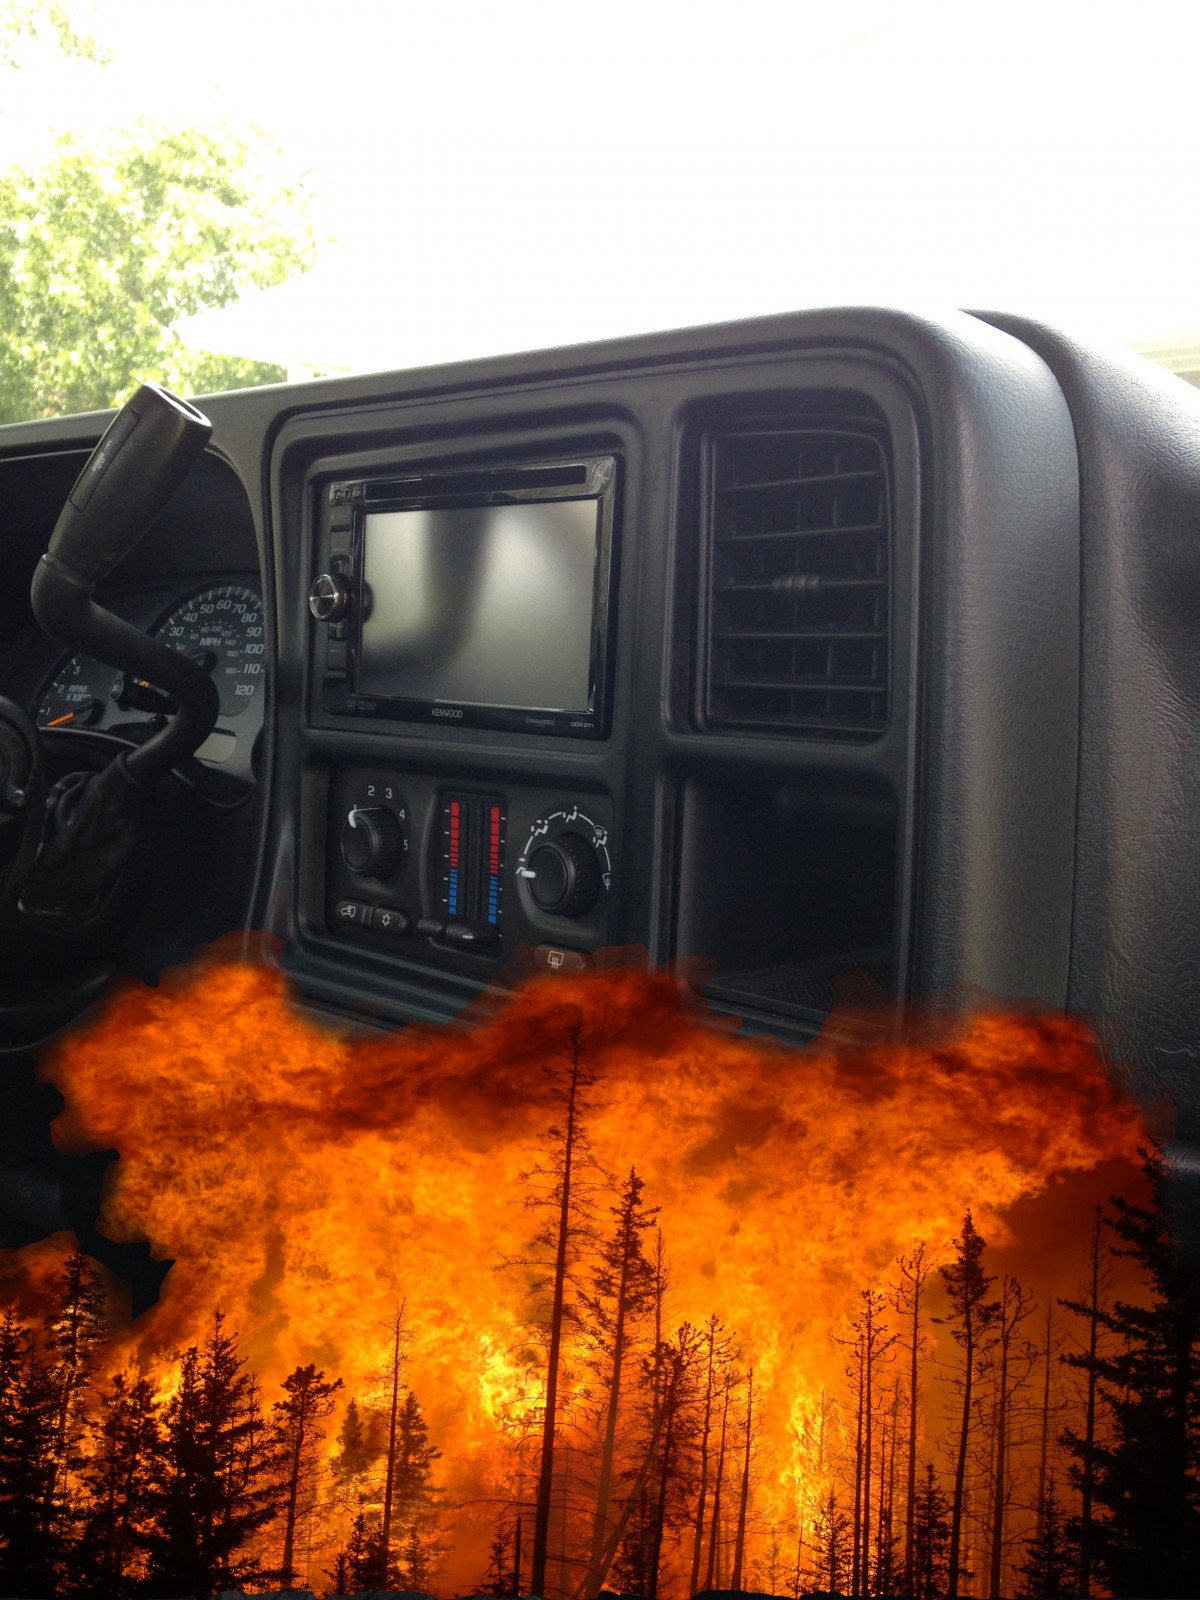
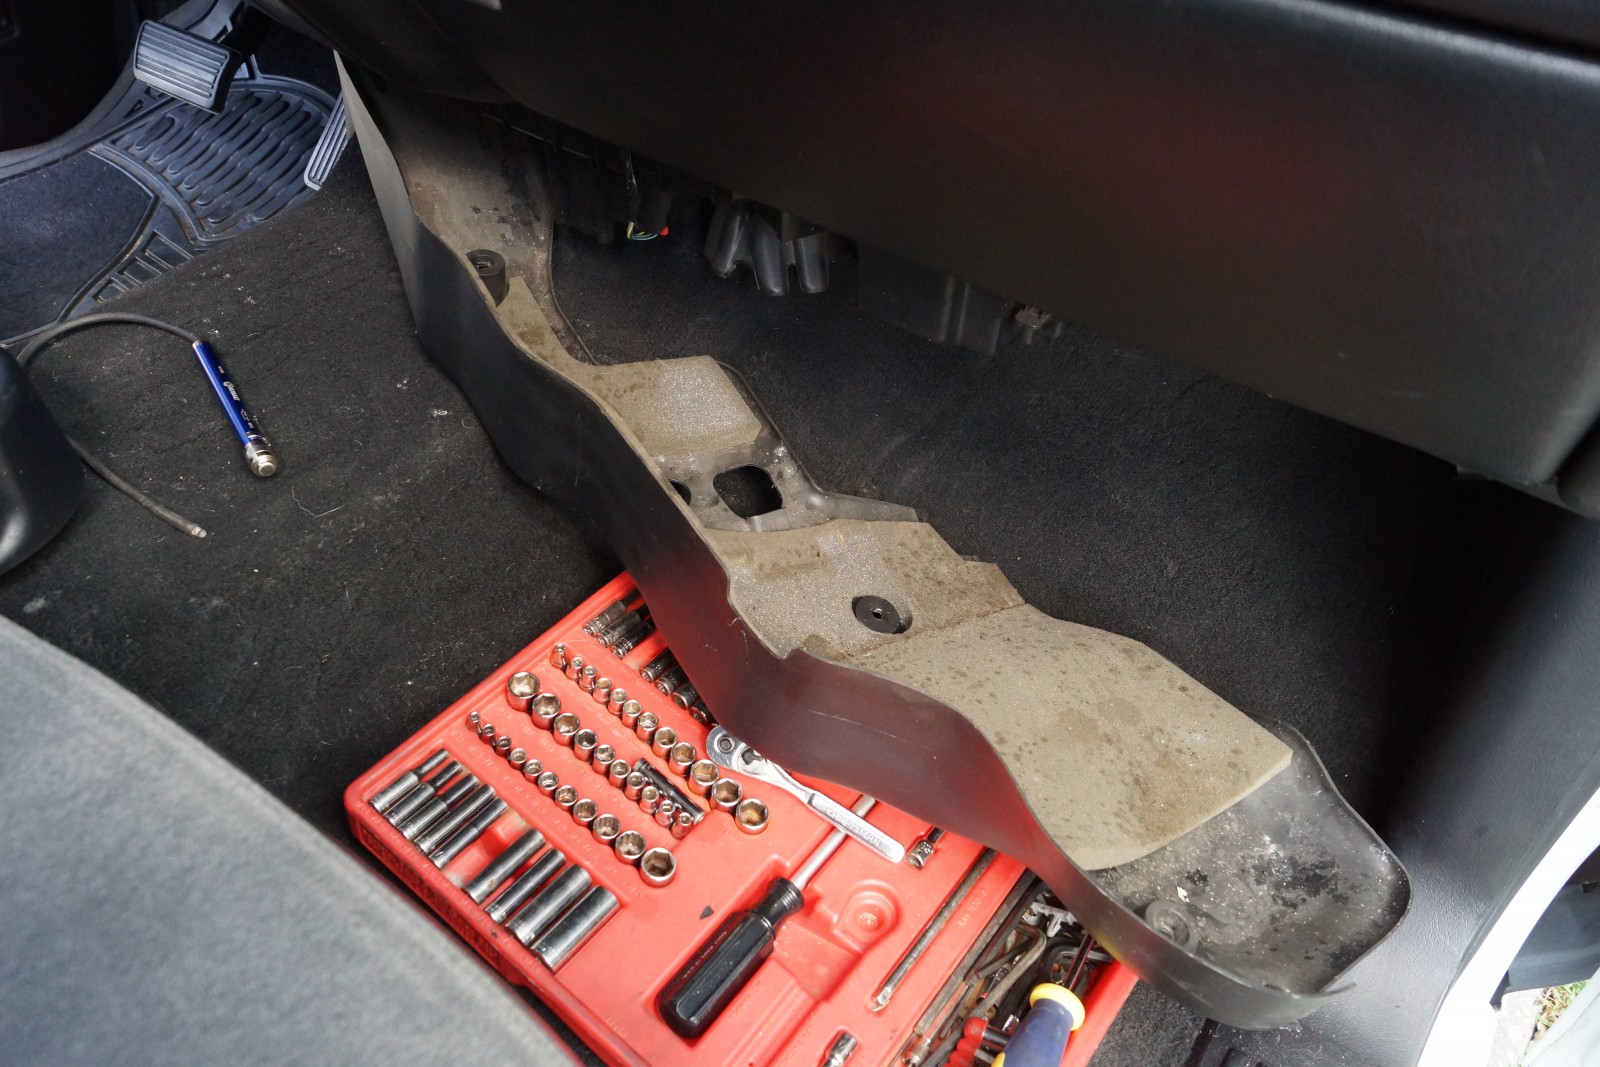
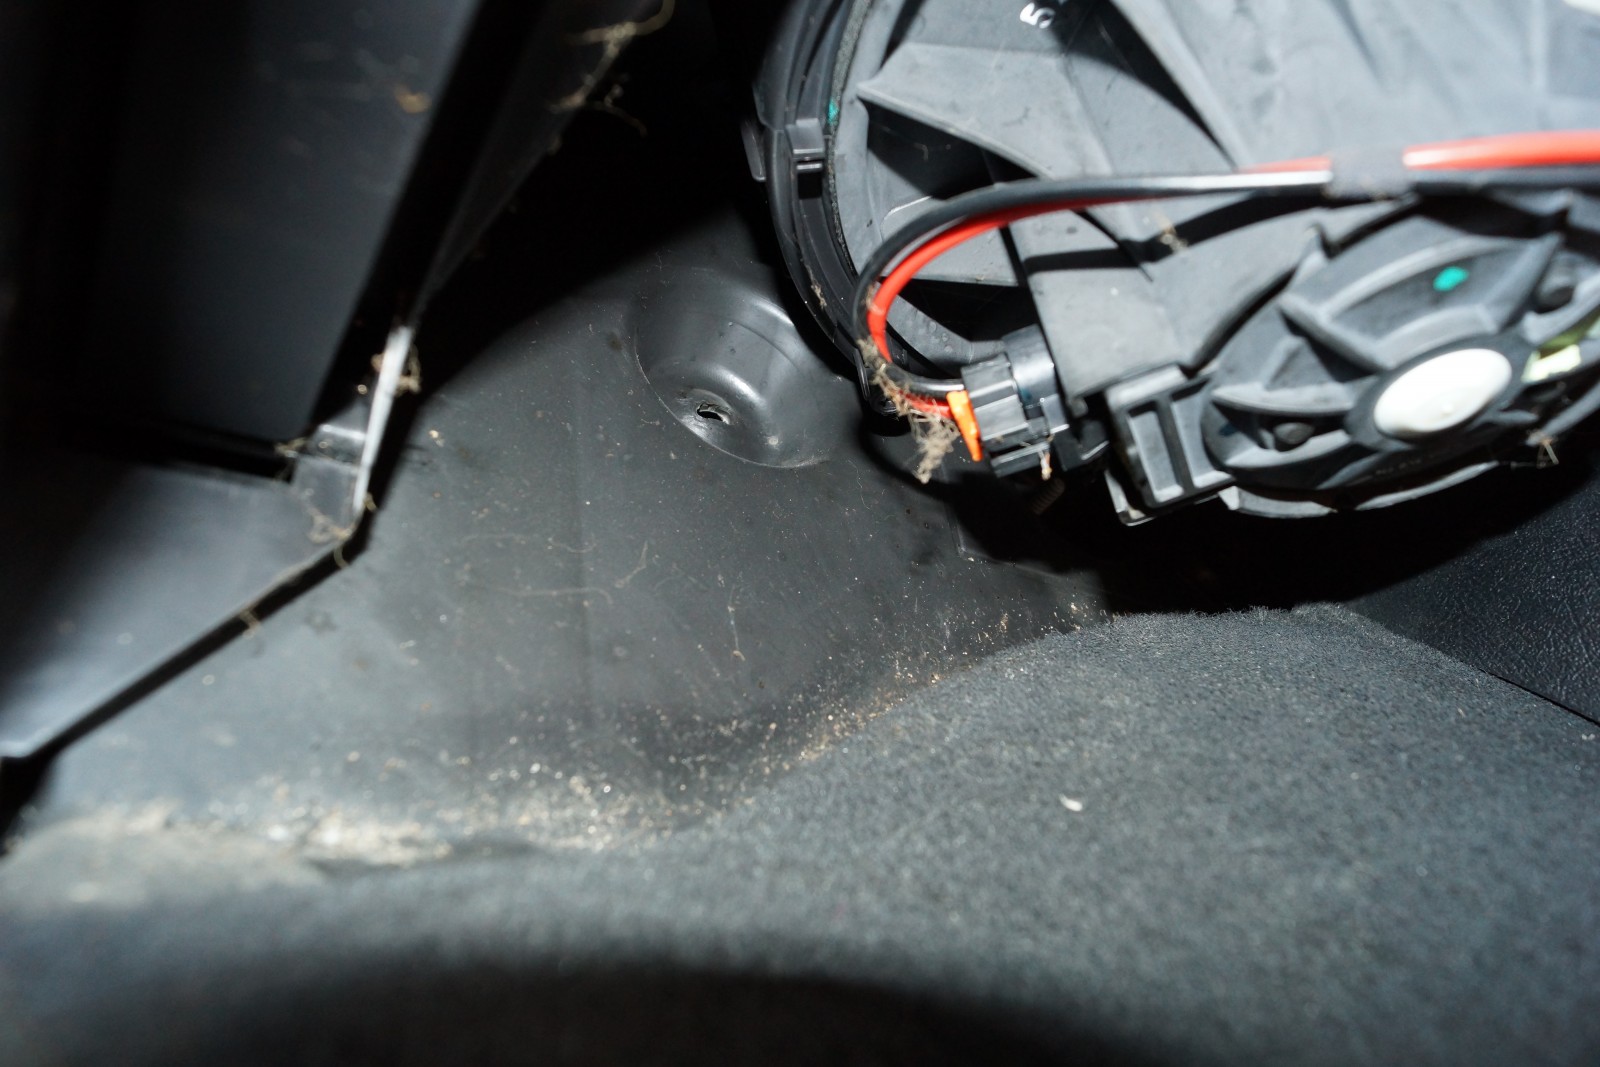
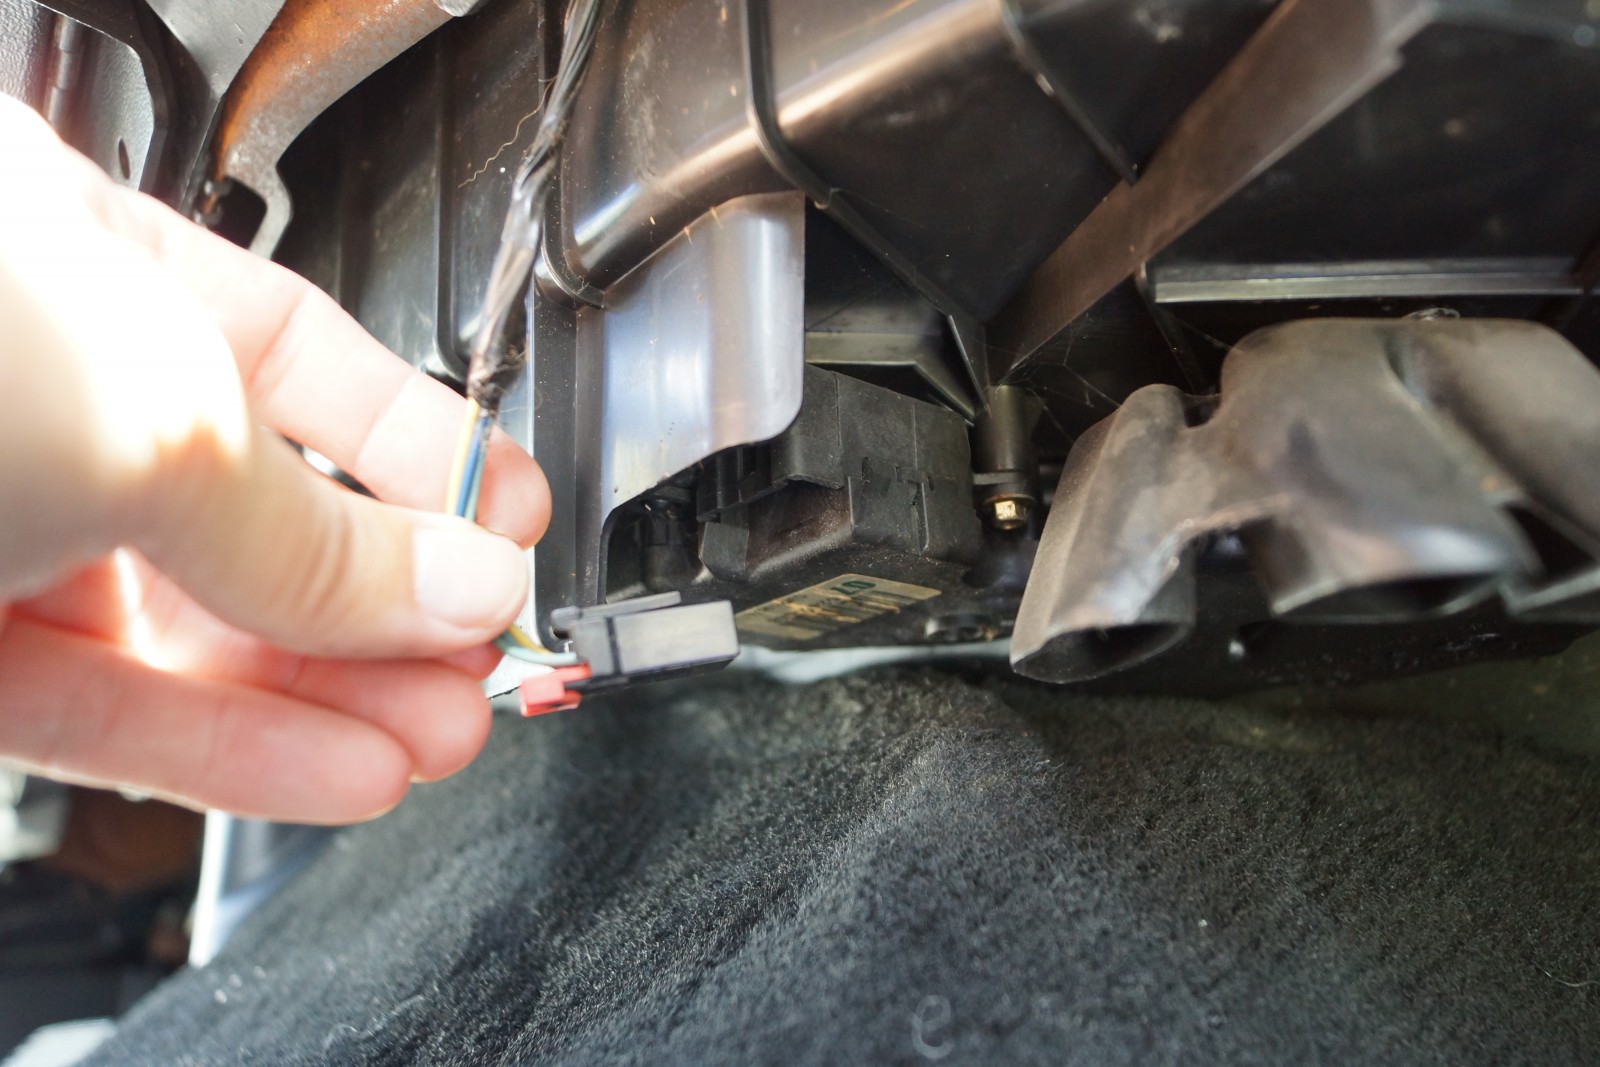
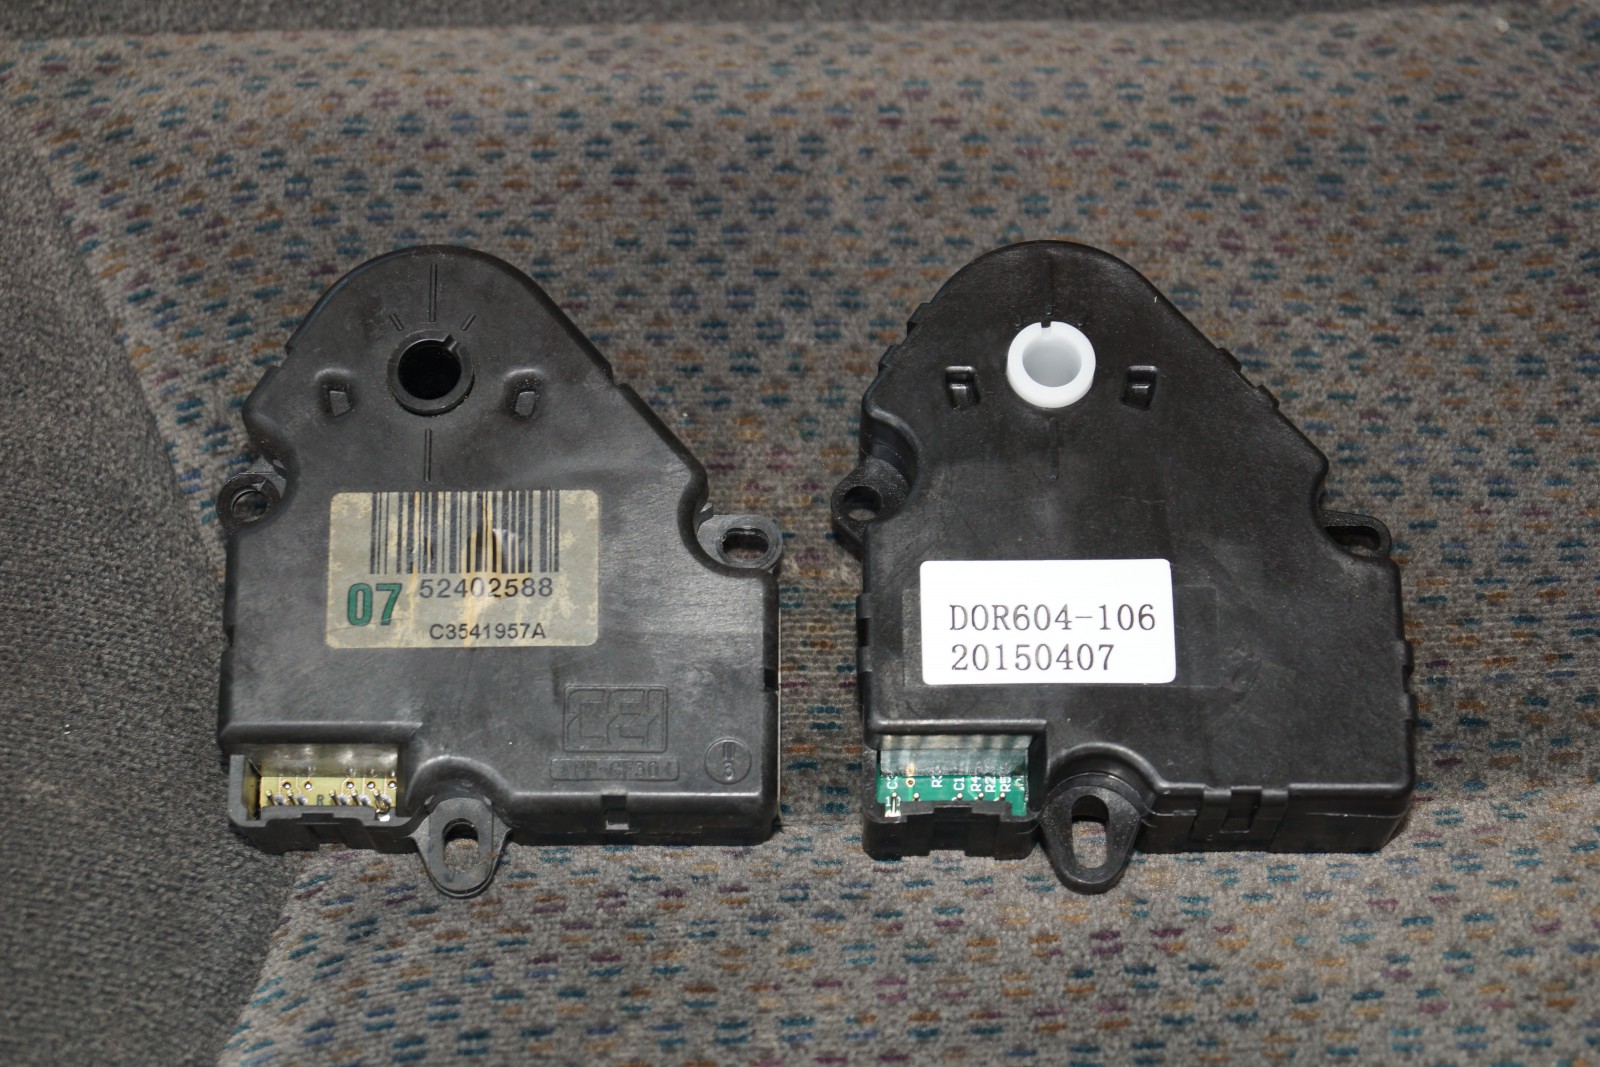
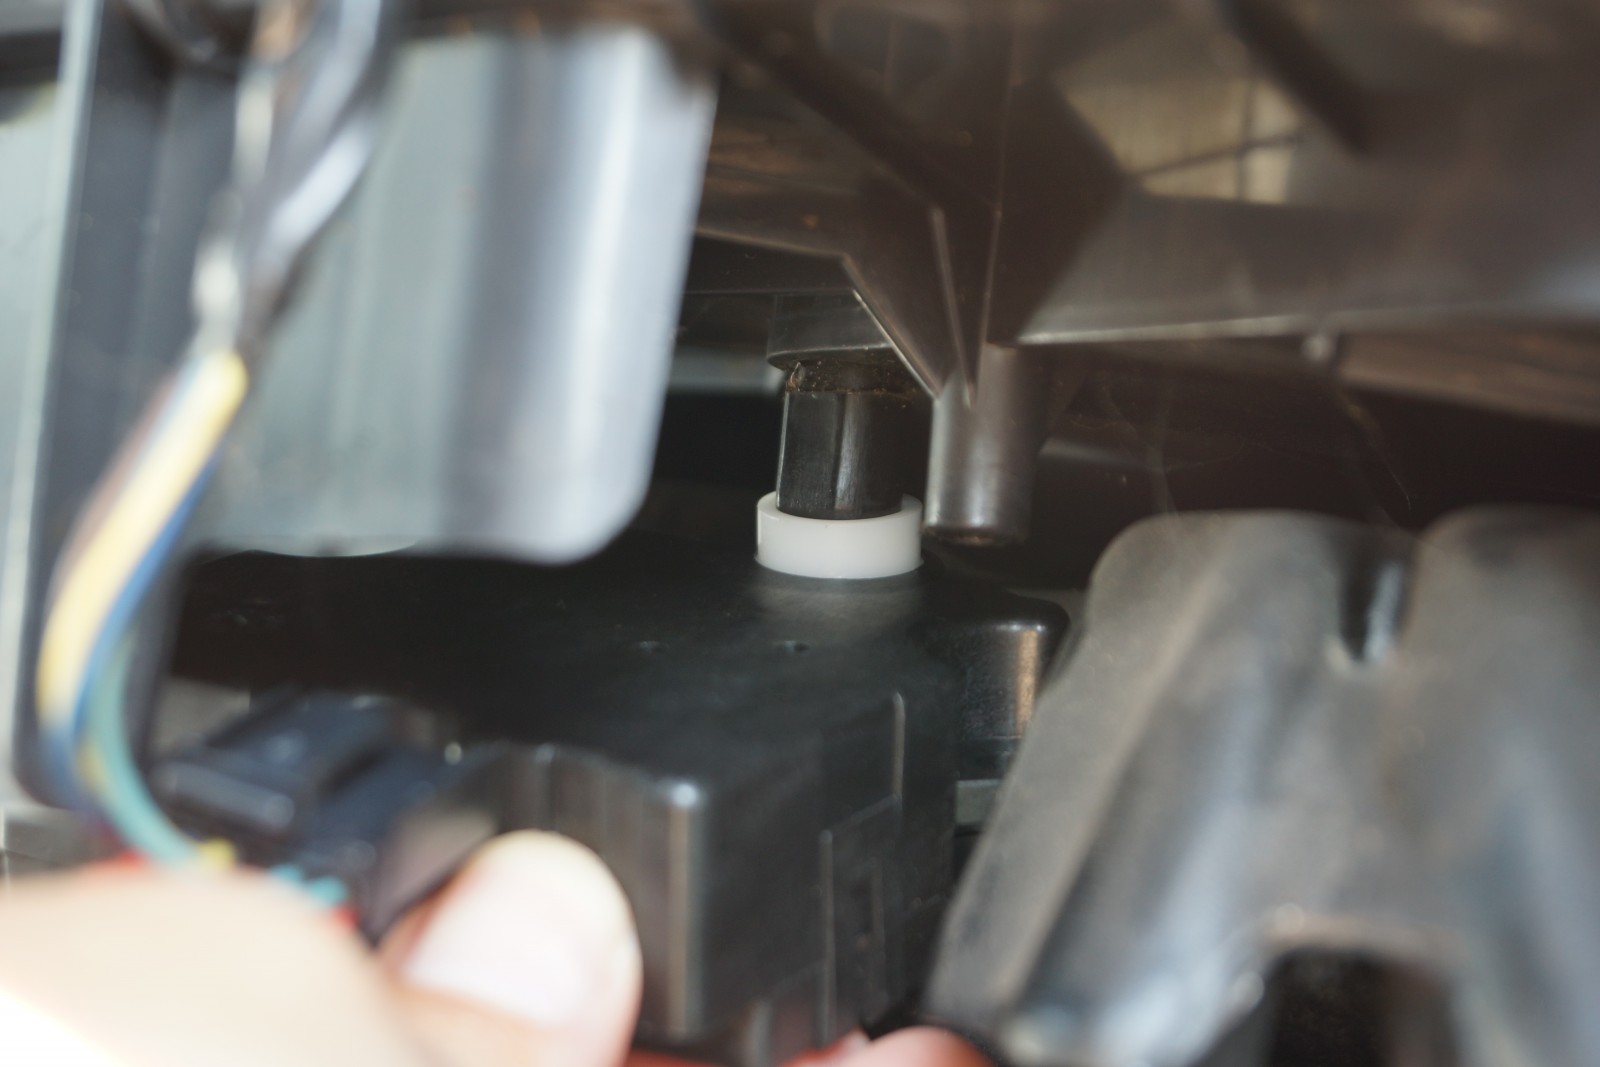
Problem #2 was that the driver’s side vents would occasionally start blowing hot air—yes, only the driver’s side while the passenger side would remain ice cold. This issue stems from a failing blend door actuator. Depending on your vehicle there are at least two, and possibly three of them. It depends on where the air is (or is not) blowing from as to what actuator it is. From our research, the one at the bottom of the dash right by the trans tunnel is the most common and the source of our issue.

Some people may find that they have other issues altogether or similar ones to these. The good thing is there are plenty of online resources for these trucks, and YouTube is also a good source with installation videos available as well. Check out the captions to see how we are now keeping our Silverado’s cabin nice and cool.

Share this Article
Author: Steve Baur

Steve Baur is the founder and principal of Driven Media Works, a Florida-based creative-services firm serving the automotive aftermarket. After attending the University of South Florida for journalism, Steve signed on with Muscle Mustangs & Fast Fords magazine, where he served as associate editor and, later, technical editor during his nine-year tenure. In 2010, he was promoted to the editorship of Modified Mustangs & Fords, a publication he helmed for four years before launching Driven Media Works in 2014. A lover of all things automotive, Steve has contributed to a wide range of motoring publications, including Car Craft, Truckin', Modified, Super Chevy, Race Pages, GM High Tech Performance, Fastest Street Car, and High Performance Pontiac.