Classic muscle cars have suffered the bumps and scrapes of decades of use—bashed-in panels, rear end collisions, frontal smash-ups, rust, and rot. It is but the fortunate few of these classics that have managed to survive through decades of use without an accident or rust.
We’re working with a first-generation Mustang convertible in need of fresh sheet metal.
What we do here applies to most classic automobiles, which were spot-, stick- and wire-feed-welded together on body assembly jigs that moved these bodies along a body assembly line before primer, paint, and final assembly. Because these are antique motor vehicles, expect your share of poorly fitted panels and shoddy body repair.
Body panel replacement calls for extreme attention to detail before getting started. It is strongly suggested you perform panel replacement at the factory seams for best results. When you are replacing main body panels, which are a very permanent part of the body, install and properly adjust doors and front fenders before work begins. Check gaps and get body belt lines in perfect alignment before removing quarter and tail panels. The deck lid should be installed and properly fitted to the quarter panels before work begins. Ditto for doors, which establish proper gaps. The exception is accident damage where you are sometimes forced to begin from scratch.
What makes classic cars and trucks challenging is the imperfect nature of old school body panel stampings. Some are worse than others. When you’re trying to align doors, fenders, and quarter panels, you will find things just don’t always line up. Be cautious of old school replacement body panels from the old days. They didn’t always line up properly and they can mess up your game plan. Today’s reproduction body panels and hoods are clearly better stampings with improved fit. Ideally, you will use factory stampings.
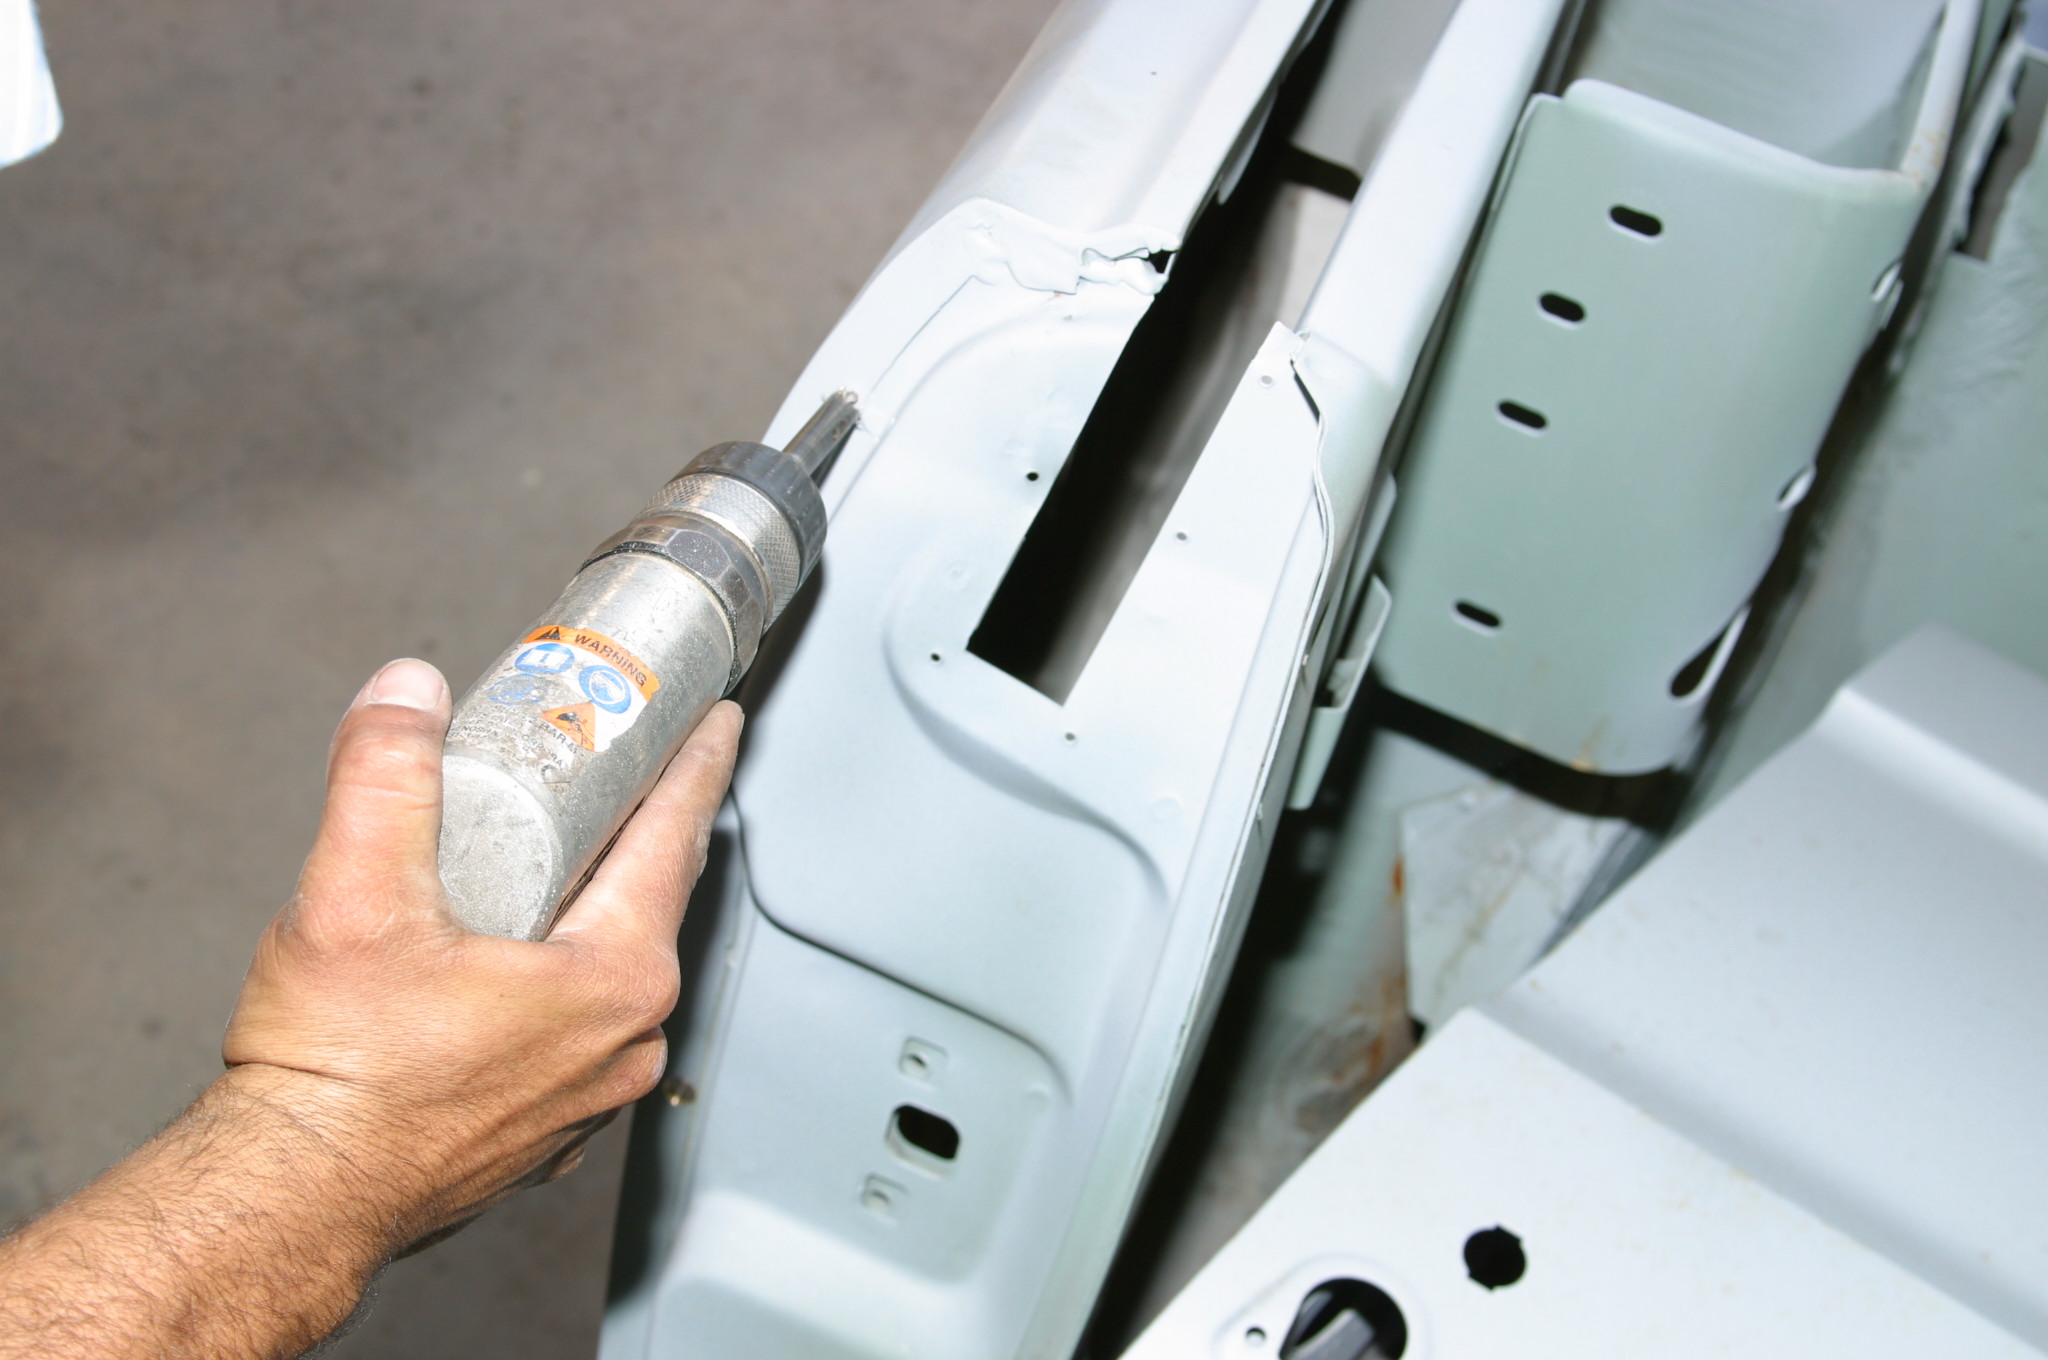
Once you have established fitment, you’re going to need a spot weld cutter (order plenty of cutting tips). You’re also going to need an assortment of drill bits, grinding and sanding discs, cutting wheels, a panel crimper, a wire-feed welder, an oxygen/acetylene torch, body clamps, chisels and center punches, sheet metal screws (for securing panels), and a healthy assortment of tools.
Panel replacement is not for the faint of heart. You have to be very committed with an abundance of patience because this is not easy, but certainly rewarding when you finish the job and feel good about your work.
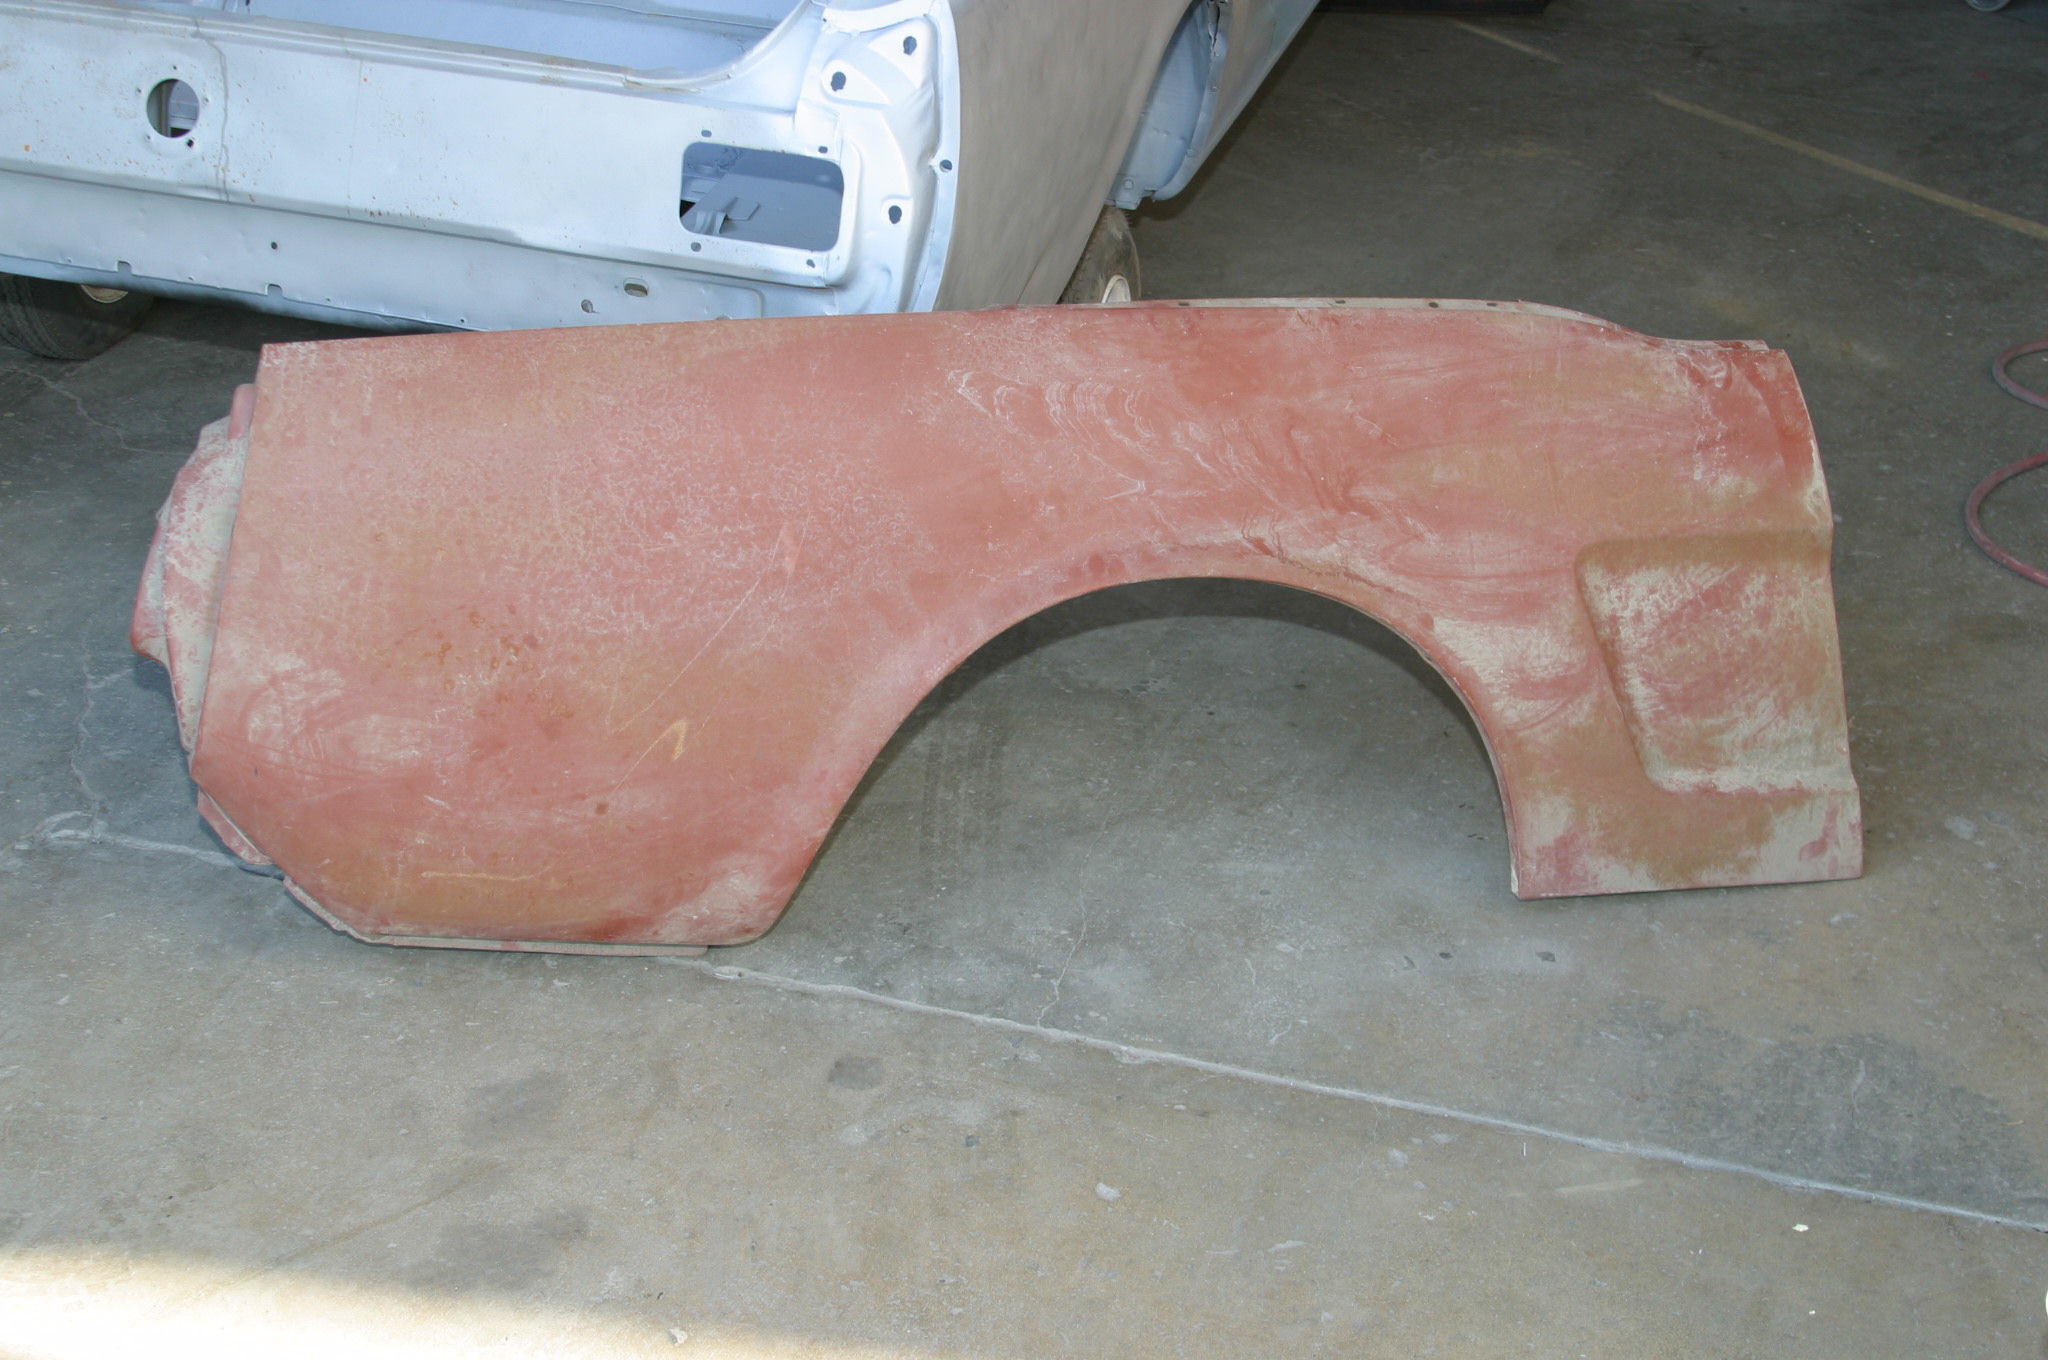
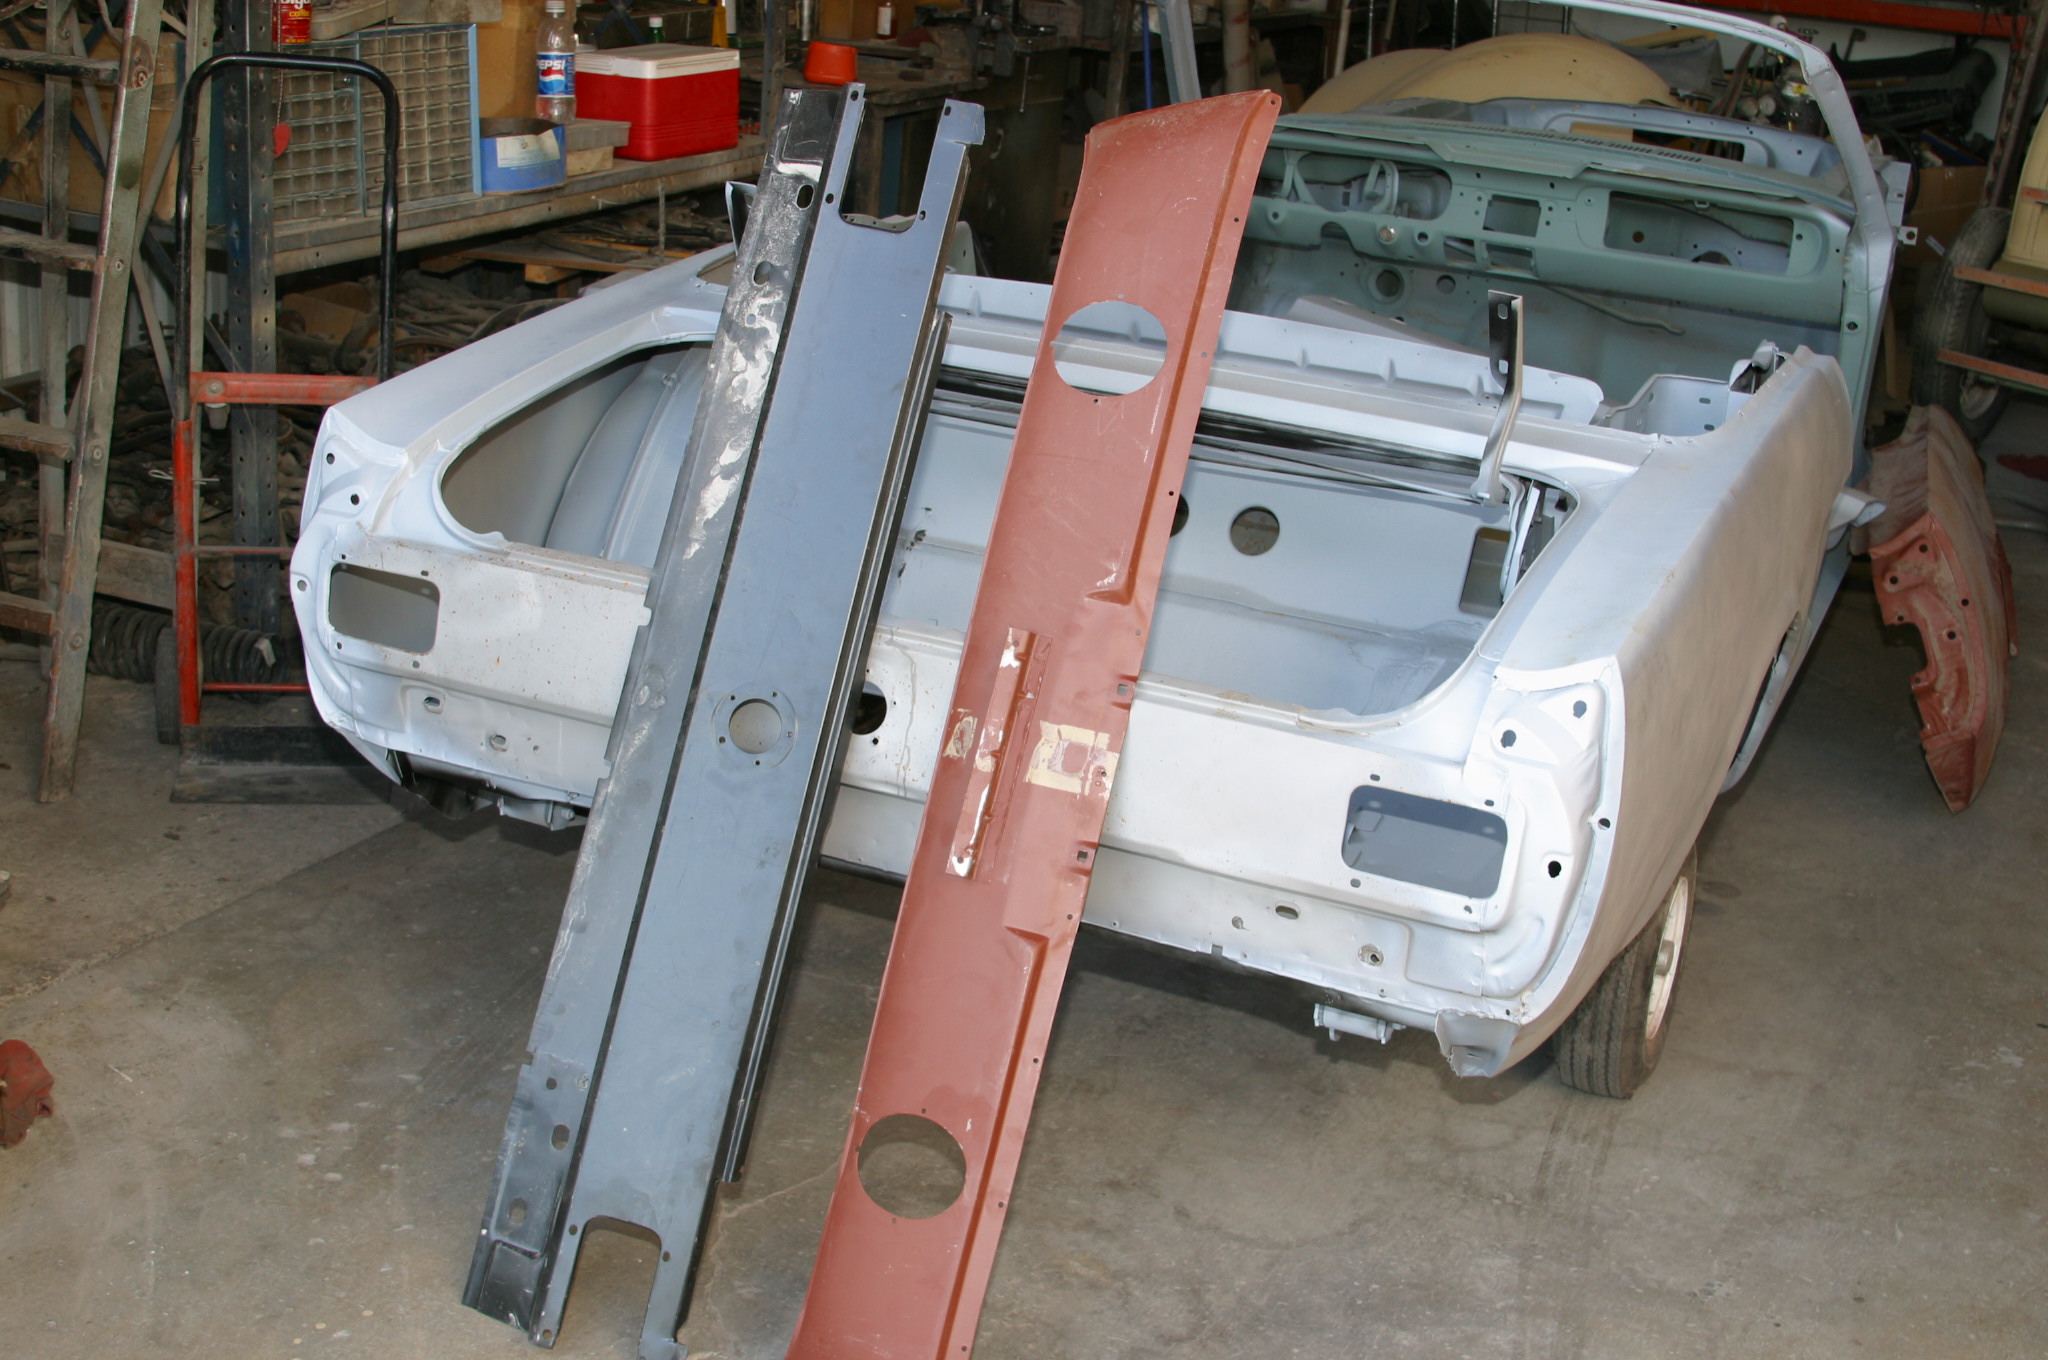
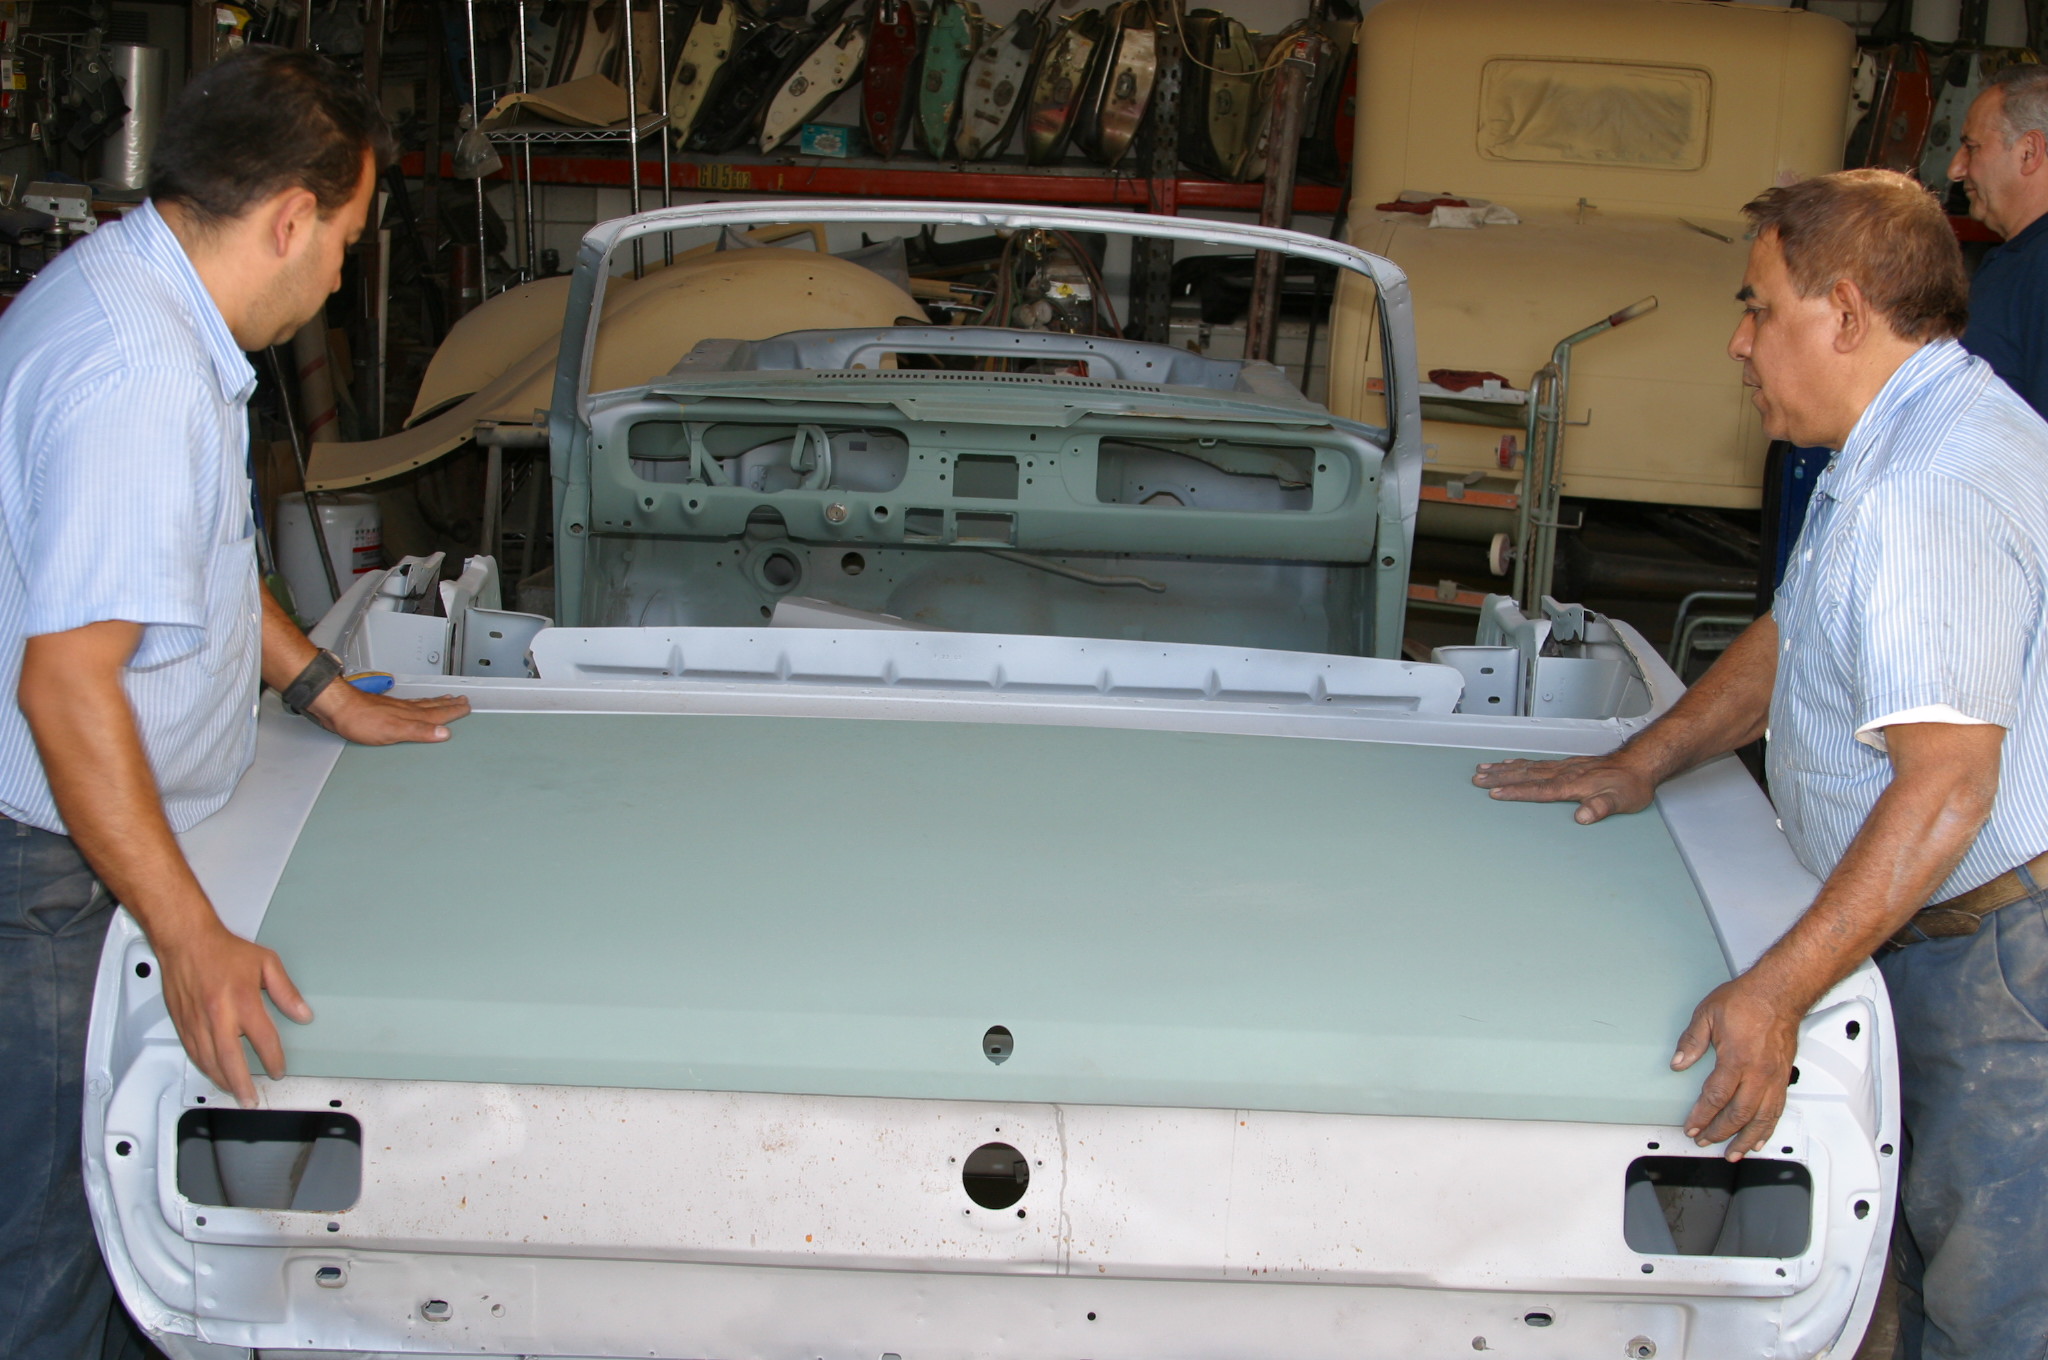
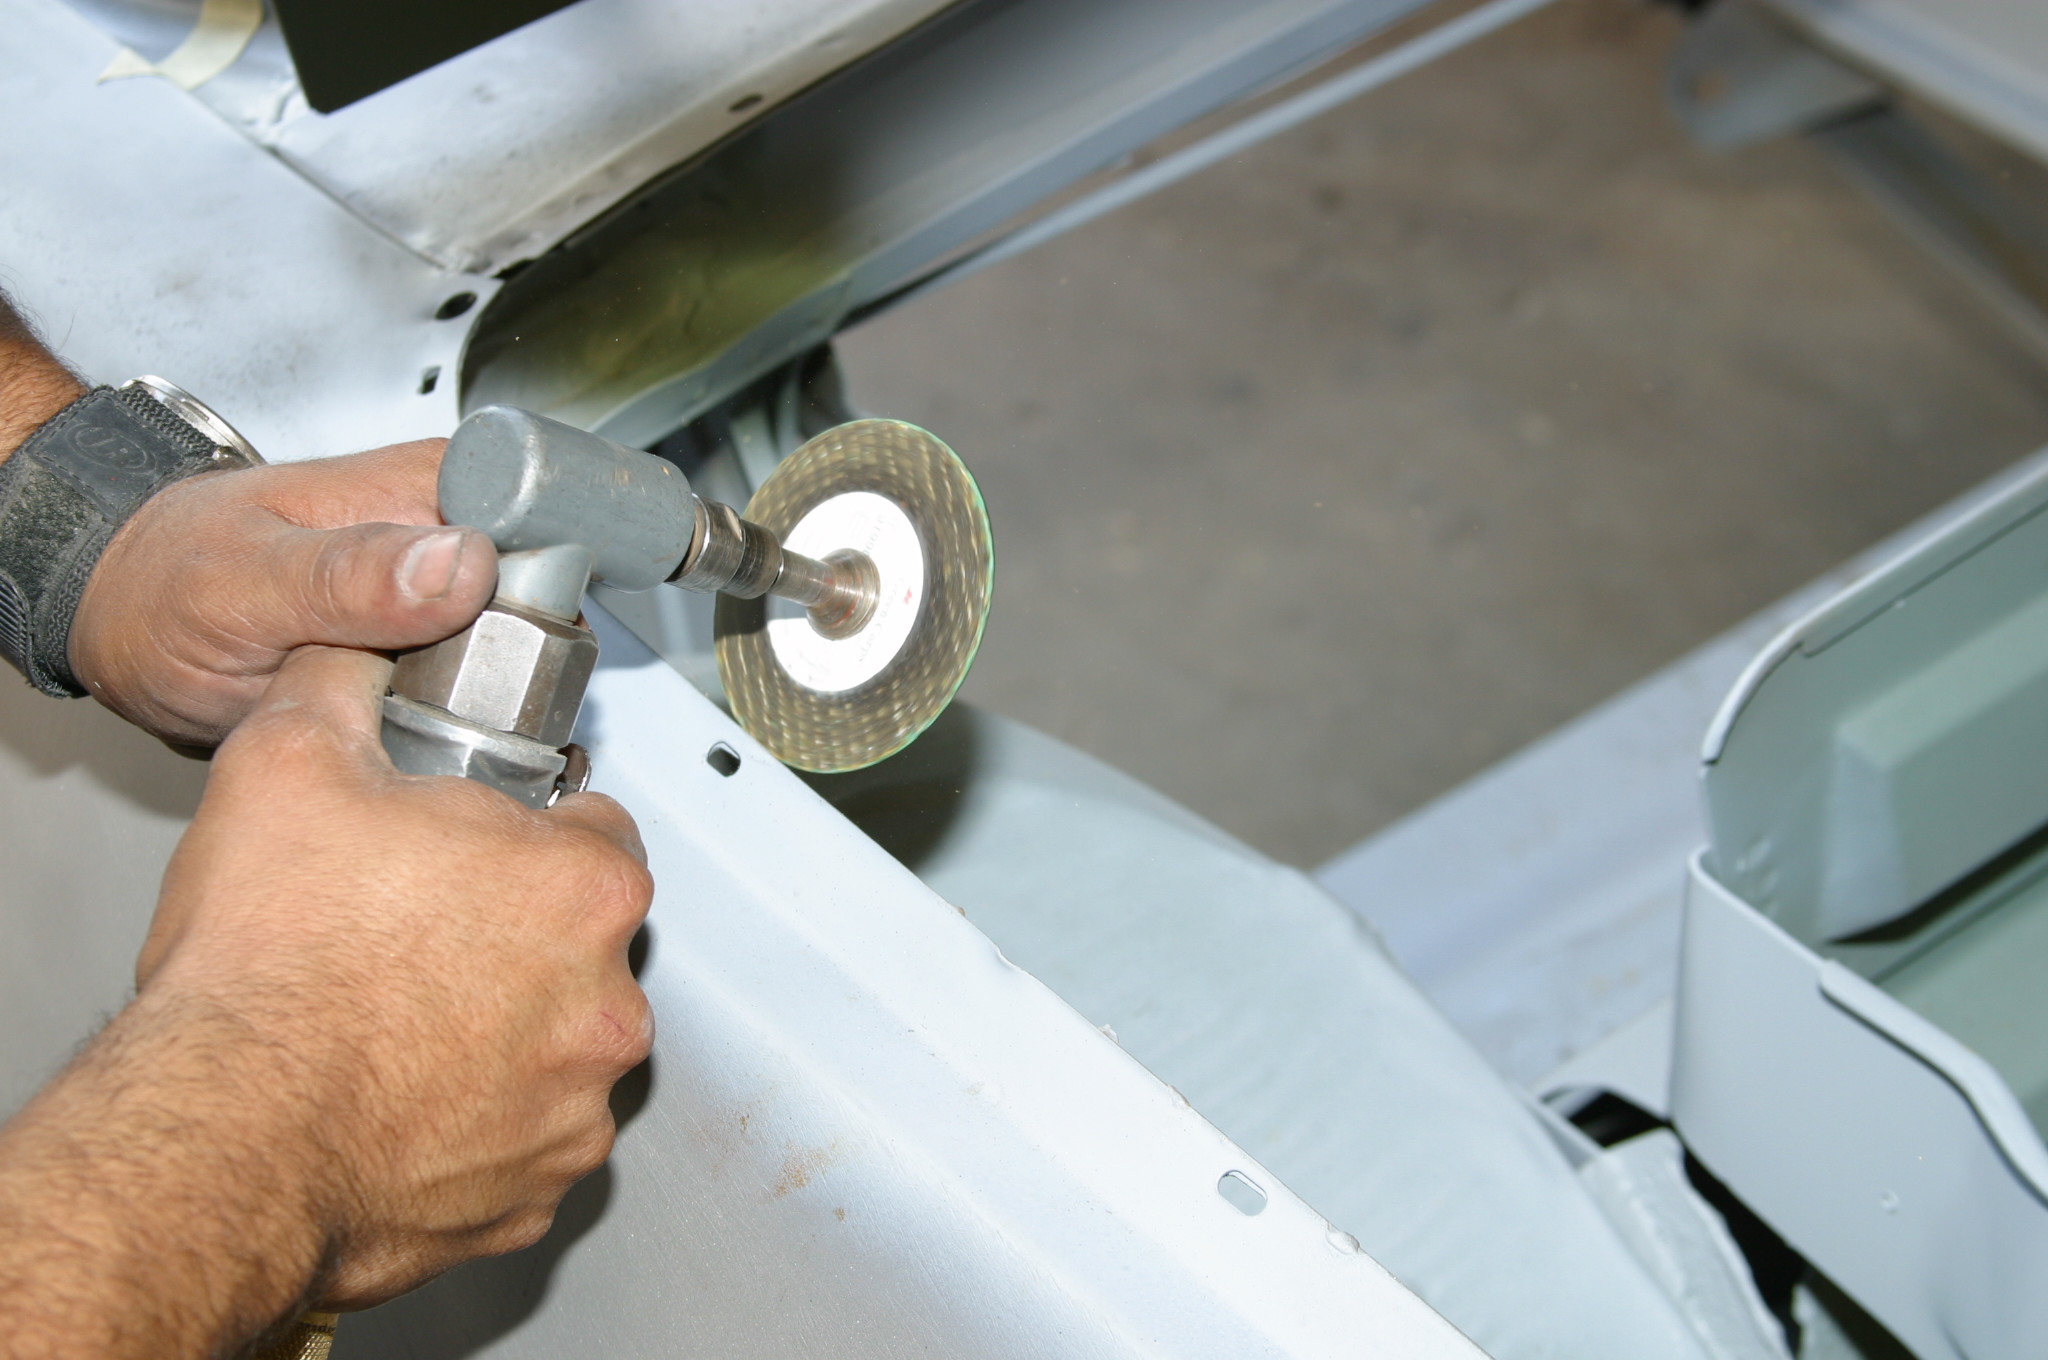
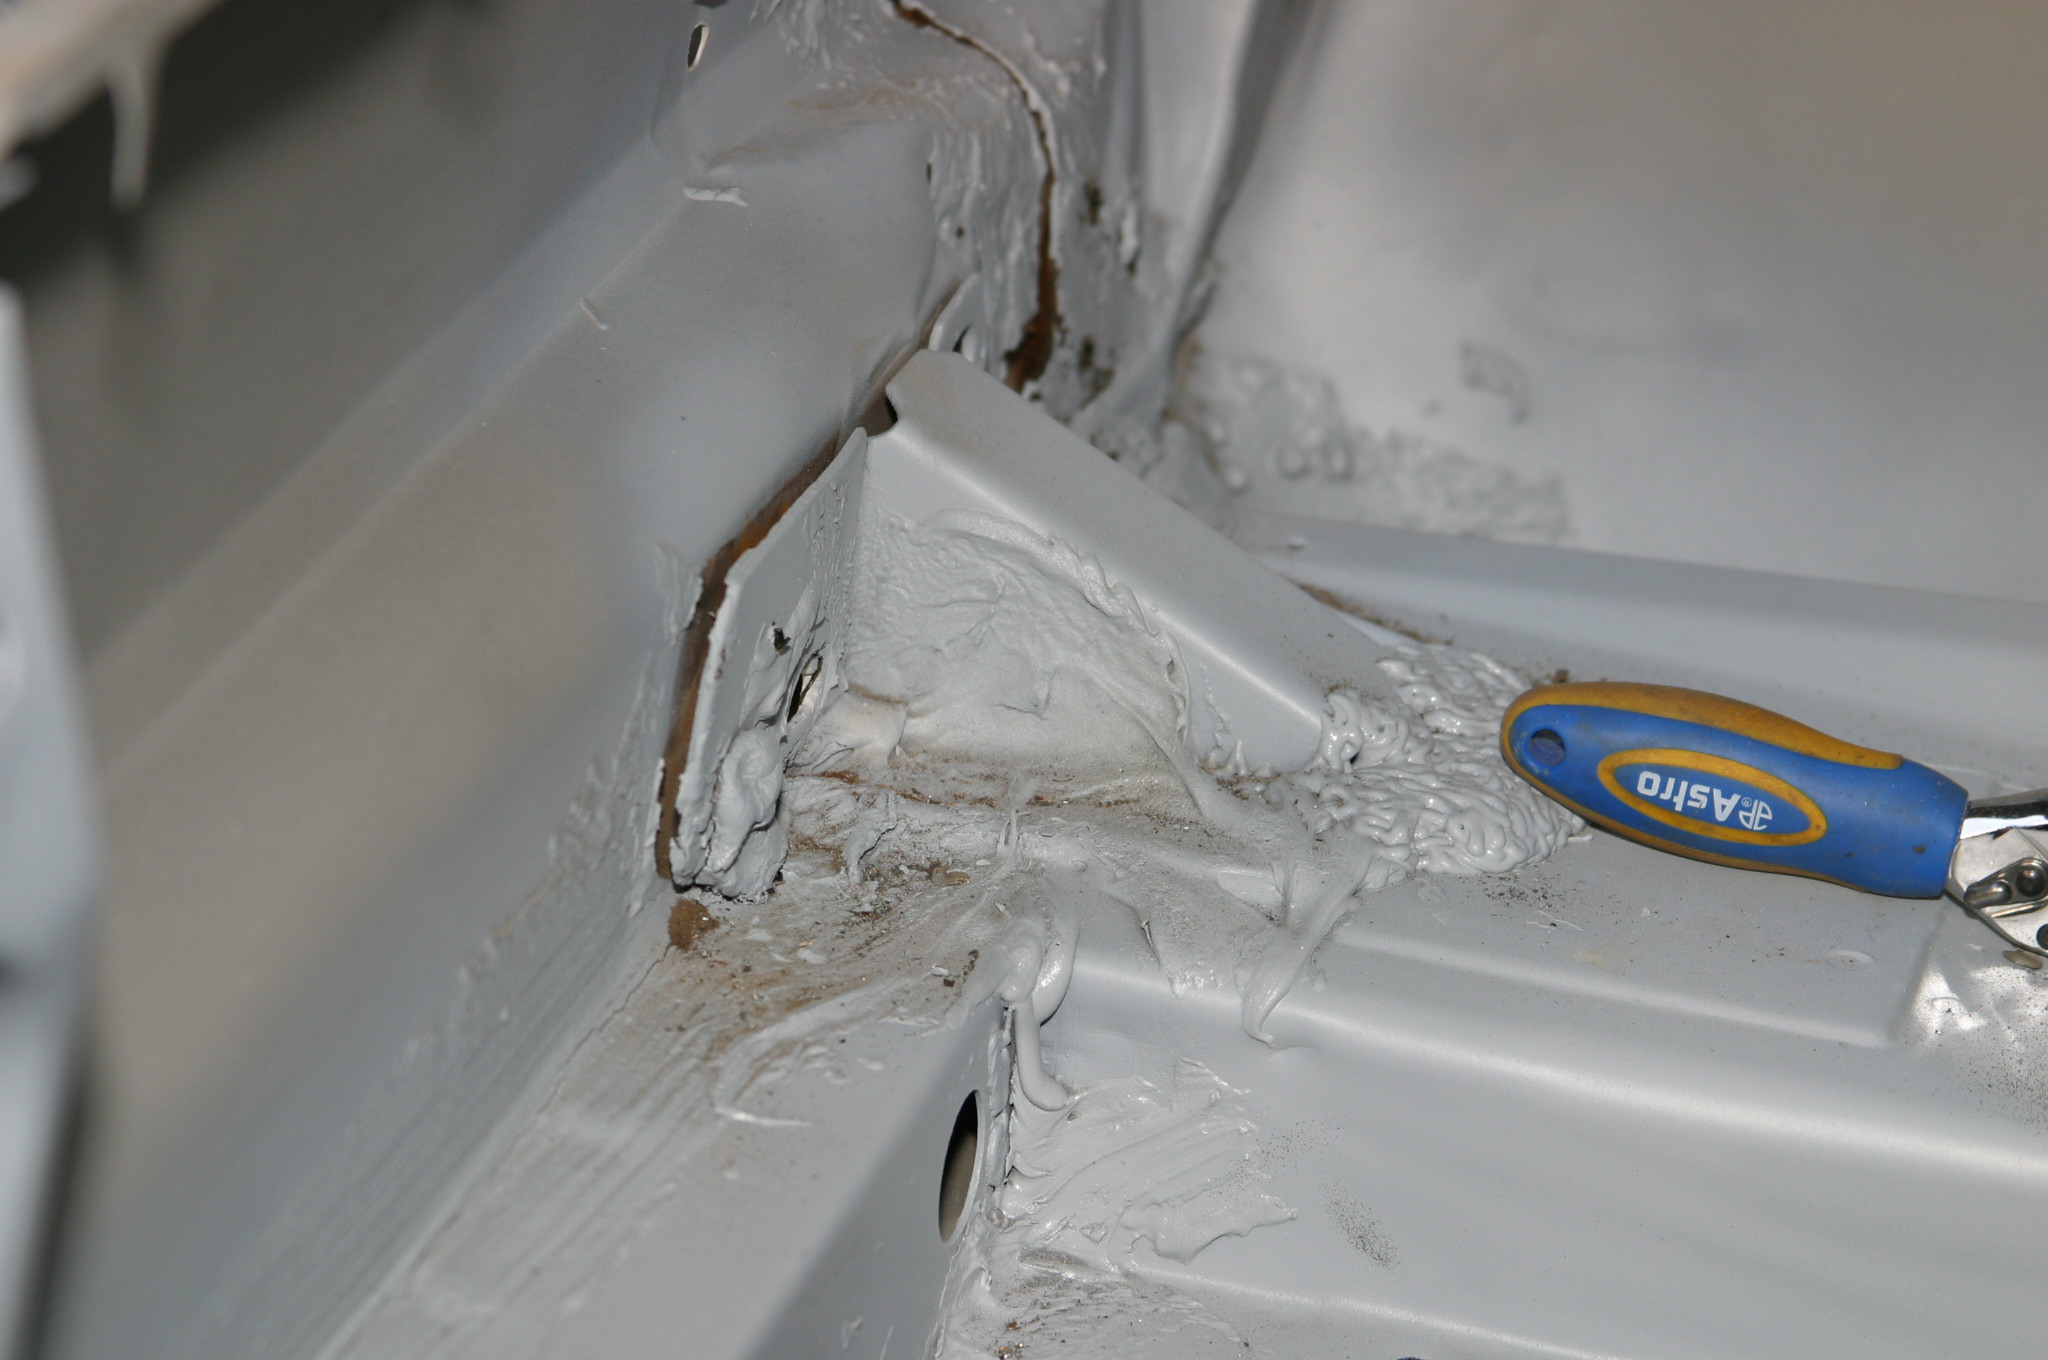
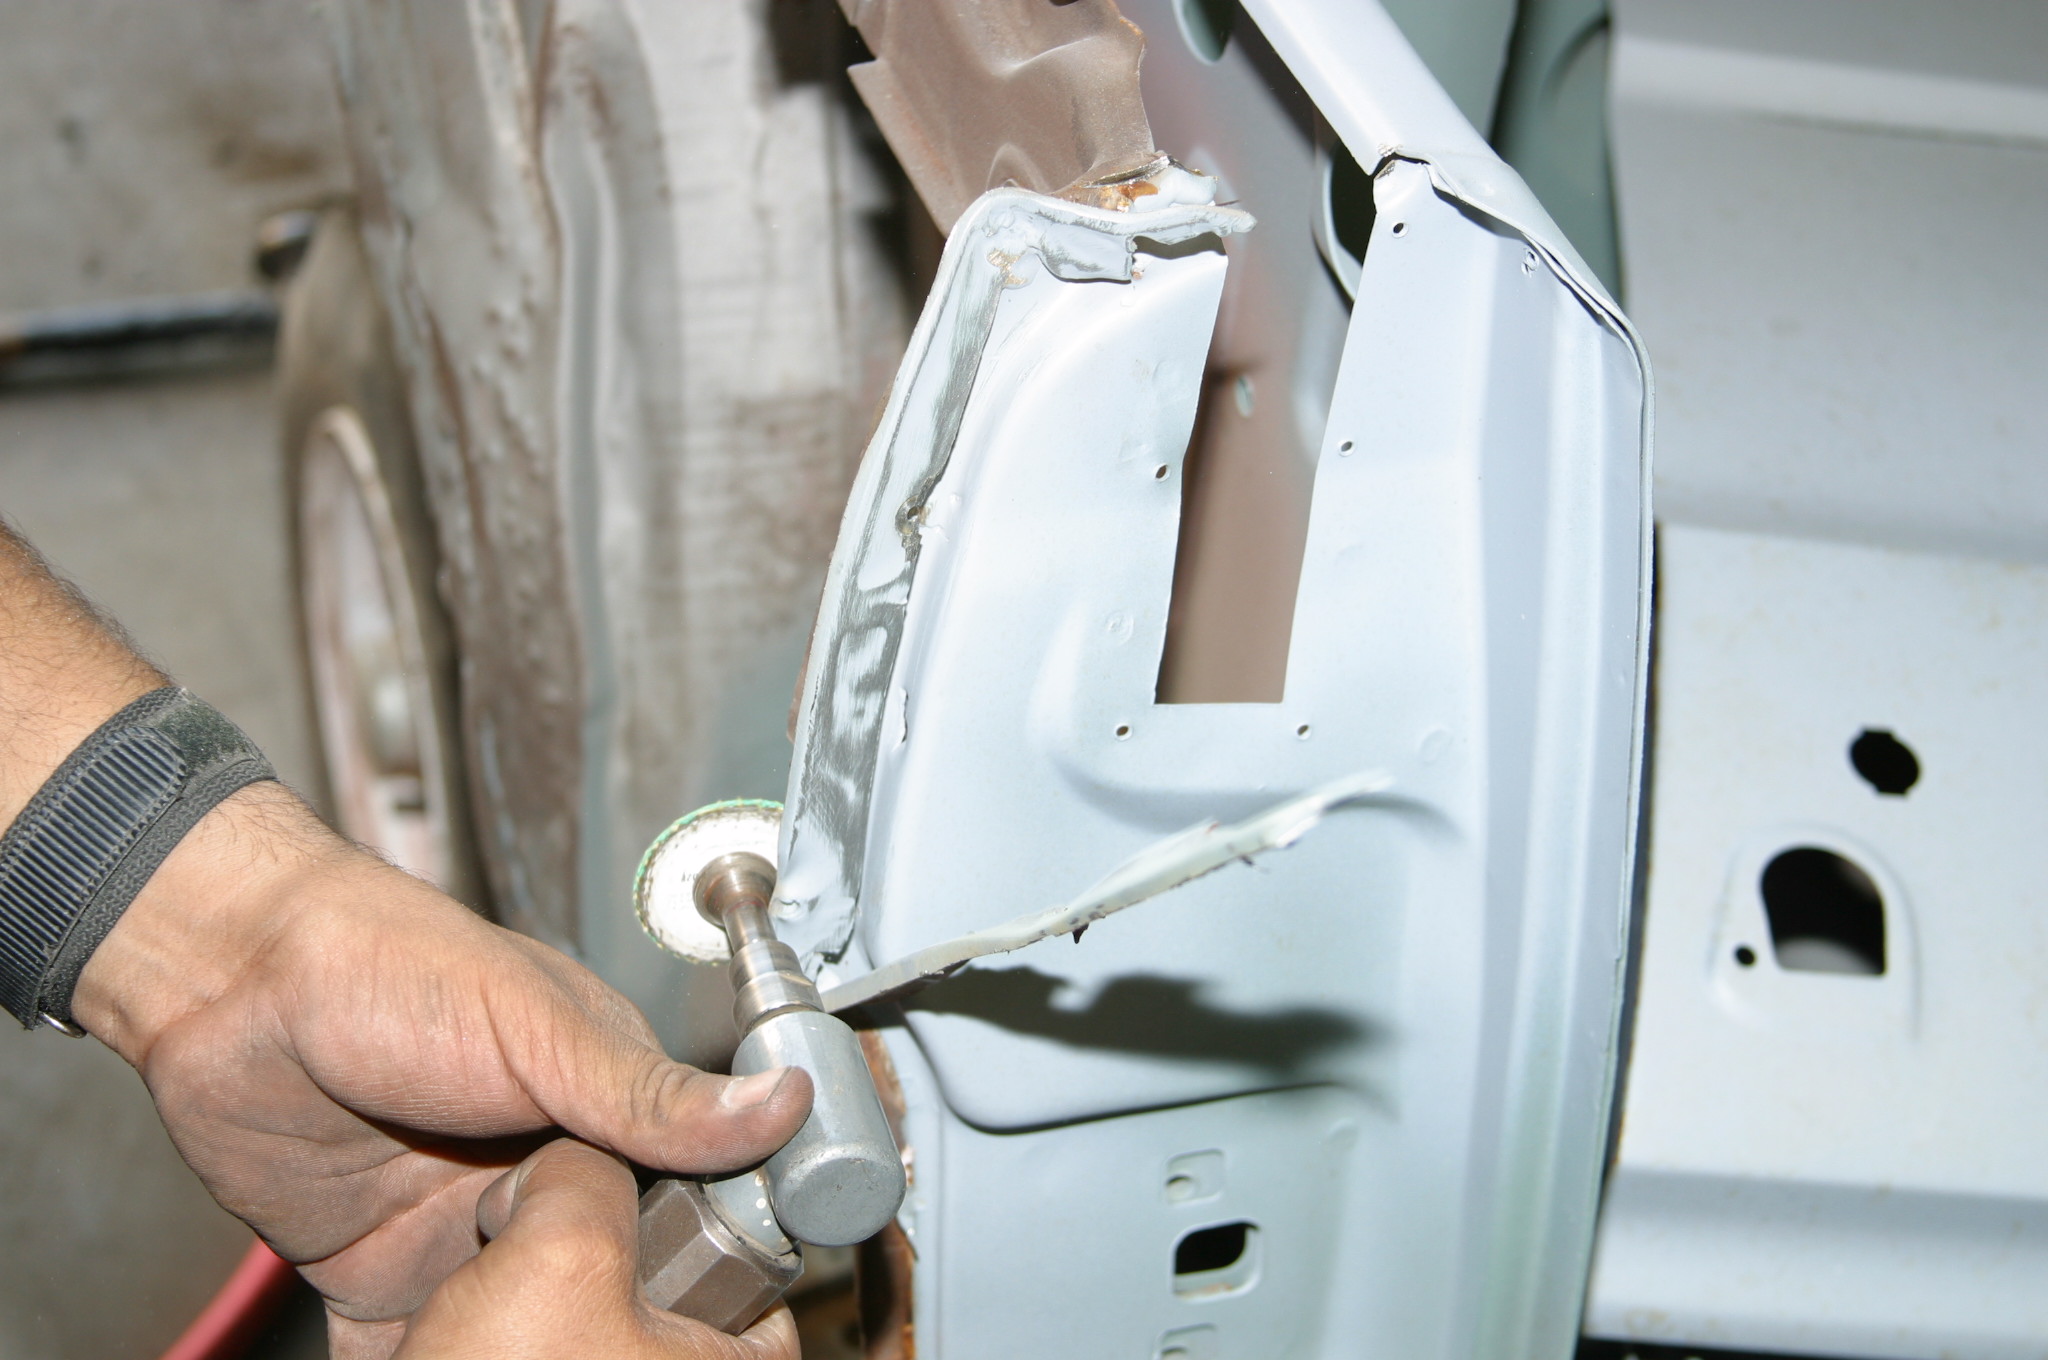
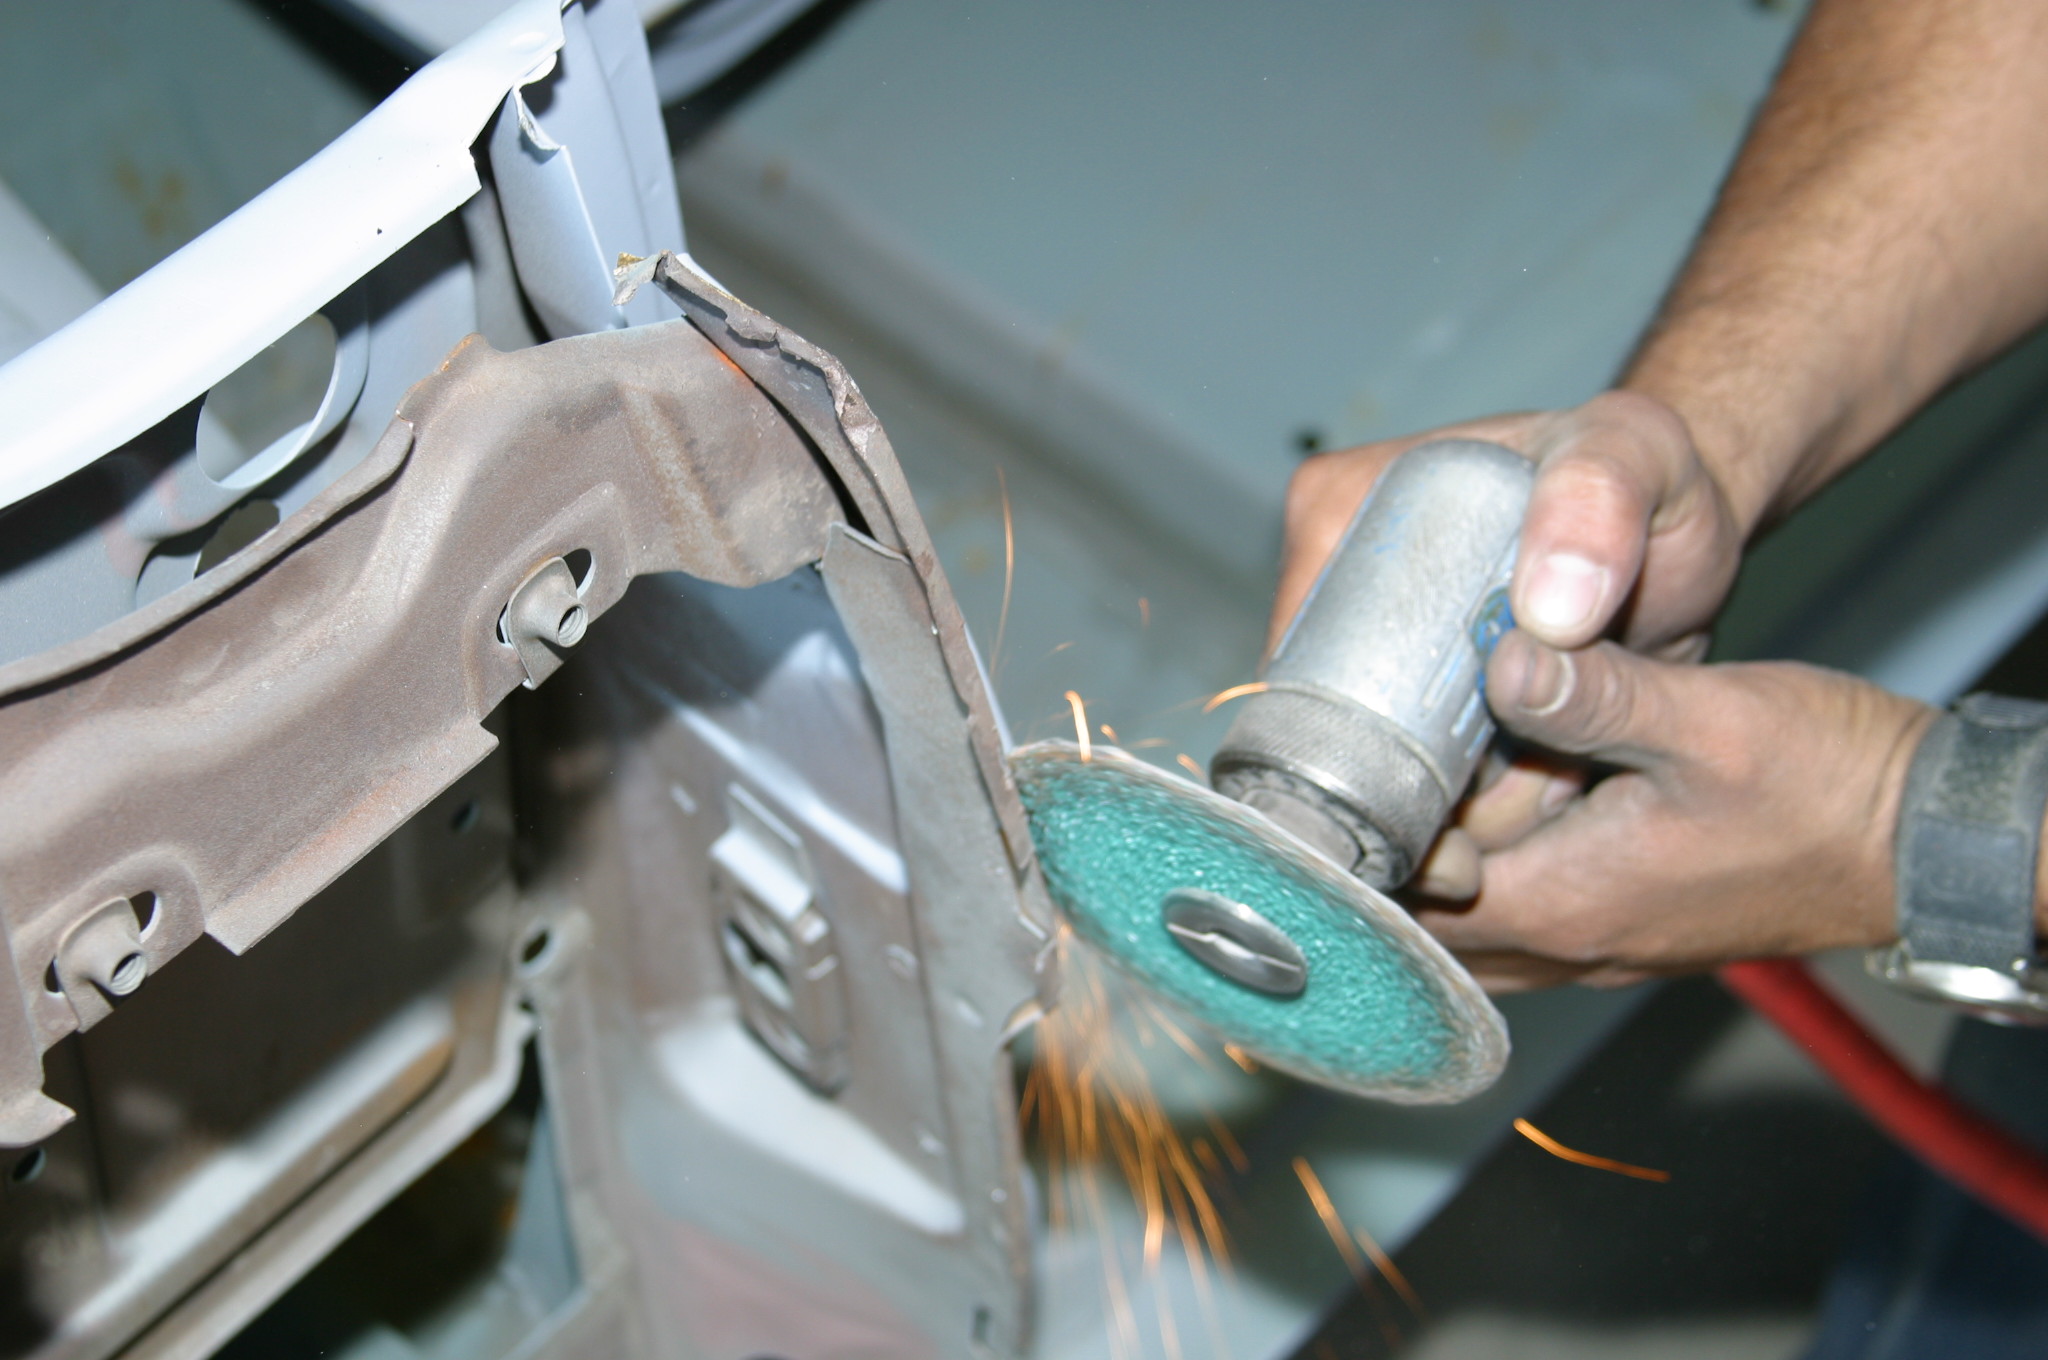
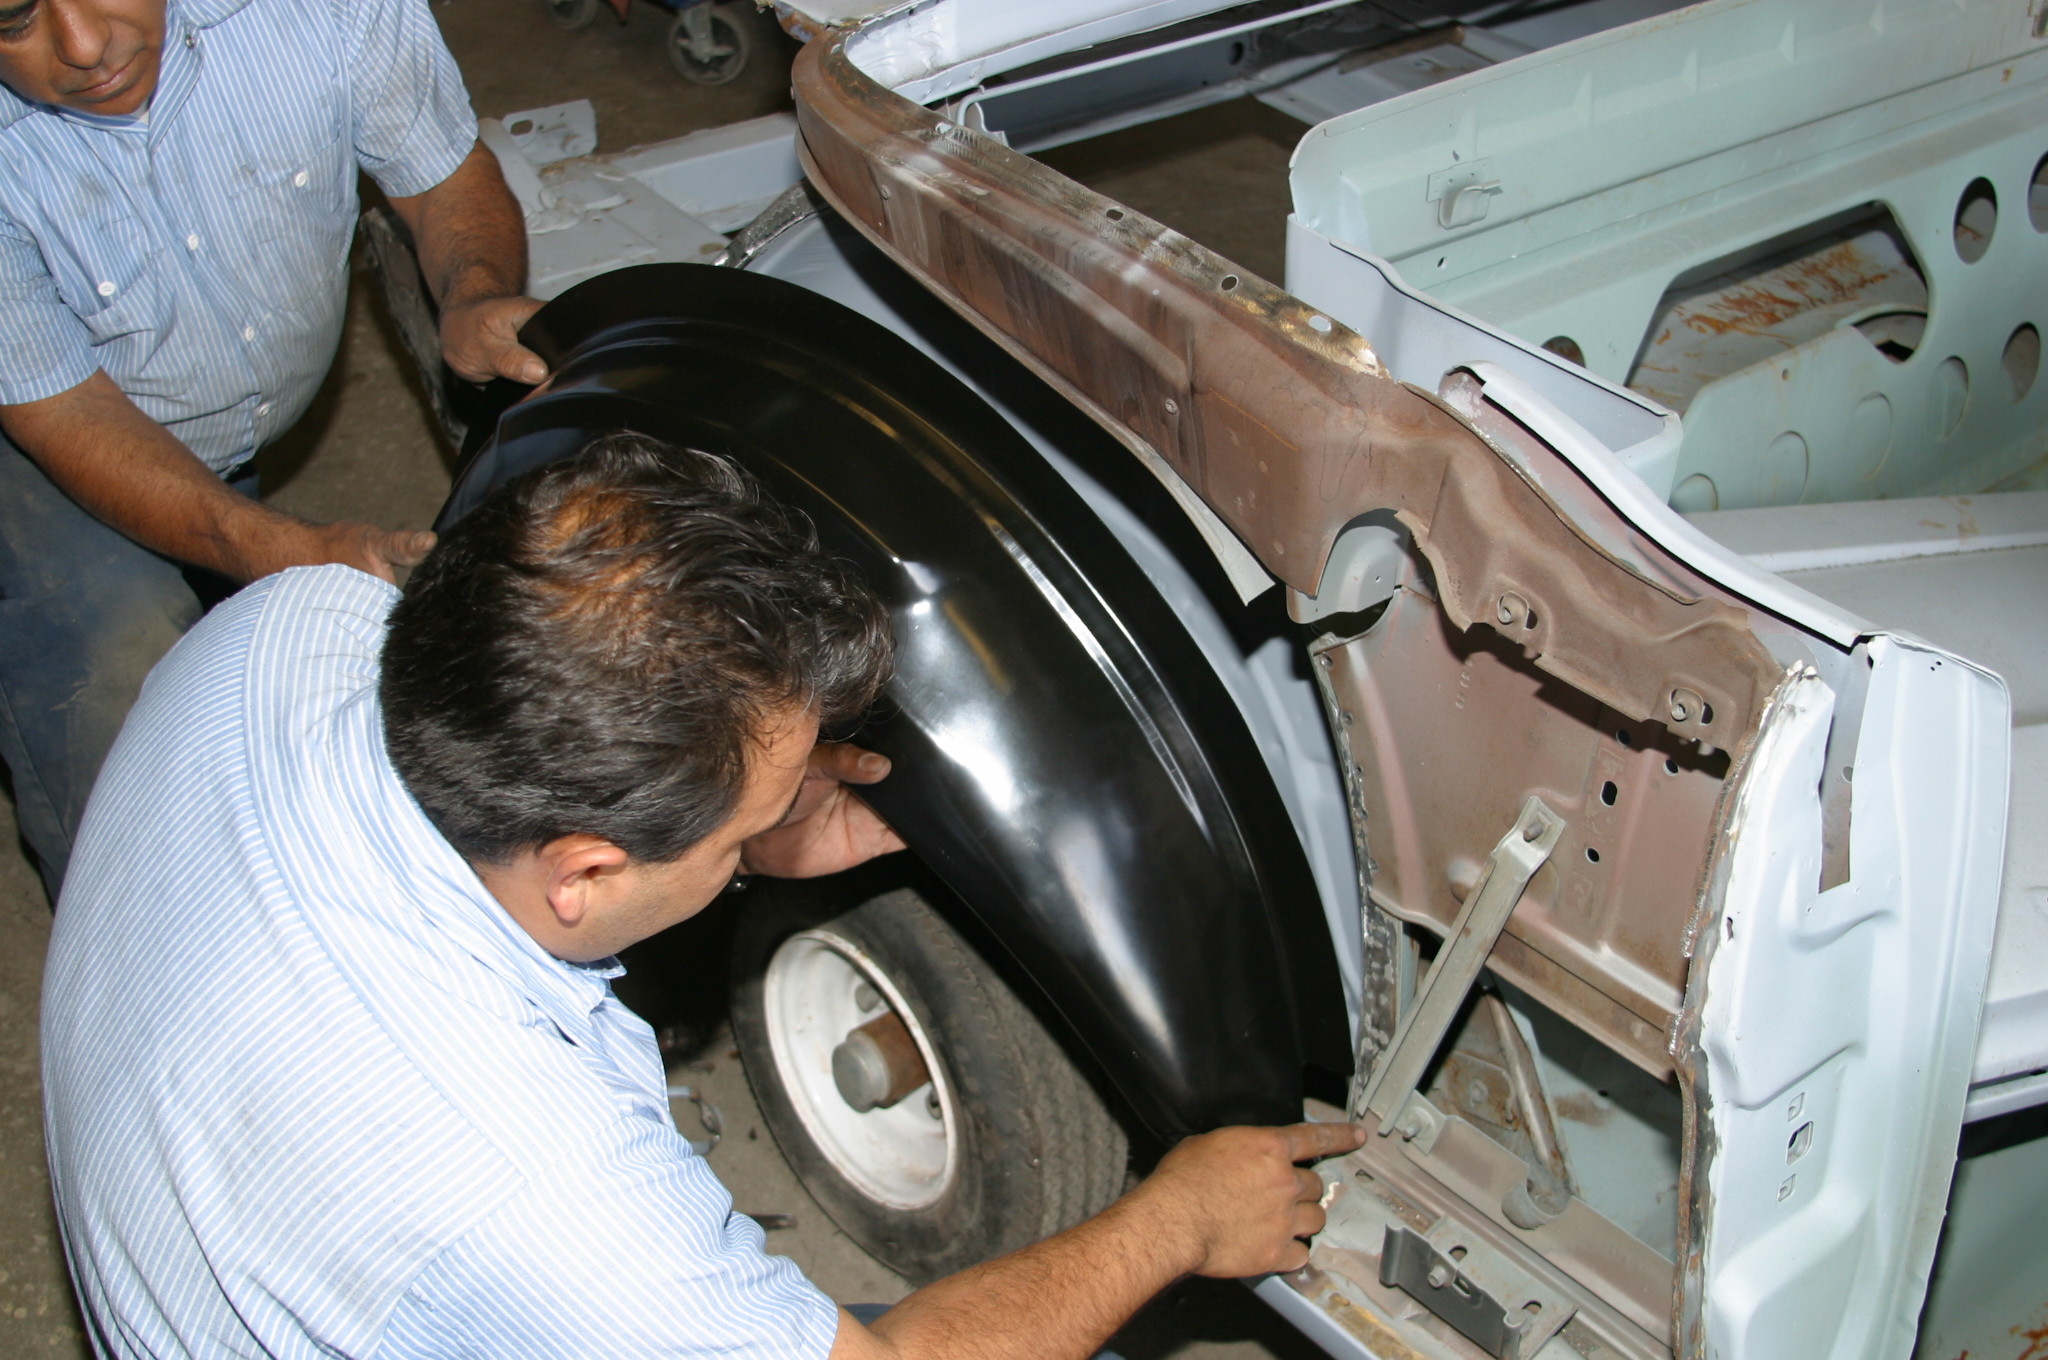
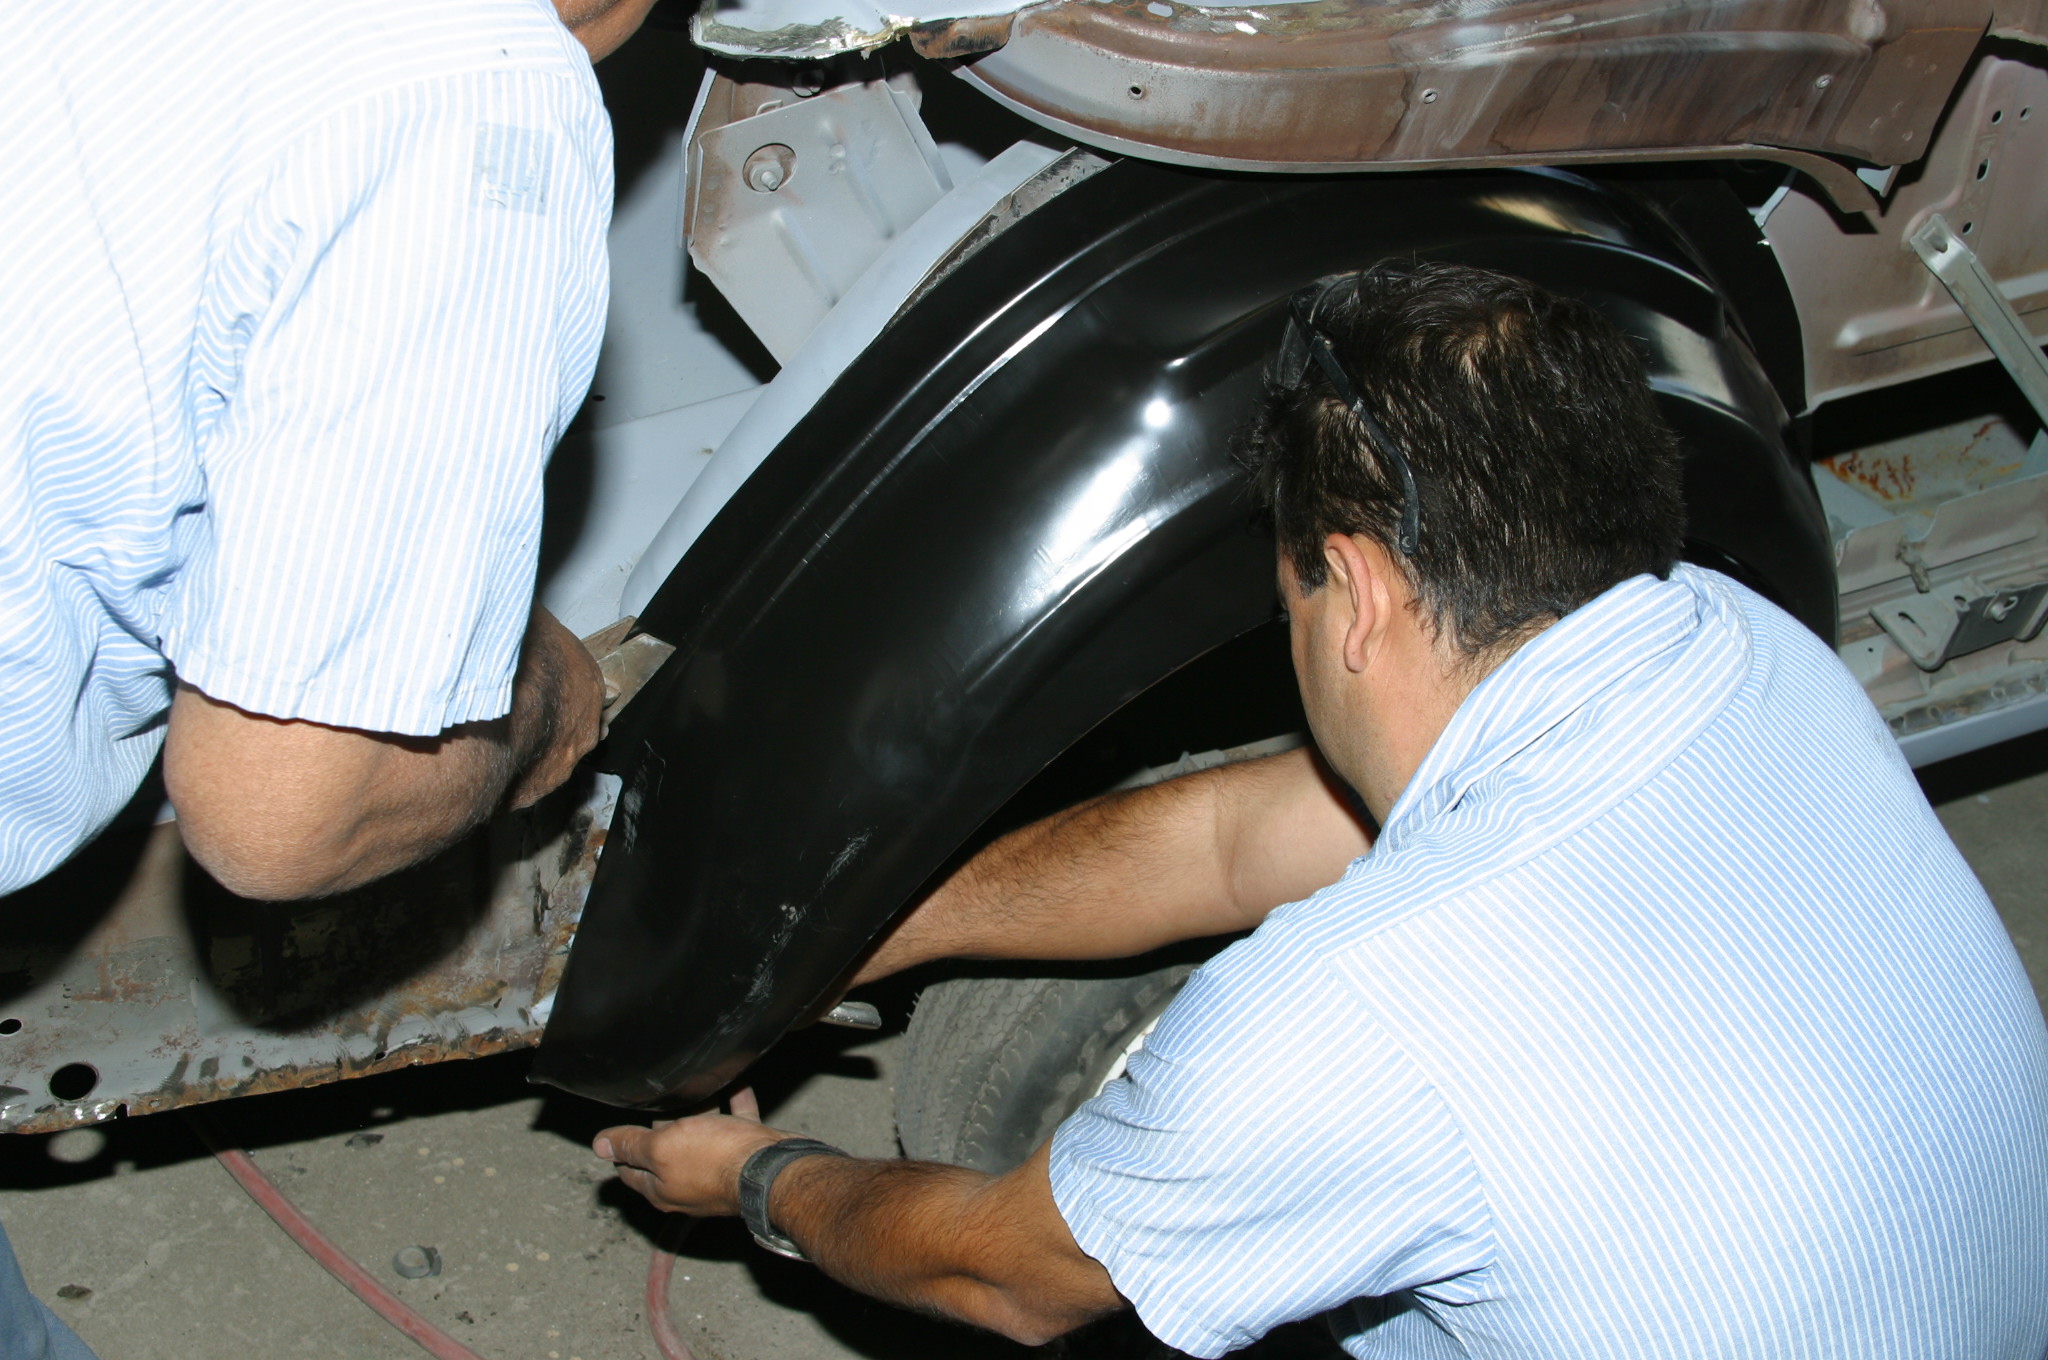
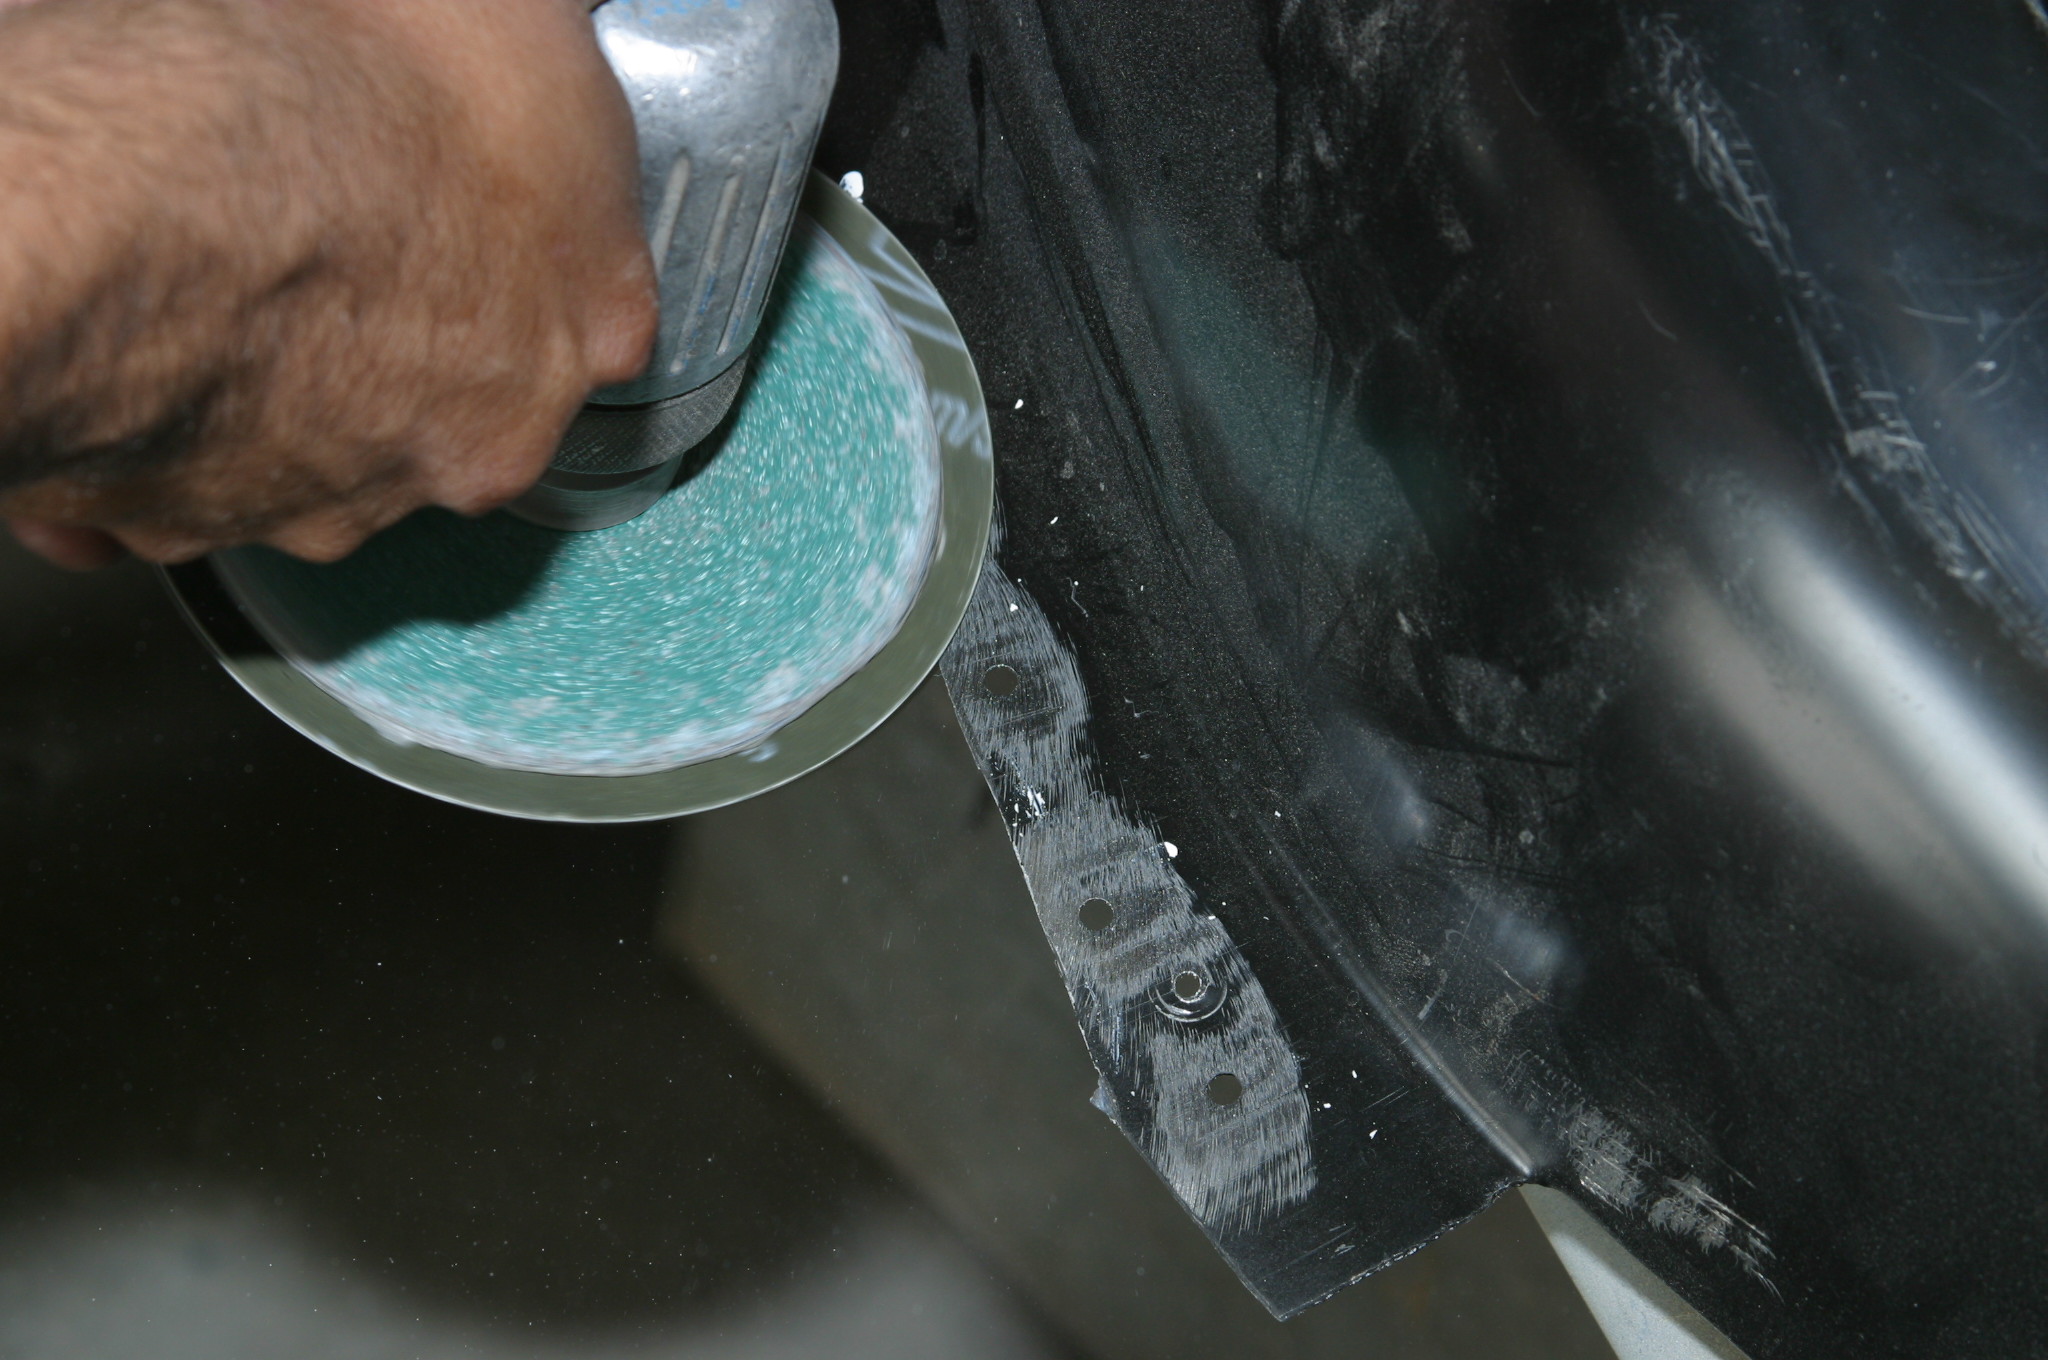
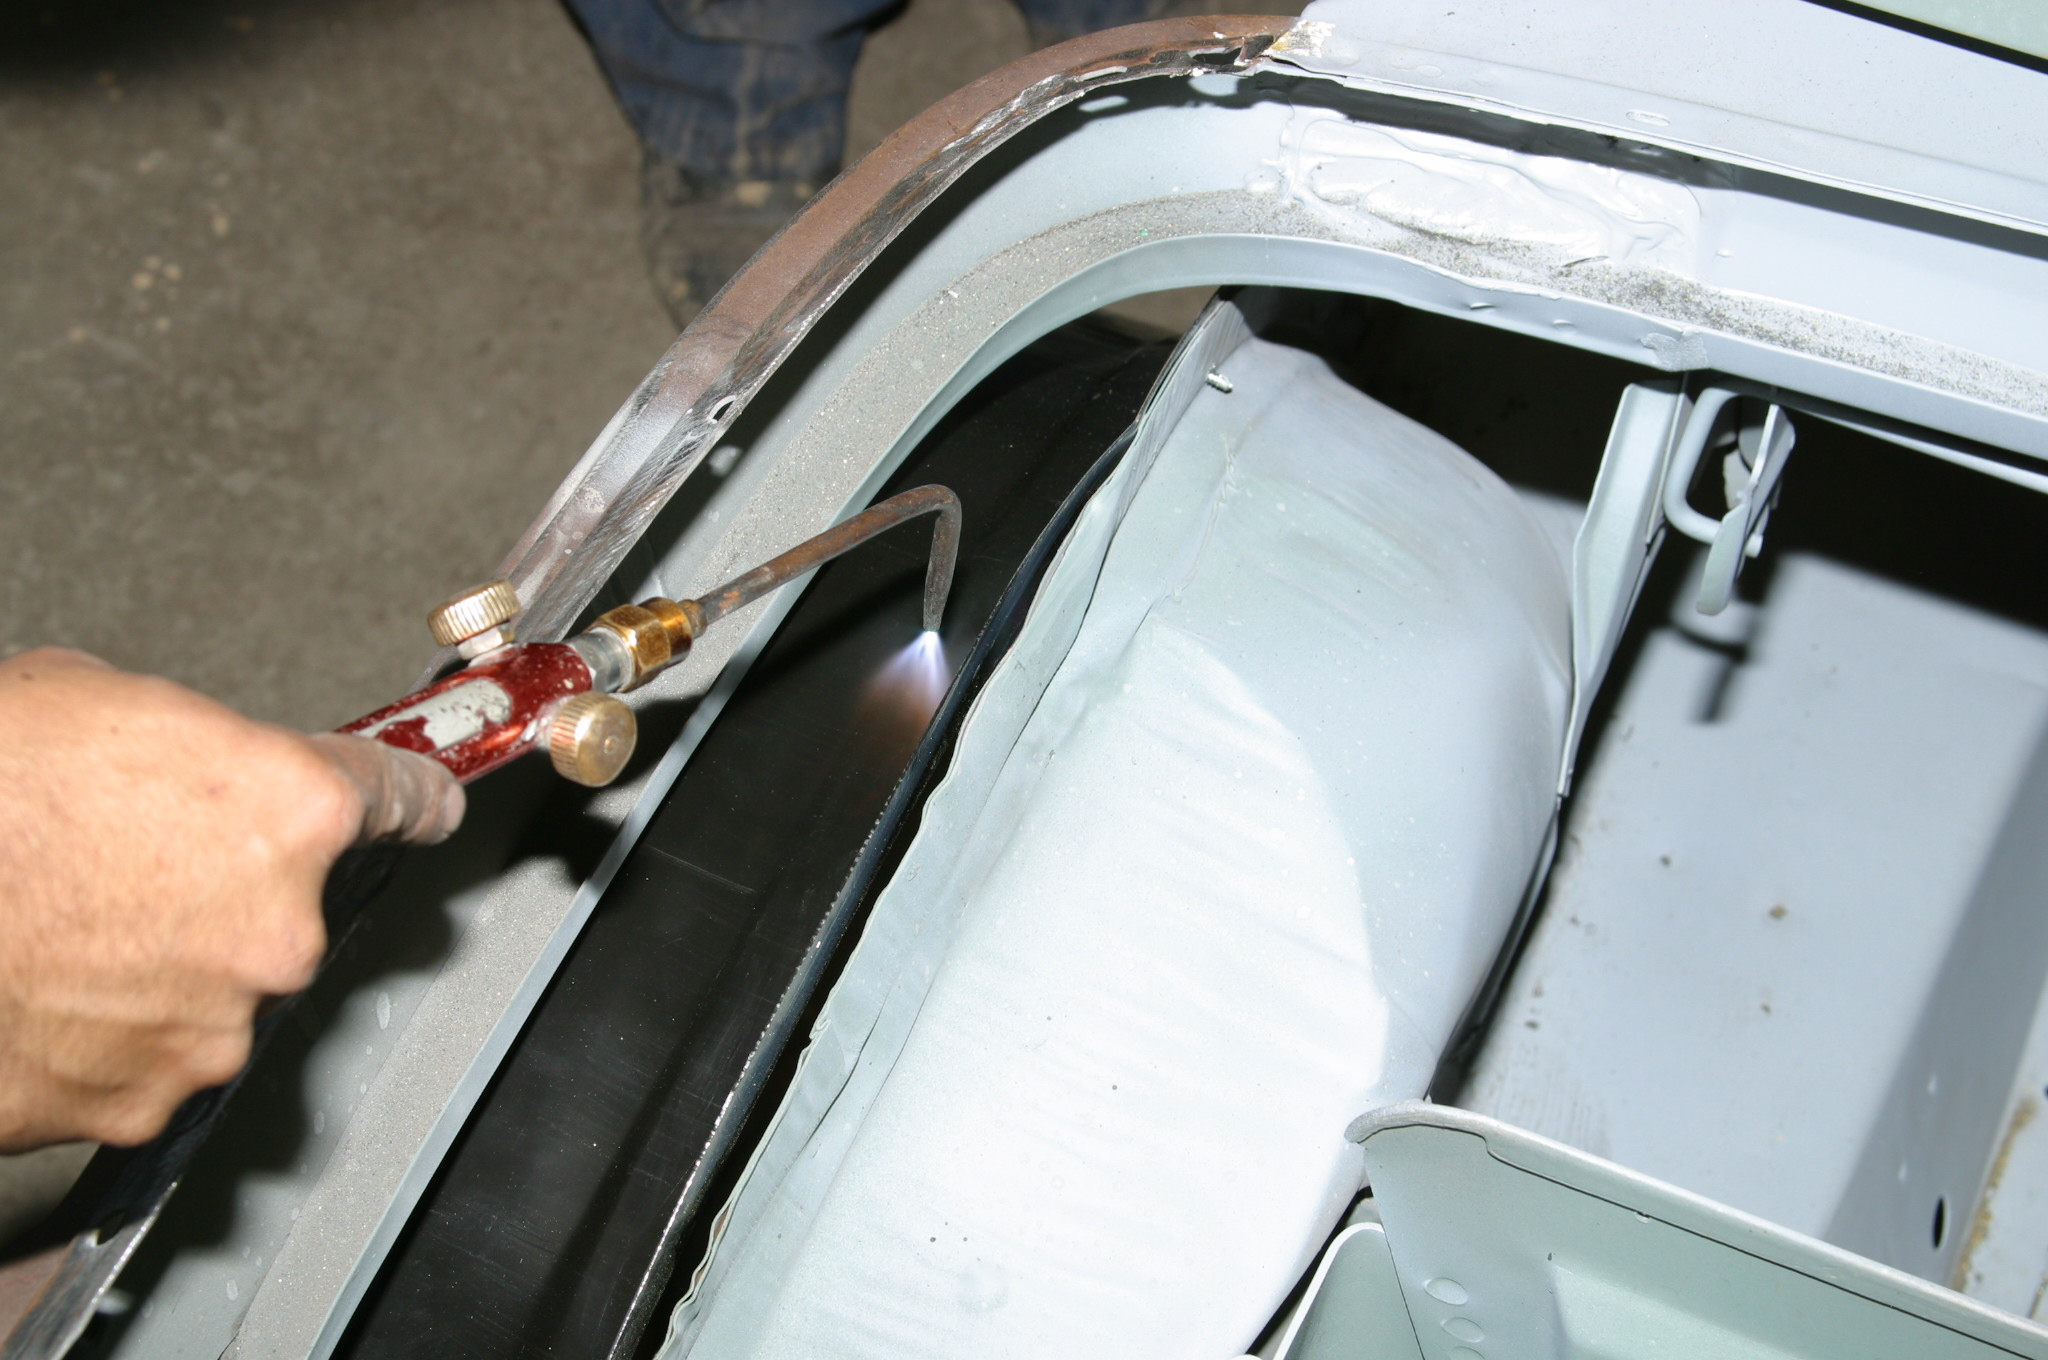
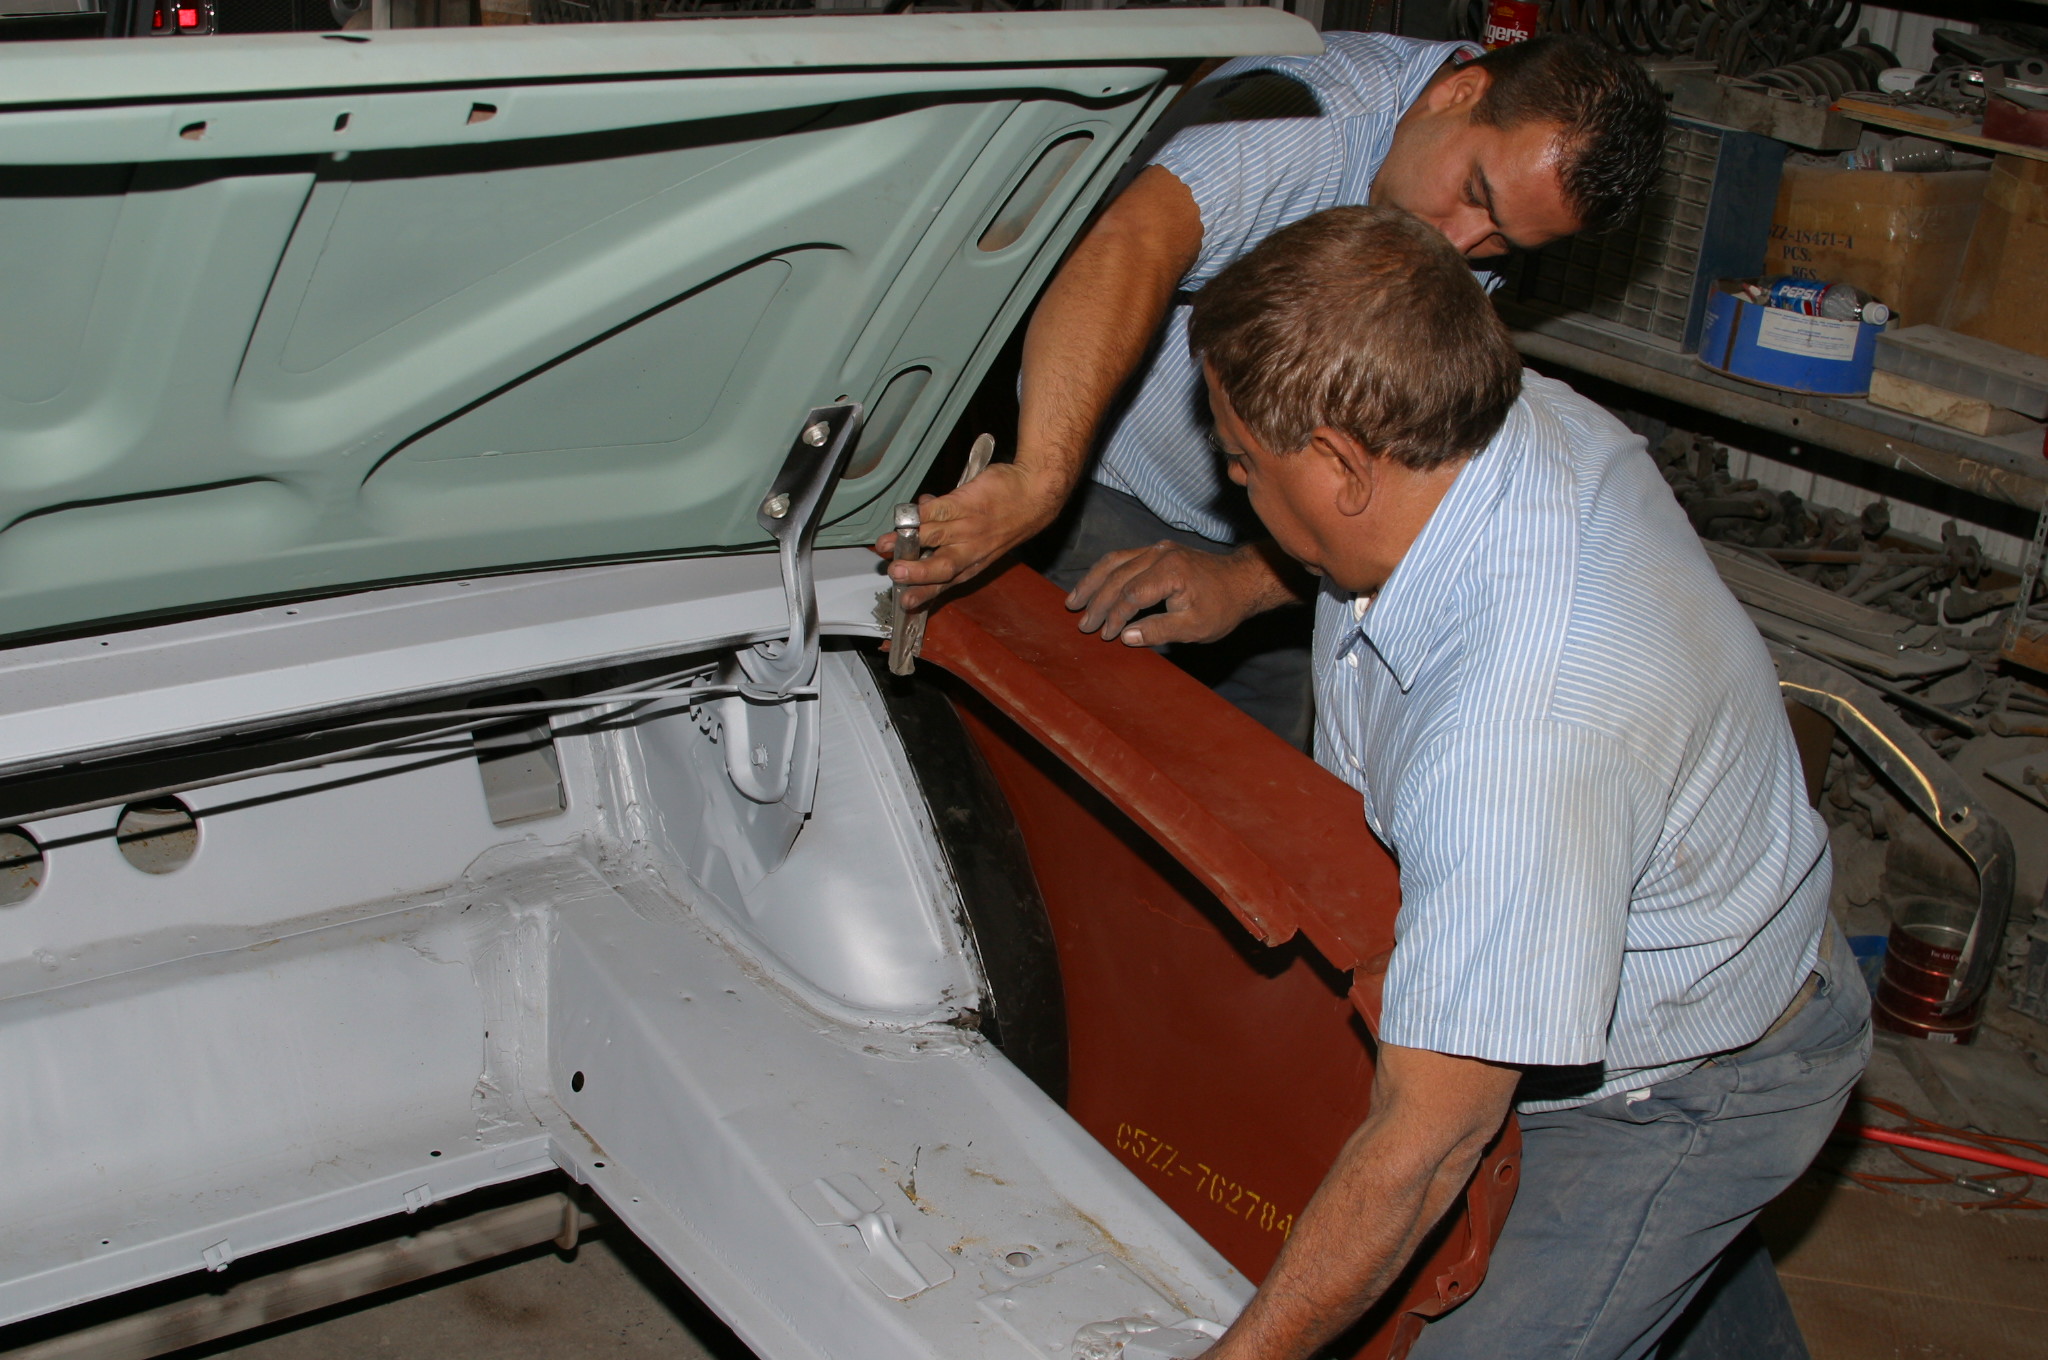
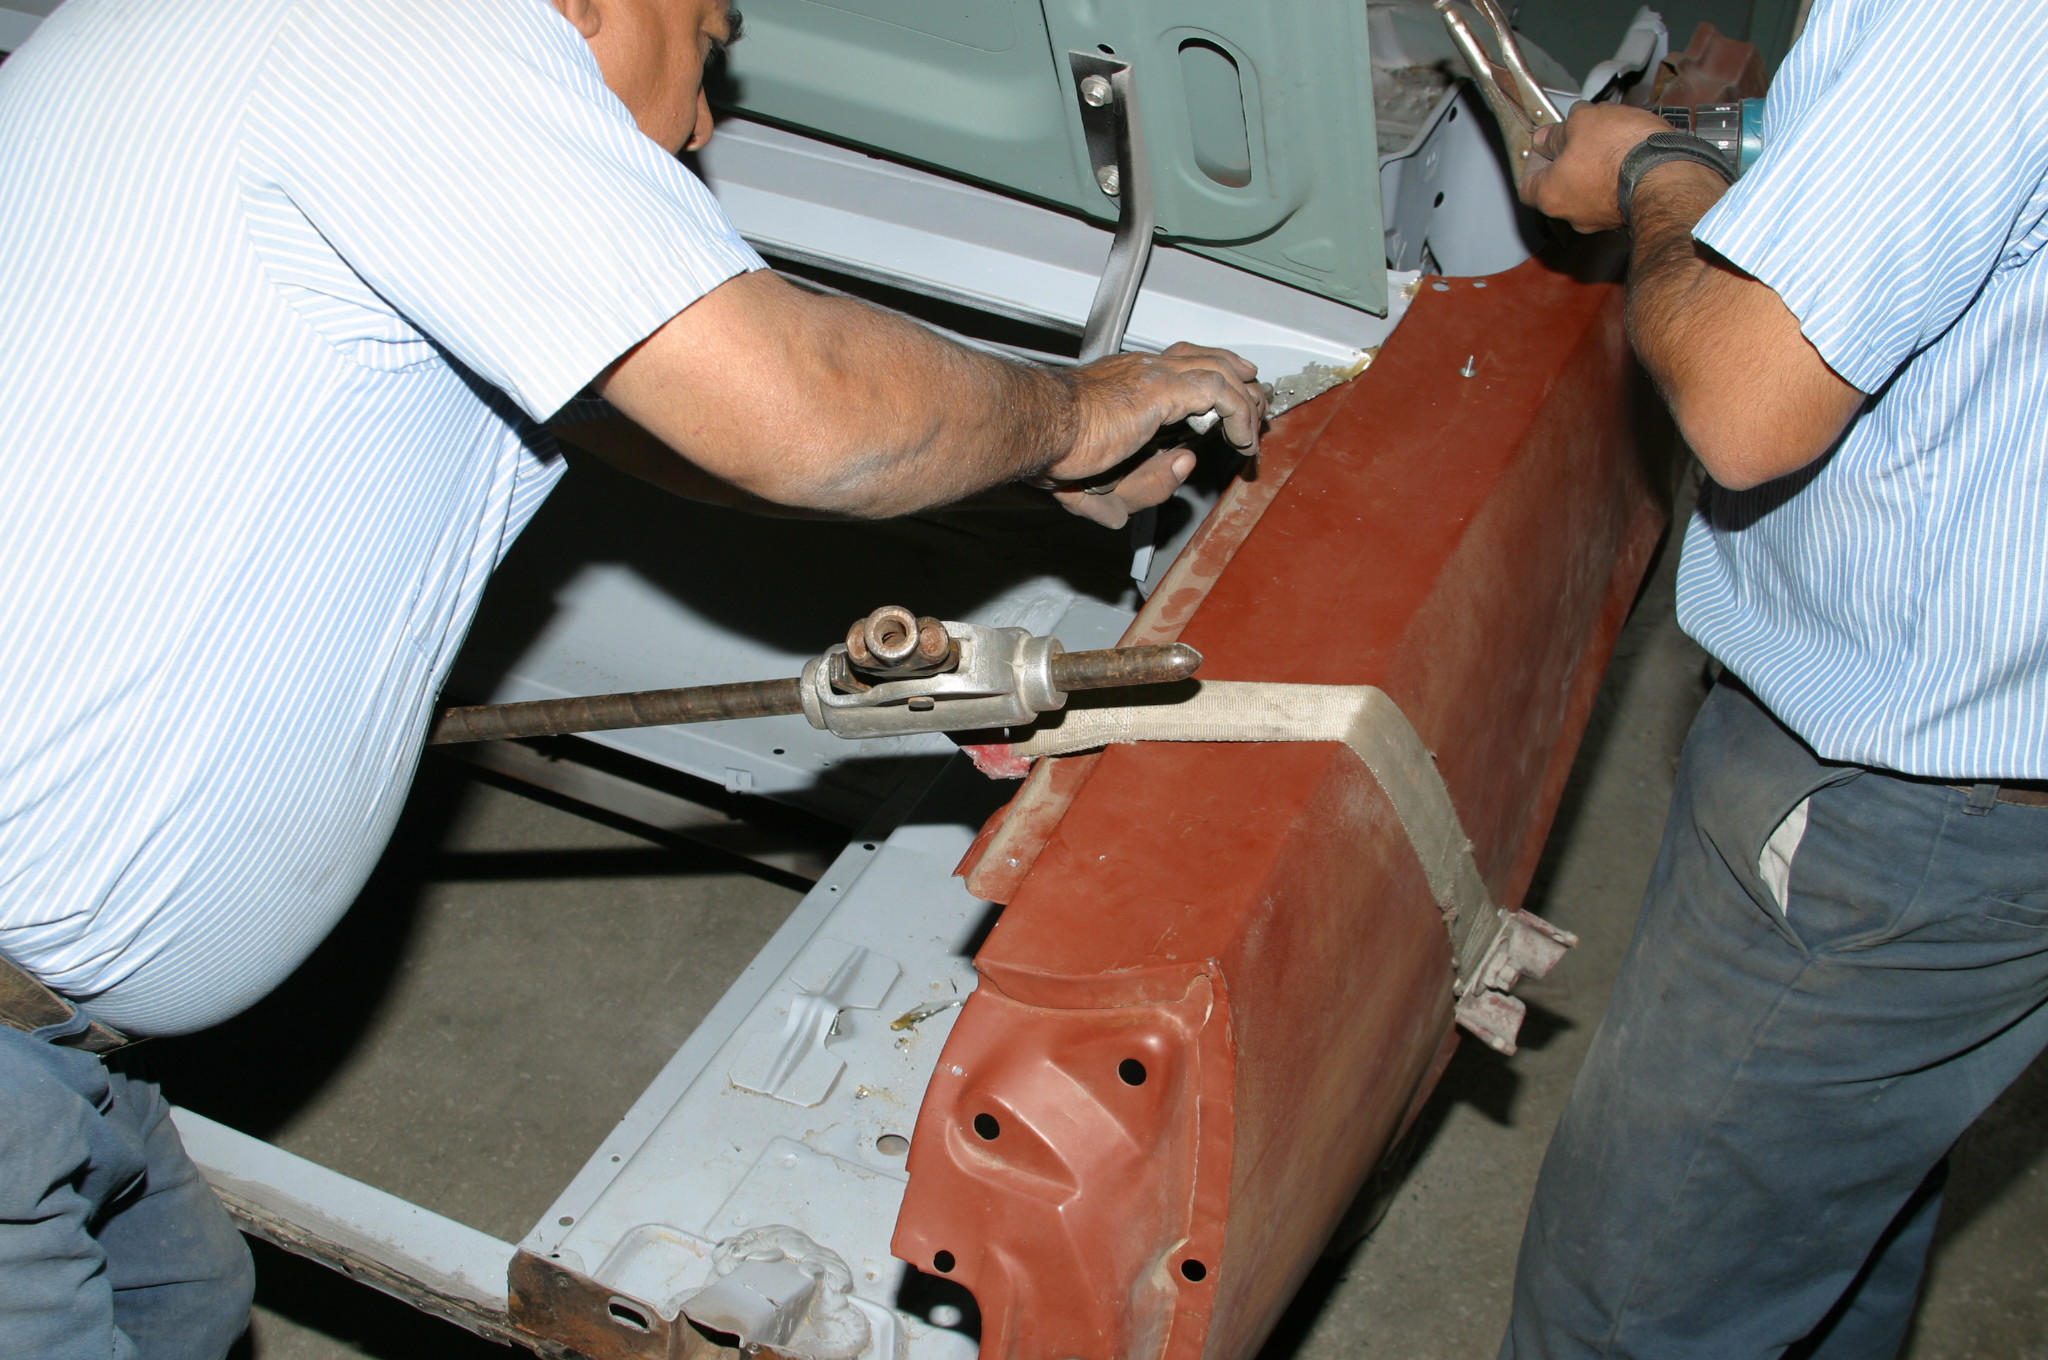
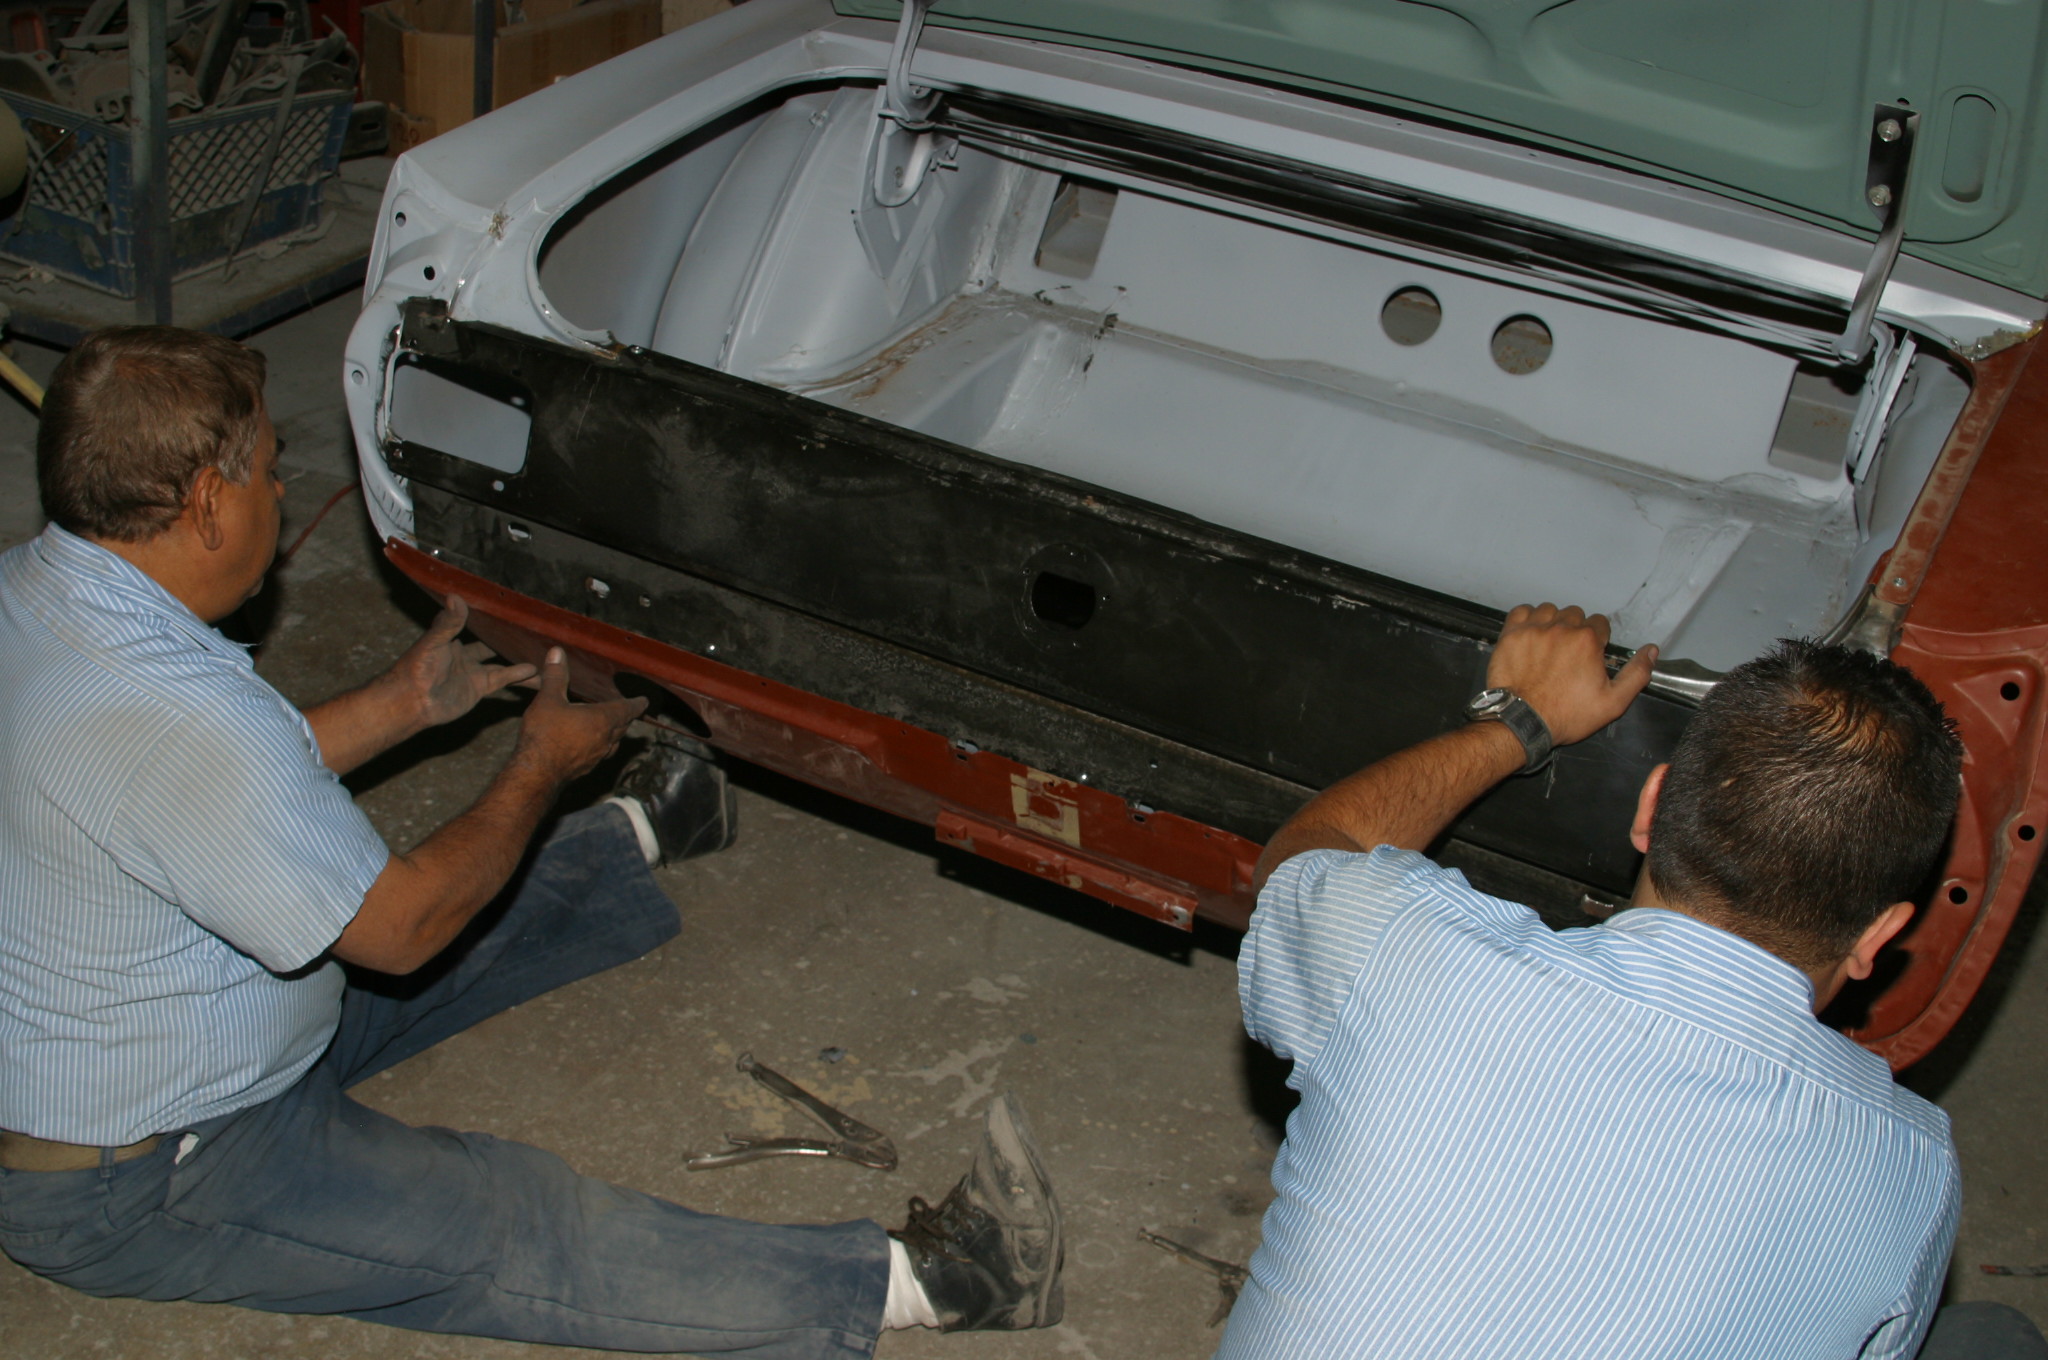
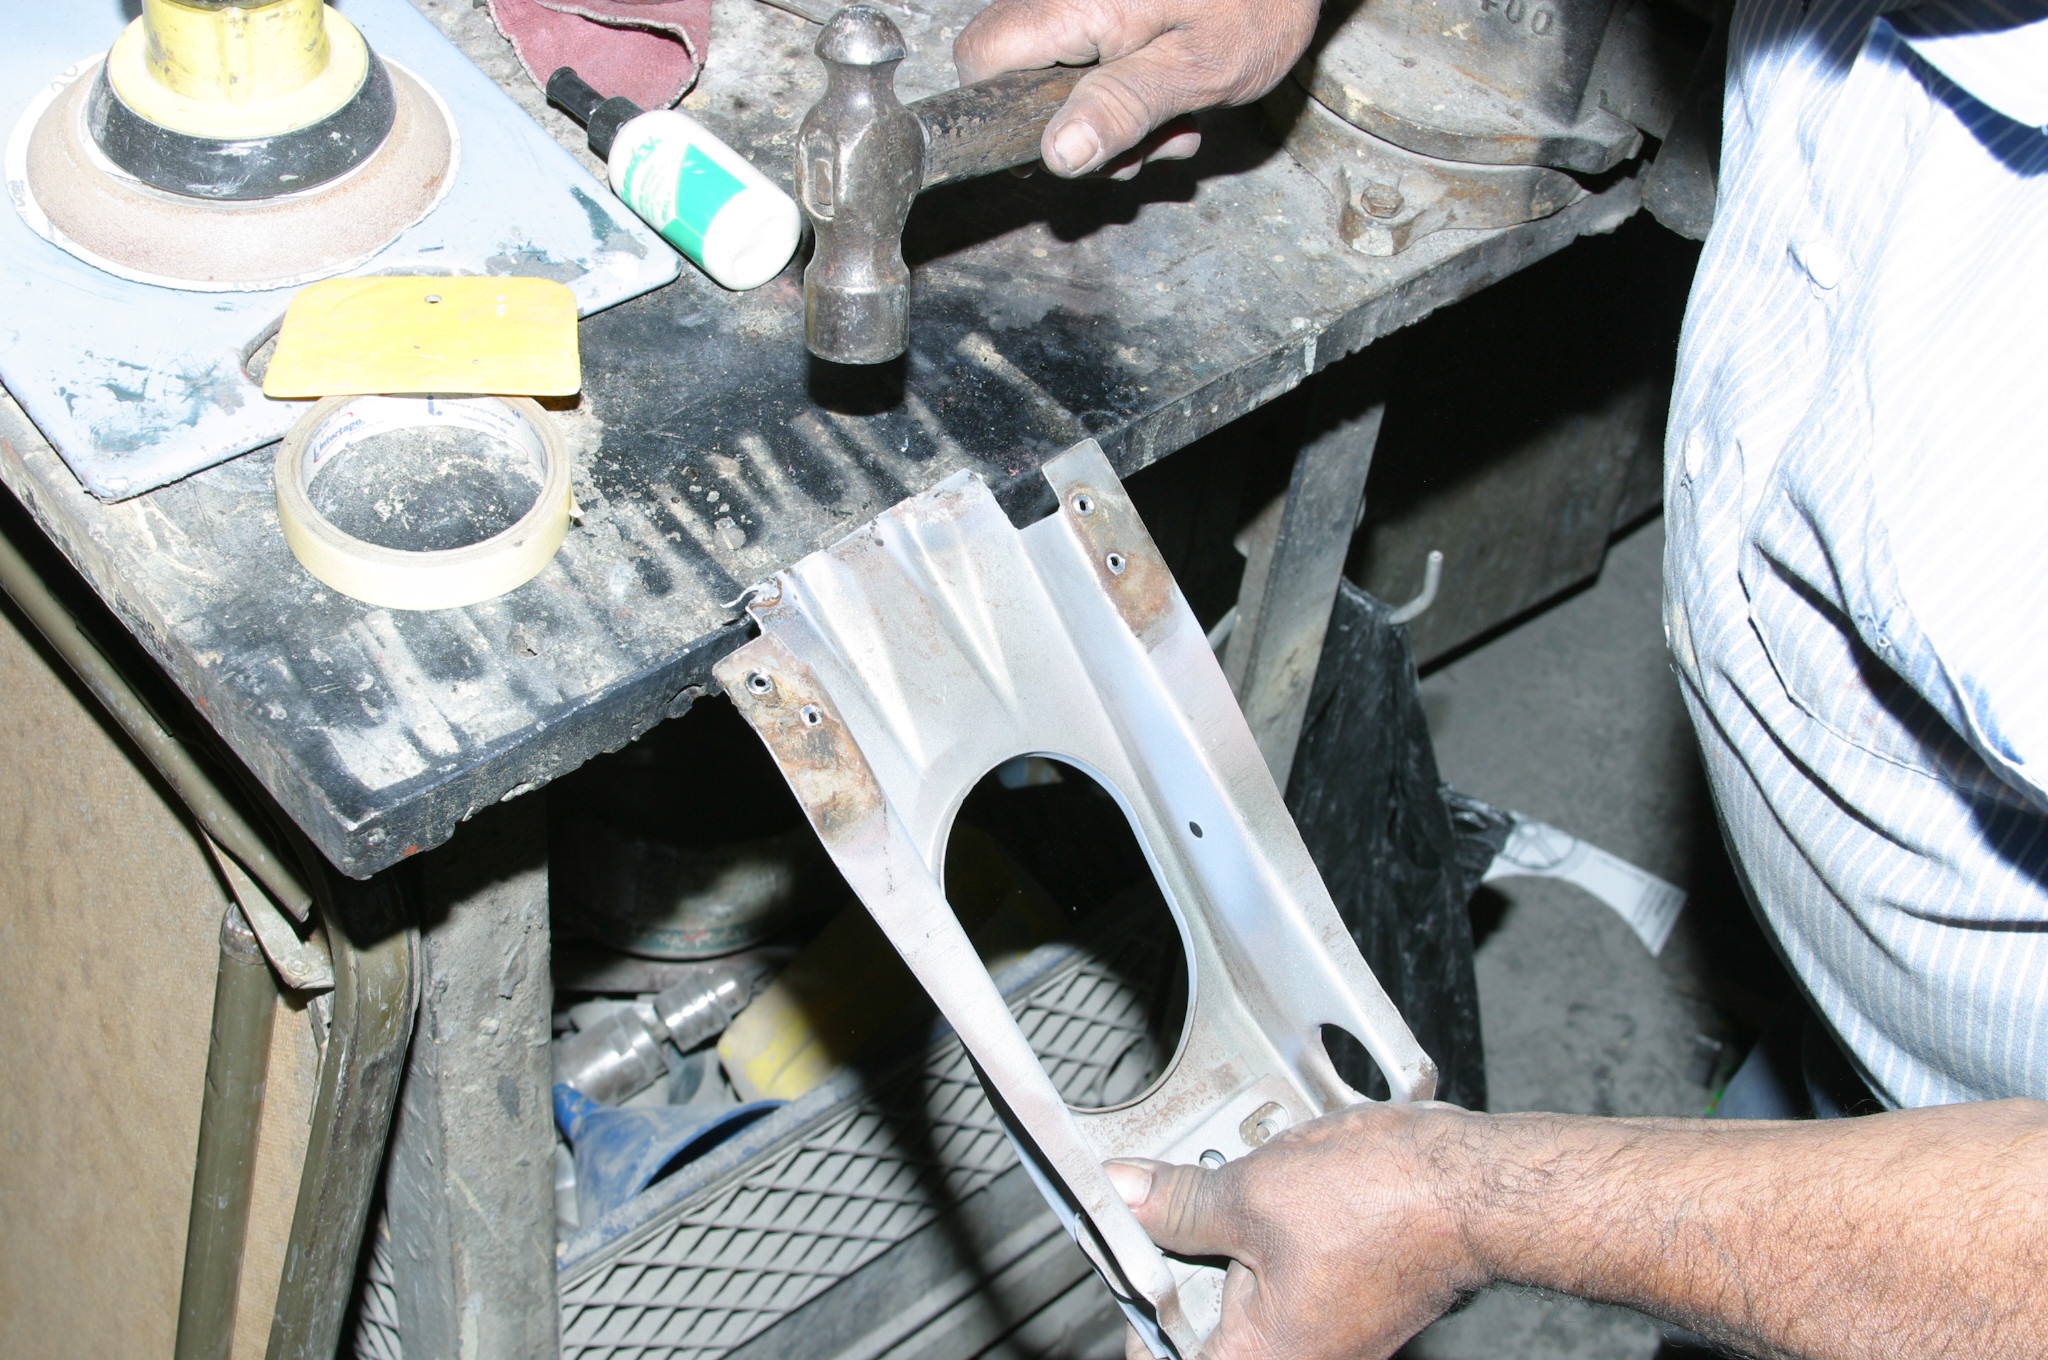
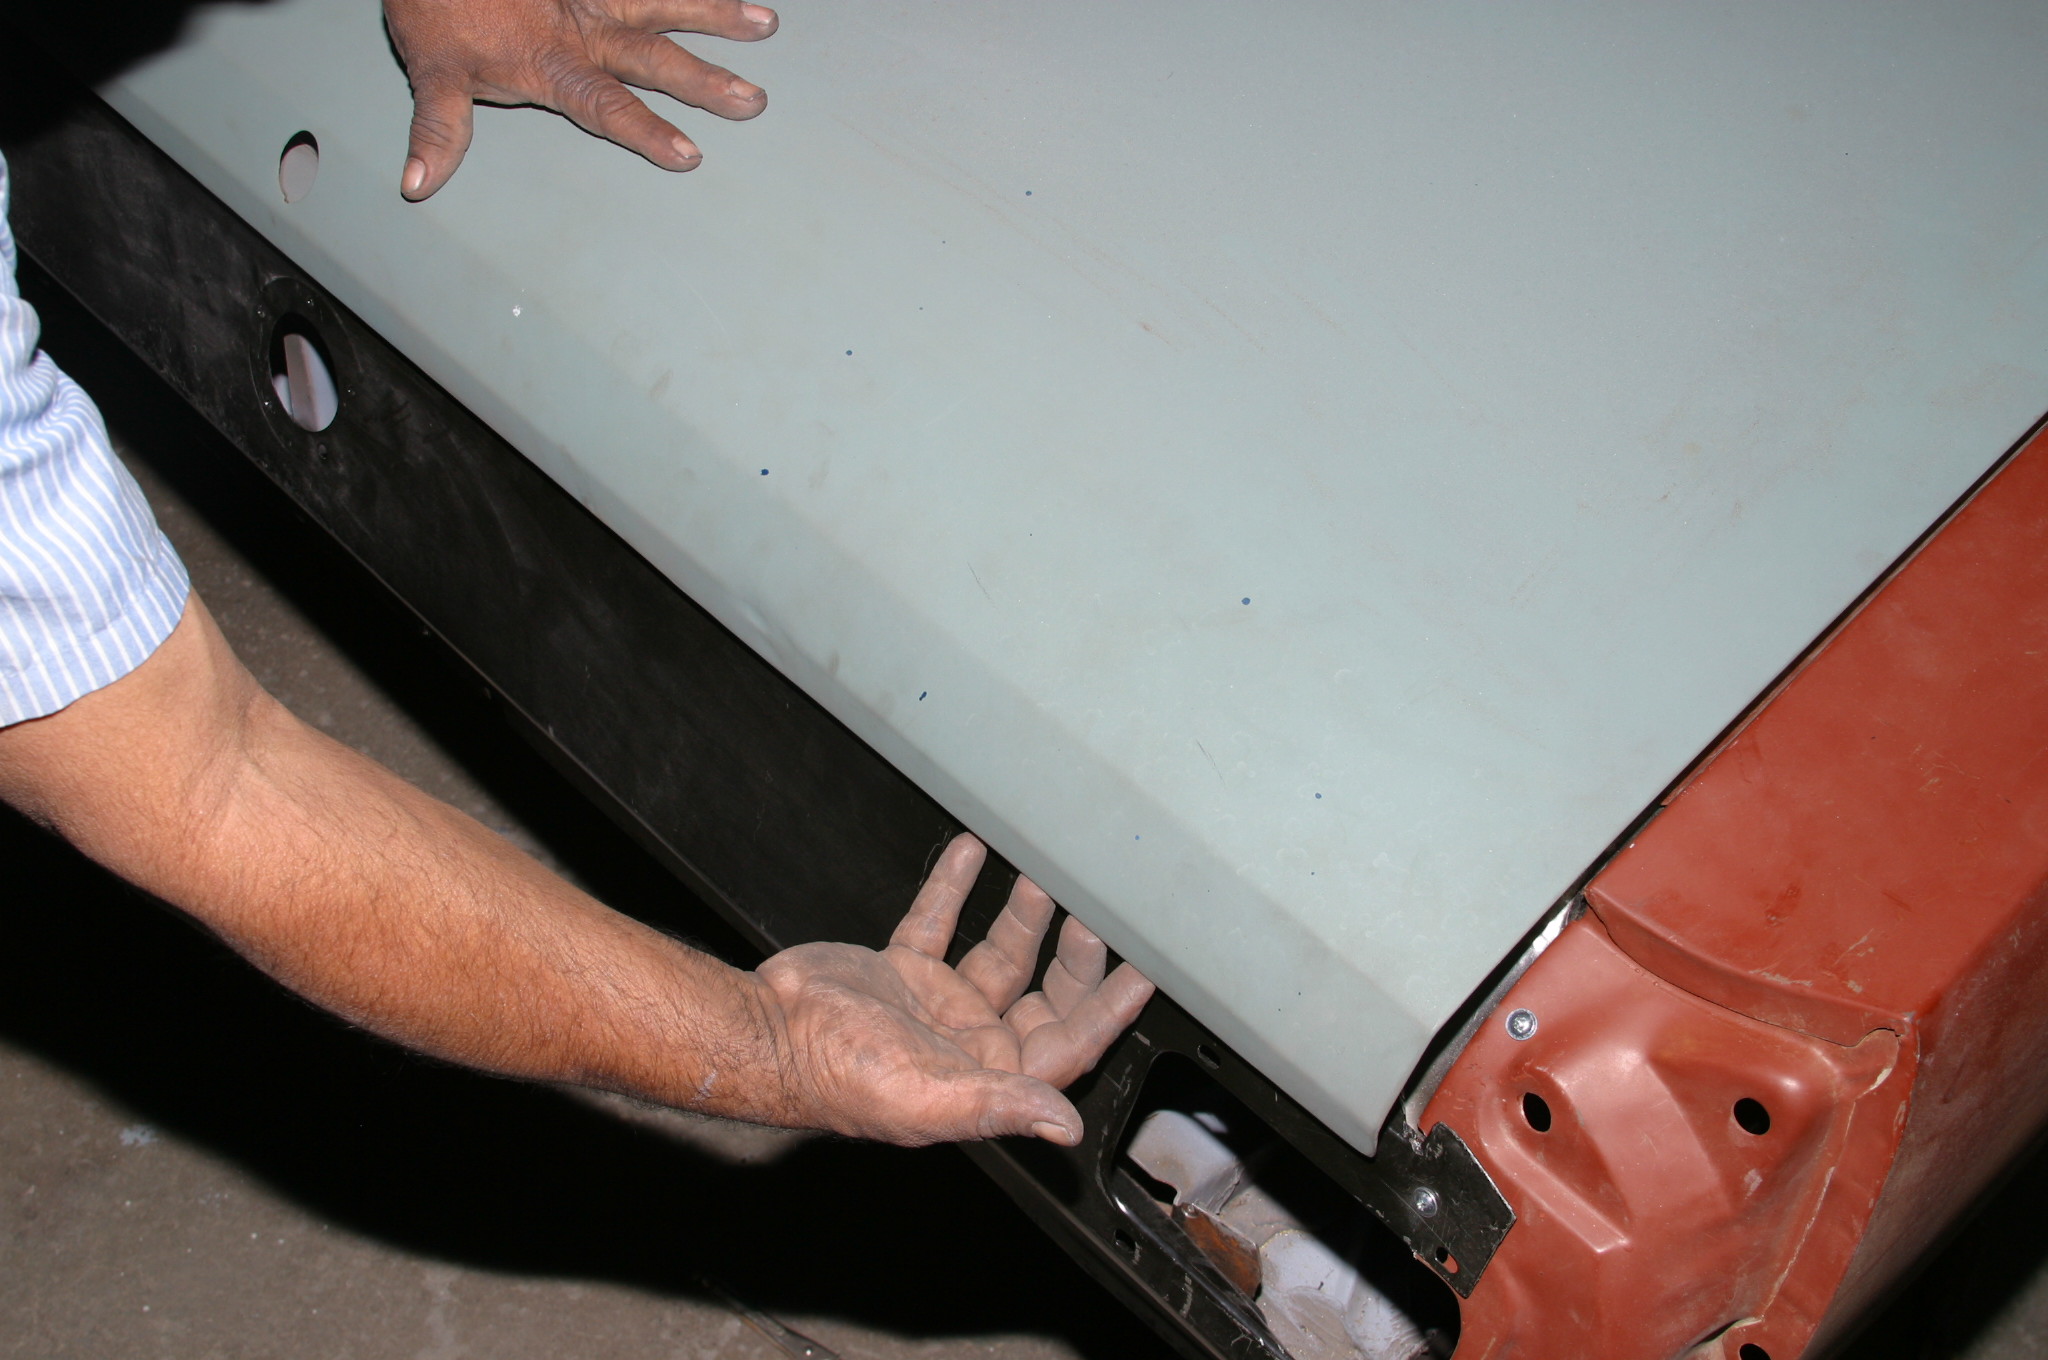
We’re working with a 1965 Ford Mustang convertible with a damaged quarter panel and tail panel—dented and loaded with body filler. To get the job done right, both panels need to be replaced. (Image/Jim Smart)You do have choices when it comes to replacement sheet metal. Online auctions offer original factory new-old-stock panels, which can be very expensive and hard to come by. (Image/Jim Smart)Reproduction sheet metal panels from Summit Racing offer excellent quality and crisp lines along with E-coat corrosion protection. Properly installed, they defy detection. (Image/Jim Smart)First order of business is to mount existing bolt-on body components and perform a fit check. Check gaps, which should normally be roughly 1/8 to 3/16 inch. Then, tighten bolts and check gaps again. A good unit of measurement is the humble paint stick used for gapping, which is available at any hardware or paint store. (Image/Jim Smart)This is a spot weld cutter, which is used to bore out the factory spot welds. You’re going to need plenty of cutter tips. (Image/Jim Smart)Carefully bore out the factory spot welds and take your time. Spot weld cutters don’t always carve out the entire spot weld, which calls for careful chiseling and grinding. Get the tip centered on the spot weld and lean into it. You may also use a lubricant, which saves wear and tear on the cutter. (Image/Jim Smart) Bore through the first layer of steel. Do not bore through the base steel. (Image/Jim Smart)Some factory welds are brazed or stick welded. They have to be ground and chiseled. (Image/Jim Smart)Be careful not to distort the steel. (Image/Jim Smart)This gusset secures the tail panel to the rear frame rail and trunk pan. Spot welds are drilled out from the outside. (Image/Jim Smart)The gusset does not have to be removed, but instead detached from the tail panel. (Image/Jim Smart)The best way to remove the quarter panel is to cut the panel out away from the seams, then, remove the remains at the seams as shown. (Image/Jim Smart)(Image/Jim Smart)Once the tail and quarter panel have been removed, all mating surfaces must be ground to bare metal for good welding penetration. It is a good idea to use a weld-through primer for corrosion protection when it is time to install panels. (Image/Jim Smart)The wheelhouse has been removed. Mating surfaces are cleaned up with a grinding wheel—again for good weld penetration. (Image/Jim Smart)The new replacement wheelhouse will be drilled at the mating surfaces for rosette (plug and fill) welding. (Image/Jim Smart)The new wheelhouse is fit checked and clamped to the platform. Expect there to be some trimming to achieve perfect fit. (Image/Jim Smart)(Image/Jim Smart)(Image/Jim Smart)Screw holes are drilled for temporary fitment. They also serve as good alignment holes when welding begins. (Image/Jim Smart)Some trimming is required depending upon body style and factory panel fitment. This is a reproduction wheelhouse, available from Summit Racing. (Image/Jim Smart)A quality panel crimping tool is a “must have” because it enables you to do a factory fit where panels join. Watch your fingers while using this guy. (Image/Jim Smart)Holes are drilled for rosette welding, then, all mating surfaces ground down to bare steel for good penetration. (Image/Jim Smart)The wheelhouse, as well as the quarter and tail panels, are rosette welded to the body platform. (Image/Jim Smart)Rosette welding is nothing more than welding and filling drilled holes for a solid bond. (Image/Jim Smart)Rosette welds look like this. They can be ground smooth to perfect the surface. If you are seeking a factory spot weld look, you can achieve the look with a punch and bucking bar. The punch tip leaves a round “dent” which looks like a spot weld. (Image/Jim Smart)Because we’re working with a convertible, some wheelhouse modification is required to clear the convertible top mechanism. The steel is heated and worked for clearance issues. (Image/Jim Smart)(Image/Jim Smart)(Image/Jim Smart)This is a new old stock quarter panel, which was what the customer wanted, hence the Ford part number. Excellent quality reproduction quarter panels are available from Summit Racing and are certainly more affordable than NOS quarters. It is all in what you want from a restoration. If you’re doing a concours restoration, opt for the Ford quarter. If you’re doing a restomod driver, the reproduction quarter and tail panels make more sense. (Image/Jim Smart)Quarter panel fitment is a painstaking process because it commands your every attention. You must pay close attention to the factory seams and lock in the panel with clamps. (Image/Jim Smart)Check trunk lid and door gaps before any welding is performed. Again, a paint stick is a reliable unit of measurement for door, deck, and hood gaps. (Image/Jim Smart)The best approach to panel fitment is to lock in fit with sheet metal screws once fitment is established. Once screws are installed, check fit again. (Image/Jim Smart)Body panel fitment is a tedious process and a team effort. Tail panel fitment and the bottom valence panel must fit perfectly. The challenge with tail and valence panel fit is some irregularities in both Ford and reproduction valance panels. Gaps between the quarter panel and valance can be frustrating. (Image/Jim Smart)This is the gusset that goes midship at the fuel filler neck (Mustang). This gusset is dollied to perfect mating surfaces. It will be welded to the tail panel and trunk floor. (Image/Jim Smart)Sheet metal “button head” screws are used to temporarily secure panels. Again—keep checking gaps as you go. Once it is all welded in place, you are stuck with the result unless you don’t mind tearing it all apart again. (Image/Jim Smart)The tail panel is temporarily secured with screws, with gaps checked again and again before welding. (Image/Jim Smart)This is why body shops charge a lot for sheet metal work and rust repair. This is a very tedious process. All panels have been drilled for rosette welding. (Image/Jim Smart)
Jim Smart is a veteran automotive journalist, technical editor, and historian with hundreds of how-to and feature articles to his credit. Jim's also an enthusiast, and has owned and restored many classic vehicles, including an impressive mix of vintage Ford Mustangs.


Comments