Delco made some of the industry’s best distributors back in the day. They are well thought out durable ignition systems. The automotive aftermarket has copped some elements from these classic GM factory distributors (including the top-mounted, easy to tune centrifugal advance mechanism).
It was a great design then—and it remains a great innovative piece of engineering more than a half-century later.
The traditional Delco point-triggered distributor with adjustment window came as an act of necessity. It came of the need for an easy-to-tune ignition system that could be tuned in minutes via an adjustment window for ignition points where only some dwell adjustment was needed. And, should ignition point and condenser replacement be required, replacement could be performed in minutes, with ease of adjustment via the window. More than a half-century later, the Delco “dizzy” remains the gold standard for factory point-style ignition systems.
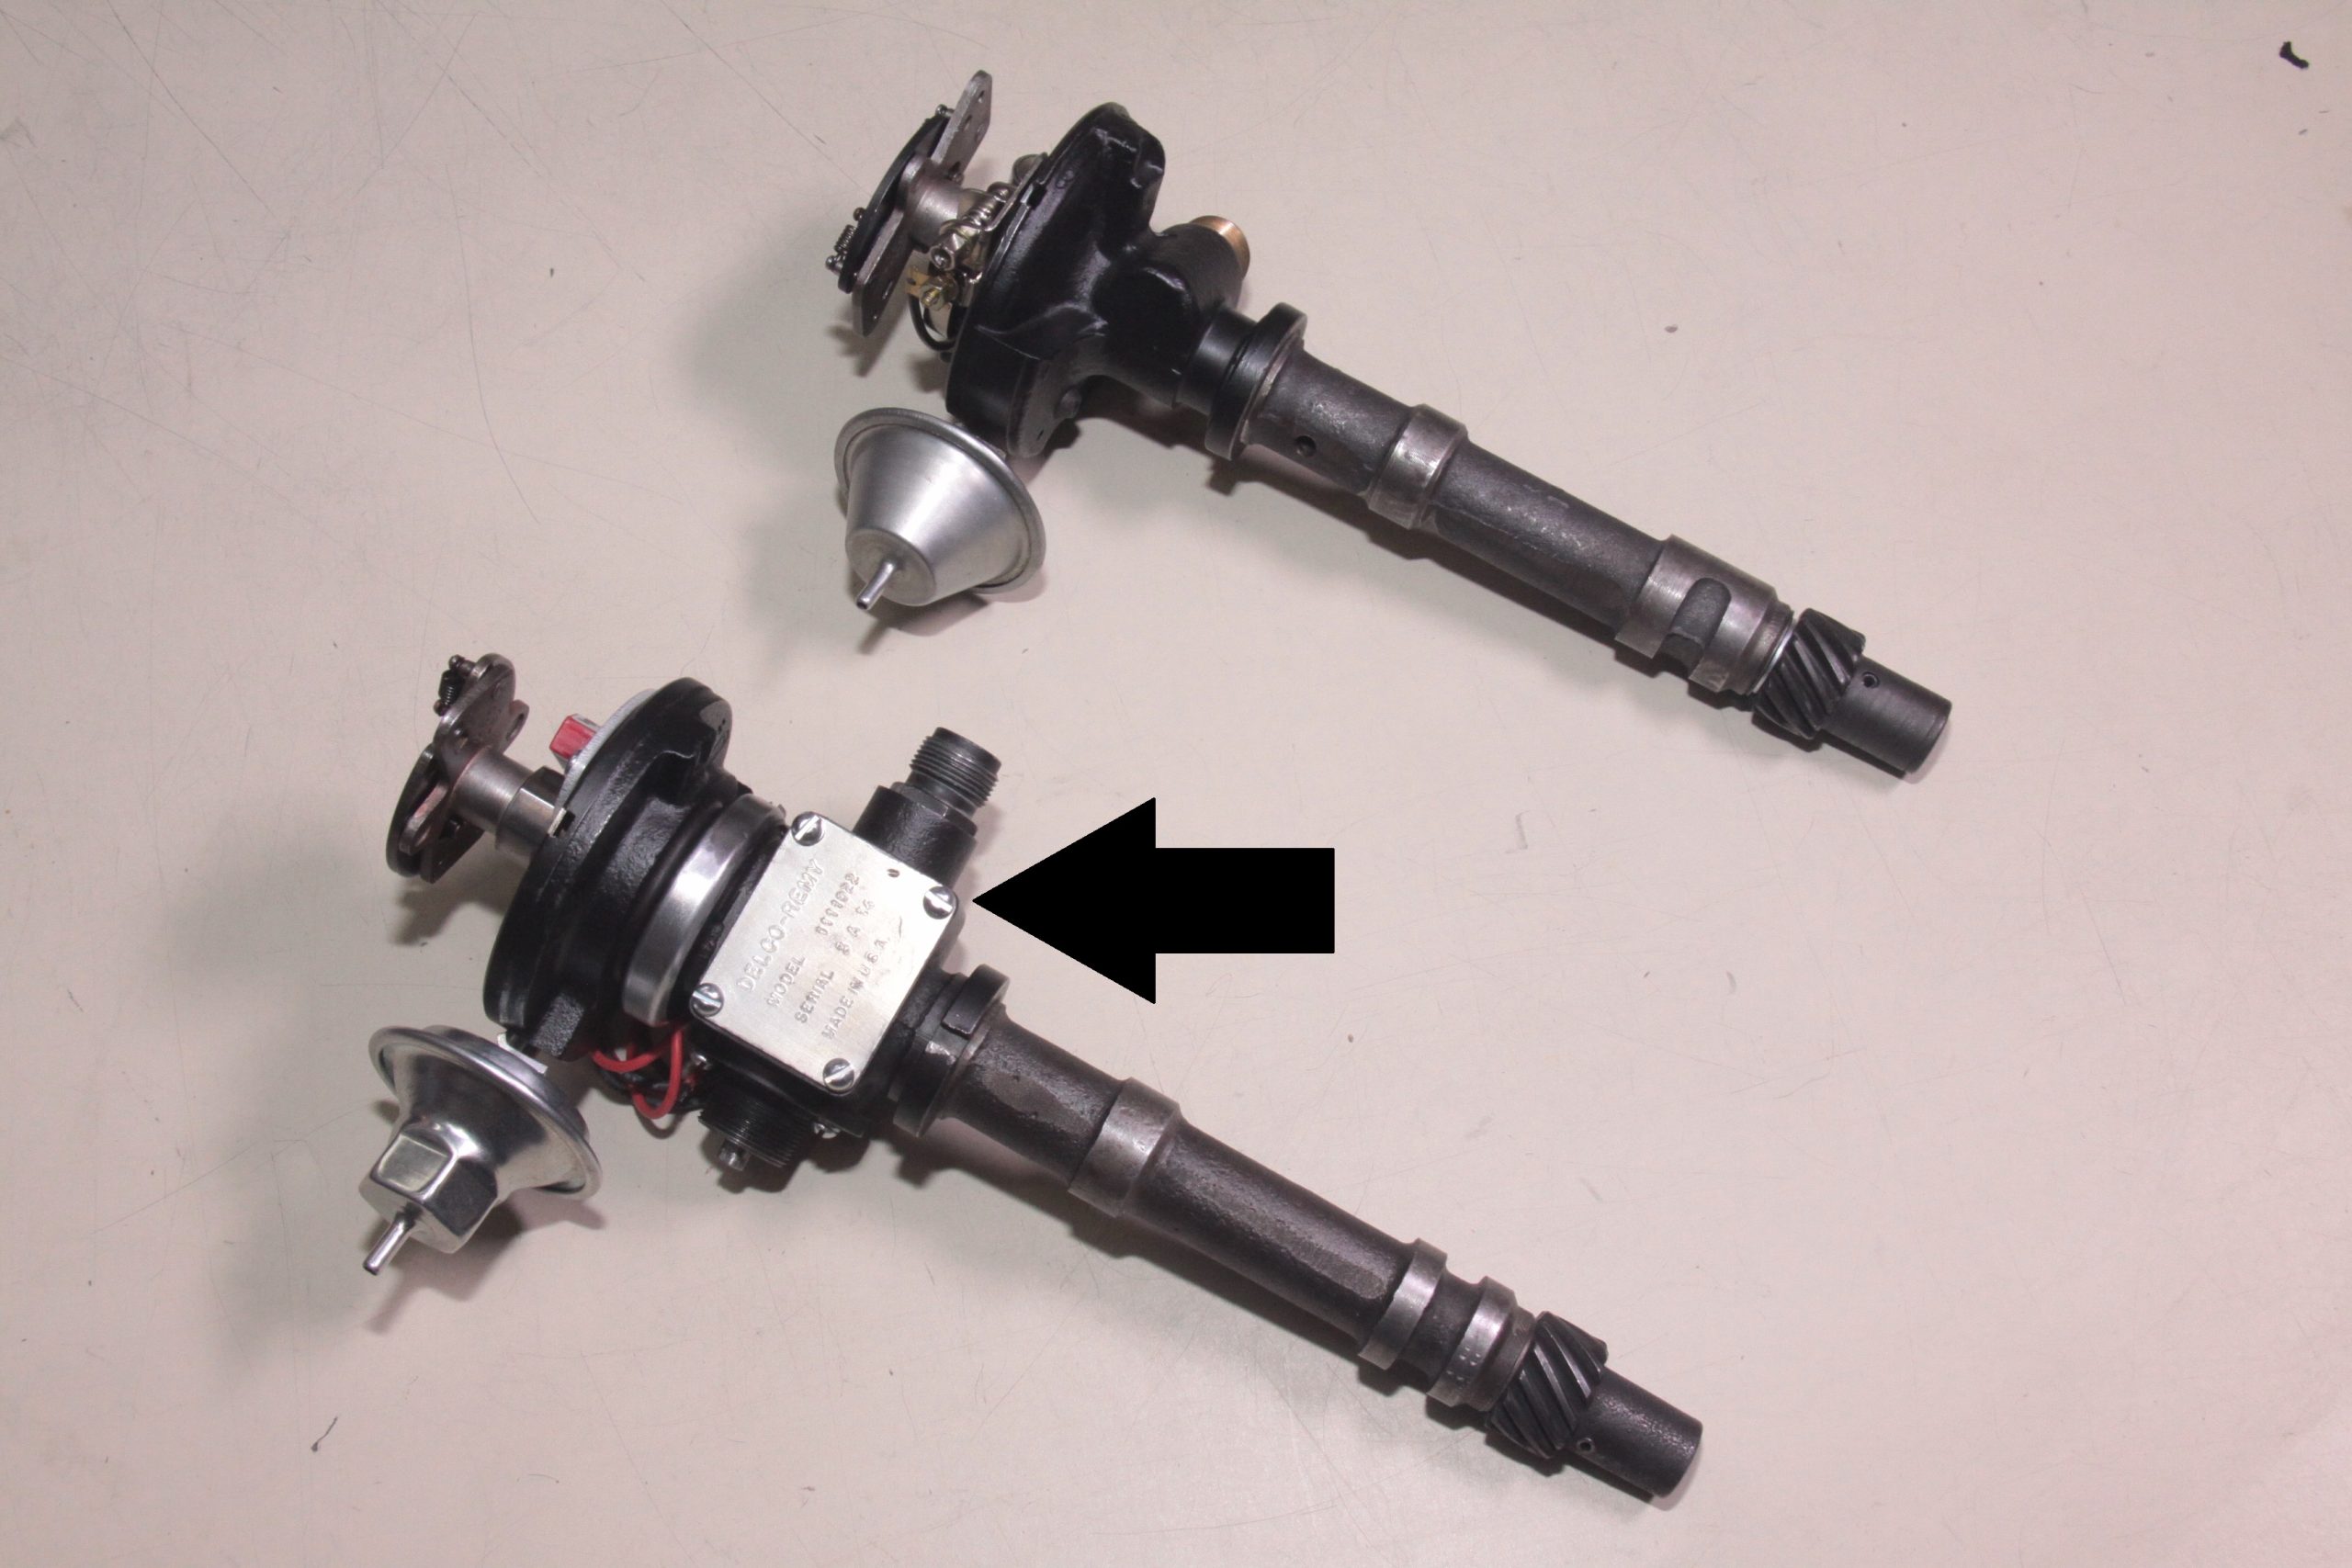
What makes the “Fuelie” tach-drive distributor different than a tach-drive distributor is the dual-drive, which powers the optional Rochester mechanical fuel injection immediately in front of the distributor. It drives both the tachometer and the fuel injection induction system.
We’re going to take a tach-drive Delco “Fuelie” distributor and freshen it up with new parts and a Pertronix Ignitor II retrofit ignition module. The Pertronix Ignitor drop-in ignition system has been around for decades and remains one of the most innovative retrofits we can think of because it is so easy to install and never has to be maintained.
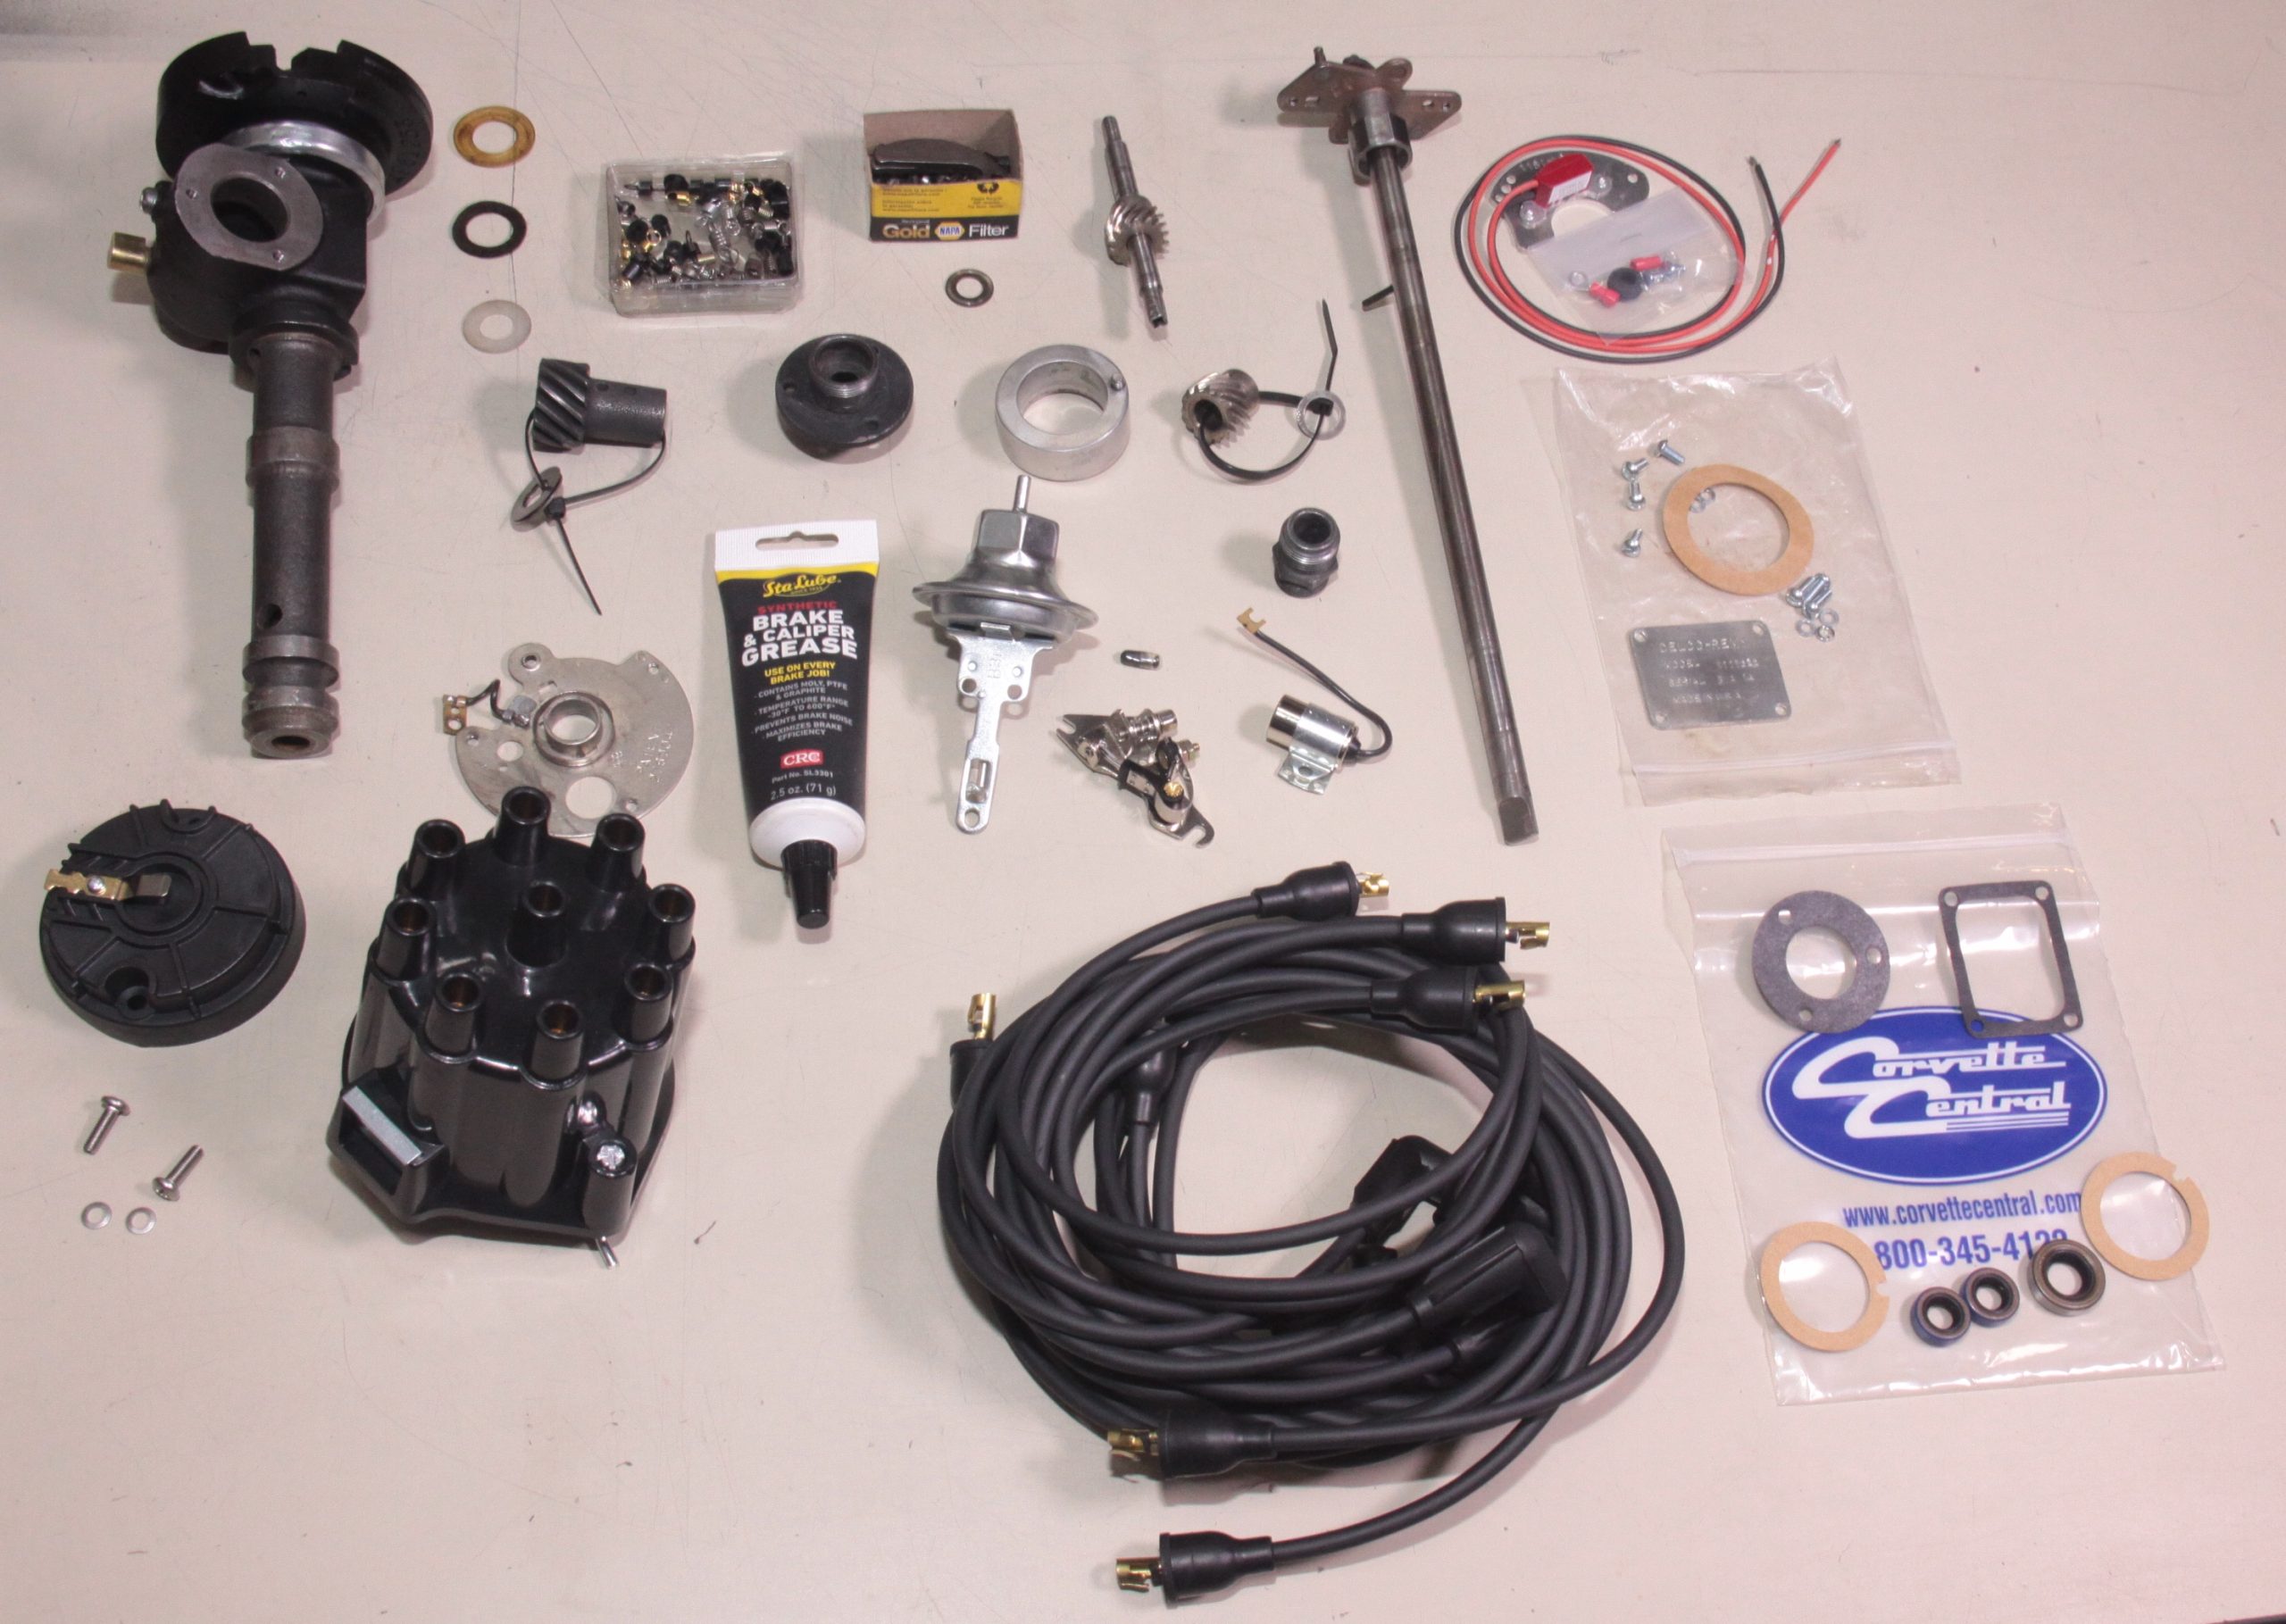
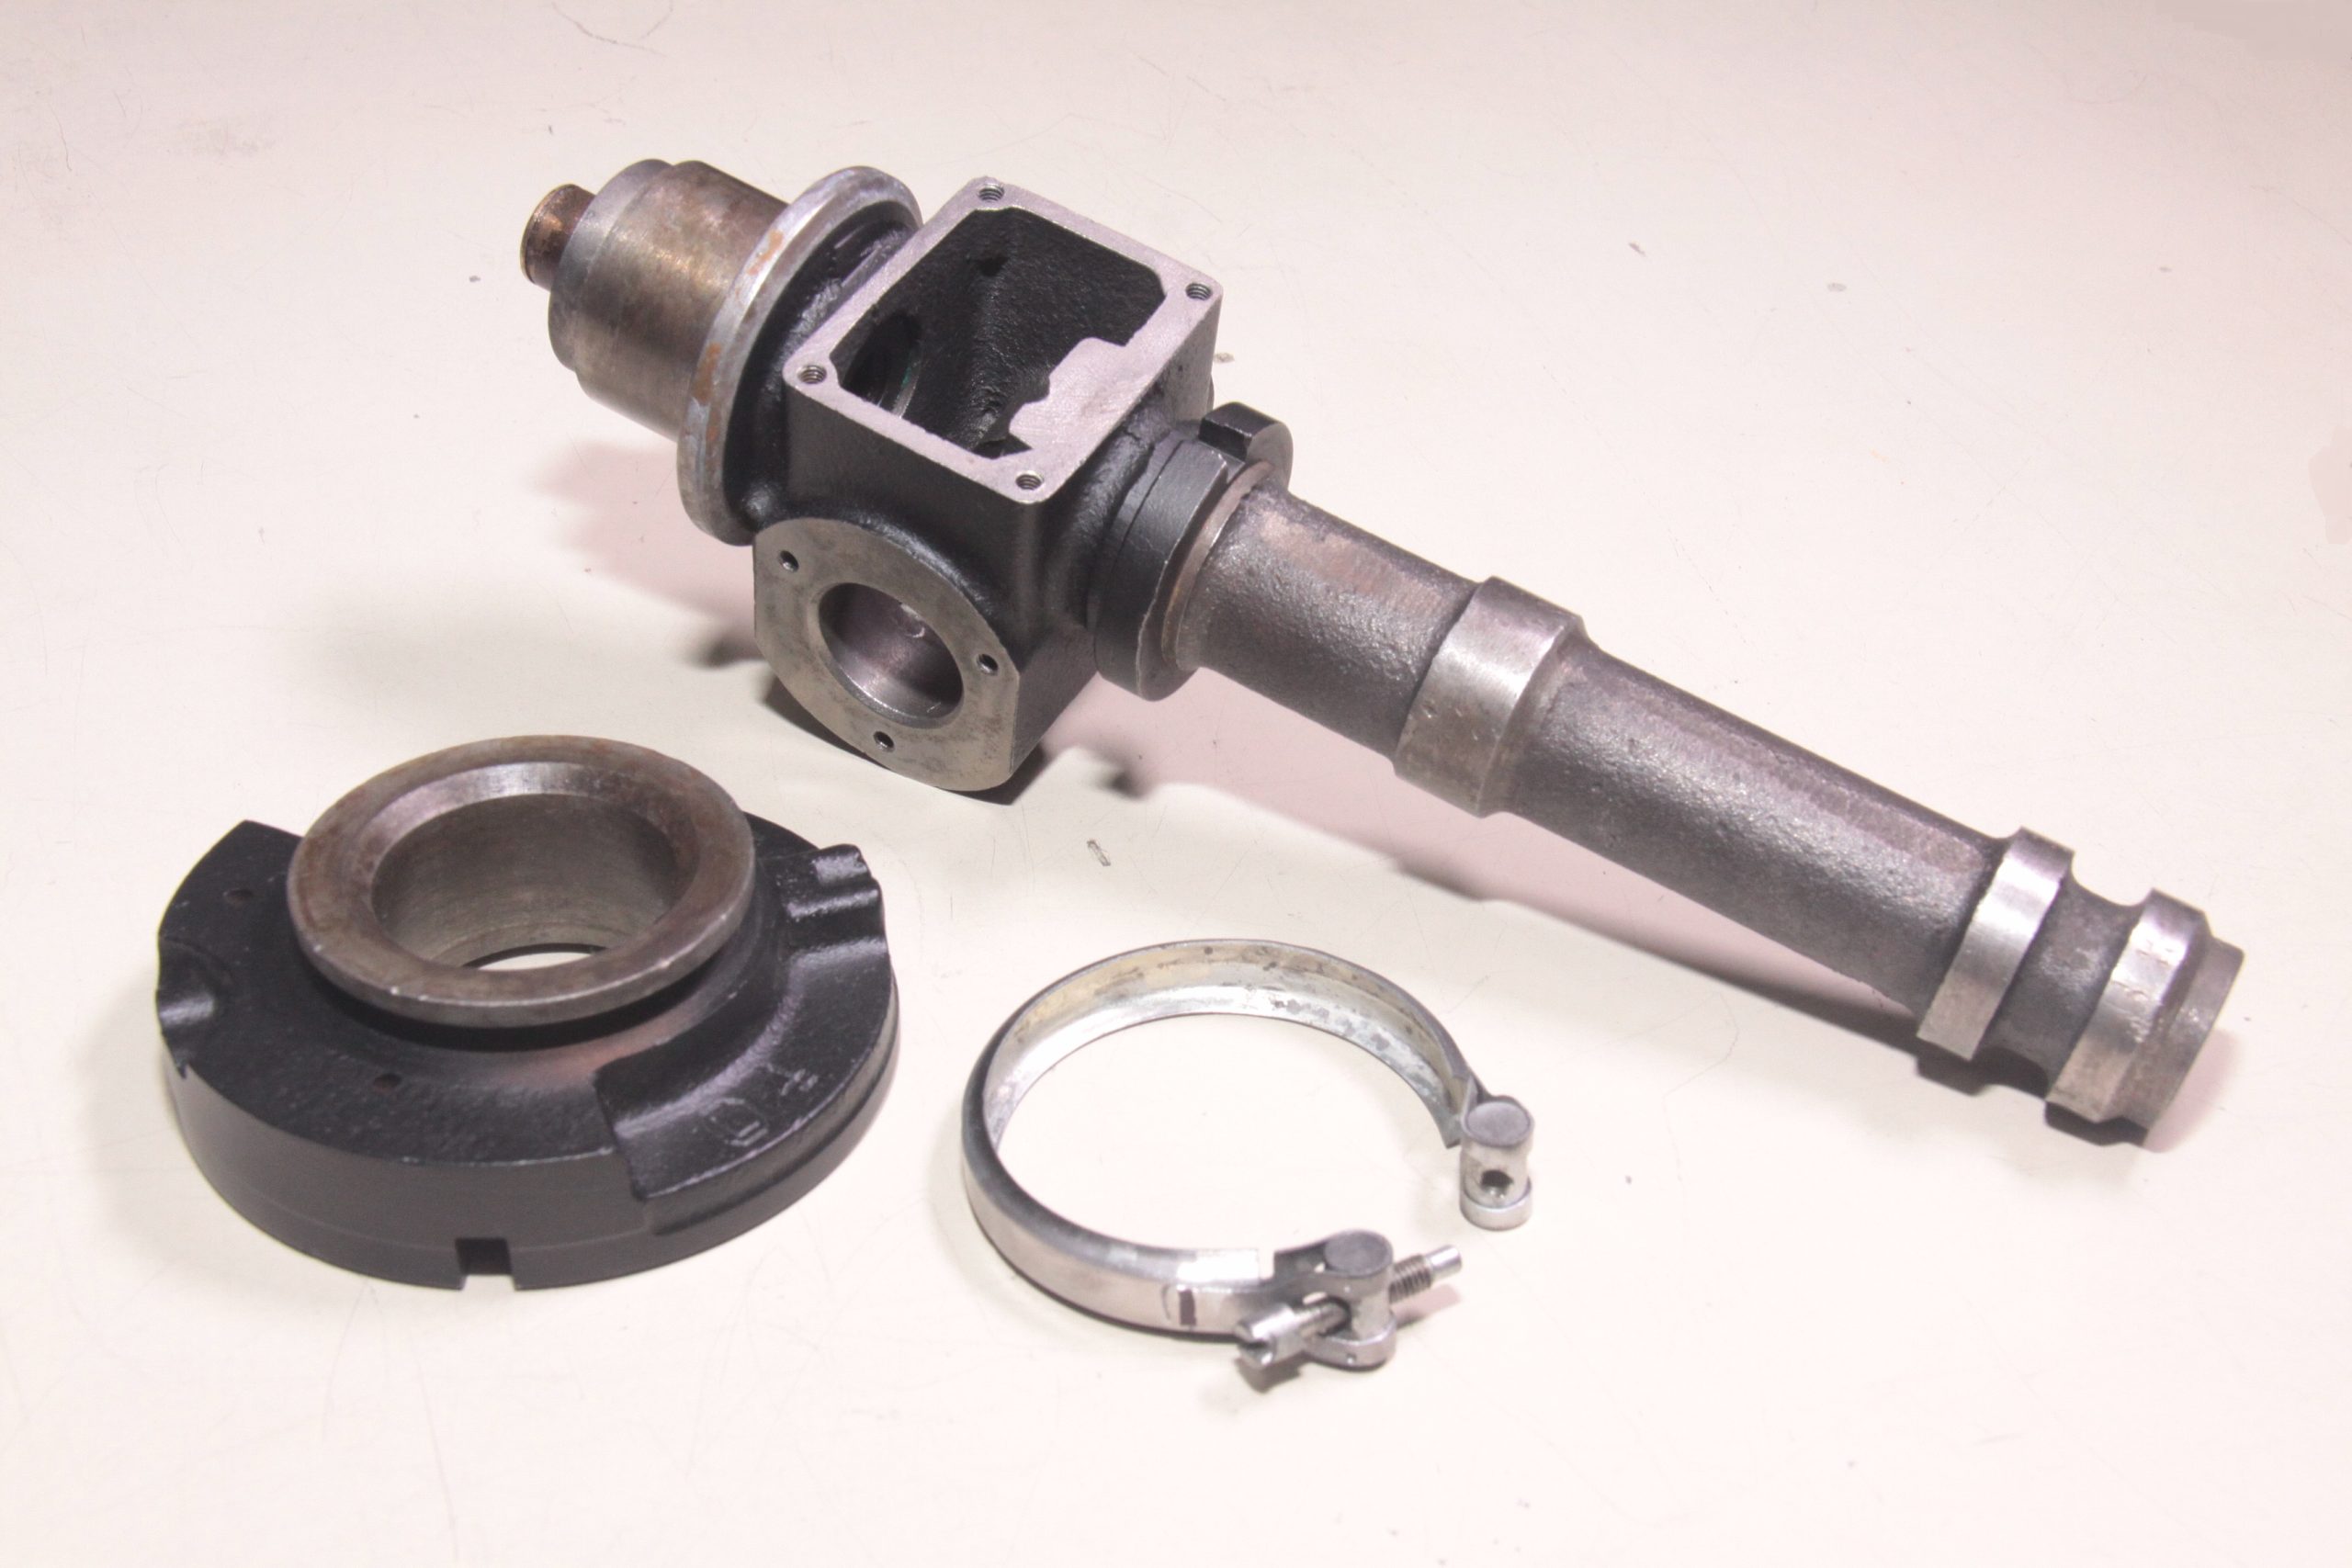
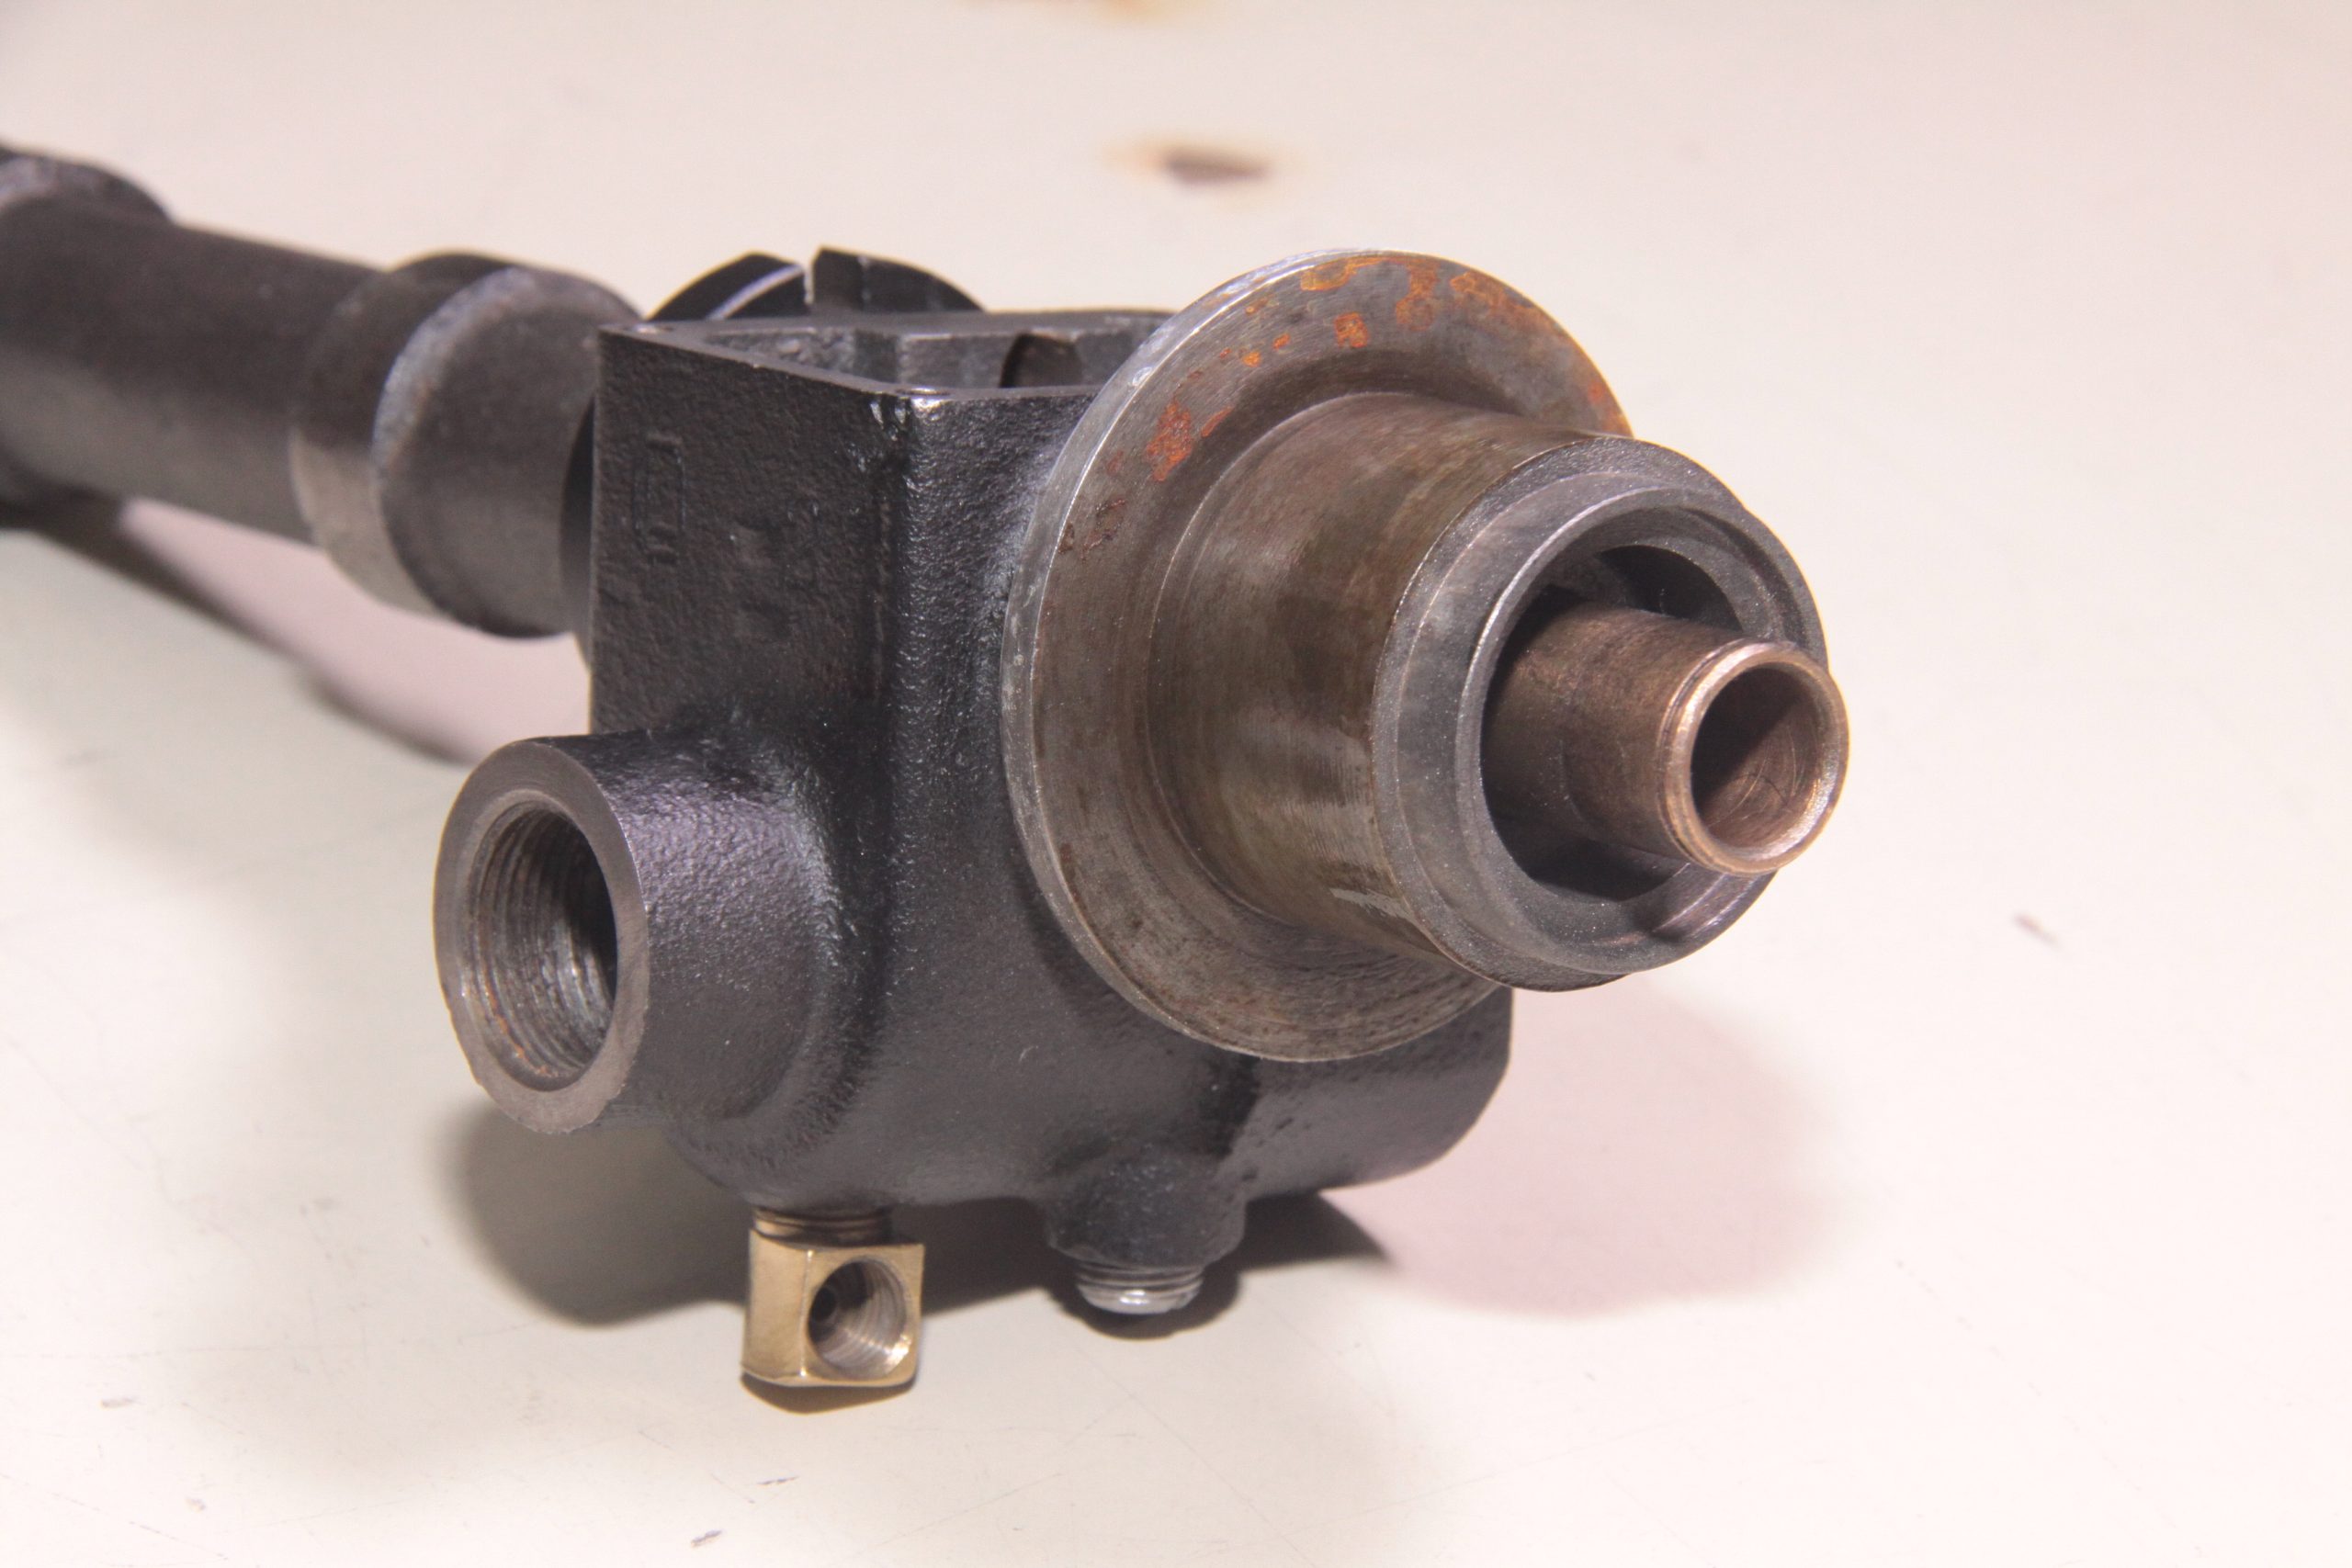
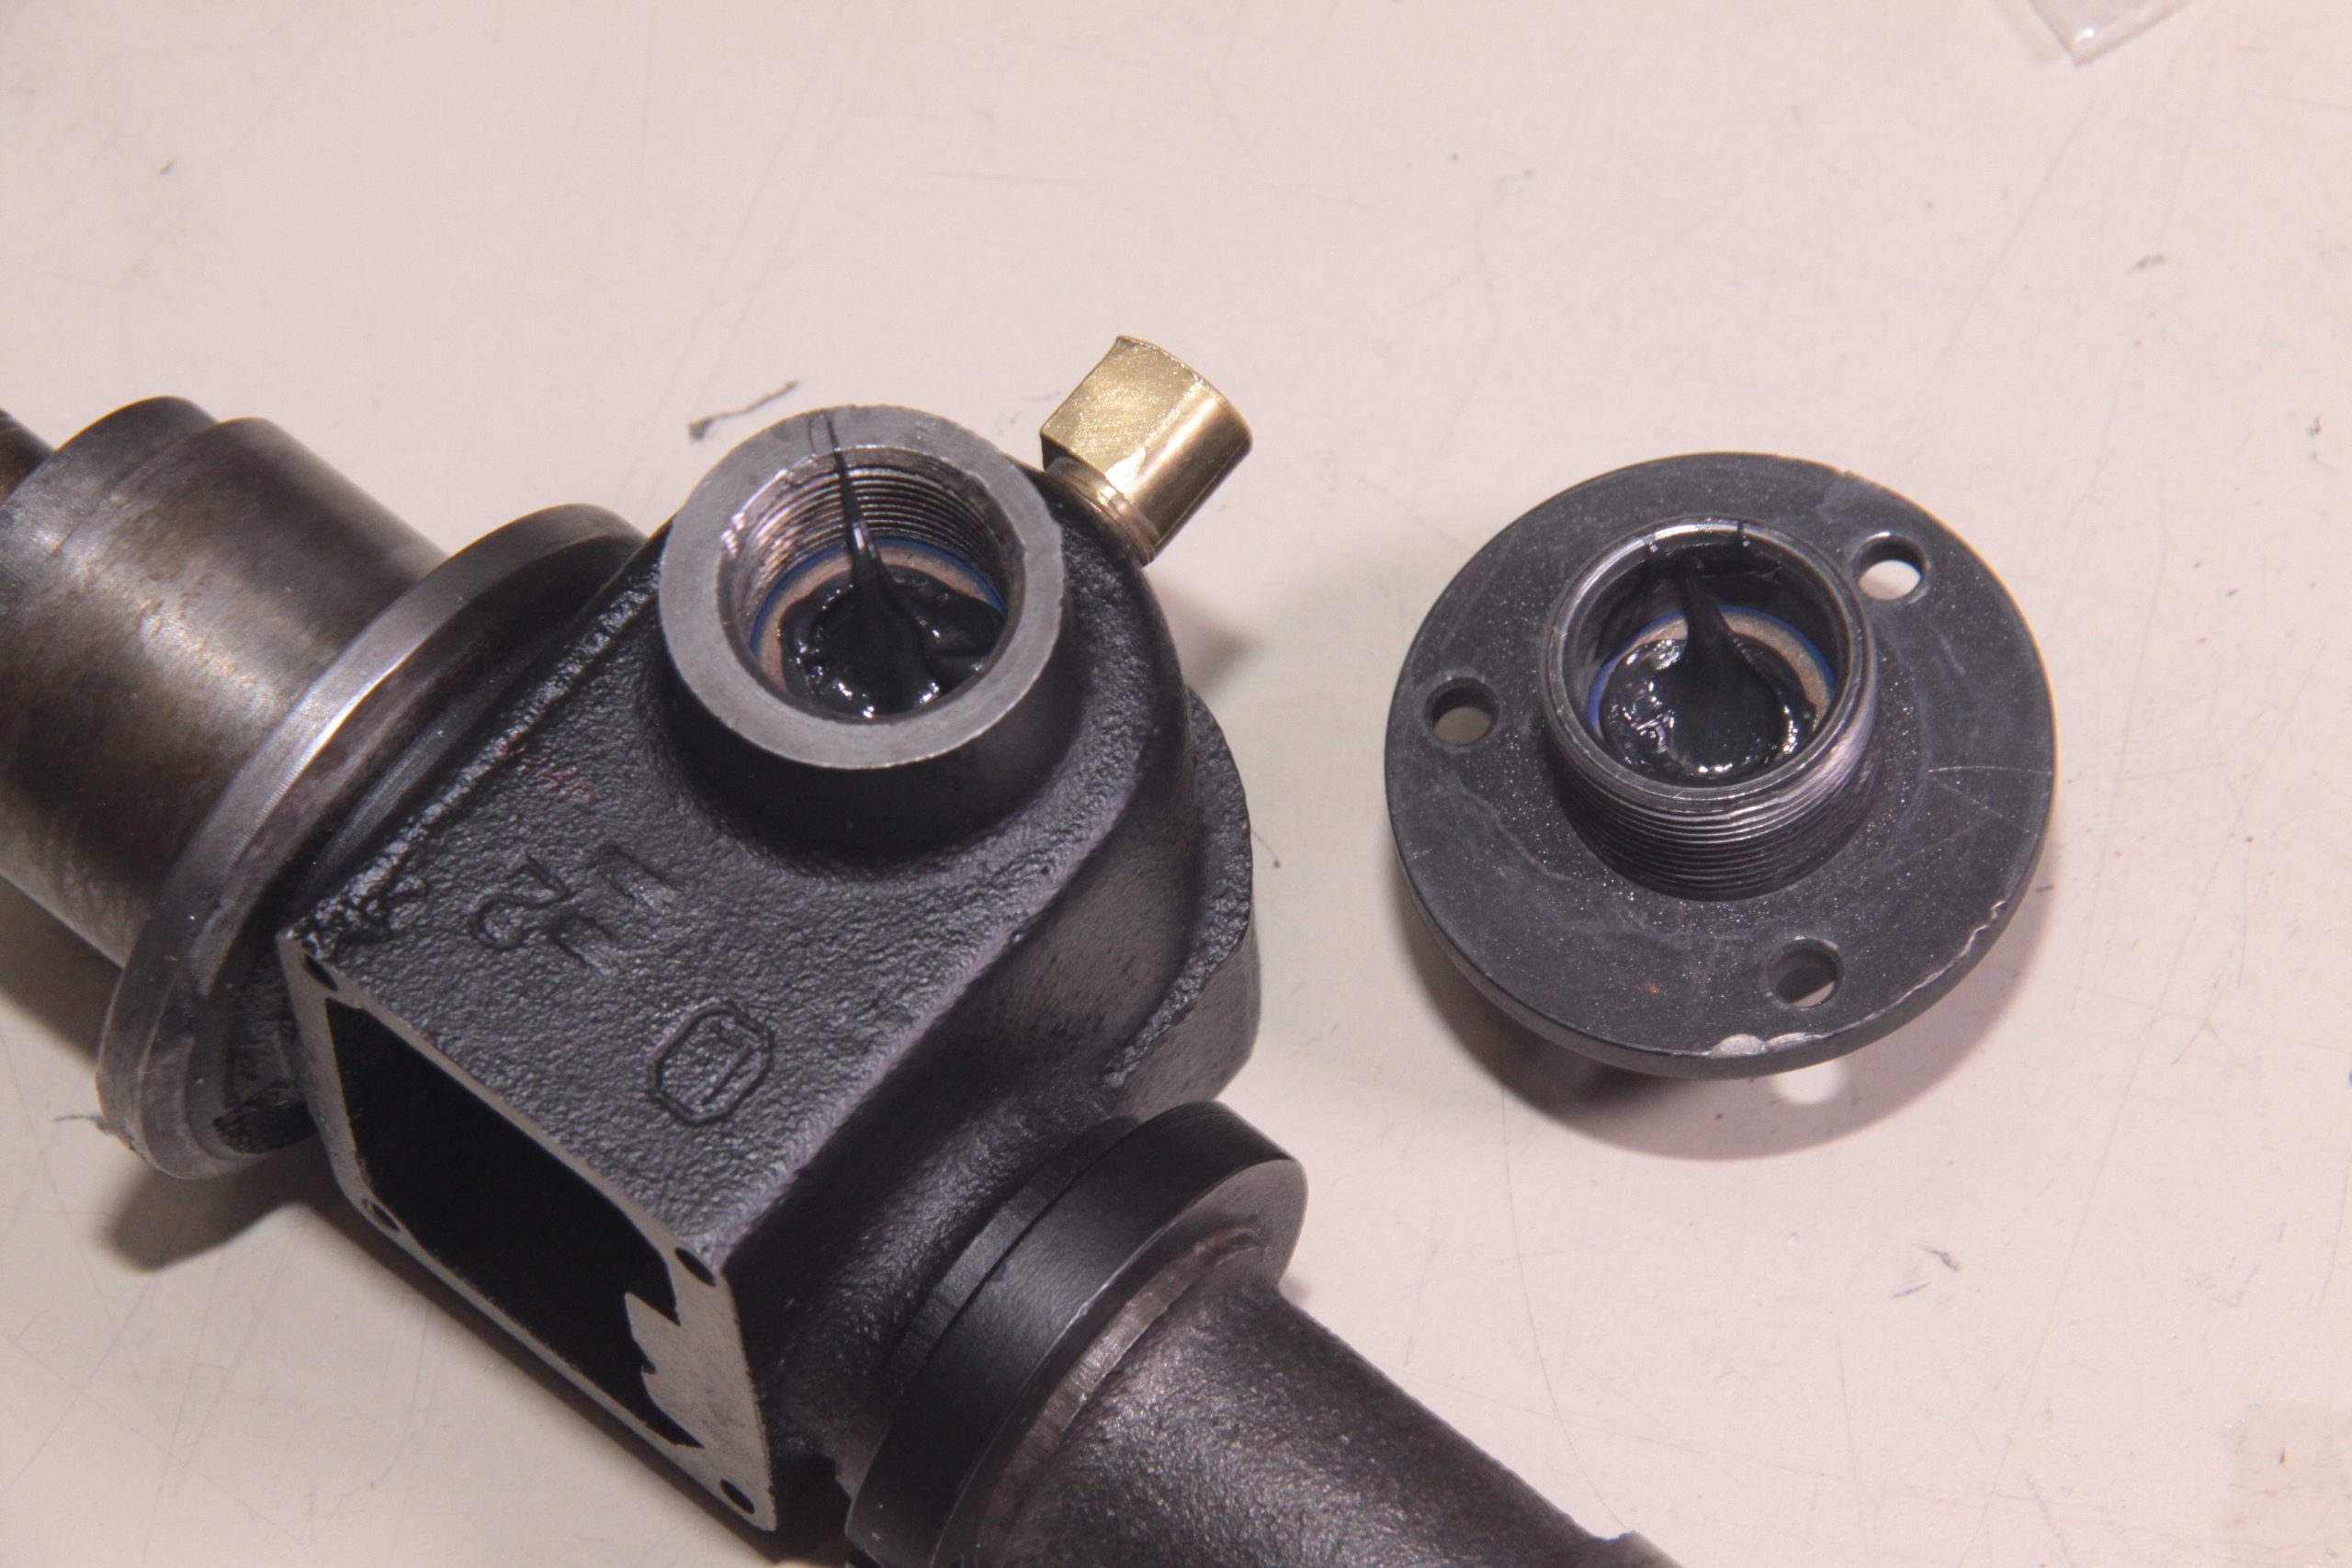
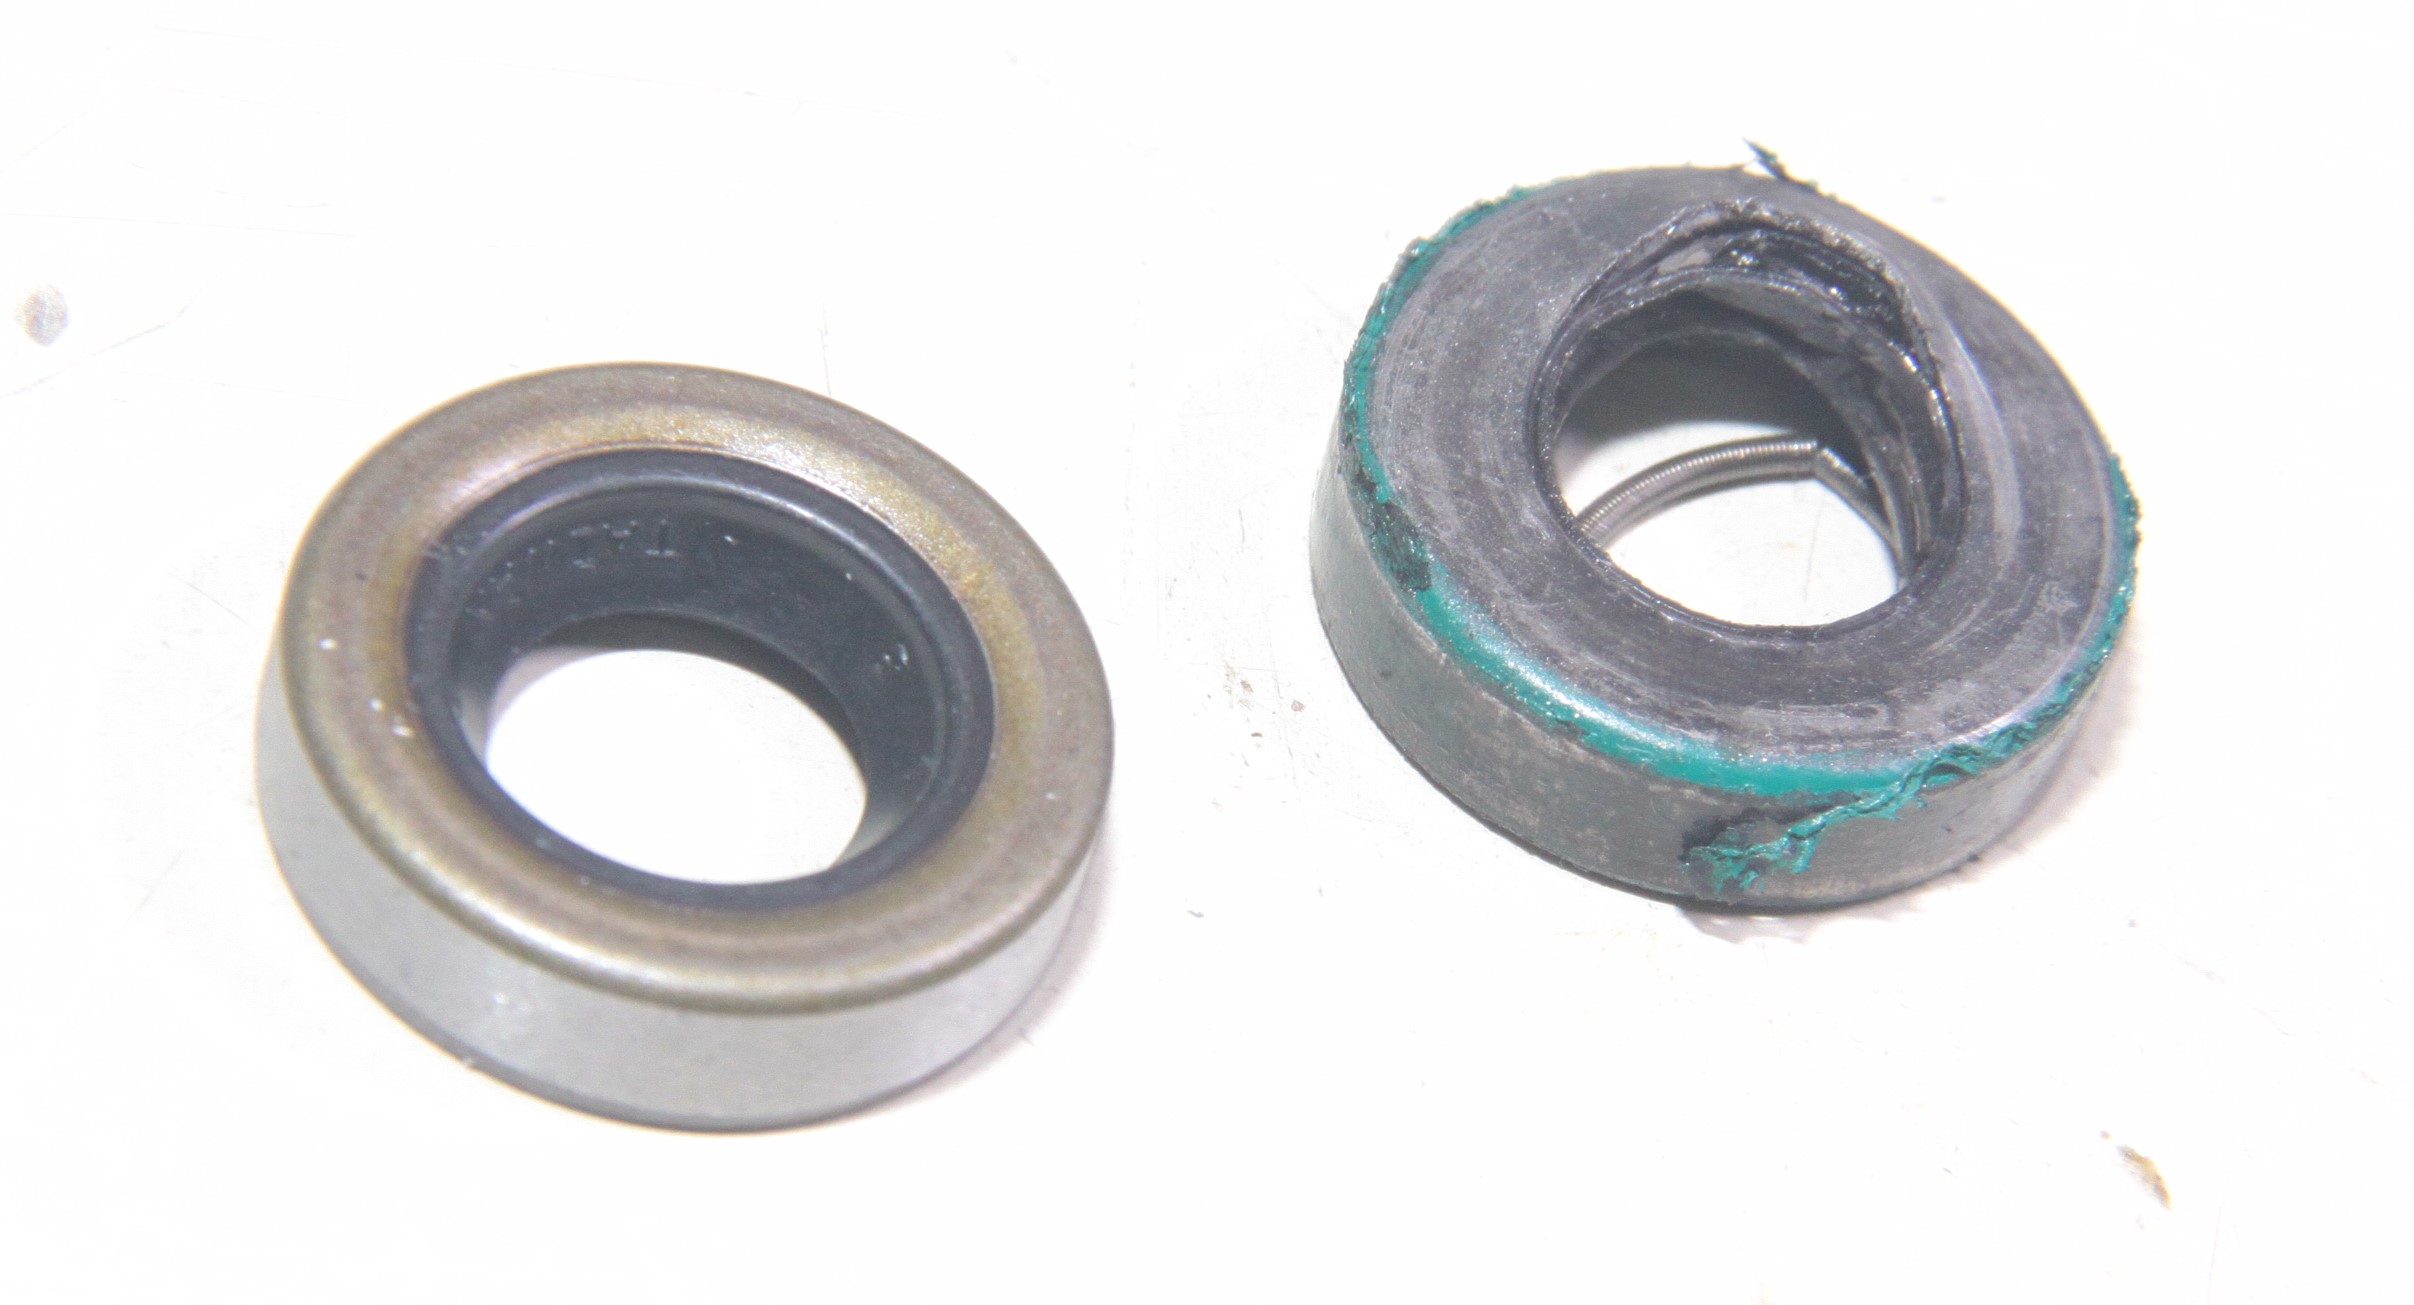
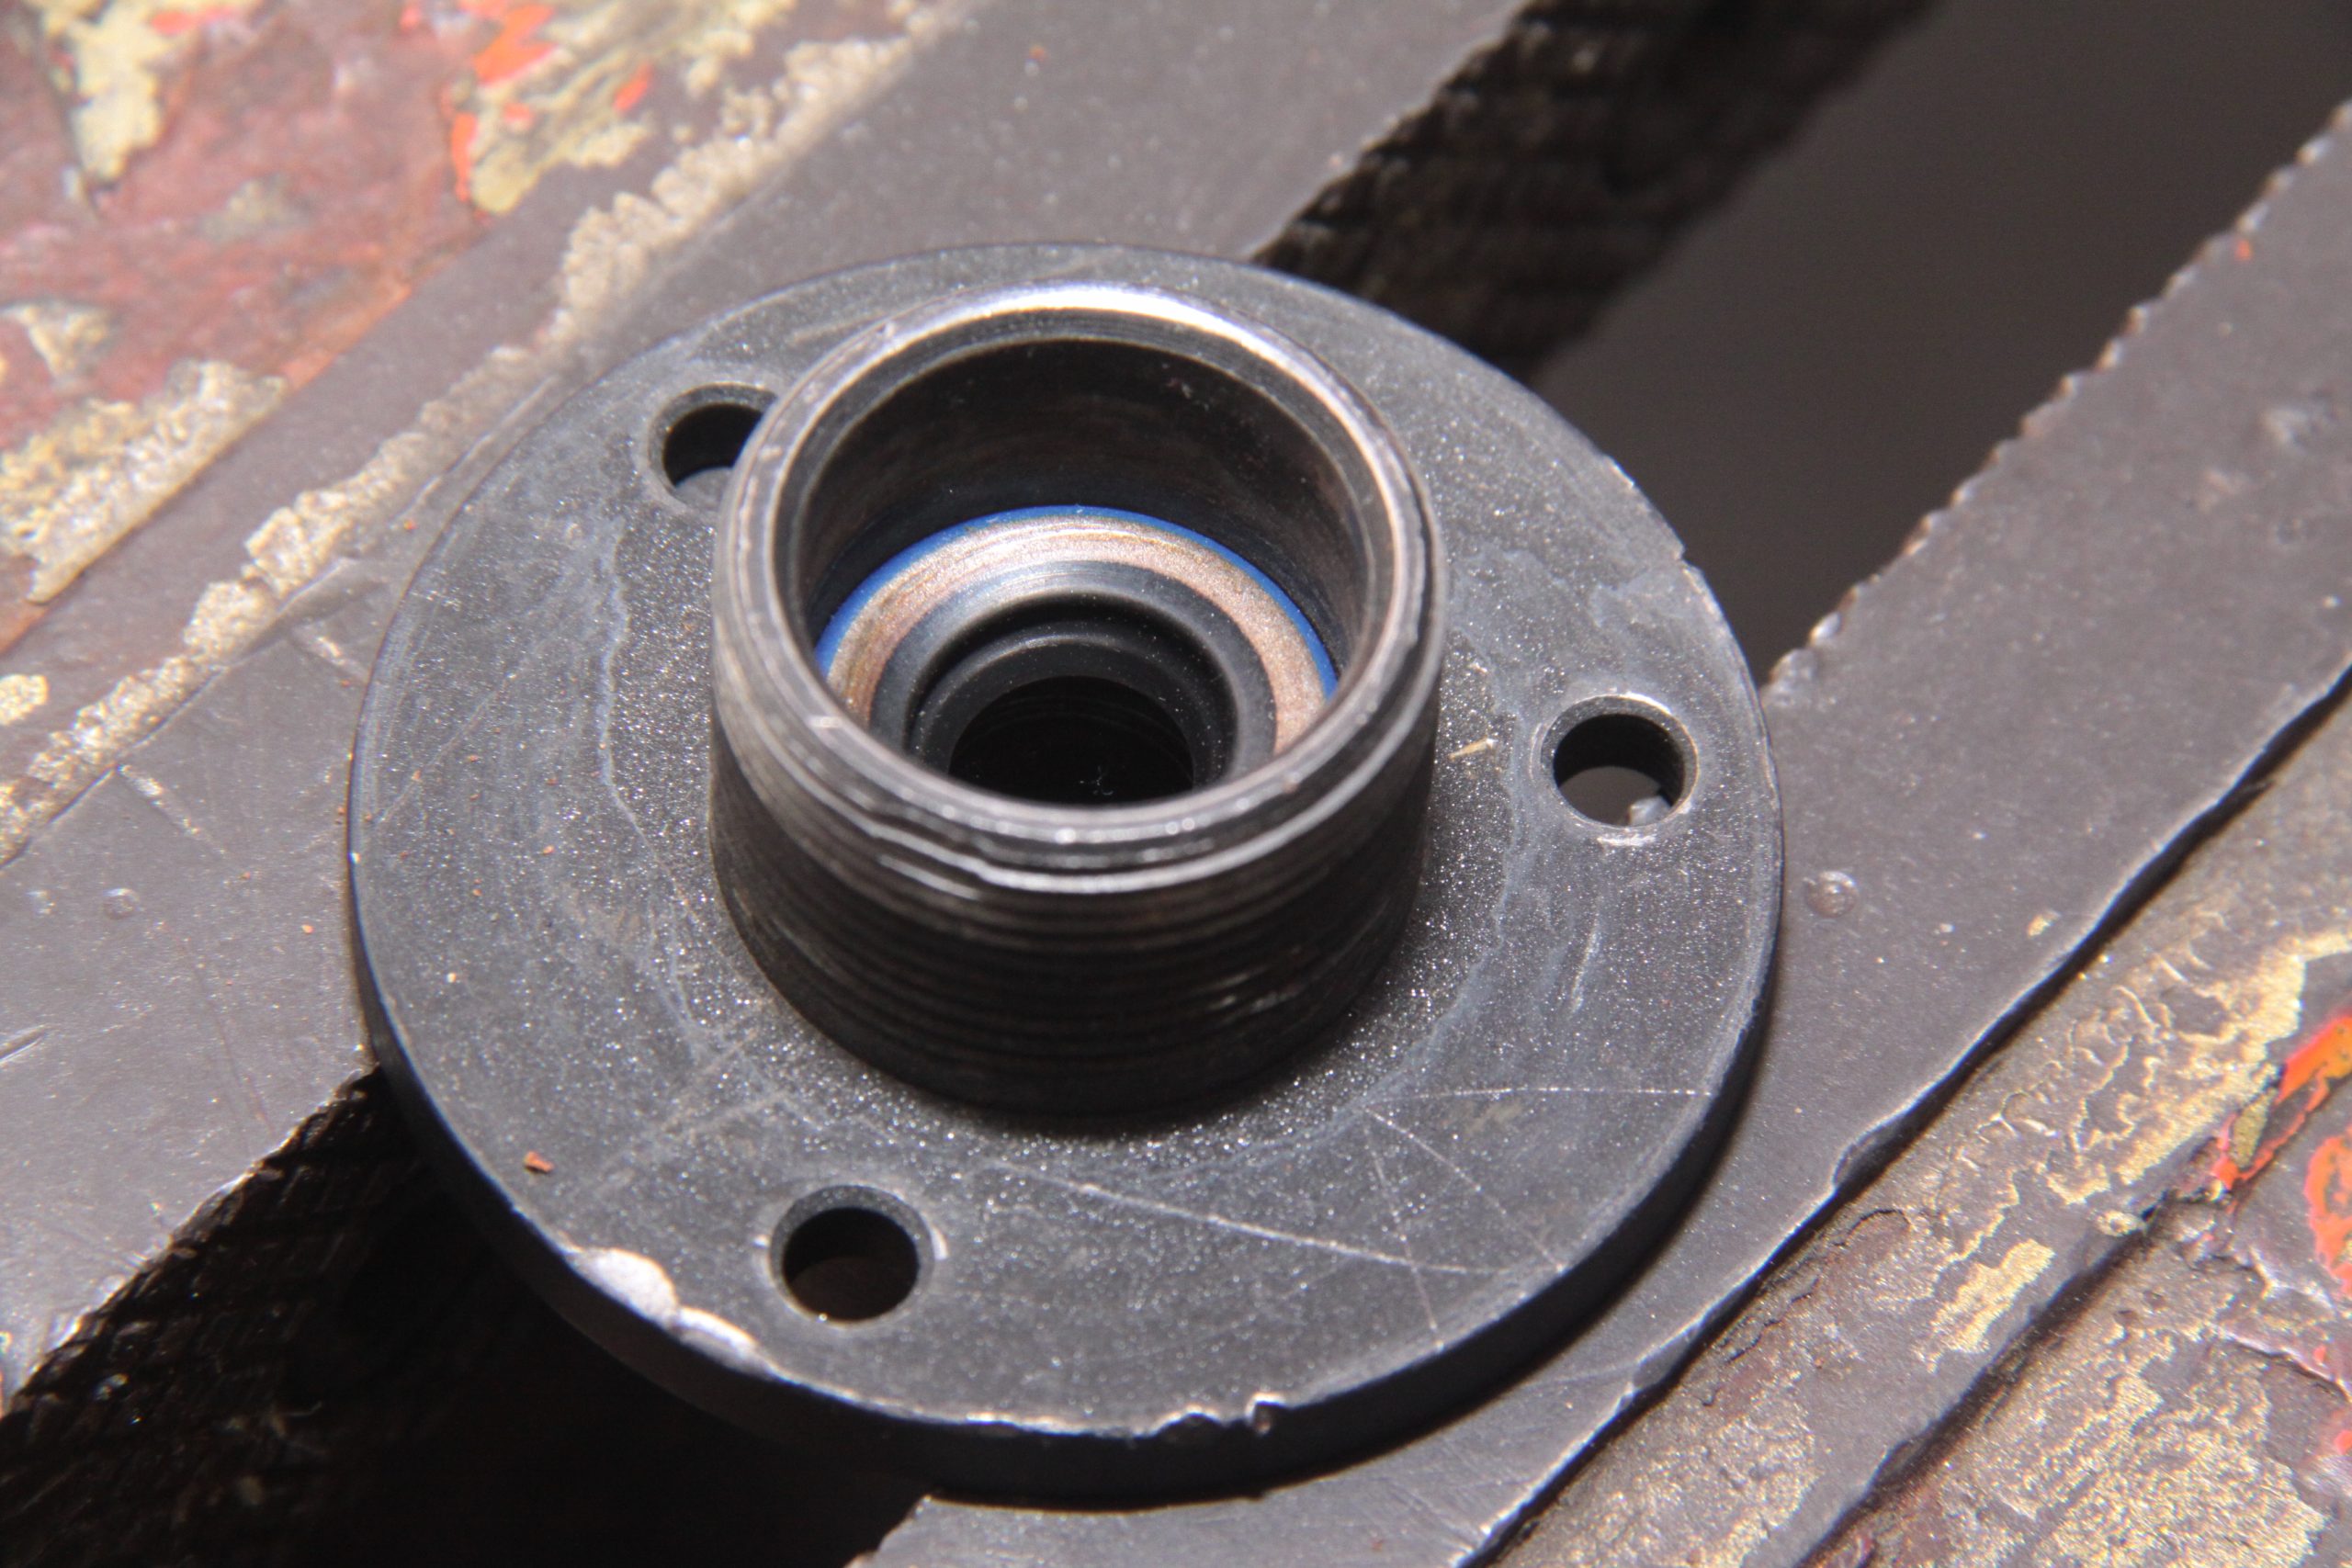
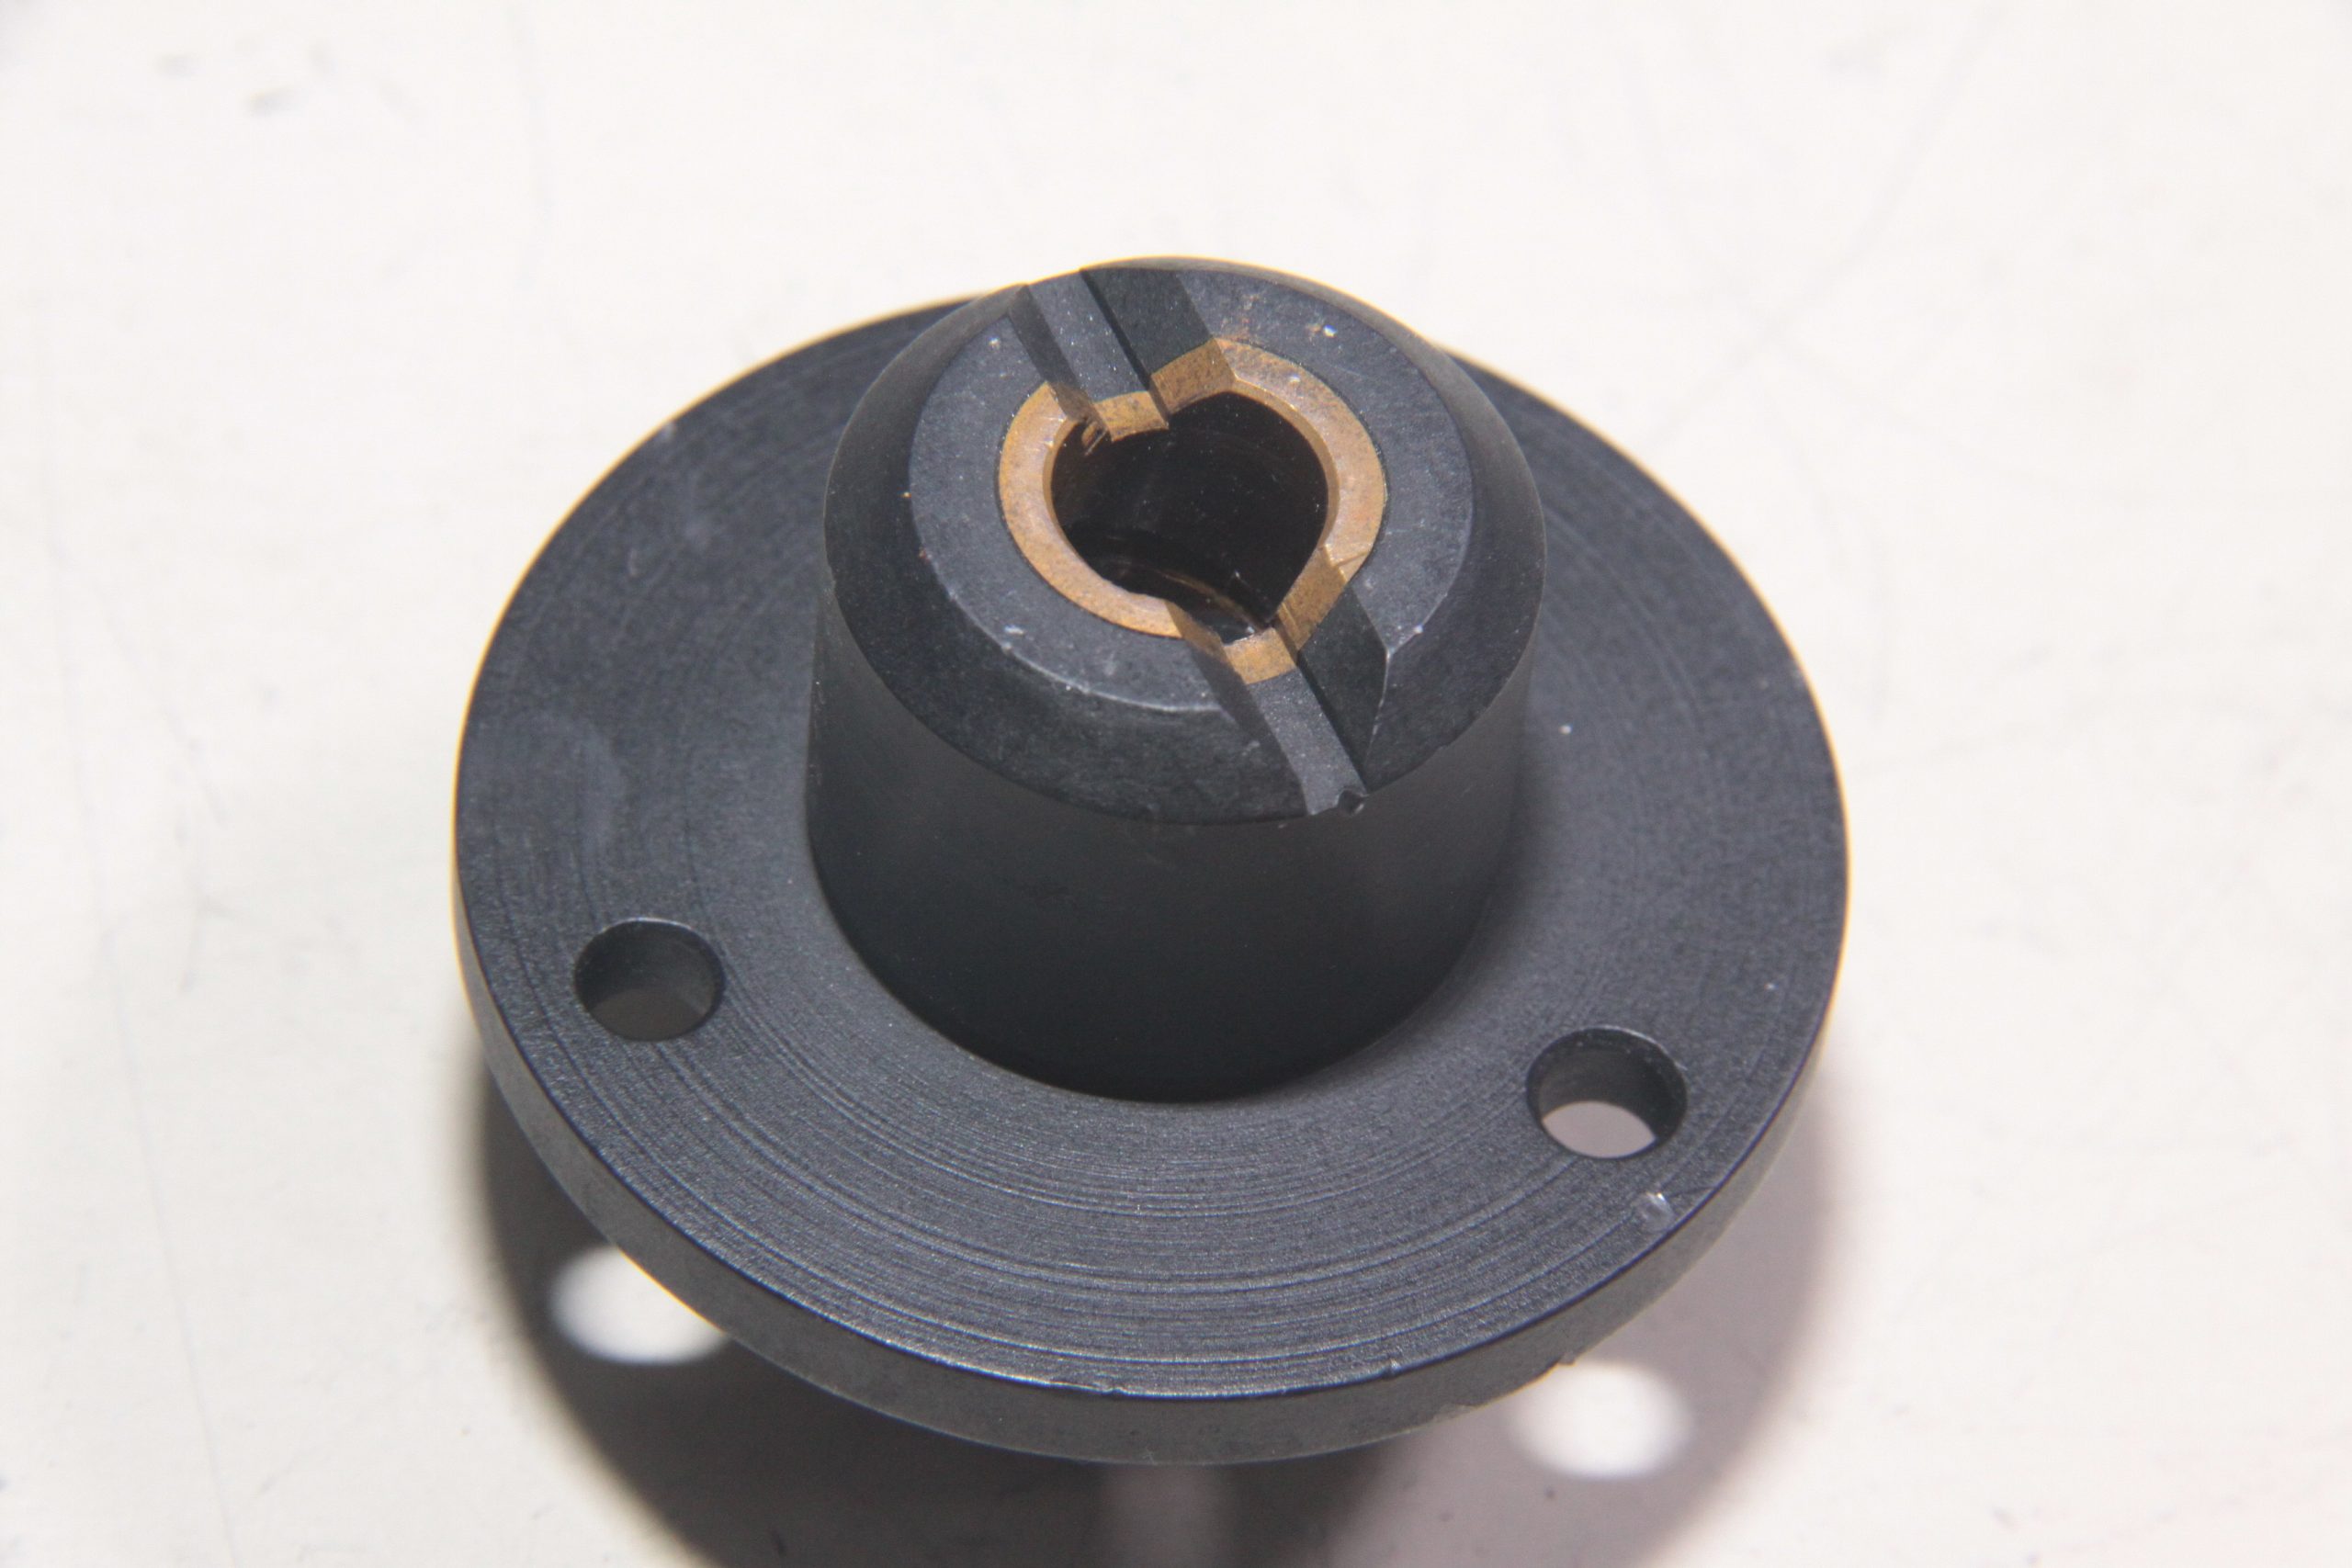
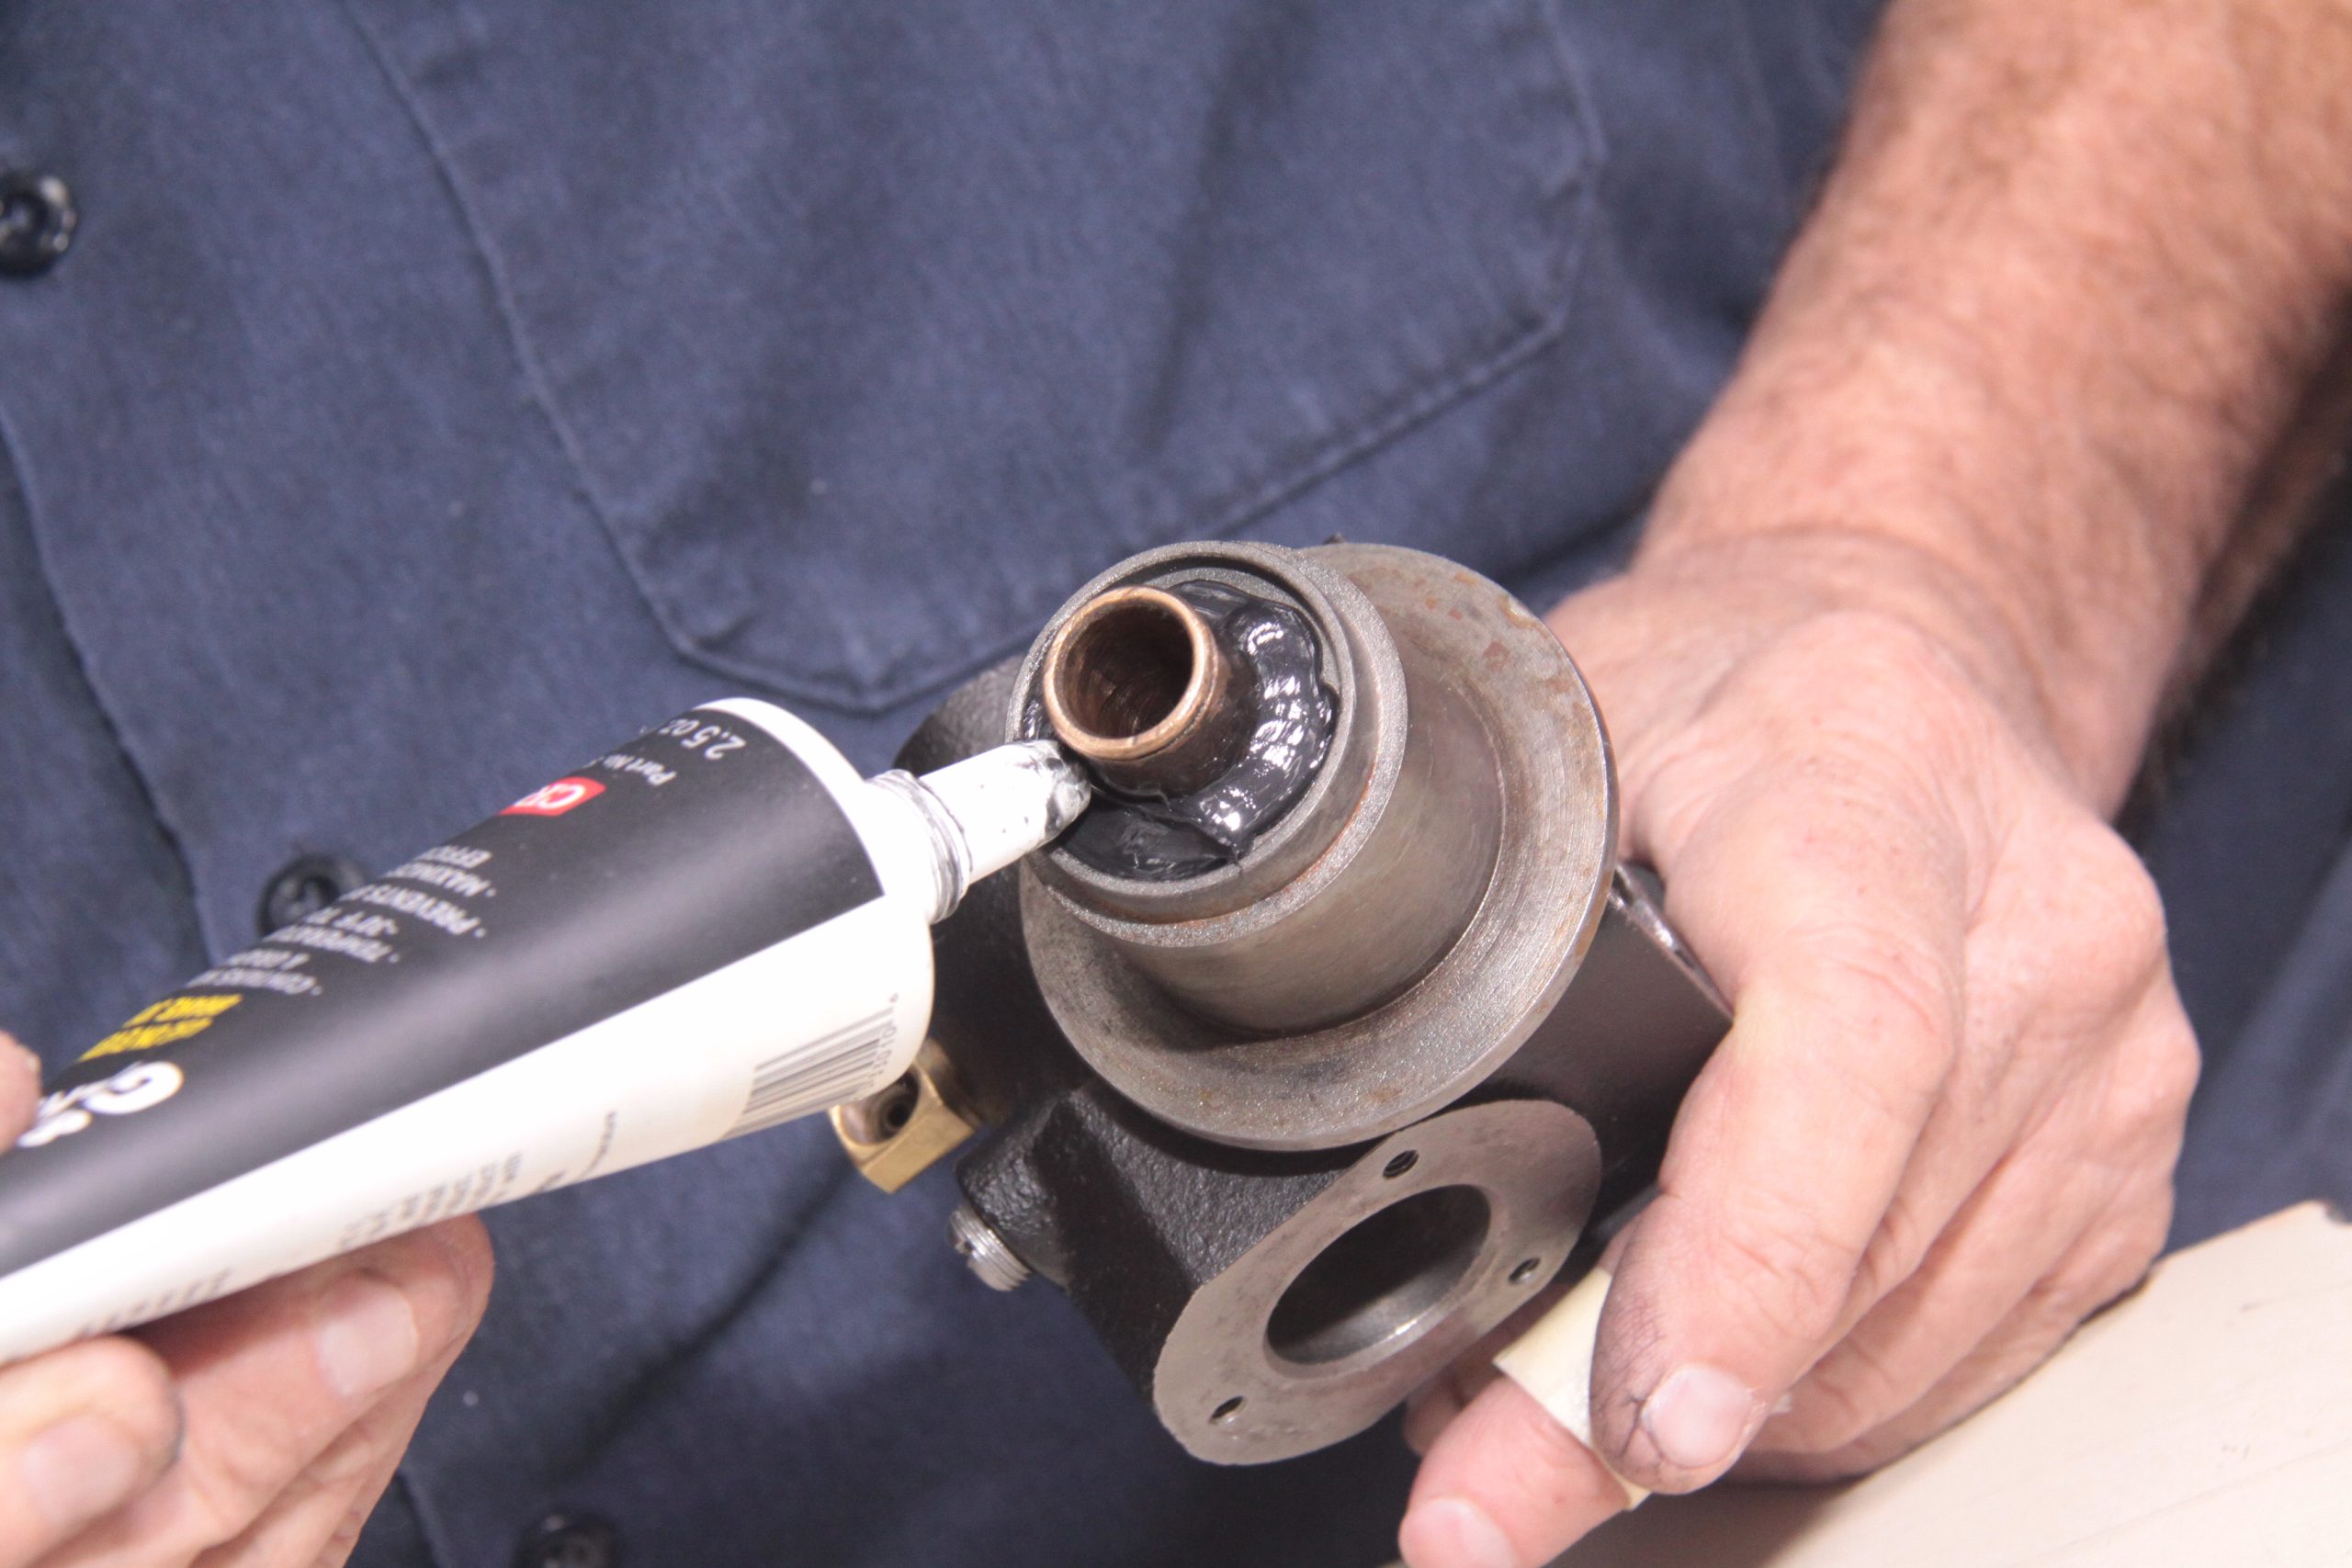
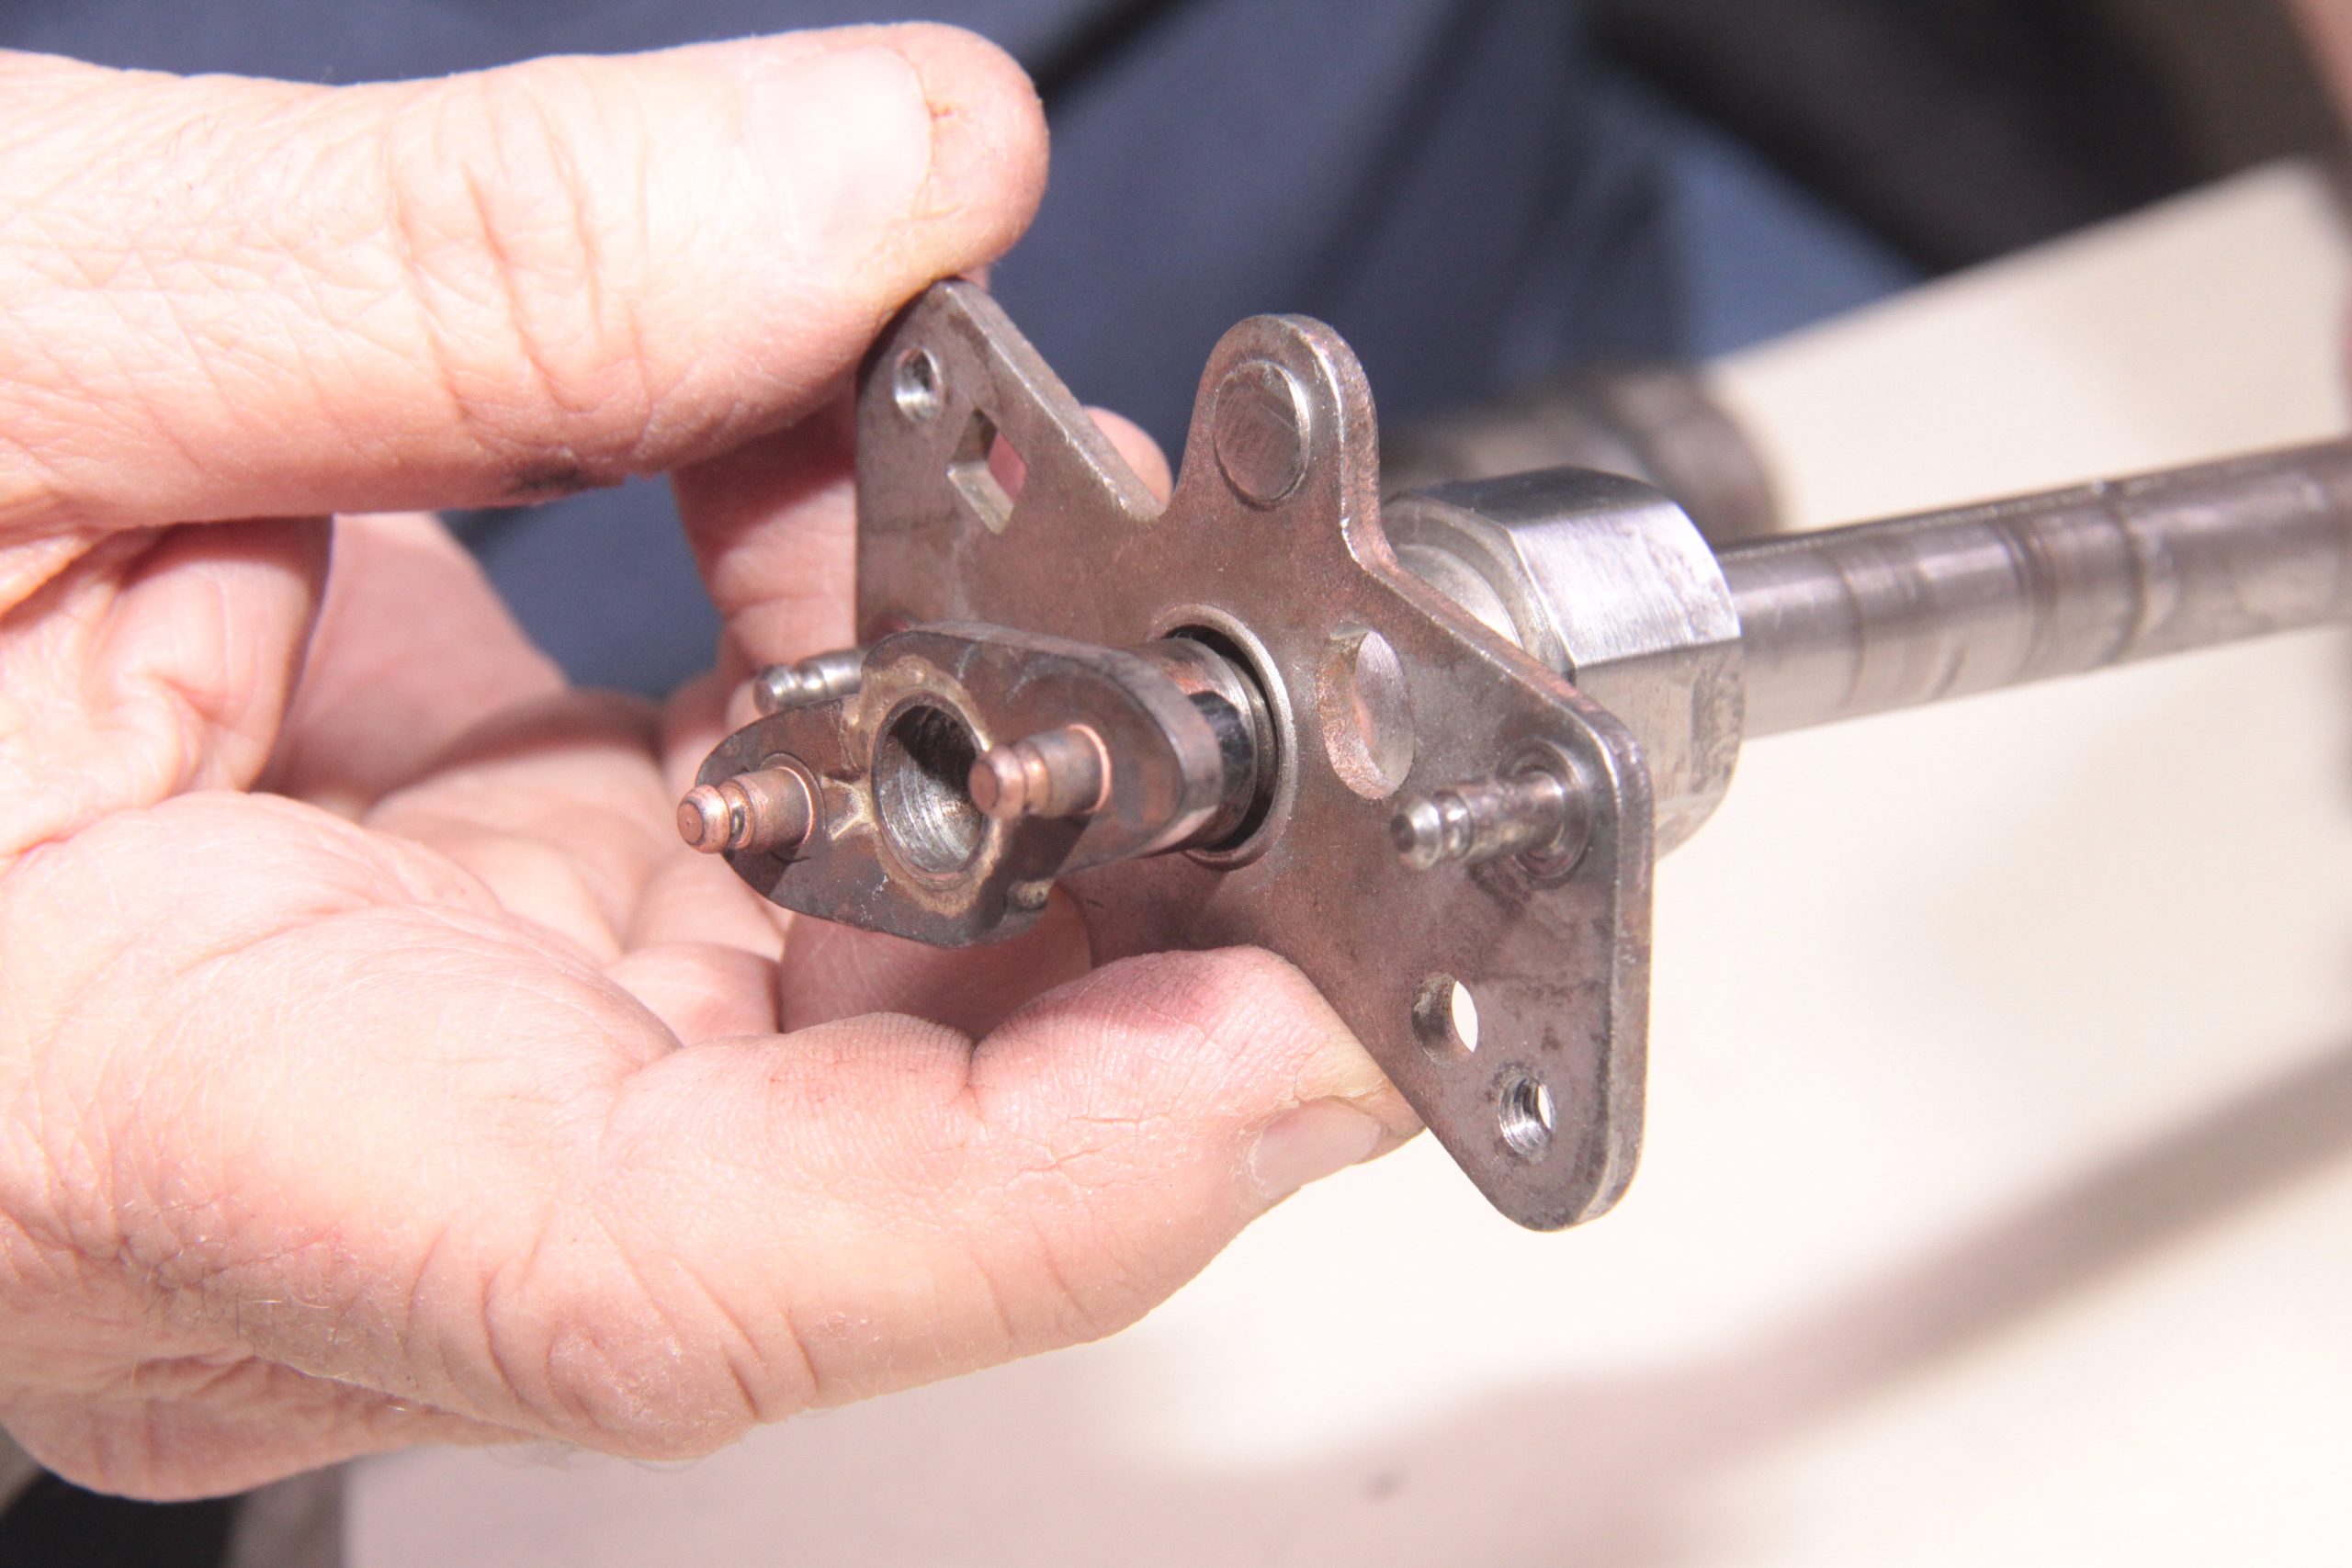
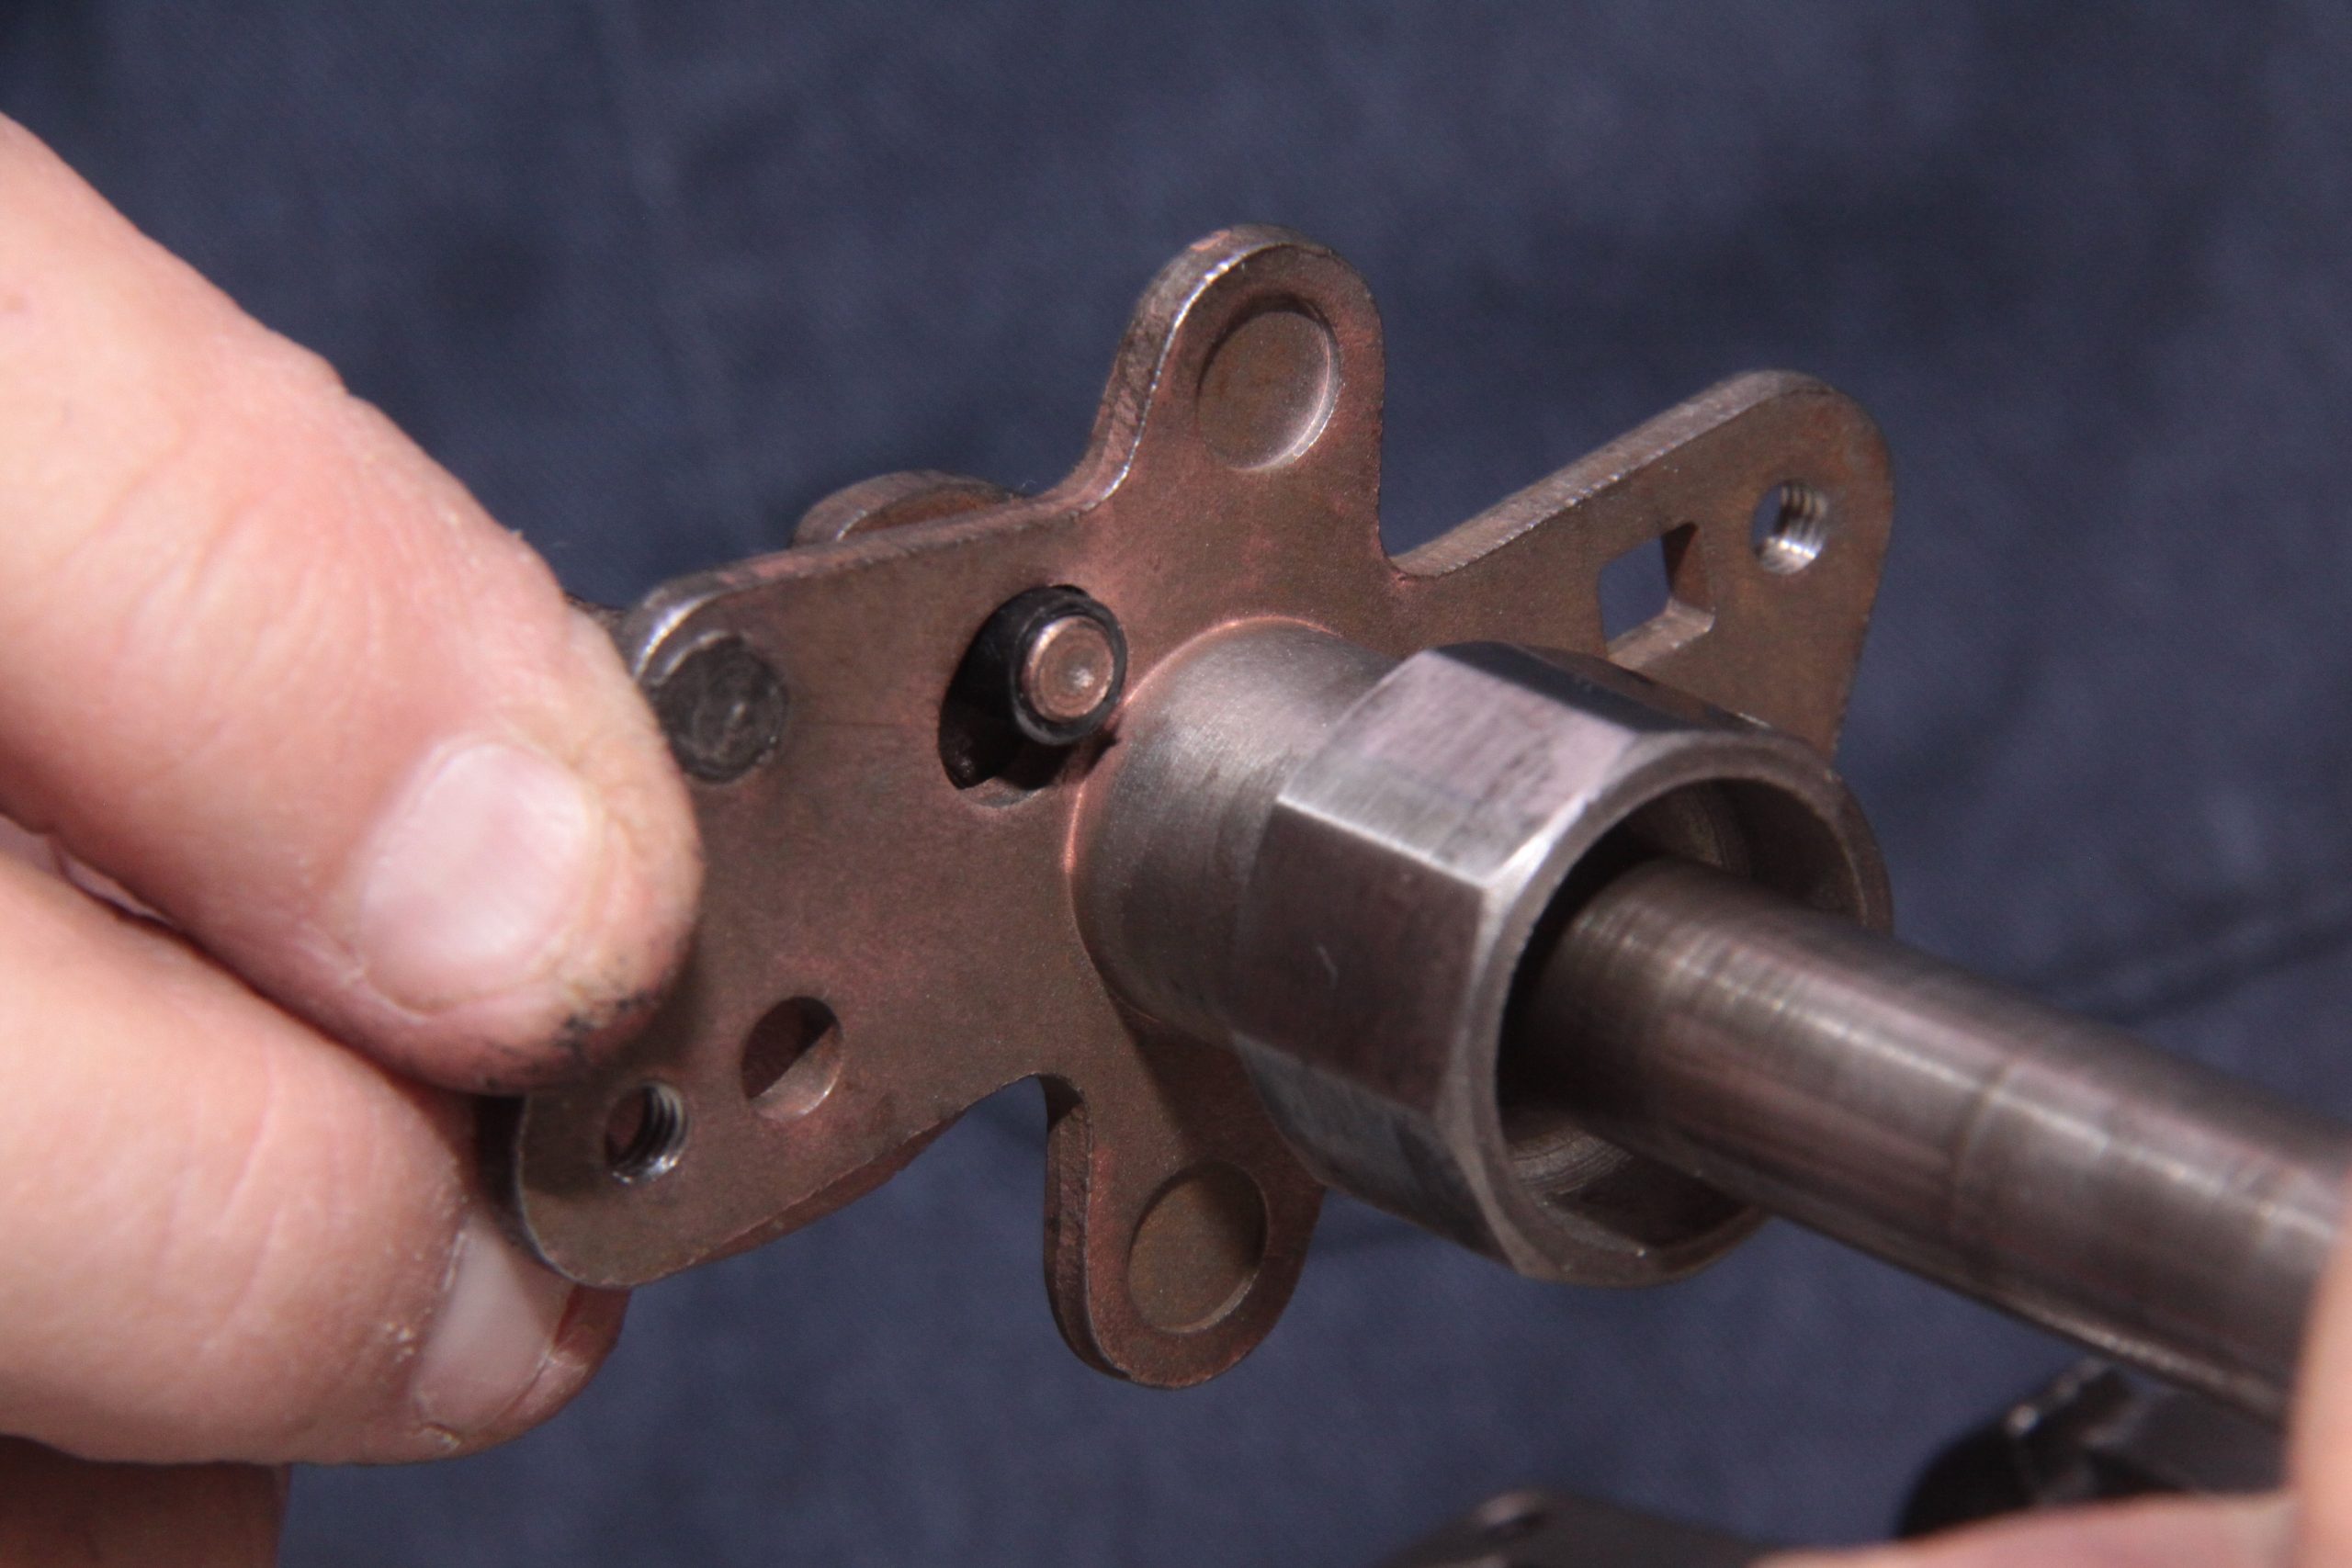
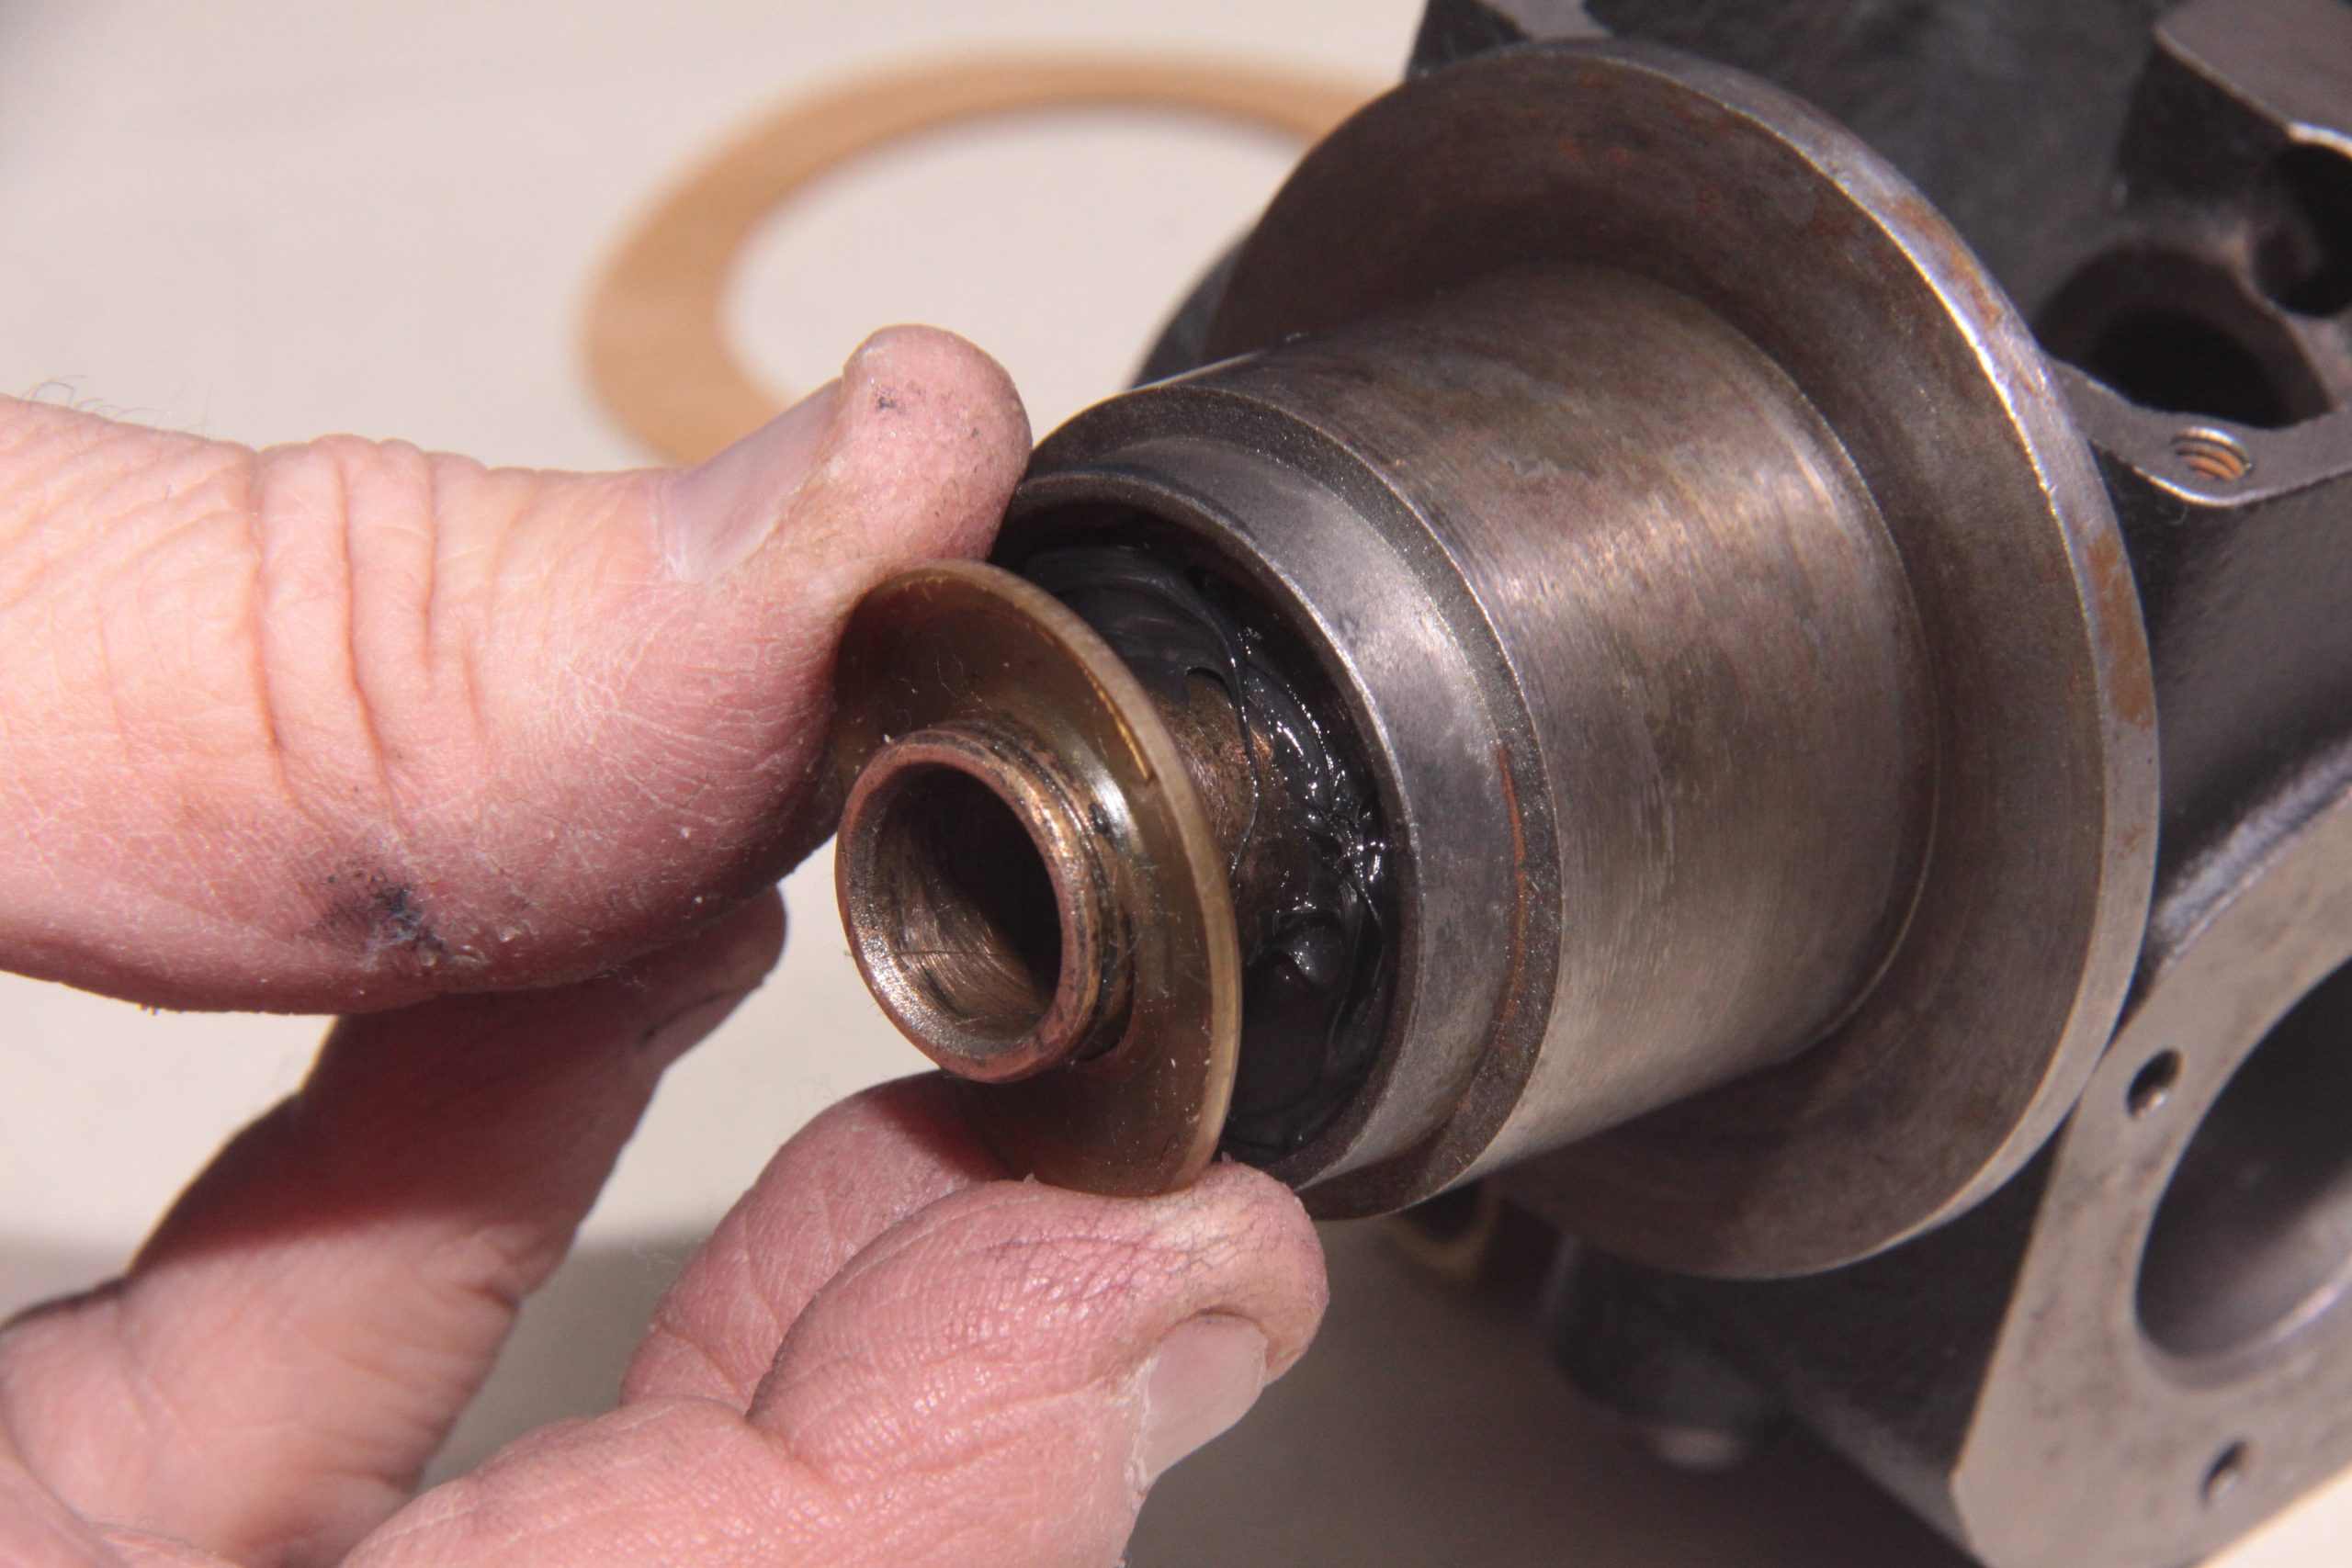
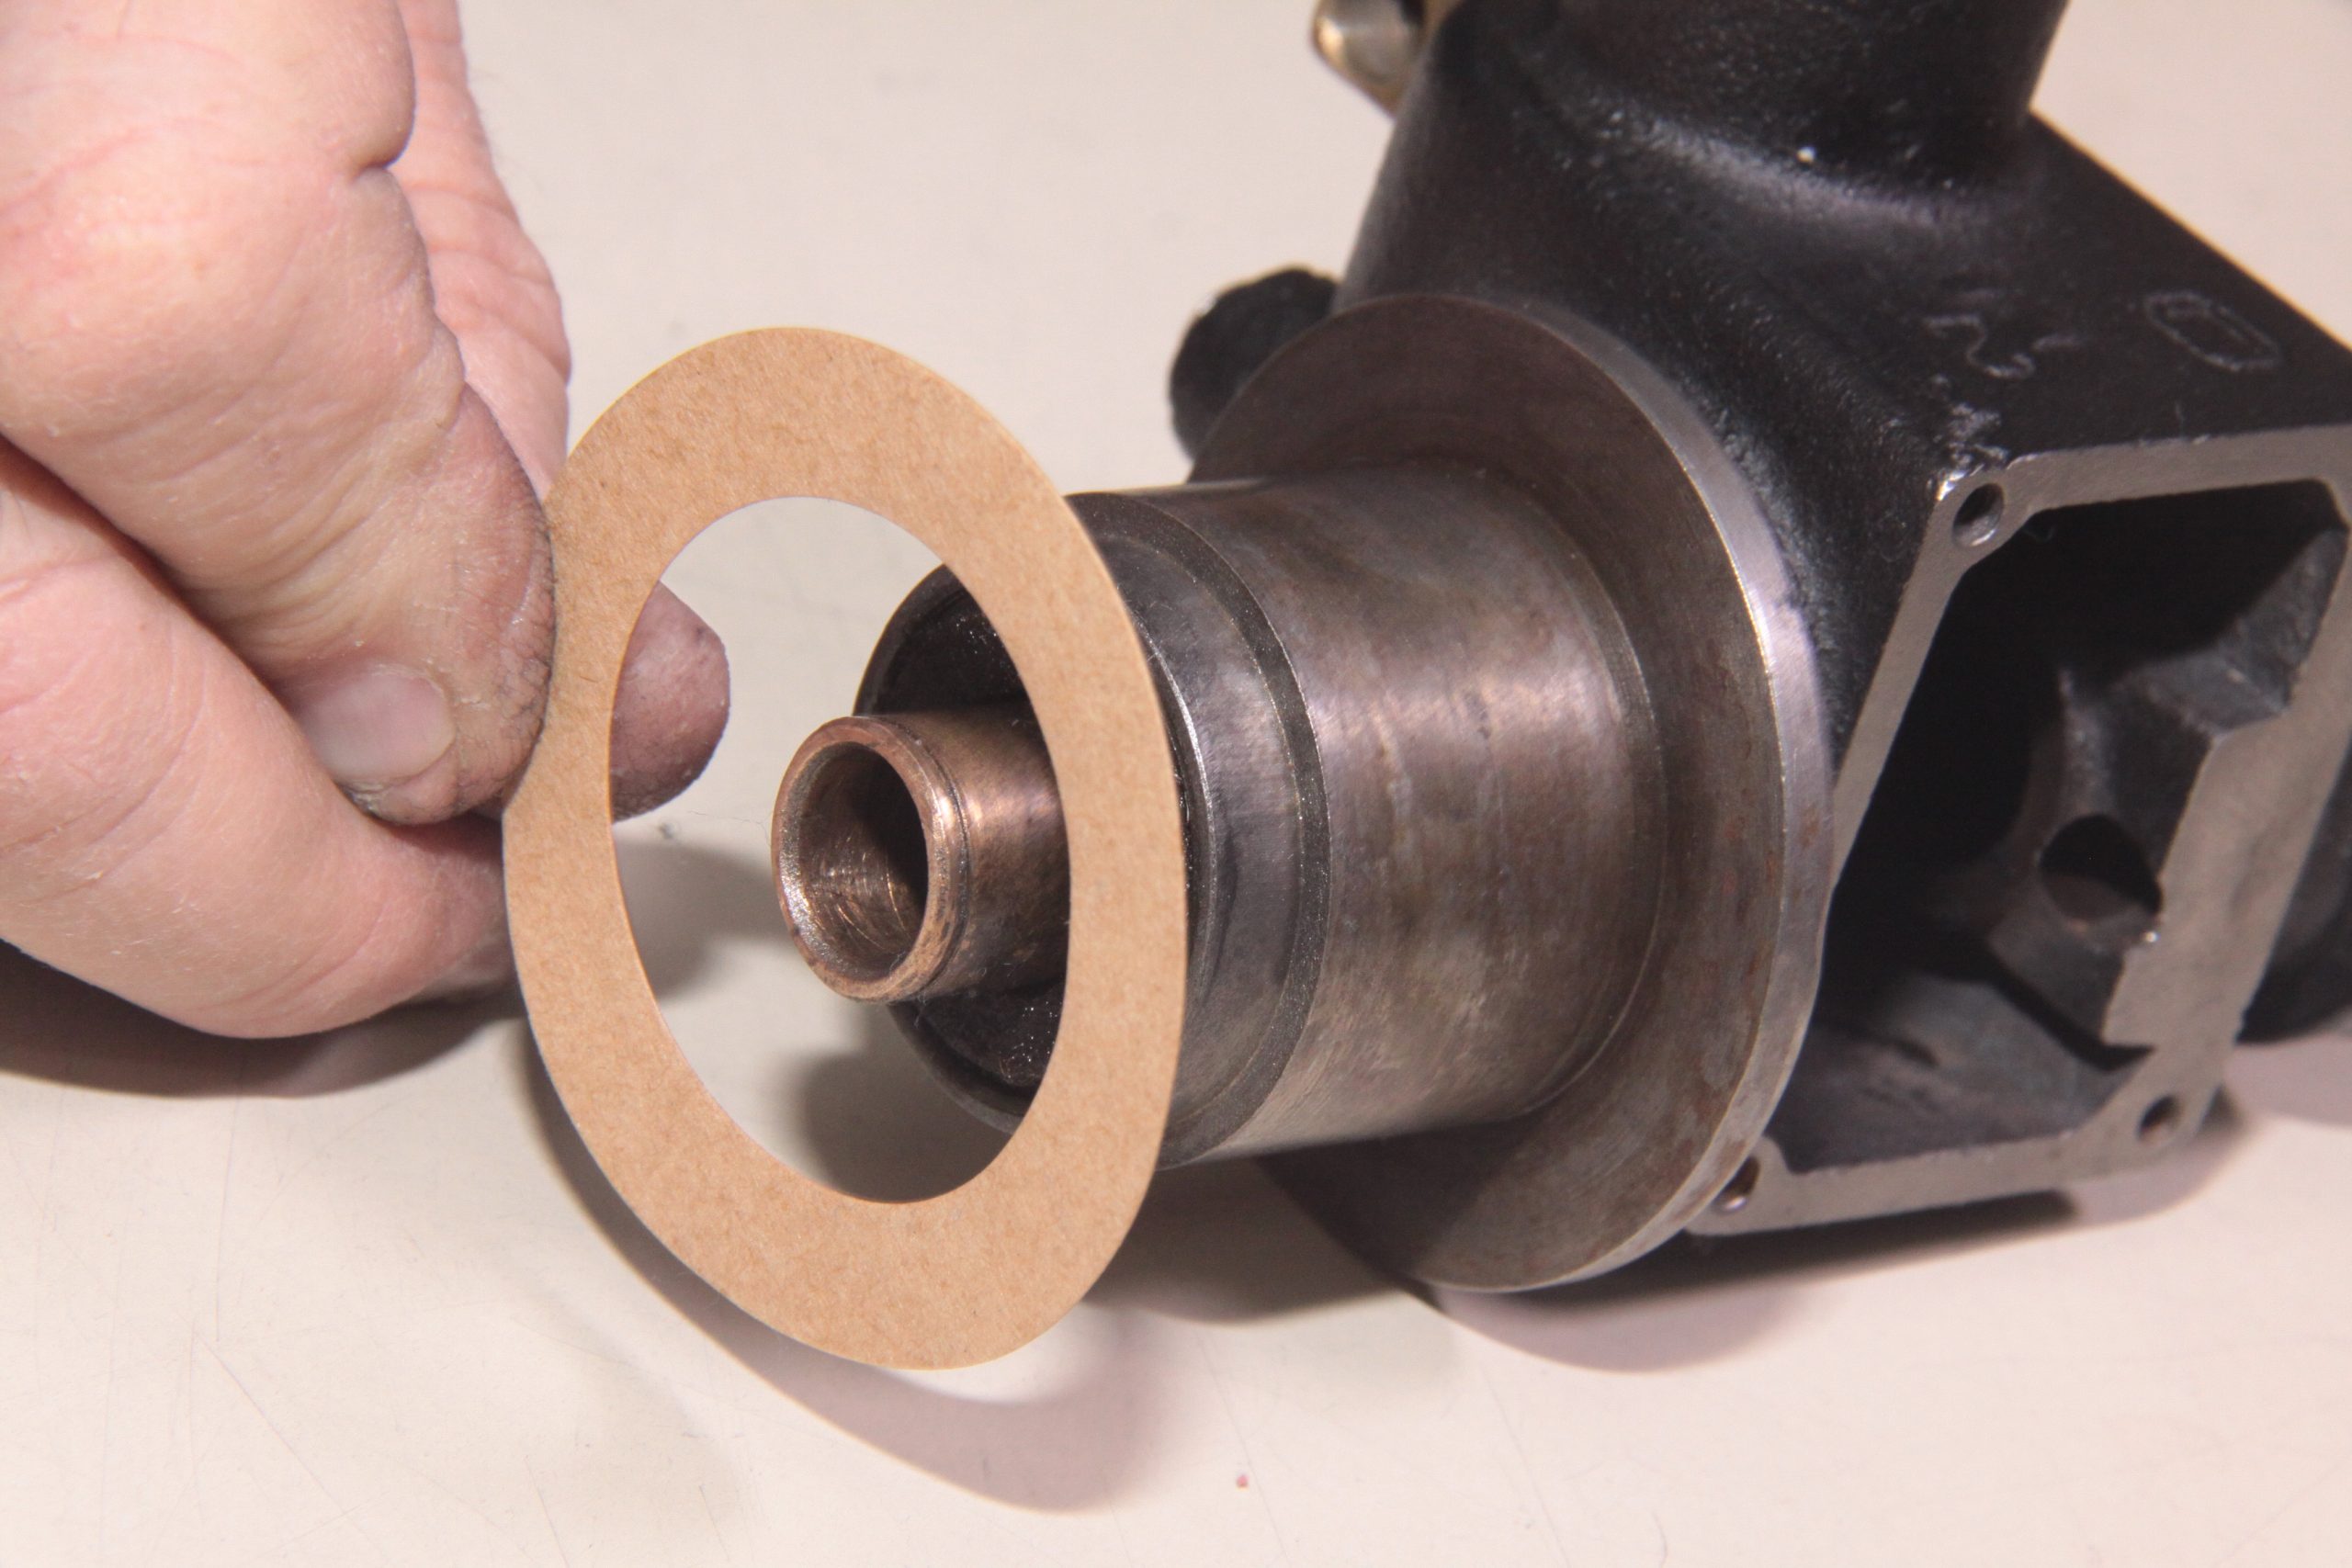
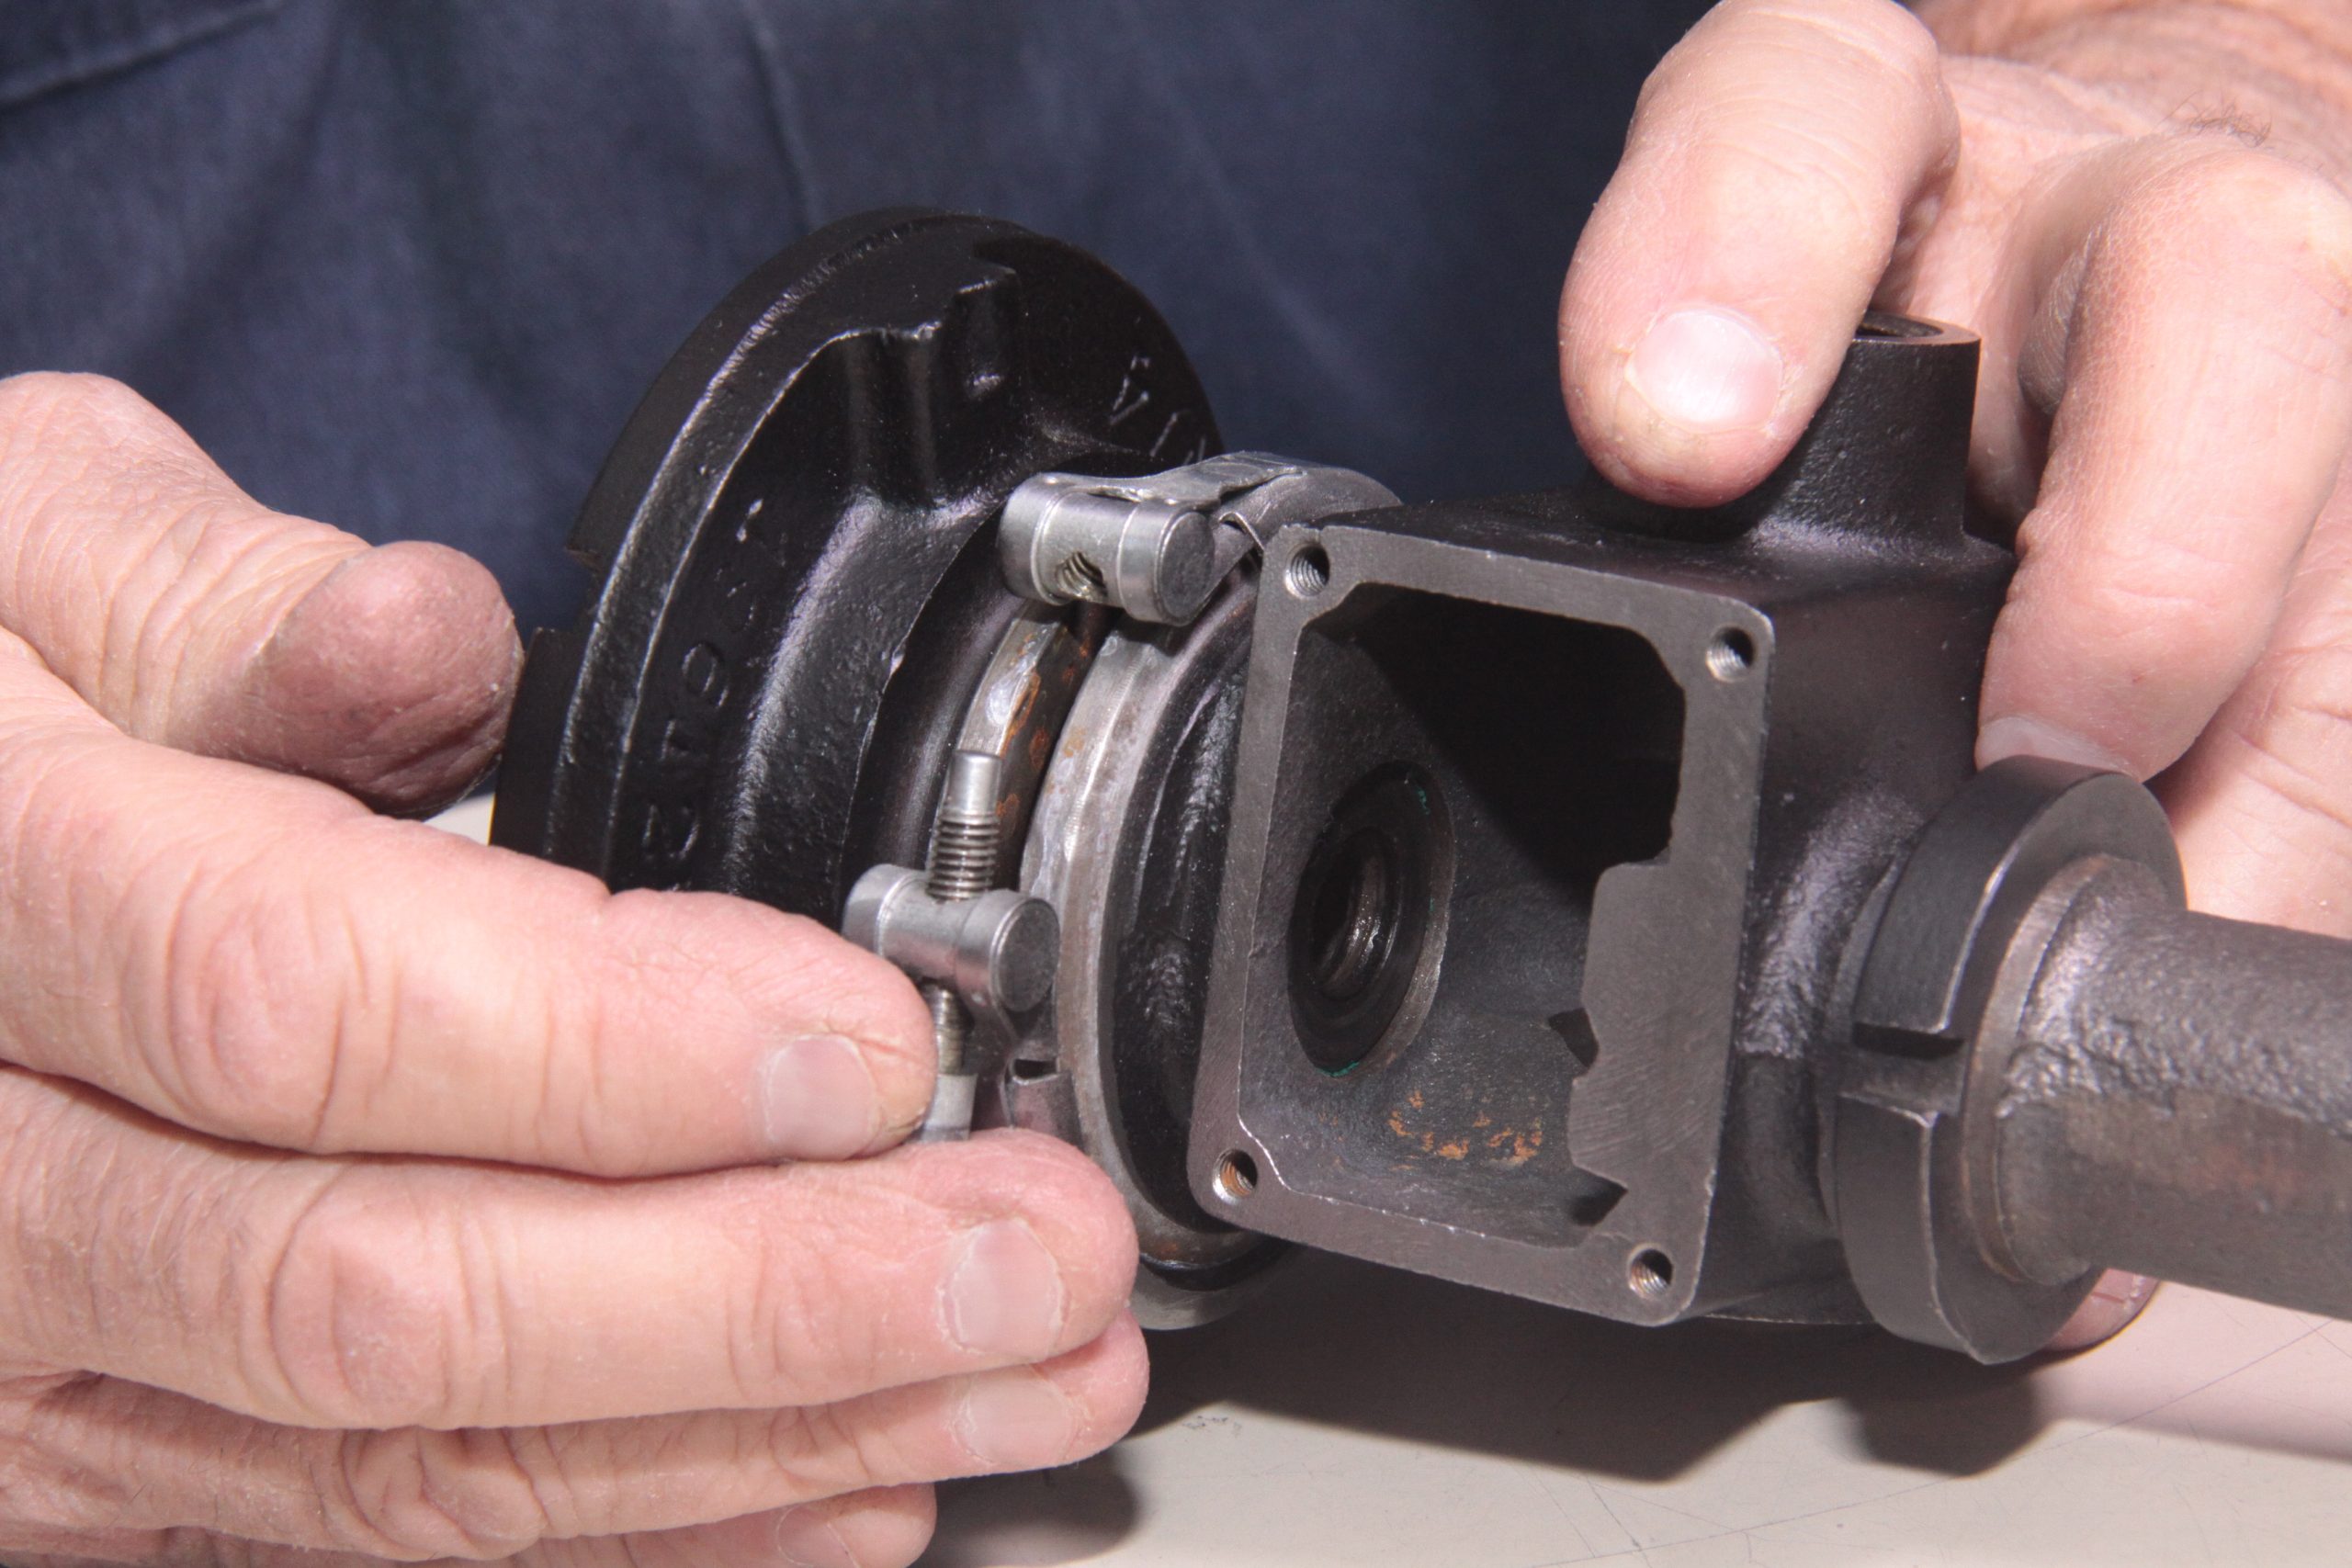
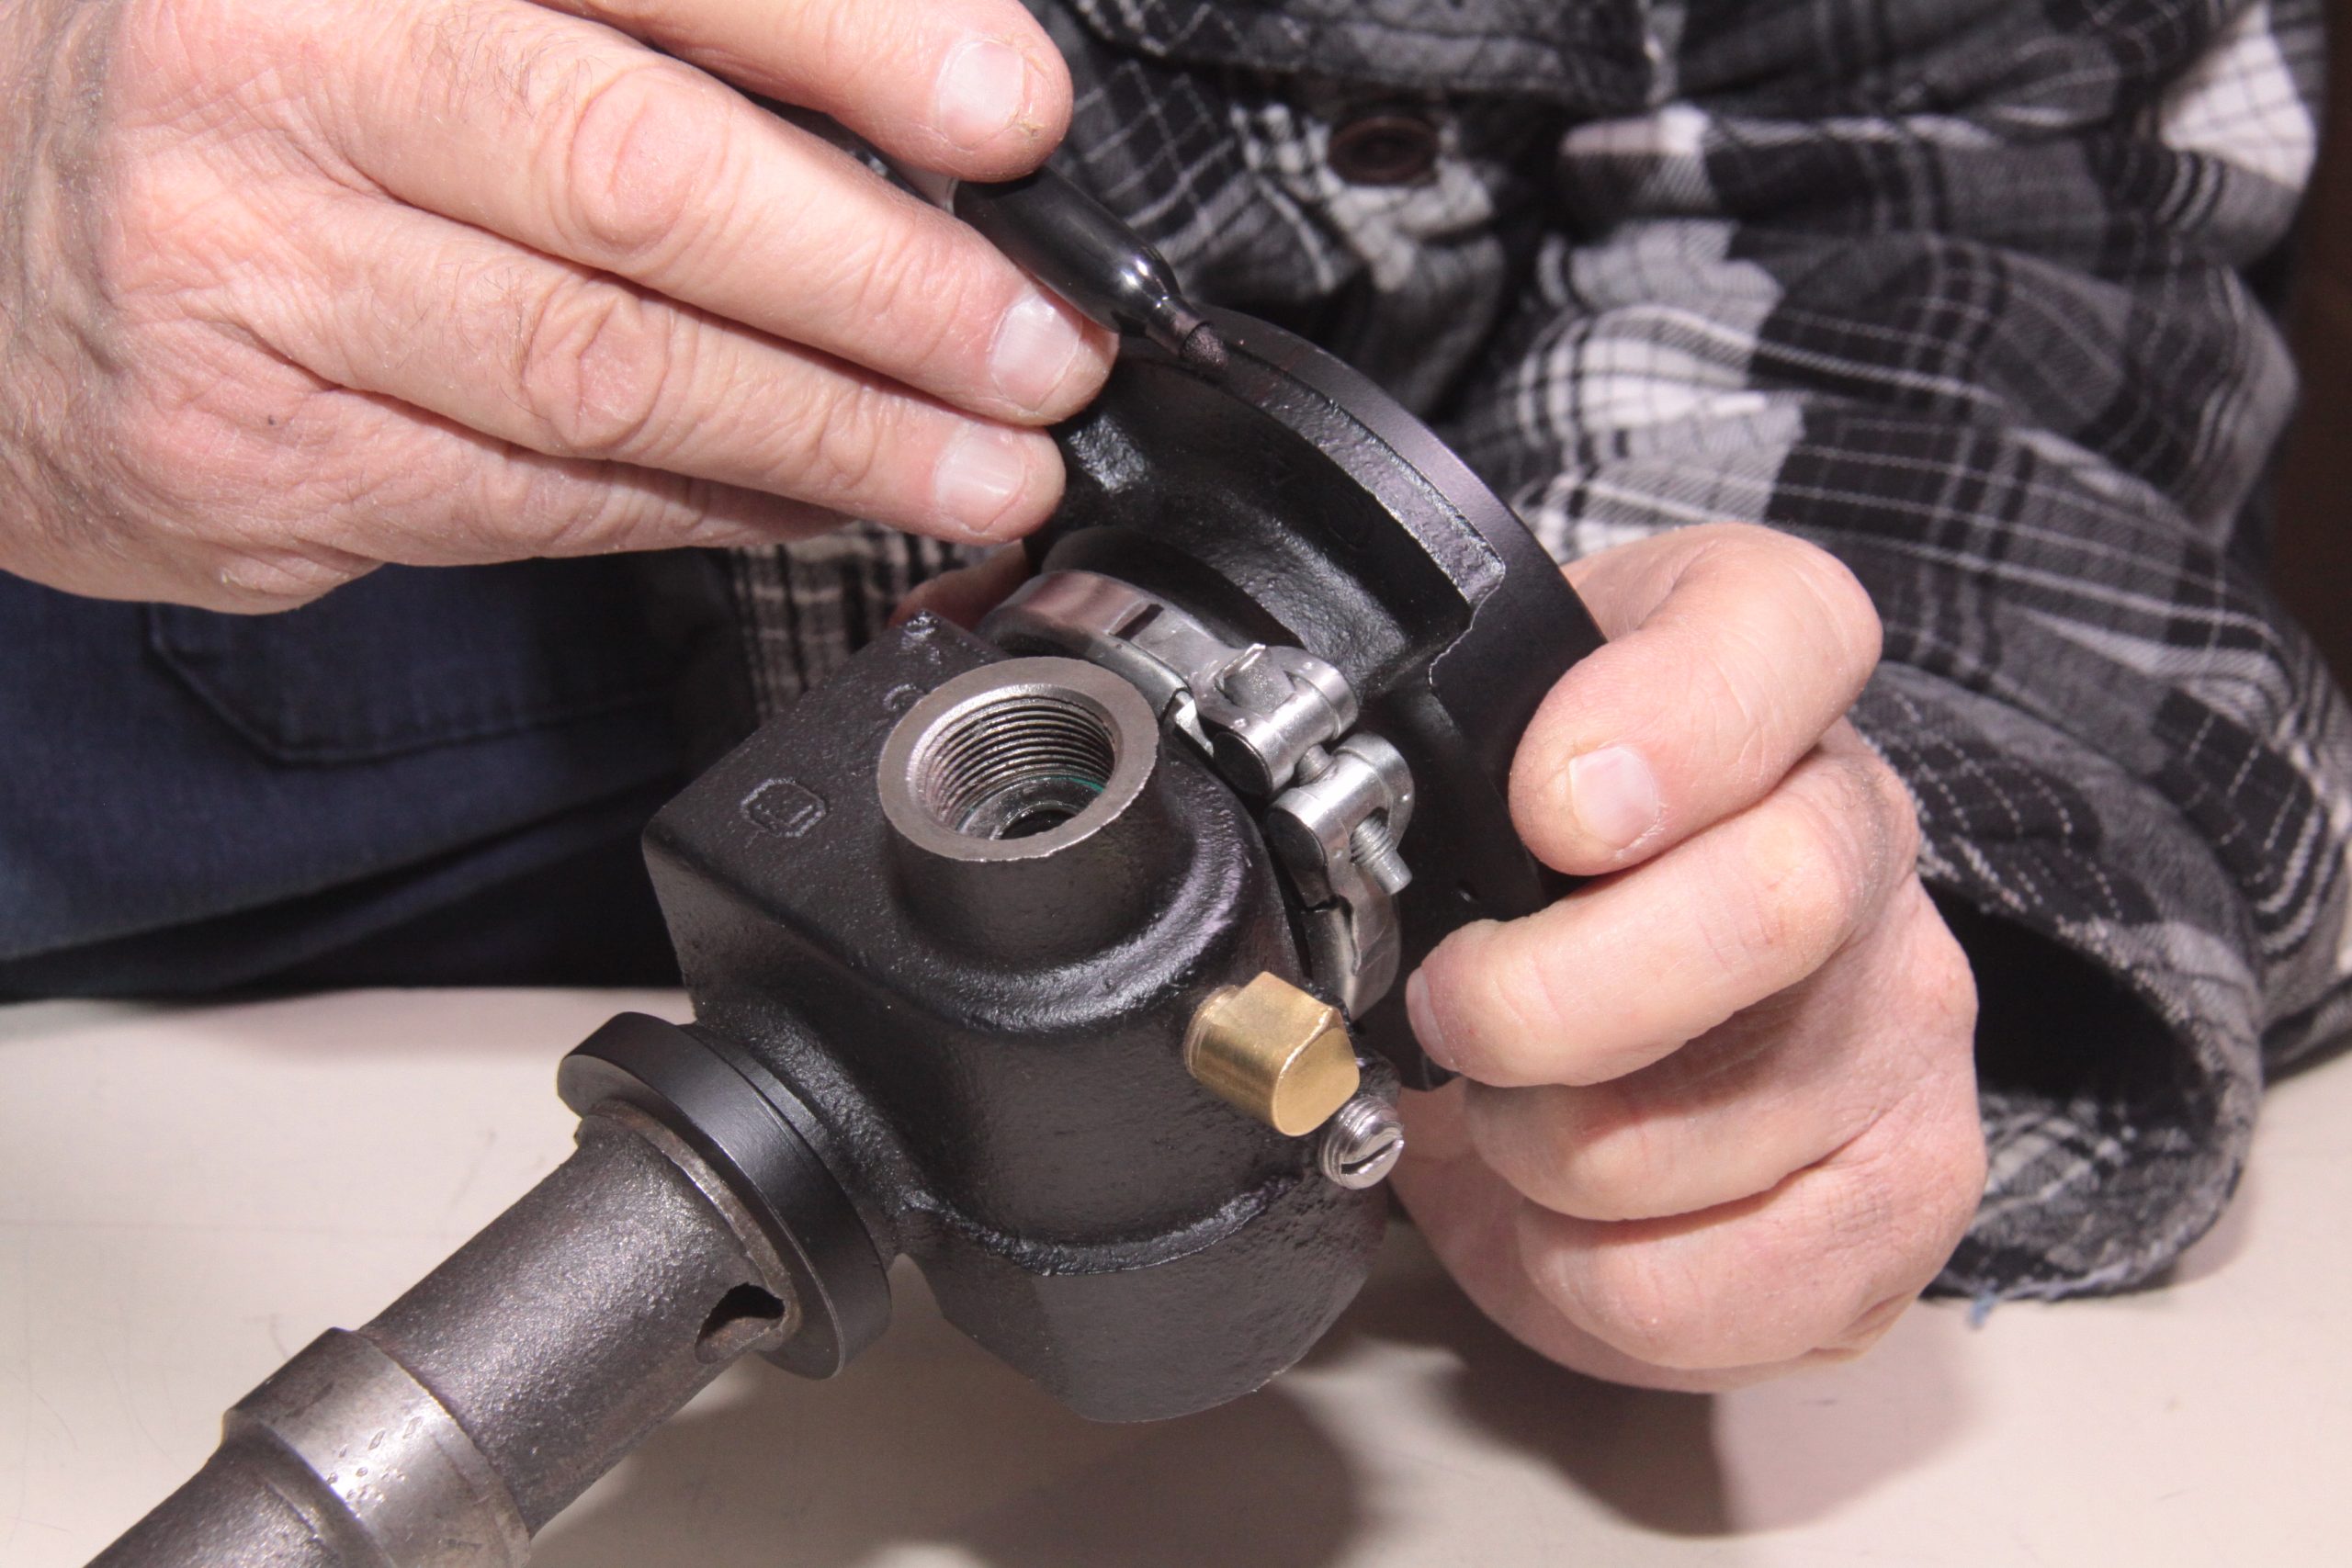
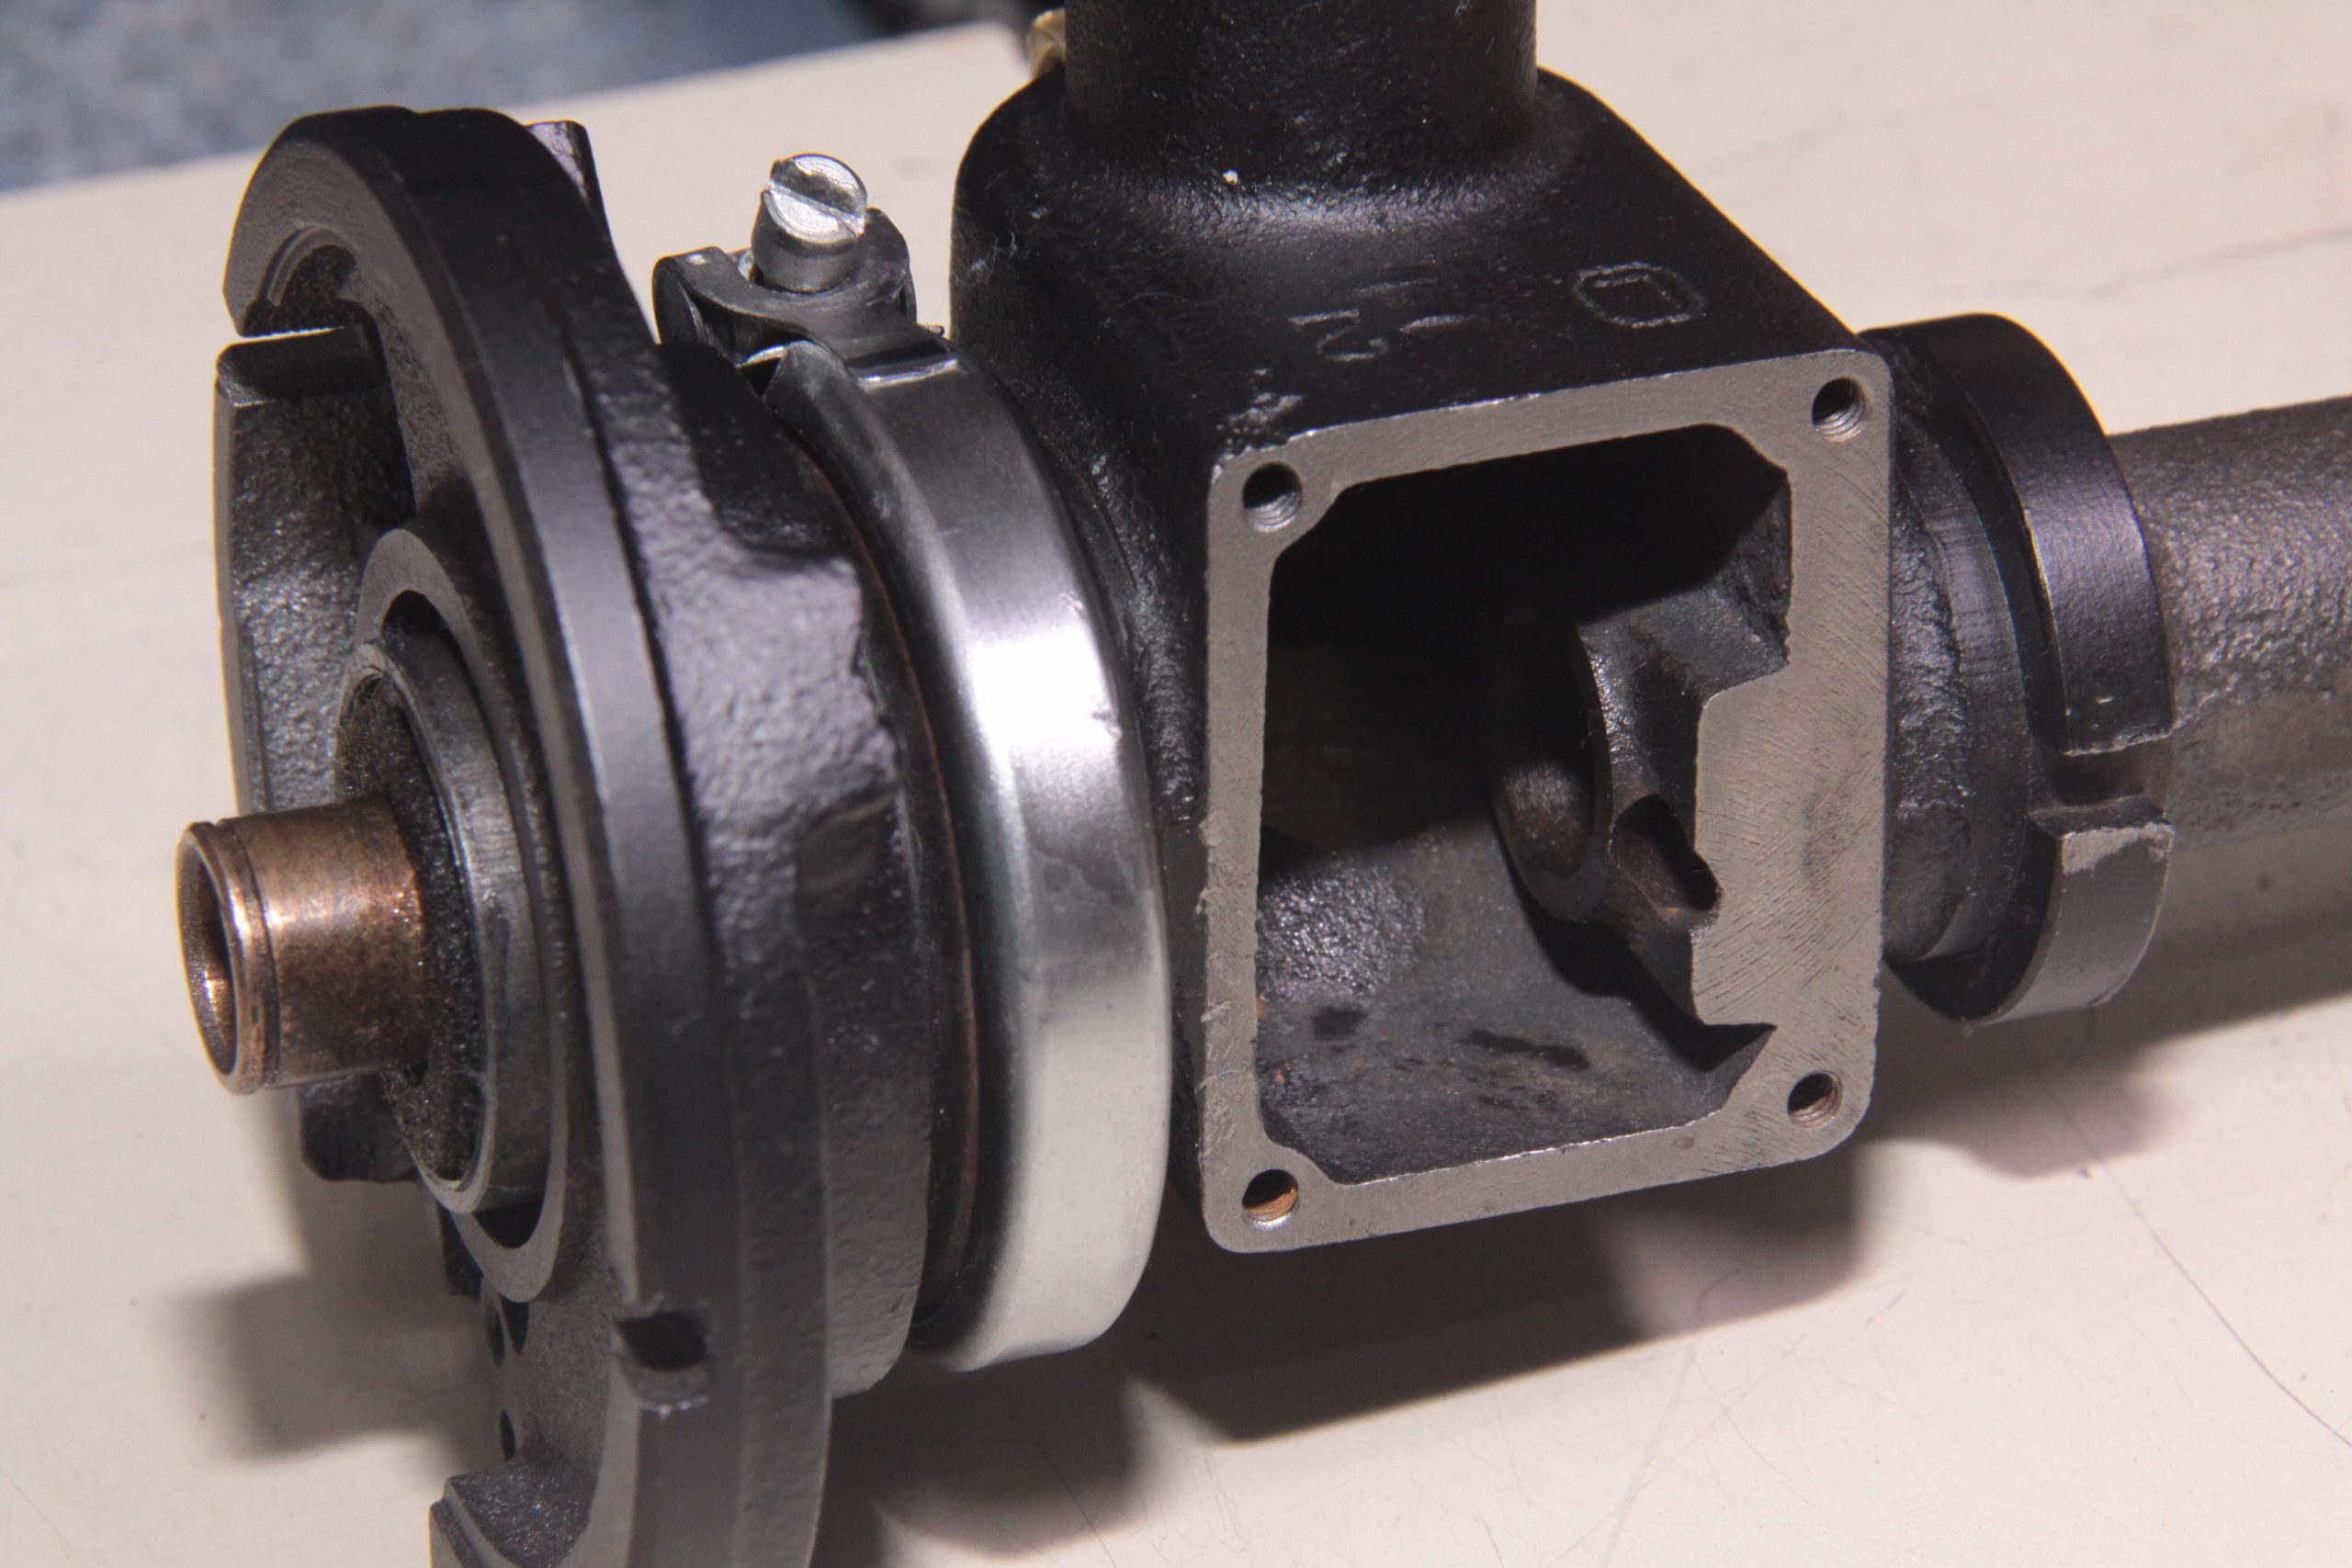
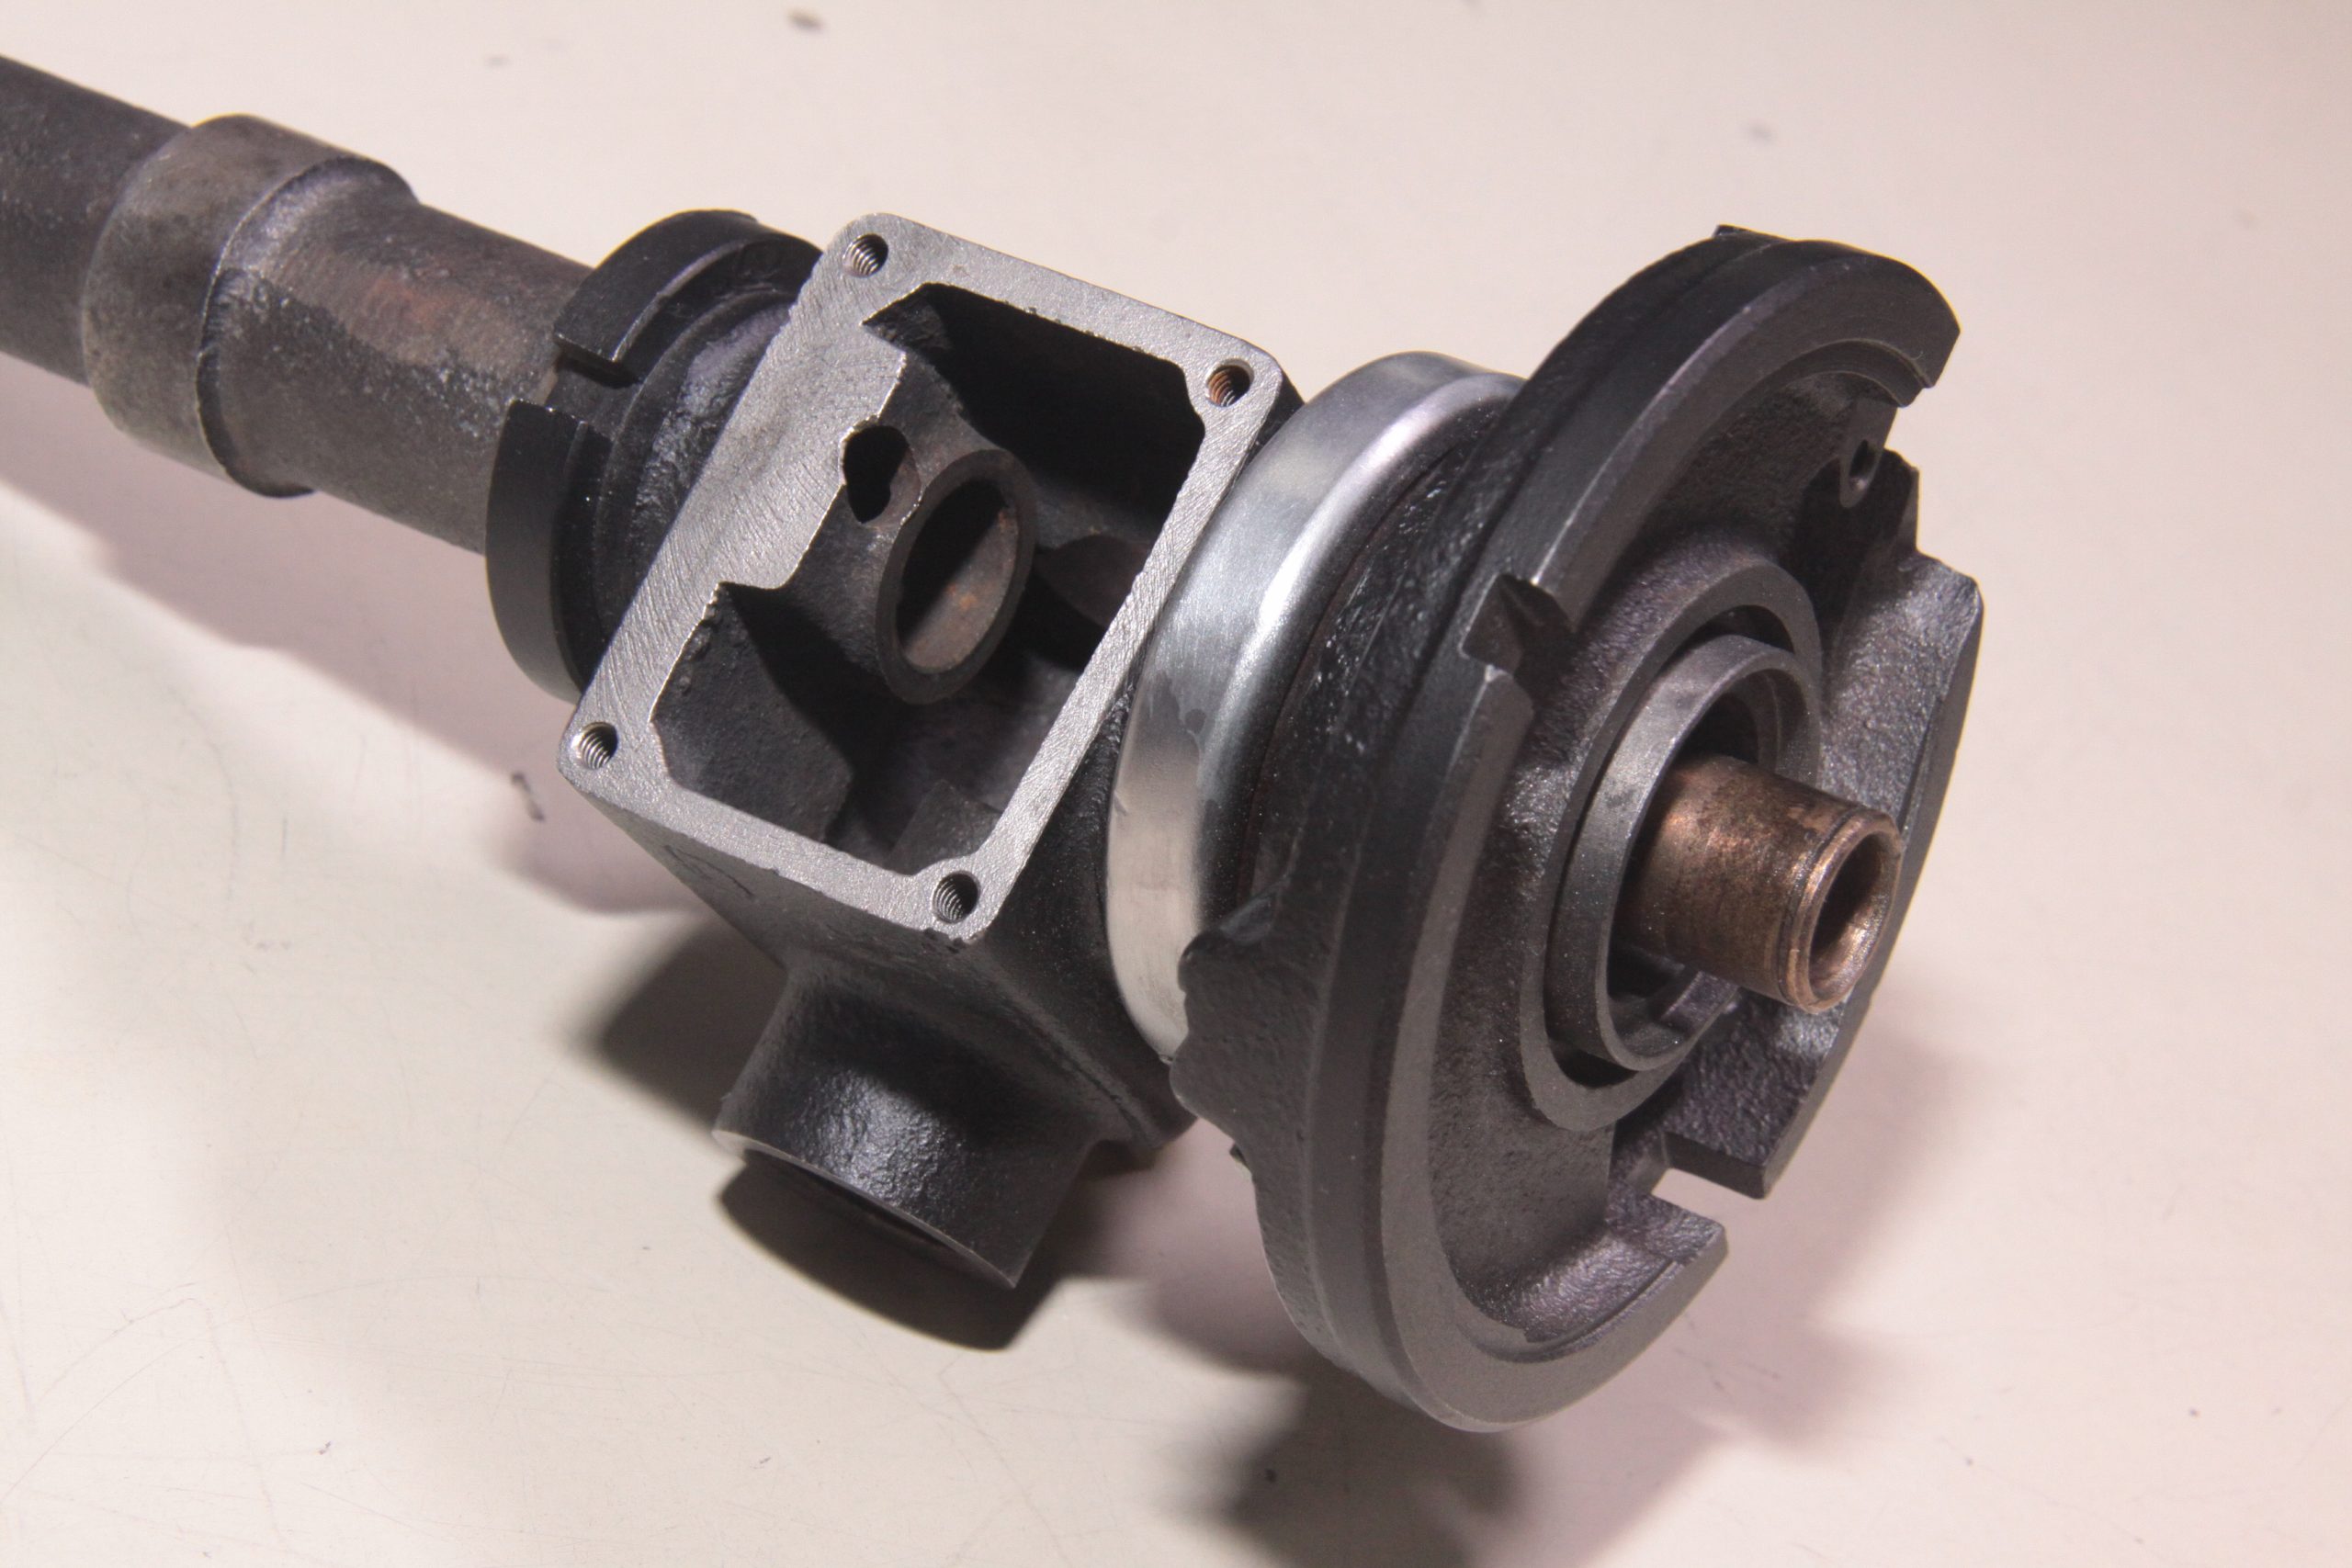
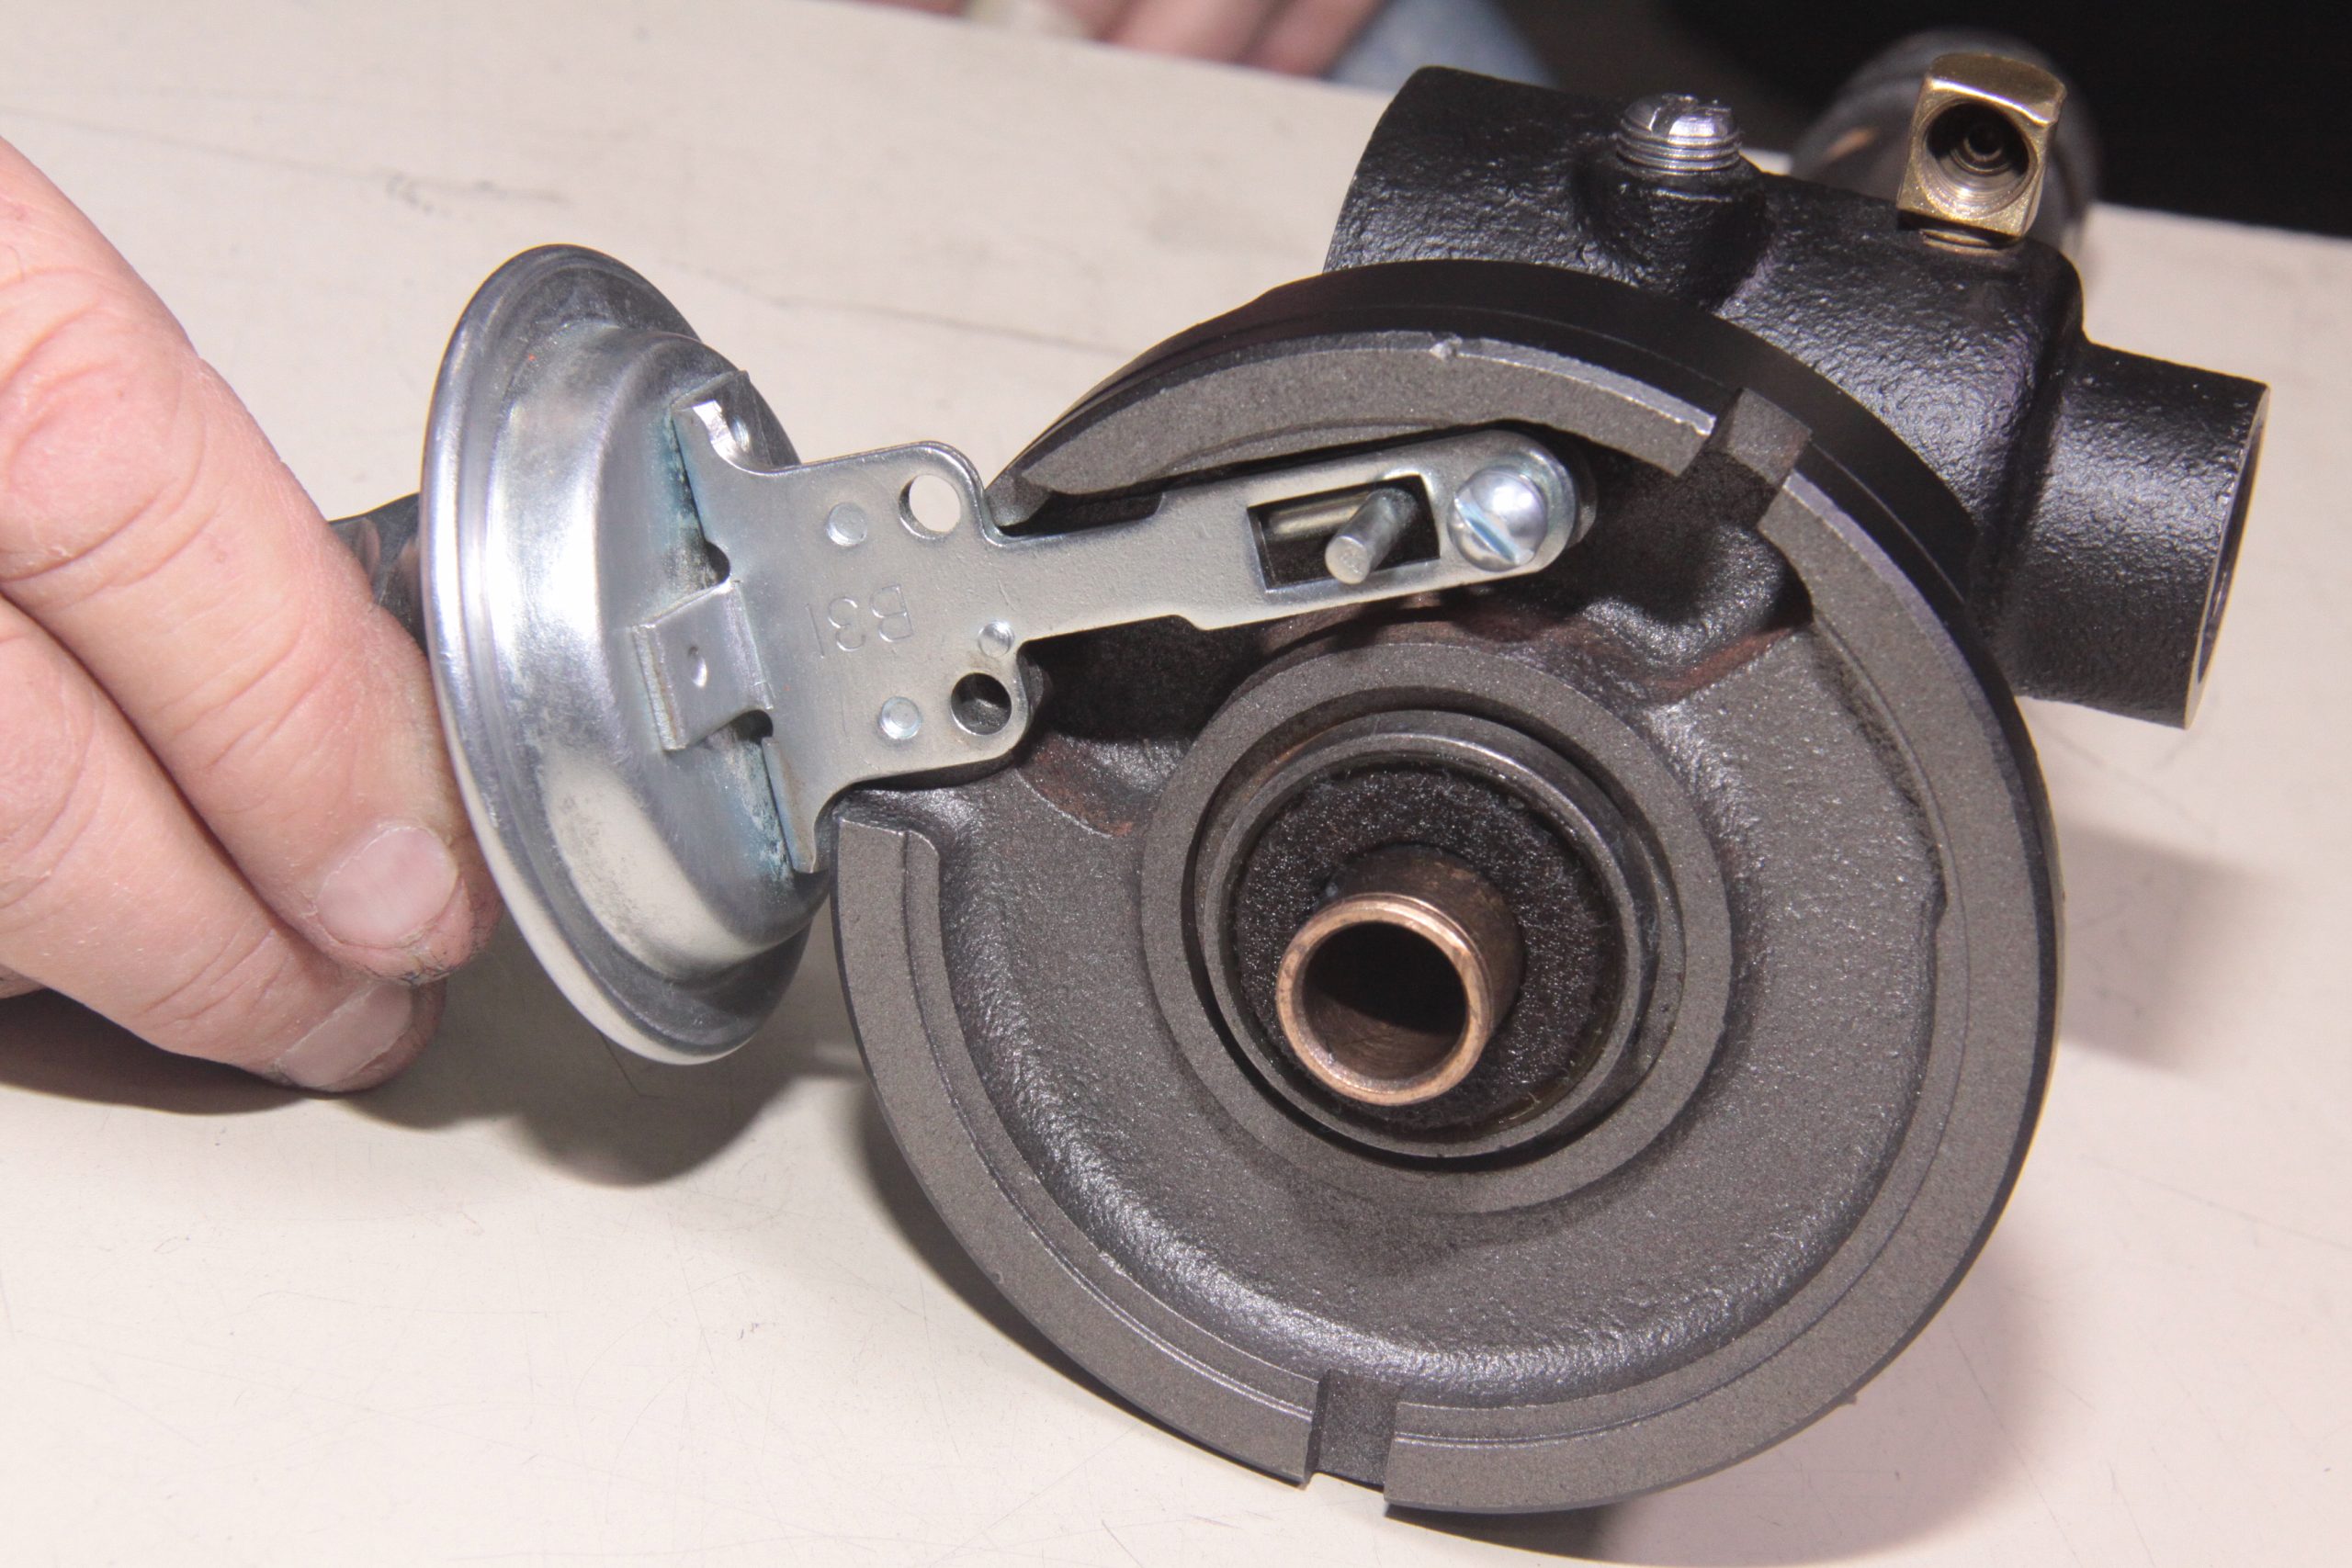
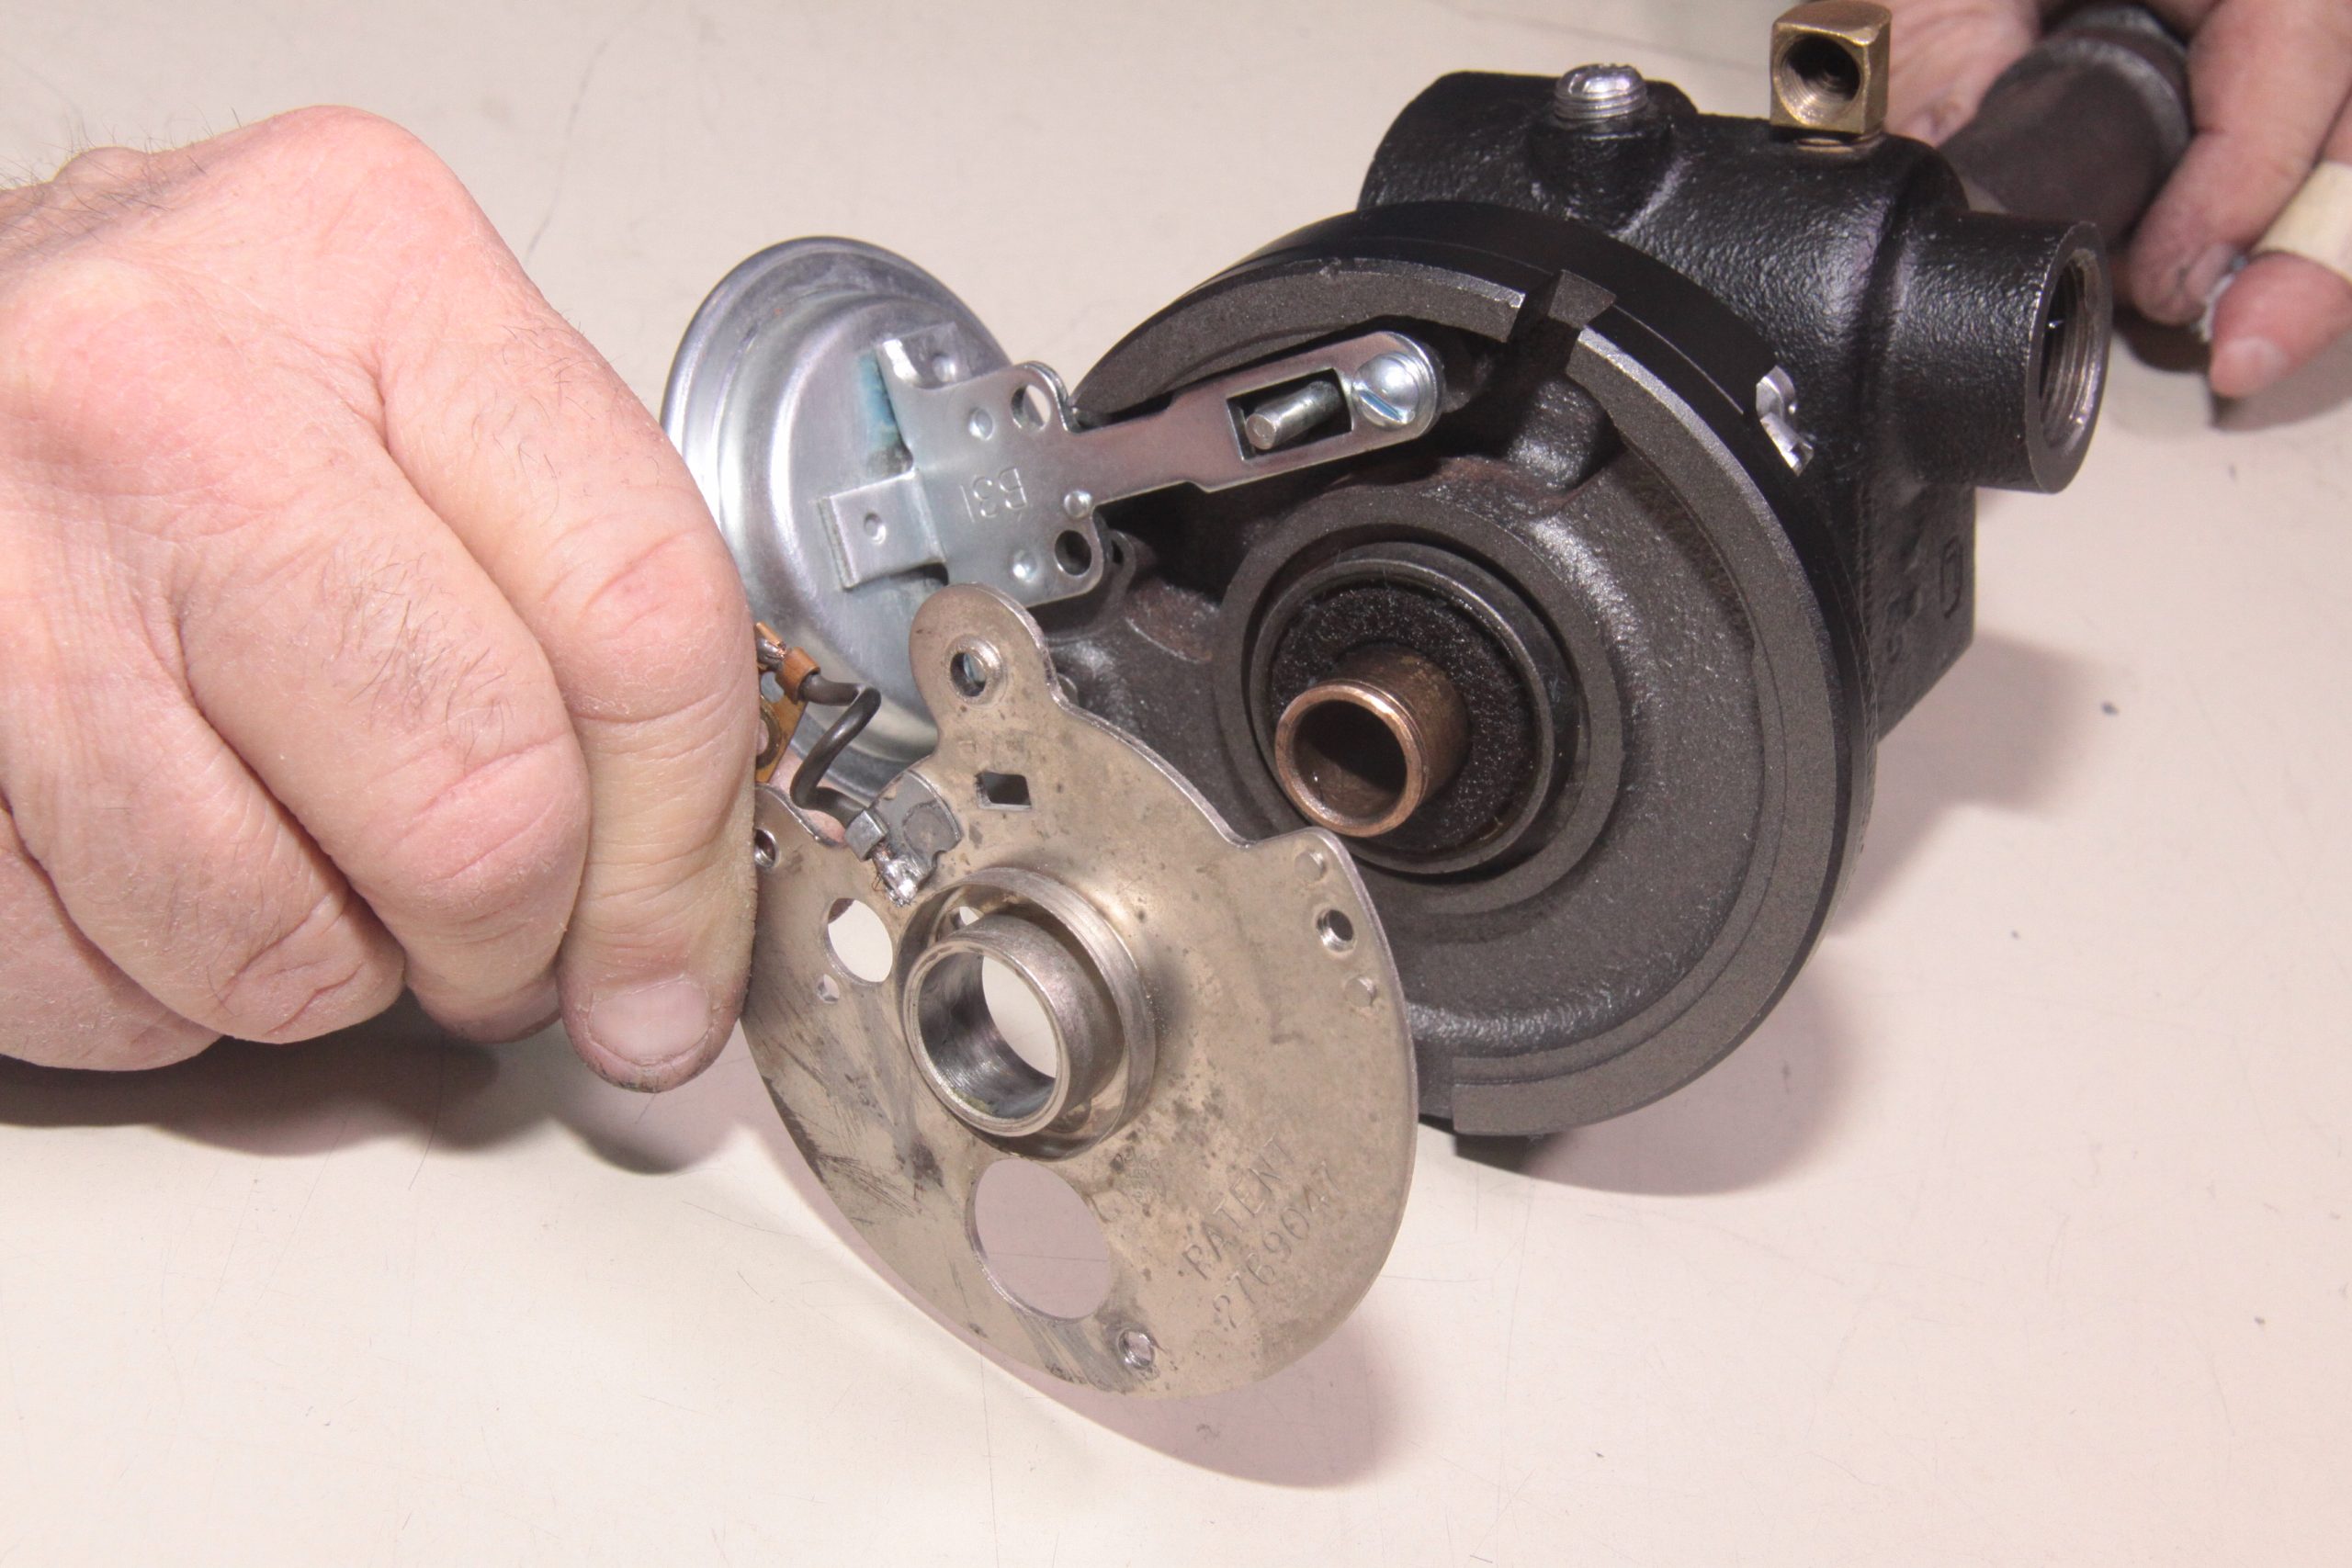
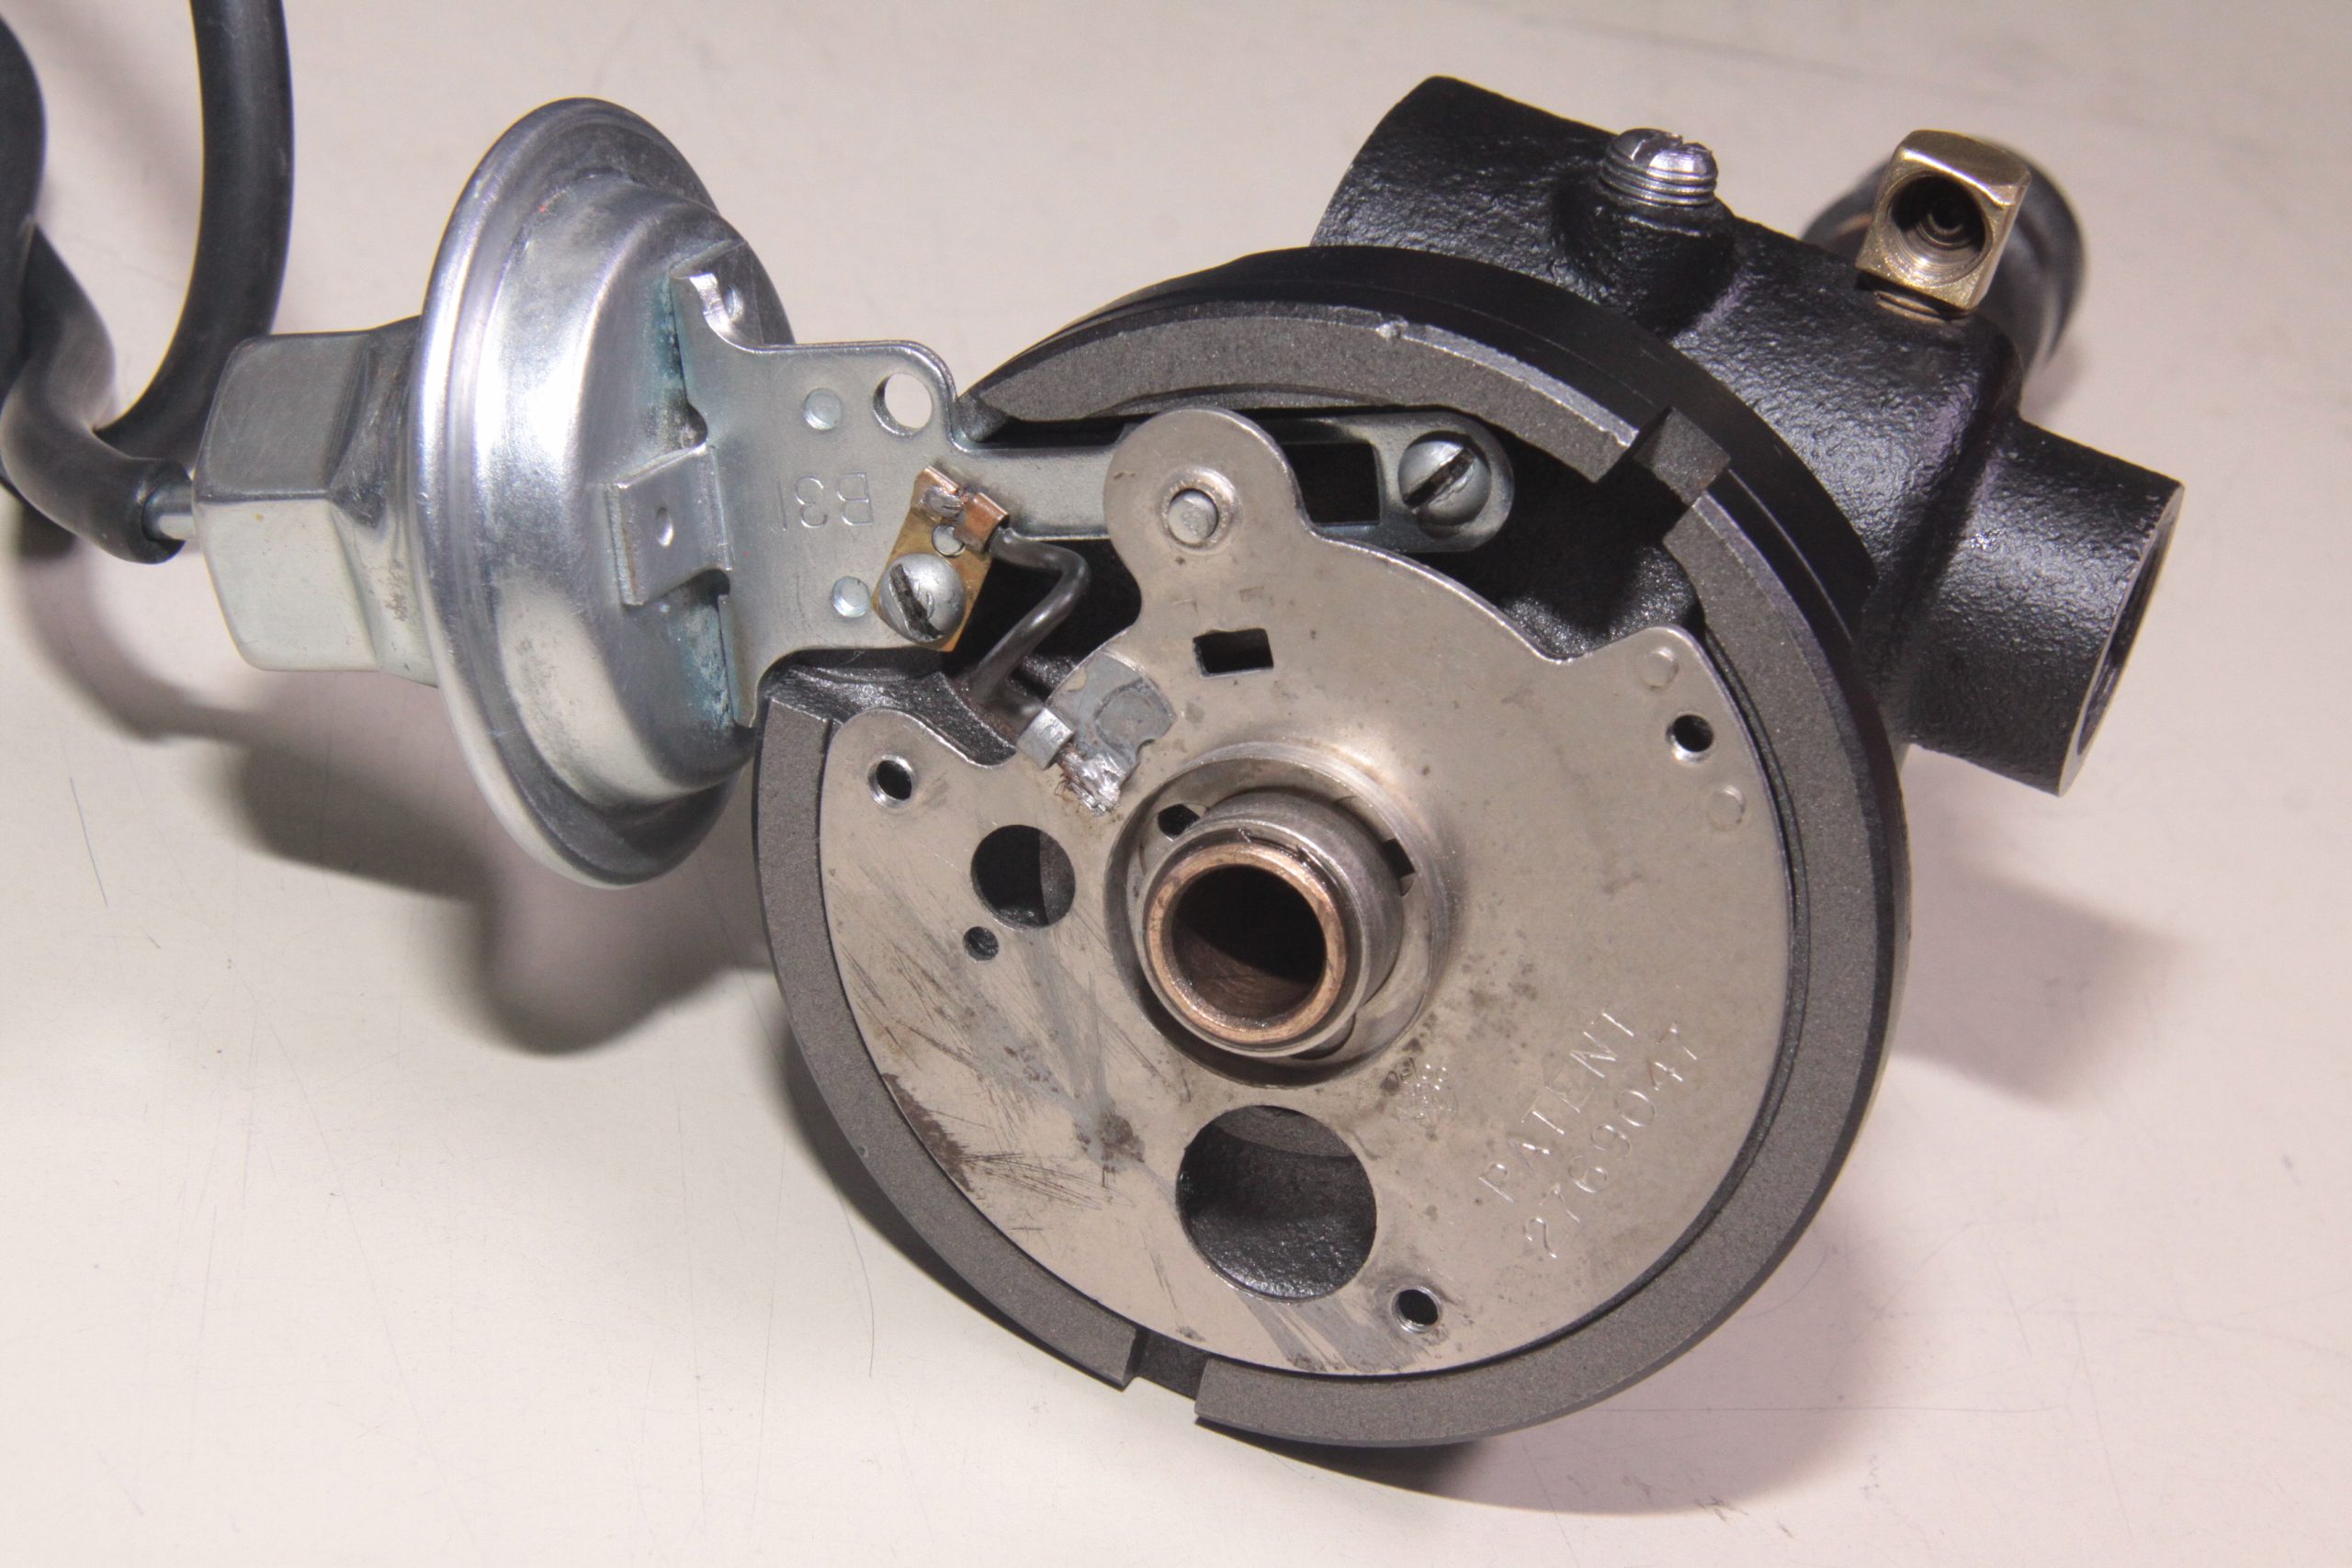
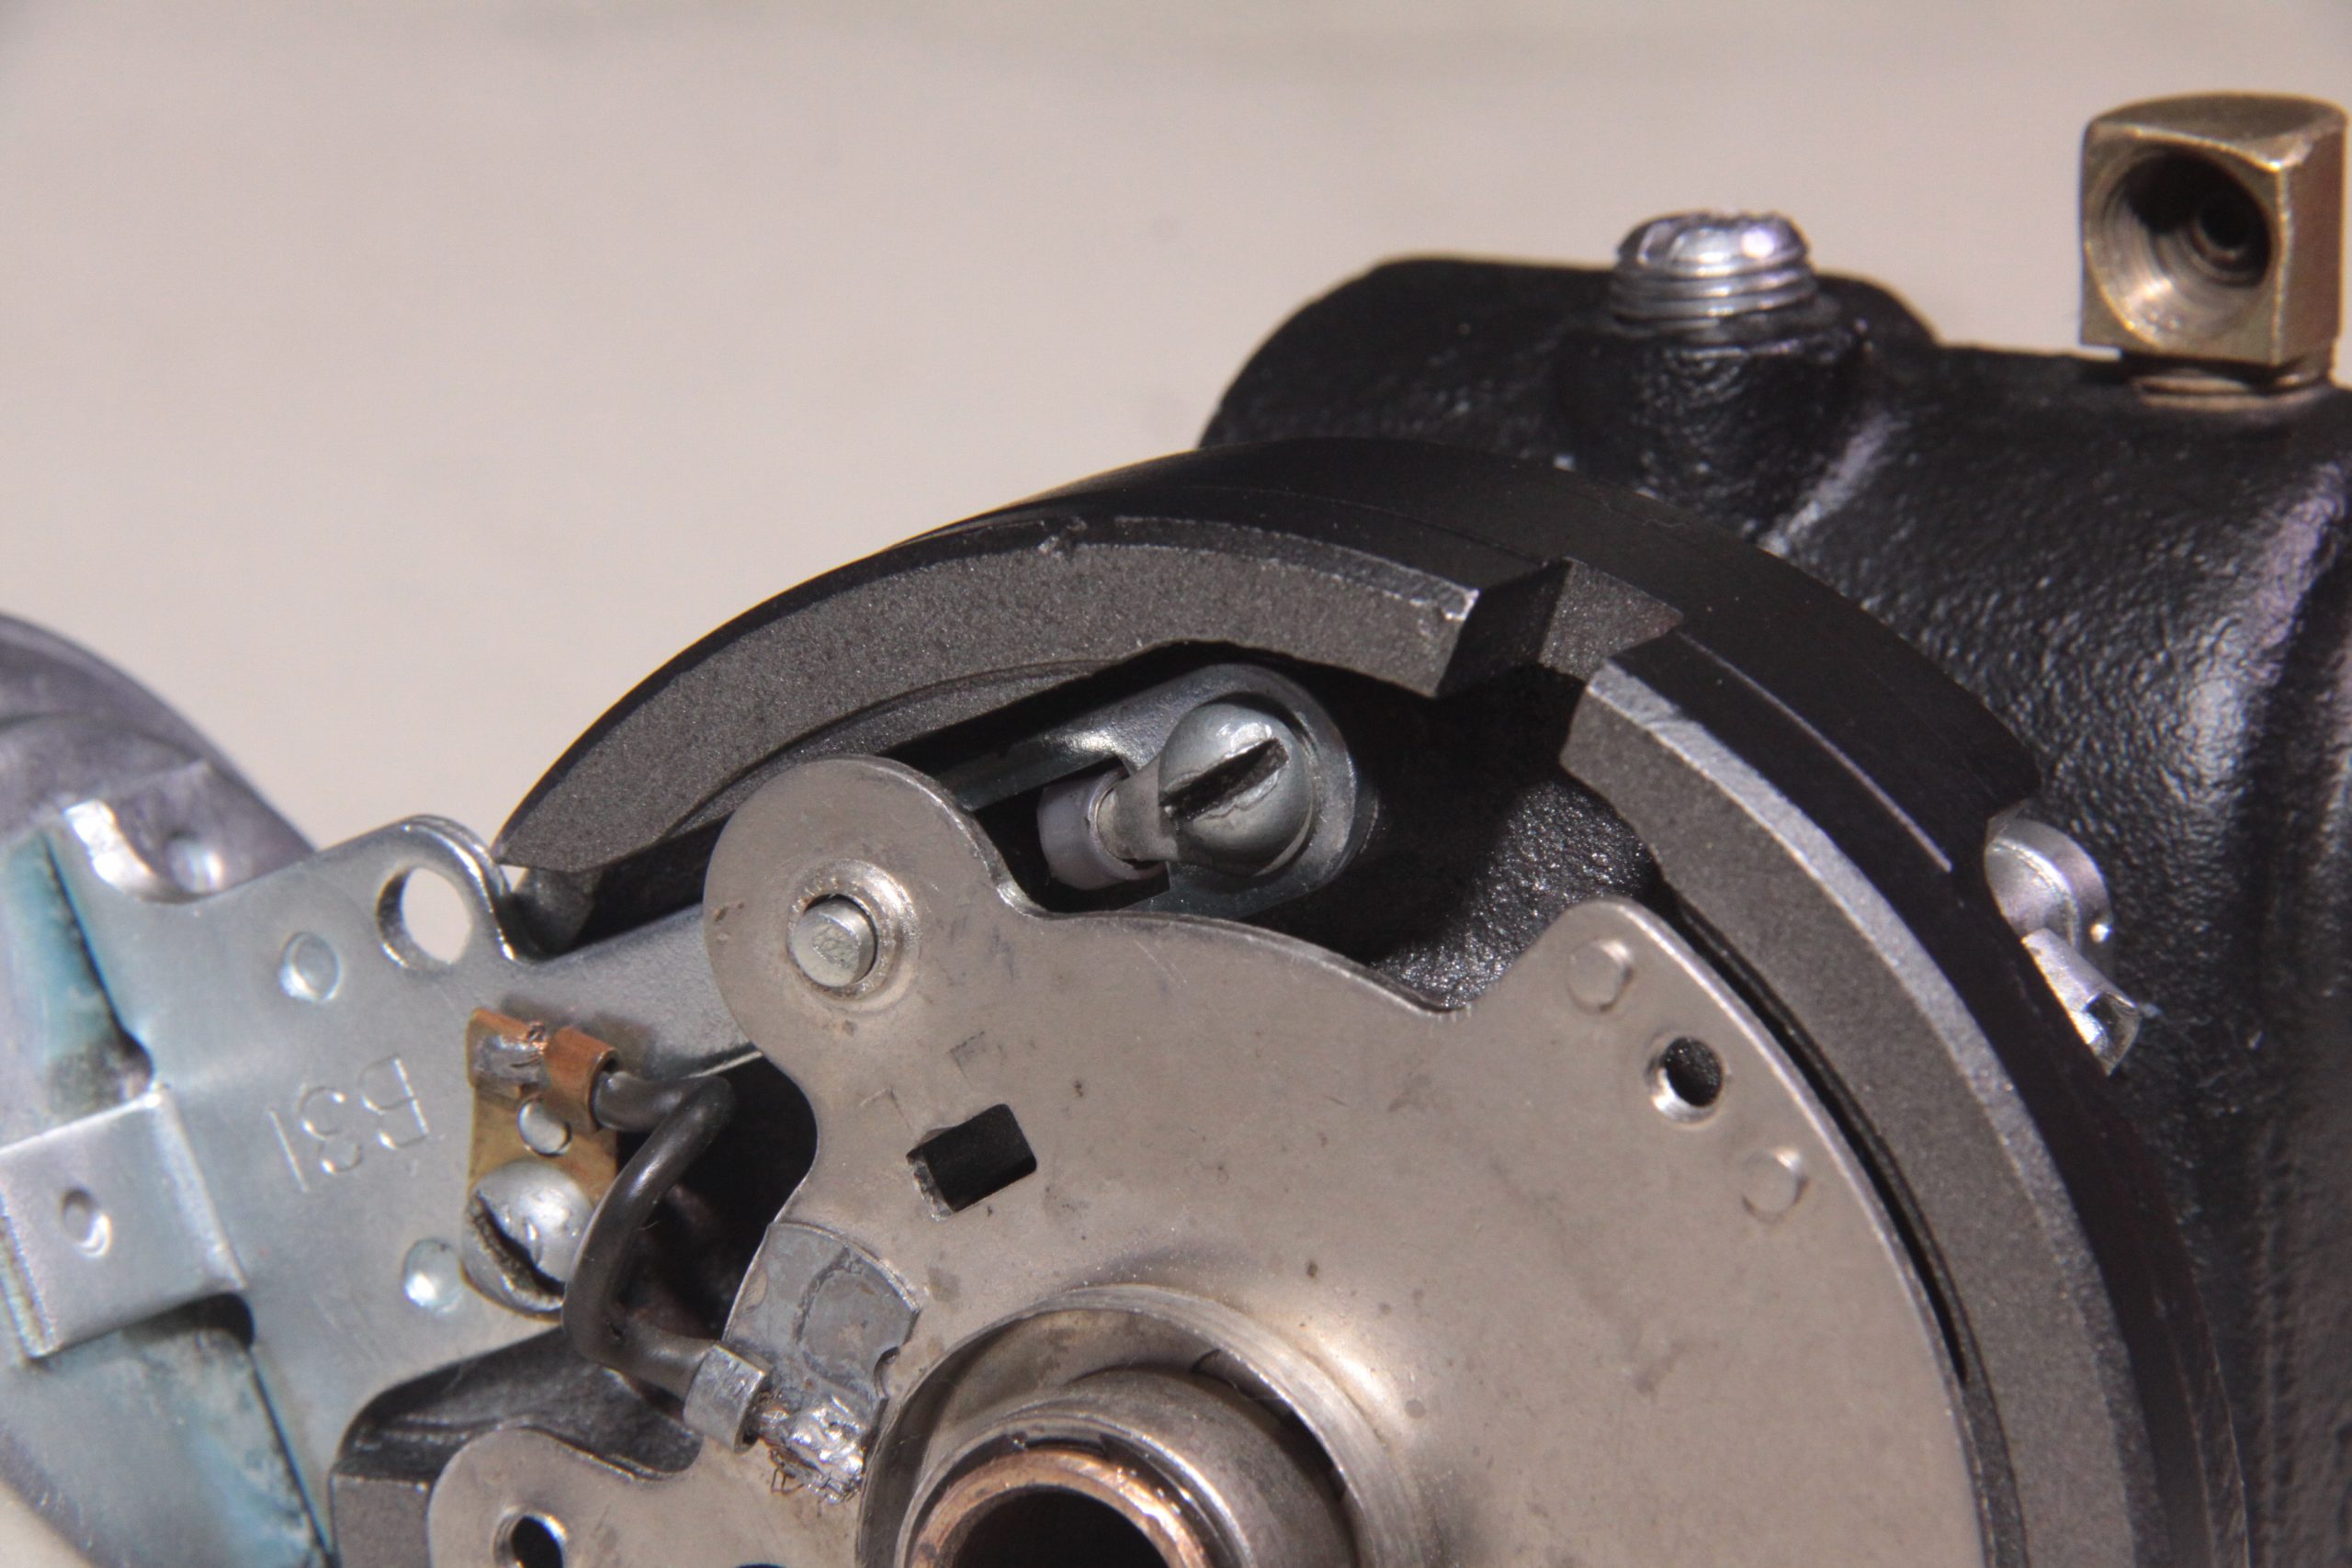
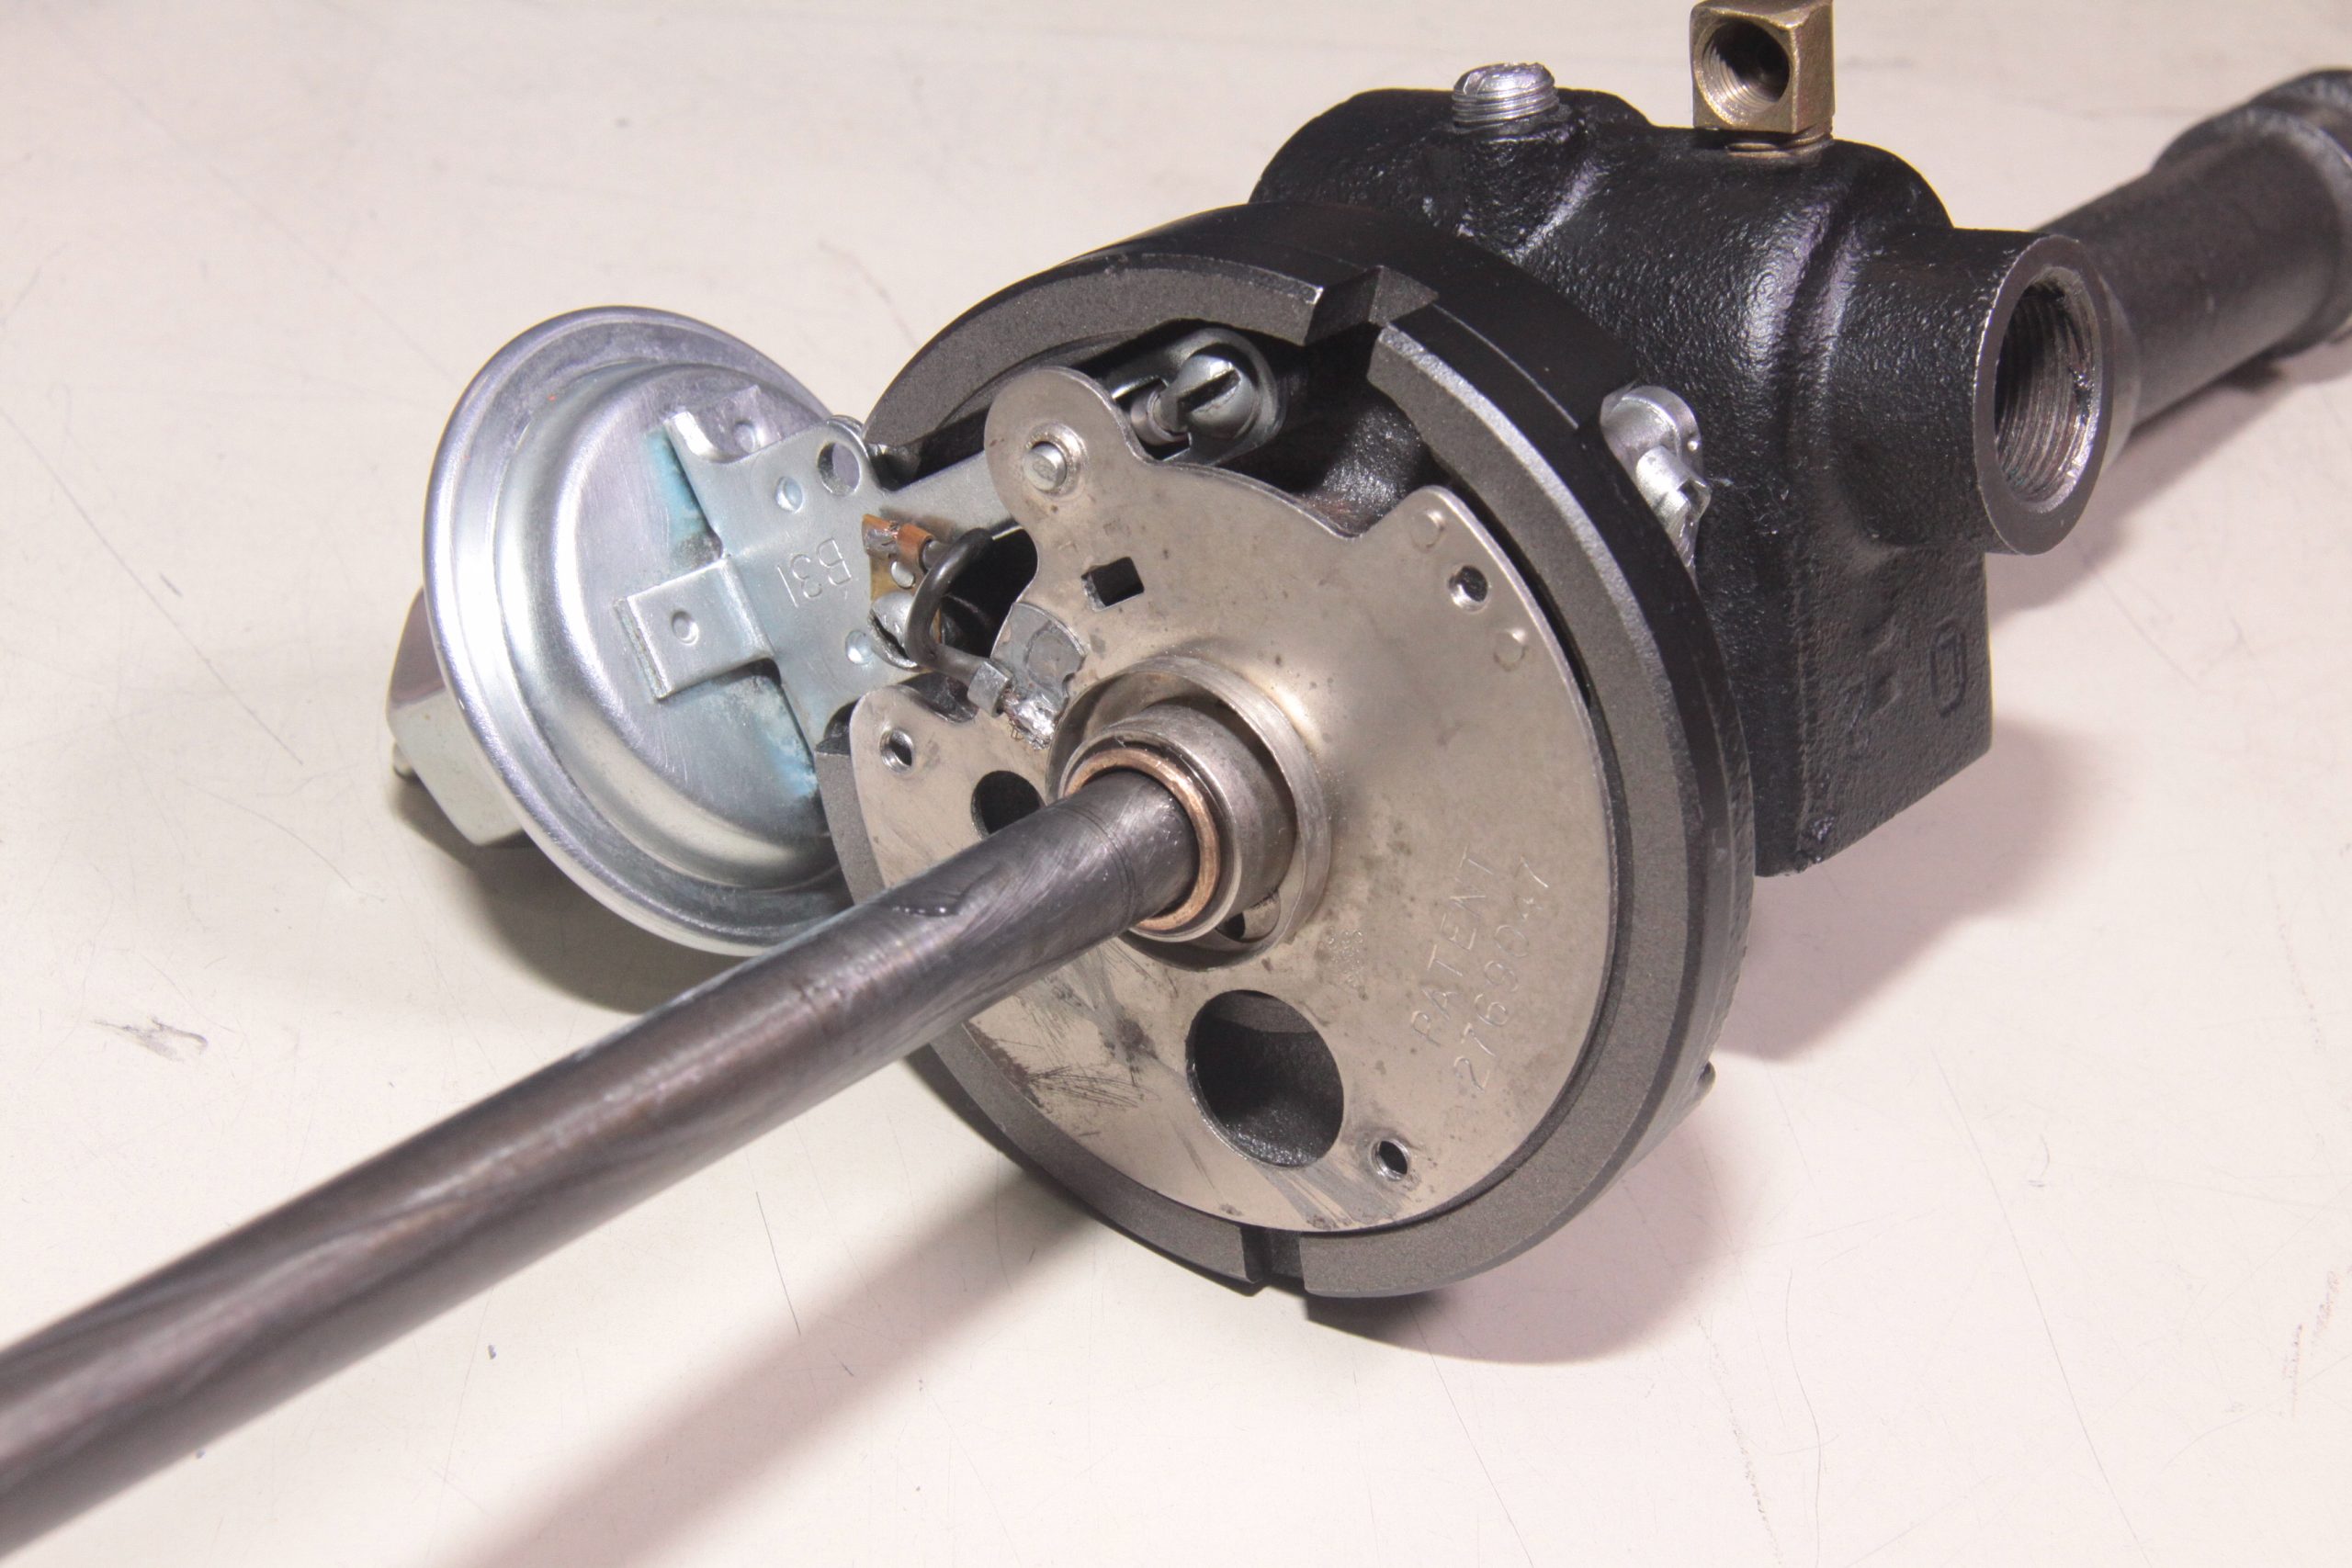
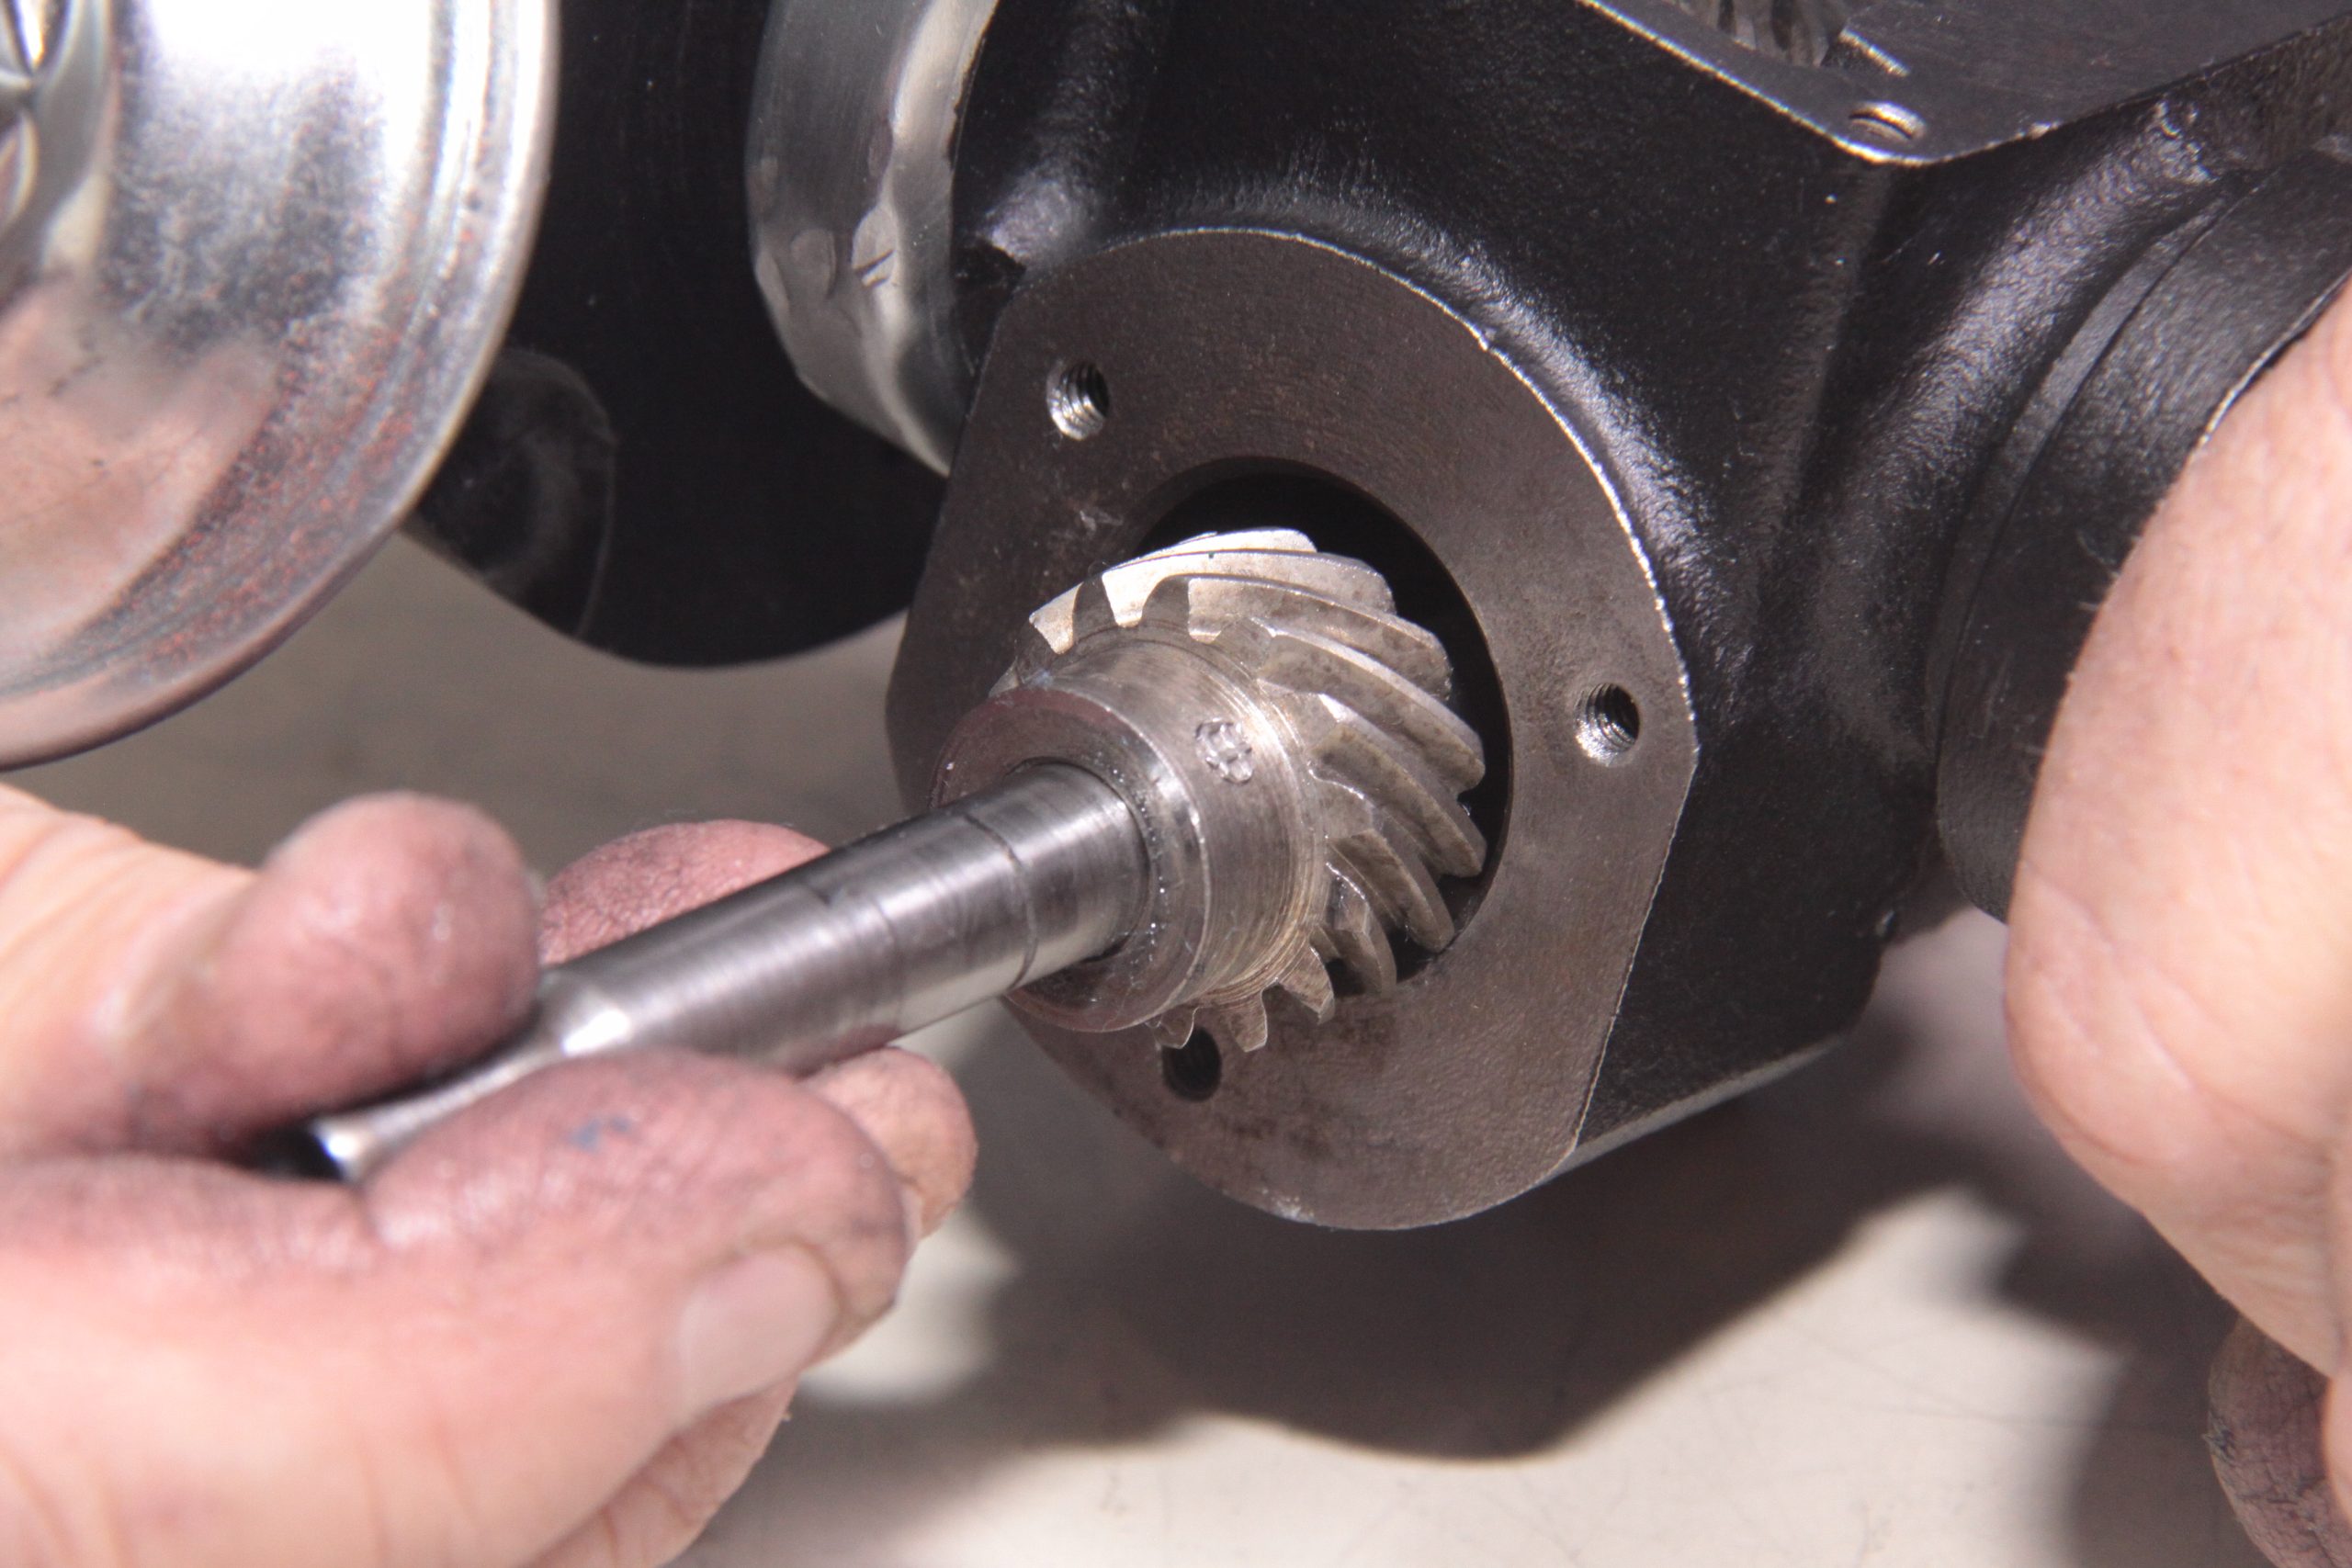
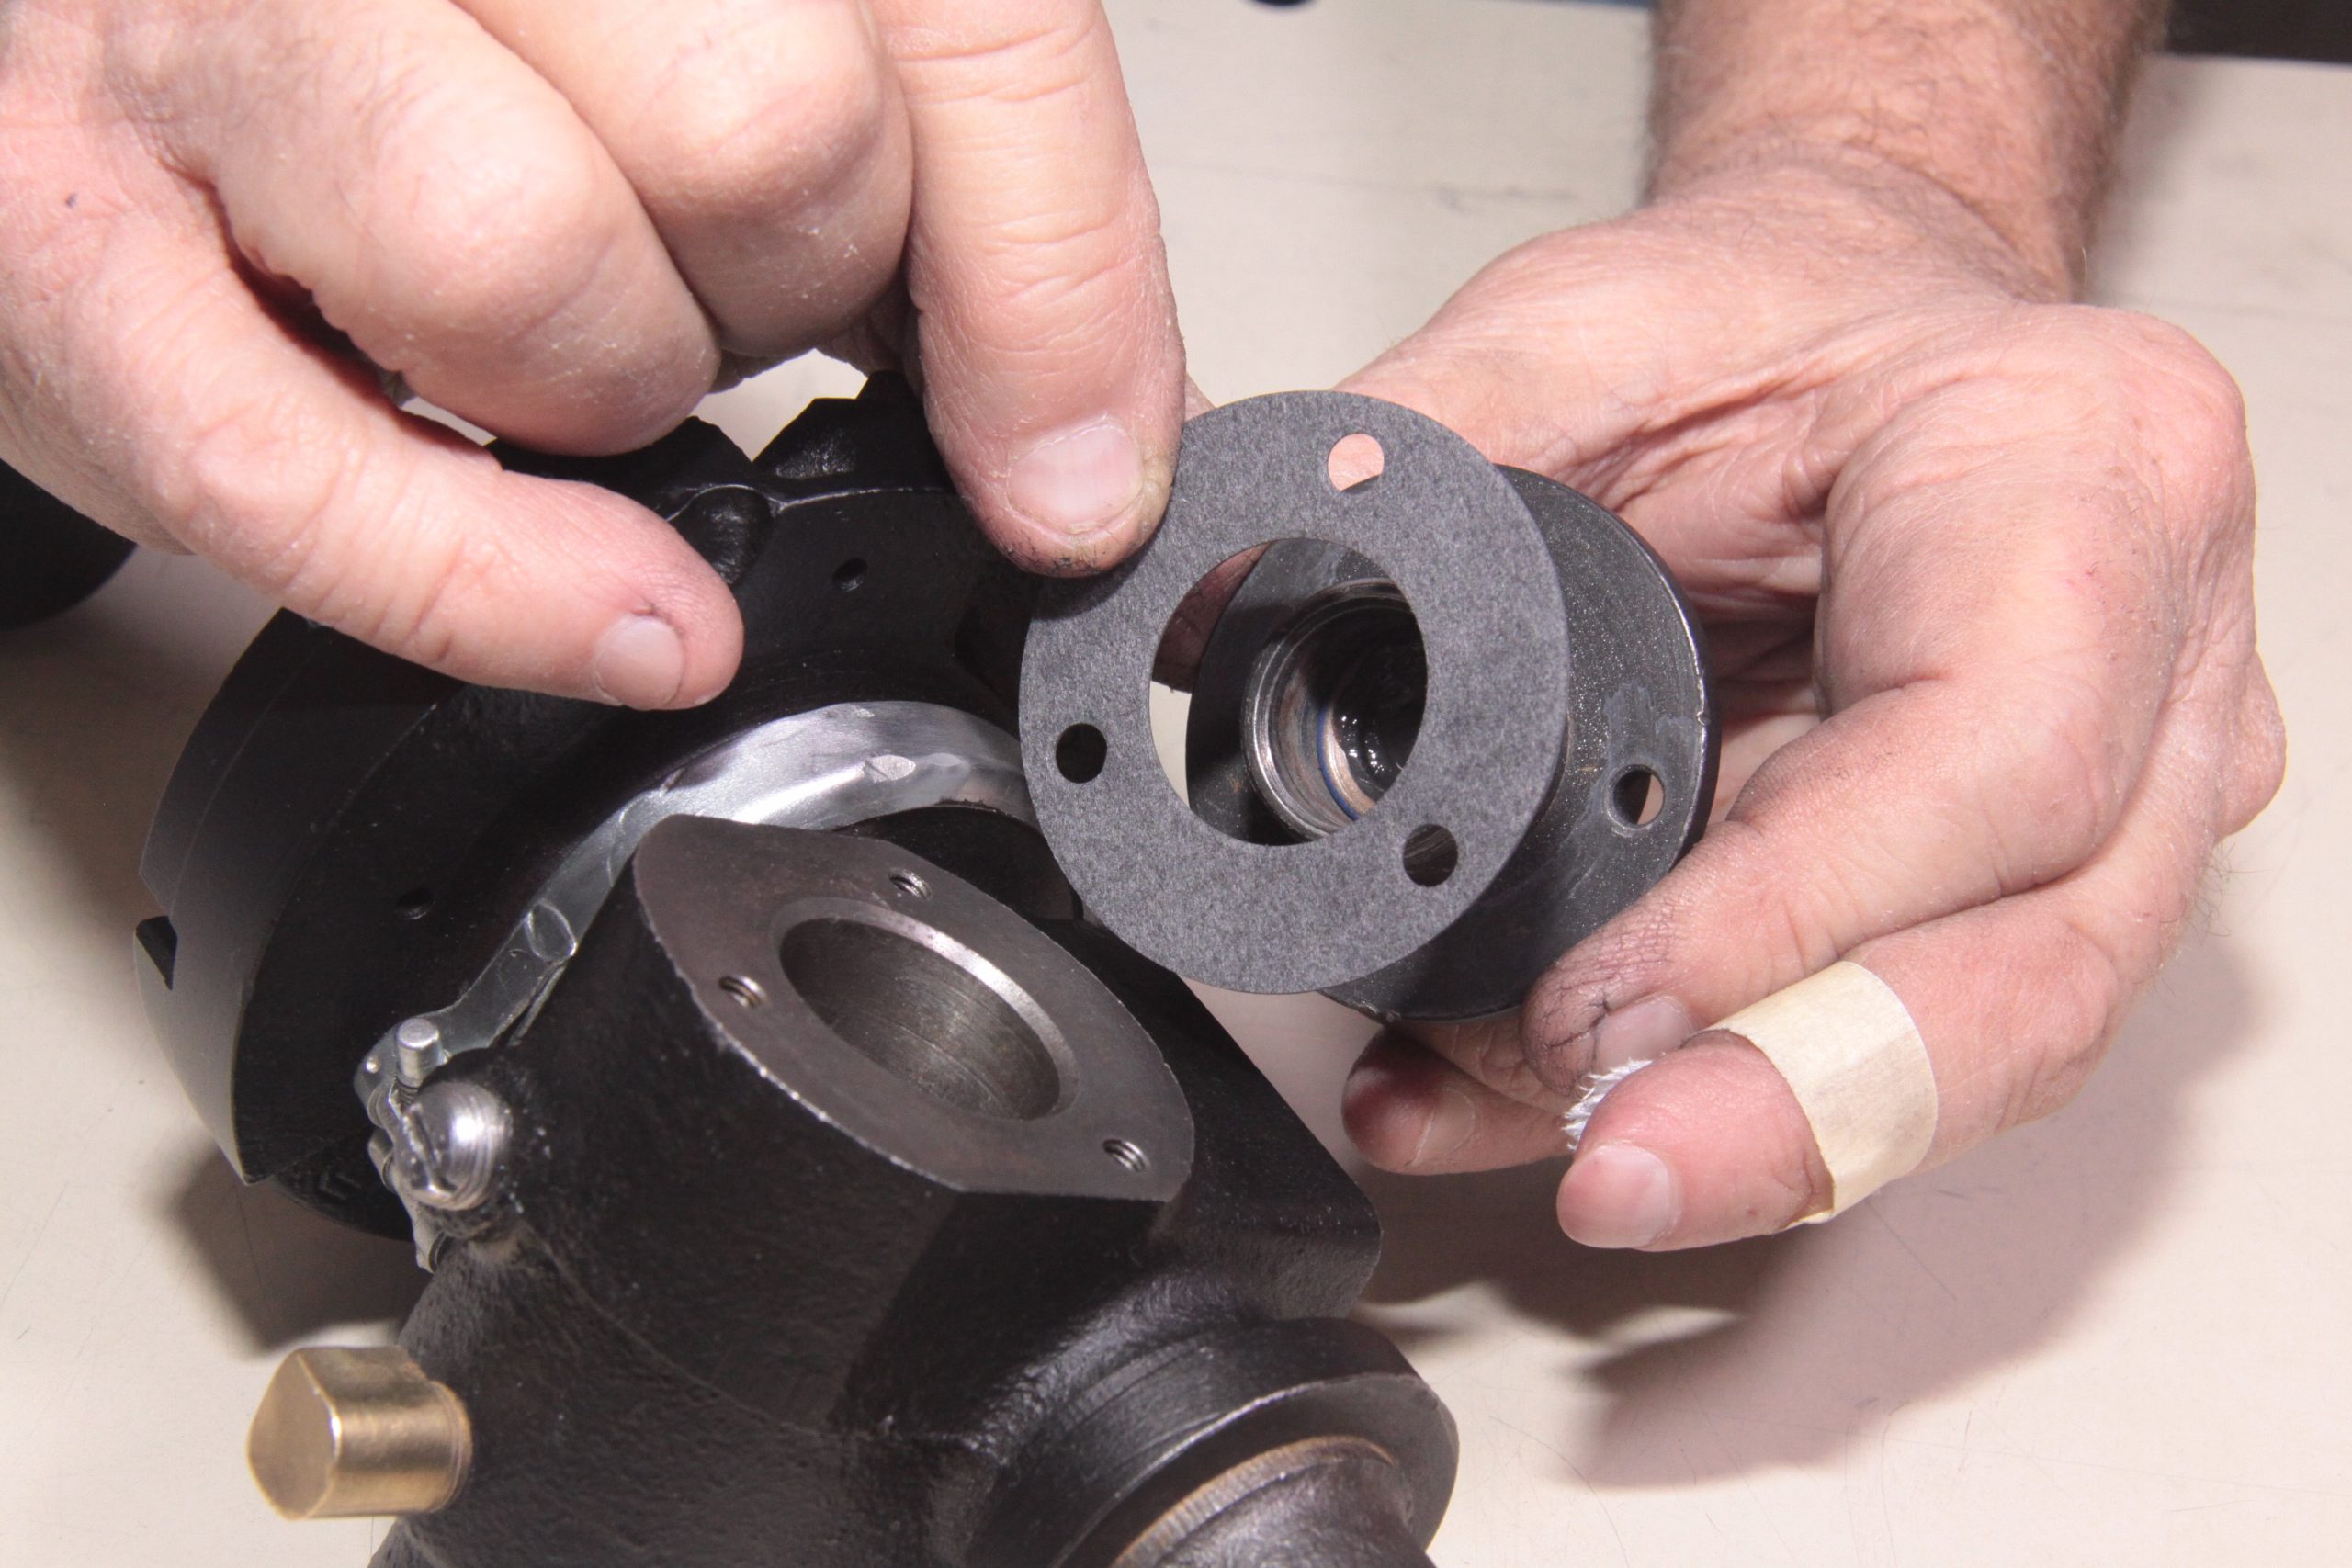
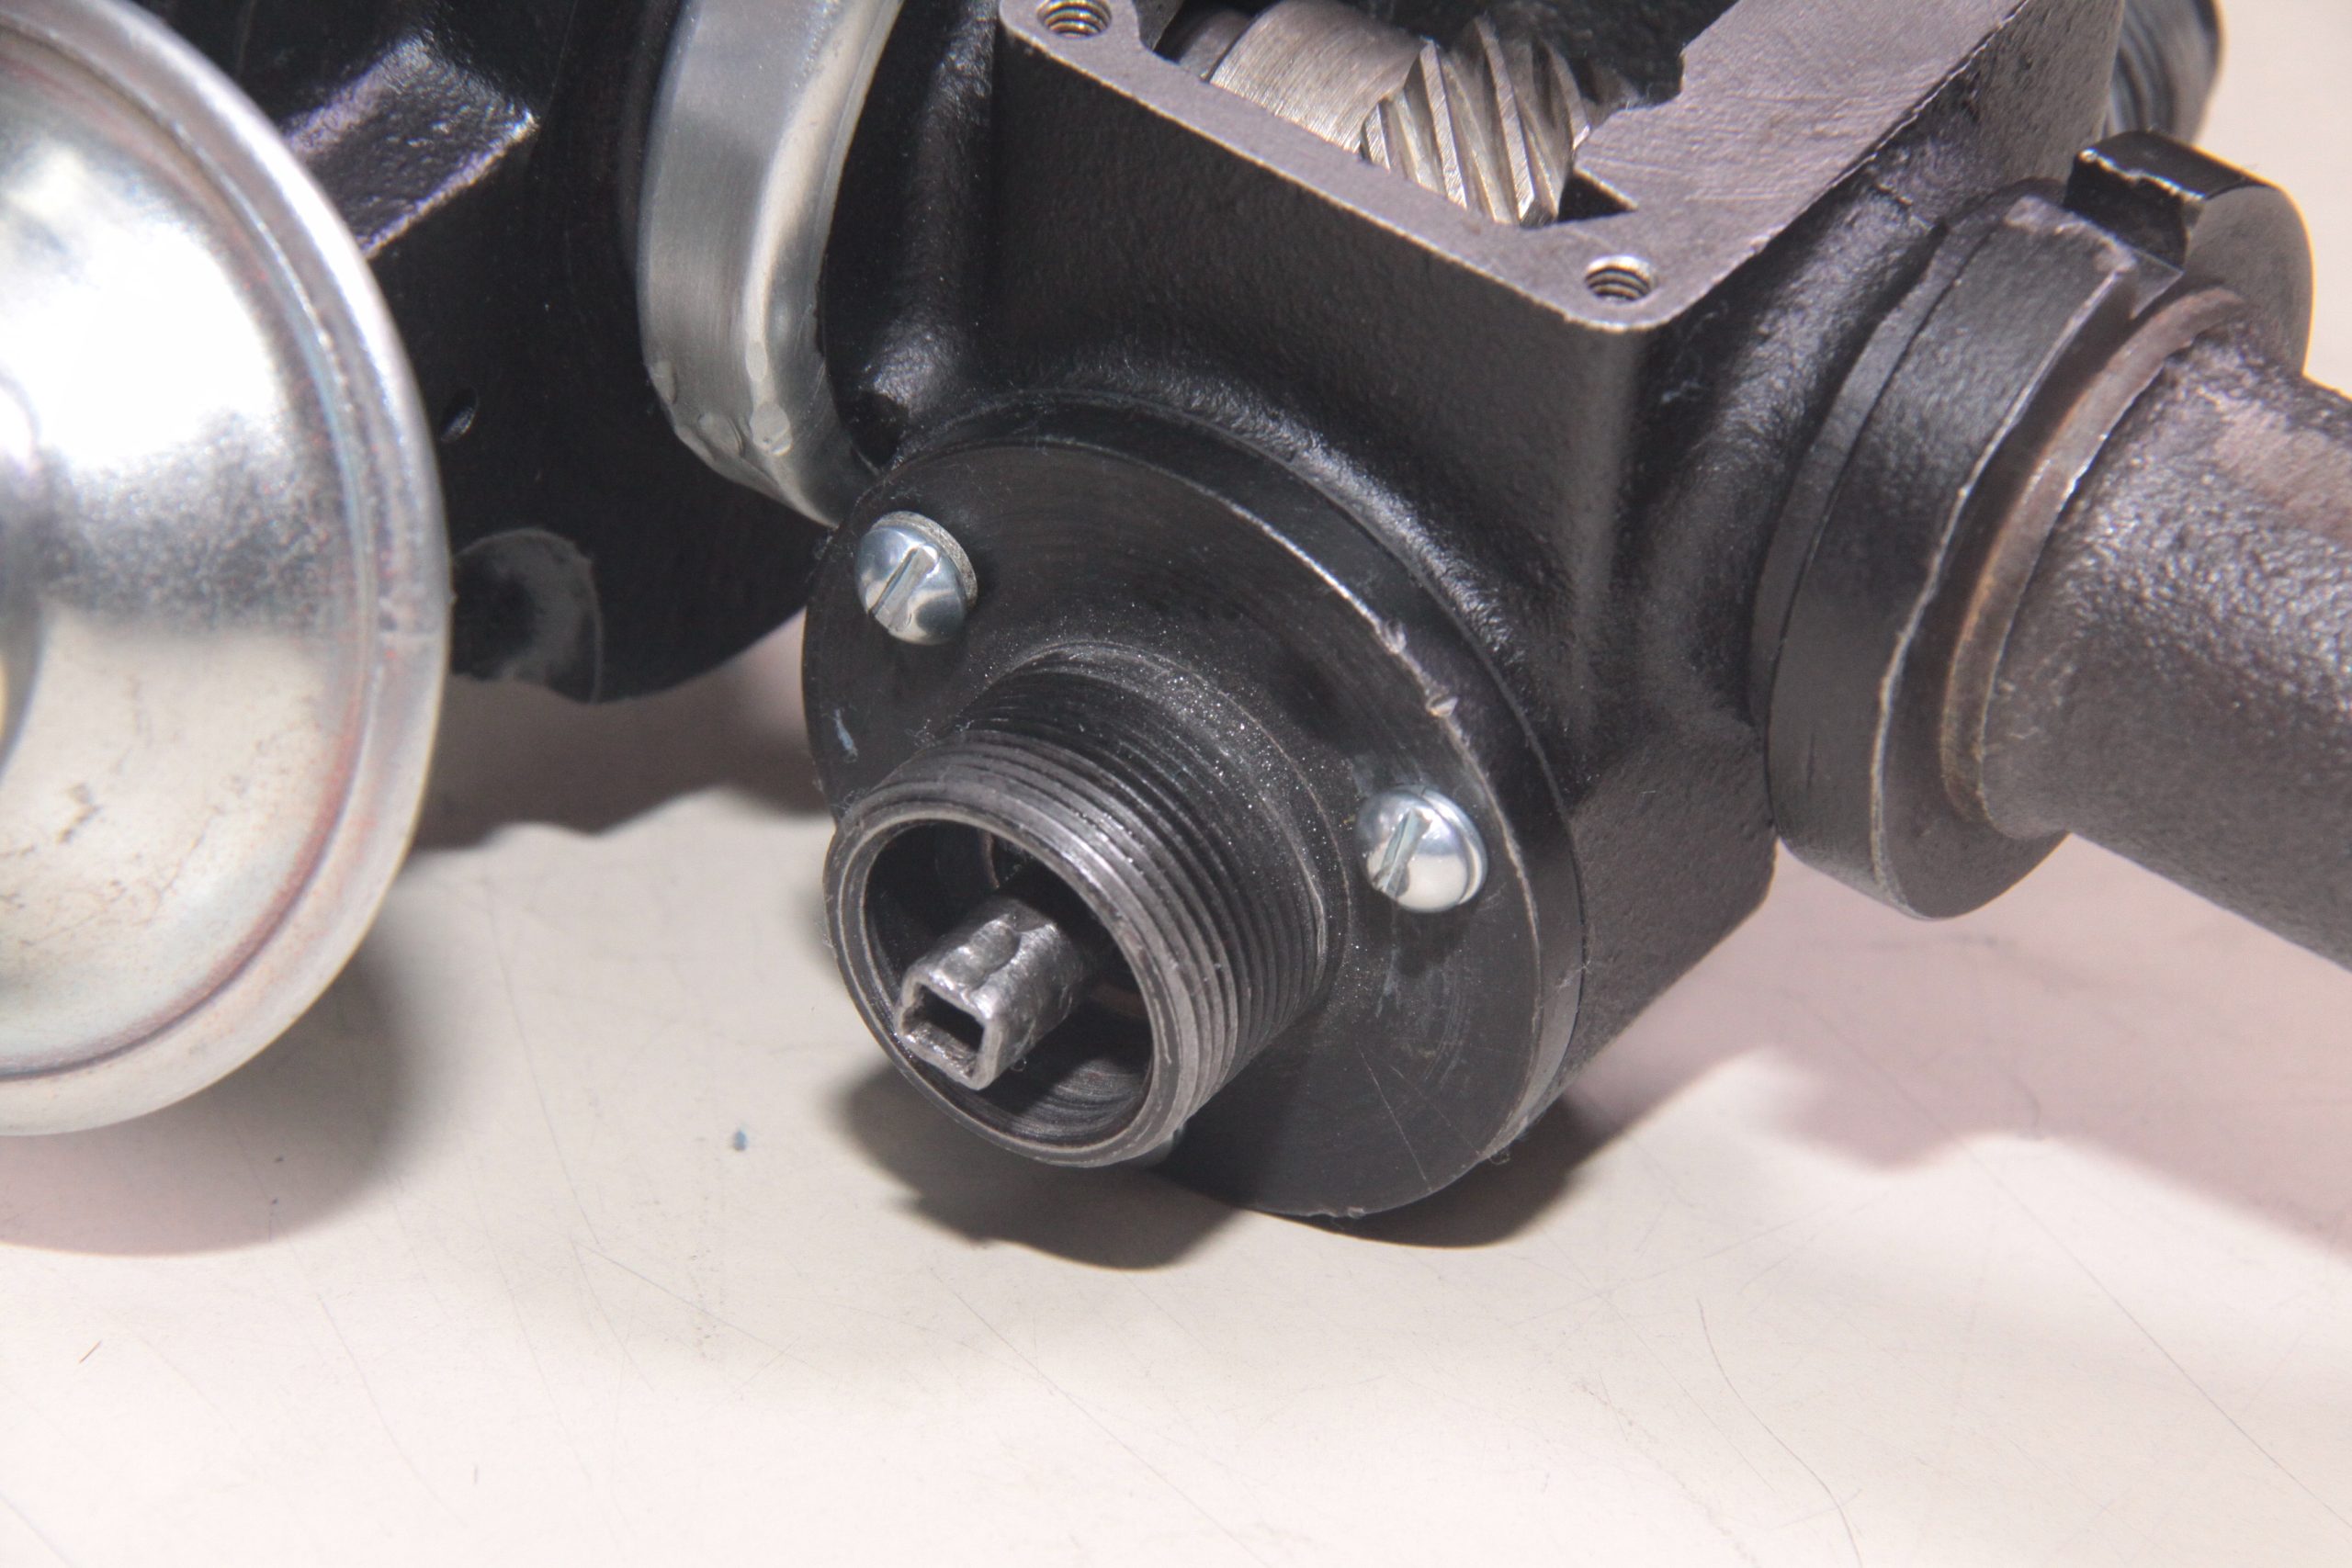
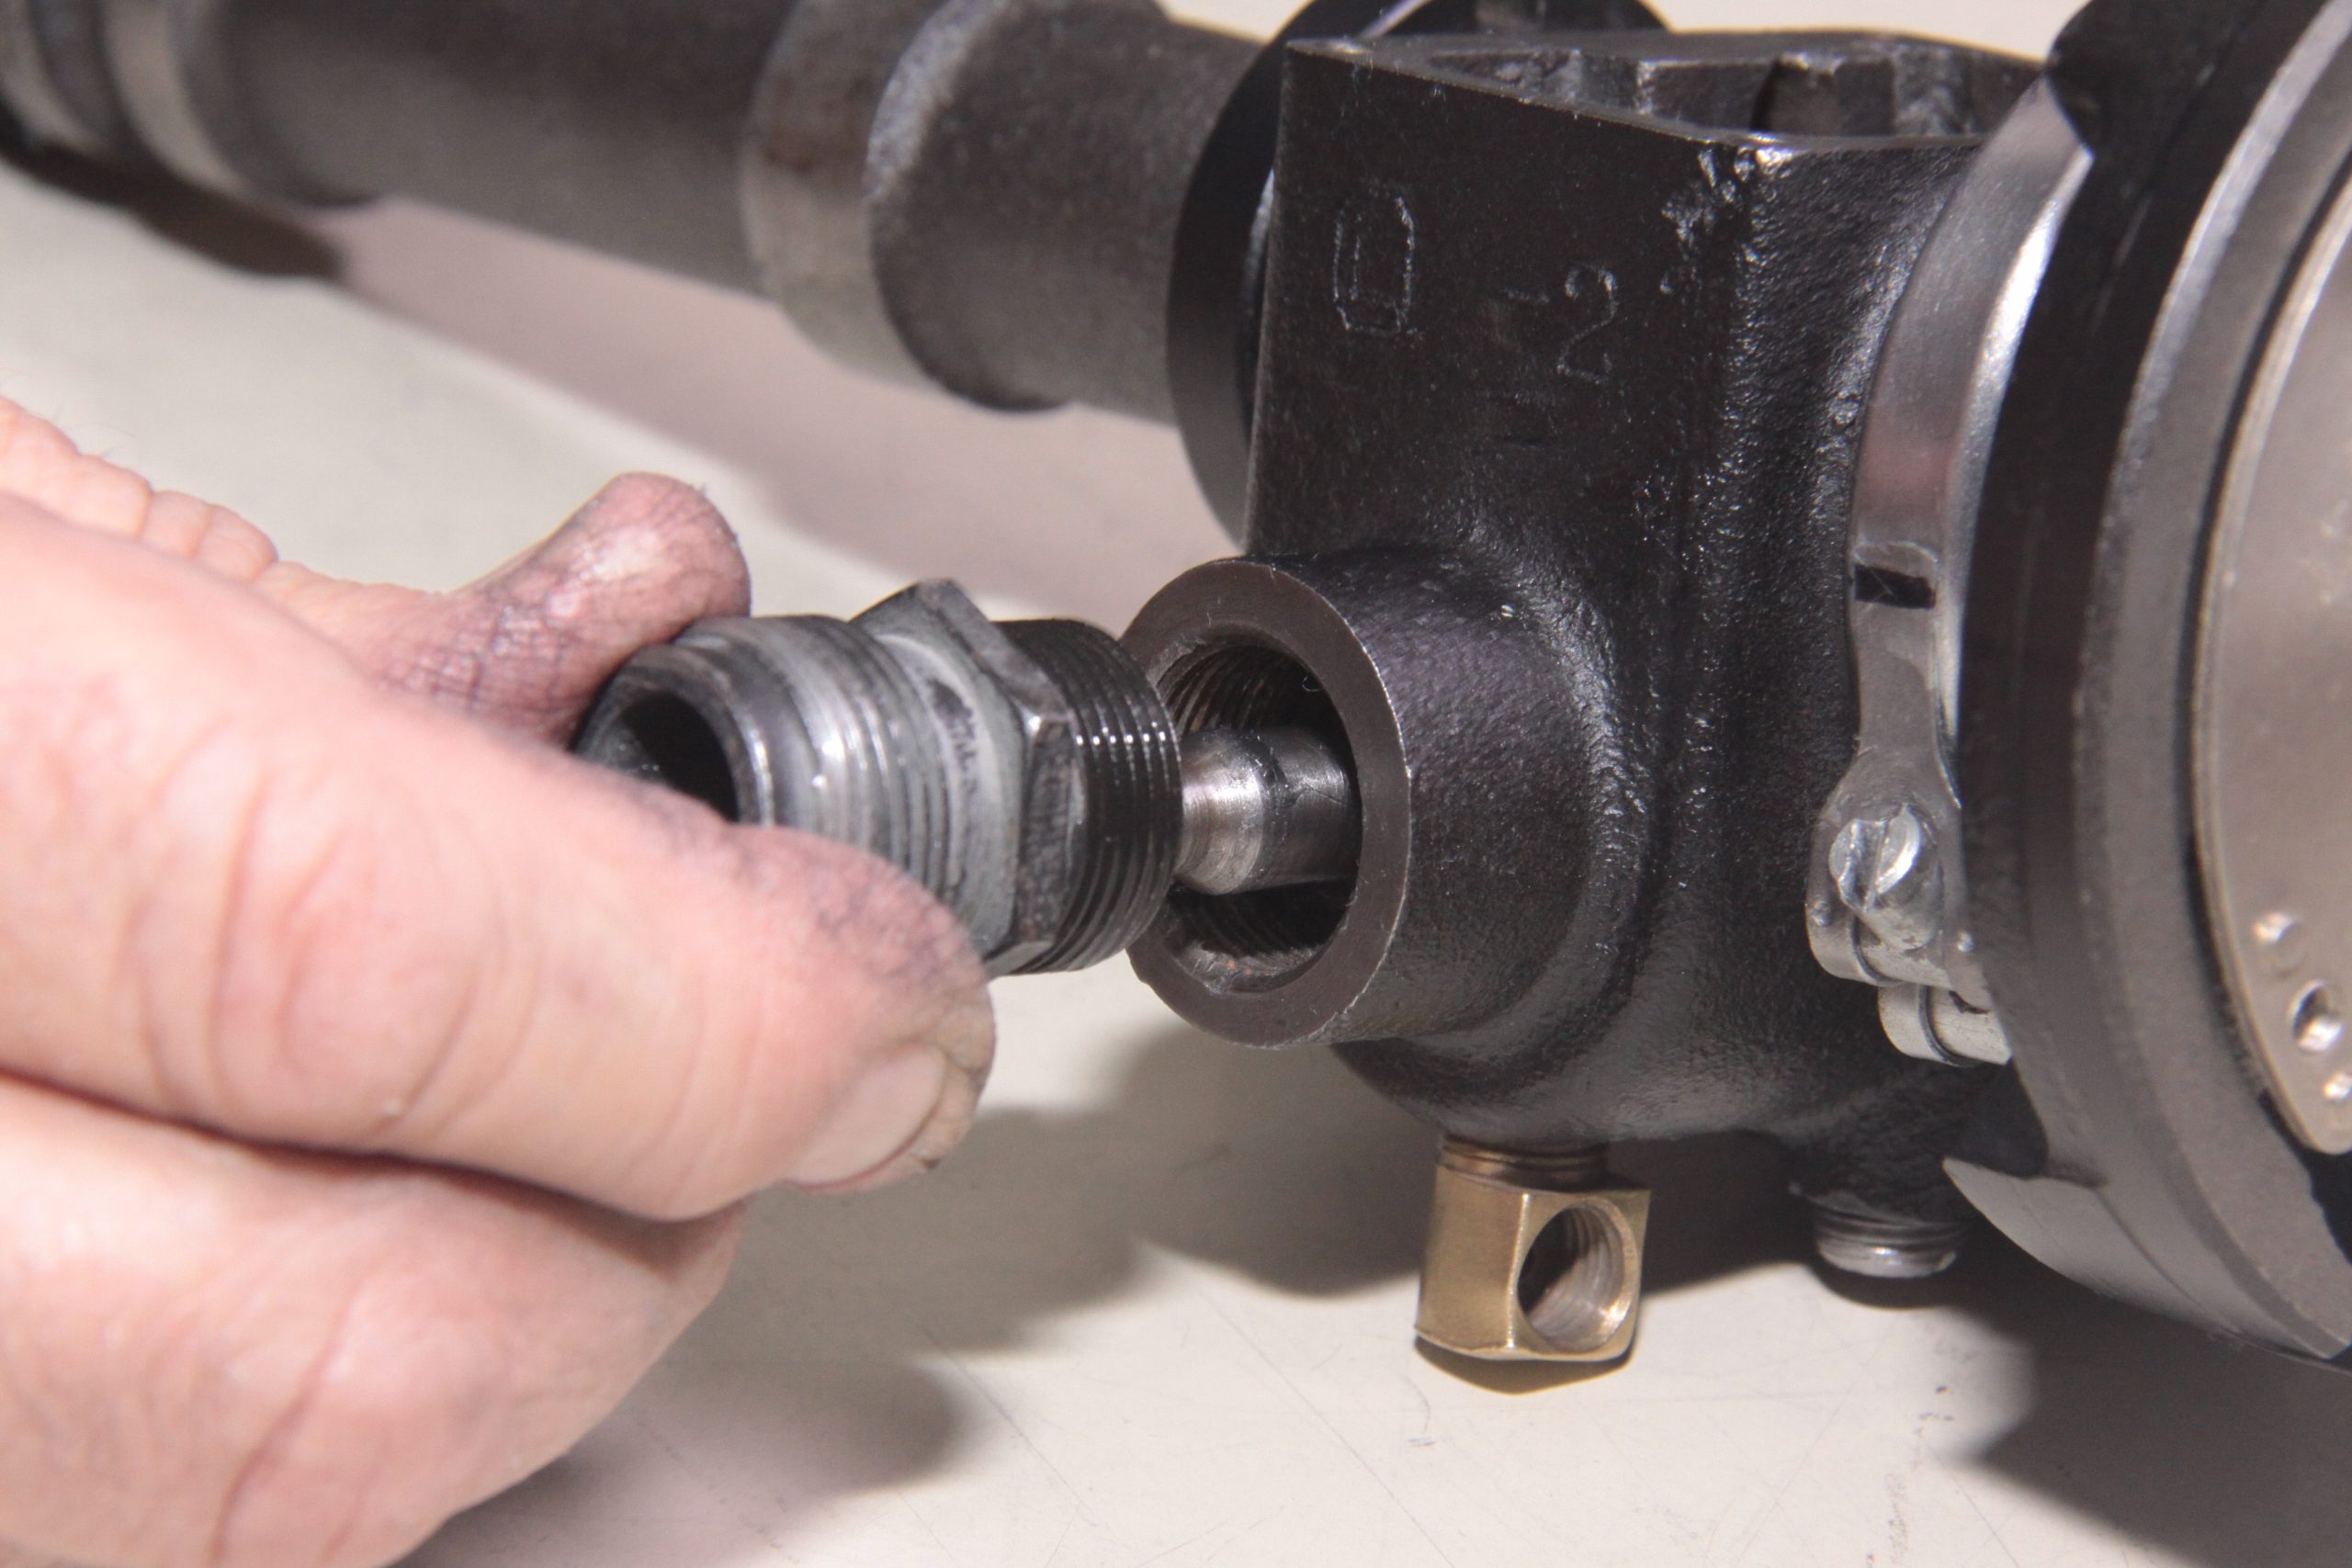
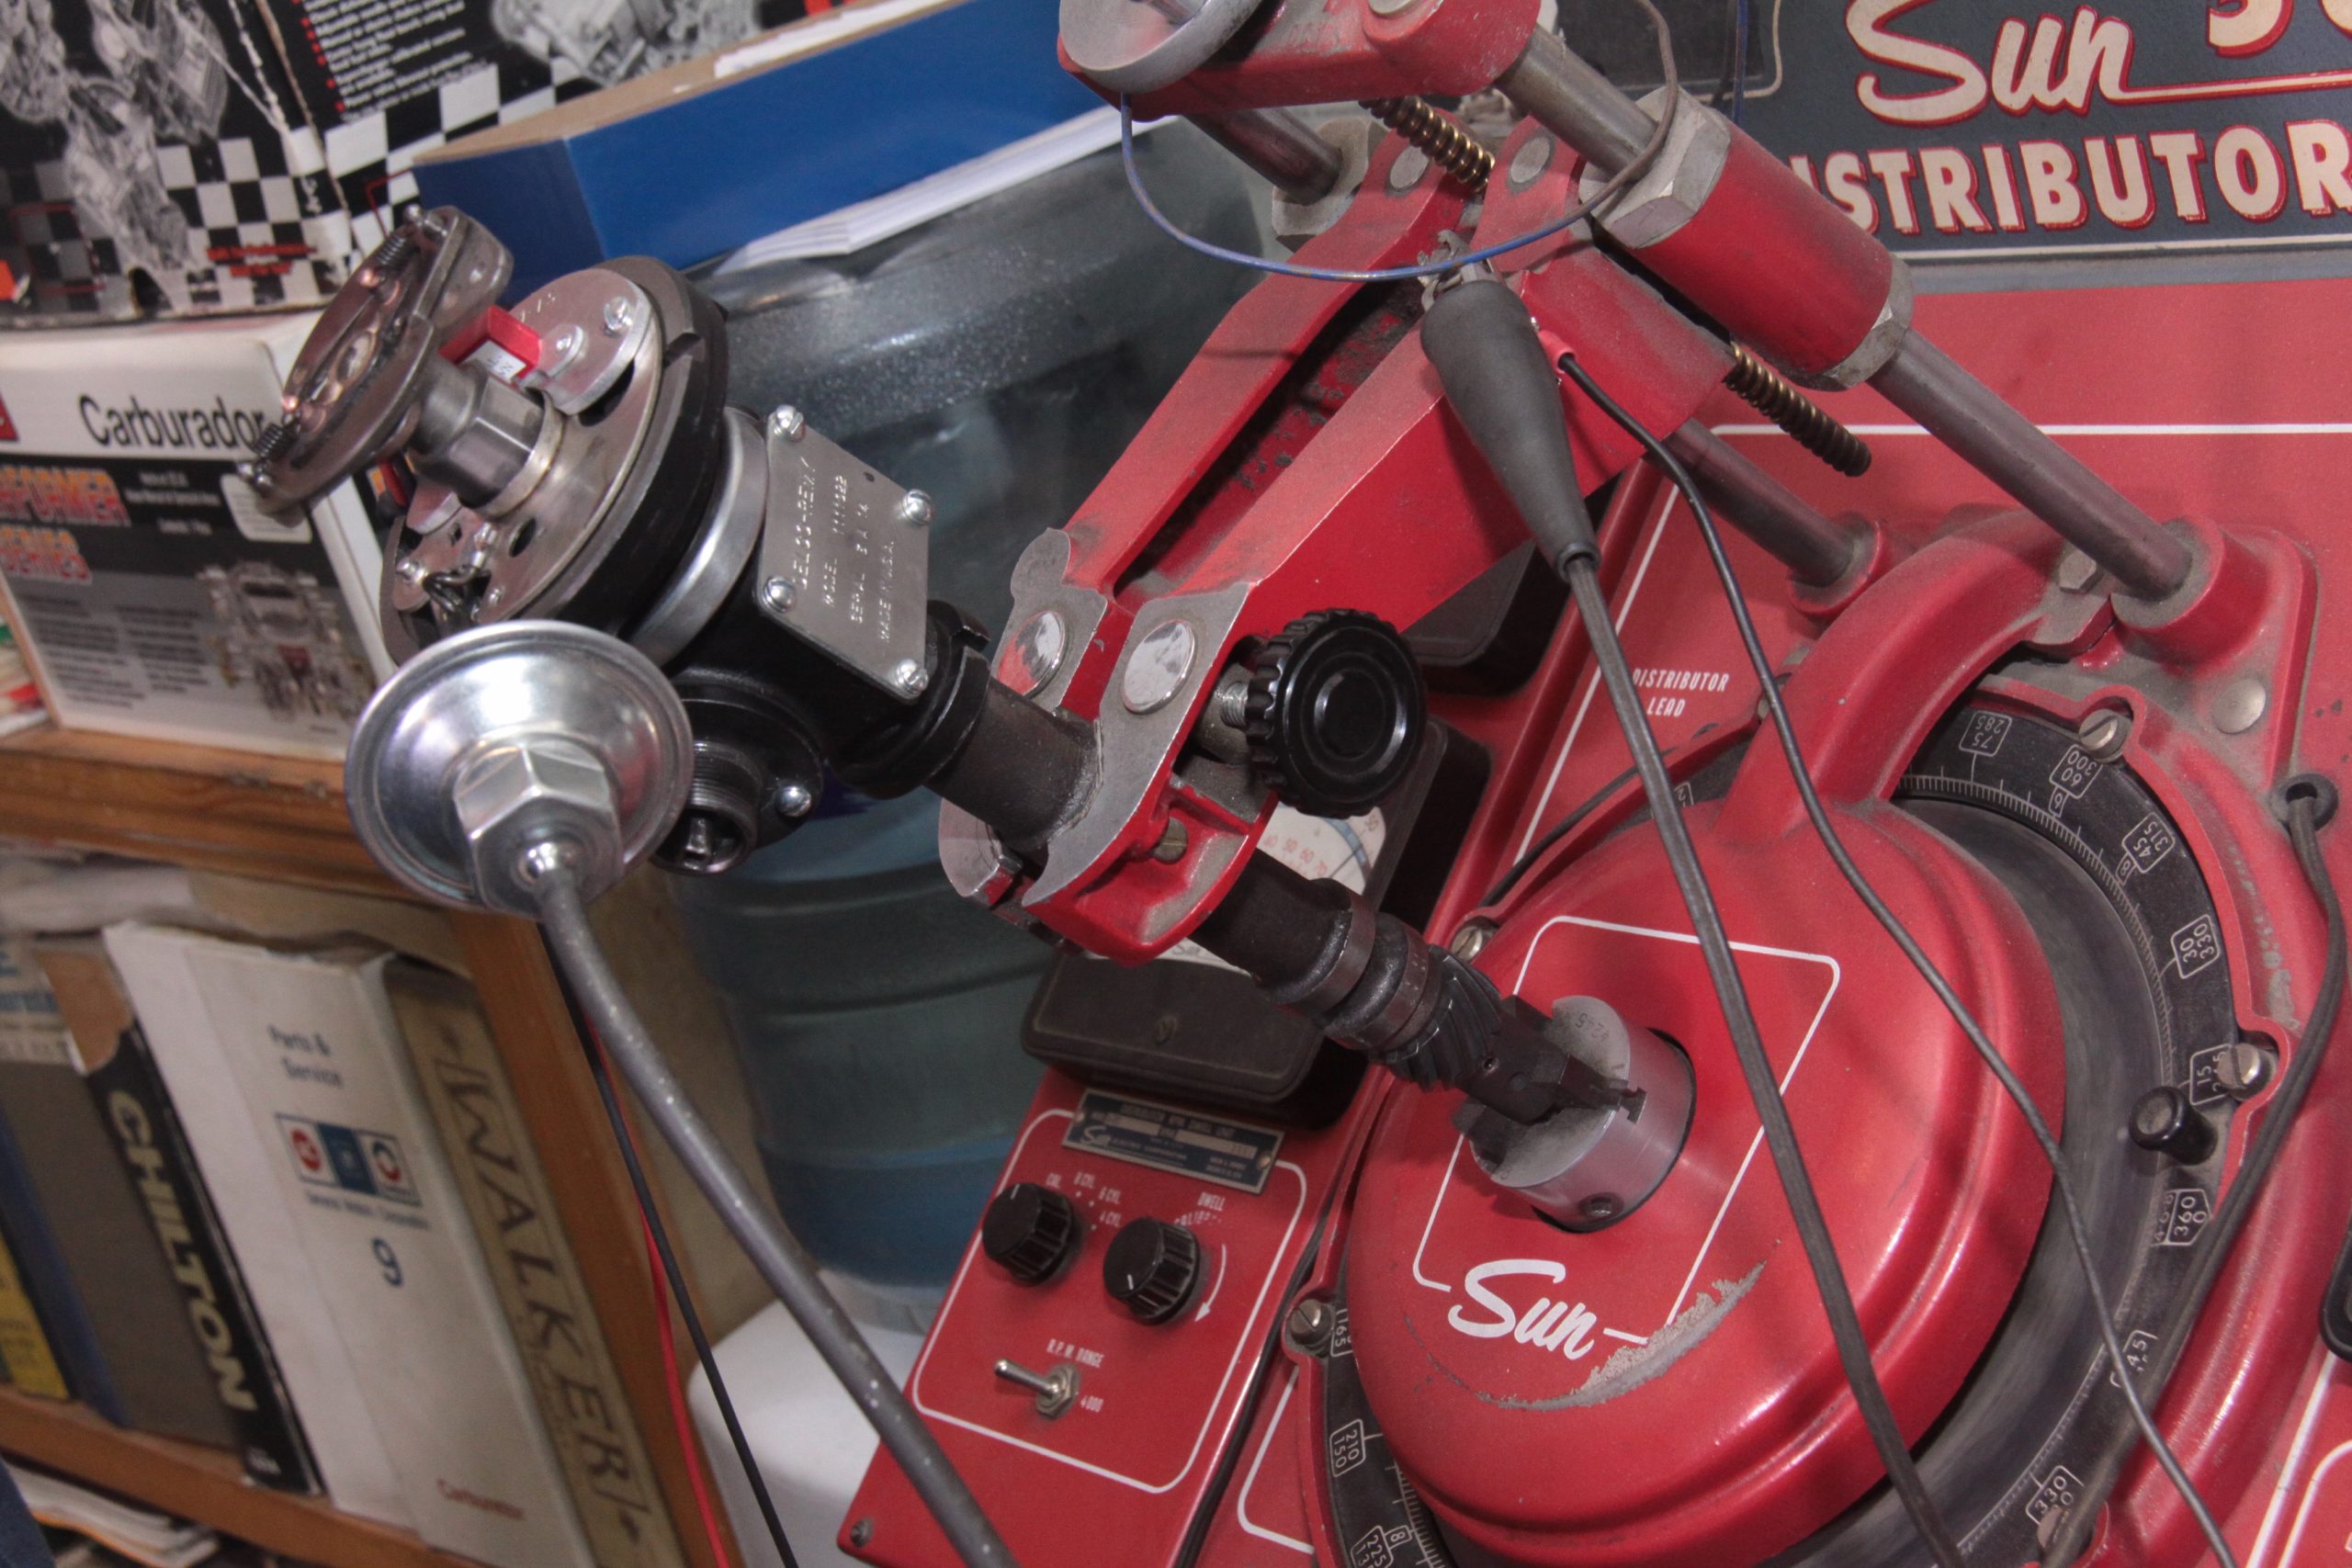
The two Delco tach-drive distributors side-by-side. On the right is a conventional tach-drive Delco distributor. On the left is the very unusual “dual-drive” tach/Rochester fuel injection drive distributor. Note the larger drive coupling amid the cast iron case. (Image/Jim Smart)Here’s everything you’re going to need to build a Delco “Fuelie” tach-drive distributor if you’re going to do it right. This recipe pretty much applies to all classic Delco “window” distributors. (Image/Jim Smart)GM built durability into everything it made back in the day. (Image/Jim Smart)This is the Delco’s rare cast iron core with a “dual-drive” chamber in the middle to drive the tachometer and the Rochester fuel injection—which are driven by cables. (Image/Jim Smart)The cable drive heads need to be packed with moly lube (molybdenum) grease for good permanent lubrication. (Image/Jim Smart)Seals must always be replaced to keep lubrication inside. (Image/Jim Smart)The seal lip must always be pointed inward to maintain a seal against the shaft. (Image/Jim Smart)This is the cable drive’s bronze shaft bushing. Generously lubricate this bushing and shaft. (Image/Jim Smart)The distributor shaft bronze bushings are lubricated with moly lube for good permanent lubrication though engine oil is carried up the shaft. Bushings are also oil impregnated. (Image/Jim Smart)The is GM’s time proven centrifugal advance mechanism, which is tied to the distributor shaft. (Image/Jim Smart)Rate of advance and total advance are determined by spring tension and engine speed. Check the condition of the bushing. (Image/Jim Smart)Next is this washer/shim, which keeps moly lube where it belongs. (Image/Jim Smart)Distributor head installation is next beginning with this gasket, which goes in between the head and housing. (Image/Jim Smart)The head is secured with this clamp and machine screw. (Image/Jim Smart)A closer look at the head to core clamp. (Image/Jim Smart)And another. (Image/Jim Smart)The main distributor housing is ready for final assembly. The “Fuelie” tach drive distributor is surely different than any Delco distributor you’ve ever seen because it is so rare. We’ve had the good fortune of holding this one in our hands. (Image/Jim Smart)Vacuum advance unit is installed next. This is the beauty of the Delco distributor. It is easy to assemble and service. (Image/Jim Smart)The breaker plate comes next, which is secured to the distributor head. (Image/Jim Smart)Note the importance of the ground wire from the breaker plate to the housing. (Image/Jim Smart)The vacuum advance actuating rod inserts into the breaker plate as shown. (Image/Jim Smart)The distributor shaft is generously lubricated with engine assembly lube or a high viscosity engine oil and seated in the housing. (Image/Jim Smart)At the same time, the tach/fuel injection drive gear has to be inserted where the shaft penetrates the gear. Note the proper angle of the gear teeth. (Image/Jim Smart)The tach/fuel injection drive gear is secured with this tension pin. (Image/Jim Smart)This is the Rochester fuel injection pump/tachometer driven gear, which splines into the distributor drive gear. It drives both the fuel injection and the tachometer. (Image/Jim Smart)The fuel injection driven gear retainer/cover is secured with three screws. The driven gear is not installed in this image. The driven gear is installed first—then the retainer/cover shown here with gasket. (Image/Jim Smart)The fuel injection/tachometer driven gear/shaft is secured with the cover as shown. (Image/Jim Smart)The tach drive retainer threads into the distributor housing as shown opposite of the fuel injection cable connection. (Image/Jim Smart)Once the distributor build is complete with its Pertronix Ignitor II module installed and gapped, it gets a run through on a vintage Sun distributor tester where both vacuum and centrifugal advance curves are dialed in. Once the distributor is installed in the engine, it will be determined via a road test to see if the initial dial-in is suitable. (Image/Jim Smart)
Jim Smart is a veteran automotive journalist, technical editor, and historian with hundreds of how-to and feature articles to his credit. Jim's also an enthusiast, and has owned and restored many classic vehicles, including an impressive mix of vintage Ford Mustangs.


Comments