Building a fresh engine, plugging it in the car, and firing it up is a big undertaking (not inexpensive either). No secret to anyone out there we’re sure. When the time comes to fire it for the first time, the range of emotions can prove well mixed: Yes, you want to get it running, and that’s incredibly exciting. But for many, there’s also a bunch of trepidation attached. What can go wrong, just might go wrong. So how do you walk the fine line between excitement and angst? Much of it boils down to preparation.
You may also appreciate this article: Last Minute Engine Installation Tips: 8 Things You Might Forget
What follows is a checklist that provides you with a basic guide on things to do before you hit the starter button for the first time. Getting these things in place ahead of time can make that initial fire-up go much smoother:
***
24 Engine Initial Startup Tips
***
1. Engine Oil
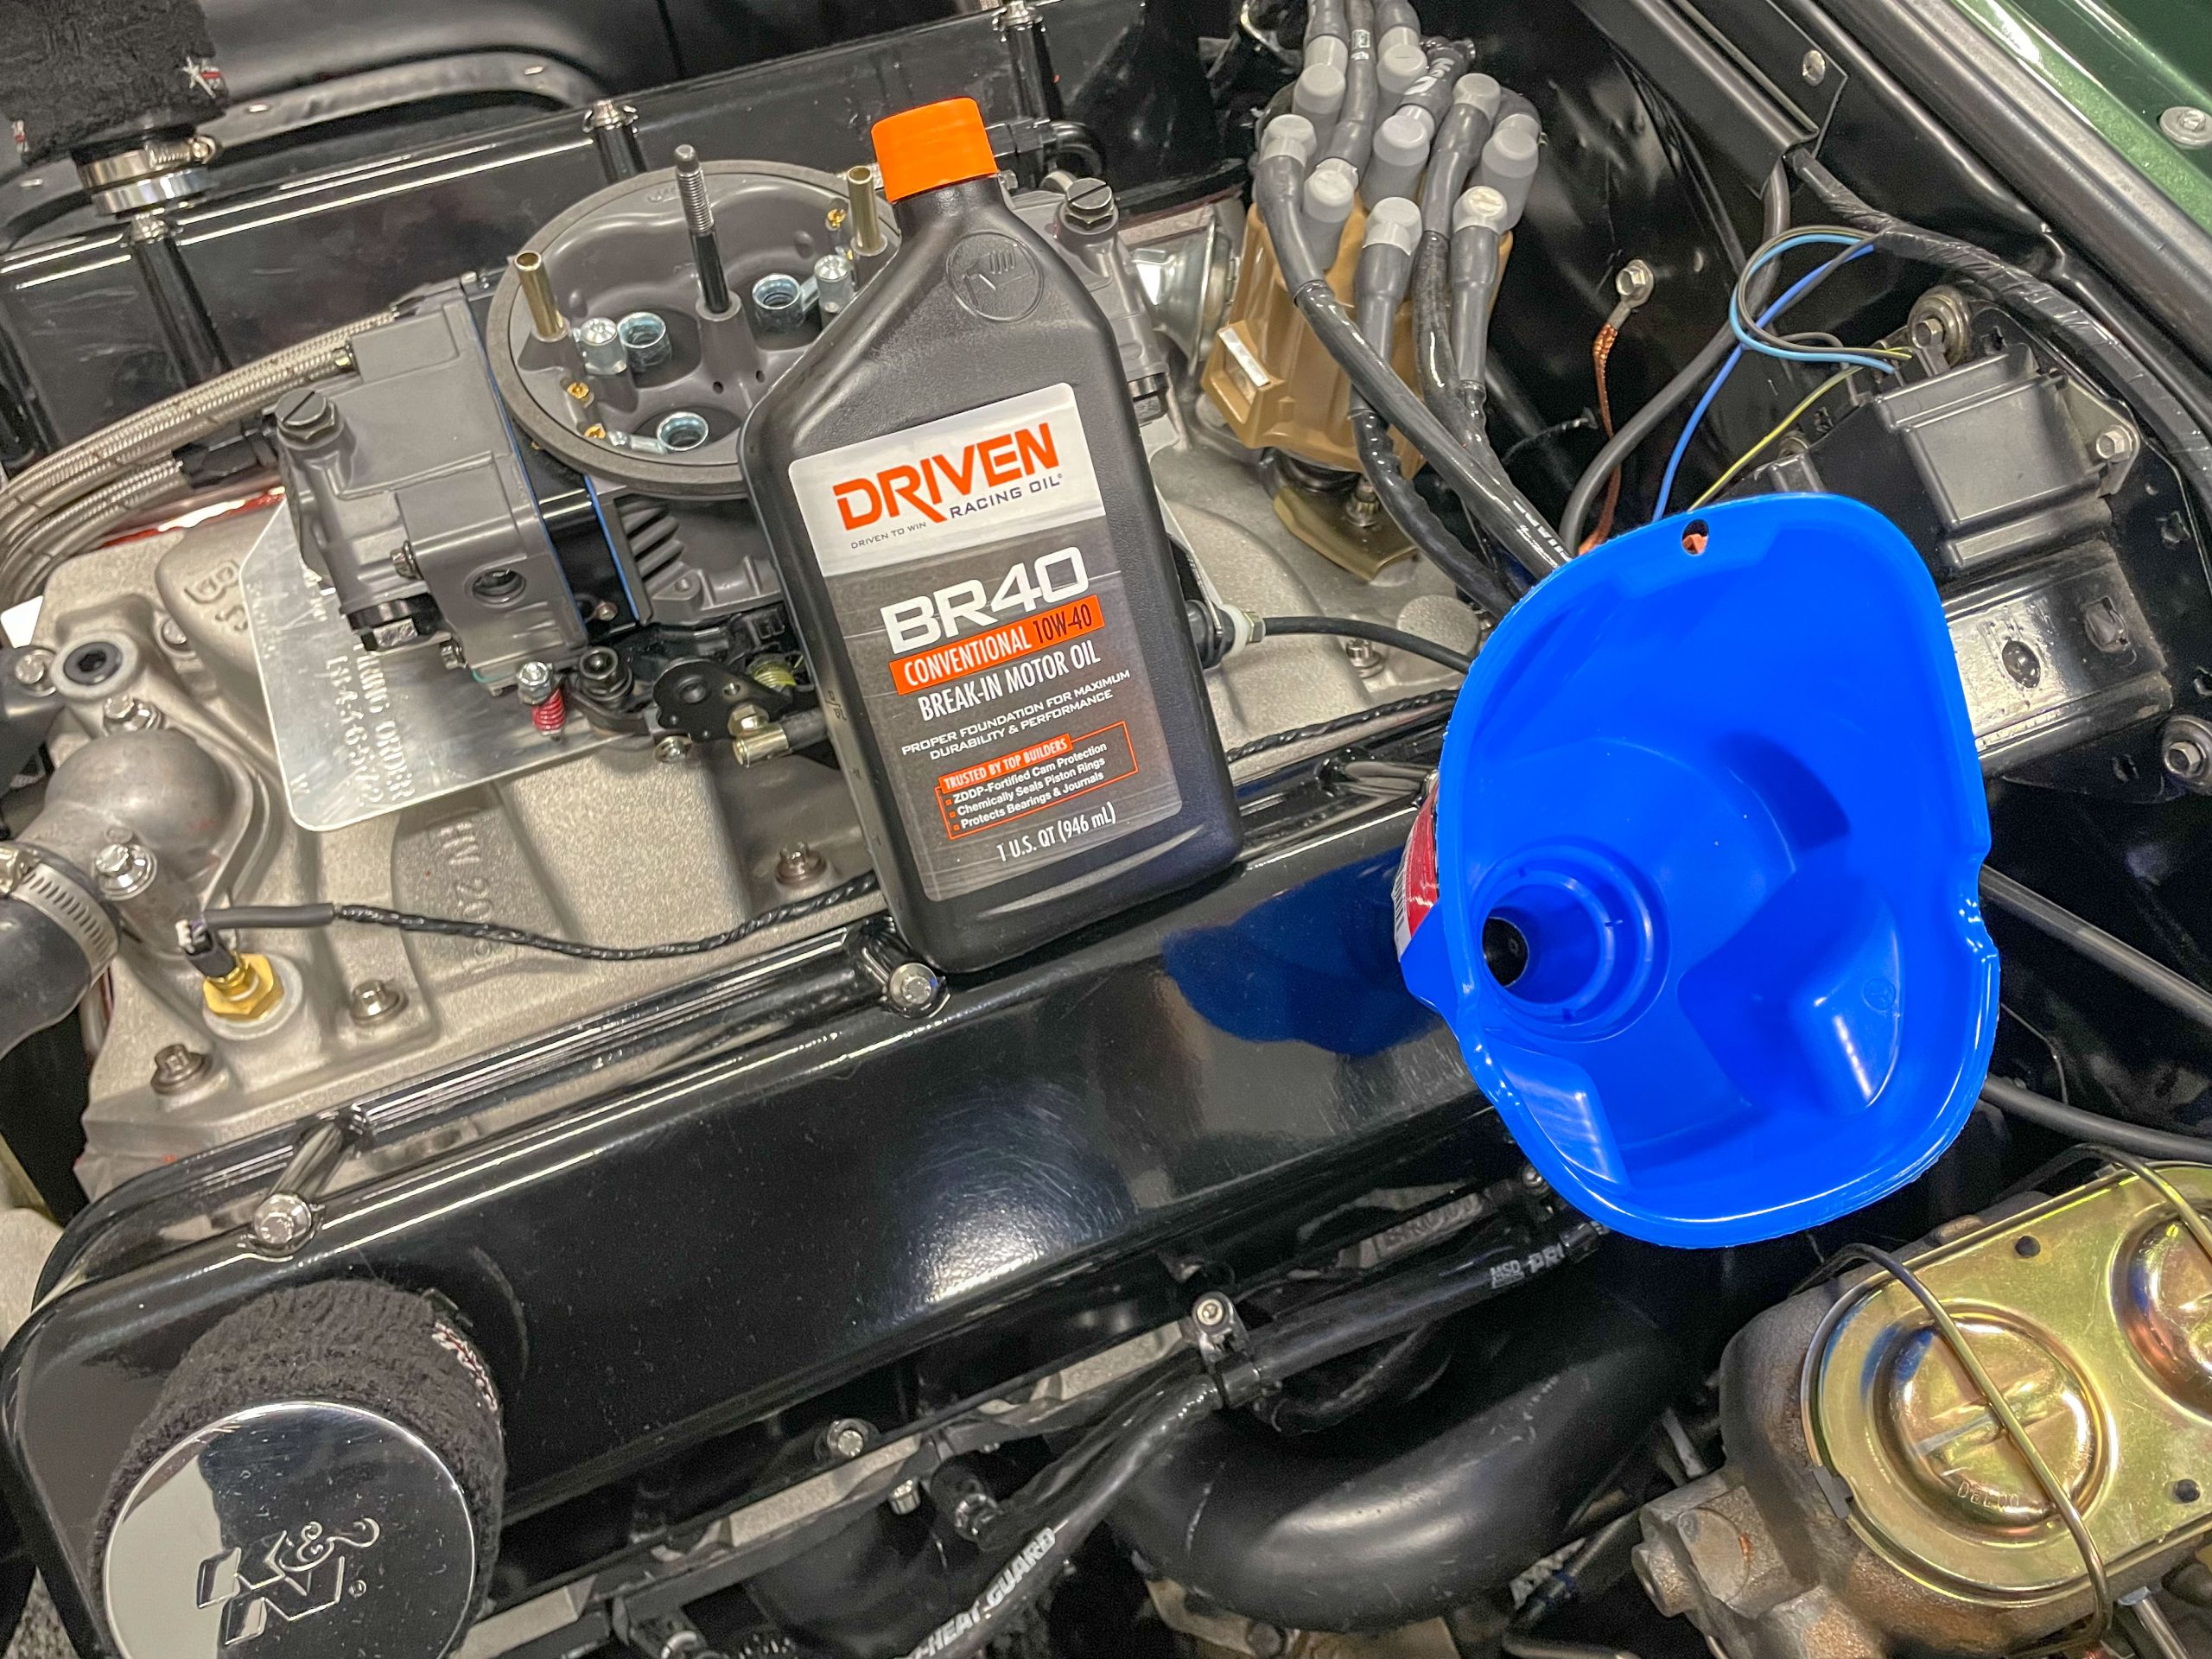
Check the oil level! It’s best to use a quality engine break-in oil on the first fire-up. Most folks drain and replace the oil and filter after 30 or so minutes of running time. We always cut the used filter apart and inspect it for surprises. By the way, it’s not uncommon to replace the oil with another batch of break-in lube. Some repeat the drain-and-replace process within a few hundred miles.
***
2. Additive Package
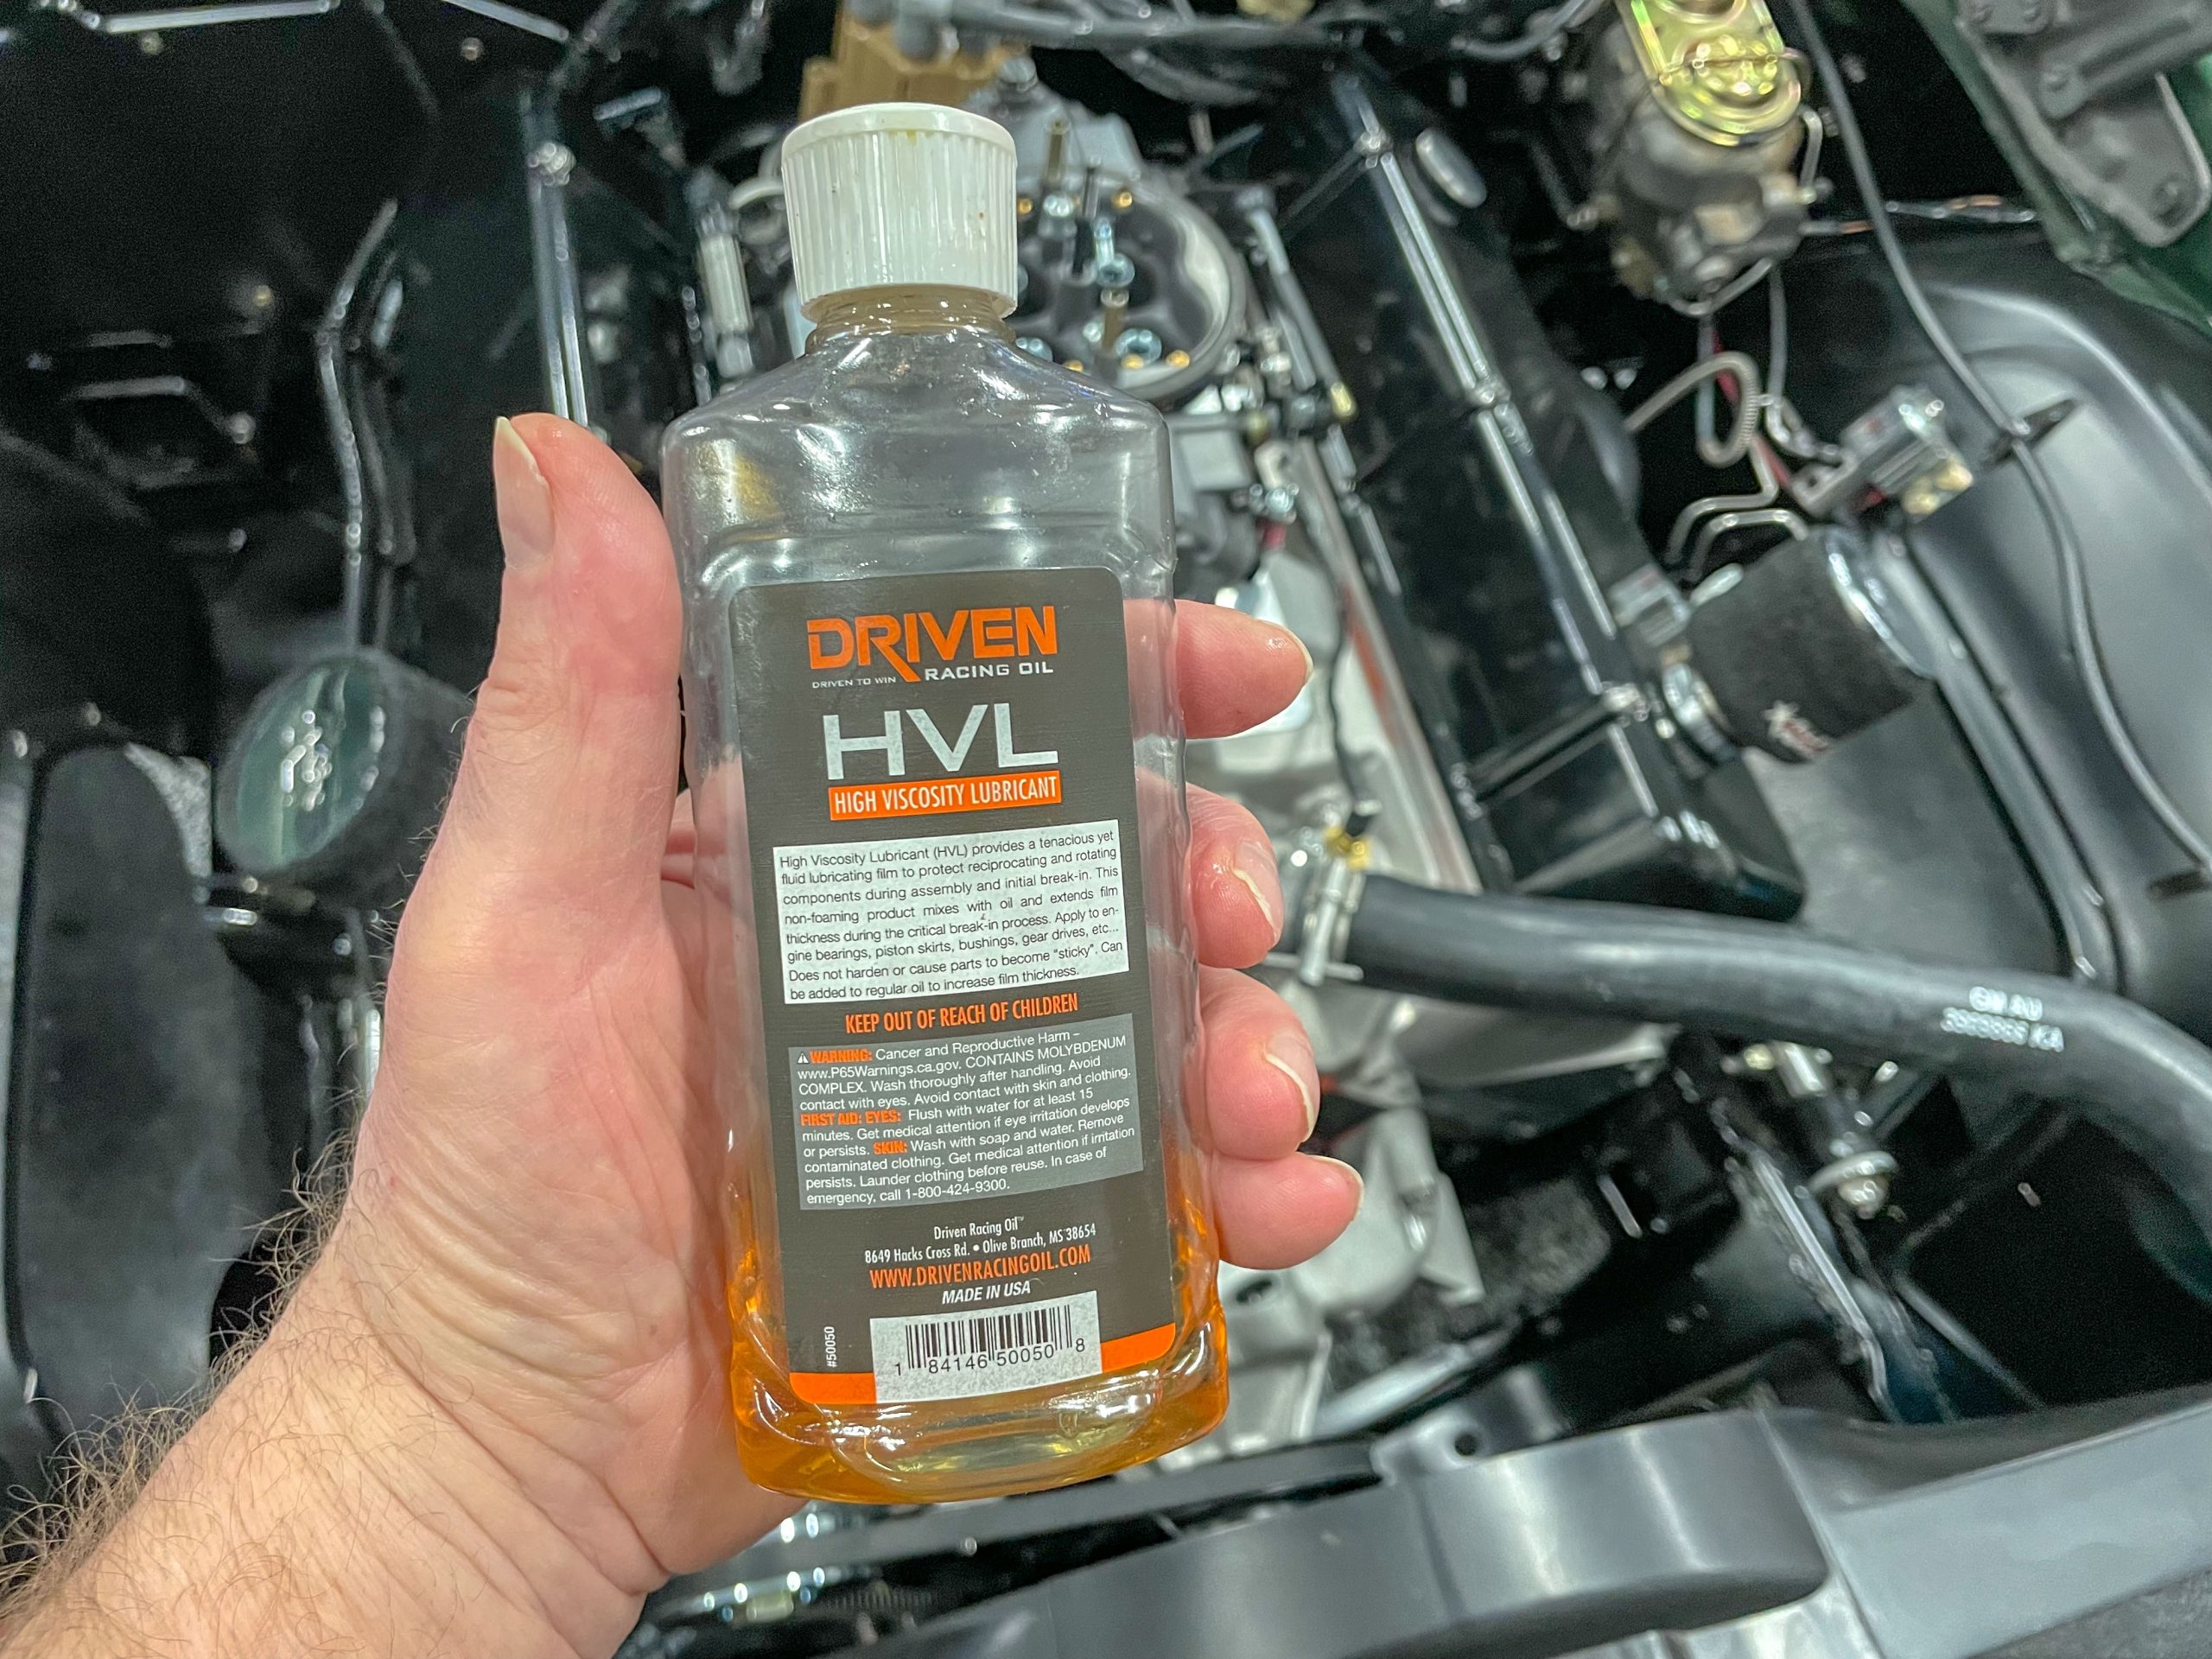
Even with high quality break-in oil, it’s not a bad idea to use an additive package applied directly to various components, such as the camshaft, lifters, and rocker arms/valvetrain. In the old days, it was common to use GM EOS on the initial break-in. There are all sorts of engine oil additives for this purpose now, but it’s not necessary (or even a good idea) to use them after the initial fire-up.
***
3. Engine Primed
Priming the oil system isn’t really a difficult task. For many applications, it’s a simple job of removing the distributor, installing the priming tool and turning the pump with an electric or air drill. Watch the oil pressure gauge. Once you have pressure, you’re done.
Related: Oil Pump Primer Tech: Starting Up Your New Engine the Right Way
***
4. Transmission Fluid
While a transmission has little to do with the engine, it must have gear oil or automatic transmission fluid (ATF) in it. With a fresh engine, there’s a really good chance the transmission was drained during the removal/installation process. With an automatic, you’ll have to guess on the level because it can only be determined accurately when hot.
This article may help too: Should I Check My Automatic Transmission Fluid Level with the Engine Running?
***
5. Coolant
During the break-in cycle, we really don’t like using anything other than tap water. Why not use coolant? Simple. If you have a leak, coolant is more difficult to clean up. If you have head gasket leak, it becomes a wee bit worse. Do yourself a favor and run tap water first, and replace it with coolant after the break-in cycle.
***
6. Fuel
Is there gas in the tank? It’s good to have a few gallons of fresh fuel in the tank during the break-in cycle. We prefer to keep the fuel level relatively low. It’s a “just-in-case” thing in the event of a fuel line leak. Less fuel equals less clean-up in this situation. Just ensure there is sufficient fuel in the tank to keep the pickup covered. The type of fuel you intend to regularly run in the car should be used.
***
7. Ignition Timing Set
This is something you can only approximate. The idea here is to set it up so that the ignition fires quickly. With Number One cylinder at top dead center (on the timing pointer—intake and exhaust valves closed), you should be able to get close with the distributor rotor pointing directly to, or slightly before Number One cylinder on the distributor cap. Every engine combination will differ, but the above is the general idea.
***
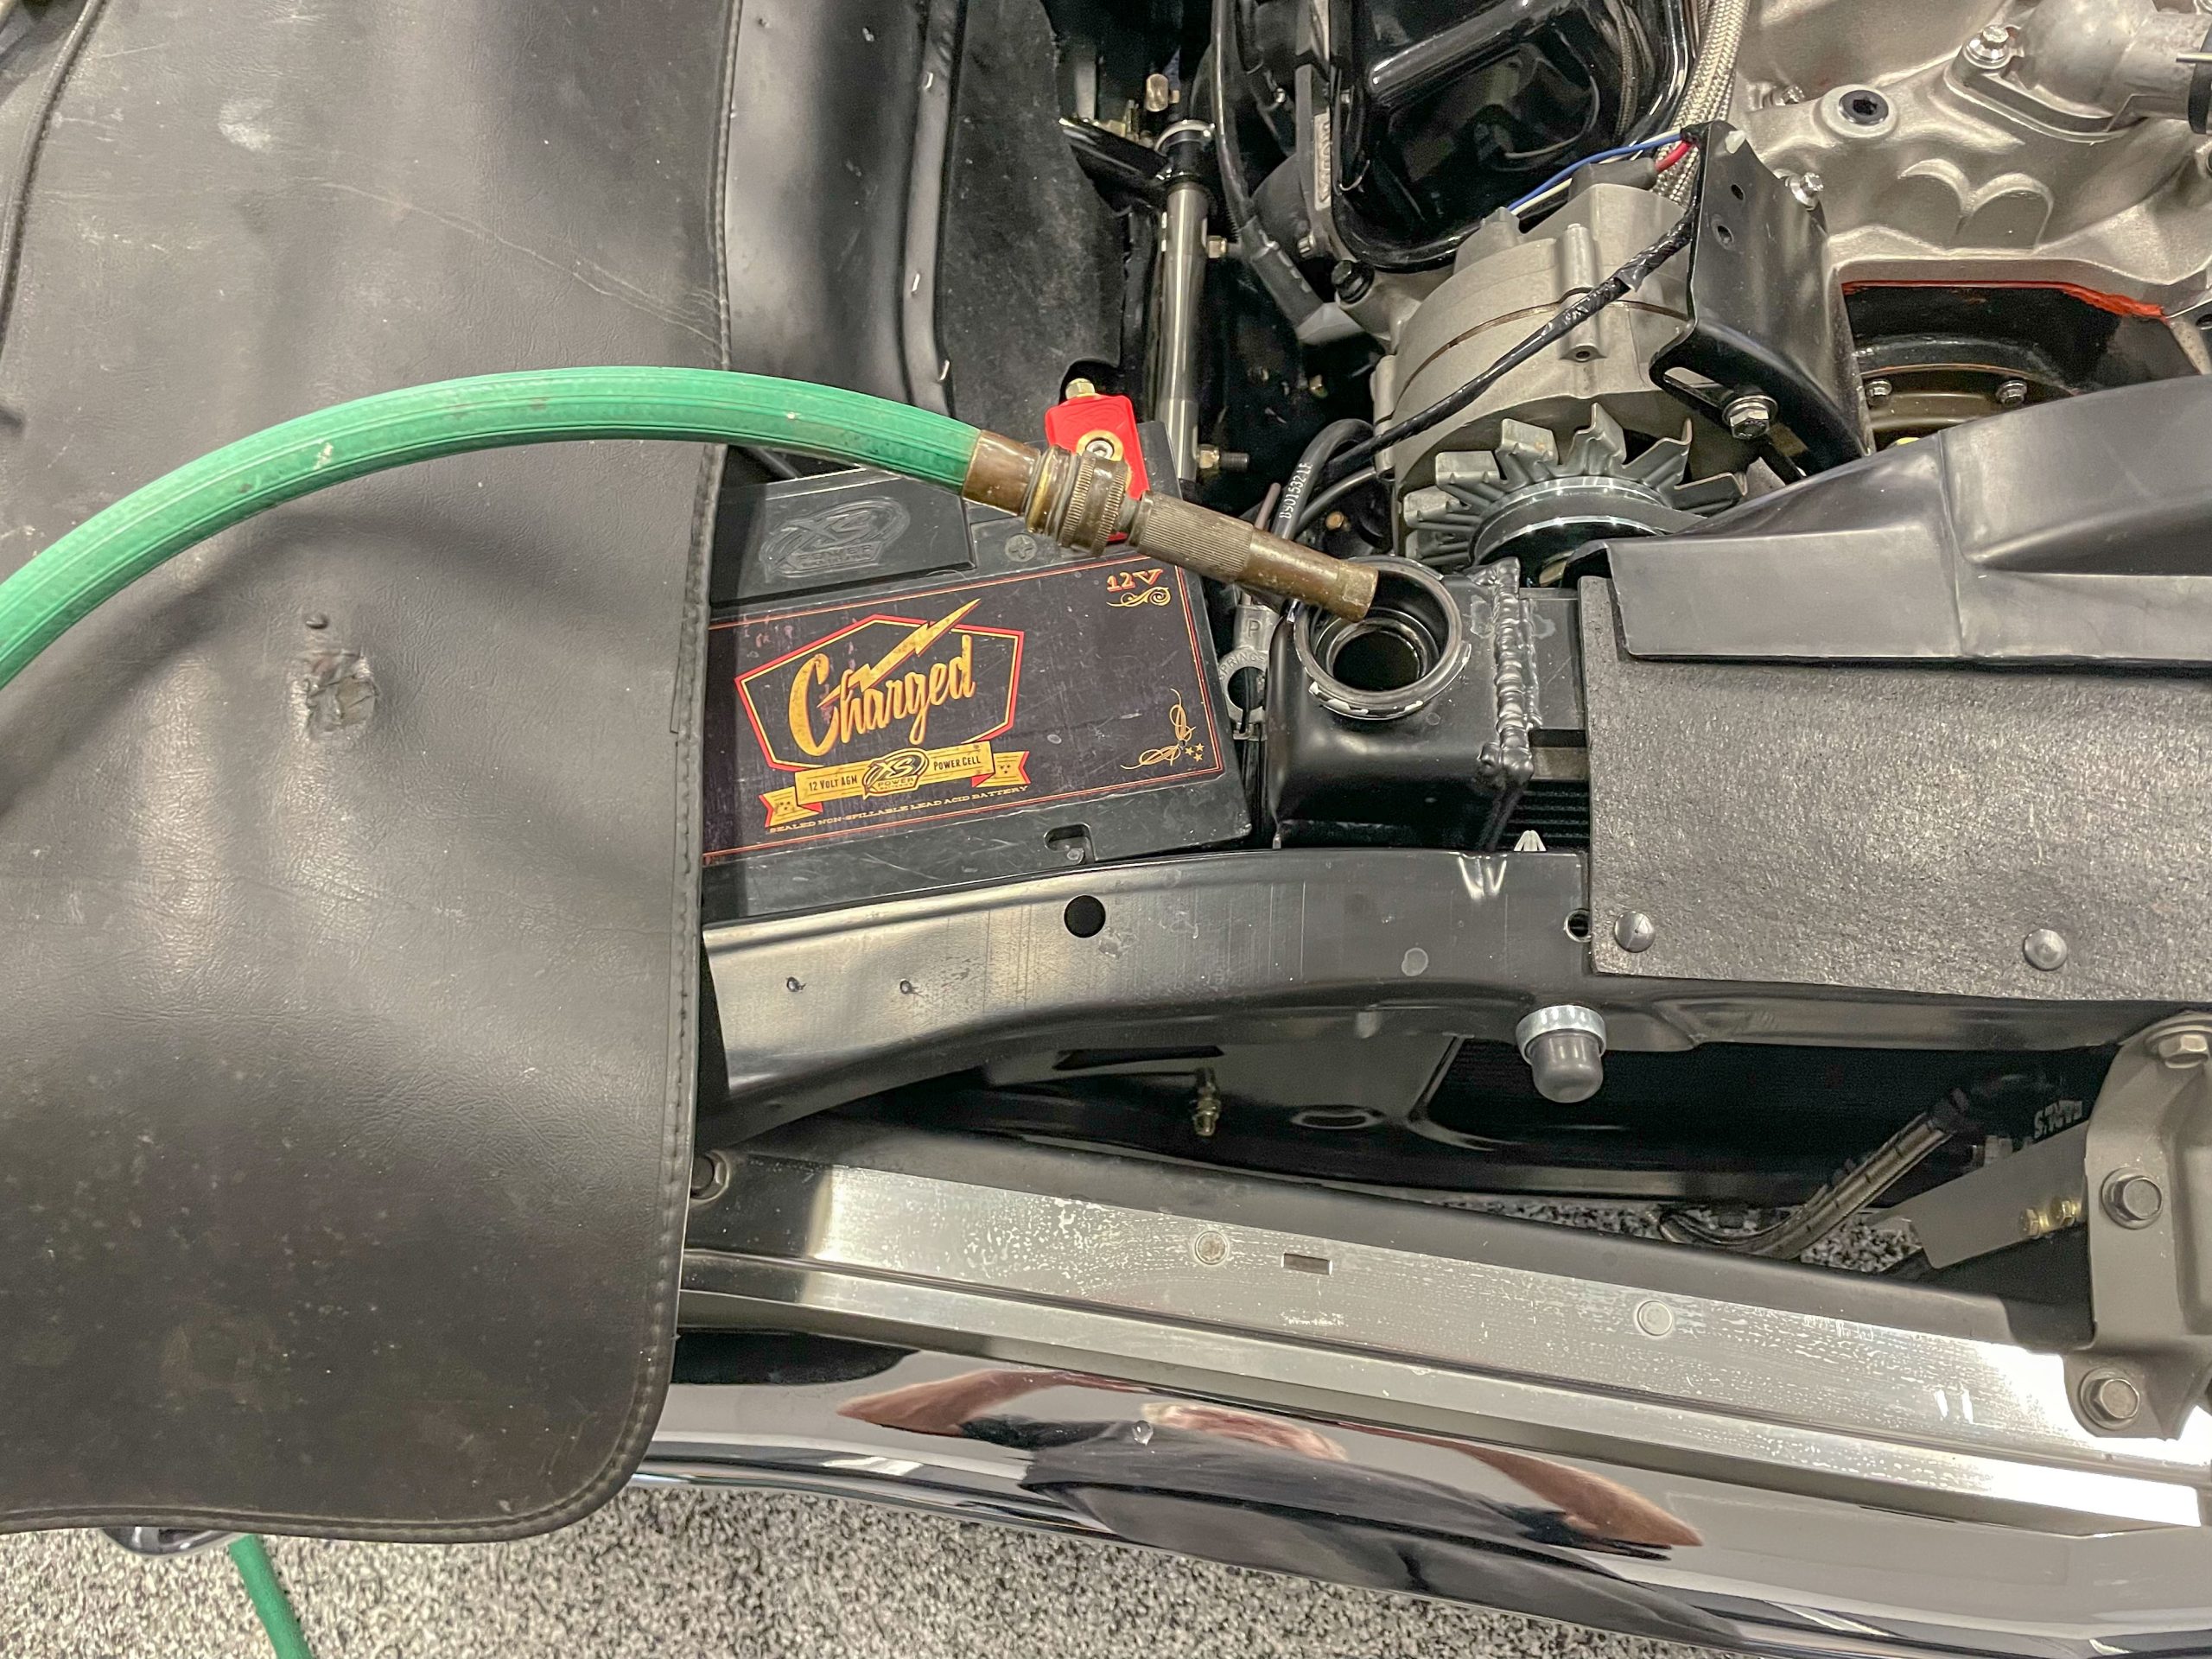
8. Battery Topped Up
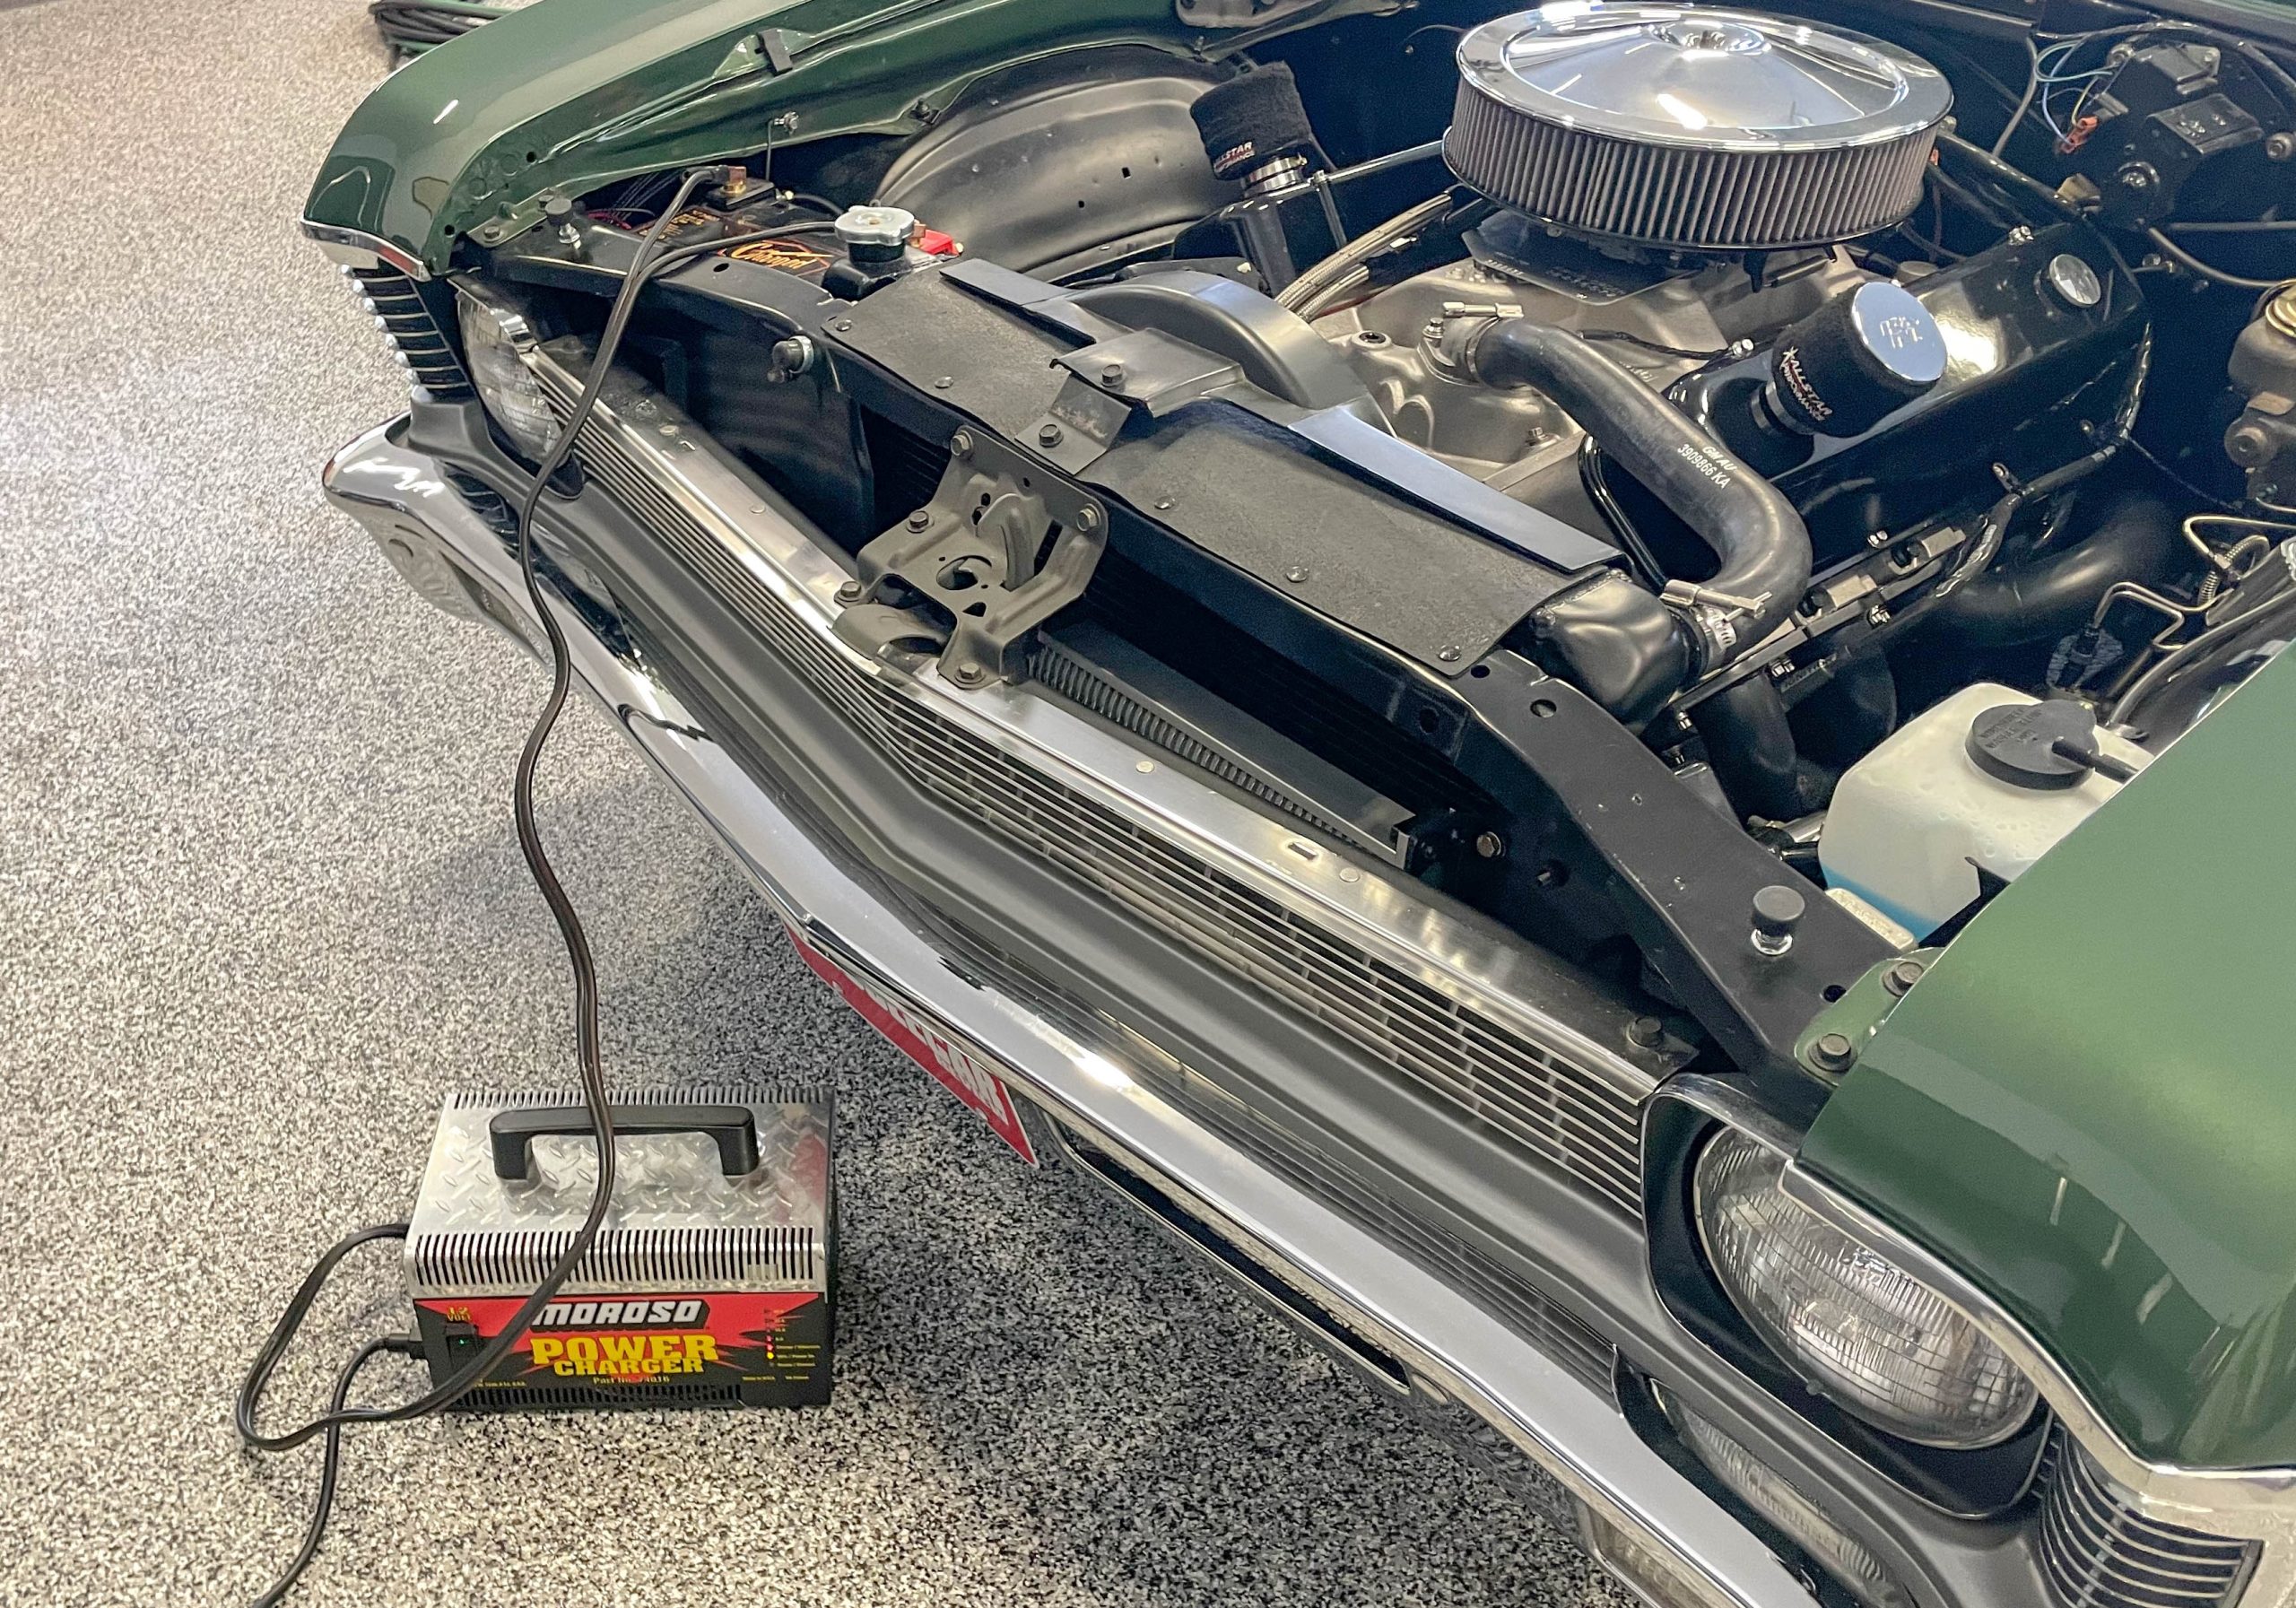
The battery should be fully charged prior to fire-up. Right off a charger, a 12V battery commonly show 13.2 volts. It will drop after that and with a healthy battery, you’ll normally see 12.6 to 13 (or so) volts on multimeter. Much less than that and the engine might have difficulty firing. Modern electronic ignition systems can prove fussy when it comes to battery voltage.
***
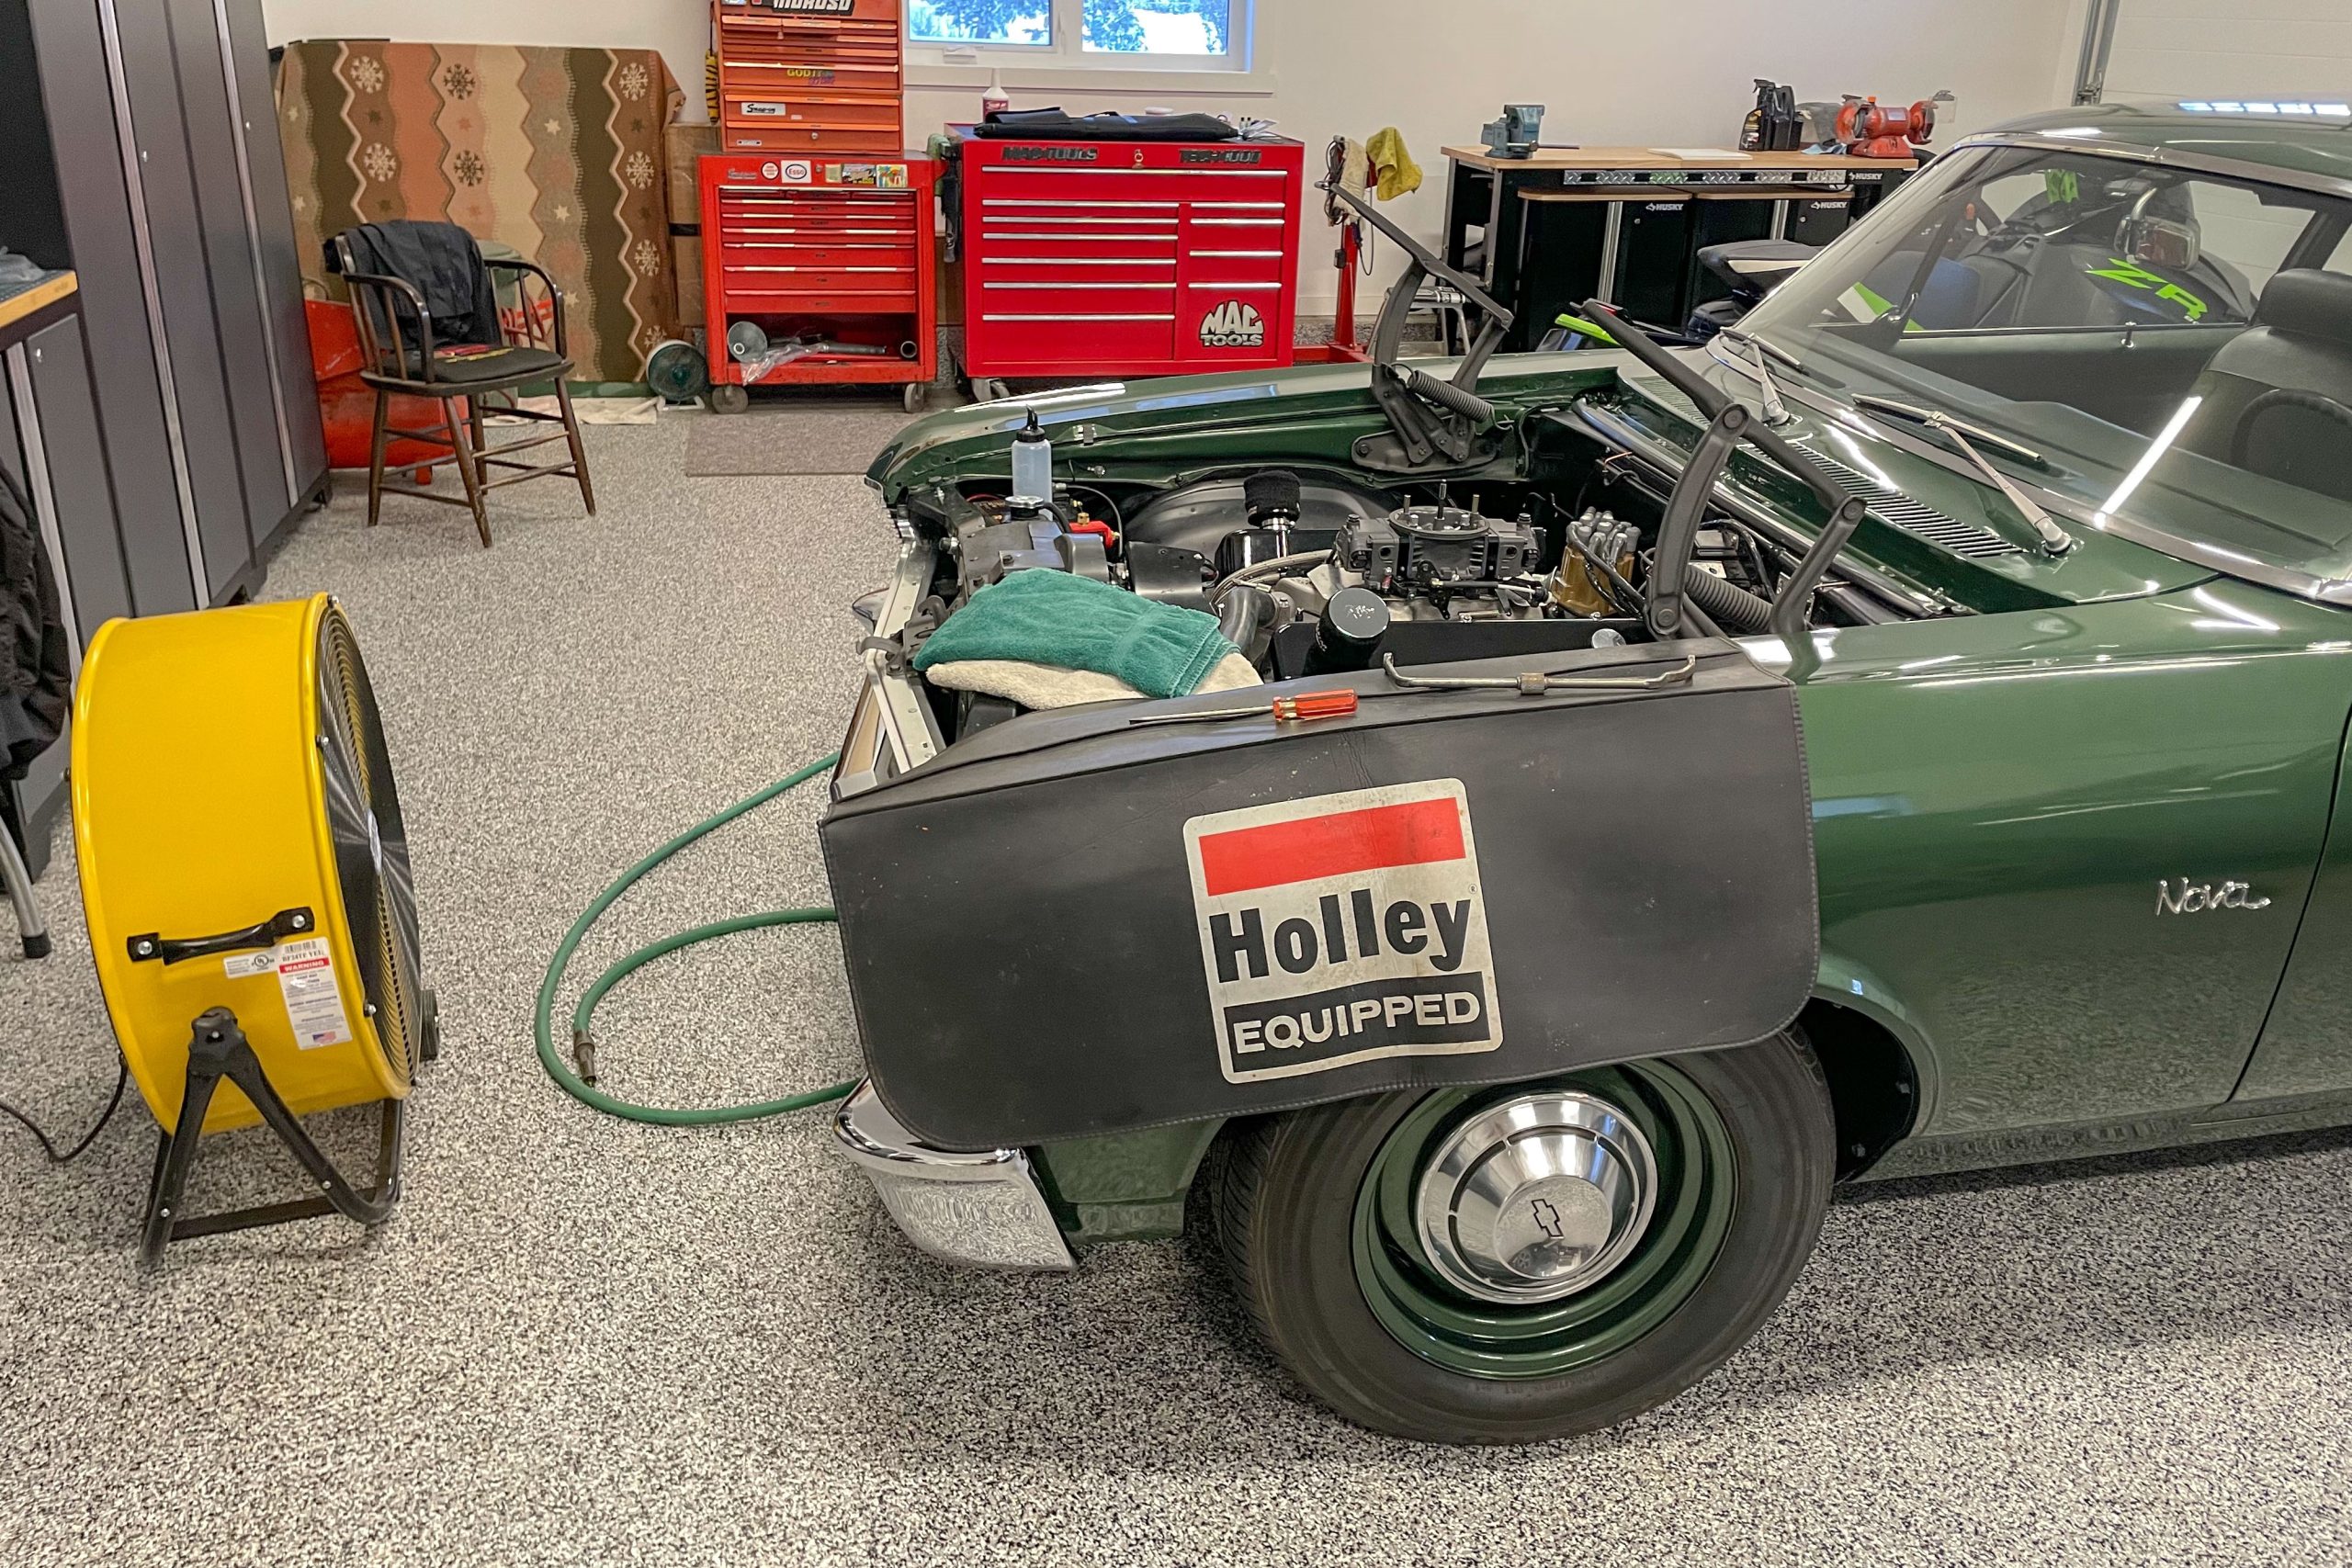
9. Garage Exhaust
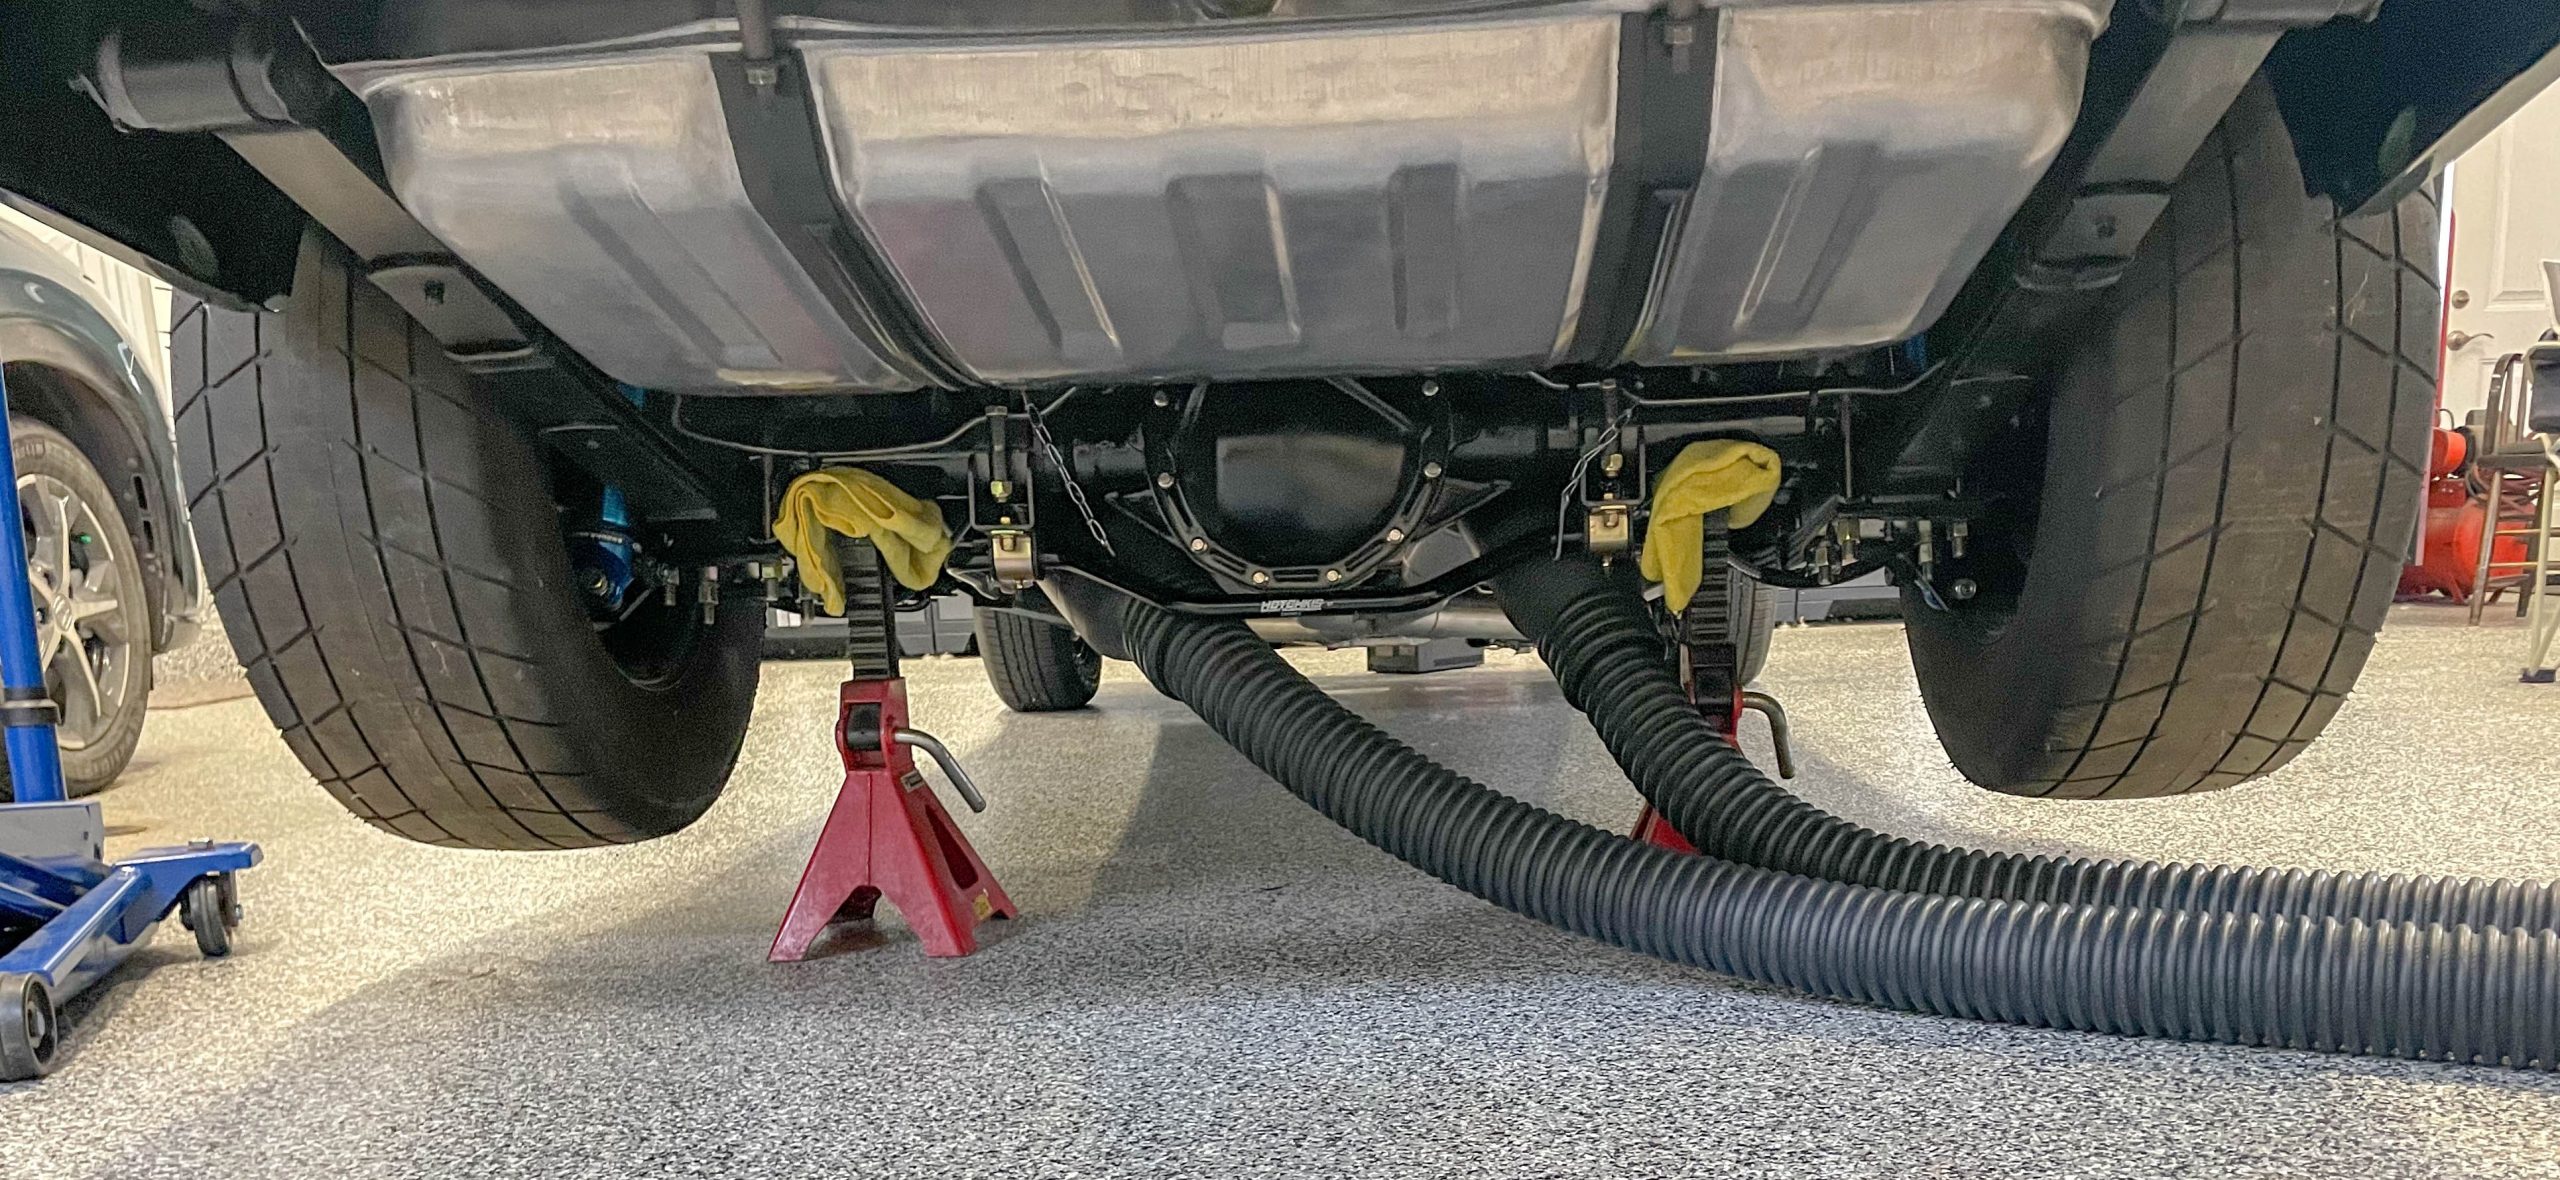
Garage exhaust hoses/systems are very good idea. They allow you to direct the spent exhaust out of the garage. It might not be a big issue with southerners or for fire-ups in balmy weather but for many (including the writer), winter doesn’t really allow for a wide open garage door. A good garage exhaust system solves that problem.
Want to build your own shop exhaust setup? Read this in-depth article on garage exhaust systems.
***
10. Drum Fan
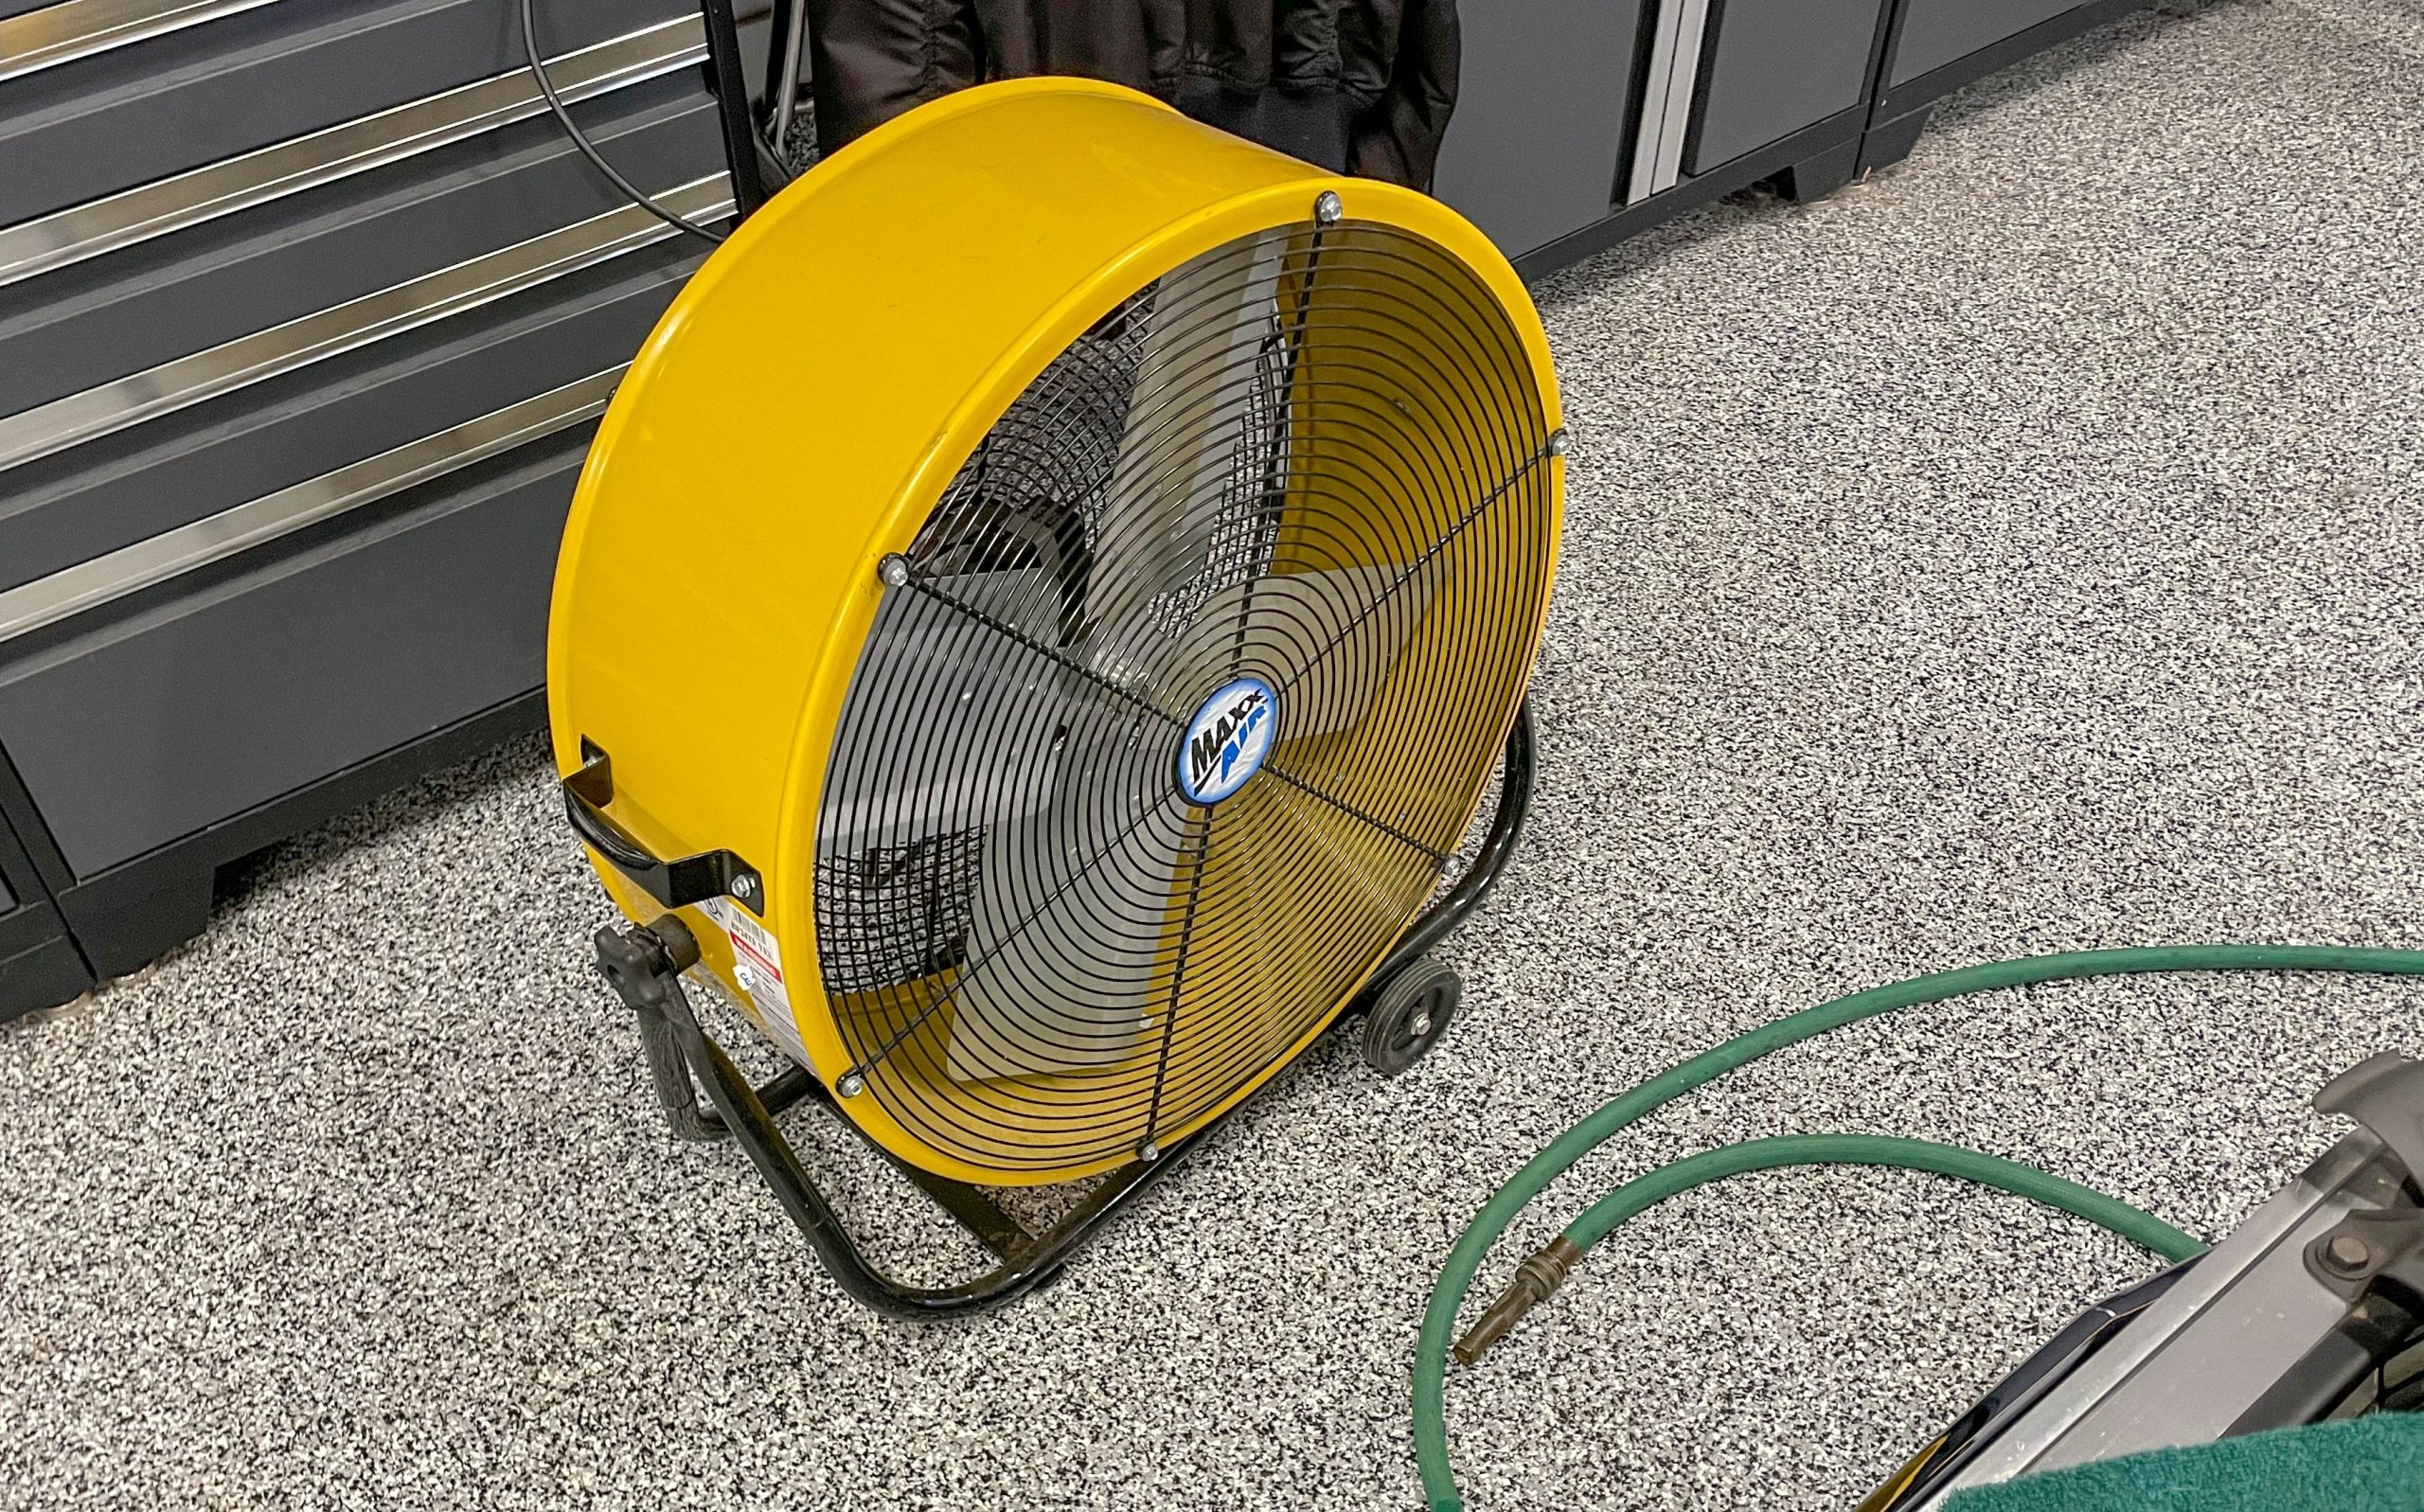
A high capacity drum fan or air blower is huge asset during an initial fire-up and break-in cycle. It not only provides copious quantities of airflow over the radiator and transmission (and/or oil cooler), it also helps to clear out any exhaust gas, burning paint, burning oil smoke, etc. out of the work space.
***
11. Garden Hose & Sprayer
Having a garden hose with a spray attachment on hand is ideal when you’re firing up an engine for the first time. It has a number of purposes (potential fire is obviously one of them), including spraying down the radiator if the temperature spikes. If you can’t access a water spigot, then a common hand-pump garden sprayer can serve a similar purpose.
***
12. Screwdriver
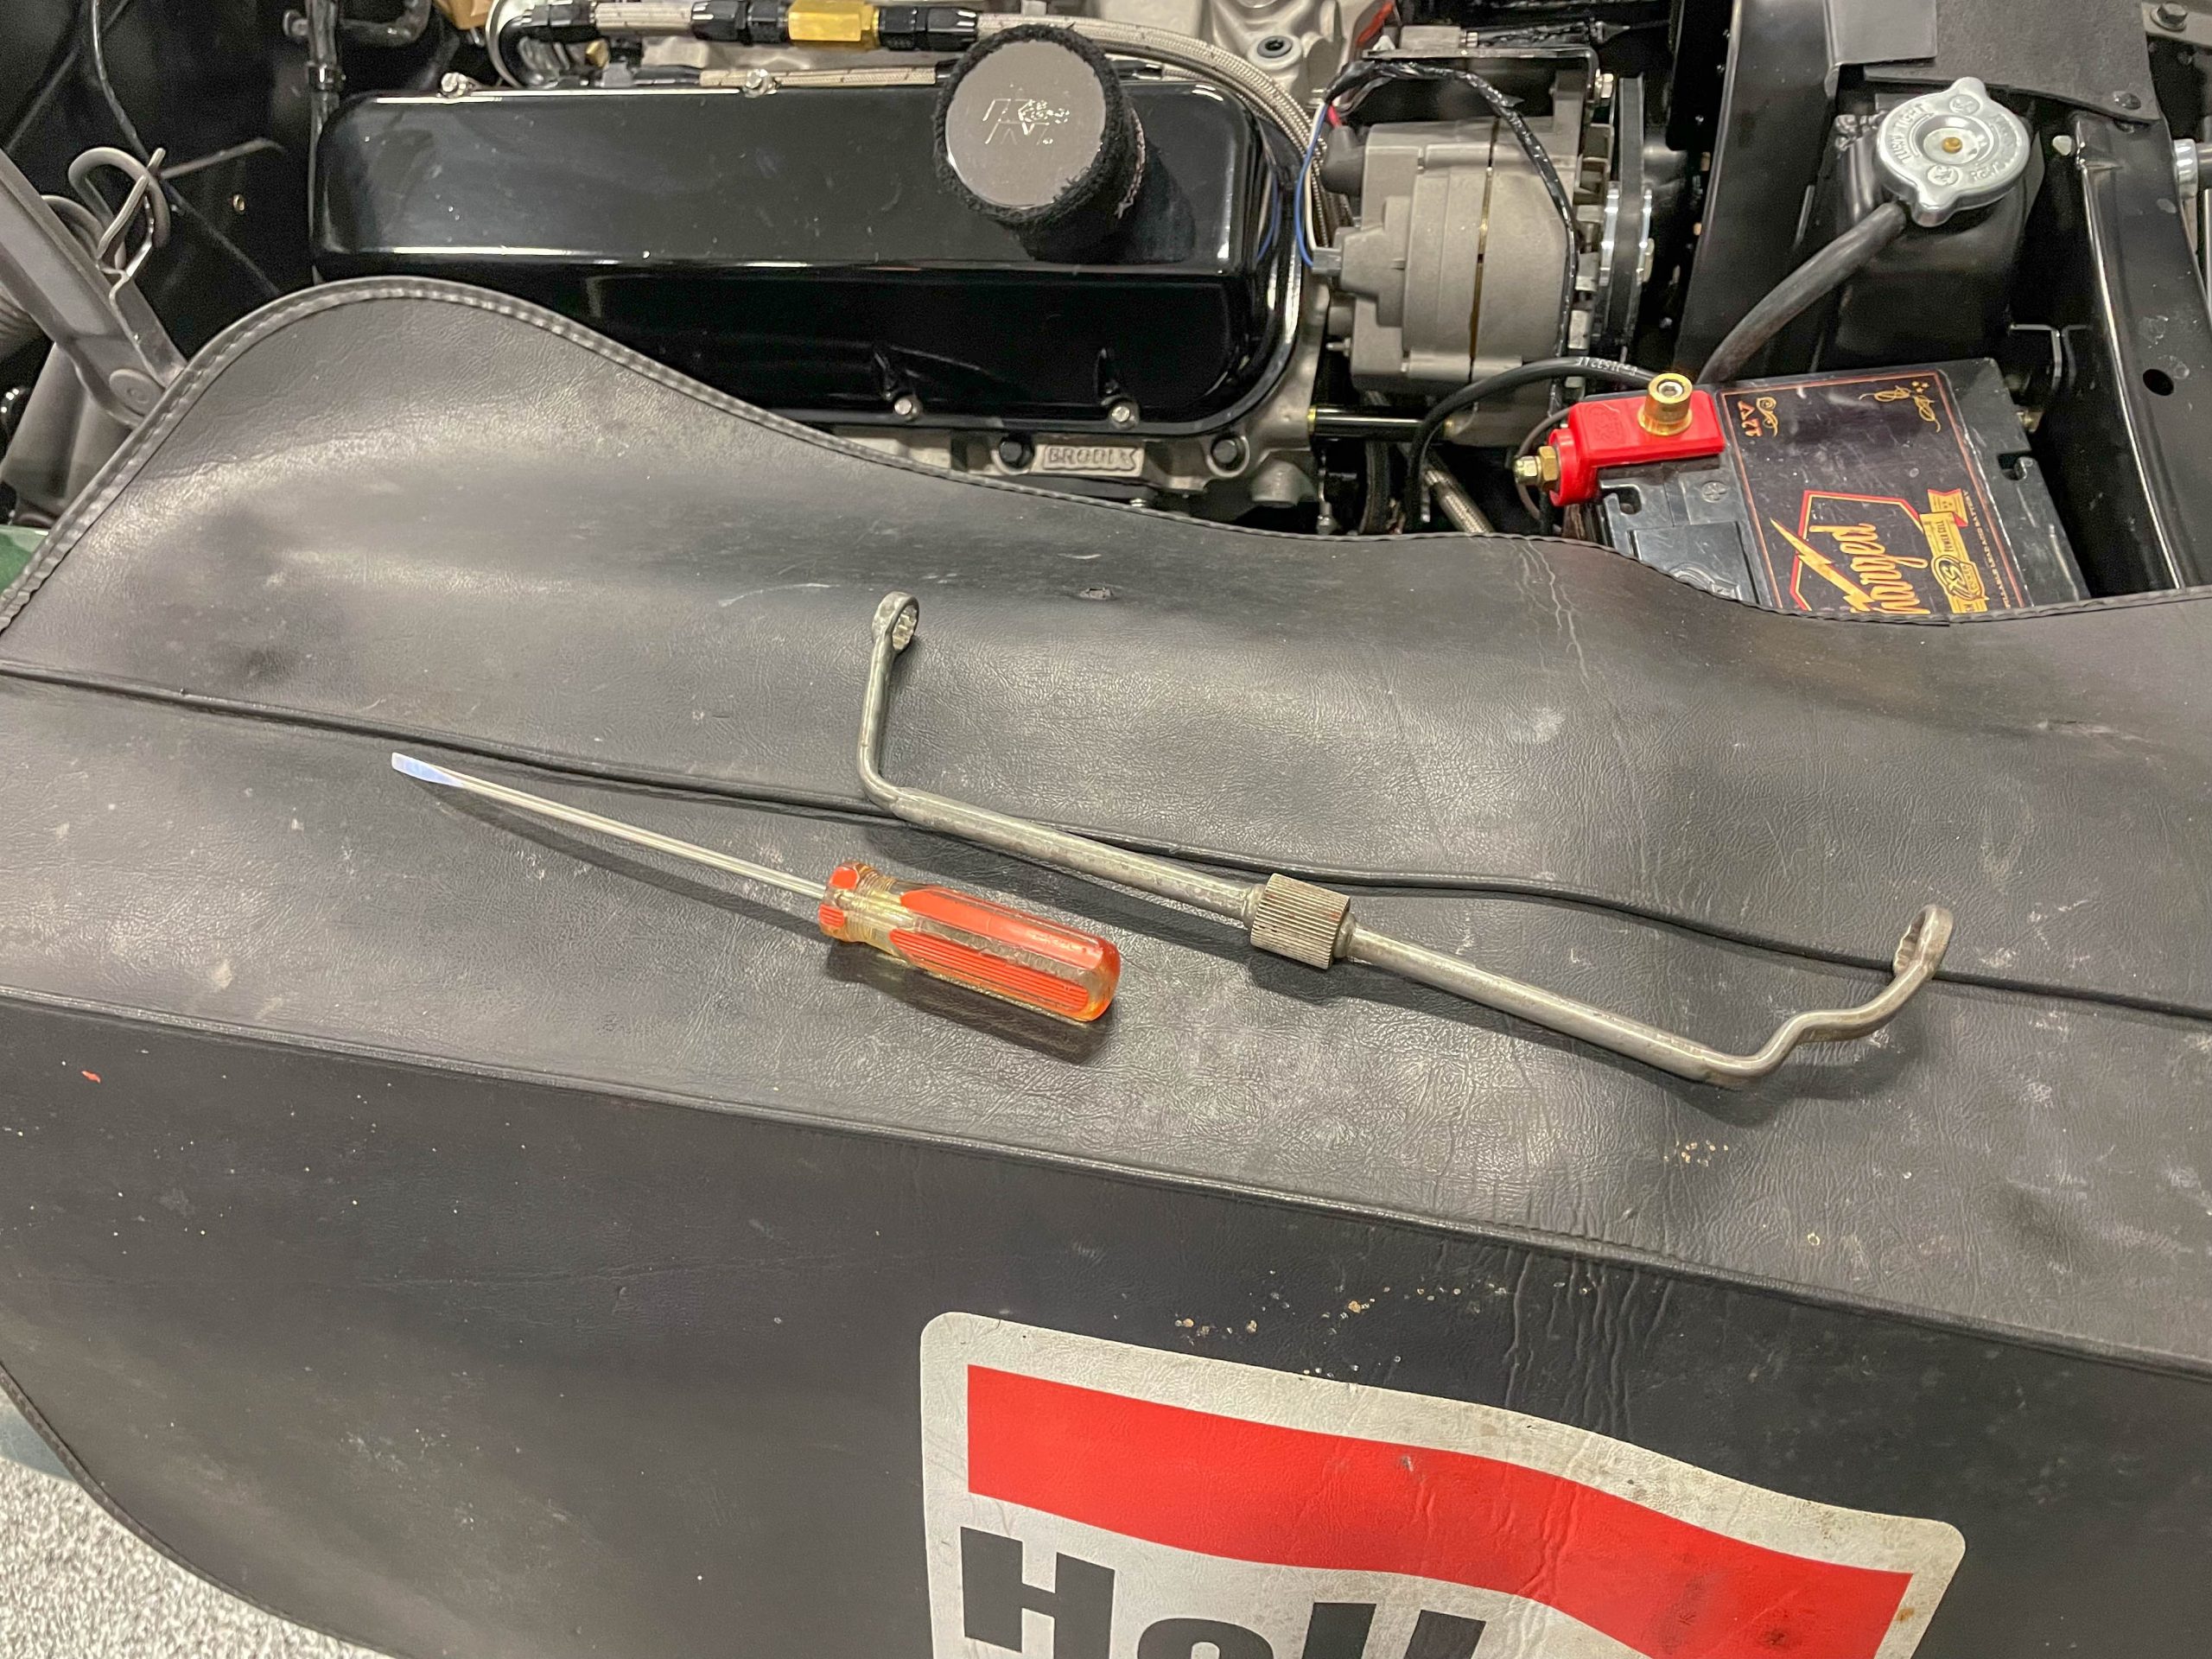
If you have a favorite screwdriver to set idle speed and mixture, this is the time to have it on hand. Some later model Holley carbs are designed so that idle speed can be set with by way of a knurled knob. Earlier carbs and non-Holleys tend to need a screwdriver. The idea here is (obviously) to set the idle speed high. Most flat tappet cam combinations should have the idle set at over 2,500 RPM during break-in.
***
13. Distributor Wrench
On a similar note, keep a distributor wrench handy too. We usually keep the clamp “almost” tight. This allows us to turn the distributor by hand without using the wrench during fire-up. This may not be possible in all applications, hence the need for the wrench.
***
14. Timing Light & Vacuum Gauge
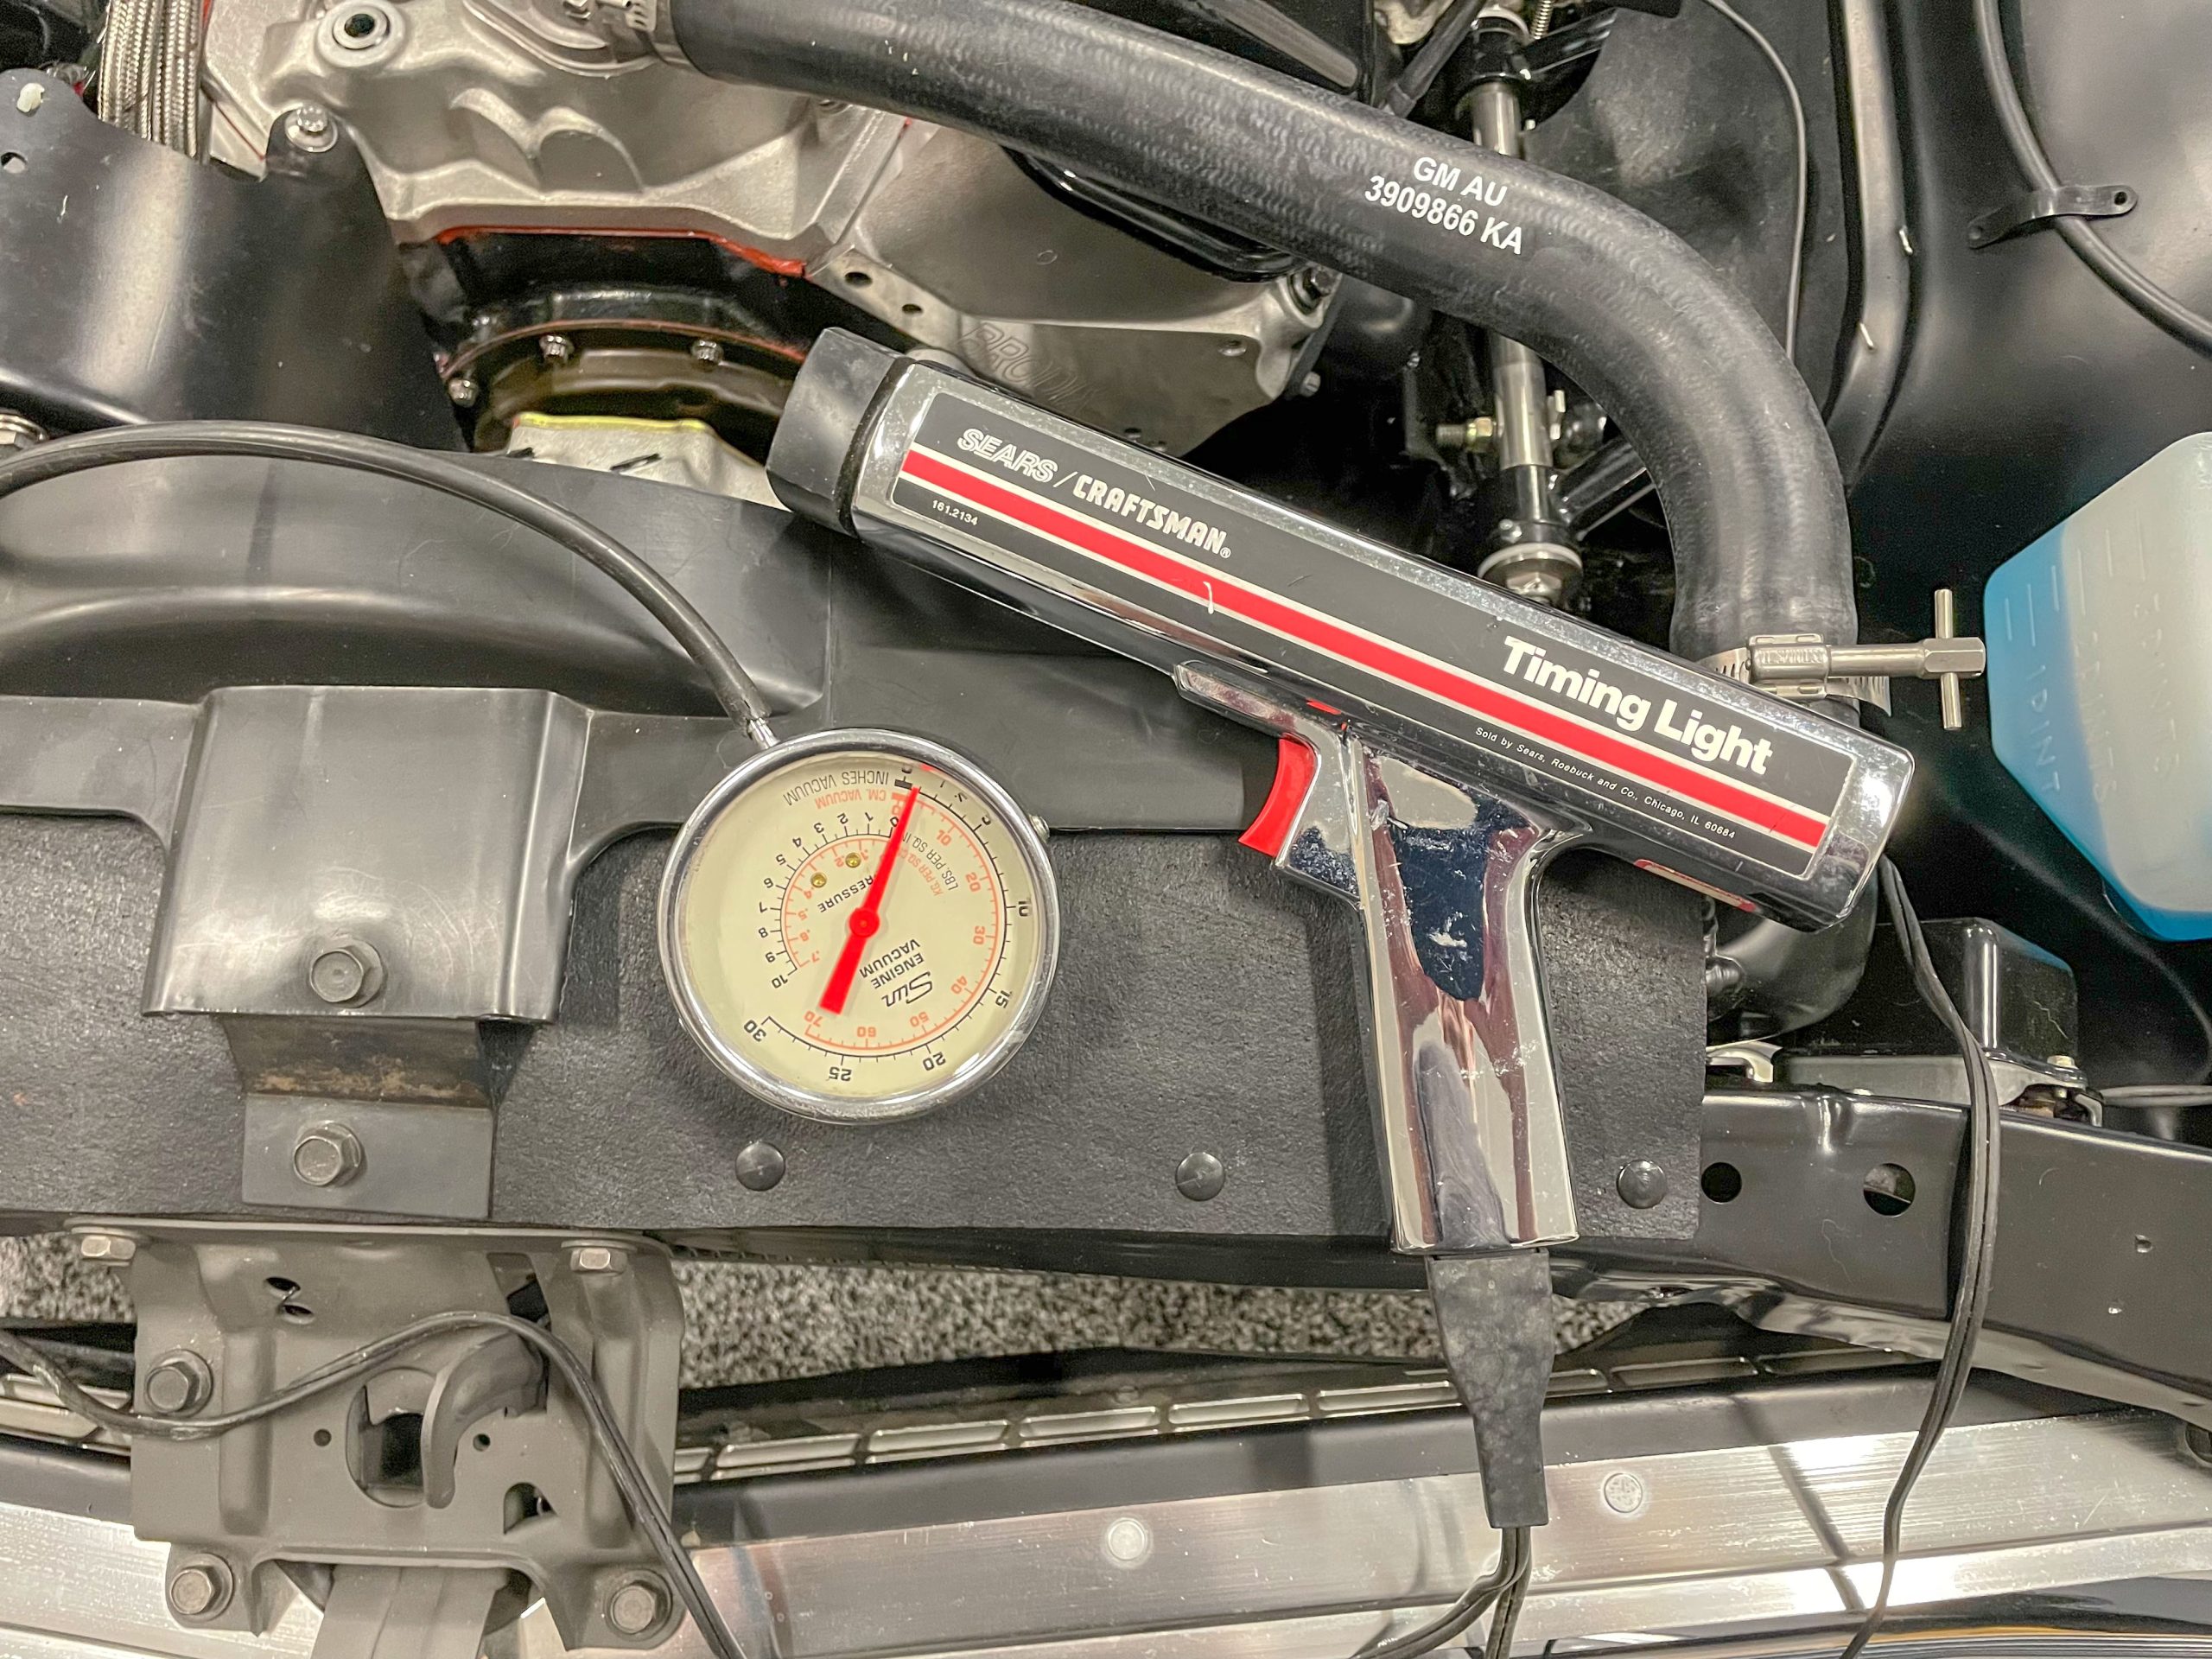
It’s a good idea to have a timing light ready to go. We normally hook the gauge up and have the vacuum advance blocked. Ditto with a vacuum gauge. It will prove very helpful when setting up the idle mixture.
Quick Tech: How to Read a Vacuum Gauge
***
15. Air Cleaner
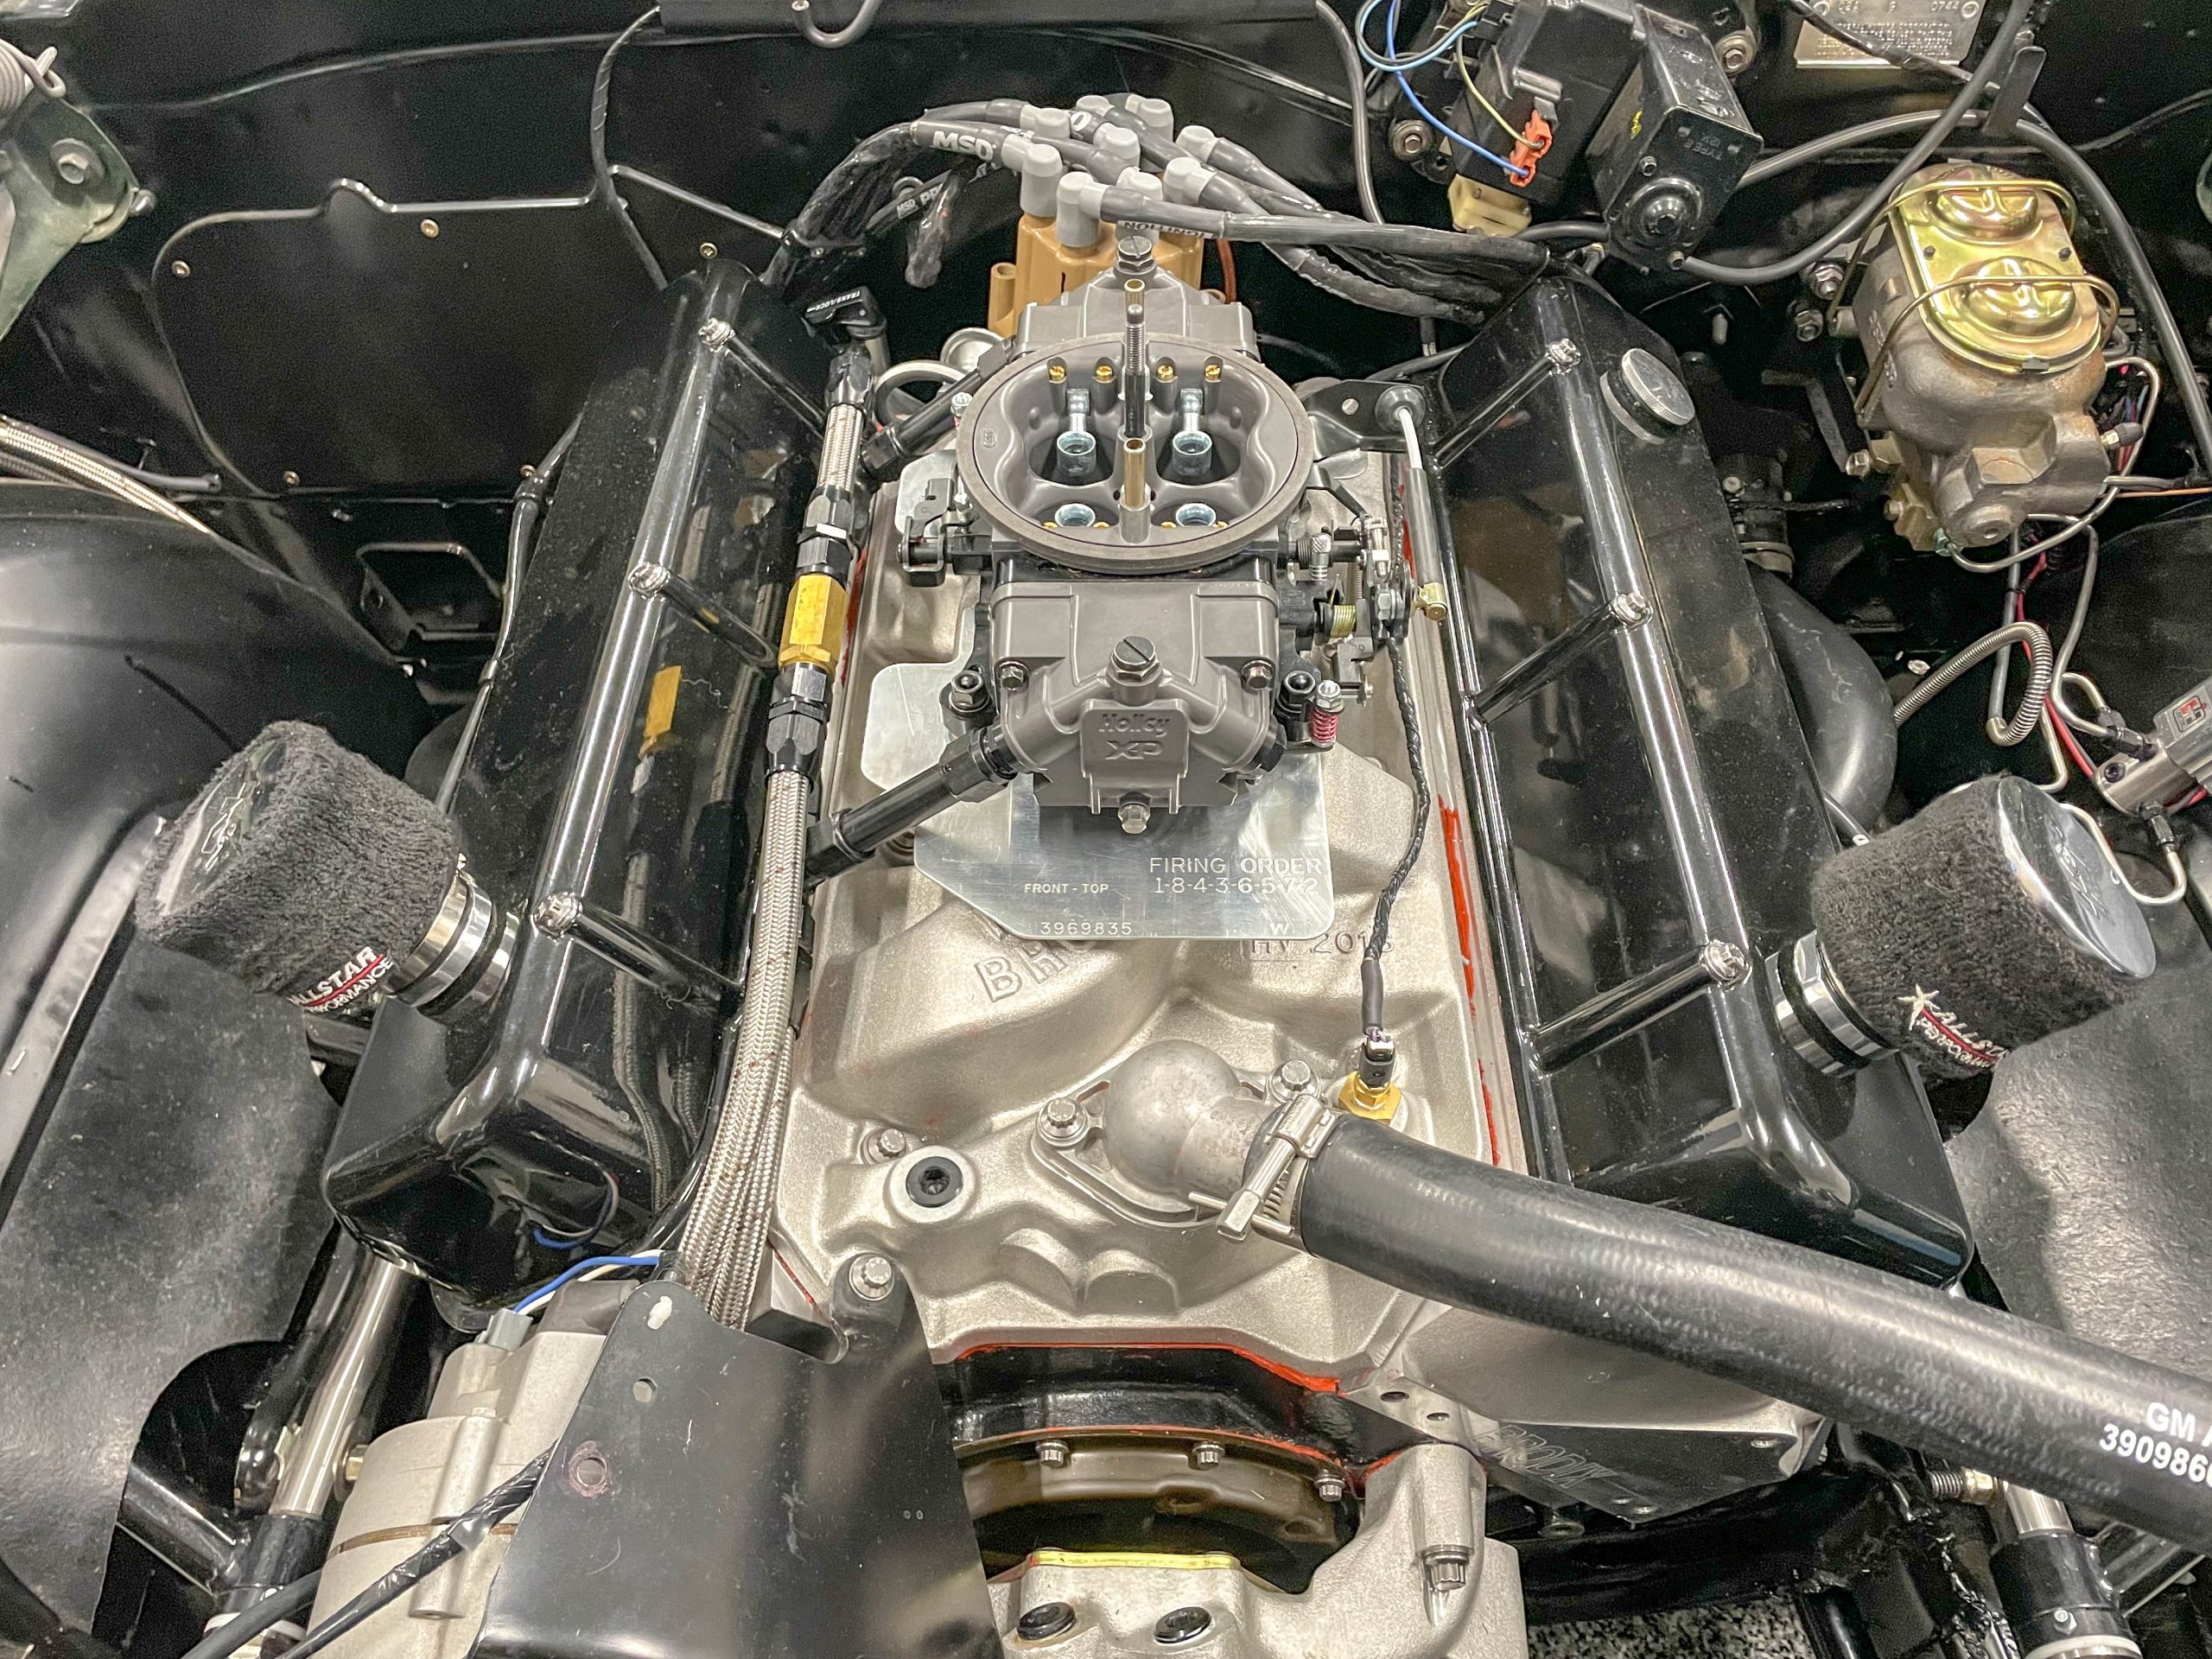
Remove the air cleaner. It should be off during the fire-up. You’ll likely need to play with the throttle during the initial fire up. With no air cleaner in place, you’ll have easy access to the carburetor(s).
***
16. Fire Extinguisher
This is obviously a no brainer. Gasoline plus sparks can clearly spell trouble if you run into a leak. There are all sorts of fire extinguishers available, including larger 5+ pound examples that are perfect for your garage.
***
17. Large Towels
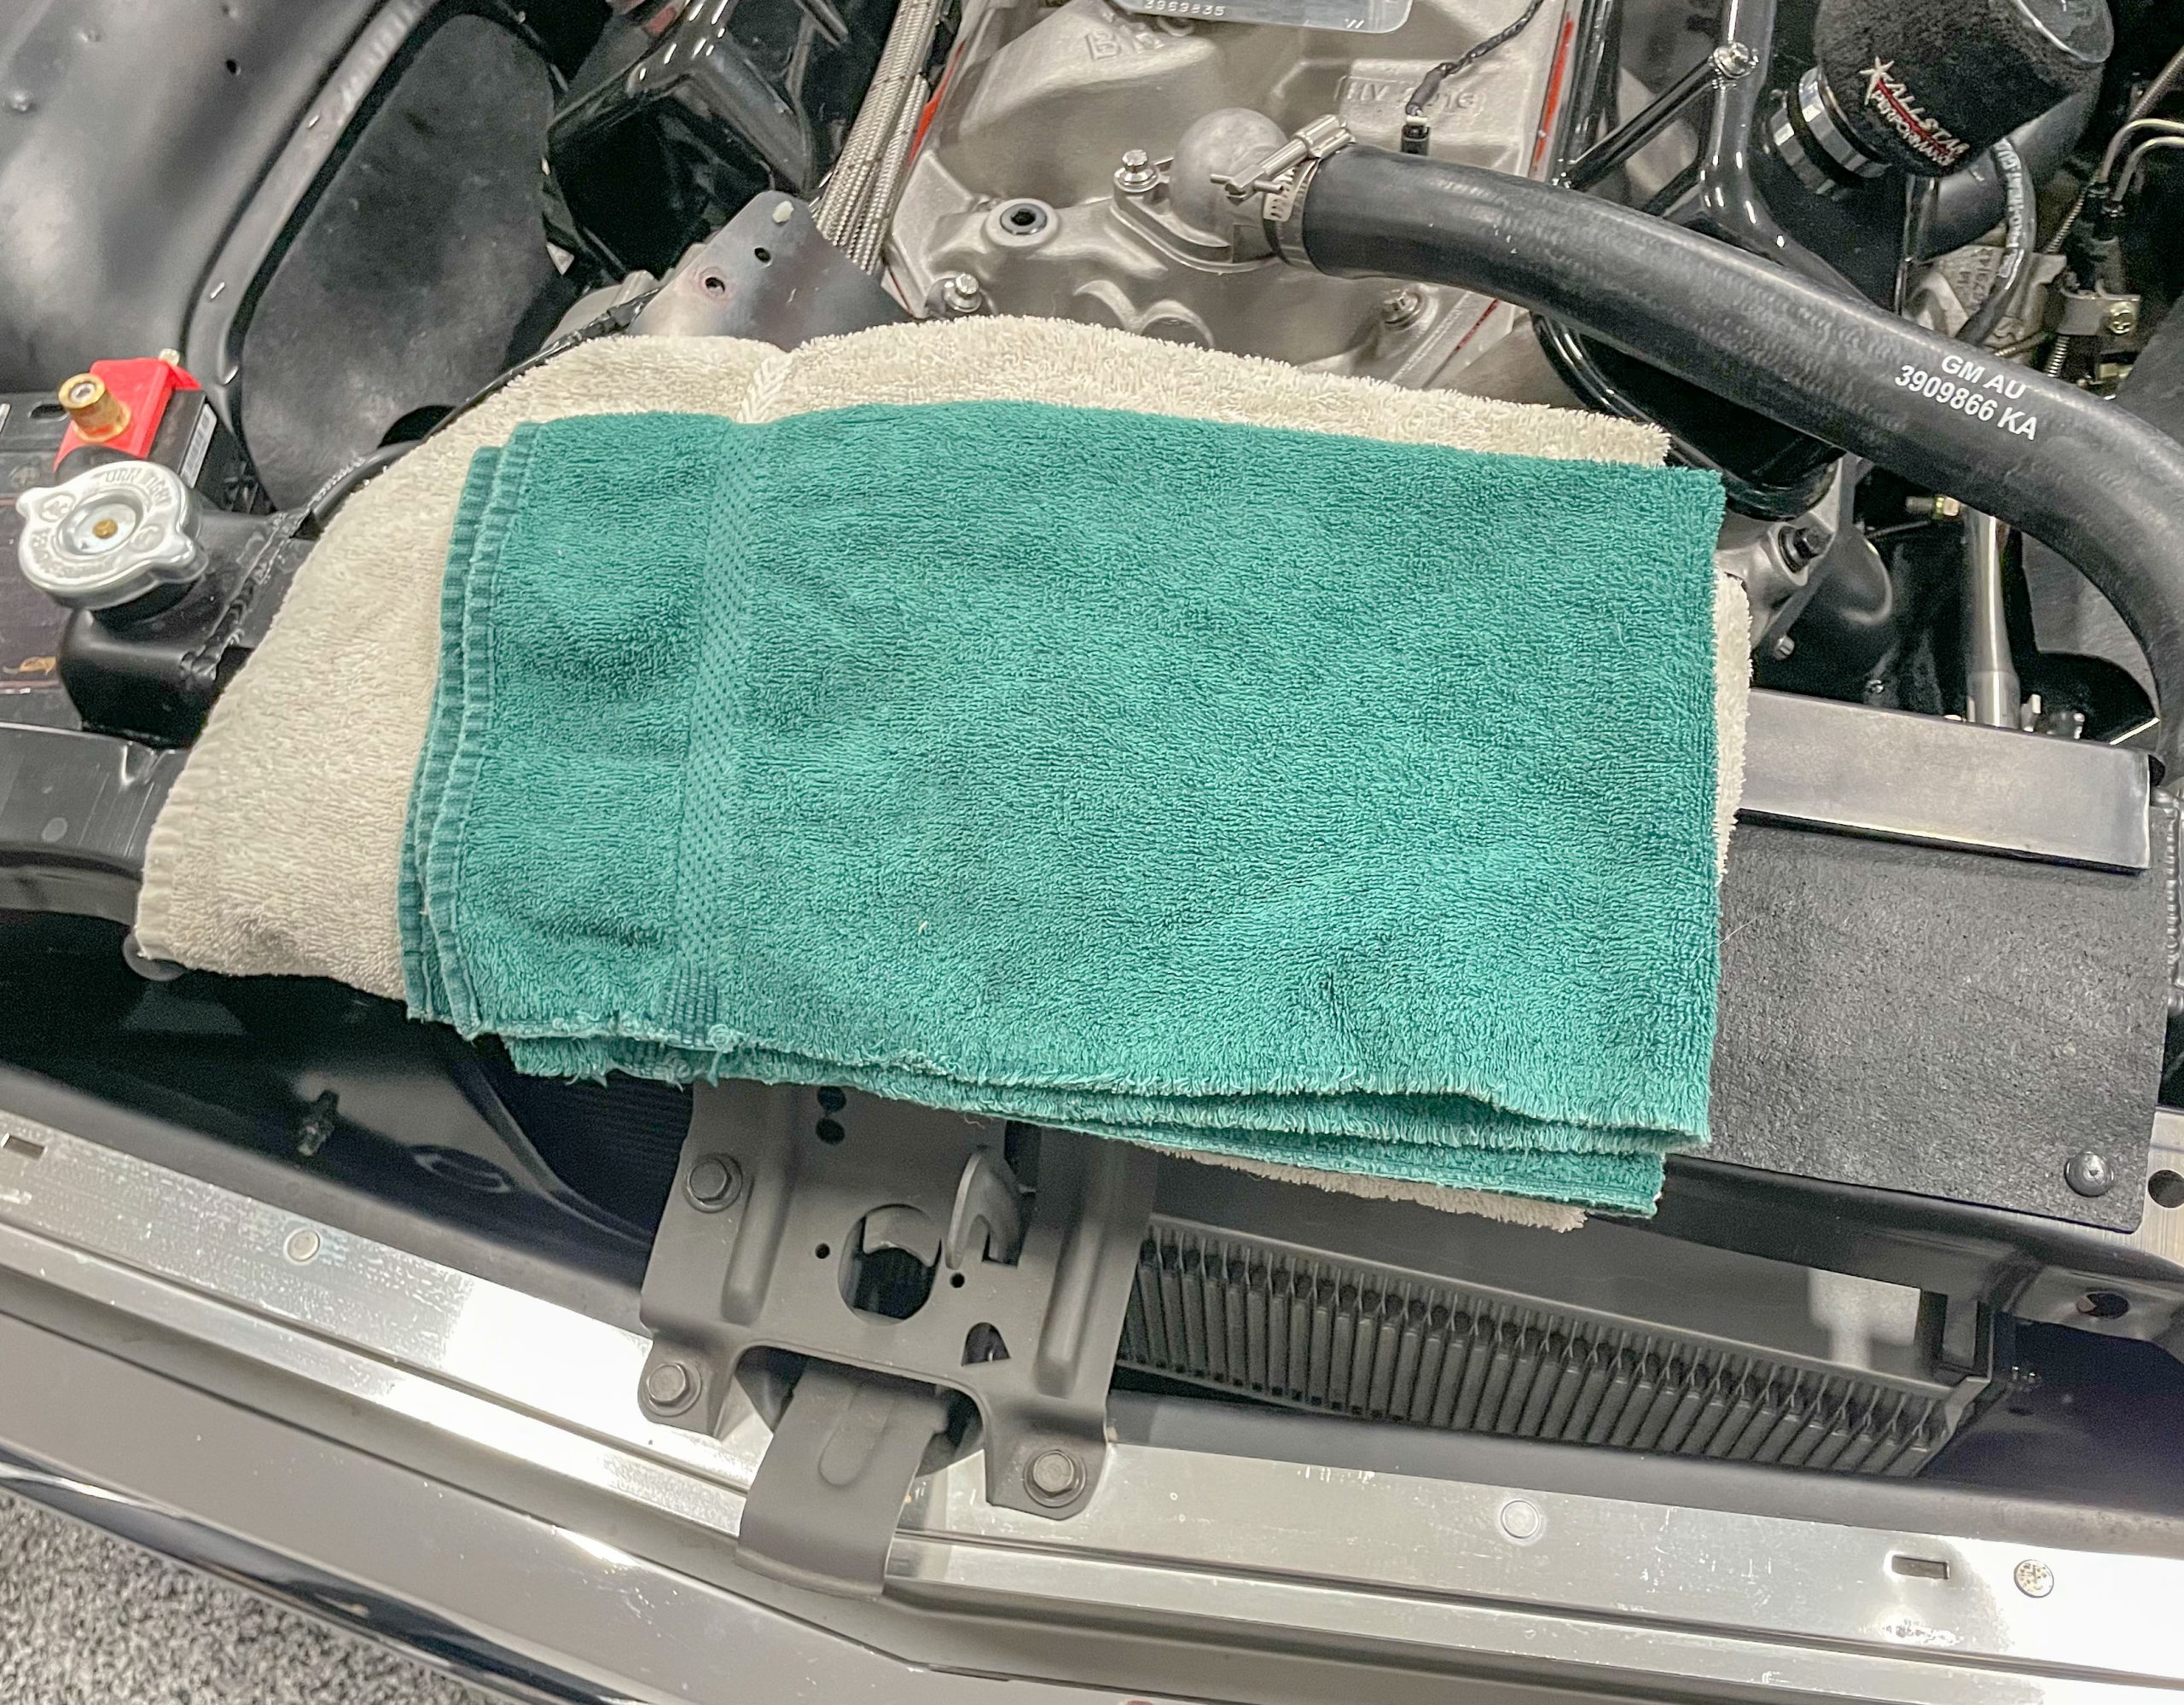
We always keep several large shop towels on the car during the initial fire up. The reason is, if the engine “sneezes” (and it’s highly possible) on the first start, it’s pretty easy to snuff out the potential fire by robbing it of oxygen. Using a towel beats an extinguisher here because there’s no mess to clean up. The key here is to be quick and careful with the towel.
***
18. Squeeze Bottles
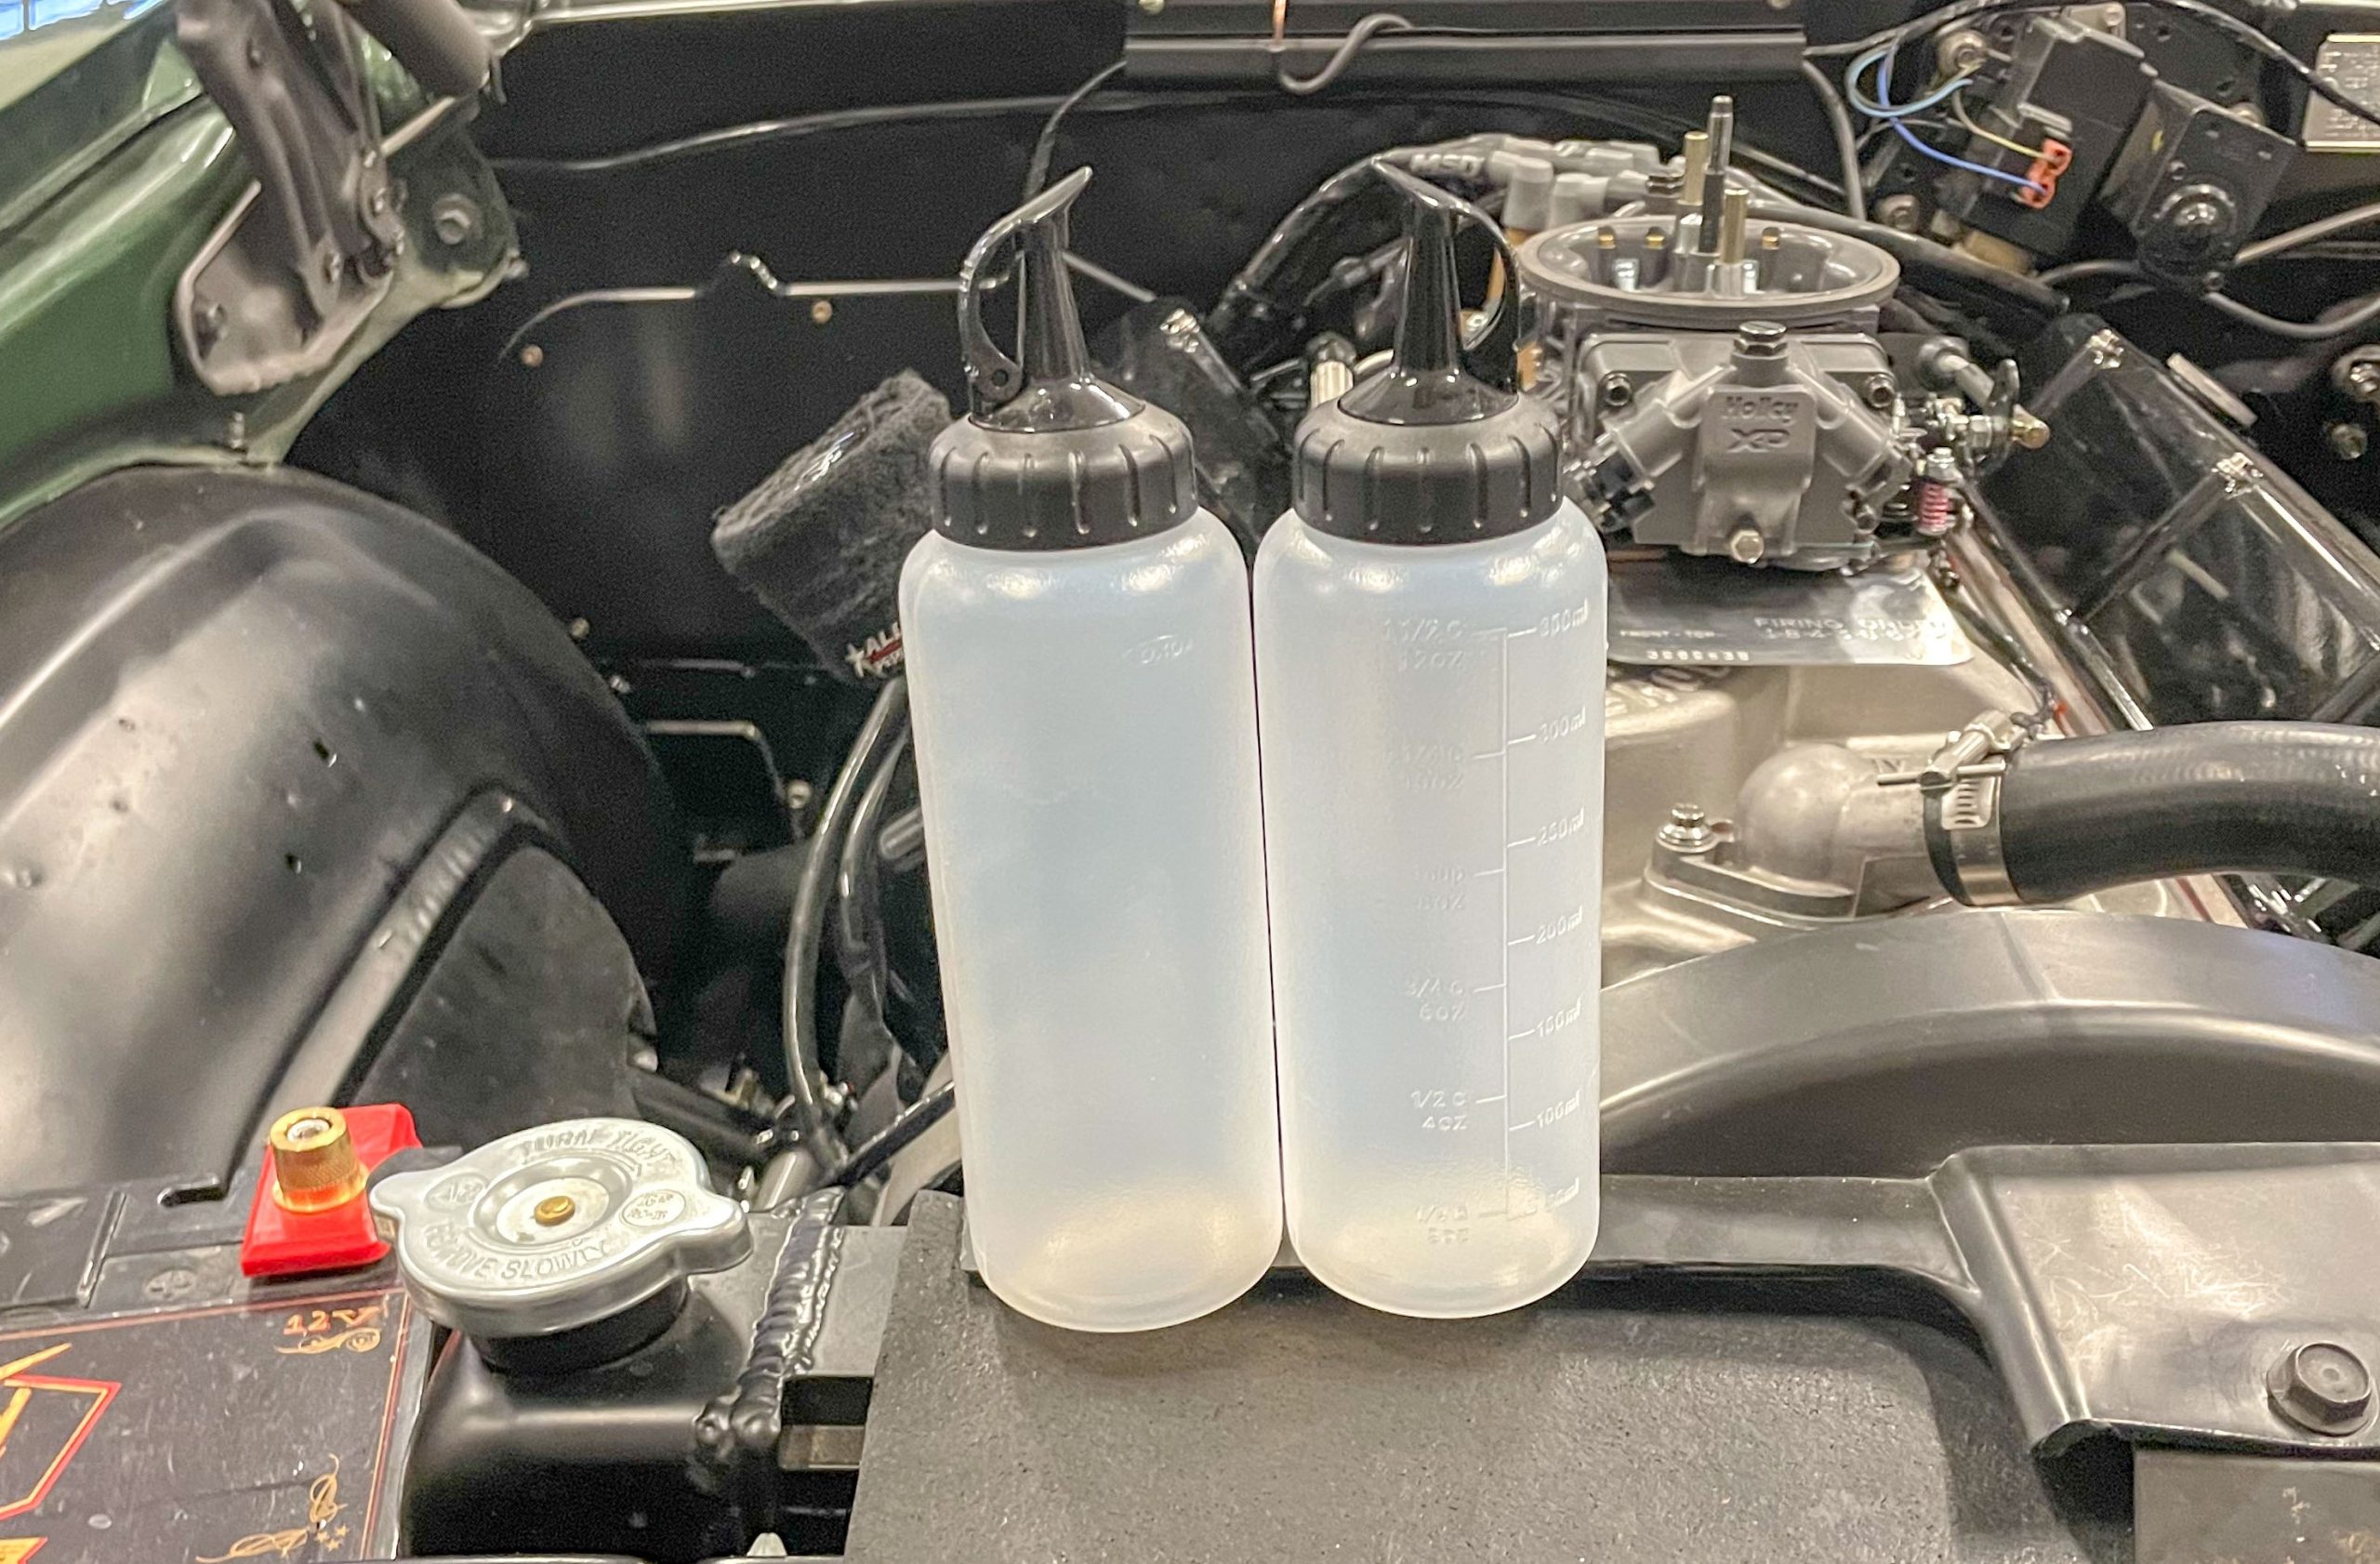
We keep a couple of garden-variety squeeze bottles filled with gasoline handy. The idea here is to fill the carburetor bowls with fuel (on a Holley, squirt the fuel into the bowl vents). You can also use the squirt bottles to keep the engine running while a mechanical fuel pump system primes.
***
19. Prime Fuel System (Electric Pump)
If you have an electric fuel pump, it’s easier to have the system primed. Simply turn on the pump and set the pressure so that the needle and seat assemblies aren’t overwhelmed. This doesn’t have to be exact. You can finalize the running PSI later.
***
20. Pre-Test Starter & Electrical System
It’s a good idea to pre-test the starter as well as the entire electrical system prior to fire up. The last thing you need is a dodgy starter that drags, won’t engage, or runs on.
***
21. Raise Rear Off Ground
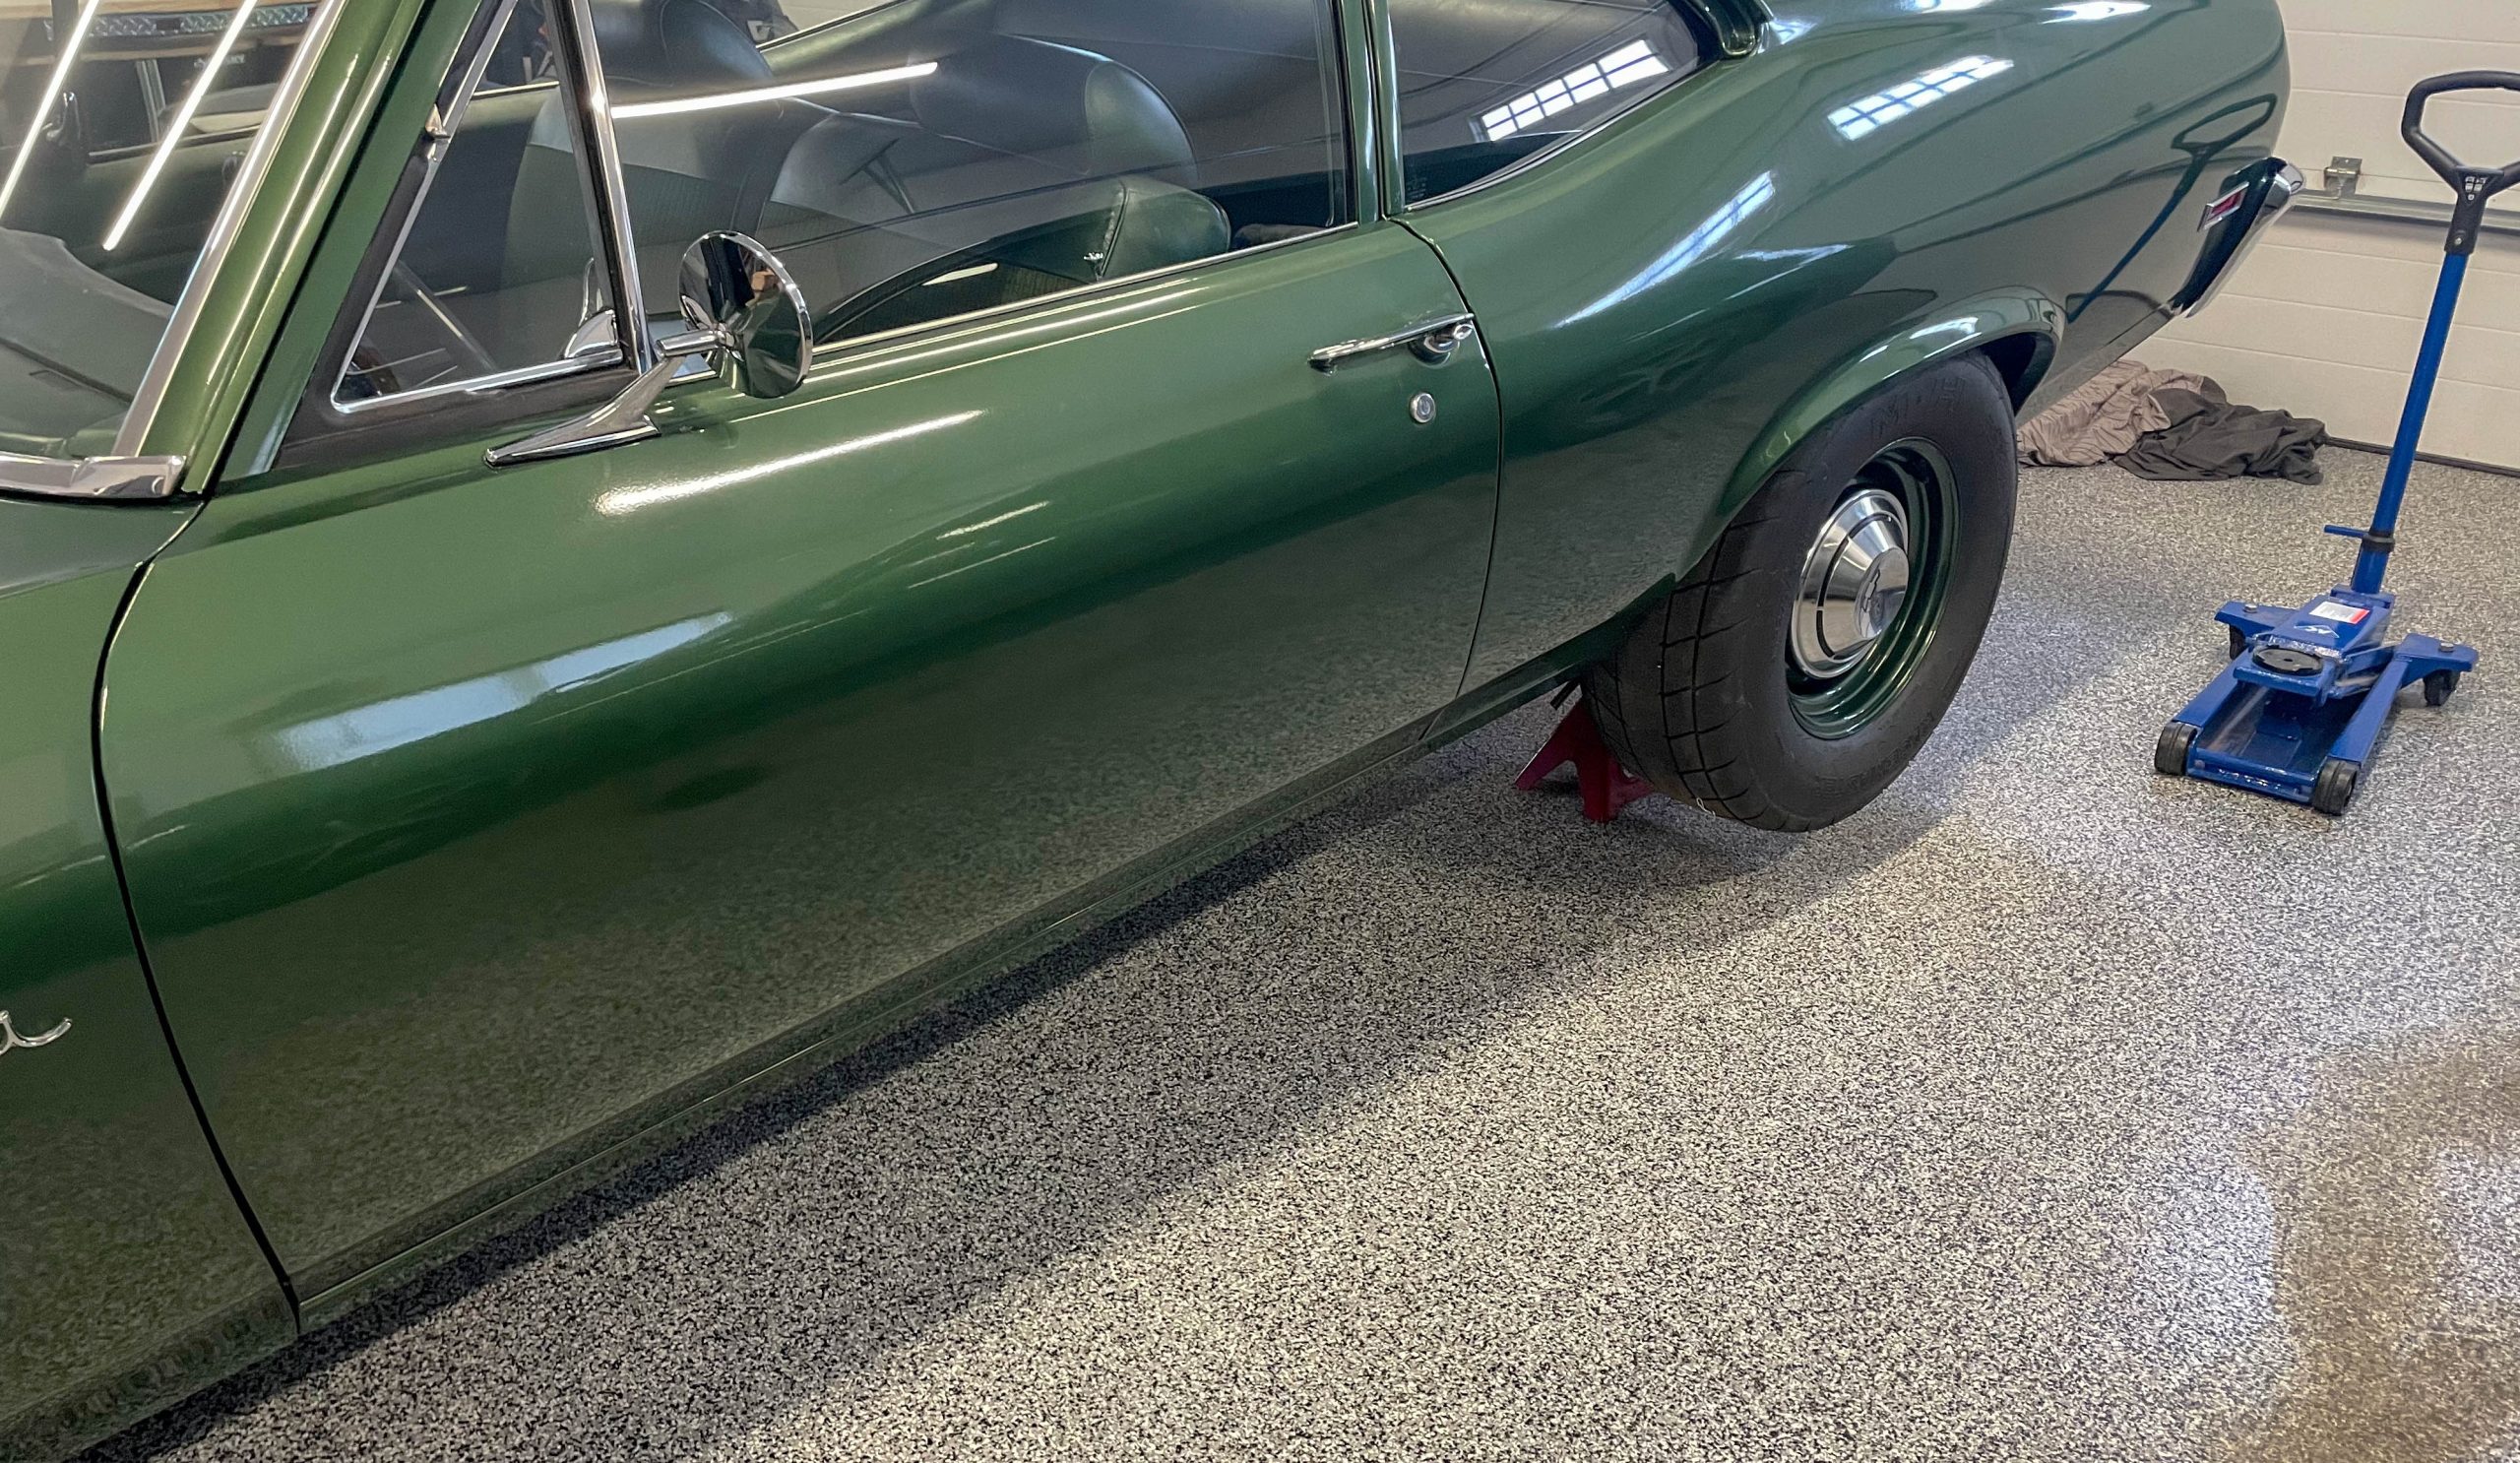
Some folks like to fire the car up with the rear wheels off the ground (although it certainly isn’t necessary). If you have a new transmission (for example), this practice allows you to break it in at the same time.
***
22. E-Brake Set, Transmission in Park or Neutral
Set the park brake. Place the transmission in either Park or Neutral during the initial break in. Another no-brainer but you might be surprised at the number of people who forget this little step.
***
23. Chock Front Wheels
Don’t forget to chock the wheels. The last thing you have should have to worry about is a car that somehow creeps forward as you’re pre-occupied with getting it running.
***
24. Bump Starter Switch
Racers will get this: A bump starter switch and circuit is commonly used to set the valves (with the ignition “Off”). But it can also be useful when starting the engine for the first time. Simply turn the ignition switch “On” and use the bump button to start the car. This allows you to be next to the engine as you fire it up. By the way, a temporary remote starter switch will accomplish the same thing.
***
Comments