Street cars or street/strip cars present several issues when it comes to quarter mile chassis setup. They’re not really full-on race cars and they’re not really intended (or set up) to burn corners. In many cases, they don’t have the full drag race “package” such as a four link or ladder bars. Some might have bolt-on traction bars. Some might have single or double adjustable shocks. Some might have an Anti-Roll Bar (ARB). Some might have special springs.
The writer’s personal car falls into the above “might have” categories.
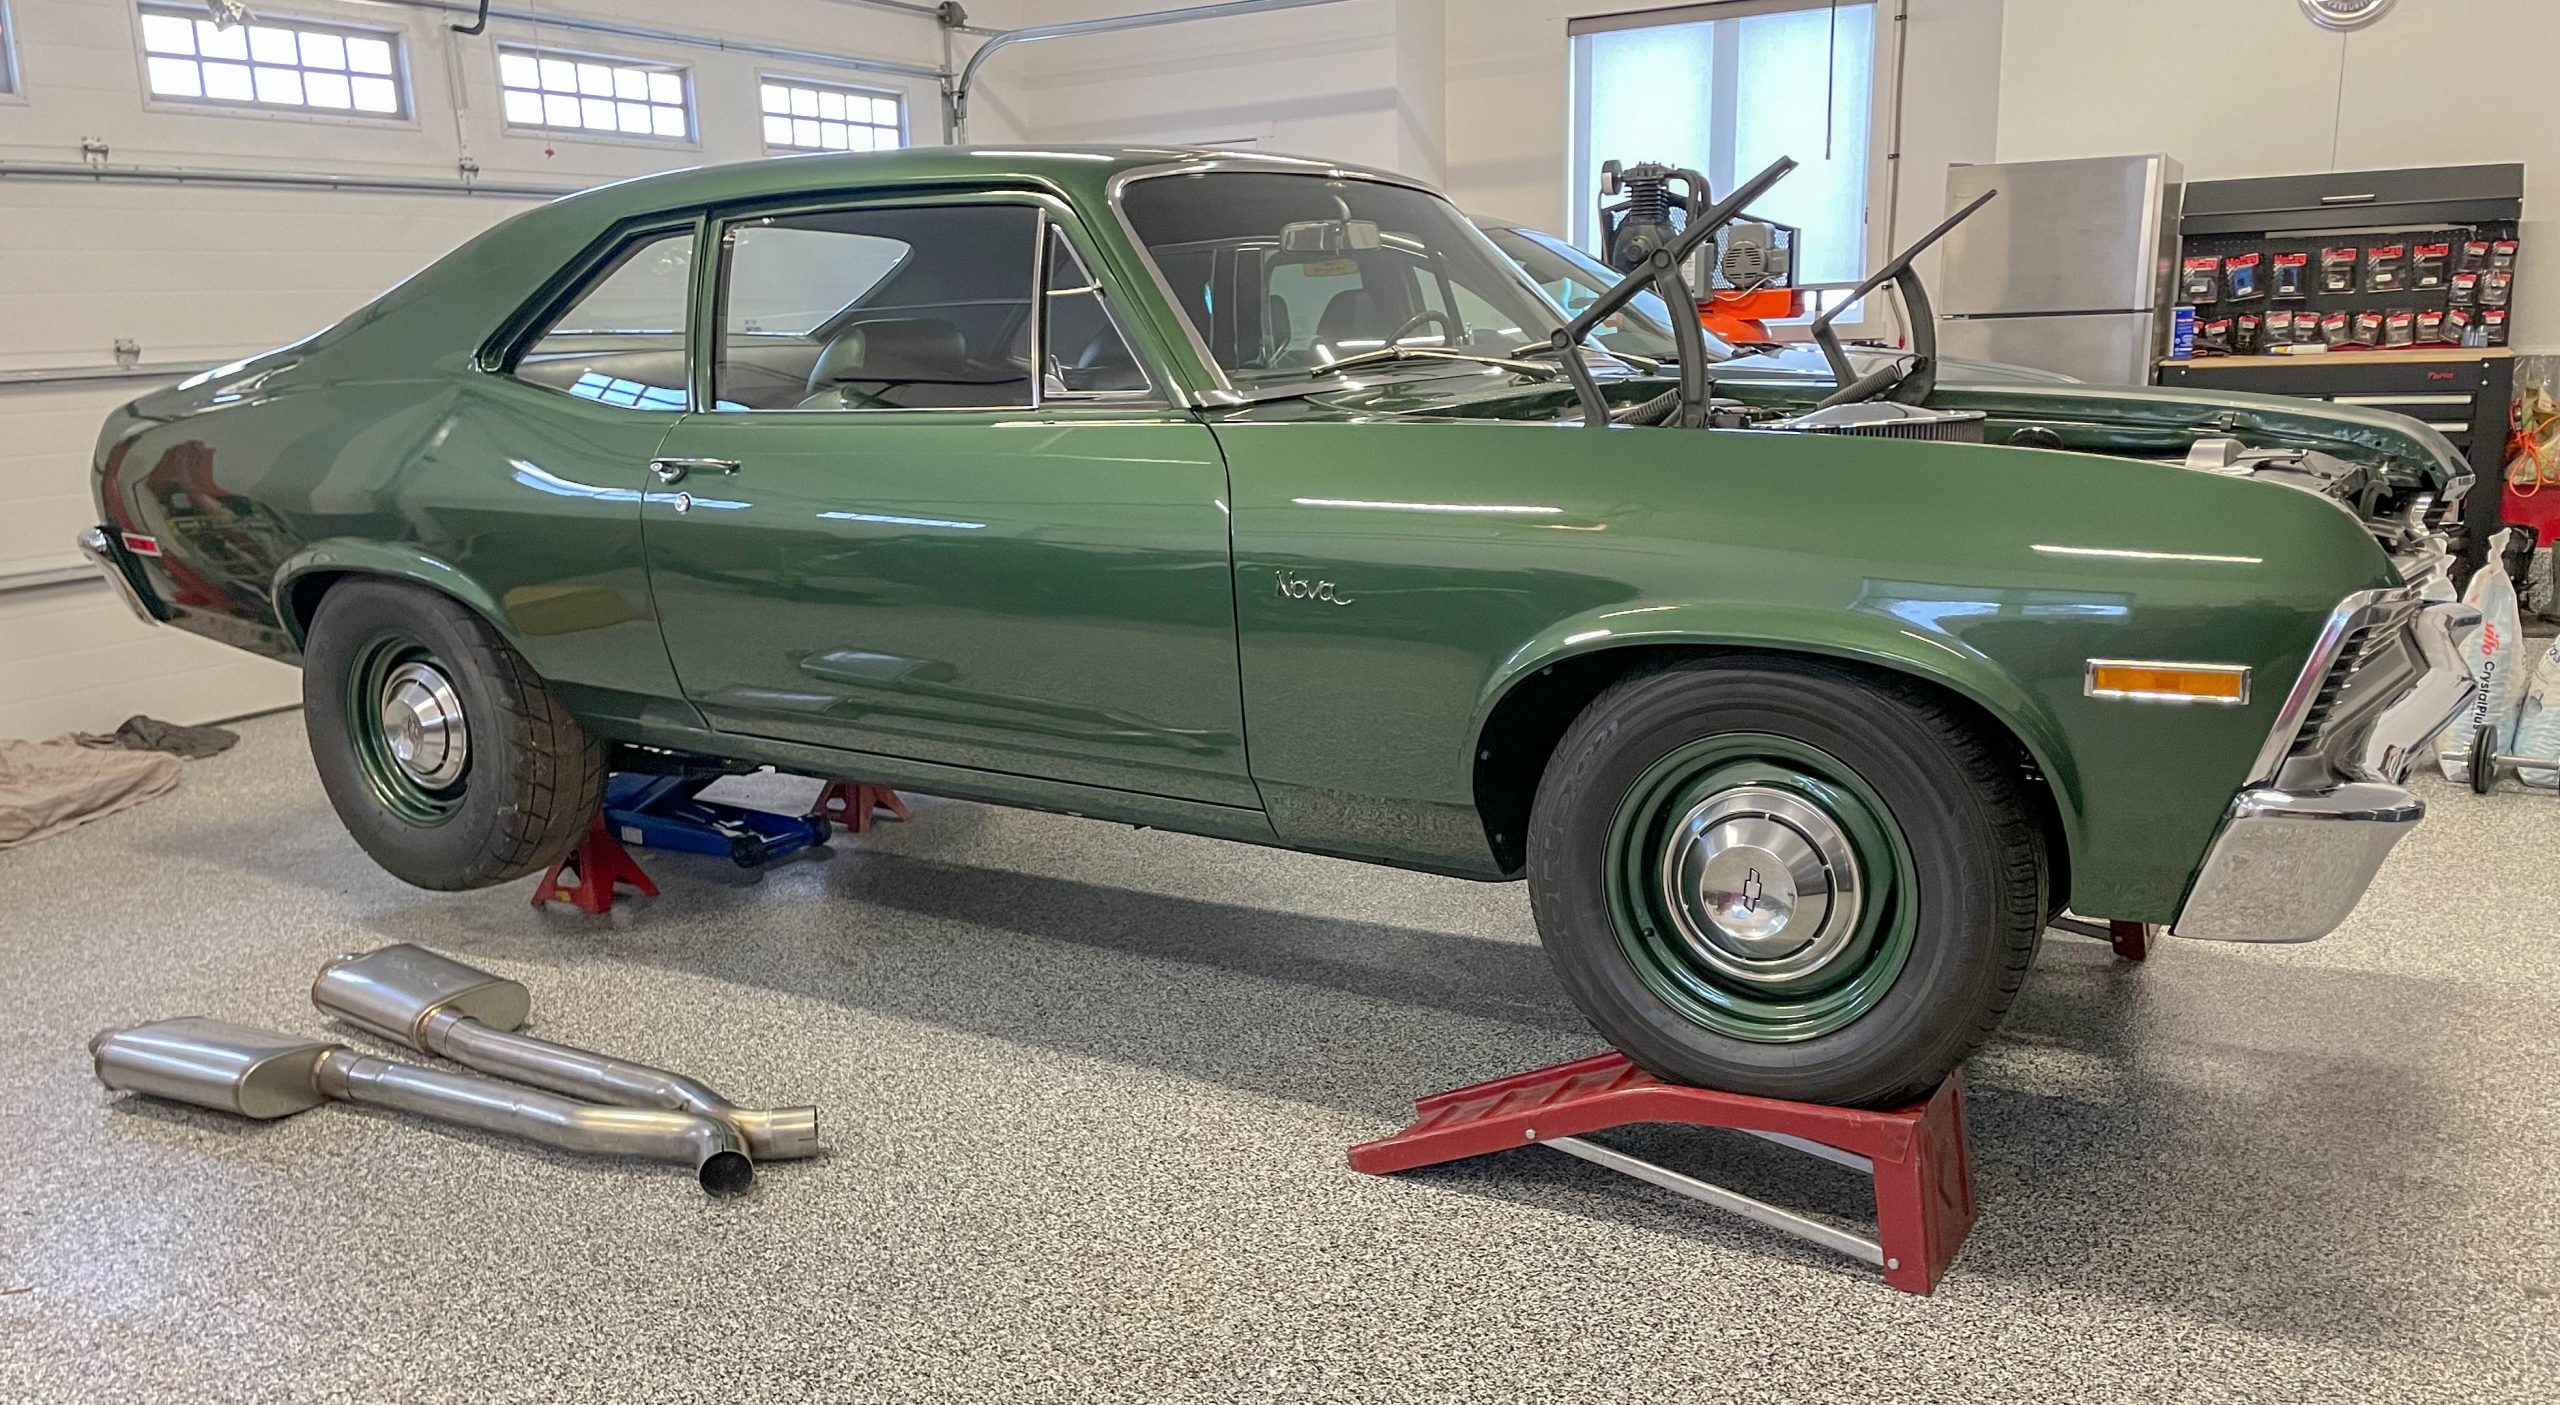
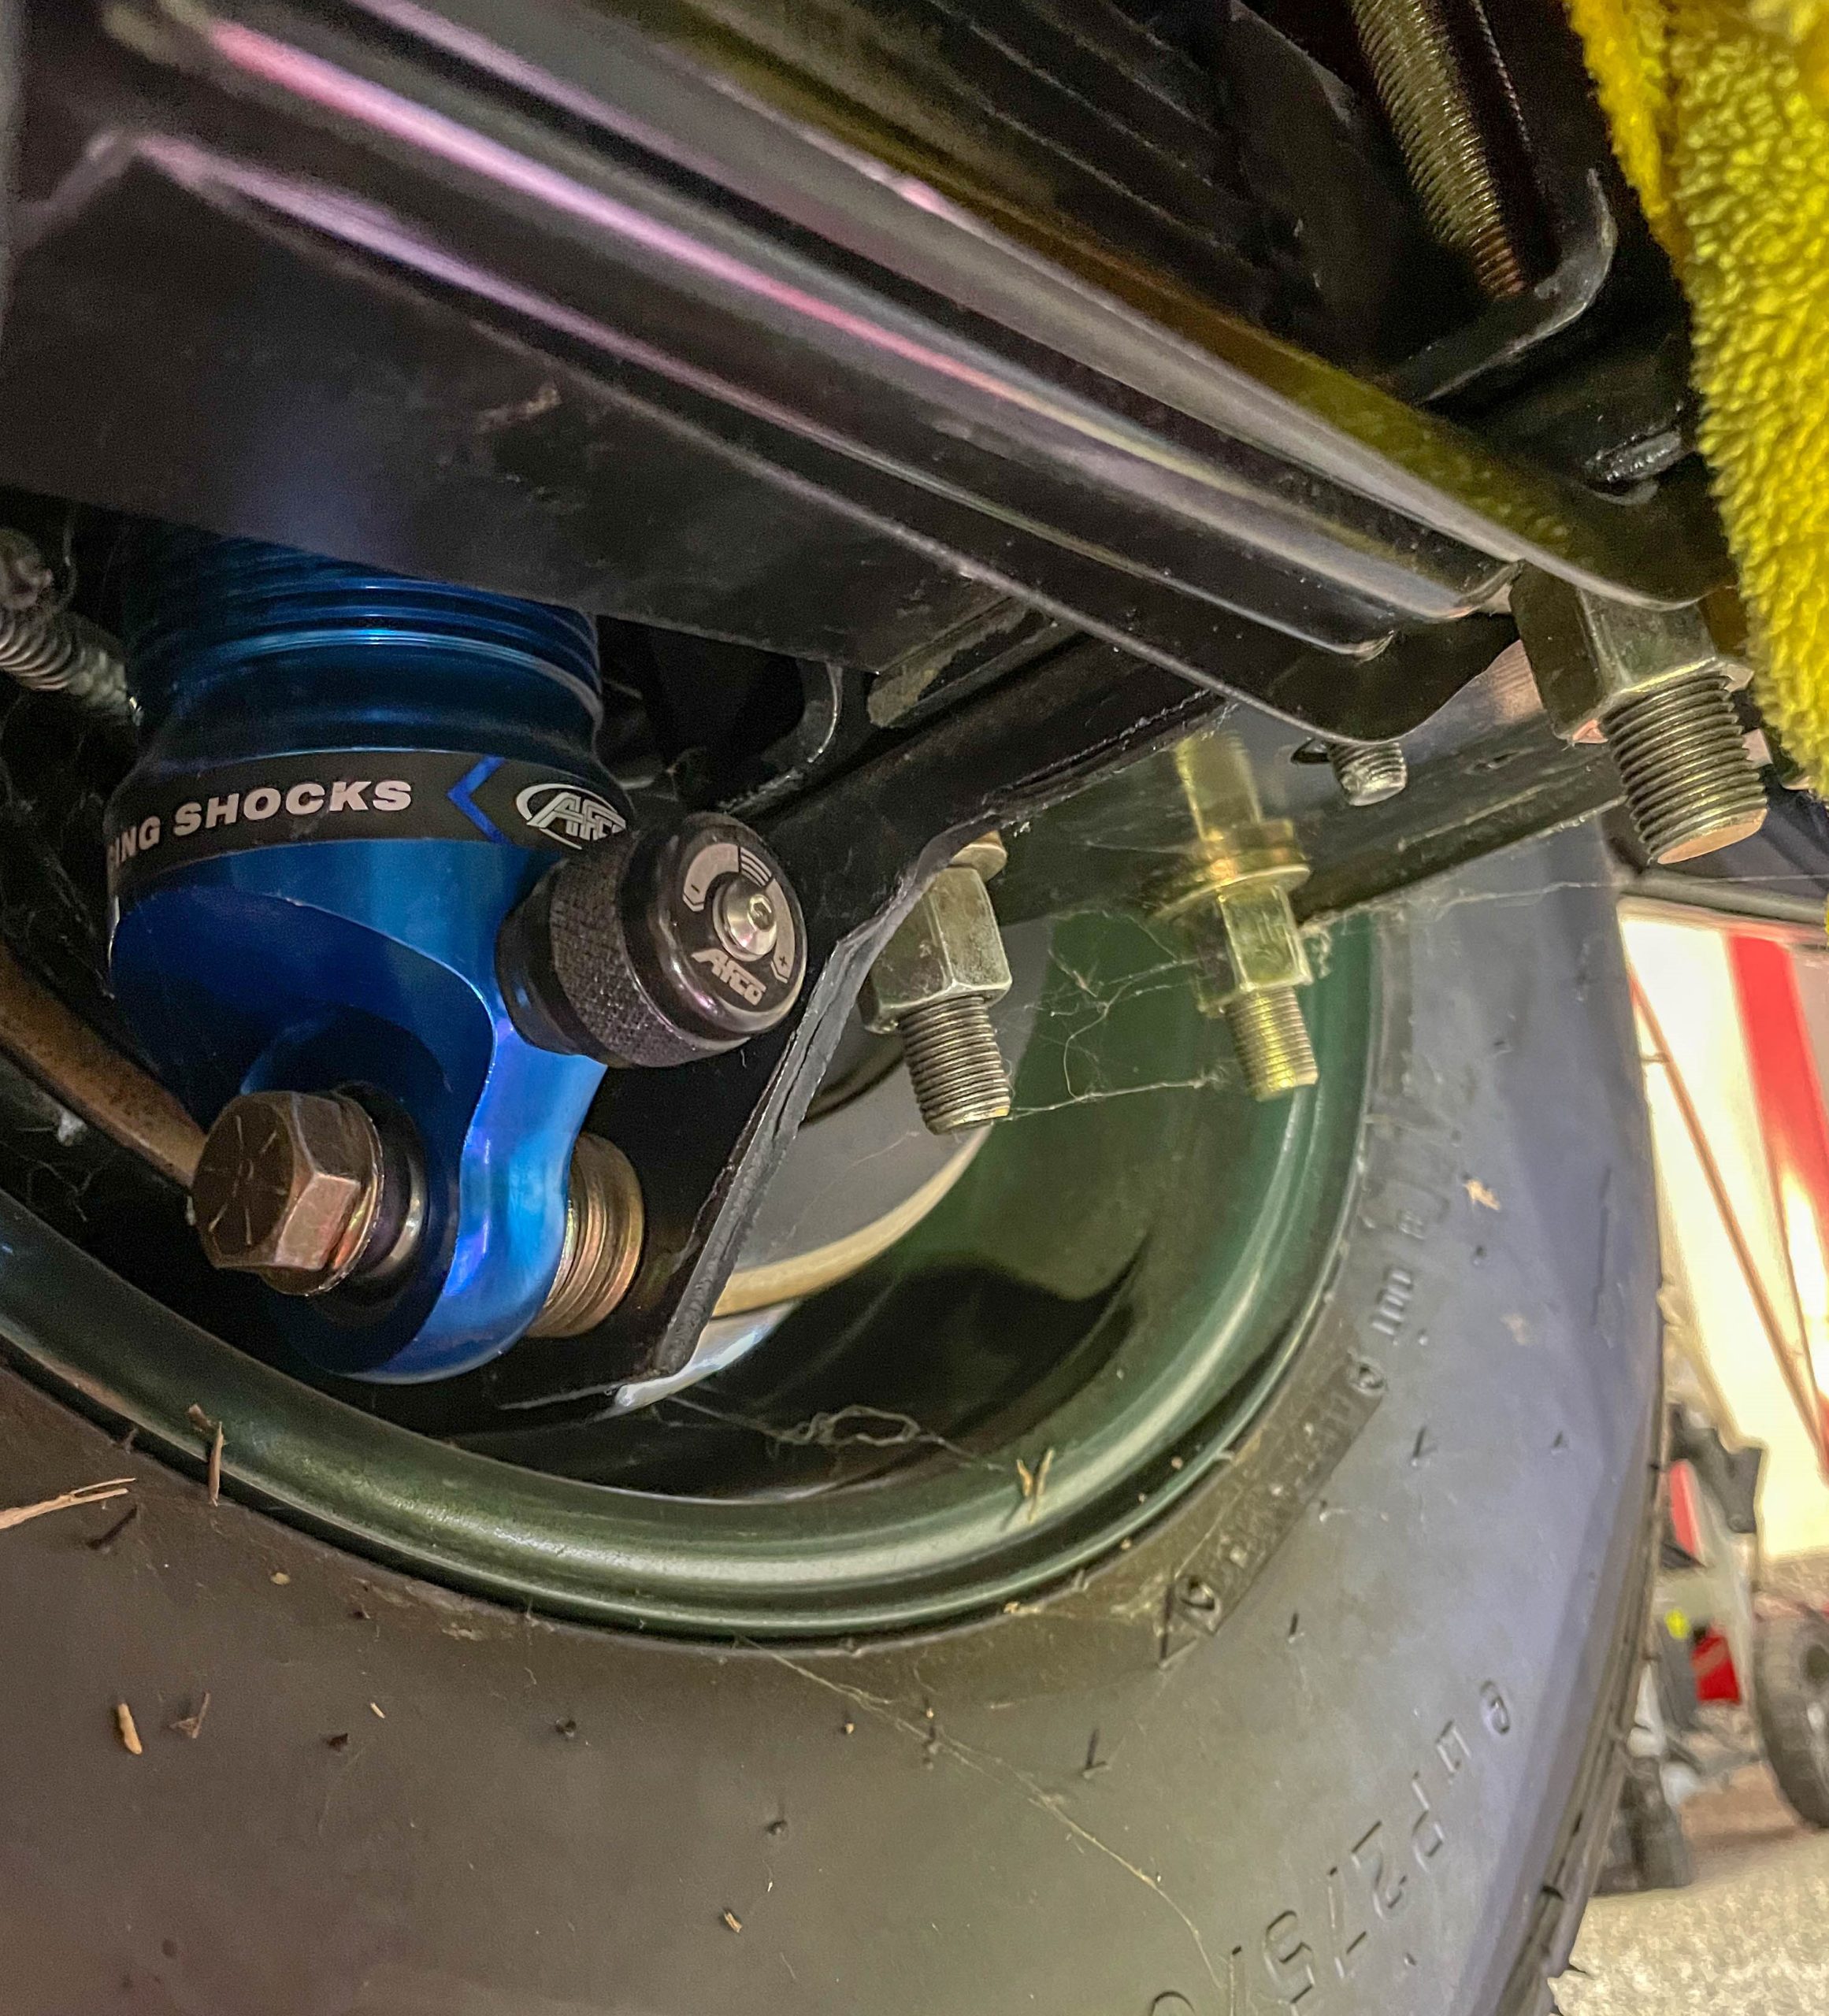
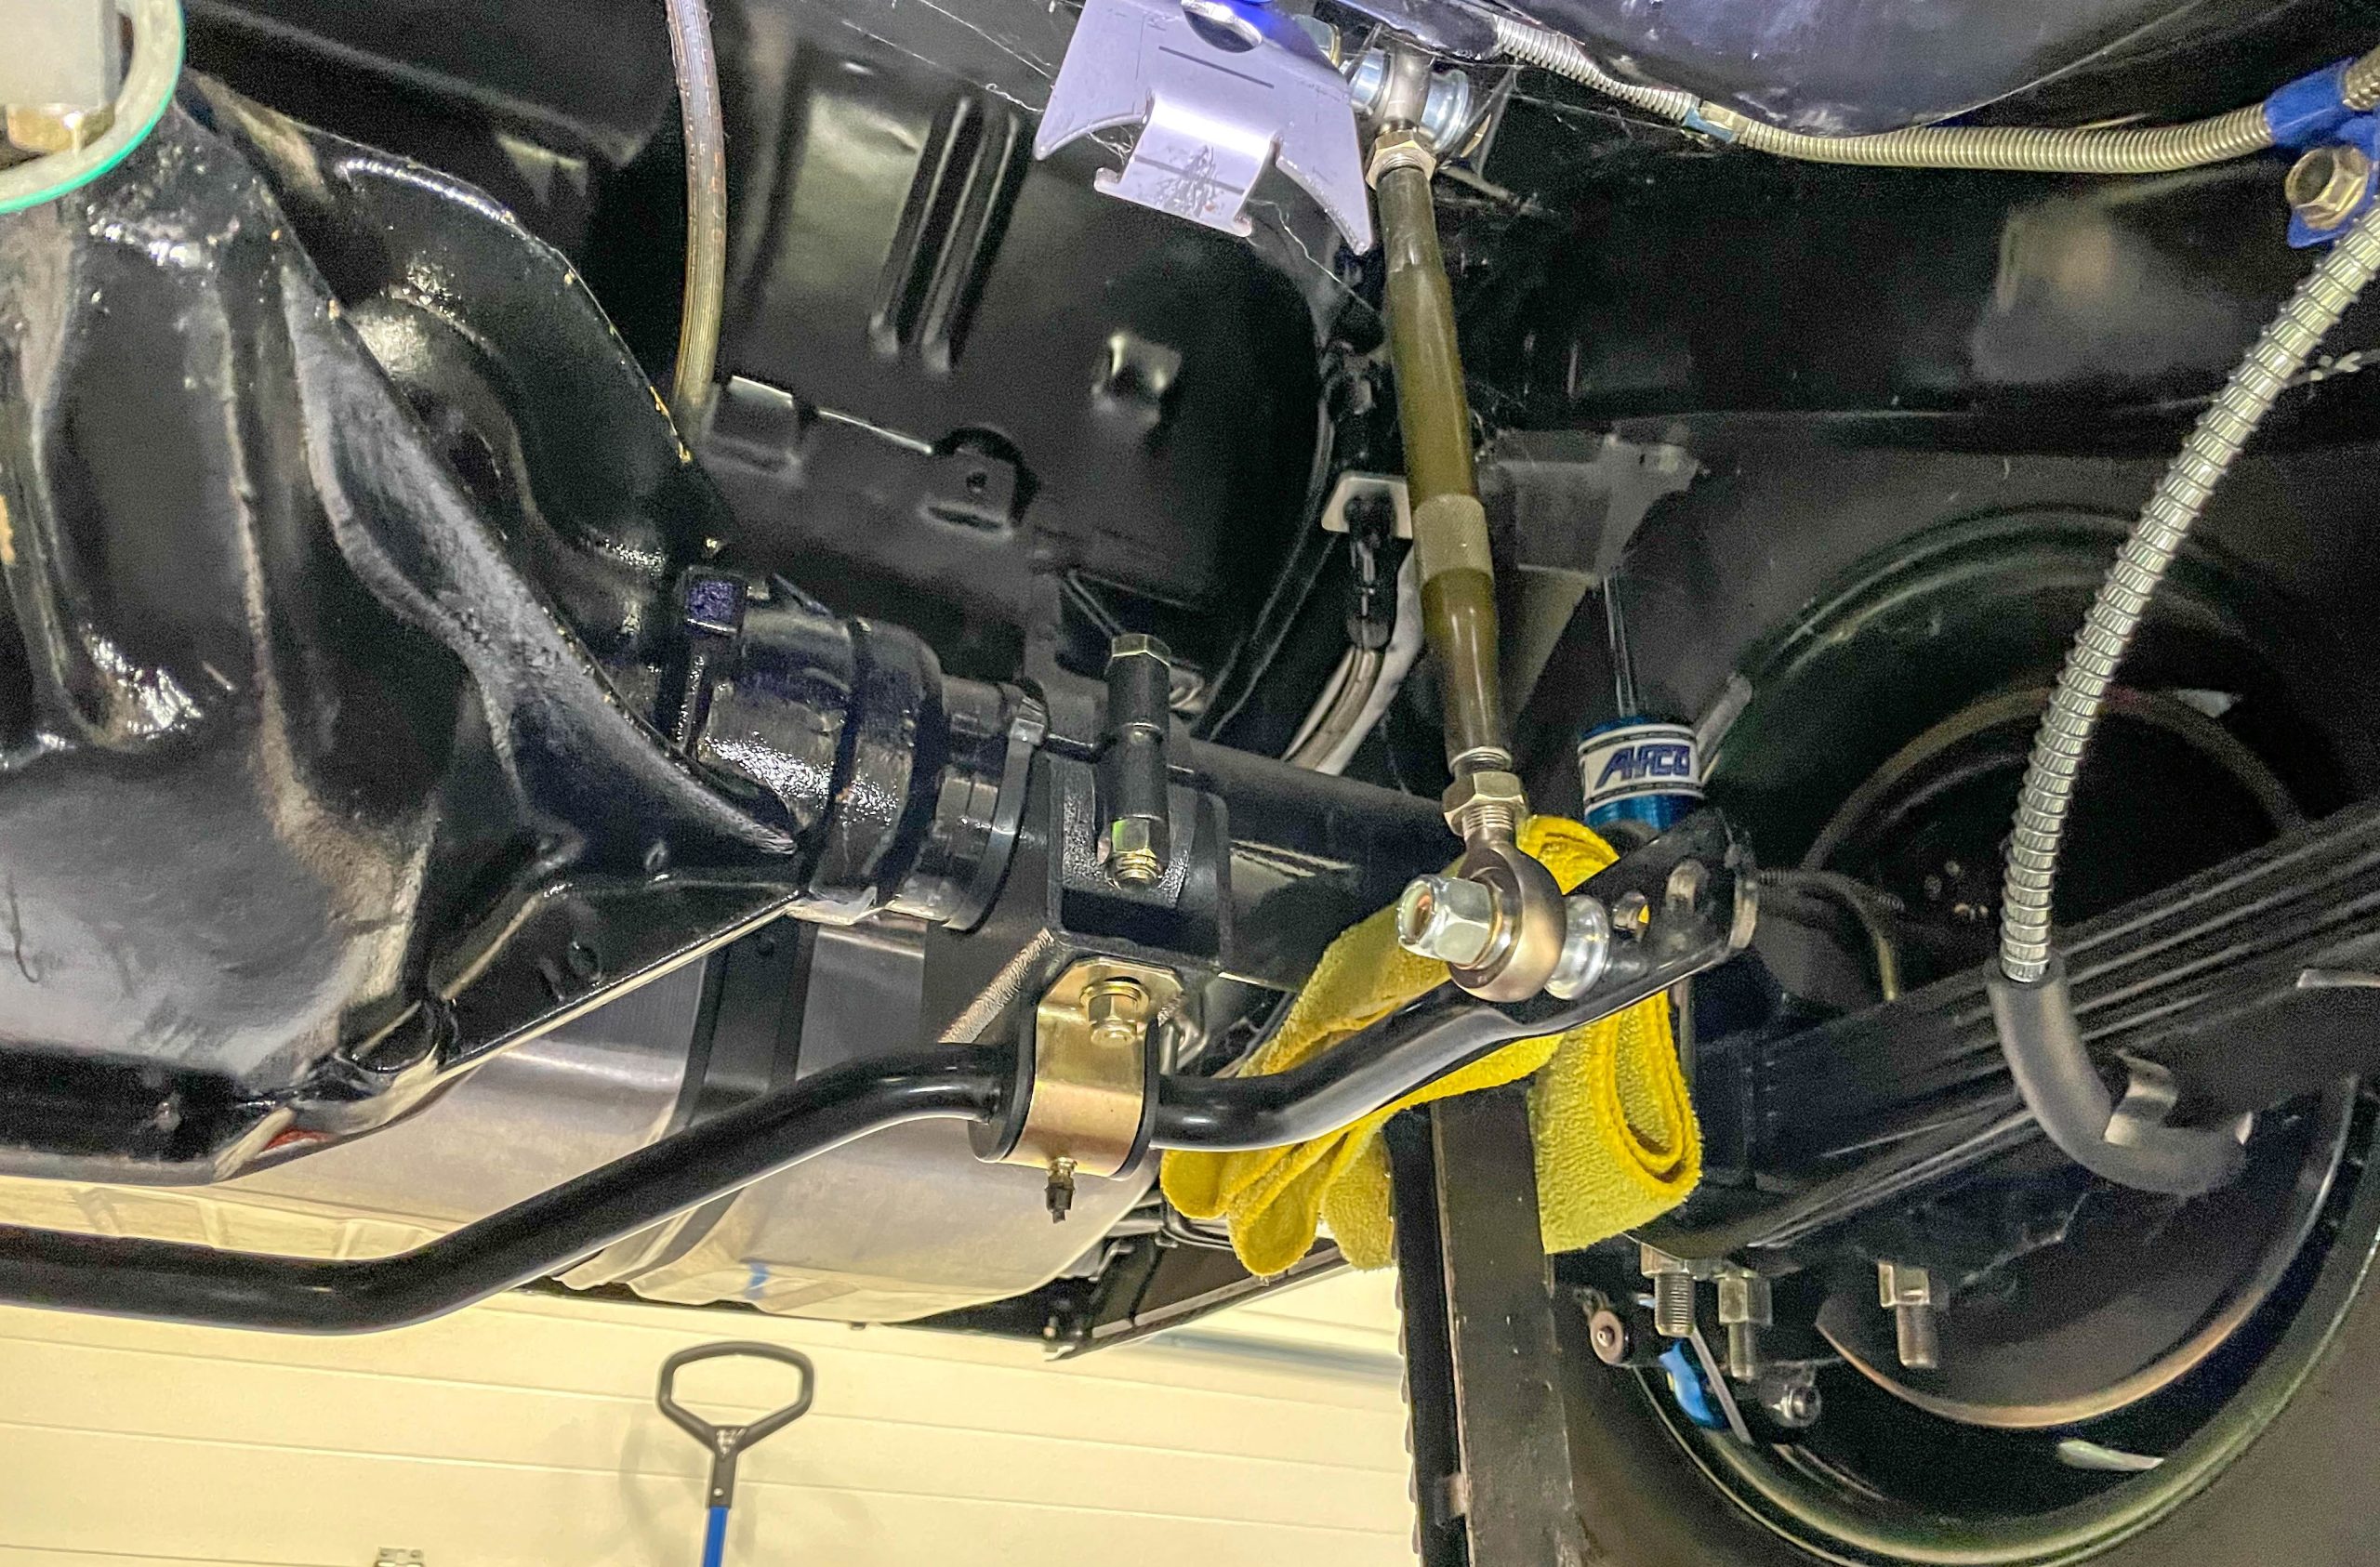
My 1970 Chevy Nova has what amounts to a forward biased rear spring (AFCO Racing’s modified version of a traditional Mopar Super Stock spring). It doesn’t have any other form of traction device. It has custom Santuff 200 pound rate springs on the nose. It has double adjustable AFCO Racing shocks. And it has a homebrew ARB on the rear (made up with parts of a Hotchkiss kit and a number of heavy duty pieces from SummitRacing.com, like links, rod ends, rear housing mounts, etc.)
There is a difference between a conventional rear sway bar and an ARB. A conventional sway bar often has two end links (on each side) attached to a lower trailing arm of some sort. An ARB will always have two links attached to the chassis. As a result, when forces (such as body roll as the car launches) act upon an ARB, it will always transfer those loads directly to the chassis, not back to the suspension.
When setting up the rear suspension on a car with an ARB, all of the various settings (such as four link, ladder bar, triangulated four link, bolt-on traction bar, etc.) must be done with the ARB disconnected. ARB setup and shock setup are the last things done.
Most race cars are set up on four wheel electronic vehicle scales. As the suspension adjustments are accomplished, you can actually see changes in corner weight. I don’t own (or have a need for) a set of four wheel scales. But a tape measure can sometimes show changes in ride height during chassis adjustment.
How to Do a Baseline Chassis Setup at Home
With that out of the way, here’s how I do my chassis setup.
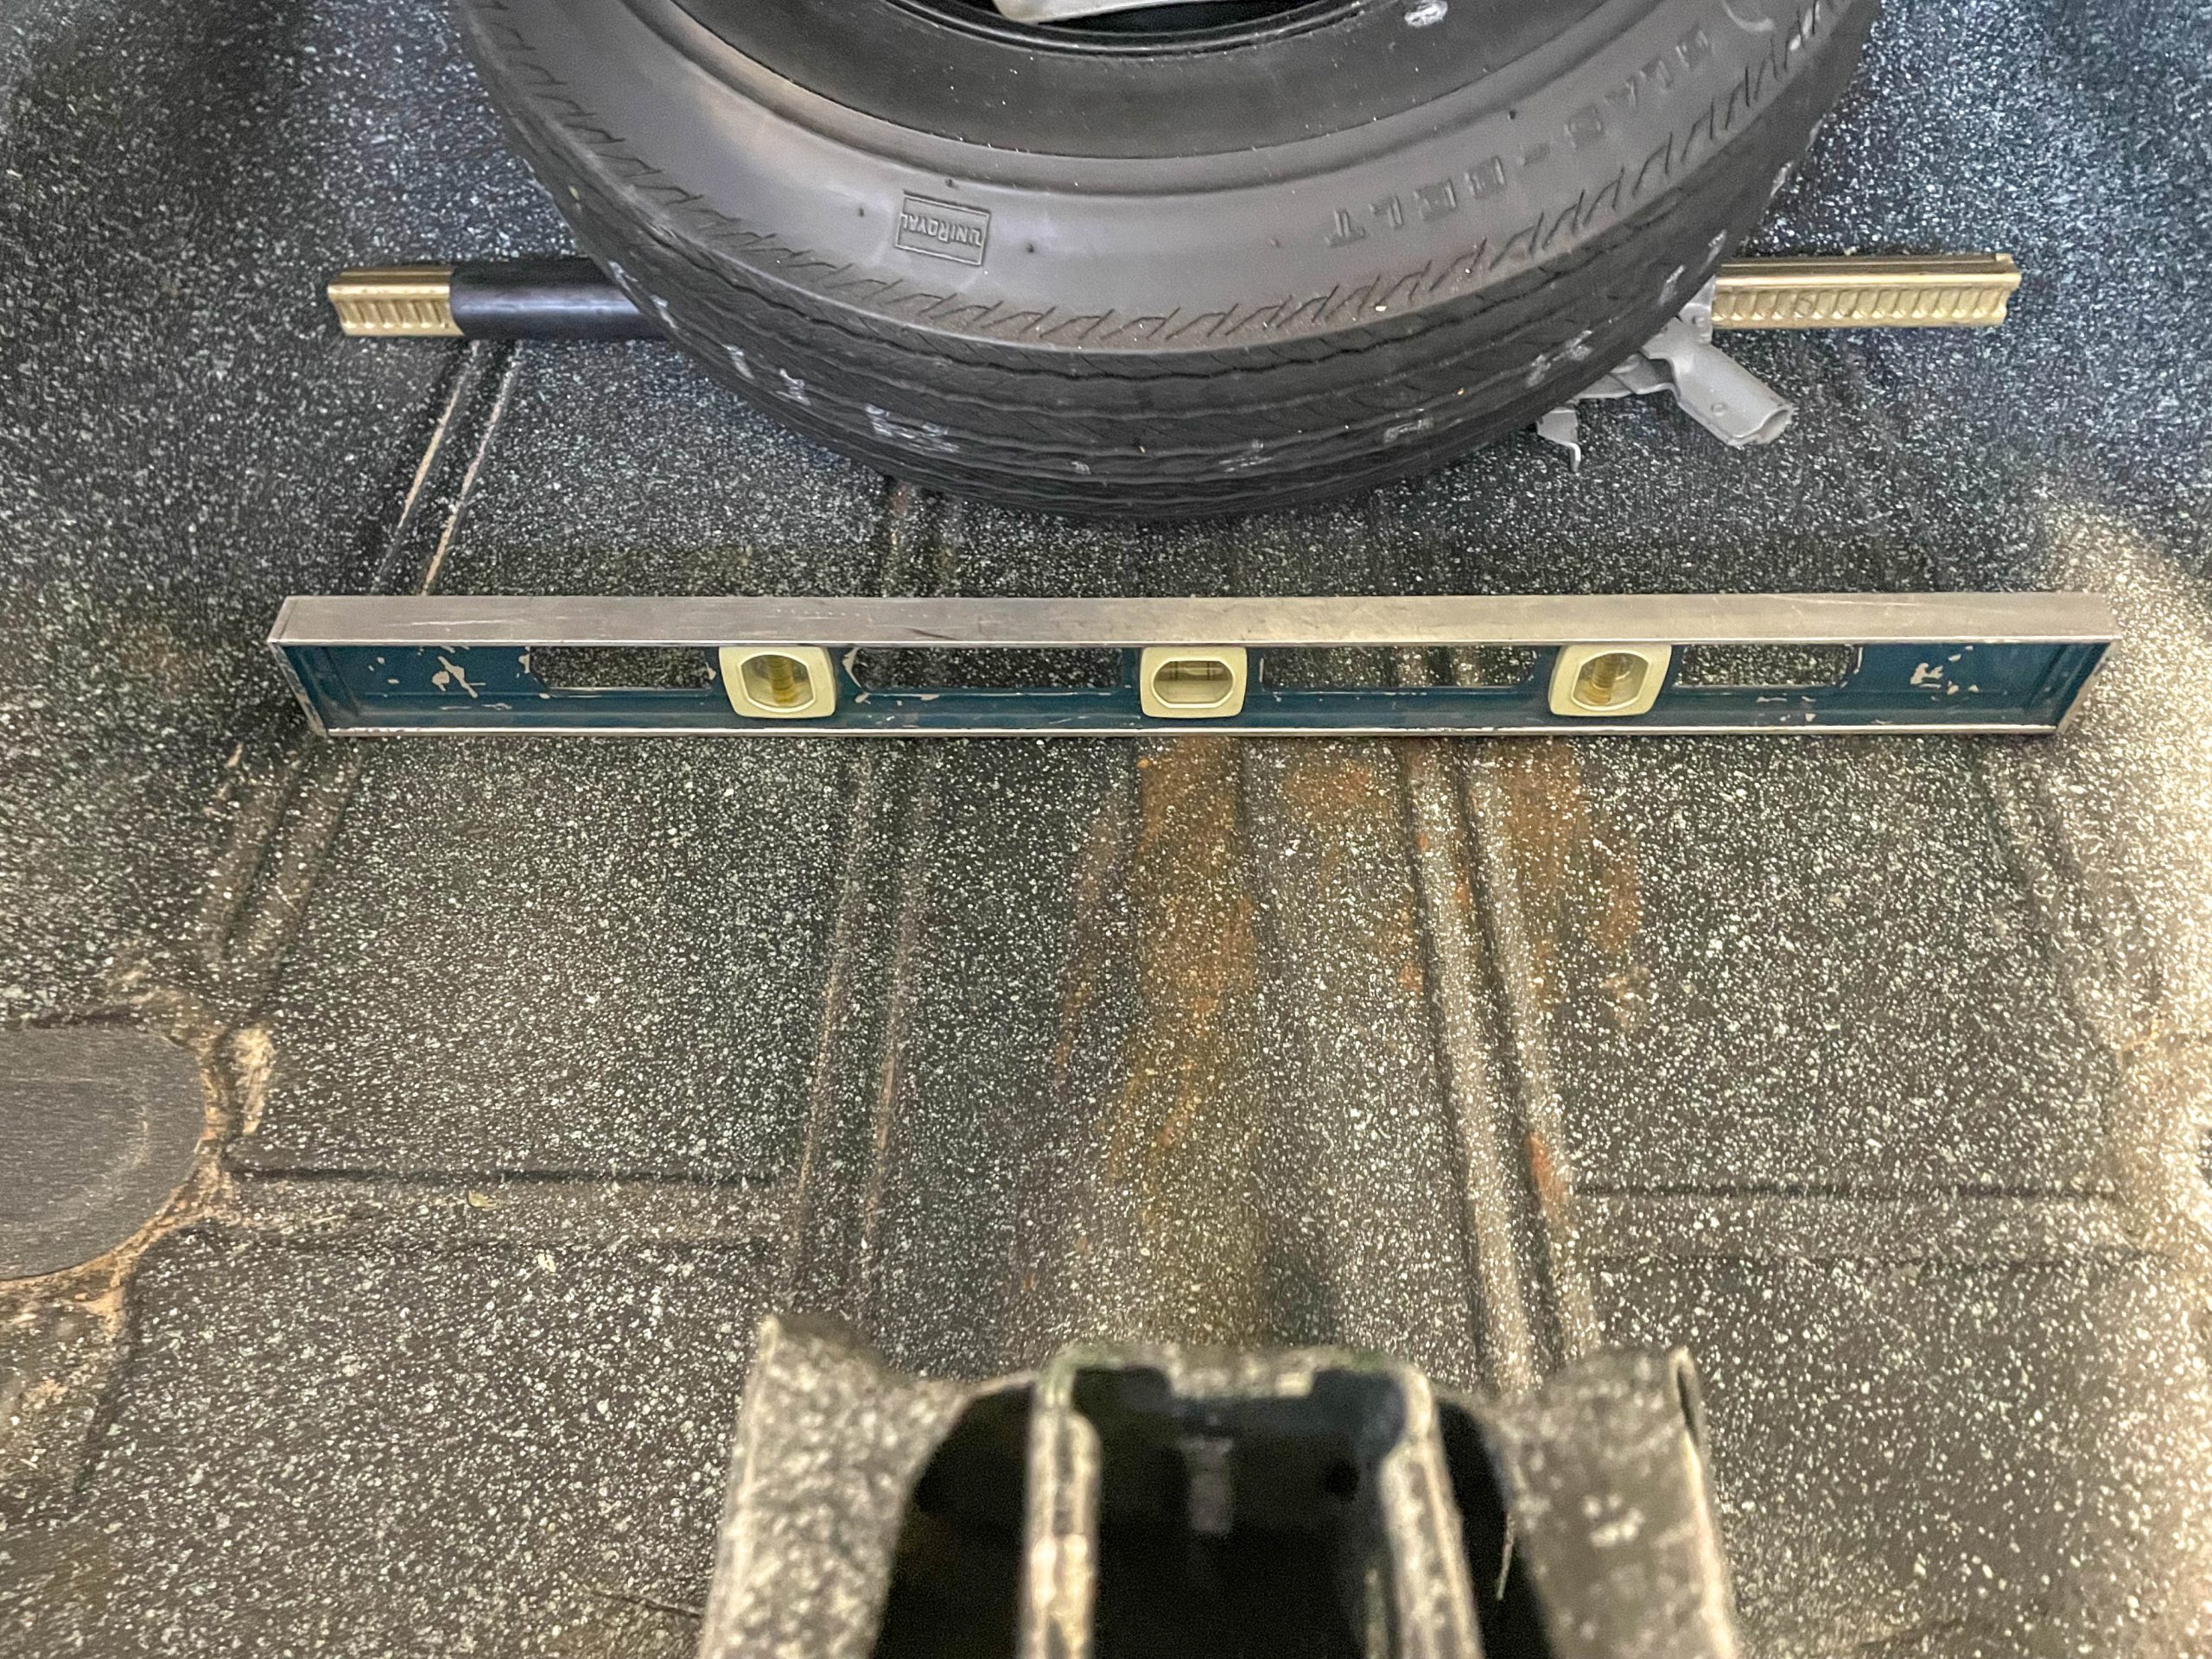
The first thing to do is to find a level location on your shop floor. Some shops like mine have floor drains, which means the floor slopes slightly in certain spots. In my case, the two outer bays have drains. The middle of the shop doesn’t, and here, the floor is level. Once you find a level location, set the tire pressure front and rear.
At this point, the car must be raised up so you can gain access to the suspension components. When lifting the car, be sure the suspension is loaded. I simply use a set of axle stands under the rear end housing and ramps under the front tires. Ideally, two sets of ramps would make it easier (one set under the front tires; one set under the rear tires), but I don’t have that luxury. Once in the air, the car should be bounced a few times front and rear in order to settle the suspension. It’s a good idea to double check to ensure the car is level. Level side to side, front and rear (not front to rear) is what you’re looking for.
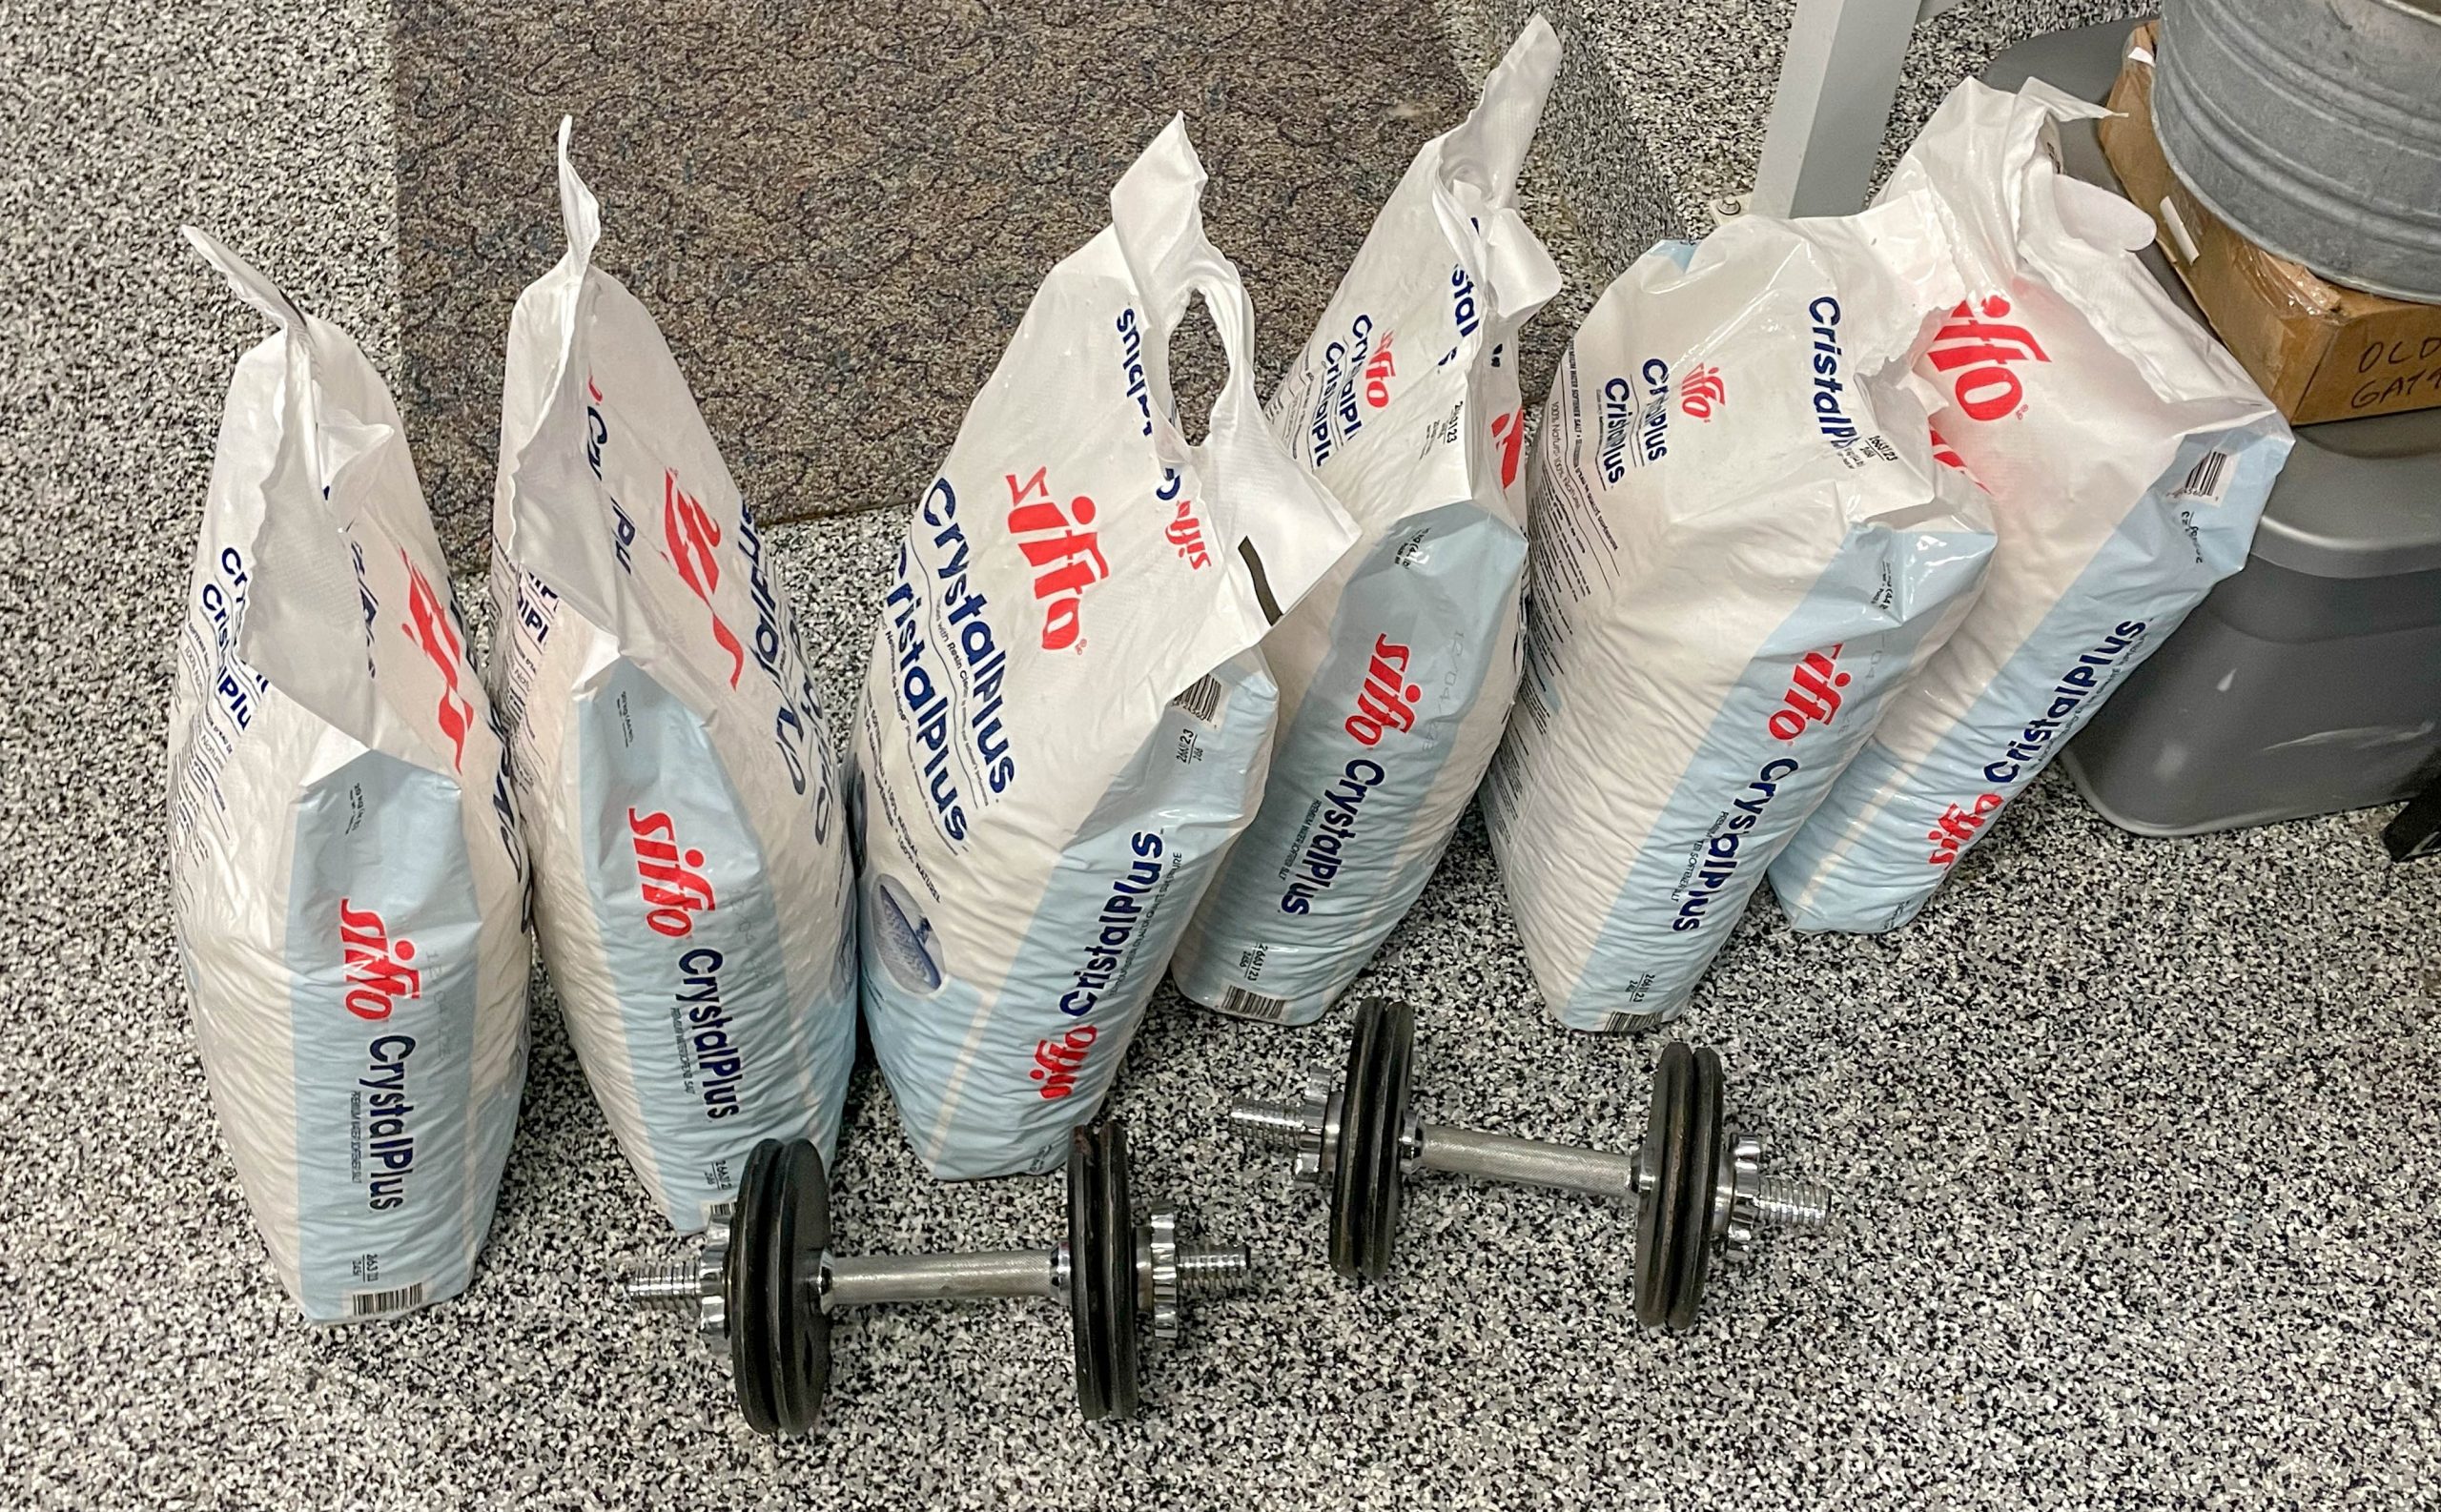
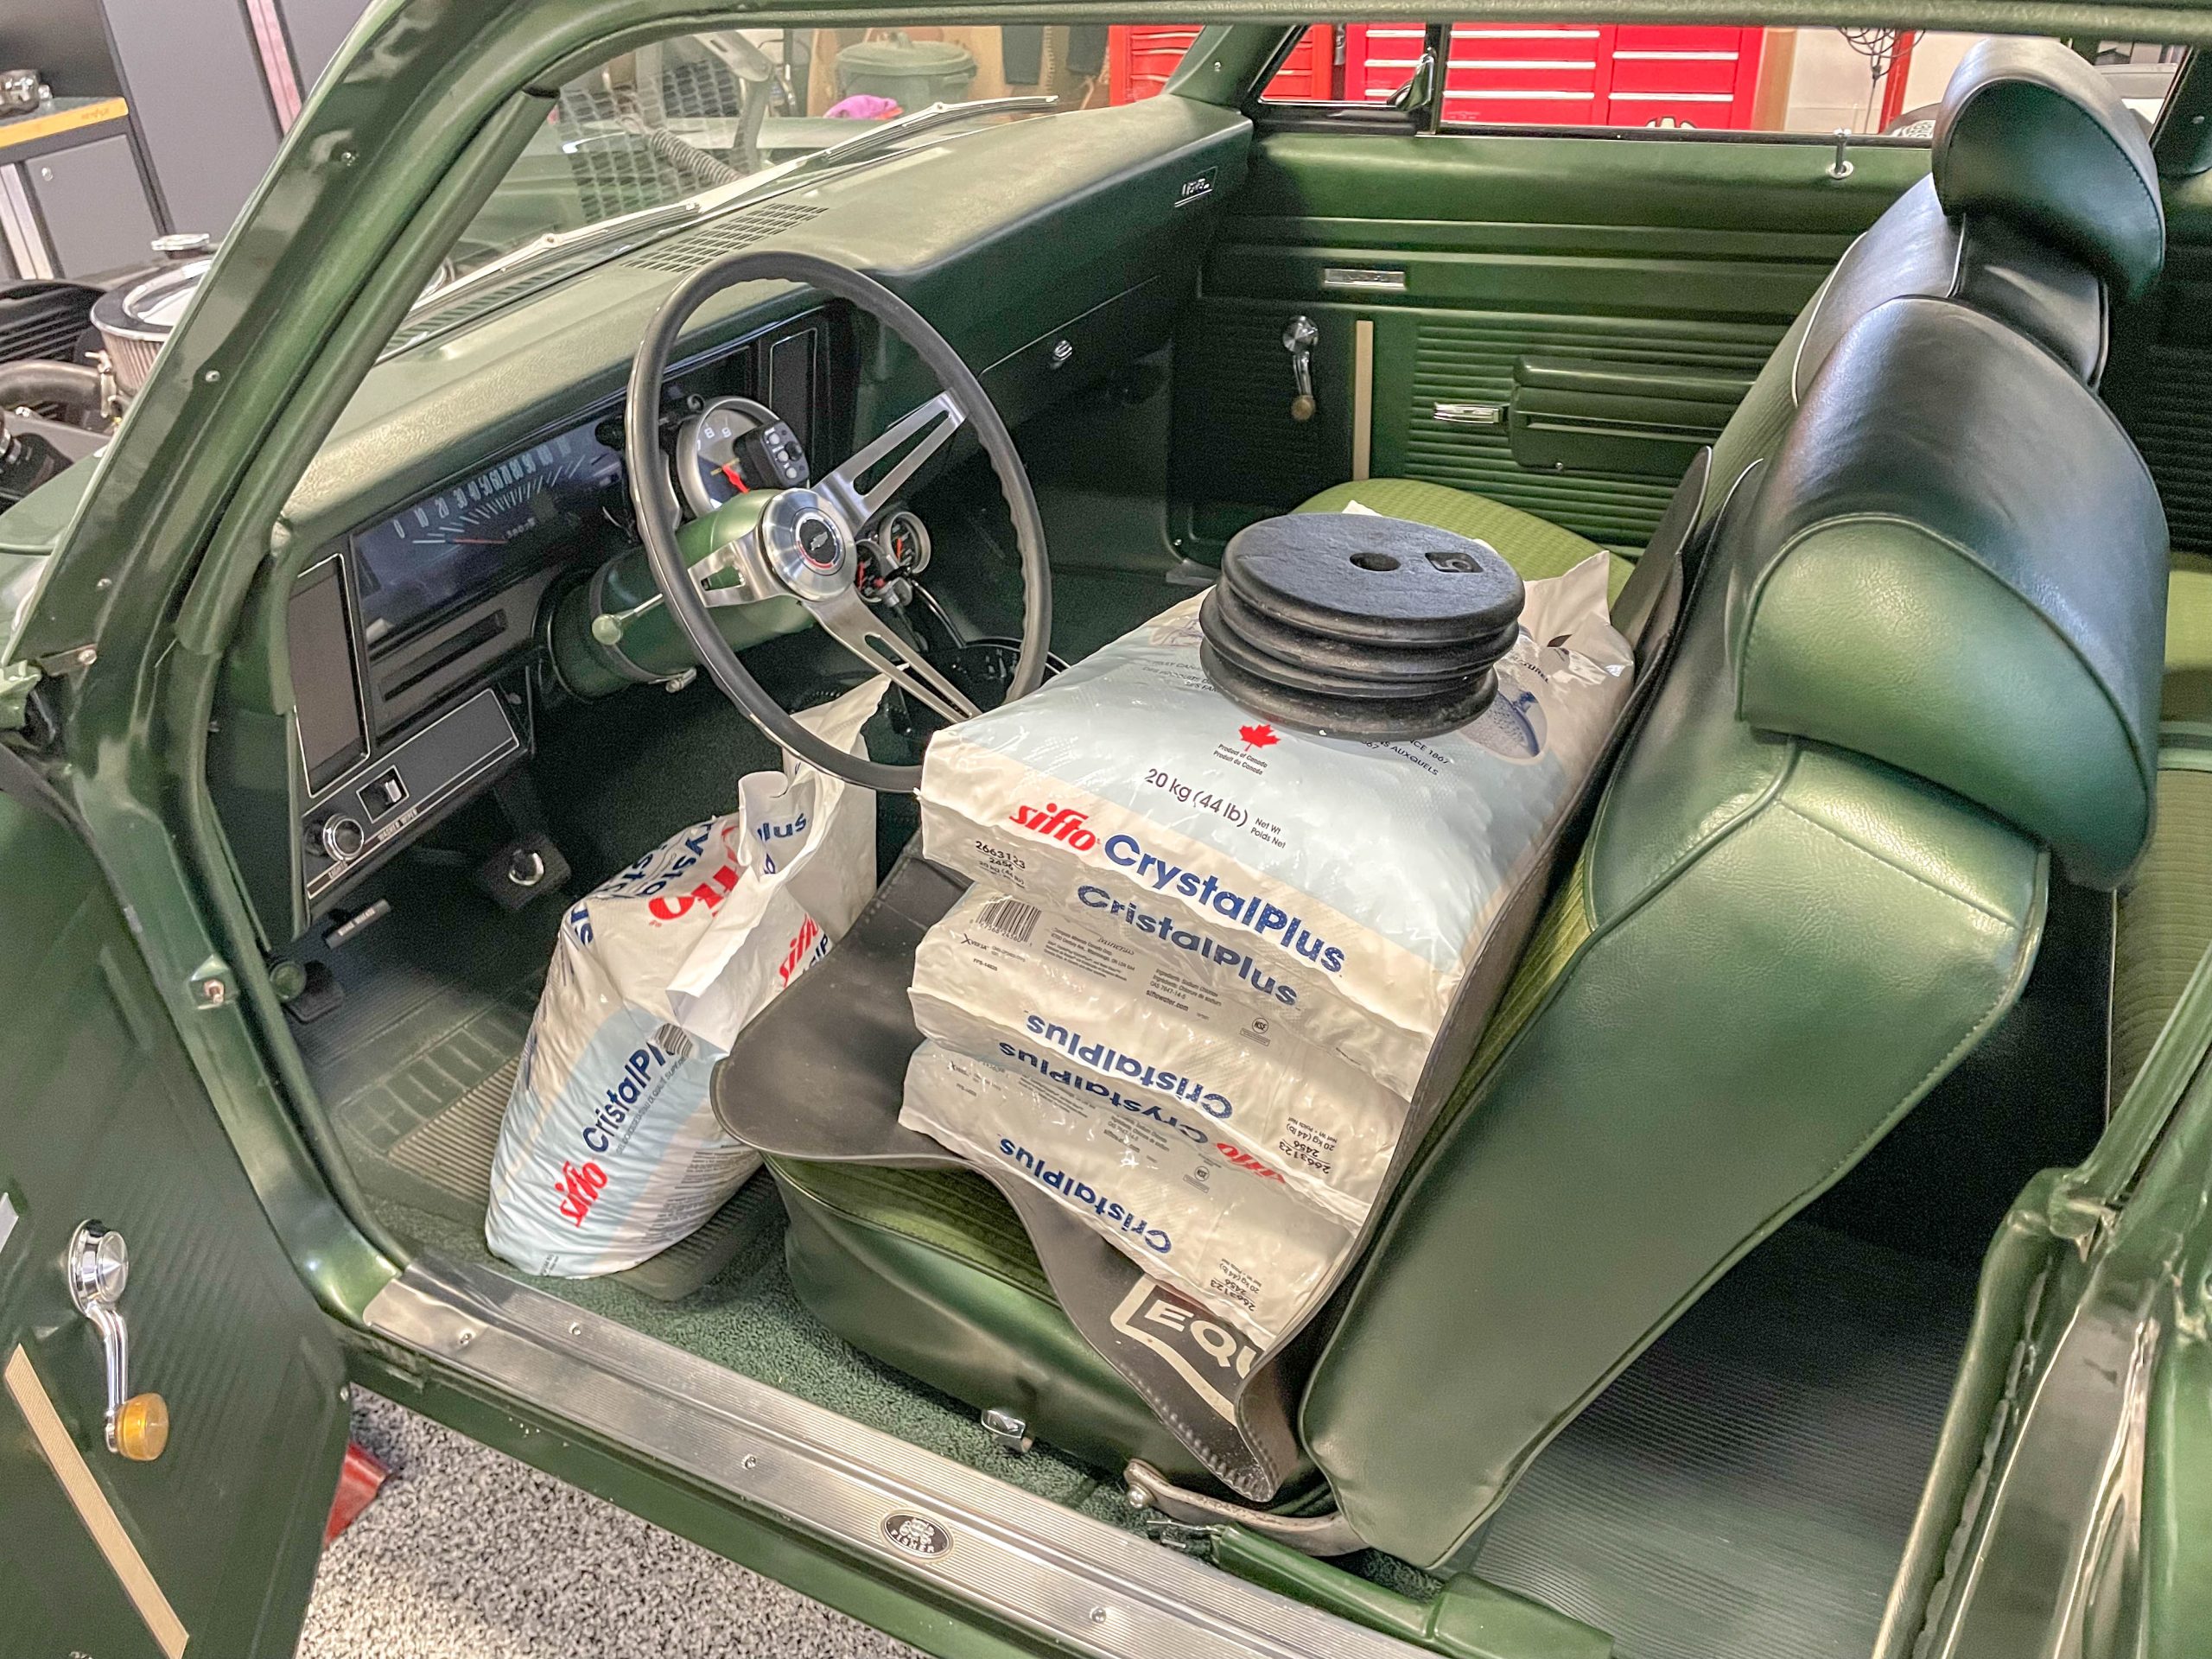
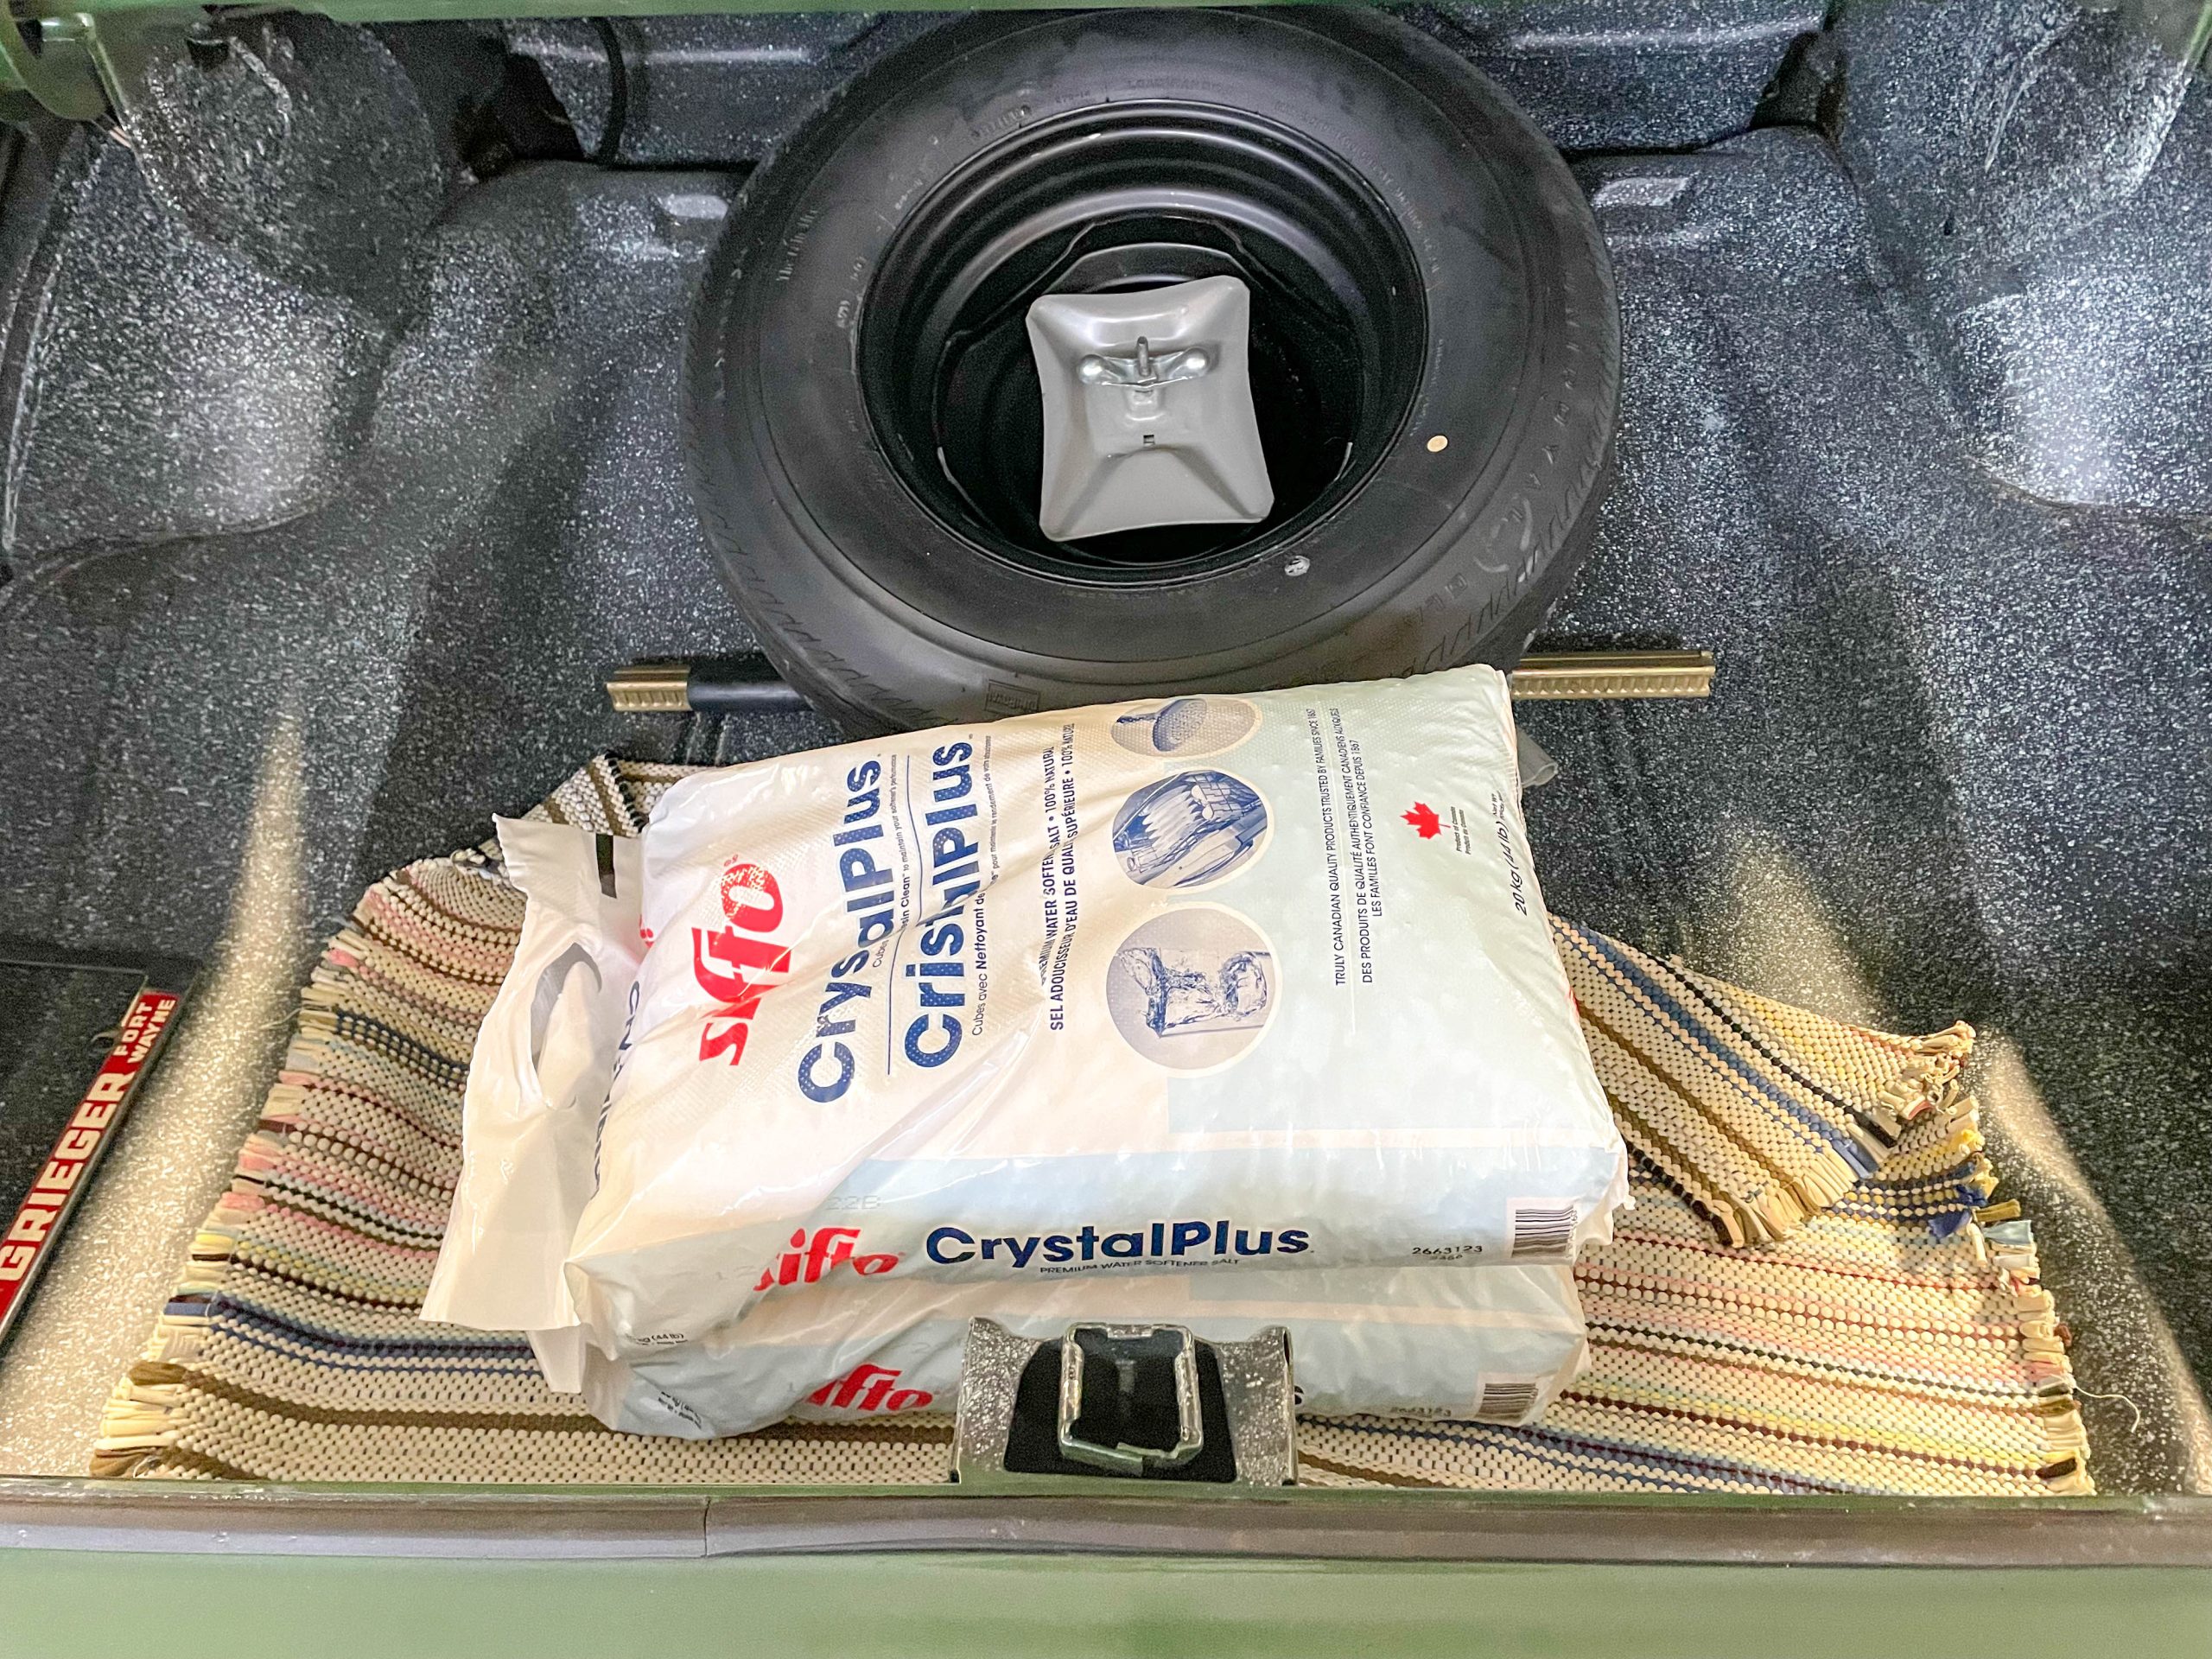
Getting the running weight distribution is next. Ballast is used to replicate the weight of fuel, weight of unattached parts (in my case the exhaust system along with the hood), gasoline and other fluids, and of course, the driver. There are a lot of things you can use for ballast. I use water softener salt bags and weight lifting weights because I have them readily available. Sand bags are another option.
Gasoline weighs approximately 6.2 pounds per U.S. gallon, while water weighs approximately 8.4 pounds per U.S. gallon, and oil tips the scales at approximately 7.0 pounds per U.S. gallon. “Approximately” is used here, because the weights can vary due to respective fuel mixes, temperature, and so on.
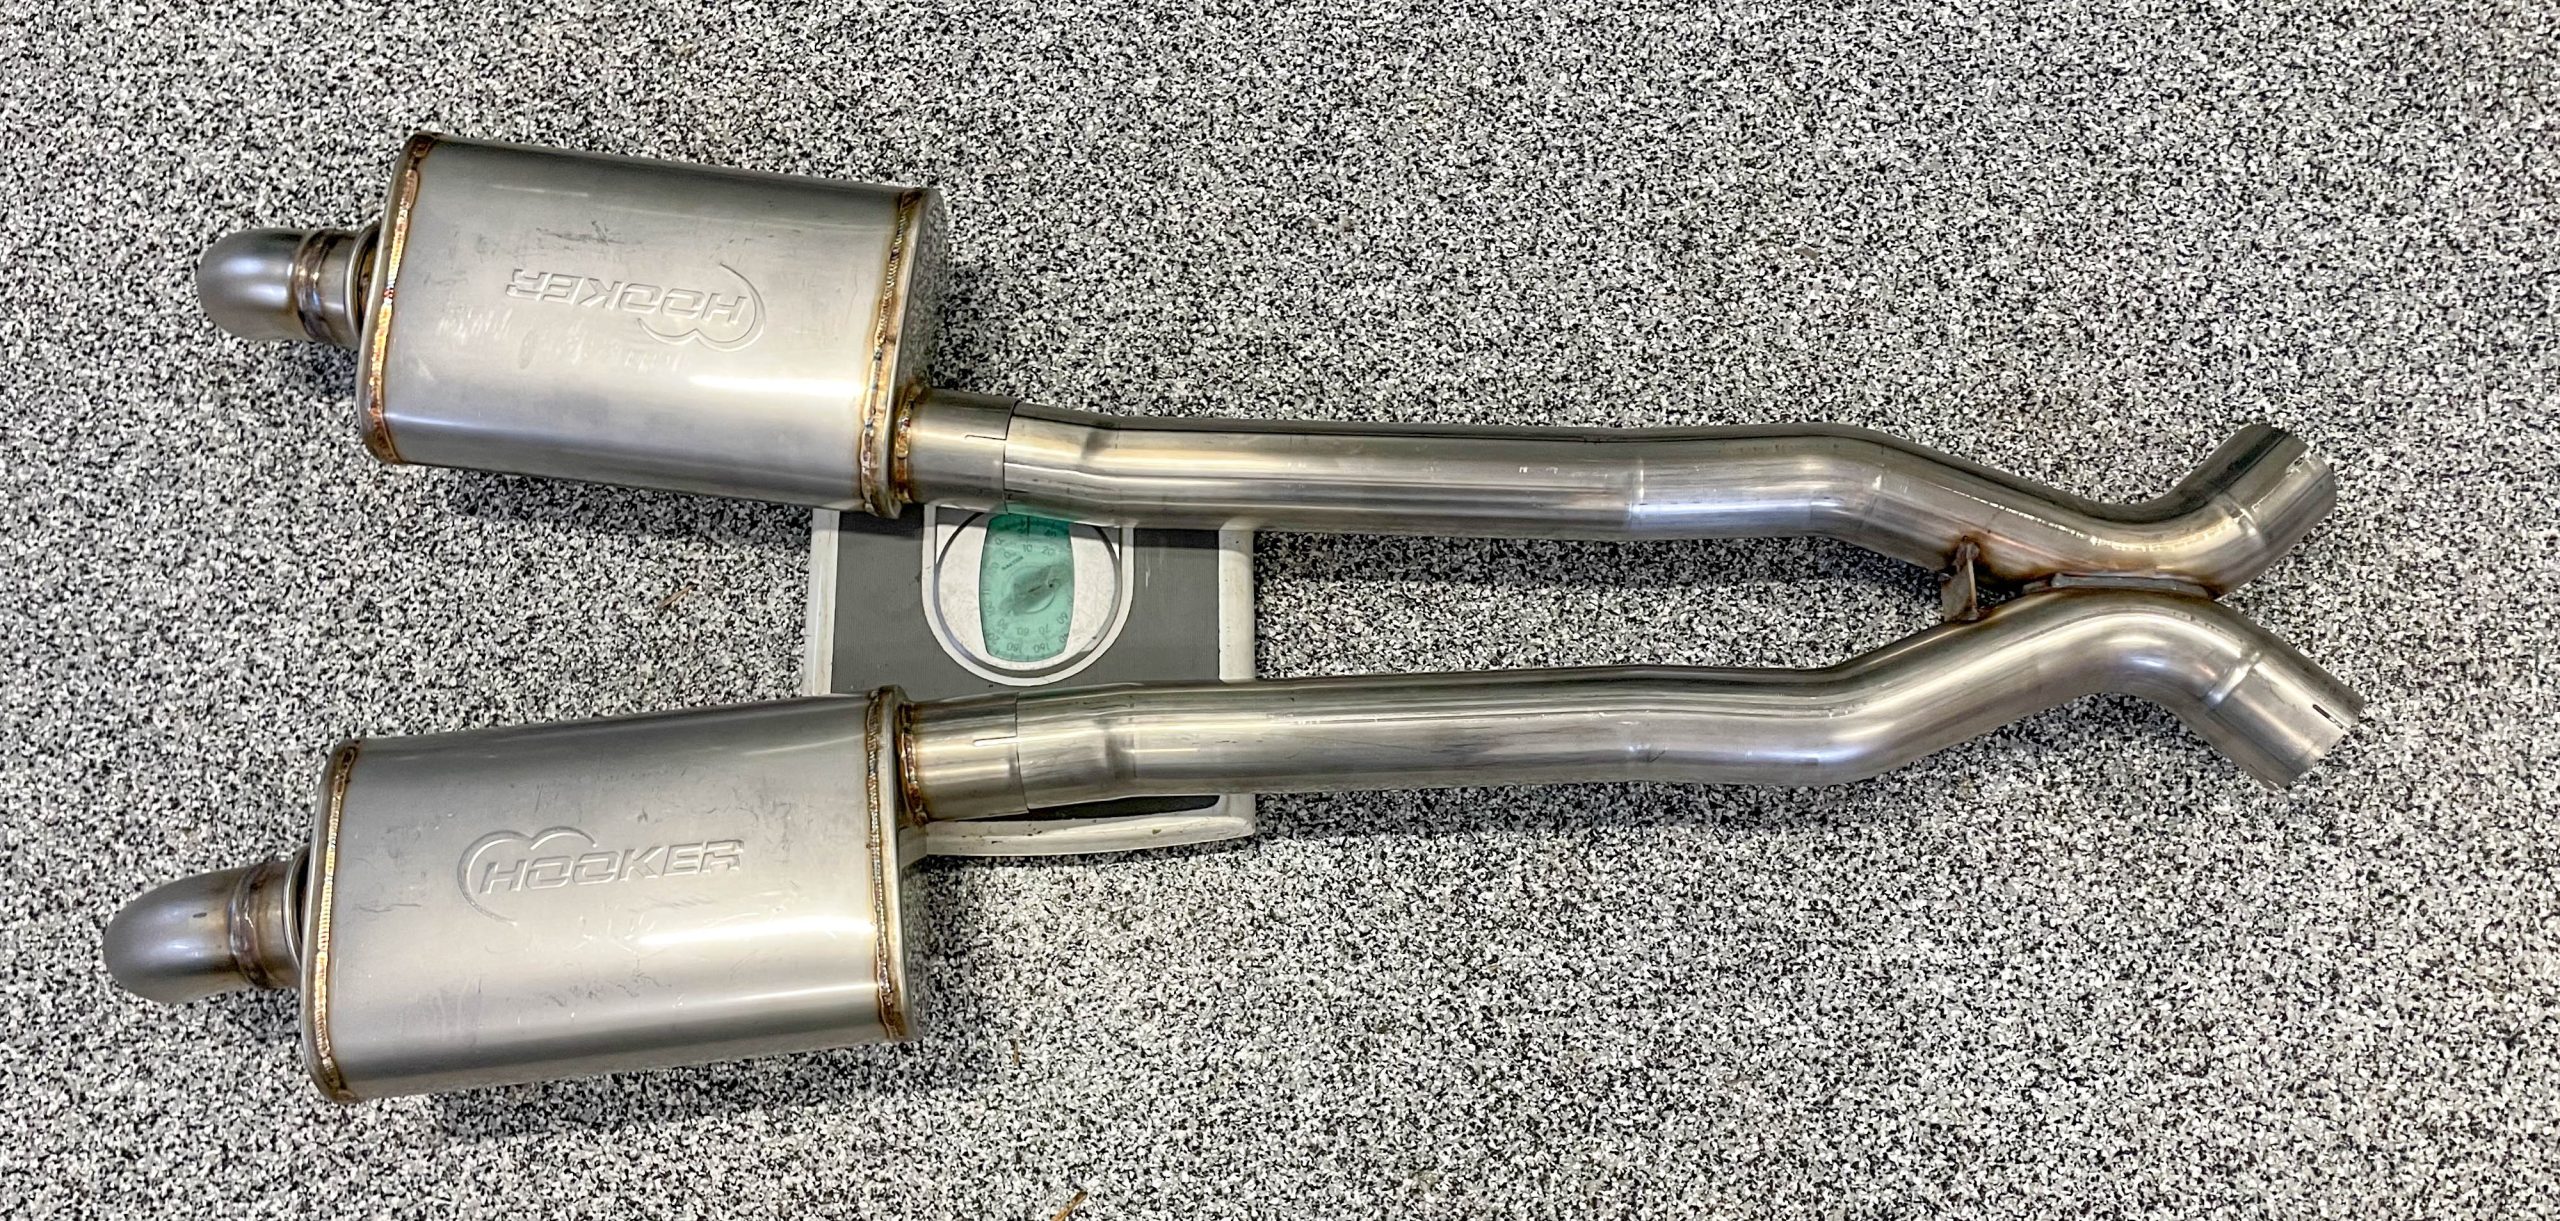
In my case, I placed two bags of softener salt in the center of the trunk to simulate 14 U.S. gallons of gas, 15 pounds of weight across the back seat floor to simulate the exhaust system pieces not attached, and one bag of softener salt on the engine to make up for the missing stock hood. I also placed four bags of softener salt and 20 pounds of extra weight in the driver’s compartment to simulate my body weight. In the end, the idea is to get the car ballasted to simulate true running weight as close as possible.
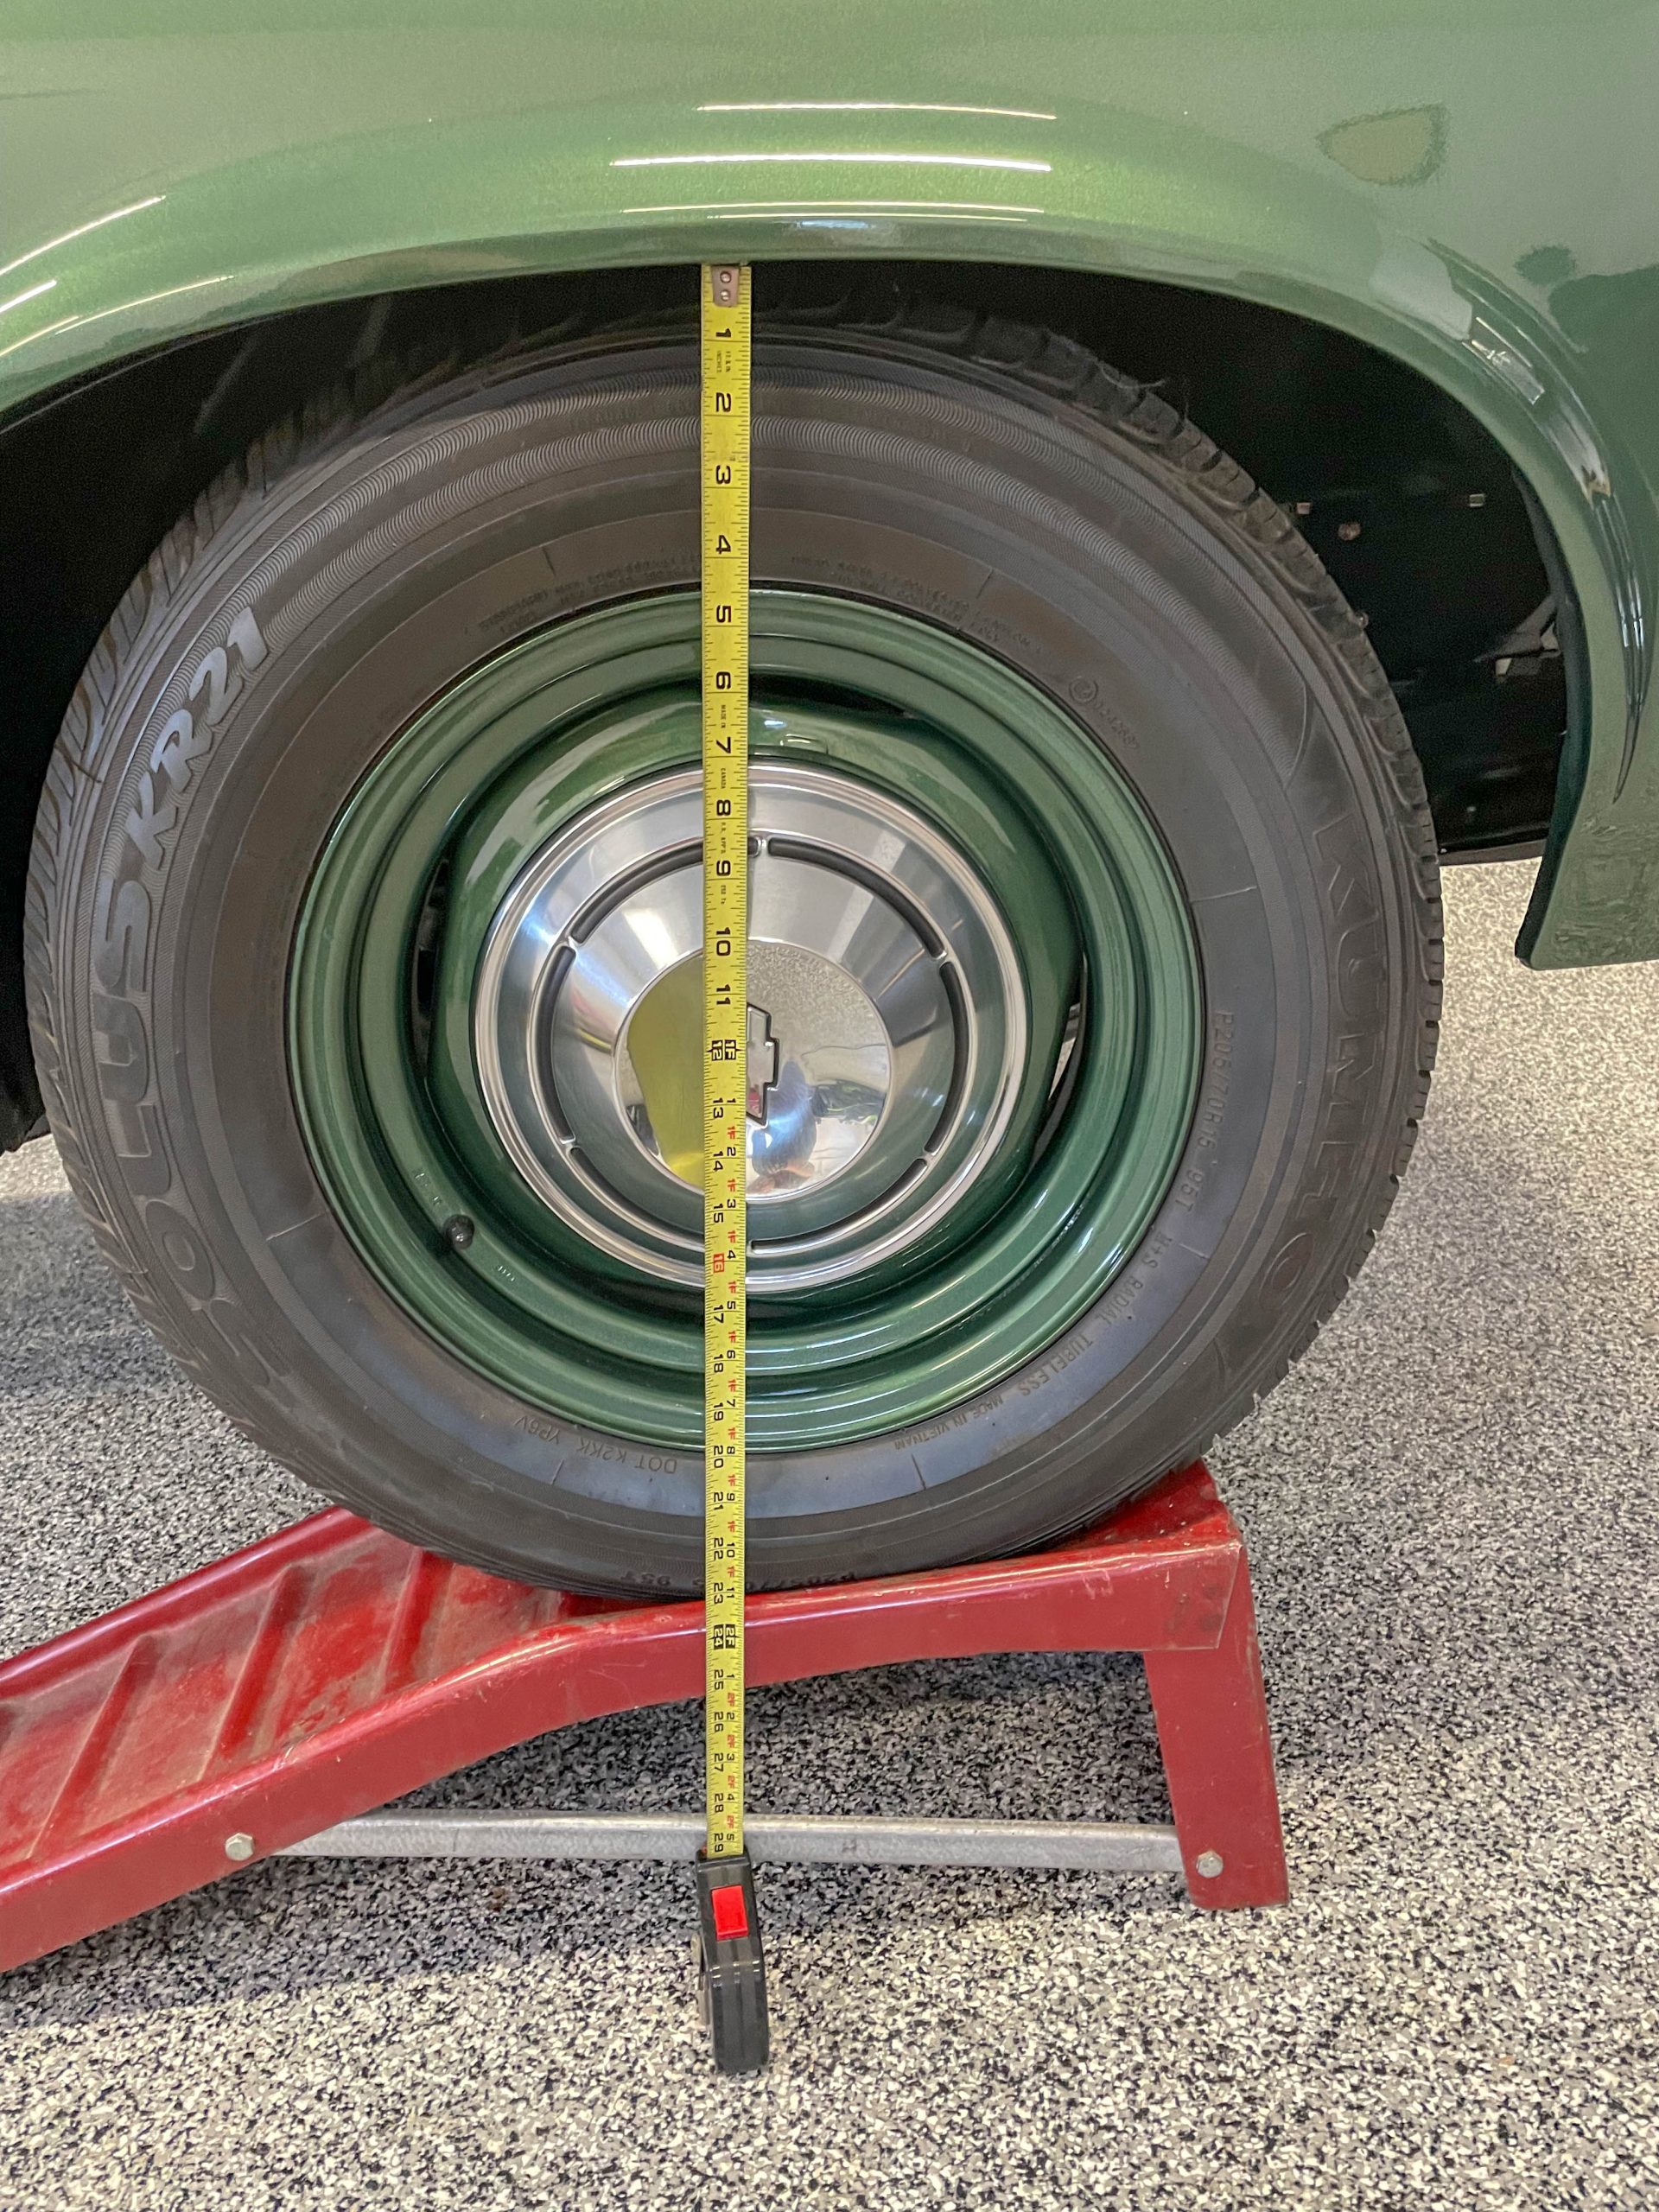
Once in the air, I double checked to ensure the ARB was disconnected. I also double checked to ensure the sway bar bushings were lubricated (mine have a zerk fitting on each bushing). Then I measured from each wheel well lip to the shop floor to establish a baseline “ride height.”
If you have any sort of traction device, adjustable four link, adjustable ladder bar or adjustable trailing arms, this is the time to adjust them. Most manufacturers will give you a baseline adjustment setting for those components. In my case, there is no adjustment available in the Super Stock style springs.
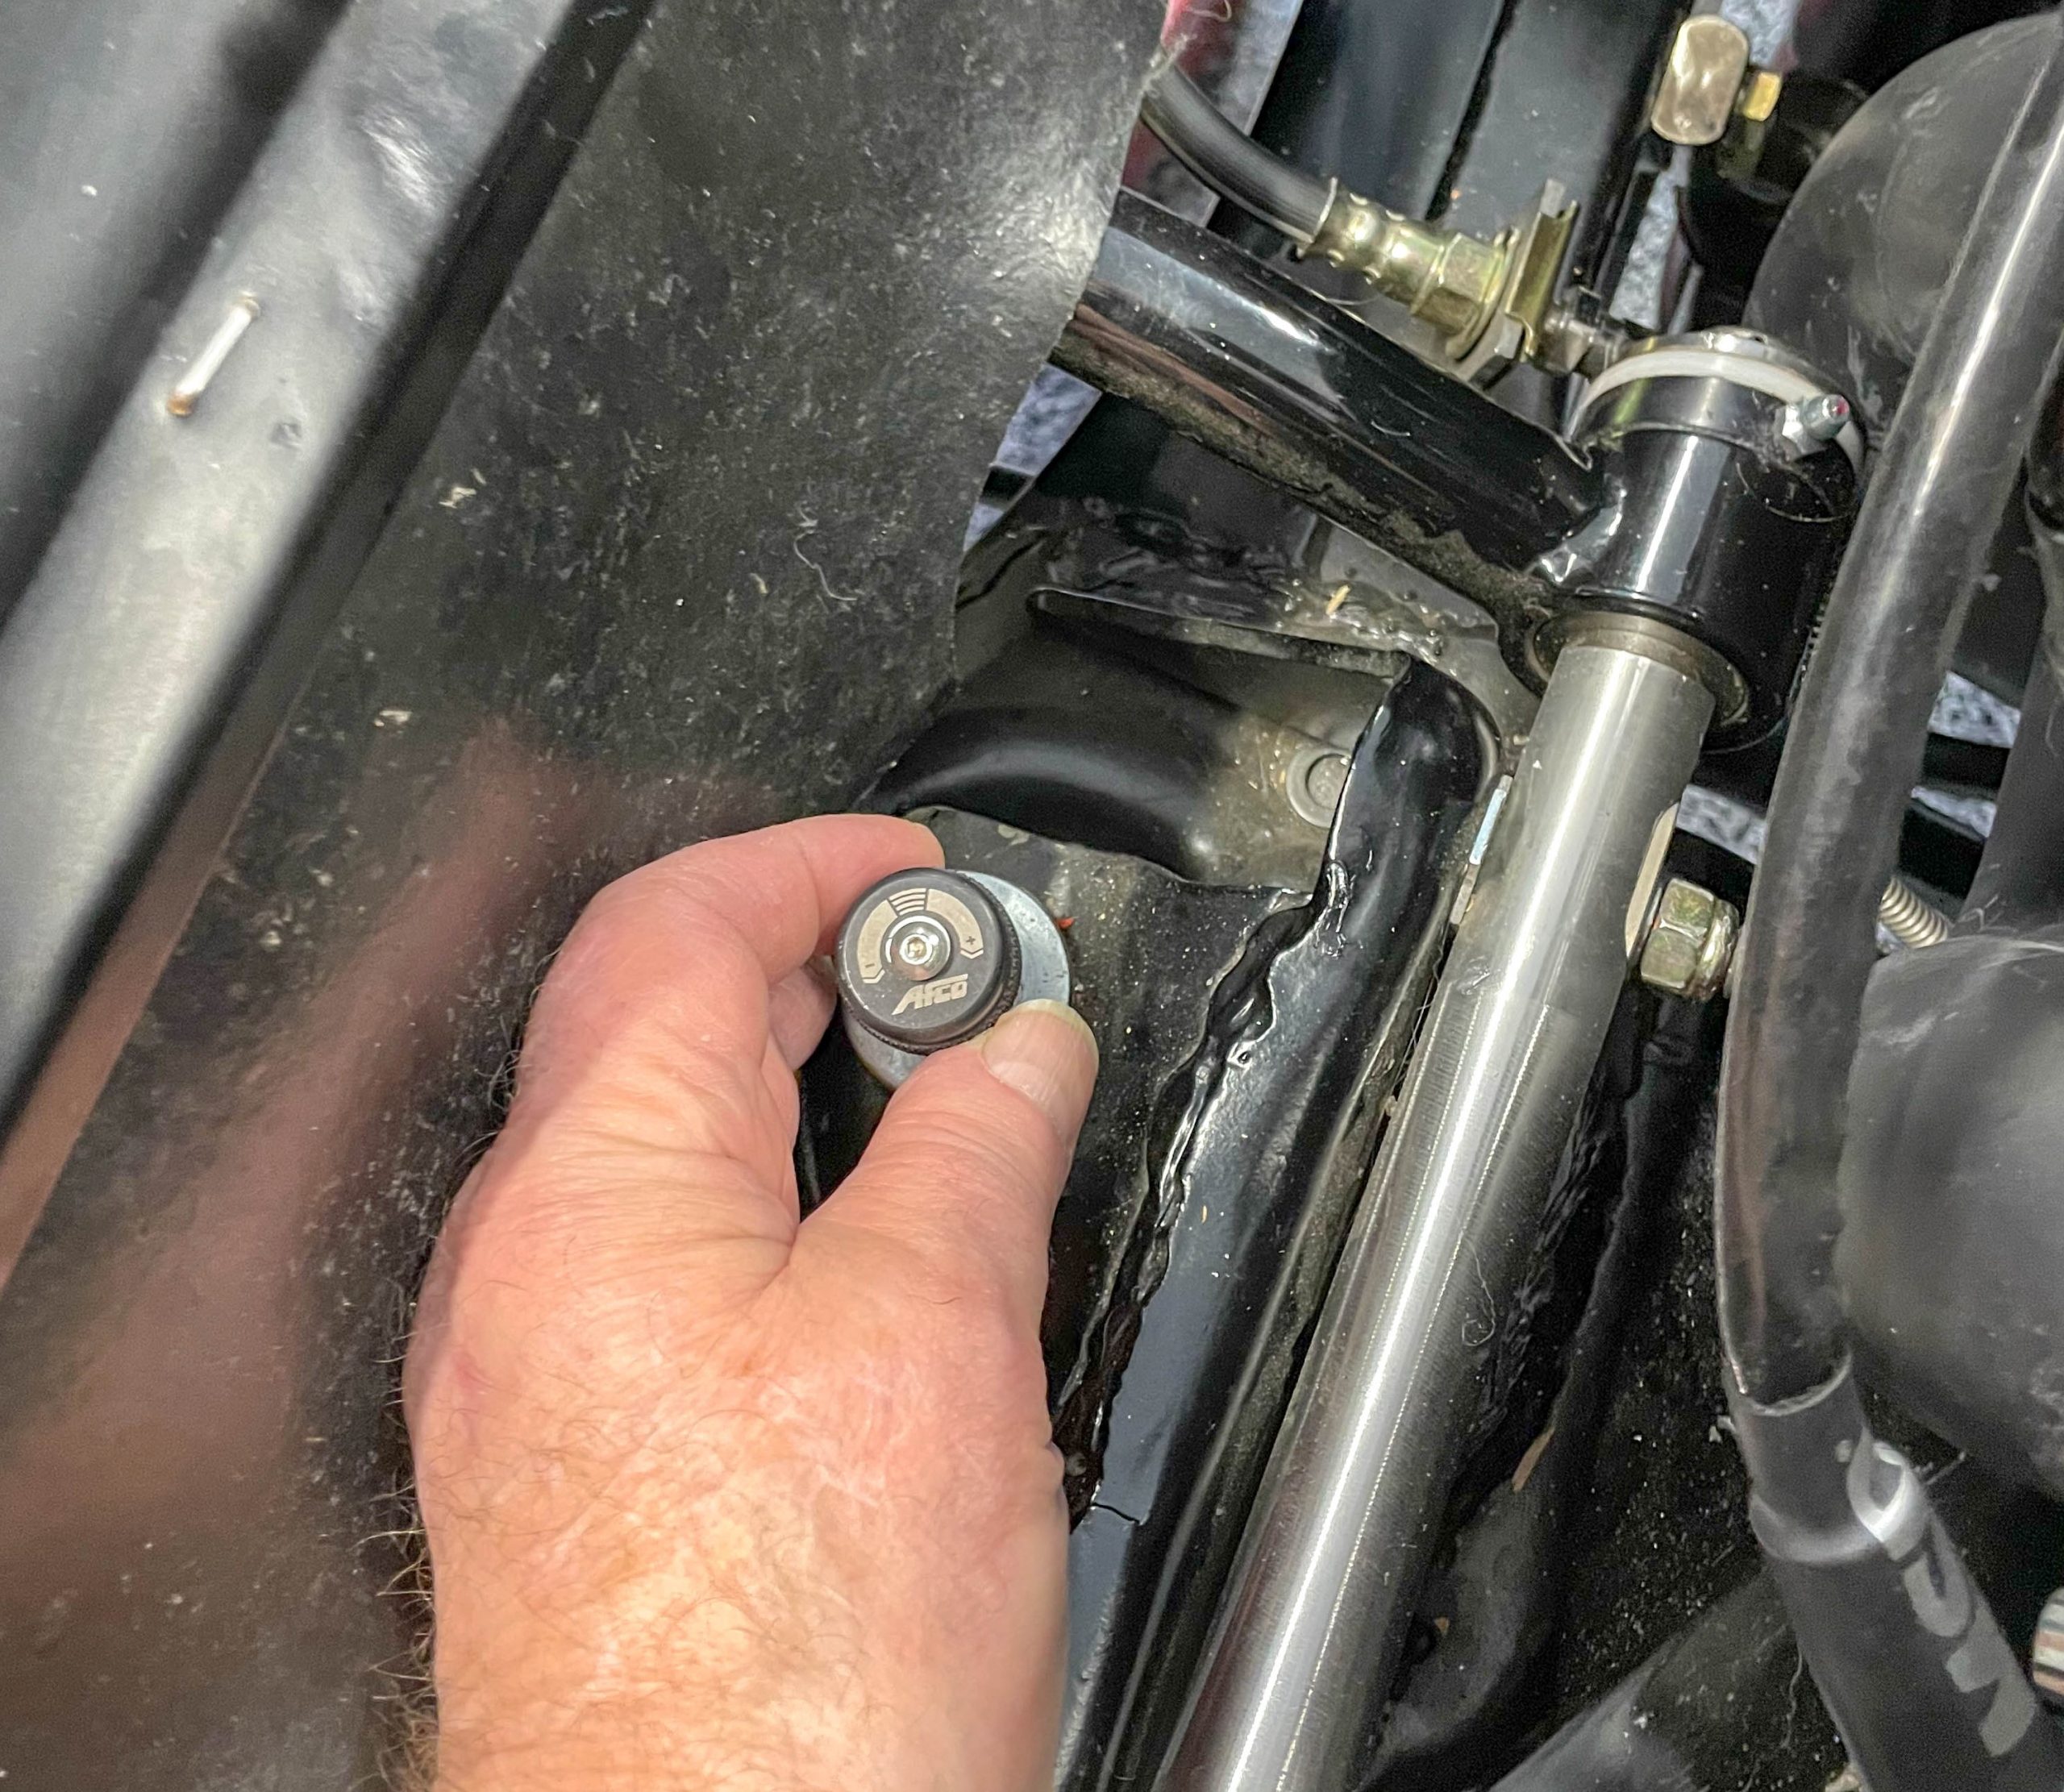
Next up, I set up the shocks. I started with the baseline setup from AFCO which works out to the compression knob (on the shock body) set 18 clicks from full stiff. On the fronts, I stiffened the compression four additional clicks. Both the front and rear rebound adjusters (found on the end of the shock shaft) were set 20 clicks from full stiff. Once in use, I can play with the adjusters from this point on.
From here, I hooked up the ARB links by adjusting the length of the connecting links so that the rod ends rotate freely from side to side. It’s also a good idea to clock the rod ends in order to avoid binding. They must remain “neutral.” This means that while on a flat, level surface (at running weight), you should be able to rotate them and feel for tension. If they’re loaded, you can feel it. Once the ARB links are adjusted, do not make any chassis adjustments (aside from shock settings) and do not change the ride height. If the ride height changes, then the ARB settings must be revised. It’s interesting to note that with some cars, you can see a considerable difference in ride height (at the respective corners) once the suspension is adjusted.
Out of curiosity, I removed all of the ballast from the car while it was still in the air and then I re-checked the ride height. Some of the changes were actually marginal (a quarter inch or so), but empty, the right rear was more.
When working out your baseline and tuning from that point forward, keep in mind that when viewed from the front, the engine spins clockwise. An equal amount of torque is applied in the opposite direction (counter clockwise) through the motor mounts to the chassis. That’s why cars without a properly set up ARB will always lift the driver’s side wheel and squash the passenger side rear quarter panel downward. What makes this more difficult to control is the fact torque your engine provides isn’t consistent. It varies with engine RPM. That’s why you can’t use the ARB to preload the chassis. It might work at one RPM level but it can have a serious effect upon the handling at another. If you absolutely need preload in a chassis, then do it with a suspension adjustment (four link, ladder bar, traction bar) or if those aren’t available, spring rate changes.
In the end, every car is different. But all should have the baseline setup done in a similar fashion. For a closer look at how I established a baseline, check out the pics below. Some (or all) of these ideas can work for you.


Comments