There are all sorts of different engine oil dipsticks out there, and a trip to SummitRacing.com will reveal plenty of them. Some are stock replacements, some incorporate slick braided housings, while still others offer dipsticks that are locked and sealed within the tube.
Those latter designs are important.
Here’s why: The reason for the locking, sealed dipstick assembly is because it helps seal the crankcase. In many high performance or race applications (or even regular daily driver combinations), the dipstick can blow out due to excess crankcase pressure.
That pressure is commonly called “blow-by.”
What is Engine Blow-By?
Blow-by is really just combustion gasses that leak past the rings. It often contains unburned and partially burned fuel. As you can well imagine, this mix contaminates the oil and adds pressure to the crankcase. Excess crankcase pressure reduces cylinder vacuum on the intake stroke and simultaneously increases windage inside the oil pan.
There are a number of causes of blow-by. Some perfectly healthy engines (no matter what type, be it a Volkswagen flat four, motorcycle V-Twin, import four cylinder, North American V8, etc.) are affected by blow-by.
How Blow-By Relates to Your Dipstick
Causes and cures are beyond the scope of this article, but suffice to say if crankcase pressure is too high, it can blow the dipstick right out of the tube. Allowing the dipstick to blow out isn’t a great idea. While in some situations it’s relatively harmless, in other cases, it can mean hot, fuel-contaminated oil is sent spewing onto even hotter headers—and we all know what can happen next.
That’s why many race sanctioning bodies mandate locking, sealed dipsticks.
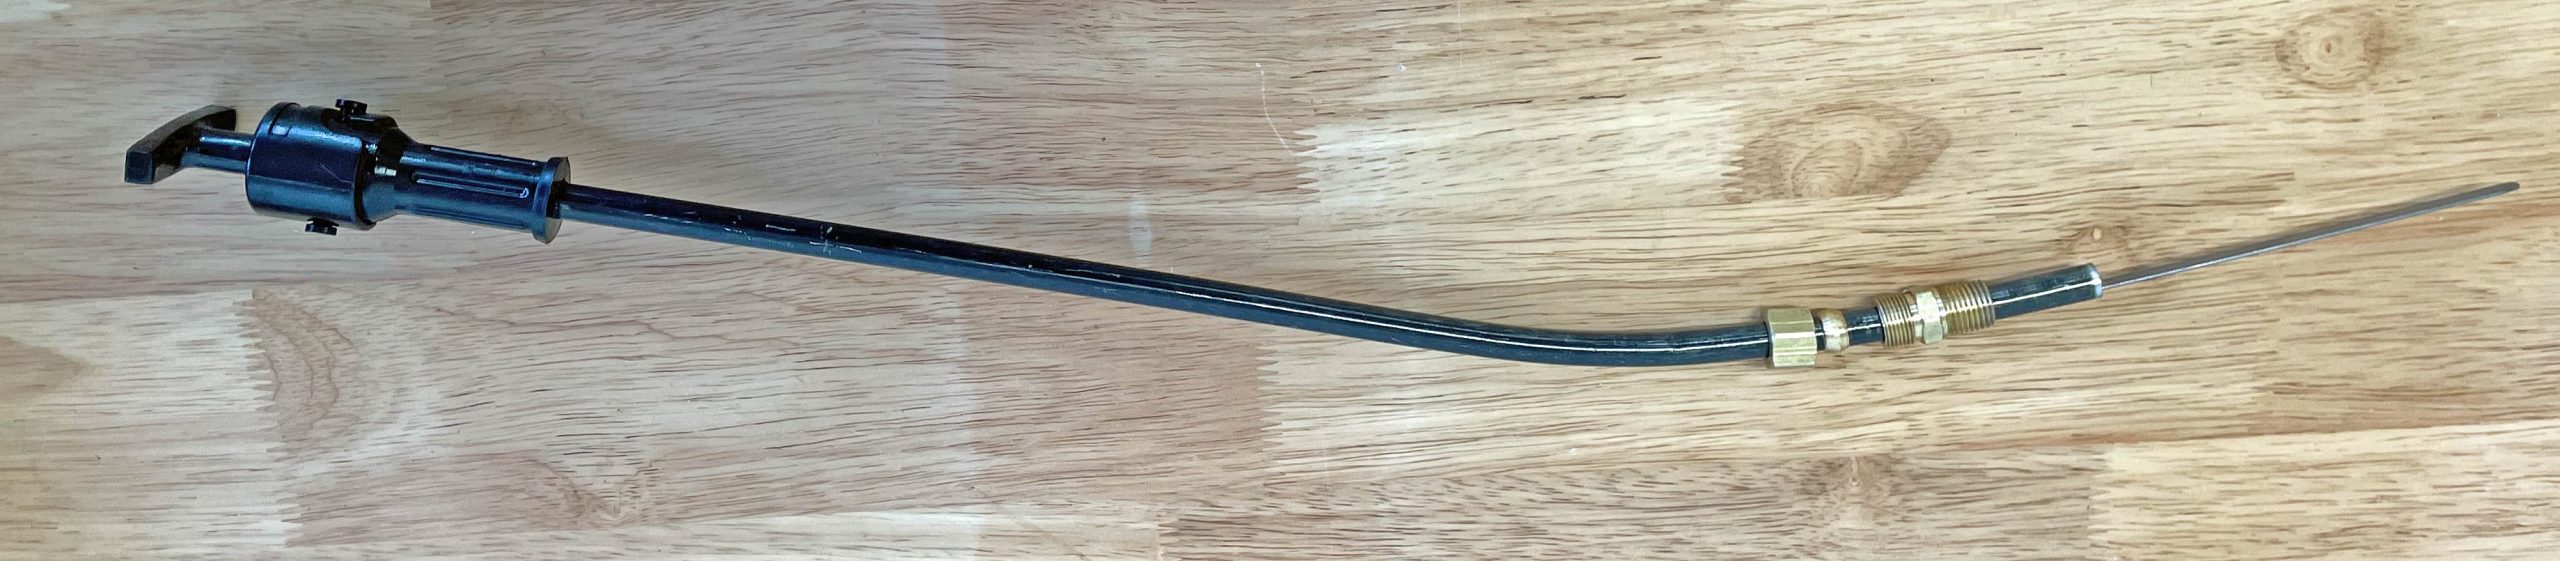
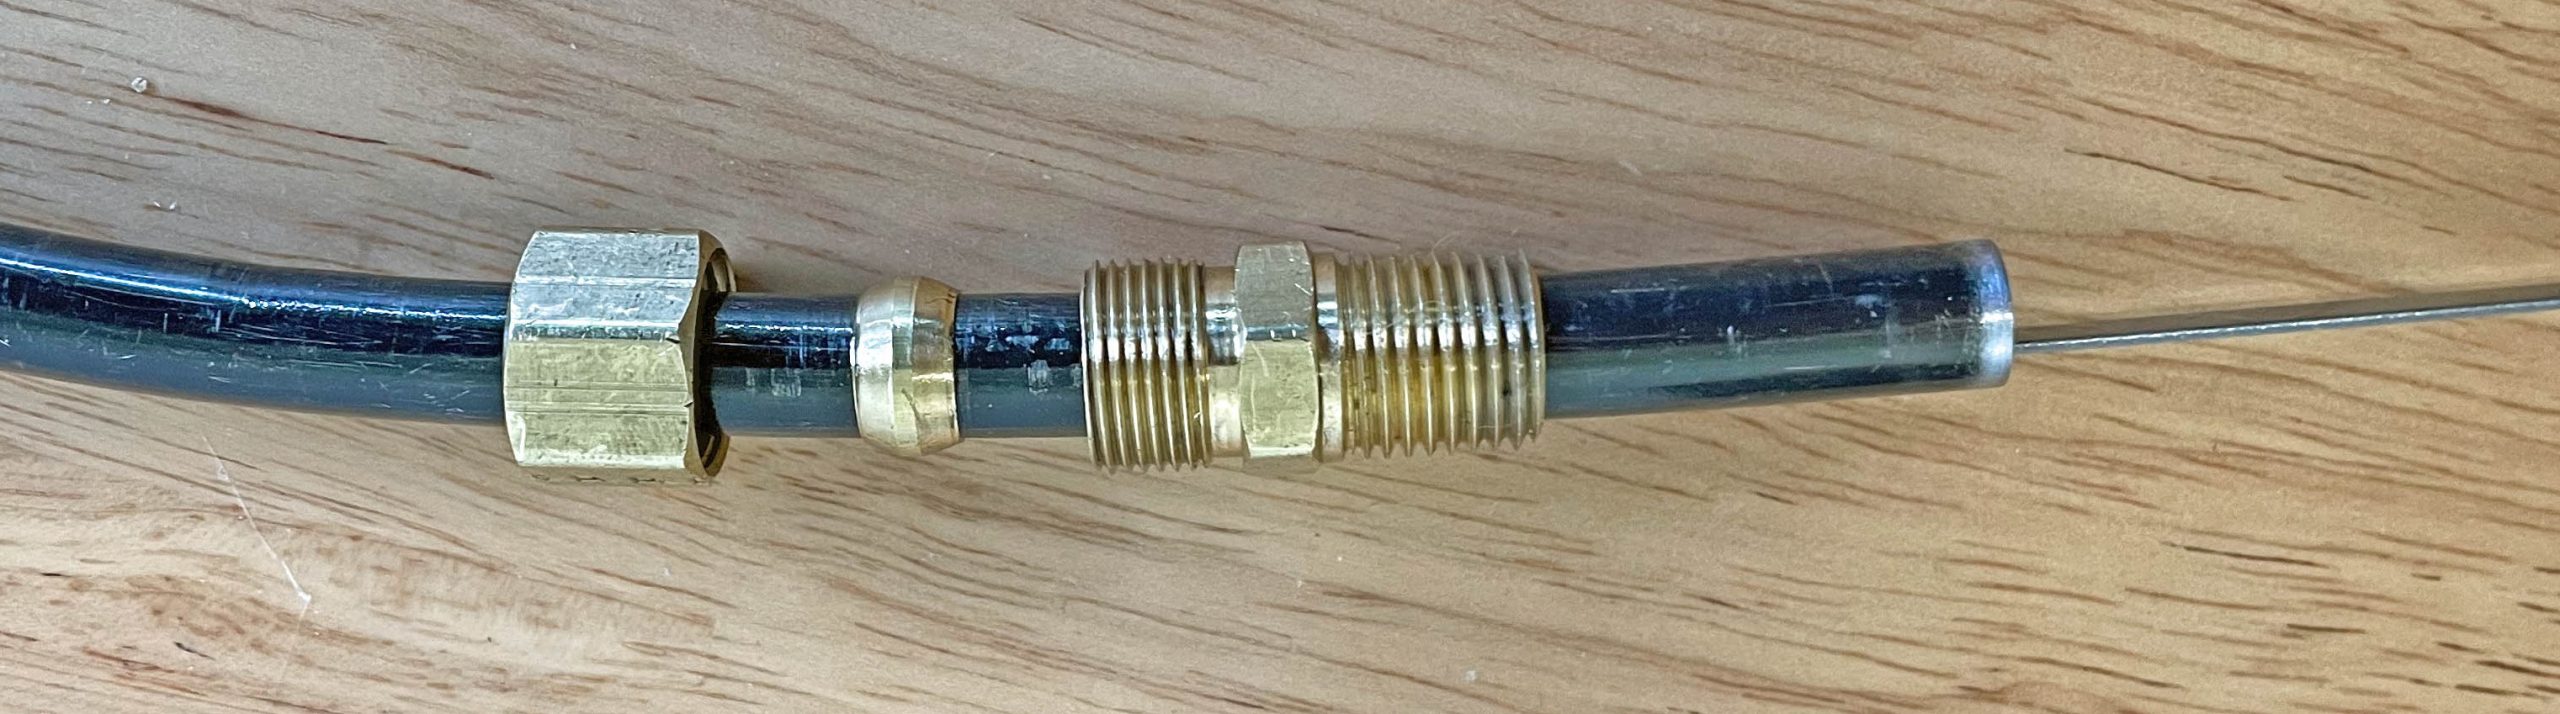
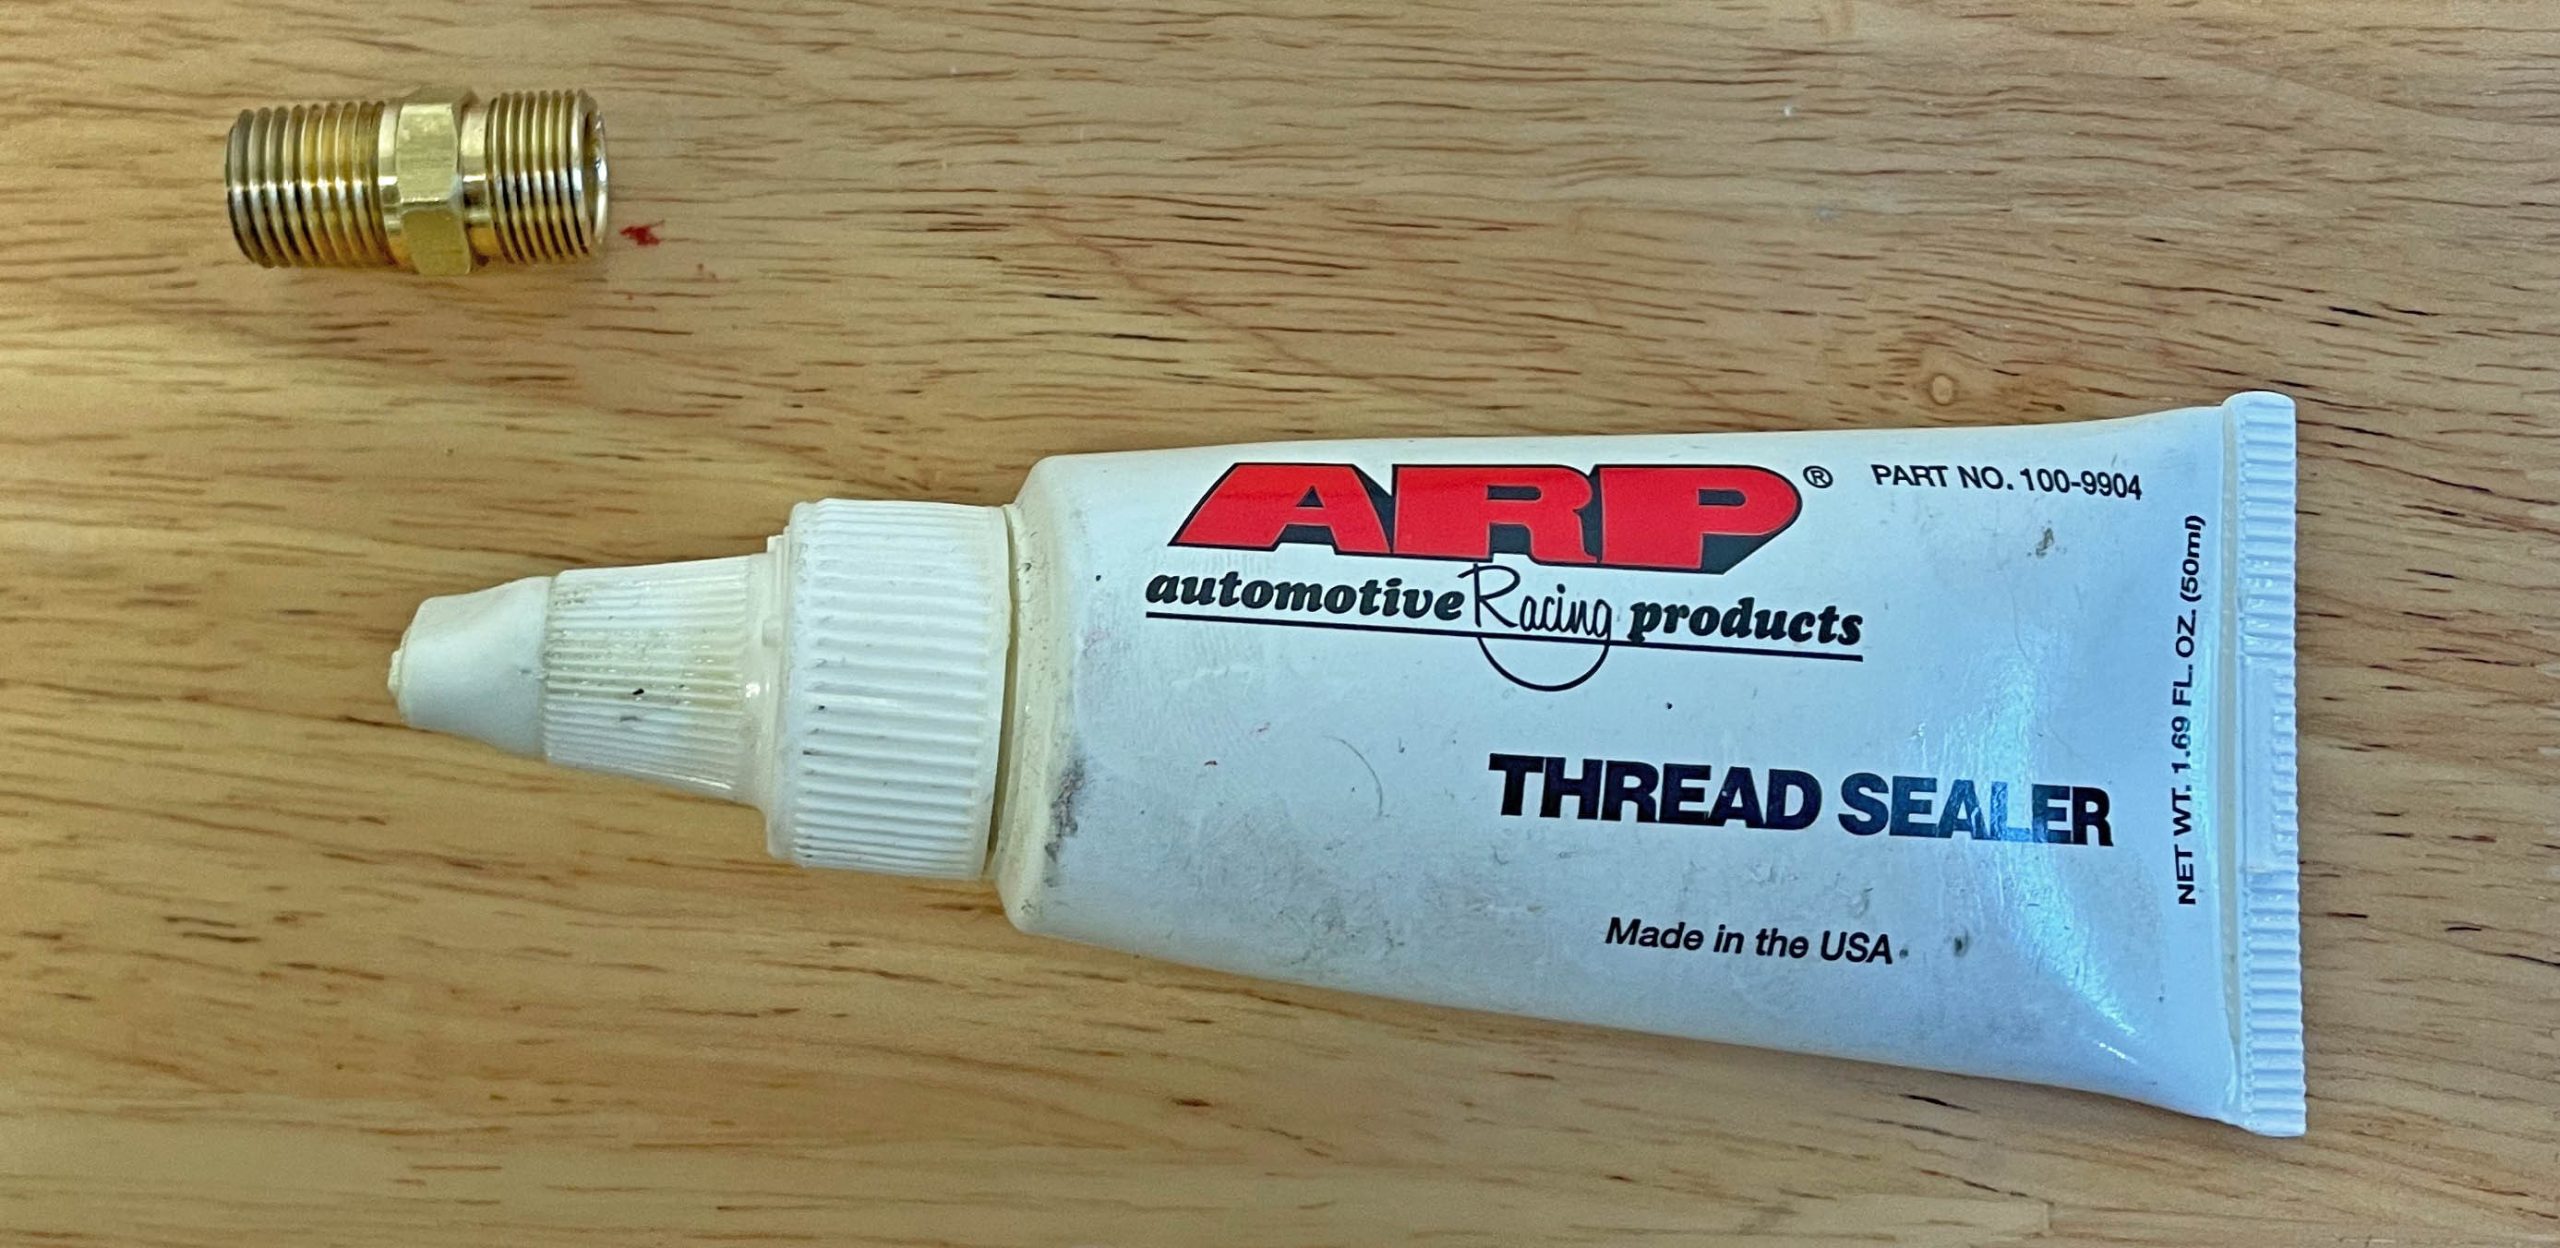
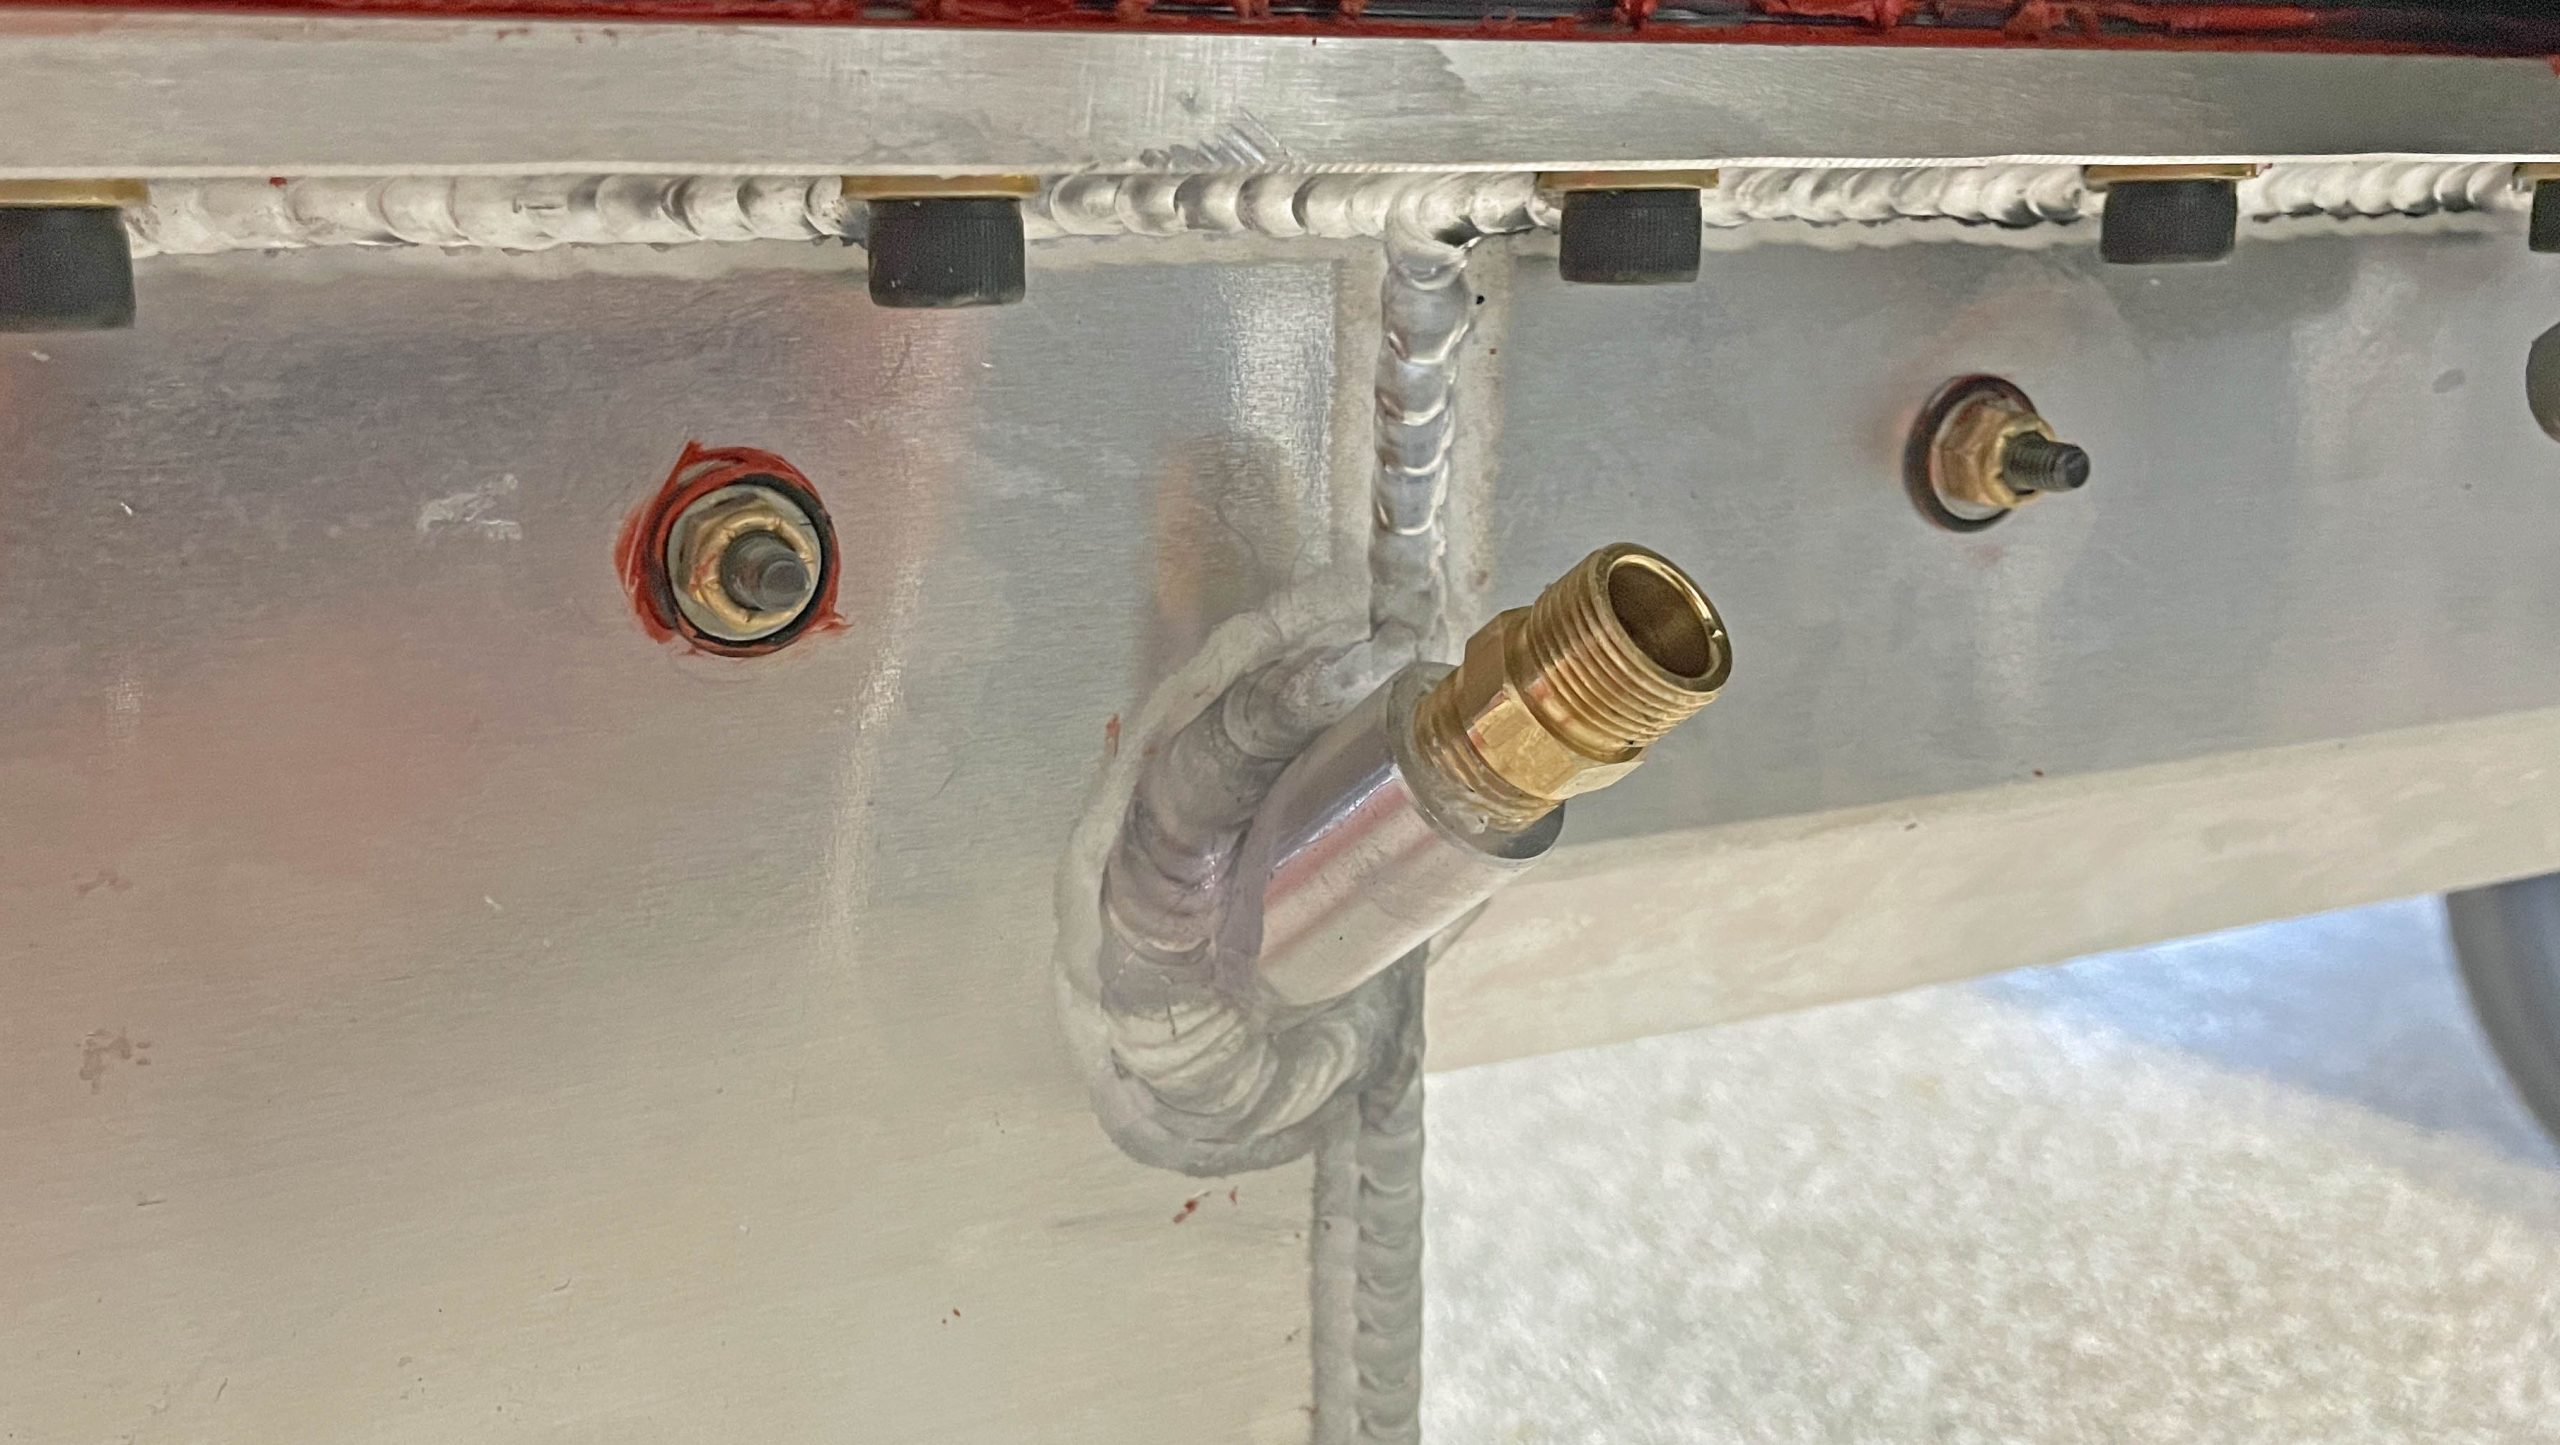
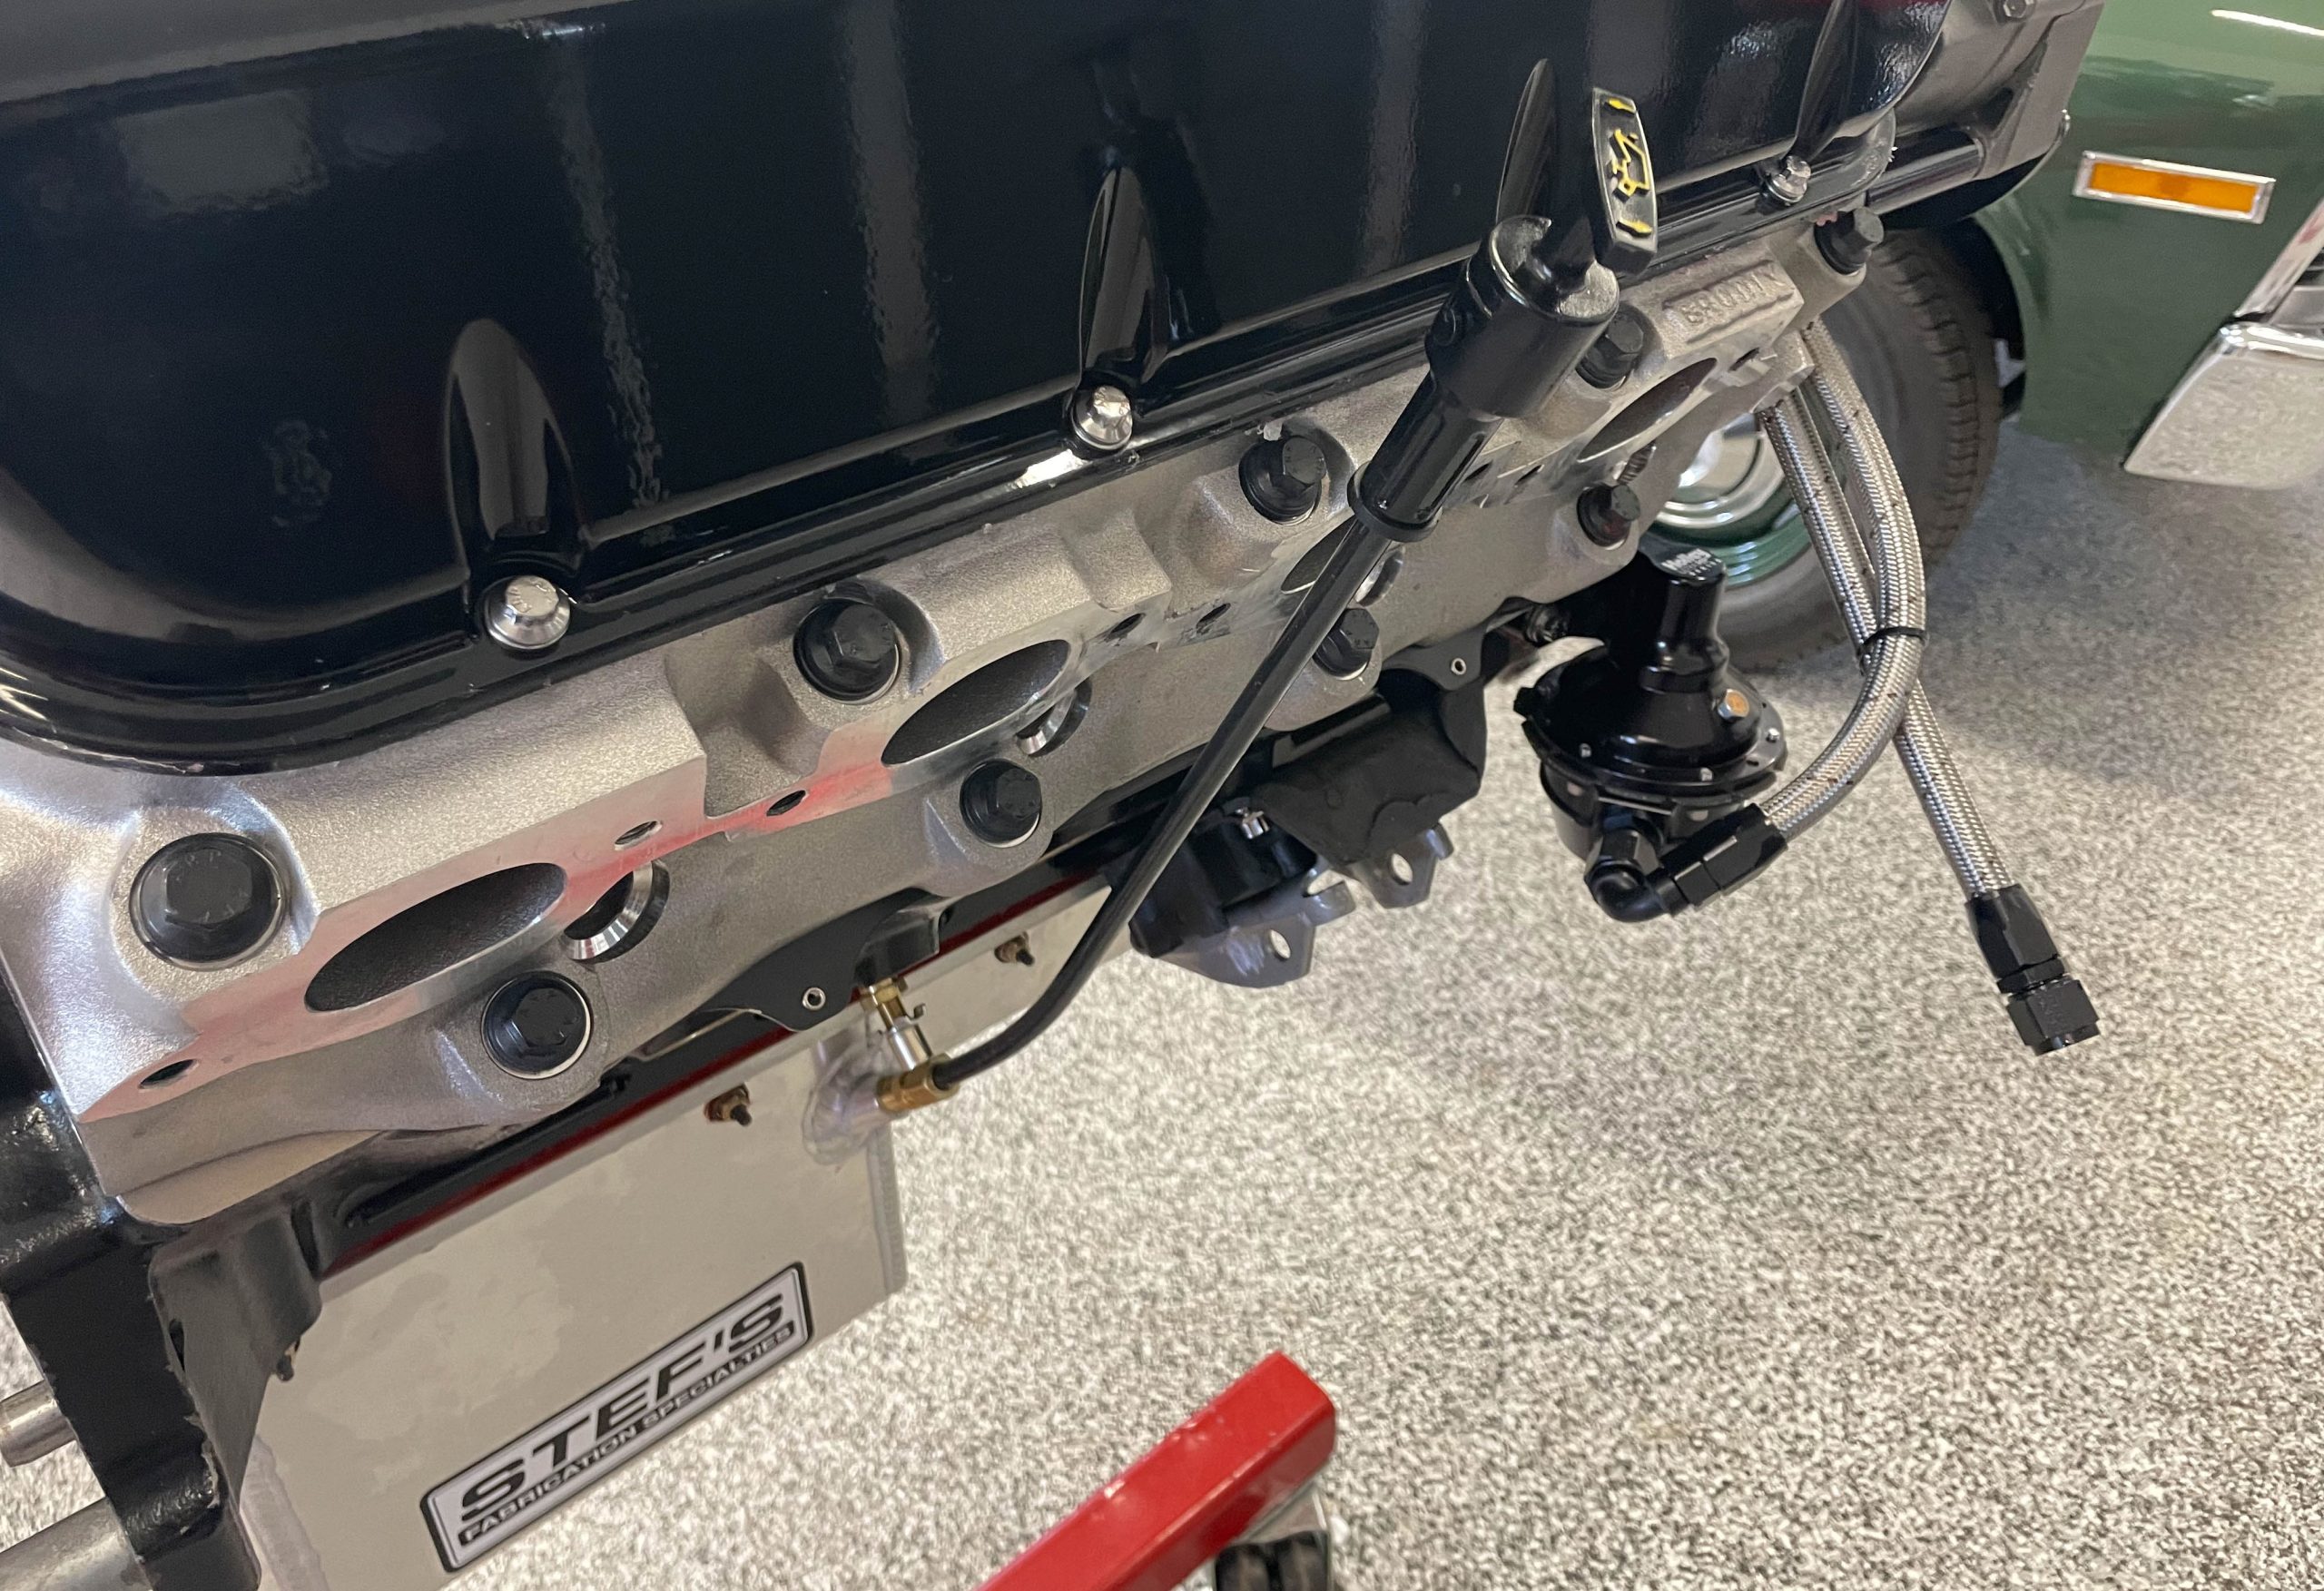
Sealed, locked dipsticks are most often fitted directly to the oil pan. Here, they fasten to the pan by way of a 1/4 inch NPT fitting. On opposite end, a compression fitting grips the dipstick tube and in turn, the nut holding the compression fitting in place locks into the 1/4 inch NPT fitting.
Things to Consider When Selecting a Dipstick
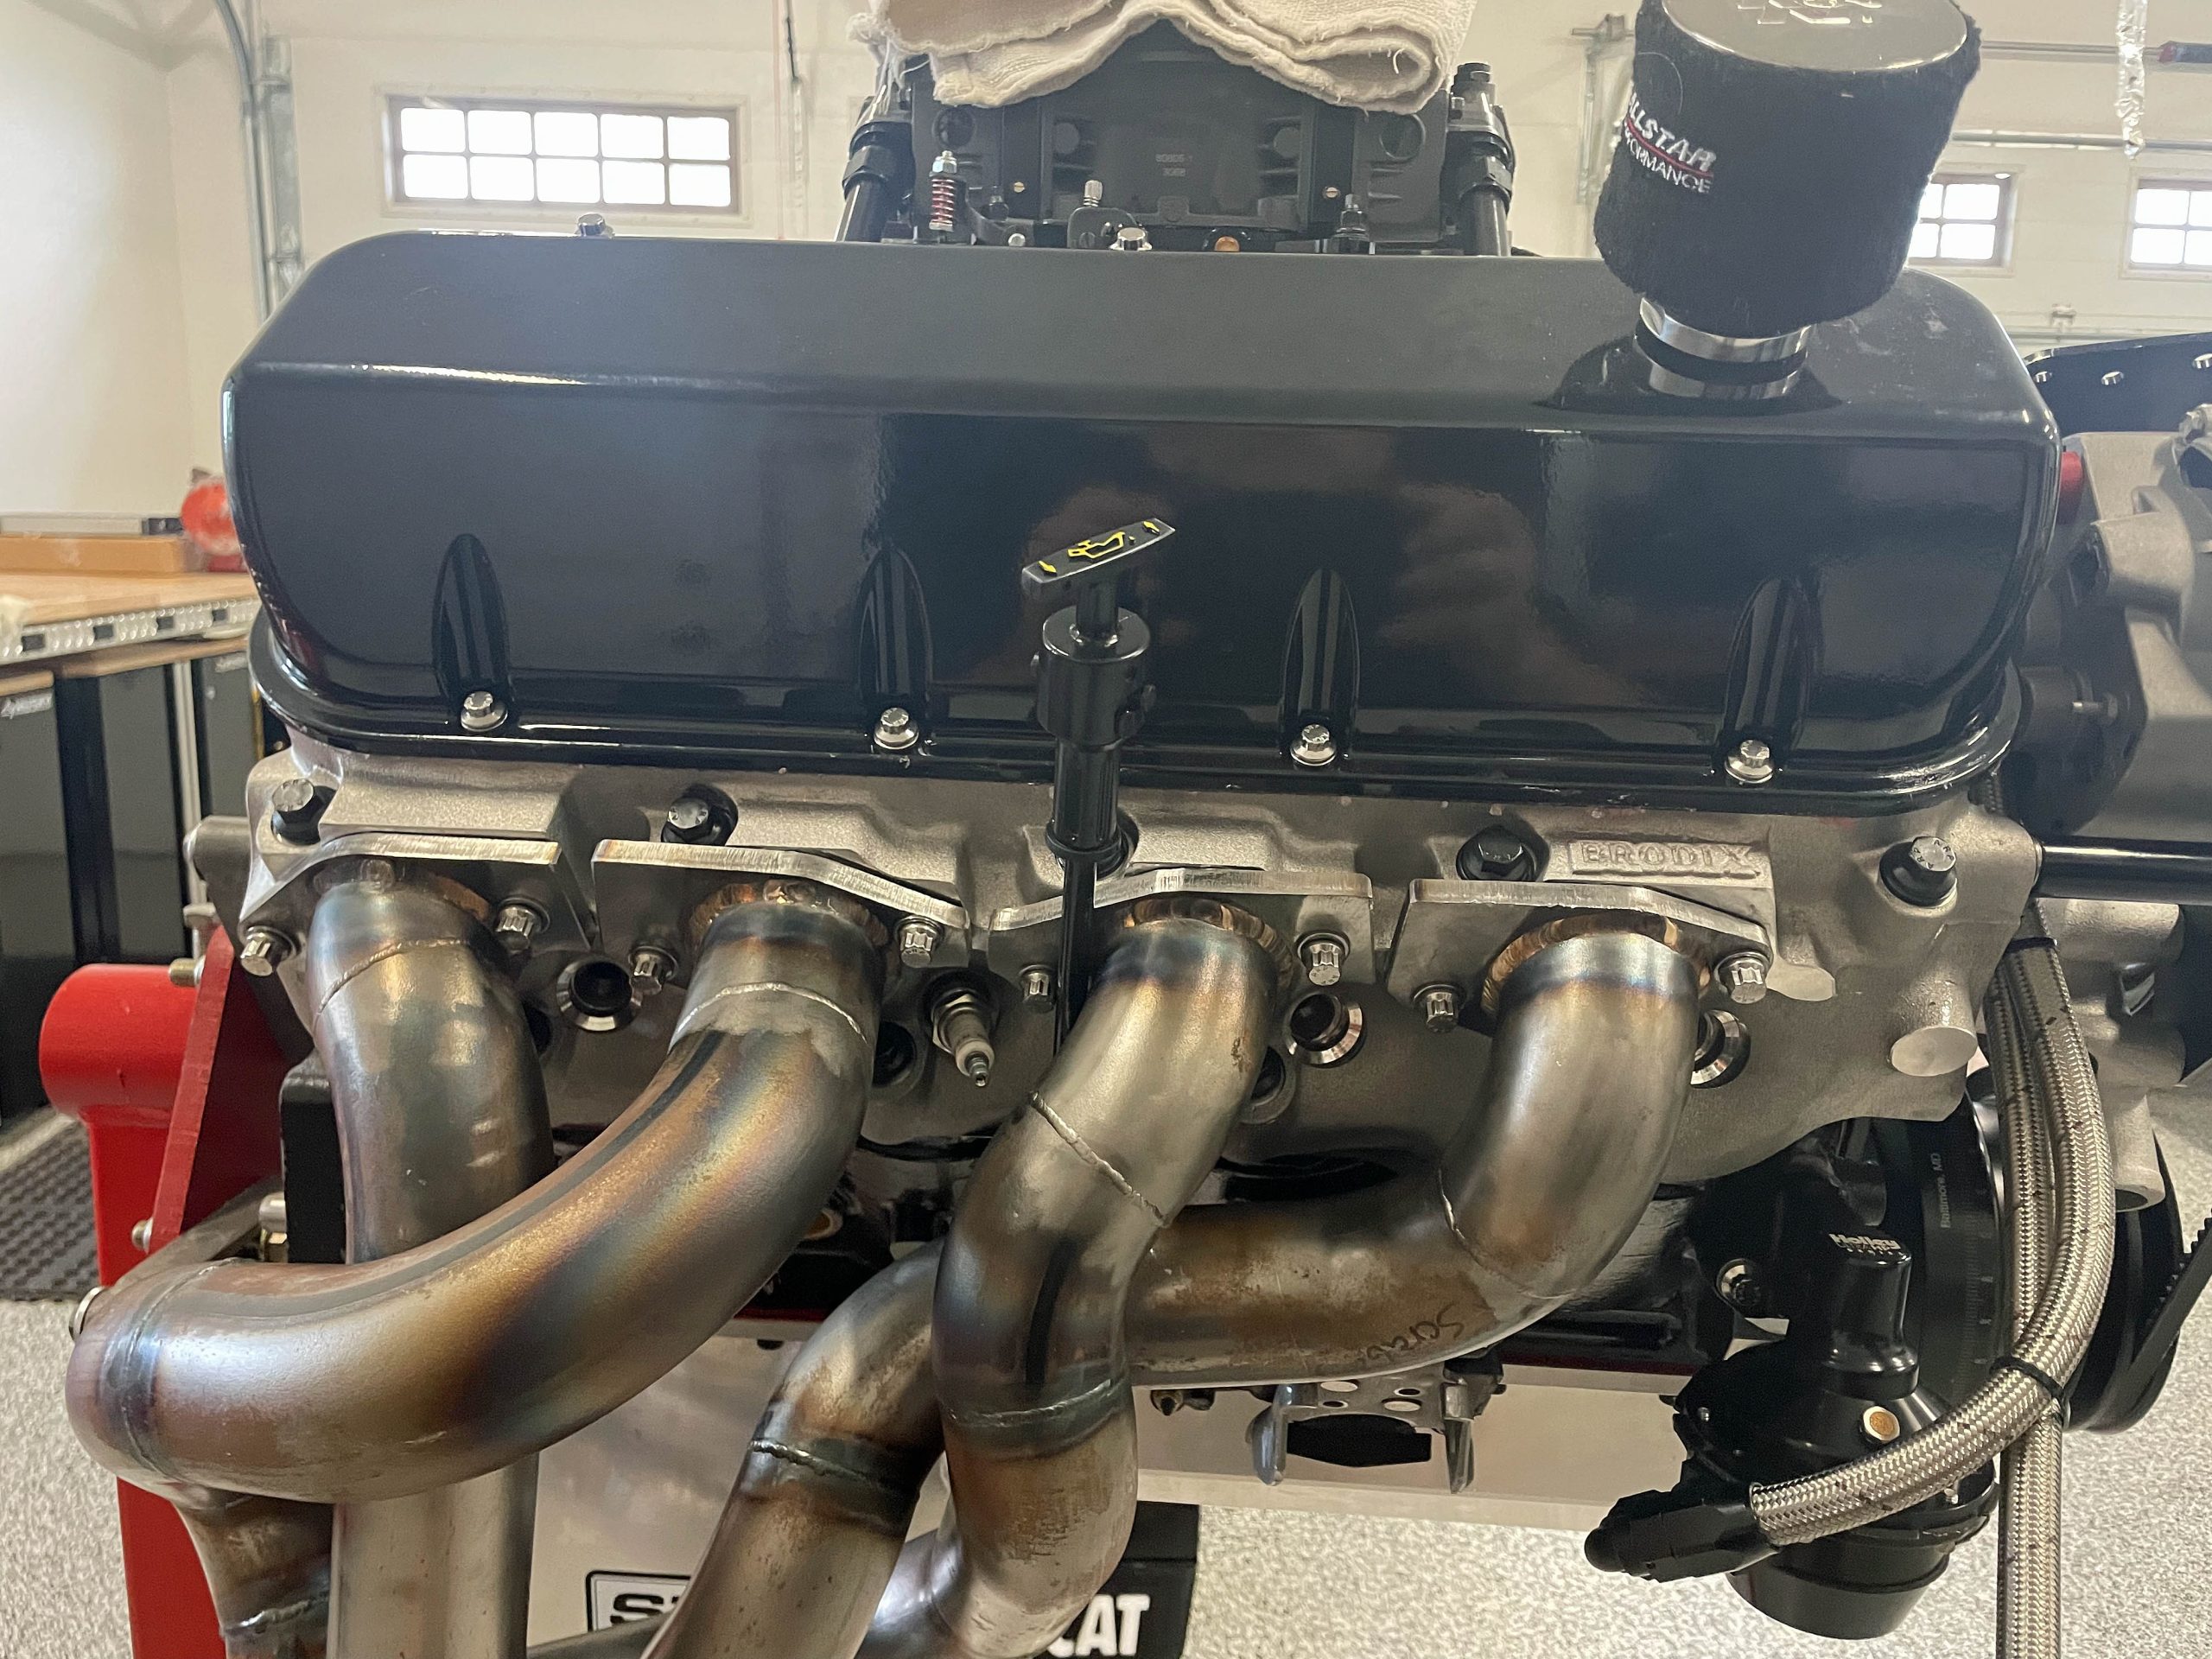
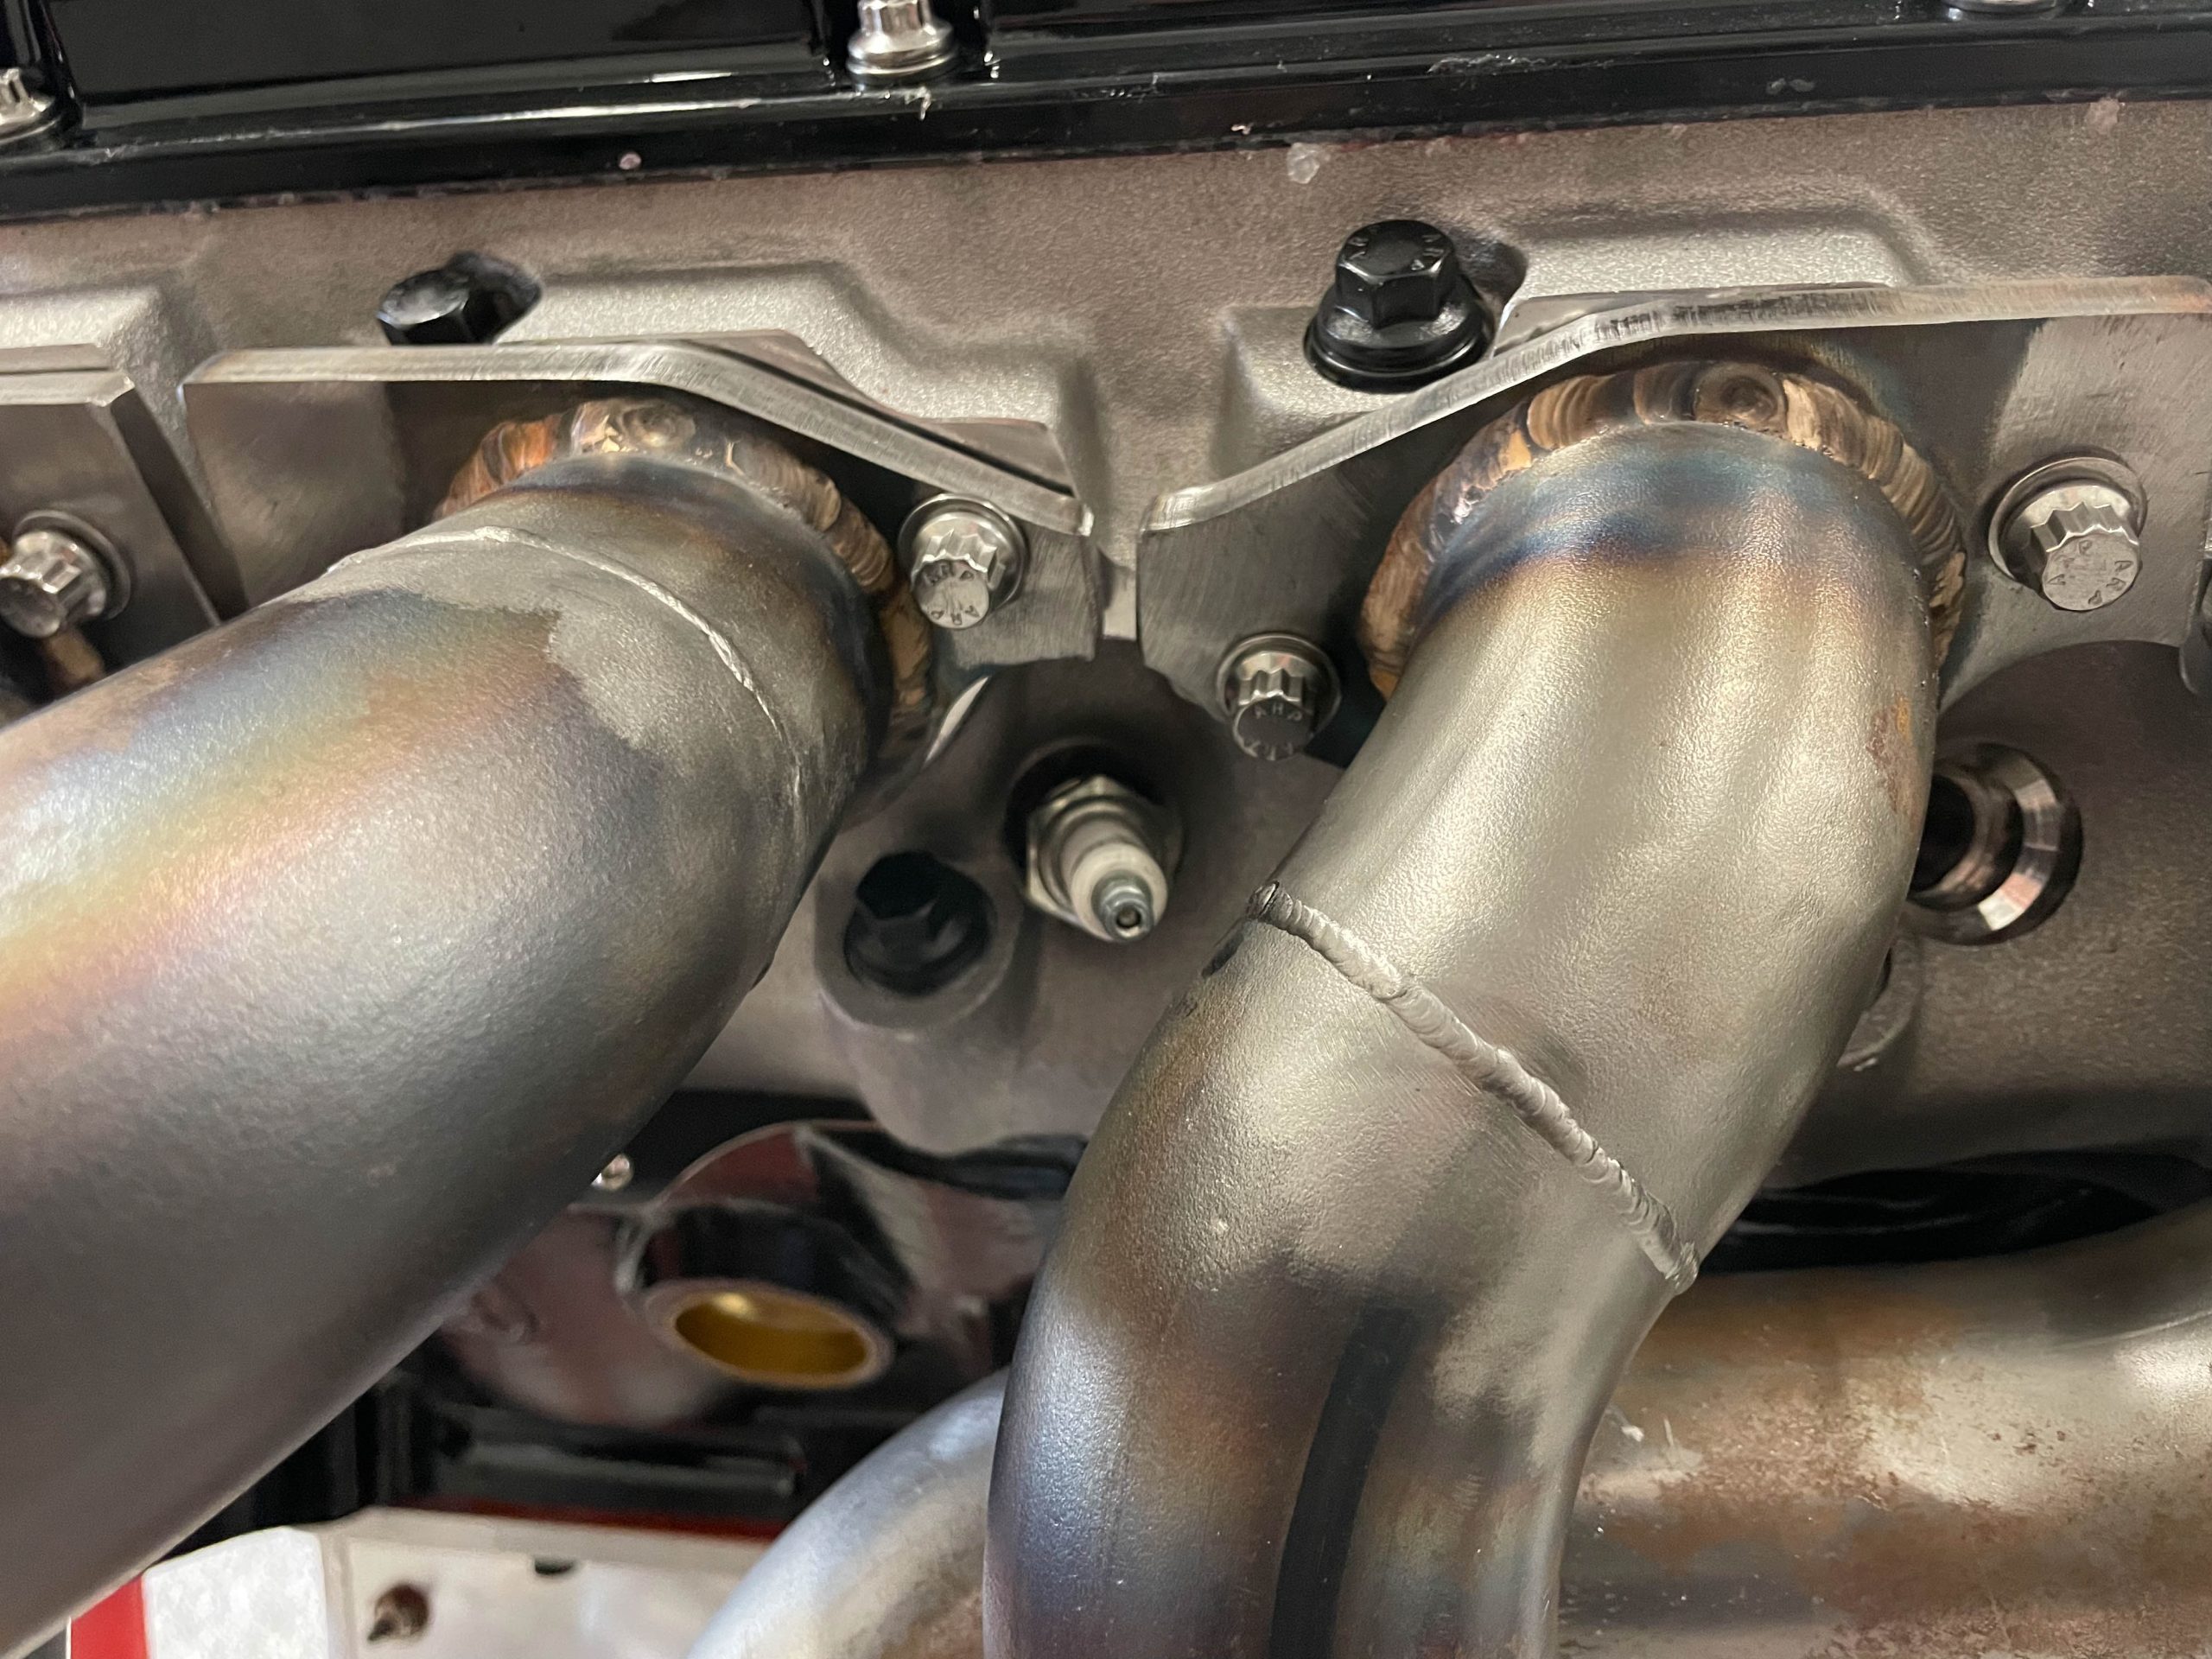
It’s easy enough to set up, but the big trick is fitting the tube into something like a car with large tube headers and raised exhaust ports. Factor in large diameter, sleeved ignition wire and tight spark plugs, and you can have a real fit dilemma.
With some locking dipstick setups, the tube is actually Teflon lined steel braided hose. It allows you to snake the tube in place rather easily. But there’s a word of caution: Do not allow the braided tube (hose) to come in contact with a header pipe. The heat will melt the Teflon liner. These types of dipsticks demand some air space between the tube and the header.
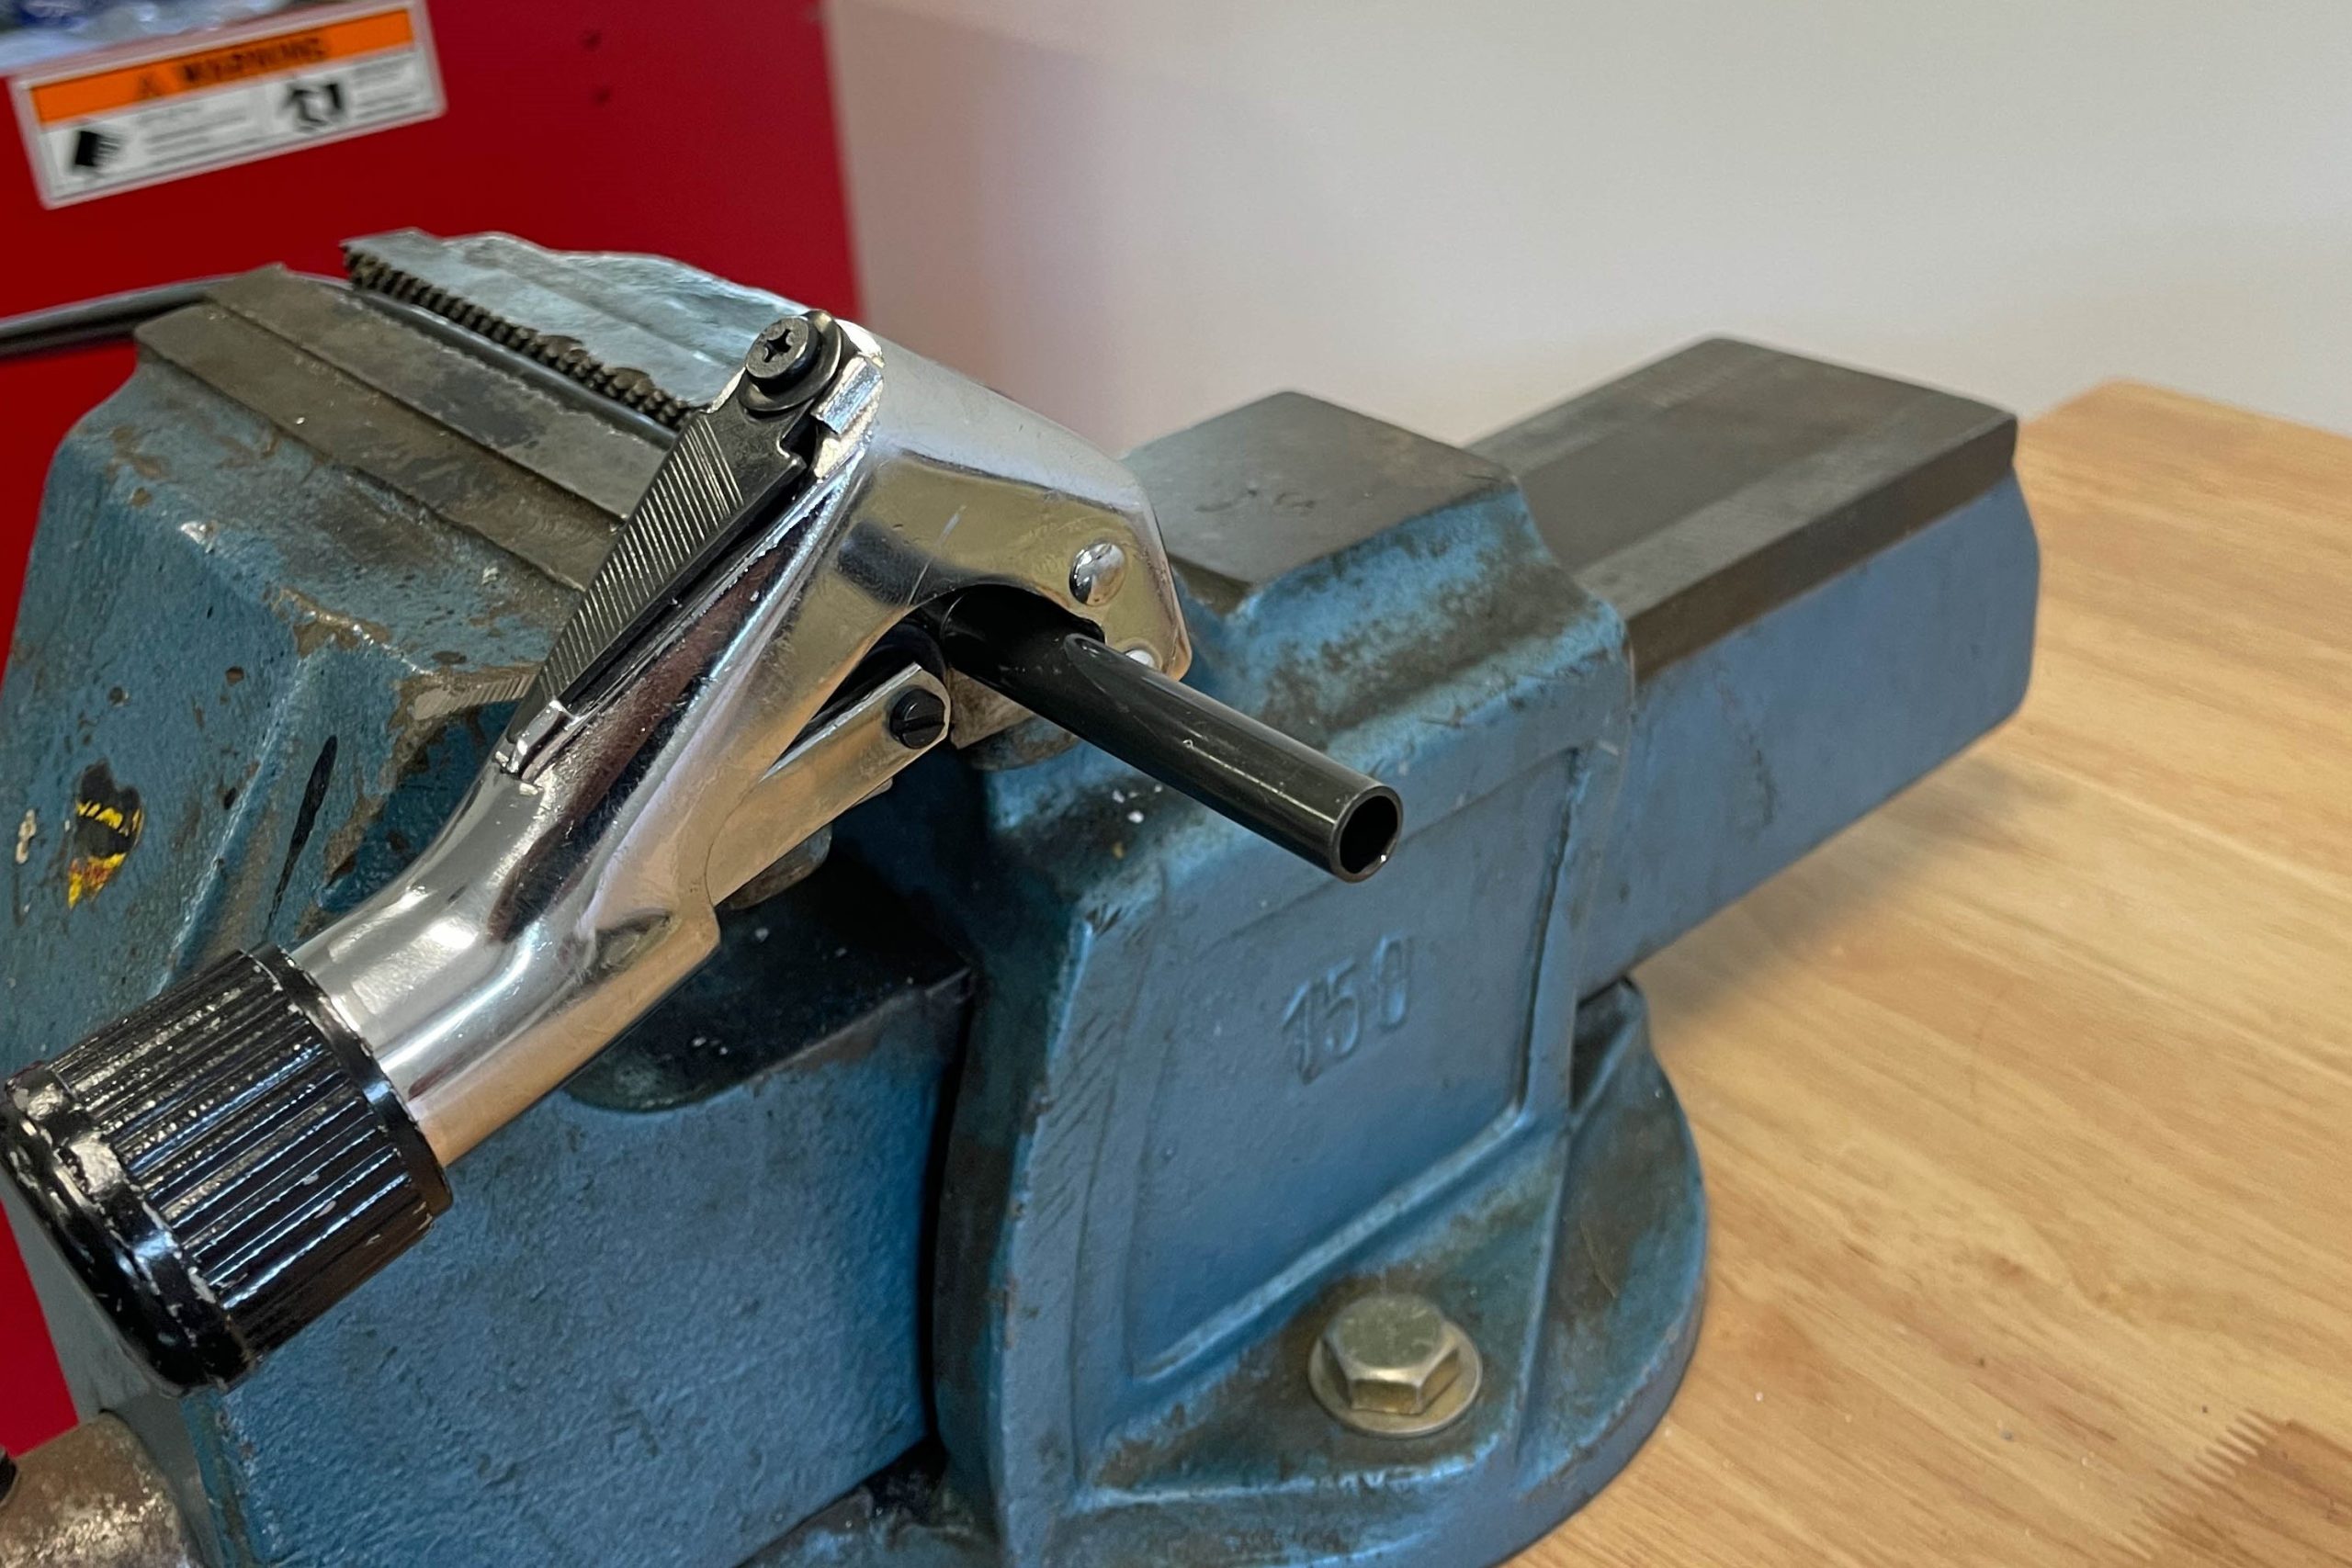
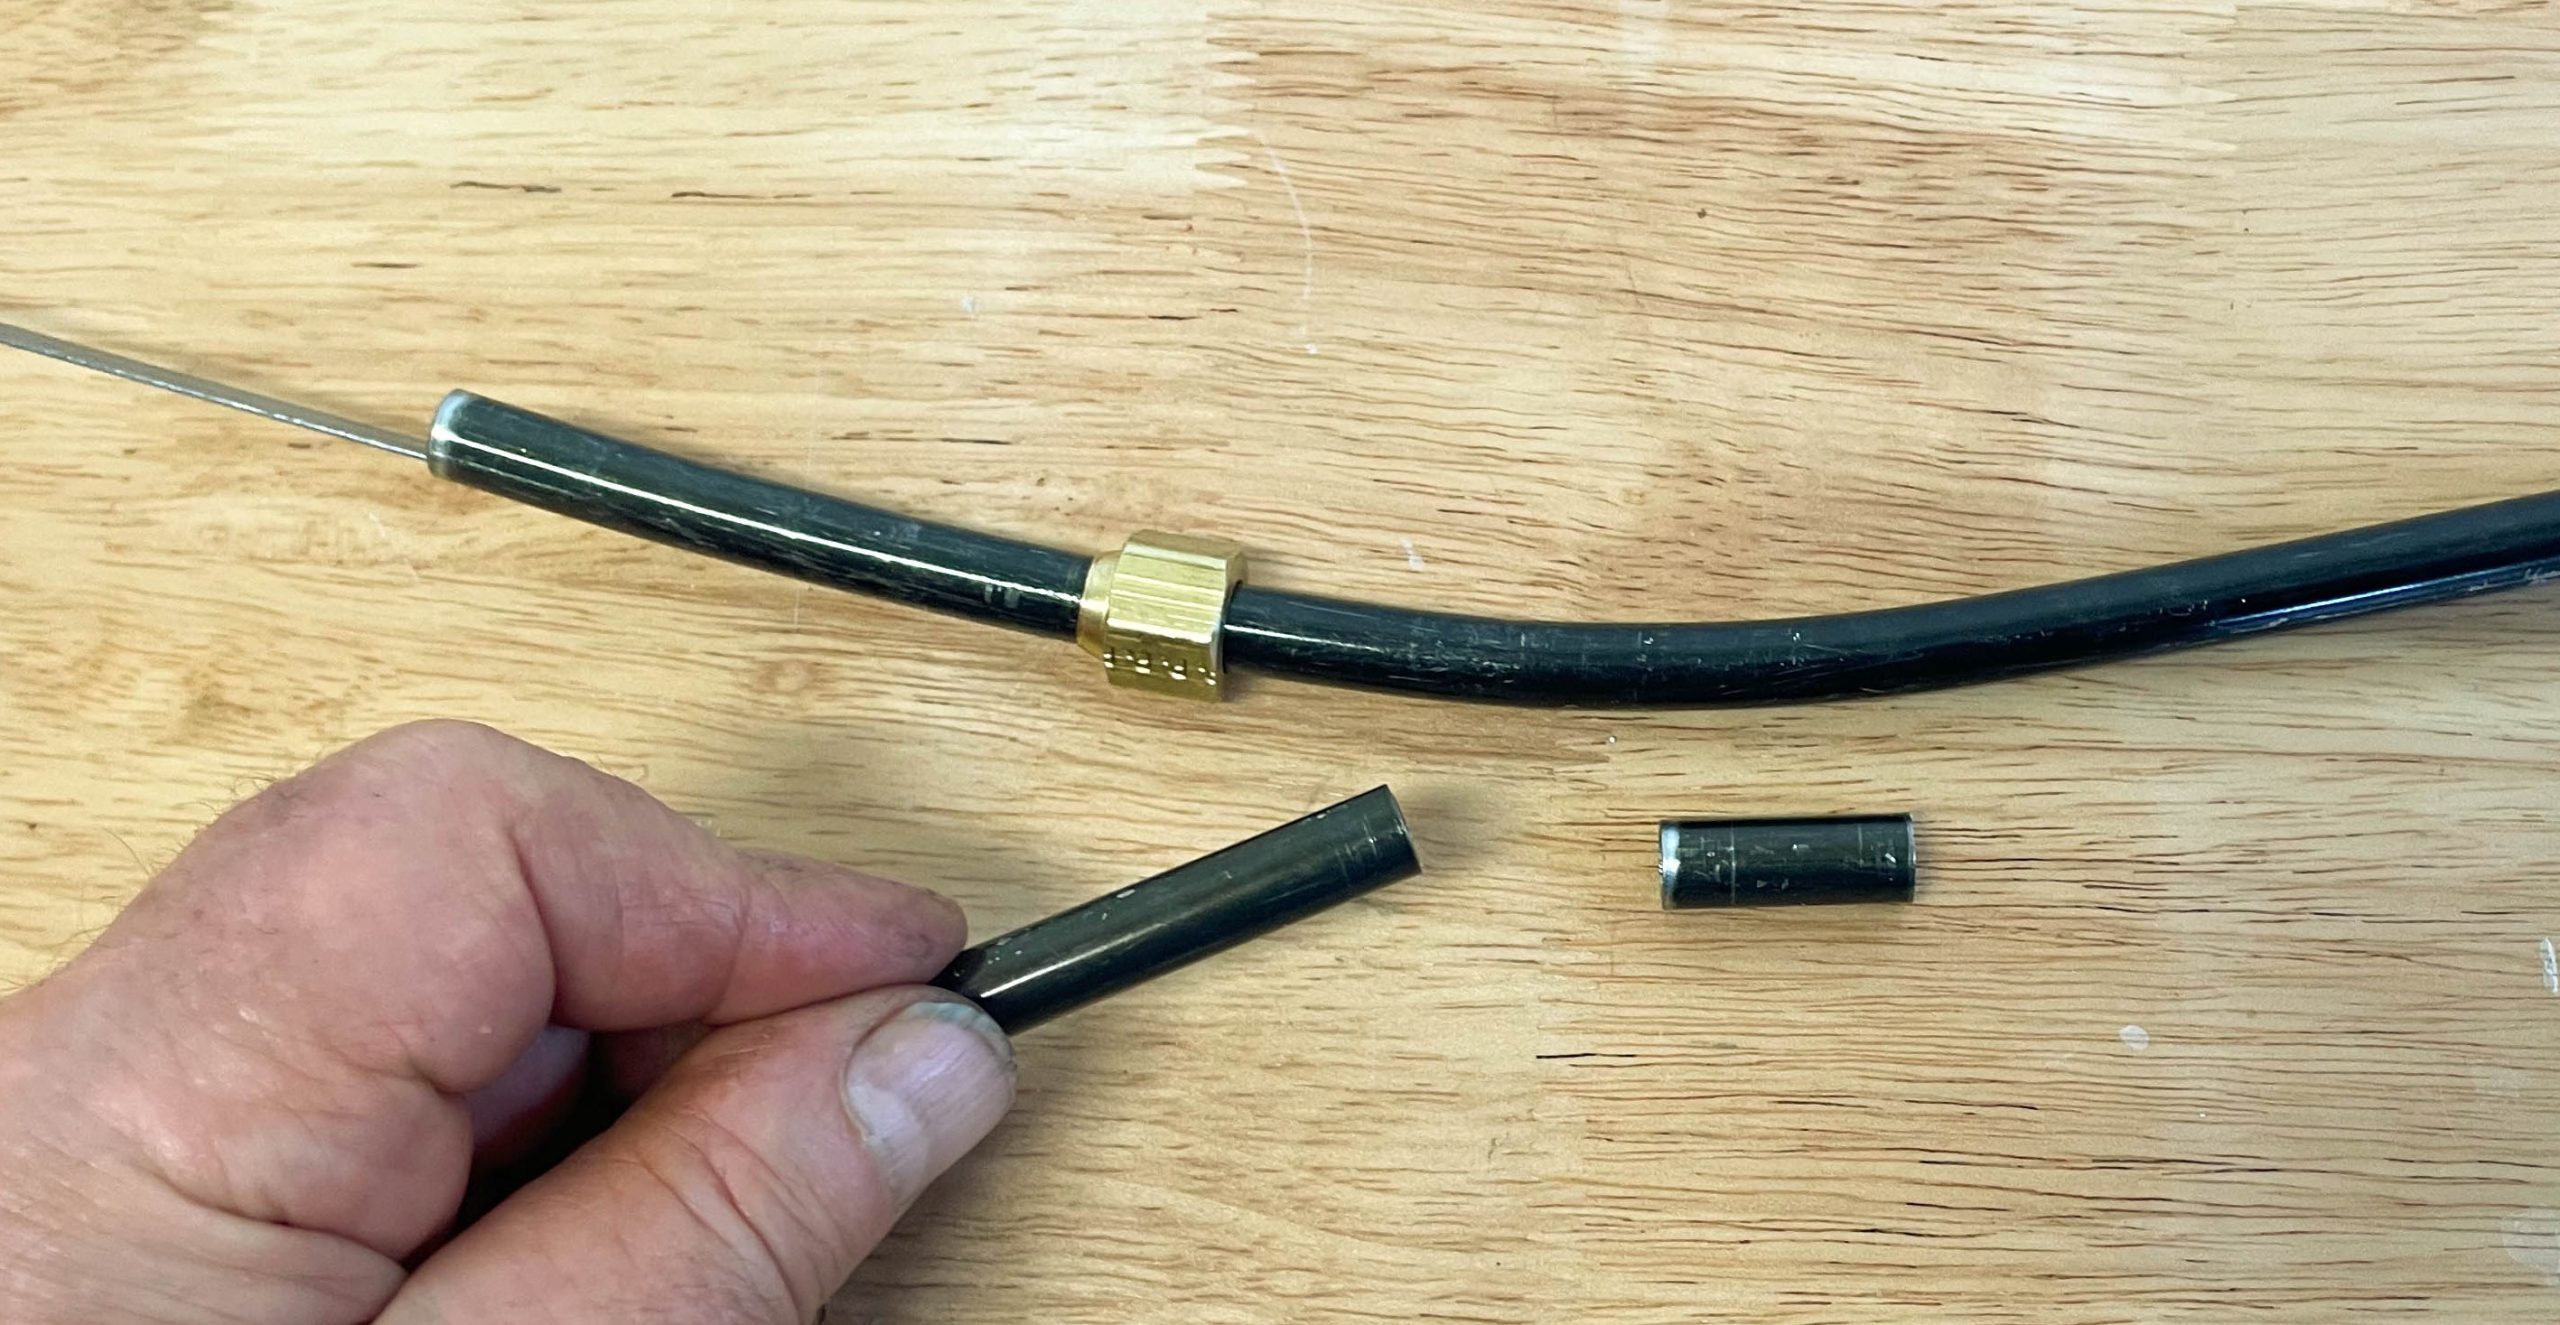
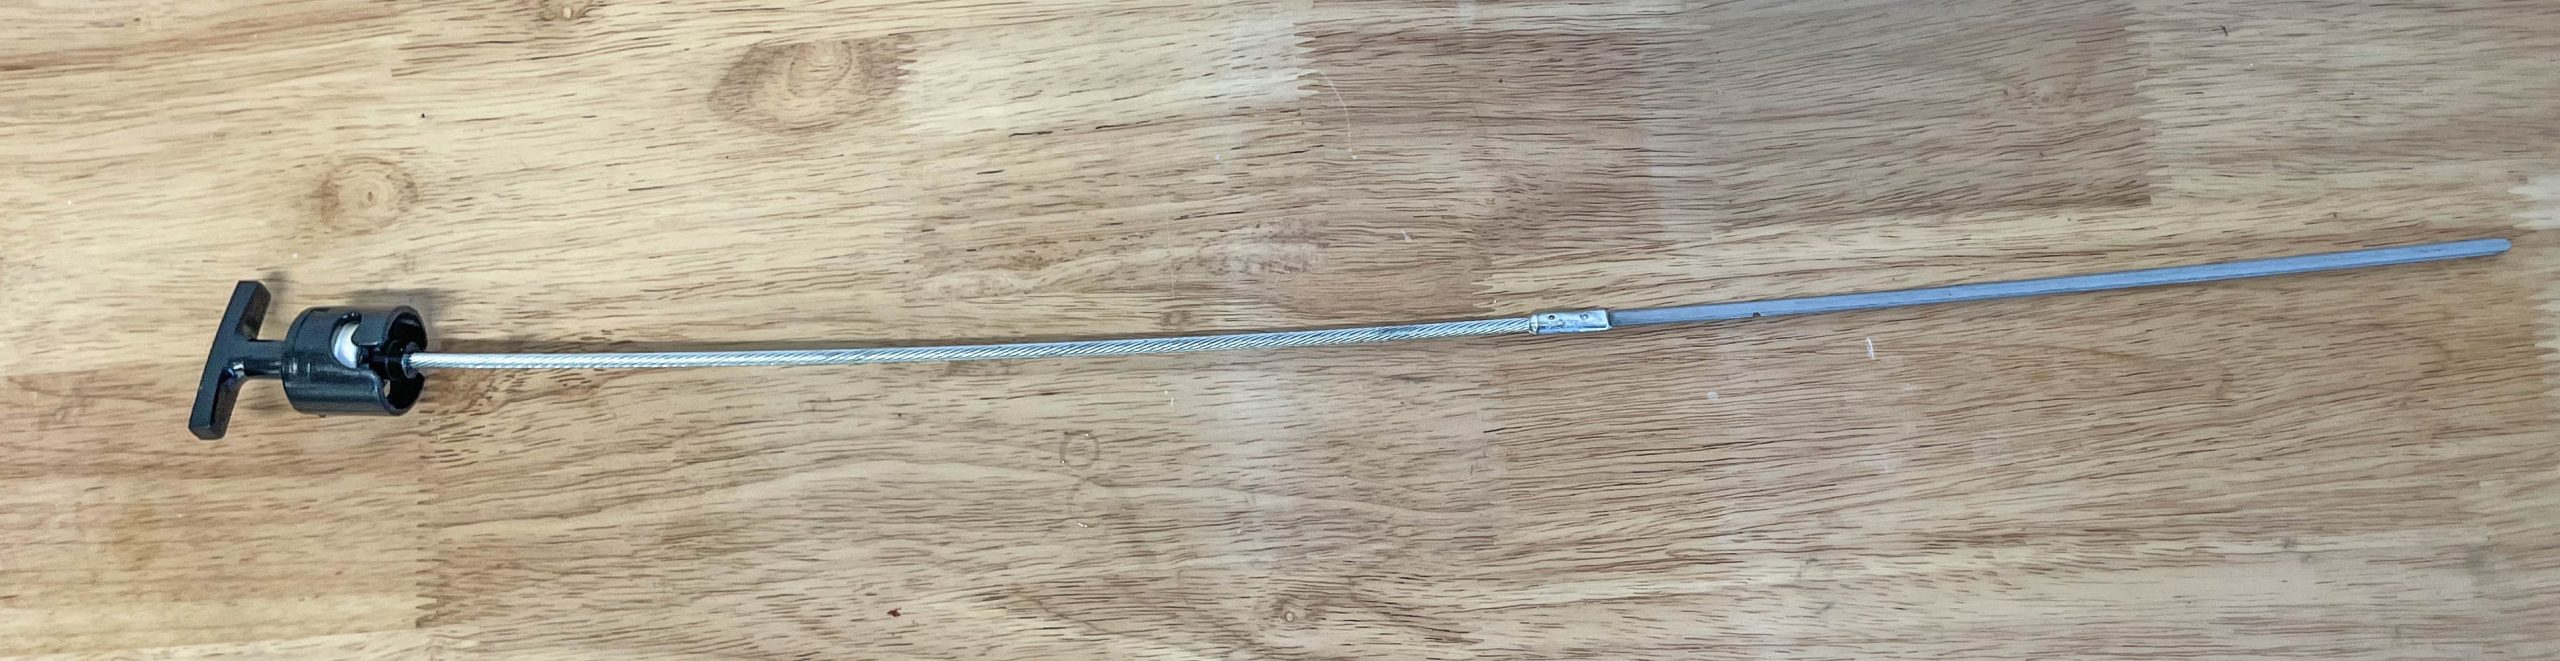
When it comes to metal tube dipsticks like the universal fit Moroso one shown in the photos below, it is possible to bend the tube. A common tubing bender does the job nicely. It may also be necessary to shorten the tube. In our sample build, it took two different cuts to get it right. (By the way, a small tubing cutter works well to cleanly slice open the tube.)
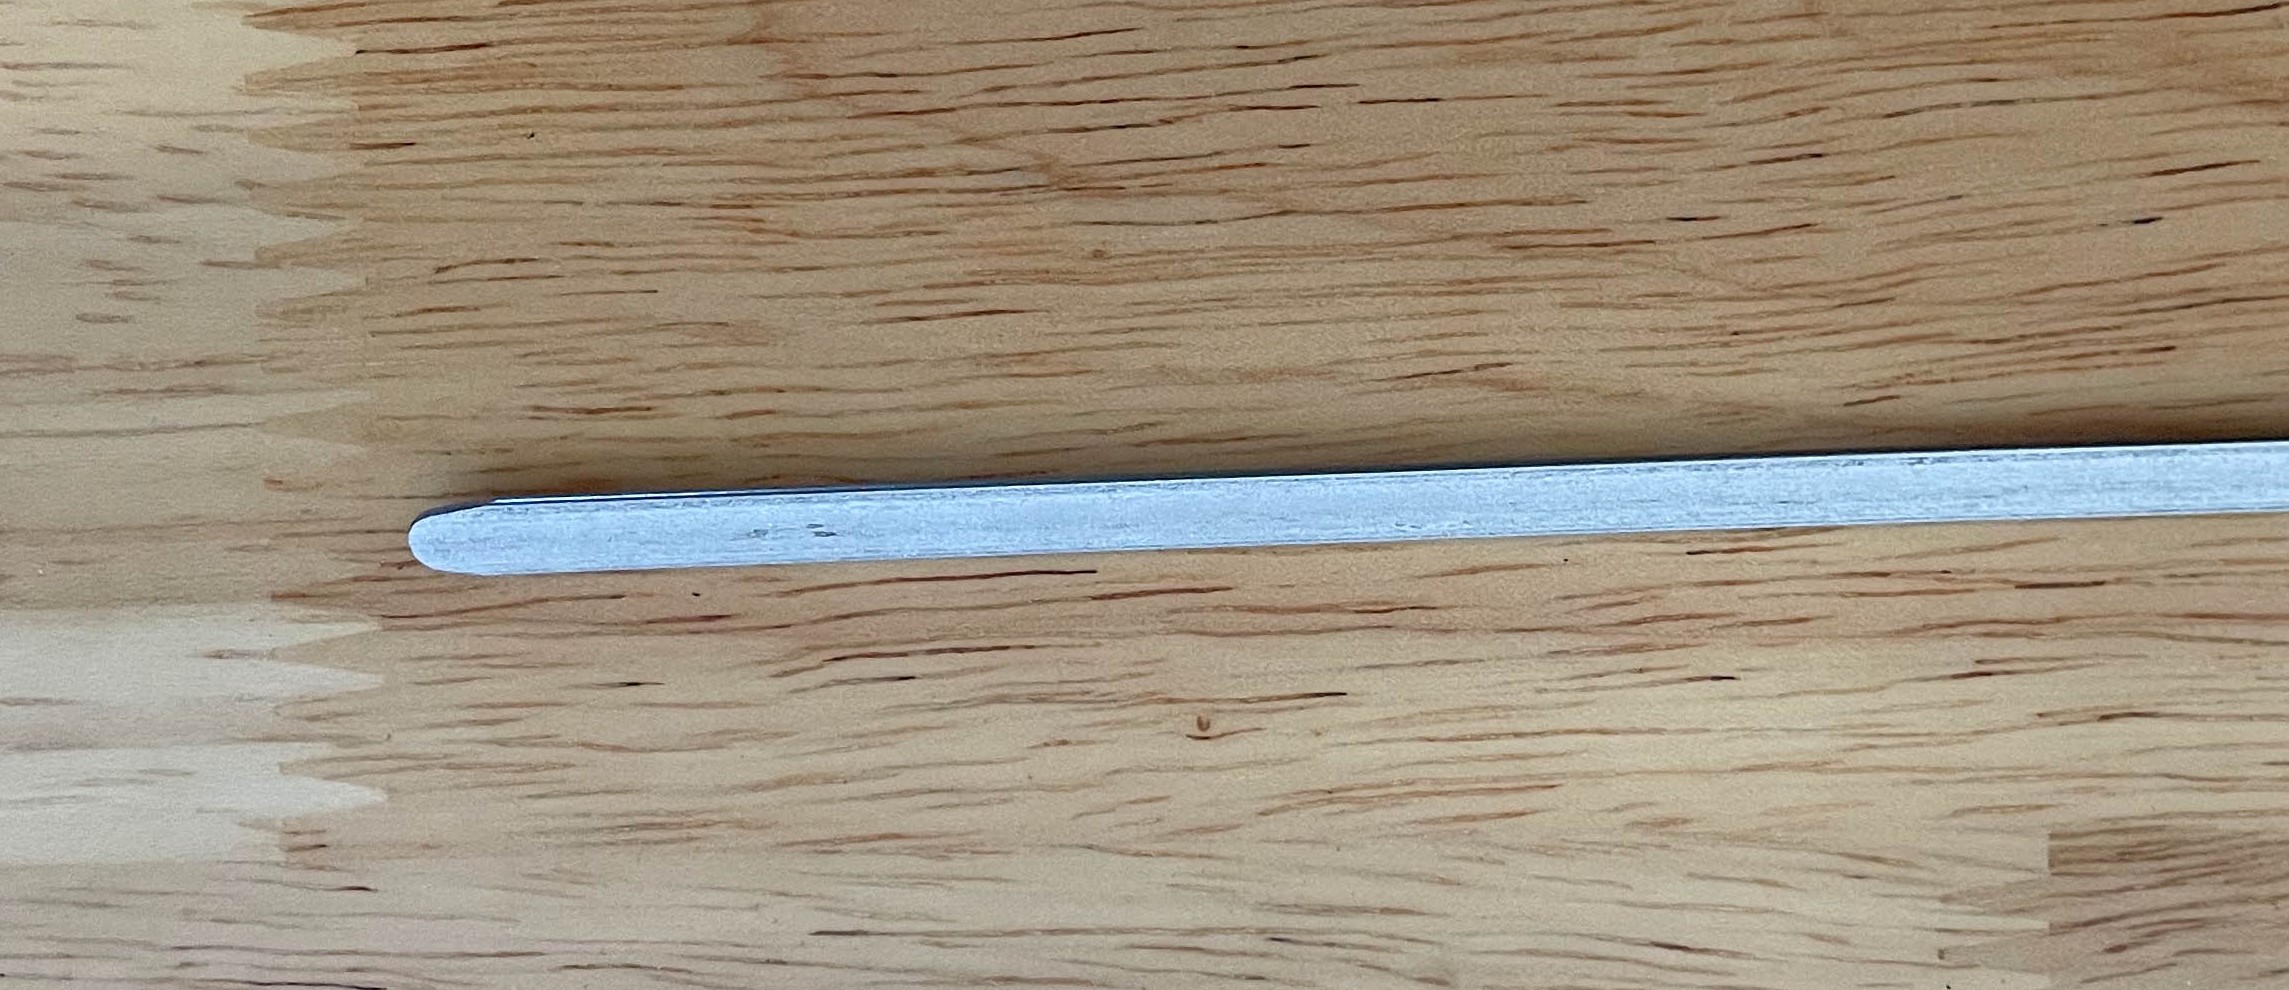
Once the new dipstick tube is in place, fill the pan with the required amount of oil, insert the dipstick, and check the level. At that point, you can mark the dipstick at the “full” level. Some folks place a little notch on the side of the dipstick at the full mark. Others simple scribe a very shallow line on the dipstick. Simple enough.
For a closer look, check out the photos:


Comments