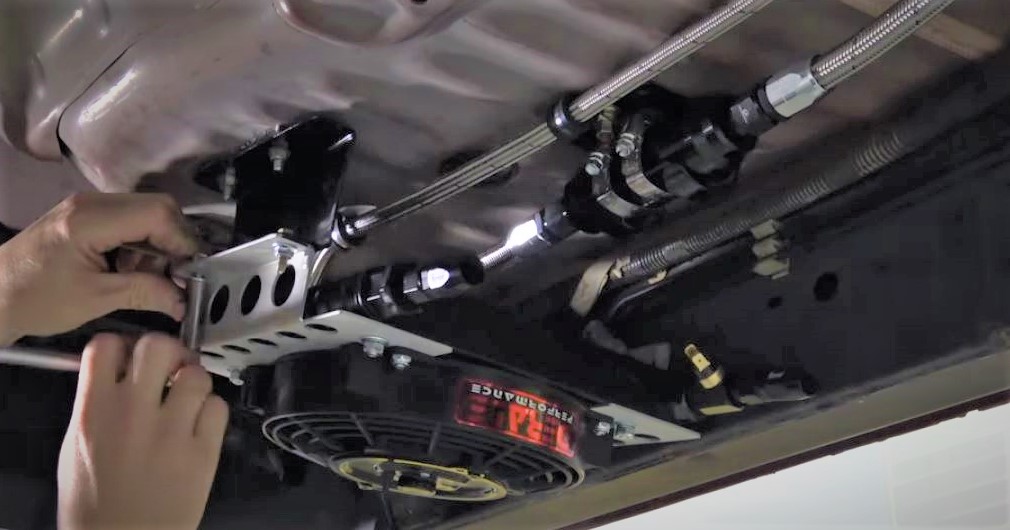
If you want to install a transmission fluid cooler, finding a spot to bolt it up is probably going to be the easy part. You’ll still need a way to connect it to your transmission via a system of pressurized fluid lines and hoses.
Now, if you’re lucky, you may be able to buy your transmission fluid cooler lines right off the shelf.
But for many remote oil and fluid cooler installs, you’re going to have to make some custom hose assemblies. And that holds true for other modifications as well, like if you’re retrofitting a power steering setup or adding a cabin heater.
You may also find these stories pretty handy too:
* Transmission Cooler Guide: What to Consider When Choosing a Transmission Cooler
* Mailbag: How to Adapt Braided AN Line to an Aftermarket Transmission Cooler
With the right hose assembly tools that’s usually no big deal. And if you’re using AN fittings and hoses, then you can watch this tutorial on how to make custom AN hose assemblies.
But one thing that tutorial doesn’t cover, is how to measure your hoses to begin with—for that, we turn to Classic Performance.
The Classic Performance tech team has a clever tip that’ll help ensure your hoses are the perfect length before you make any cuts. It’s a short, easy watch and can save you a ton of effort when it comes time to make your one-off hose assemblies. Check it out:
Finally, there are some mounting considerations too.
We alluded to Tom Tharpe’s Project Firebolt LS-Swapped Tacoma in the picture at the top of this article, but you can get a more detailed walkthrough of his transmission cooler install in the video below:

Comments