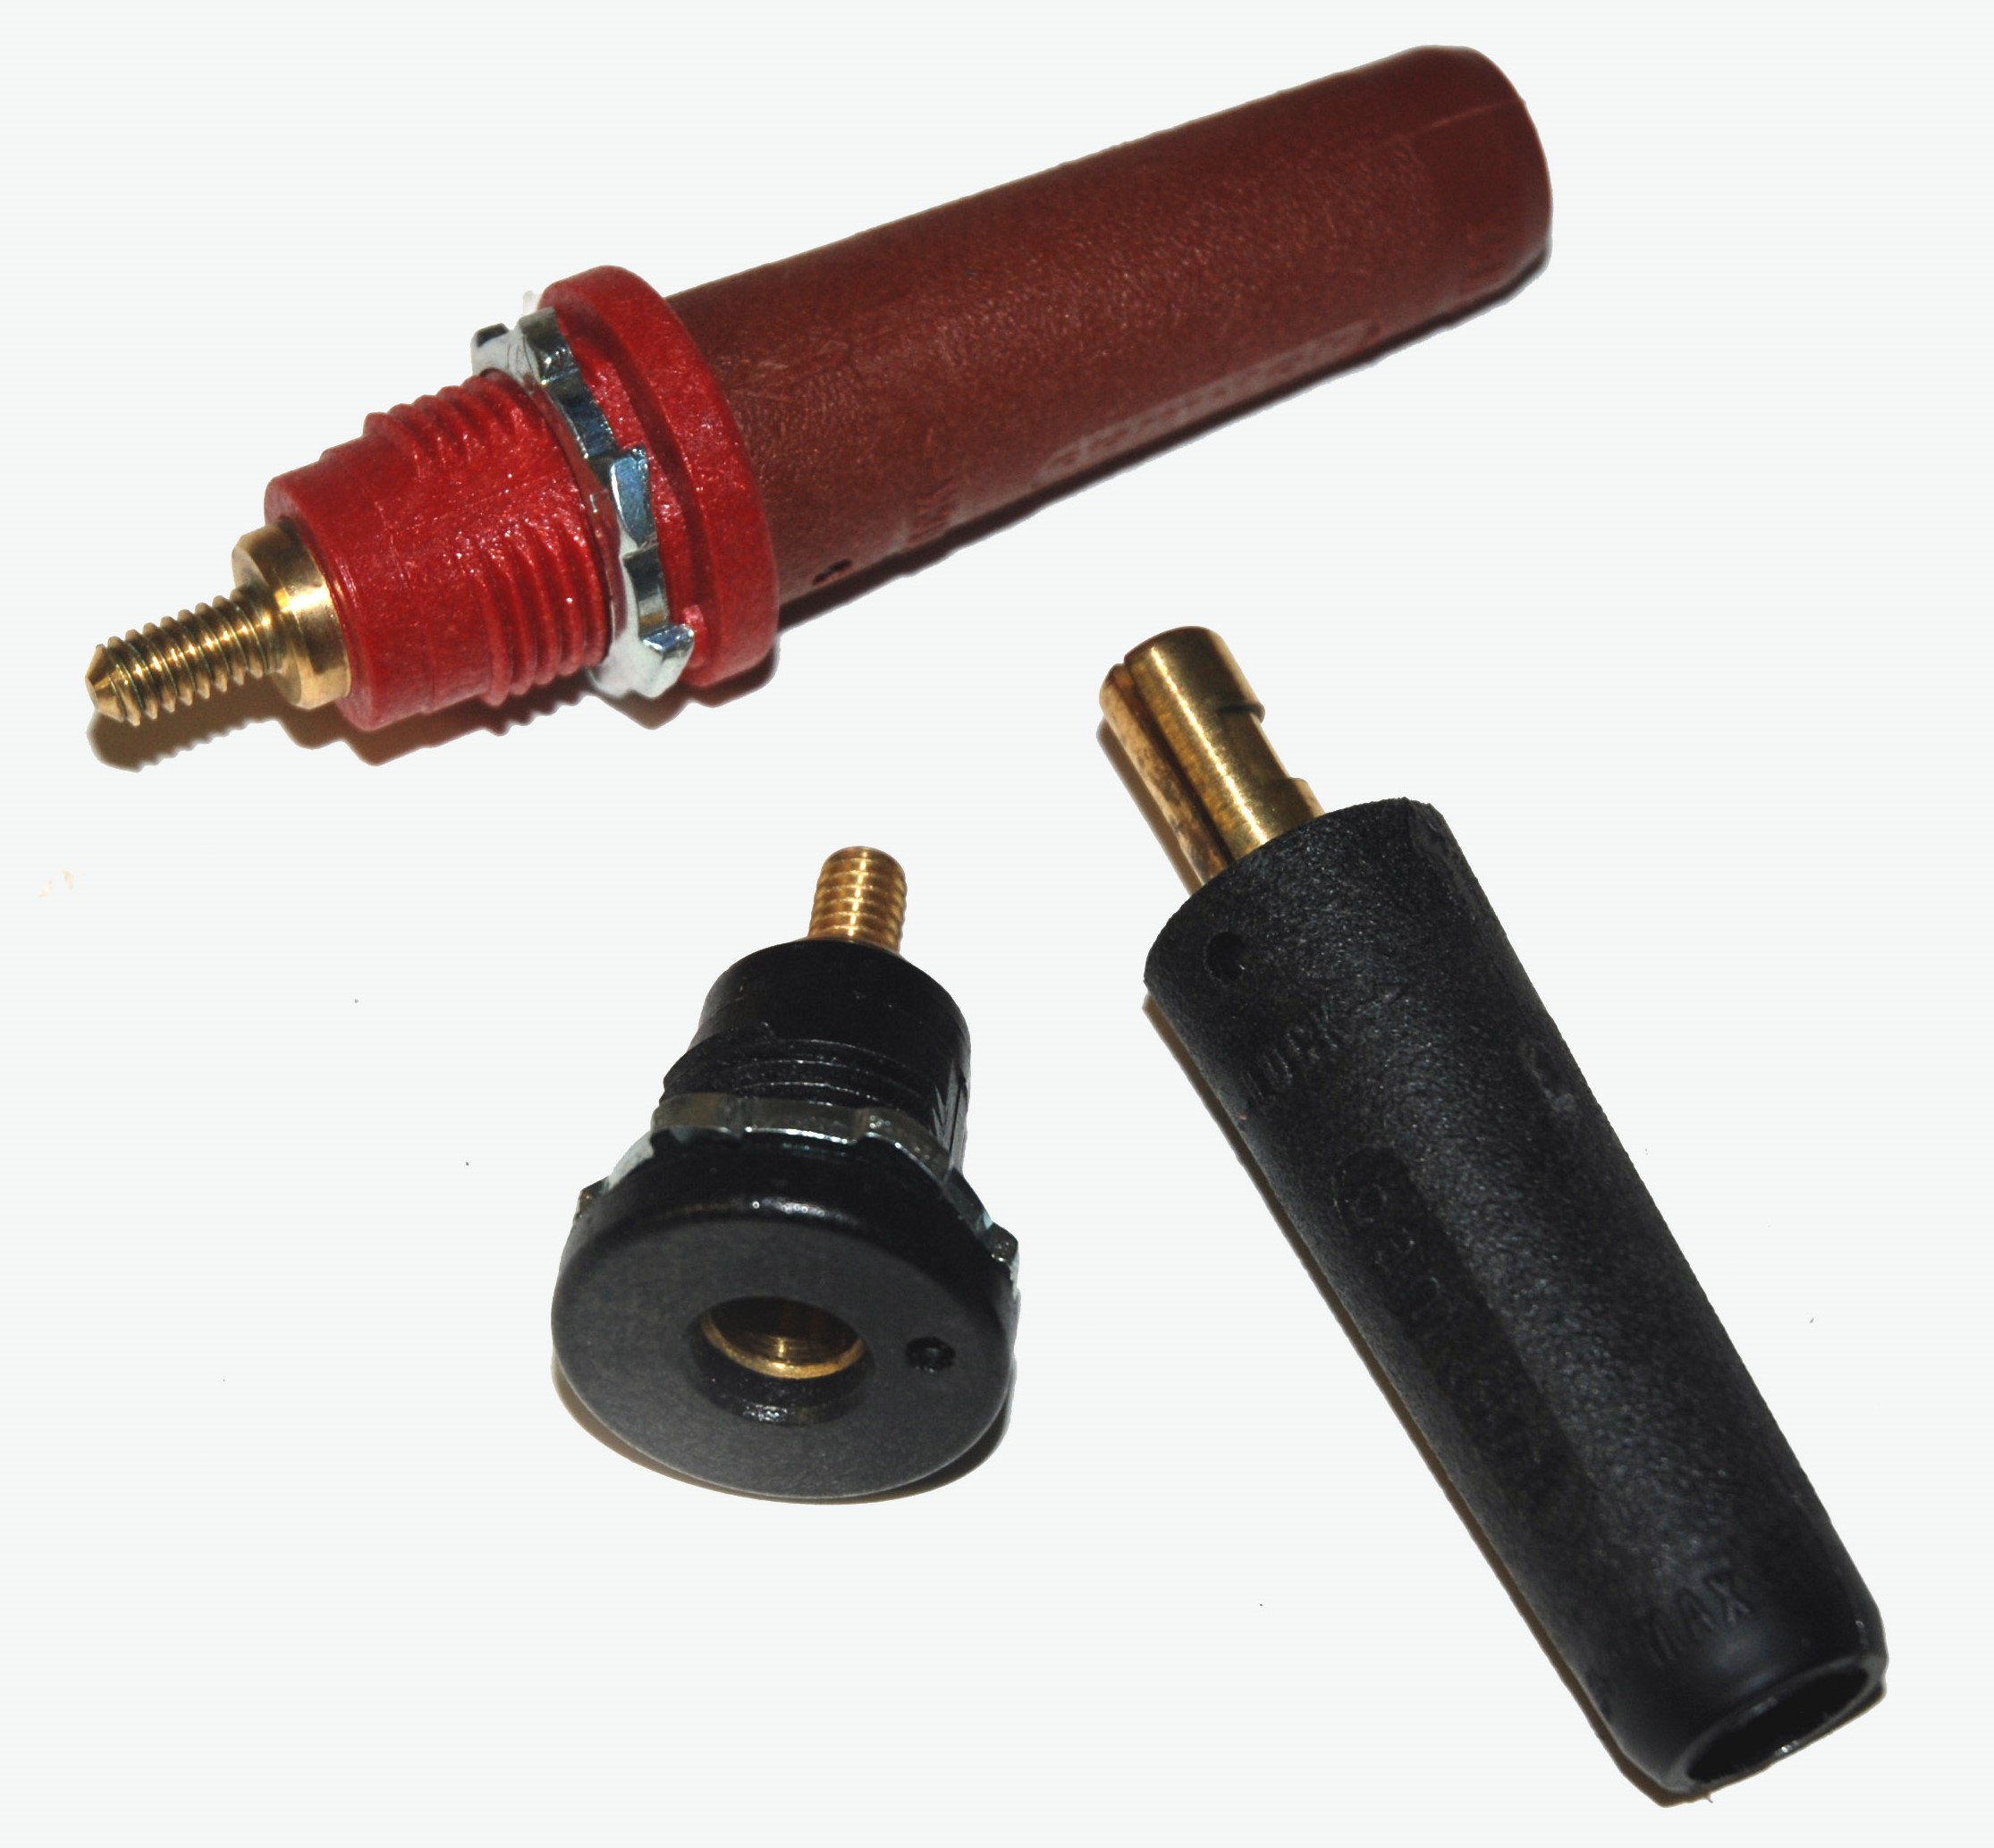
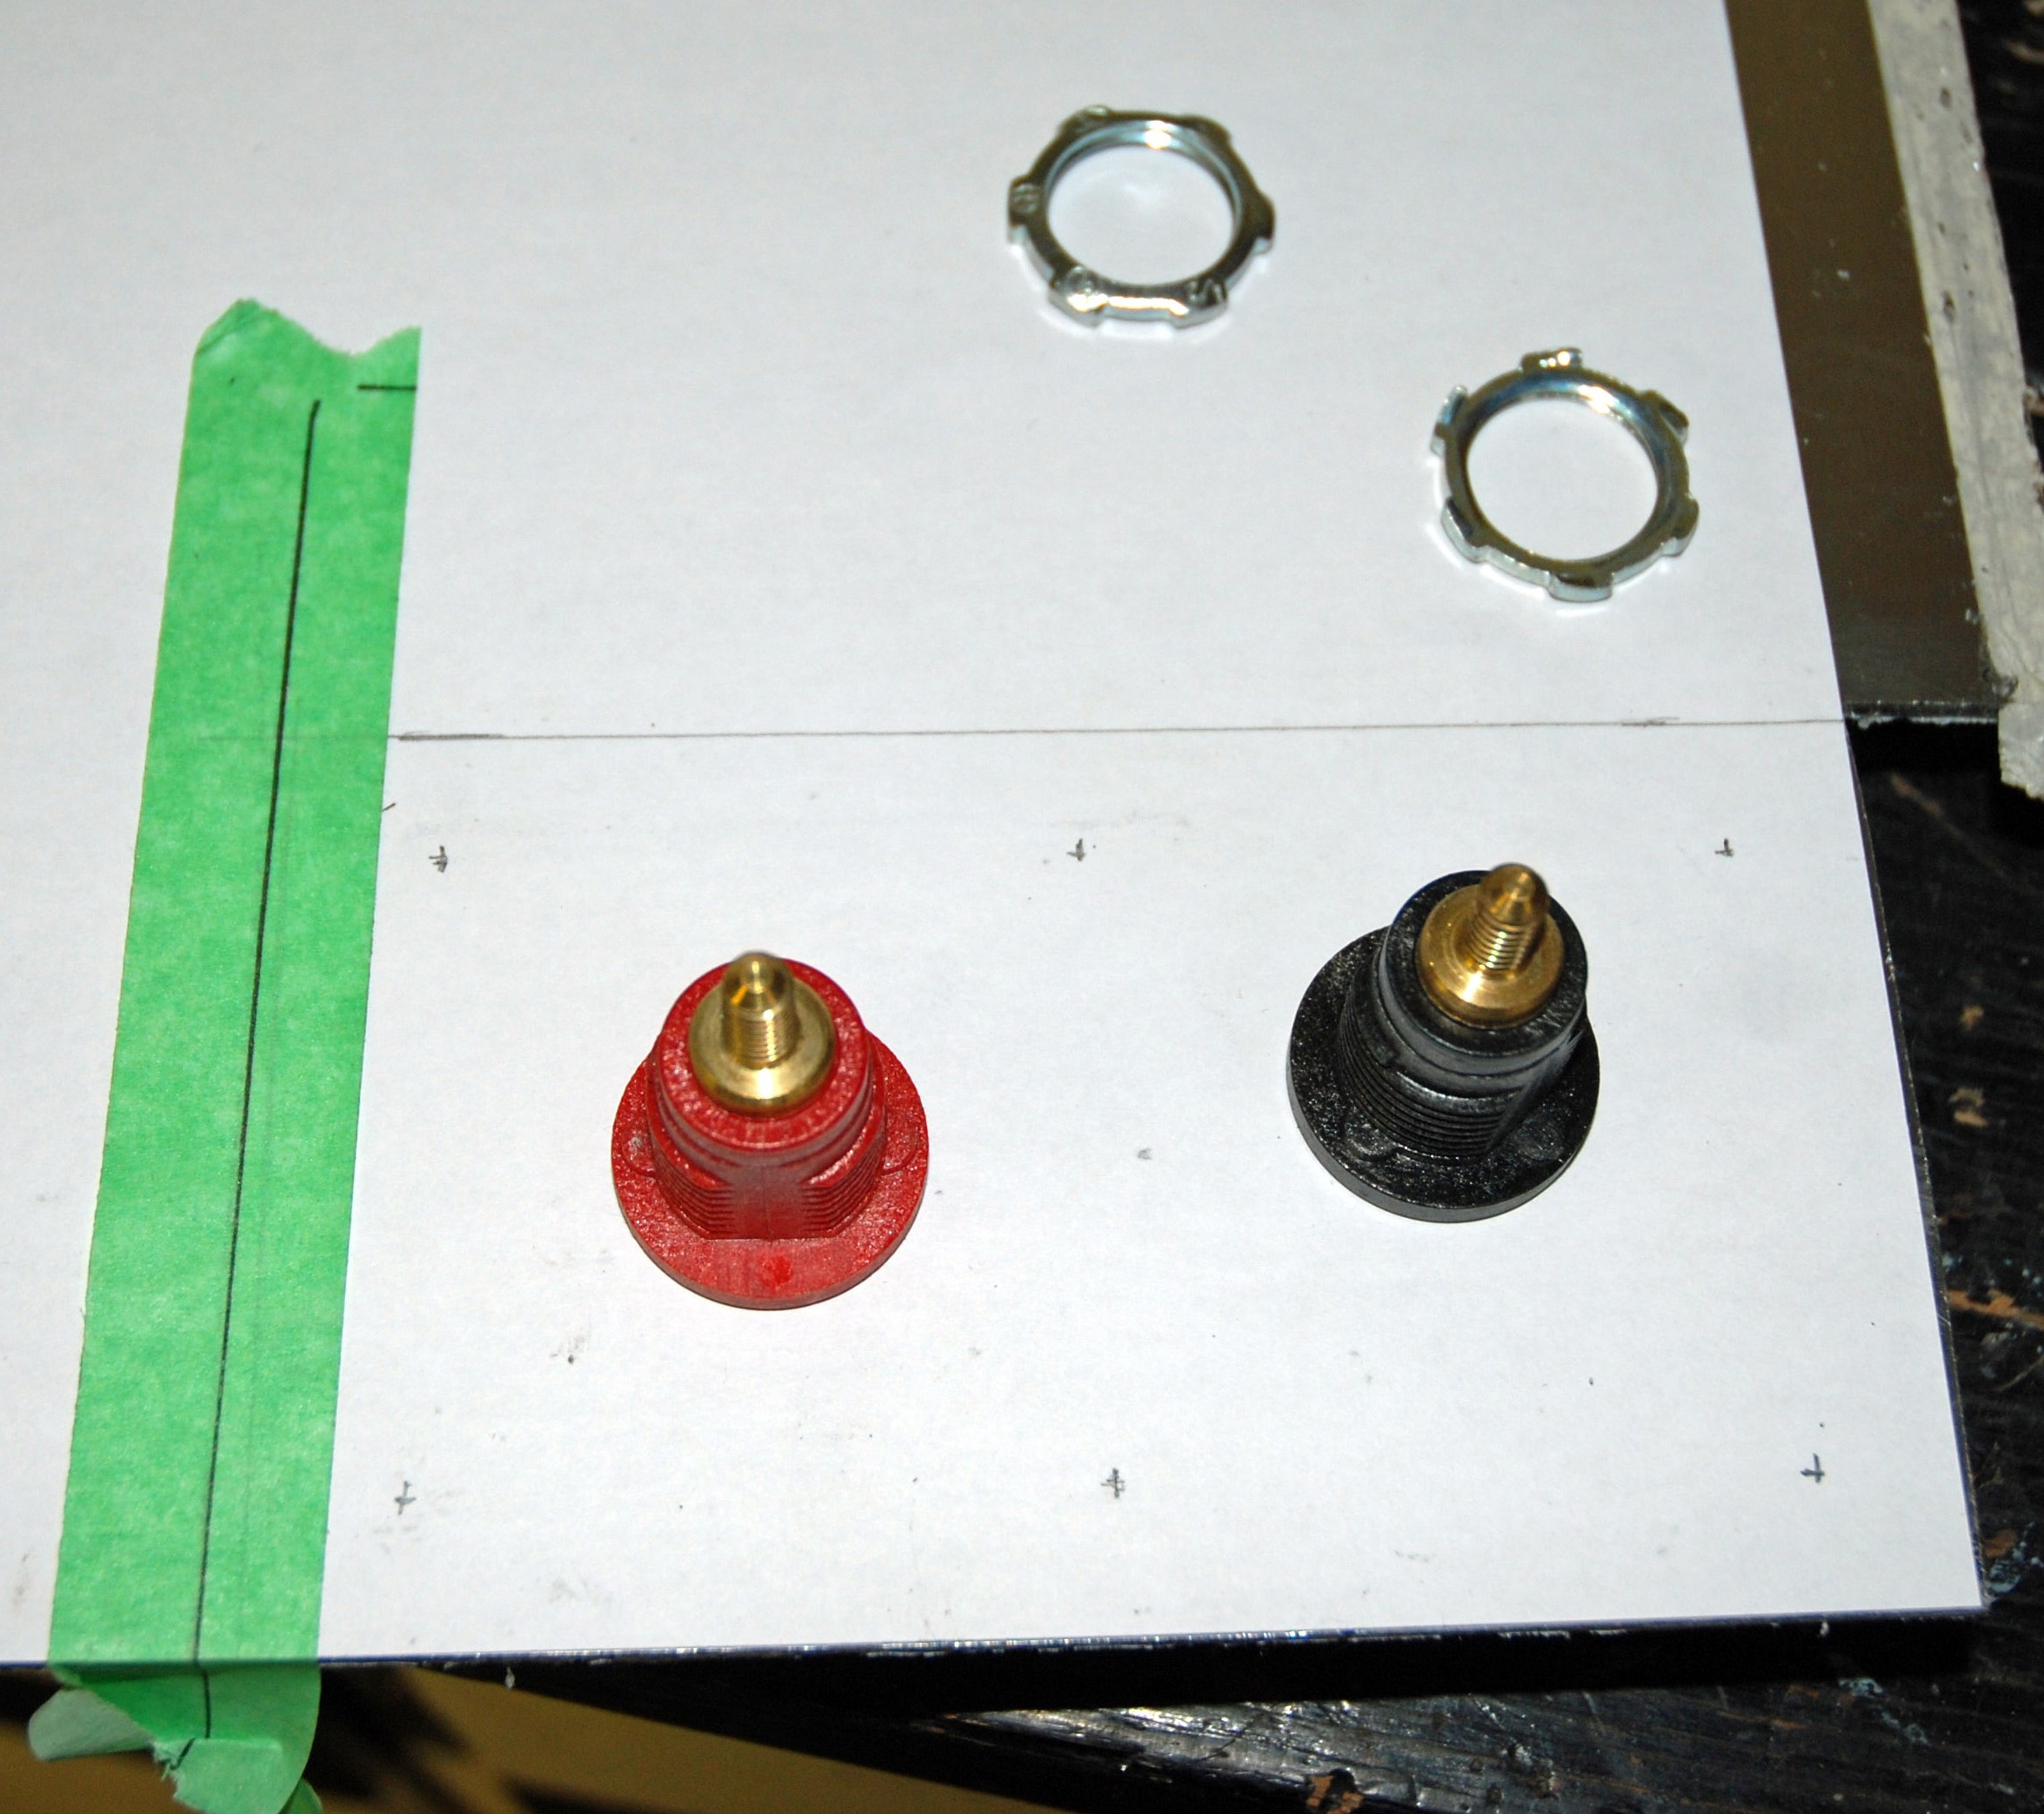
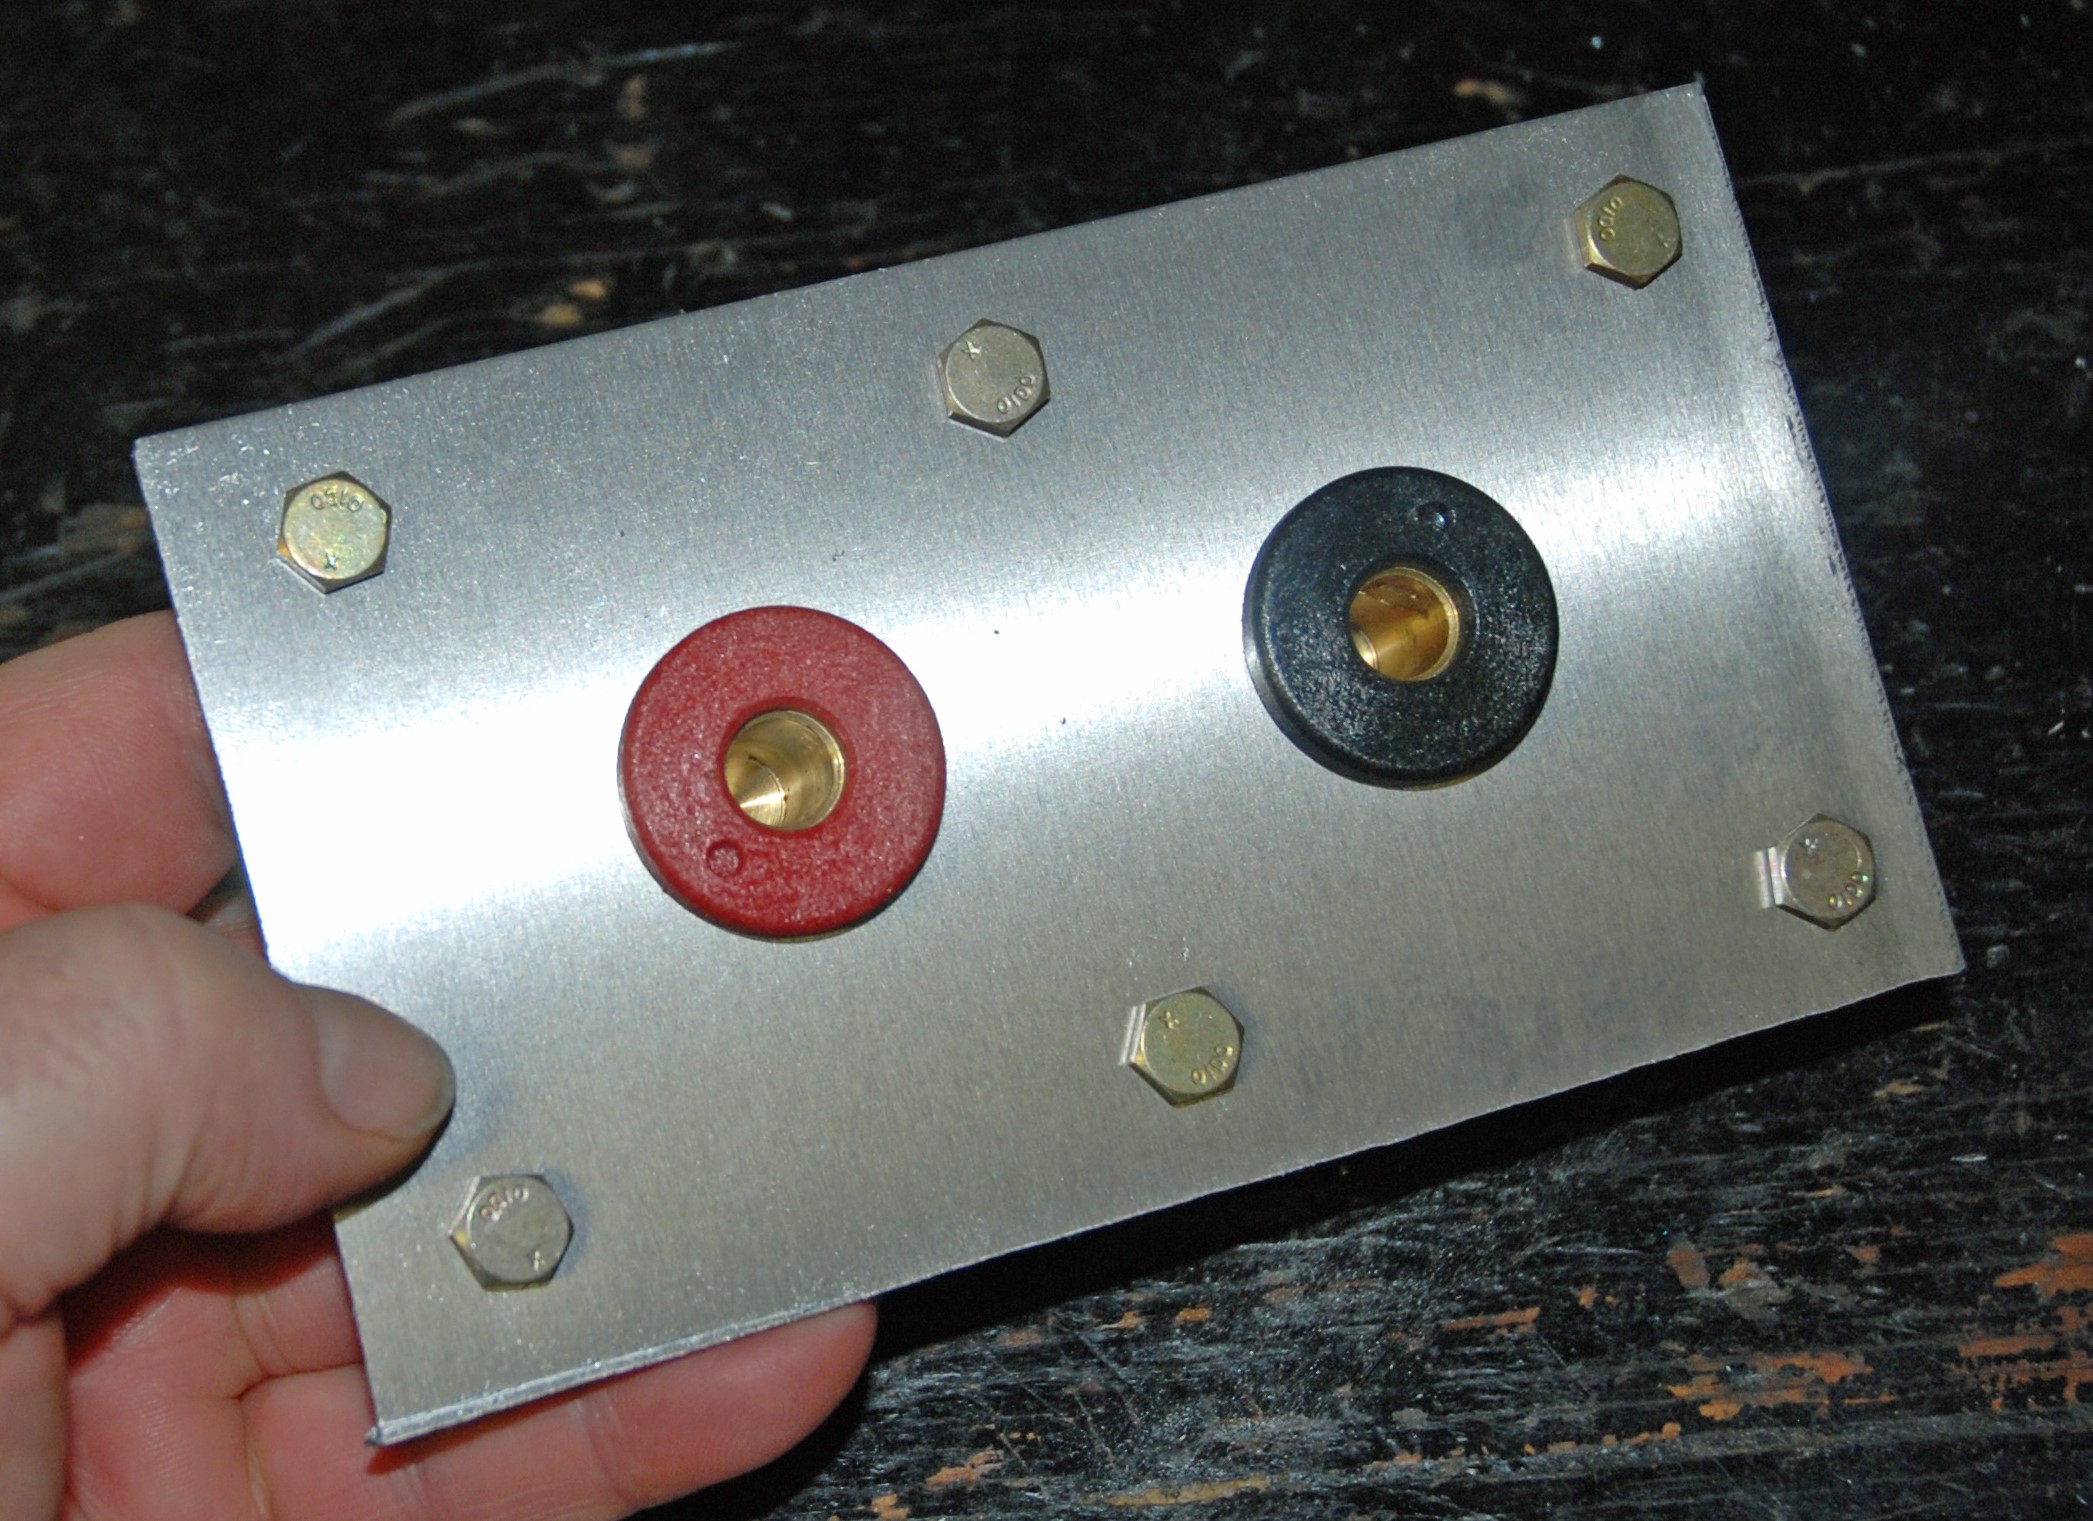
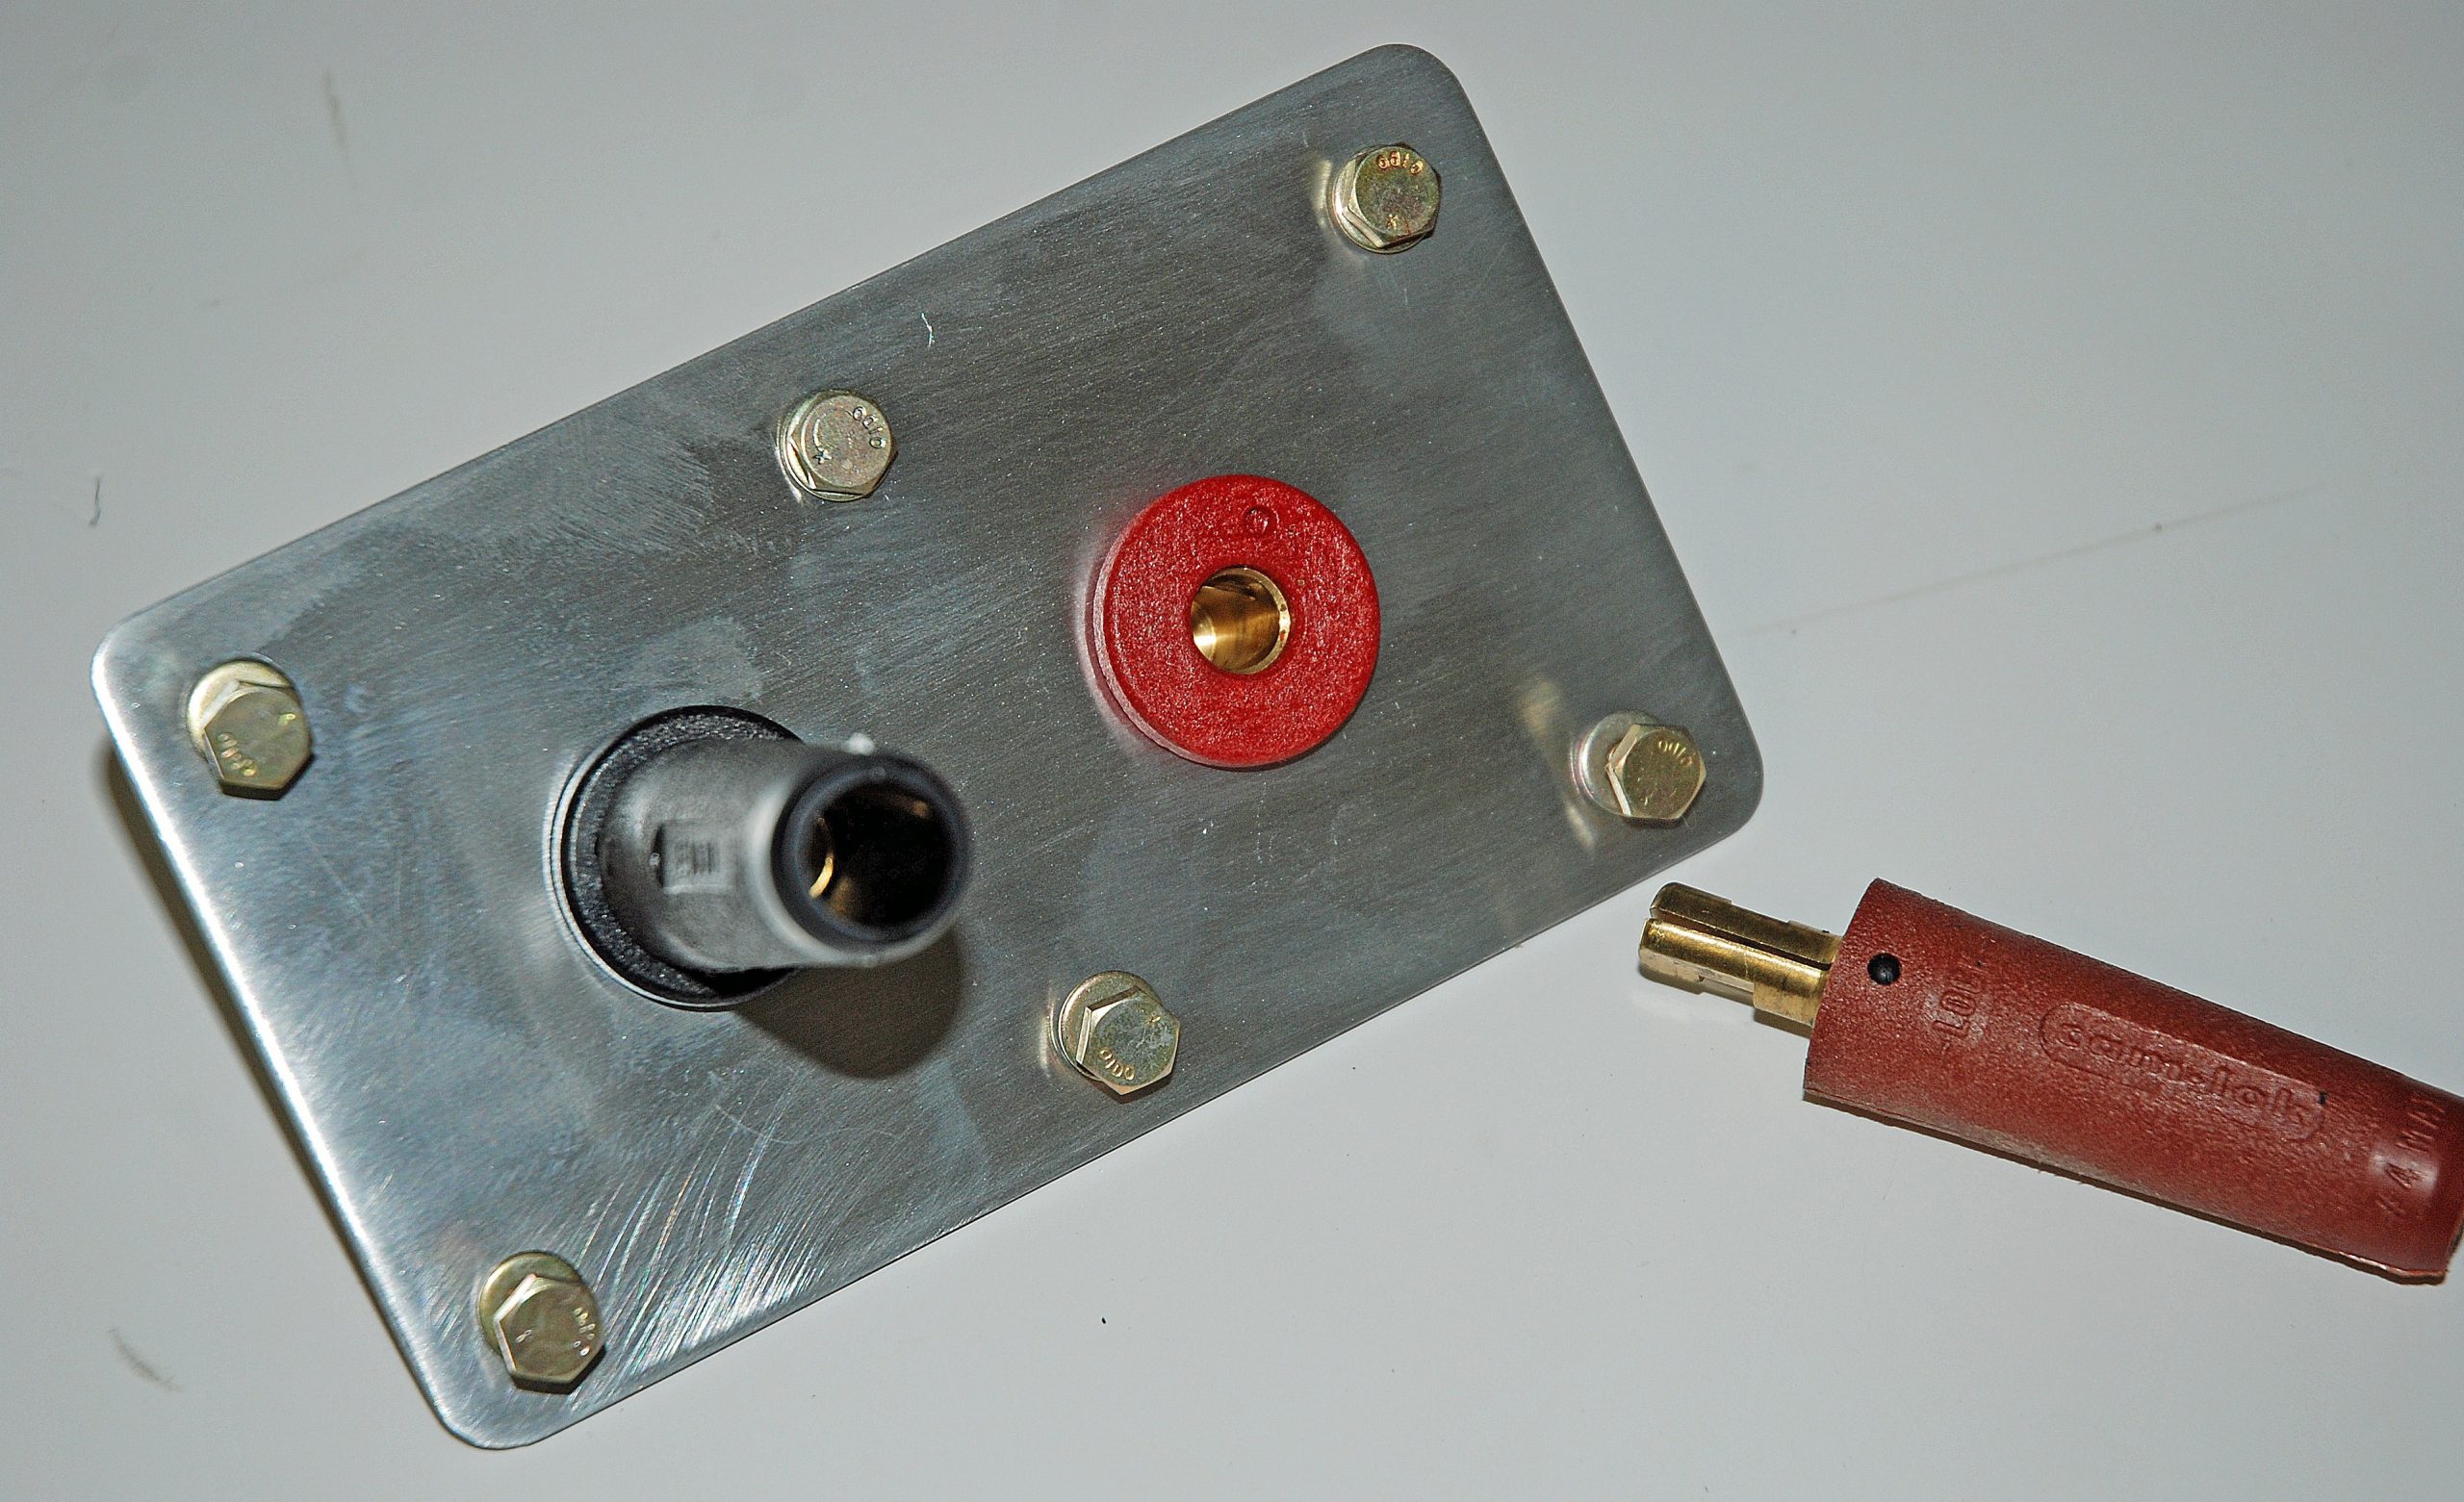
A few years ago, I had a drag car that needed a place to mount a set of battery charger terminals (lugs). Because of where I wanted to mount the charger terminals, I quickly discovered there was nothing available in the marketplace I could buy or modify to fit.
That meant I had to build one myself.
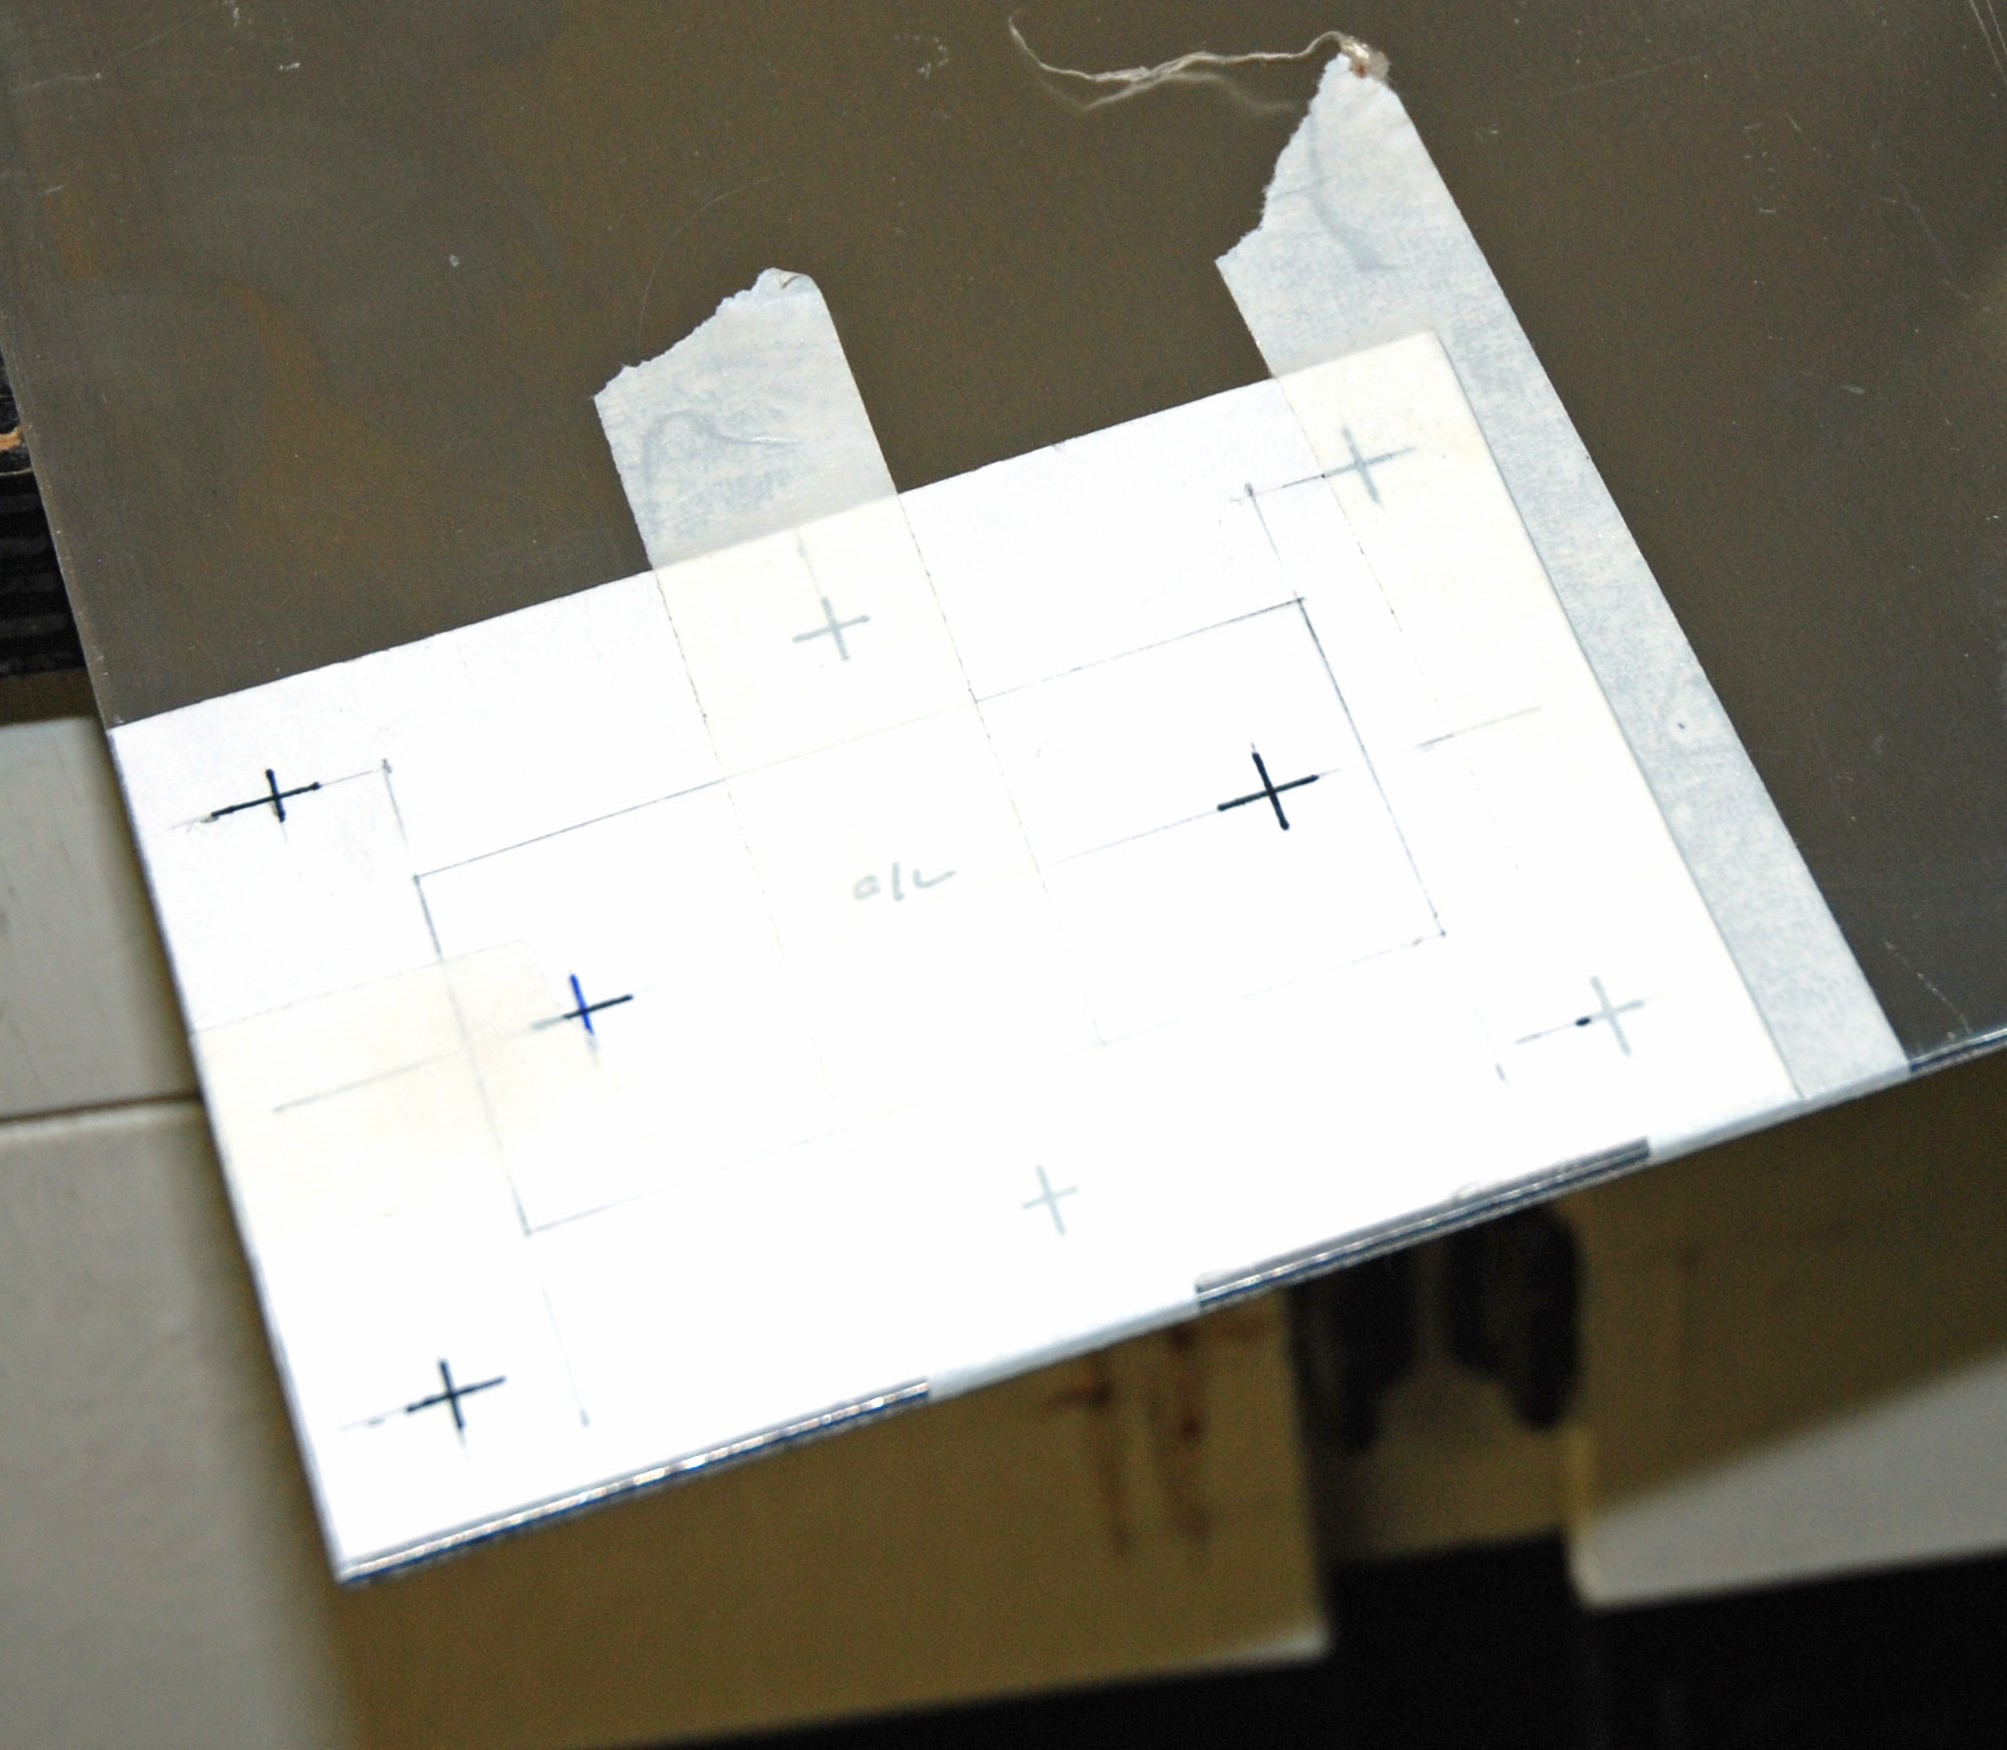
What I decided to do was to set up the bracket to act as a doubler to cover an existing opening and, at the same time, accept the charger lugs. As it turns out, a little bracket such as this could be used for a lot of things, including a place to mount a battery kill switch, a doubler to reinforce a section of sheet metal, and so on. I used a similar doubler on the trunk floor of a car I built to accept the weight of a heavy (huge-by-large) fuel pump.
Although there are any number of ways to accomplish this, you might find my little “build-it-myself journey” useful.
Selecting the Right Battery Terminal Bracket Material
You can make the piece out of metal or even robust plastic. The most common aluminum you’ll likely find is 3003. And while there are a number of other aluminum alloys available to us, 5052 alloy might be the best choice for this type of job.
That’s because the 5052 alloy has one of (if not the) highest strengths within the range of non-heat treatable aluminum alloys. It provides good fatigue strength properties, plus it is resistant to corrosion. (That’s why it’s often found in certain commercial, marine, and aviation applications too.)
Though corrosion resistance is a good enough reason to use 5052 in a car, perhaps the alloy’s workability is its best attribute. When annealed, 5052 can be formed into some exotic shapes, plus it doesn’t have a tendency to tear as easily as 3003 or 1100 alloys. If necessary, it can be welded with a TIG.
Here’s a bonus as well: 5052 alloy cleans up very nicely. That means the parts you fabricate look good when you’re done.
5052 is available in a number of thicknesses. From my experience, I think you’ll find material thickness around 0.100 inch works out well for most mounting plates, doublers, brackets, and other pieces. For options, 5052 is available in 0.025, 0.032, 0.040, 0.050, 0.063, 0.080, 0.090, 0.125, and 0.1875 inch thicknesses.
In the end, 5052 alloy is relatively easy to source and it doesn’t cost an arm and a leg.
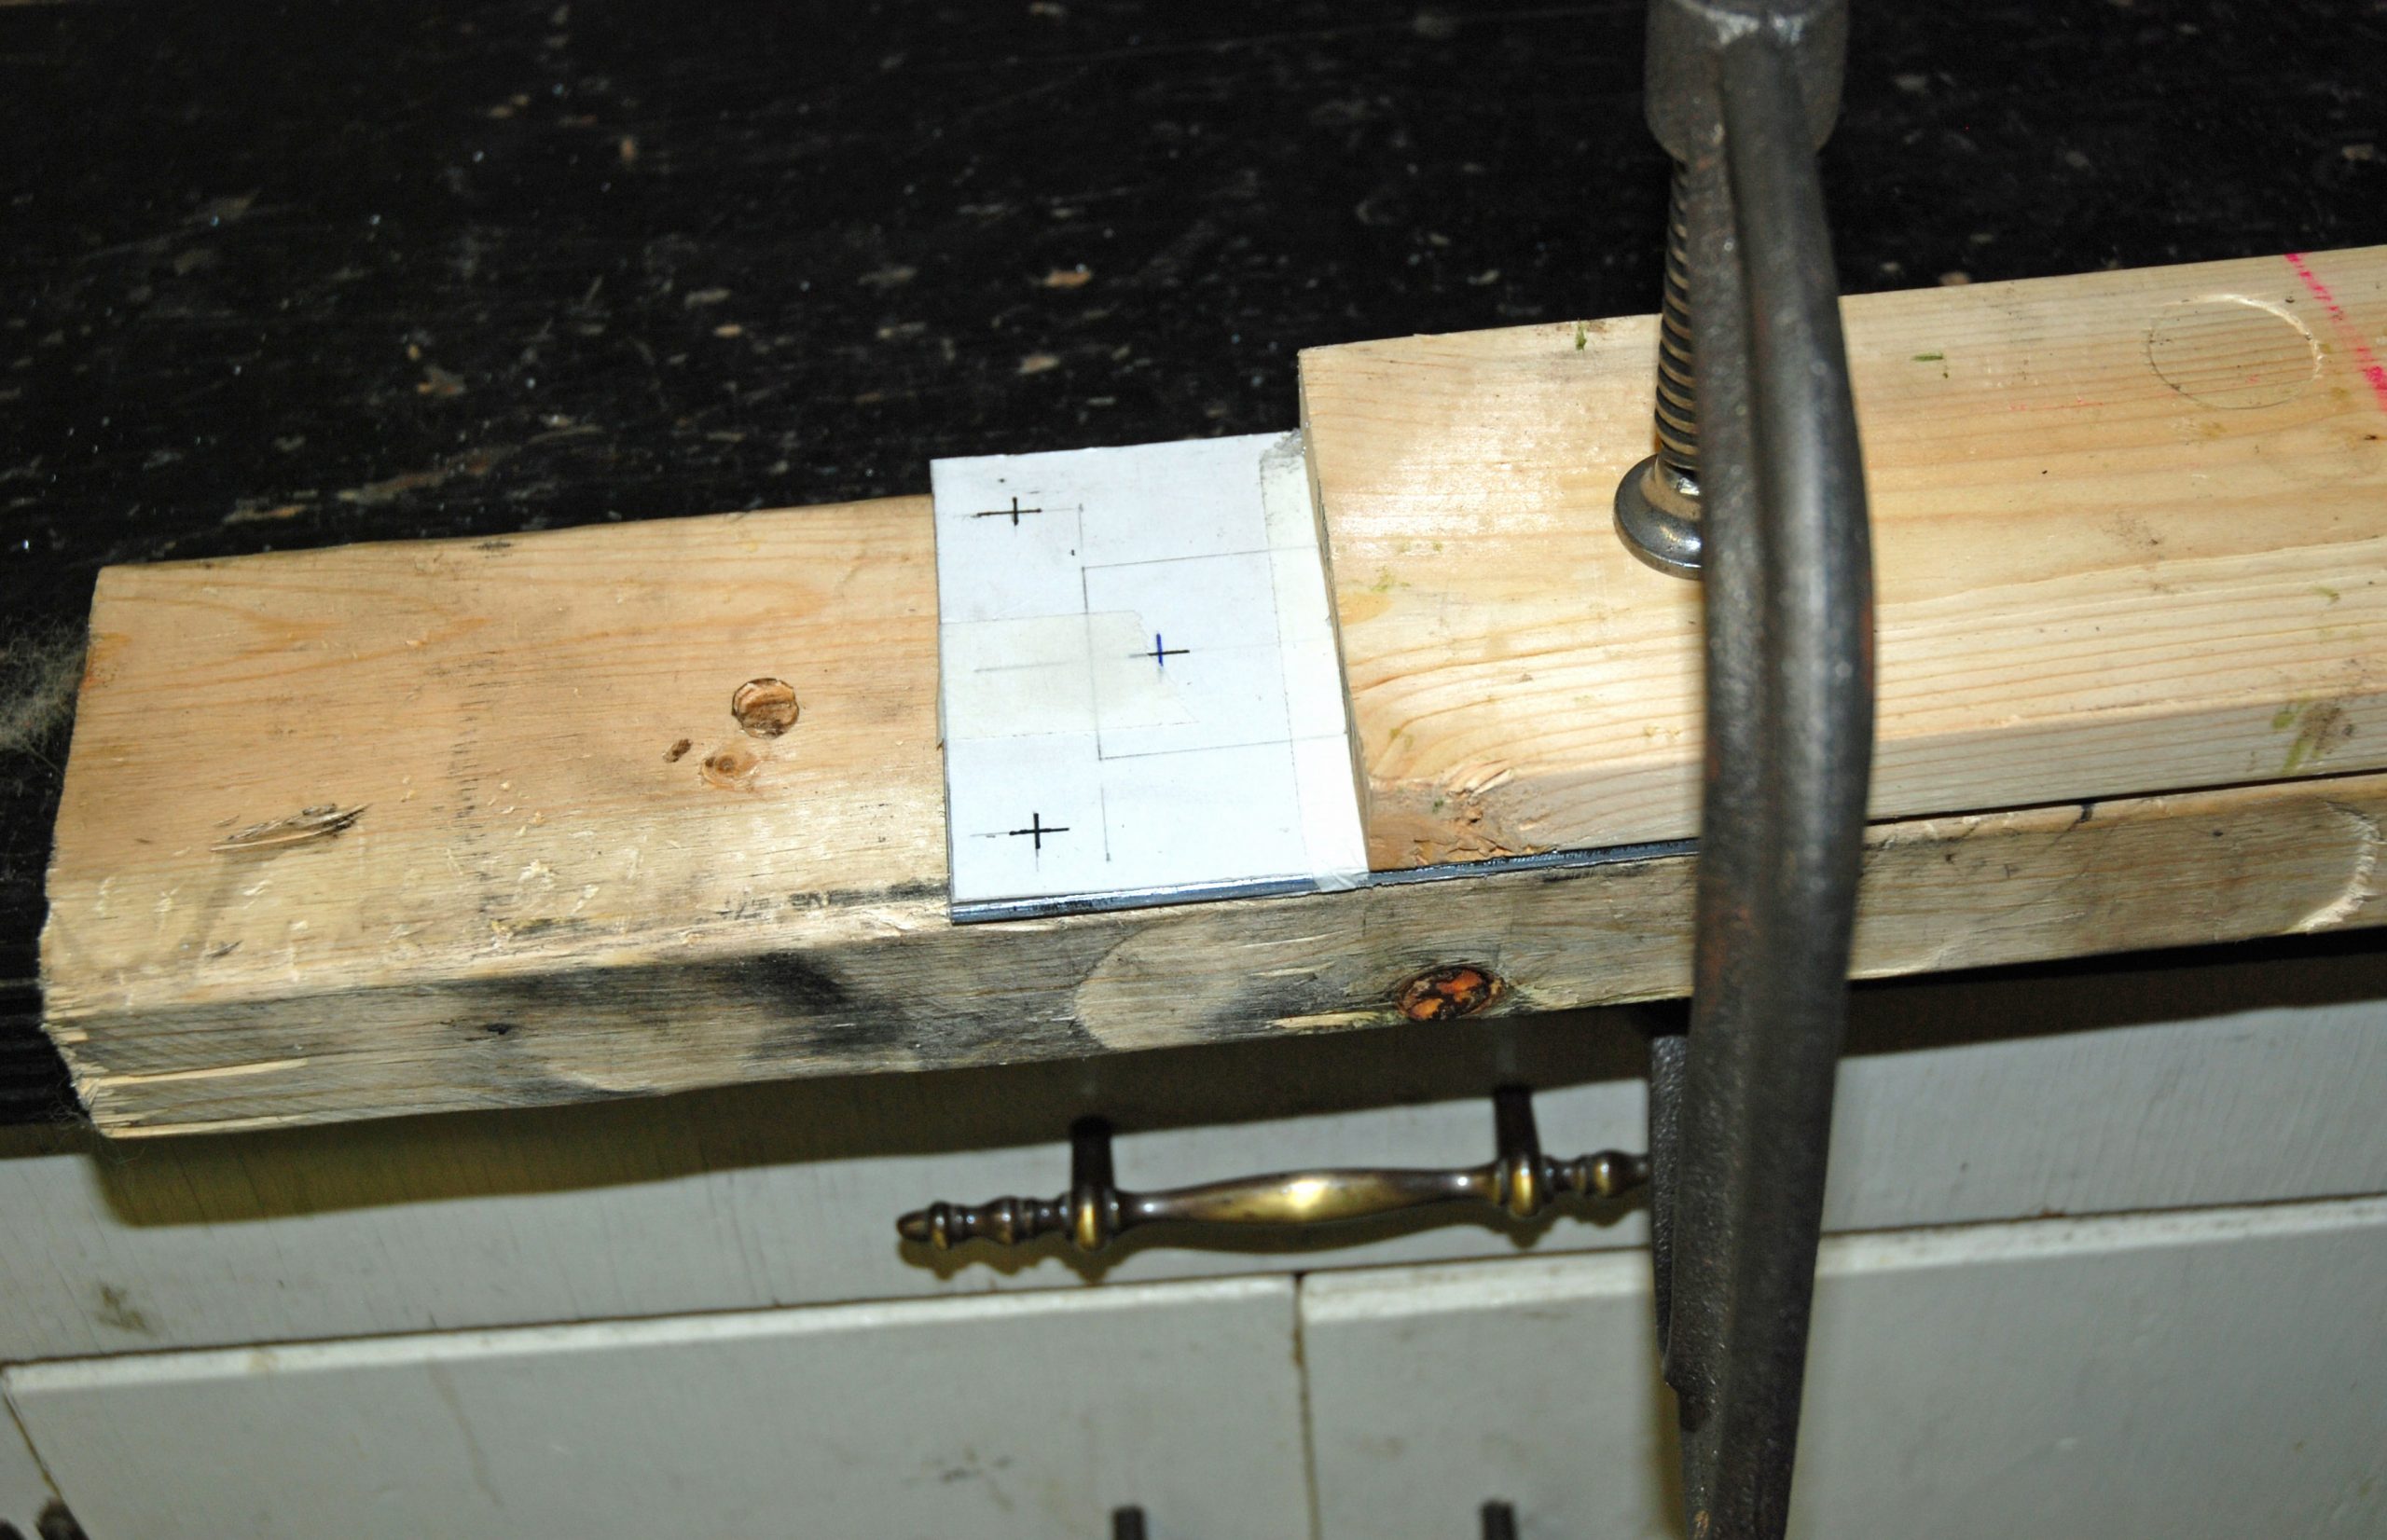
Understand Edge Margins Before Drilling Holes
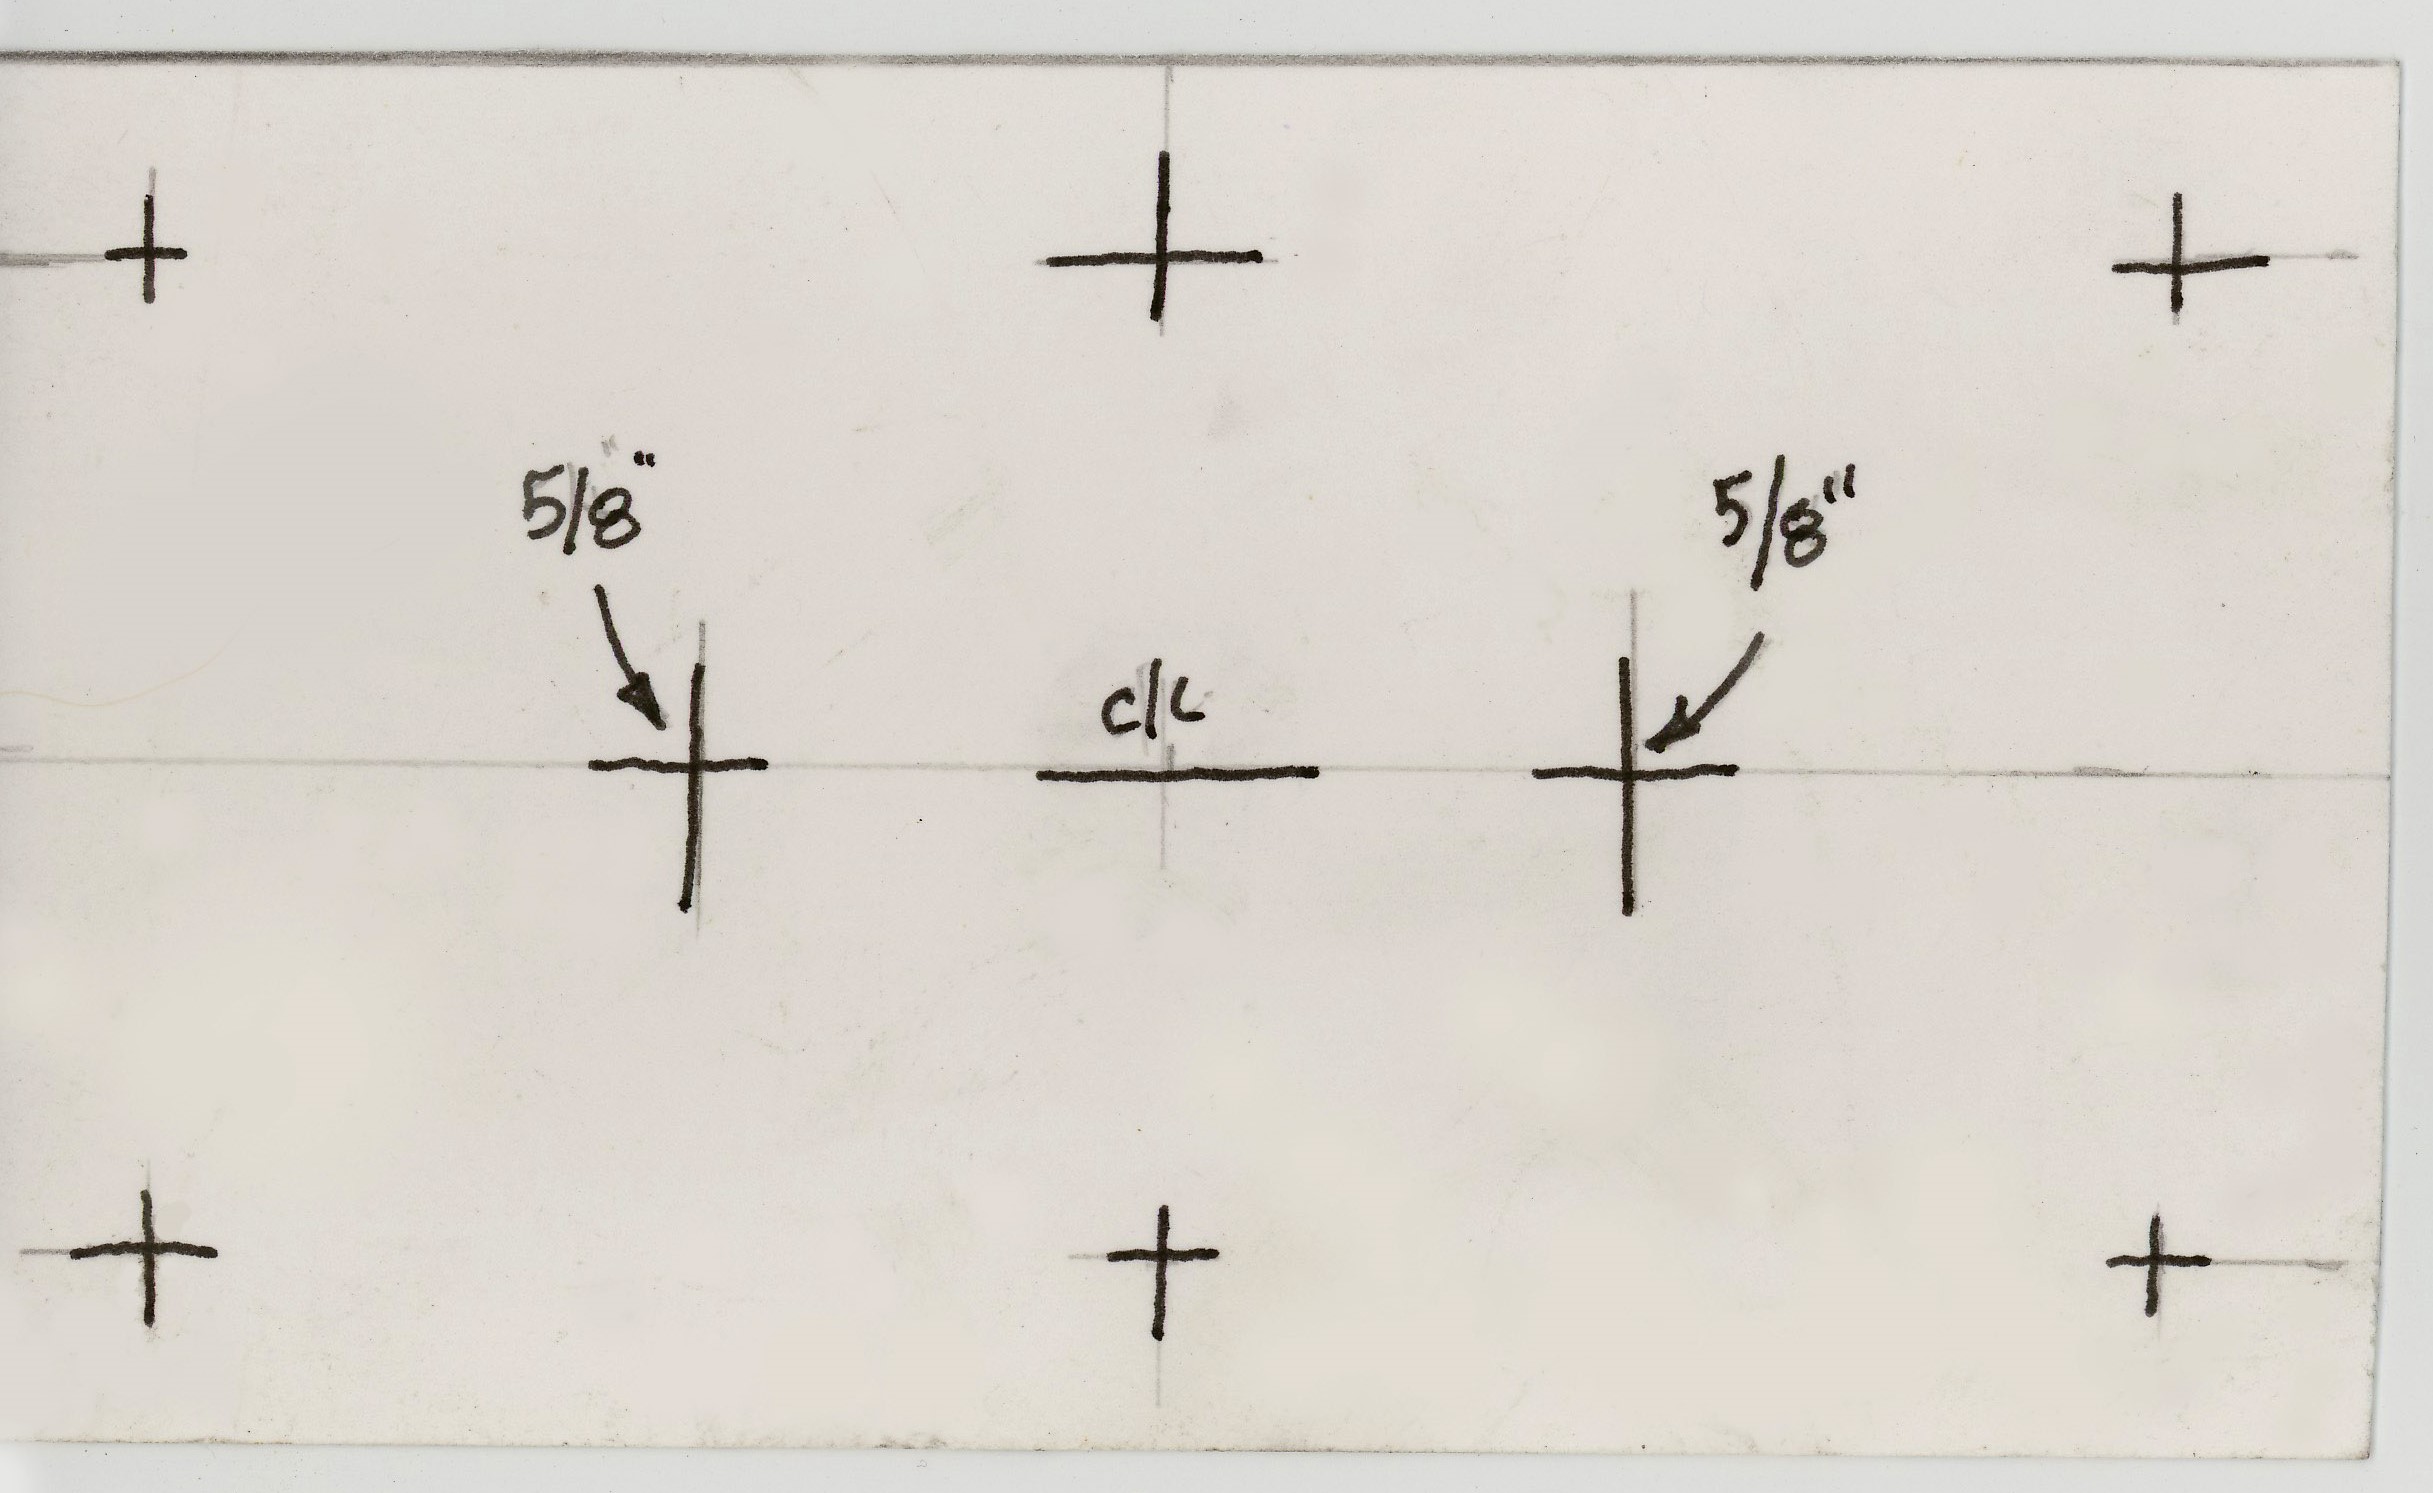
Edge margins are incredibly important for plenty of fabrication projects. Should a hole be drilled too close to the edge of a given piece of metal, it’s entirely possible for the small amount of metal between the hole and the edge to tear under stress.
The distance between the edge of the material and the drilled hole is called an “edge margin.”
The specified edge margin is the distance from the center of a hole to the nearest edge.
In aircraft practices, the standard edge margin works out to twice the diameter of the hole. For example, if you have a 1/4 inch hole, the center point of that drilled hole should not be closer than 1/2 inch from the edge of the material (1/4 inch drilled hole X 2 = 1/2 inch).
Easy enough, but what if you must drill a series of holes in a component? How close can they get?
In the aviation world, there’s a simple solution: The minimum separation between the respective hole centers equals three times the diameter. This means that if you have a component that needs a bunch of 1/4 inch holes drilled in it for fastening purposes, each hole center must be 3/4 inch apart (1/4 inch drilled hole X 3 = 3/4 inch). Case-in-point is an aluminum plate and it’s mounted to a chassis tab by way of a series of holes. Each hole must maintain the edge margin and in addition, the series of holes must be a precise distance apart.
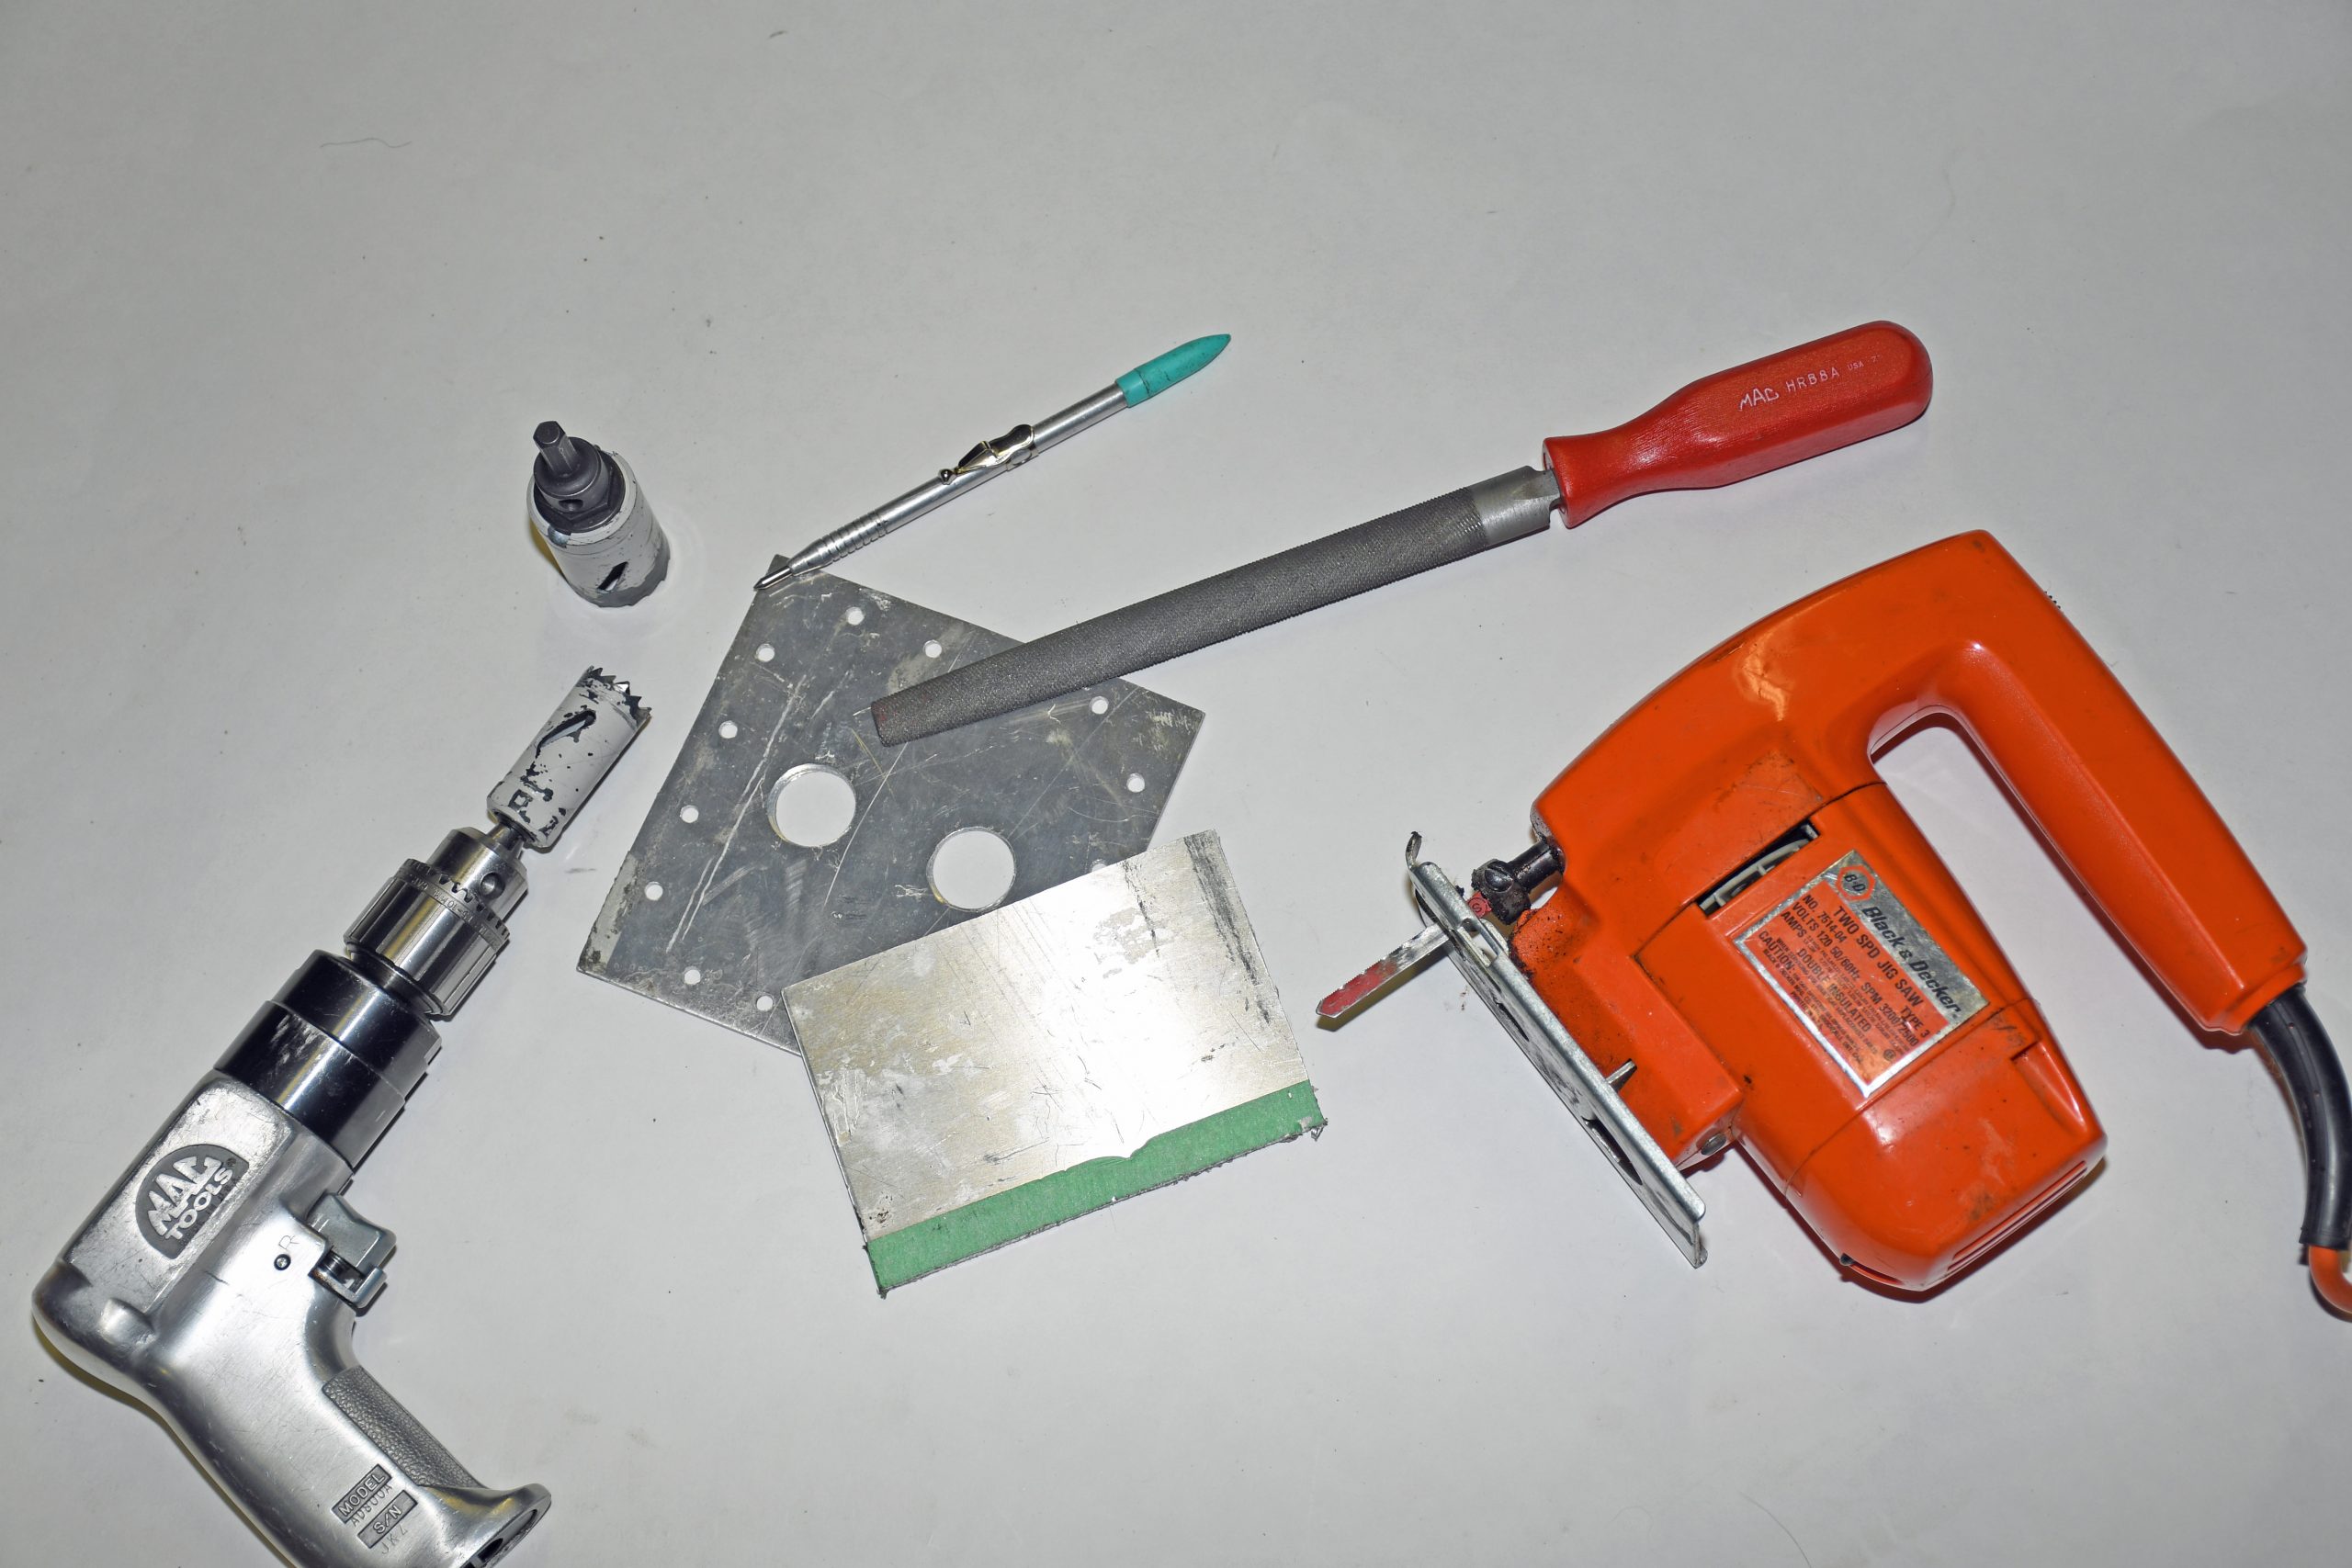
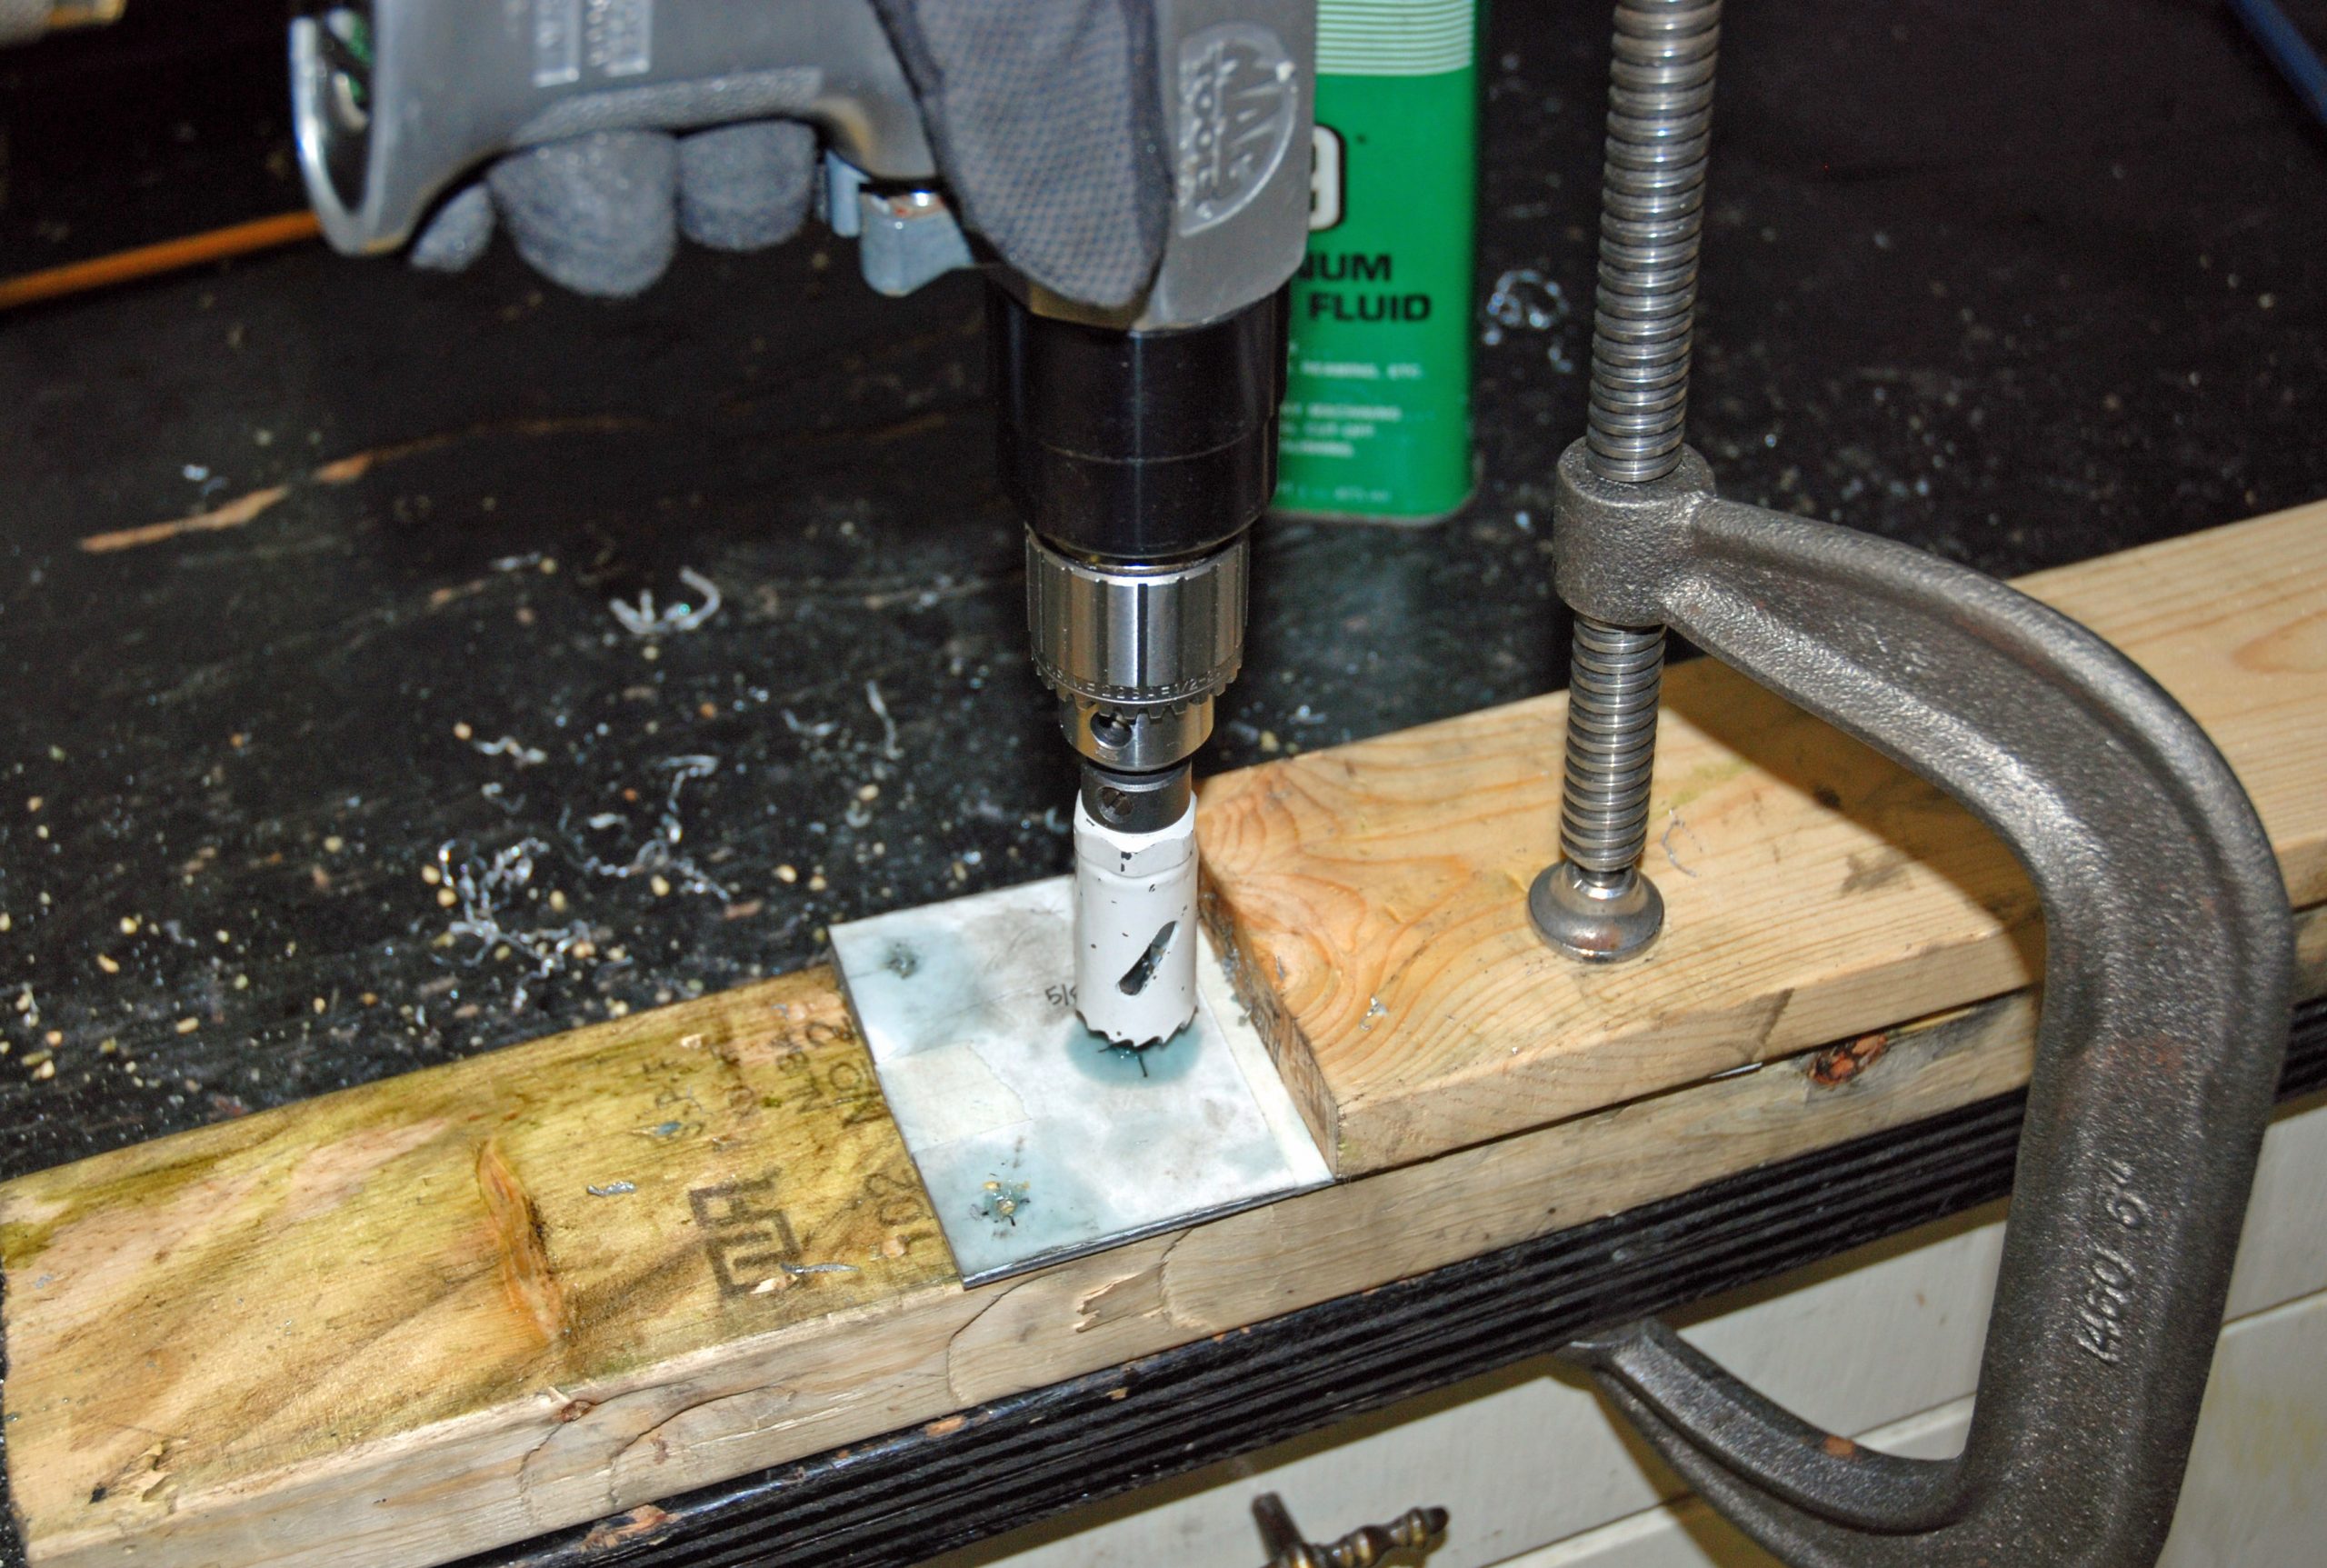
Some Notes About Drilling Holes in Metal
When it comes to drilling a hole, you’ll invariably discover a burr remains around each hole. Those burrs get in the way when tightening the fastener plus they’re a place for stress risers to start. It’s not uncommon to chatter an oversize drill bit around the hole circumference. Although that eliminates the burr or ridge, it usually destroys the surface surrounding the drilled hole—not to mention enlarging it too.
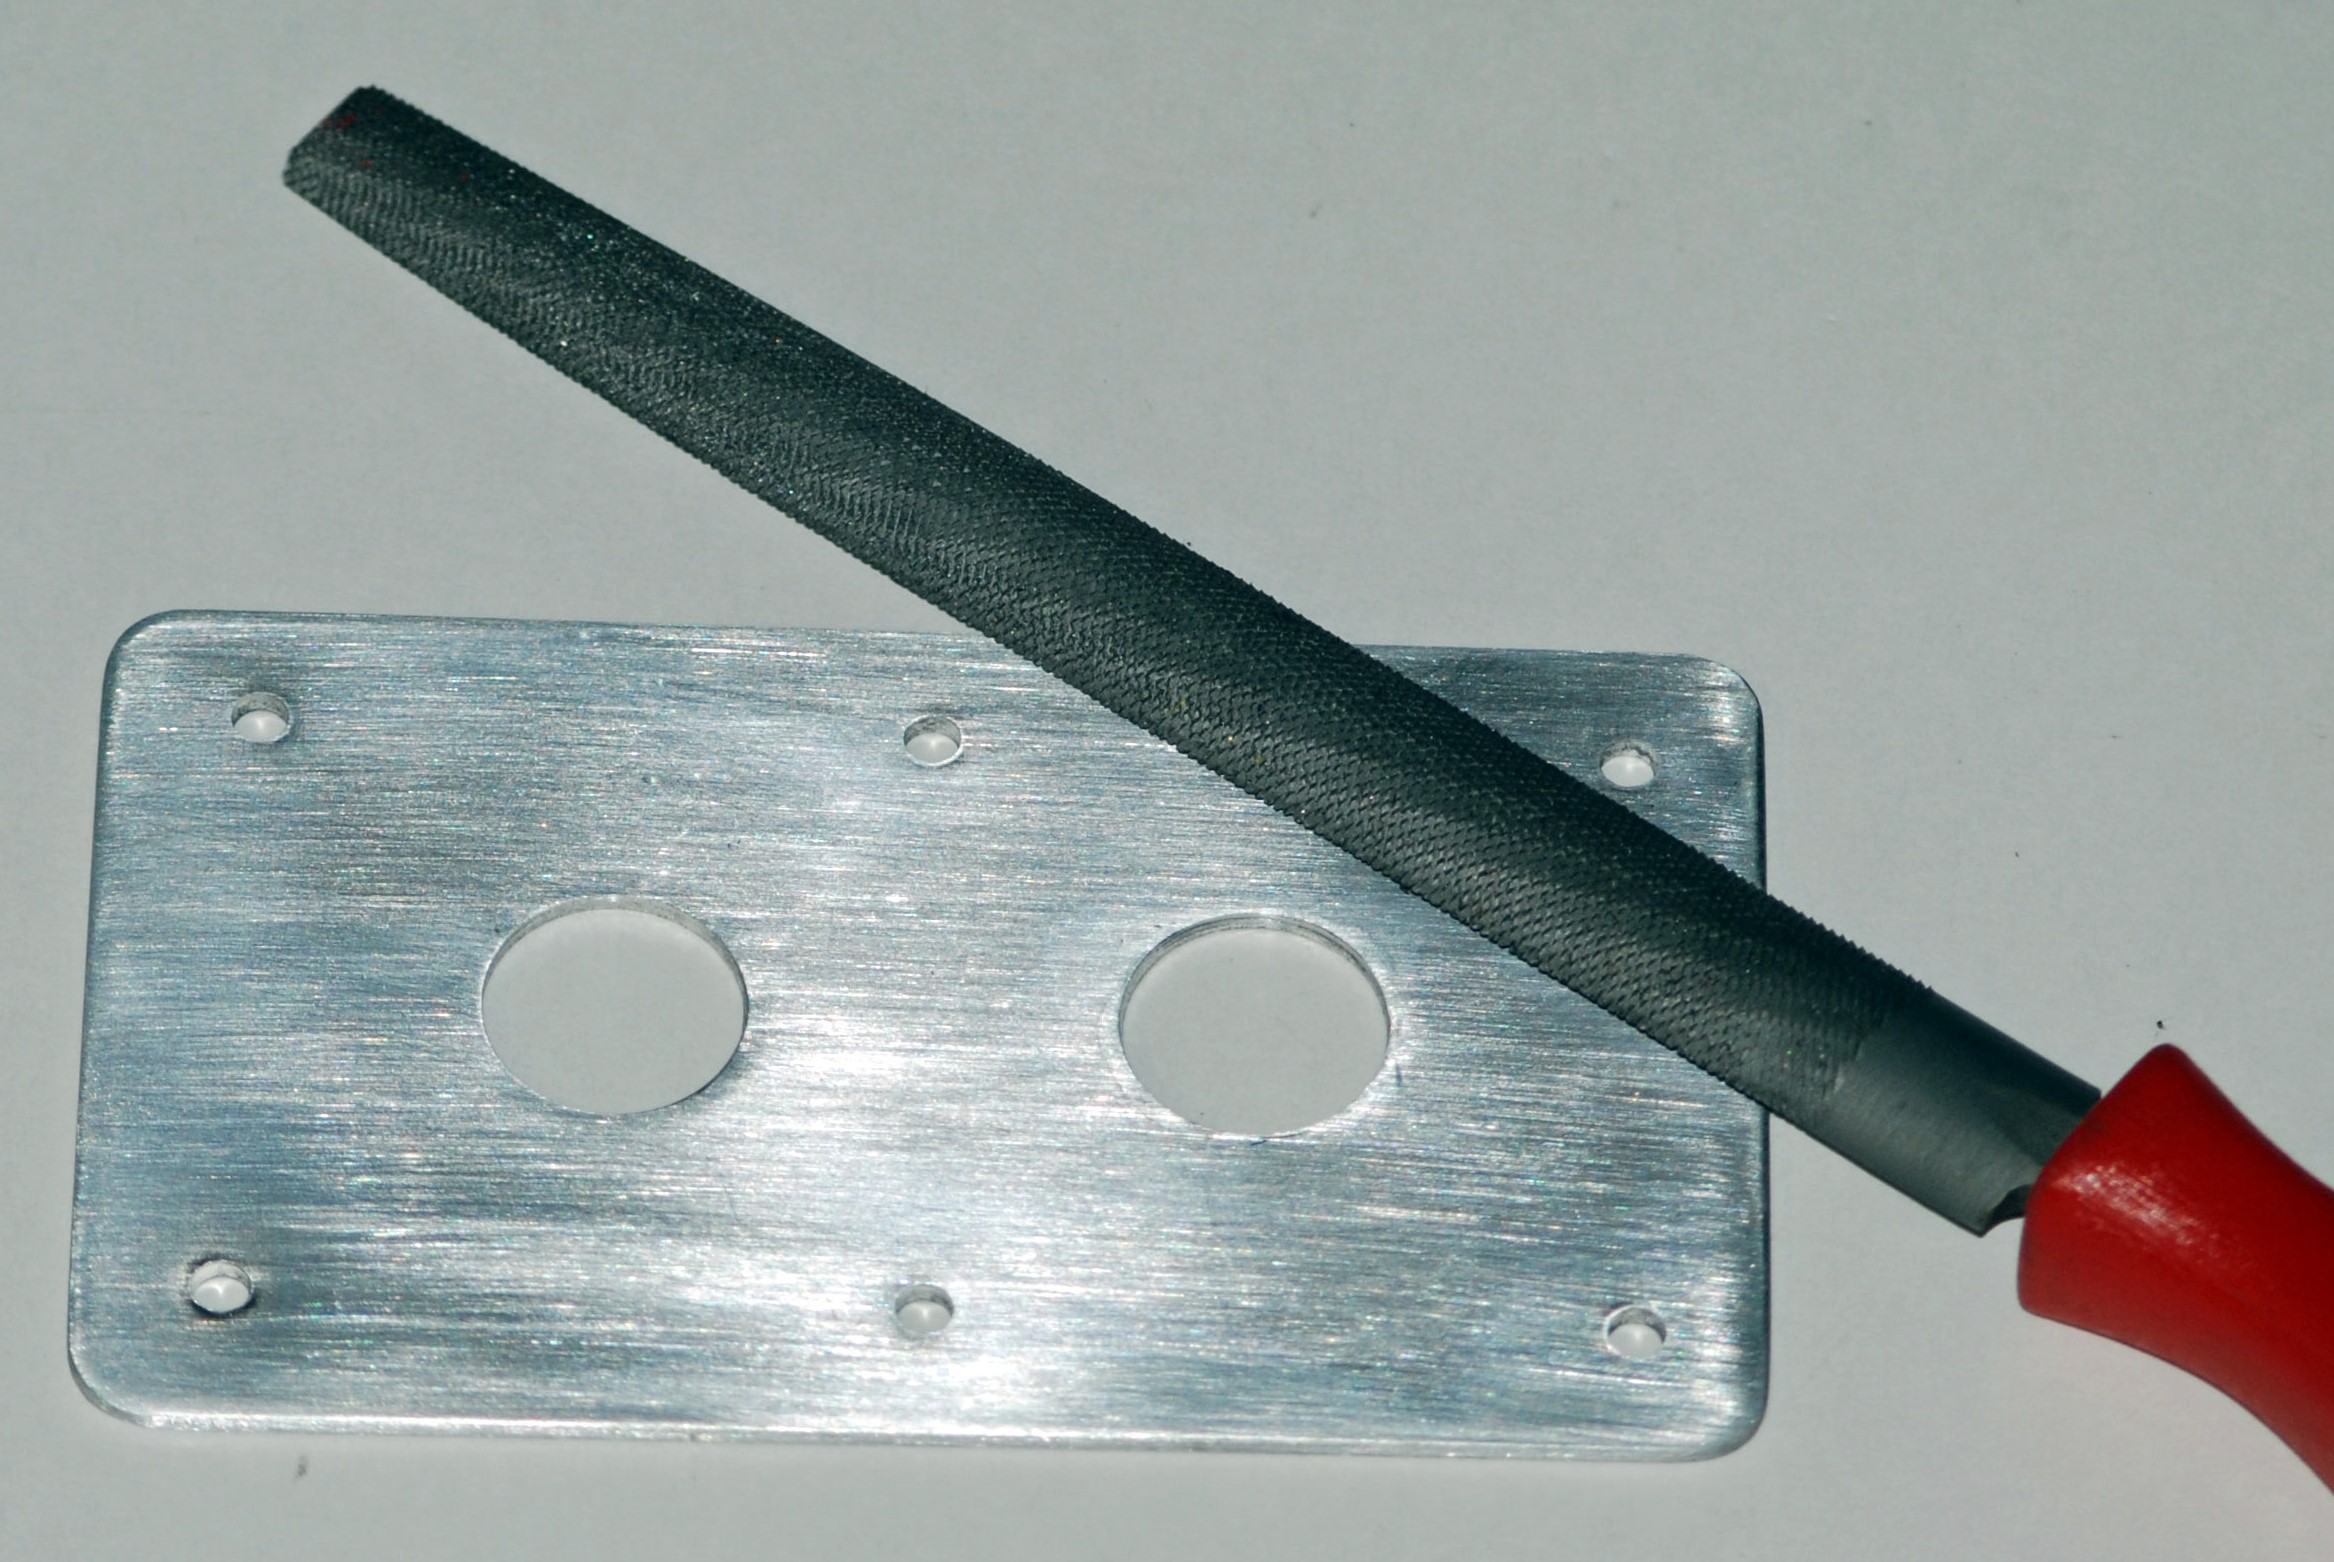
The recommended aviation practice works like this: A deburring bit or countersink can be used on each side of the hole (using your hands instead an electric or air tool) to remove the burr. Basically, this process bevels the edge and removes the ridge left by the drill bit. If you don’t have a countersink, some careful filing can also deburr the hole. It’s a good idea to use a piece of emery cloth or sandpaper (on a block) over each deburred, drilled hole.
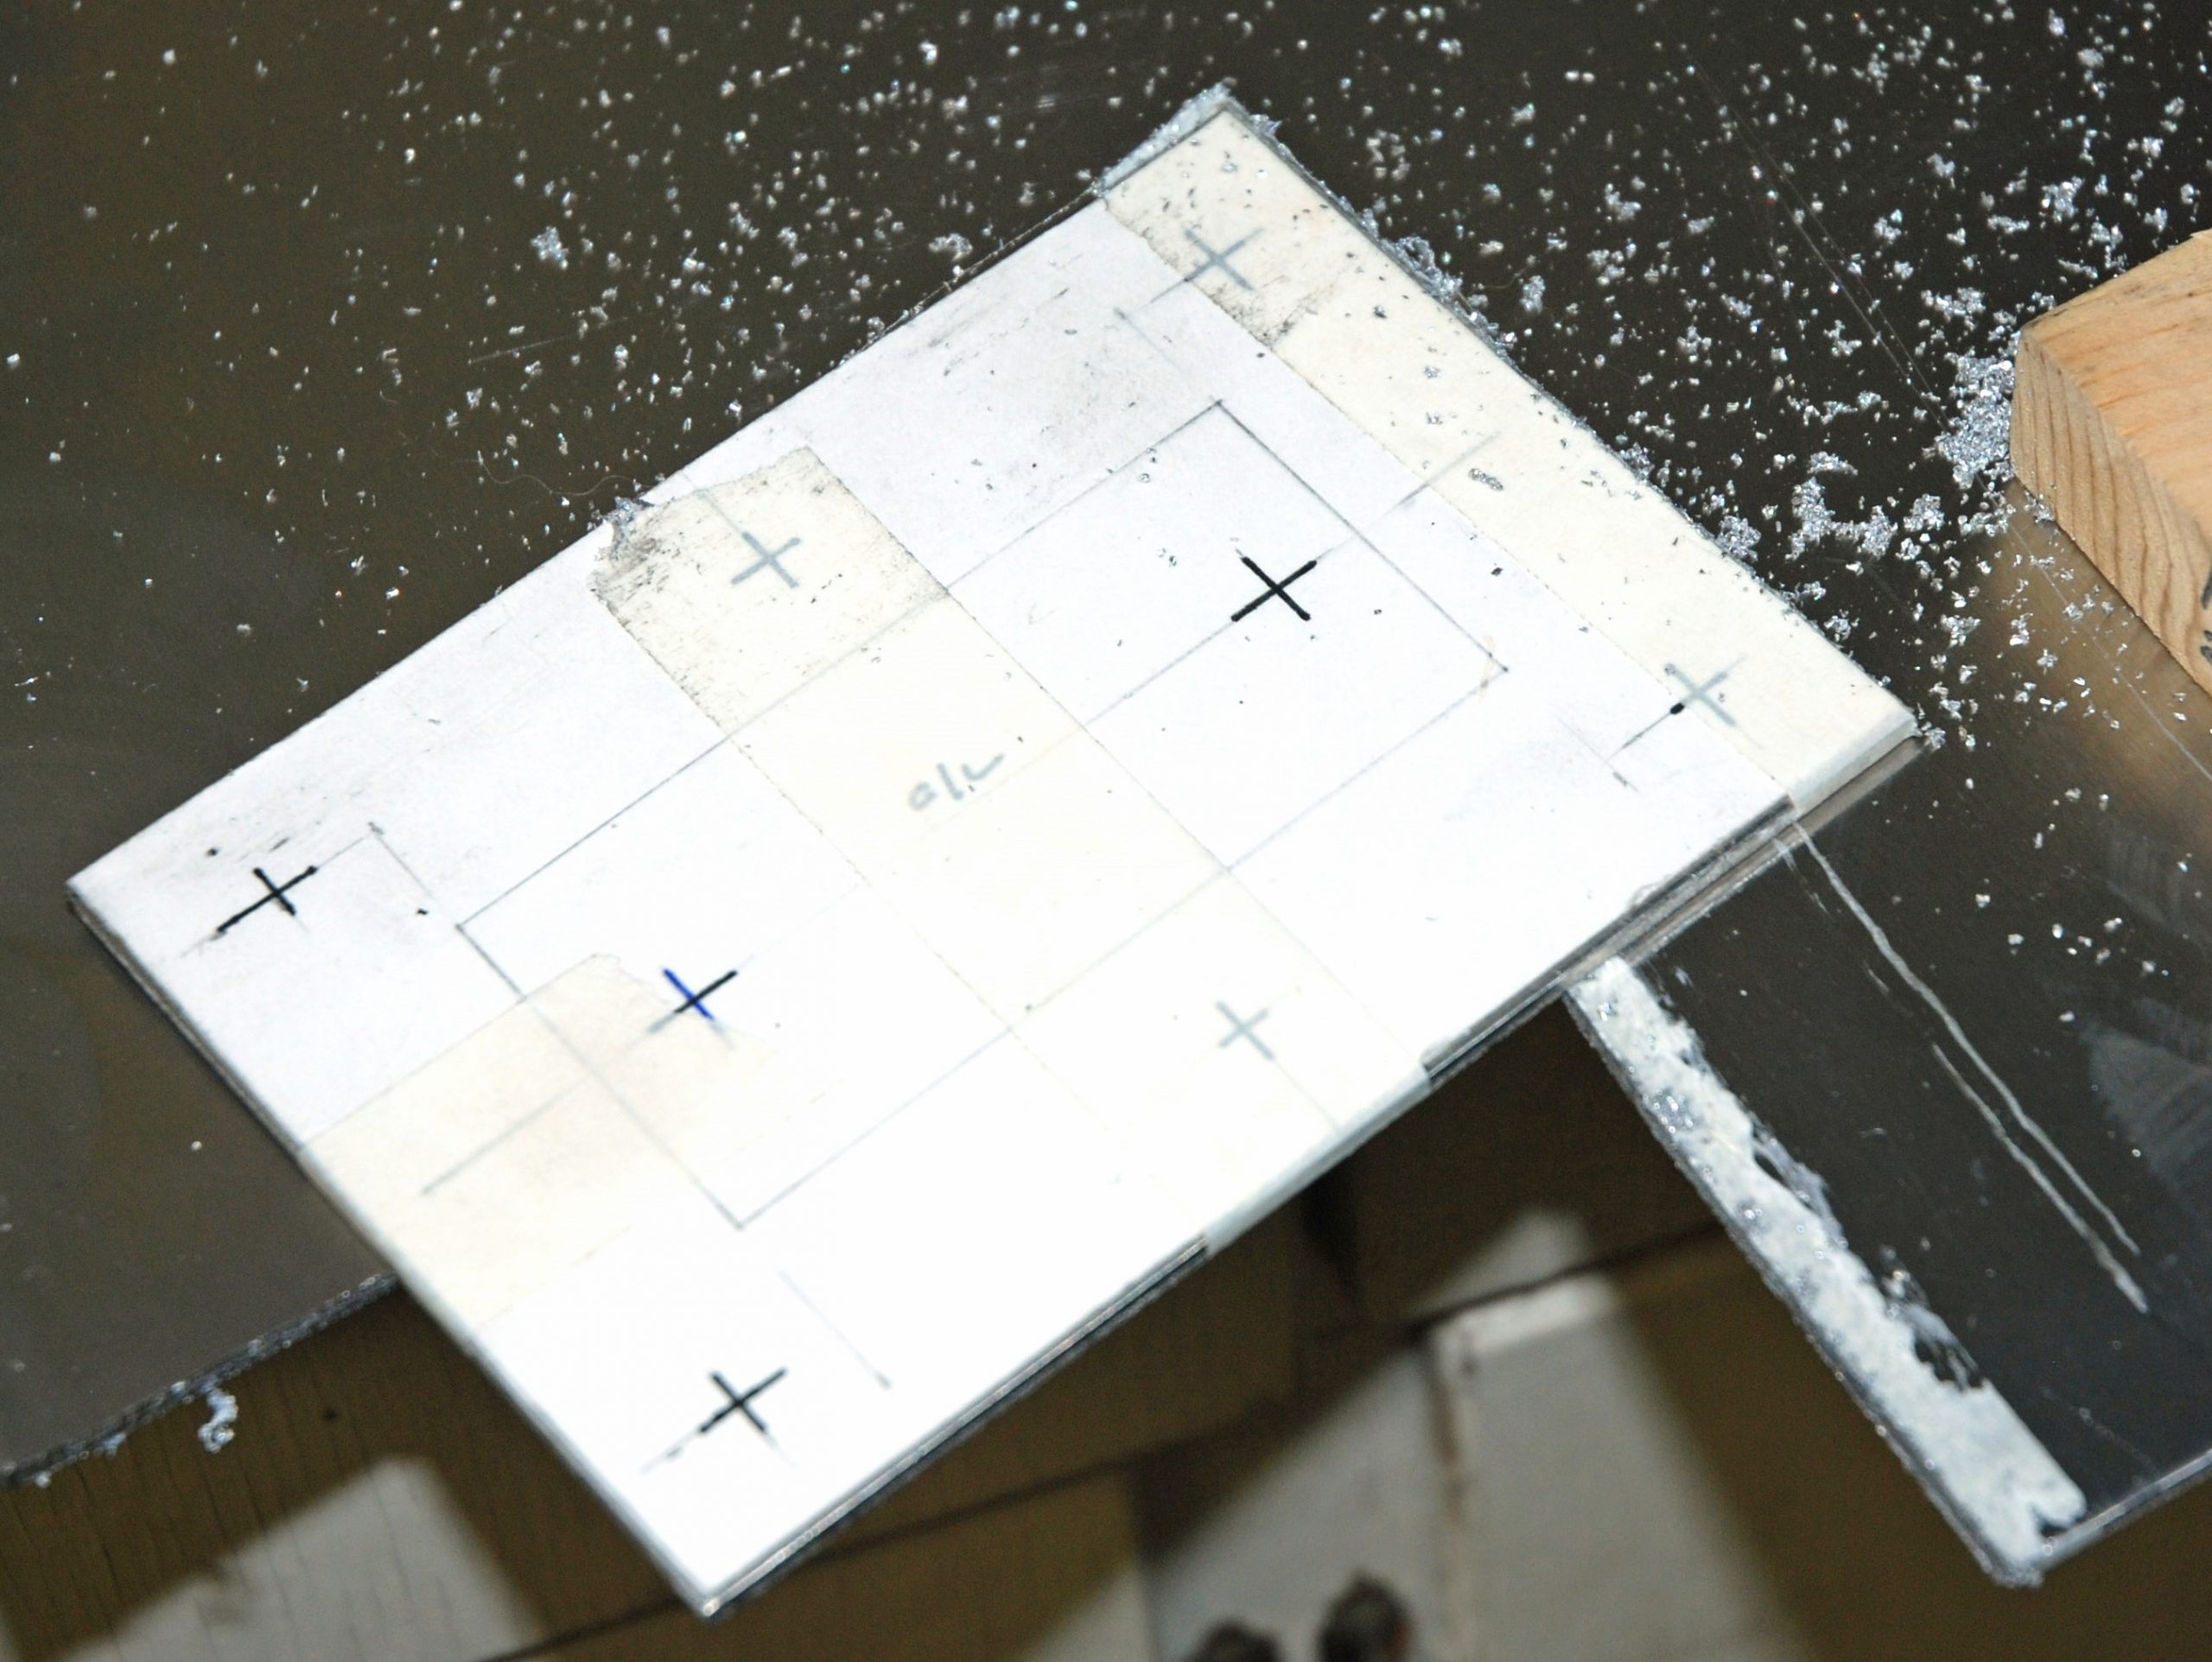
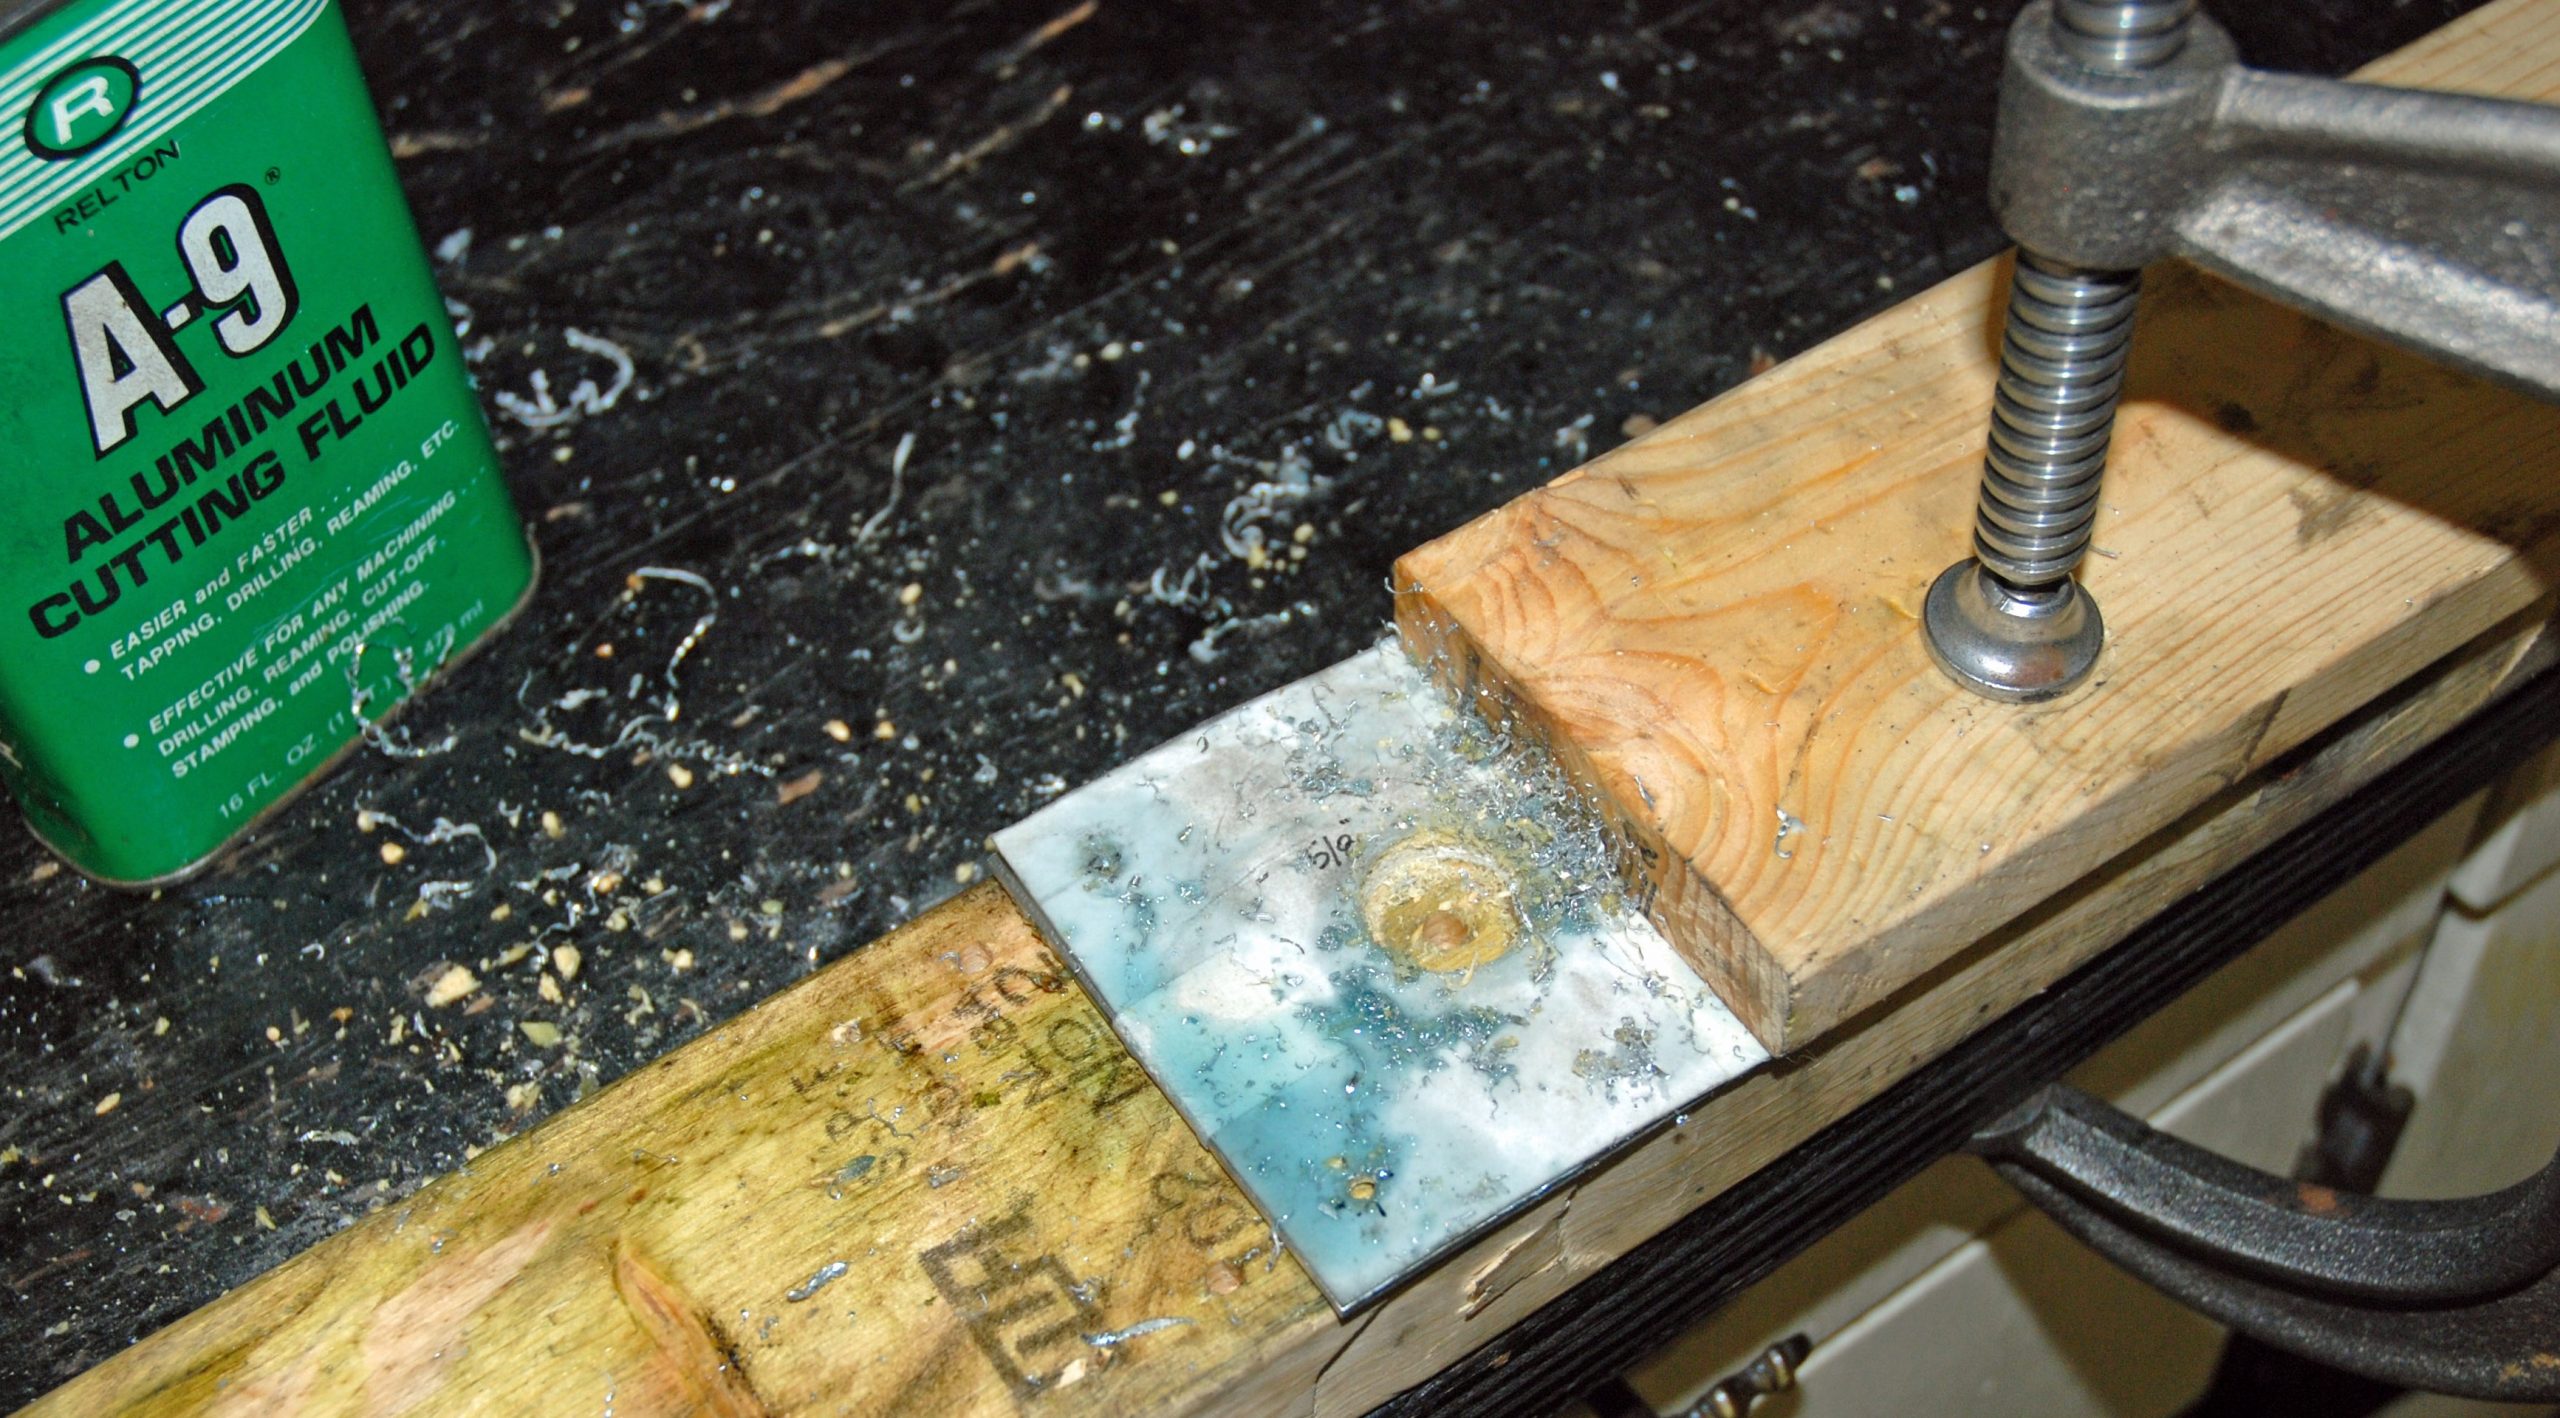
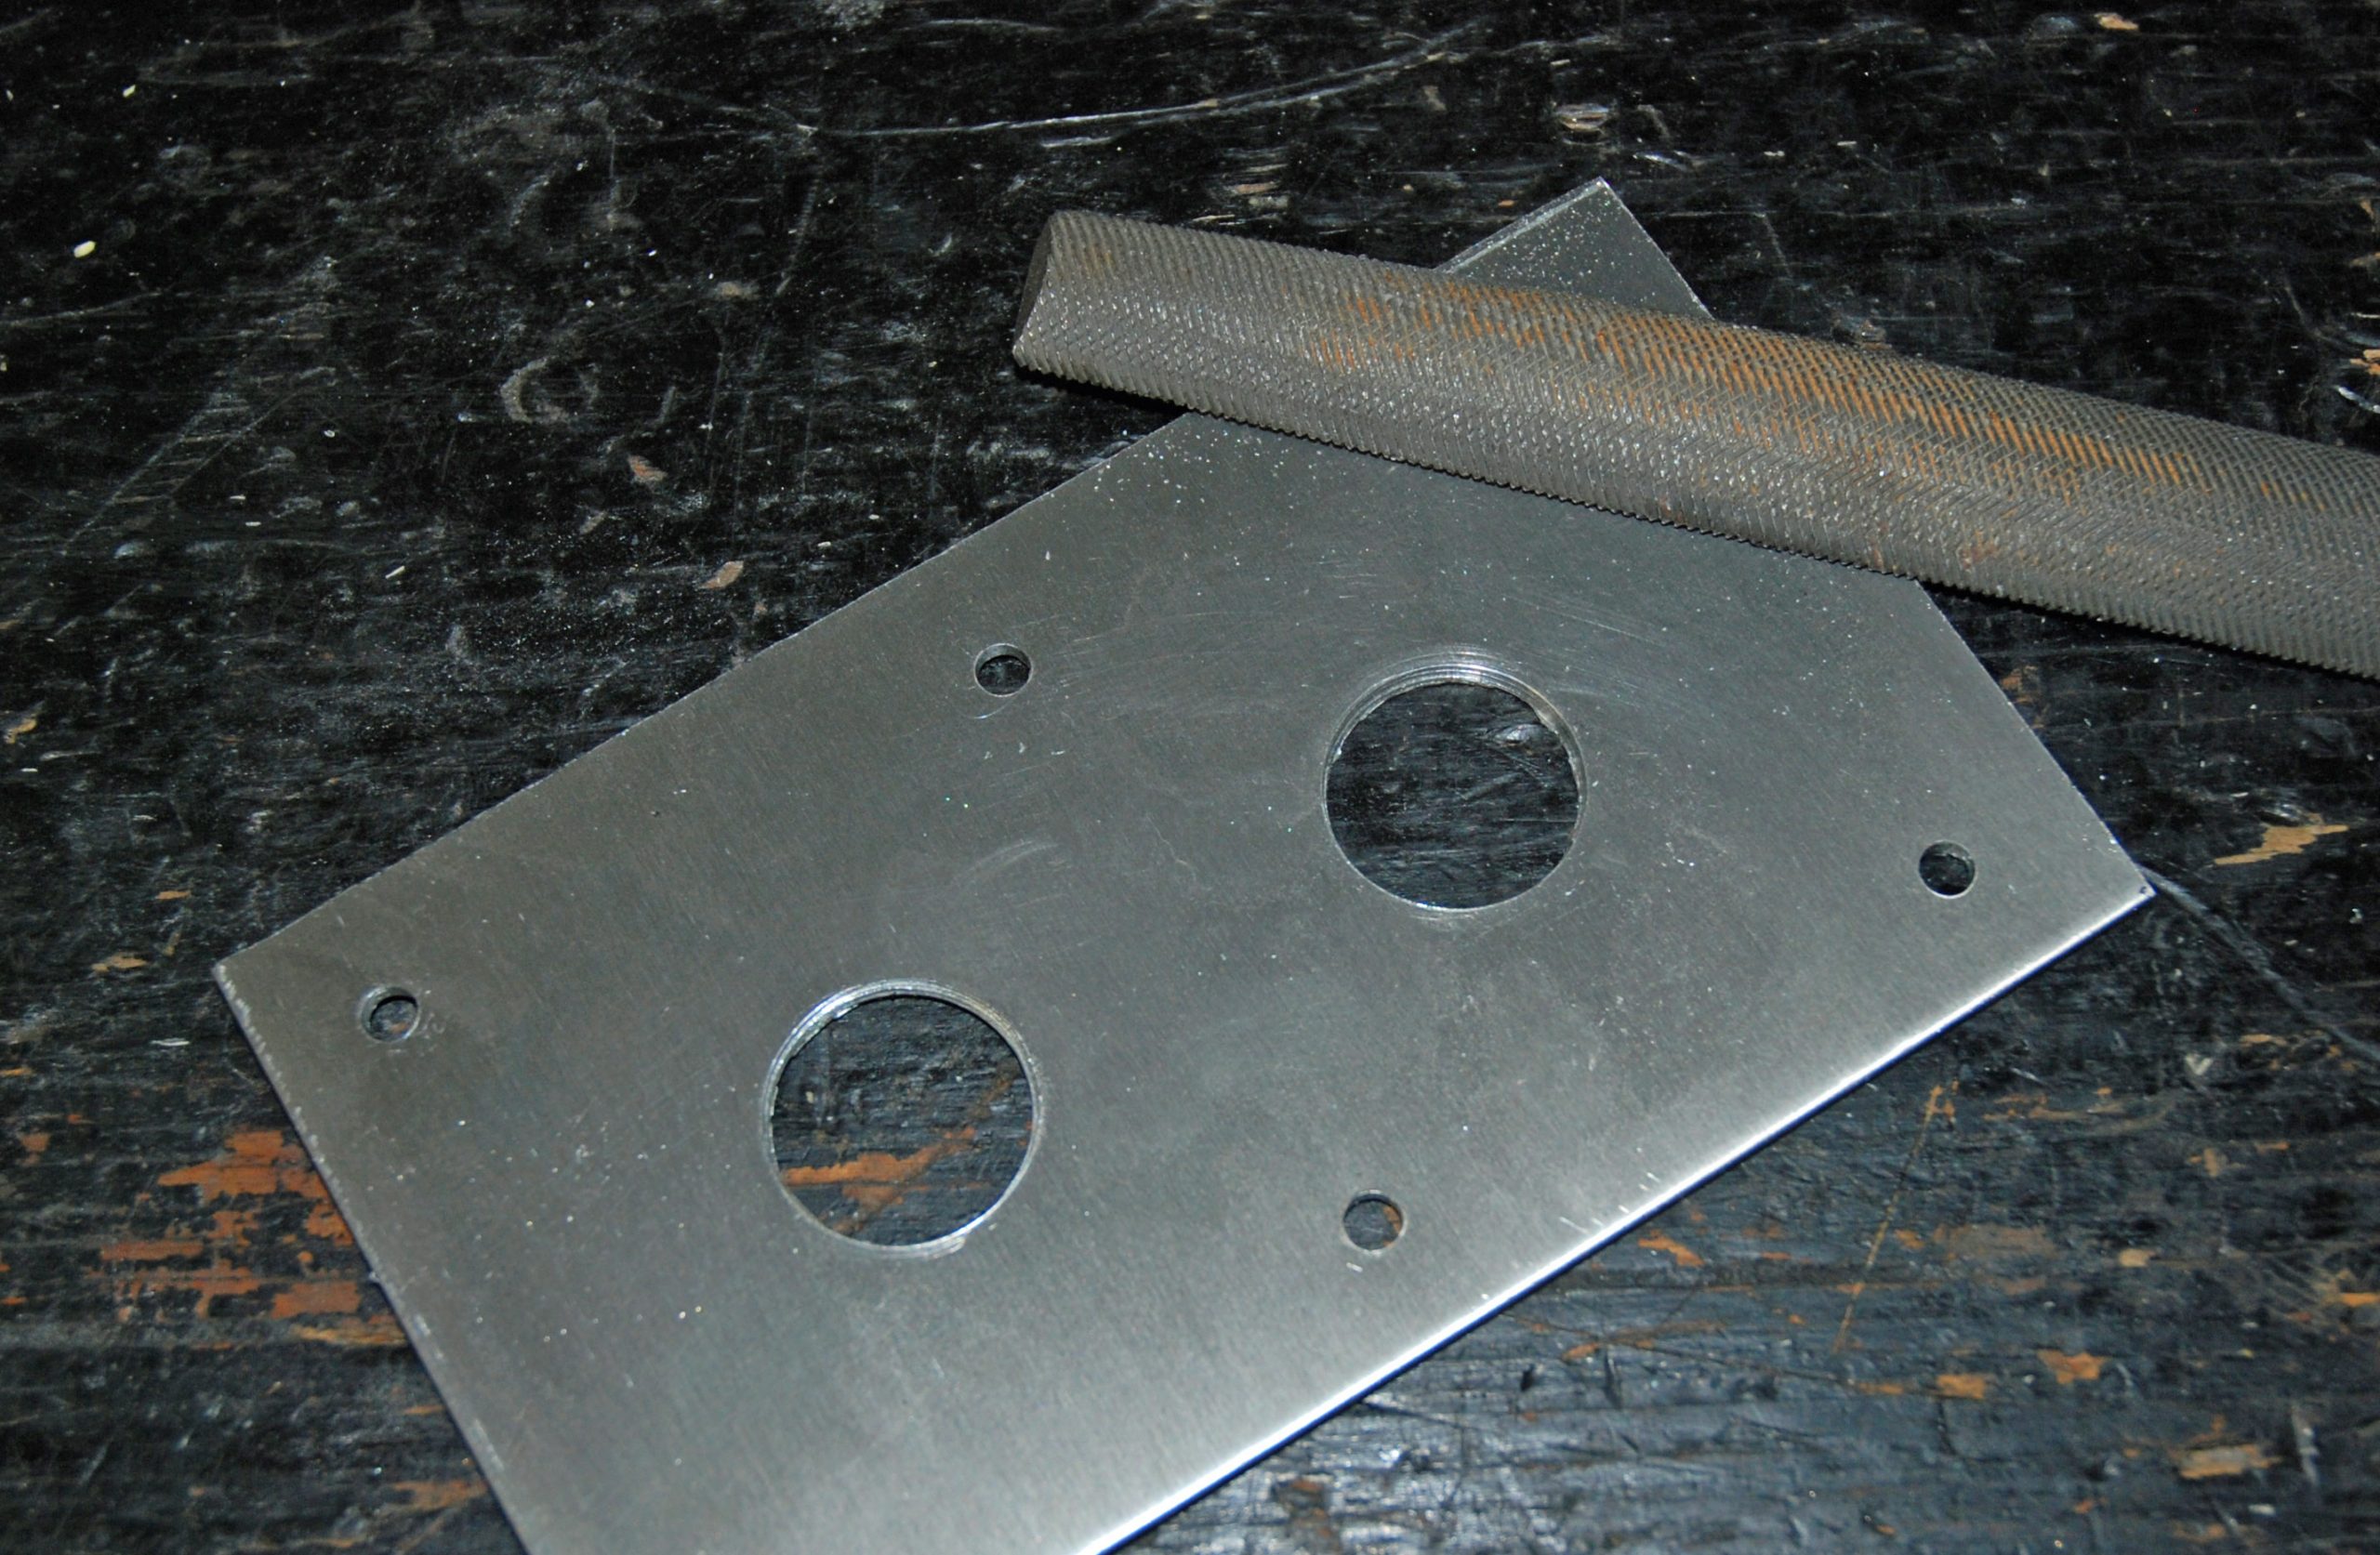
With that out of the way, here’s how the bracket was built.
Visual Walkthrough of the Fabrication Process


For deburring, another great wat is a deburring tool. Summit has several, but this one looks nice… https://www.summitracing.com/parts/aaf-all11036
Great story Wayne – I learned about edge margins. Good stuff!