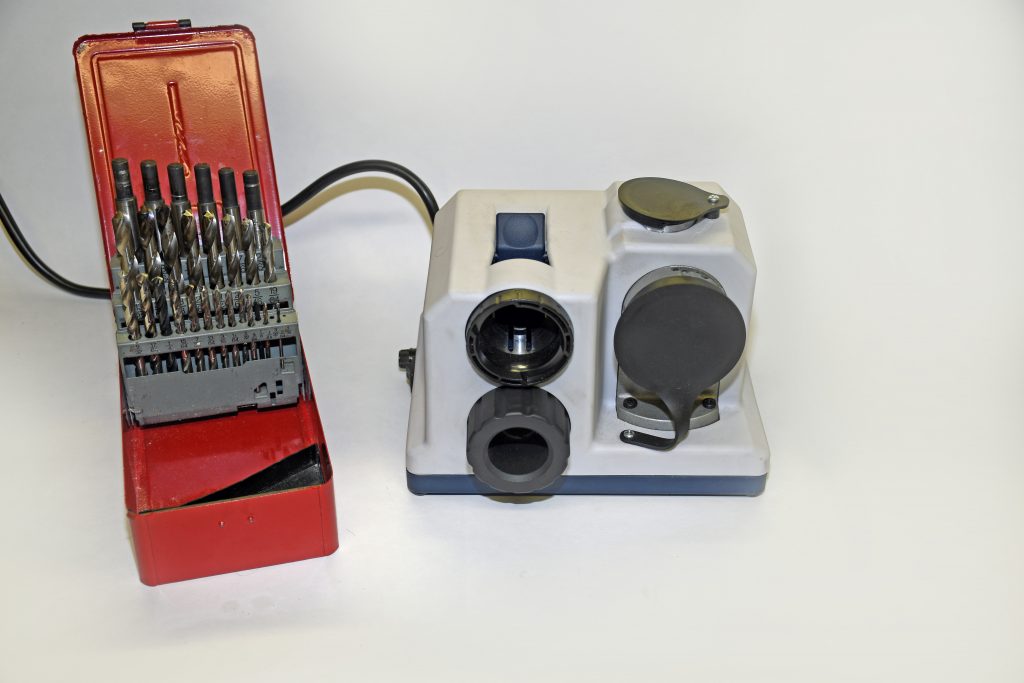
I don’t know about you but I have pretty good collection of dull drill bits in my tool cabinet. I always promise myself I’ll replace them soon, but it seems that promise gets broken on a regular basis. So when I open up a drill index and grab a drill bit, it’s pretty frustrating to find that the darned thing is dull (simply because I neglected to replace it). Of course, the only person to blame is me.
Sound familiar? Then check this out:
There is another option when it comes to replacing dead drill bits and that’s a drill bit sharpening tool. These tools let you sharpen drill bits as they wear. That takes care of my neglect mentioned above. In particular, a drill bit sharpener from Palmgren caught my eye. That’s because, while a lot of these sharpeners are designed for professional shop use, this one was priced for home garages—just like mine.
Fair enough, but there’s a pretty big price step between a pro model and home shop example. So, how good is the home model and how hard is it to use?
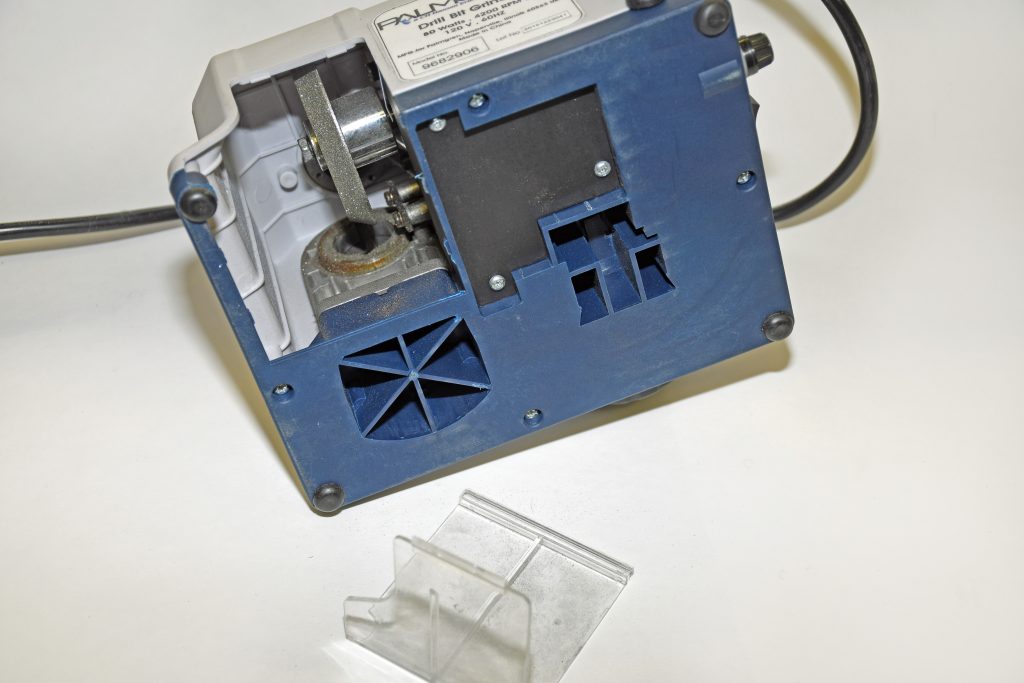
Once you have one of these smaller bench top machines in your hands, you’ll find it’s well built and actually pretty simple to use. First things first: Drill bits are intended to be sharpened dry (sharpens by way of a large diamond wheel). Lubricants can actually damage the tool. With that out of the way, you’ll find the tool simply plugs into a 110-volt power source. There’s a power switch on the side.
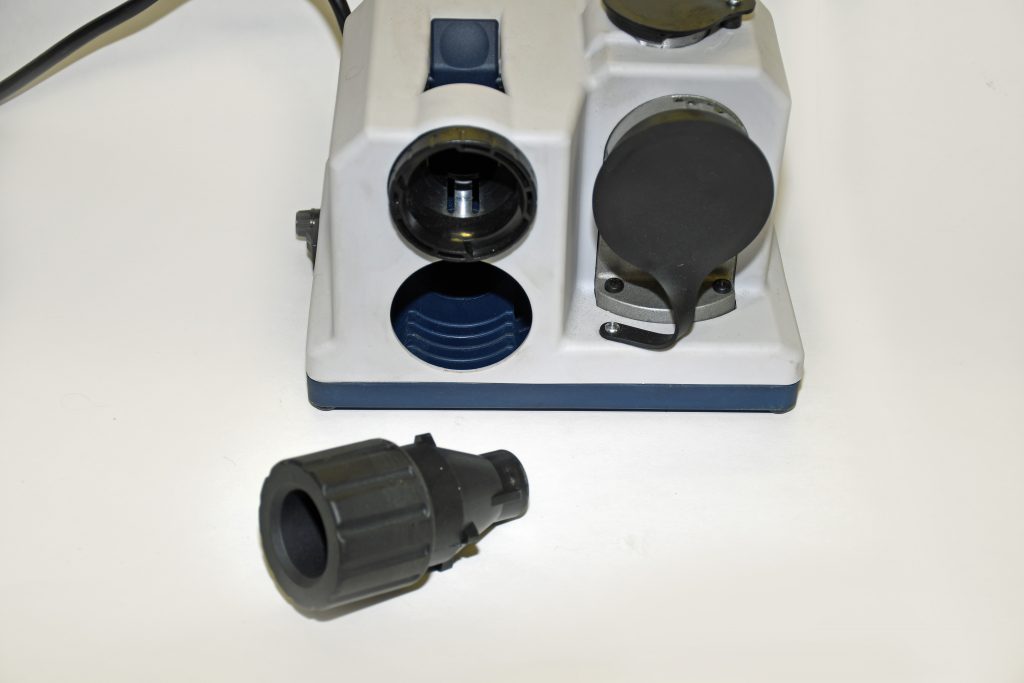
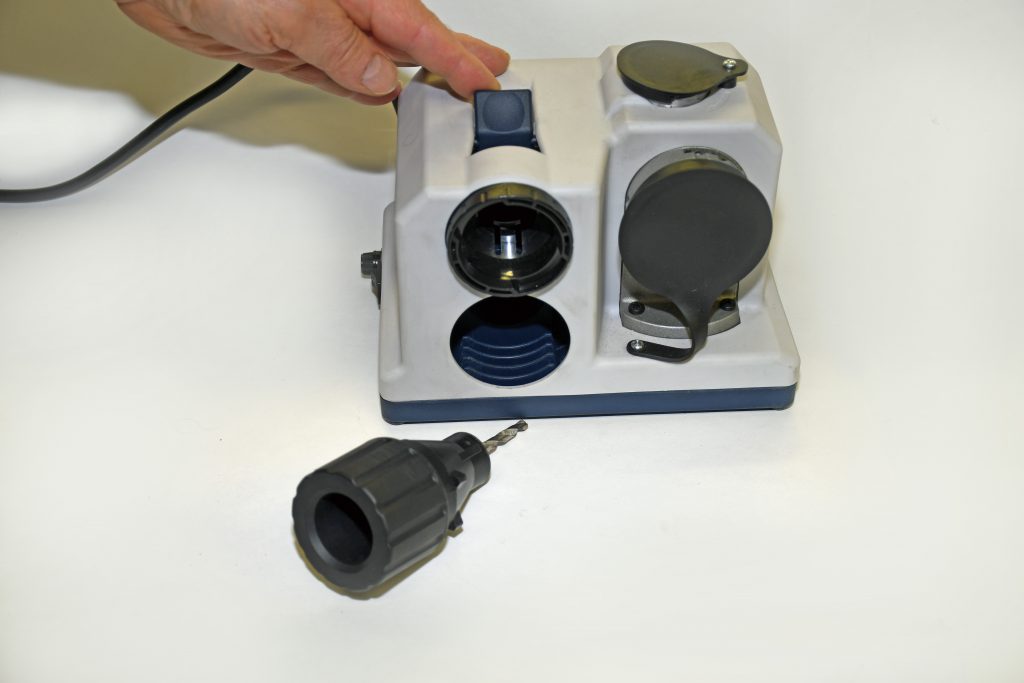
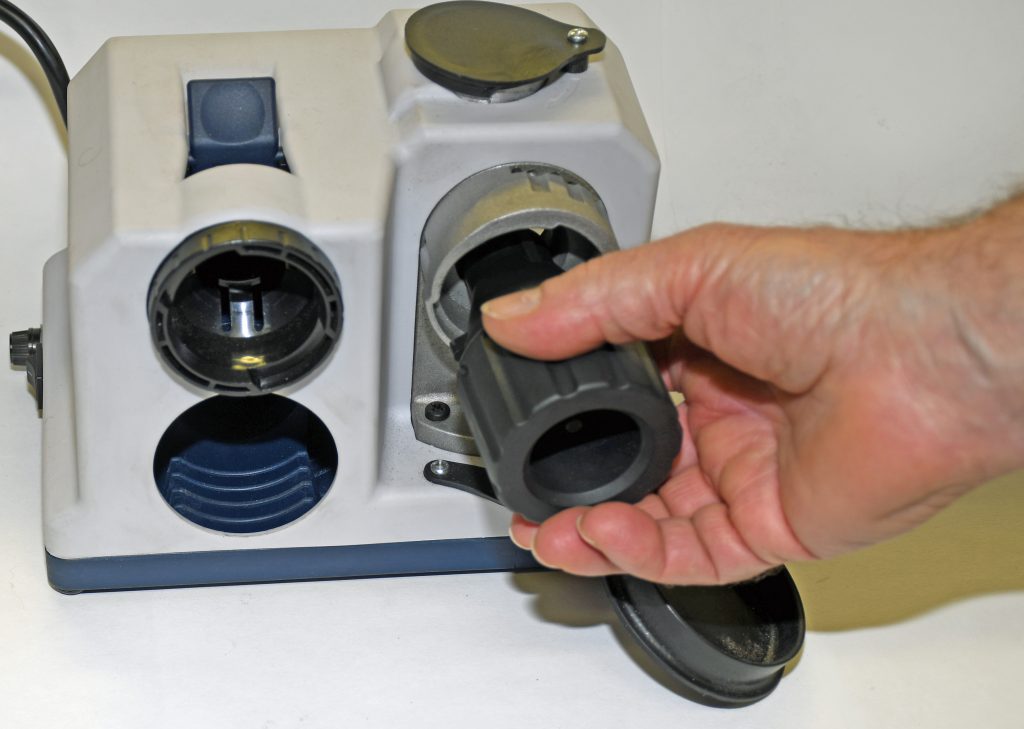
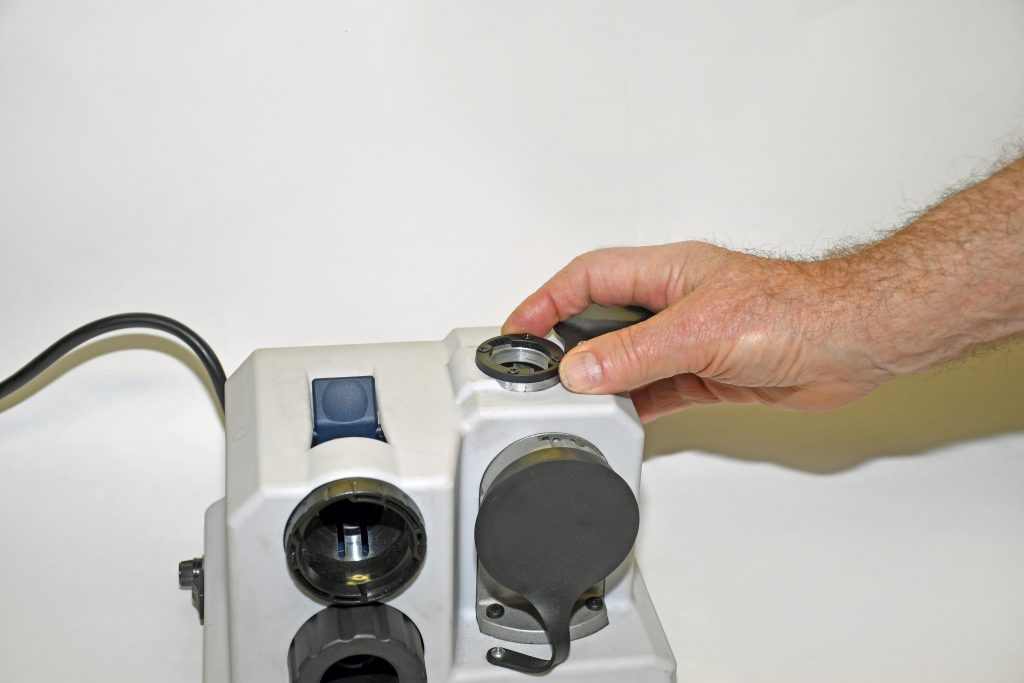
To use it, the drill bit alignment chuck, which is located on the face of the machine must be removed. Open the chuck and loosely install a drill bit. Next, the alignment chuck is inserted into the alignment port. There’s a lever on the topside. This is pressed down while the drill bit is pushed in. The alignment jaws of the tool set the bit to the correct rotation and distance for sharpening. Once this is done, the alignment chuck is tightened to lock the bit into the chuck. It’s ready to sharpen.
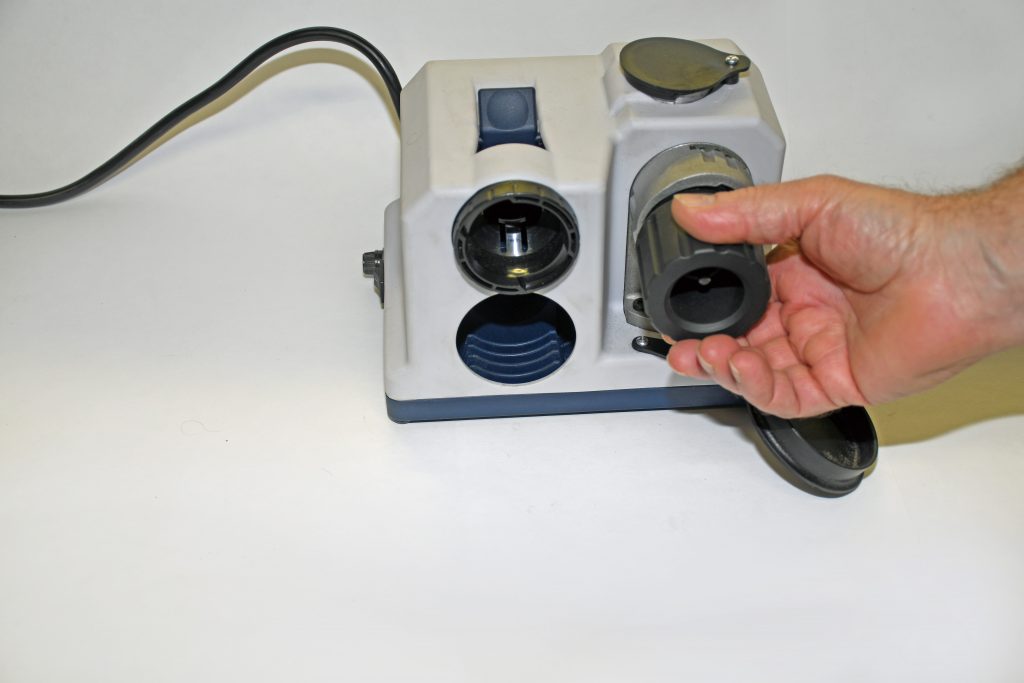
At this point, the chuck (complete with drill bit) is inserted into the drill bit sharpener. There are tabs in place that determine positioning. With the sharpener turned on, you simply rotate the grinding port right to left and then back to the right. You can hear and feel the sharpening process. Once the sound stops, the bit has been sharpened on one side.
Next, the chuck is removed, rotated 180 degrees and re-inserted into the sharpener port. The sharpening process is repeated. This way, both sides of drill bit cutting edge or “lip” along with the chisel edge (point) are sharpened. It’s a simple process.
The sharpener will also grind split point bits. Basically, the same process (with the drill bit captured by the chuck) is performed using the top (vertical) grinding port. This procedure is done after the drill bit is conventionally sharpened using the horizontal grinding port.
This Palmgren drill bit sharpener works with carbide, cobalt, high-speed steel, black oxide, and Ti-coated drill bits.
The diamond sharpening wheel is replaceable, and there’s an access port to clean out grinding dust, most of which is kept inside the tool. The machine has an internal circuit breaker located alongside the on-off switch. If it’s overused or overloaded, the breaker will trip. Once it cools though, it will return to normal.
The bottom line here is, the Palmgren bench top drill bit sharpener is a robust, intuitive piece of equipment. And once you get the hang of it, you can sharpen a drill bit in less than a minute.
Drill bit doldrums? Not anymore and that works for me. For a closer look, check out the photos below.

[…] I don’t know about you but I have pretty good collection of dull drill bits in my tool cabinet. I always promise myself I’ll replace them soon, but it seems […] Read full article at http://www.onallcylinders.com […]
I bought a Drill doctor and NEVER could get it to work. I have little,if ANY faith in drill bit sharpeners. There has got to be an easier way.
While I have no doubt that this machine will do a fine job if used properly, I think I’d still prefer my Drill Doctor 750X for several reasons.
1) While the smallest bit it’ll sharpen is 3/32 (as opposed to 1/8 with this machine), it’ll take up to a 3/4 bit (1/2 for this one).
2) Perhaps more important, with the Drill Doctor, you don’t have to remove the chuck to sharpen the other side, you turn the chuck as it’s running.
I also have the optional chuck for my Drill Doctor that lets me sharpen left hand bits. I didn’t look into this one far enough to see if it has a left hand chuck available.
Either way, they’re priced about the same and it doesn’t take long to make up the cost instead of buying new bits all the time.