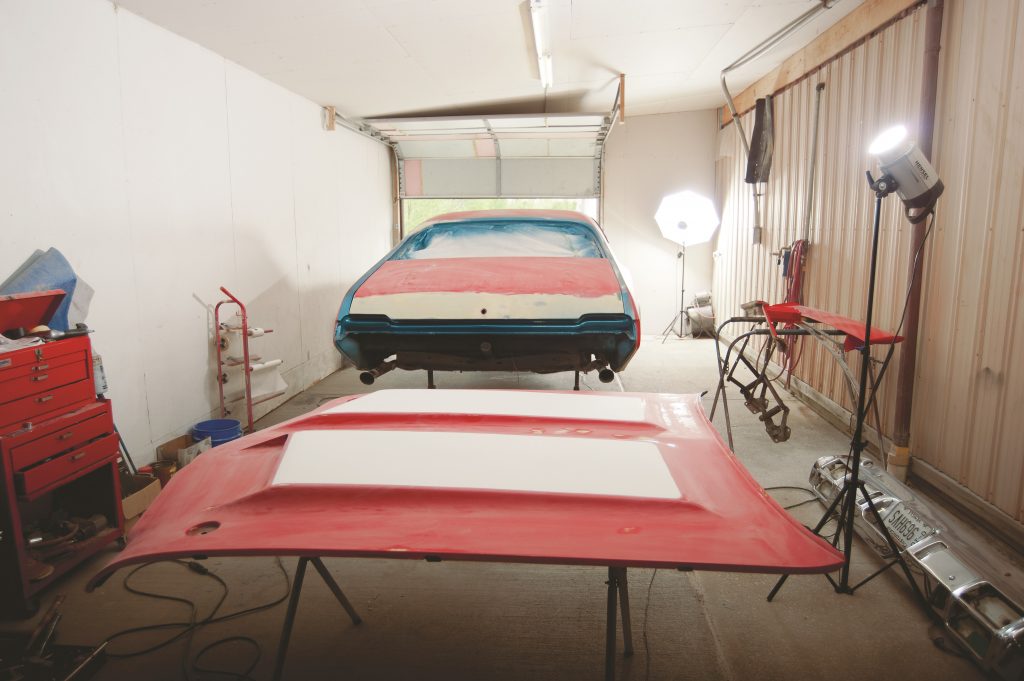
When it comes to automotive bodywork, there are many, many different grades of sandpaper grit. And selecting the right grit to use for each stage of the paint and body prep process is critical to laying down a good paint job.
Why? Sanding not only smooths and straightens the surface you’re painting, it ultimately helps the paint stick to the substrate.
So…yeah, it’s vital to get it right the first time.
This is a companion article to the Choosing the Right Body Filler story. We also created a six-part Automotive Paint Guide series that might be helpful here. You may want to check out our Paint and Bodywork Buyer’s Guide as well.
Sandpaper is graded by grit, which really just means how aggressive the sandpaper is, based on the size of abrasive chunks stuck to it. The smaller the grit number, the bigger the chunks and the more aggressive the sandpaper is.
For instance, sandpaper with a P40 grit rating has large chunks. That means it’ll take a lot of material off with each pass, yet it will leave deep scratches in the surface.
Conversely, sandpaper with a P1000 grit rating has very small abrasive chunks. Also called fine grit, this sandpaper won’t take much material off, but it’ll make the surface much, much smoother.
As a general rule, you start with coarser grit sandpaper, like a P60, and move up to finer grit sandpaper (P320, P400, and beyond) as you progress through your paint prep.
If you want to really get into the weeds on sandpaper grit, the tech experts at Summit Racing have an excellent sandpaper grit breakdown here.
In automotive paint and body prep, you’ll typically be sanding your metal, body filler, paint, and primer. But which grit should you use, and when?
To help you answer that question, Summit Racing’s Tech Center put together this intuitive chart:
Sandpaper Recommendations for Paint & Body Work
| Repair Step | Recommended Grit | Notes |
|---|---|---|
| Heavy paint removal, medium metal removal, shaping reinforced body fillers | P40 | P40 scratches in paint must be removed. P40 scratches in metal or reinforced body filler can be filled with body filler or glaze |
| Shaping body filler, paint removal, finishing metal before primer | P80 | P80 scratches in body filler or paint must be removed |
| Straightening body filler, removing chips and defects in old paint | P180 | P180 scratches in body filler and old paint should be removed before primer |
| Final sanding before primer | P320 | P320 can also be used as a final straightening step when block-sanding primer |
| Final sanding before paint | P600 | P320 scratches in primer must be removed before paint |
--If you only have chips and small dings, start with P180.
--If you have no defects, all you really need is P600.
***
[…] is a companion article to our Choosing the Right Sandpaper story. We also created a six-part Automotive Paint Guide series that might be helpful here. You […]
[…] & Body Tech: What Sandpaper Should You Use?:https://www.onallcylinders.com/2020/12/15/paint-body-tech-what-sandpaper-should-you-use/How To Metal Etch and Mark Your […]
It is my first time to do it but I want to do it right my car is rusted.i will be glad if you help me more