There is a simple truth in making a car work for both the street and the strip: The shock absorber is key.
The reason is simple. If you can control the wheel motion, then you can control the dynamics of the car.
In the world of the acceleration, this boils down to “hook.” It also means your tuning capabilities are amplified.
Let’s start at the beginning.
What’s a shock and what does it do?
A shock is a hydraulic device that resists chassis movement by passing oil through a set of orifices and valved passages. In an adjustable shock, manipulating the fluid movement through the shock’s valving changes its dampening characteristics.
Rebound (extension) is the shock’s resistance to being pulled apart. It can be used to control chassis separation—the point at which the axle housing is pushed away from the chassis and the tires are applied to the track.
During separation, many things occur. Forces push the car up and forward, and the axle housing sees the opposite force. (Don’t forget the tire sidewalls are also wrapping up).
As the car moves forward, torque is created as the tires create traction to start this movement. Too much body separation can lead to undesirable side effects: Wheel hop can occur as the tire tries to return to its original form (the tire unwraps).
Stiffening the rebound can help to control wheel hop.
Tire shake is similar to wheel hop and can be addressed similarly.
For the most part, something like a bald starting line or unprepped surface will mandate a softer rebound setting to apply the tires with more force.
On the track, a good starting line can require a stiffer setting. A stiffer rebound setting on a well-prepped track can provide quicker vehicle reaction times.
Essentially, too much separation is an ET killer and energy waster.
Bump (compression) is the shock’s resistance to the chassis moving down or the axle housings moving up or into the chassis. The bump adjustment is important since it determines how long the tires are held down on the track after chassis separation. When you use a soft rebound setting on a double-adjustable shock, try using a slightly stiffer compression setting.
Bringing Clarity to Shock Absorber Terms
Bump-Rebound-Compression-Extension.
Whew. It all gets a little confusing.
Let’s take a closer look at the terms used by the shock manufacturers because different shock companies use different lingo.
Often, the words “bump,” “rebound,” “compression,” and “extension” are used interchangeably. A shock absorber travels in two directions.
It gets shorter (compresses), and it gets longer (extends).
Some shock absorber manufacturers call this “bump” and “rebound,” but that can get confusing.
To get a grasp on what this is all about, pretend that you drive your car over a good old-fashioned speed bump.
The speed bump “bumps” the shock which, in turn, compresses it. After you drive over the speed bump, the shock rebounds and extends. That’s where you get the term “bump” and “rebound.”
In the old days, a loose front shock (worn-out stocker or a special 90/10 valving shock) was used to allow the nose to rise quickly. That transferred as much weight as possible to the back wheels.
It was simple because there were virtually no rebound forces at work (the “10” in the 90/10) coupled with a whole bunch of bump at work (the “90” in the 90/10).
With the 90/10 up front, the nose remained in the air.
You can imagine how this messed with racecar aerodynamics.
Today, you can still purchase shocks with 90/10 valving (among others) that are designed specifically for maximum weight transfer.
Internally, some of these shocks come equipped with modern dual-stage valving on the compression side that allows the nose of the car to settle on the top end.
They work sufficiently well (they’re a proven commodity) and you don’t have to fiddle with them (and can’t).
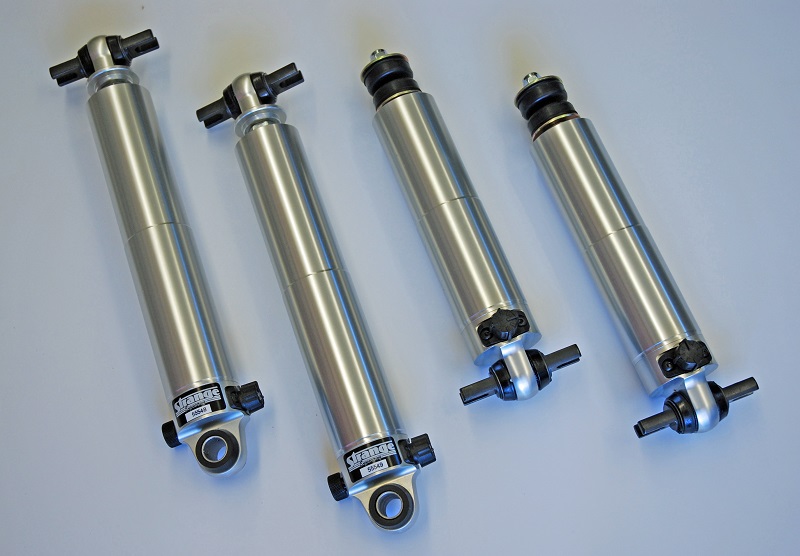
On the other end of the spectrum there are shocks such as those manufactured by AFCO Racing, Strange Engineering, Koni, Competition Engineering, and others which are available as single-adjustable and double-adjustable assemblies.
A single-adjustable shock allows adjustment of the rebound while the shock assembly is still mounted in the car.
A double-adjustable shock allows adjustment of the compression valving and rebound valving.
Because of the increased sophistication of internal valving, the double-adjustable shocks cost more than their single adjustable counterparts.
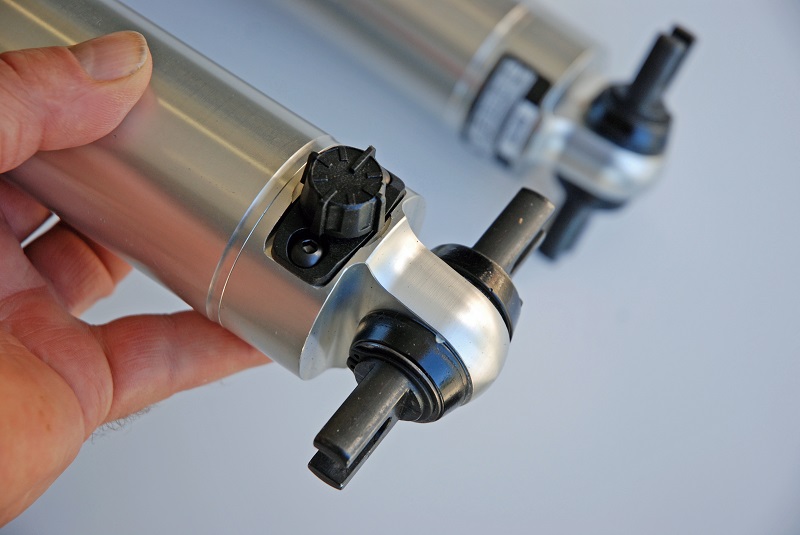
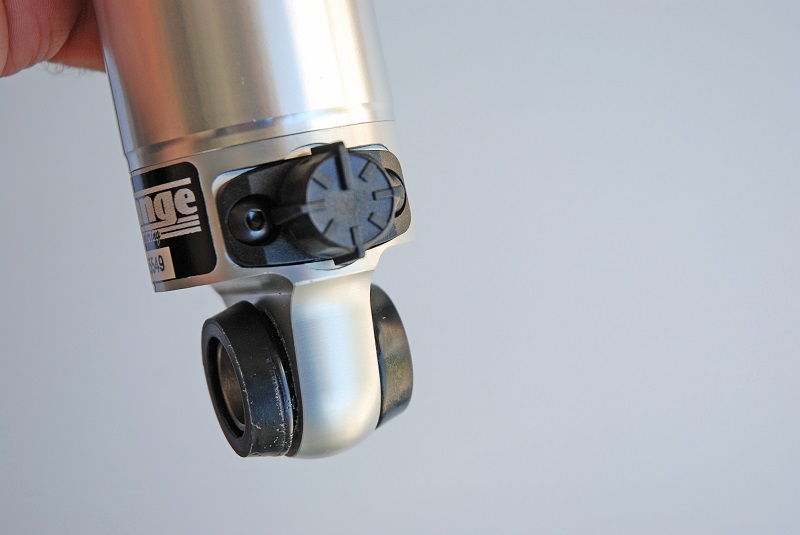
For example, with a Strange double-adjustable shock, the compression is adjusted by adjusting the knob from 1 (softest) to 12 (firmest). Due to the precision of the adjuster, only a one-click adjustment is necessary to make a noticeable change. The rebound adjuster is extremely sensitive to change—one or two clicks will make a significant change in tuning the chassis.
In the Strange shock, there are 12 rebound settings to choose from. On some other single-adjustable shocks, the range of adjustment is from 1 (softest) to 9 (firmest).
Intro to Adjusting Adjustable Shocks
With an adjustable shock, where do you begin?
It all depends upon how sophisticated the car is and how deep your pockets are. Many adjustable shocks are similar when it comes to adjustment. The shock absorber doesn’t have to be removed for adjustment. Once installed, all changes are handled externally with the adjustment knob. The knob is accessible through the side of the spring (in typical front applications).
Using the Strange Engineering shocks as the example, setup works like this:
Turn the knob fully counterclockwise. The “end” of the adjustment (where it won’t turn and click further) is the softest setting (position 1). By turning the knob clockwise, each click will increase the shock resistance. The full stop counterclockwise (front shock baseline) has valving that’s similar to a 90/10.
As you can see, this offers a wide range of adjustment.
…
On single-adjustable models, once you go past six clicks (clockwise), the adjuster works primarily on extension (rebound).
Moving all the way to the right (clockwise) will make the shock stiff.
On some single-adjustable shocks, the adjustment sequence goes like this:
Begin the shock adjustment process by turning the adjustment knob fully counter clockwise until it reaches the 1/9 setting on the indicator. This is (obviously) setting #1. Turn the dial clockwise until you achieve designated adjustment. The firmest setting is one revolution from softest setting.
Strange points out that the starting point for adjustment on a single-adjustable front shock is as follows:
Drag Race Single-Adjustable Shock Setup:
- Turn to position 2 or 3 (position 1 is full counterclockwise)
- To increase weight transfer (front end travel) rotate counterclockwise
Street Single-Adjustable Shock Setup:
- Turn to position 4 or 5 (position 1 is full counterclockwise)
- For a firmer ride, rotate clockwise
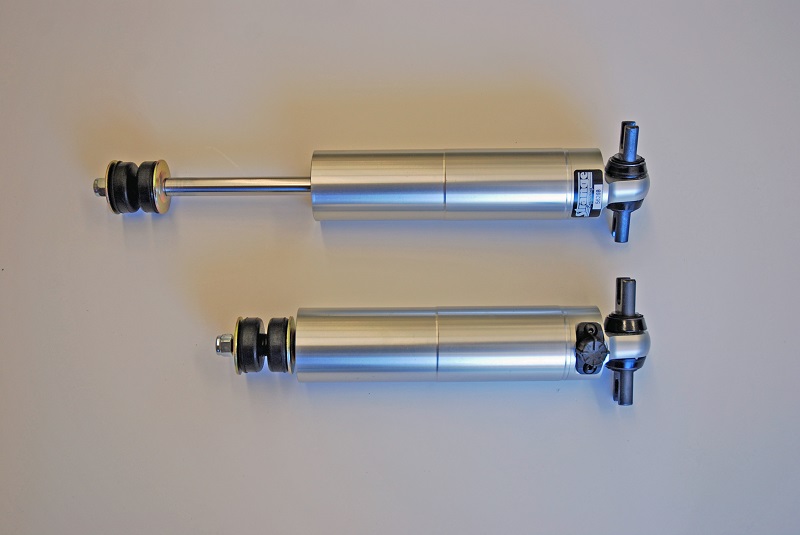
What about double-adjustable shocks in the rear?
A double-adjustable shock allows adjustment of the compression valving and rebound valving. In a Strange Engineering double-adjustable shock, the compression is adjusted by turning the marked knob from 1 (full counterclockwise) to 12 (full clockwise). The rebound adjuster is extremely sensitive to change. One click will make a significant change in tuning the chassis.
Every car will require a different setting when it comes to sophisticated double-adjustable shocks.
Chassis builder Jerry Bickel notes:
“A good starting point for rear shock adjustment is to set the rebound adjustment tight and the bump adjuster loose. Remember that the final setting that is best for your car must be found with some thoughtful trial-and-error and may change with track conditions.”
For a rear double-adjustable shock, Strange offers this basic setup info:
Drag Race Double-Adjustable Shock Setup:
- Turn to position 5 (position 1 is full counterclockwise)
- To plant the tires harder, rotate counterclockwise
- To decrease wheel hop, rotate clockwise
Street Double-Adjustable Shock Setup:
- Turn to position 4 or 5 (position 1 is full counterclockwise)
- For firmer ride, rotate clockwise
…
Which end do you adjust first?
You have the shocks. You know how to adjust them and how to install them on your car. Now what?
Try this:
Step #1: Front or Back?
If the car wheelstands excessively or bounces on the gear change (which is more likely), adjust the front shocks first. If the car rattles the rear tires, wheel hops, or has way too much body separation, then adjust the rear shock absorbers first.
Step #2: Front Shock Adjustment
The idea is to get a smooth transition in the front-end movement as the car launches right through the first gear change. Bouncing and jerking motions don’t help launch or ET.
If the car is violent on launch and physically jerks the front wheels off the ground, the shock setting is too soft or loose. If the car bounces on the gear change, the shock needs to be stiffened.
When the car bounces on the gear change, it’s coming down on the front suspension travel limiter, and then bouncing back up again. Obviously, if the shock is set too tight (stiff), then the front won’t move sufficiently to transfer weight. On a similar note, a too-stiff setting on the front shock will bounce the car on the tire after the launch.
Don’t get this confused with bouncing off the front suspension limiter.
Step #3: Rear Shock Adjustment
When it comes to the back shock absorber, the idea is to shock the tire as hard as possible (track conditions permitting).
Keep in mind that it’s the shocks that actually control how much force or “hit” you’re applying to the drag slicks.
If the shocks are too loose on the extension (rebound), then you might get too much rear body separation. If the shock is too tight, the car will flatten the tire excessively or simply cause the car to spin.
Generally speaking, start soft on the rear and keep tightening up the valving after each run until your ETs stop improving. Then, dial it back to your previous setting and that should be optimum.
[…] Adjustable shocks will give you more flexibility for a smoother ride. You can adjust it and give your vehicle the best height that you desire. And with adjustable height, it’s also easy to drive through difficult terrains. […]