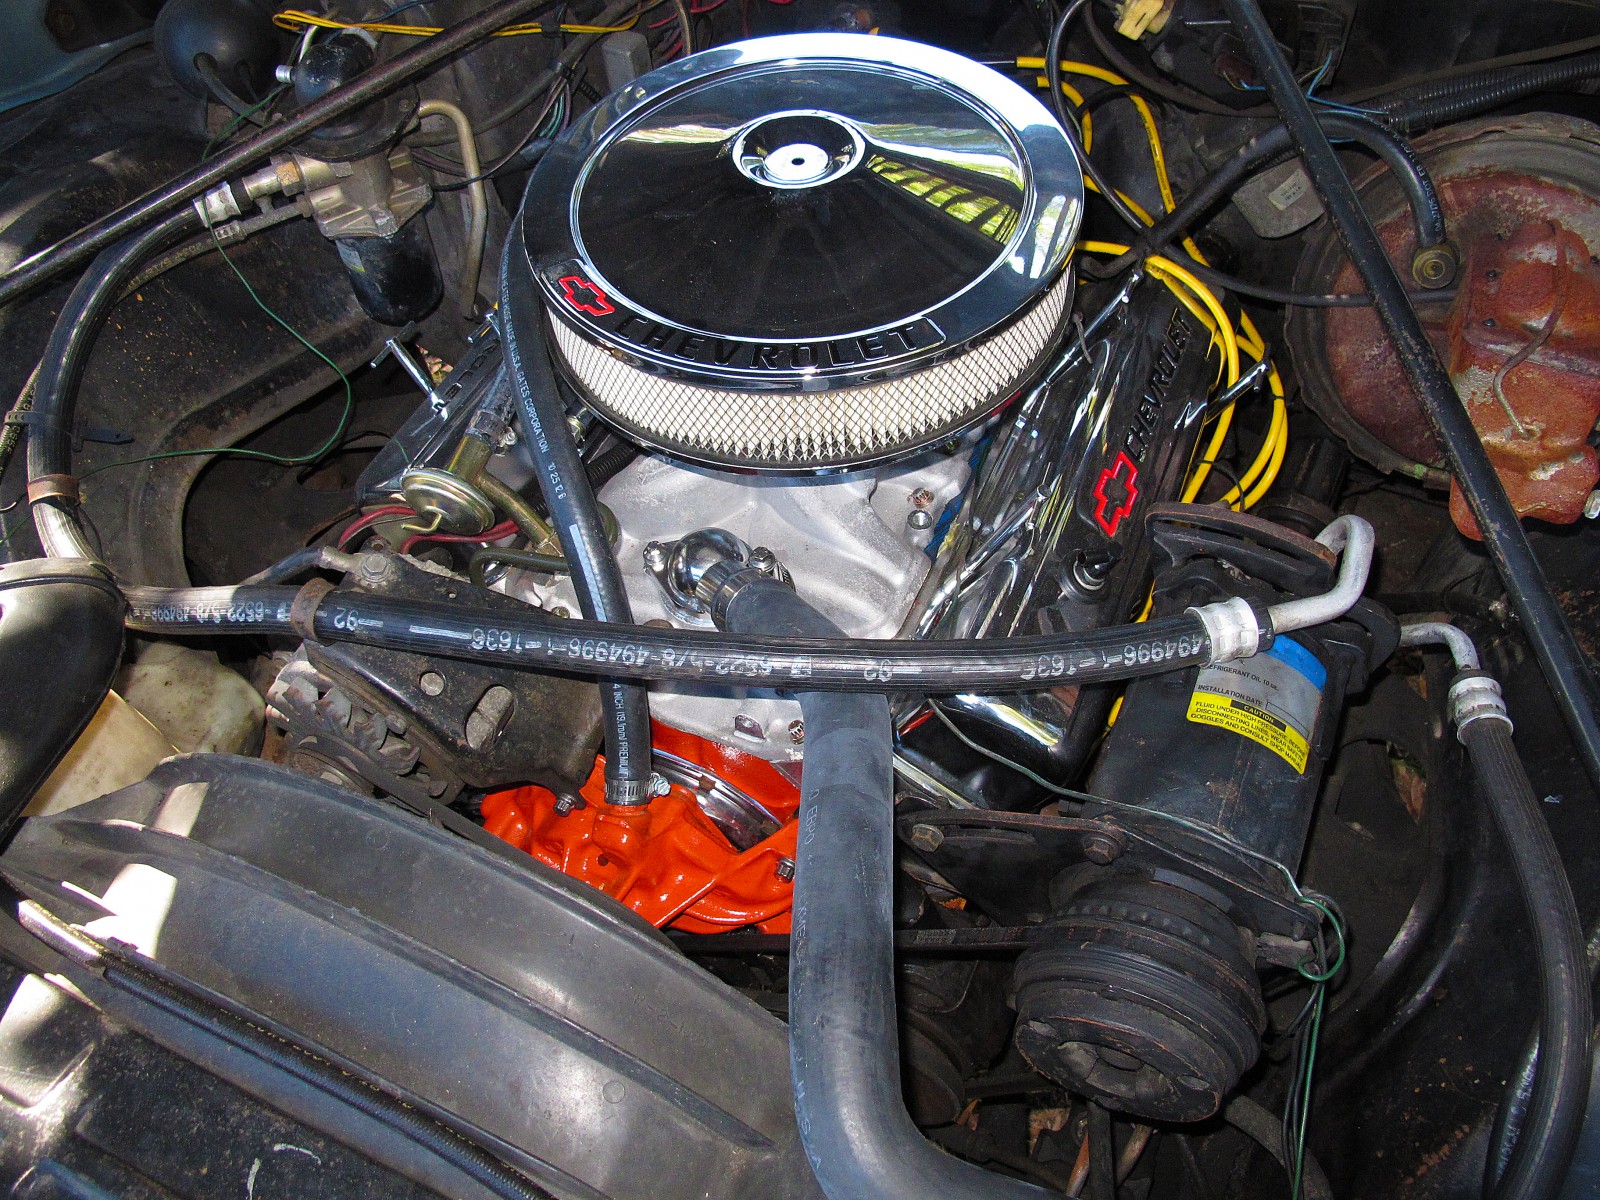
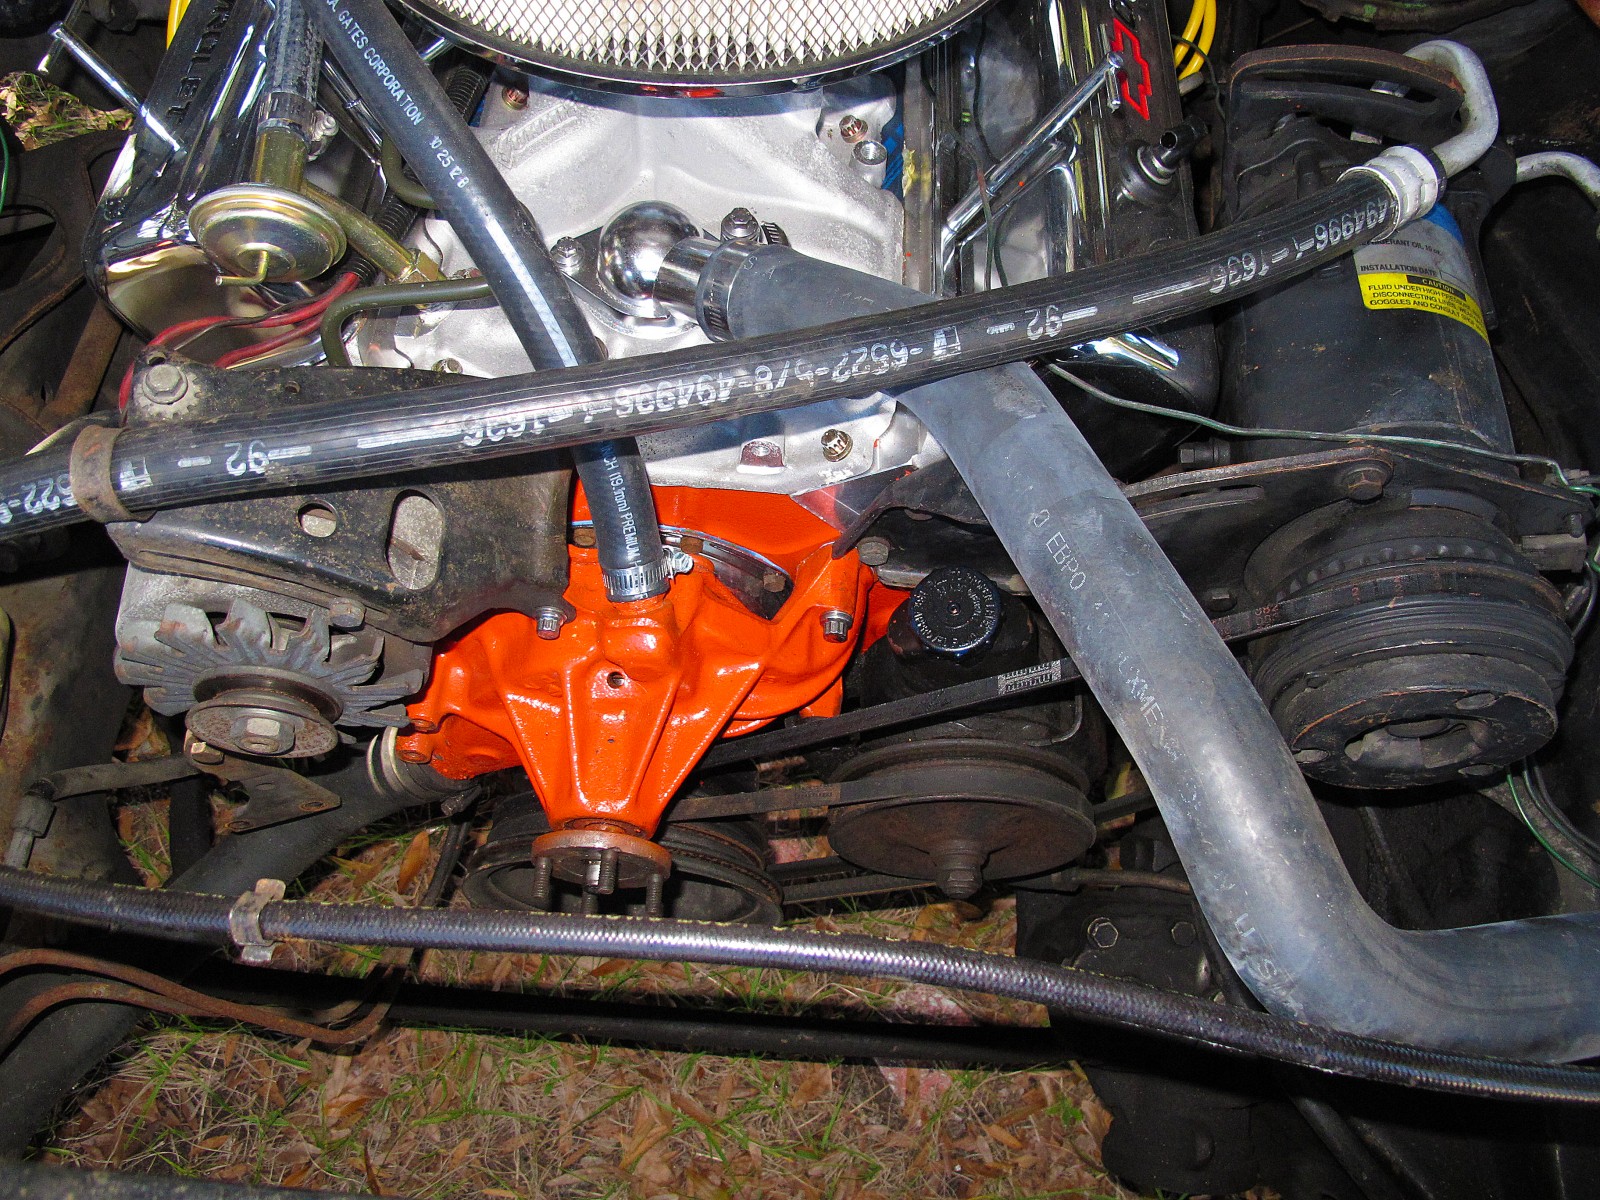
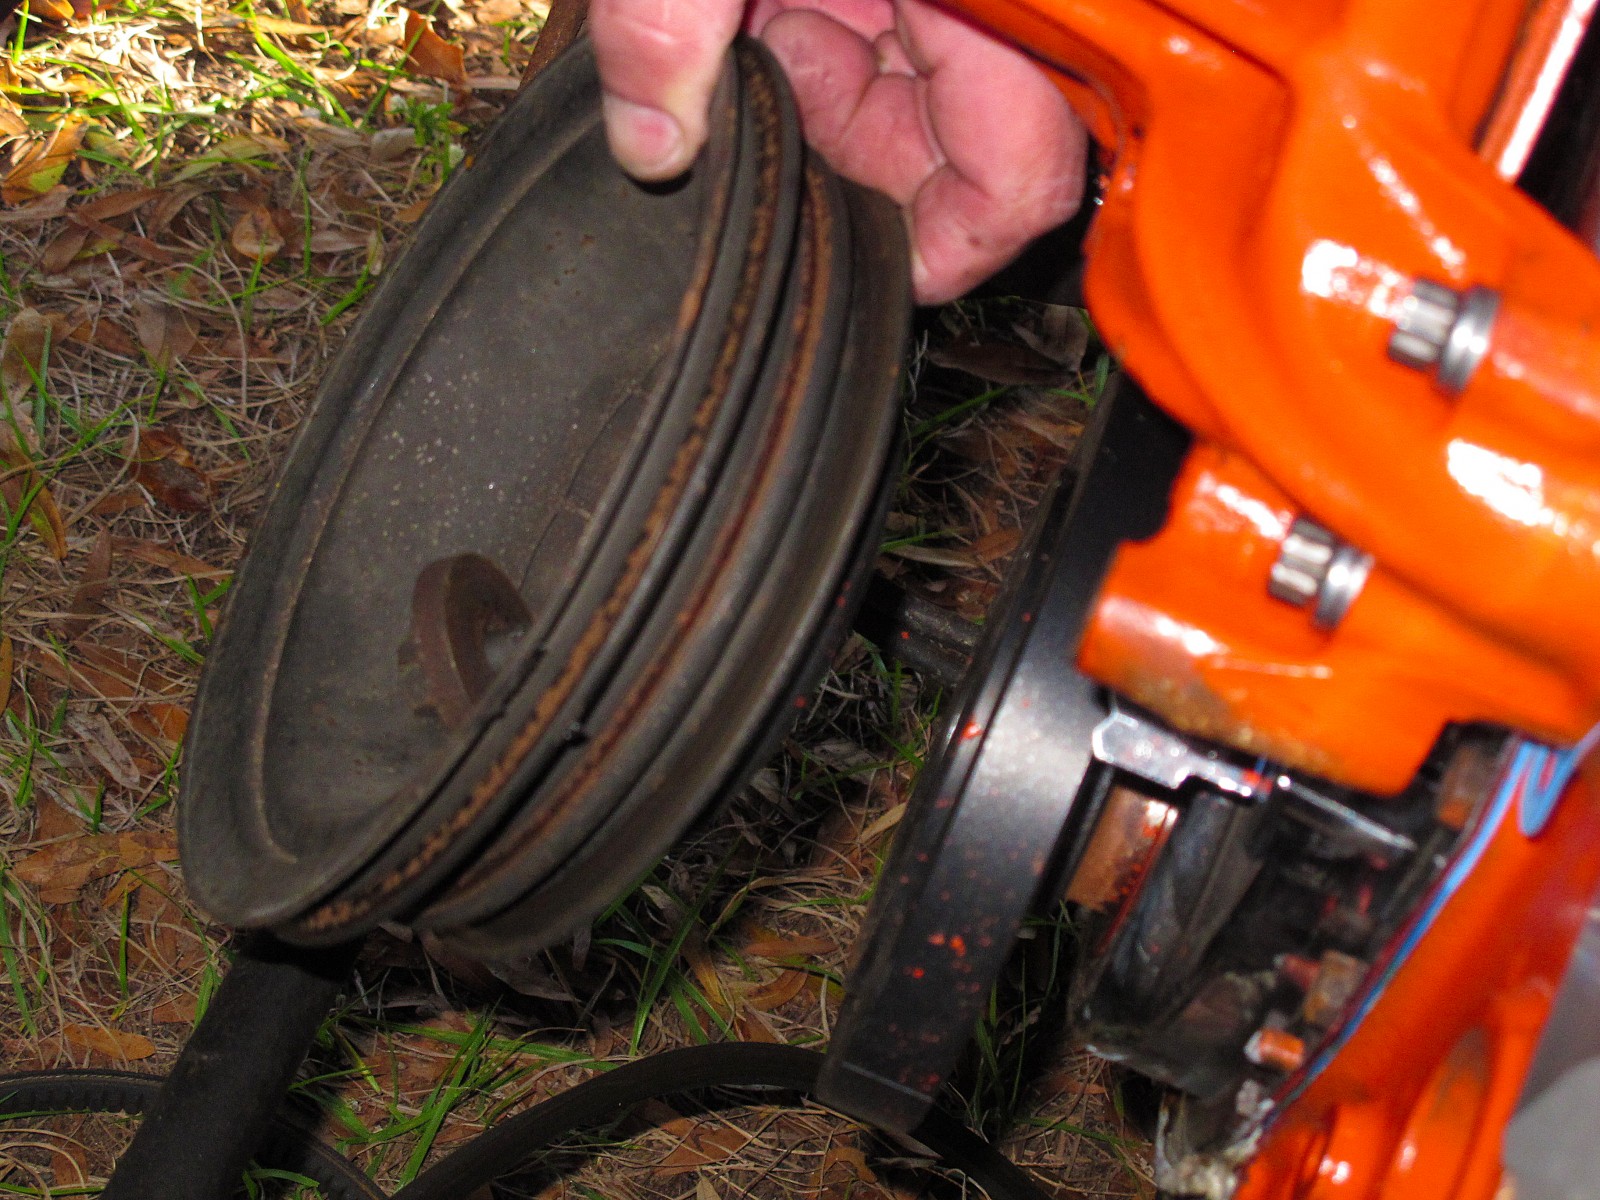
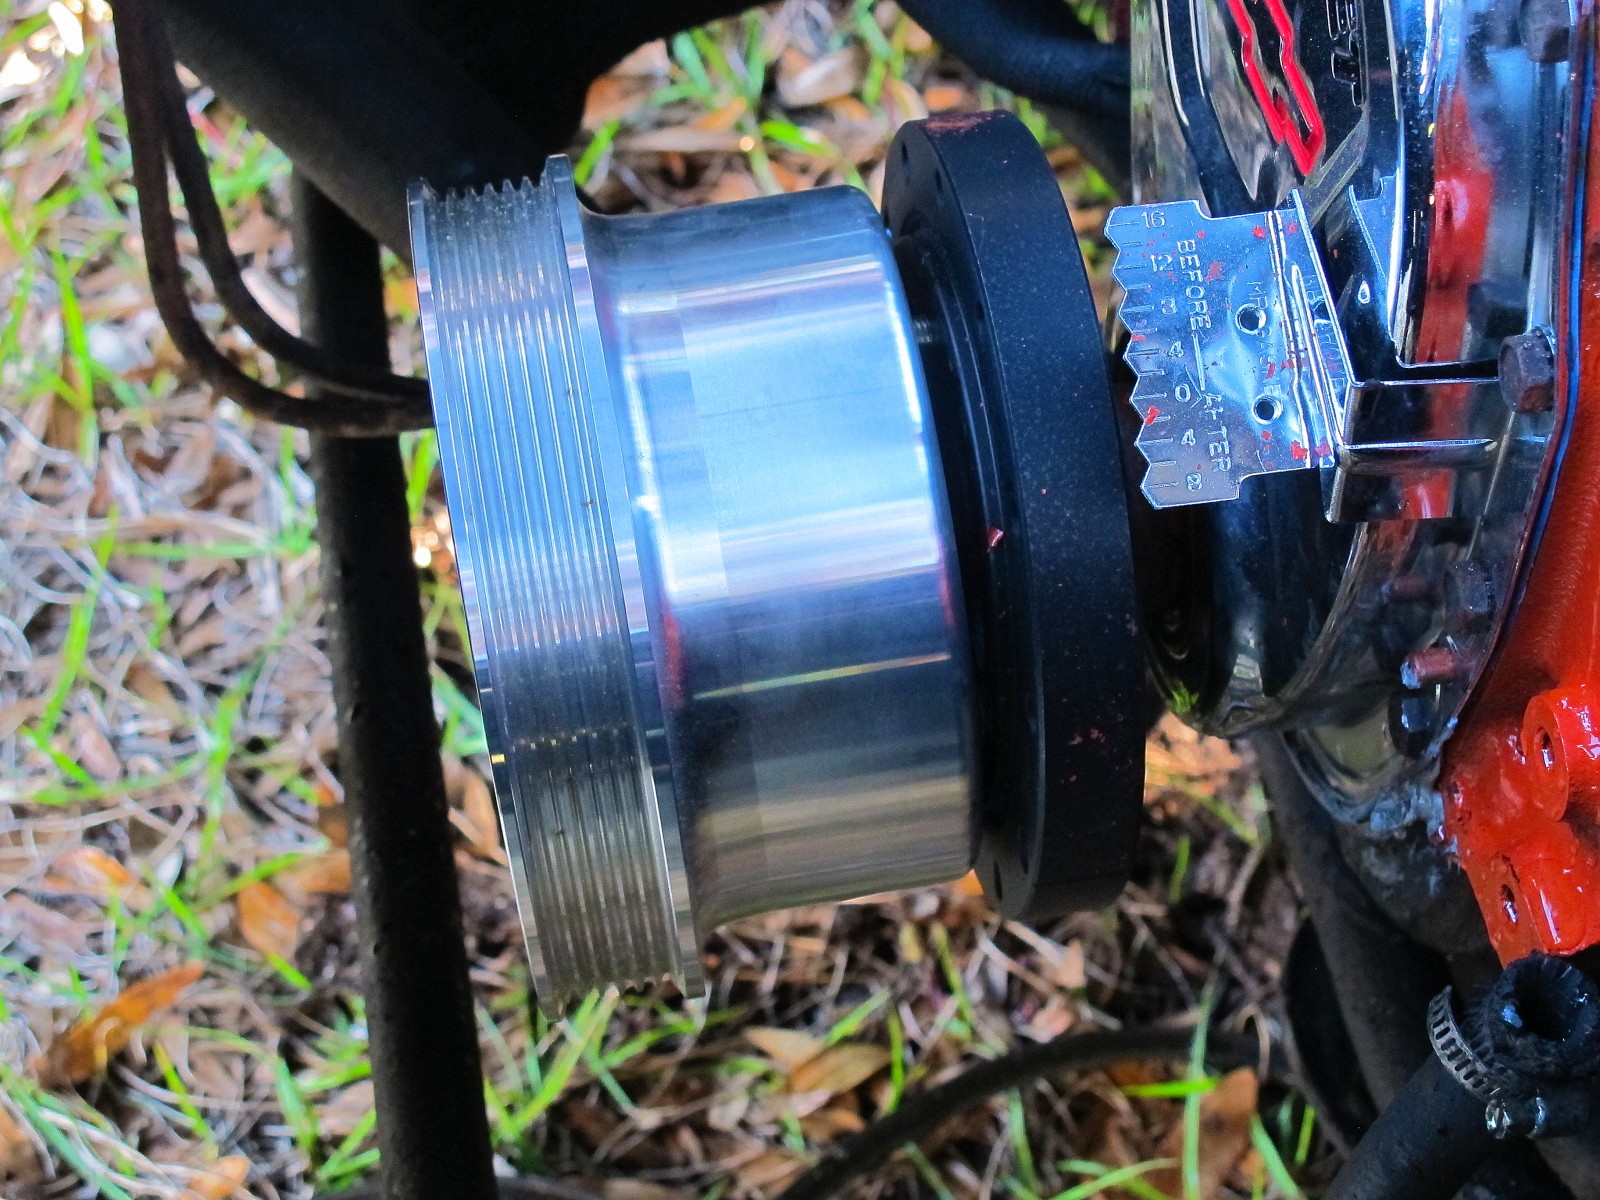
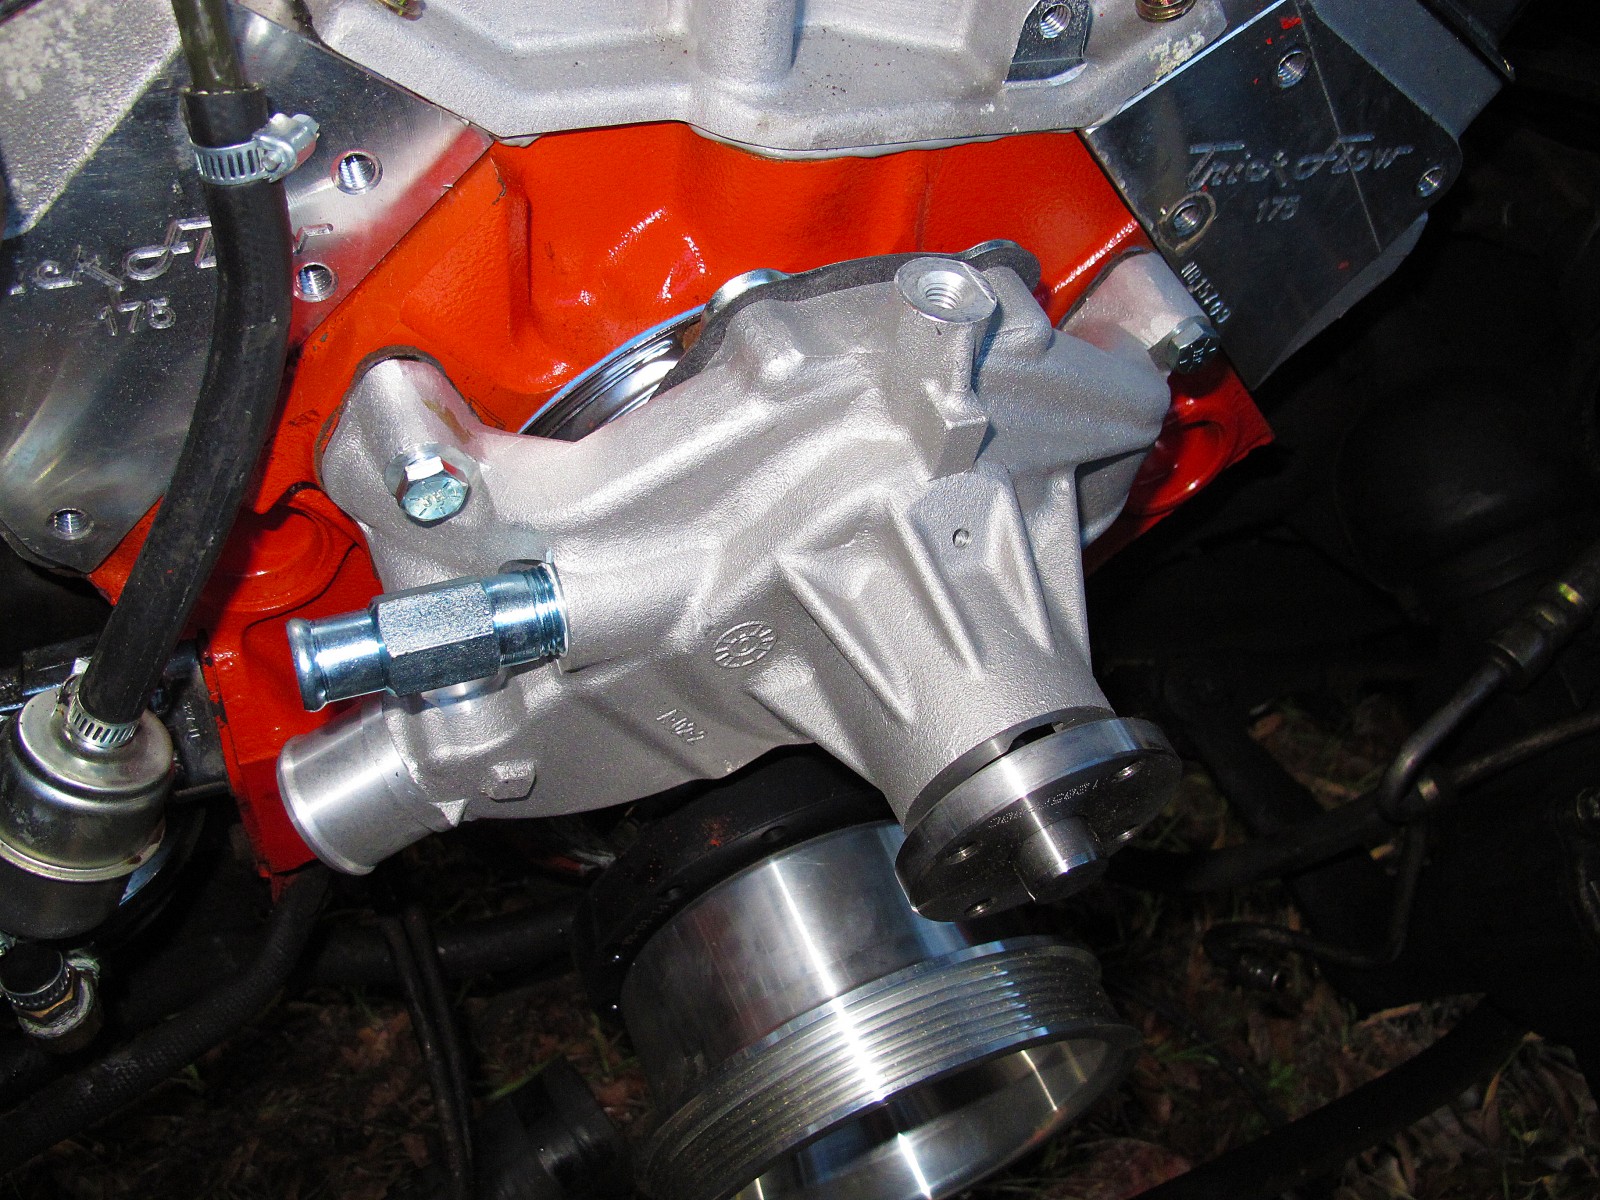
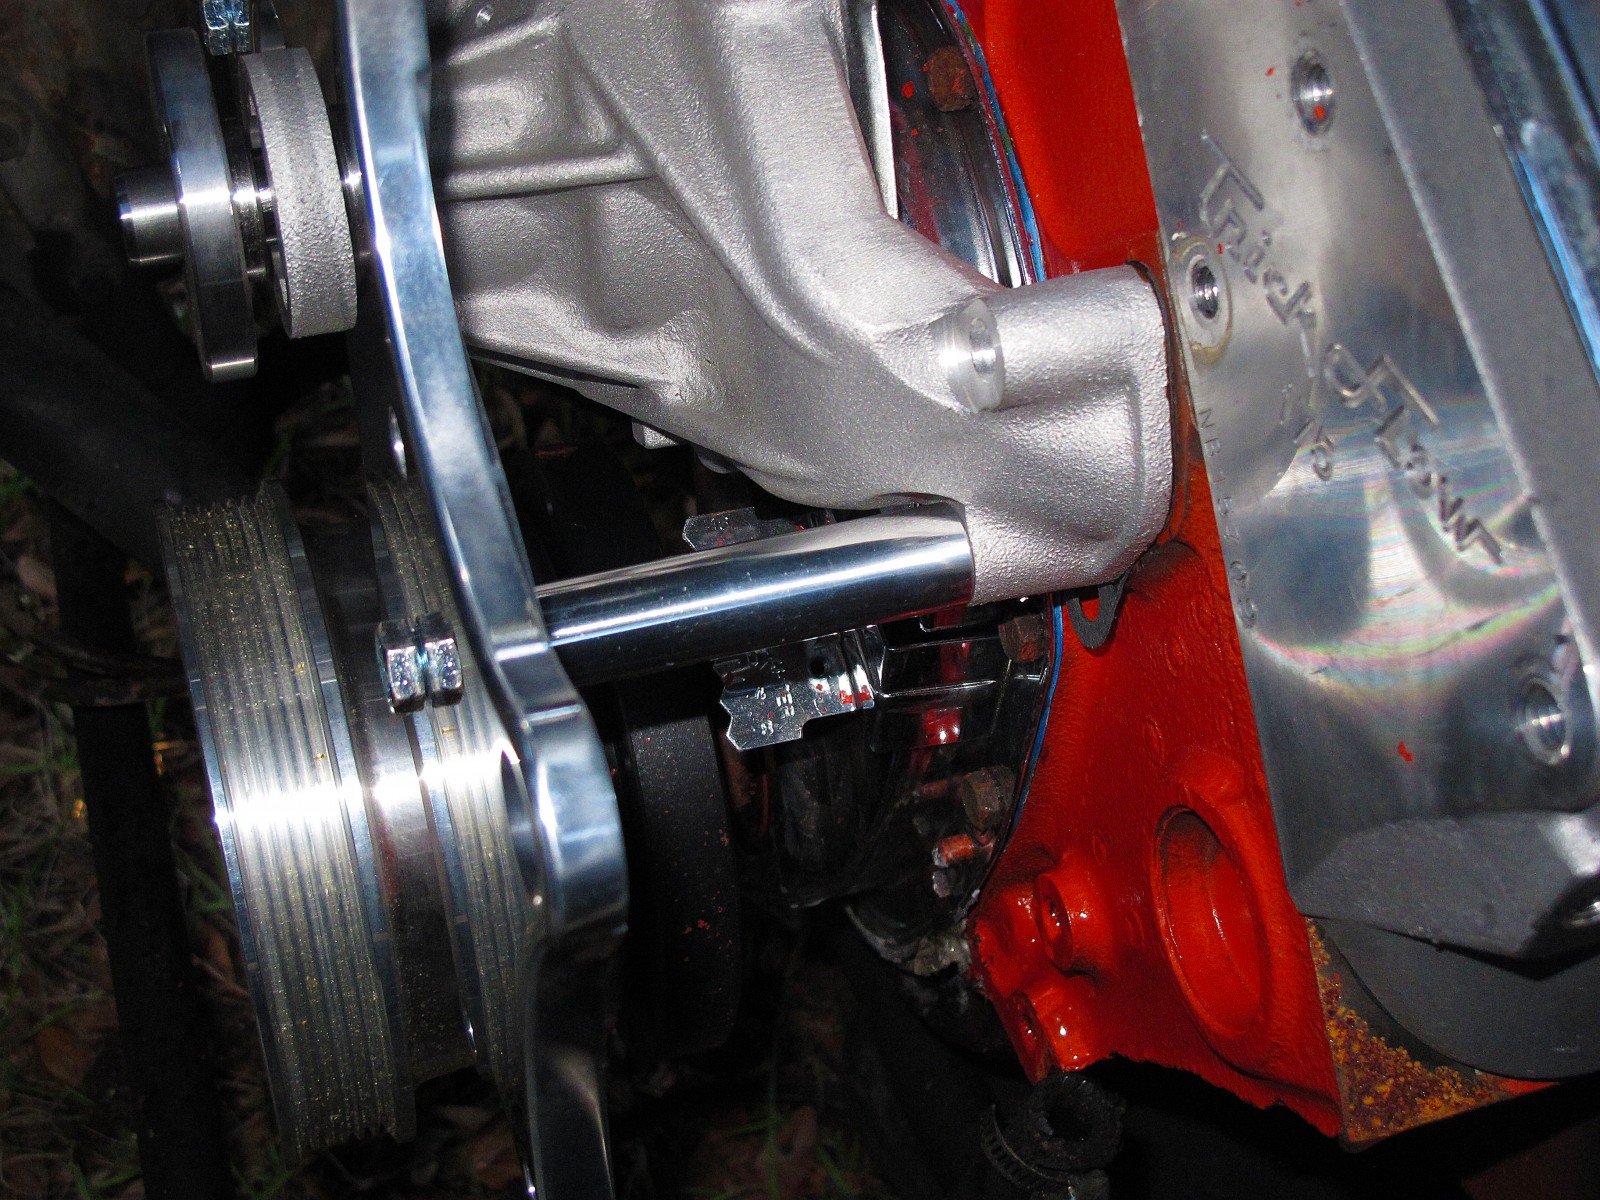
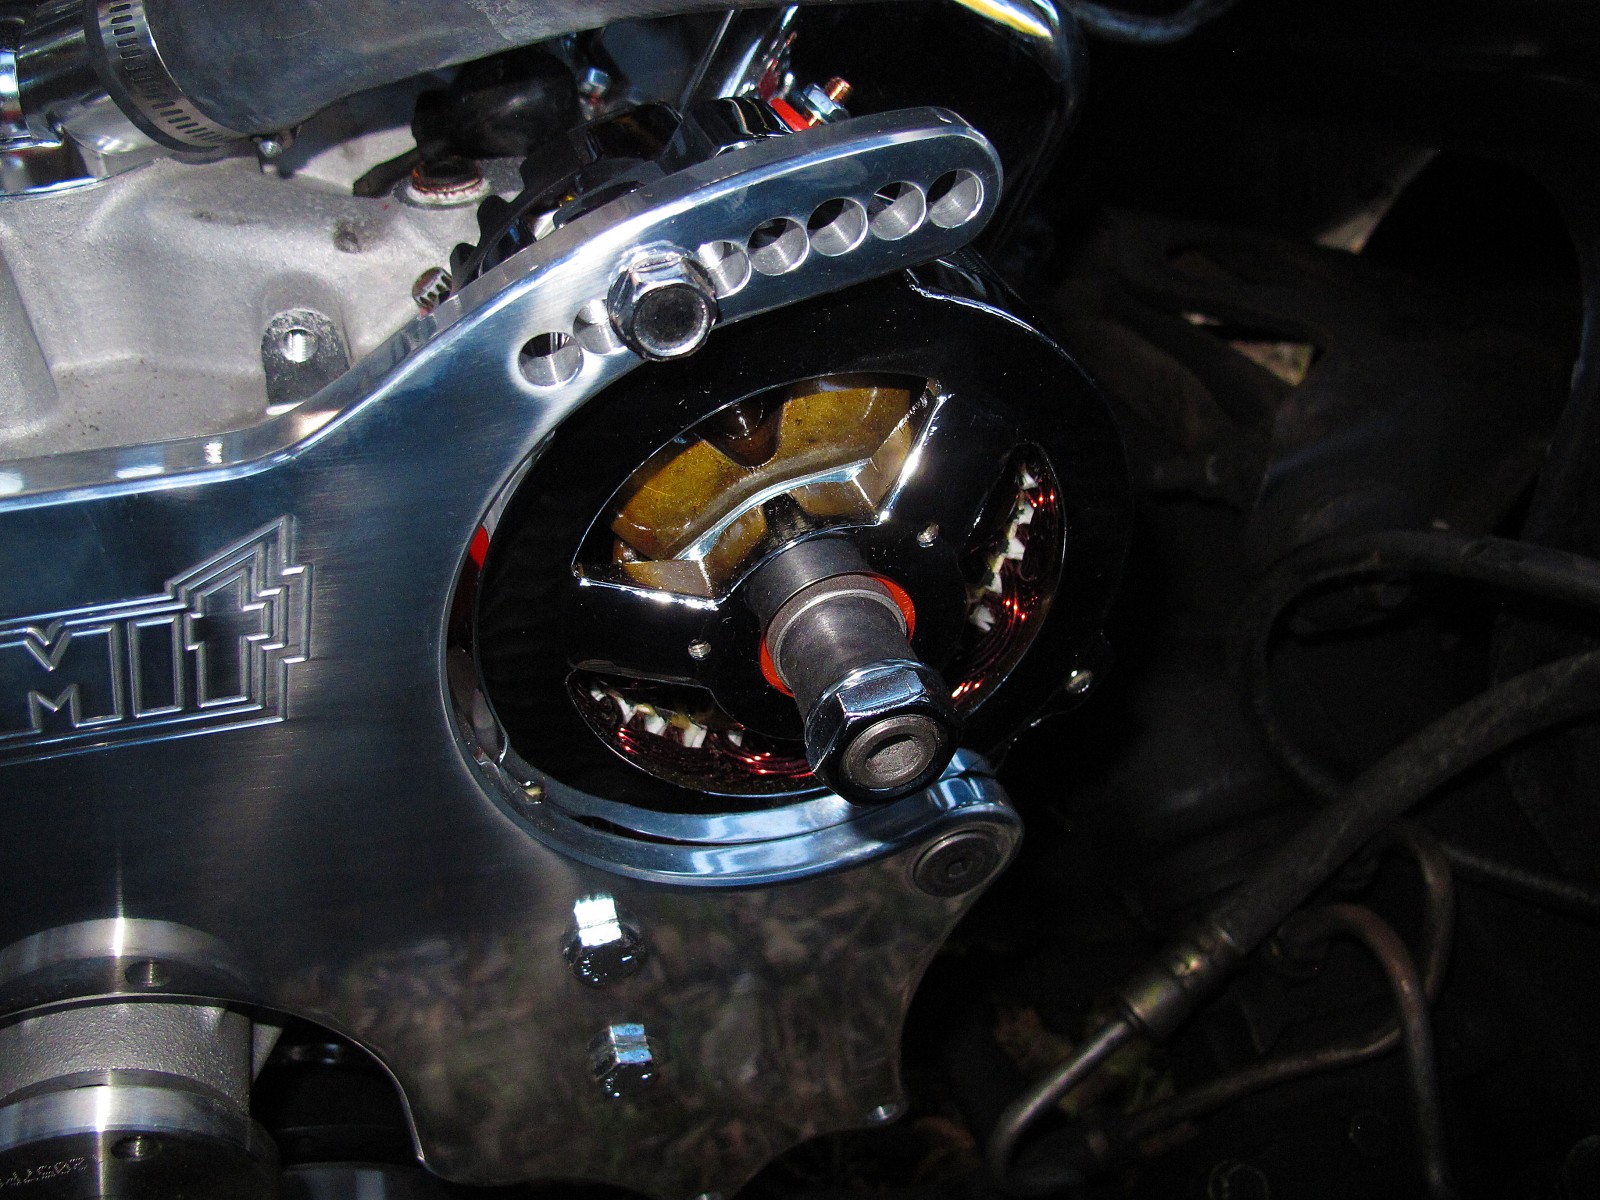
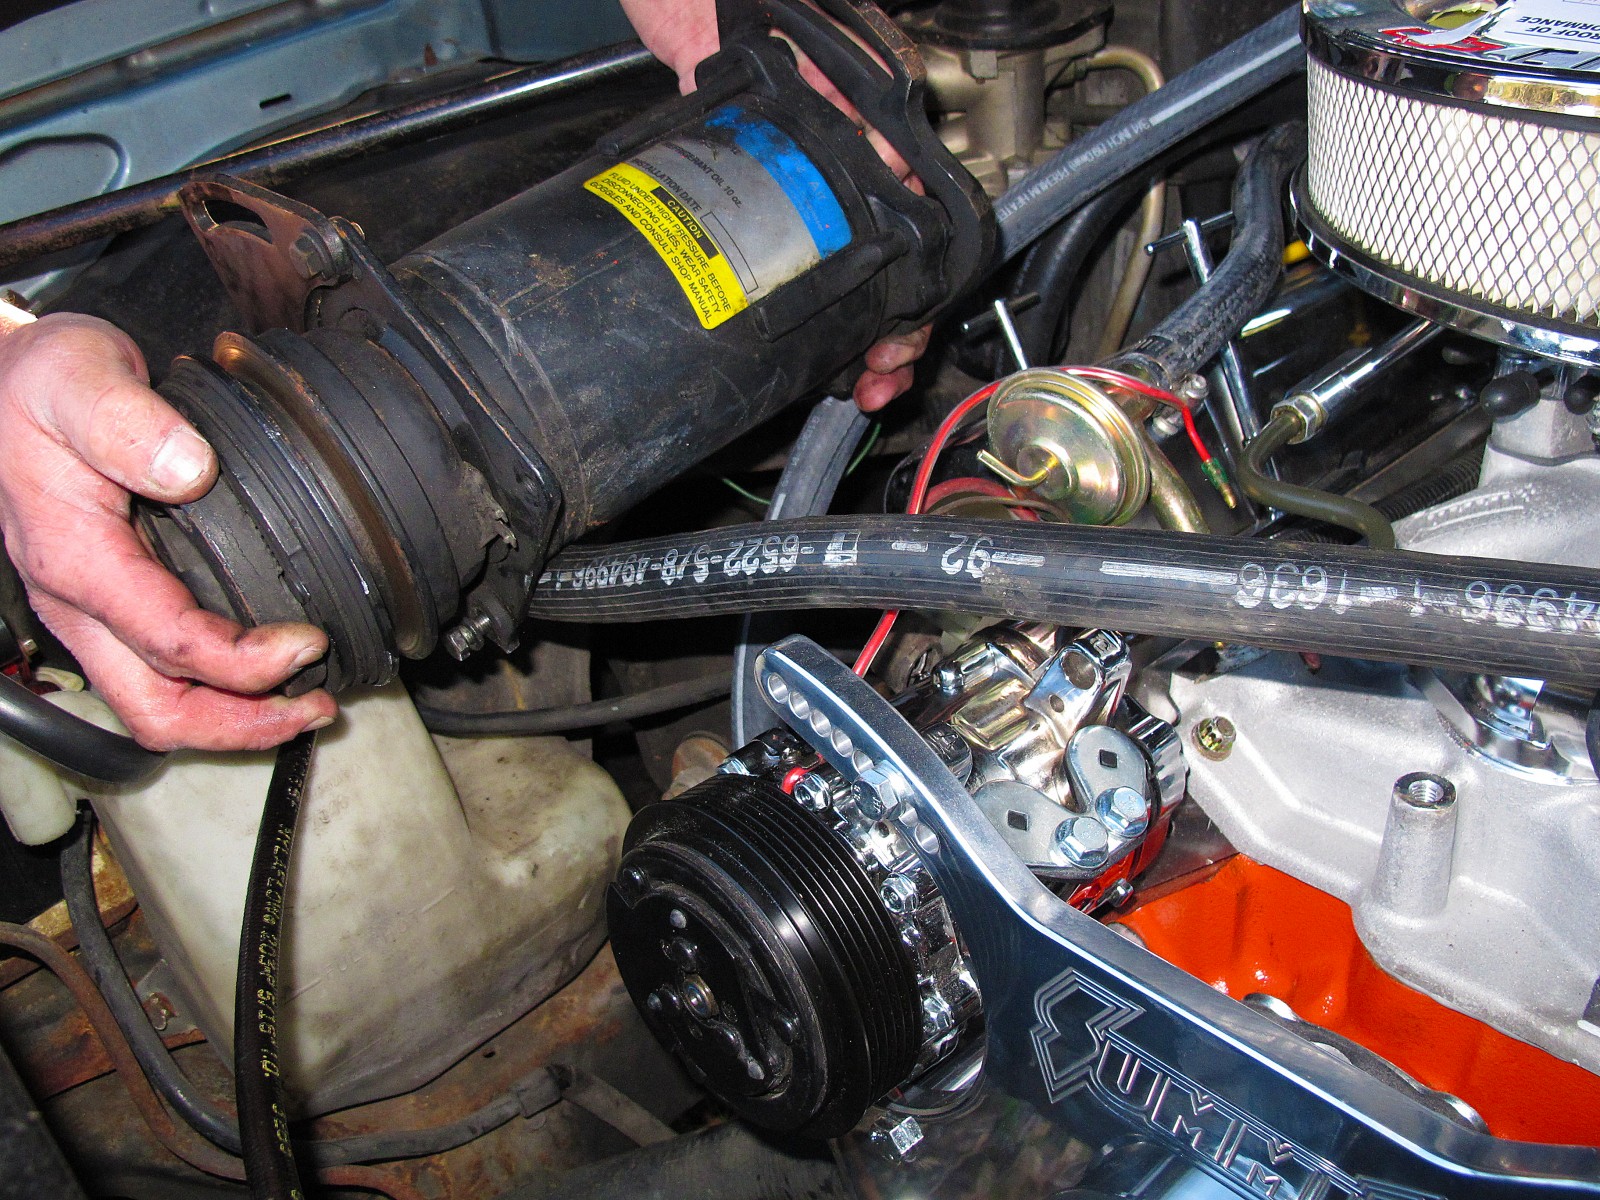
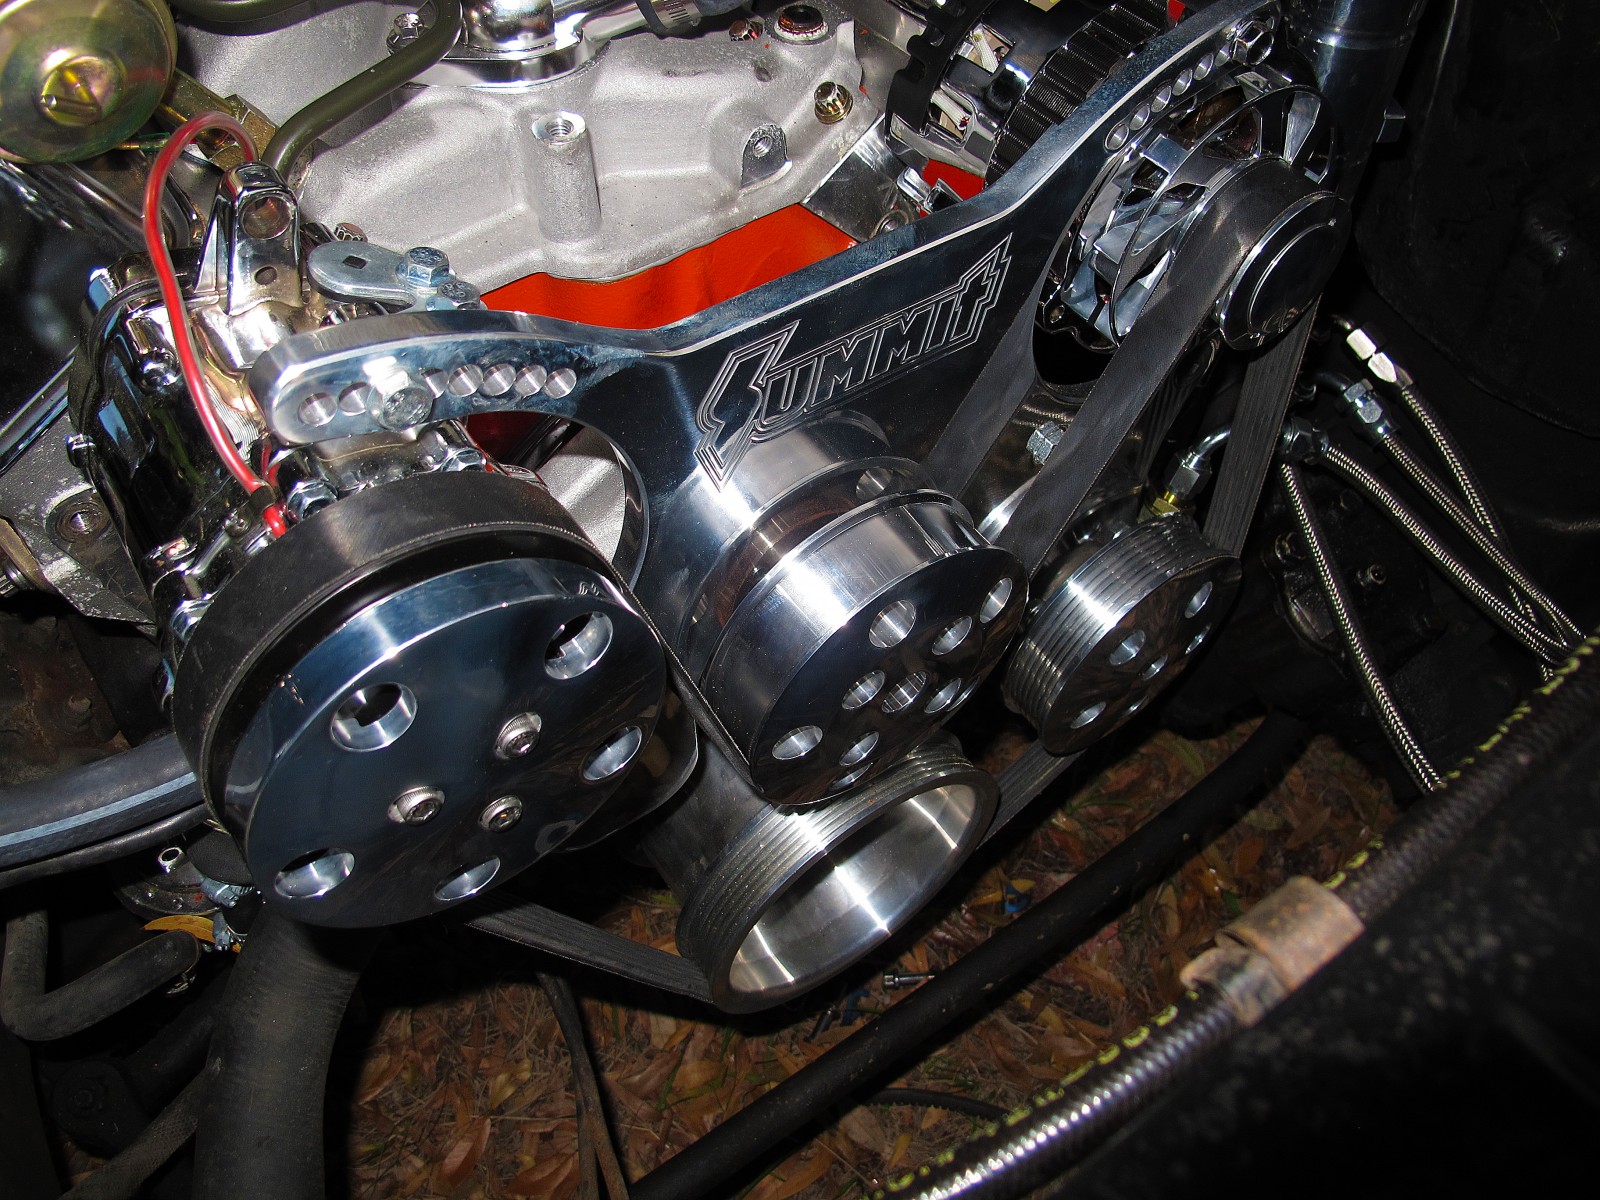
If you’ve got a pre-1988 small block Chevy and are tired of that massive, ugly looking factory accessory drive—the one with the heavy air conditioning compressor, unattractive alternator, power steering pump, and rusting iron water pump—then it’s time to step up to a serpentine drive system. Summit Racing has a whole line of polished aluminum serpentine conversion kits that deliver the attractive, uncluttered appearance of a serpentine system and include lighter, more-efficient accessories—all without the budget-killing price tag.

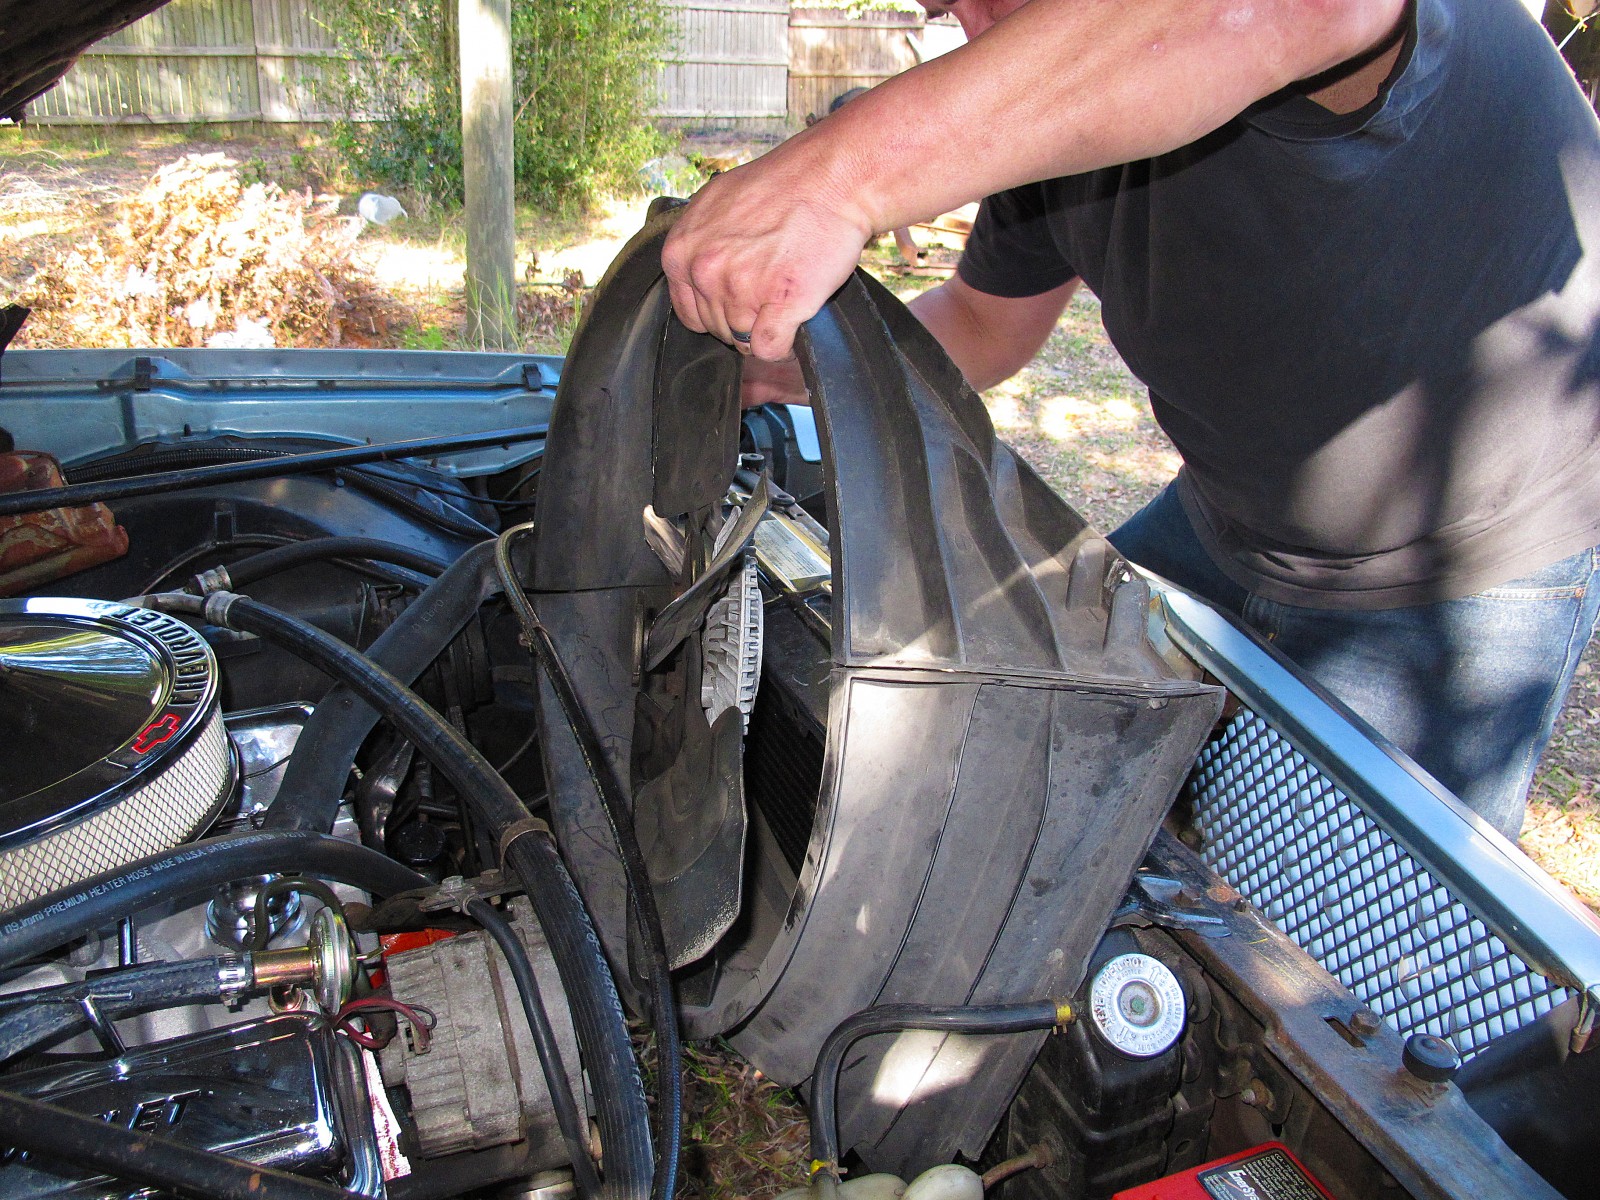
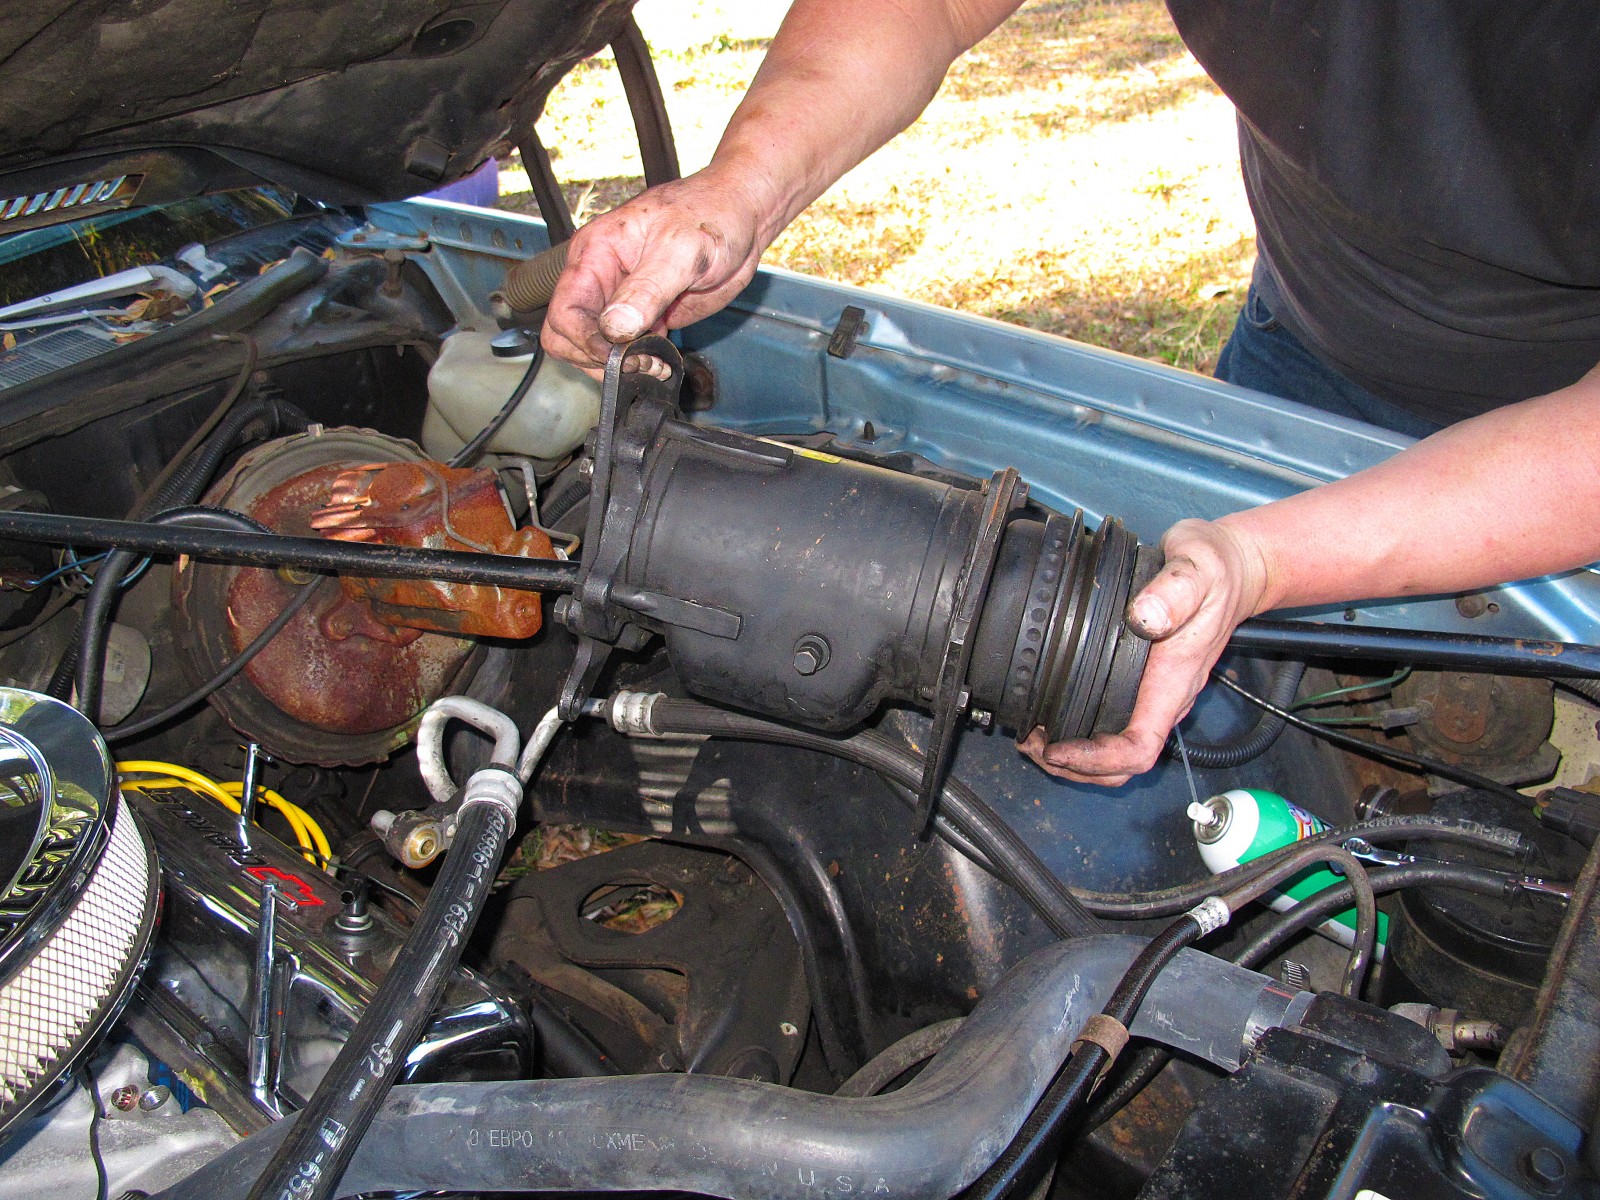
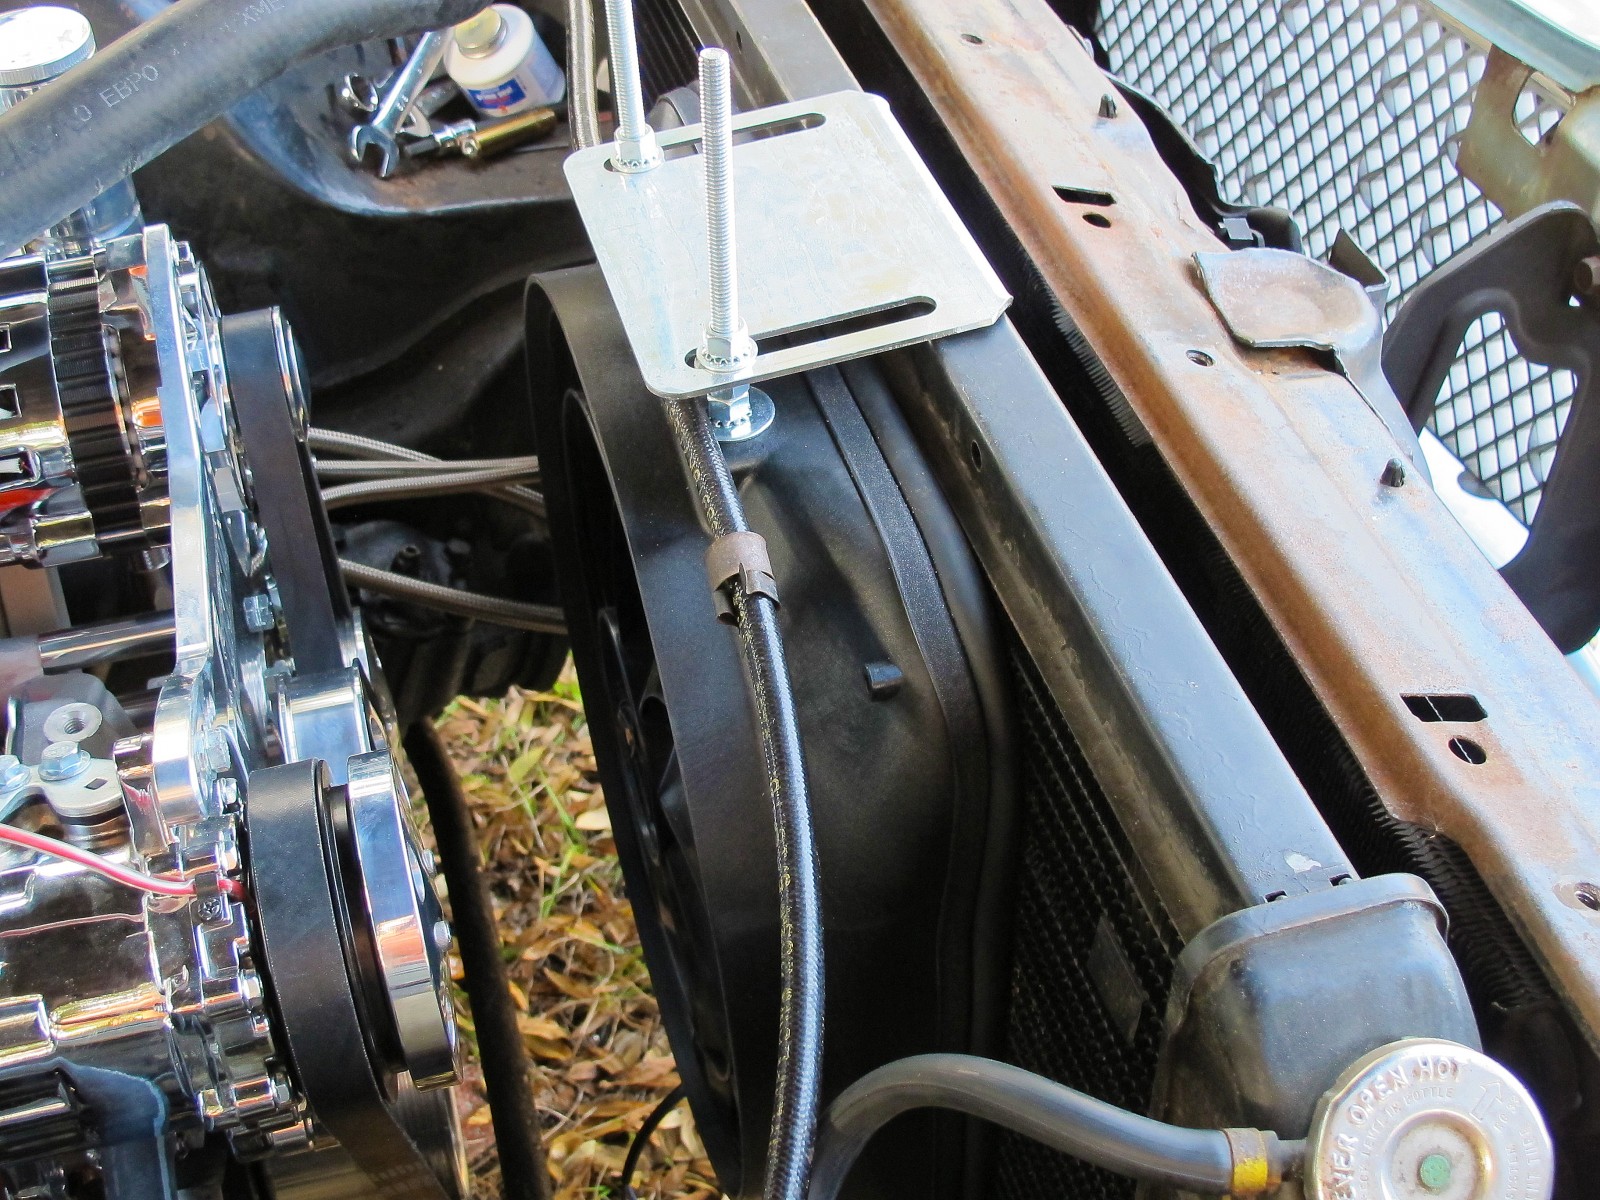
A major benefit of this kit is the weight savings it provides while also opening up a lot of space in the engine compartment. Using a bathroom scale and some guesstimation, we figure this accessory conversion took about 50 pounds off the front end. We also picked up some horsepower between the kit’s more-efficient accessories and losing the engine-driven clutch fan in favor of an electric unit. As a bonus, this serpentine conversion kit also makes installation of headers much easier since nothing is using the exhaust manifolds as a mounting point.

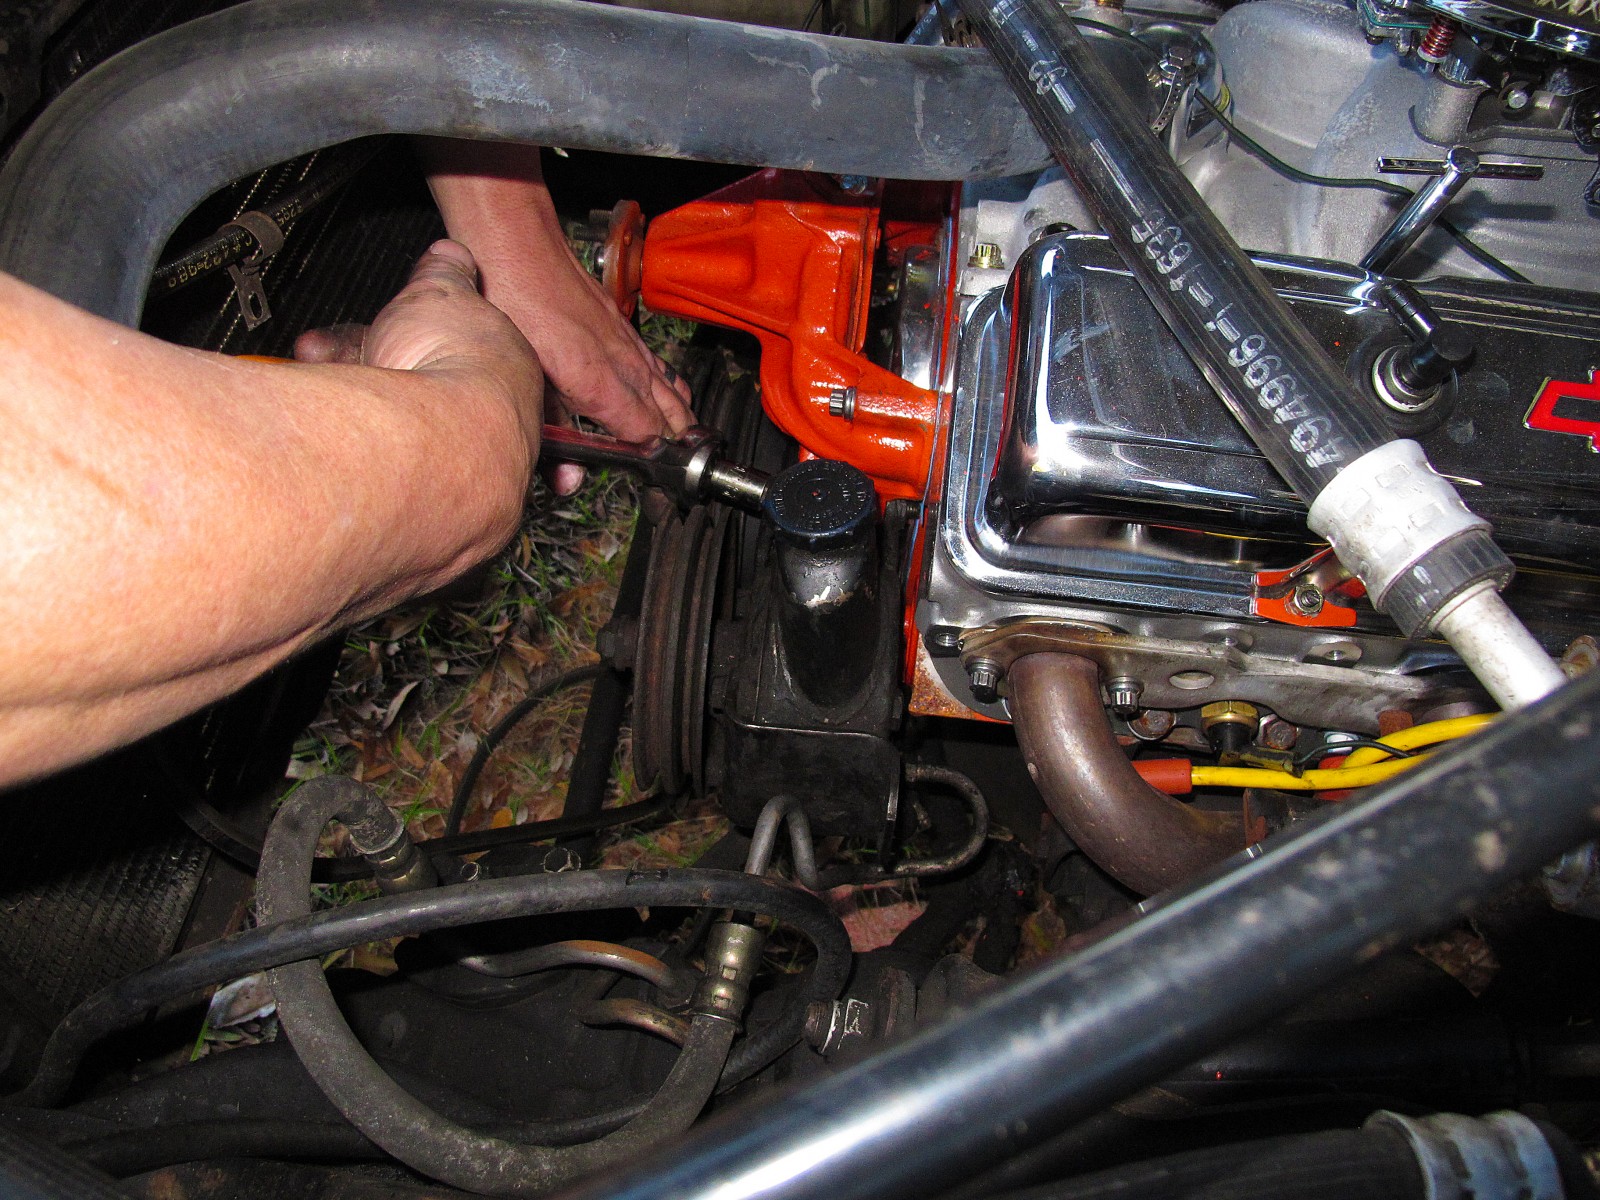
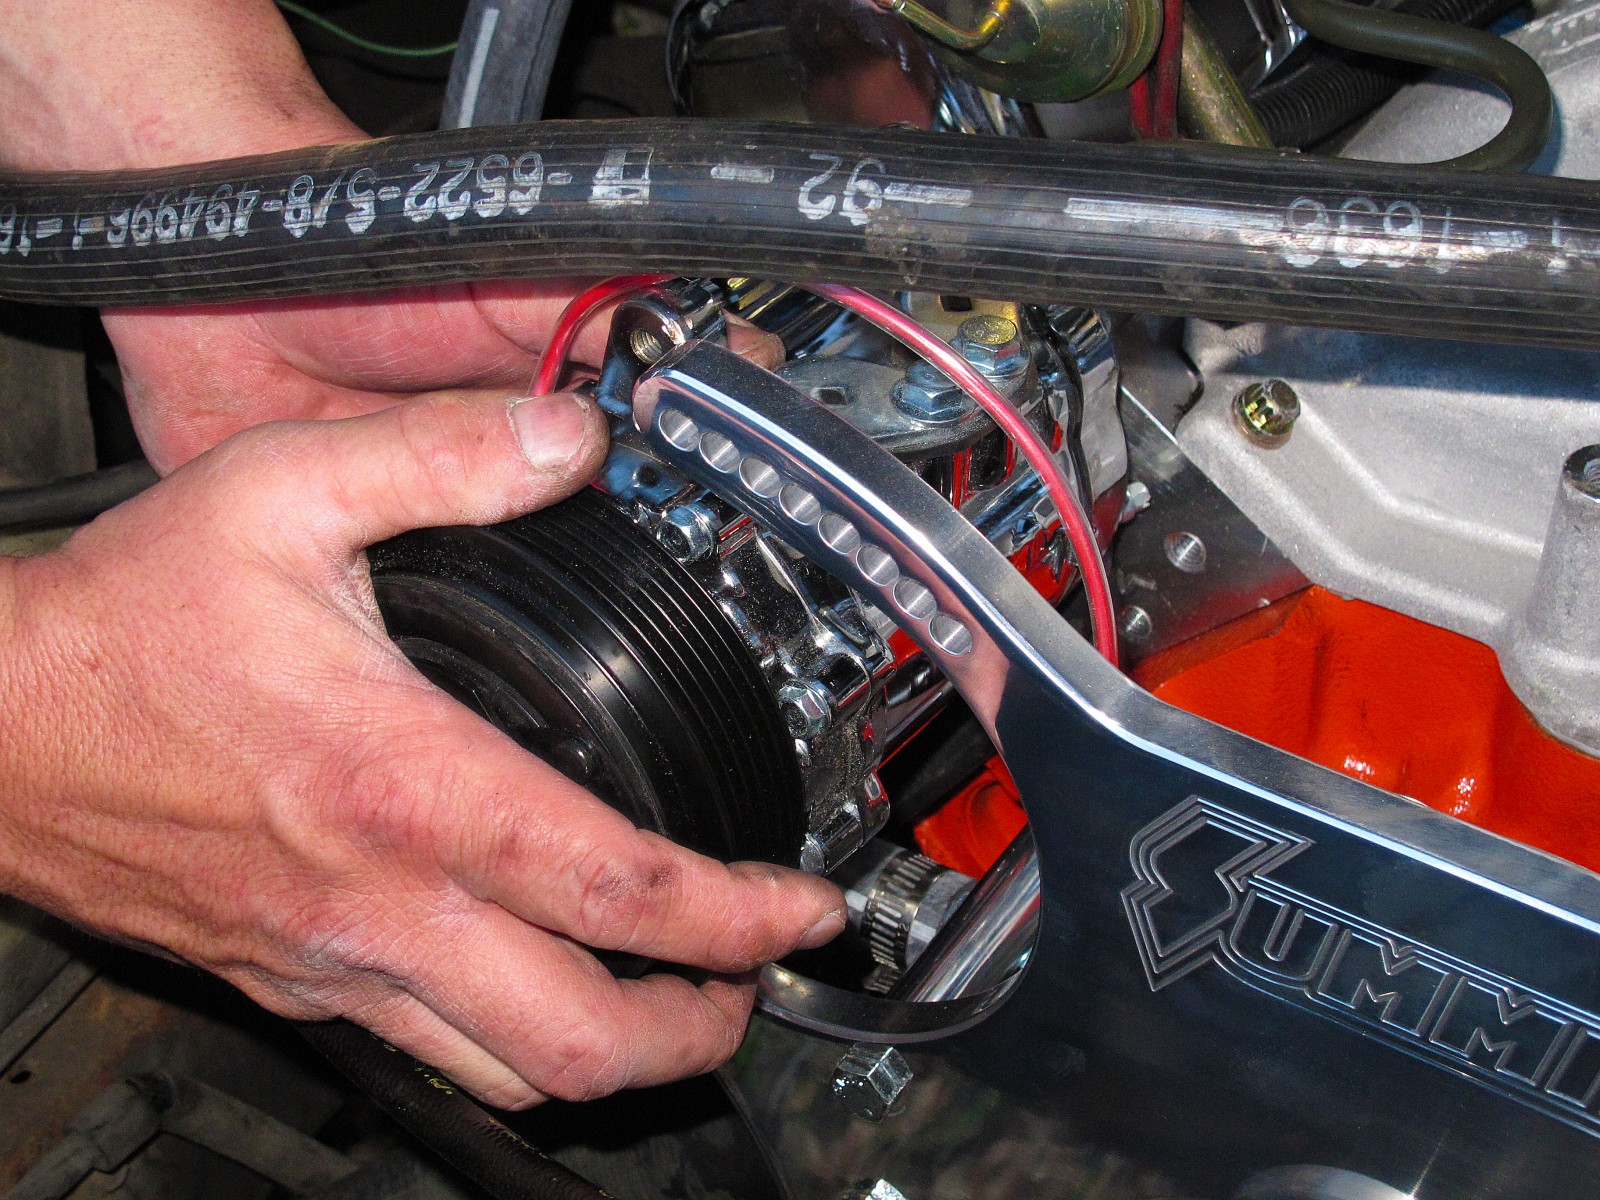
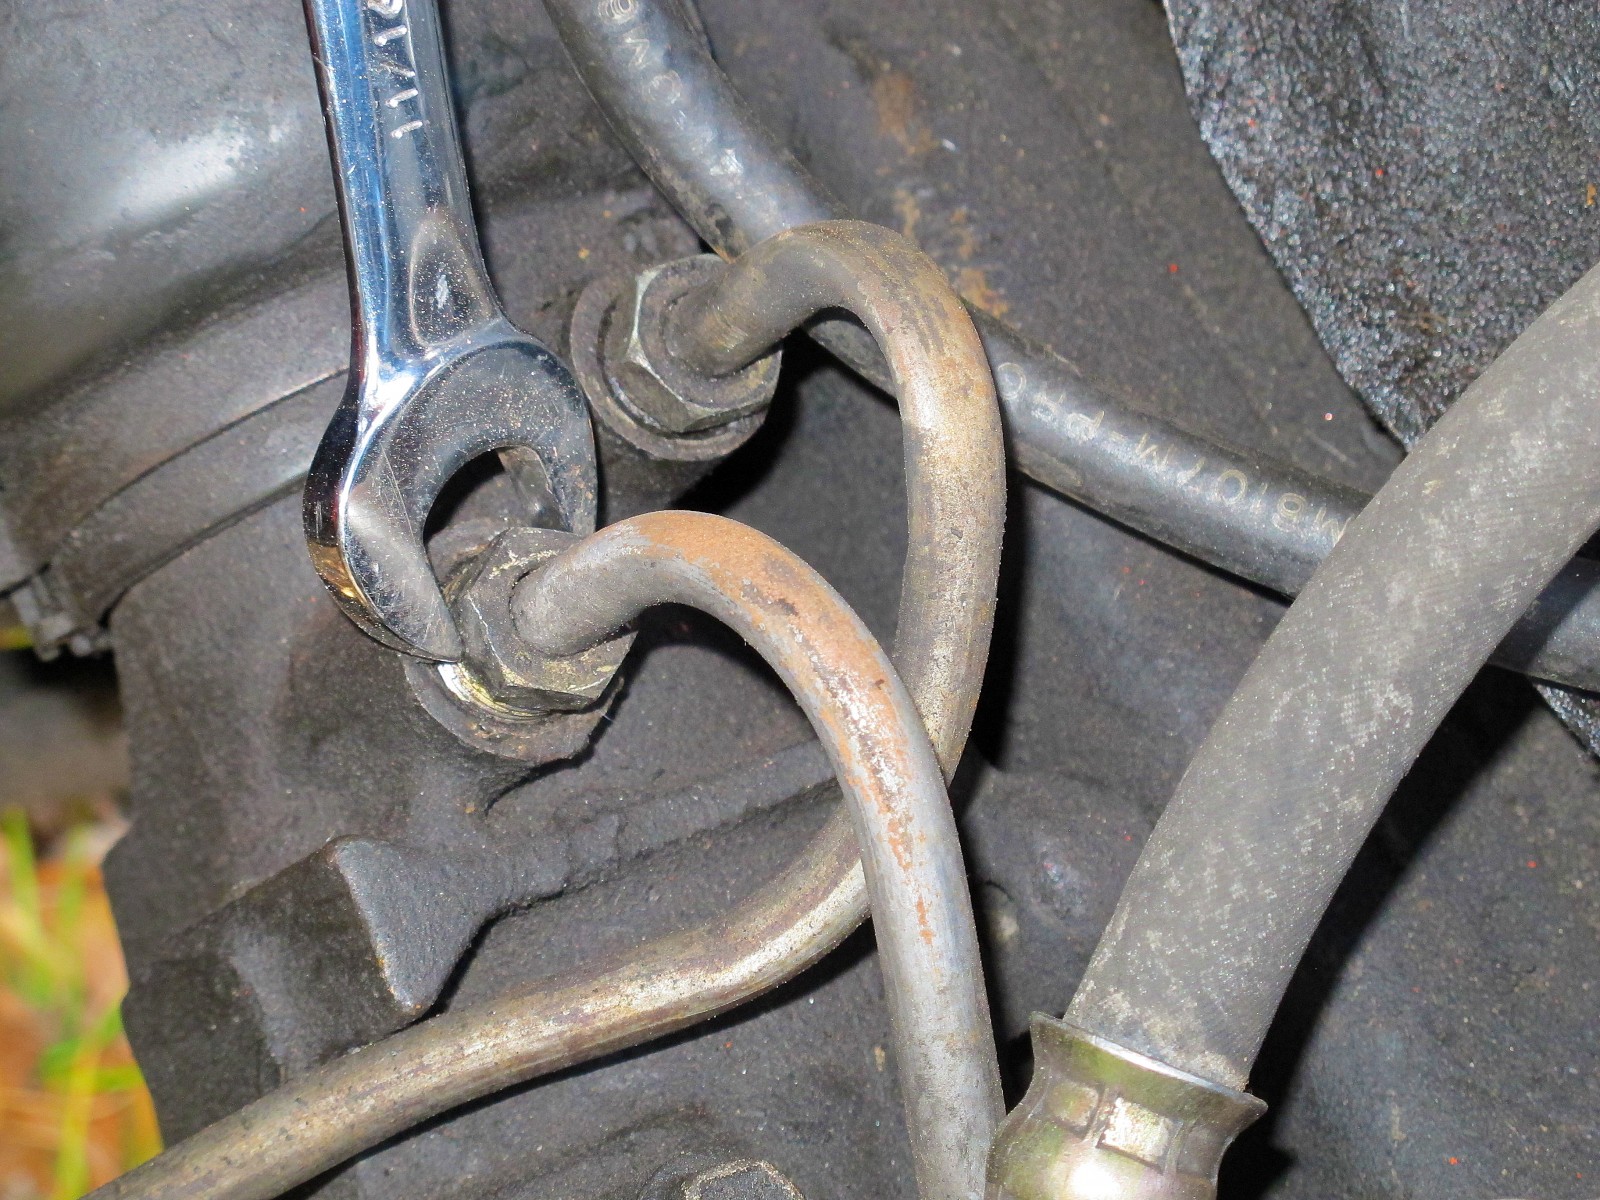
We had access to a 1976 El Camino with the factory air and the factory accessory drive still in place. It made for a good test subject to show off the installation and benefits of the Summit Racing small block Chevy serpentine conversion kit. Installation was very easy. With all the parts in hand, we accomplished the task in a single day. Follow along as we show you how.
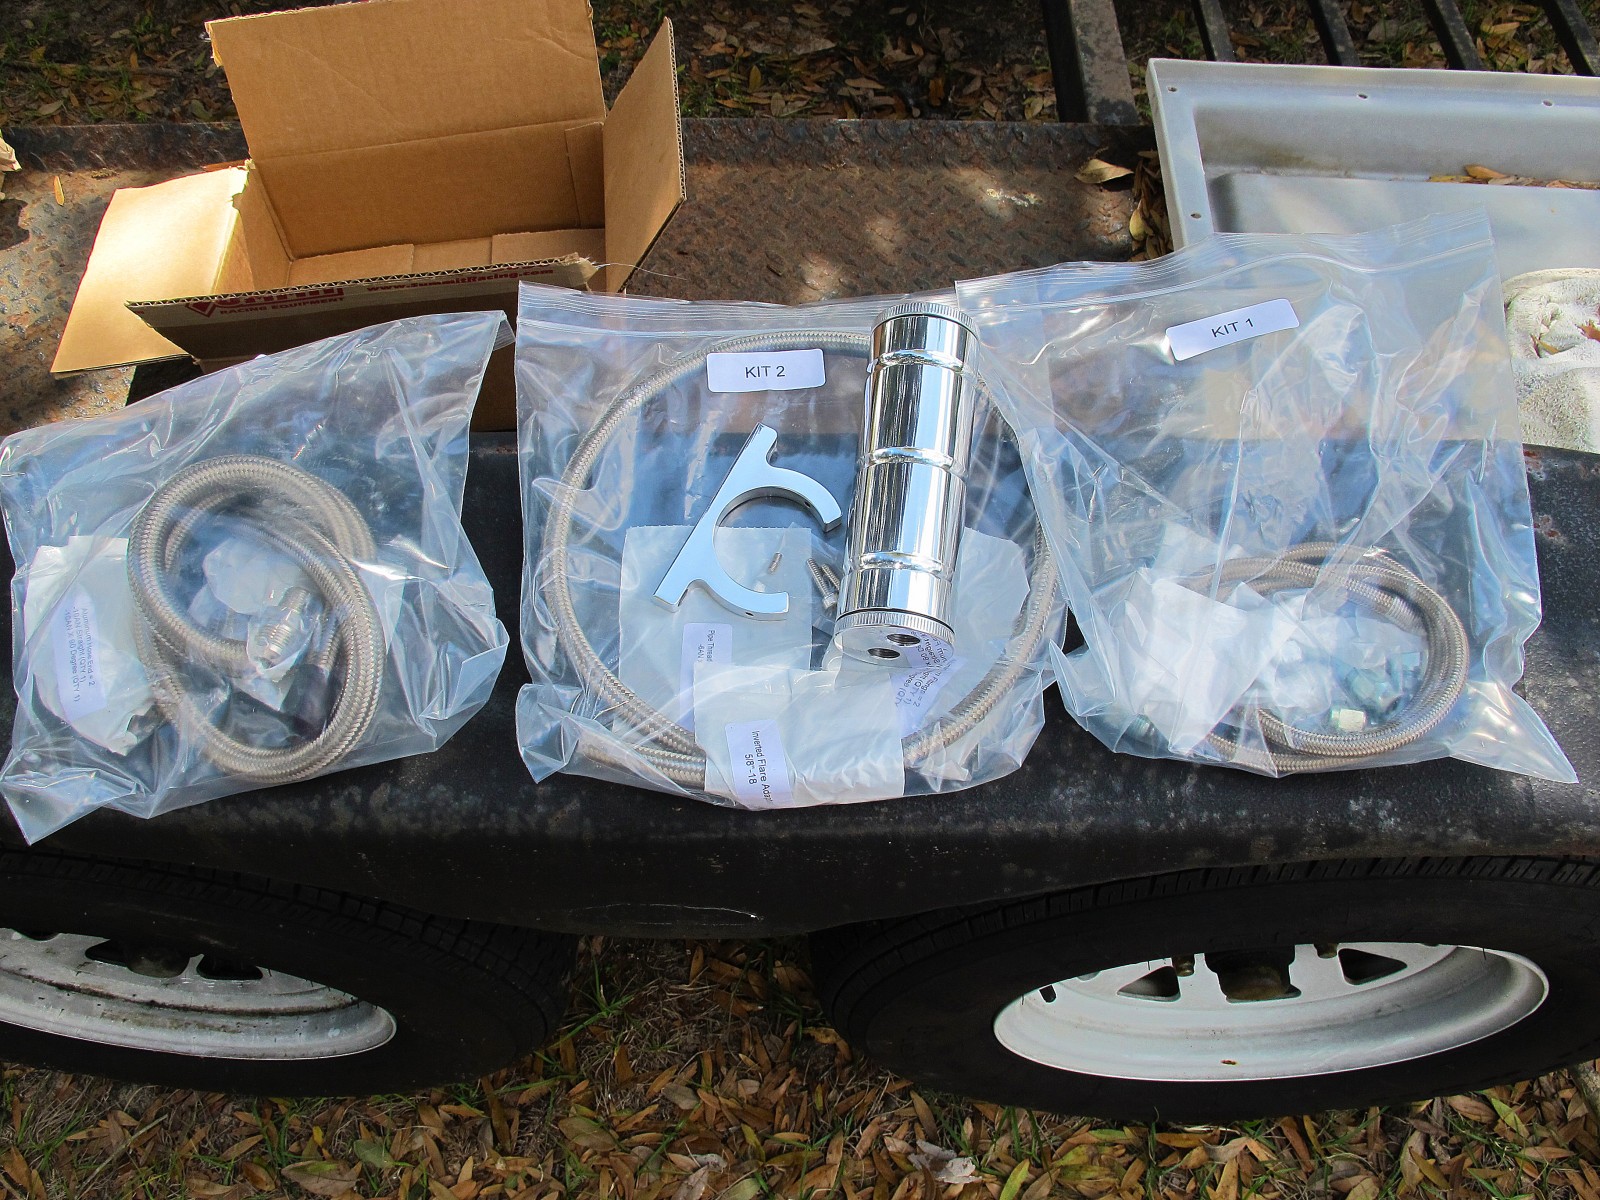
small block chevy v8 engine in an old car
man removing fan and shroud from an old car
front end of a chevy v8 engine with mechanical water pump
removing a large factory air conditioning compressor from an old car
removing a power steering pump from a v8 engine
removing the crank pulley from a chevy v8 engine
removing a water pump from the front of a v8 engine
aluminum crank pulley installed on a v8 engine
mechanical water pump installed on the front of a v8 engine
heater hose barb fitting on a water pump
accessory mounting bracket bolts on a v8 engine
installing an alternator onto a v8 engine
installing heater hoses into a water pump
installing a sanden air compressor on a v8 engine
a/c compressor size comparison on a v8 engine
power steering system parts in bags on a fender
removing power steering lines
fitting adapters installed in a power steering box
close up of a custom cut hose assembly end
power steering reservoir mounting location
stainless steel braided power steering lines
installing a power steering pulley on an engine
man installing an engine pulley cover
summit racing front engine accessory drive system and brackets installed
retrofitting an electric fan in an old car
automotive electric fan fan thermostat controller and probe

Here’s what we started with--a mass of old style V-belts, heavy cast iron water pump, and equally heavy factory axial A/C compressor, power steering pump, and alternator. Zero eye appeal, bulky, and inefficient compared with today’s accessory drives.

First thing to go is the old engine driven clutch fan and its shroud.

While functional, our factory accessories just didn’t get it done in the looks department, especially when installed next to our aluminum headed and freshly repainted small-block. Besides being more of a parasitic power drain on the engine, all of this stuff is much heavier when compared to modern components. From iron to aluminum on the water pump alone is a weight savings of 10 plus pounds.

One of the heaviest pieces we removed was the cast iron, factory axial compressor. The Summit kit comes with a modern Sanden SD-7 A/C compressor that’s smaller, lighter, and crates much less drag on the engine when running. We also removed all the heavy, cast iron mounting brackets for the compressor.

Next to go was the original power steering pump. This is all simple removal work, nothing special required beyond normal tools.

Bye-bye crank pulley…

And into the scrap pile goes the old iron water pump. Between this and the factory A/C compressor, we took over 25 pounds of dead weight off the front on the car. After the water pump was removed, we finished up by removing the old alternator and its related brackets.

First thing installed is the new aluminum crank pulley. We couldn’t reuse the factory balancer bolt on this, so we picked up a new bolt, part #910208.

The kit comes with a brand new, high flow aluminum water pump. At this stage, only the upper two water pump bolts are installed to hold the pump in place.

Something you’ll need to pick up from the local parts store is this heater hose fitting that screws into the water pump.

The main bracket that the new accessories mount to is secured to the front of the engine using the water pump mounting bolts. While the upper two bolts hold the pump in place, the included extra long bolts and spacers are installed as show in the picture. Once they’re secure, then you can remove the upper two bolts and install the other pair of included spacers and long water pump bolts.

With the mounting bracket secured, we installed the new, internally regulated 105-amp alternator.

Do yourself a favor and install the heater hose onto the water pump before installing the new A/C compressor.

Now we can install the new Sanden compressor. This unit is similar to what’s used on modern cars, much lighter and more efficient than the old factory compressor, and works great with R-134a Freon. It also works just fine with the rest of the factory A/C system mounted on the firewall, and the original condenser in front of the radiator.

Here you can see the size difference between the old R-4 axial compressor, and the new Sanden SD-7 unit.

The new power steering pump utilizes a remotely mounted reservoir. We grabbed the remote reservoir Summit Racing kit, part #340402, and corresponding braided hose kit, part #G3160.

First up is removing the factory power steering lines. They’ll still have some fluid in them, so keep a few rags handy to cut down on the mess when removing them.

The two included adapter fittings are then screwed into the steering box.

The hoses that come in the kit are cut to length. Once you cut them ot the required length using a knife (do NOT use regular style cutters or anything else that will crush the inner hose) slip the hex head collar onto the hose, then the brass insert into the end. After that, screw onto the other half of the fitting, and you’re done.

The reservoir can be mounted in a variety of locations, and comes with a mounting bracket. We decided to fab up a mounting arm, secured to the engine block, that we could attach the reservoir to, as you see in the photo. You want to mount the reservoir in as vertical an orientation as possible, to reduce the chance of sucking air into the pump, and make filling it easier.

Here’s how it all looks when done. It’s much brighter and more attractive than the old factory rubber lines.

To install the power steering pump pulley, you’ll need a pulley installer tool, available for purchase or rental at most auto parts stores. Press the pulley on until it lines up exactly with the drive pulley on the crankshaft. You can also bolt on the alternator pulley at this time, again watching for alignment with the other pulleys.

Install the pulley cover on the A/C compressor as such. A little bit of thread locker on the bolts is a good precaution here, to make sure they don’t back out while the engine is running.

And here’s the result! No question how much better it looks, and the amount of space this conversion has opened up in the engine compartment is amazing.

Last up is mounting the electric fan, part #G4860, using mounting kit part #329725. Once you have the fan placed properly on the radiator and secured, you can trim the mounting bracket studs down to the proper length.

To control our new electric fan, we went with Flex-a-lite’s adjustable fan controller kit, part #31147. It uses a probe that you insert into the fins in the radiator to measure coolant temperature, triggering the fan when the set temperature is reached. Place the probe in the upper part of the radiator where the hottest coolant is at. You can adjust the activation temp of the fan to suit your environment or particular needs by use of the simple rotary knob on the controller. And with that our install is done!

Parts Used

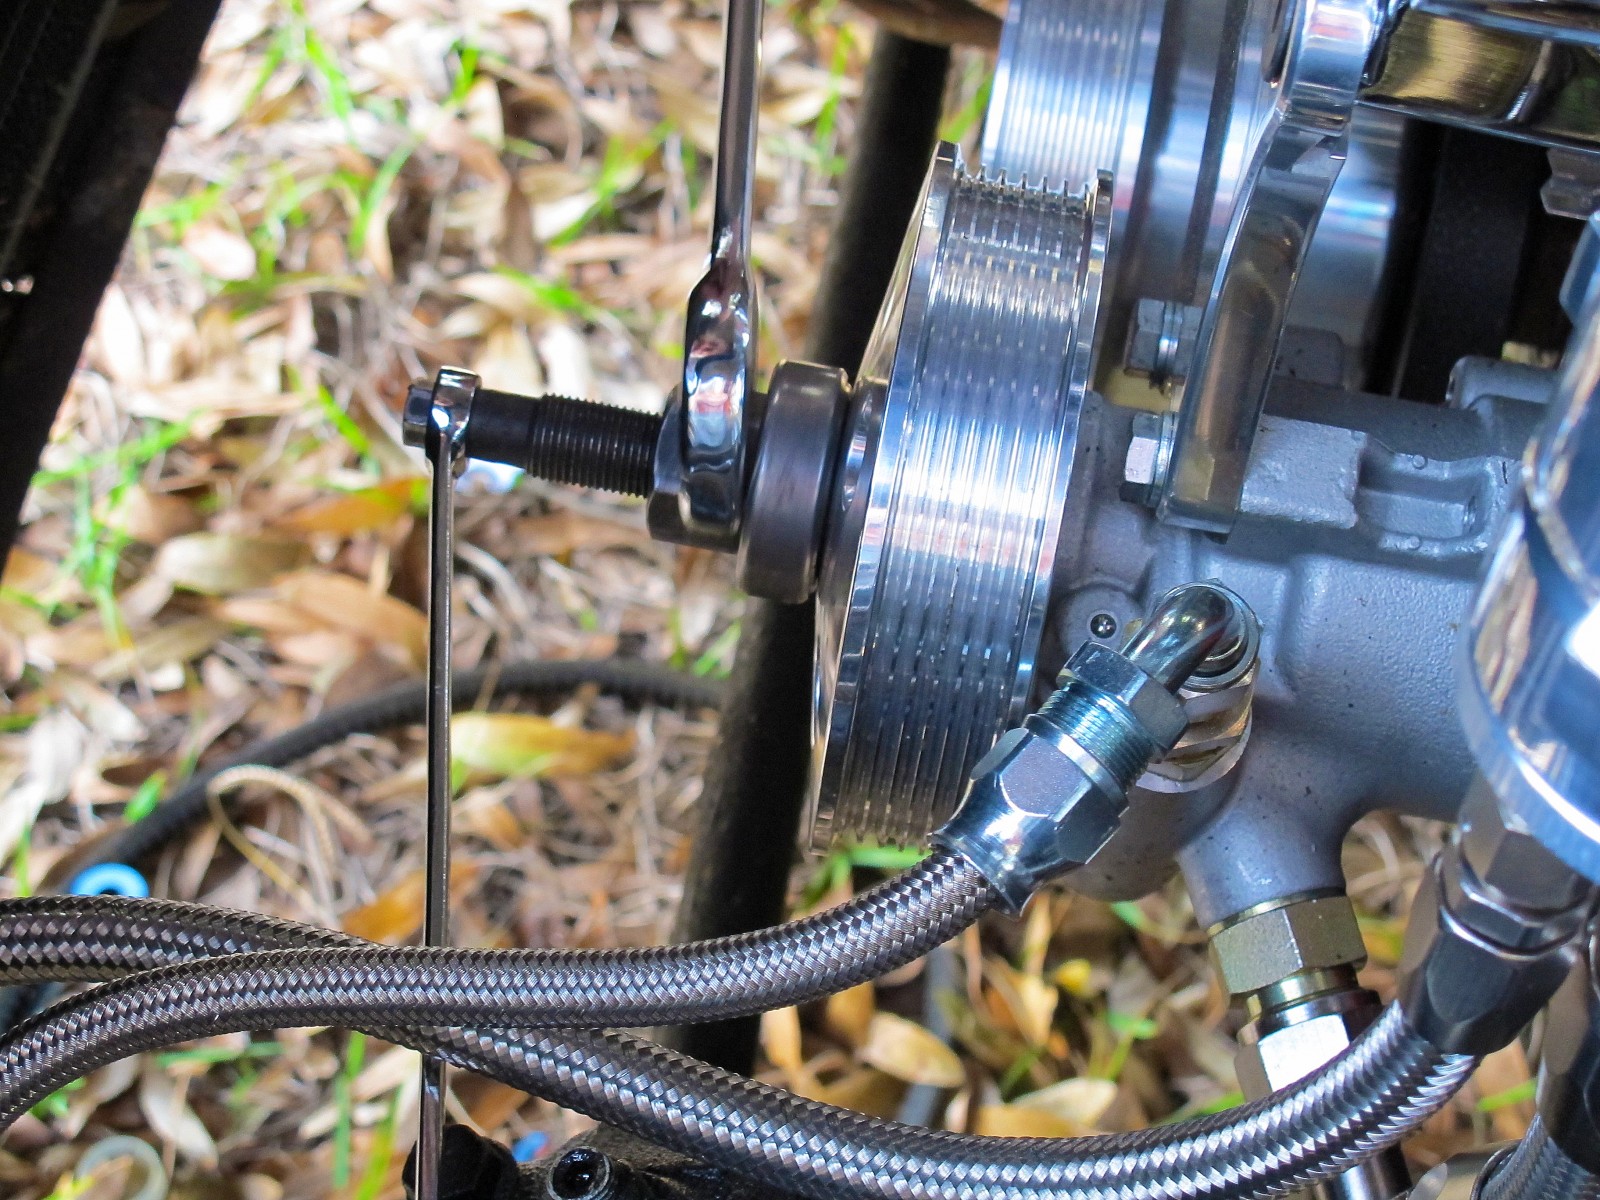
Summit Racing Complete Serpentine Belt System 
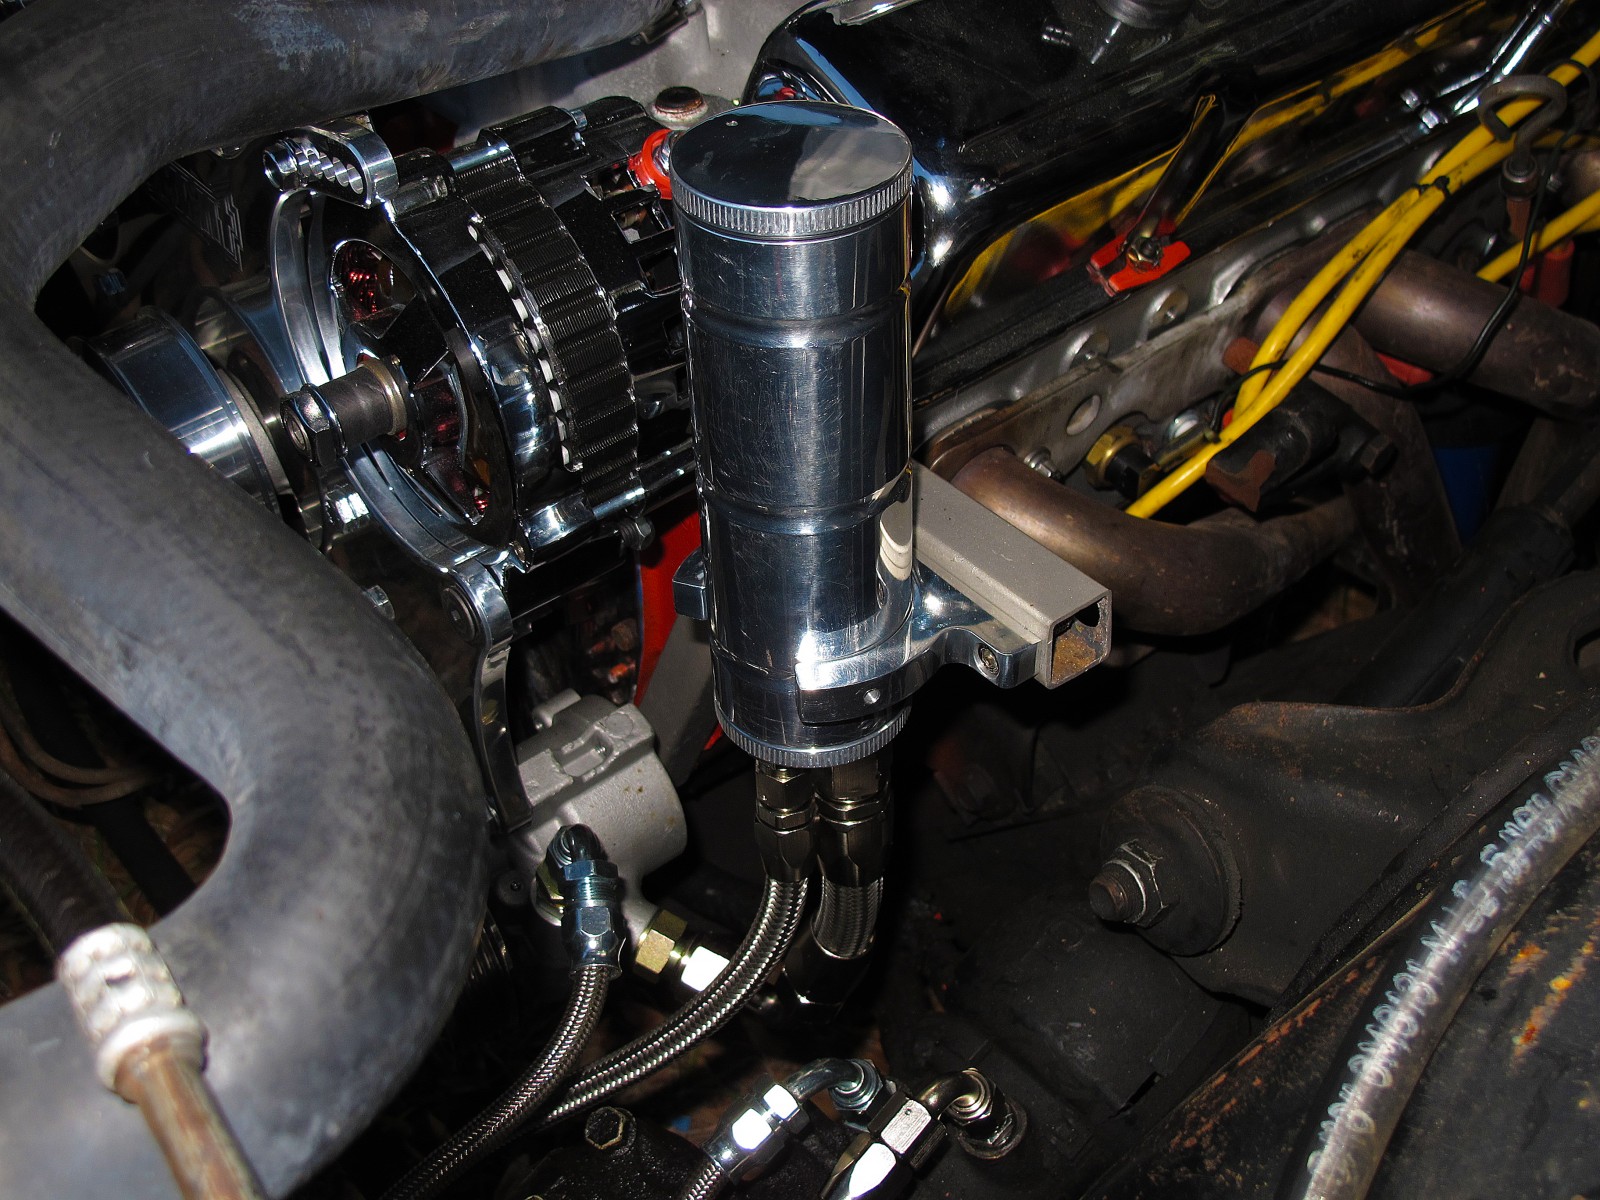
Summit Racing Remote Power Steering Reservoir
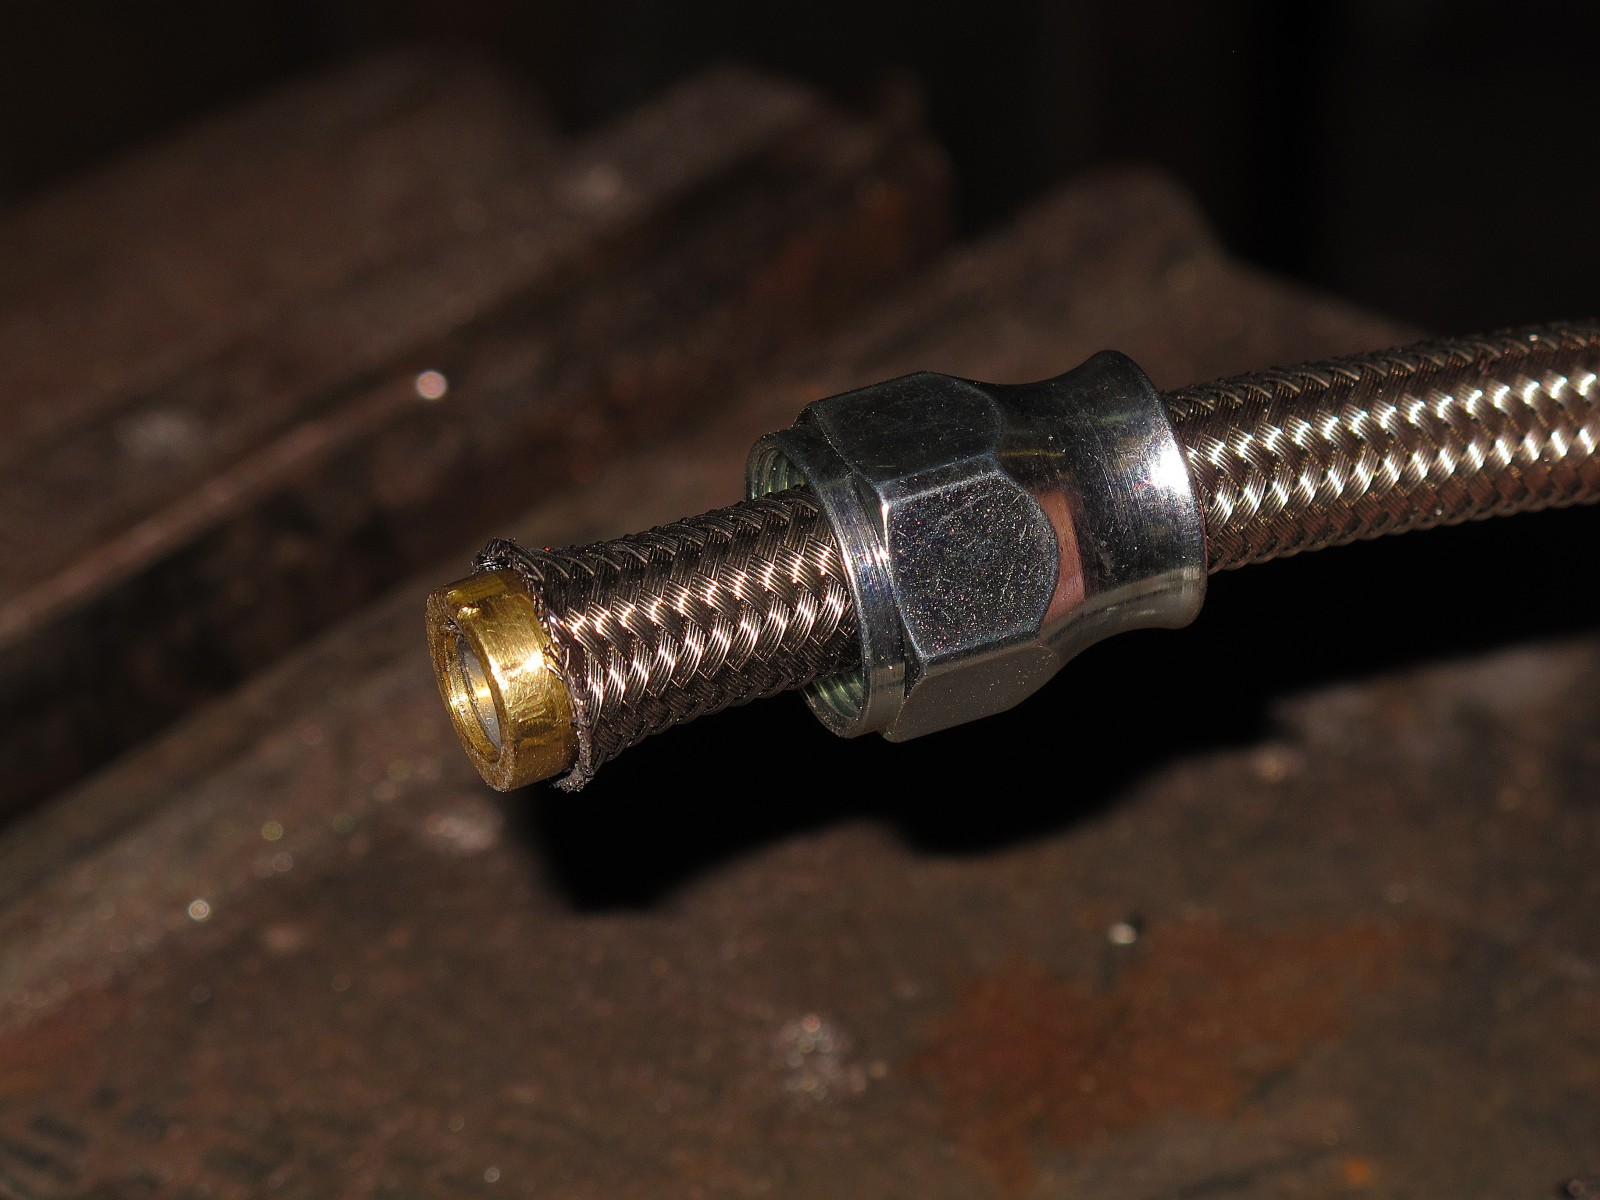
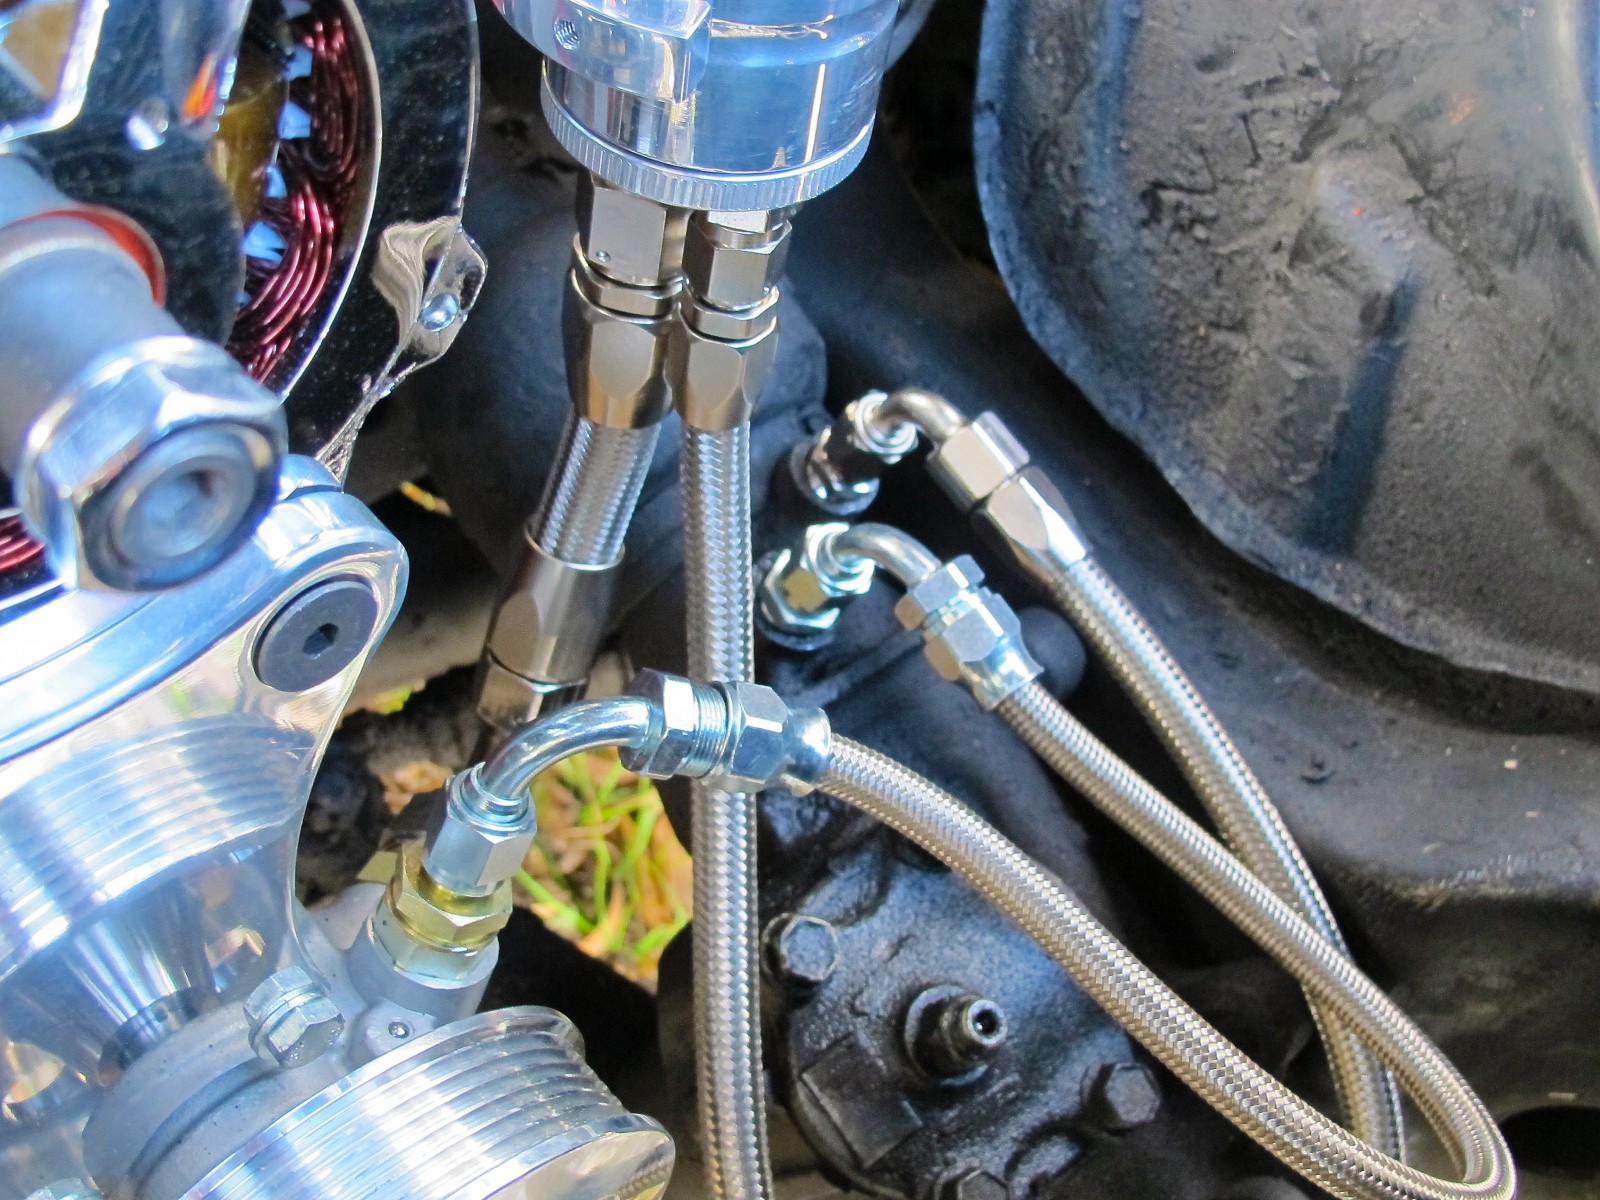
Summit Racing Remote Power Steering Hose Kit
Summit Racing High Output Electric Cooling Fan
Summit Racing Universal Fan Mounting Brackets
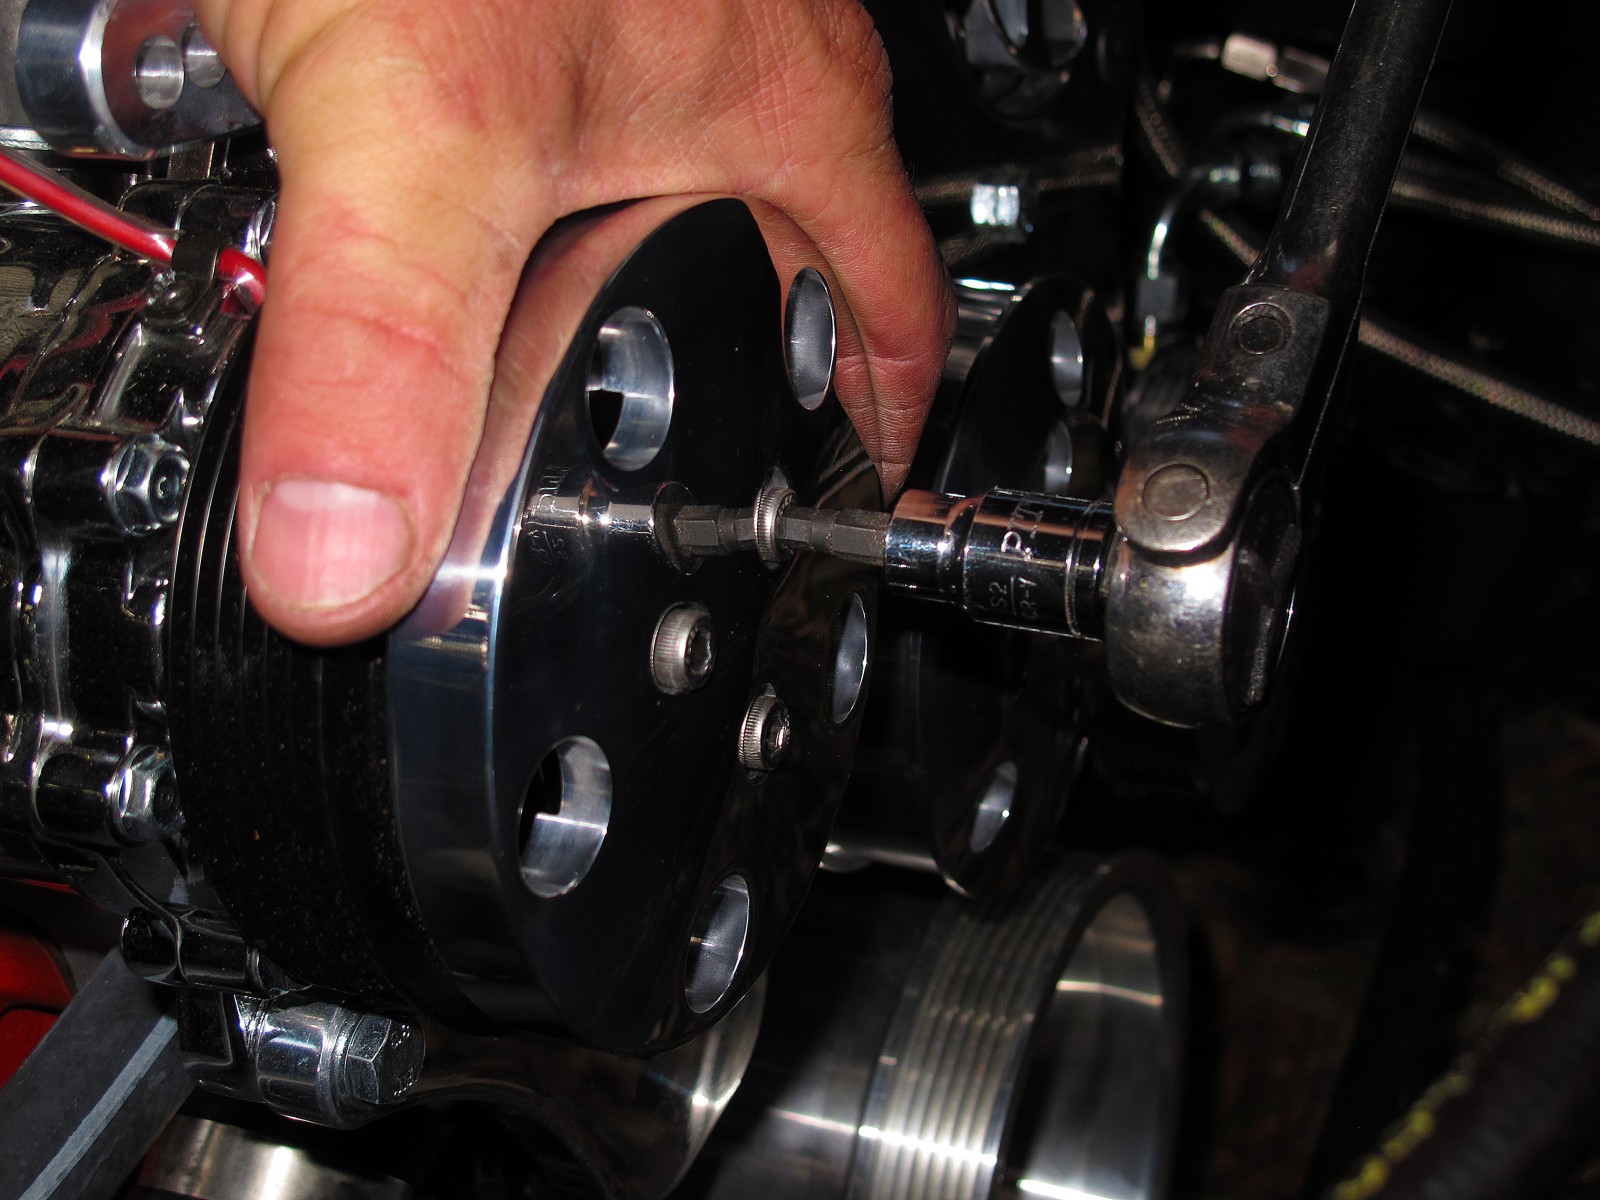
Summit Racing Balancer Bolt
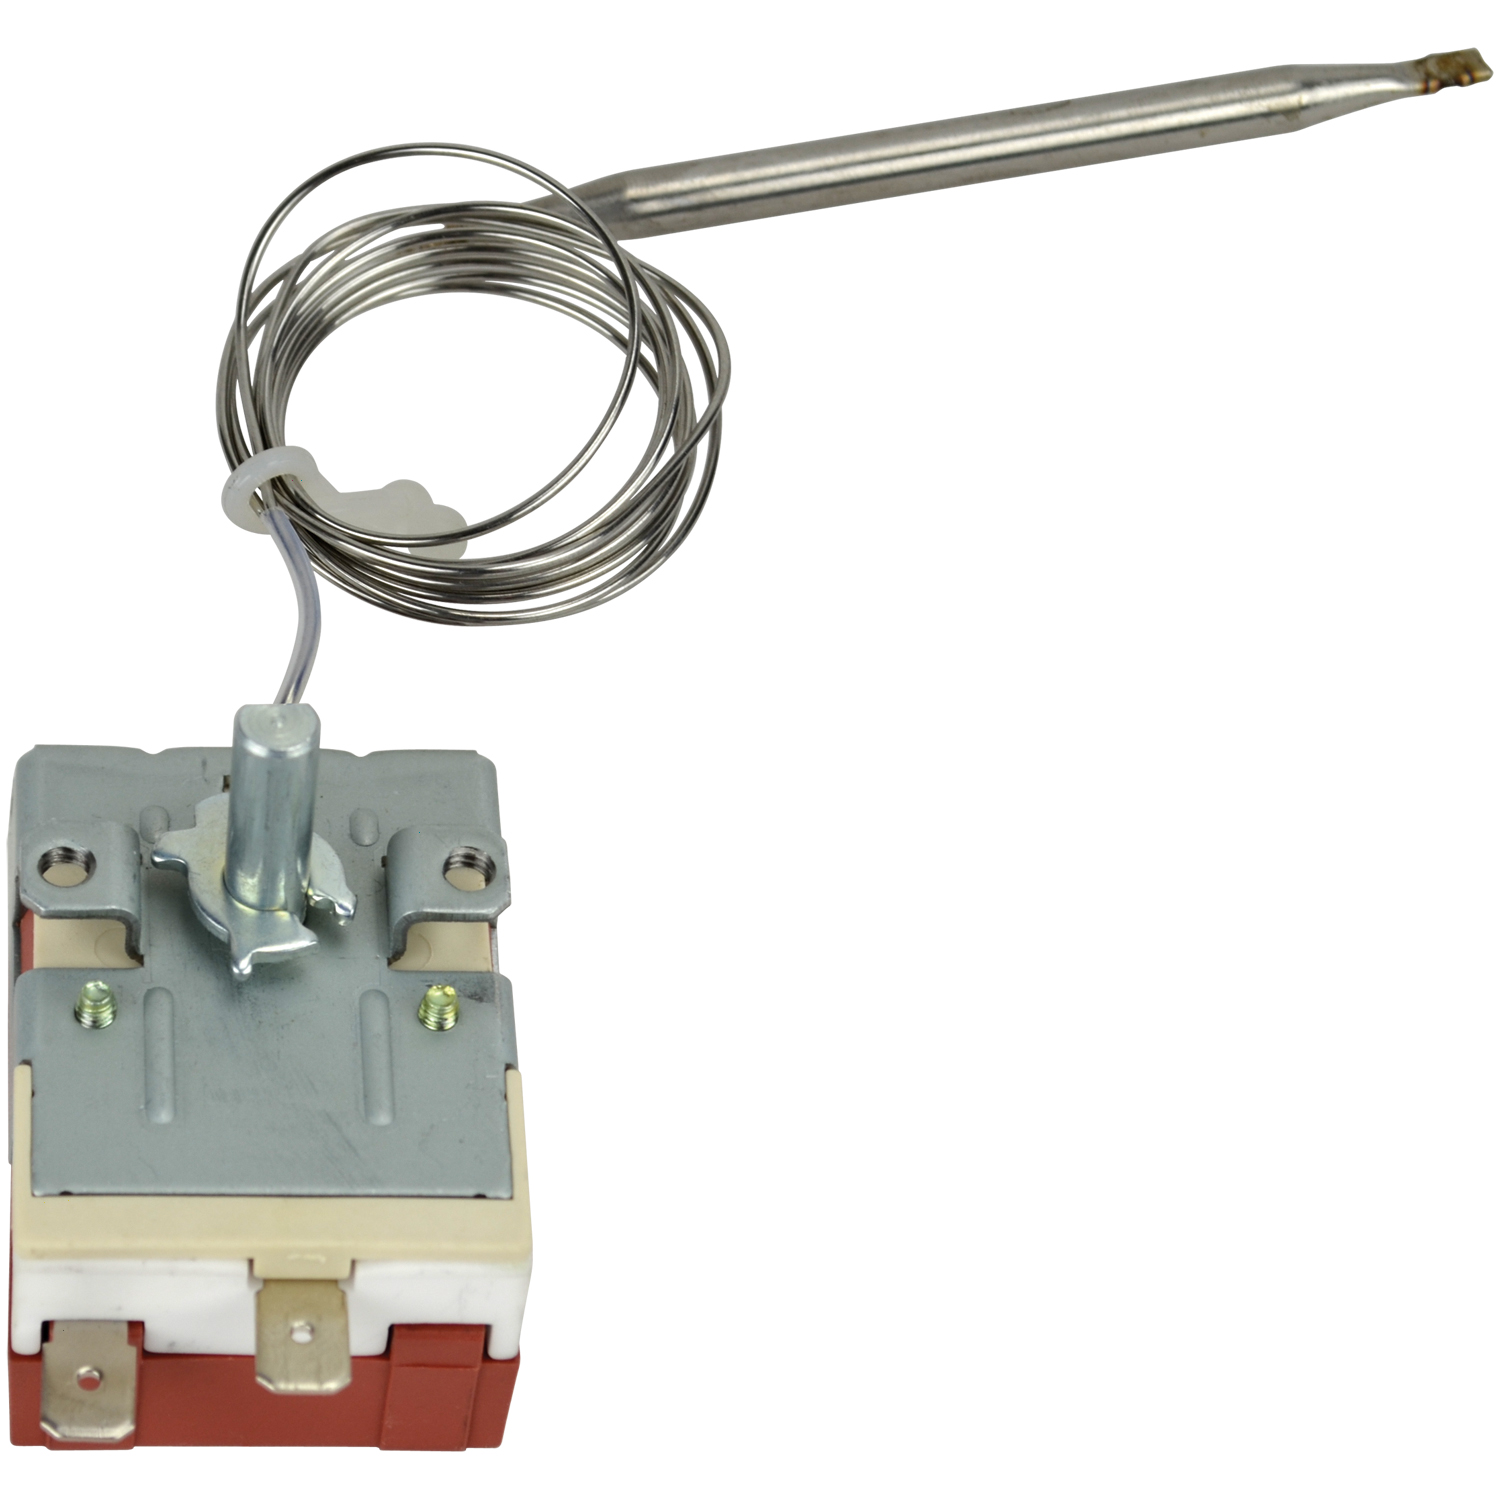
Flex-a-lite Adjustable Electric Fan Controller


Share this Article
Author: Patrick Hill