rear view of a subaru wrx muffler tip and bumper
stock exhaust for a subaru wrx on a lift
catalytic converter and exhaust pipe on a subaru wrx
factory exhaust hanger installed on a subaru wrx
view of stock subaru wrx exhaust bracket
man removing stock exhaust from a subaru wrx on a lift
broken bolts laying on a workbench
injen downpipe vs stock subaru wrx side by side comparison
magnaflow and stock subaru wrx OE exhaust side by side comparison
subaru wrx engine with exhaust removed
exhaust hanger bracket for a subrau wrx
drain tube for a subaru wrx
magnaflow cat back exhaust installed on a subaru wrx
K&N air intake kit for a subaruu wrx on a shop floor
engine bay of a subaru wrx
removing the connector from a subaru wrx MAF sensor
removing cooling lines from a subaru wrx engine
removing the air filter housing for a subaru wrx engine
removing flexible air intake tubing from a Subaru wrx engine bay
removing the stock airbox for a subaru WRX engine
removing the MAF sensor from the intake of a subaru WRX
removing a bracket in the engine bay of a car
unclipping hoses and lines in an engine bay of a subaru wrx
silicone coupling for an air intake system installed
putting charge pipe back on a subaru wrx intake
assembling a K&N air intake tube with MAF sensor for a subaru wrx
installing heat shield strips on a K&N intake airbox for a WRX
installing a K&N airbox intake on a subaru WRX
intake installed on a subaru wrx

The one single modification to this WRX is the addition of the WRX STi factory catback, which is easily identified by its large, single outlet. The stock WRX unit features two smaller outlets. While the STi catback offers a slightly deeper tone at idle than the WRX, it pales in comparison to aftermarket systems such as the Magnaflow catback we’ll be installing. Soak all of the fasteners as well as the rubber hangers with penetrating oil.

Now you can begin to remove the fasteners that hold the catback to the downpipe. Keep track of all of the factory washers and springs.

You’ll be reusing all of the factory hangers, so inspect them for wear and tear and replace as appropriate.

In this photo, you’re looking up under the downpipe at the back of the turbo. The fasteners holding the downpipe to the turbo can prove problematic from rust and from the intense heat and heat cycling. Take your time and expect a bit of difficulty here. Some of them are easily reached from the engine compartment as well.

Once you’ve wrestled the downpipe free from the turbo, you can extract it from the car. One of these catalytic converters is likely the cause of our low-efficiency engine code, but we’ll be replacing it with a higher-flowing new replacement.

As we mentioned earlier in the main text, some of the fasteners fought us. Luckily none of them broke off in the turbo housing.

Here we can compare the new Injen catted downpipe to the stock one. Injen’s Super SES downpipes are CNC mandrel-bent, and made from 100 percent 304 stainless steel.

The new Magnaflow piece’s stainless steel construction should provide long-lasting good looks versus the factory setup, and the mandrel bends provide better airflow. The muffler is a straight-through design for improved flow and a louder exhaust note. The Magnaflow catback will bolt up to stock downpipes as well, should you not be ready to make that change yet.

We recently replaced the metal turbo gasket on our subject vehicle and felt it was in good enough shape to reuse. You may want to order a new one if yours is still original.

After connecting the downpipe to the turbo, we found that the lower mounting bracket didn’t quite line up with the one on the car. We muscled it into place, and will check to see if perhaps we have a broken or failing engine mount that is creating the issue.

Another issue that we encountered was the drain tube coming in contact with the larger downpipe. This was easily resolved by removing the hose from the factory frame clip, turning it sideways and propping it up in the frame rail for the time being. A more permanent solution would be to remove the factor clip, create another hole in the frame rail and replace it out of the way.

The Magnaflow catback fit perfectly underneath our WRX. Make sure you have a friend keep an eye on the muffler and tail pipe tip to make sure it is straight before you tighten all of the fasteners up. The Hangers do a good job of keeping it in the proper position though.

K&N Engineering’s Typhoon series cold air kit that we picked out (Part Number 69-8001TS) is 50-state legal and the filter element can go 100,000 miles without maintenance (depending on use). This kit is available in a number of finishes—we opted to go with the silver powdercoat.

Our WRX has had the front air ducting removed, as well as the snorkelsaurus ducting in the fender, as it is often referred to on the Internet.

To get started on the K&N install (after disconnecting the battery if you haven’t done that already), we need to disconnect the mass air meter. The meter will be relocated to the new K&N charge pipe.

Next up are these coolant lines, which need to be freed from their stock clips. You’ll be moving these around for the time being, but there is a provision later on to secure them.

To remove the top of the air filter box, loosen the worm clamp, disengage the clamps around the perimeter of the lid and then pull it out.

Remove the flexible intake ducting from the turbo inlet tube next by loosening the worm clamp.

The bottom of the air box unbolts from the fender and the frame rail. Then you can remove it from the vehicle.

23. It’s time to swap the mass air meter over to the K&N charge pipe. The stock fasteners use a Torx bit, which can be a bit stubborn if they’ve never been loosened before. Do you best not to strip them. K&N supplies new fasteners to mount it to the charge pipe.

You need to temporarily remove this bracket so you can reroute the mass air meter harness per the instructions.

Unclip the mass air harness from the bracket and then remount the bracket. The top bolt that goes to the fender will also bolt up the K&N heat shield, so you can leave that out for now.

Install the included silicone coupling onto the stock under intake tube. The factory coupling that connects the turbo inlet tube to the turbo inlet can become brittle over time, so be careful when installing the K&N coupling.

Assemble the charge pipe to the black heat shield panel. The bolts go through the charge pipe flange and screw into the included venturi cone that goes on the other side.

Don’t forget to mount the included heat shield to the charge tube when bolting it to the black panel.

K&N includes a couple of weather strips in the kit. The thicker of the two runs along the top side of the black heat shield and seals it to the hood.

An extra pair of hands comes in handy when setting the K&N Typhoon intake into place. The coolant lines being held out of the way will fall into the U channel, and you simply remove one of the stock plastic coolant line clamps from the factory air tube and insert it into the K&N panel to secure them. Then use the original lower airbox fasteners to secure the K&N panel to the frame rail and inner fender.

With the Typhoon in place, you can definitely hear the rush of air going into the engine now, and the more open design will support future upgrades in boost or performance parts like a bigger turbo! While we didn’t have the opportunity to perform a before and after dyno comparison, K&N claims to have seen up to a 15hp increase in this application. Truthfully, we’re in it to hear the cool sounds!

As cool as a lumpy camshaft may sound, nothing beats the noises that a turbocharged car makes. From the whistle of the turbo spooling up to the blow-off valve venting to the distinctly muffled exhaust note, there’s nothing like it anywhere else. Best of all, it’s extremely easy to amplify these sounds just by installing a few aftermarket parts.

We’ll show you how.

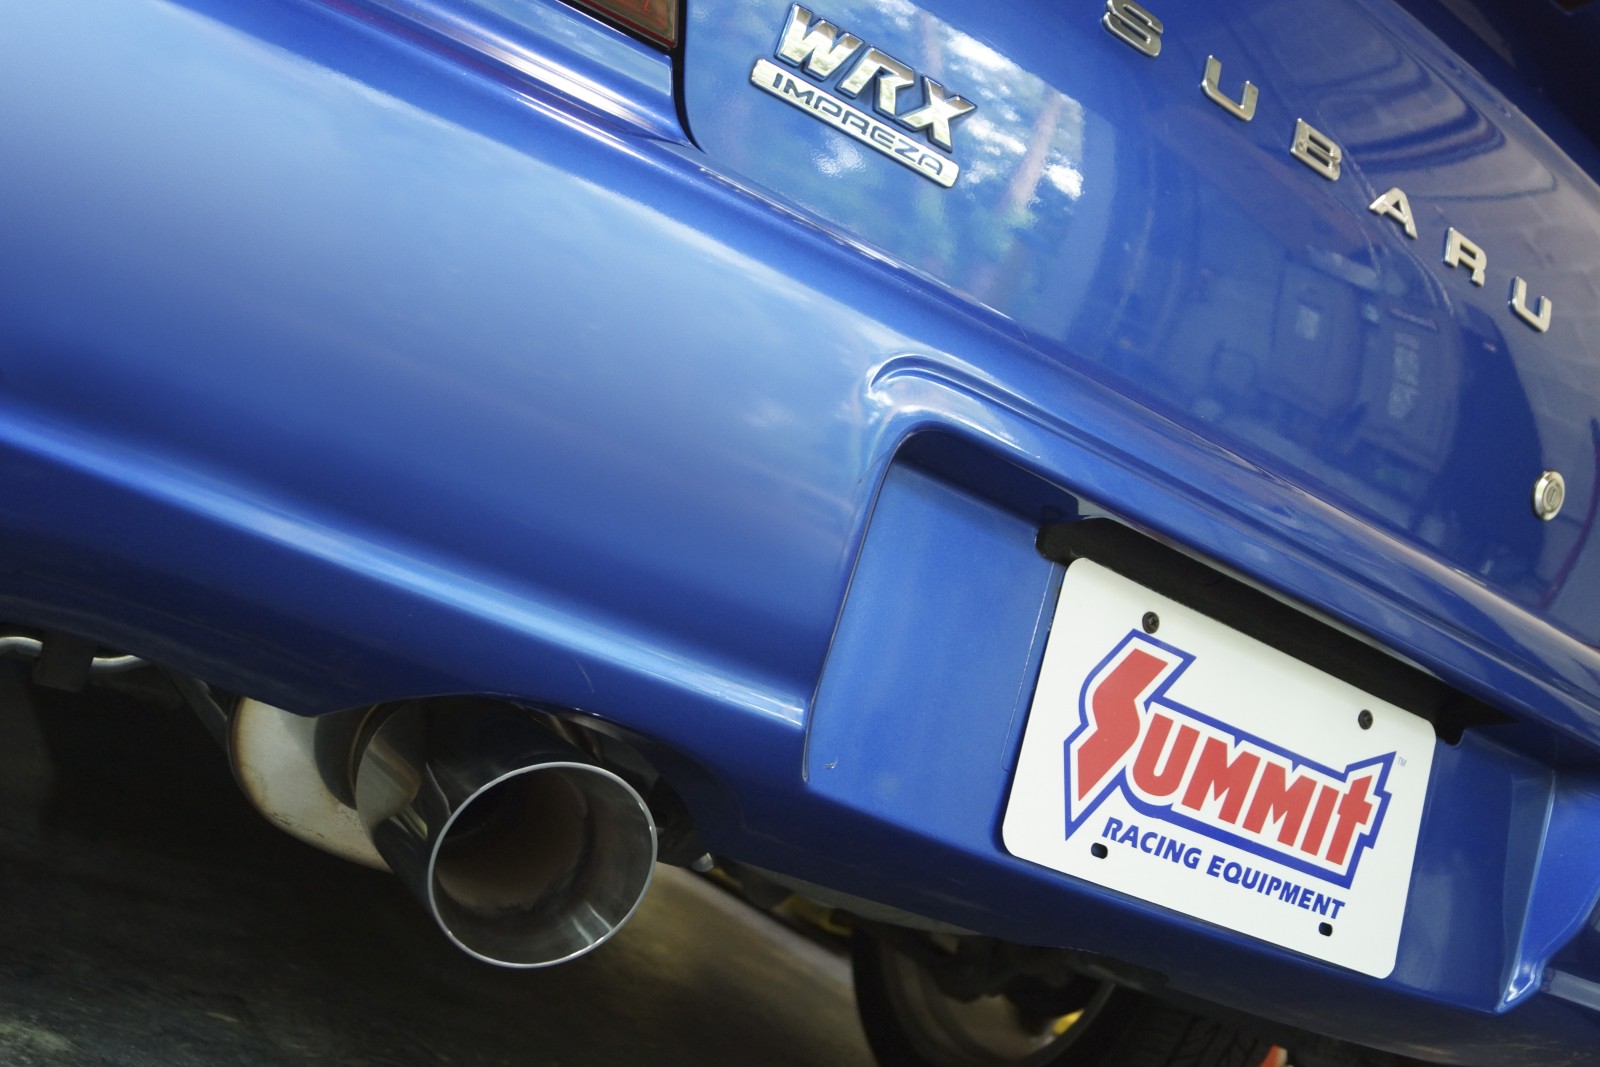
The subject vehicle for our sound amplification test is a 2003 Subaru WRX. It’s a hot choice among tuner cars with its tenacious all-wheel-drive and healthy 227 horsepower packed in a little sub-compact. And then there’s the sound–from the factory, it sounds good, but quiet.

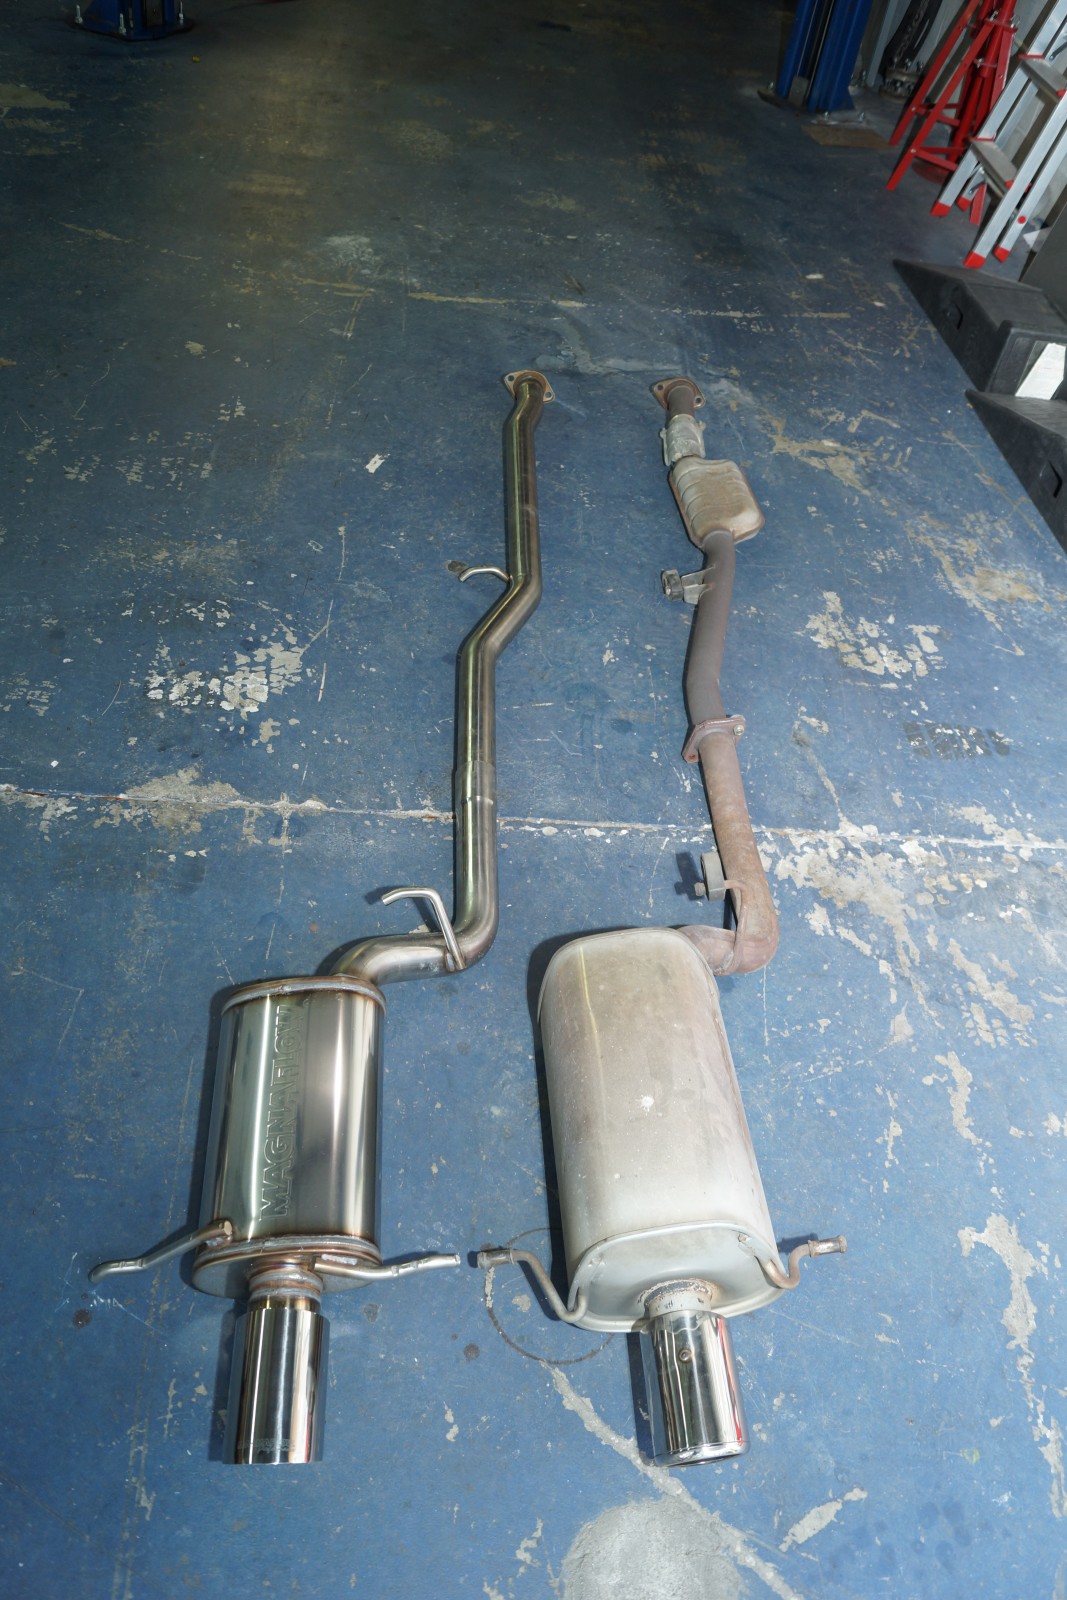
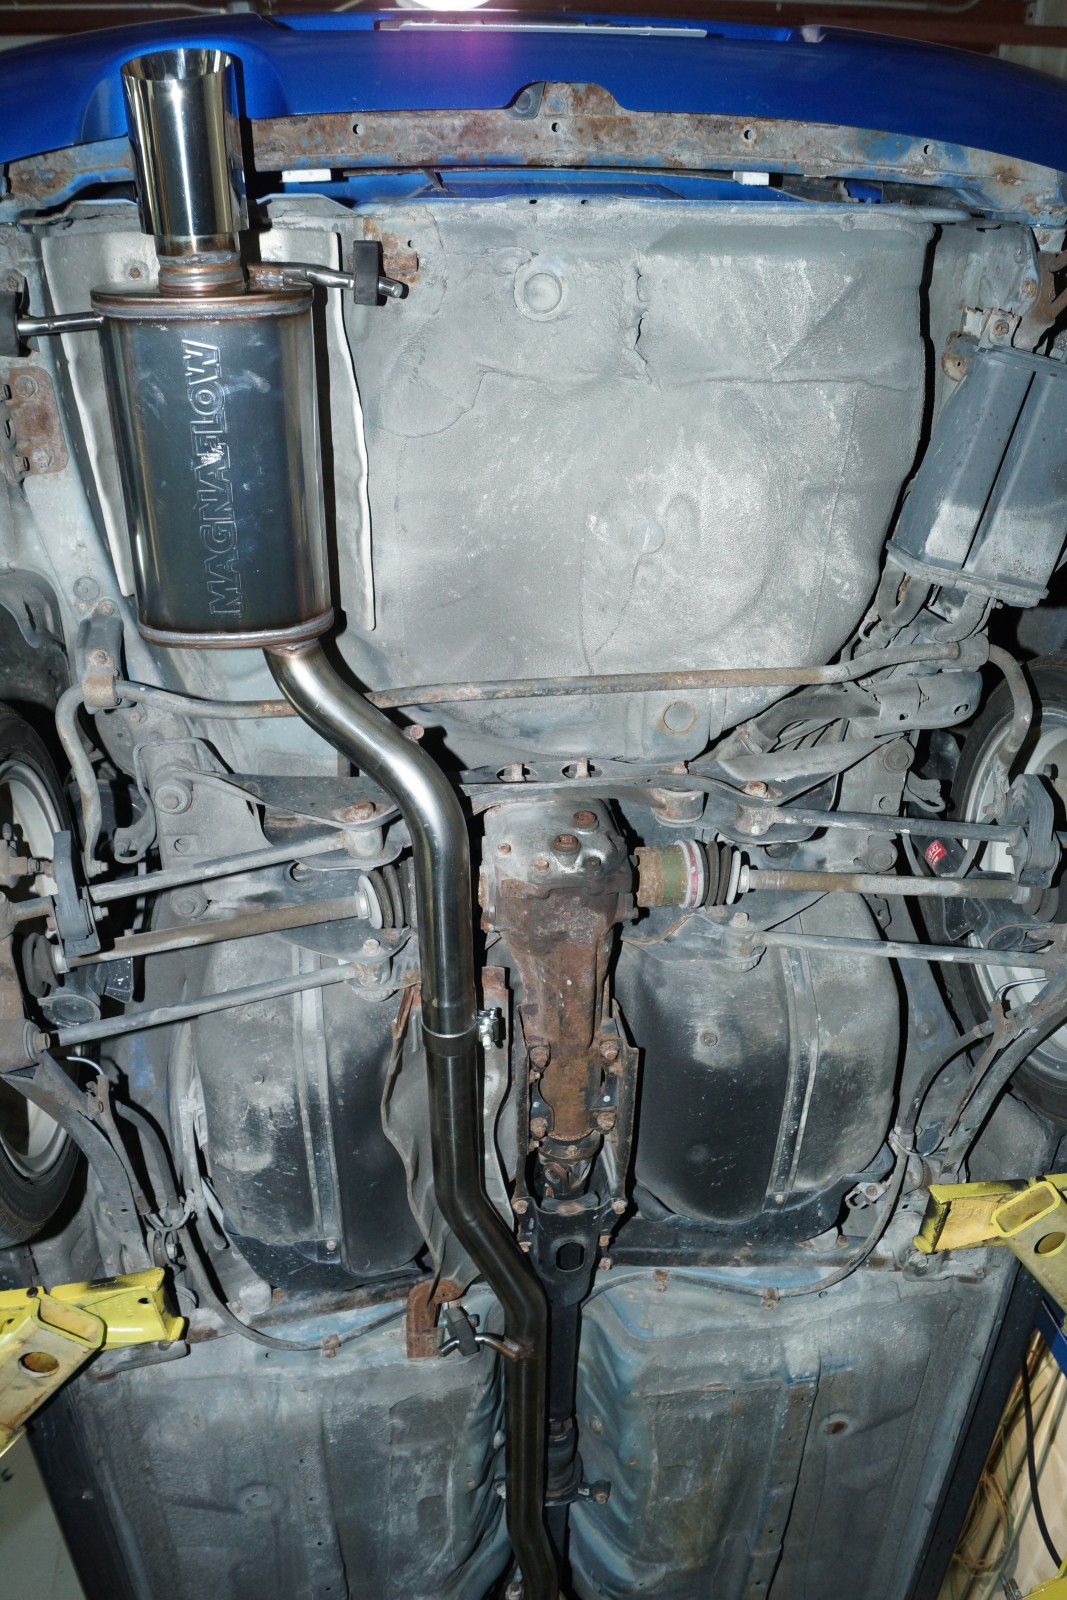
An aftermarket exhaust will unleash the legendary boxer rumble and make it sound just plain mean. To open up the exhaust note, we did some surfing at SummitRacing.com and picked out a MagnaFlow exhaust system. MagnaFlow offers two different systems for early WRXs: one is a JDM-style system where the muffler is canted to the outside of the car (known as the JDM kick), and it features a 3-inch diameter pipe. The other, and the one we chose (MPE-16661), is a 2.5-inch diameter pipe with a straight muffler exit.

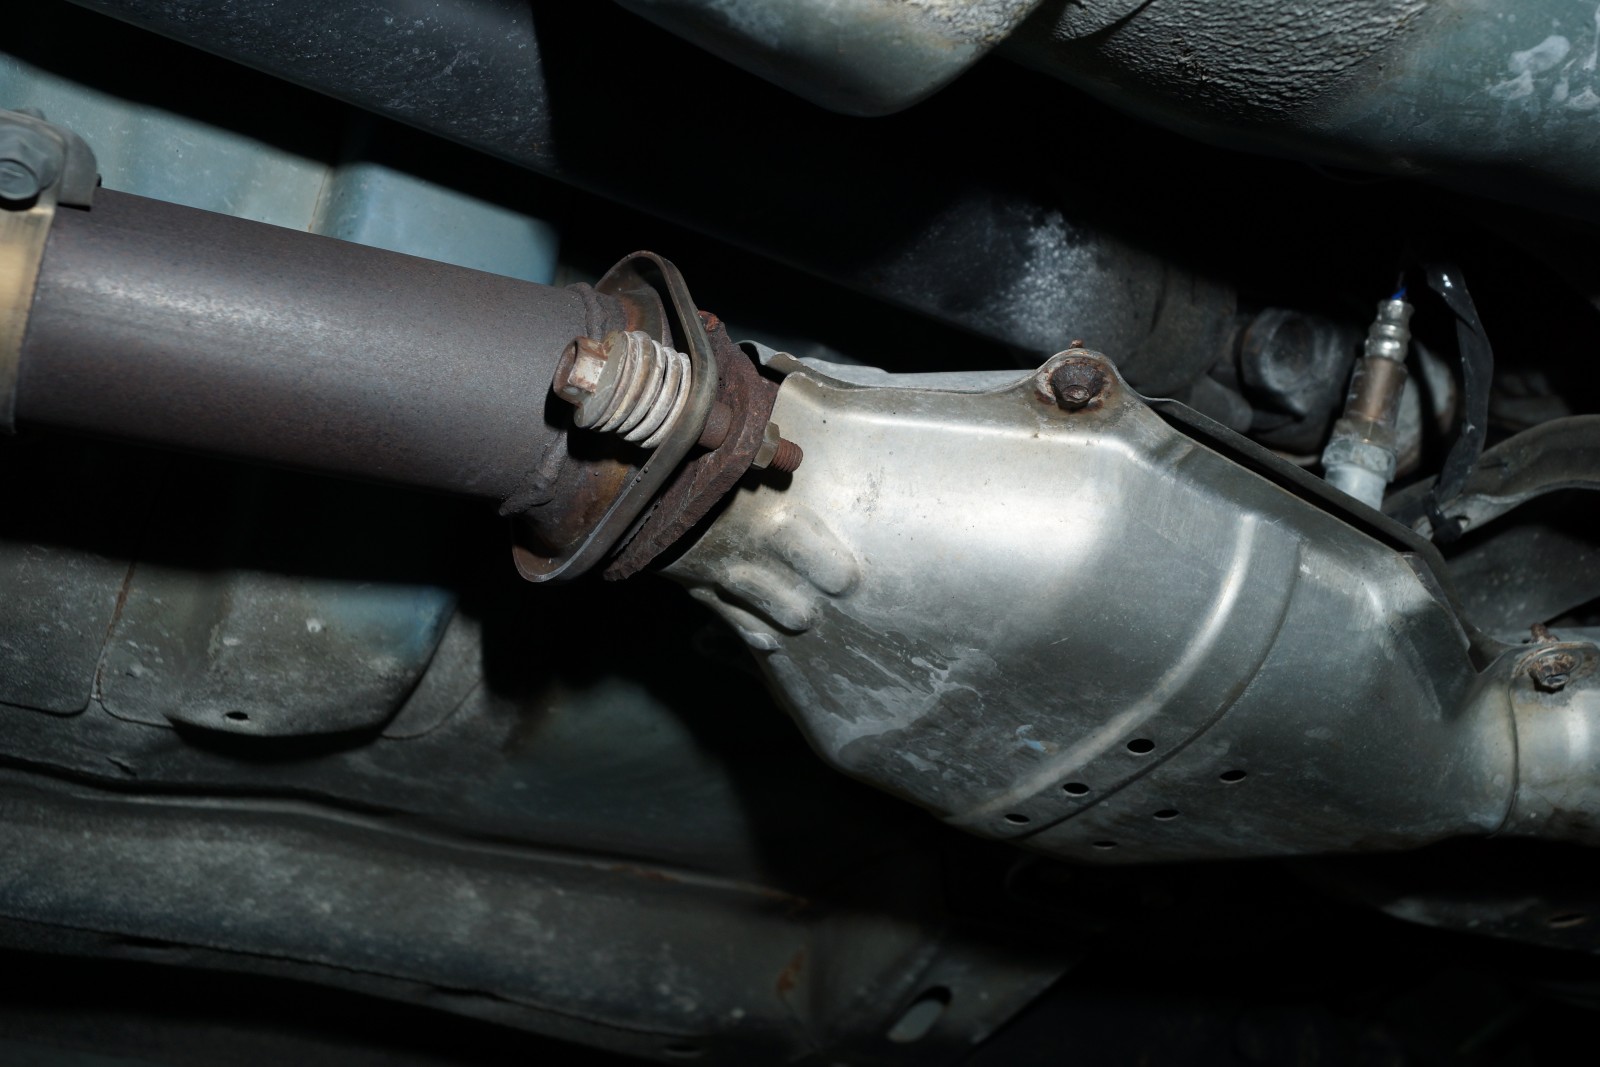
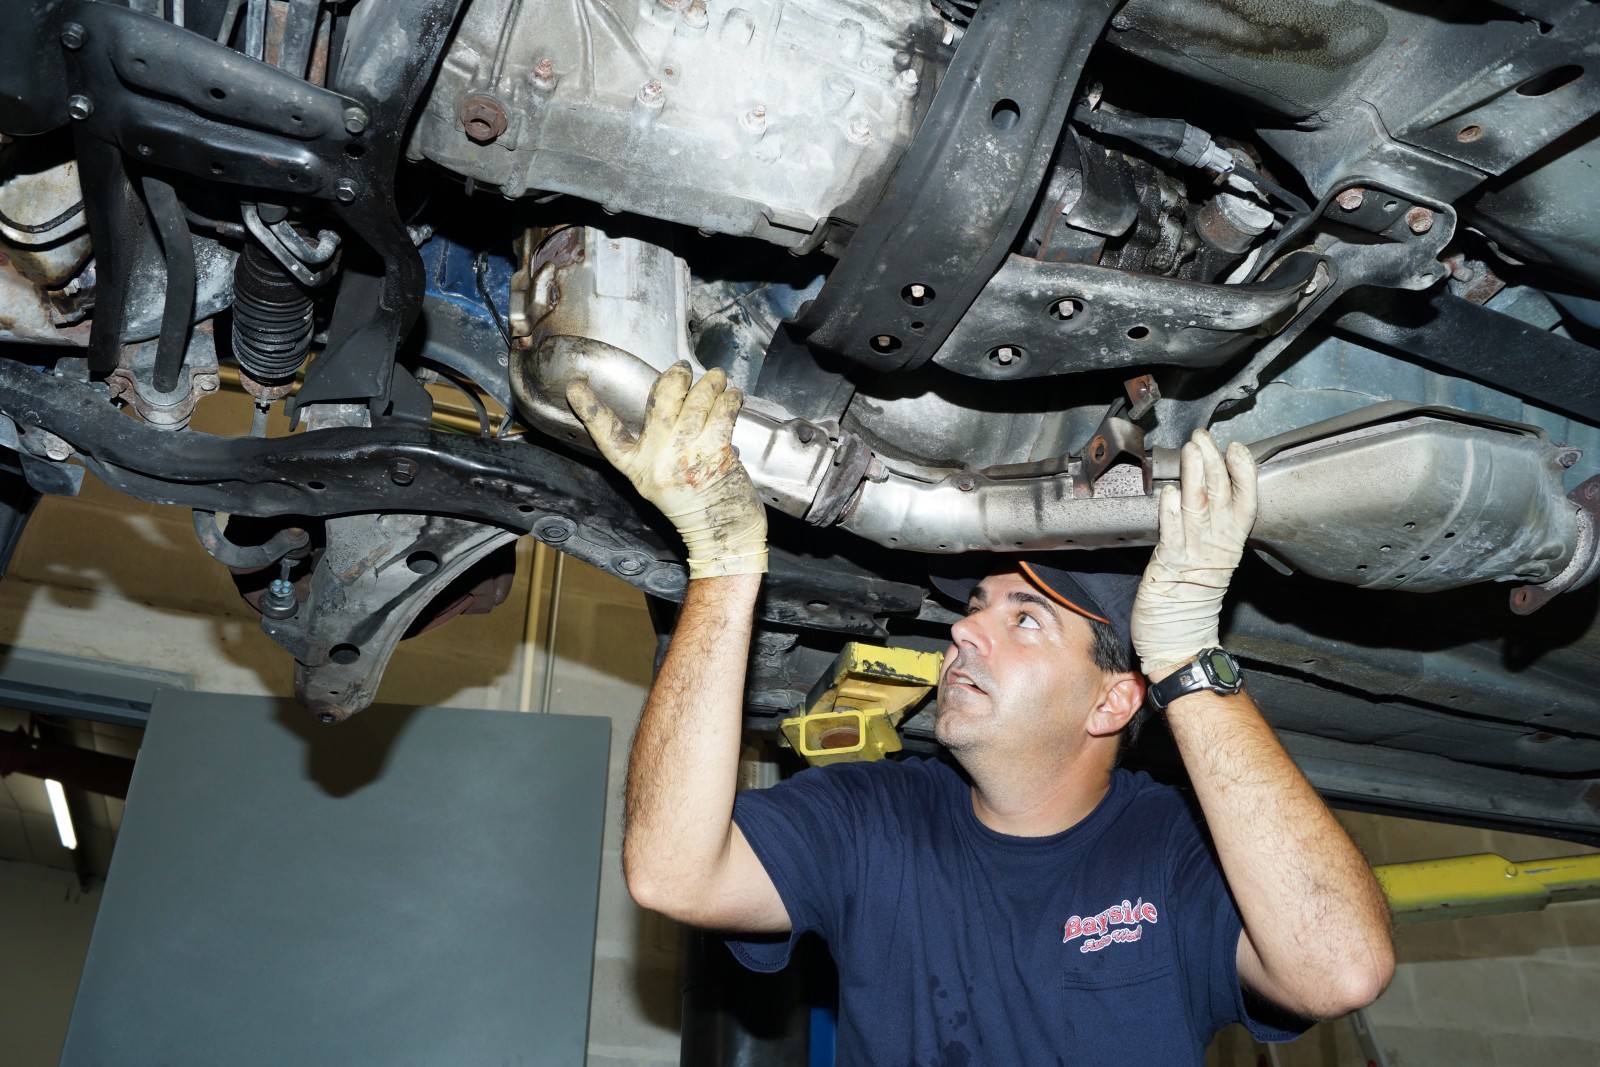
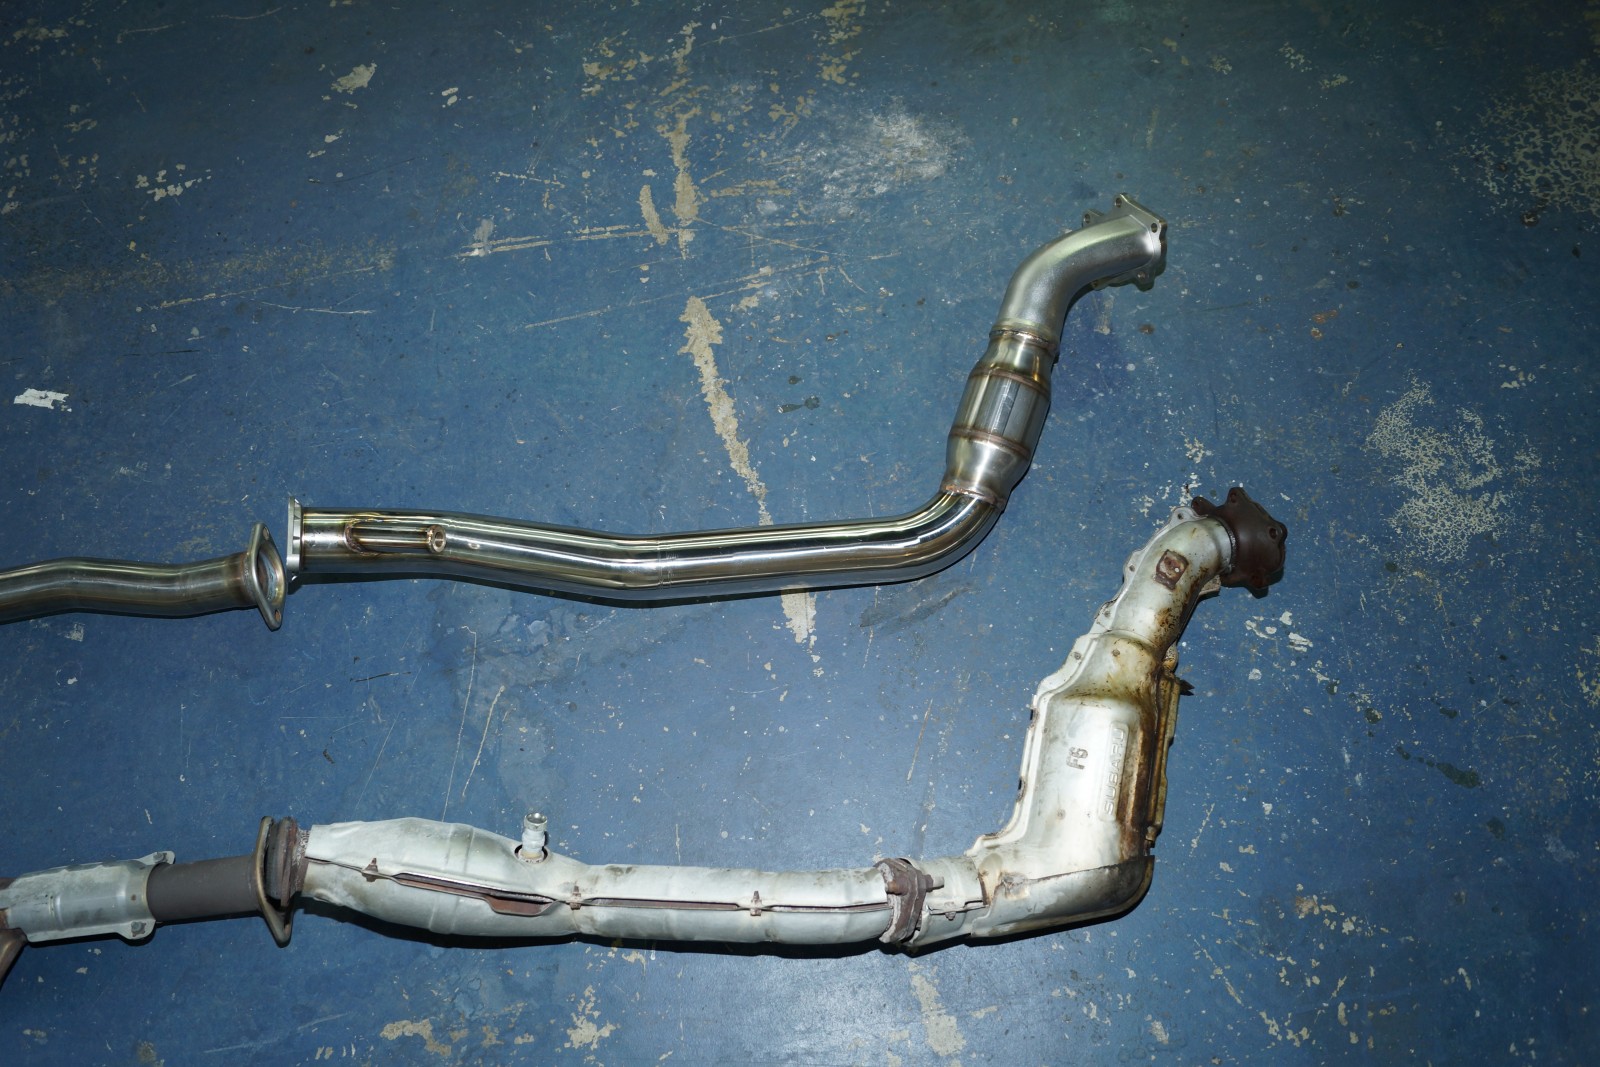
We also replaced the downpipe, which is the exhaust pipe that comes directly off the turbo and connects underneath the car to the cat-back. The factory downpipe is a bit restrictive, and with the WRX turbo’s integrated wastegate, the excess exhaust is dumped right into a wall and forced to find its way off to the side and down the exhaust. Aftermarket downpipes generally come in two designs: a bellmouth where the exhaust pipe is flared wider than stock to offer improved flow from the wastegate, or a divorced configuration where there are separate pipes for the exhaust and wastegate that merge a bit later down the pipe. Both are improvements over the stock piece and usually larger in diameter to support greater power levels.

For the downpipe, we opted for Injen’s catted downpipe, which is a bellmouth design with an integrated catalytic converter. Our subject WRX has racked an impressive 197,000 miles on the odometer, and the P0420 code that had been triggered was telling us it was time to change out the converter.

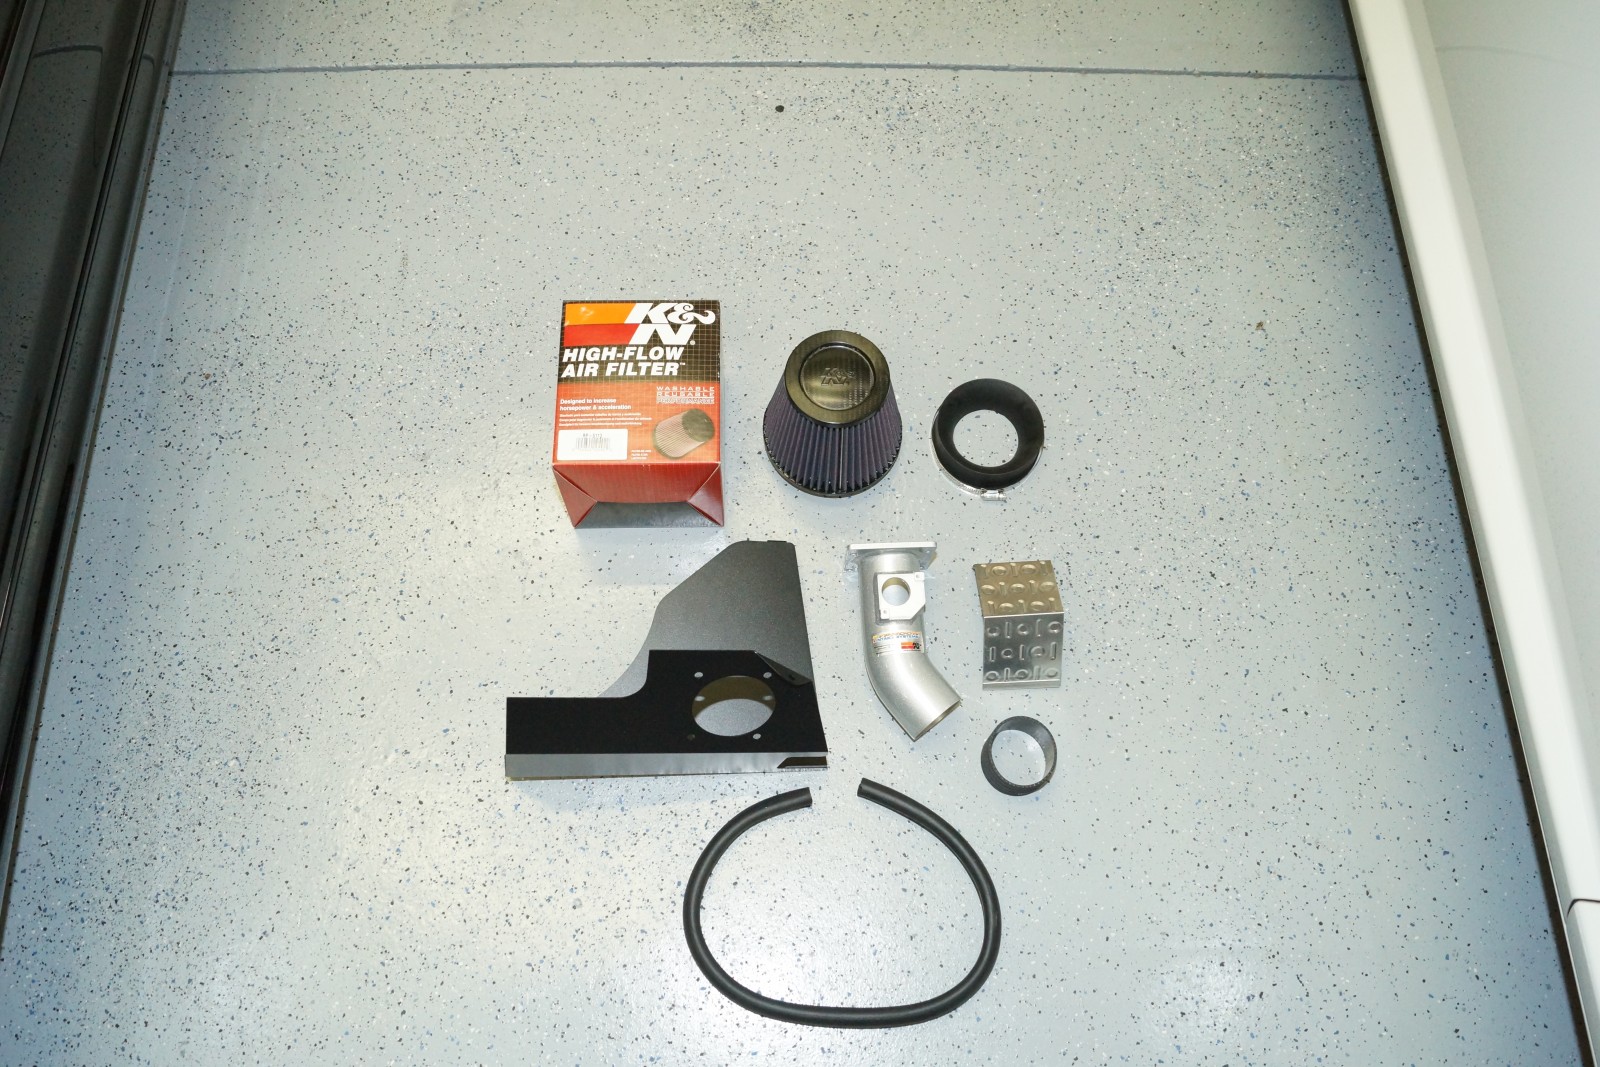
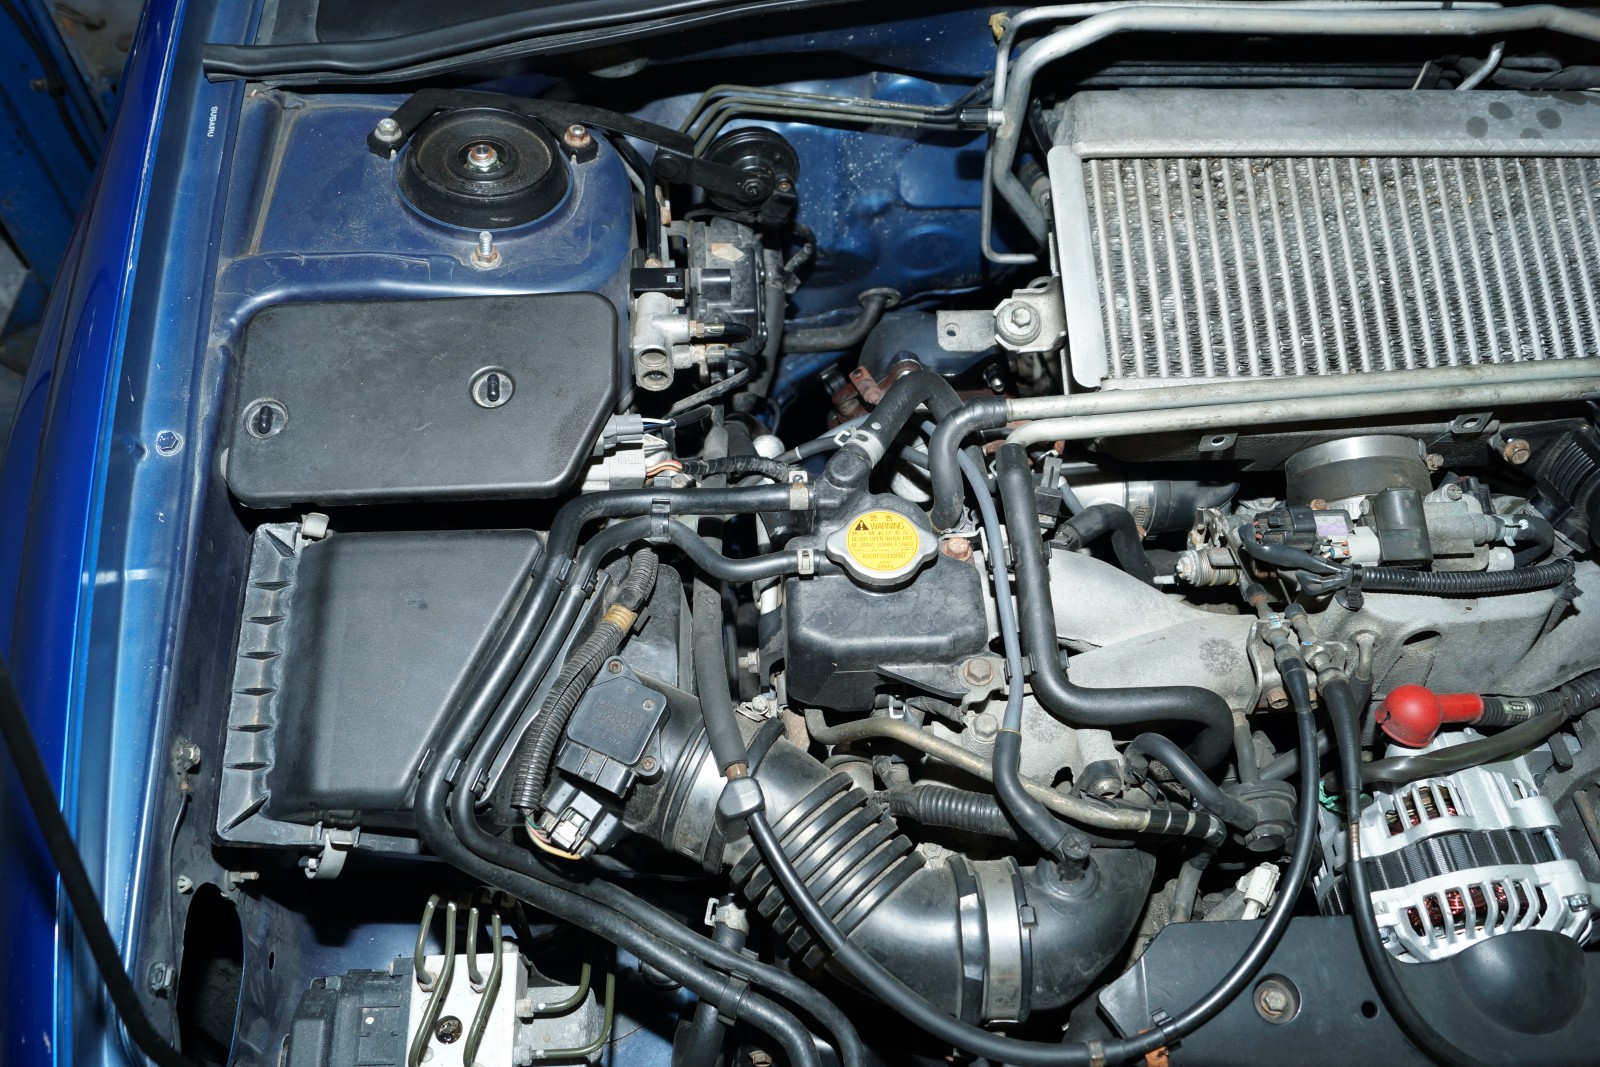
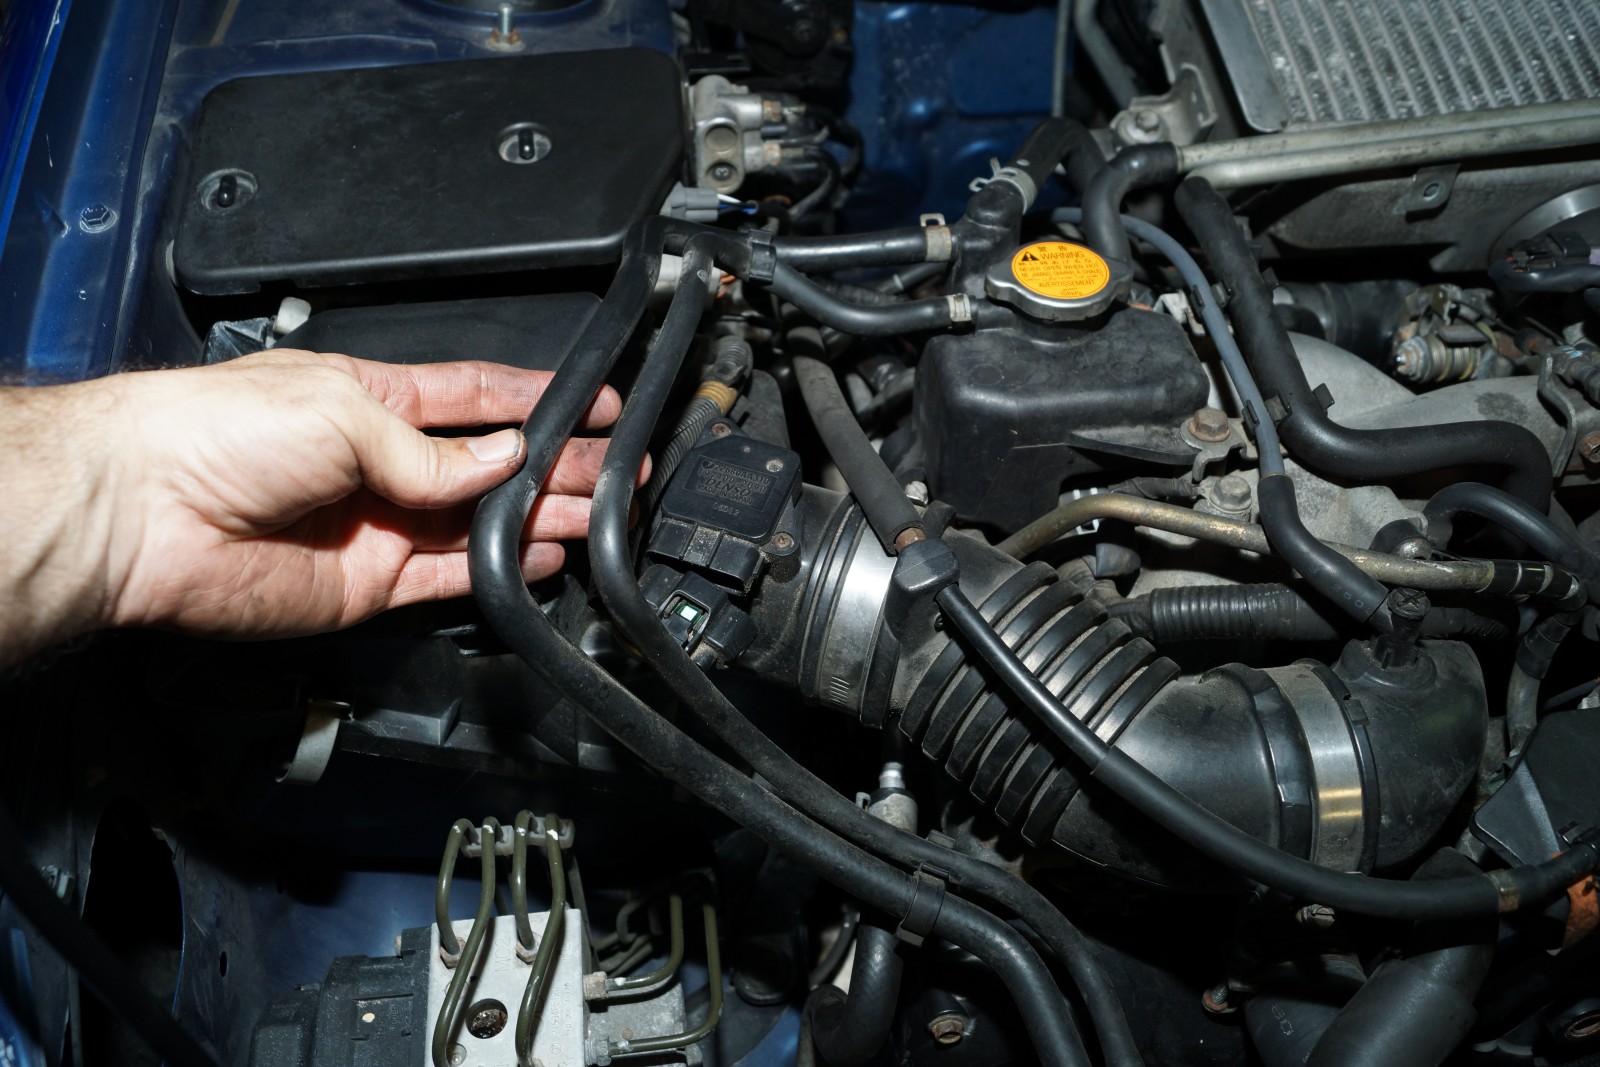
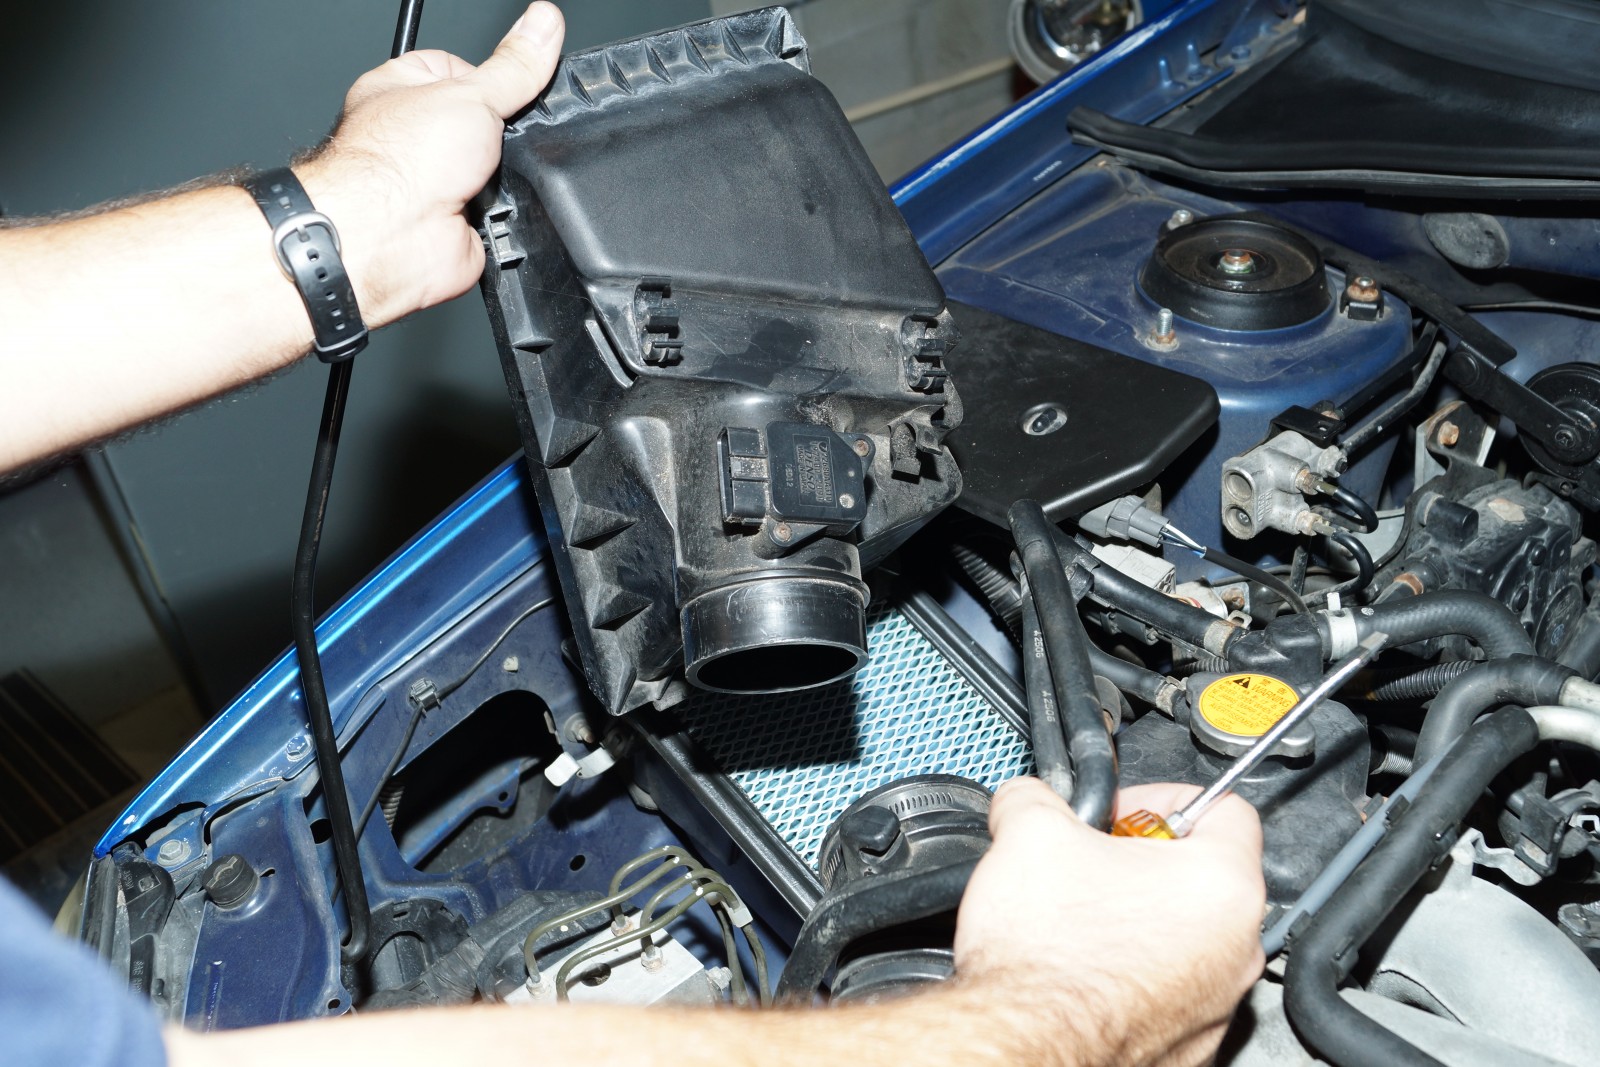
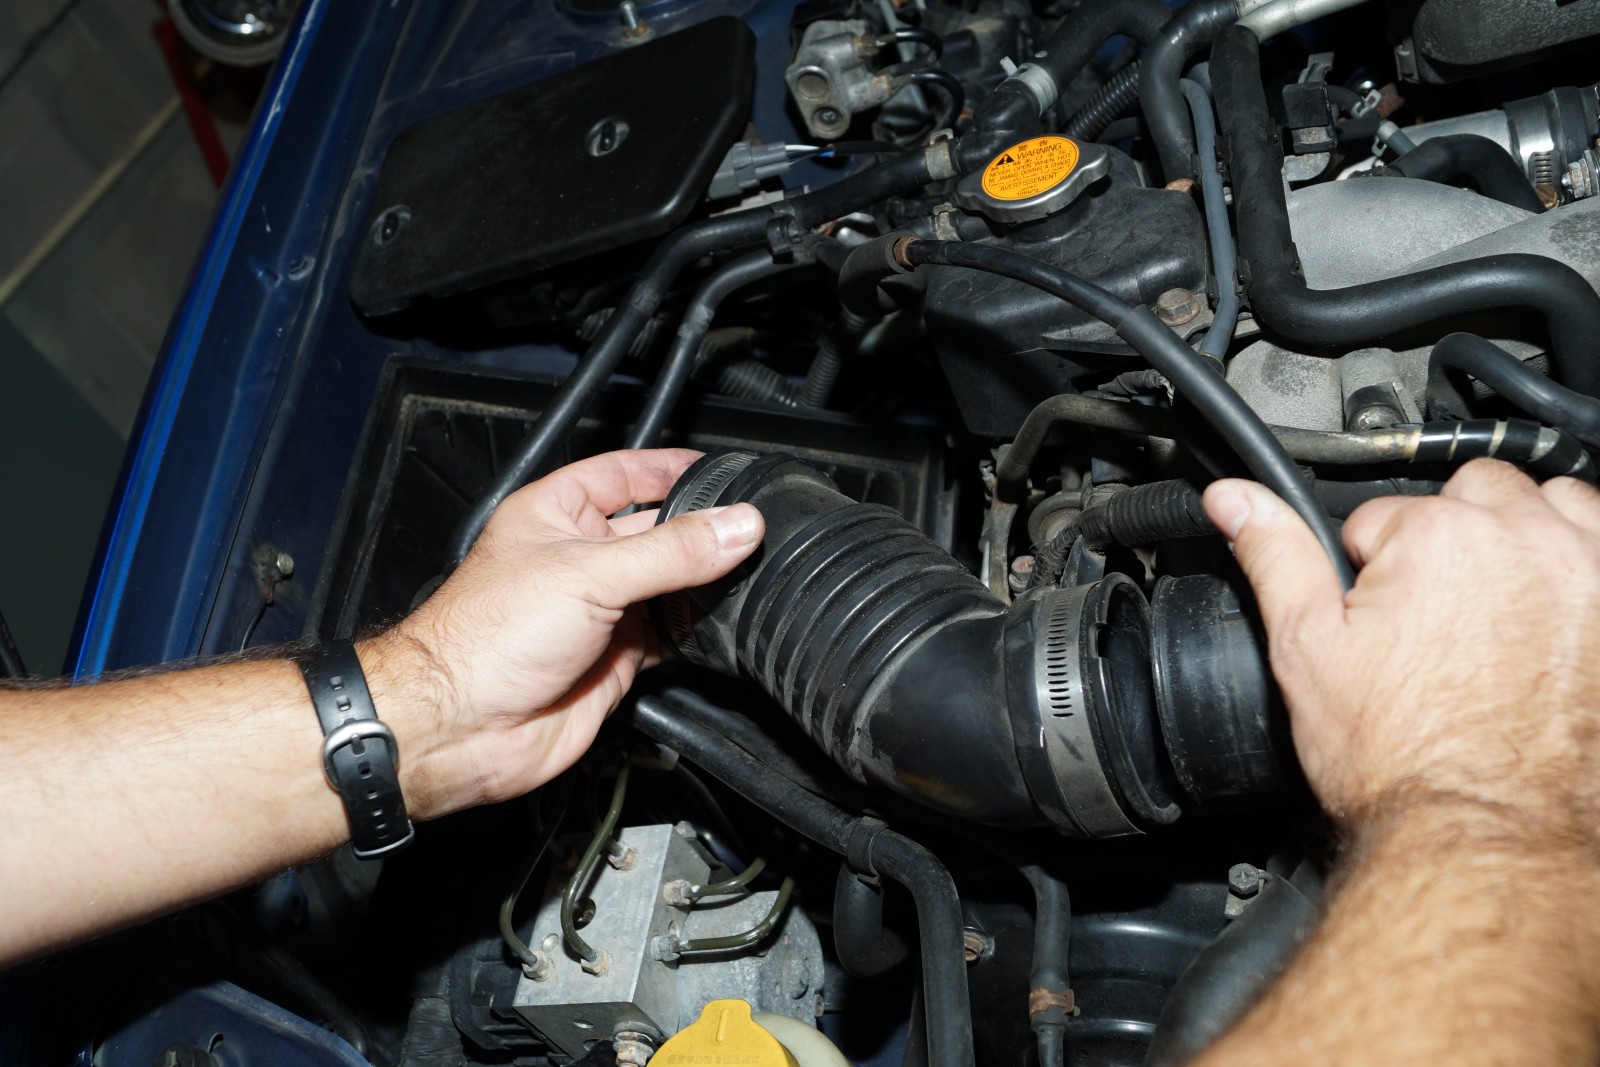
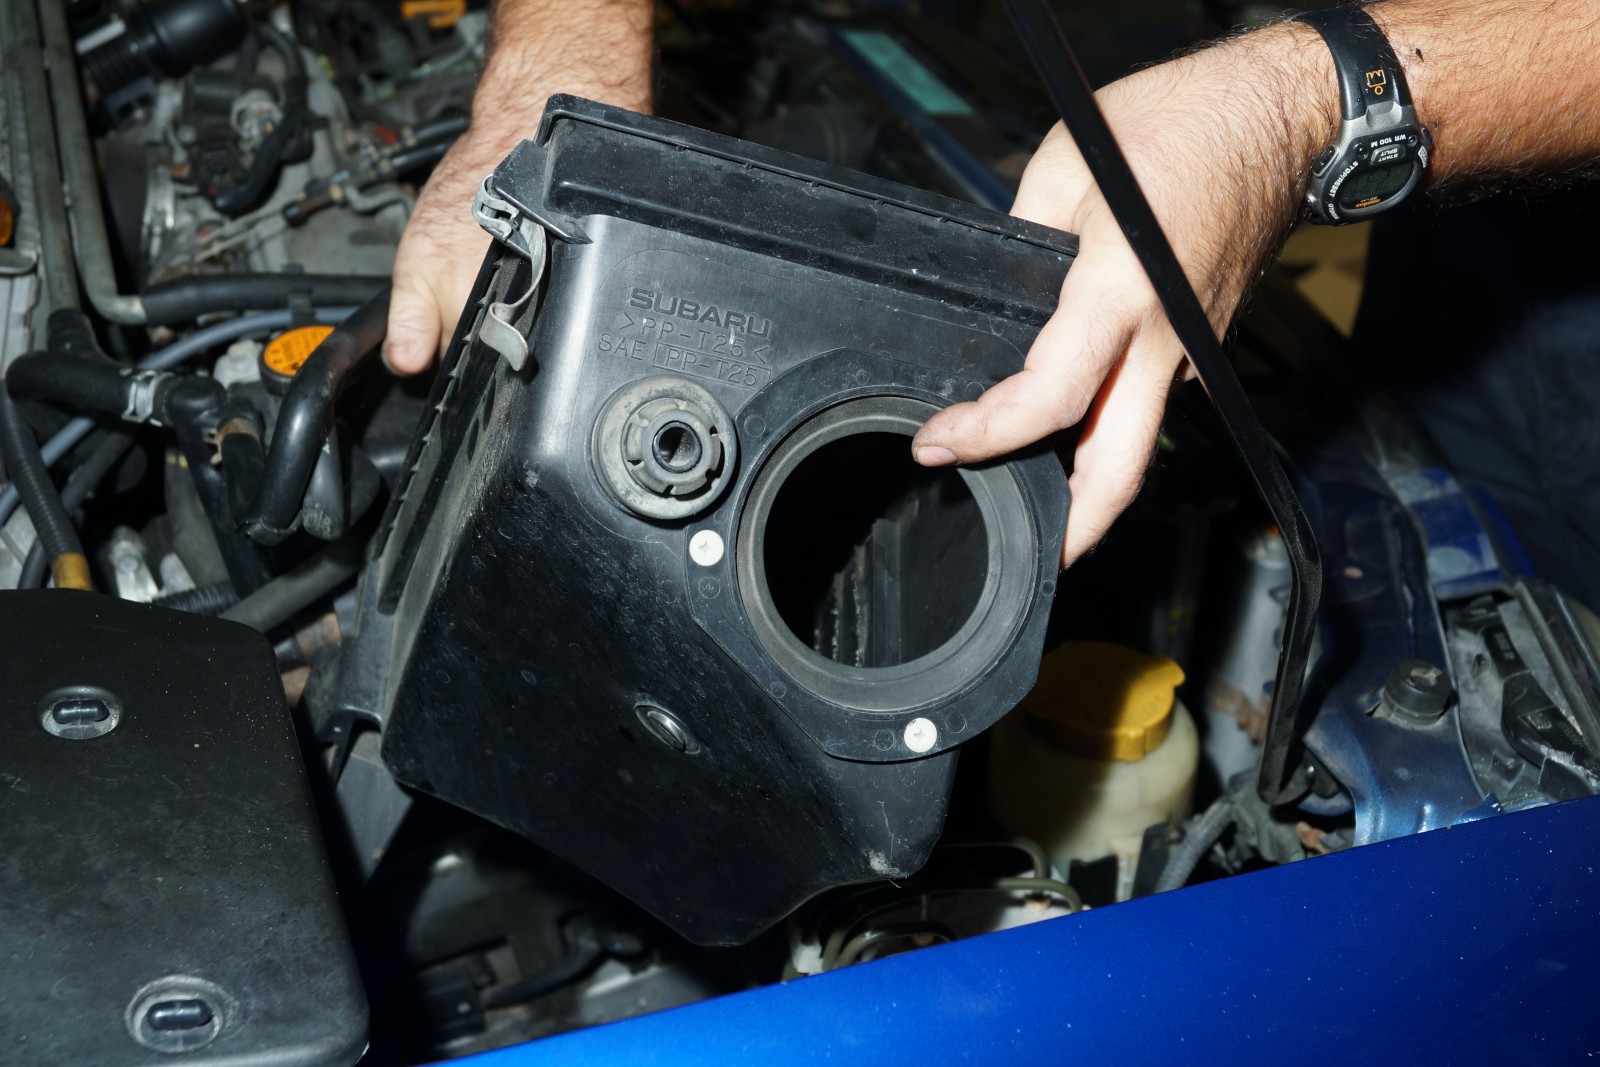
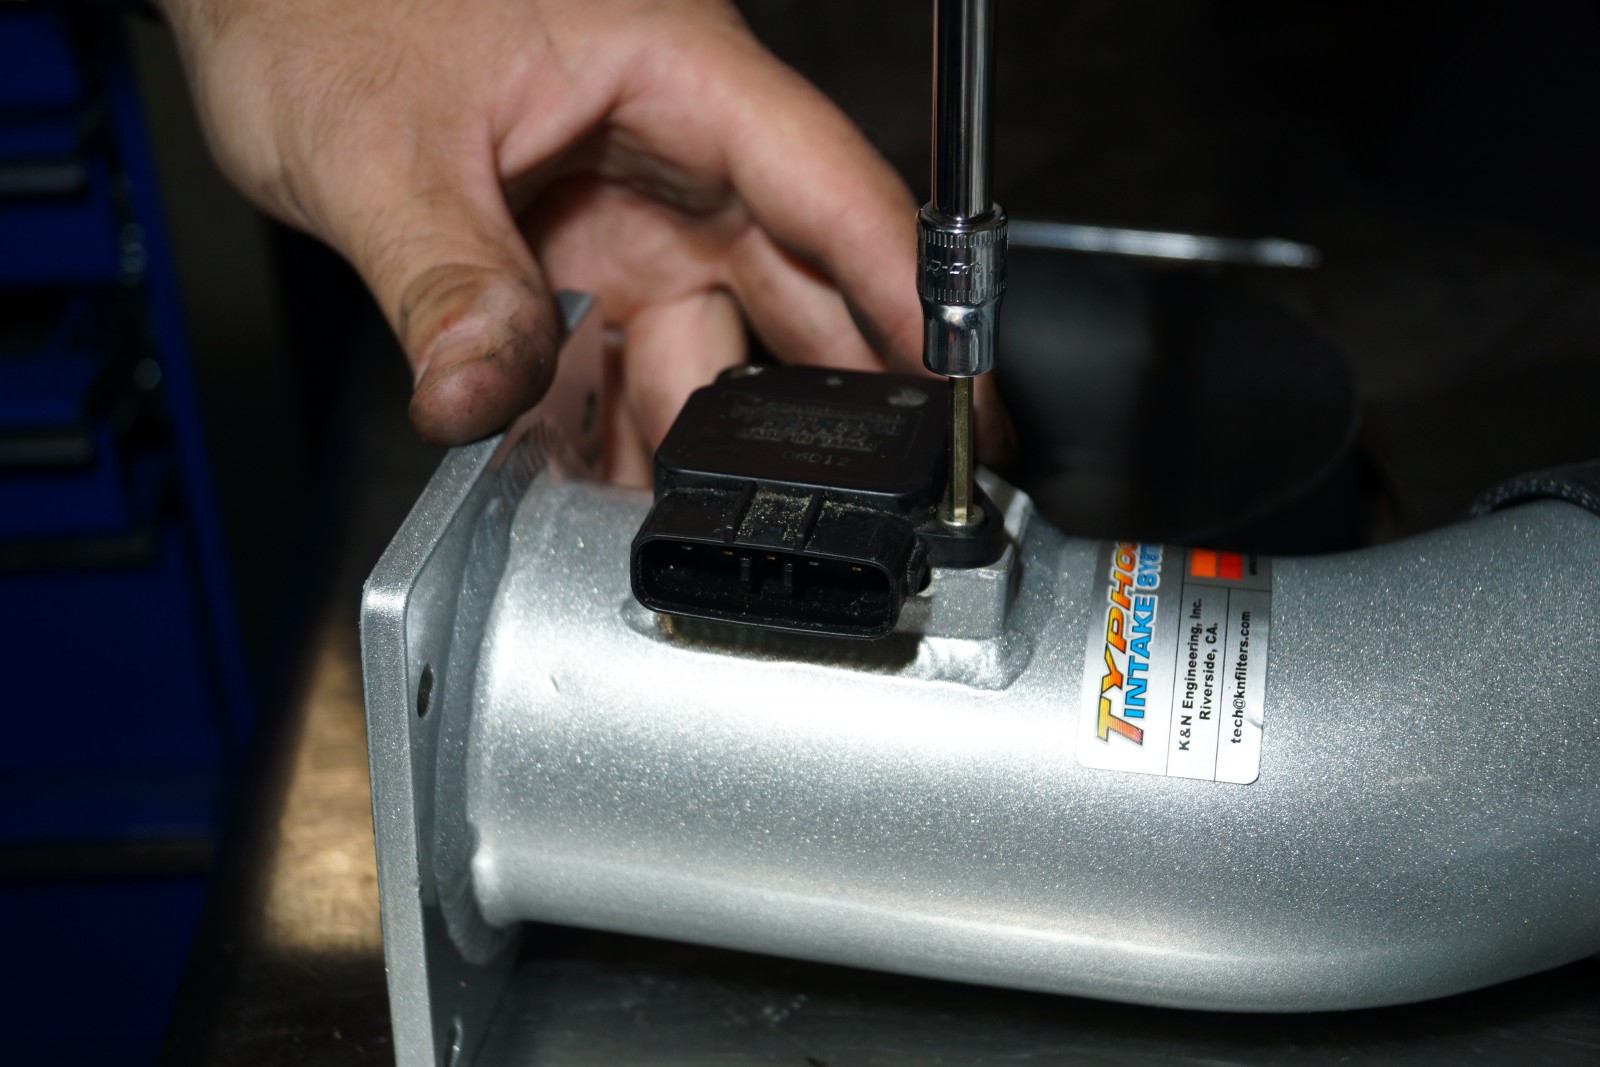
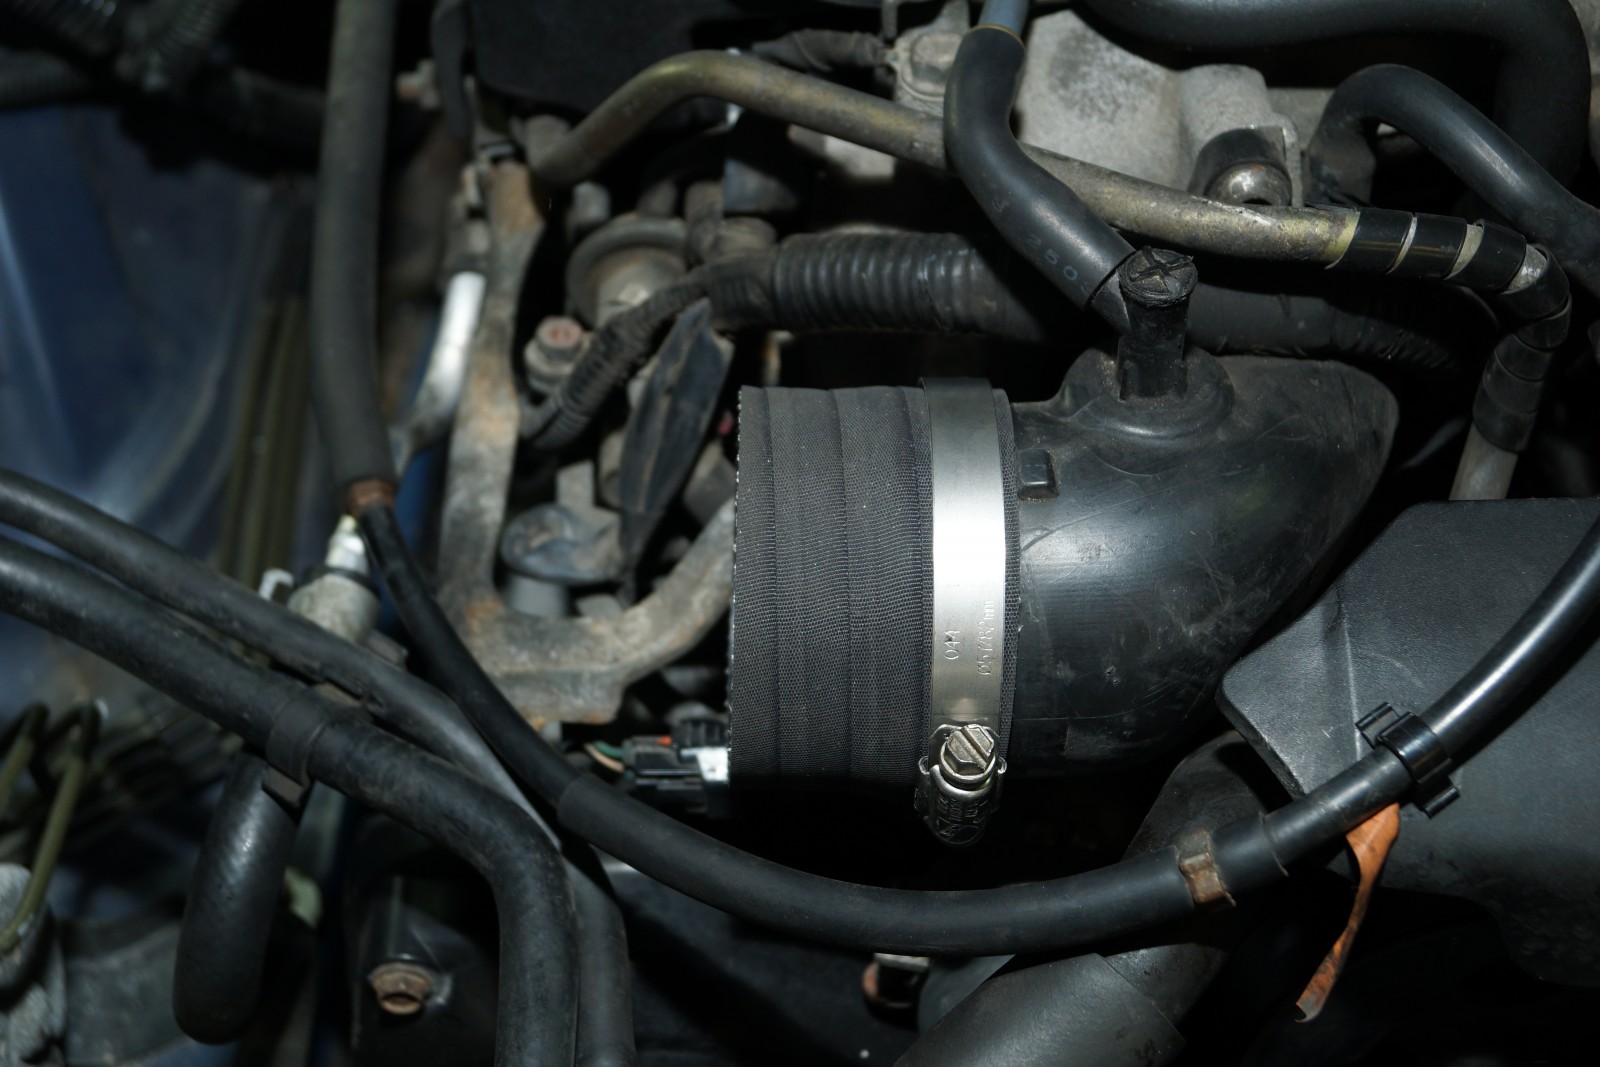
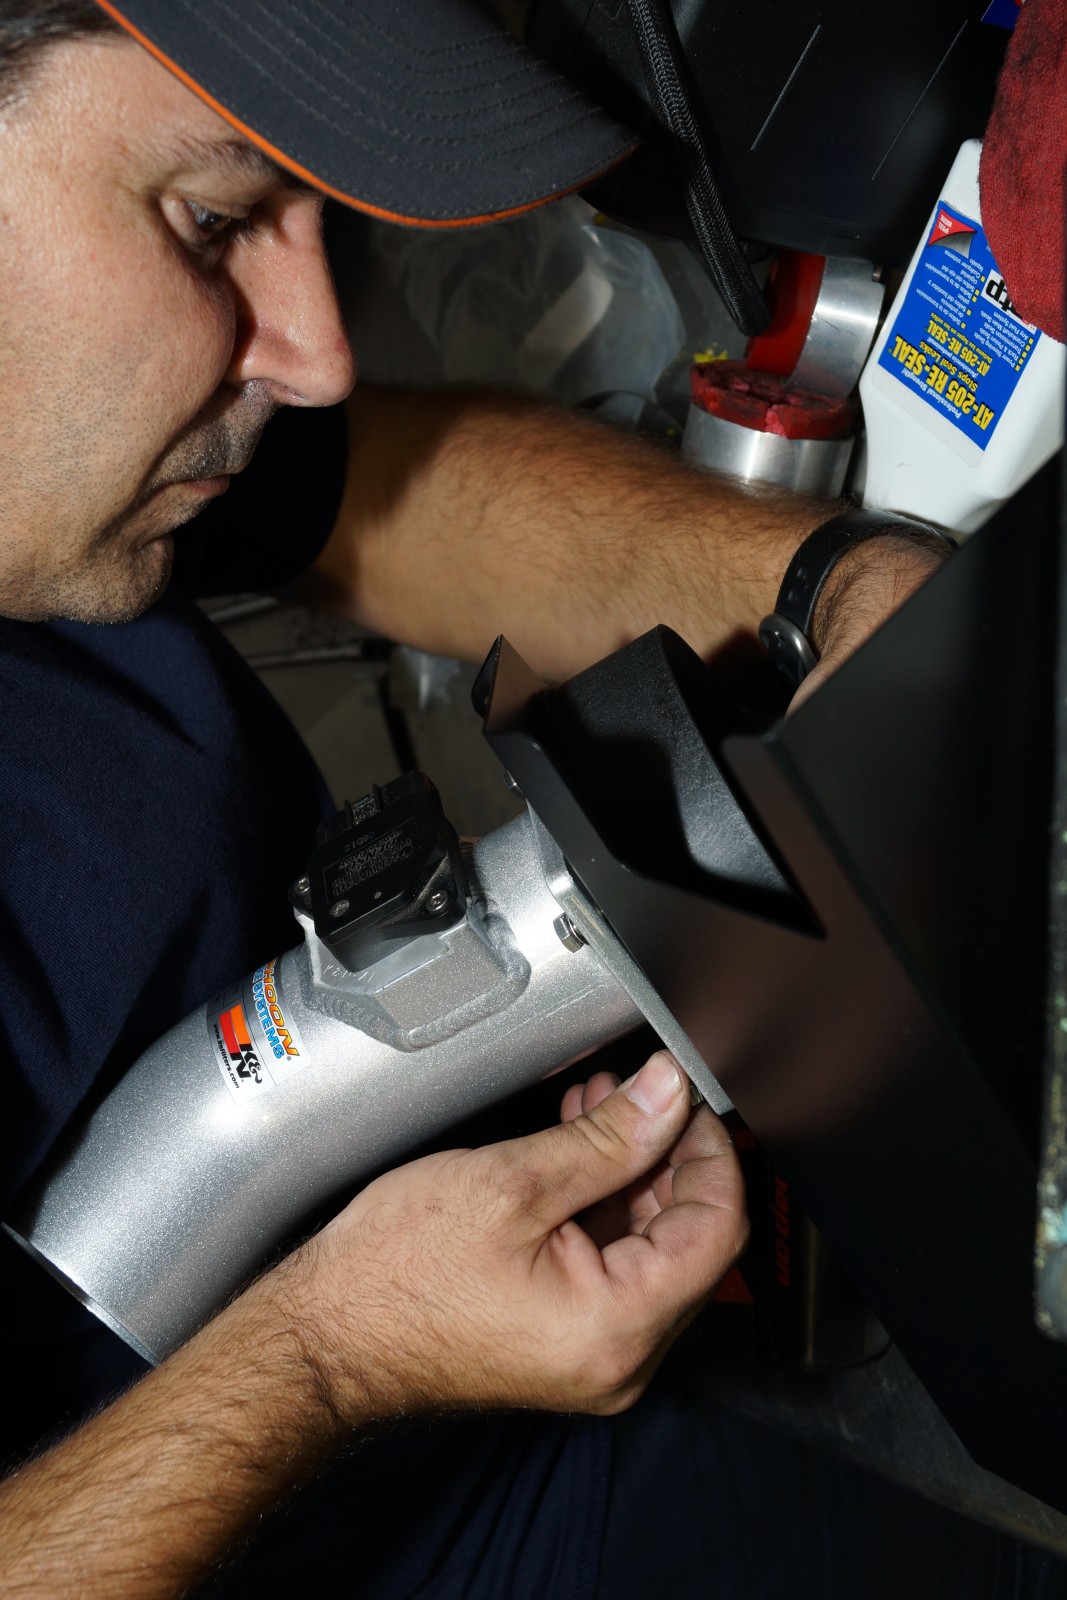
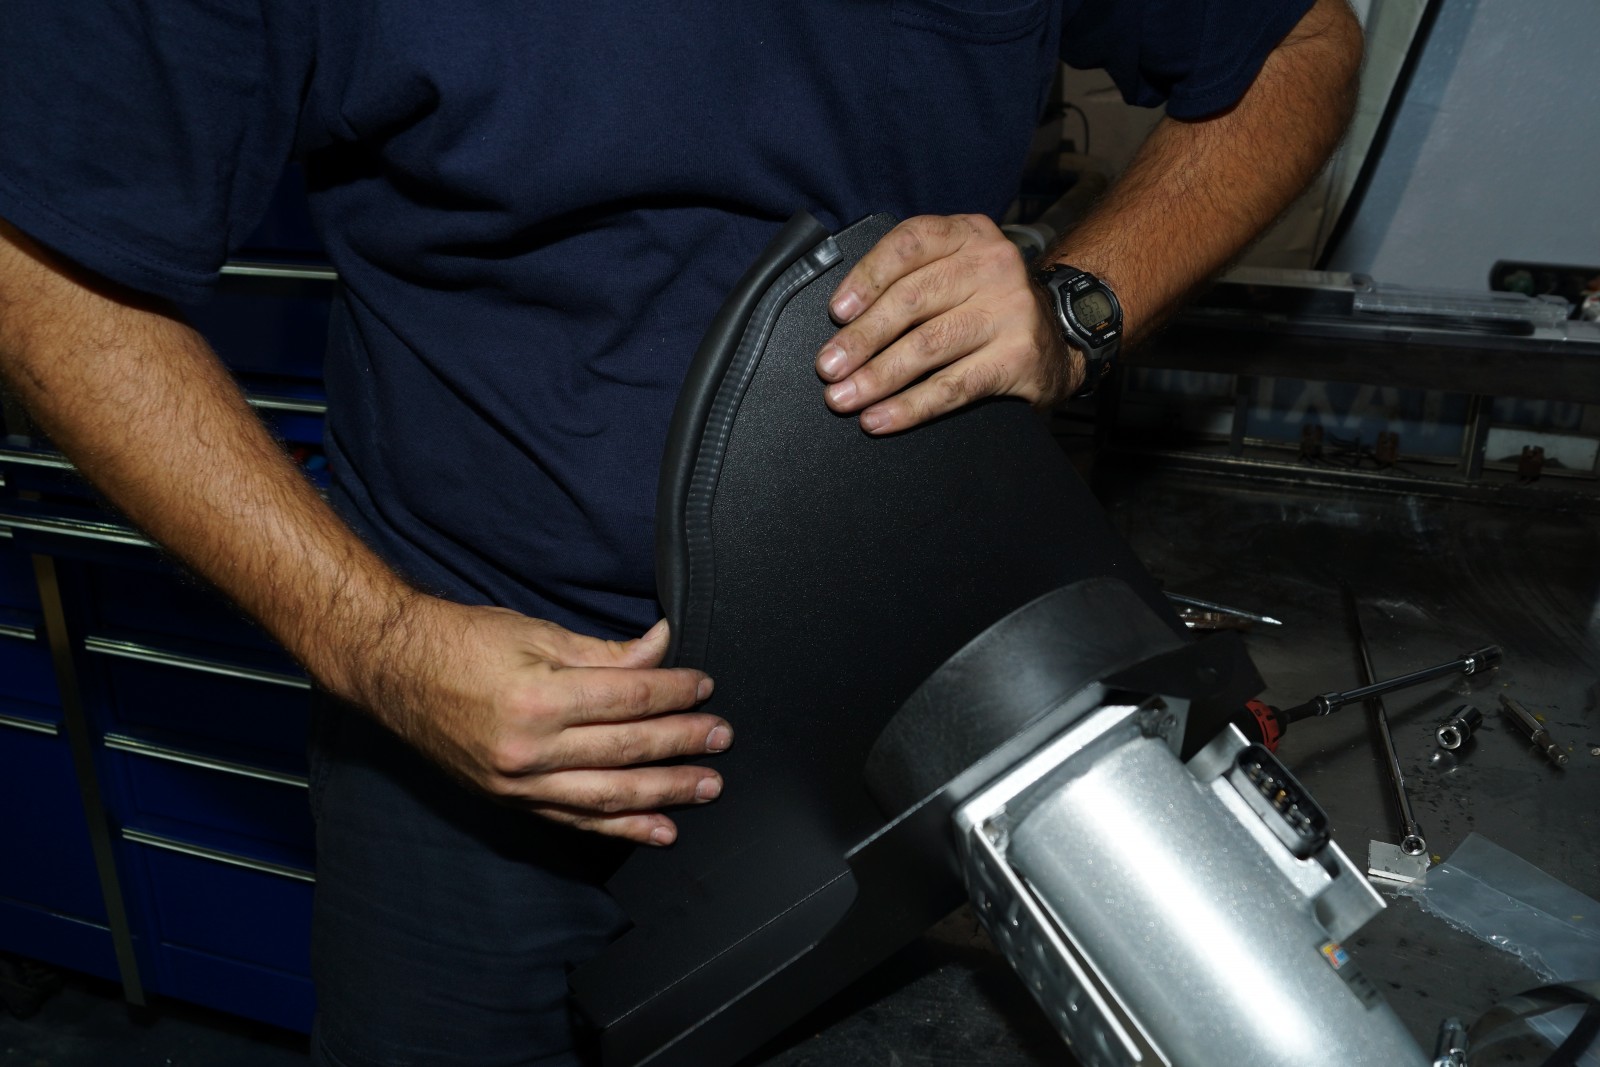
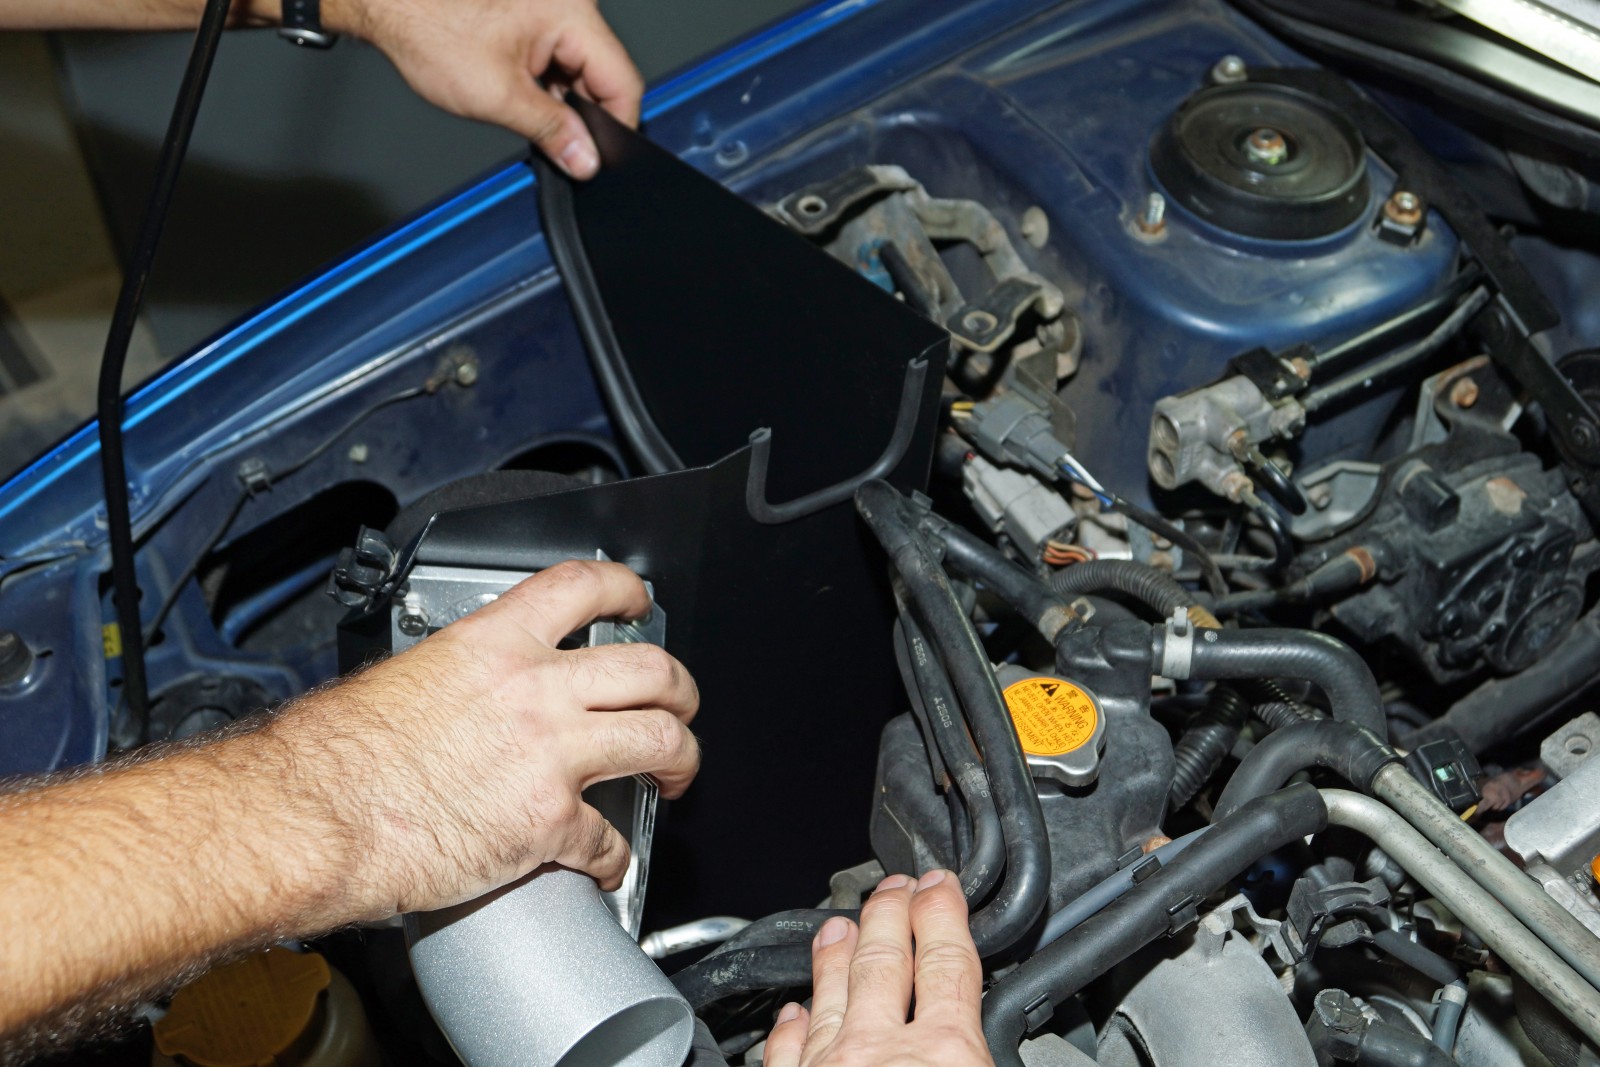
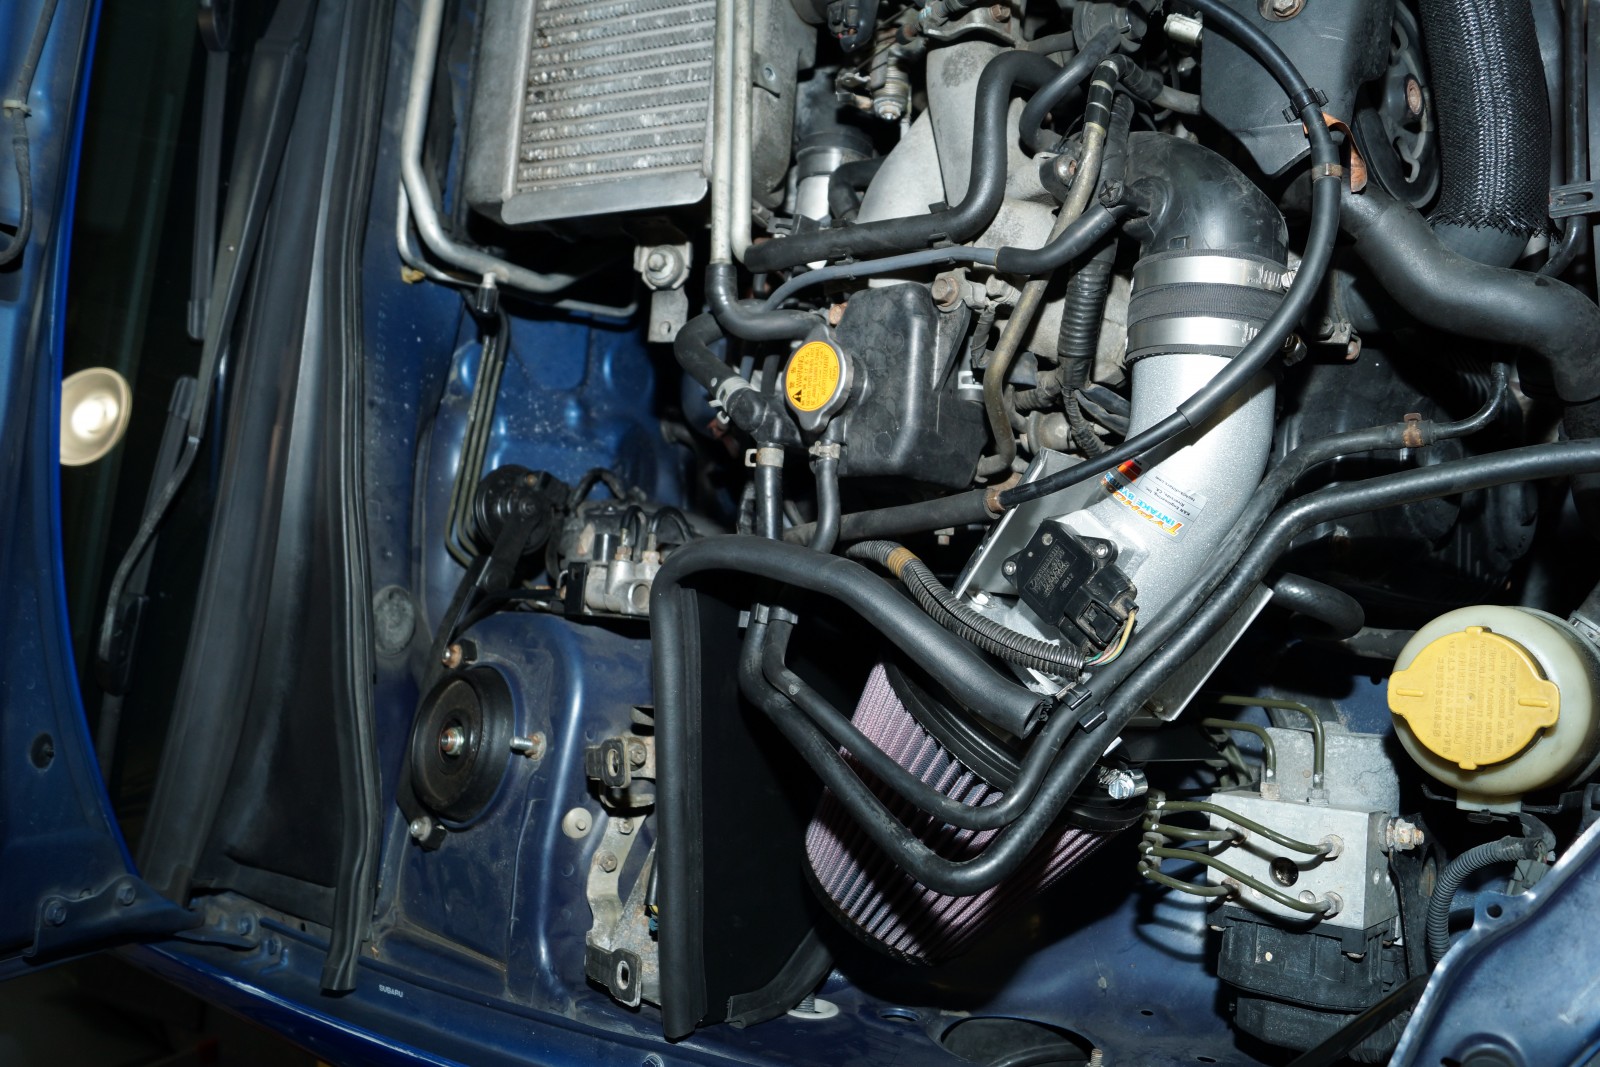
Another key element to making your WRX sound and perform better is a cold-air induction system like the K&N Engineering kit we ordered from Summit Racing. Factory induction systems have to be extremely quiet to satisfy the average consumer and pass drive-by noise standards, among other things. Opening up the intake tract often increases the induction noise, but that’s a good thing in our case. K&N offers a number of types of intake systems for the WRX, and we chose the short-ram-style Typhoon series.

In addition to giving the Subaru a serious growl and unleashing the whistle of the turbo, these modifications have also managed to virtually eliminate the notoriously bad turbo lag that plagues the 2.0L WRX. This makes the car easier to drive and allows the turbo to spool up faster, thus increasing power at a lower rpm.

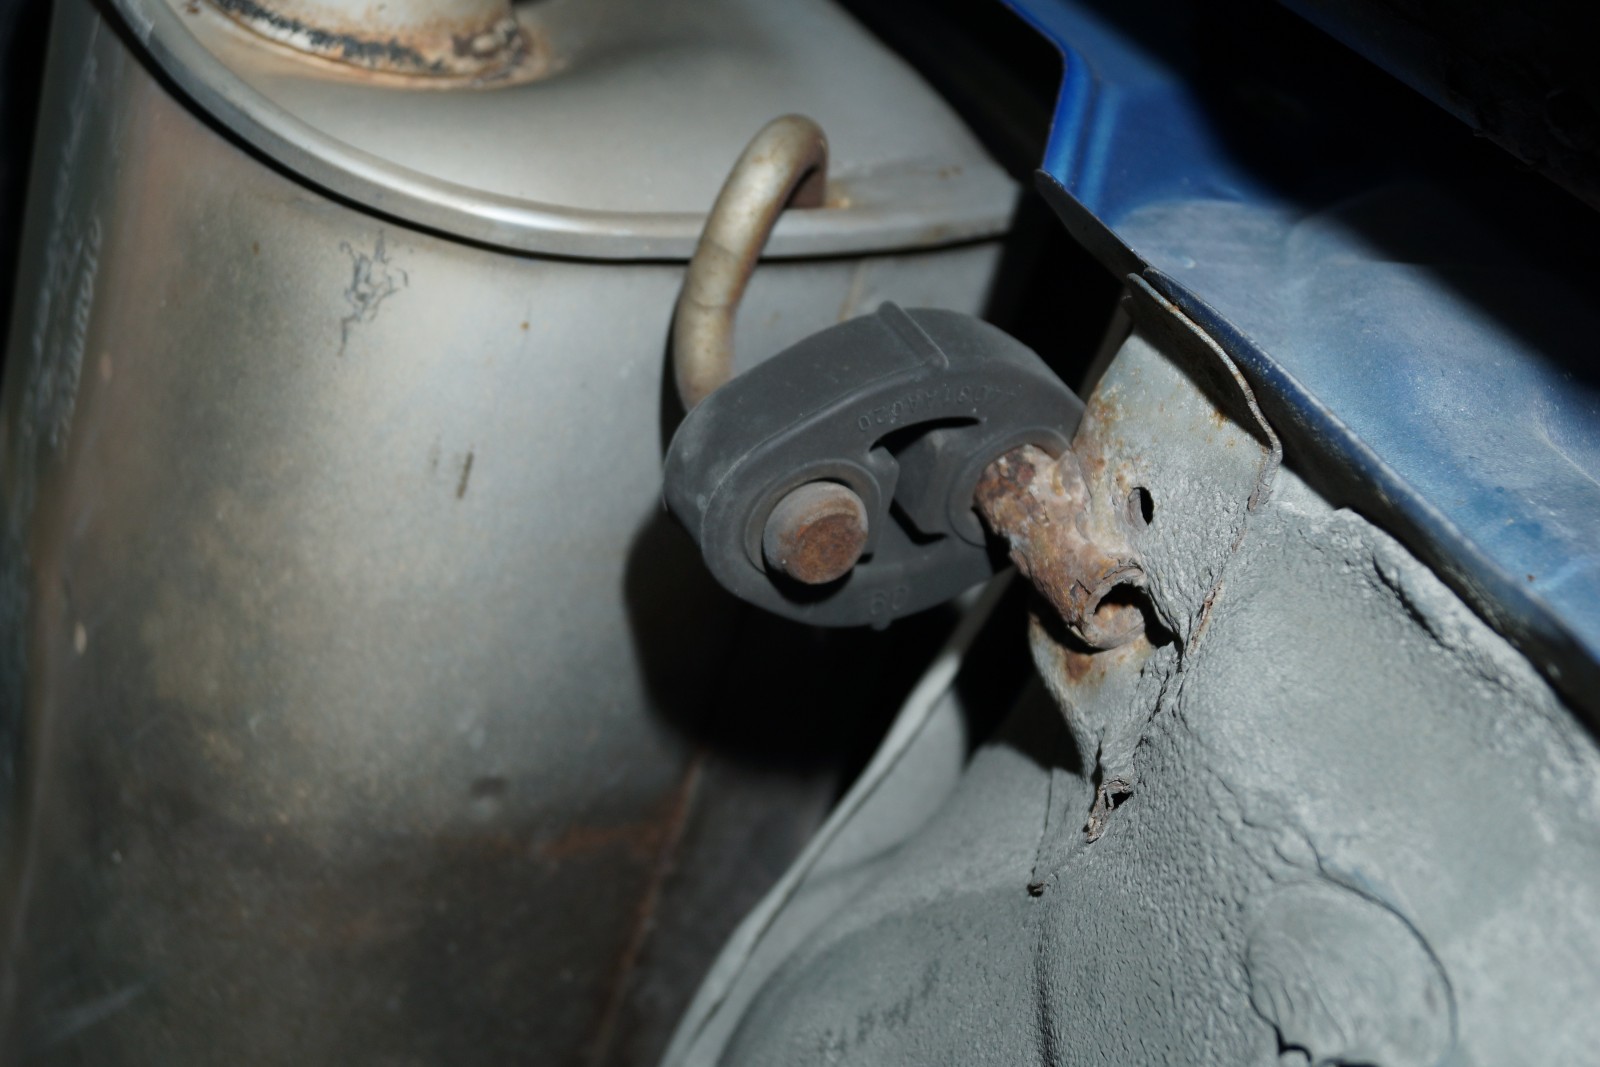
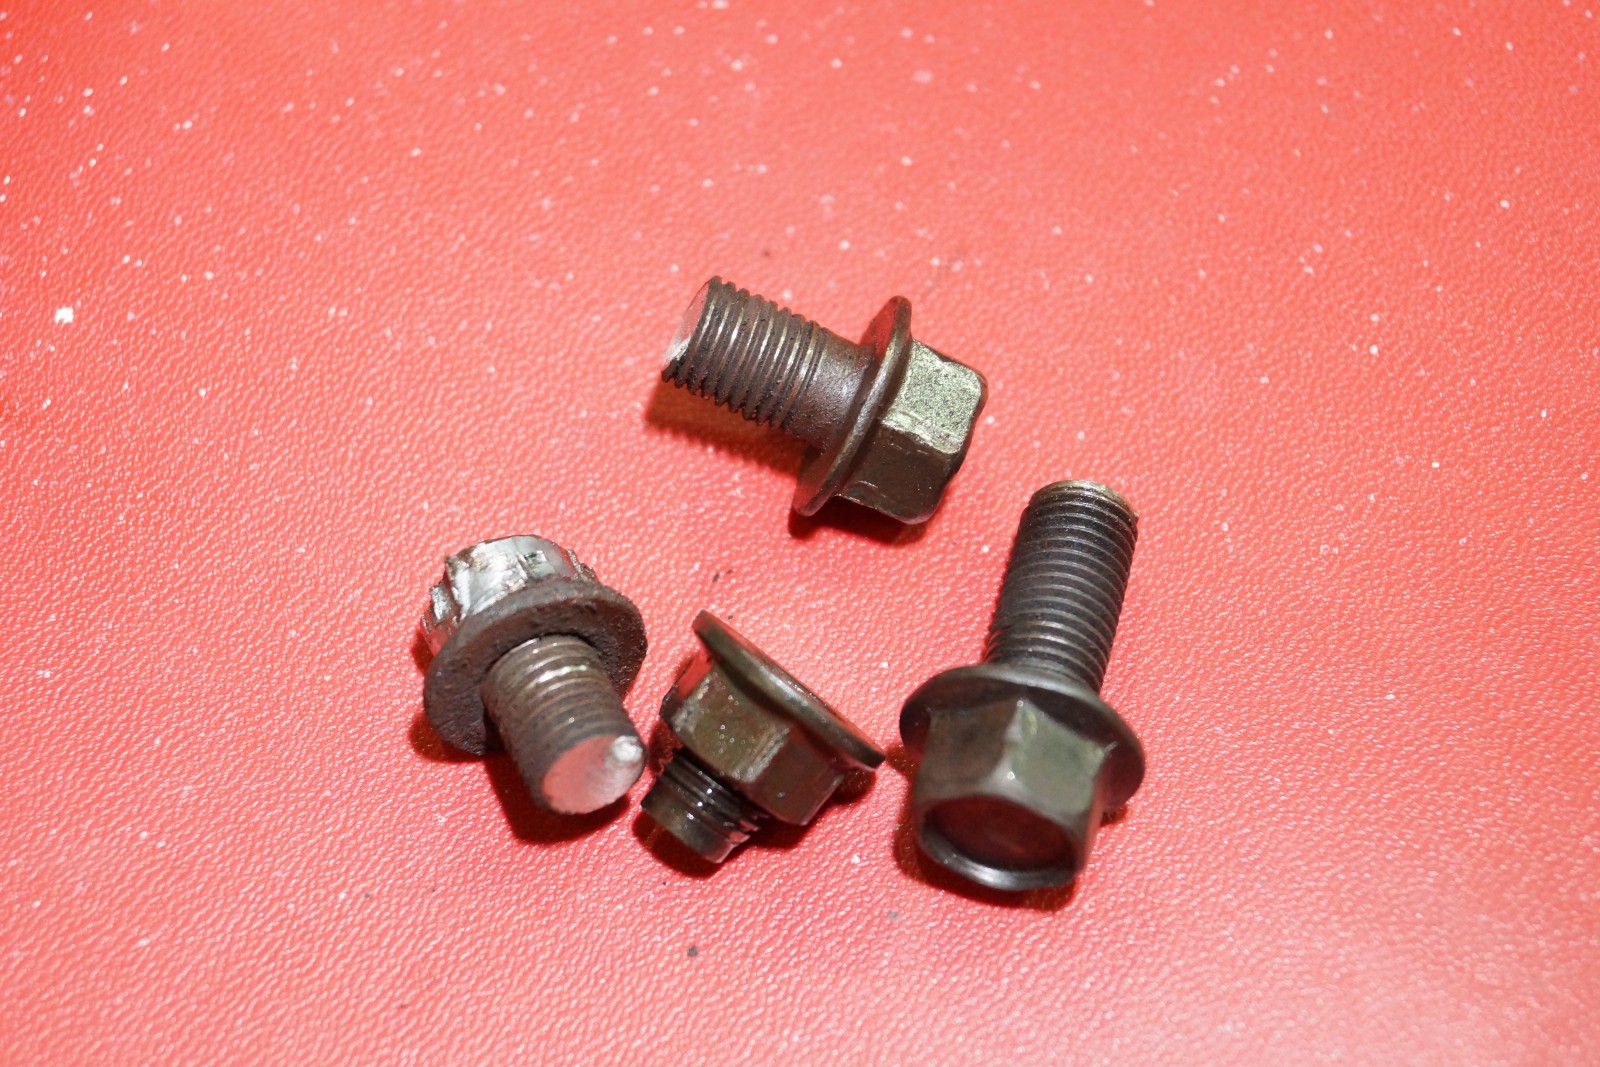
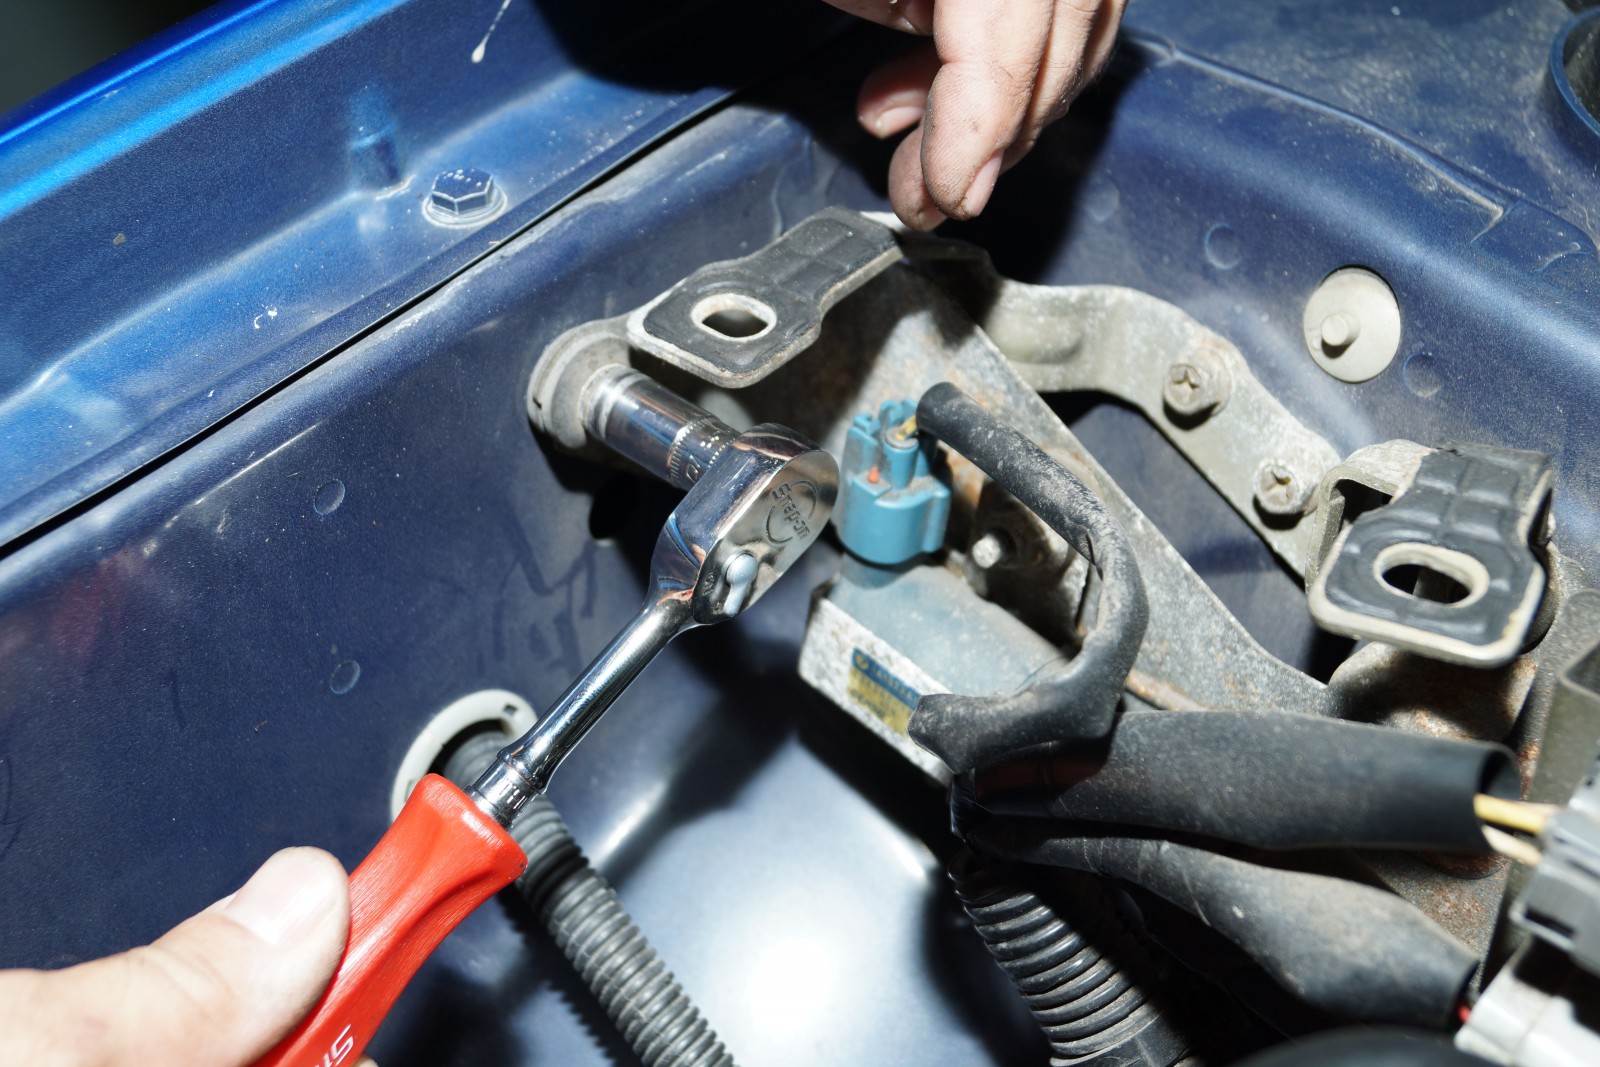
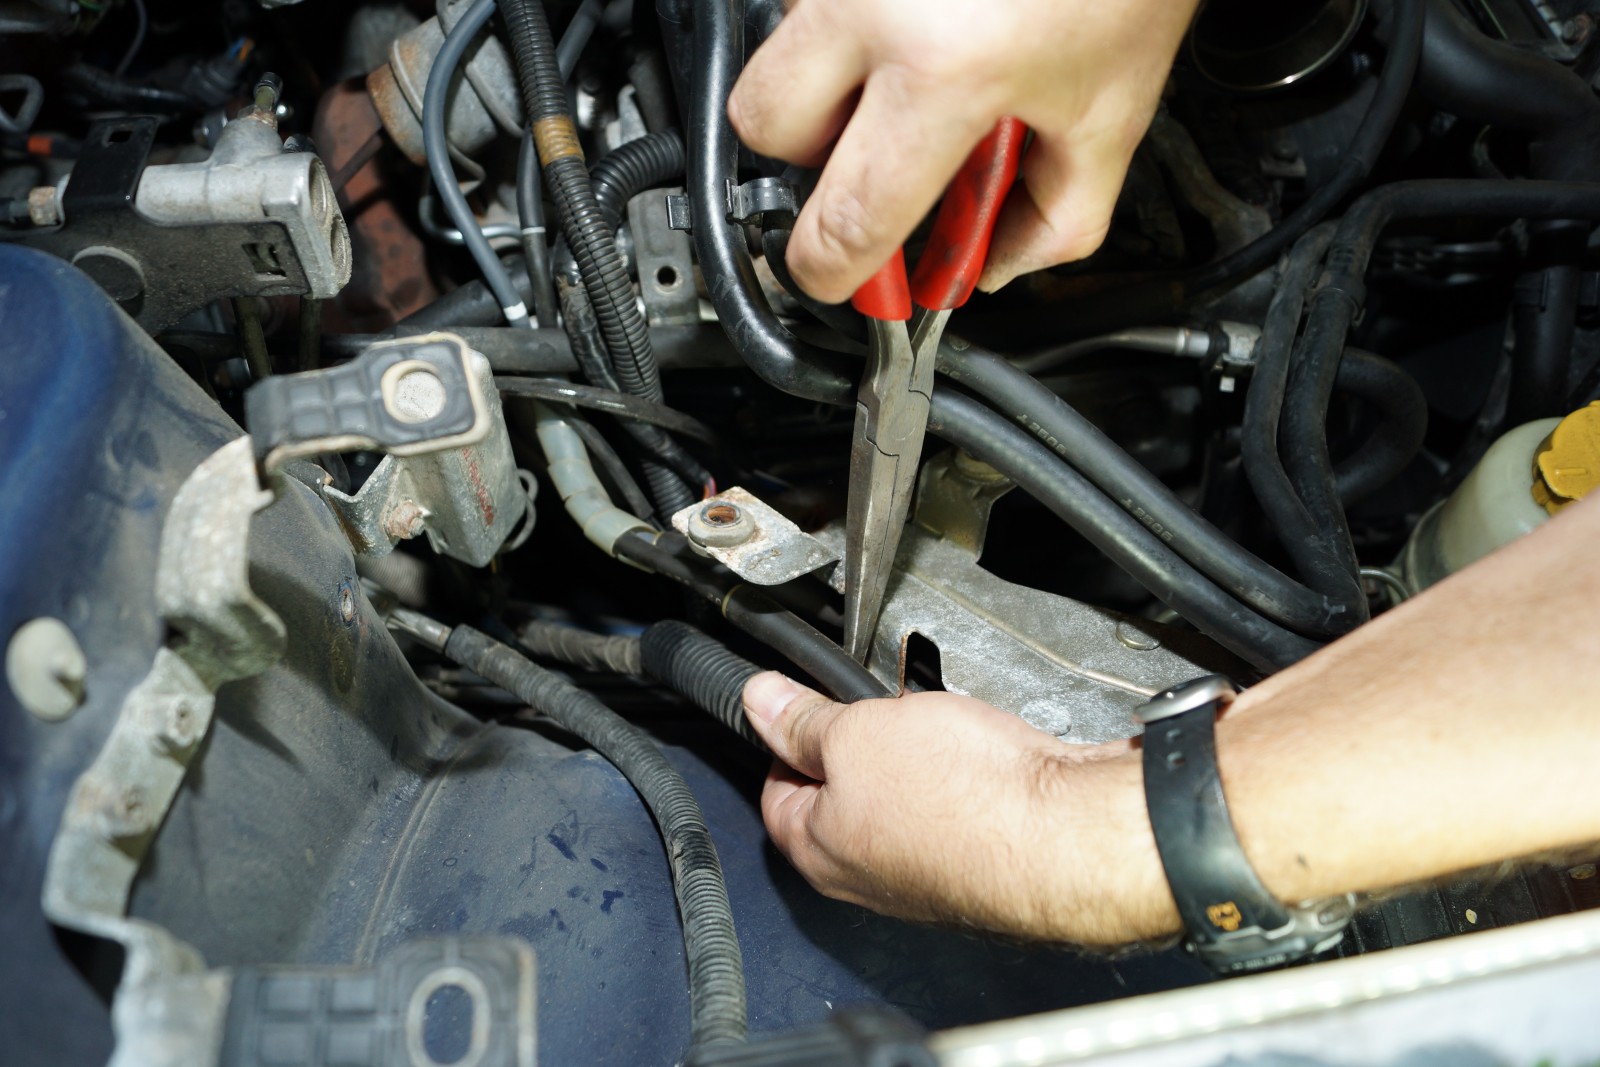
While these modifications are relatively easy to accomplish, you’ll want to have a few things handy just in case you encounter a few fairly normal issues. When working on any exhaust system, you’ll want to use some penetrating oil ahead of time to help break the bolts and nuts loose. A small propane or MAP gas torch can also be helpful as heat can often free up rusted fasteners better than the oil.

The exhaust system on our subject vehicle was pretty old and fairly crusty, and even though the factory downpipe had been off in the last year, we still encountered a couple of troublesome fasteners that snapped off or needed to use a tap and die set to cut fresh threads in. The exhaust parts do include some new hardware, but some of the factory fasteners are reused as well. If your exhaust is all original, you may want to have a stock turbo-to-downpipe gasket on hand as well. Having to work through these possible issues is something to consider if you’re planning on doing the install in the afternoon and taking your guy or girl friend out later that evening!

Check out the photos and captions to see how easy these mods are to do, and be sure to watch the video below to hear the boxer growl!

Author: Steve Baur

Steve Baur is the founder and principal of Driven Media Works, a Florida-based creative-services firm serving the automotive aftermarket. After attending the University of South Florida for journalism, Steve signed on with Muscle Mustangs & Fast Fords magazine, where he served as associate editor and, later, technical editor during his nine-year tenure. In 2010, he was promoted to the editorship of Modified Mustangs & Fords, a publication he helmed for four years before launching Driven Media Works in 2014. A lover of all things automotive, Steve has contributed to a wide range of motoring publications, including Car Craft, Truckin', Modified, Super Chevy, Race Pages, GM High Tech Performance, Fastest Street Car, and High Performance Pontiac.