How to Pressure Test AN Hose

Want to test your AN hose assemblies for leaks before you install them in the car? Earl’s Pressure Test Kit will help you do that. It includes a set of AN fitting plugs plus another set of plugs modified with Schrader valves. The kit is easy to use—just screw the appropriate AN plug in one end of the assembly and a Schrader valve plug in the other. Attach a compressed air (or nitrogen) source to the Schrader valve plug to fill the hose, then dunk the whole assembly under water. The Earl’s Pressure Test Kit includes plugs for -3, -6, -8-, -10, -12, and -16 AN hose and fittings.

Using aluminum hose end wrenches, assemble the test fittings. Tighten securely so the adapters seat in the hose ends. Make sure you double-check the Schrader valve to ensure it’s tight.

This is what a finished hose assembly looks like with a set of Earl’s pressure test adapter fittings installed.

Most hose manufacturers recommend that the hose assembly be tested at twice the maximum operating pressure. To do this, air up the assembly by connecting the Schrader valve end to an air compressor (compressed nitrogen works too) and check the pressure with a good old-fashioned tire pressure gauge.

Place the air-filled hose assembly under water and check for leaks. In this photo, you can see the telltale evidence of two leaks. Luckily for us, one leak originated at the Schrader valve and the other was from a test plug that wasn’t seated properly. Once we sorted out the leaks, the hose assembly passed with flying colors.

Assembling braided AN hose and hose ends is pretty straightforward. But how do you know if the completed assembly is OK? Ideally, you would pressure-test your plumbing before you go to a bunch of trouble installing it in the car. That’s where the folks from Earl’s Performance enter the equation. They have a pretty cool Pressure Test Kit that will allow you to test most any size AN hose assembly.

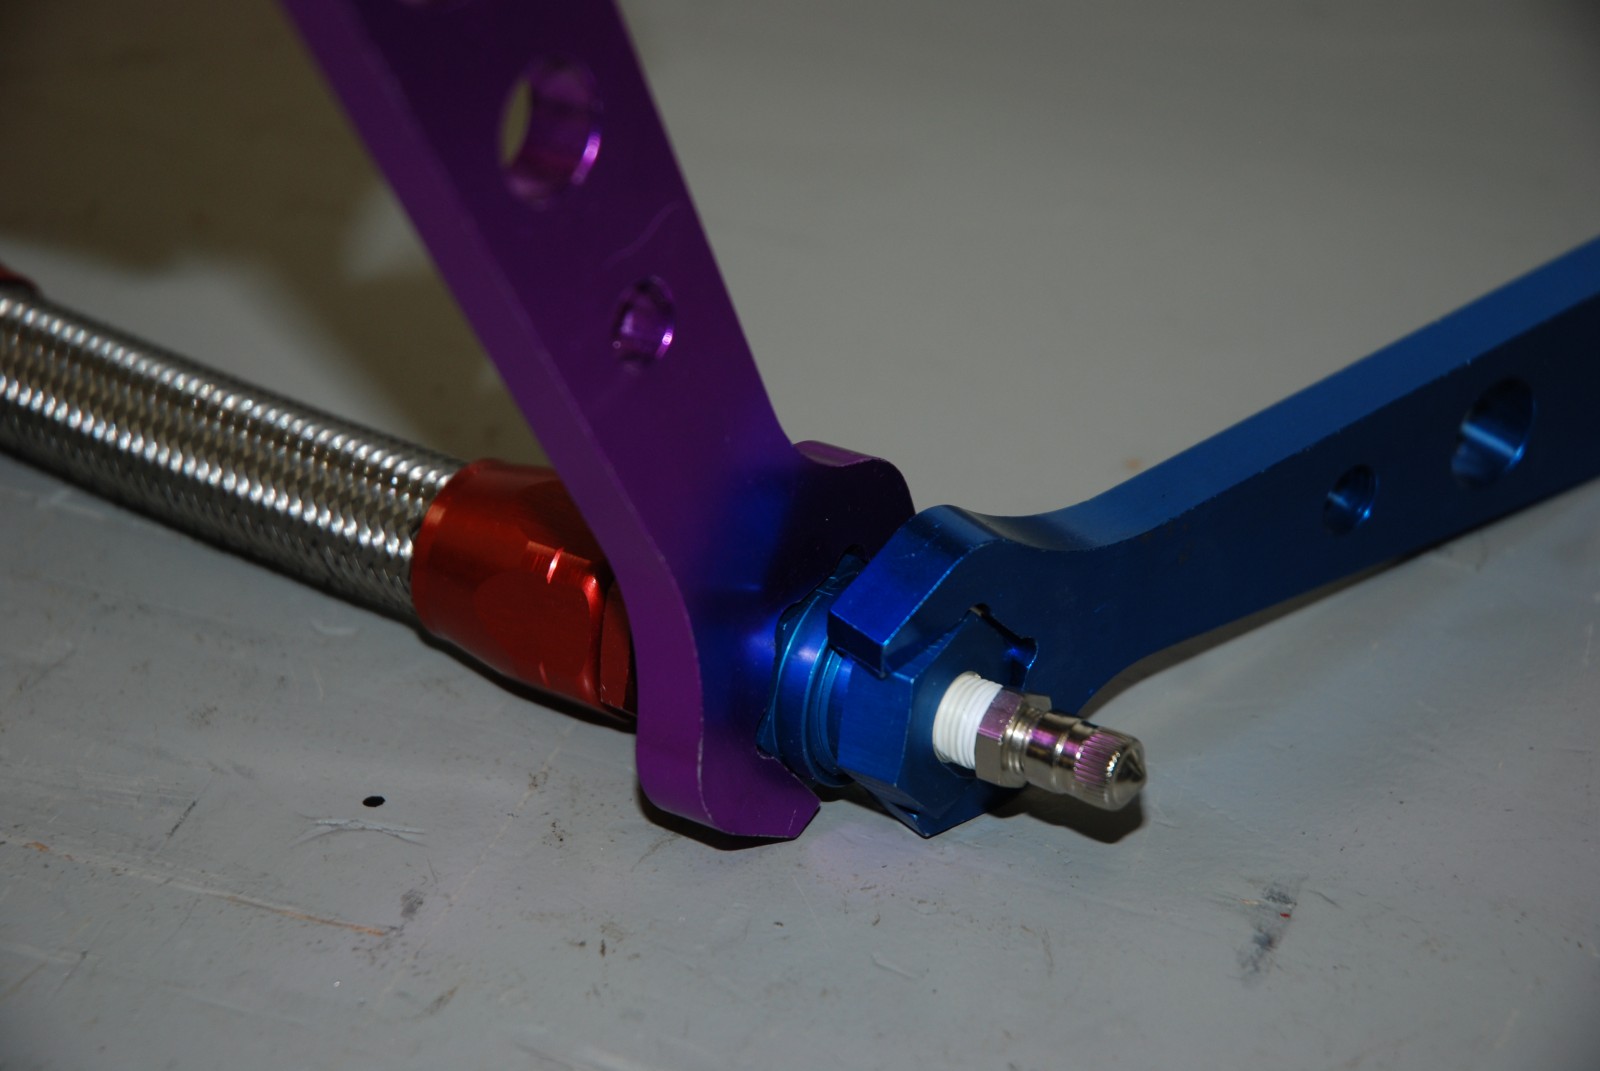
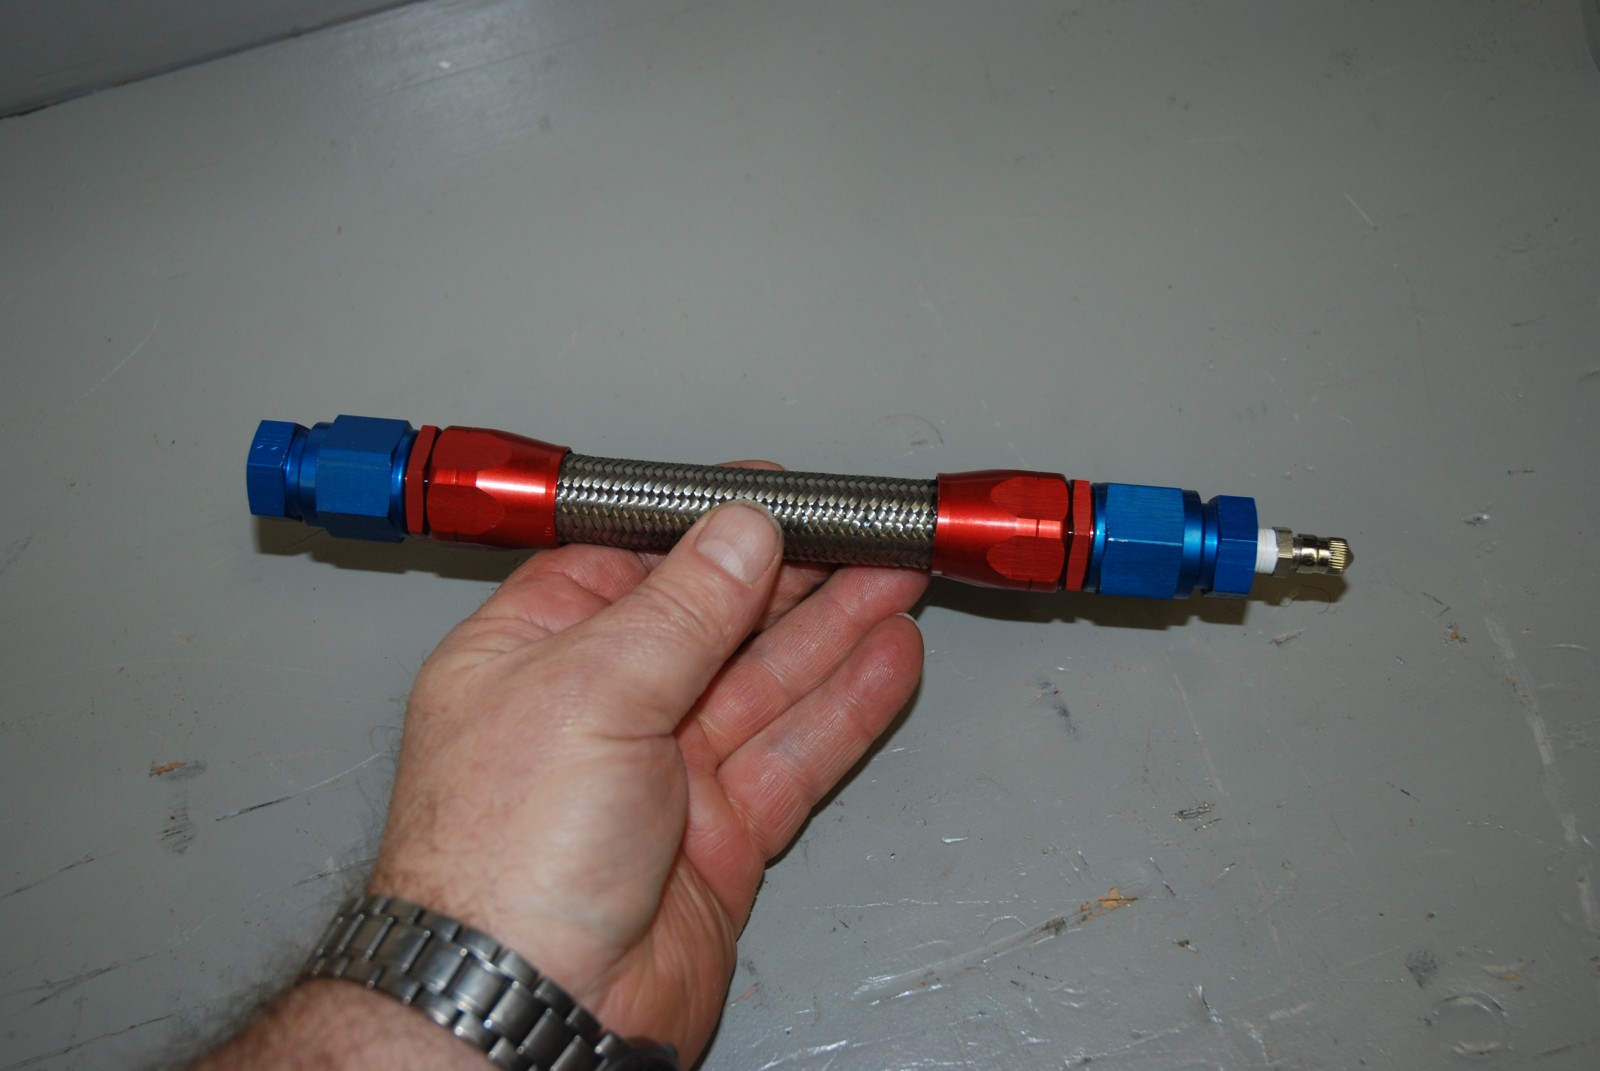
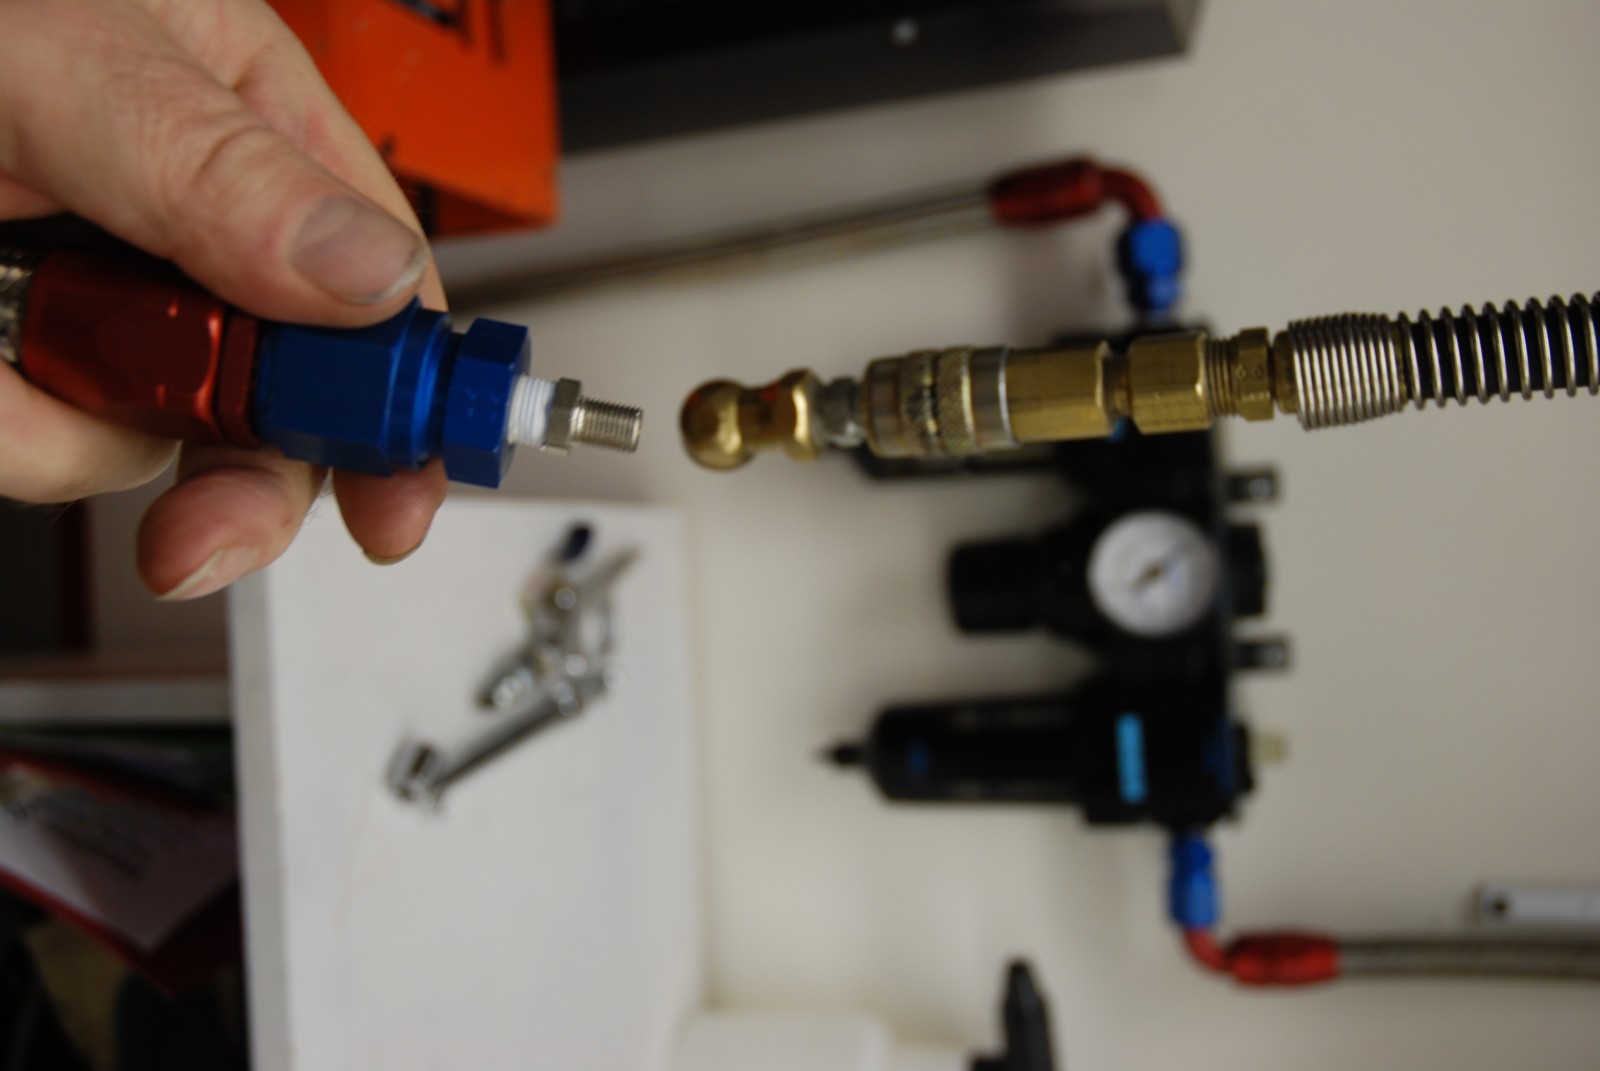
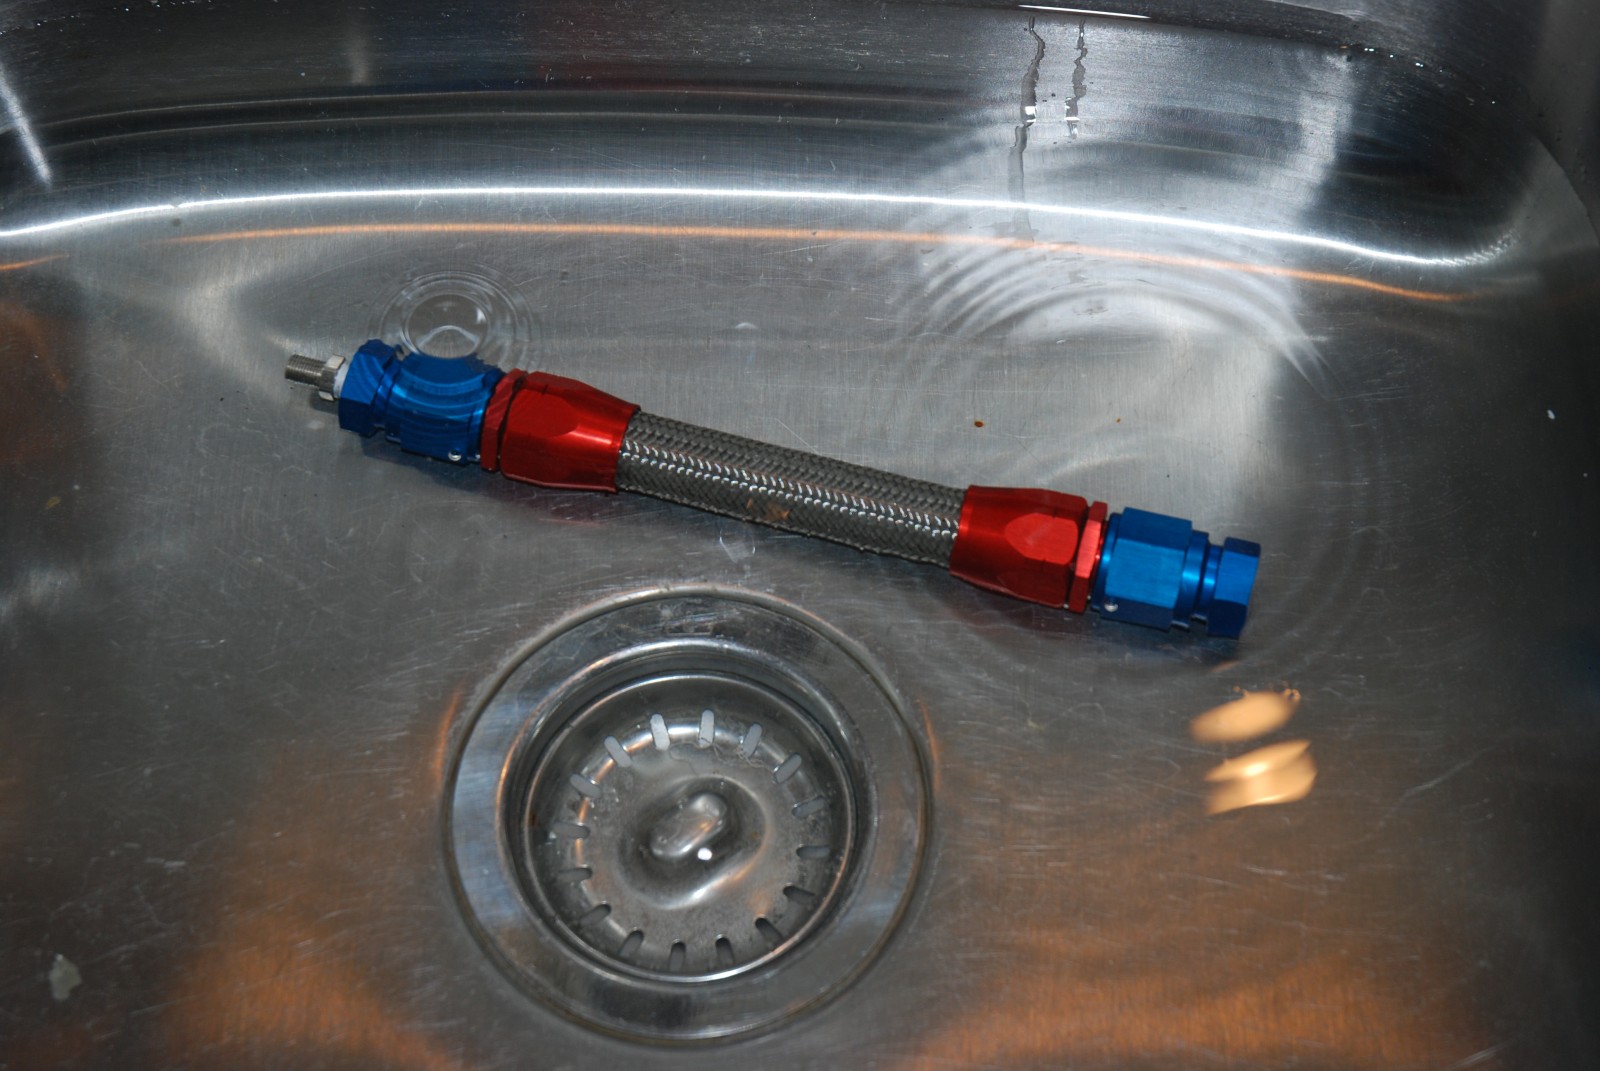
The Earl’s kit consists of AN hose end plugs for every line size from -3 through -16 AN, plus another plug modified with a common Schrader valve. It’s easy to use—just screw the appropriate AN plug in one end of the assembly and a Schrader valve plug in the other. Attach a compressed air (or nitrogen) source to the Schrader valve plug to fill the hose, then dunk the whole assembly under water. Bubbling water will tell if (and where) the assembly is leaking. As the saying sort-of goes, you can find and fix a leaky hose now, or you can find it later when it’s making a mess in your car.

Tools Required

Earl’s Pressure Test Kit

AN Hose Wrenches

Tire Pressure Gauge

Share this Article
Author: Wayne Scraba

Wayne Scraba is a diehard car guy and regular contributor to OnAllCylinders. He’s owned his own speed shop, built race cars, street rods, and custom motorcycles, and restored muscle cars. He’s authored five how-to books and written over 4,500 tech articles that have appeared in sixty different high performance automotive, motorcycle and aviation magazines worldwide.