Whether you’re prepping for a summer driving season filled with road trips, or doing smart preventative maintenance before the weather turns cold, make sure that coolant hose inspection is part of your regular vehicle service routine.
And the good news is, inspecting and replacing radiator and heater hoses isn’t complicated. In fact, for a lot of newer vehicles, the biggest issue is being able to reach the darn things and wrestle the hose clamps off.
To that end, we’ll share some tips and tools to make the job easier. But first, let’s look at what causes a hose to go bad—and how to find it.
How to Inspect Radiator & Heater Hoses
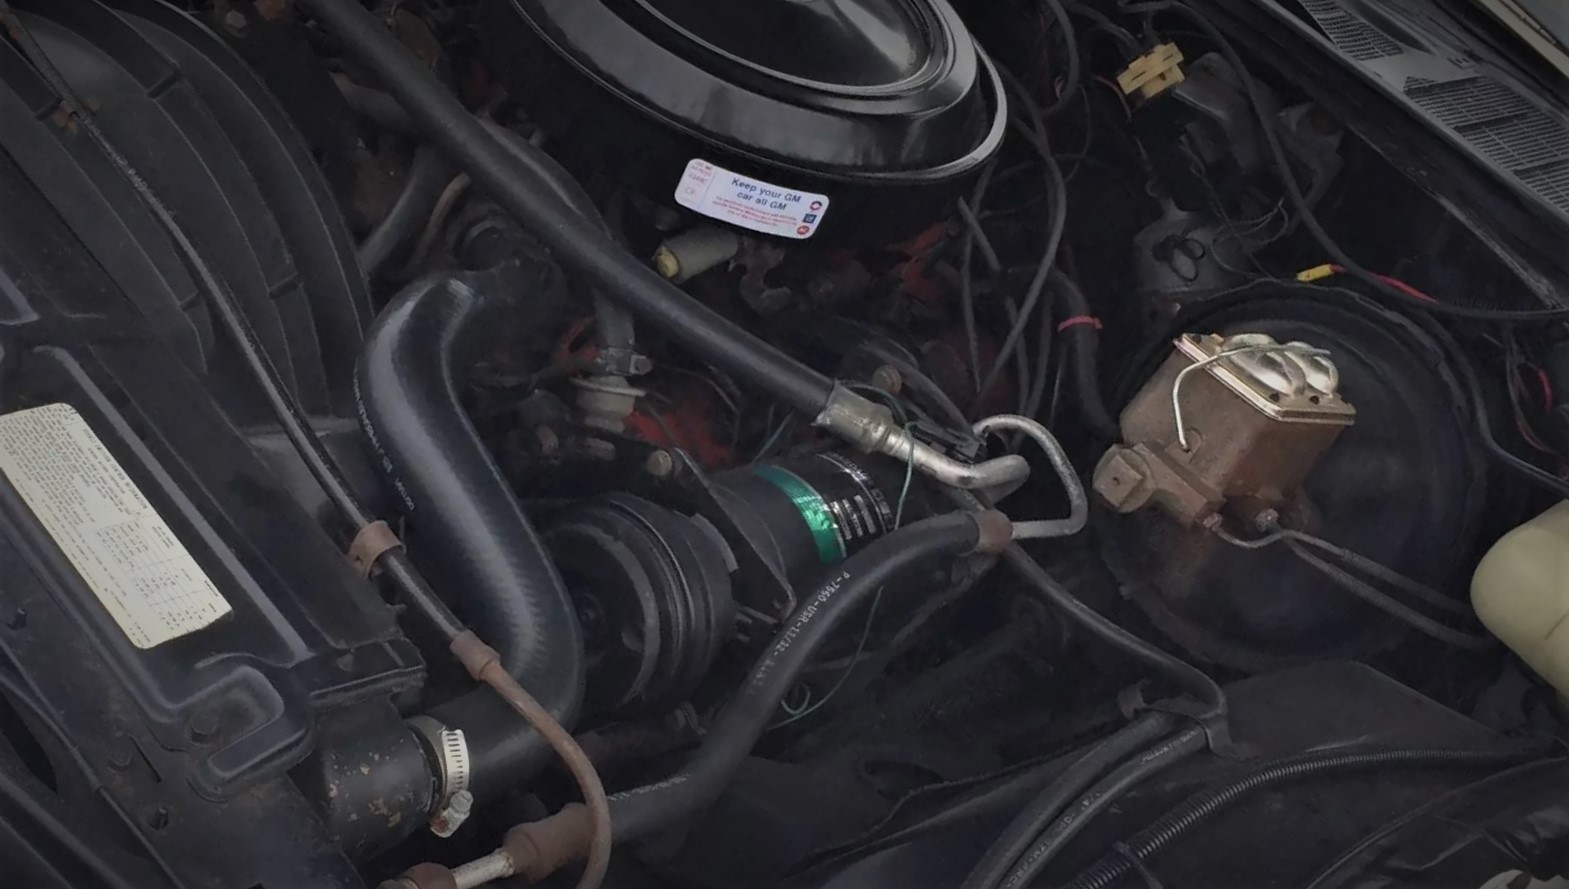
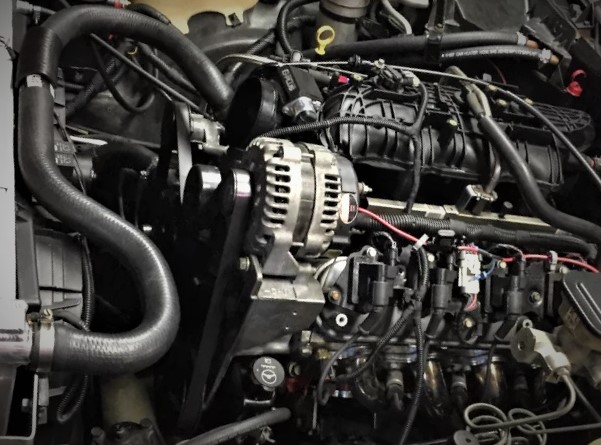
Radiator and heater hoses put up with a lot. They handle severe temperature swings and resist damage caused by coolant, oil, salt, ozone, and road debris.
But cooling system hoses do deteriorate with age, which is a process that occurs primarily from the inside out. If all of the cooling system hoses are about the same age, there is a good chance that if one is bad, some of the others are on the verge of failing as well. That’s why you need to inspect all of the hoses so you find all of the problems at one time.
The best time to inspect hoses is when the engine is warm. A hose in good condition should feel firm, but not hard. A failing hose will feel very hard, spongy, or soft.
Pay special attention to curves and bends. This is where cracking often occurs. Make sure hoses are not kinked, which can reduce coolant flow and cause overheating. Also check to see if hoses are touching sharp edges or hot/moving engine parts. Look for fraying near connection points too—because that’s a common cause of leaks.
6 Common Signs & Types of Hose Failure
Again, your hoses endure an onslaught of pressure swings, harsh chemicals, and wild heat cycles, so here are some common signs of a failing hose:
1. Electrochemical Damage (ECD)
- Cause: Different kinds of metals in the cooling system generate an electrical charge, which is carried from one component to another by the coolant. This electrical charge creates small internal cracks which can weaken the hose.
- Appearance: ECD damage is usually found in the first two inches from the hose ends. Squeeze the hose near the connectors; if the ends feel softer than the middle or you feel gaps or channels inside the hose, it is most likely due to ECD.
- Solution: Replace the damaged hose. Most modern replacement hose is electrochemical-resistant to reduce ECD.
2. Leakage
- Cause: Insufficient clamp torque, deterioration of the hose or connector, hose compression ‘set’ due to age.
- Appearance: Moisture, drips, or coolant bleed marks on or around clamps, connectors, or on the hose itself.
- Solution: Retighten adjustable tension clamps after a brief run-in period. Alternatively, use constant-tension clamps, which automatically adjust as the hose heats and cools. Connectors with a raised bead on the end(s) will seal better and reduce the chance of a hose slipping off.
3. Heat Damage
- Cause: Engine heat, low coolant levels, and/or temperature spikes.
- Appearance: Hardened, glossy, and cracked outer surface. Slight swelling is a sign of internal damage.
- Solution: Replace the damaged hose.
4. Ozone Damage
- Appearance: Tiny, parallel cracks on the outer surface, usually at bends.
- Cause: Increased concentrations of ozone caused by pollution will attack bonds in certain rubber compounds. Tiny cracks occur, allowing contaminants to destroy the hose.
- Solution: Replace the damaged hose with new hose made from EPDM rubber, which is not affected by ozone. Most modern replacement hoses are made from this material.
5. Abrasion Damage
- Cause: Hose rubbing against other engine parts.
- Appearance: Rub marks or damage to the outer surface.
- Solution: Replace the hose if badly damaged. To prevent future damage, try rerouting the hose and/or use hose guides—or install a protective hose cover like a sleeve or wrap. The OEMs often use guides and wraps to prevent hose damage; reuse the factory items if they are in good shape or replace with new ones.
6. Oil Contamination
- Cause: Oil reacts chemically with rubber compounds and weakens the hose. This causes the hose to soften, swell, and separate layer by layer, leading to failure.
- Appearance: The hose is soft or spongy to the touch. Bulges and swelling are readily apparent.
- Solution: Replace the hose and either repair the oil leak or reroute the hose.
Other Handy Coolant Hose Care & Feeding Tips
Hose temperature can reveal if the cooling system is functioning properly. You can use an infrared thermometer to read temperature.
For example, when the heater is on, both the ingoing and outgoing heater hoses should be close to the same temperature. If not, it might be time for a repair. If the upper radiator hose gets hot before the engine has properly warmed up, it means the thermostat is not closing properly or is constantly open.
If the hose does not get hot at all, the thermostat is blocked. In both cases, replace the thermostat immediately.
Common Types of Vehicle Hoses
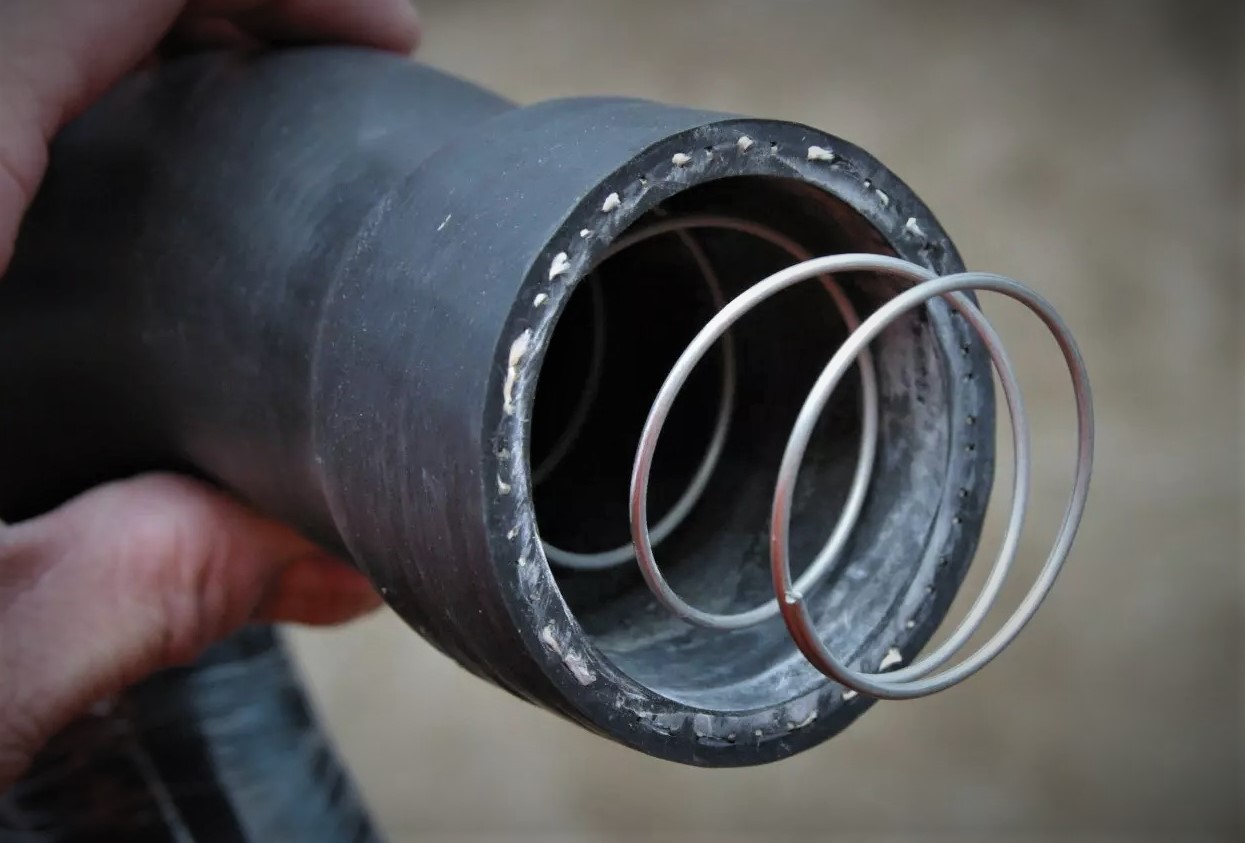
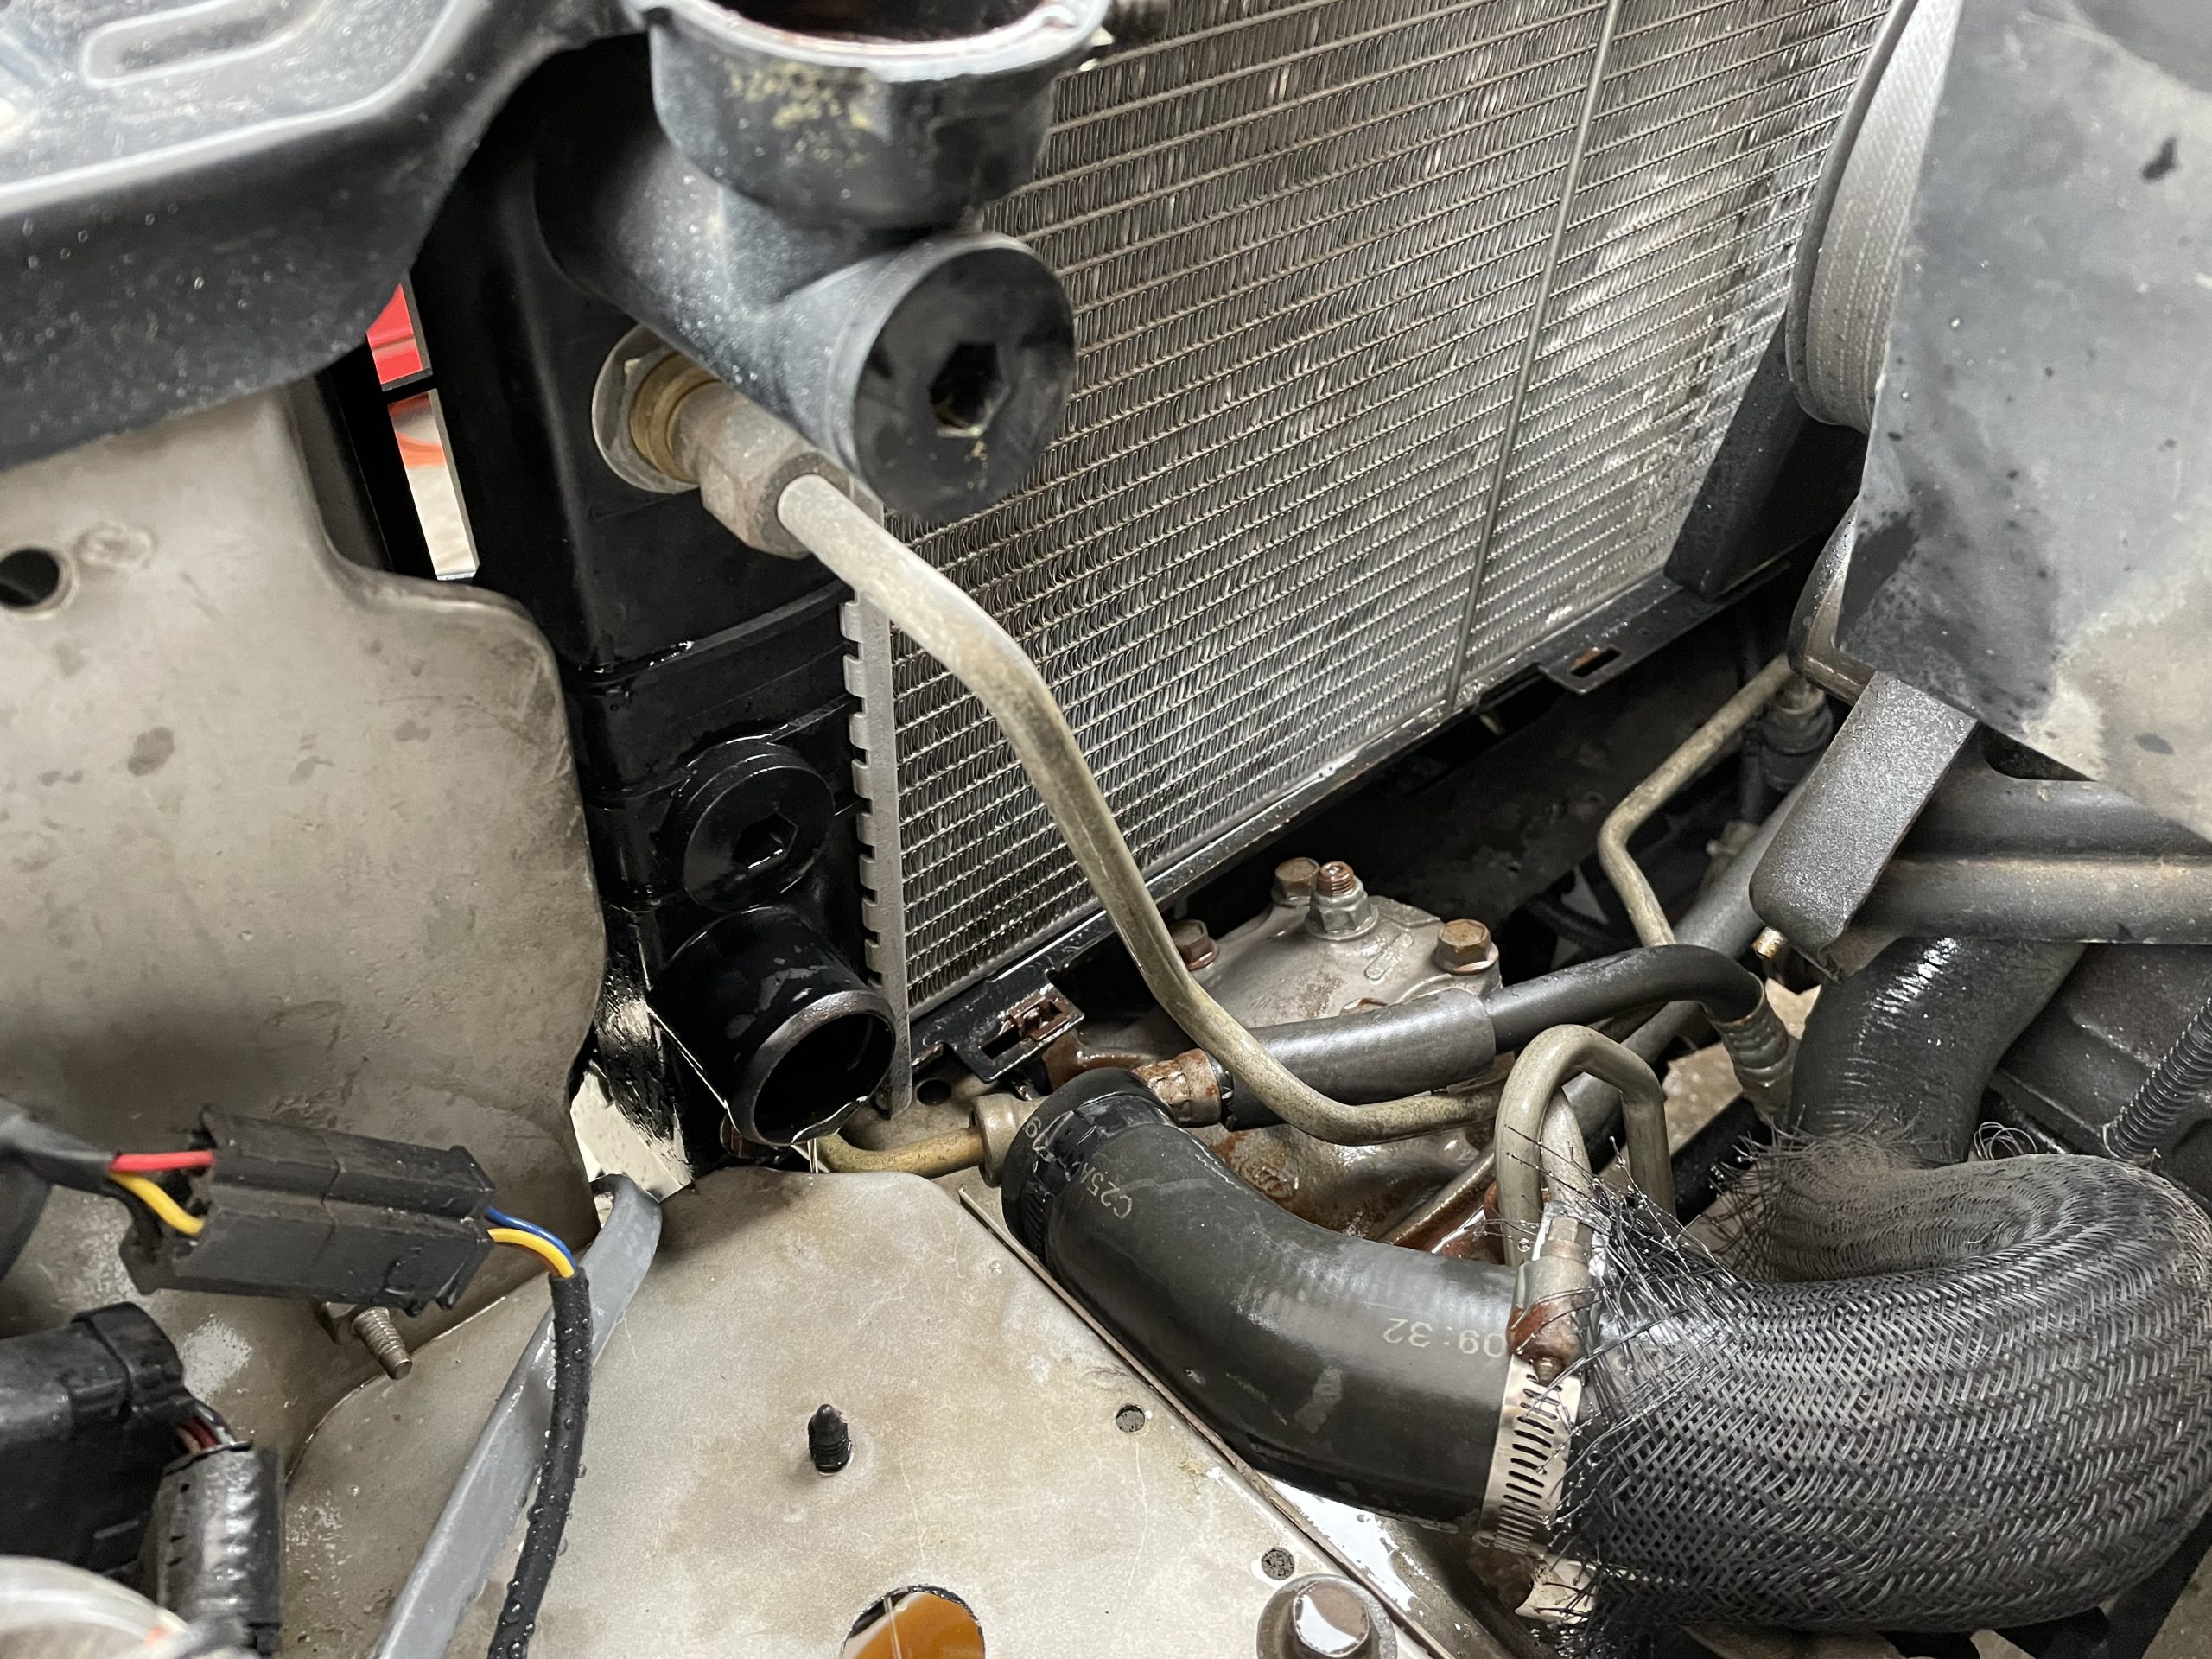
Modern radiator and heater hoses are made from synthetic rubber and other materials that resist damage from the nasties we listed above. Many hoses have reinforced areas for connectors and clamps and have an inner spring as required. Some hose comes as a complete assembly with the necessary clamps and connectors.
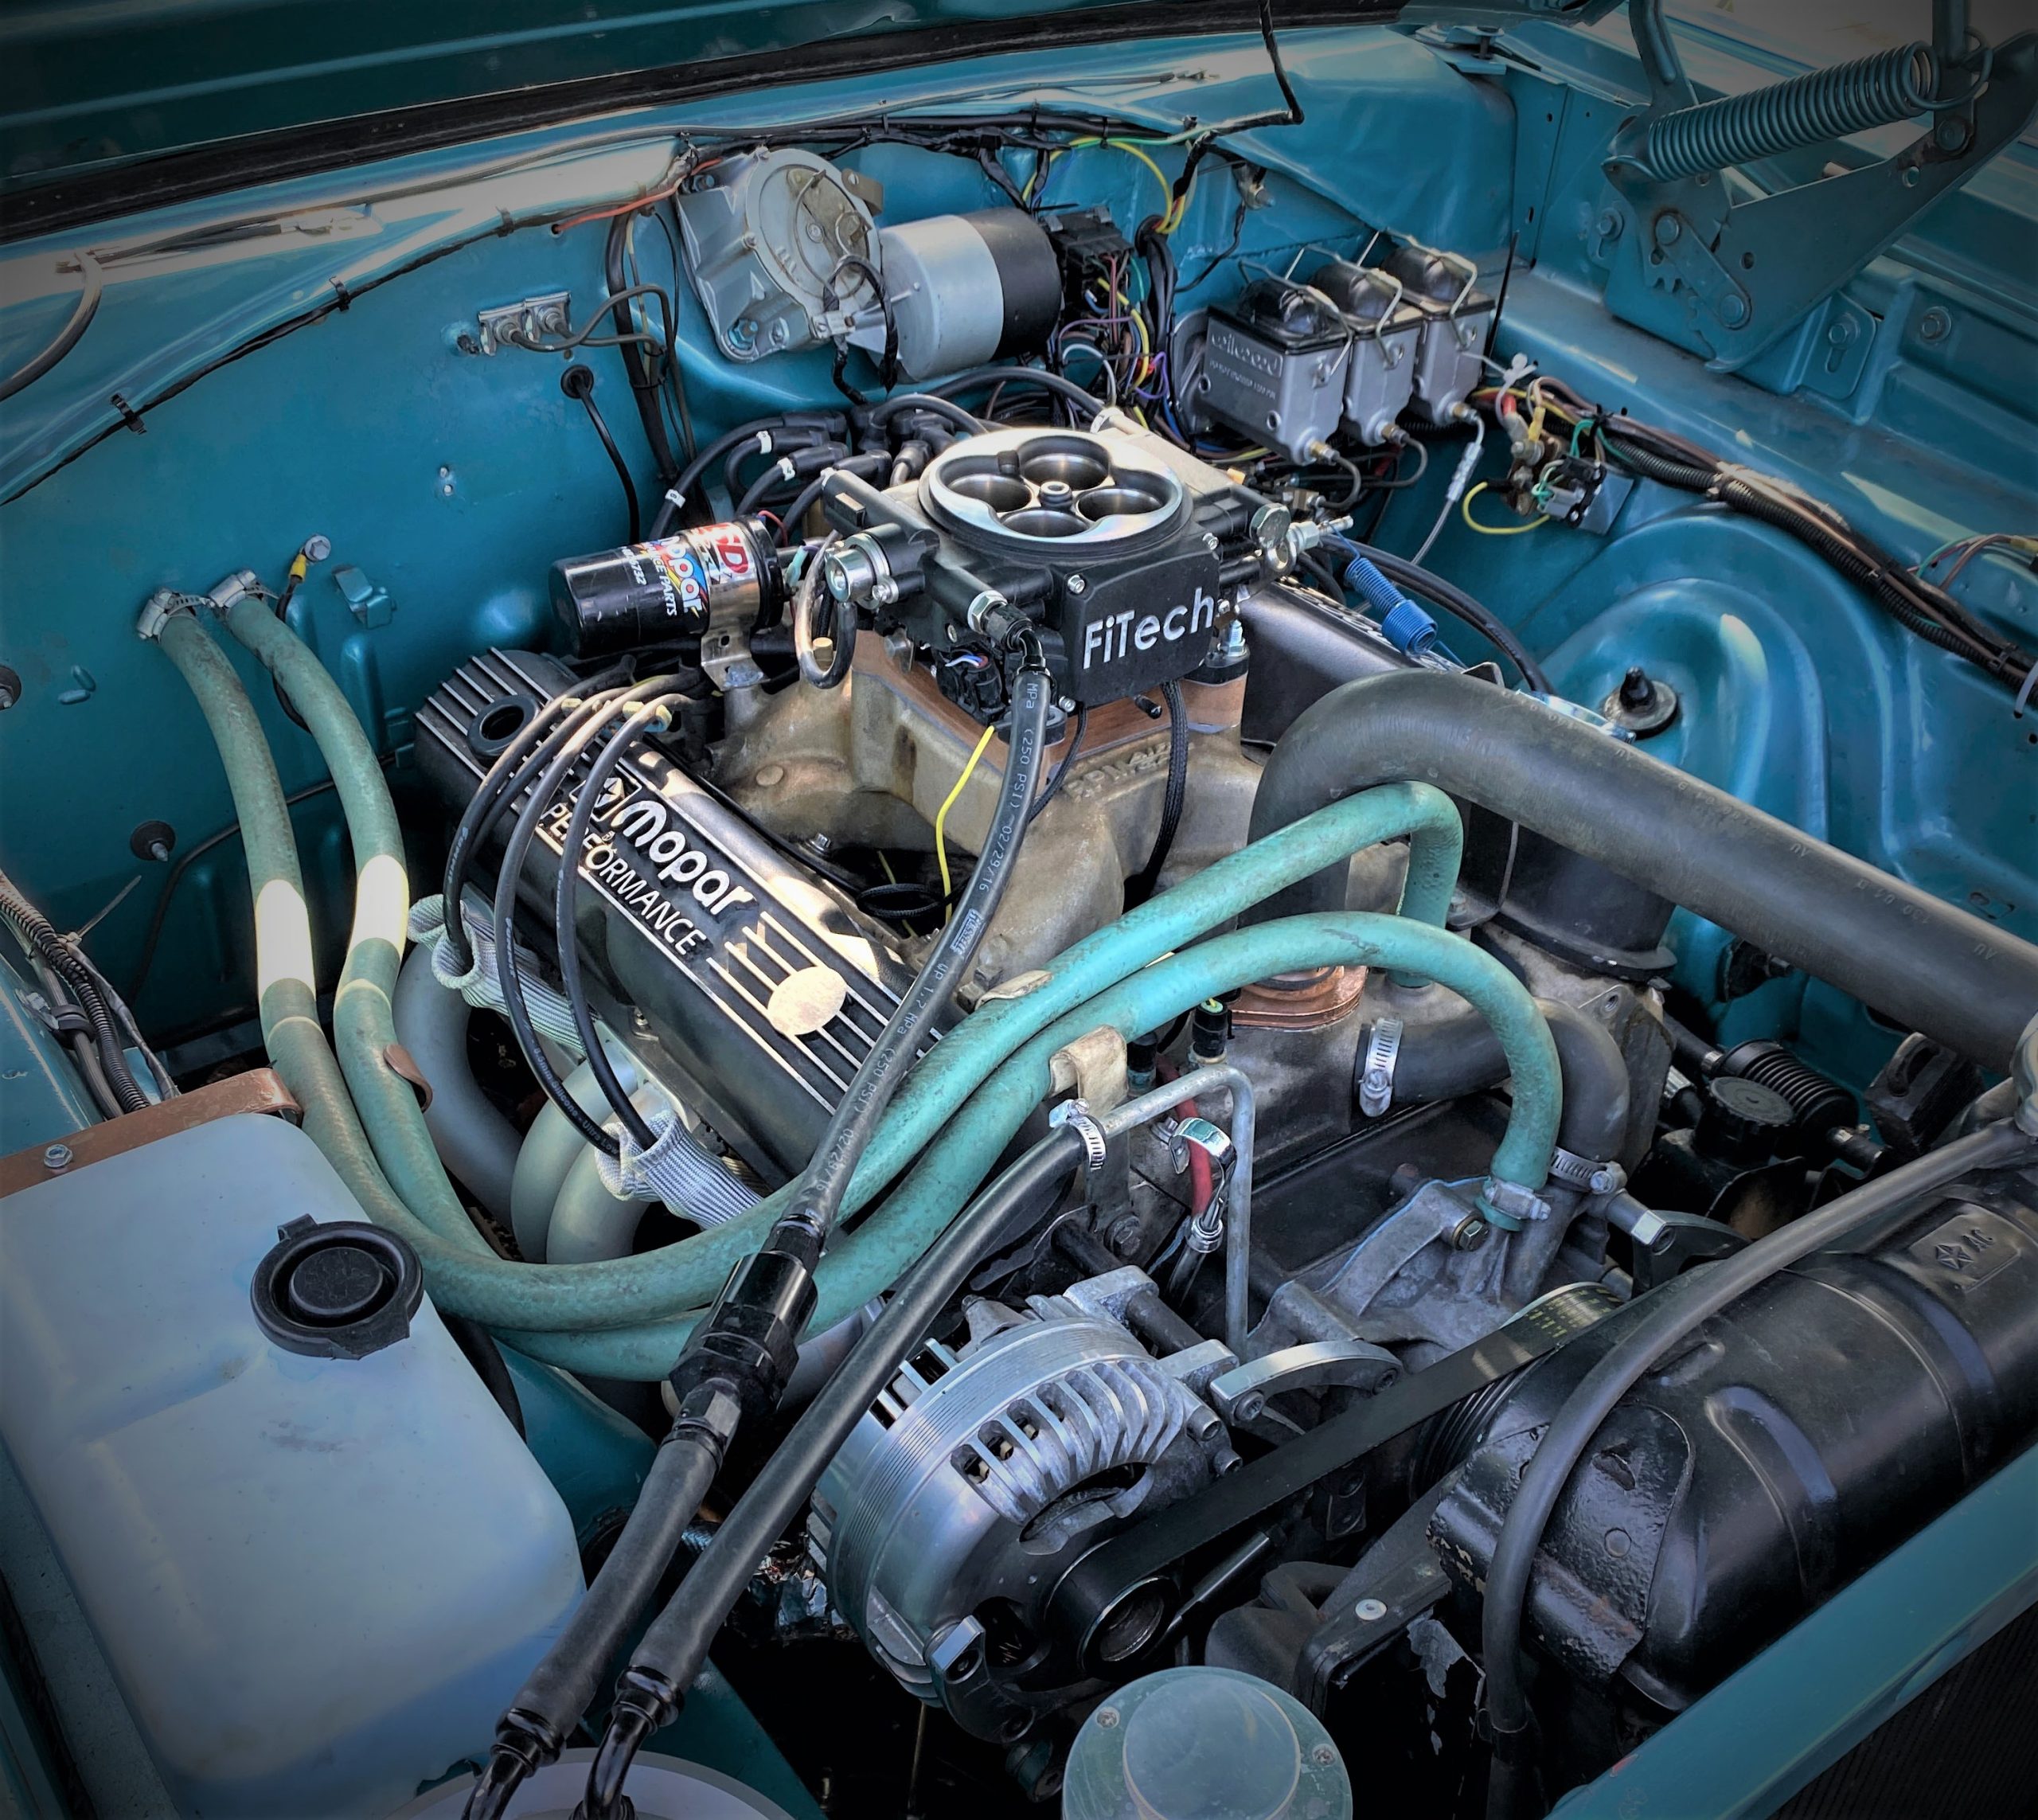
Pre-formed or molded radiator and heater hose is the most common, making replacement a simple R&R job. If you can’t find molded hose for your vehicle or you’ve done an engine swap, often times a universal flexible radiator hose can be bent or curved to fit. Flexible hose is universal, so some measuring is required to determine the length of hose you’ll need. Coils of universal-fit heater hose are available in various lengths and diameters as well.
Use the Best Hose Clamps & Fittings for the Job
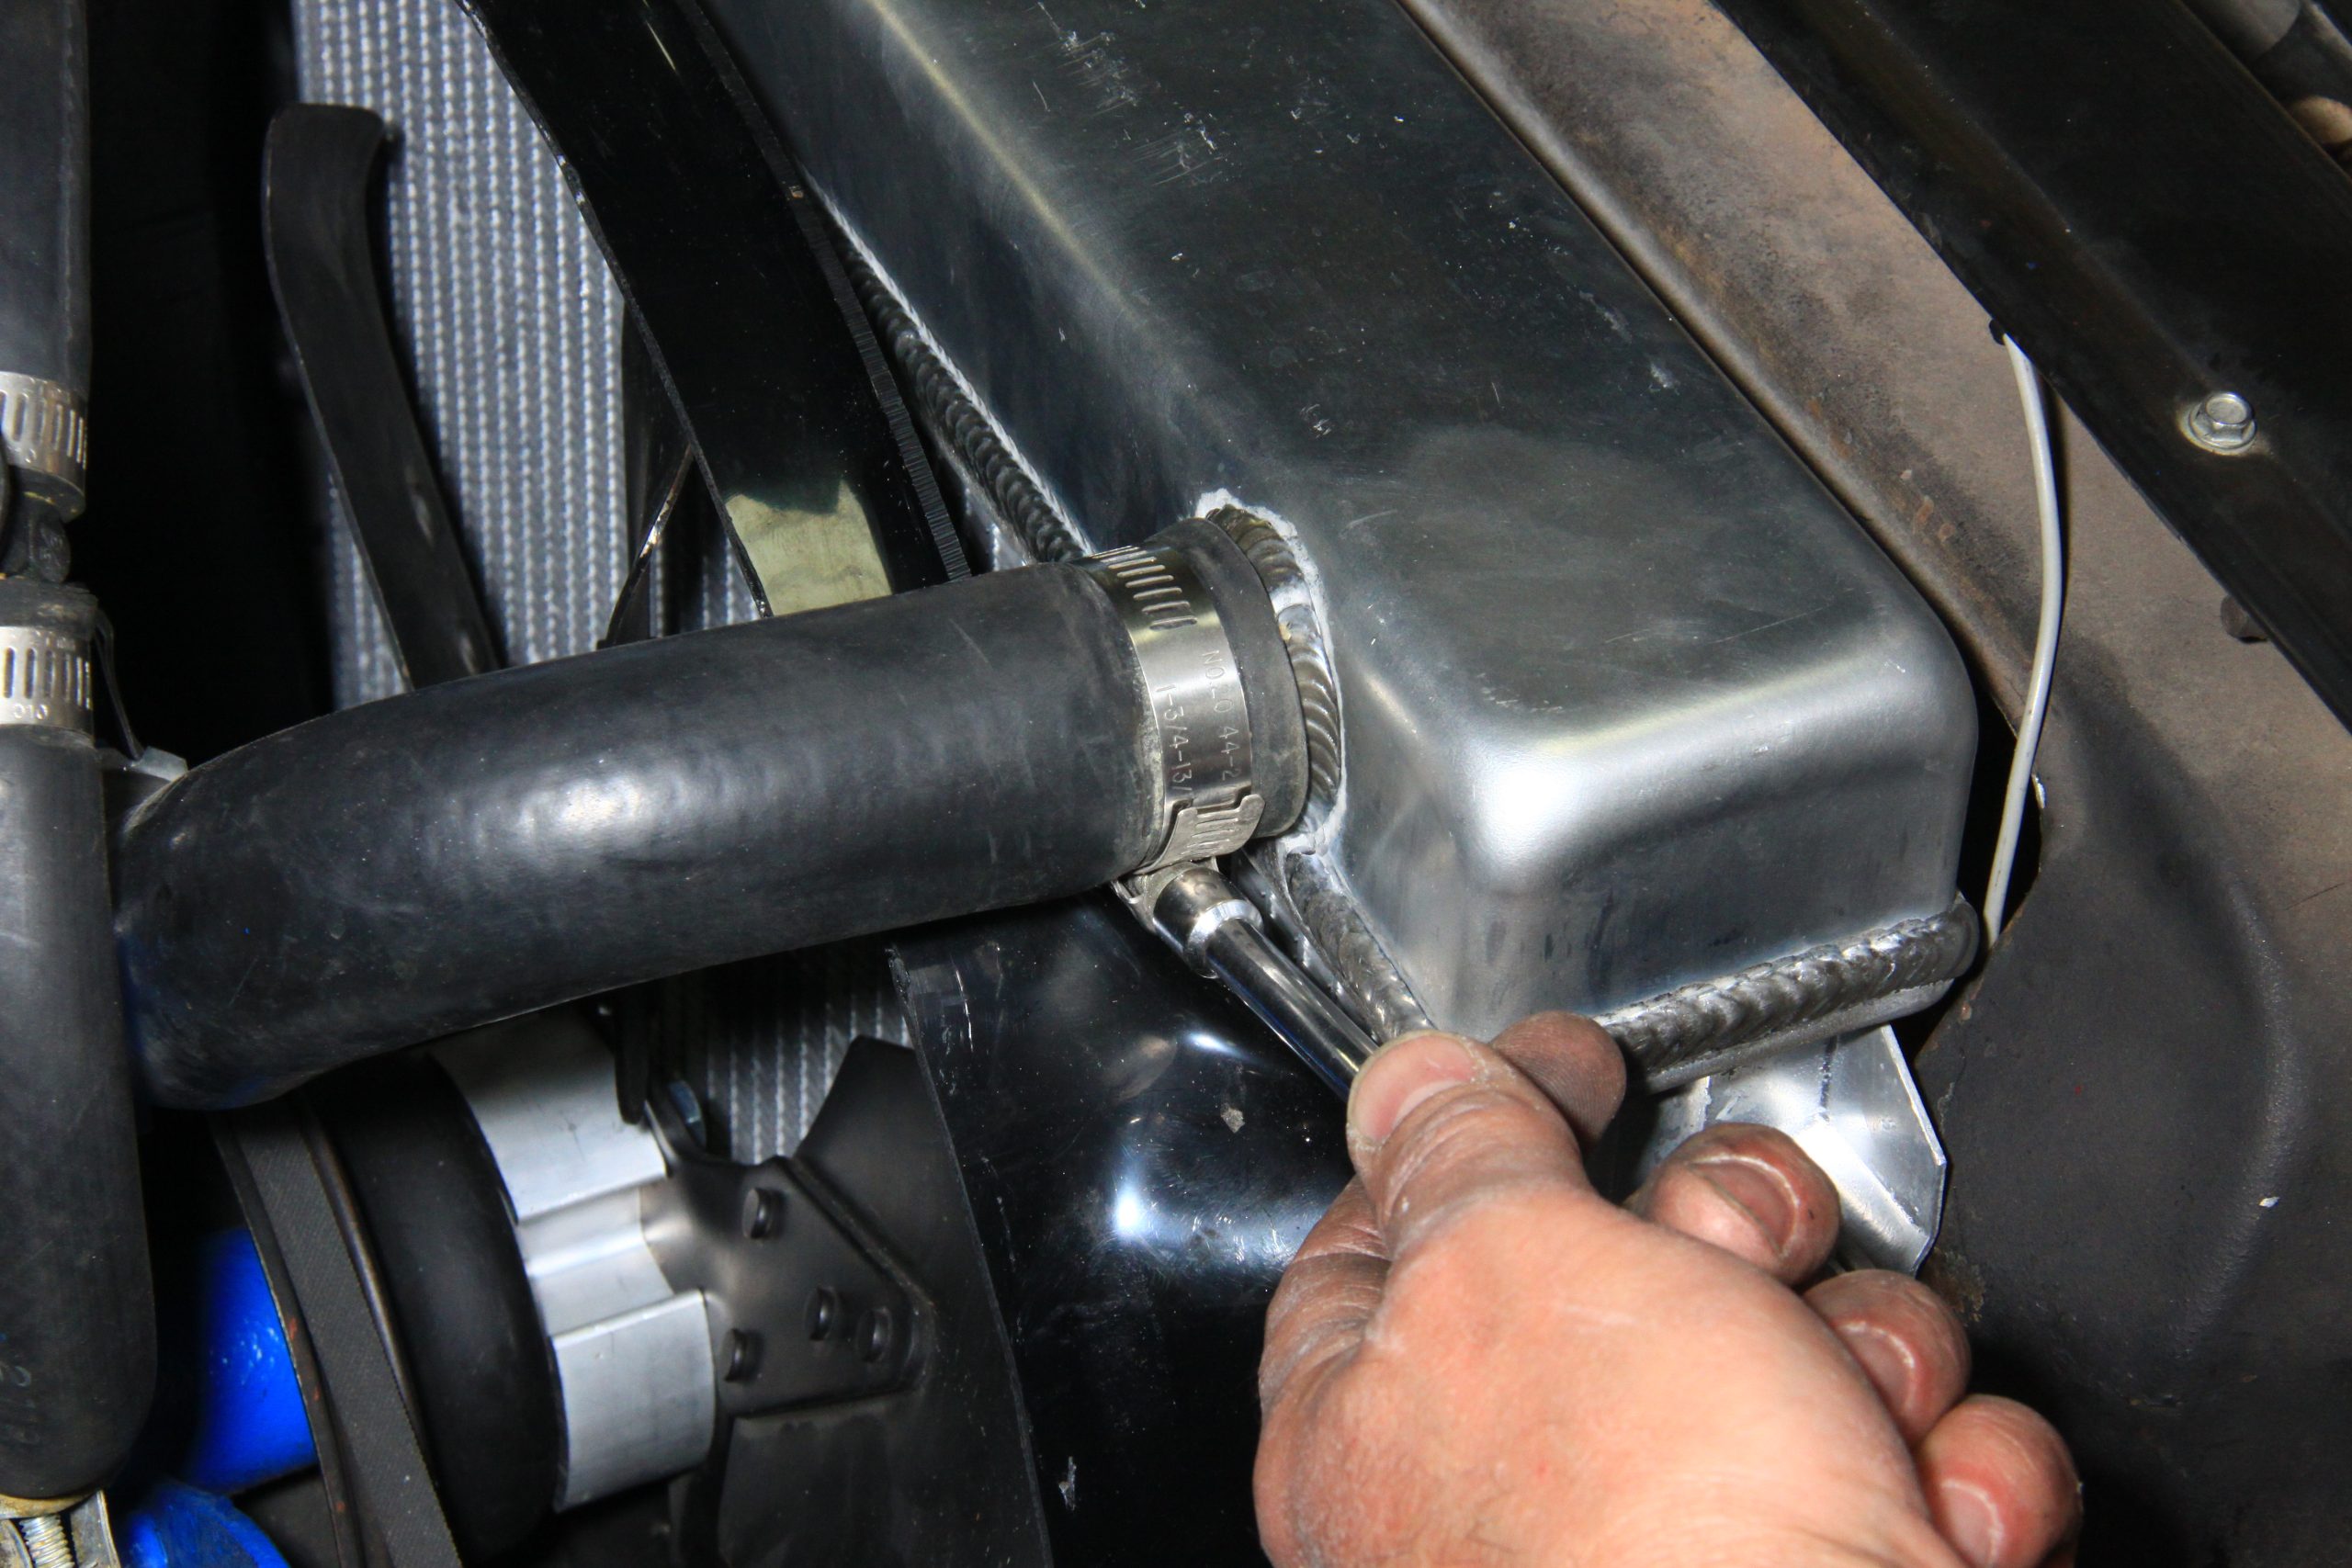
If you’re replacing old hoses, you should replace the clamps too. New clamps aren’t expensive and are much easier to deal with than old and (most likely) corroded clamps. There are three basic types:
- Worm gear clamps are the most affordable and come in lots of sizes. The clamps’ adjustment slots squeeze around hose as you turn the adjusting screw, creating the seal. Worm gear clamps don’t compensate for hose shrinkage as they age, and can dig into the hose itself. Both issues can create leaks.
- Spring clamps are the most common OEM clamp. Made from spring steel, they apply constant tension to the hose regardless of condition, making them very reliable. The downside is working with the darn things; you have to squeeze the clamps apart to install and remove them, which is no treat if a clamp is fused to the hose or located in a hard to reach area.
- T-bolt clamps come from the racing world. They have a smooth, solid band that provides a 360° seal without cutting into the hose like a worm gear’s serrated band does. Most are made from stainless steel for long life. T-bolt clamps can lose tension over time, and sizes are somewhat limited.
When you’re replacing heater hose, make sure to check the connectors and fittings. If you see corrosion or other signs of leaks, replace them too.
Tips for Flushing & Filling Your Vehicle’s Coolant System
Hose replacement is also a good time to flush and refill the cooling system. You can rid the system of rust and corrosion and replace old coolant with fresh stuff that has full-strength corrosion inhibitor additives to protect the water pump and other metal parts.
OnAllCylinders contributor Wayne Scraba has an excellent walkthrough on how to do a proper coolant system flush and fill here.
Tools You May Need for Working On Automotive Hoses, Fittings & Lines
If you’re like us, you never miss a chance to supplement your toolbox—and the better news is that some of these tools are handy for lots of other jobs too. Check out a few of our favorites below and you’ll see what we mean.
- Hose Remover Tools
- Hose Cutters
- OEM Hose Disconnect Tools (these also work on fuel and transmission lines)
- Hose Clamp Pliers (perfect for those stubborn spring clamps)
- Hose Pinch Pliers
- Radiator Flush/Refill Kits
- Coolant Testers
- Funnels (keep air out of the cooling system as you fill it)
Comments