In the new age of Restomod, there are more and more ways to improve the driving experience in a classic muscle car. Going Restomod means driving your vintage muscle and parking the car trailer. Although there are affordable ways to update your classic muscle car’s factory climate control system, many experts will say that you’re better off beginning with a clean sheet of paper—using modern technology to keep you both warm in winter and cool in summer.
We caught up with Rick Love from Vintage Air a while back for a podcast interview. You can hear it here:
Old school factory heating and air conditioning systems used engine intake manifold vacuum to control how the systems functioned. Stored manifold vacuum was used to support system vacuum servo function, to open the hot water control valve, and move the plenum air doors. This setup worked quite well when these vehicles were new, however these antiquated systems have not withstood the test of time. Vacuum hoses become dry rotted and leak, and they get mixed up in the course of maintenance—hence chronic malfunction. Factory systems also have control cables, which tend to decay and bind over time.
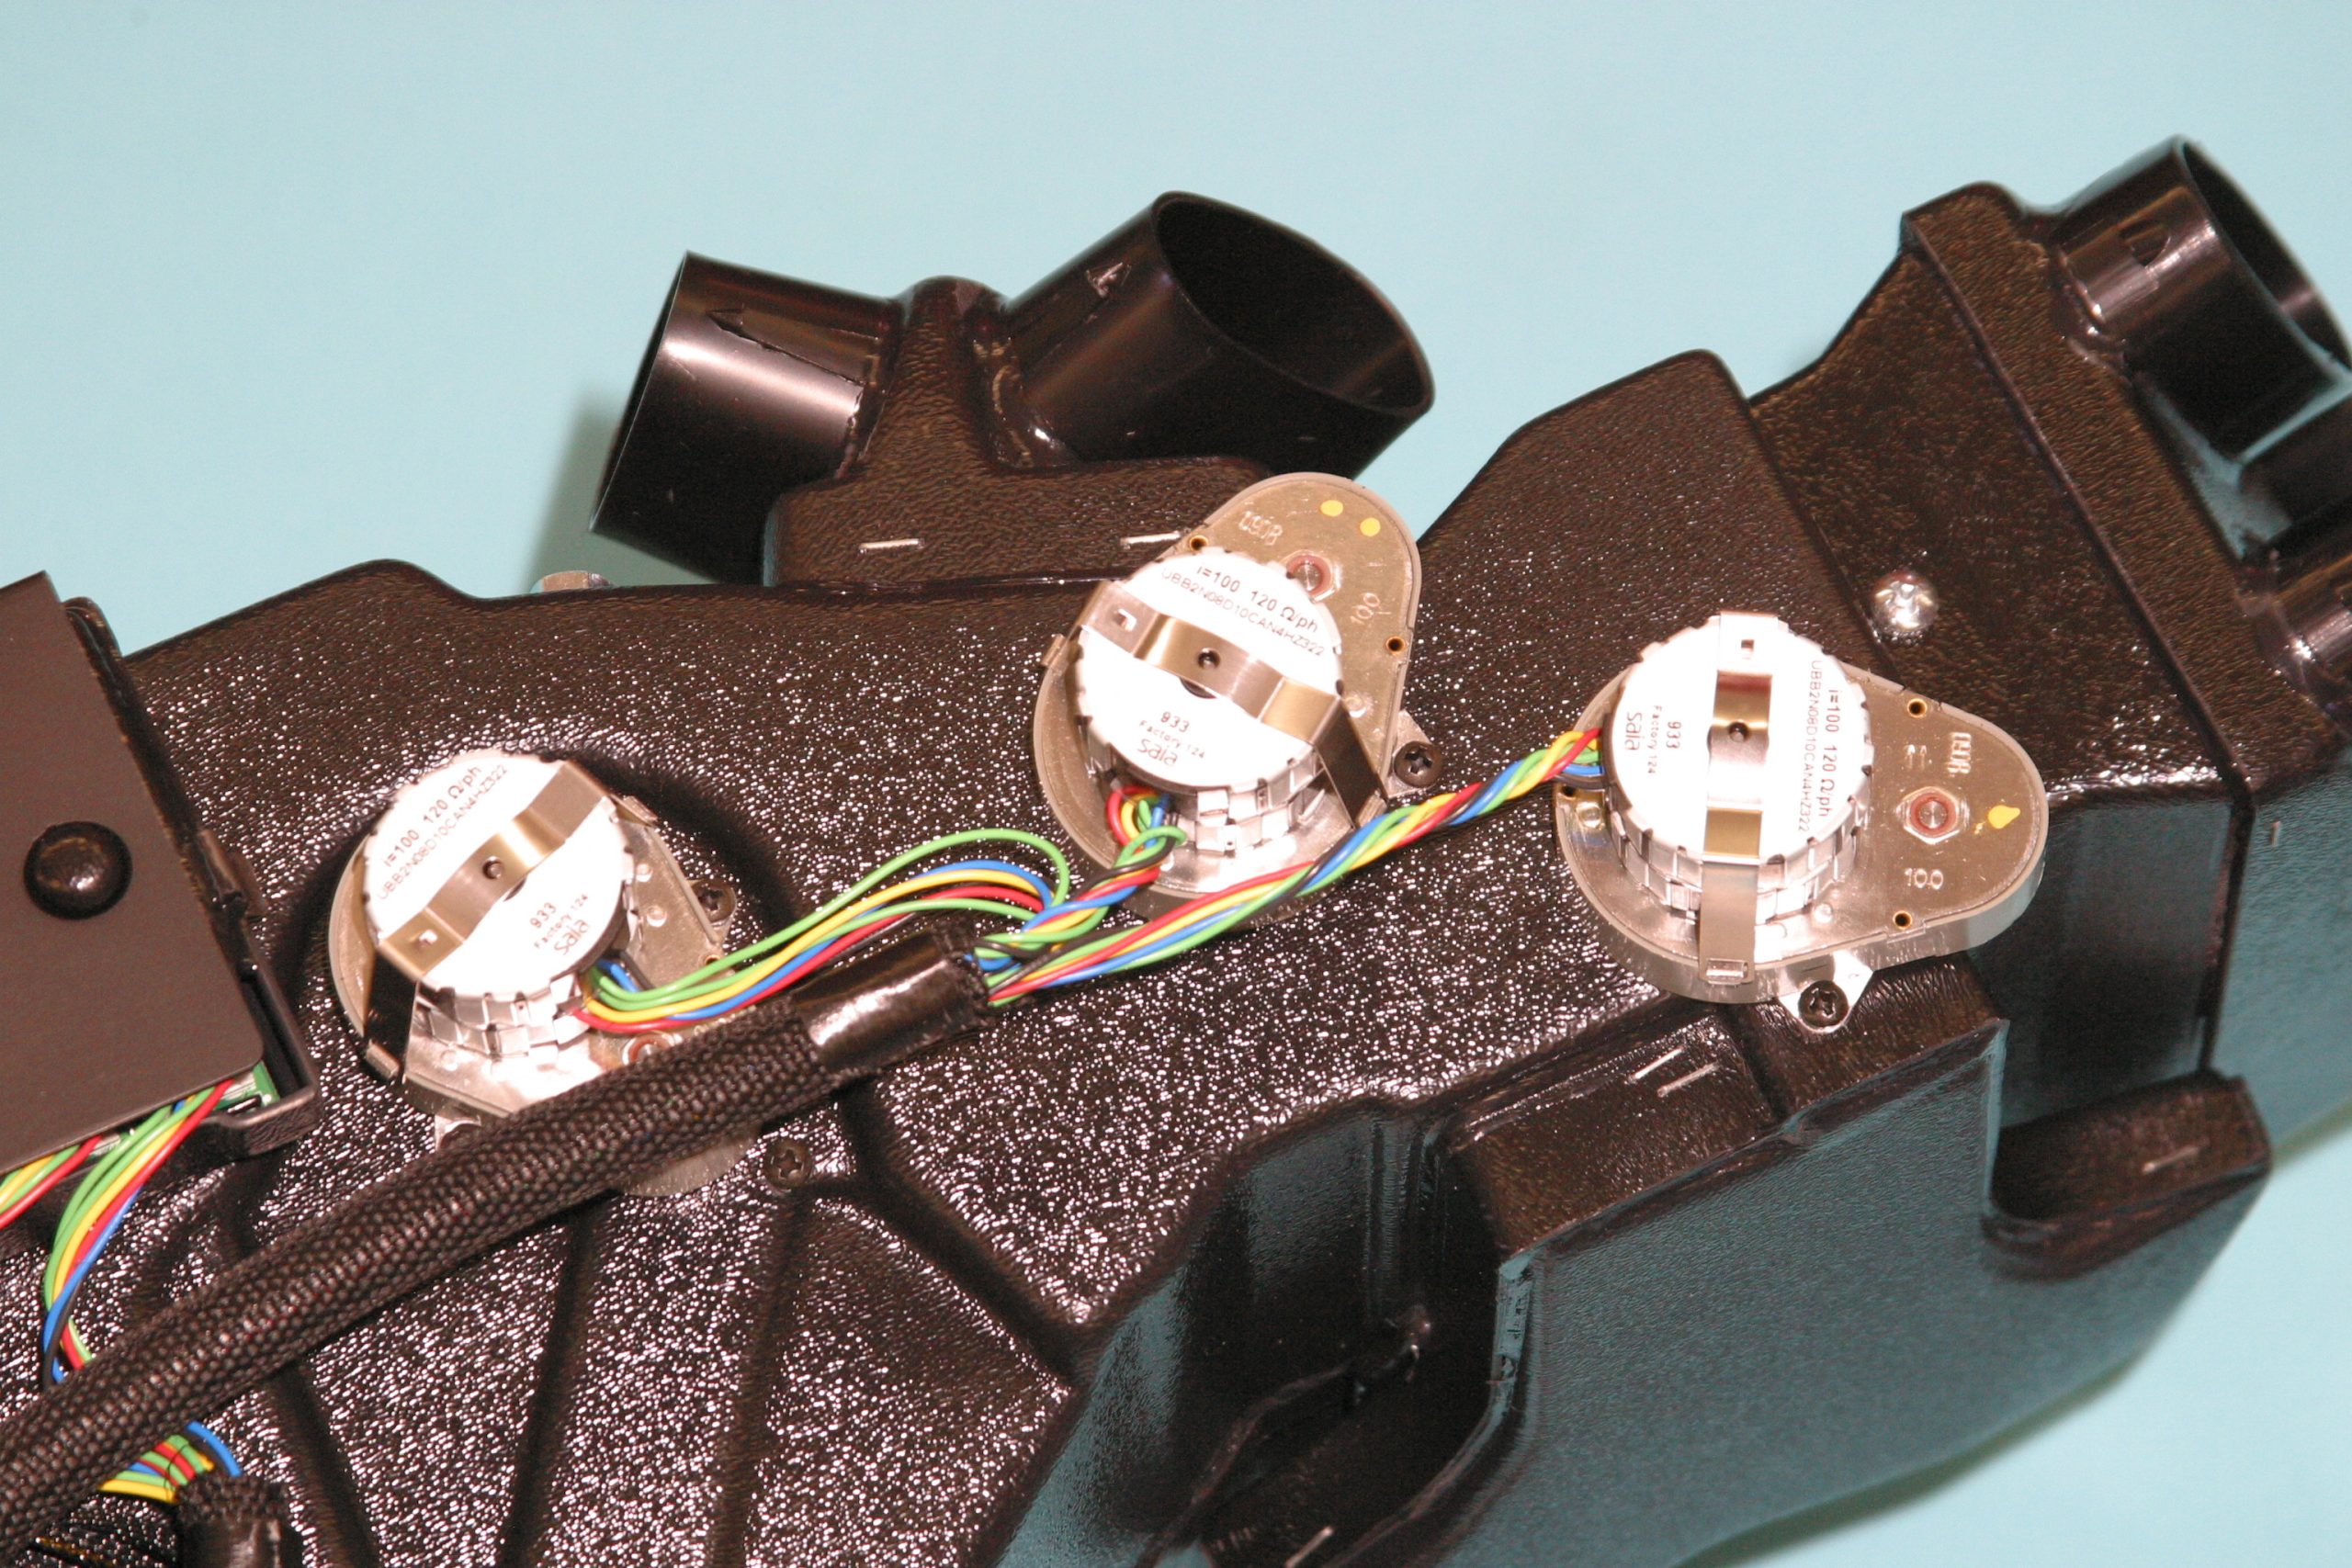
Vintage Air brings you a more compact climate control system with computer-controlled electronic servo actuators that function with precision control. They will work reliably for decades and will certainly outlast the system currently in your vintage muscle car. Sliding controls tied to a microprocessor deliver exactly what you want from a high-tech heating and air system.
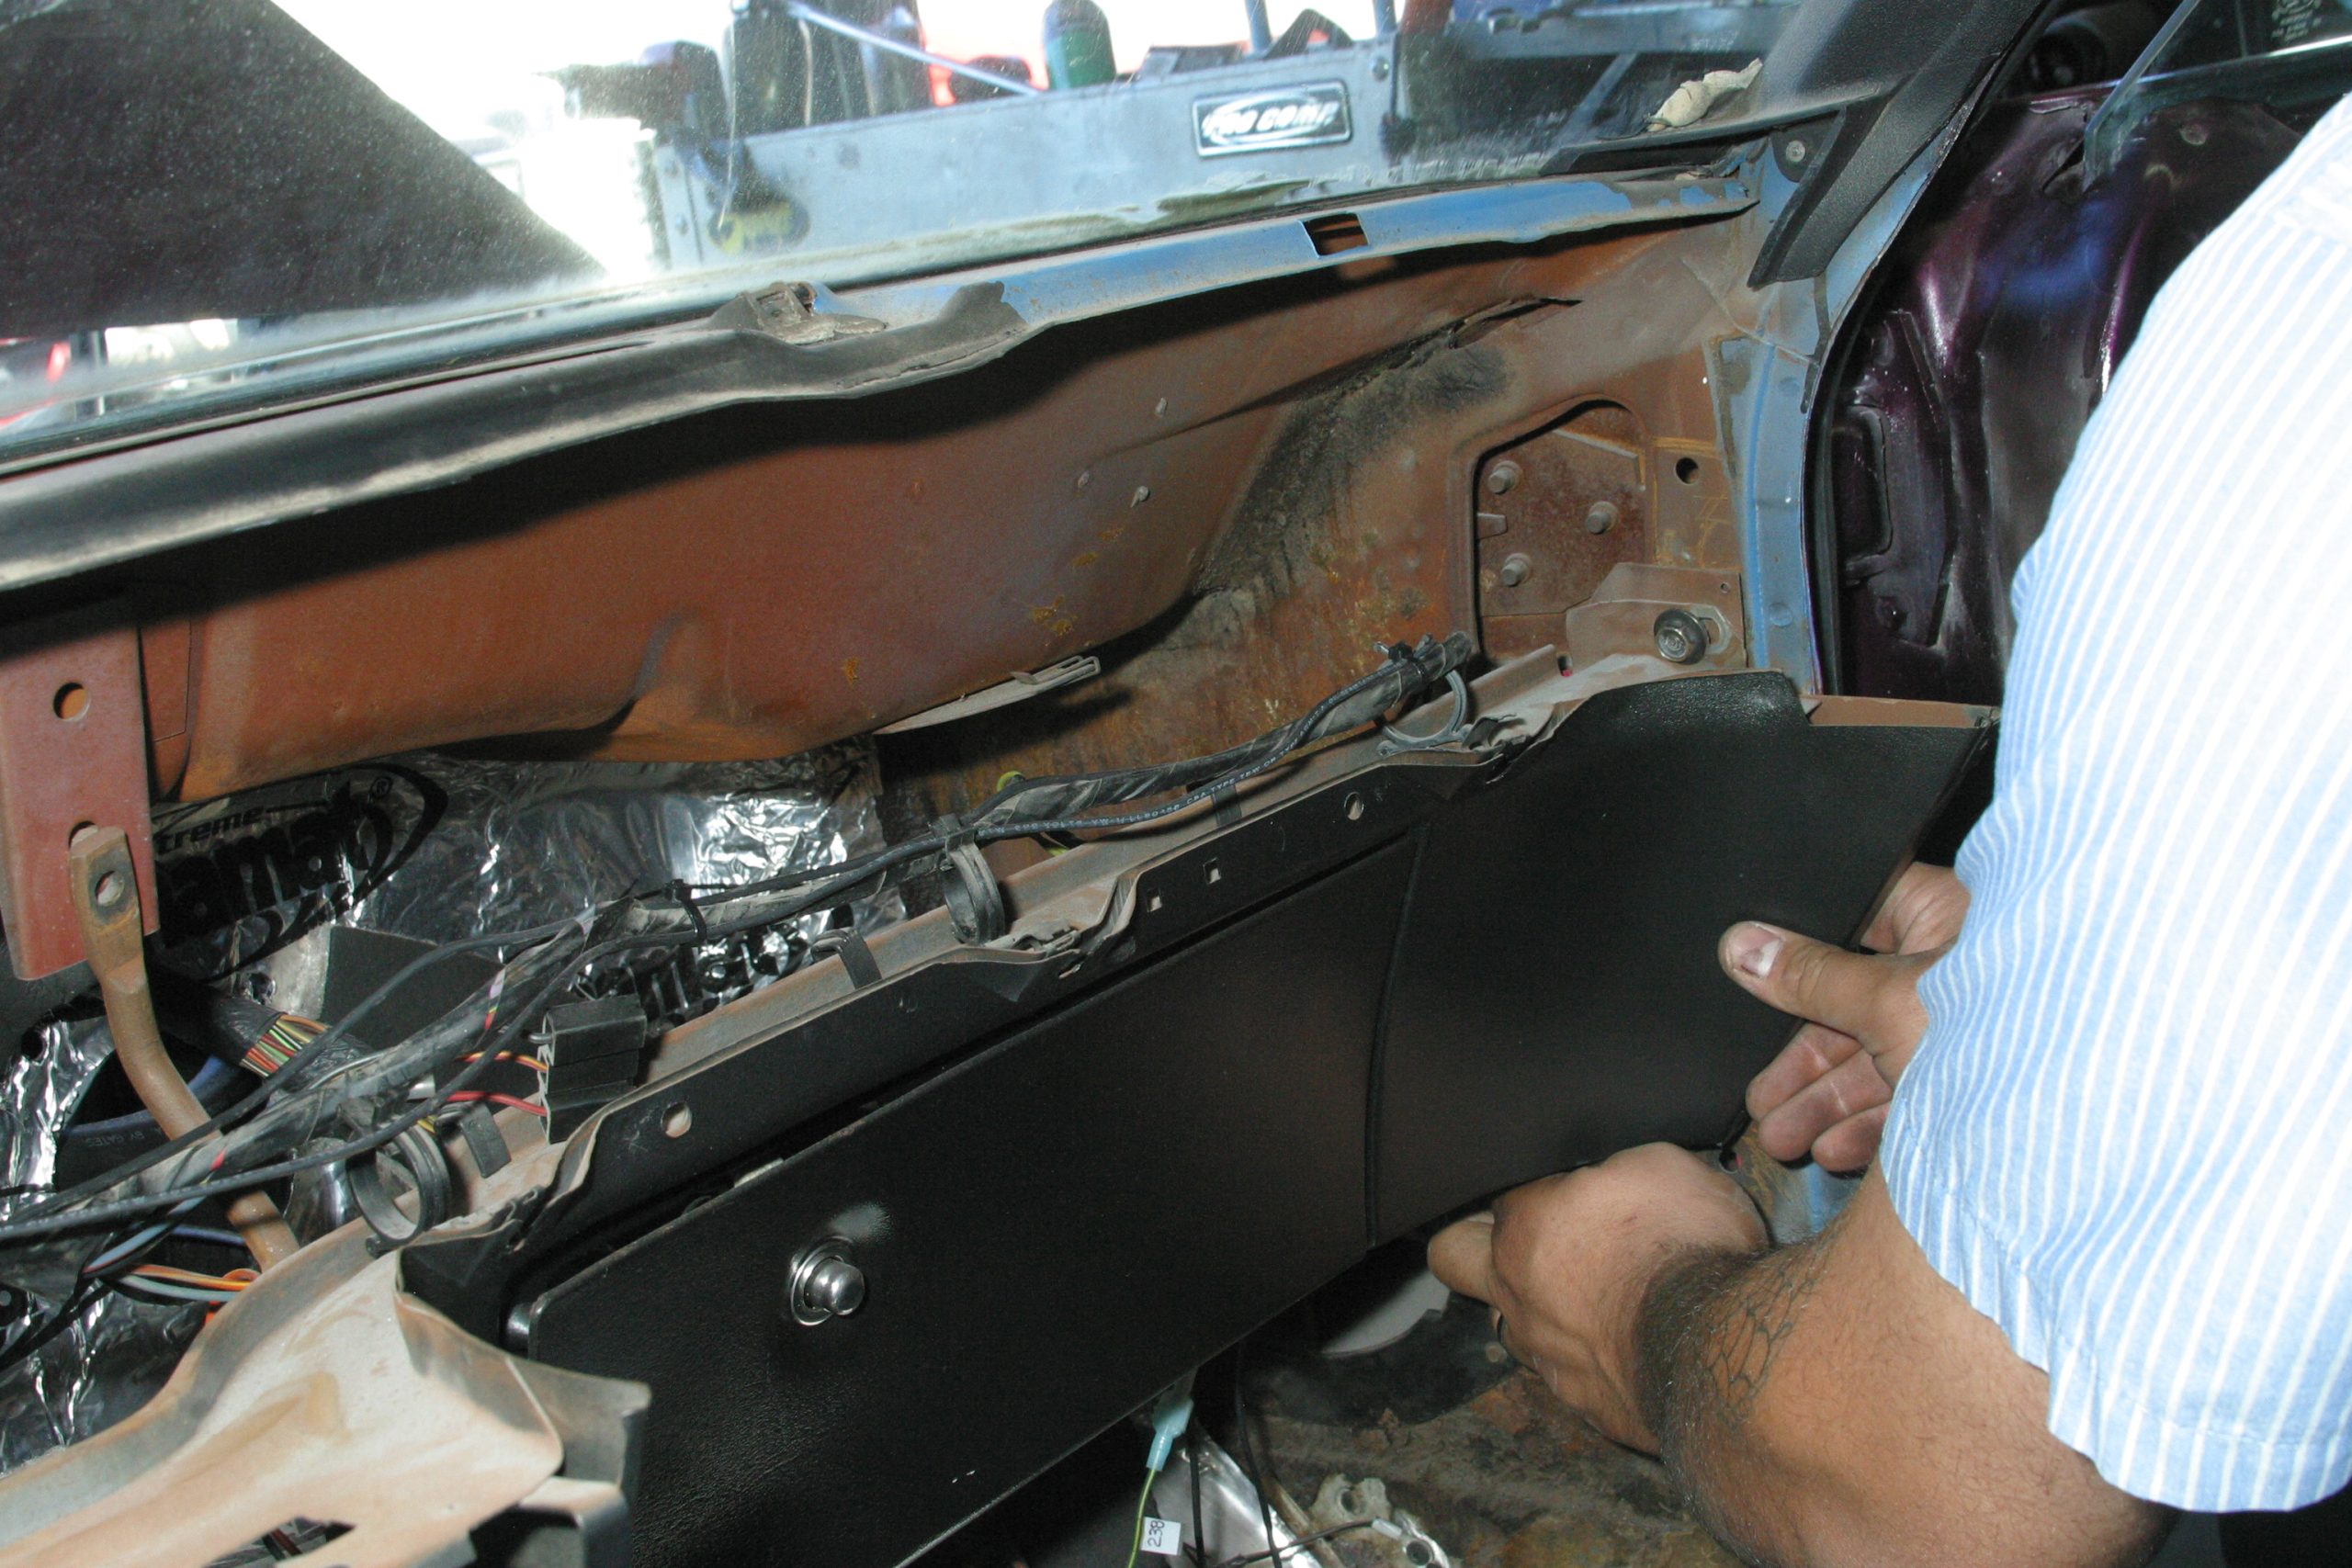
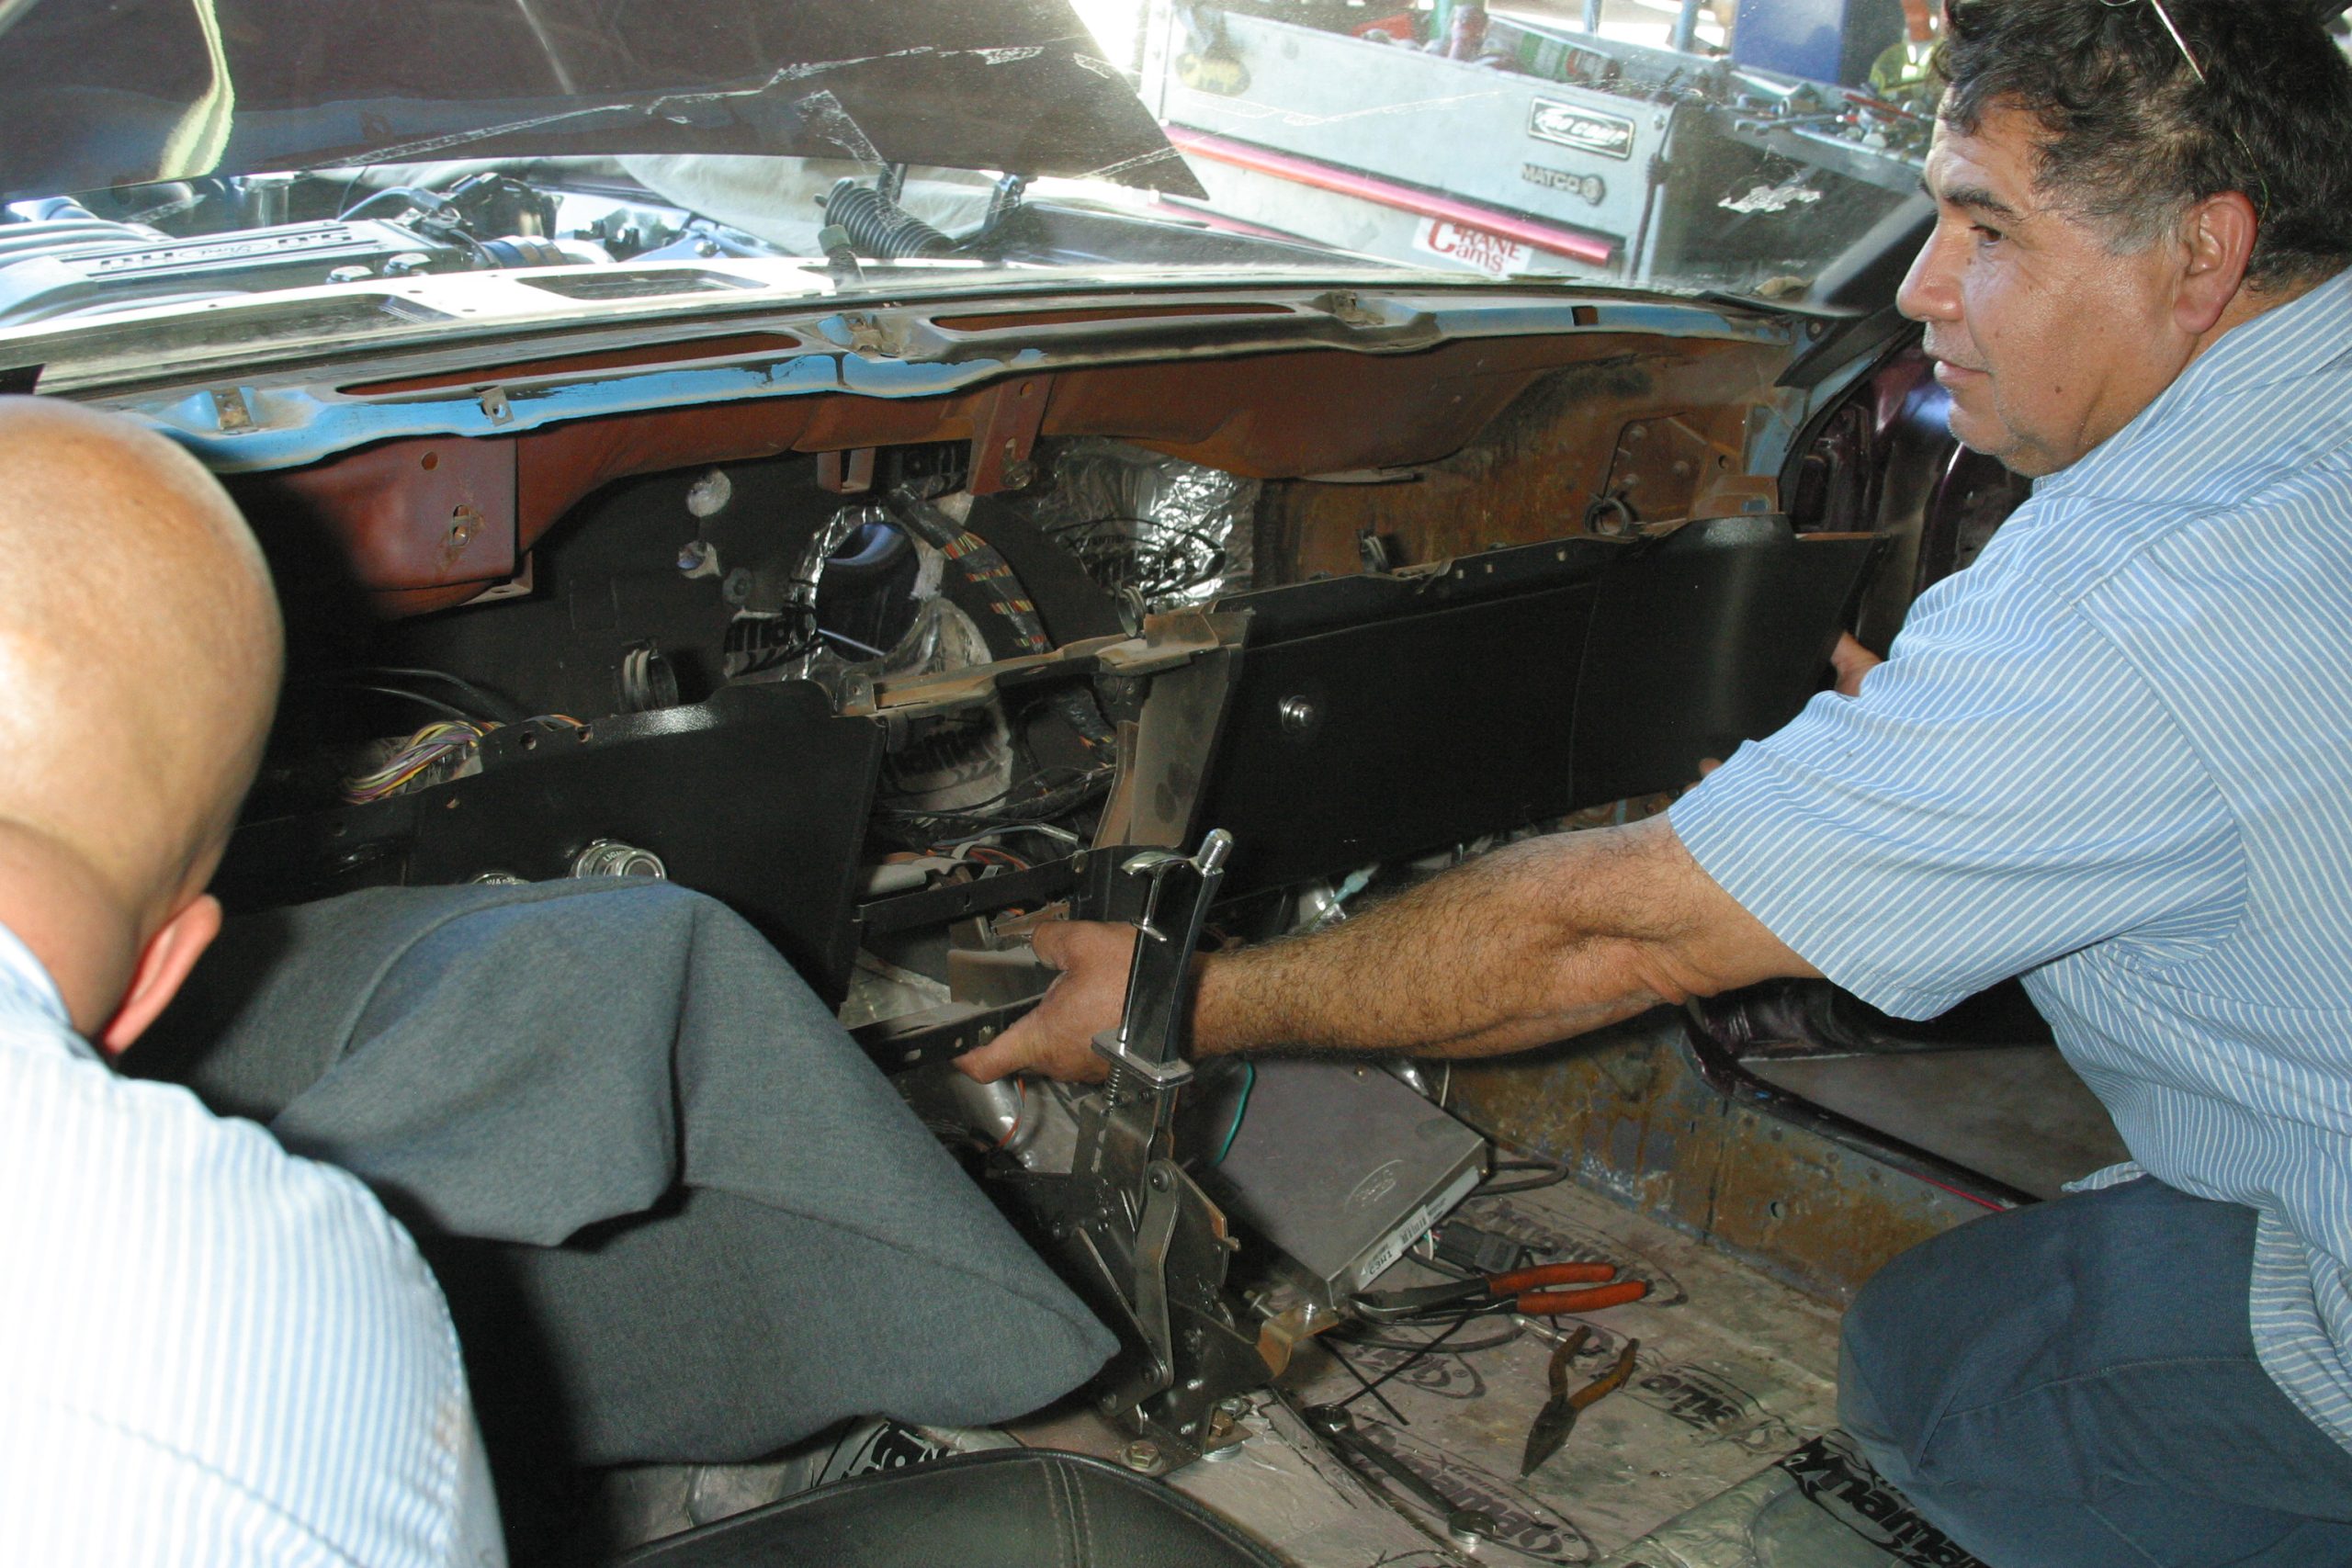
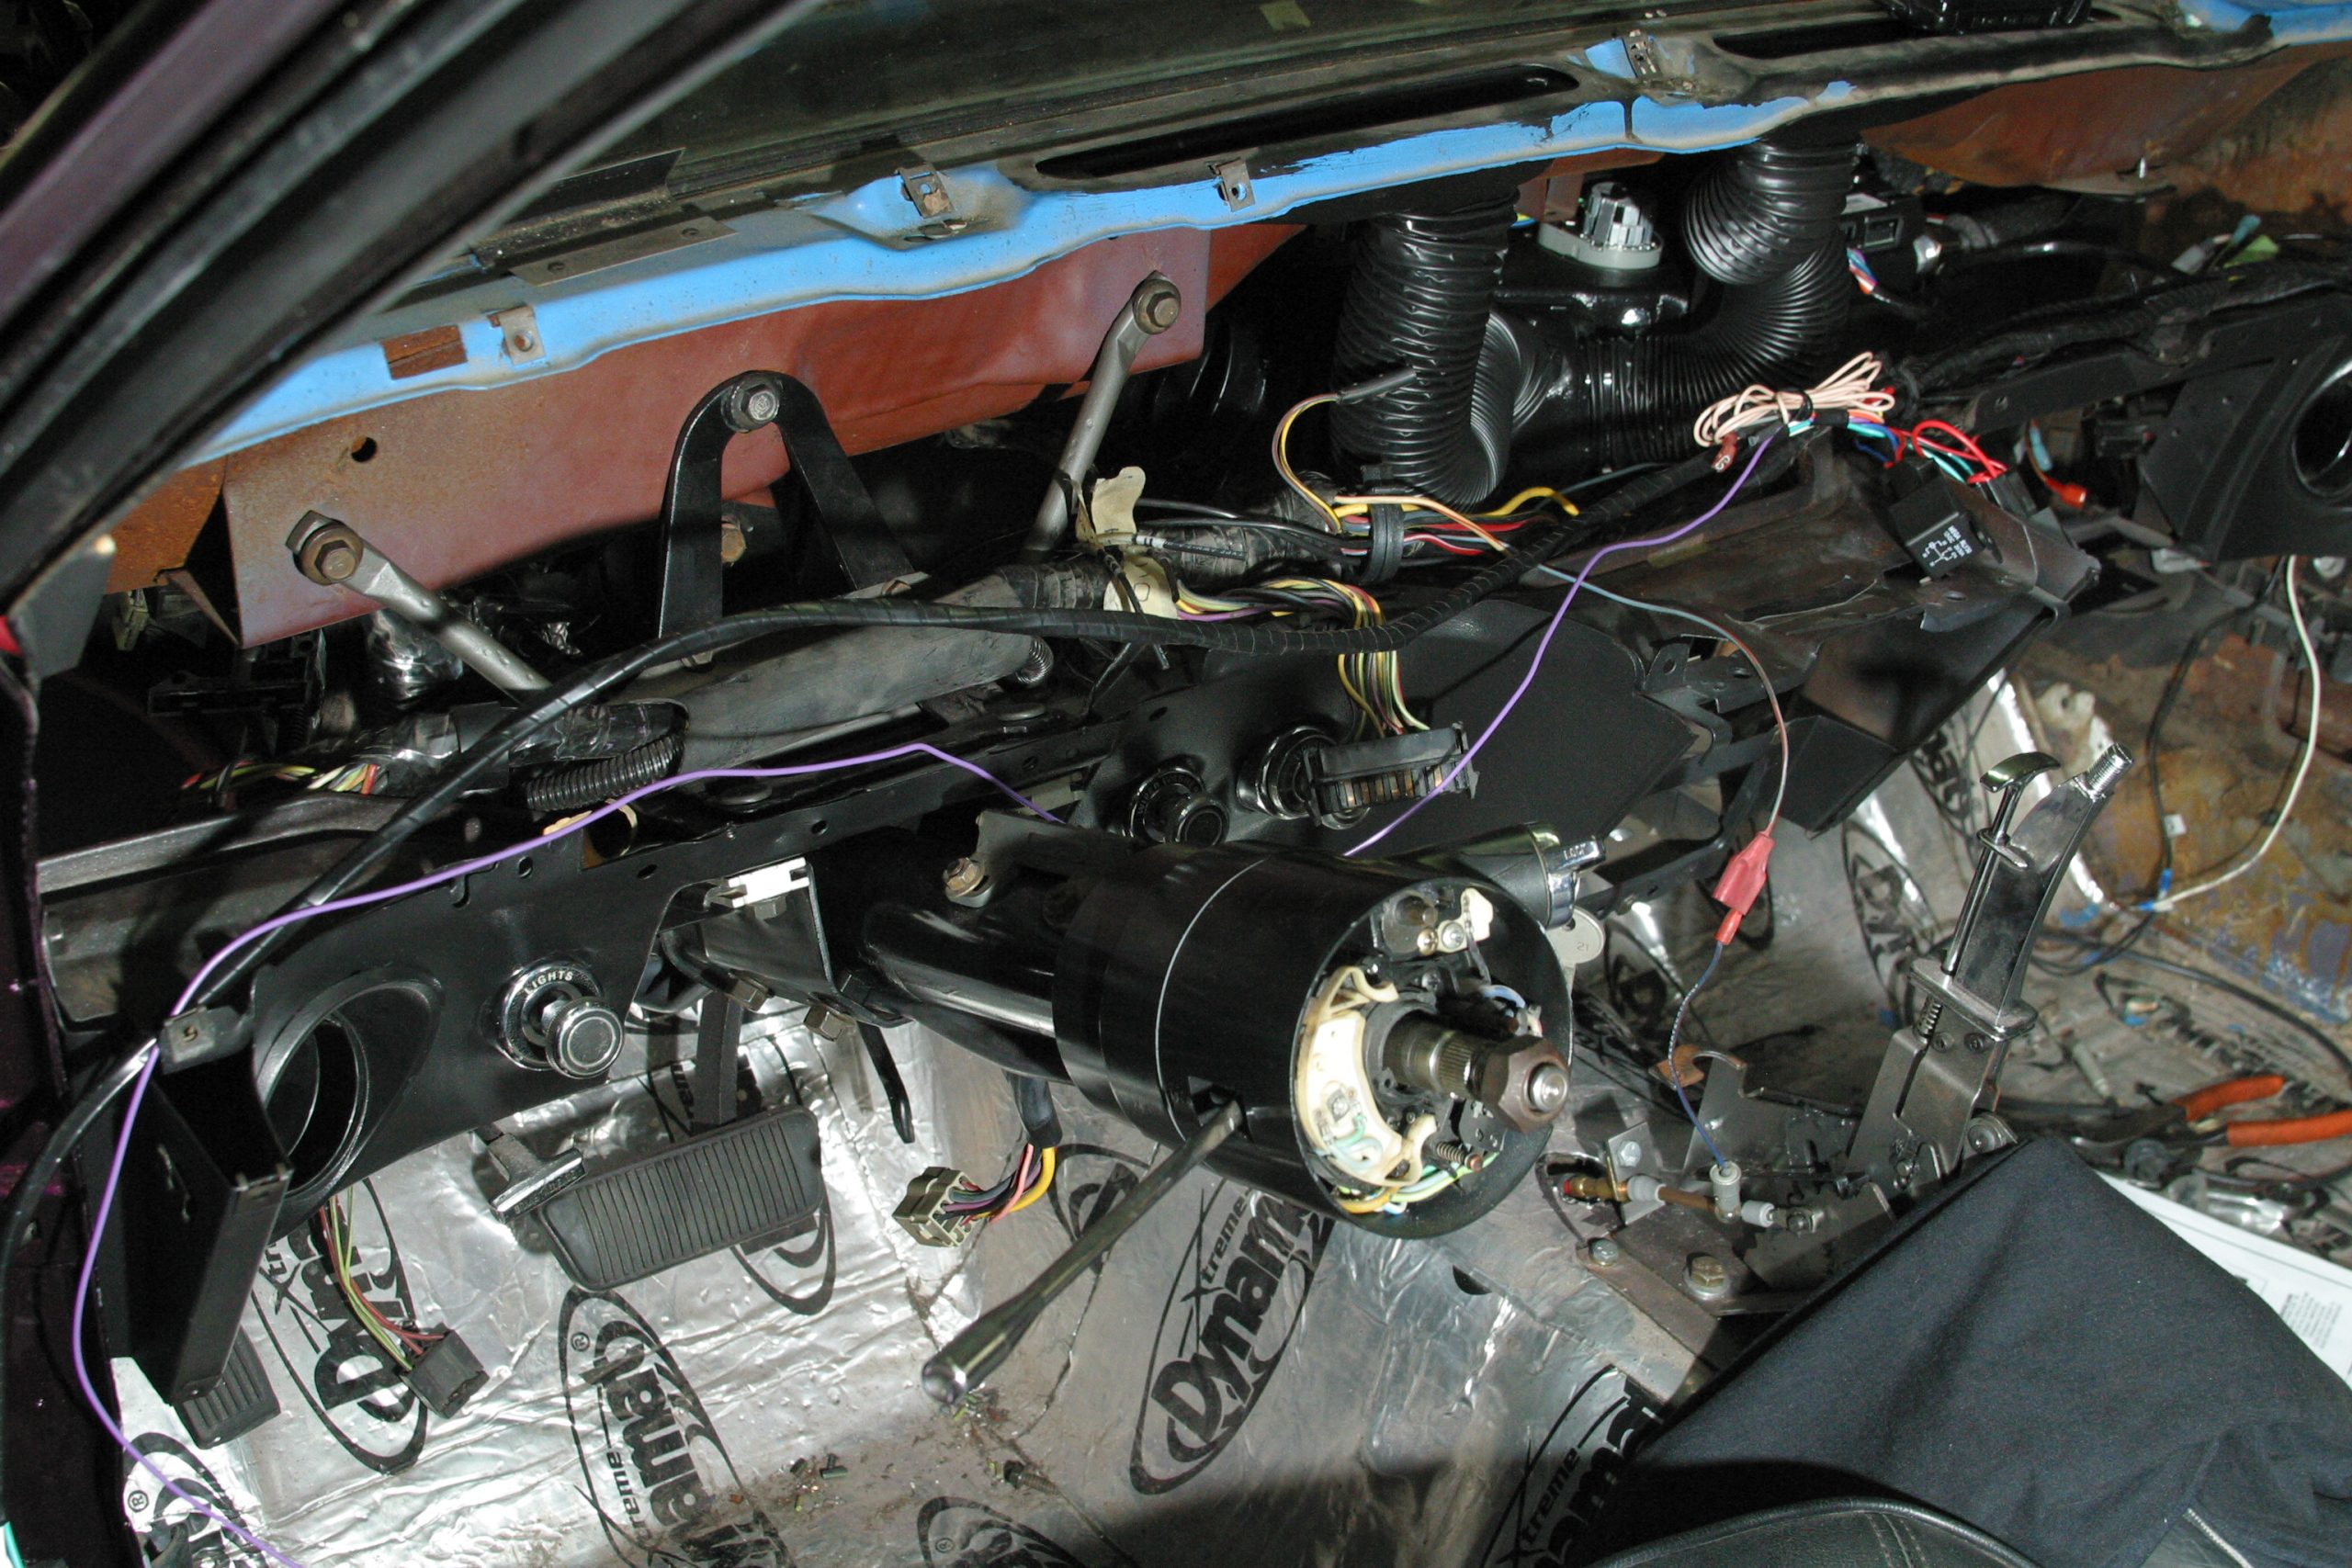
We’re working with a 1970 Ford Mustang, with is basically the same as any first generation 1965-73 Mustang or Mercury Cougar and nearly any classic muscle car imaginable. Mustangs and Cougars prior to 1969 have welded-in dashboards. Beginning in 1969, Ford went to the same approach as GM and Chrysler: bolt-in dashboards you can remove for “behind-the-dash” service. Disconnect and unbolt and access is easy.
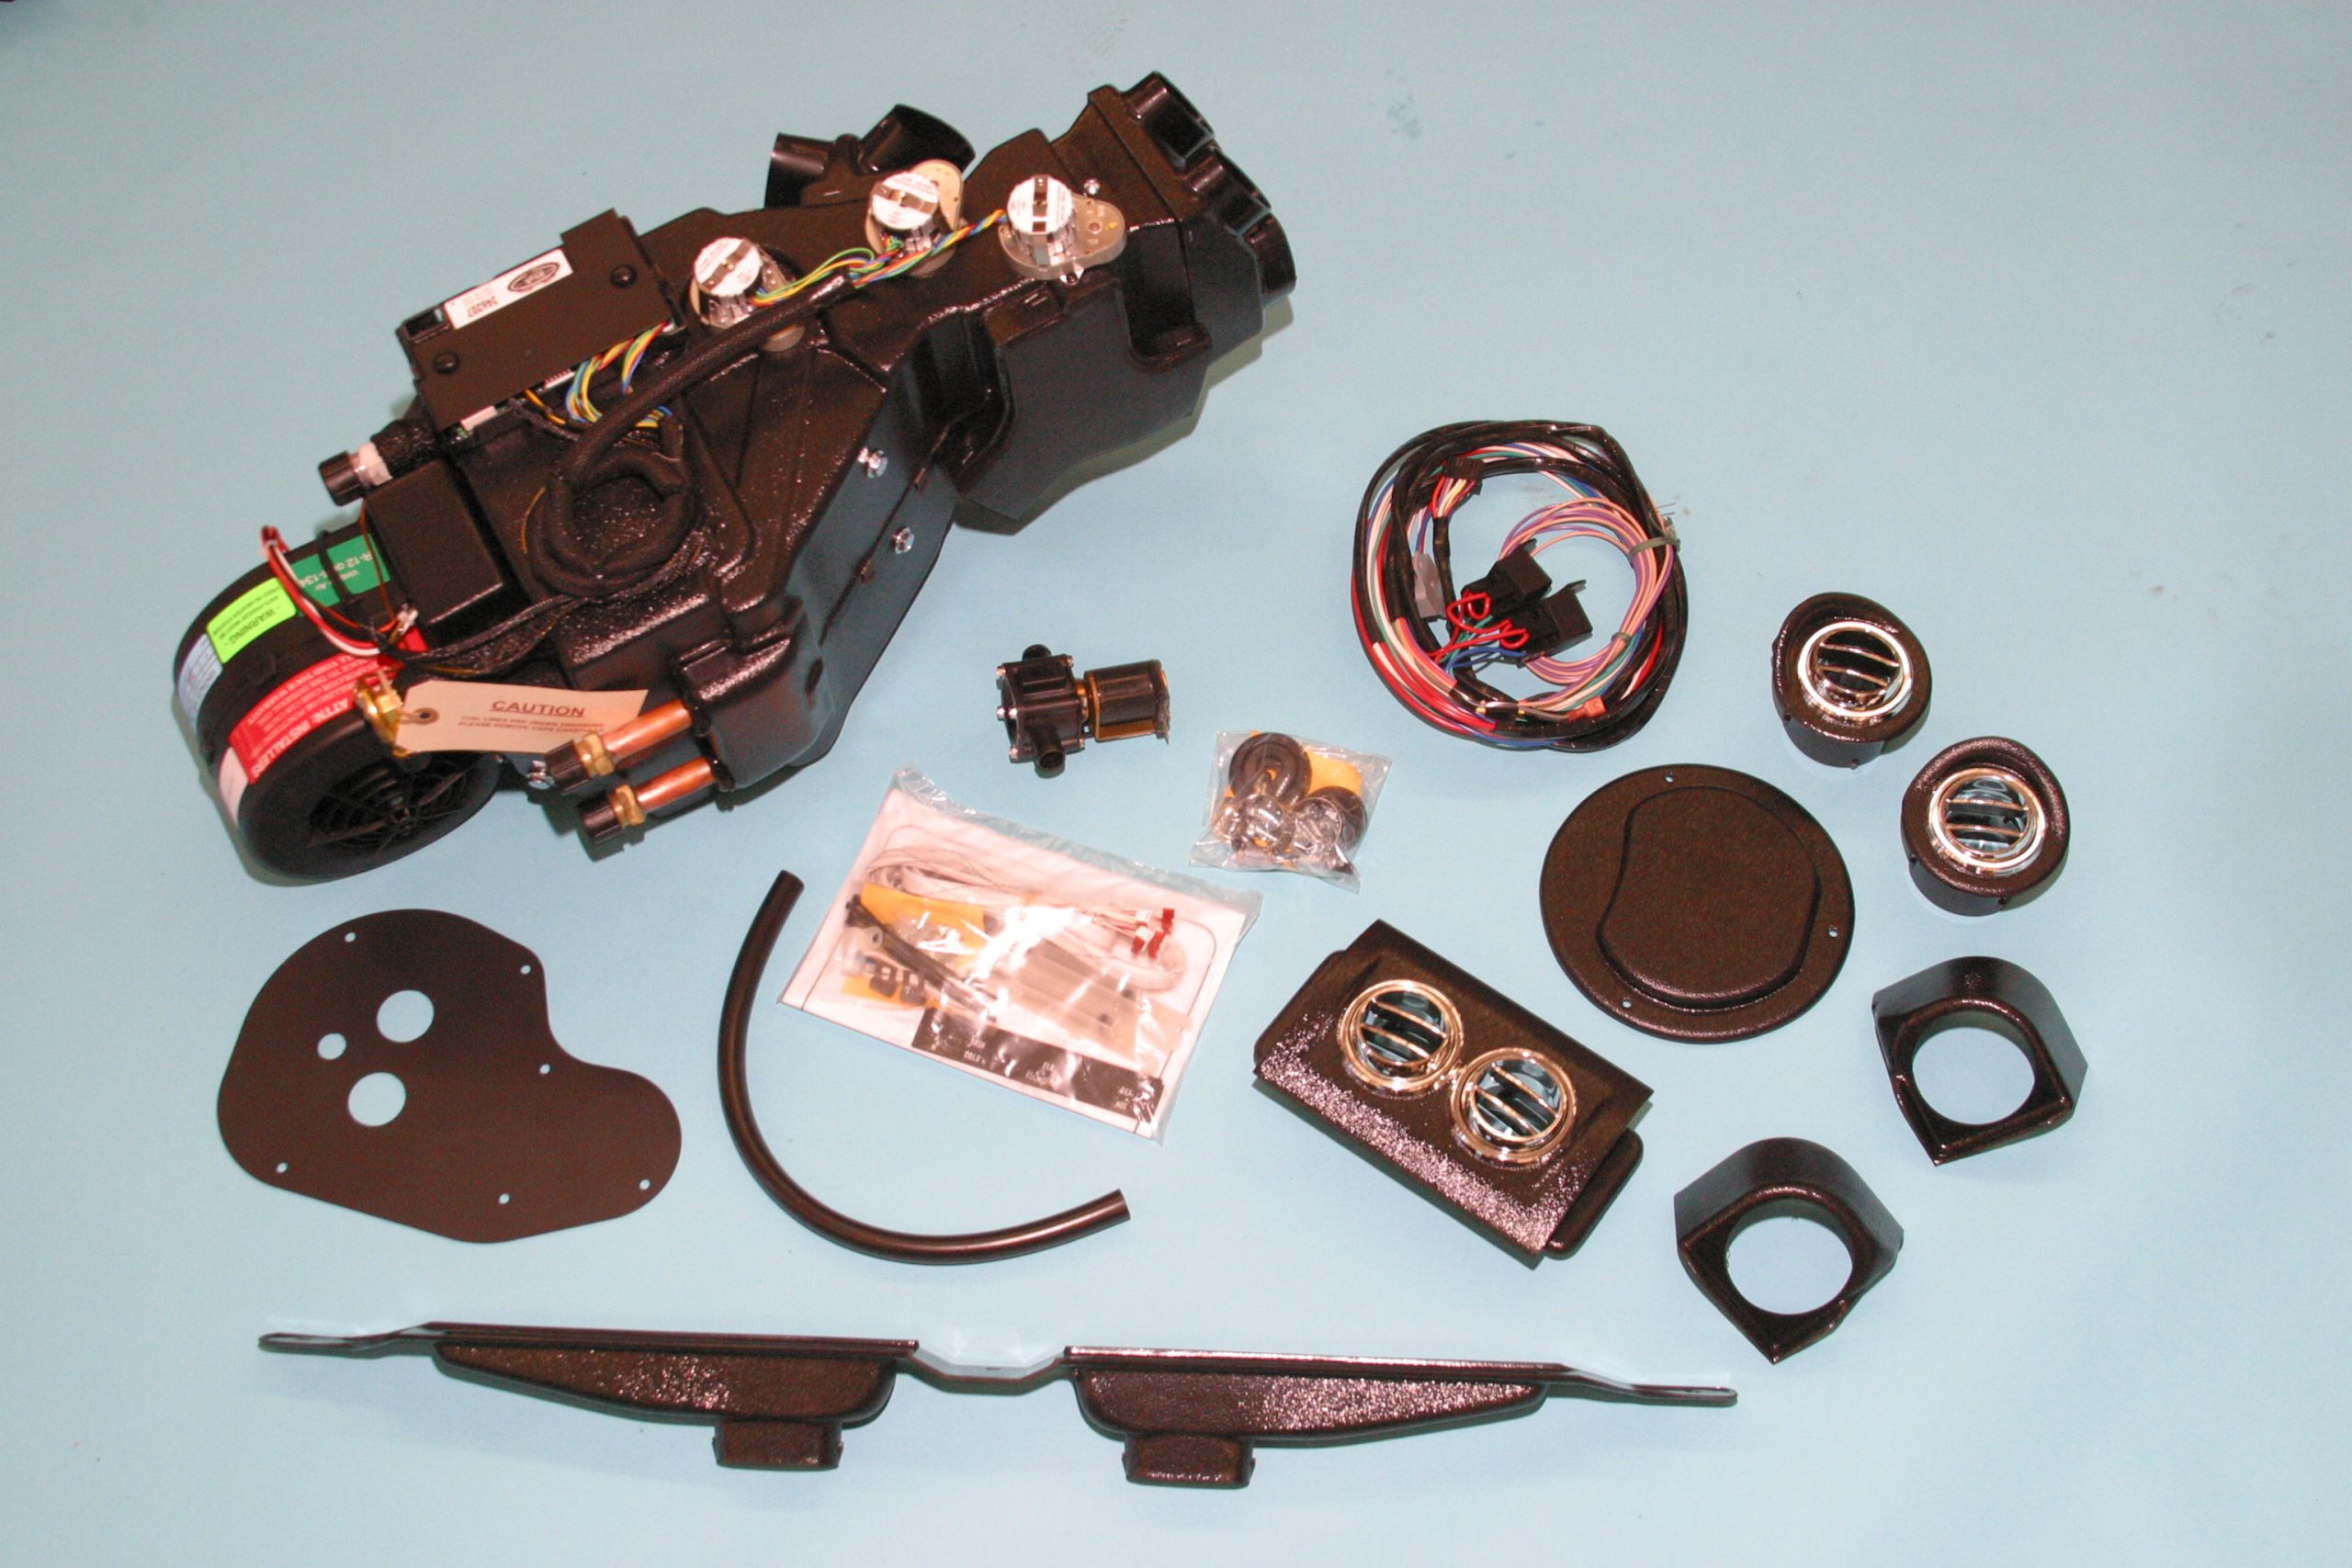
Vintage Air Gen-IV SureFit Systems are complete climate control kits that will install in your muscle car over a weekend. These “fly-by-wire” computer-controlled systems function with electronic servo actuators and sliding controls.
Translated: There are no cables or capillary tubes to mess with.
Gen-IV systems are model-specific to your classic muscle car and offer climate-control technology for bi-level airflow and accurate temperature air blending. We really like this approach to heating and cooling.
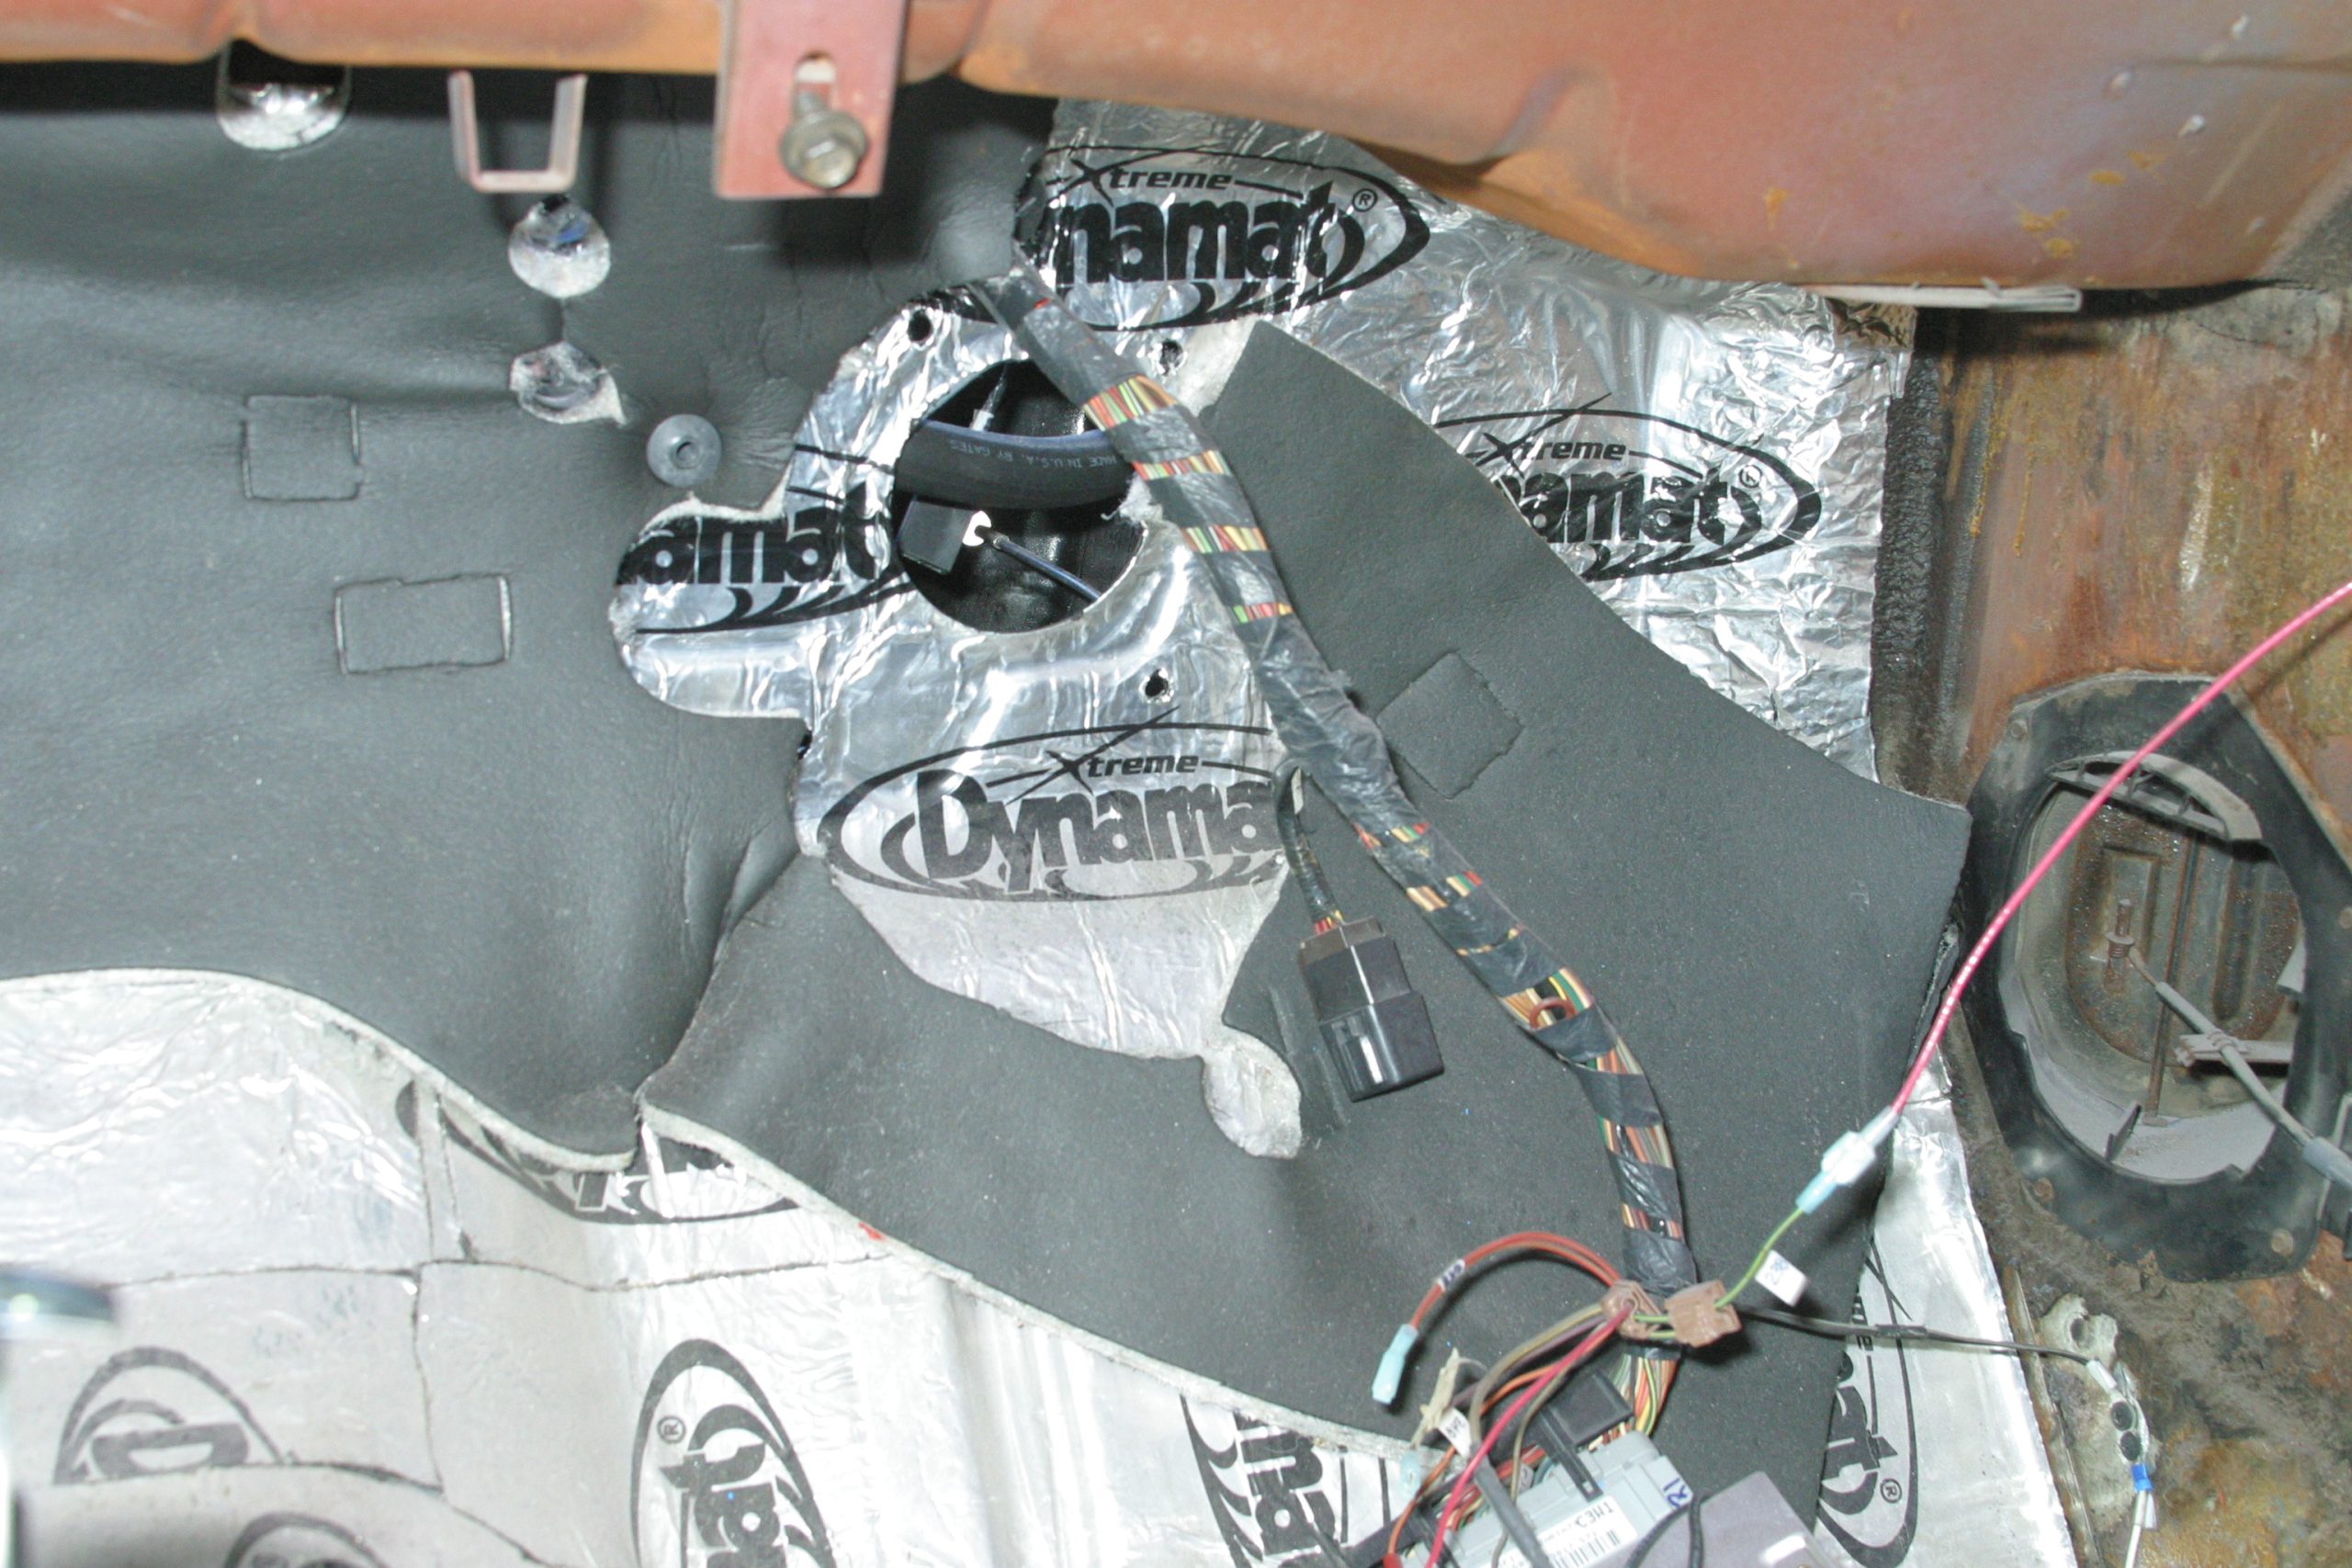
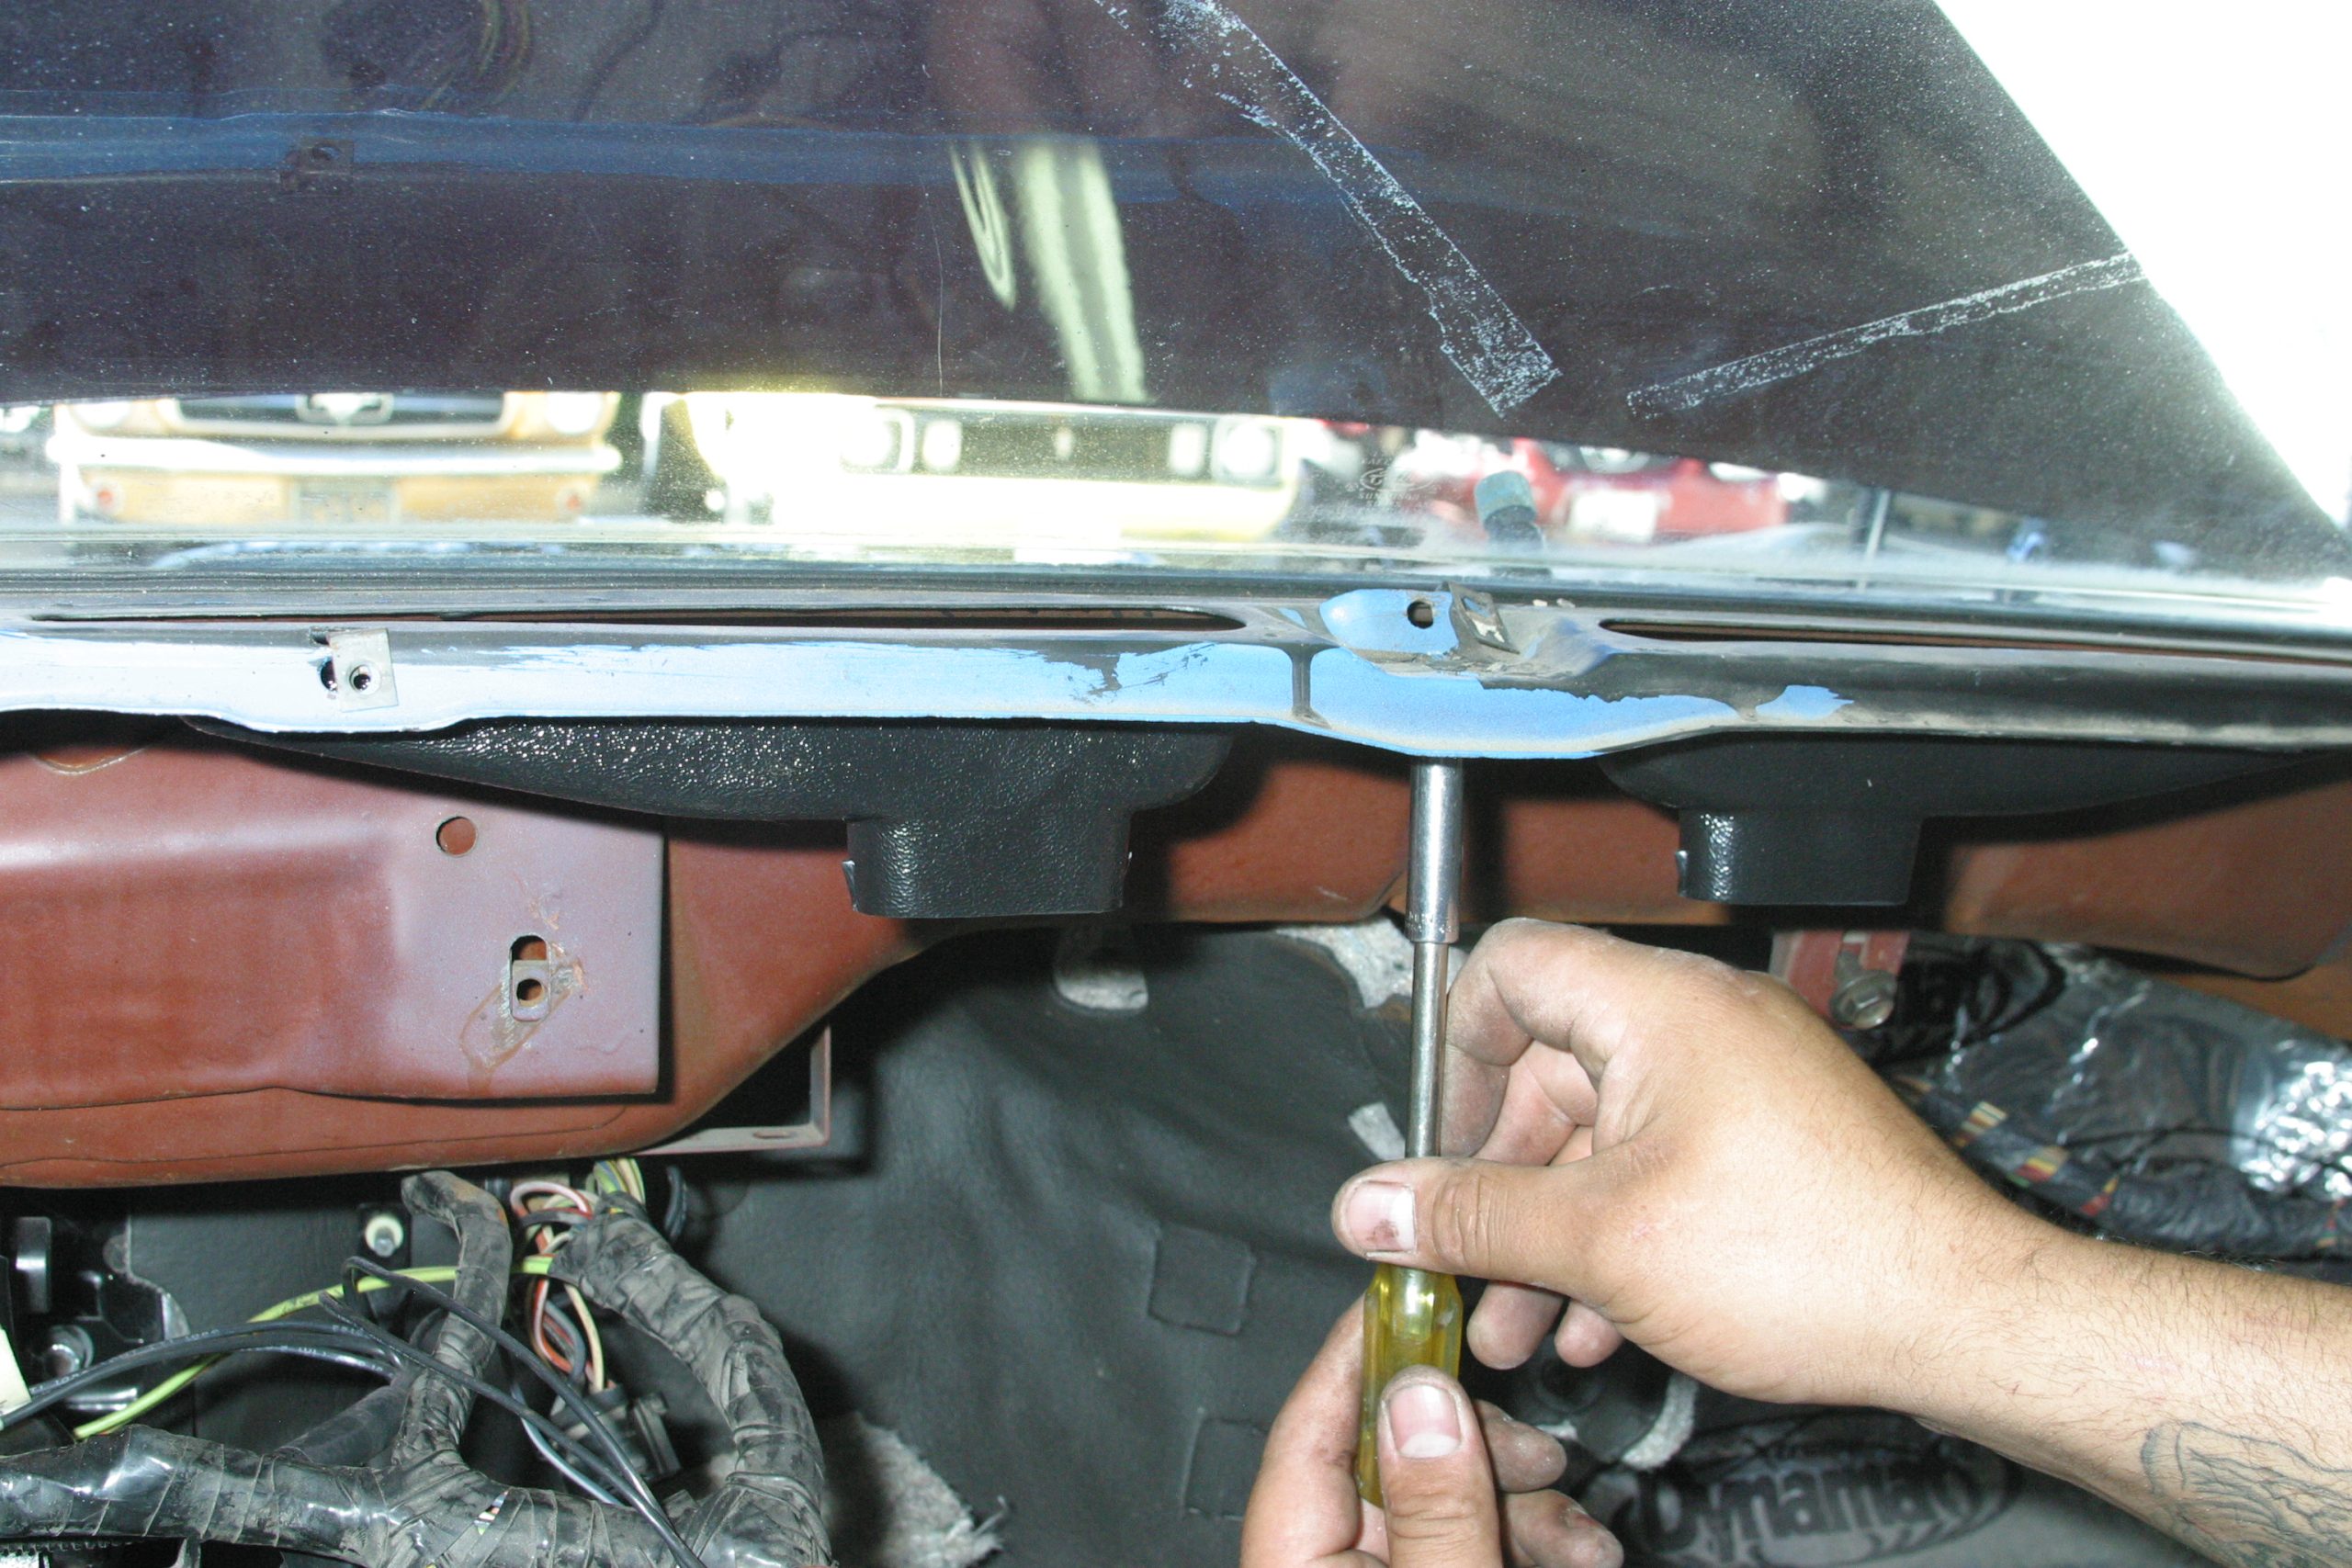
While you have the dashboard removed, consider what you need to be with the climate control system removed—insulation, sound deadening, rust proofing, and the like before putting it all back together.
Once the Vintage Air SureFit system is installed, have a qualified air conditioning shop inspect your installation first, then have them pull the system down (vacuum) and properly charge it with R-134a refrigerant.
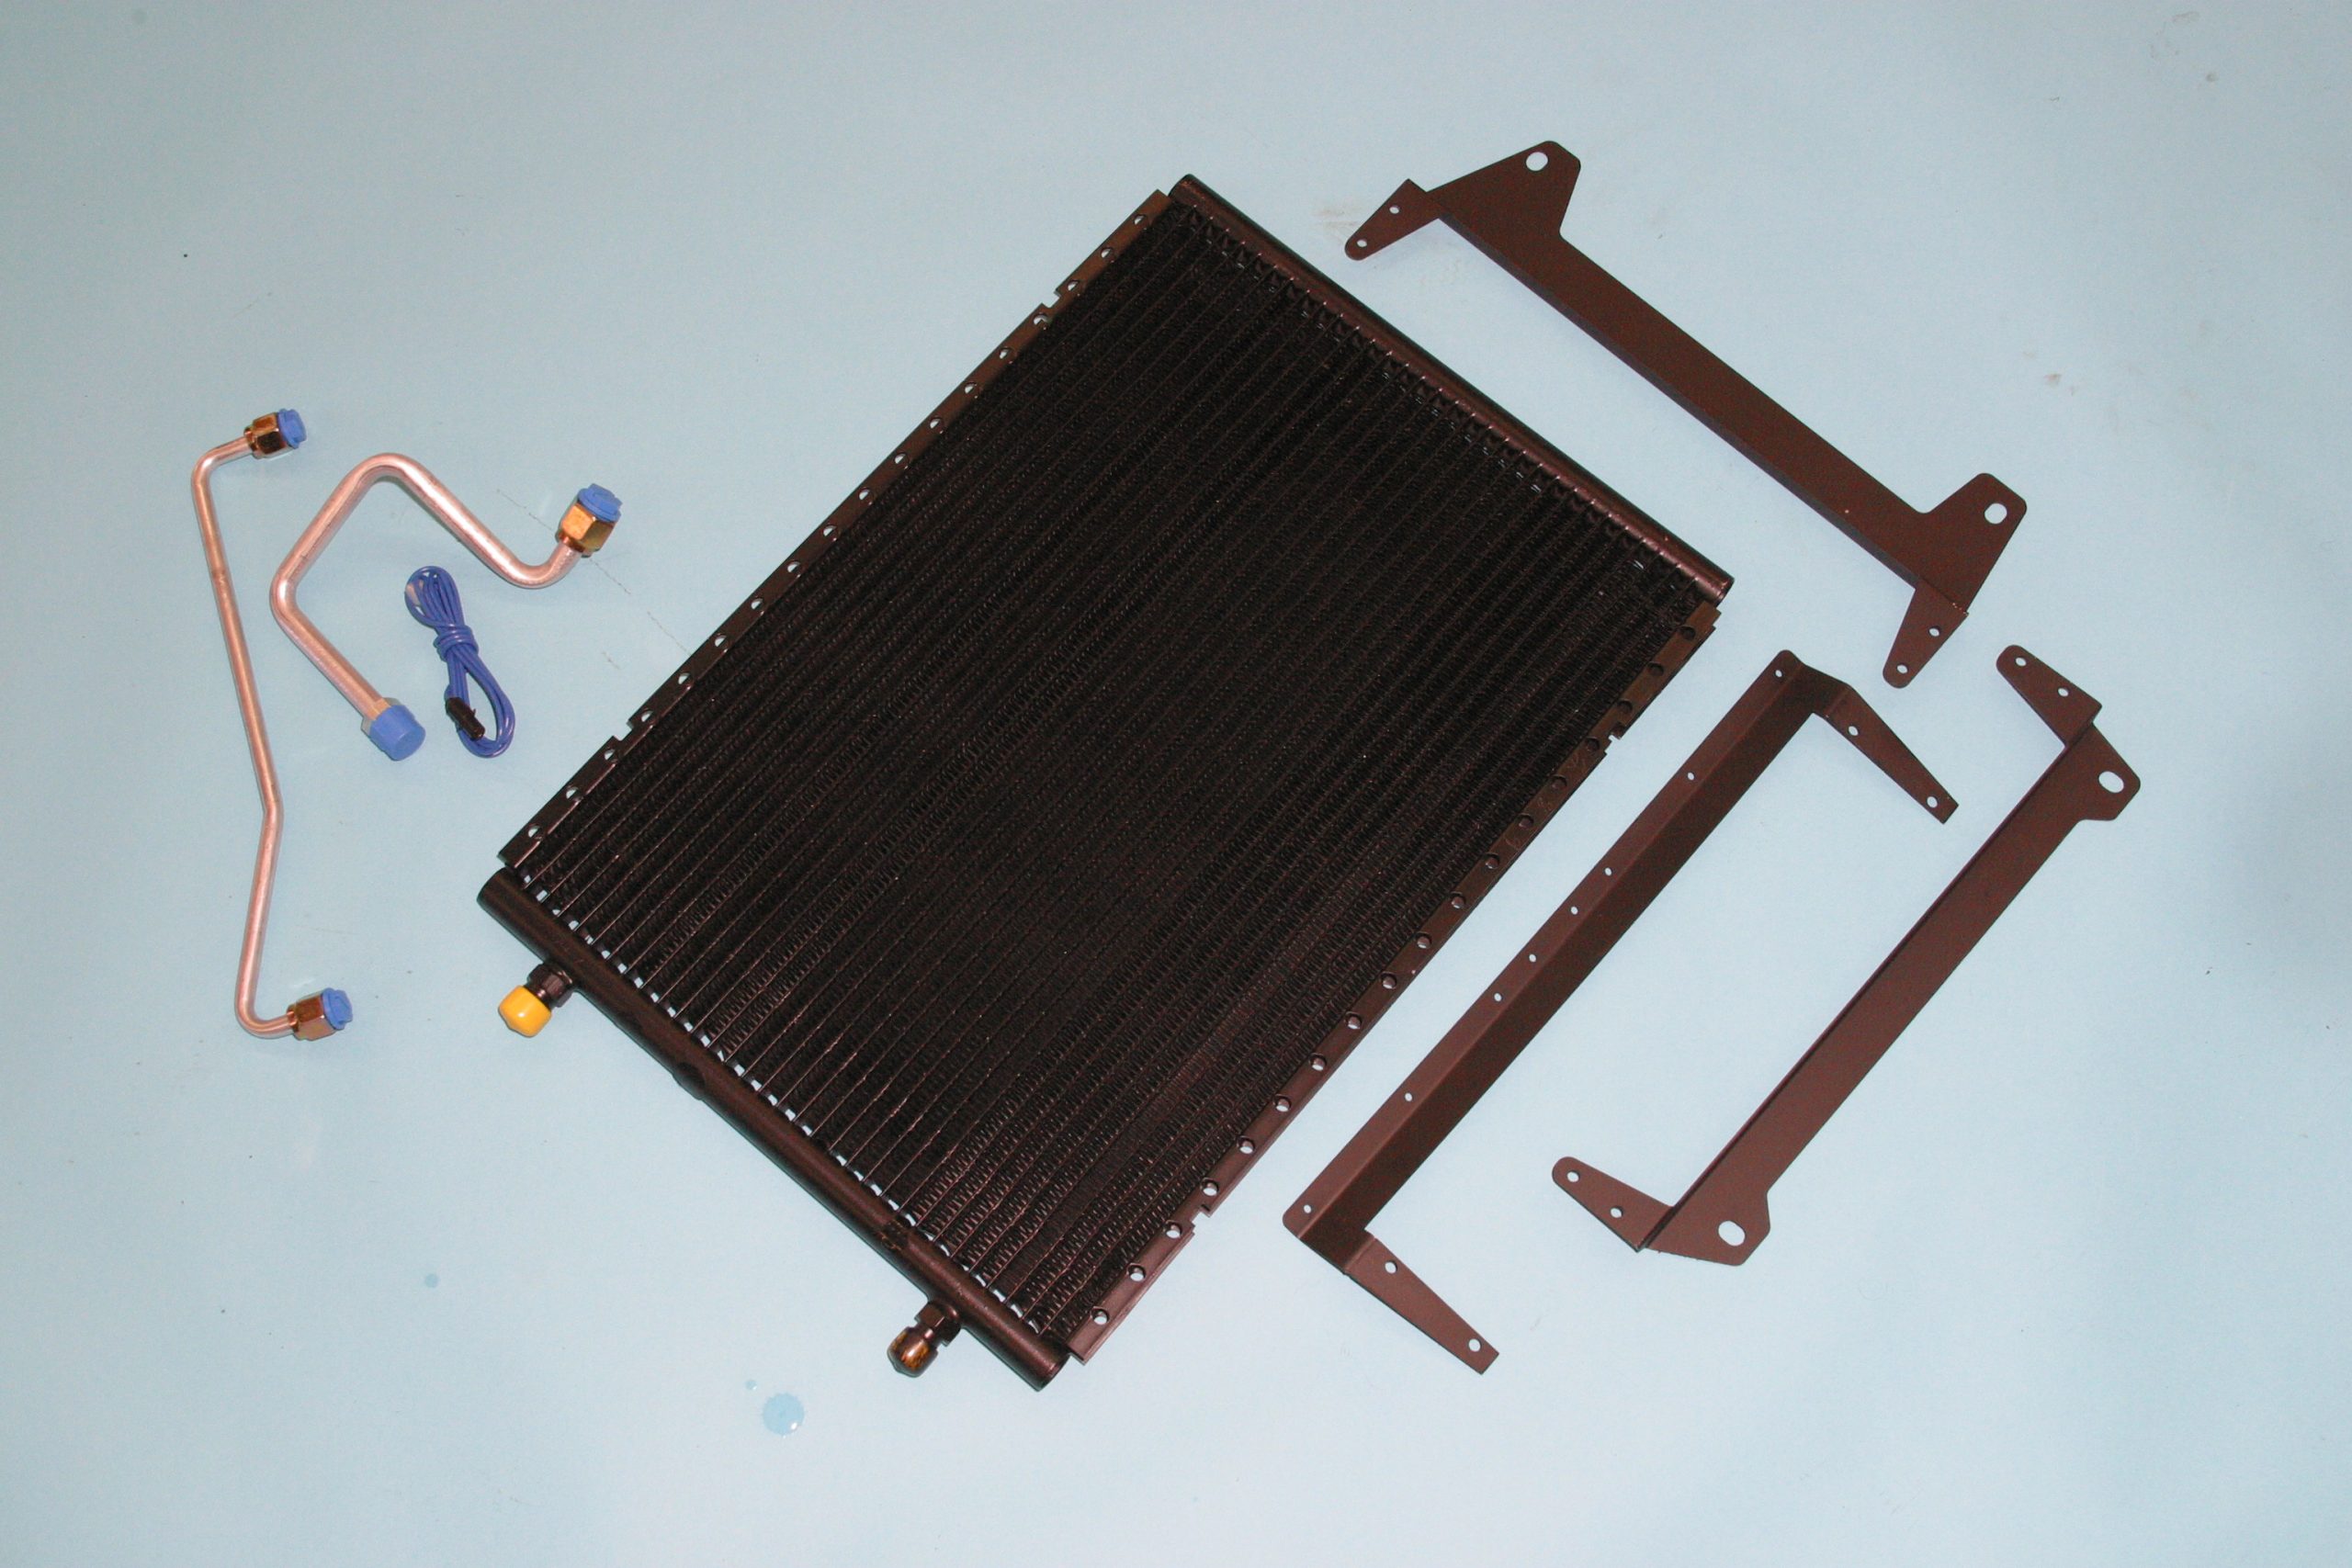
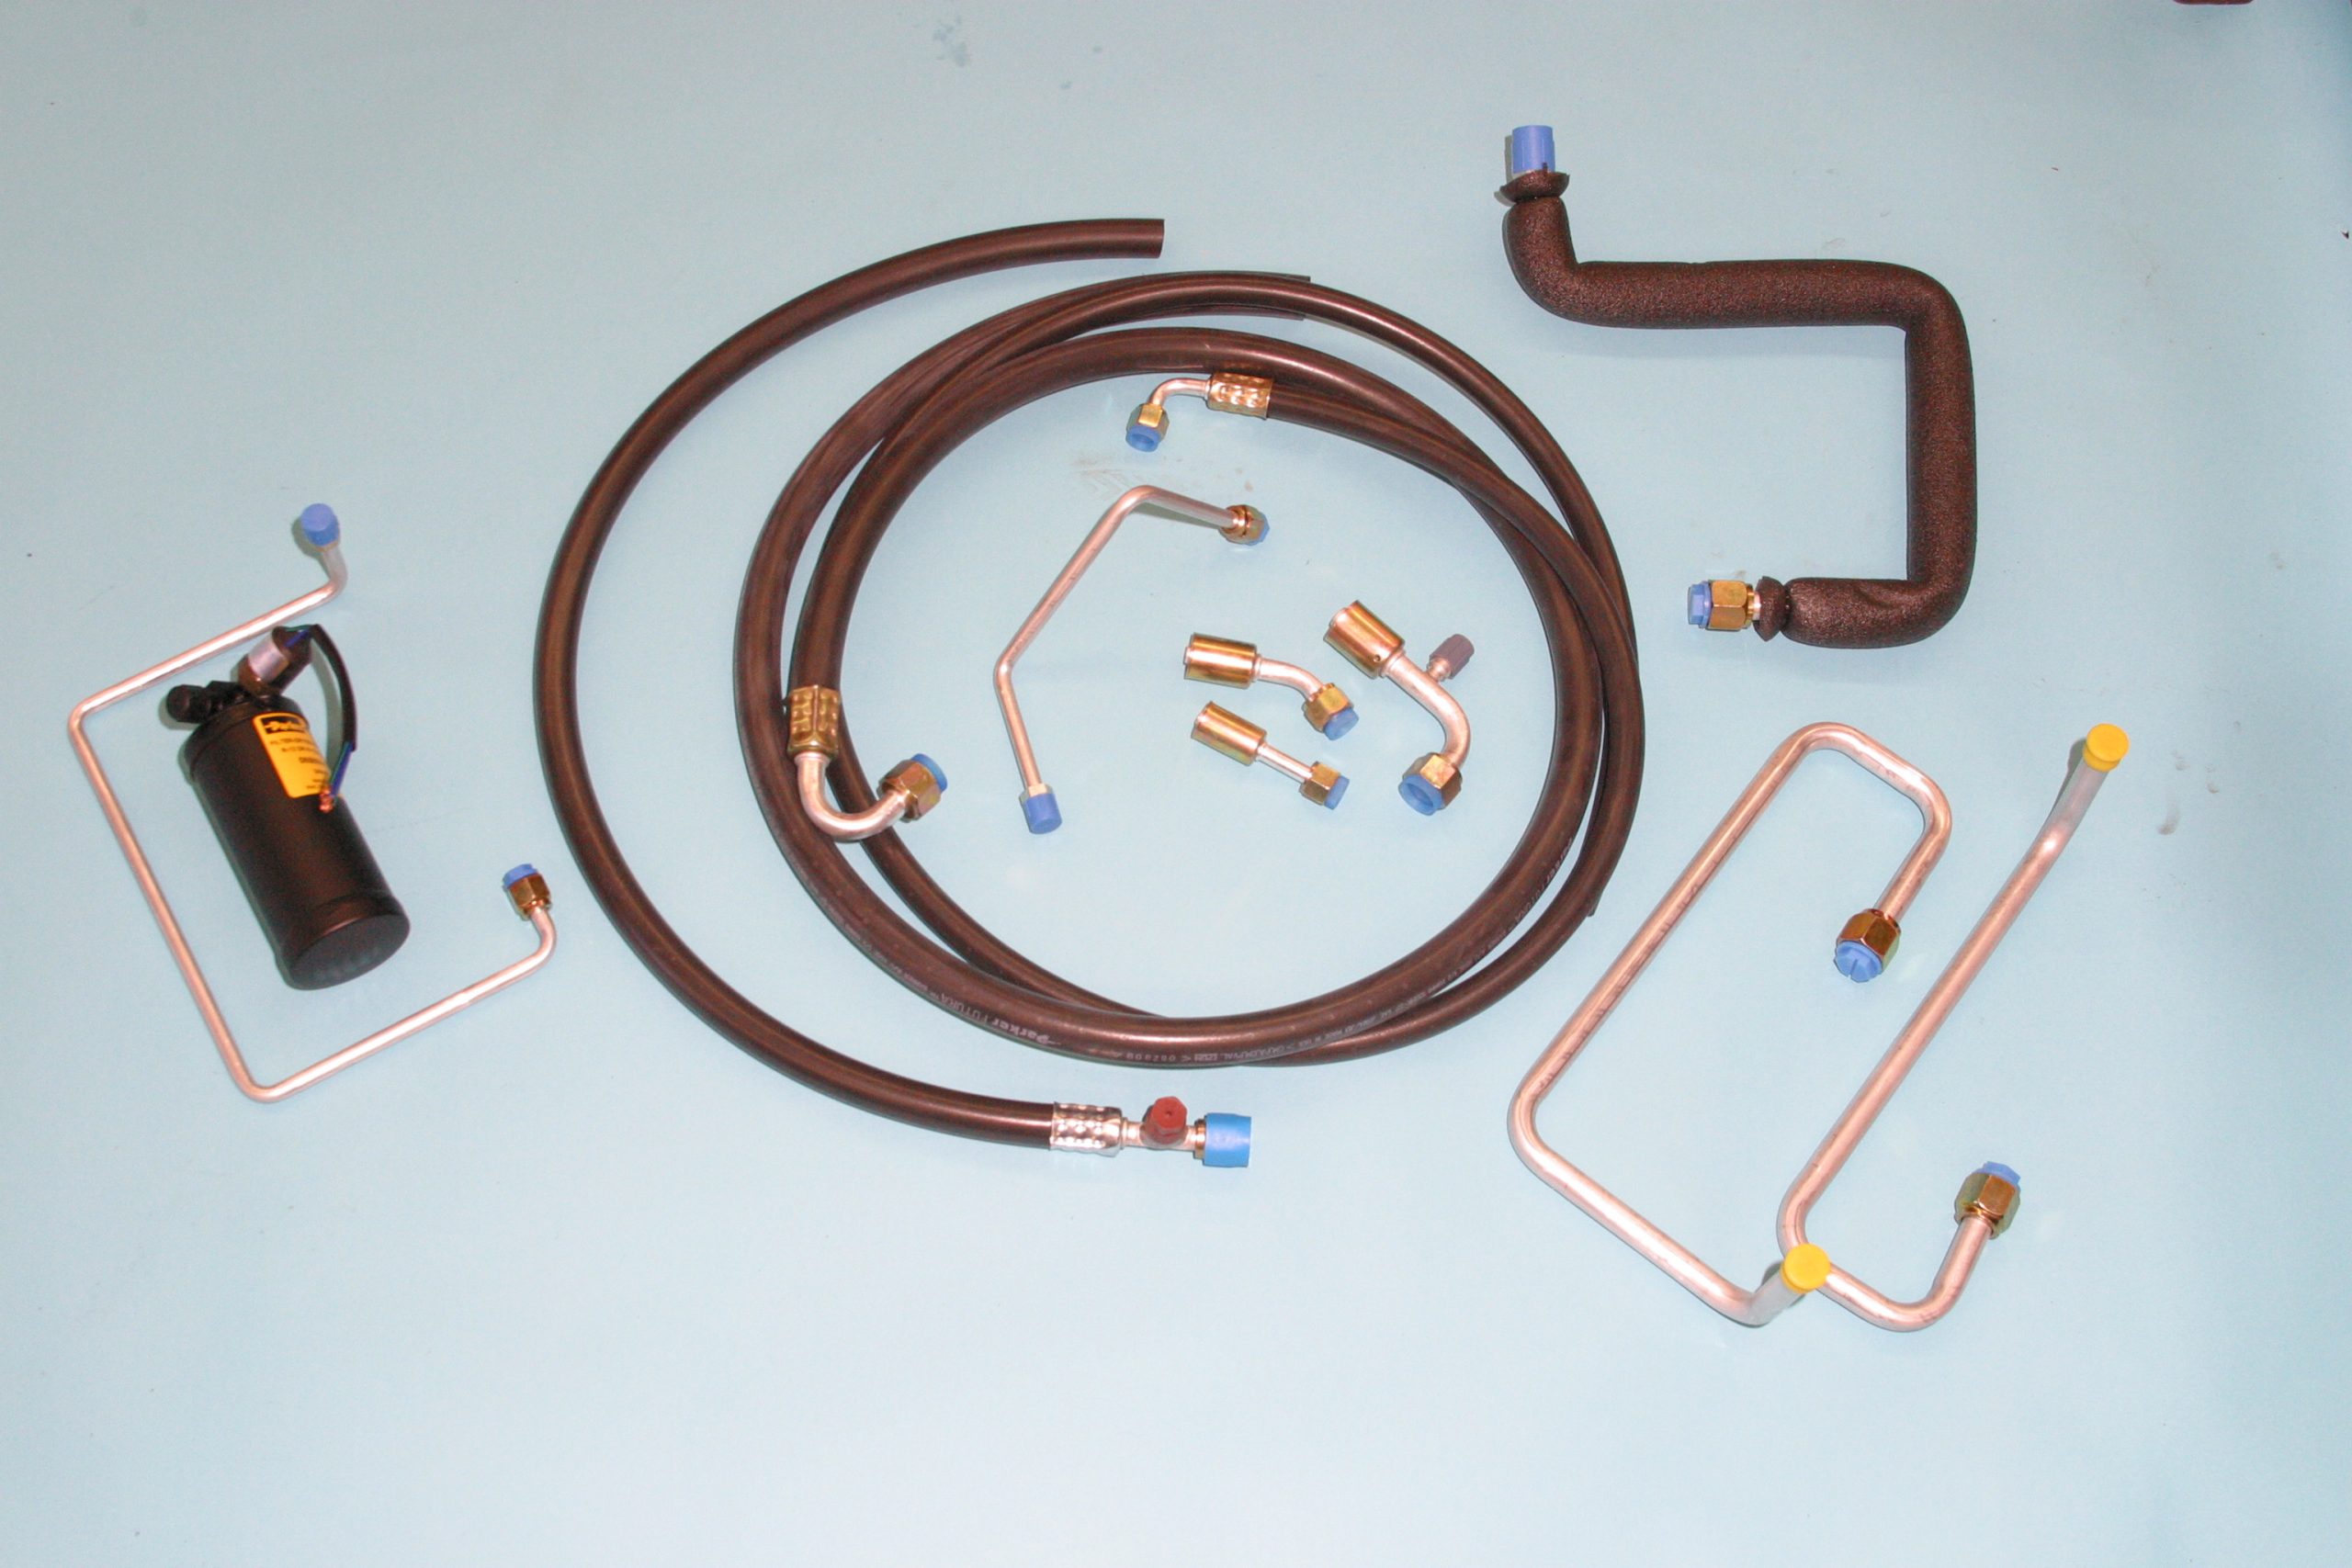
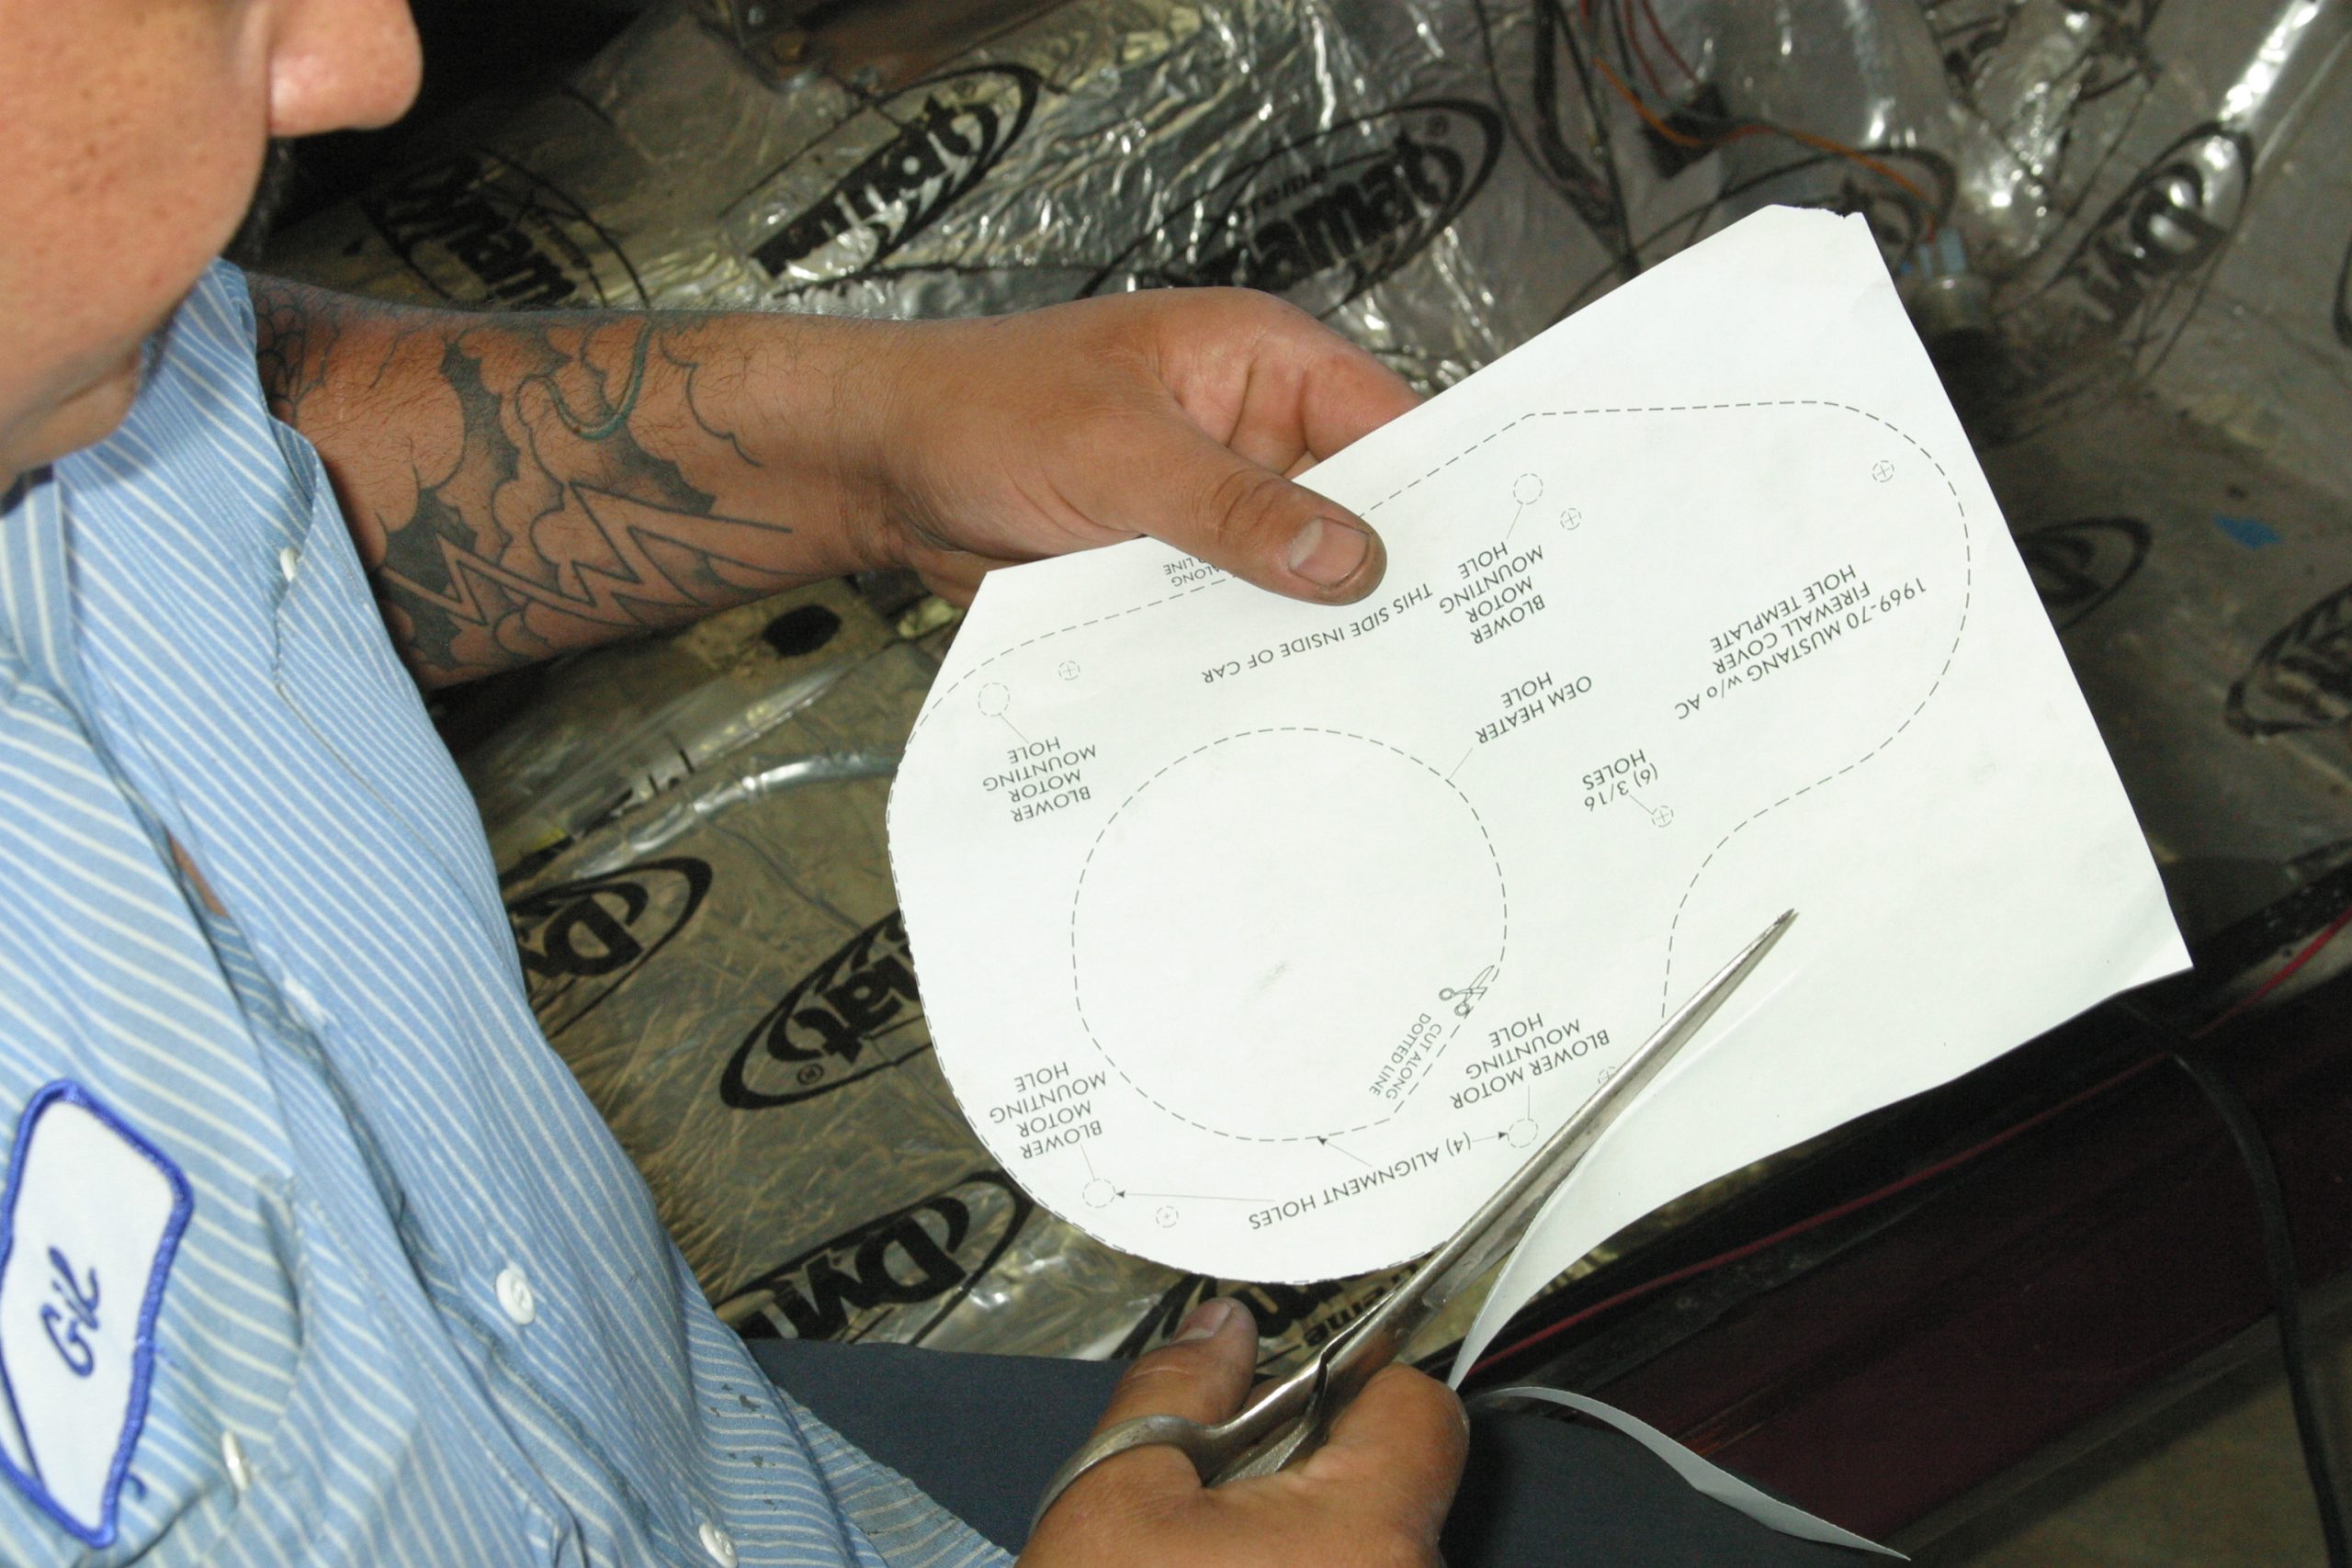
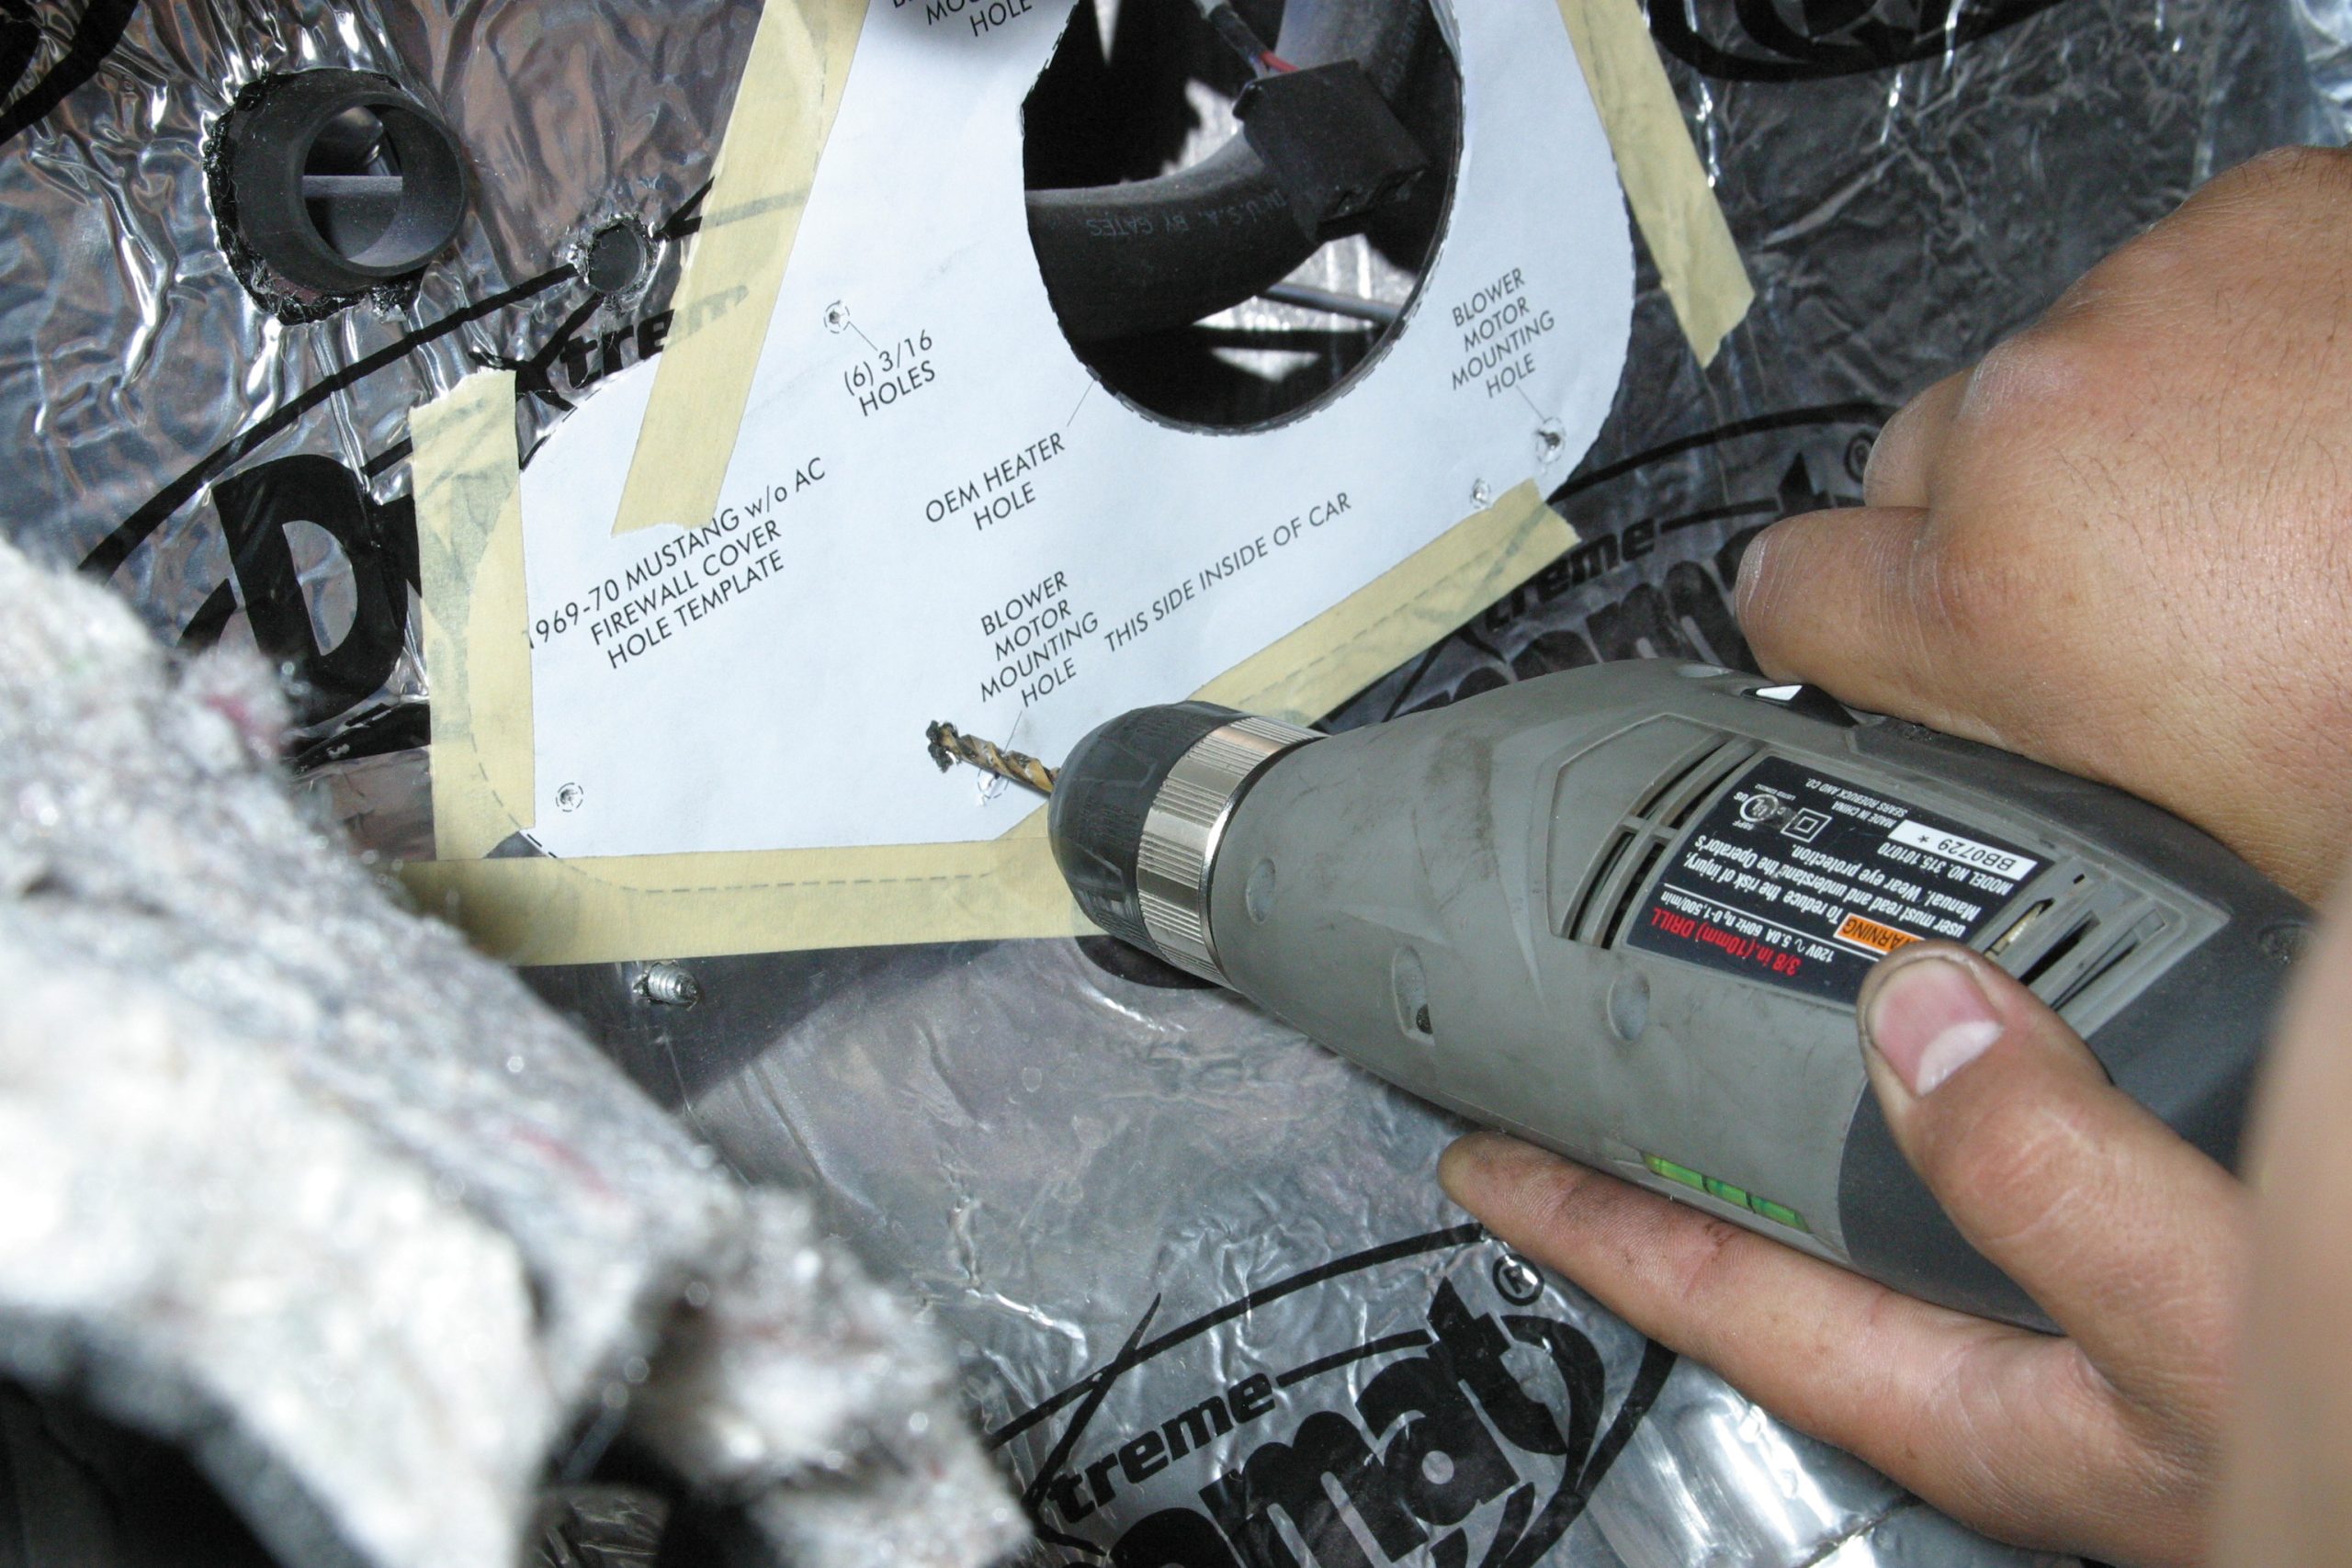
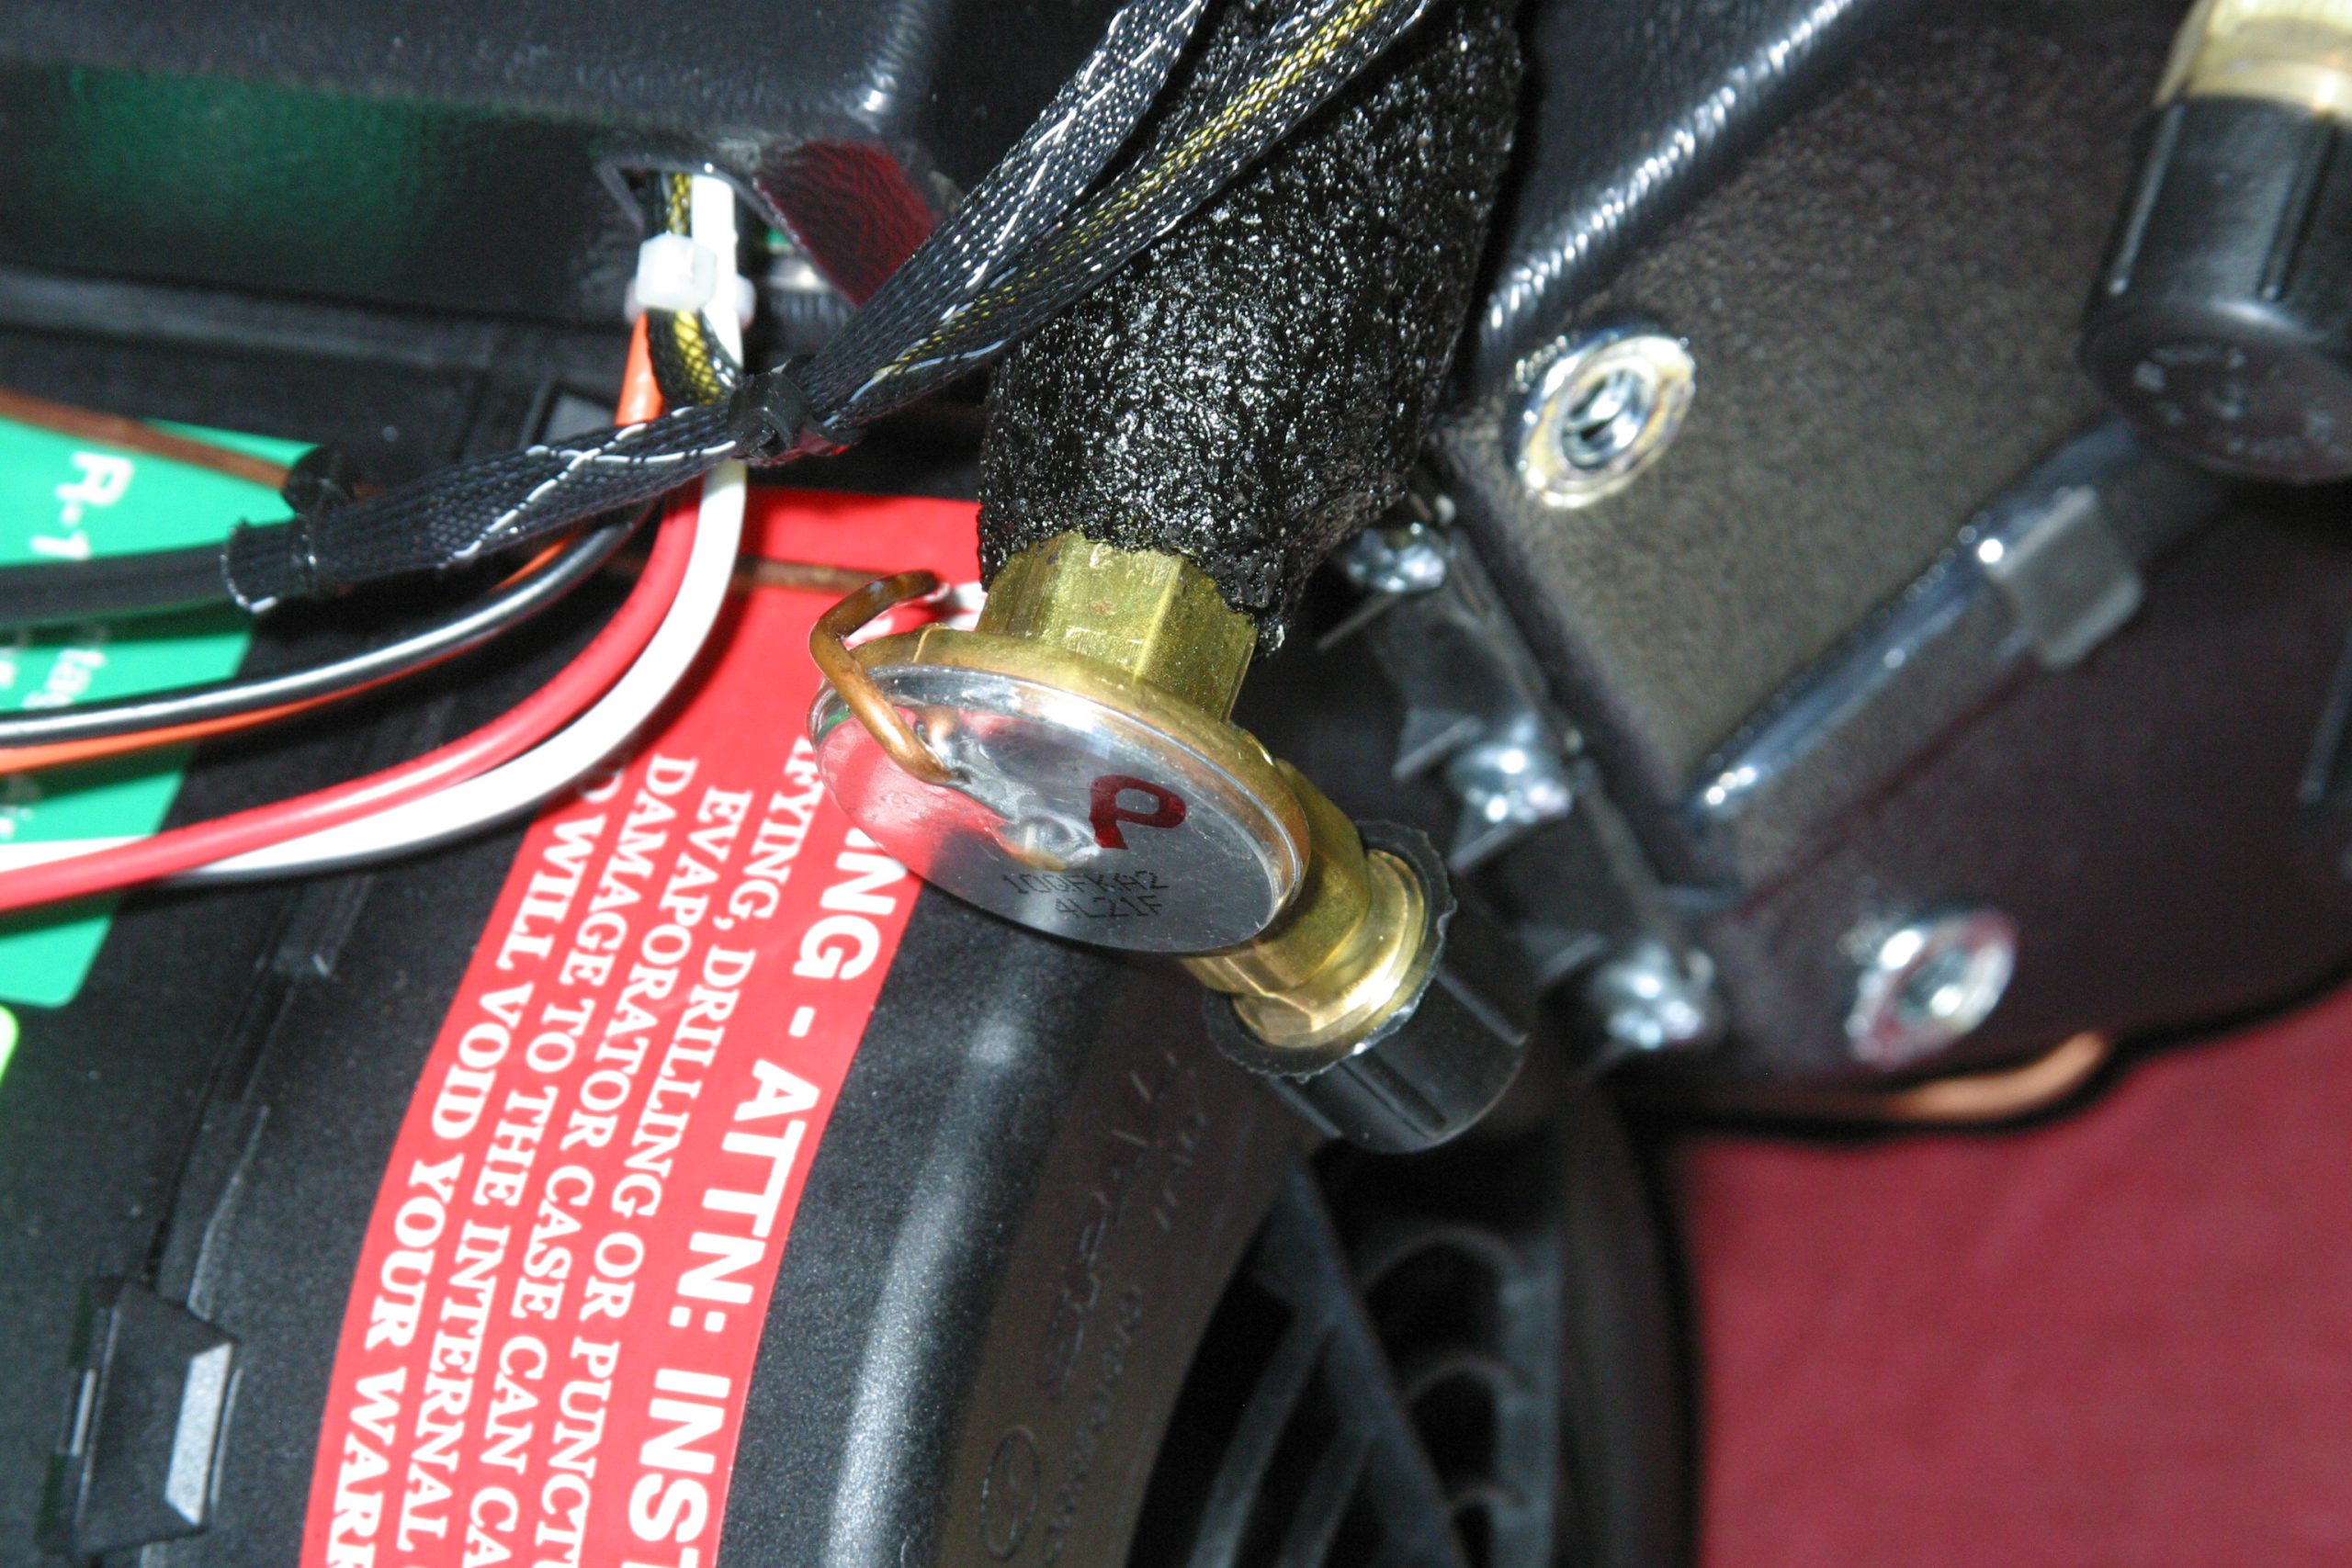
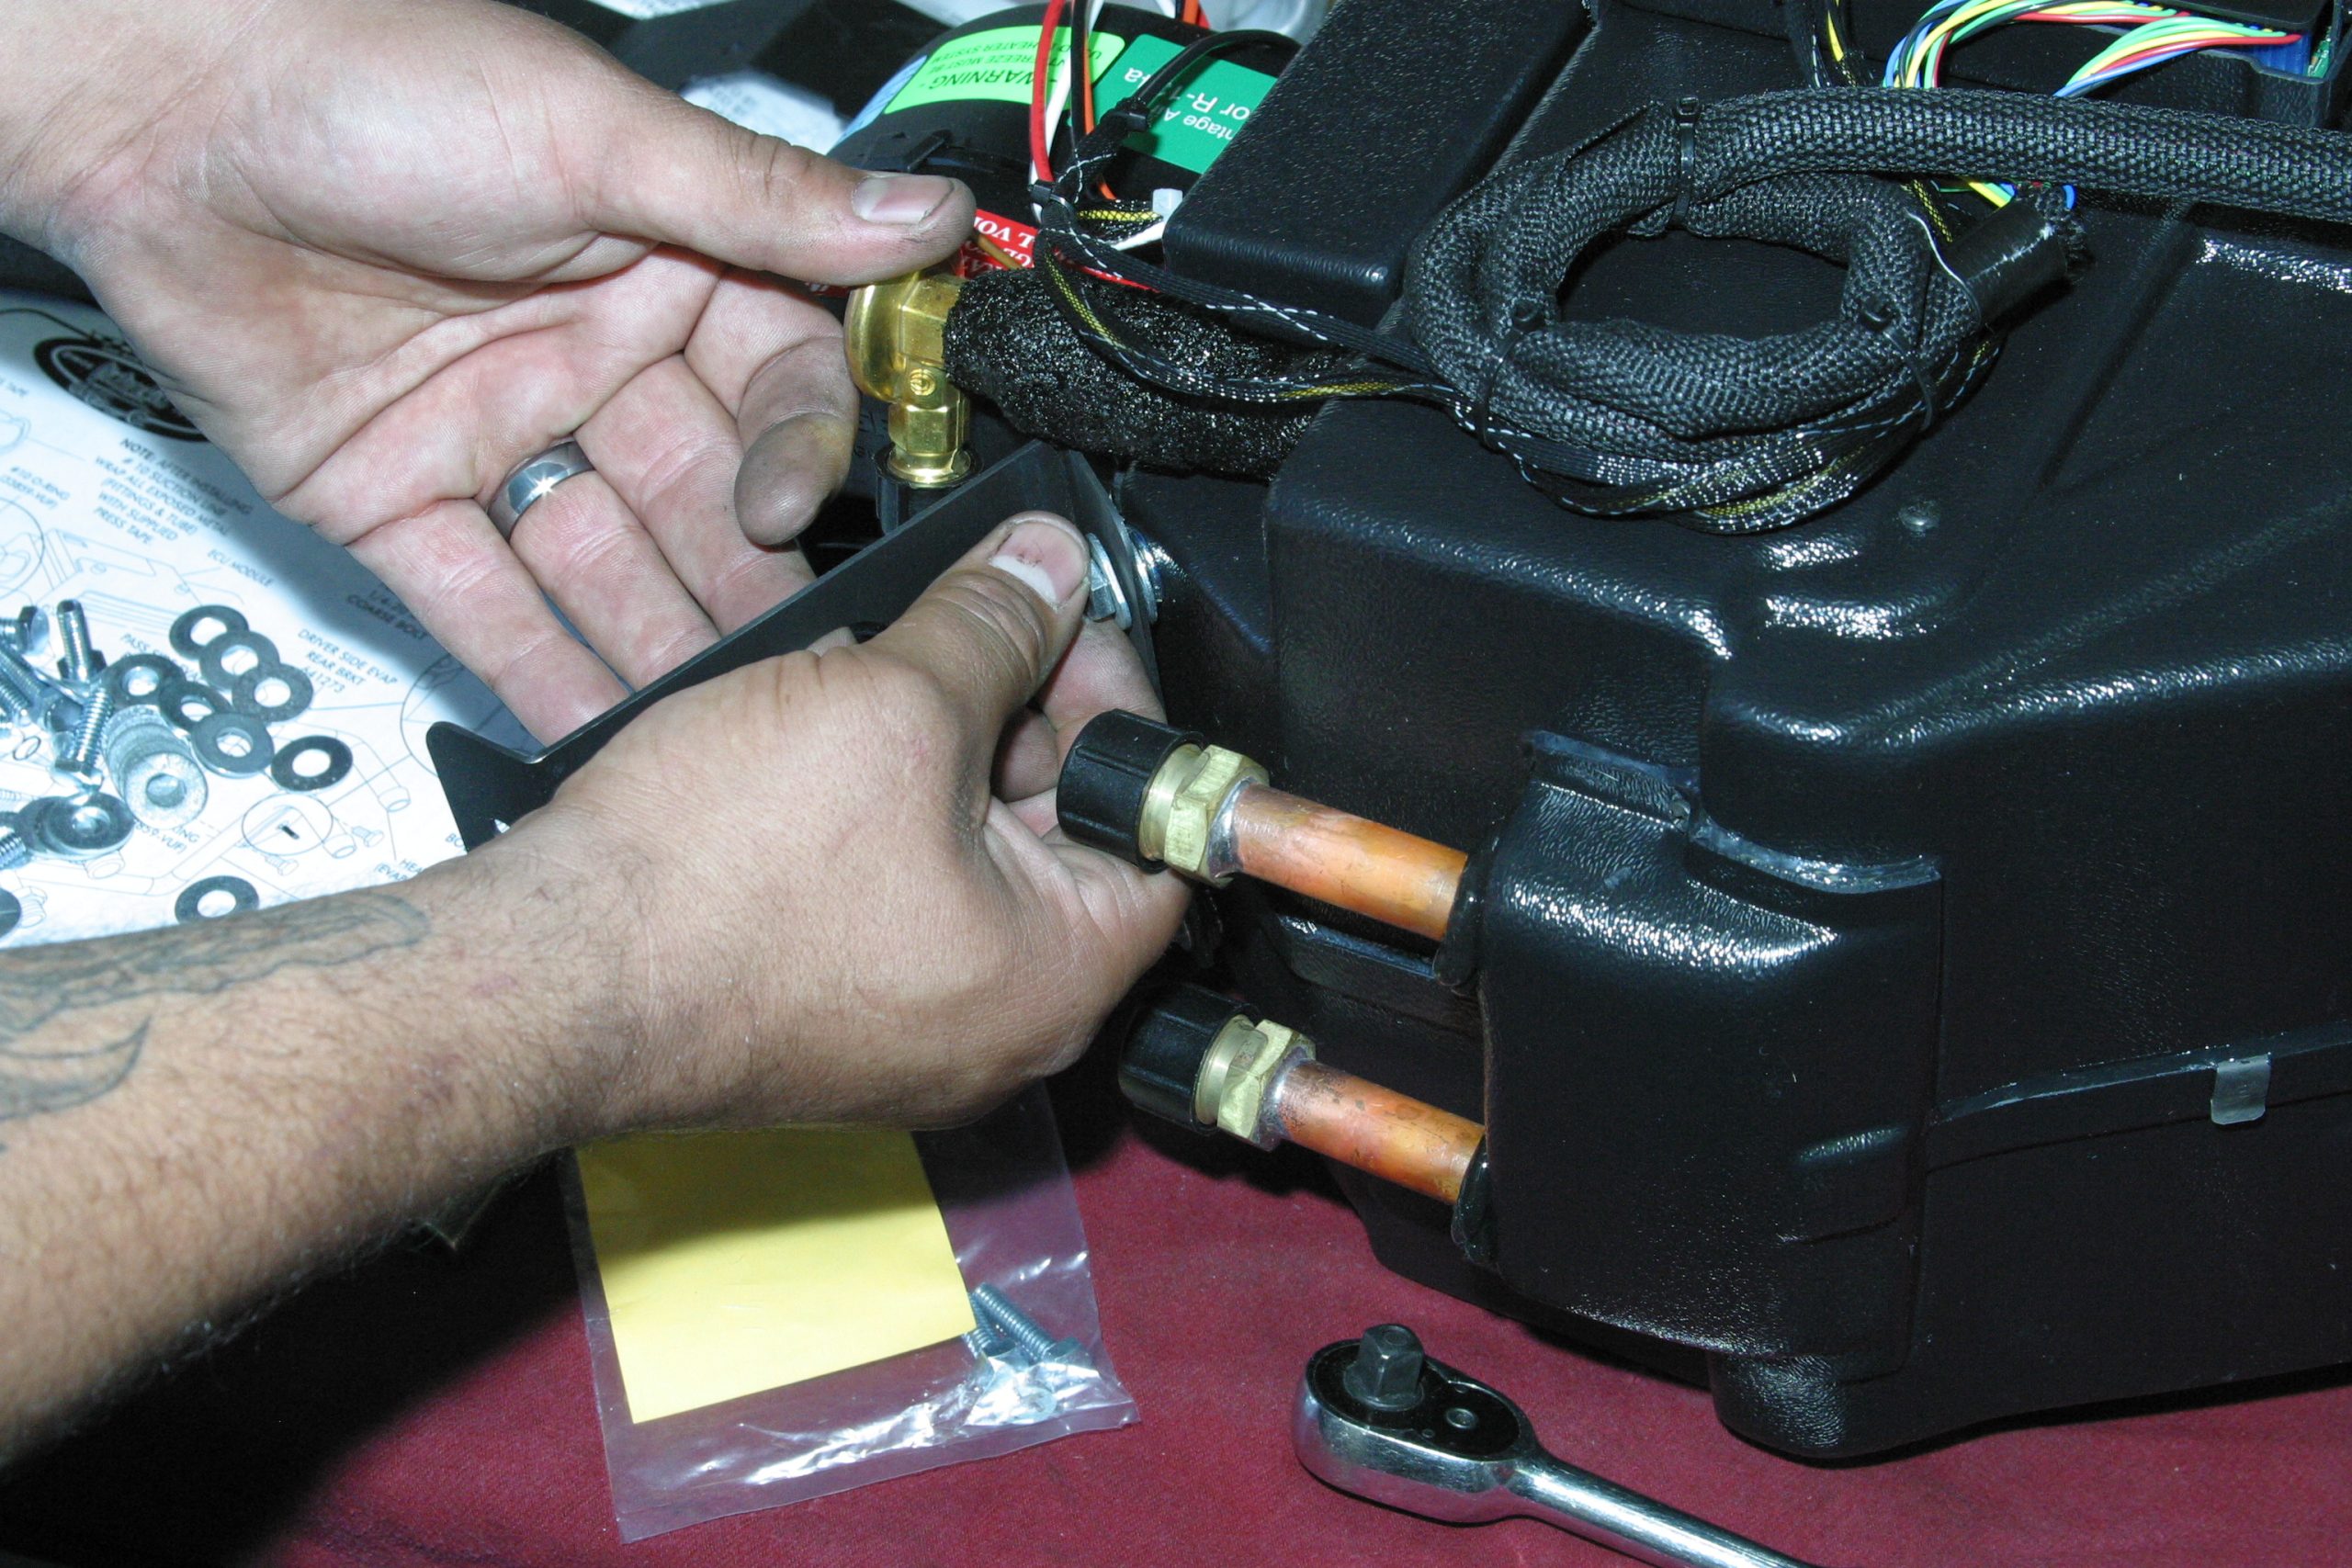
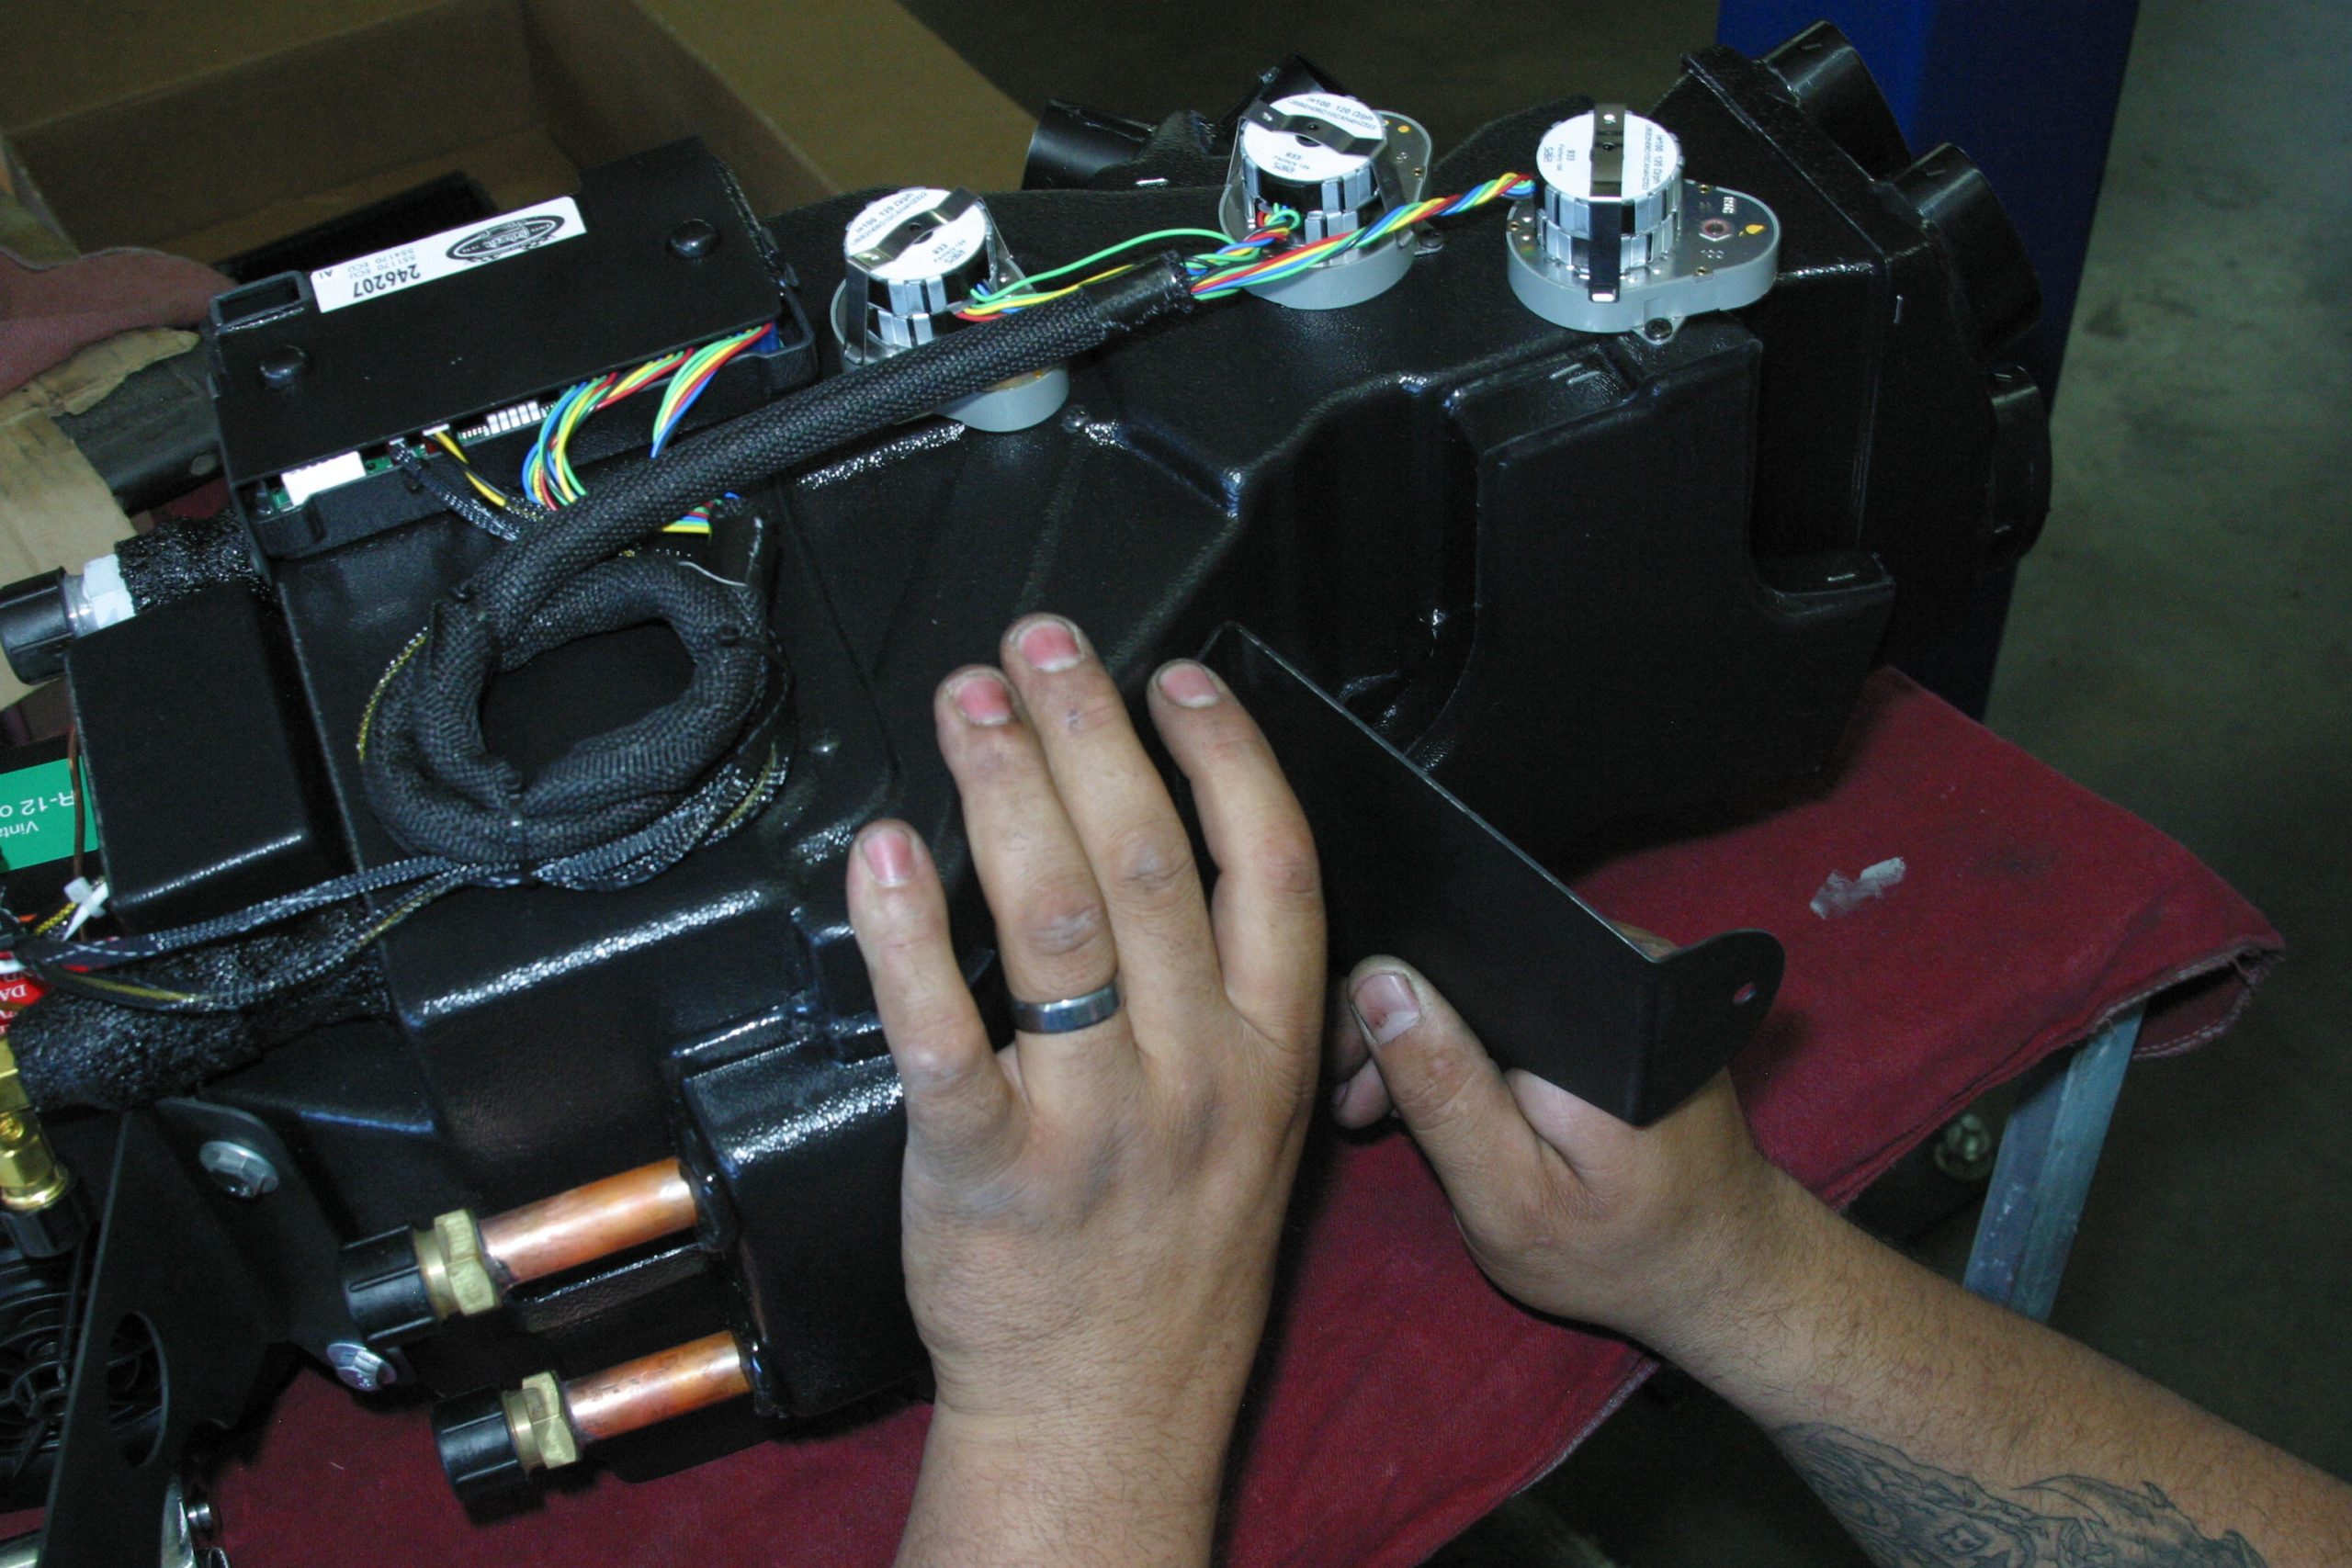
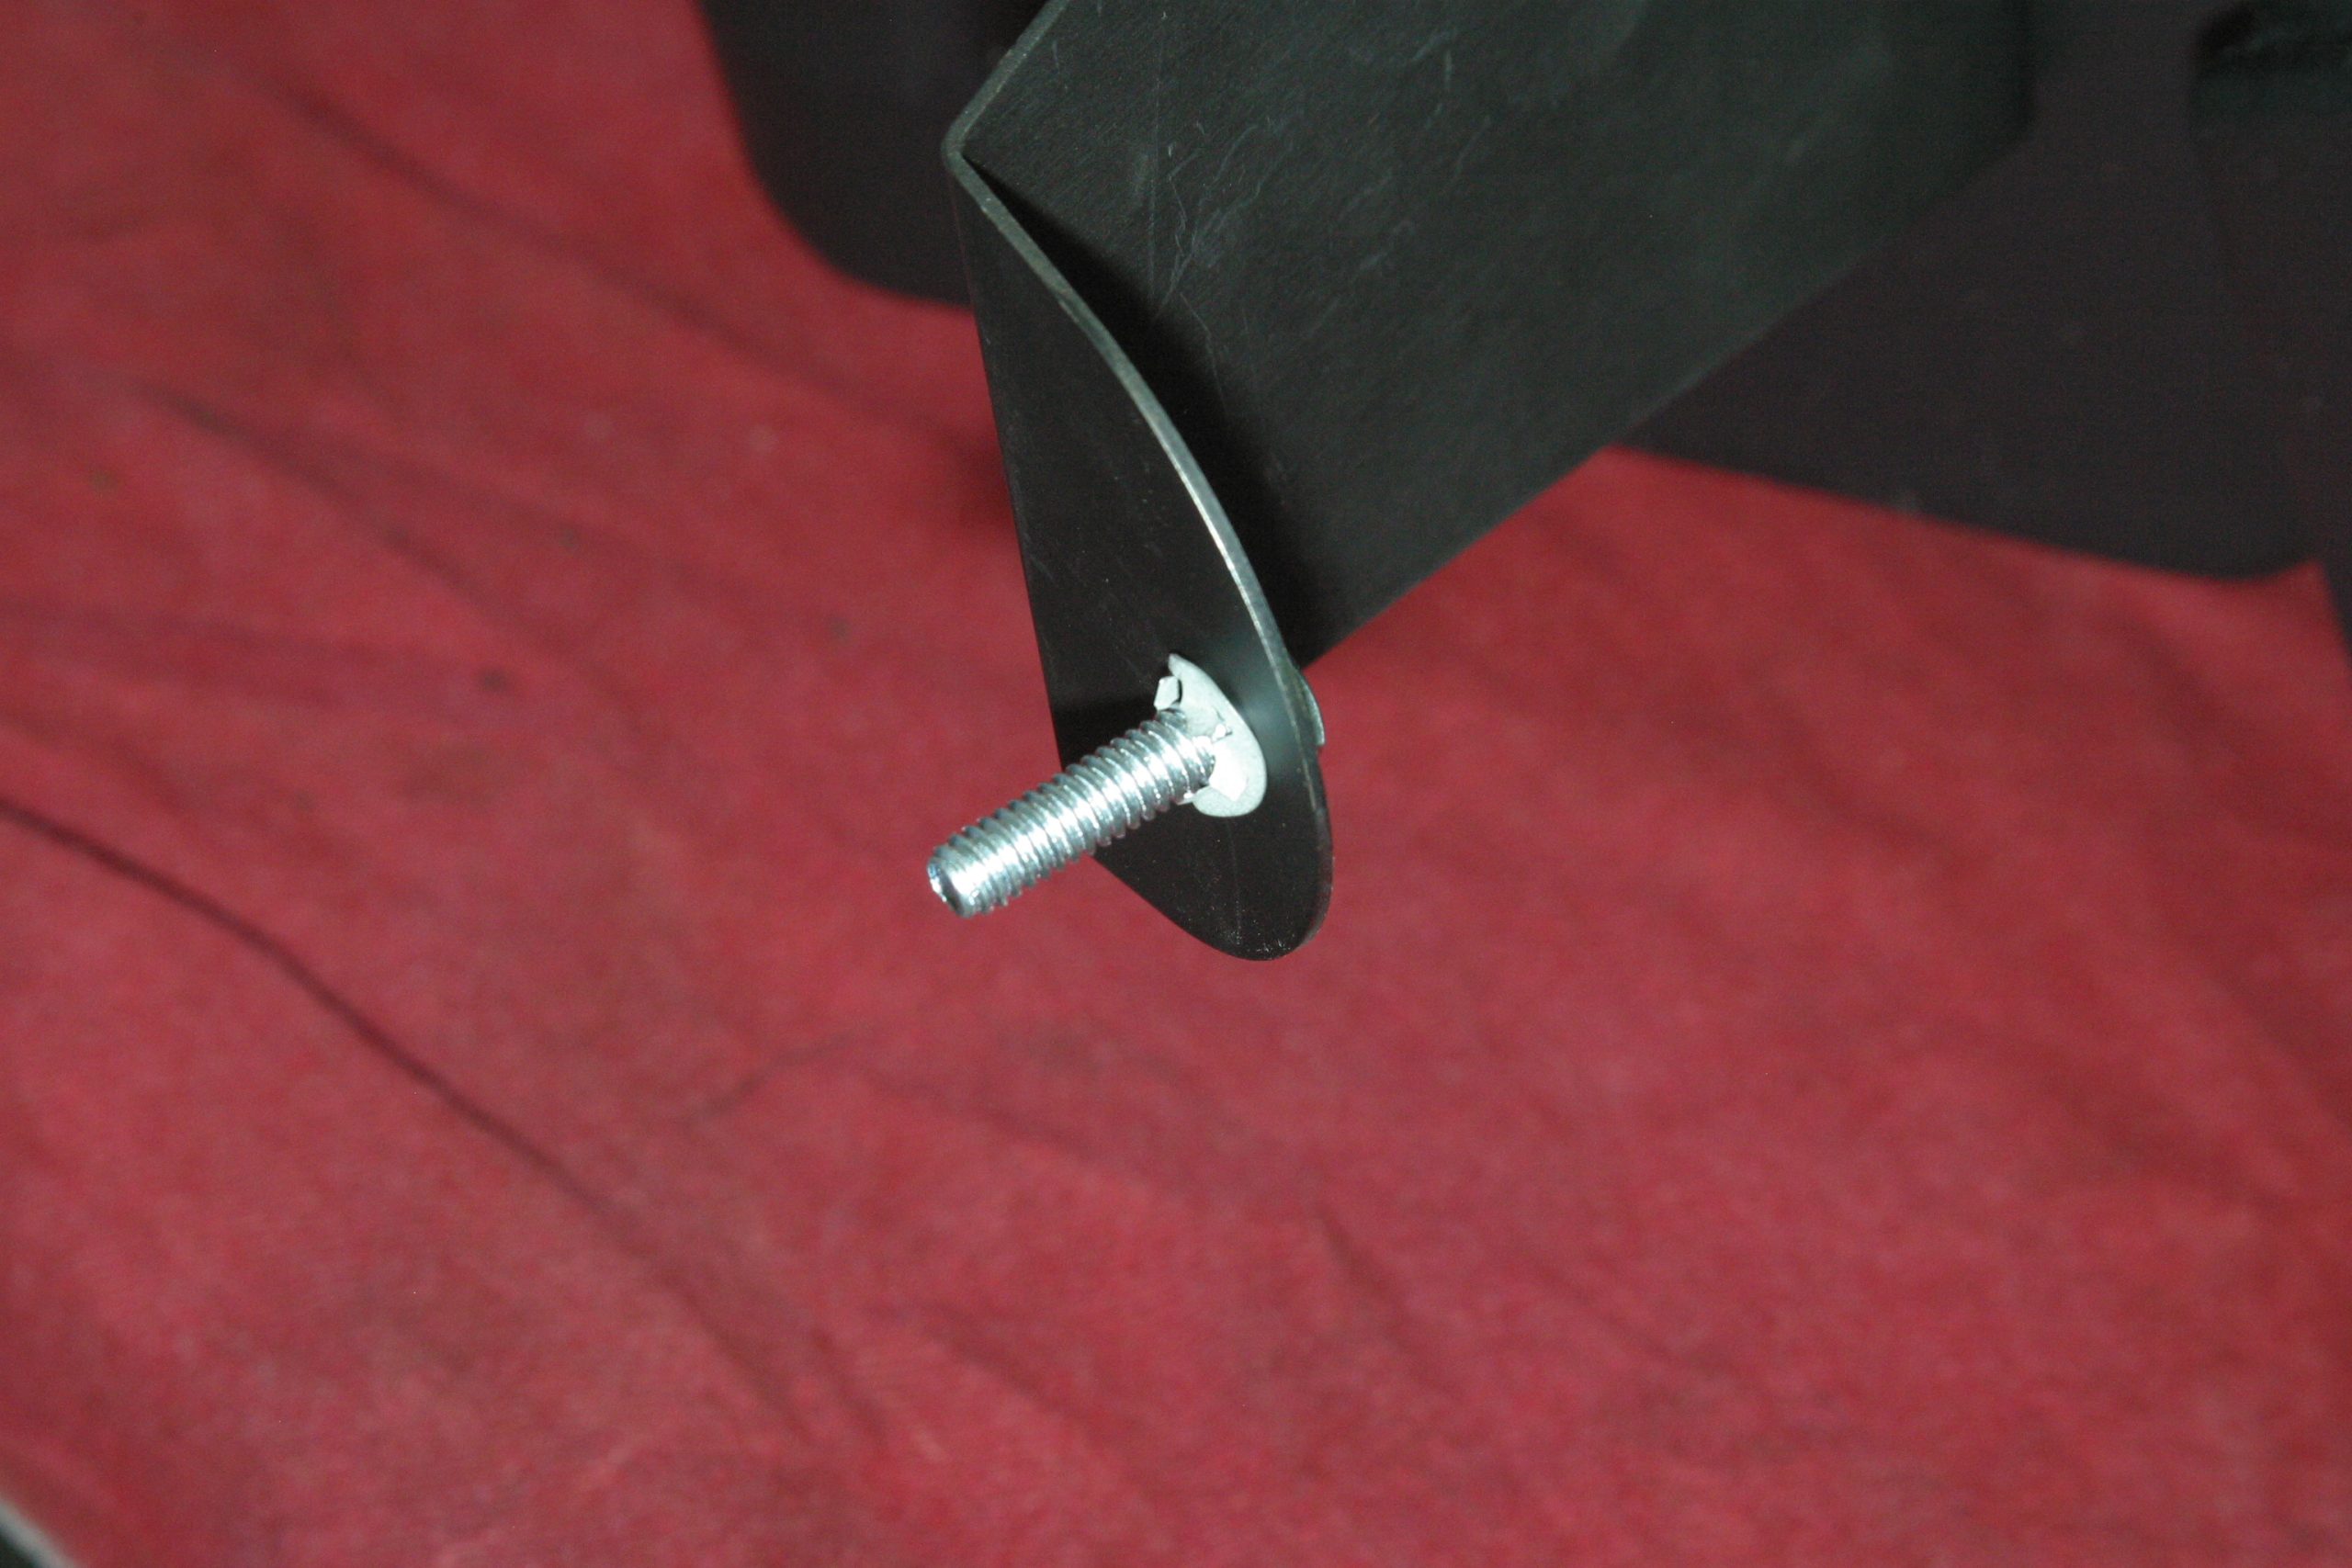
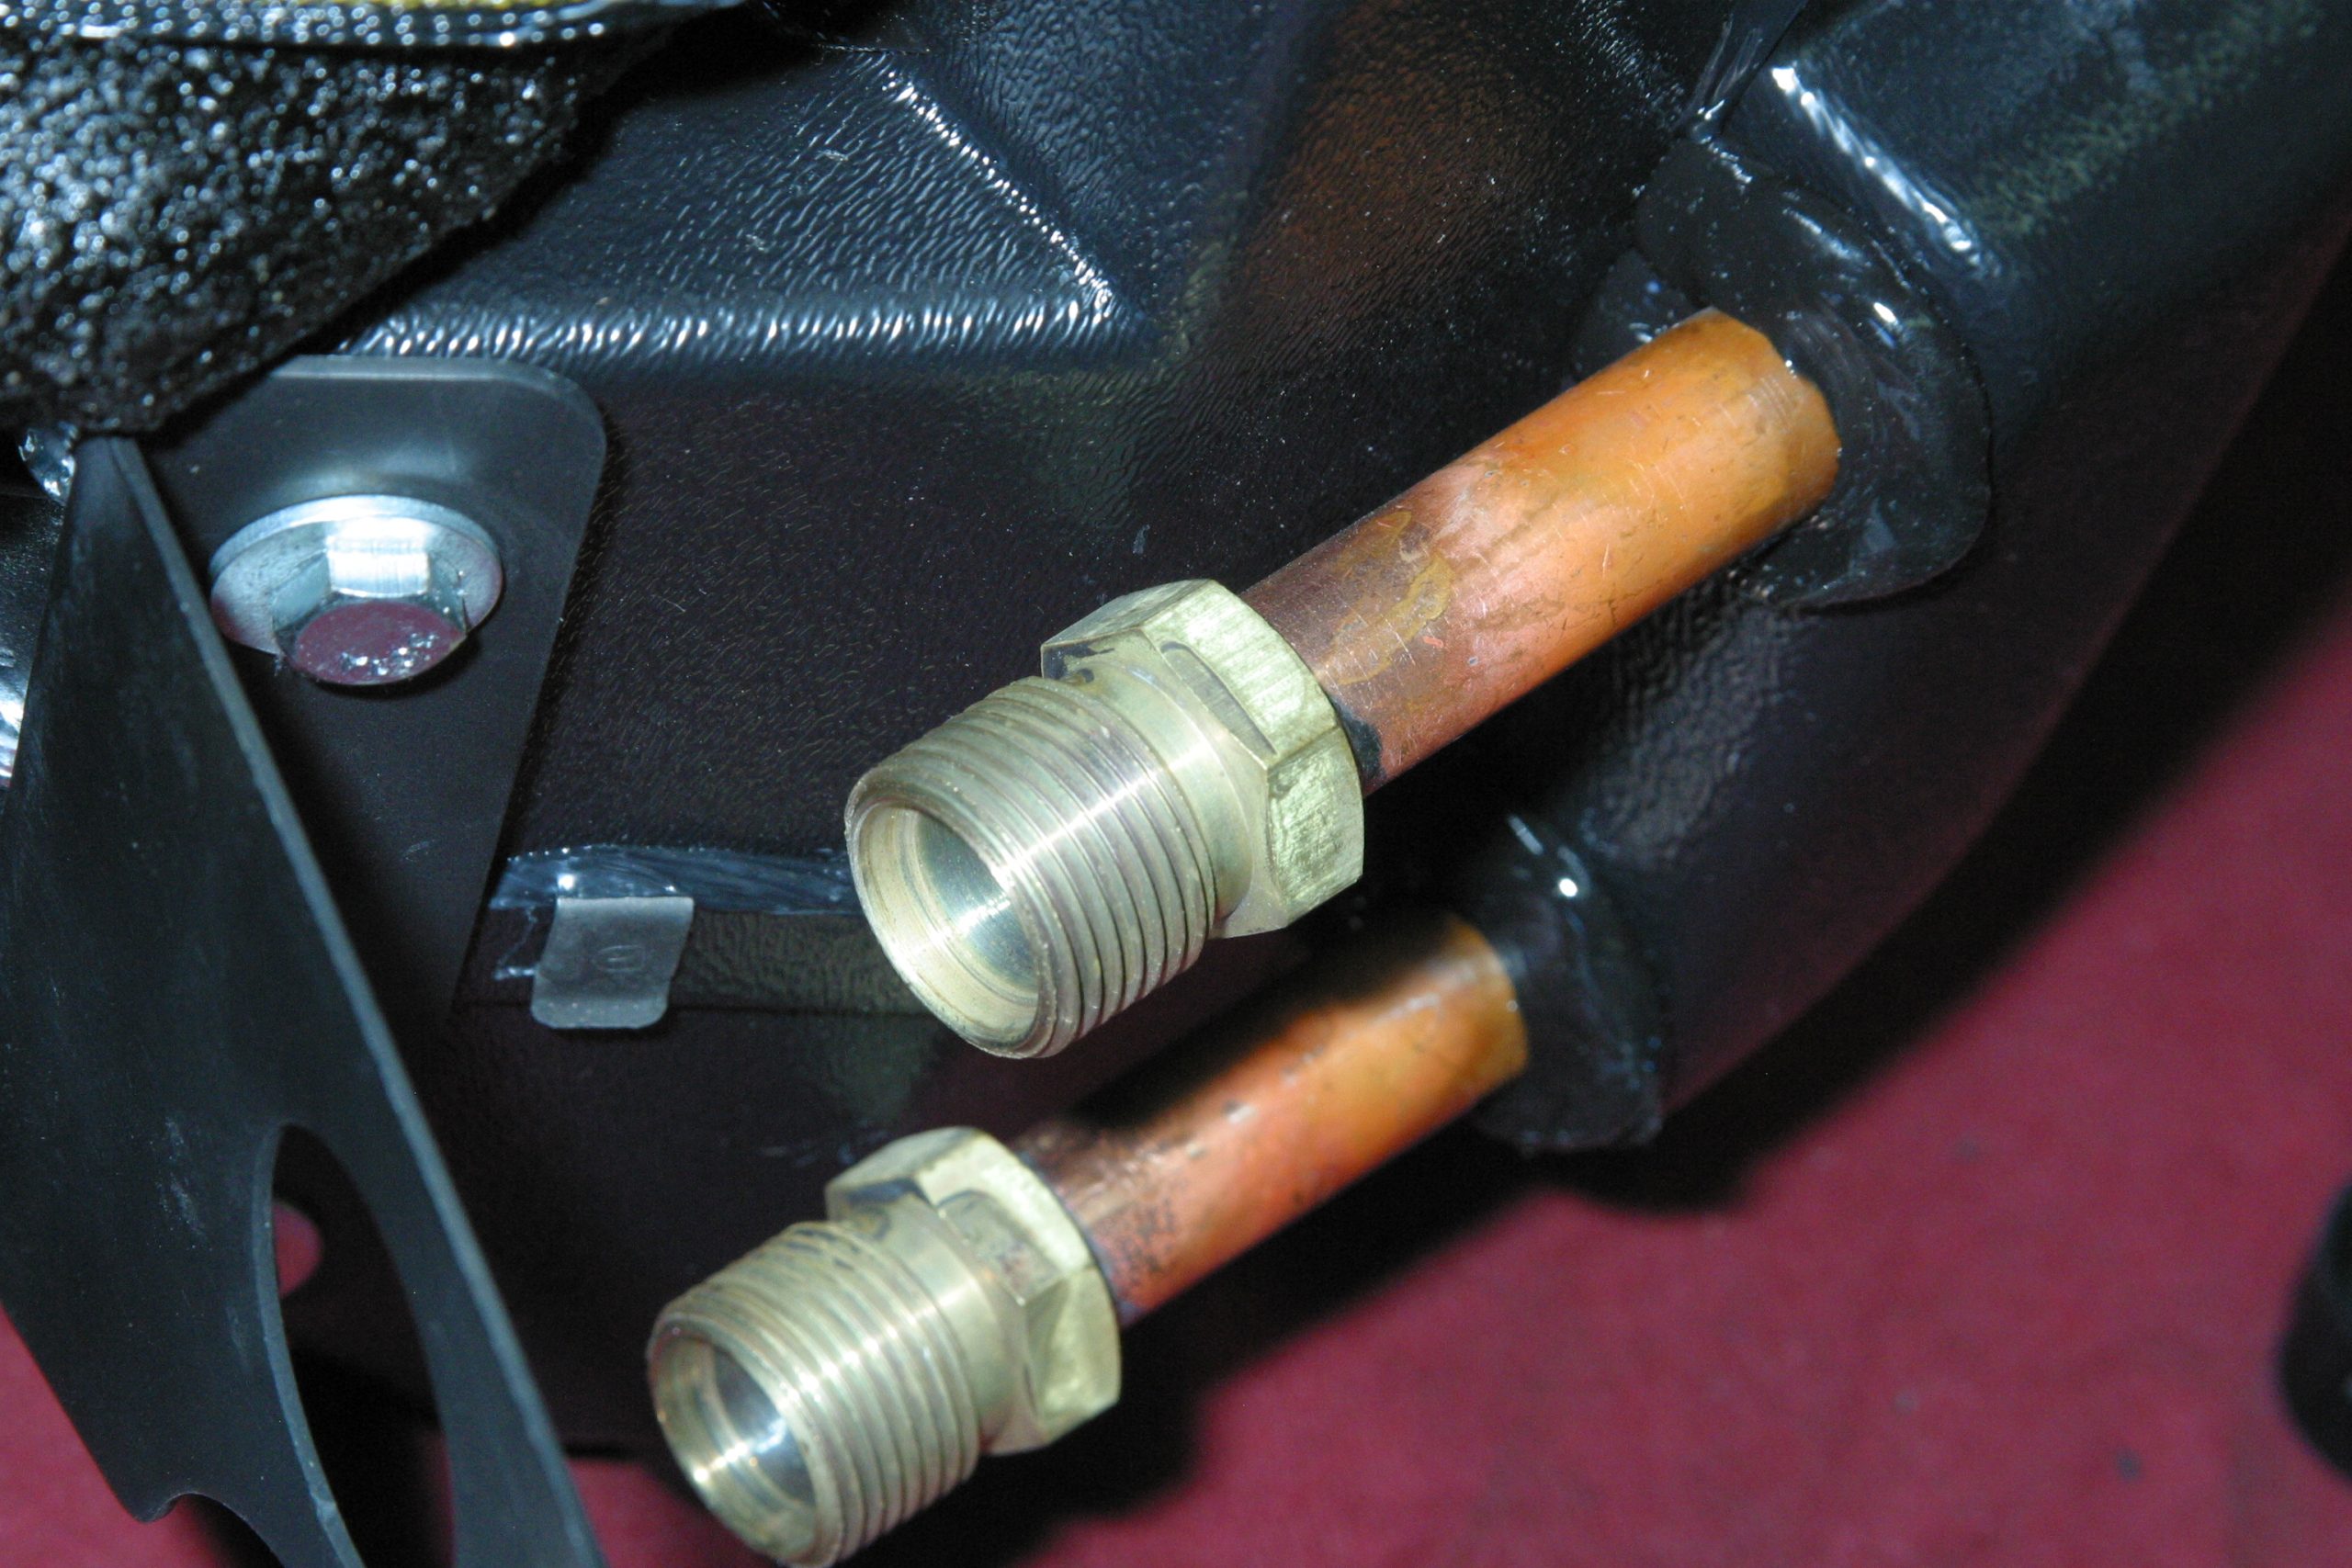
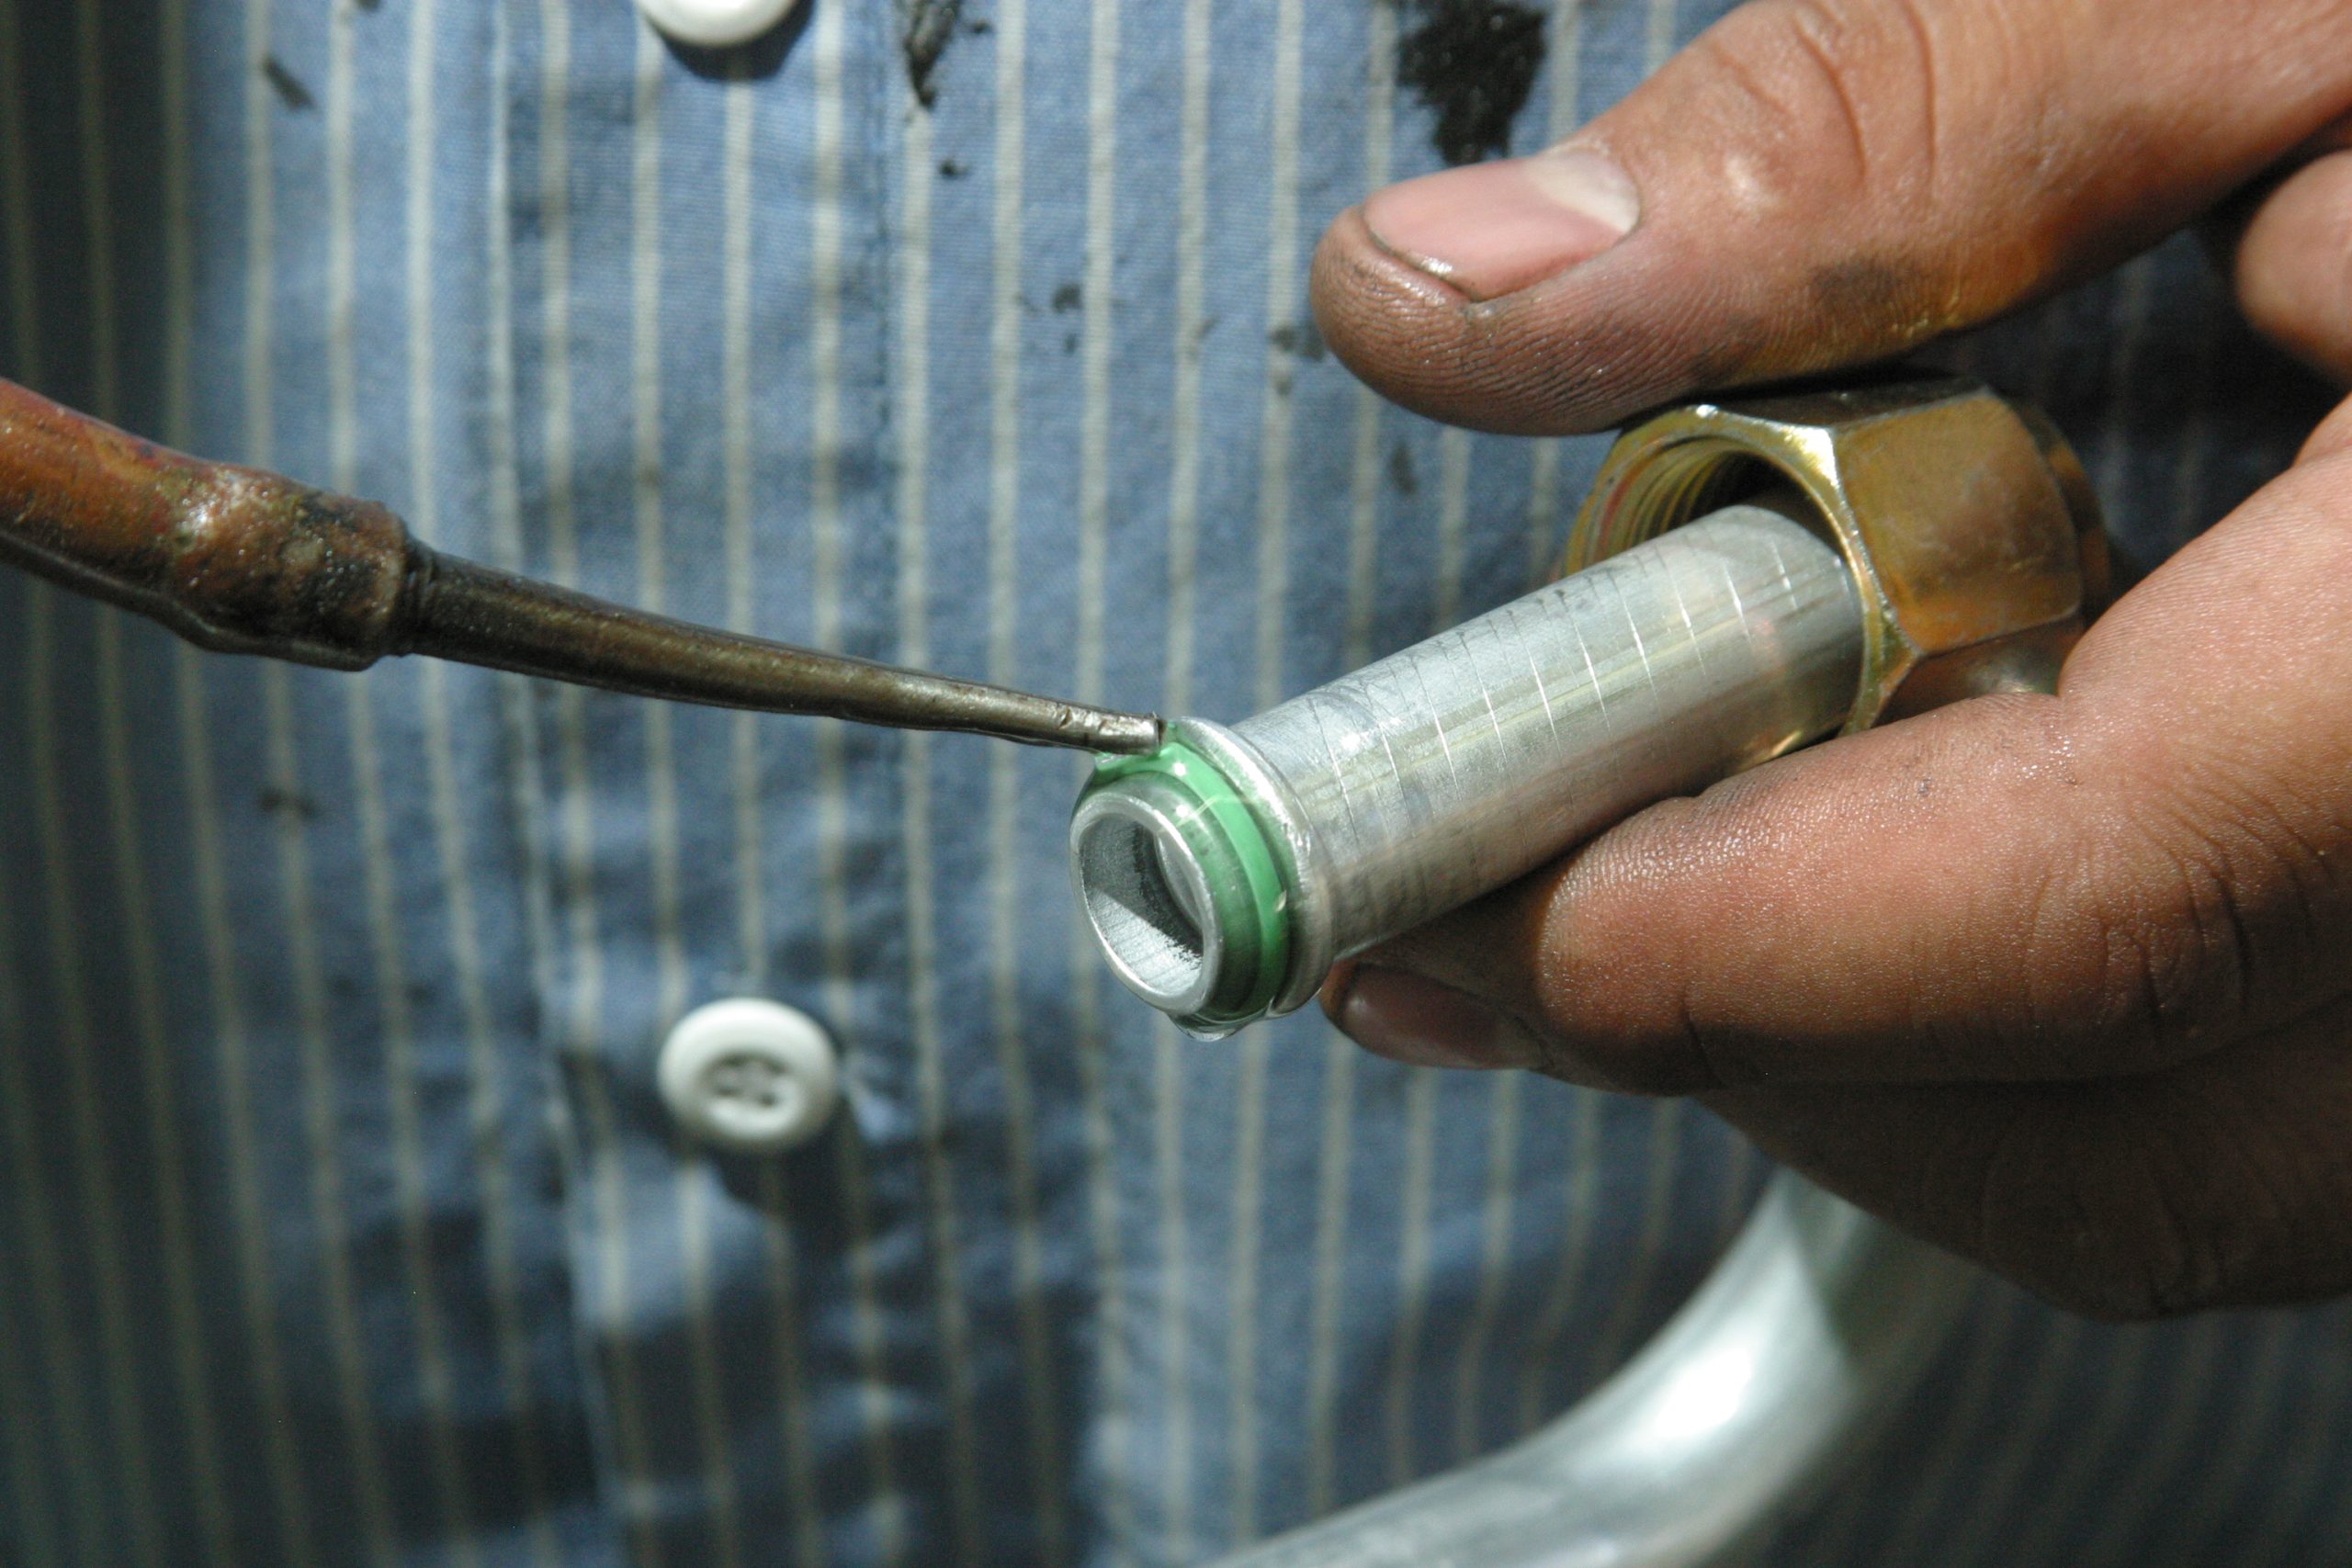
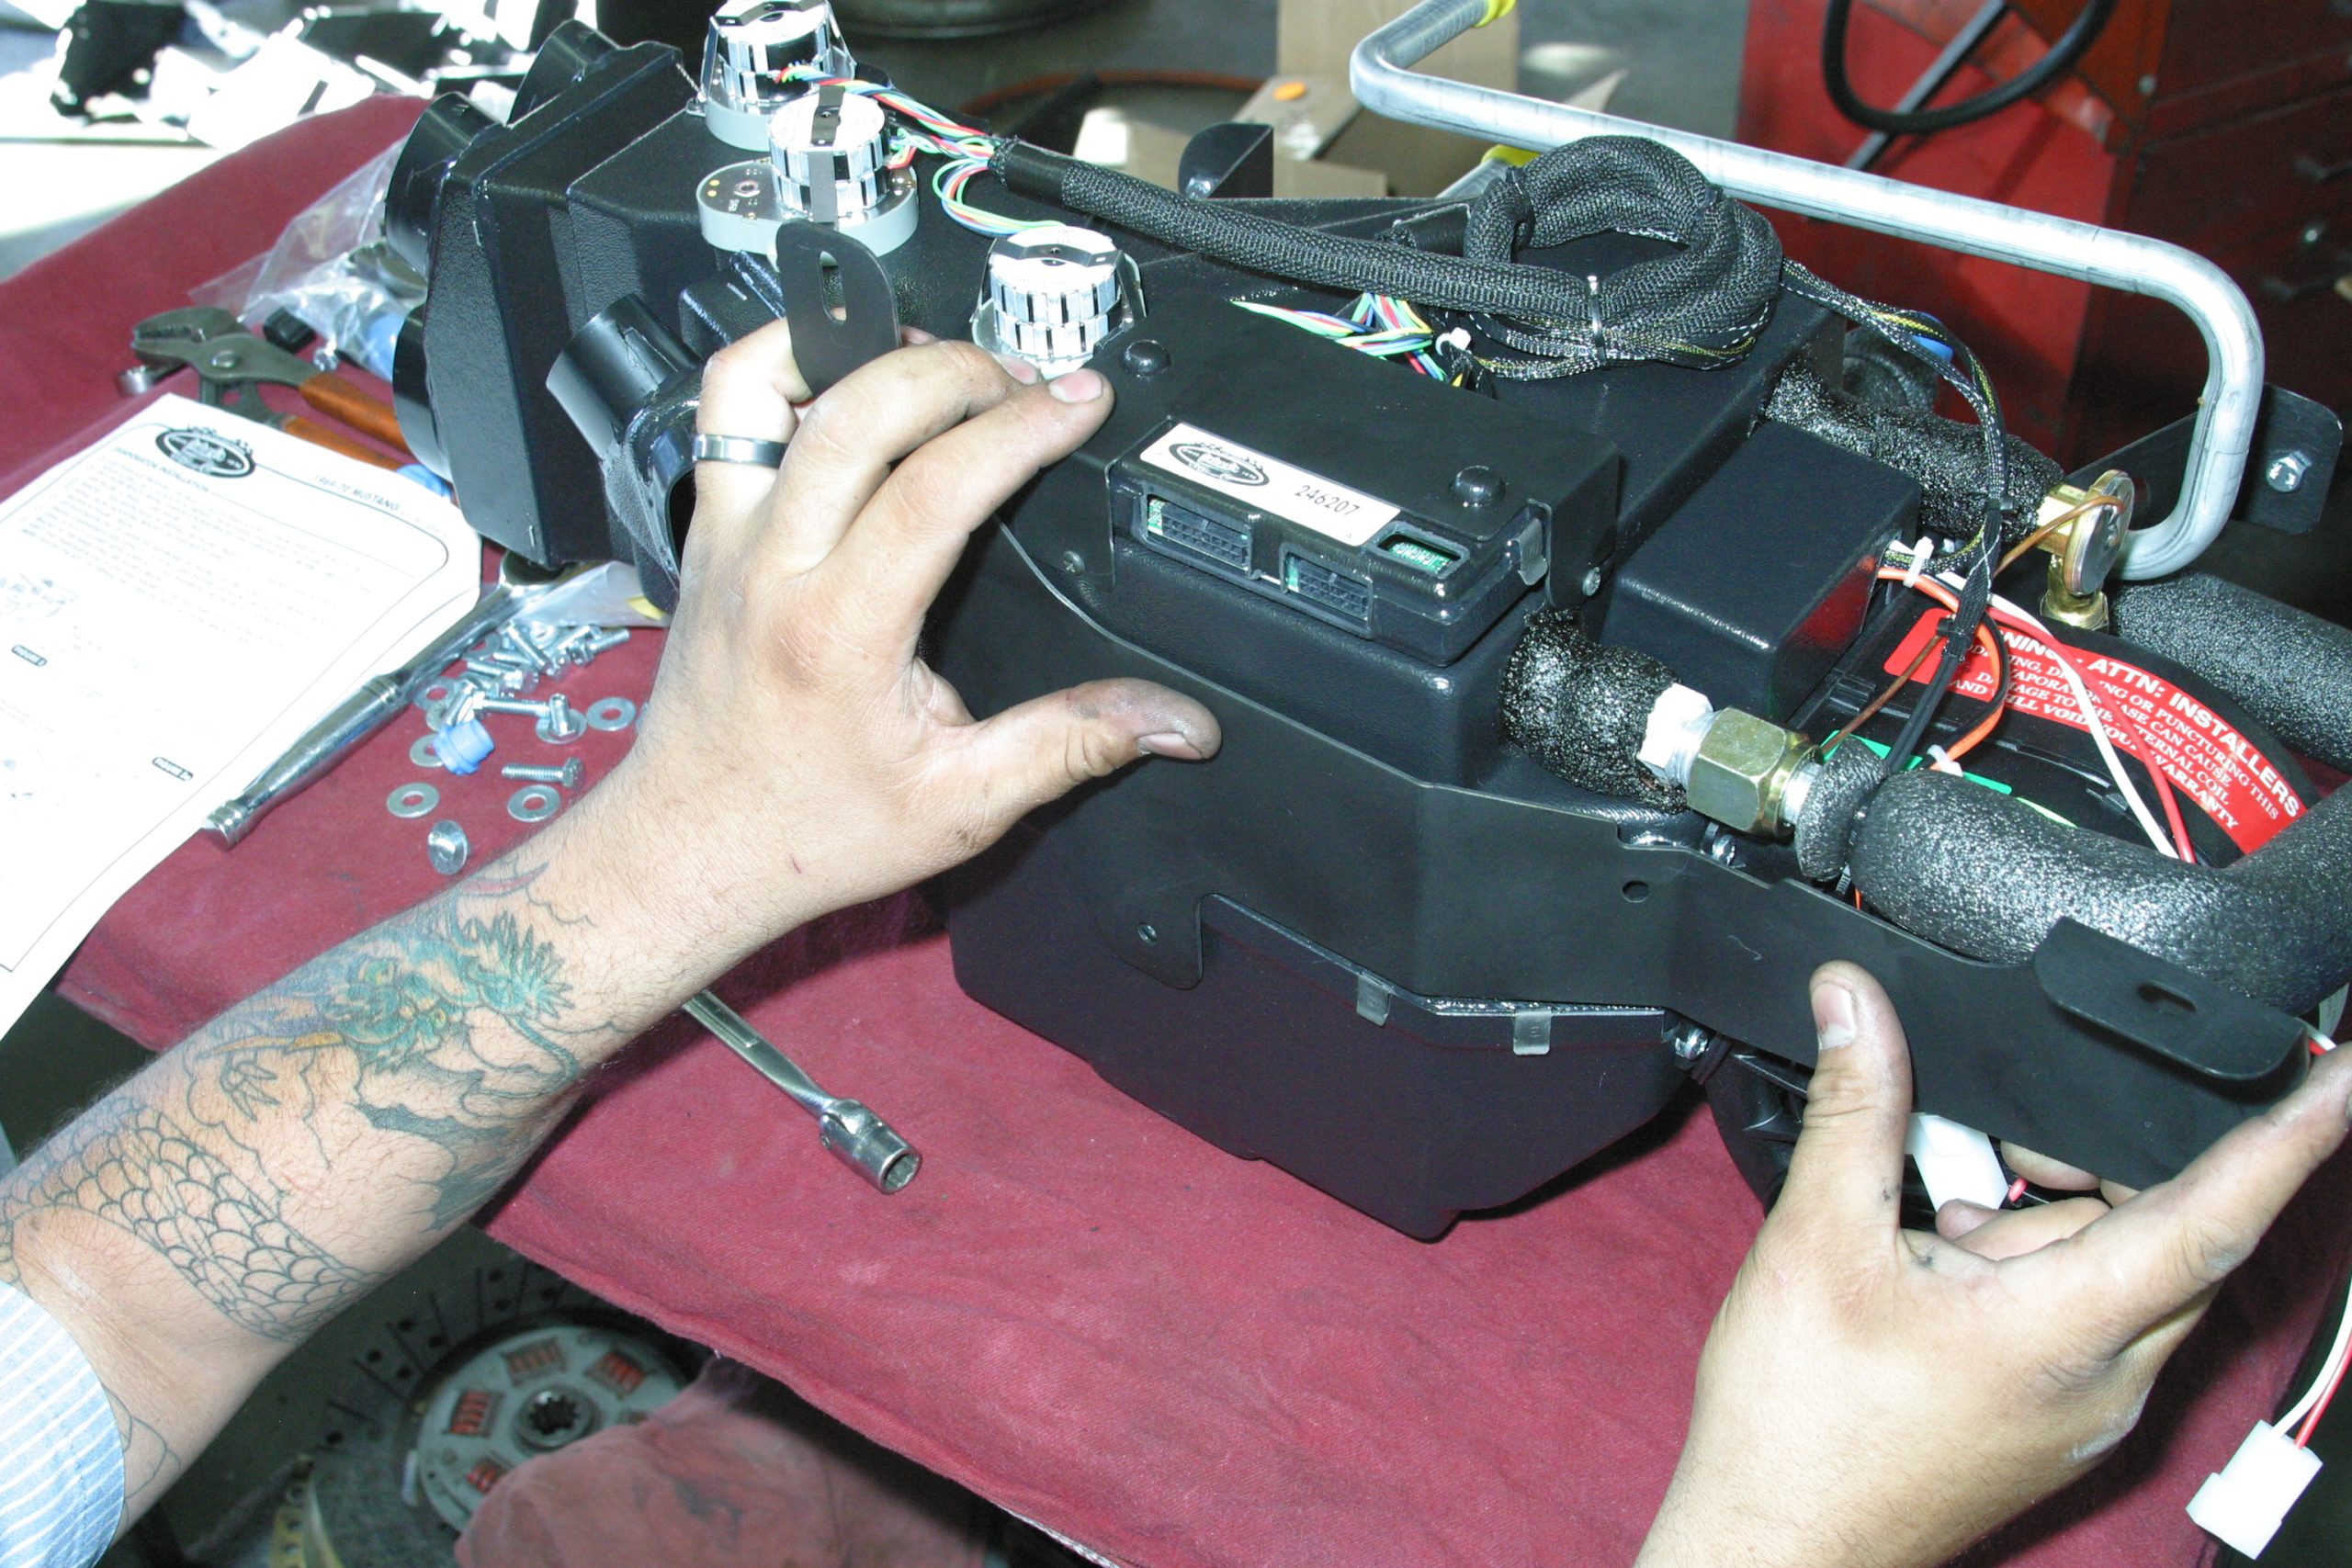
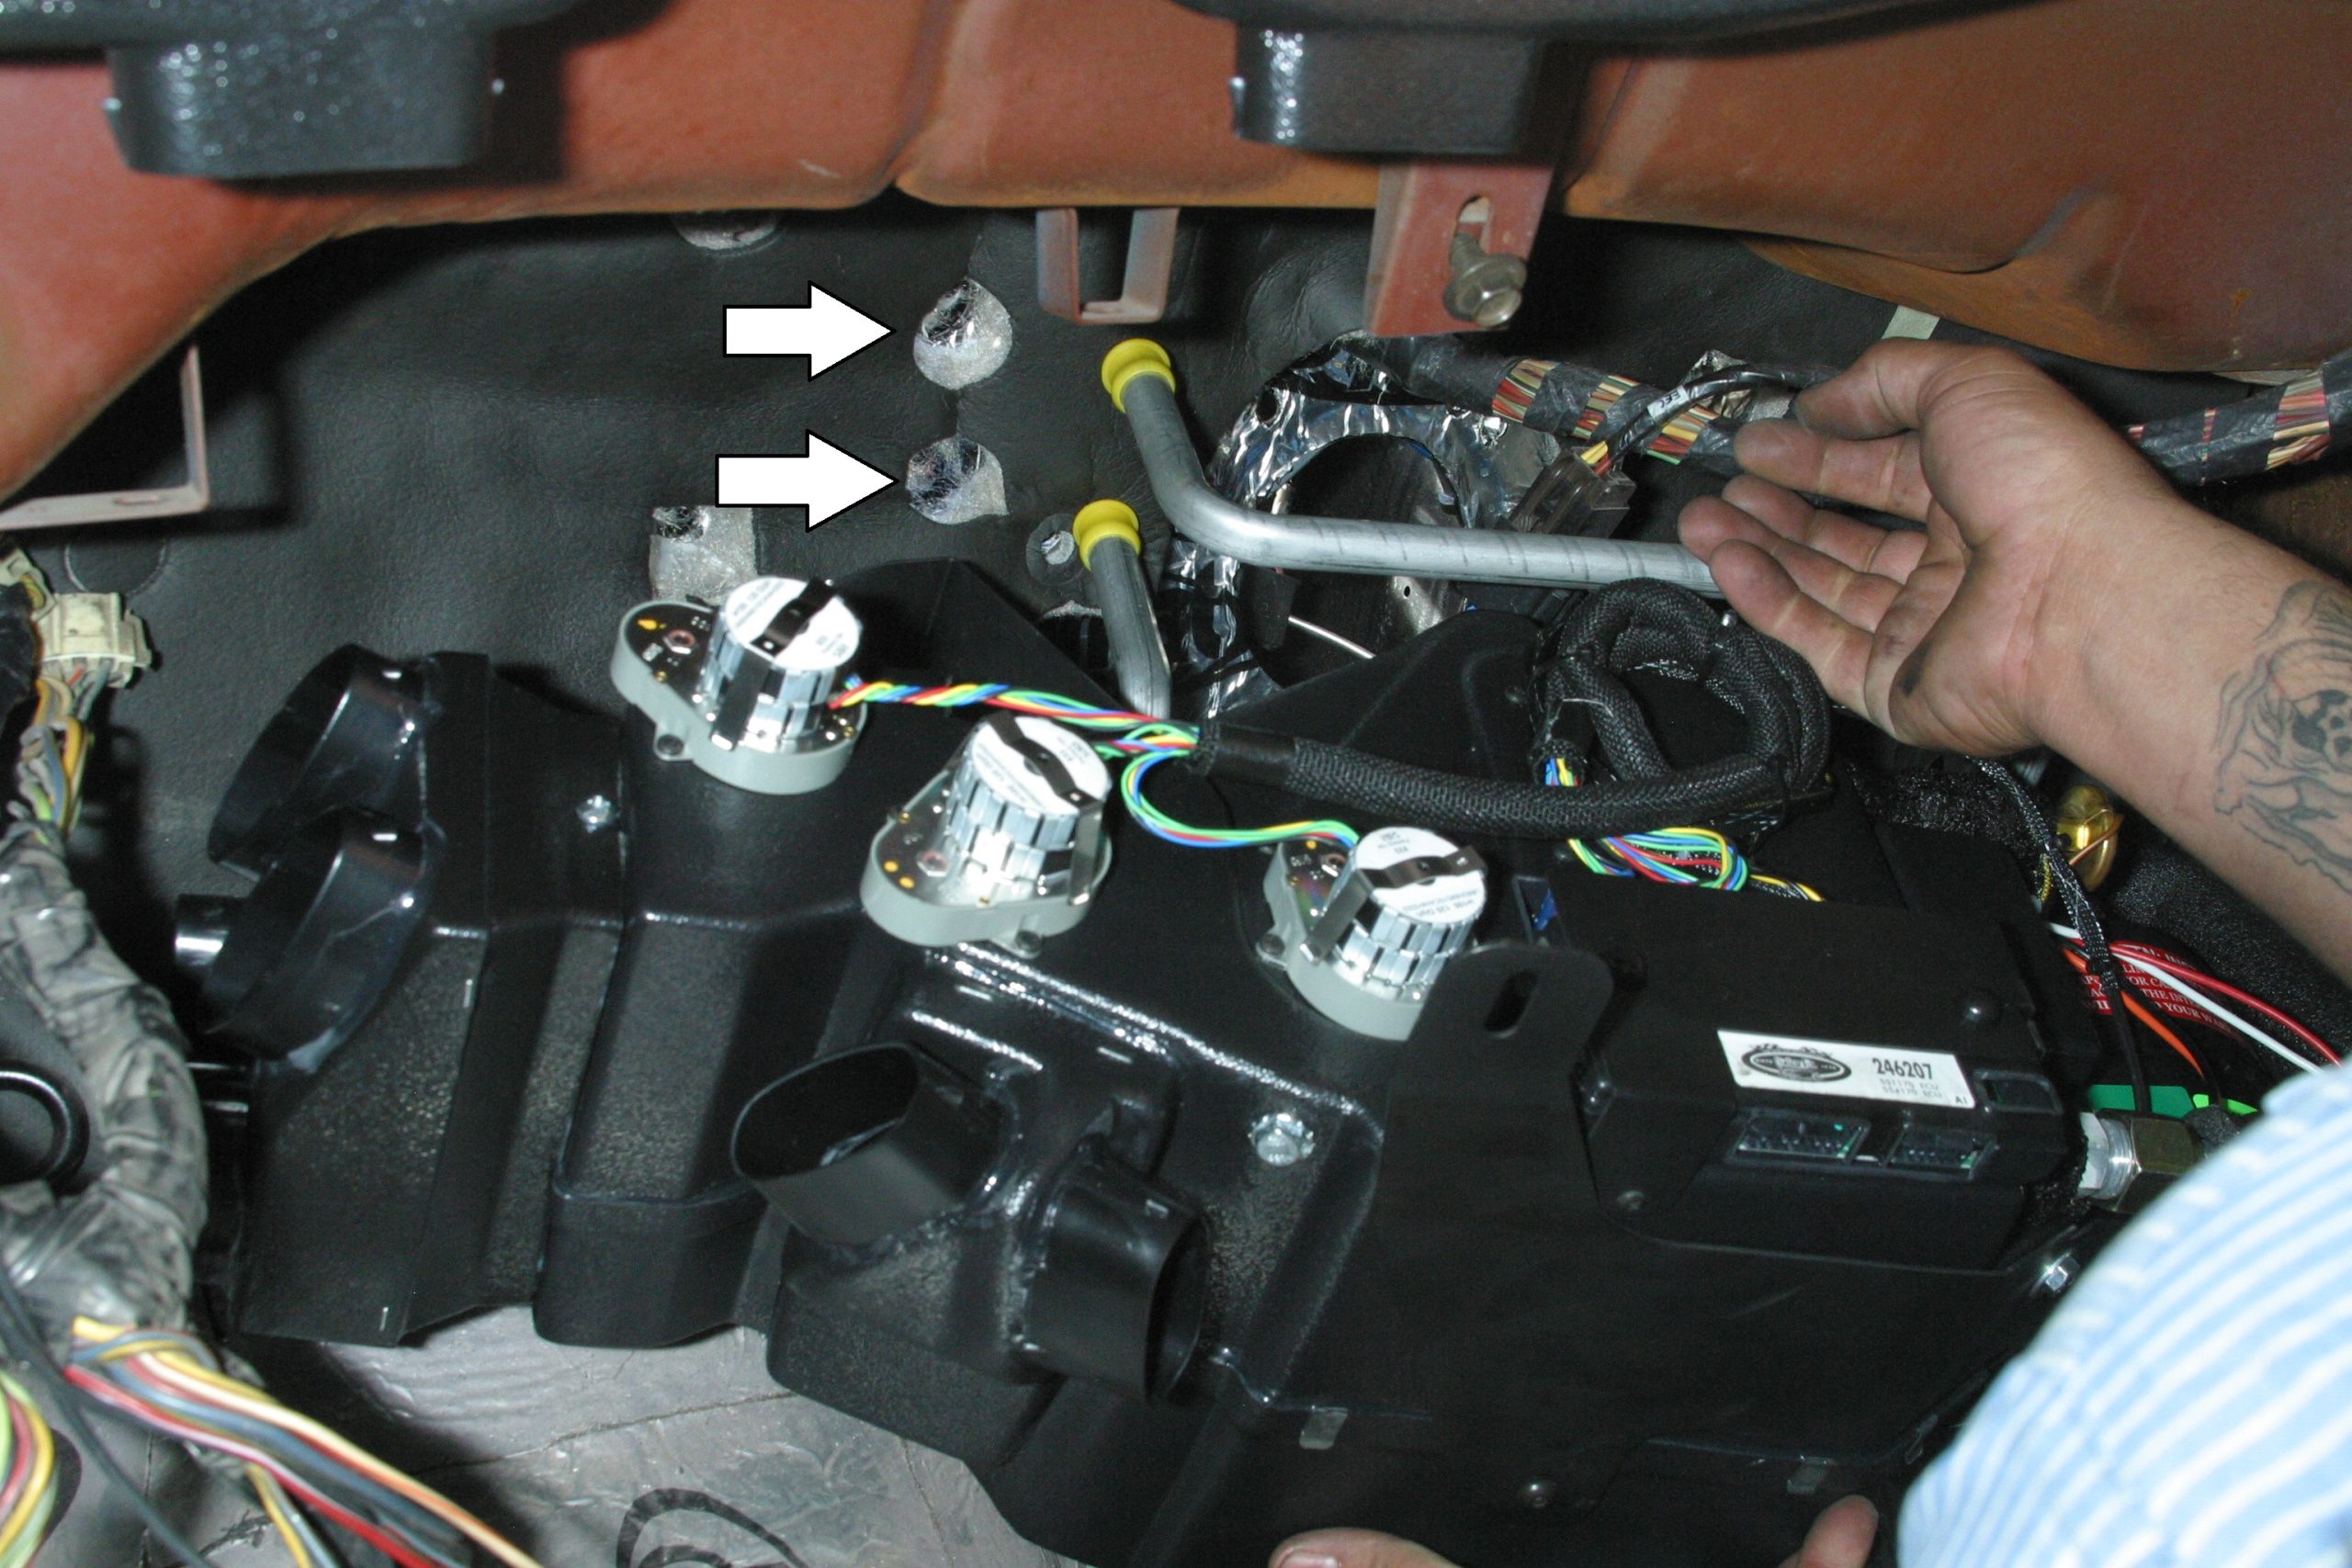
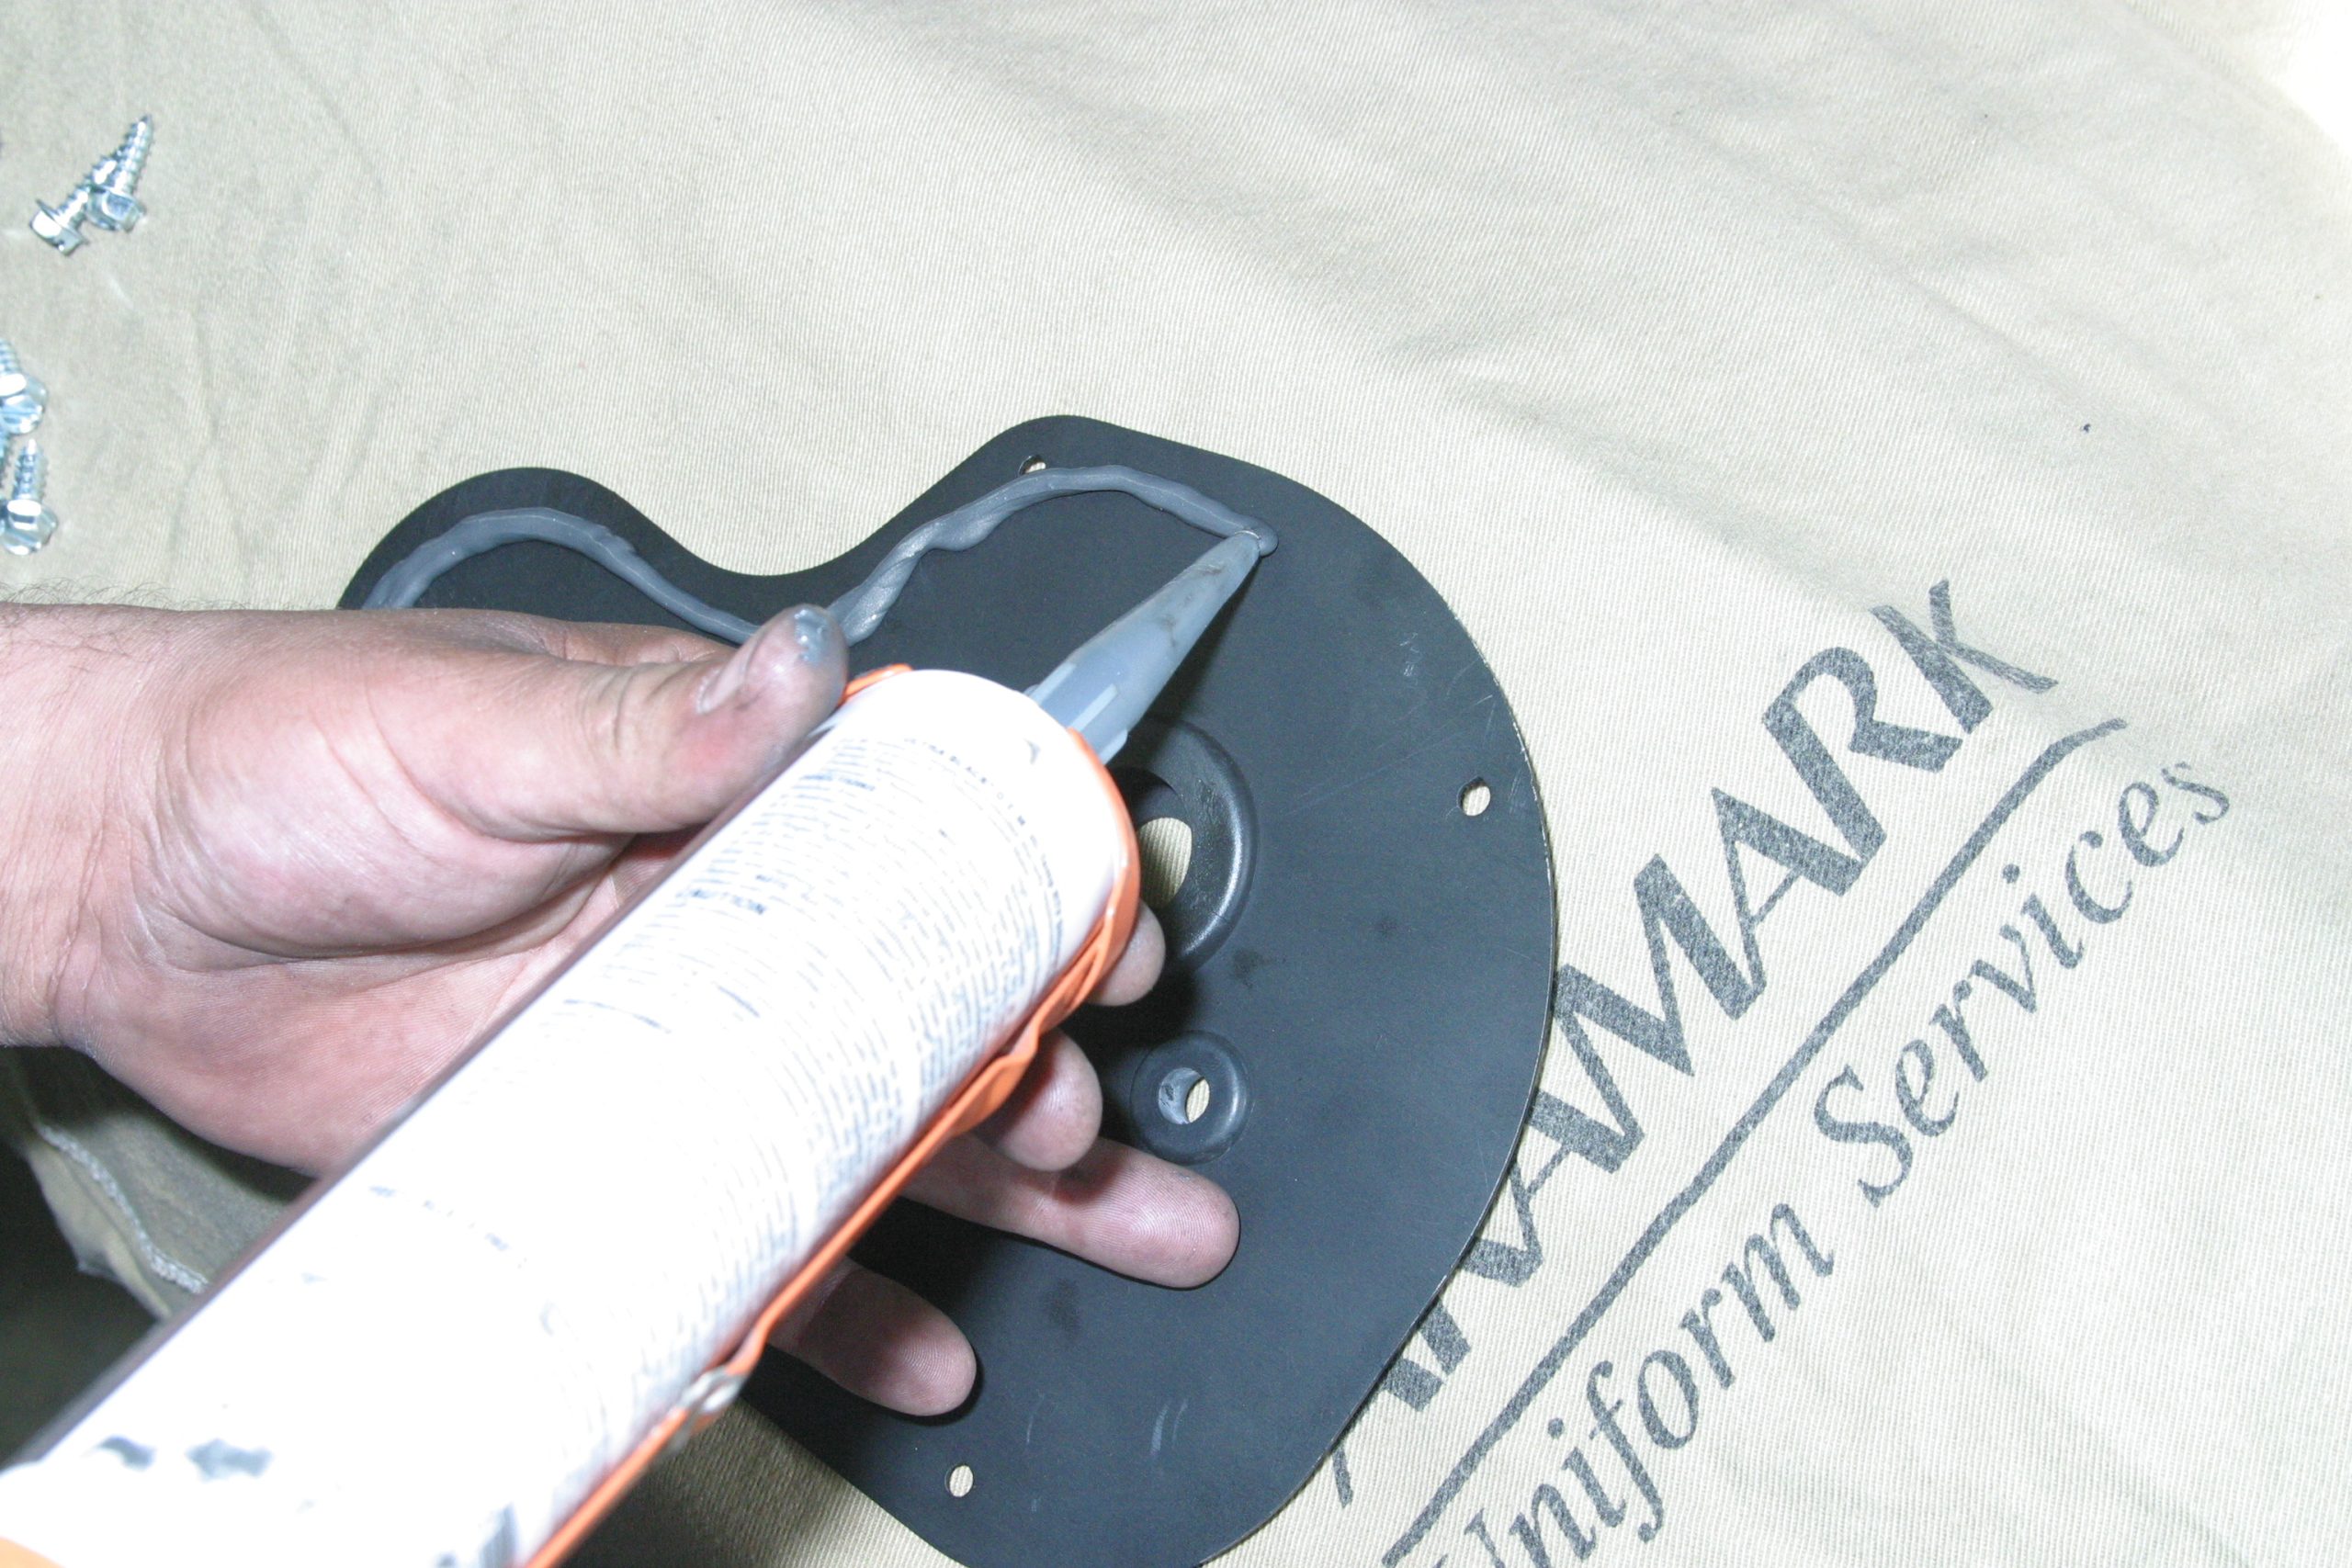
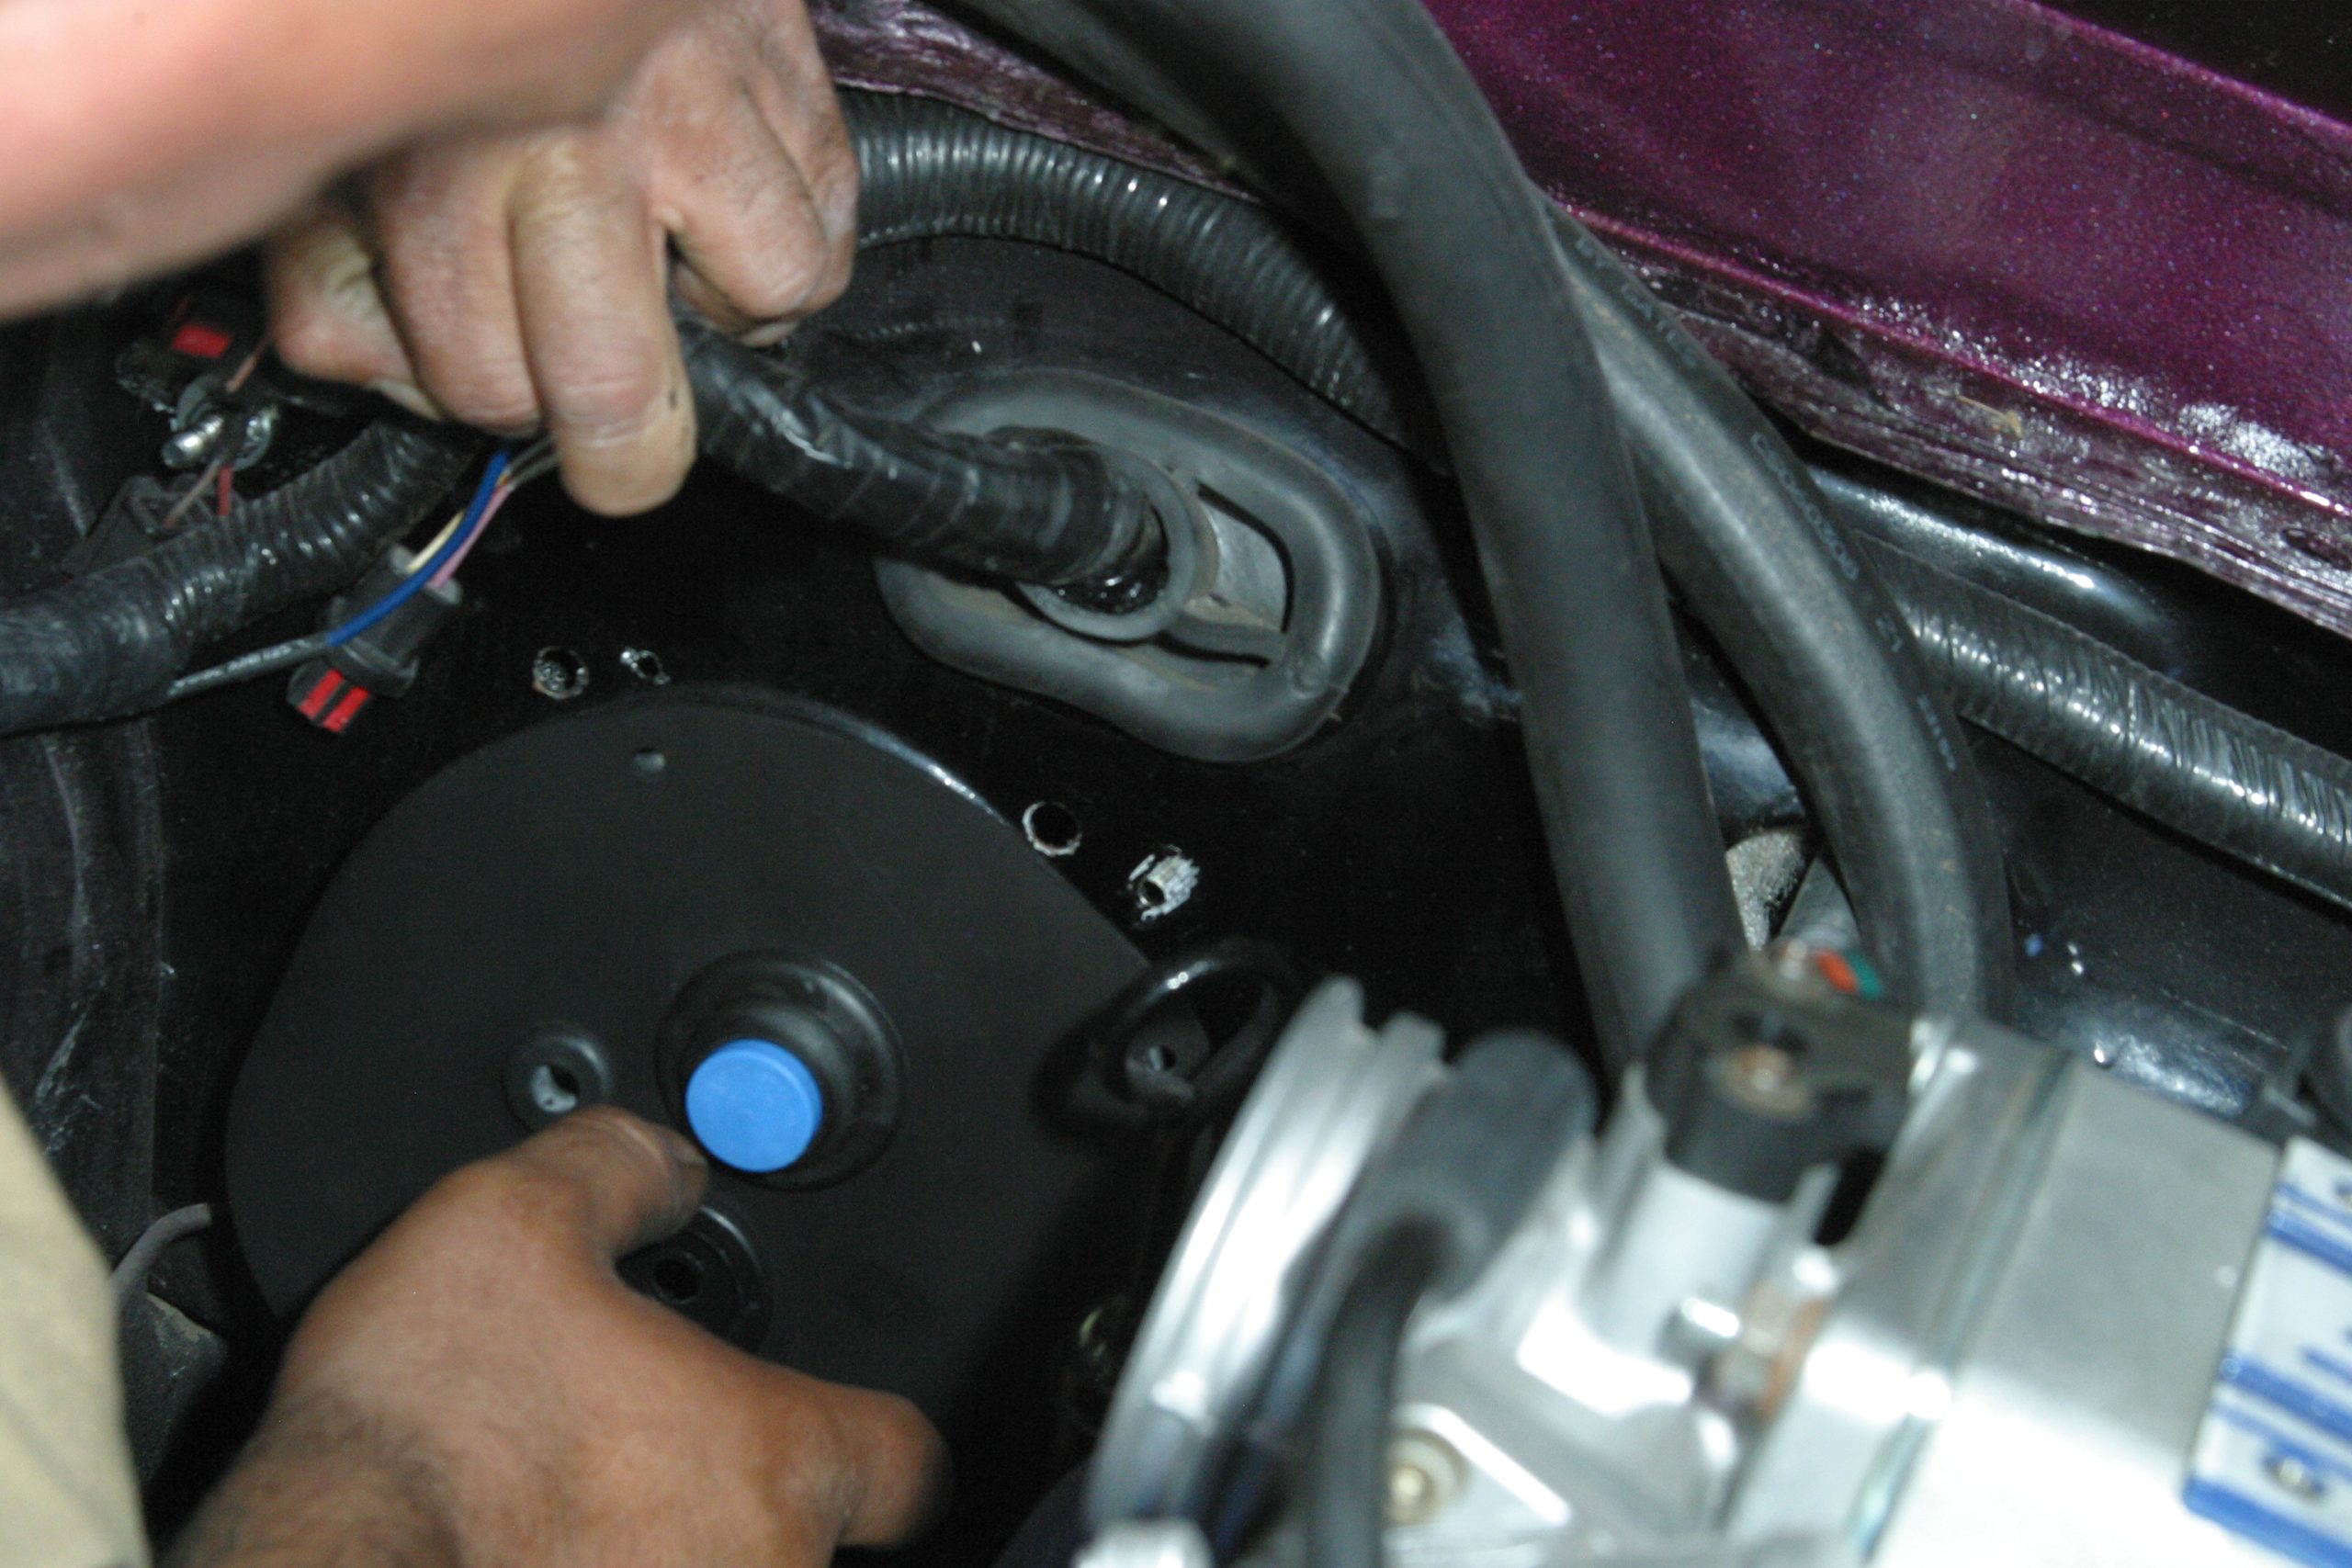
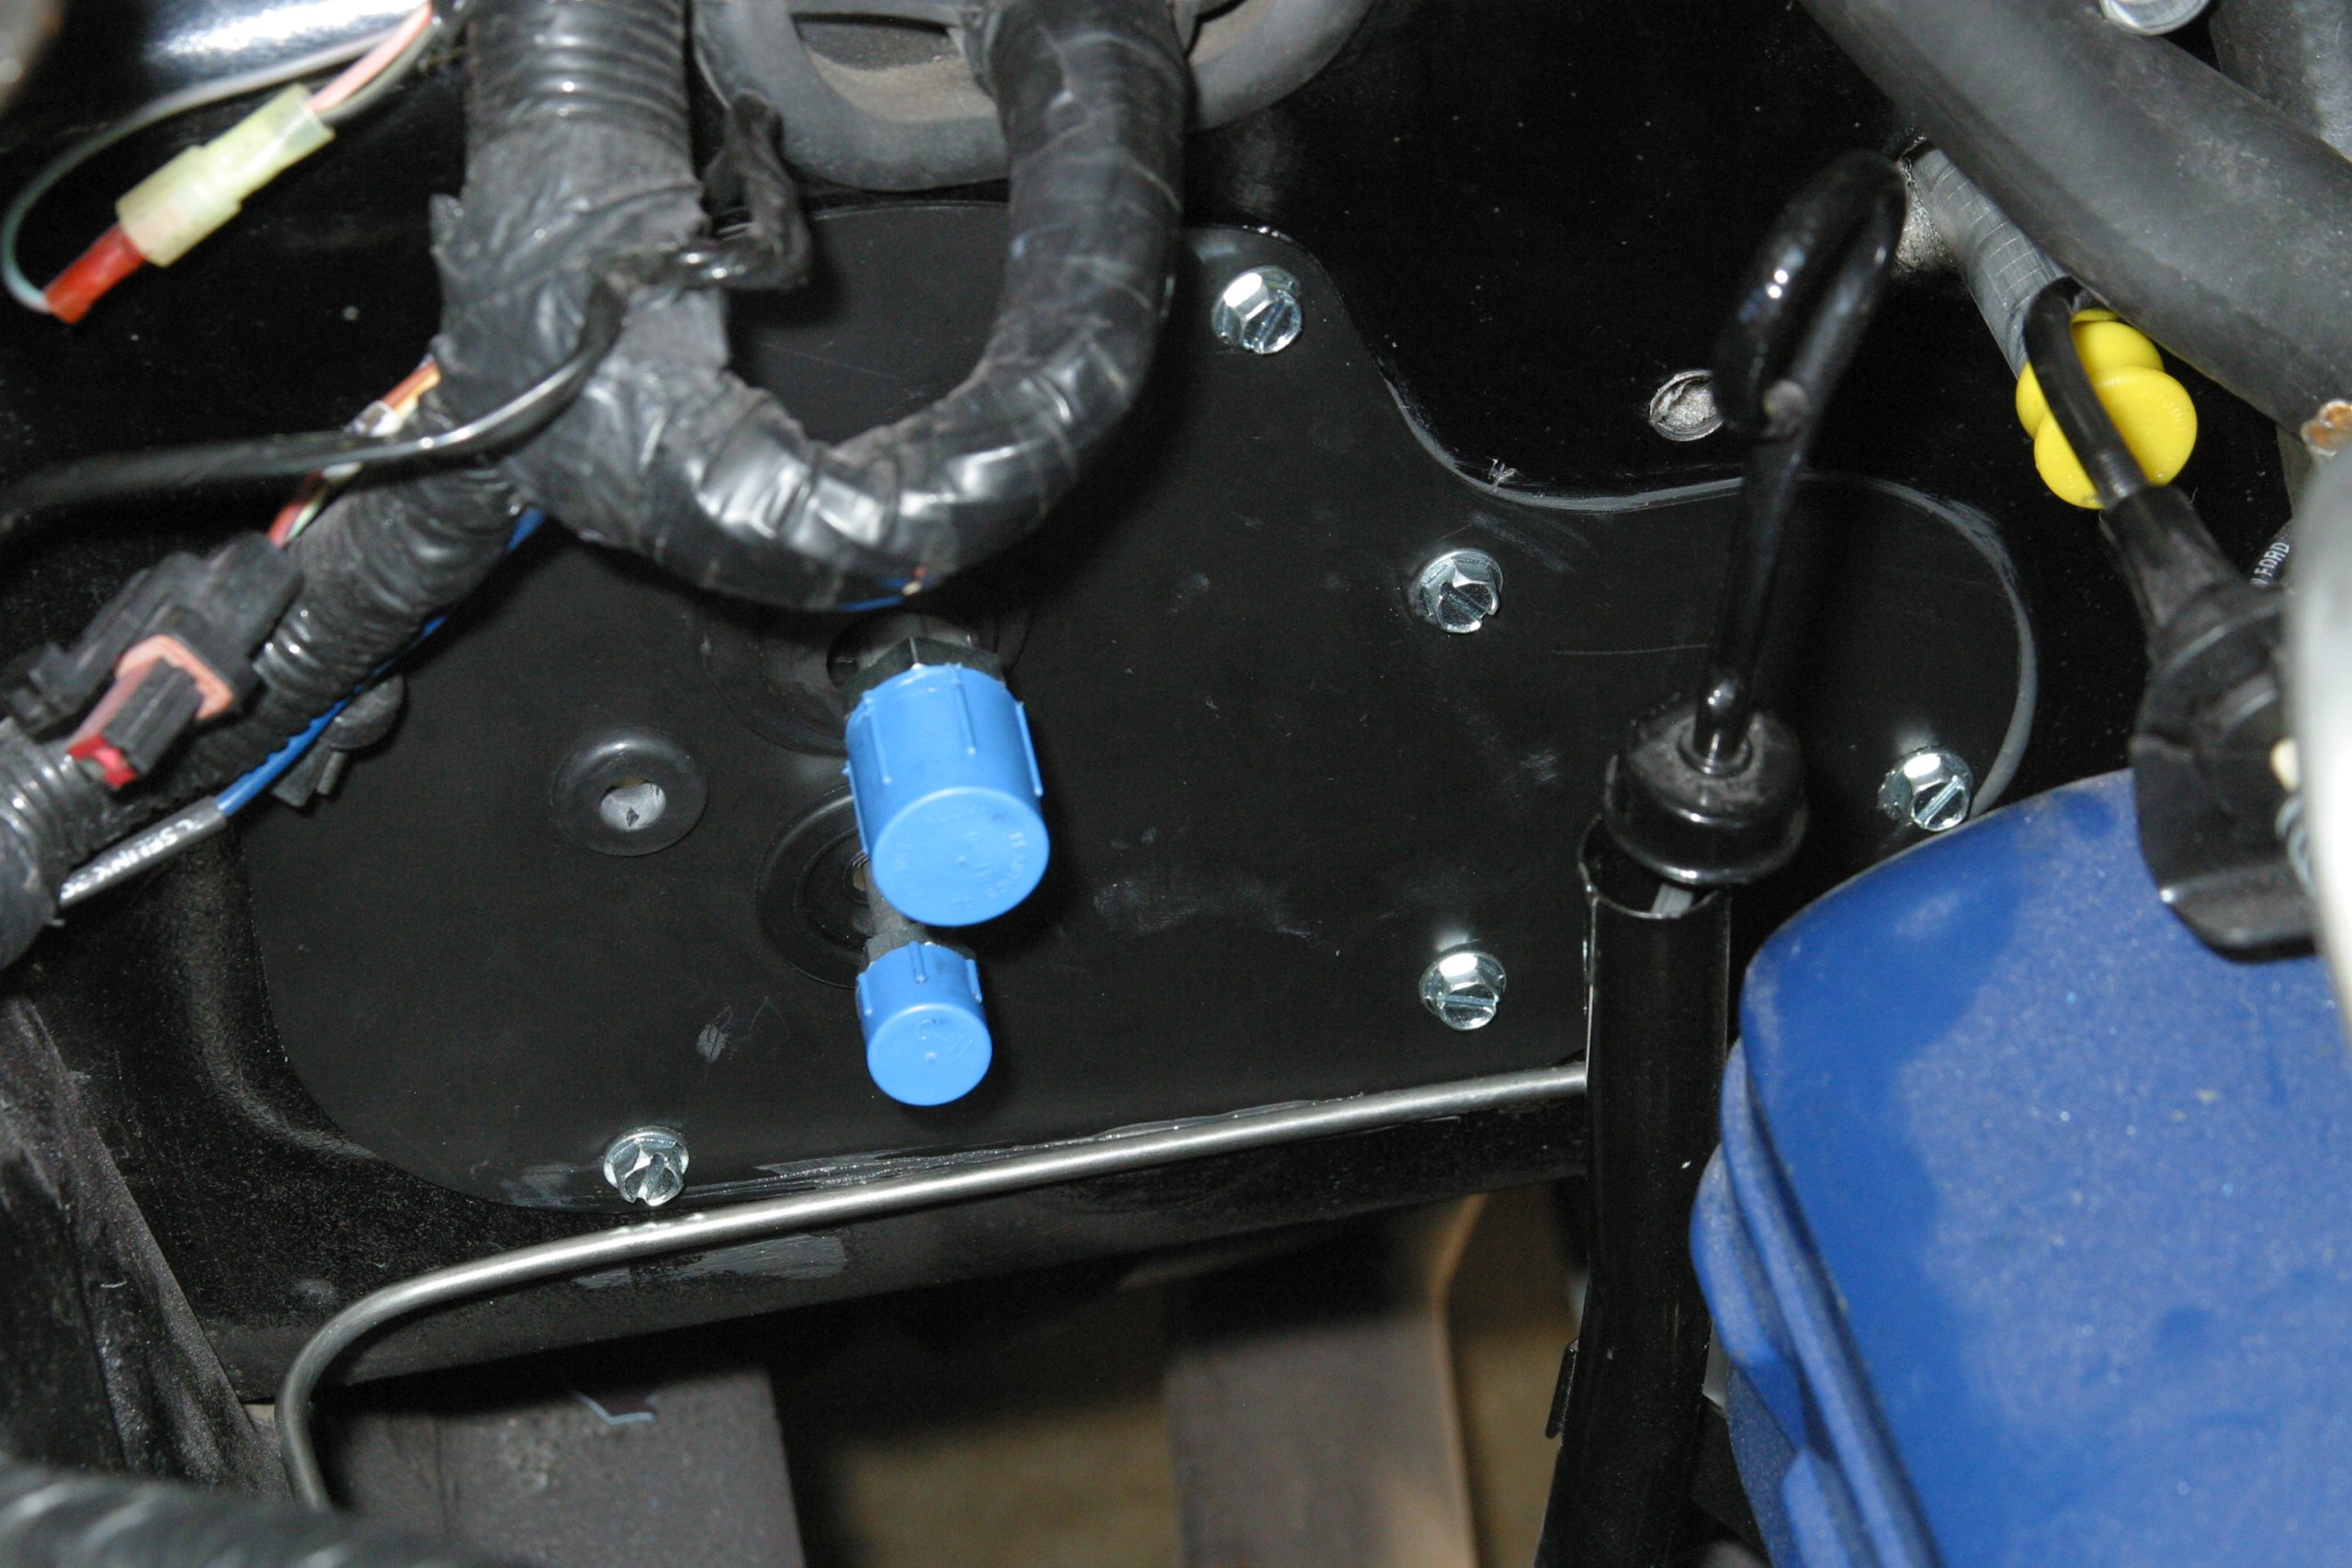
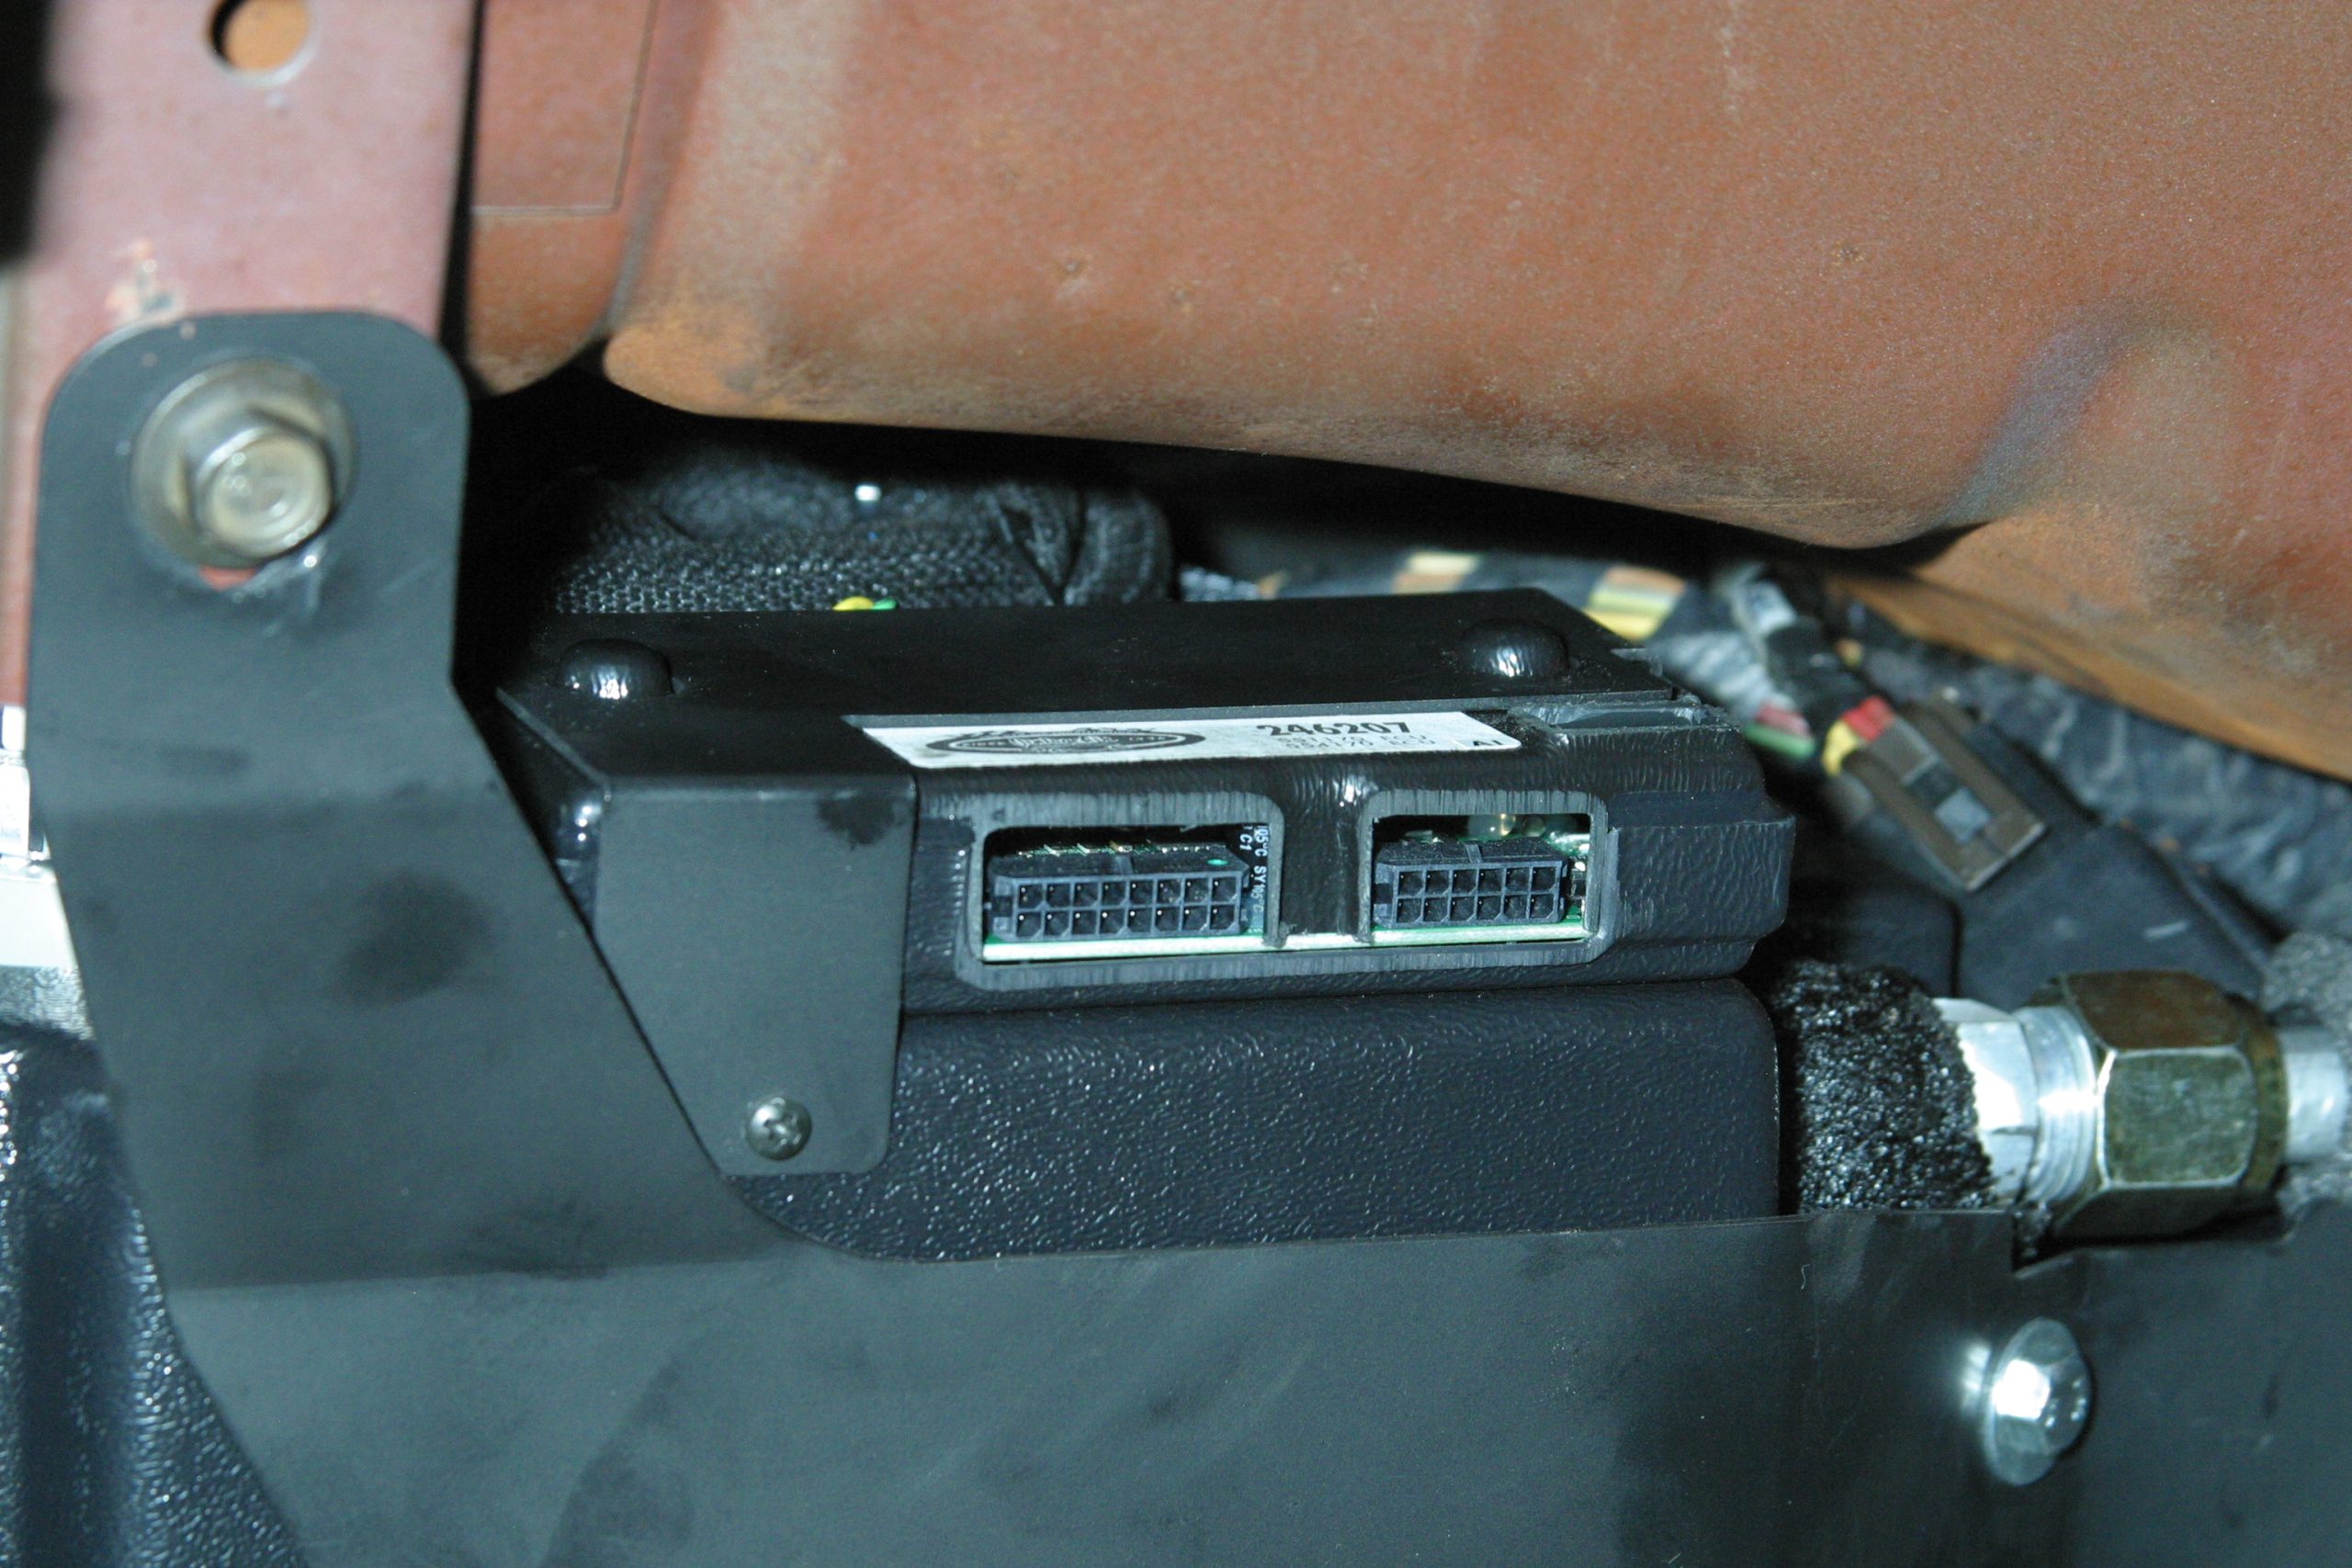
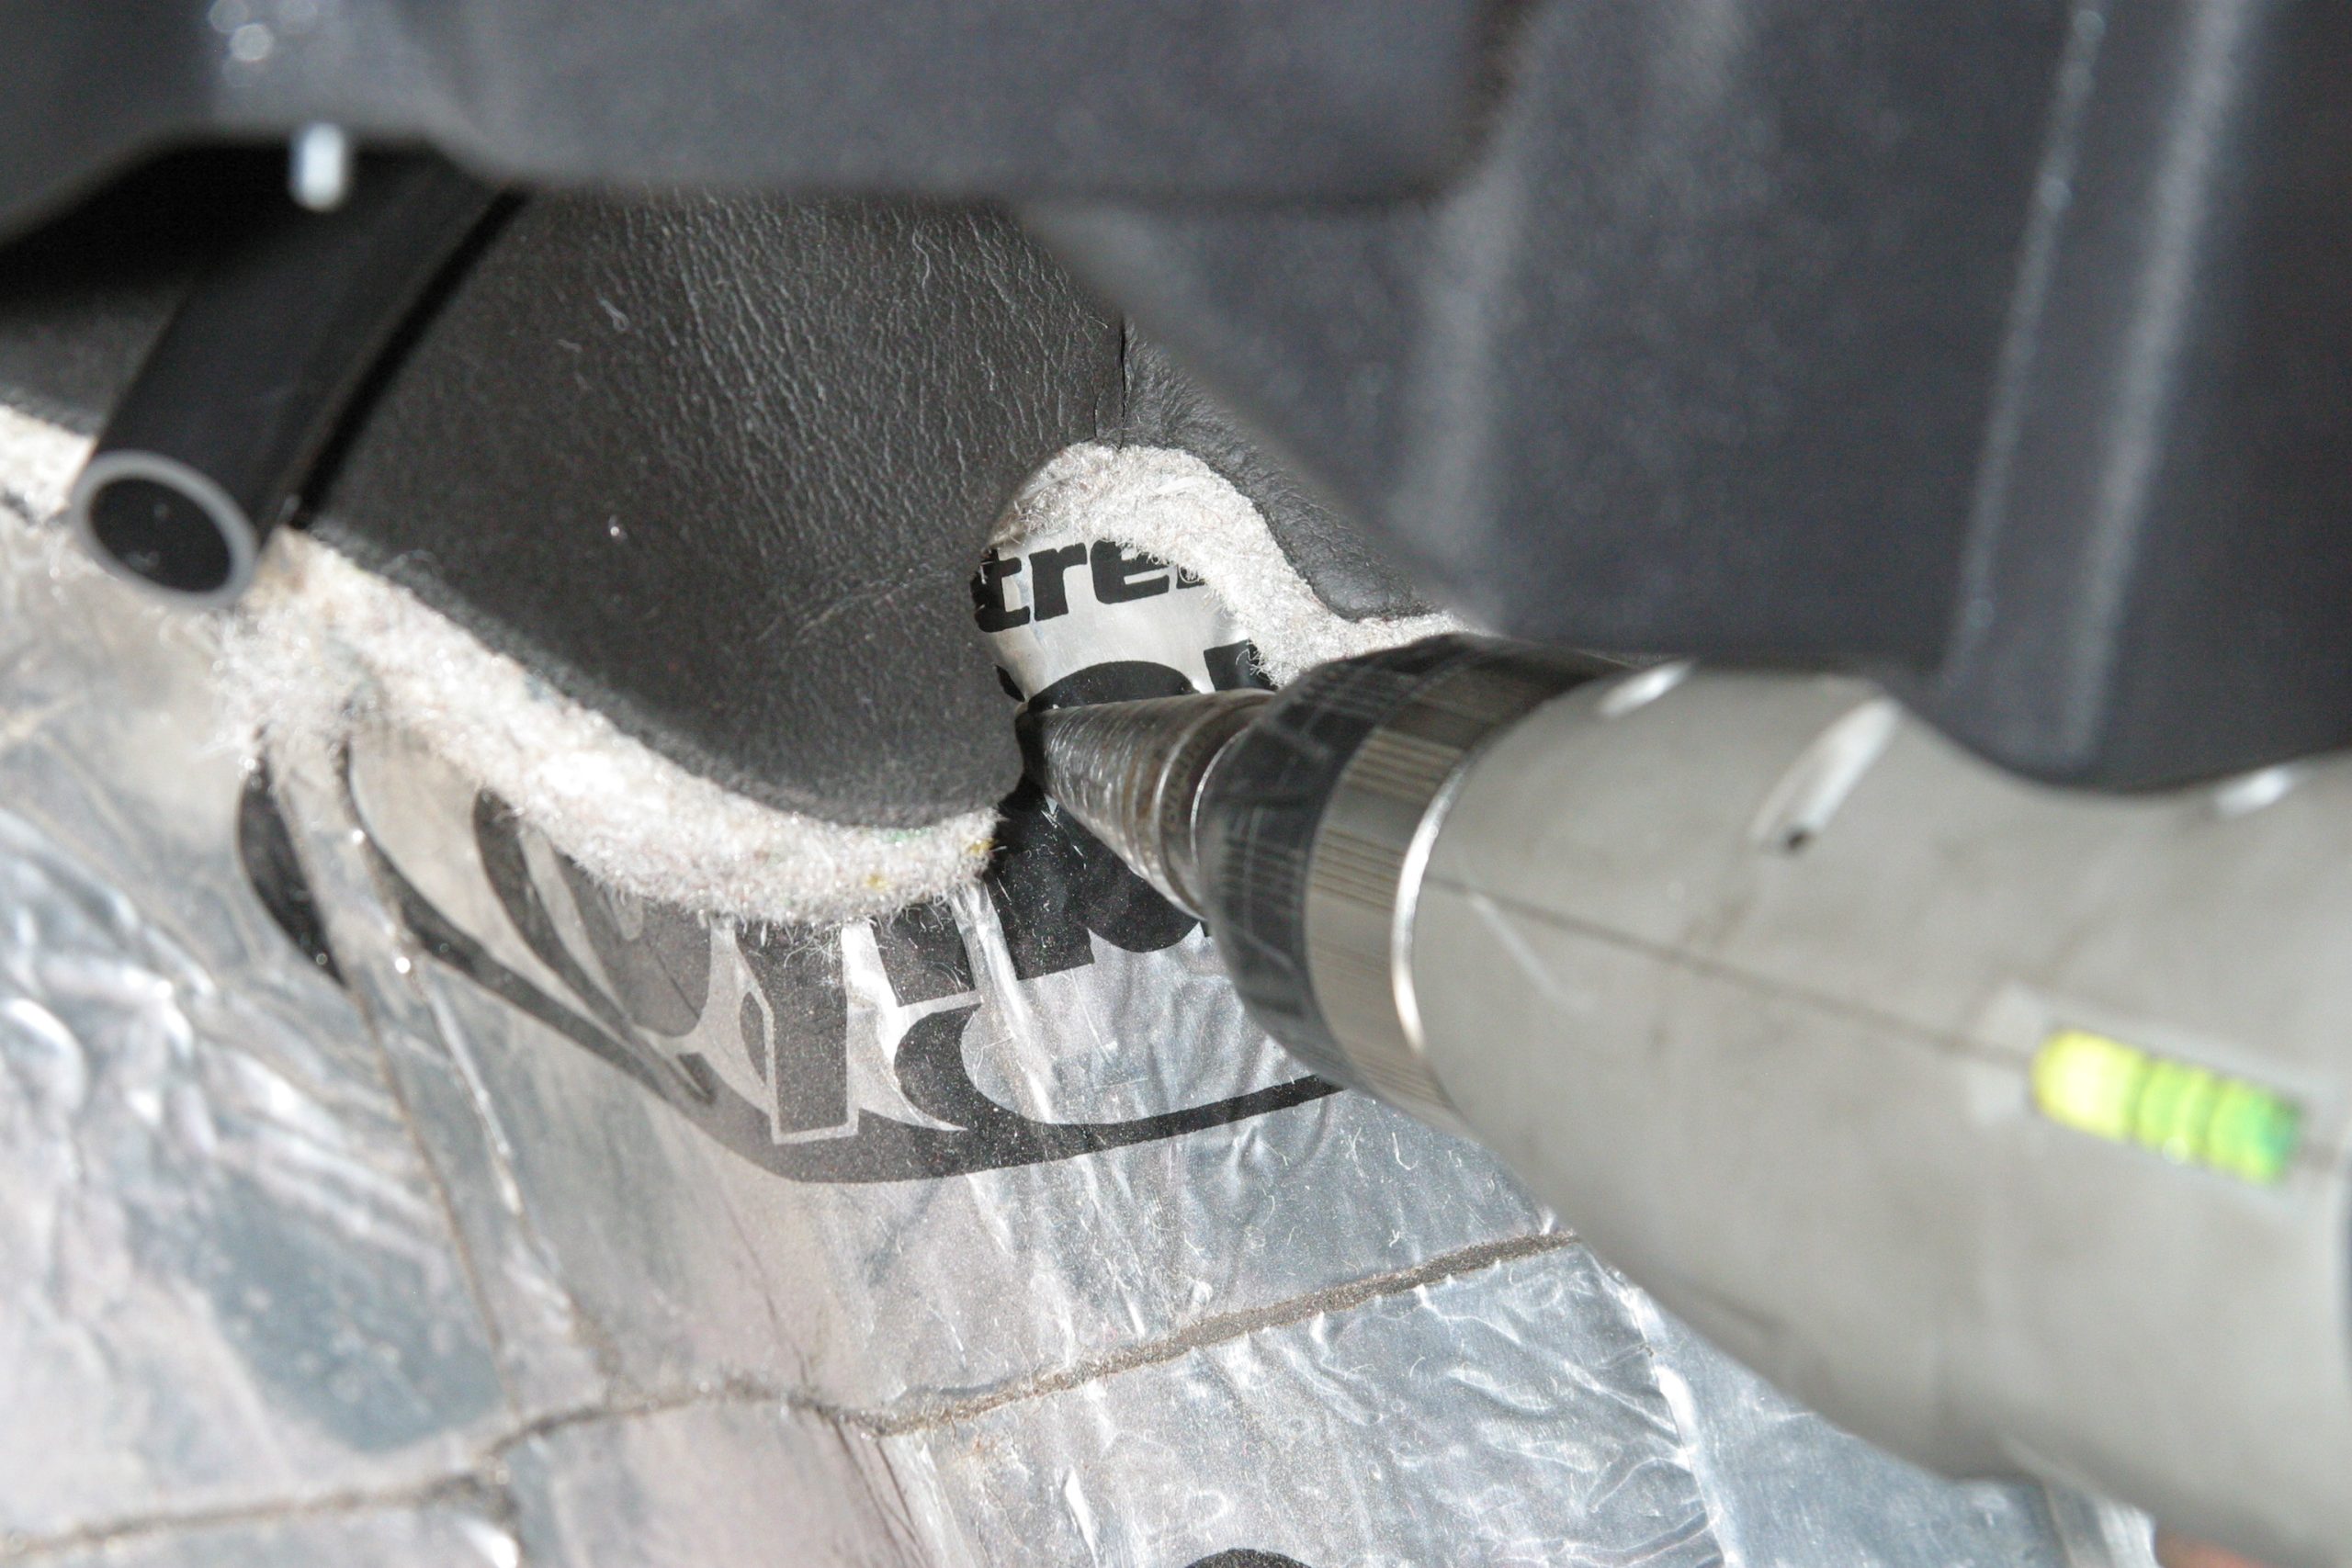
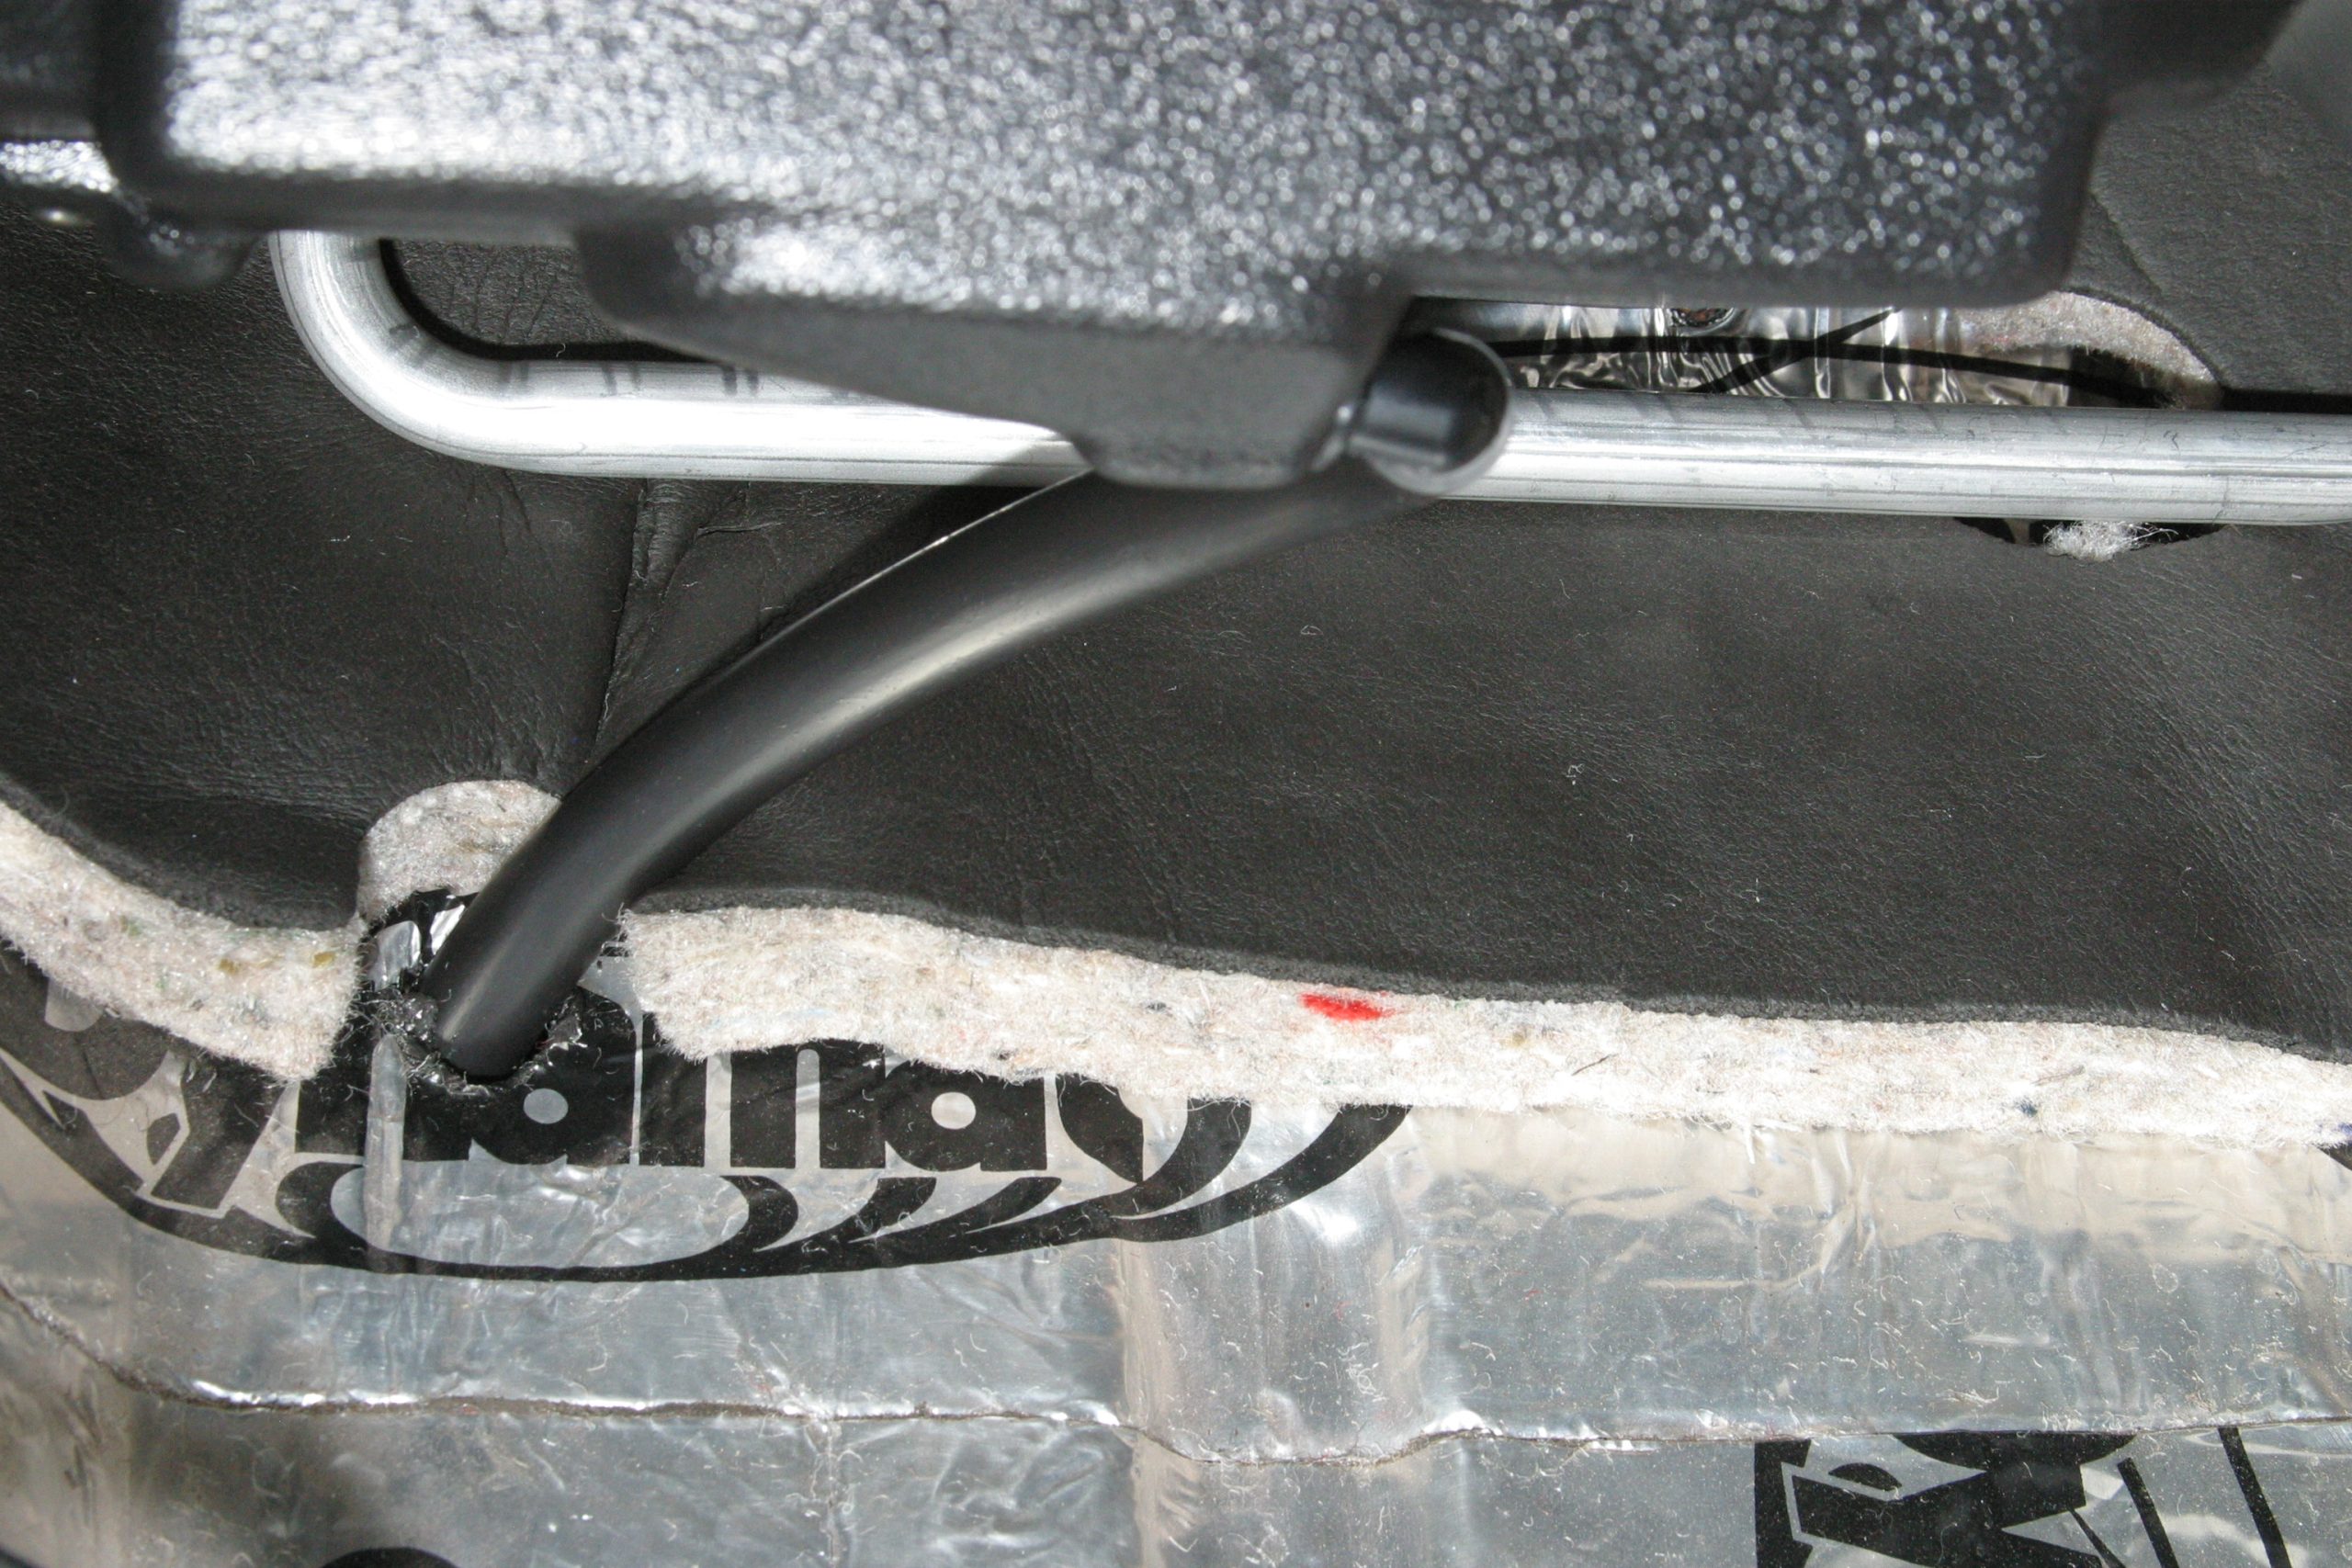
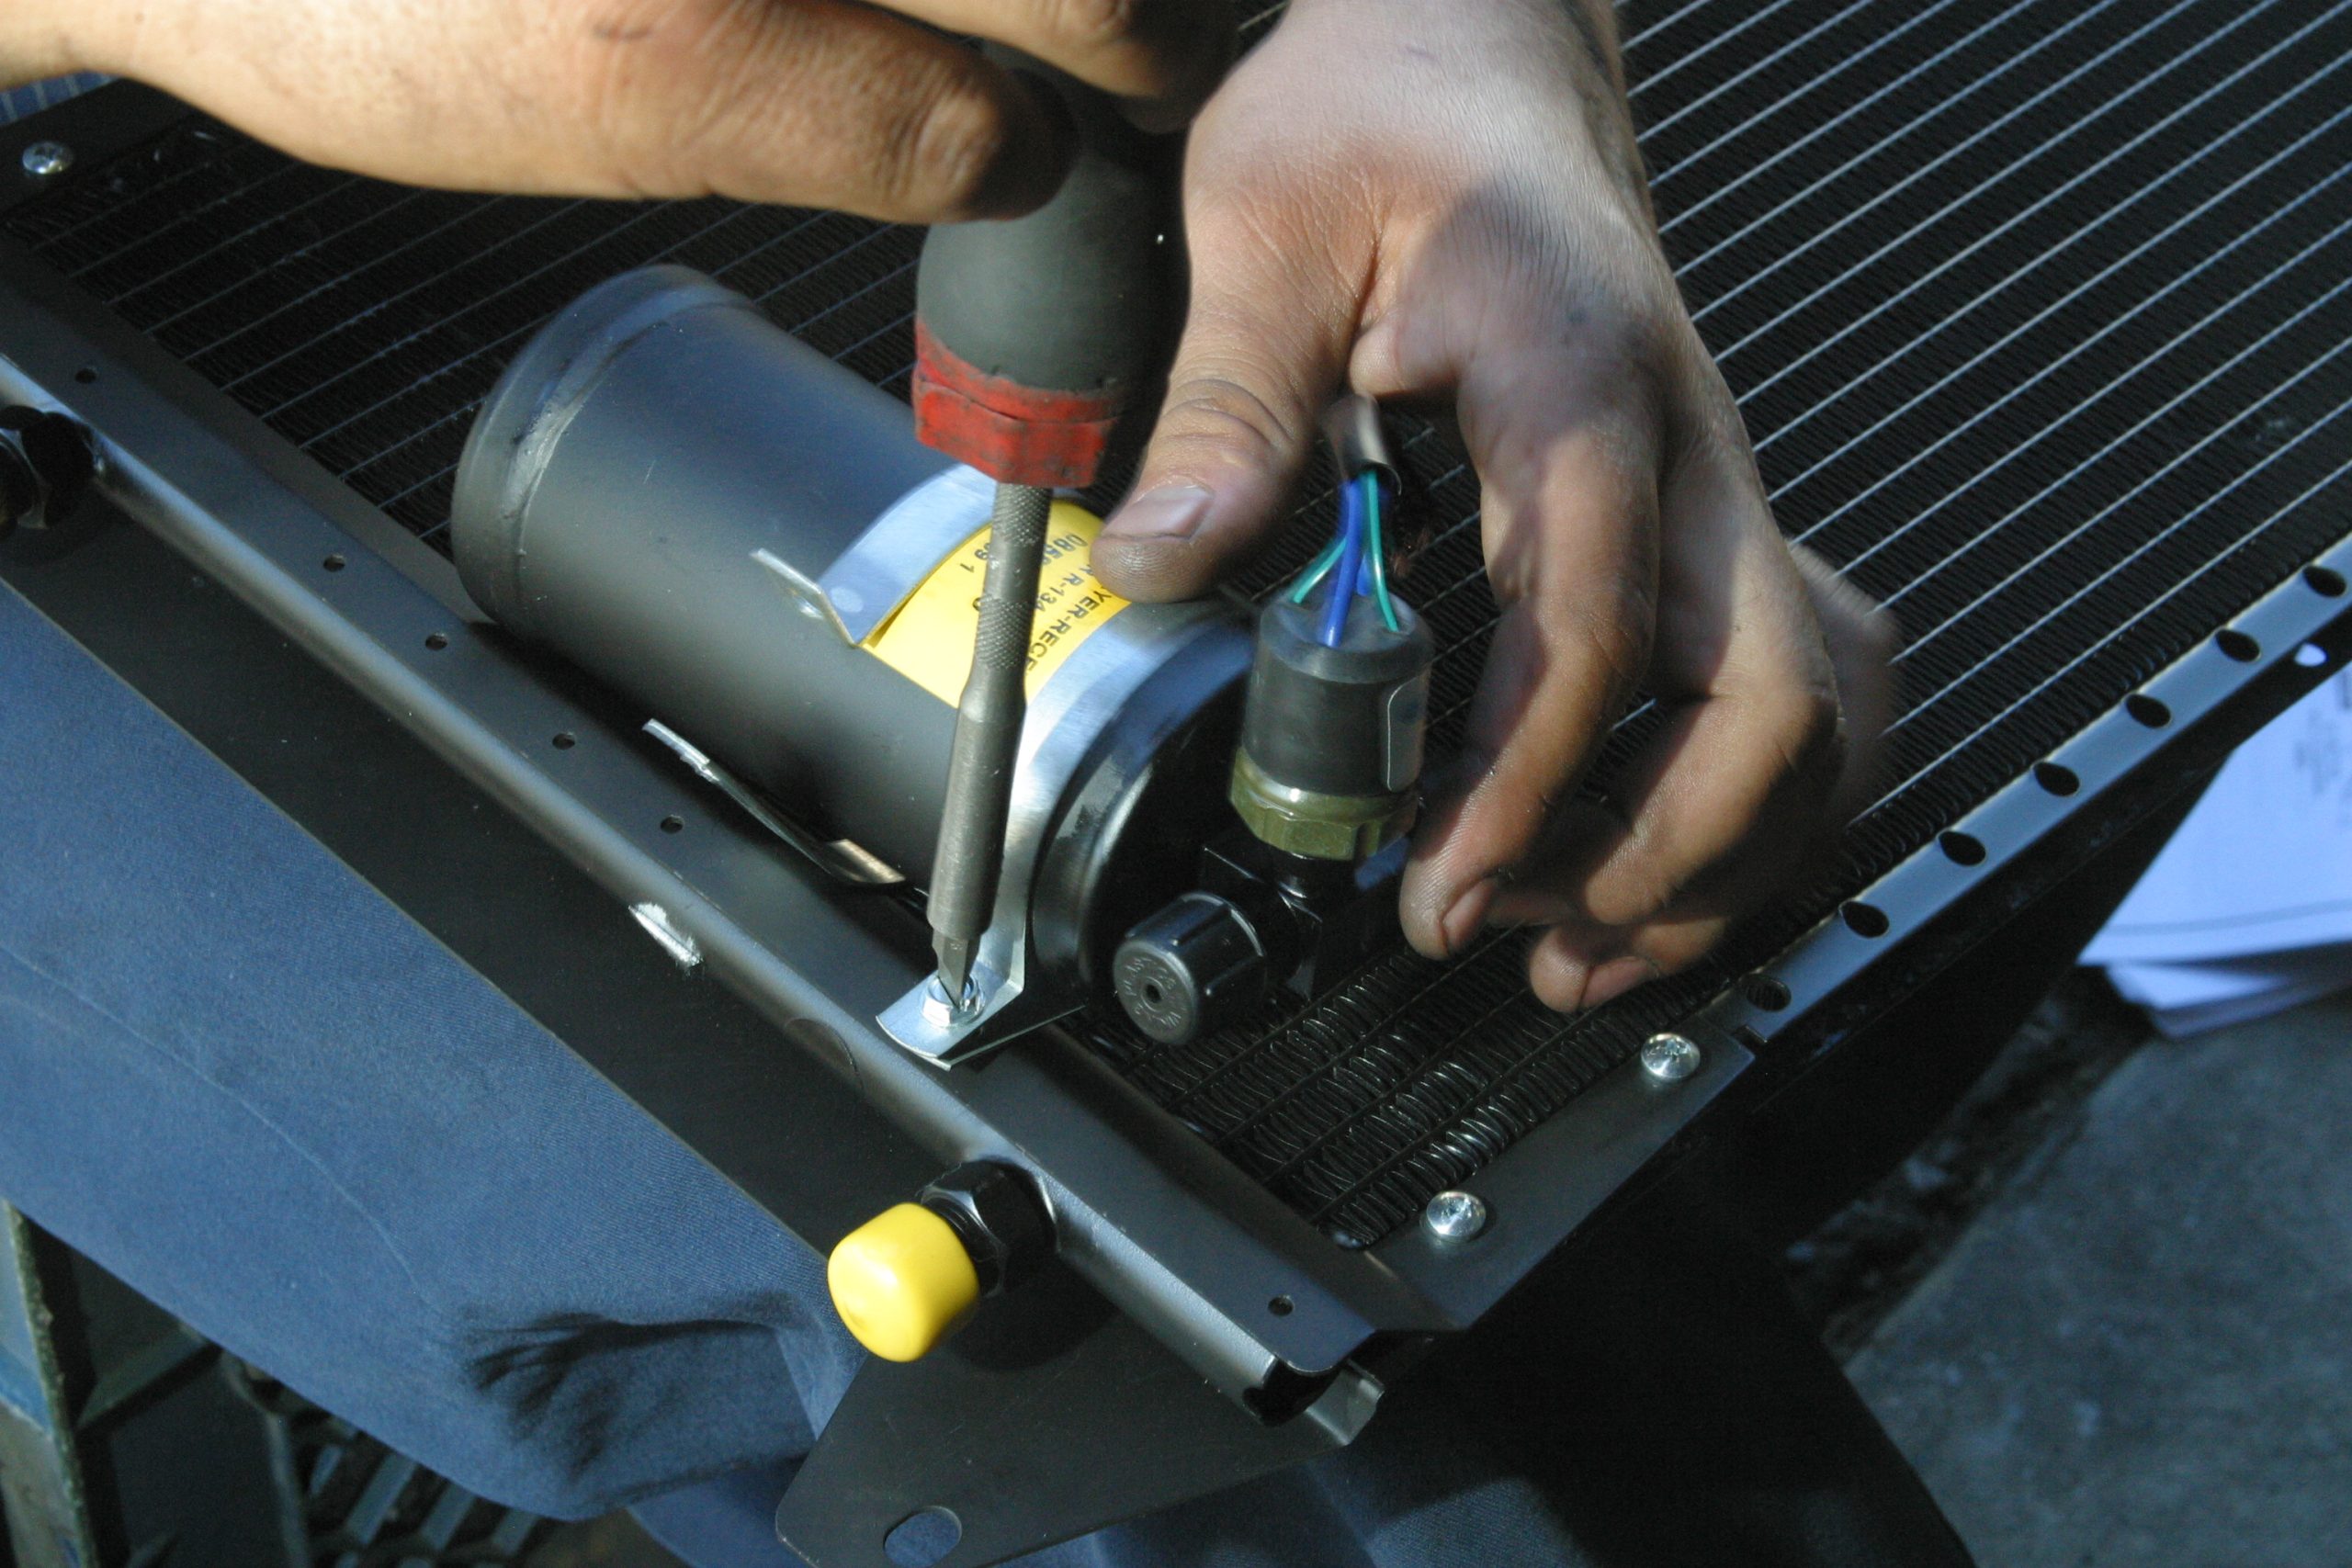
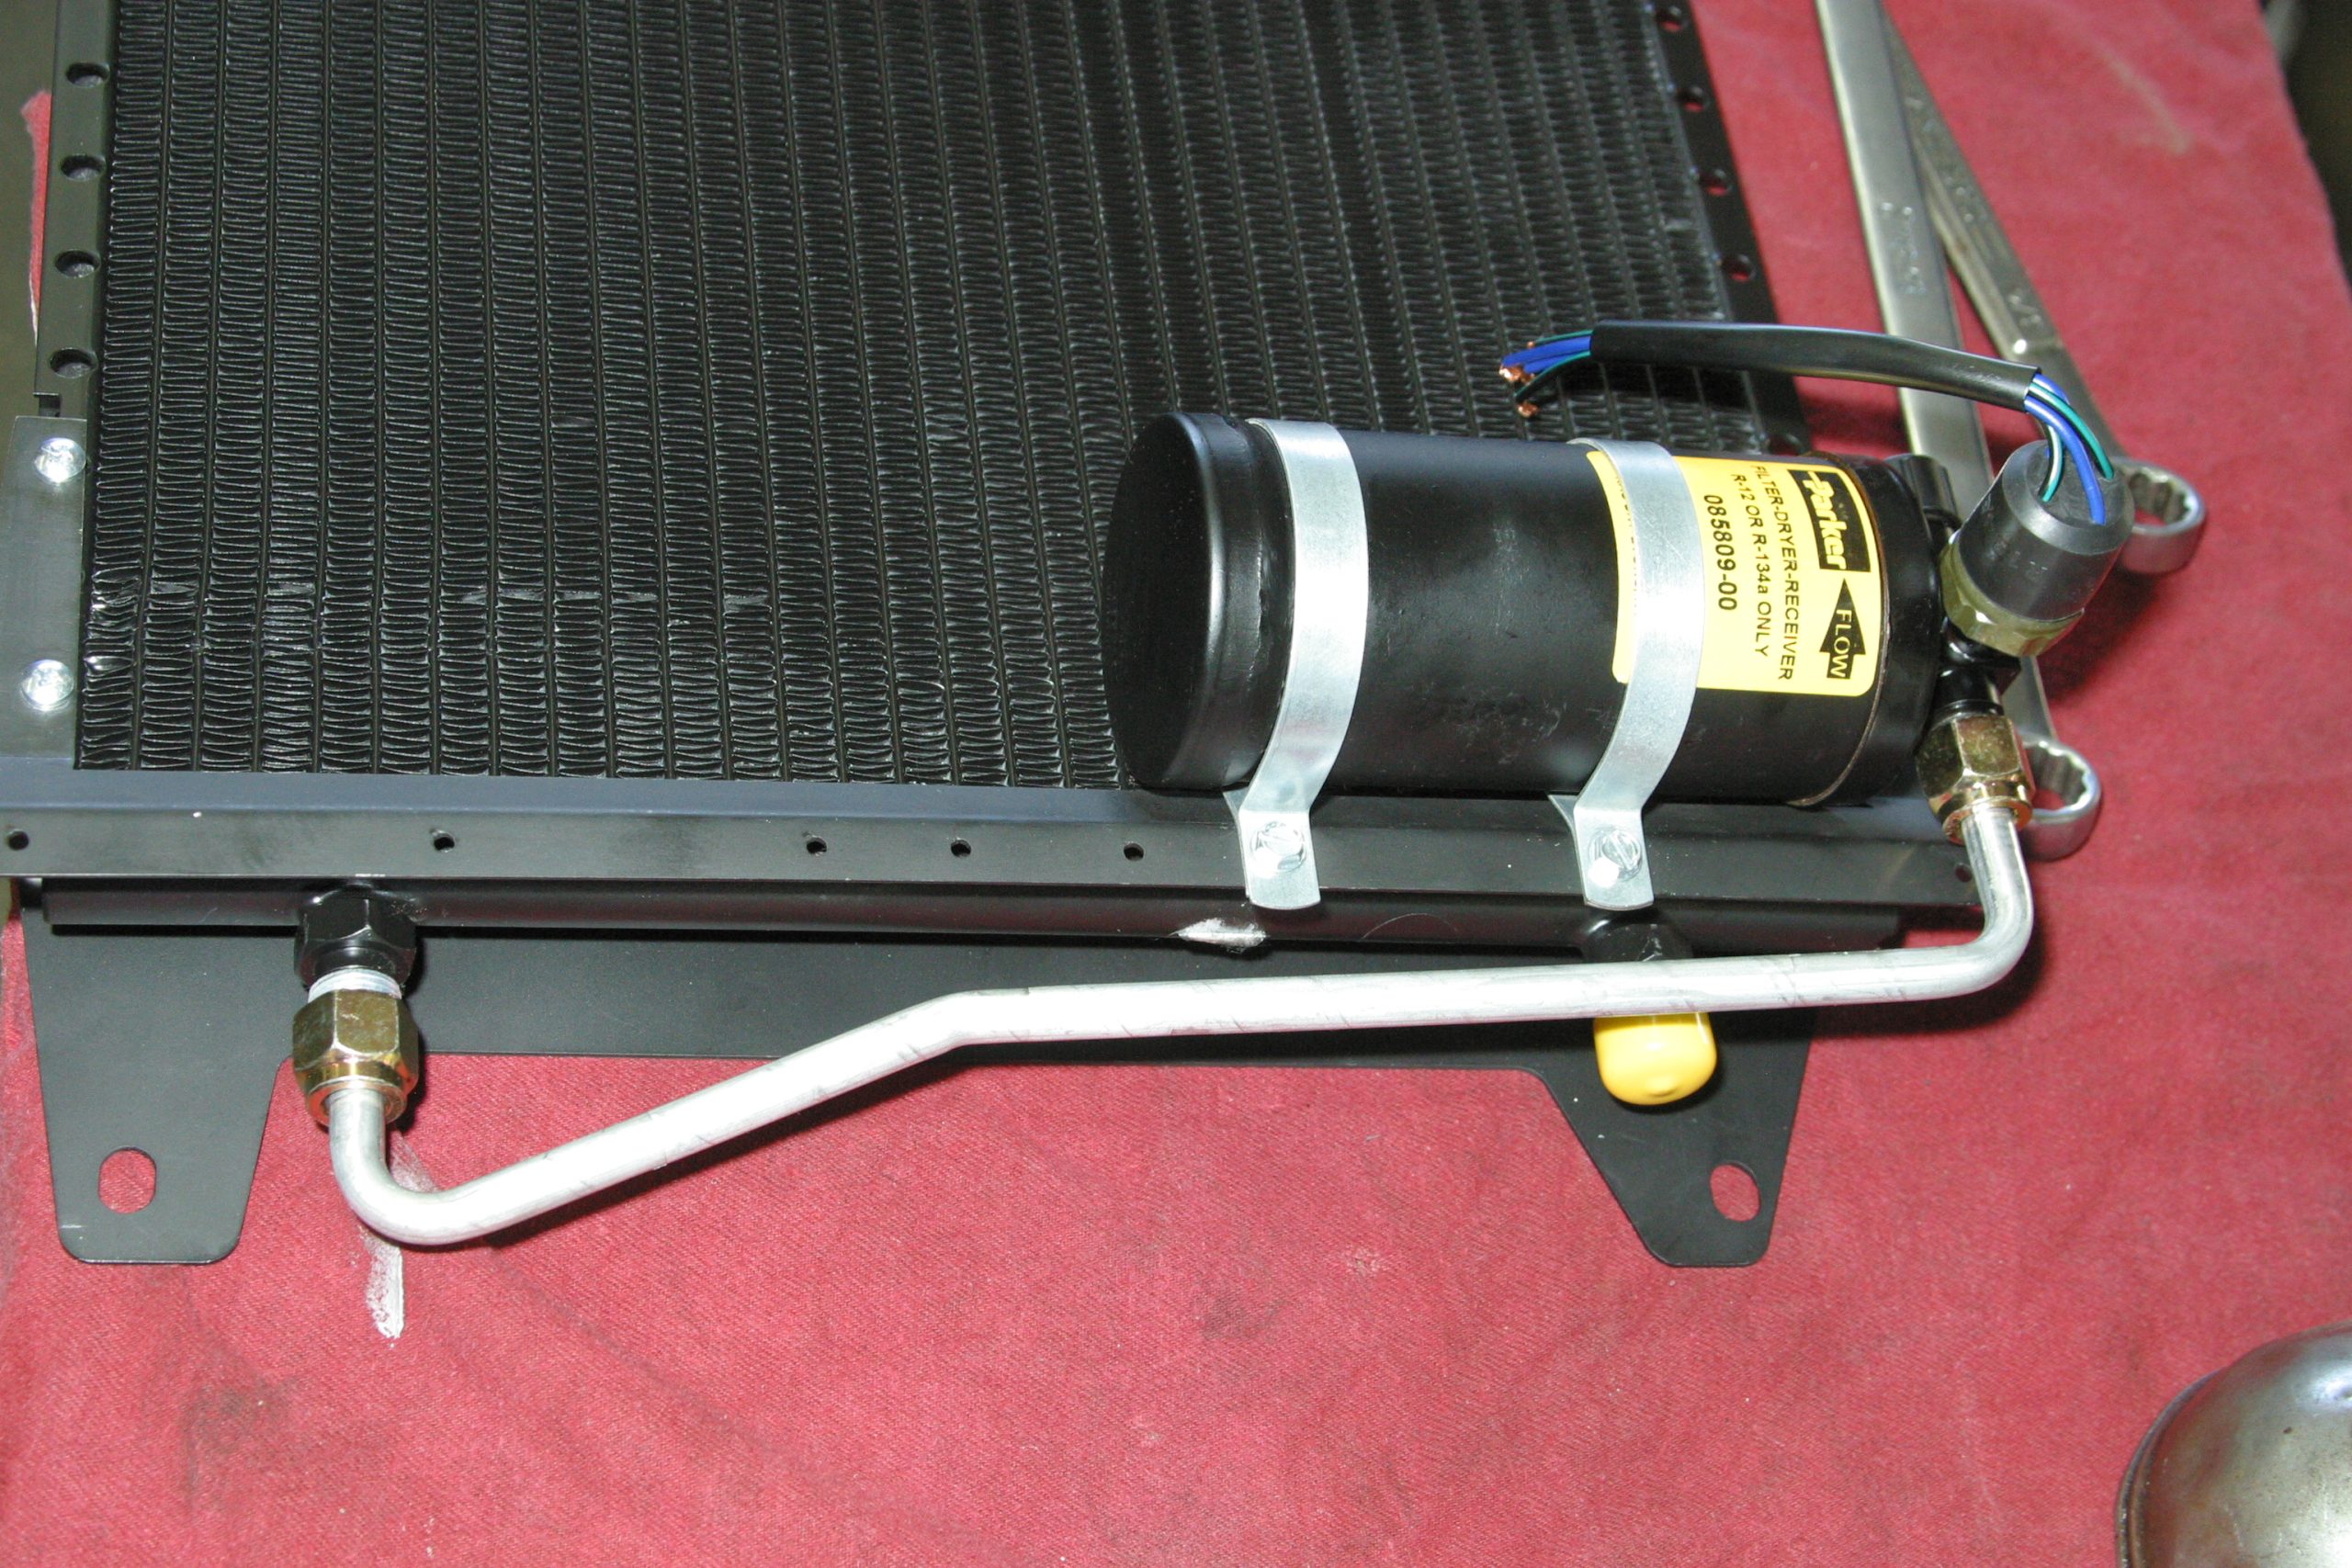
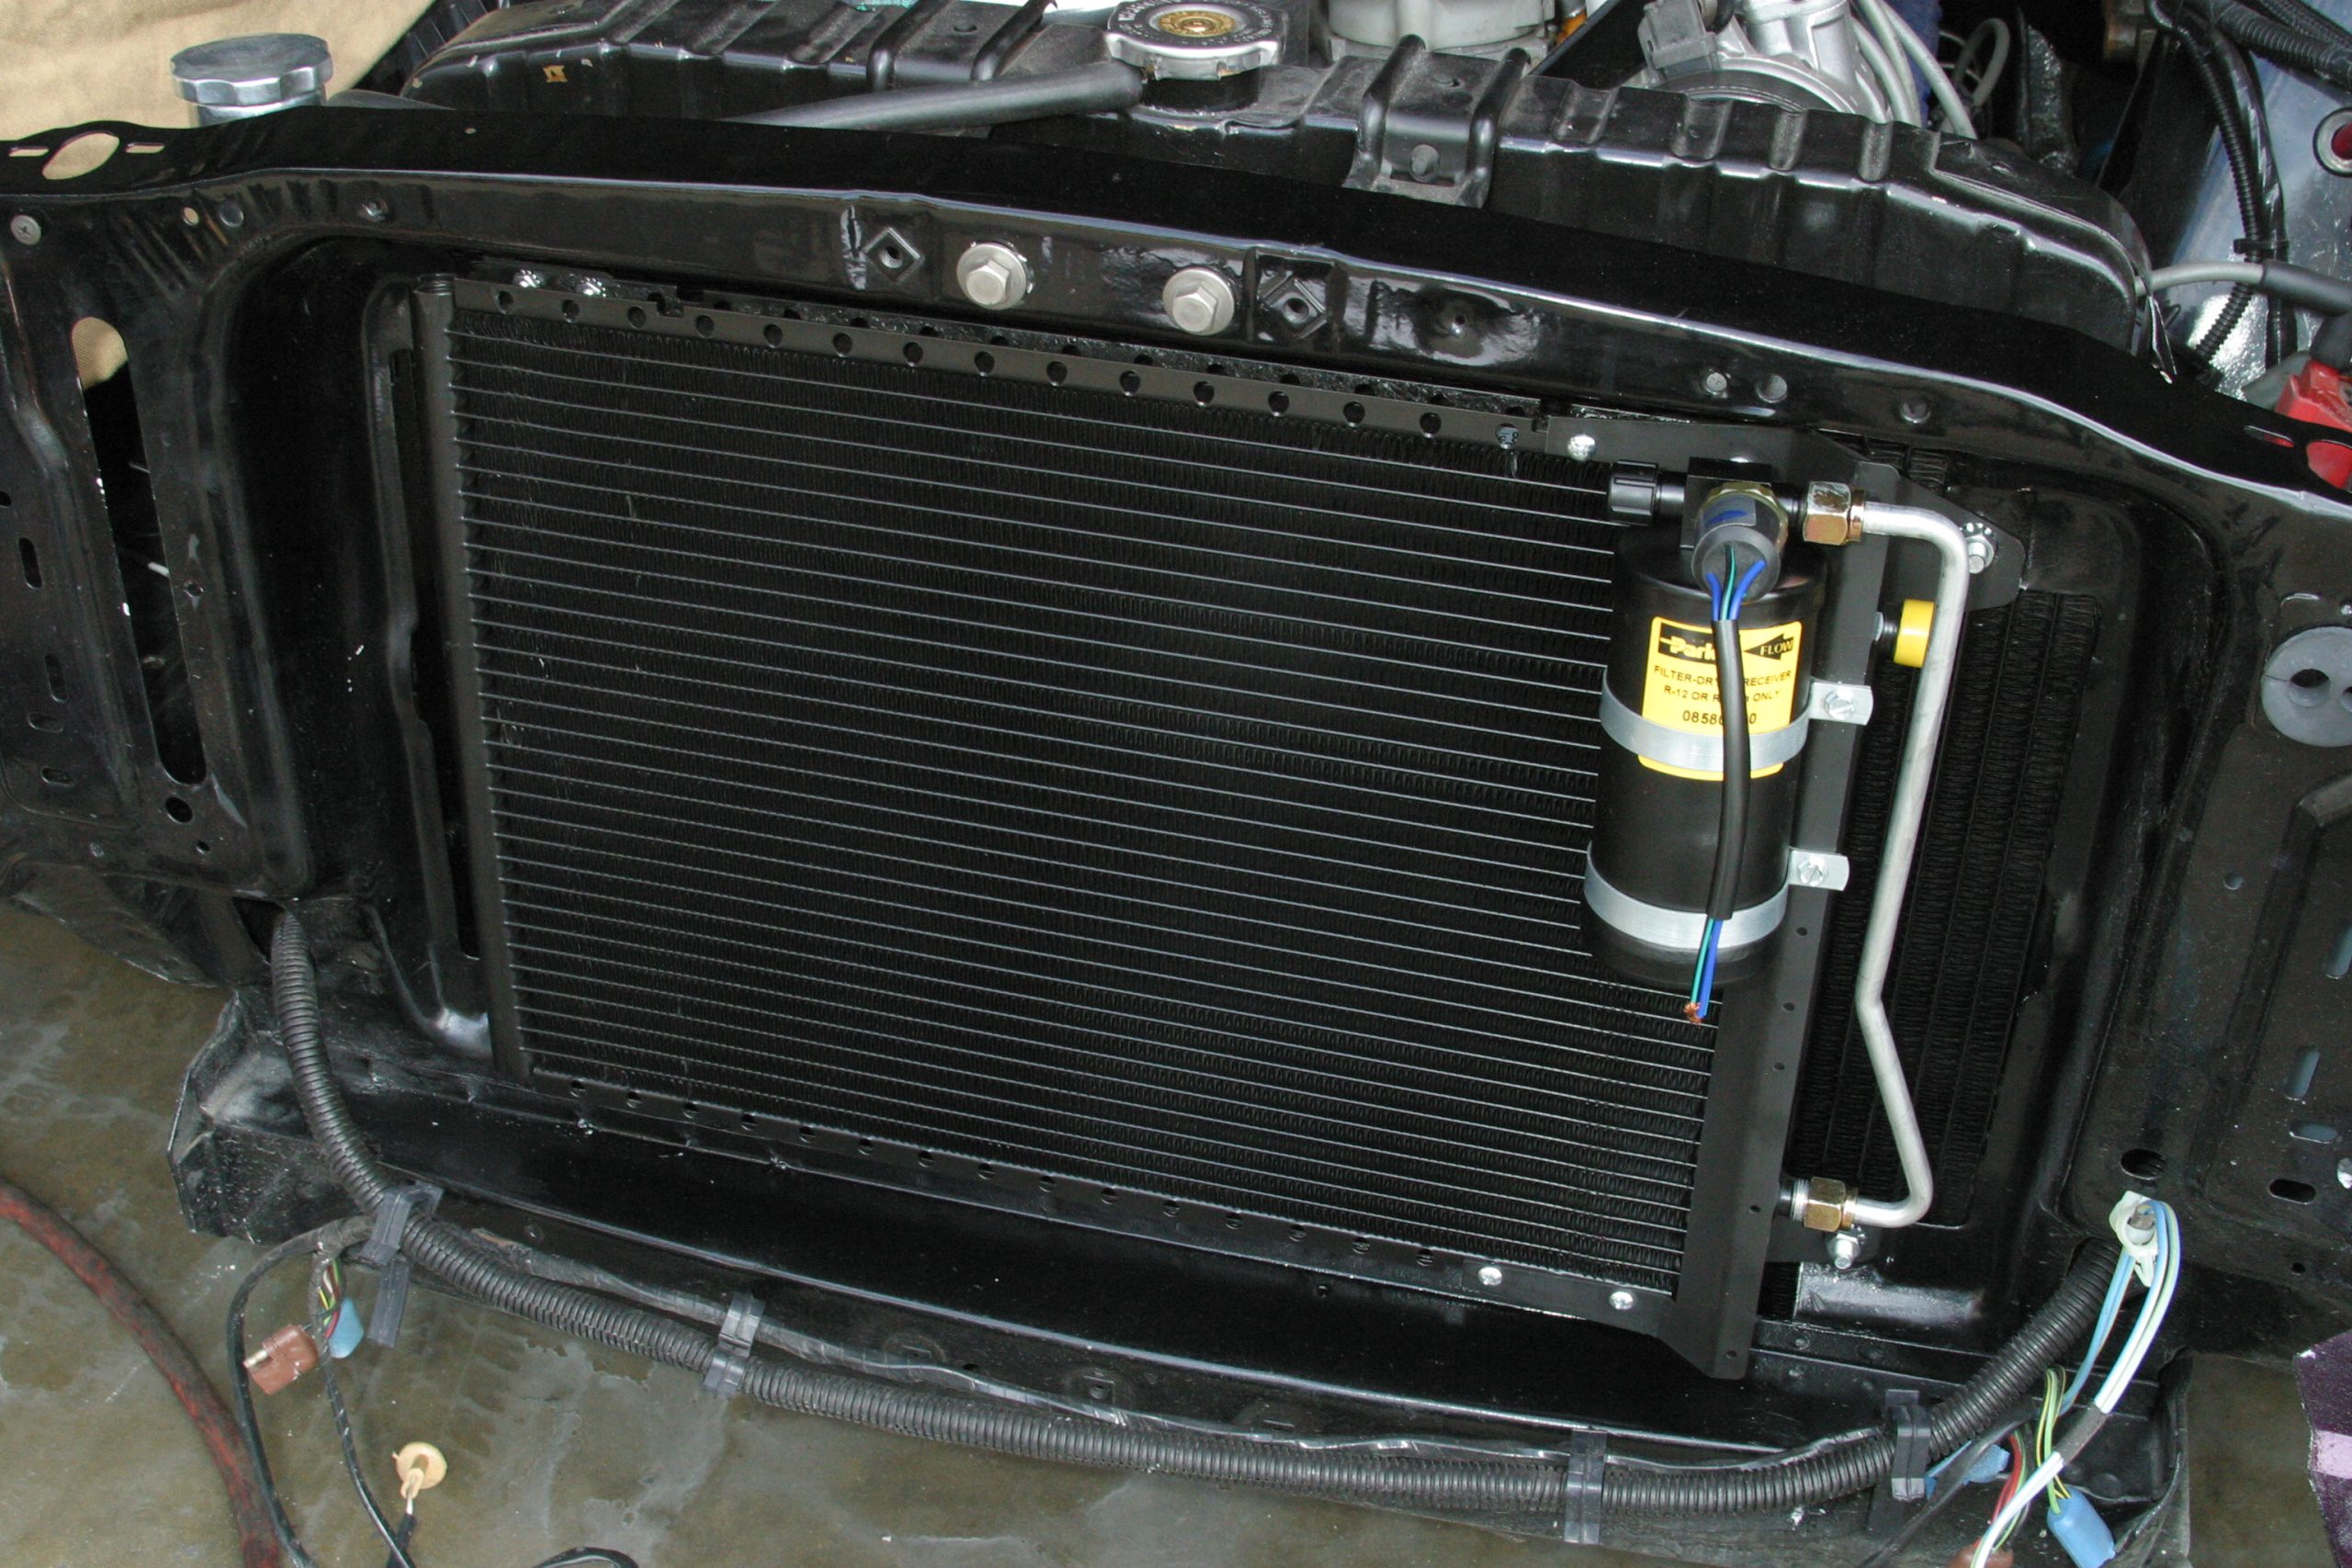
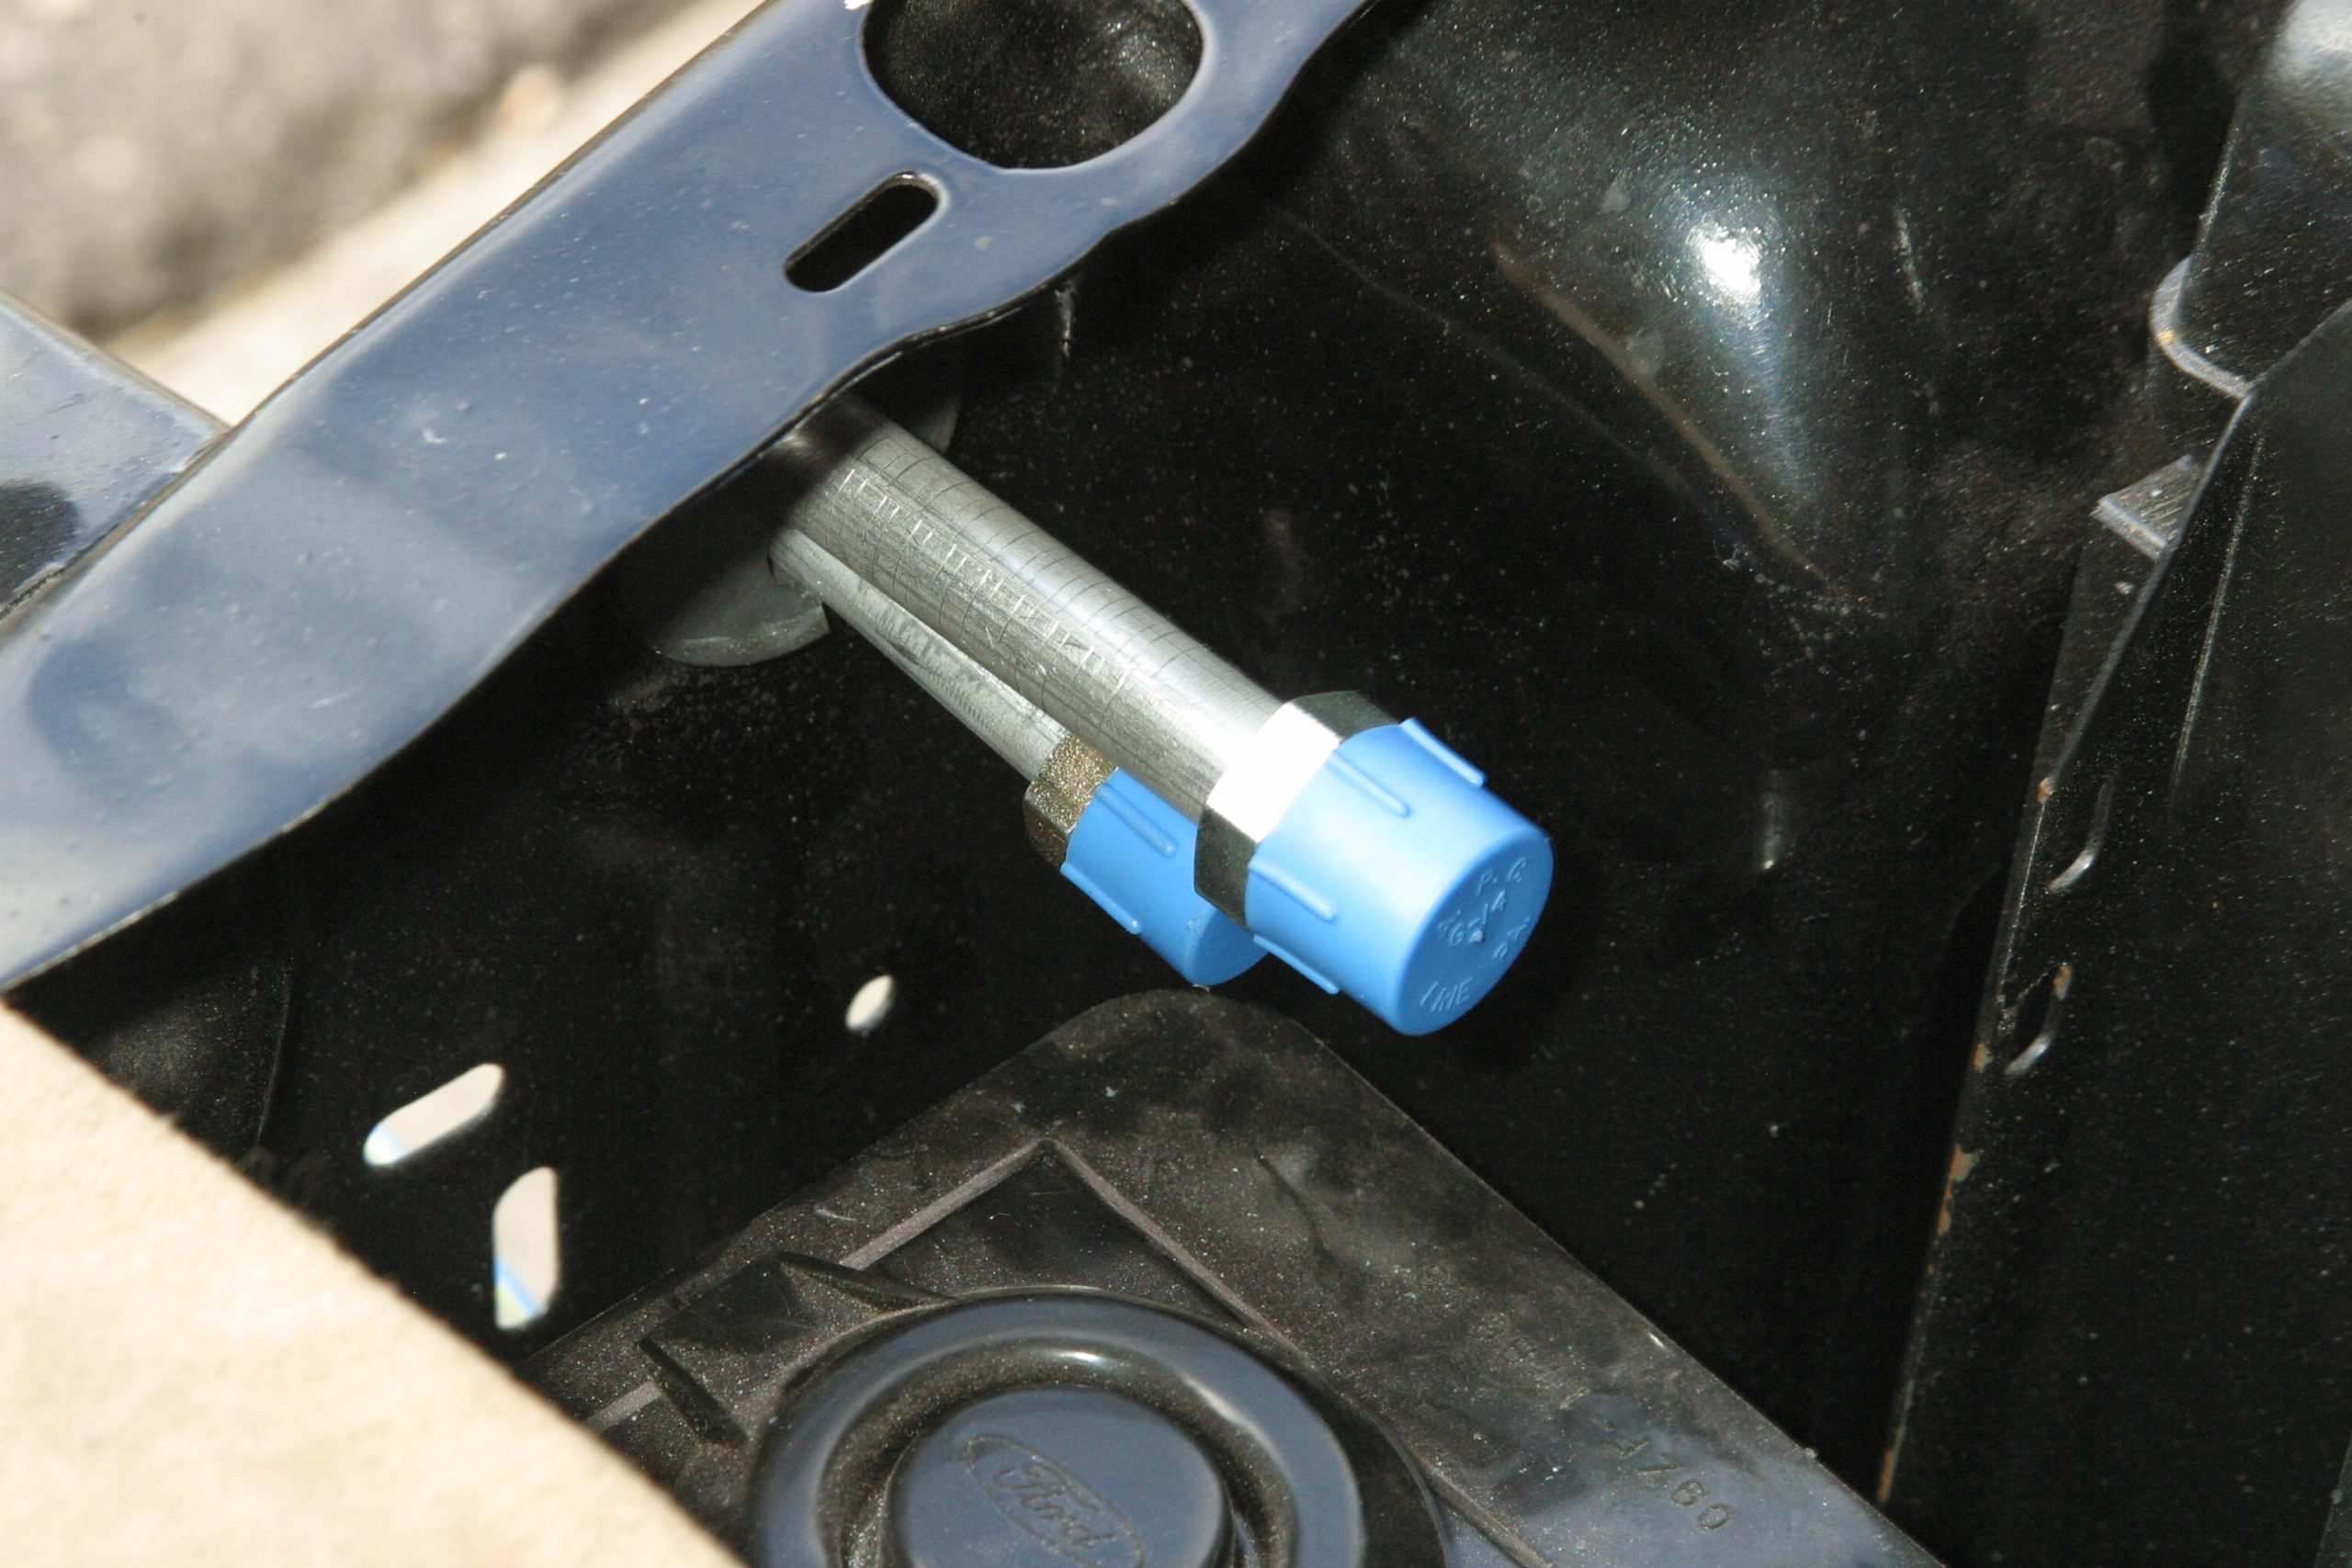
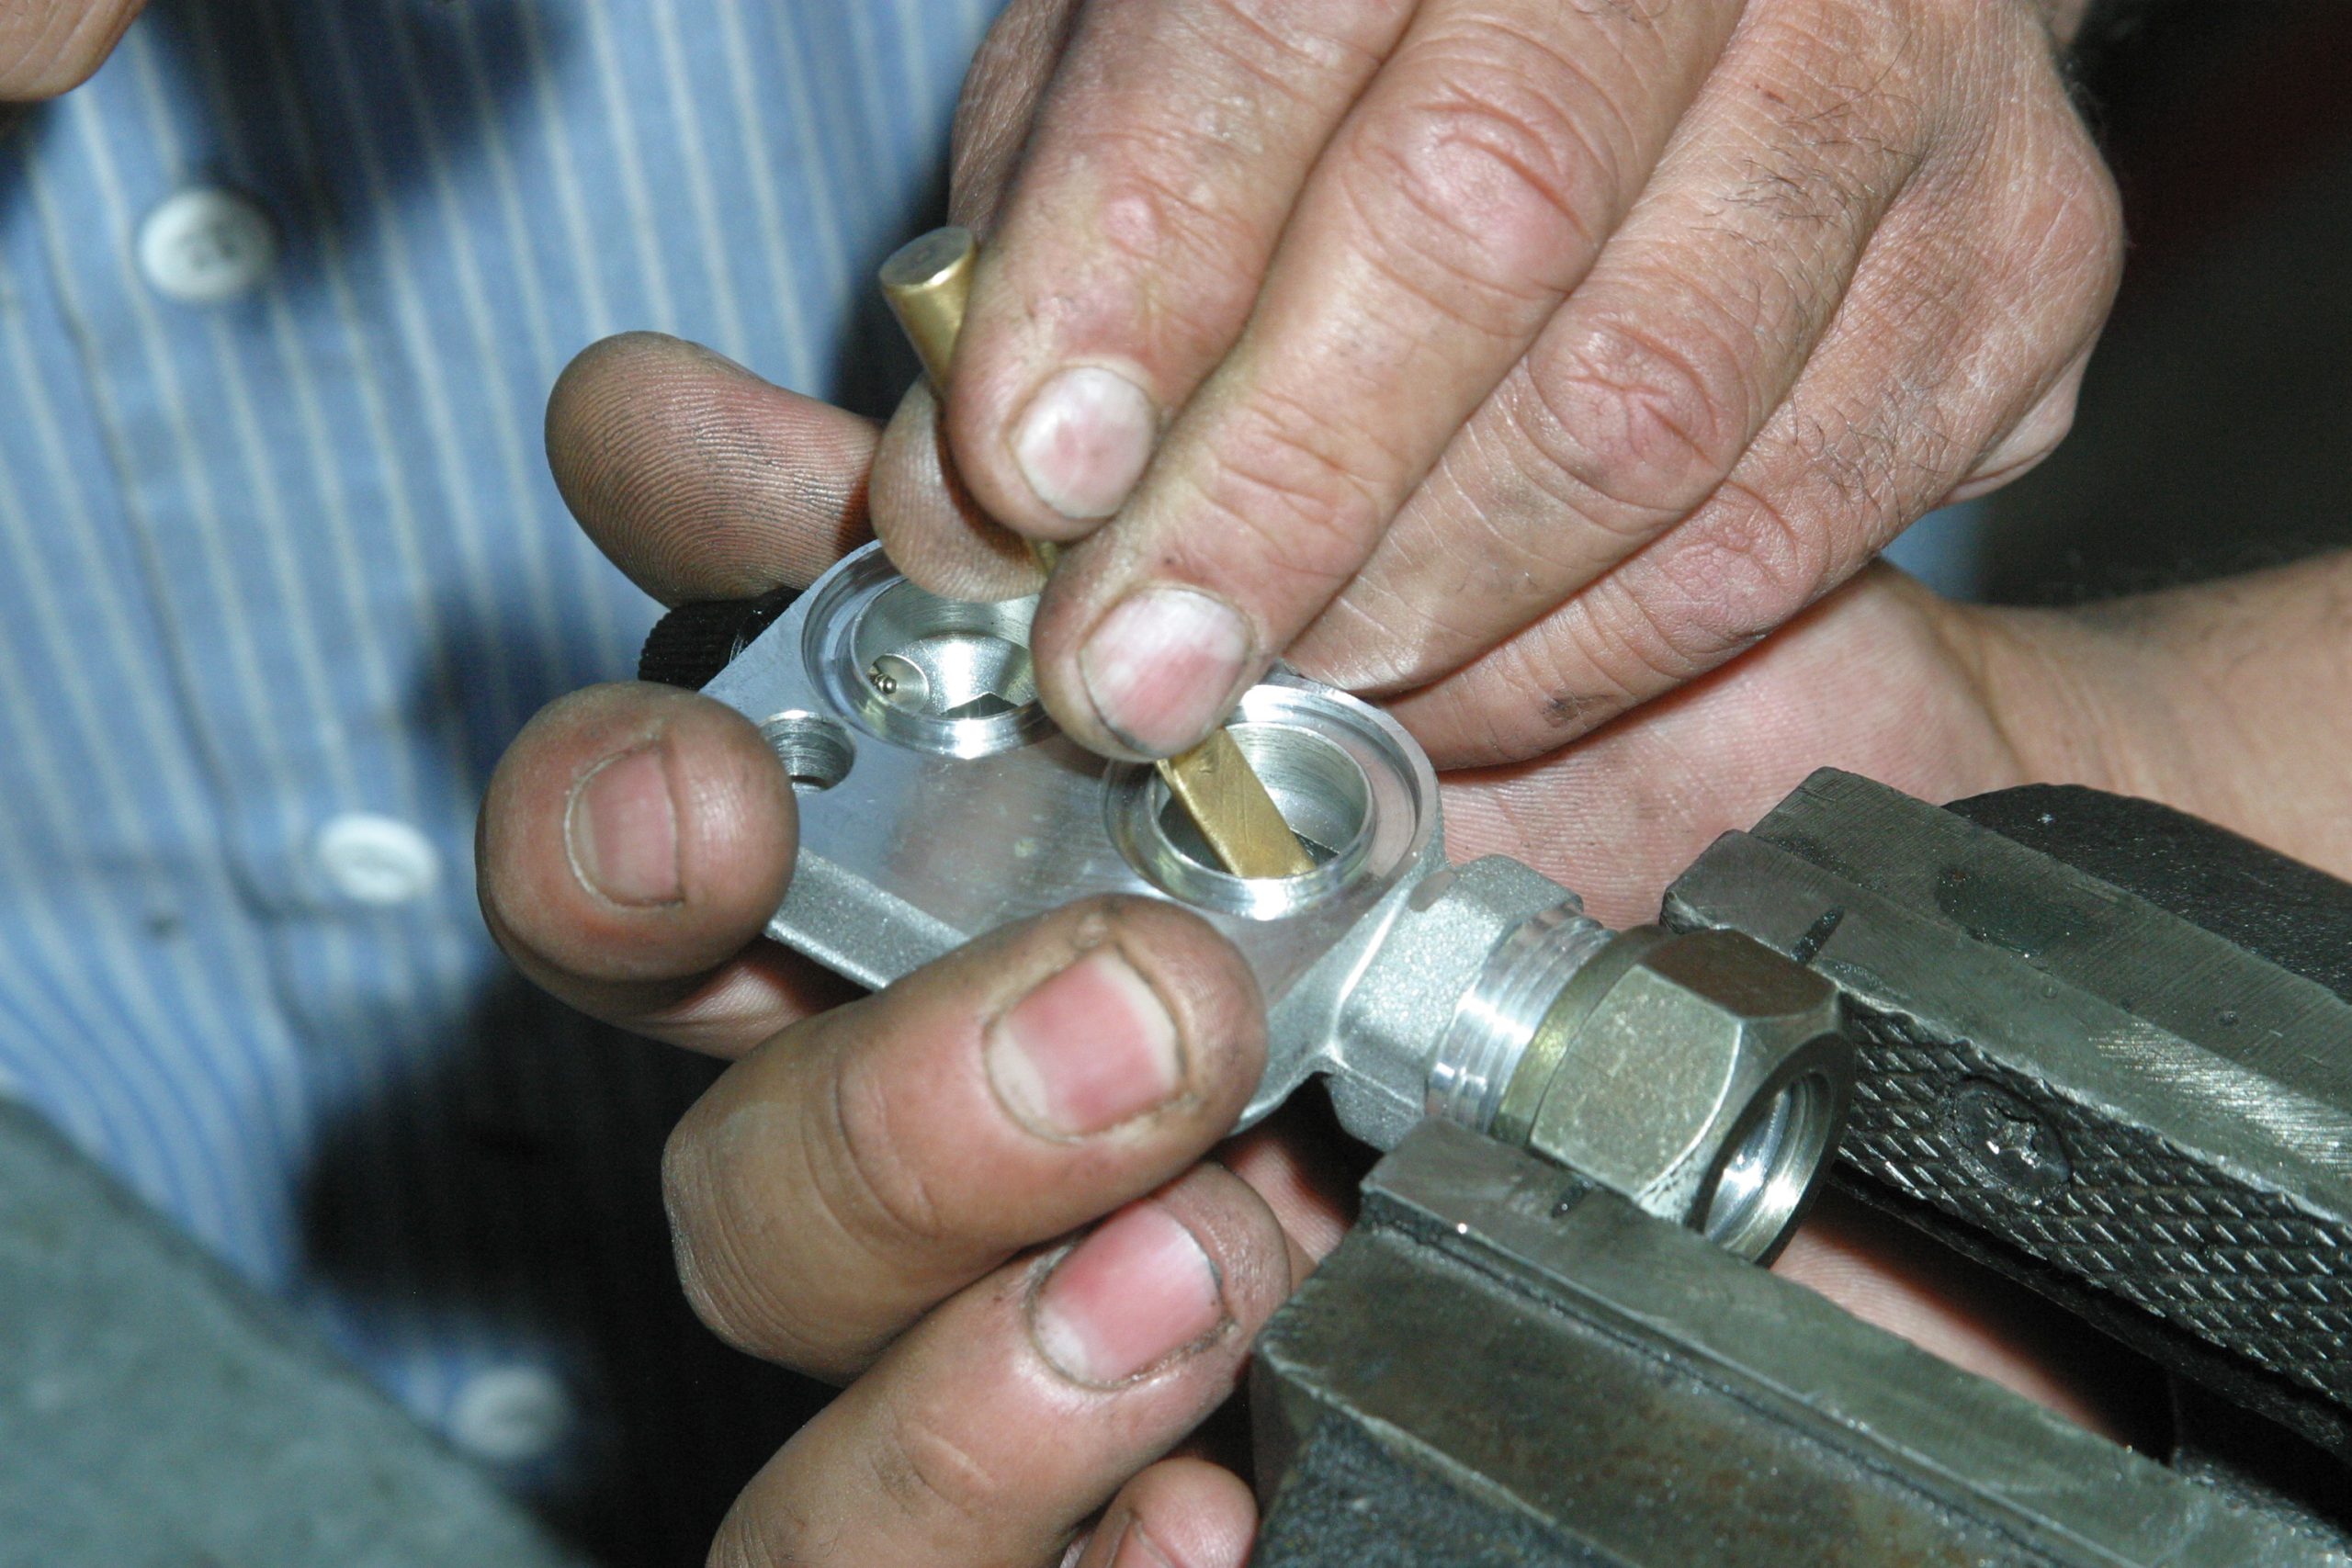
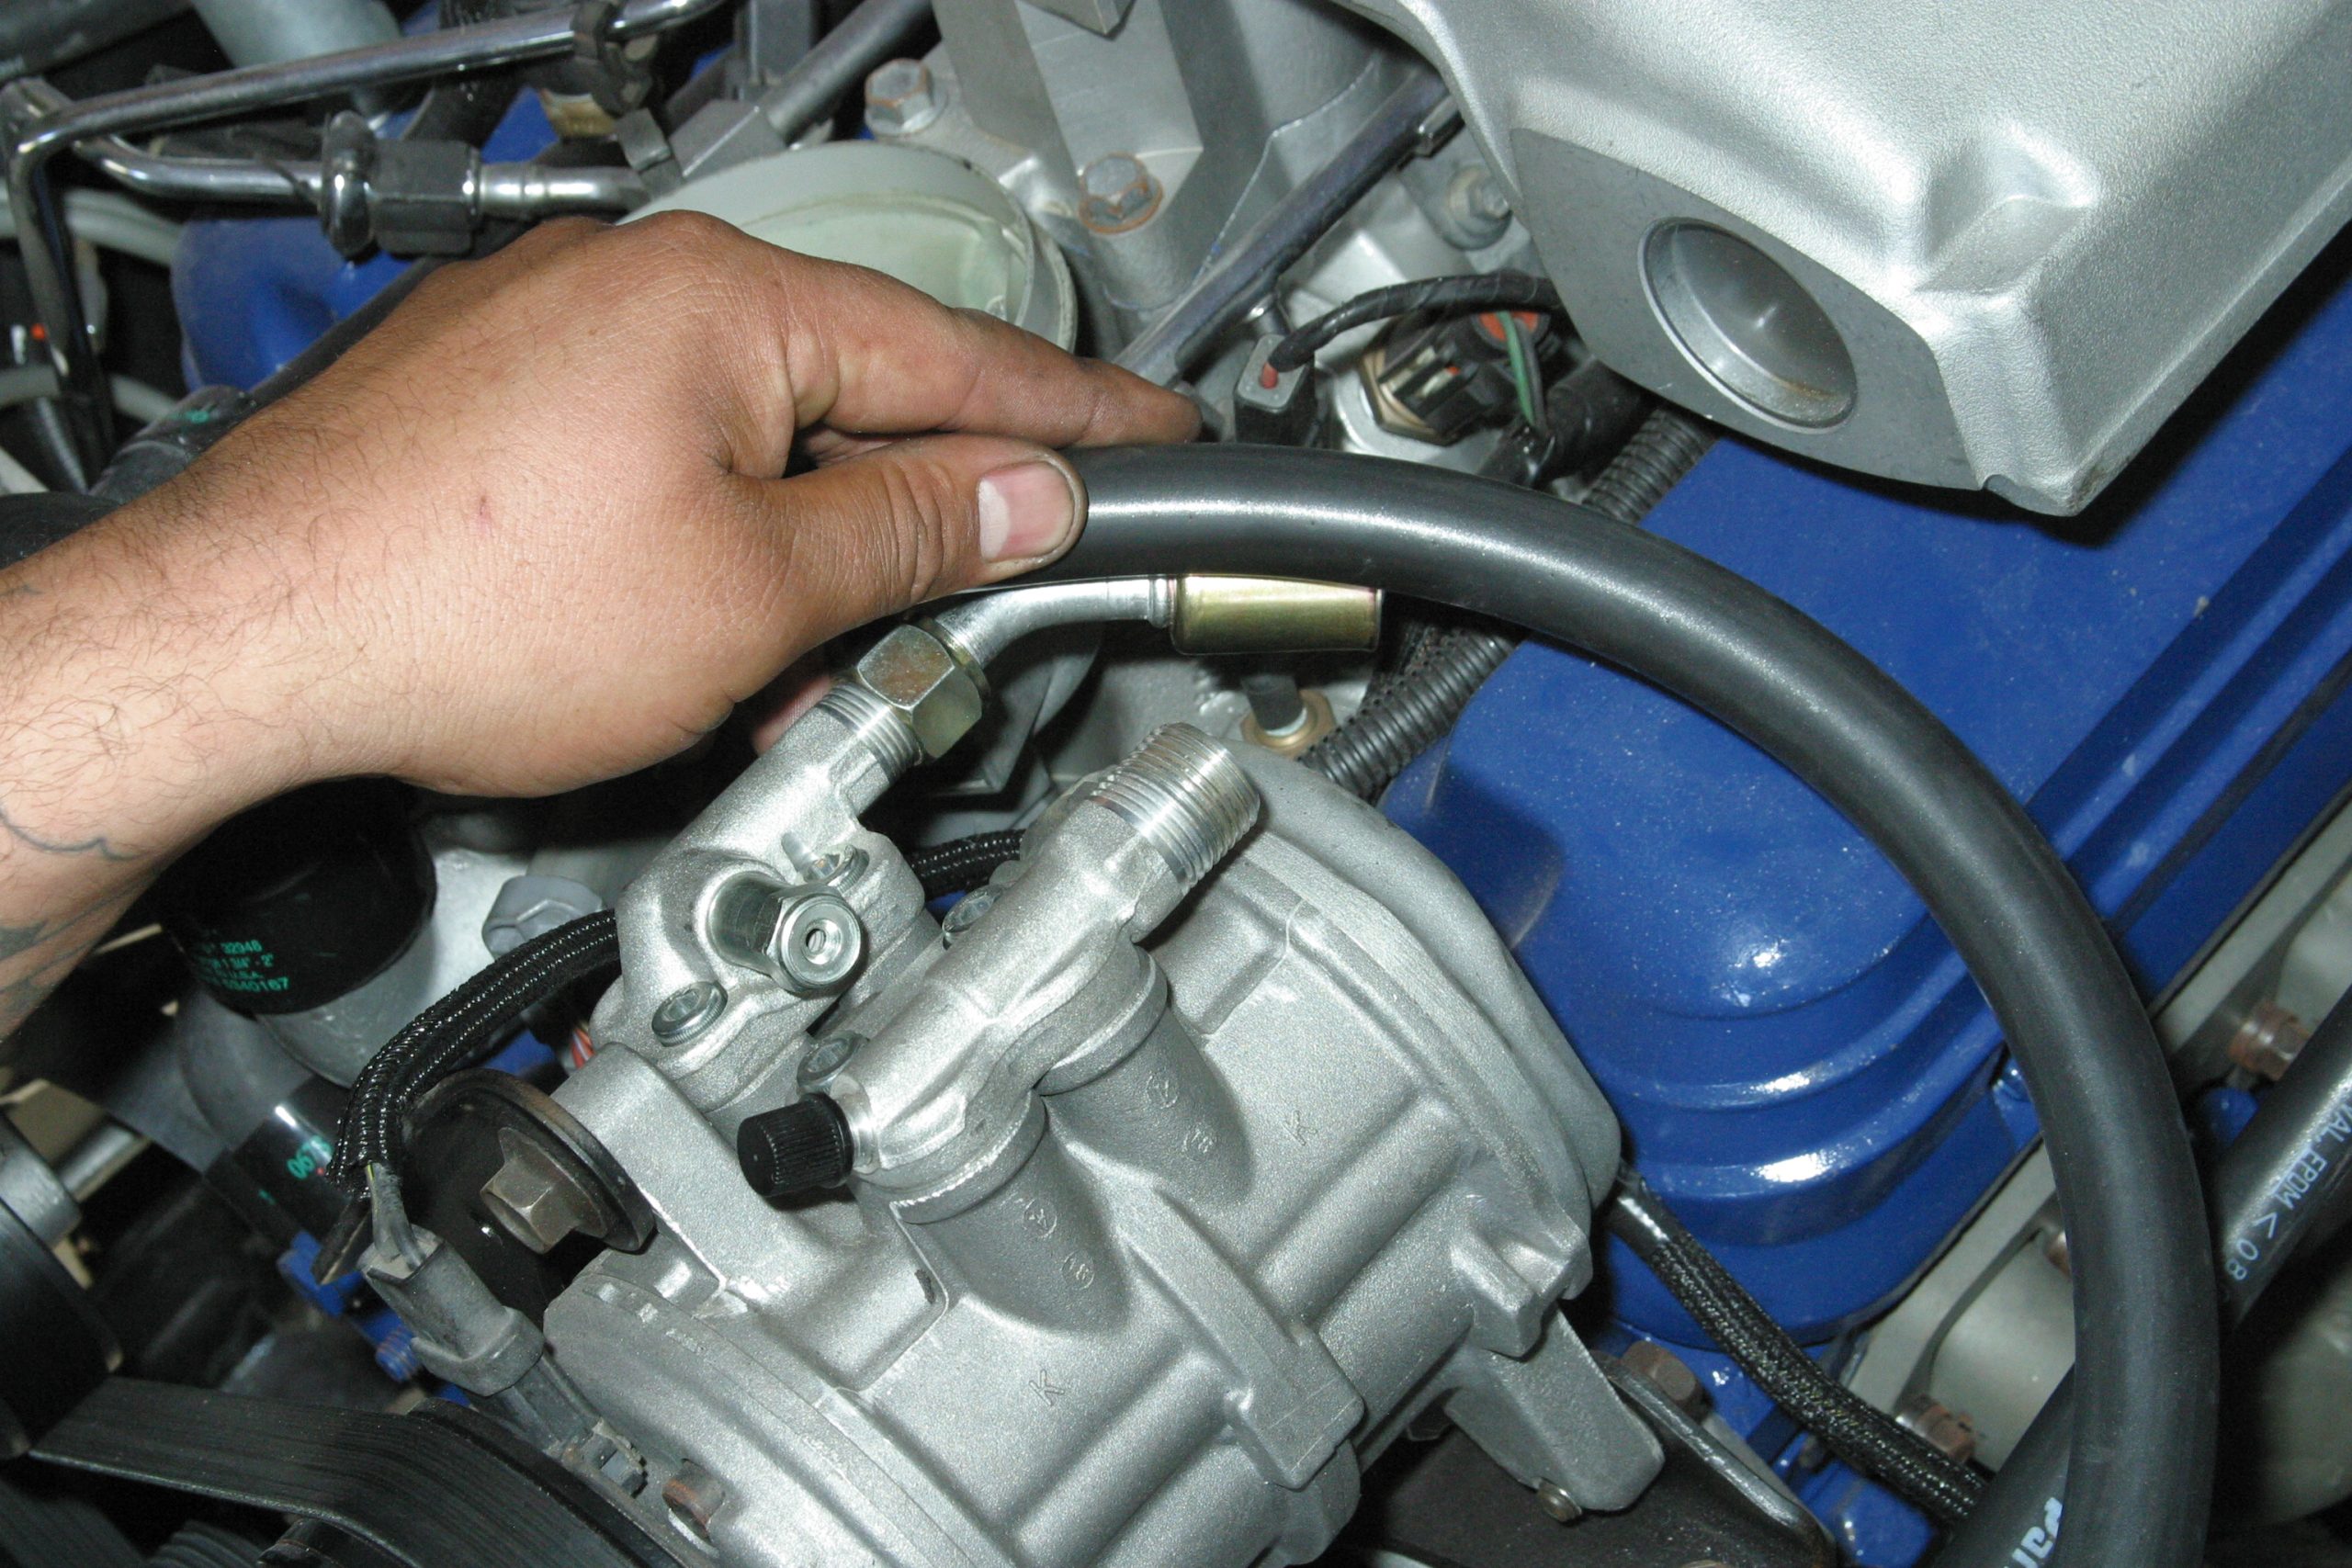
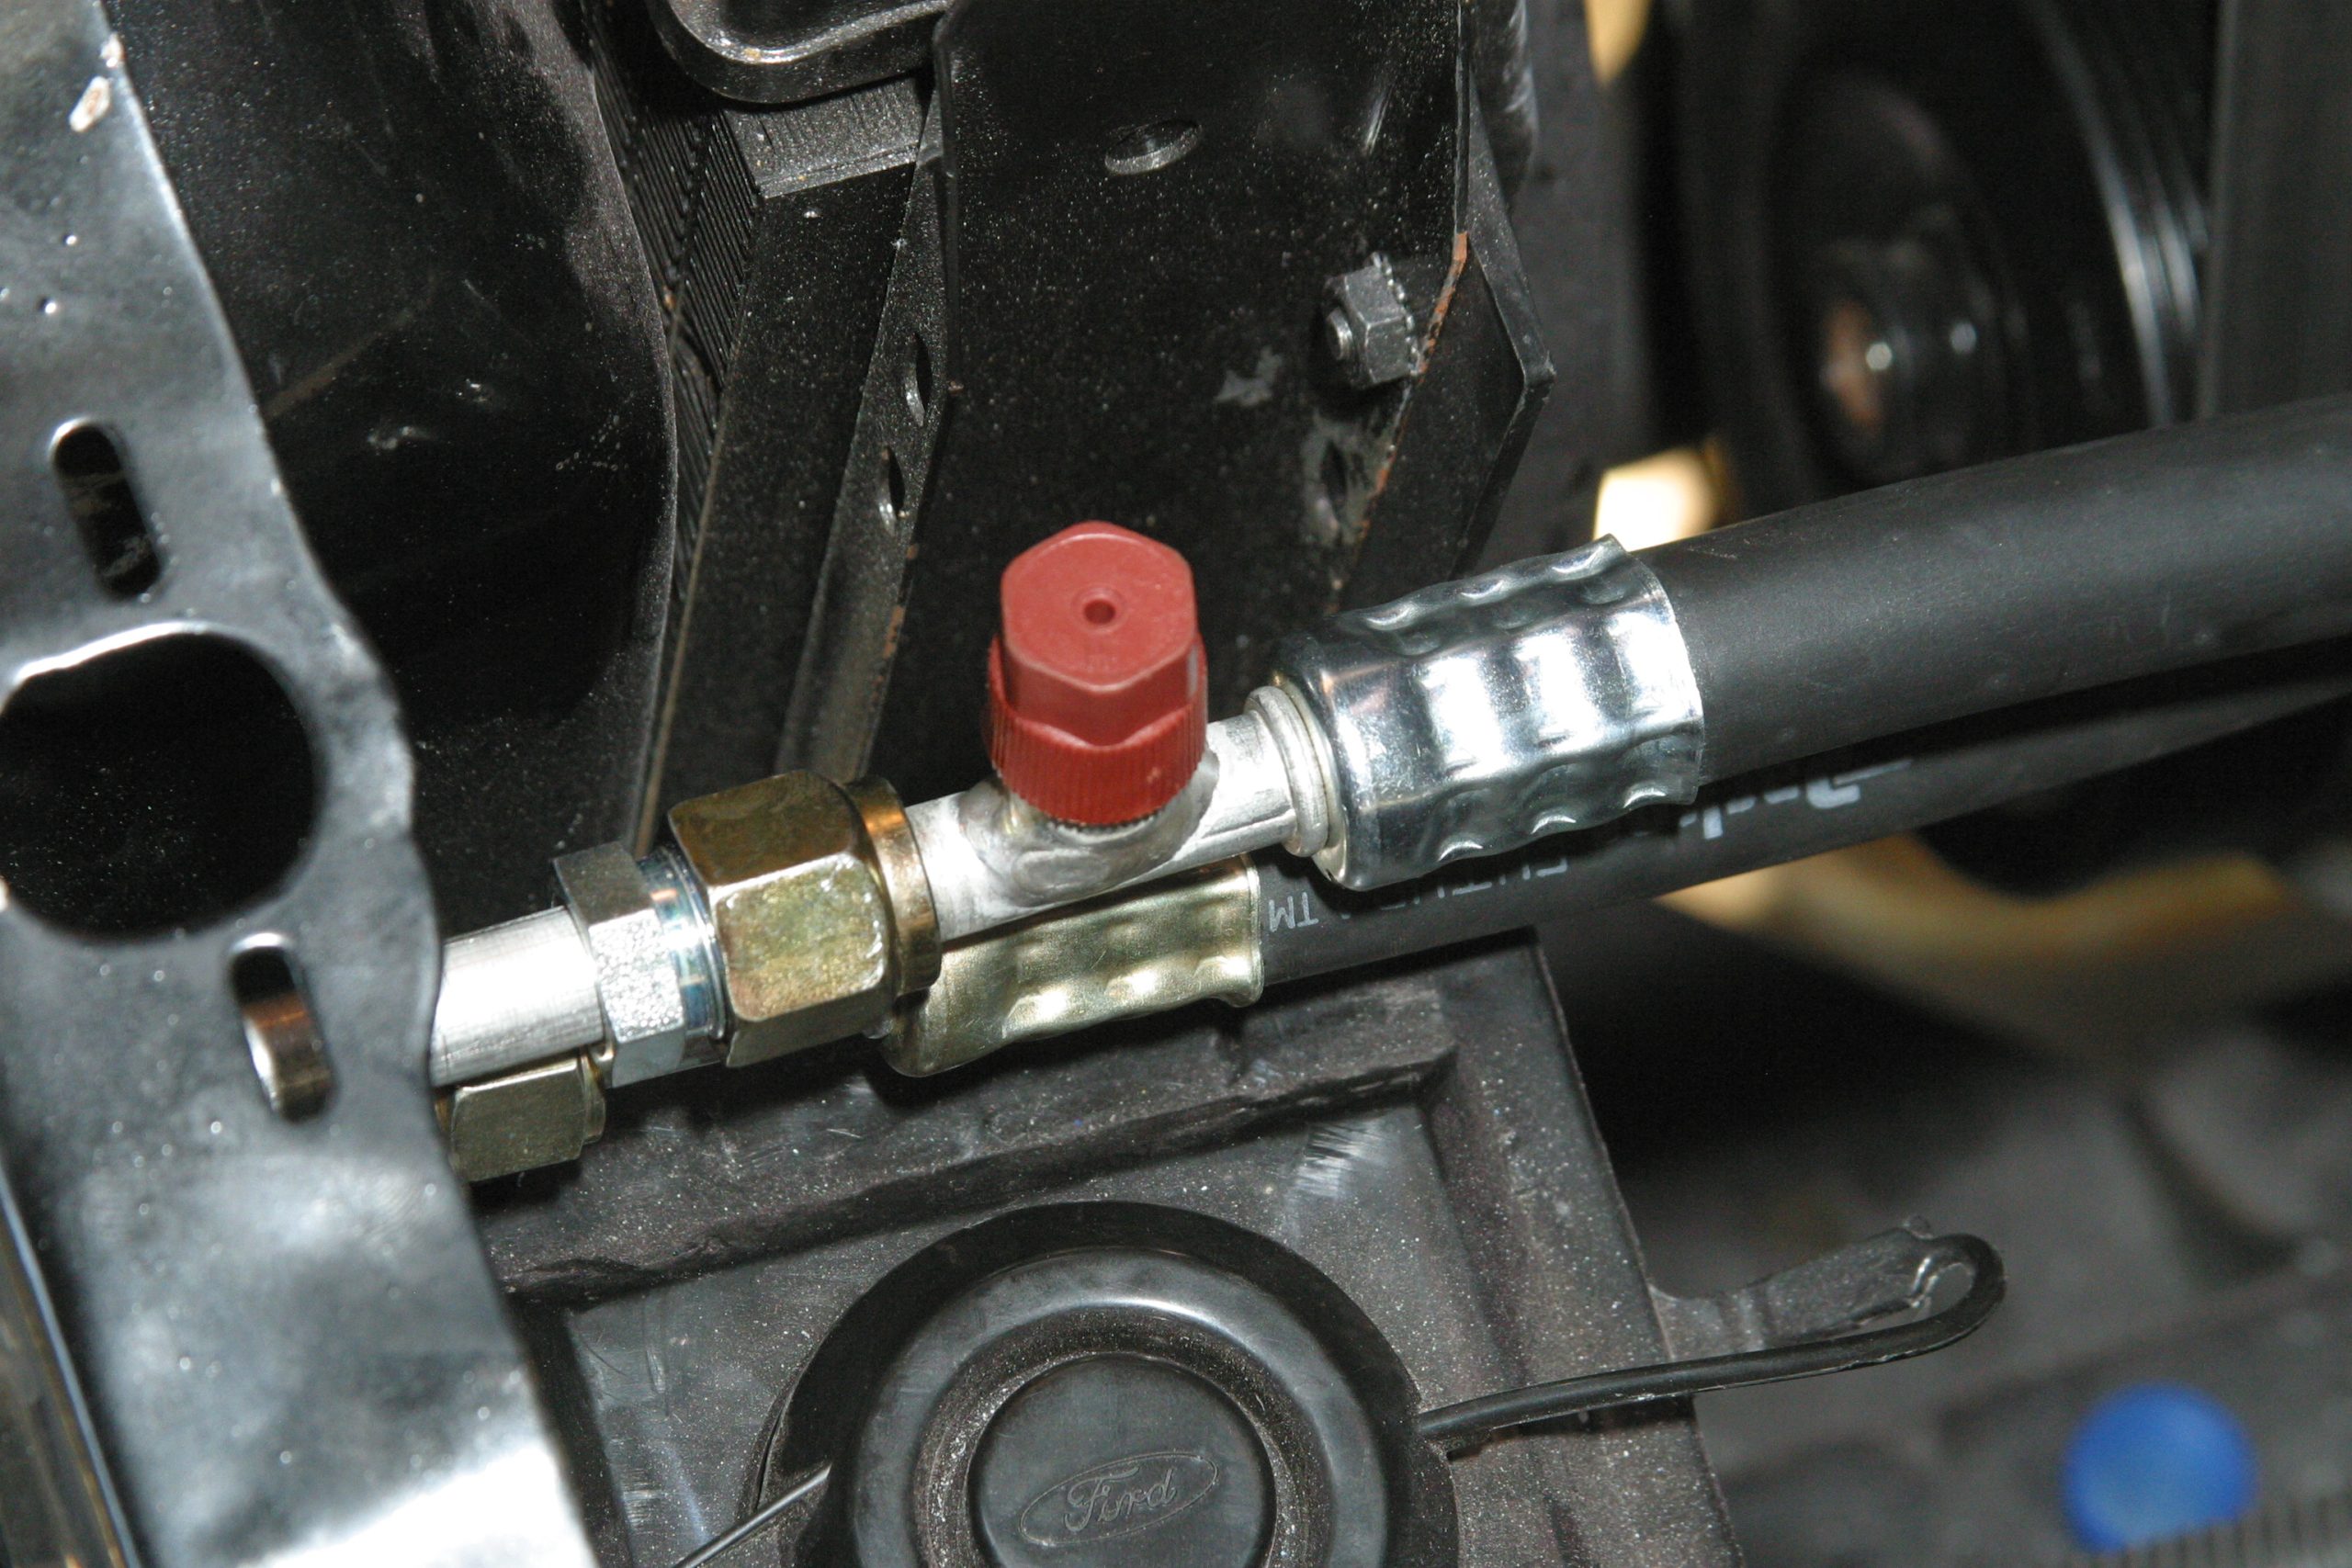
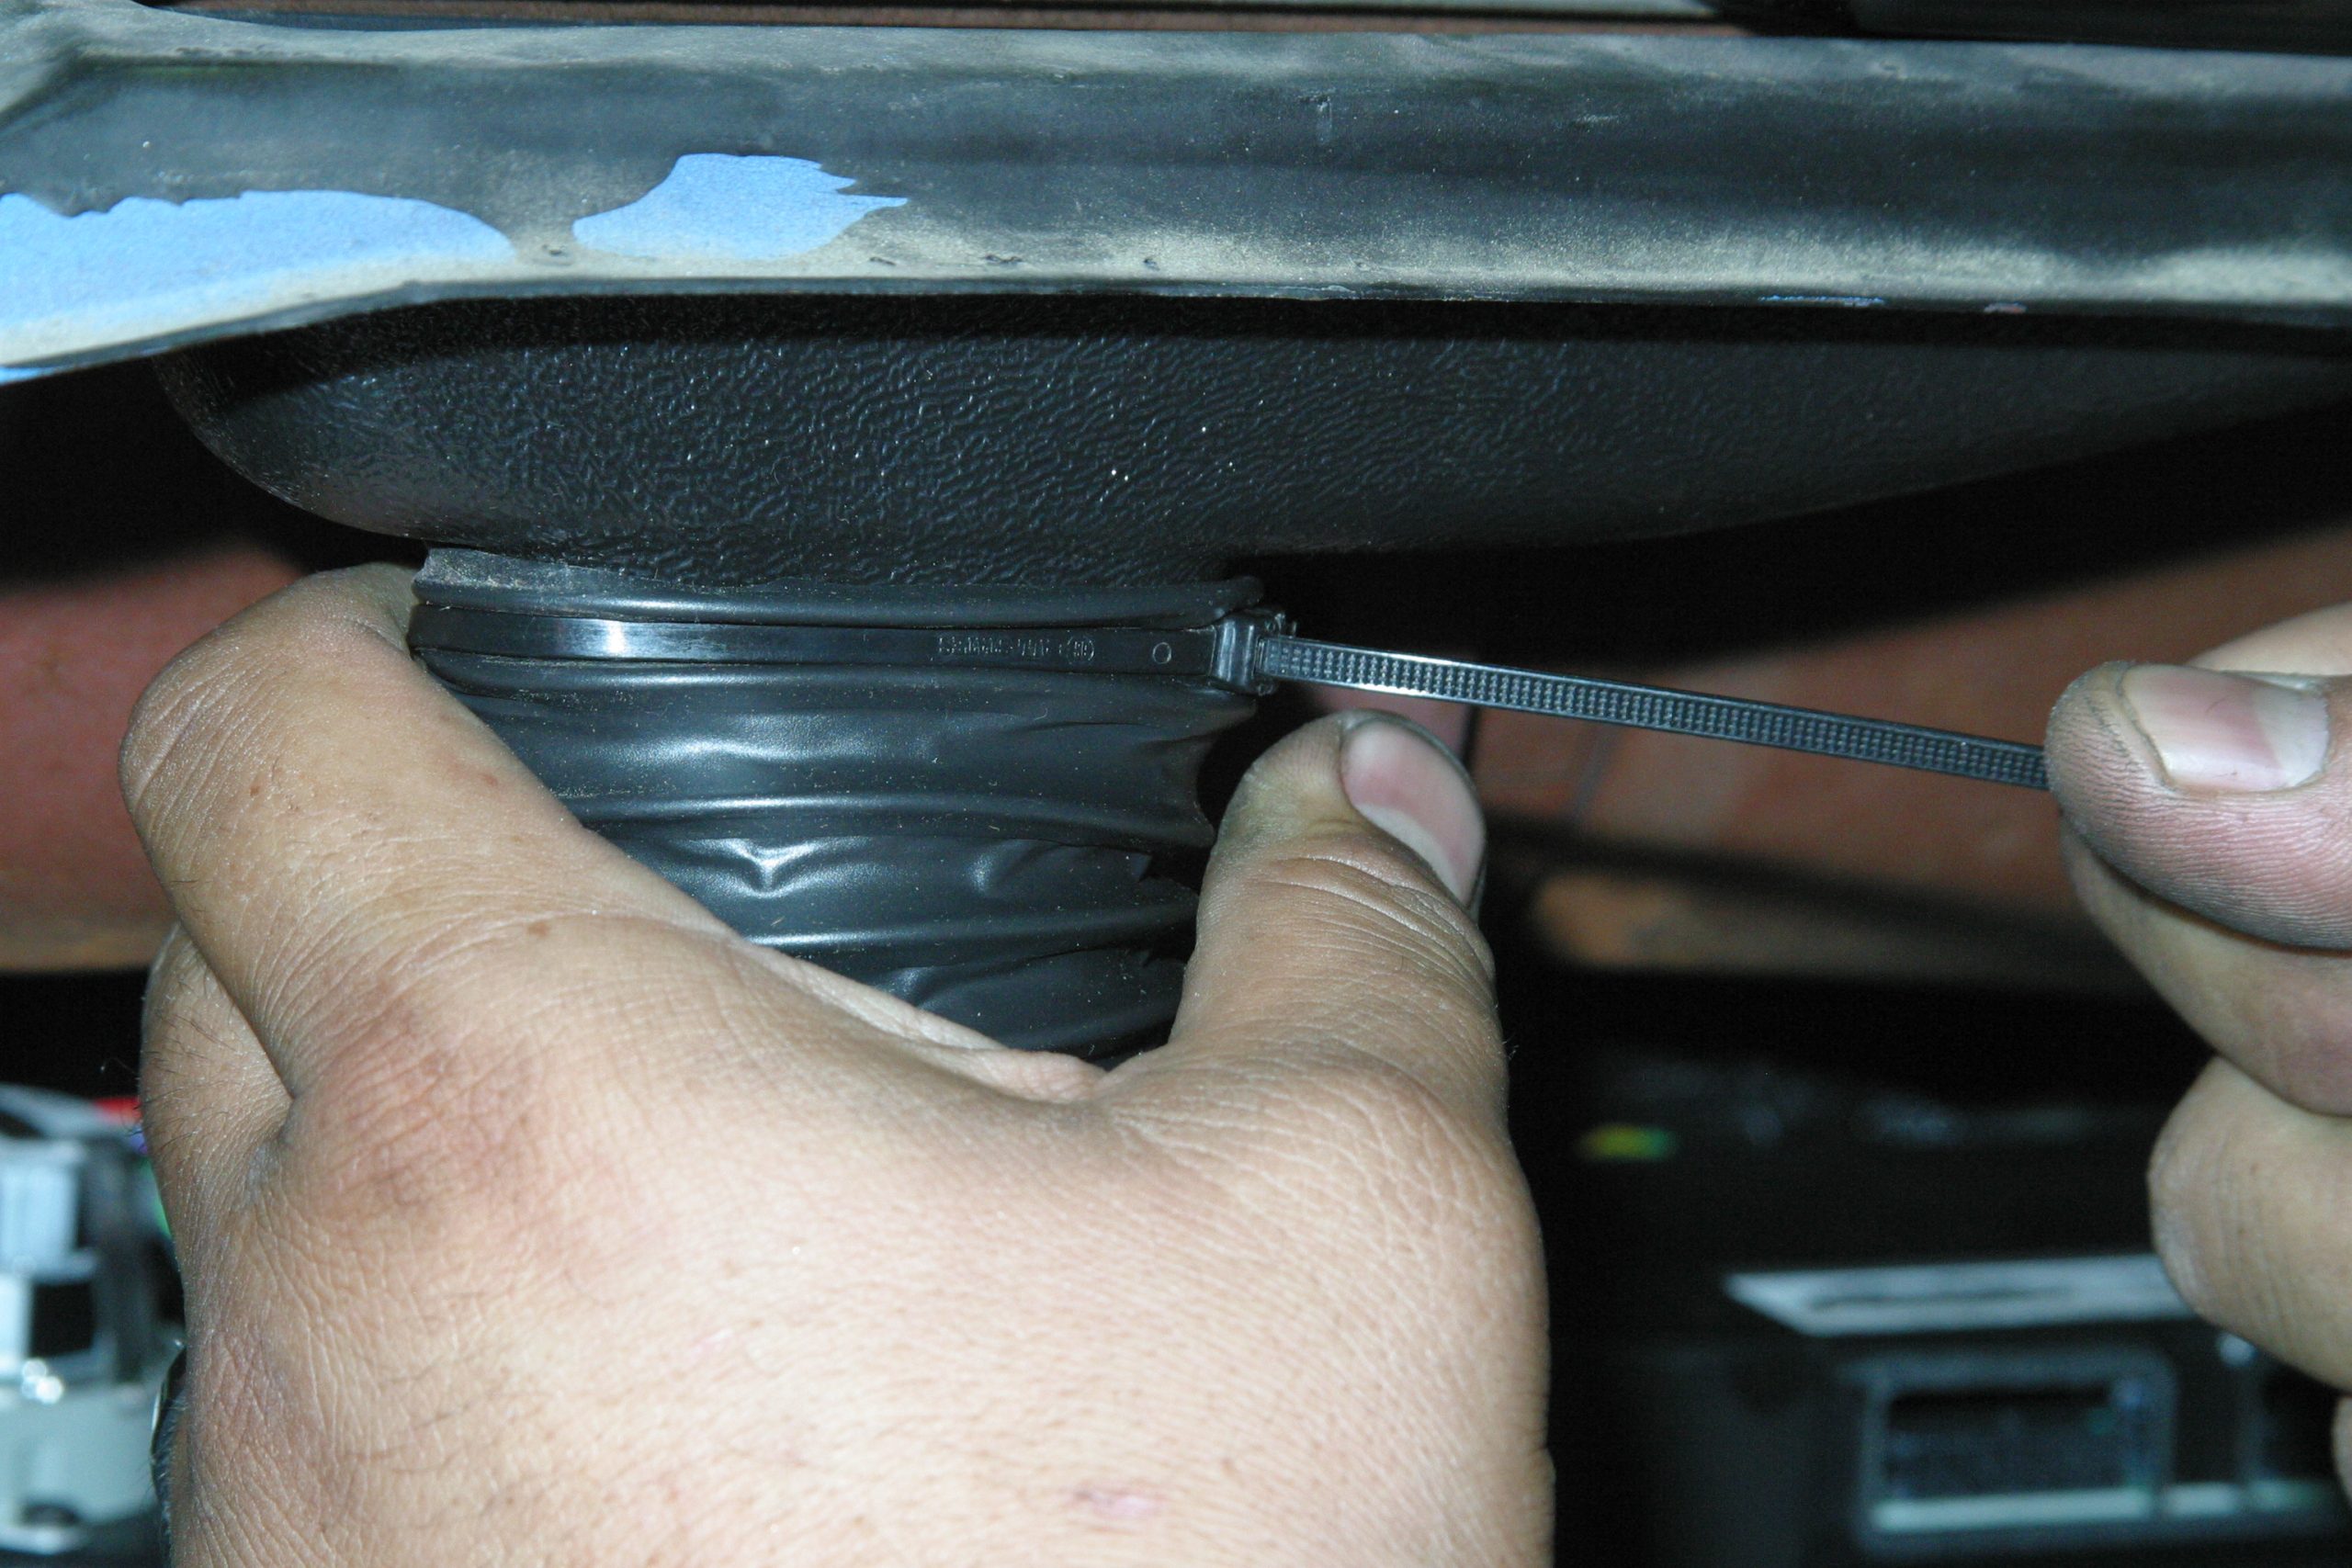
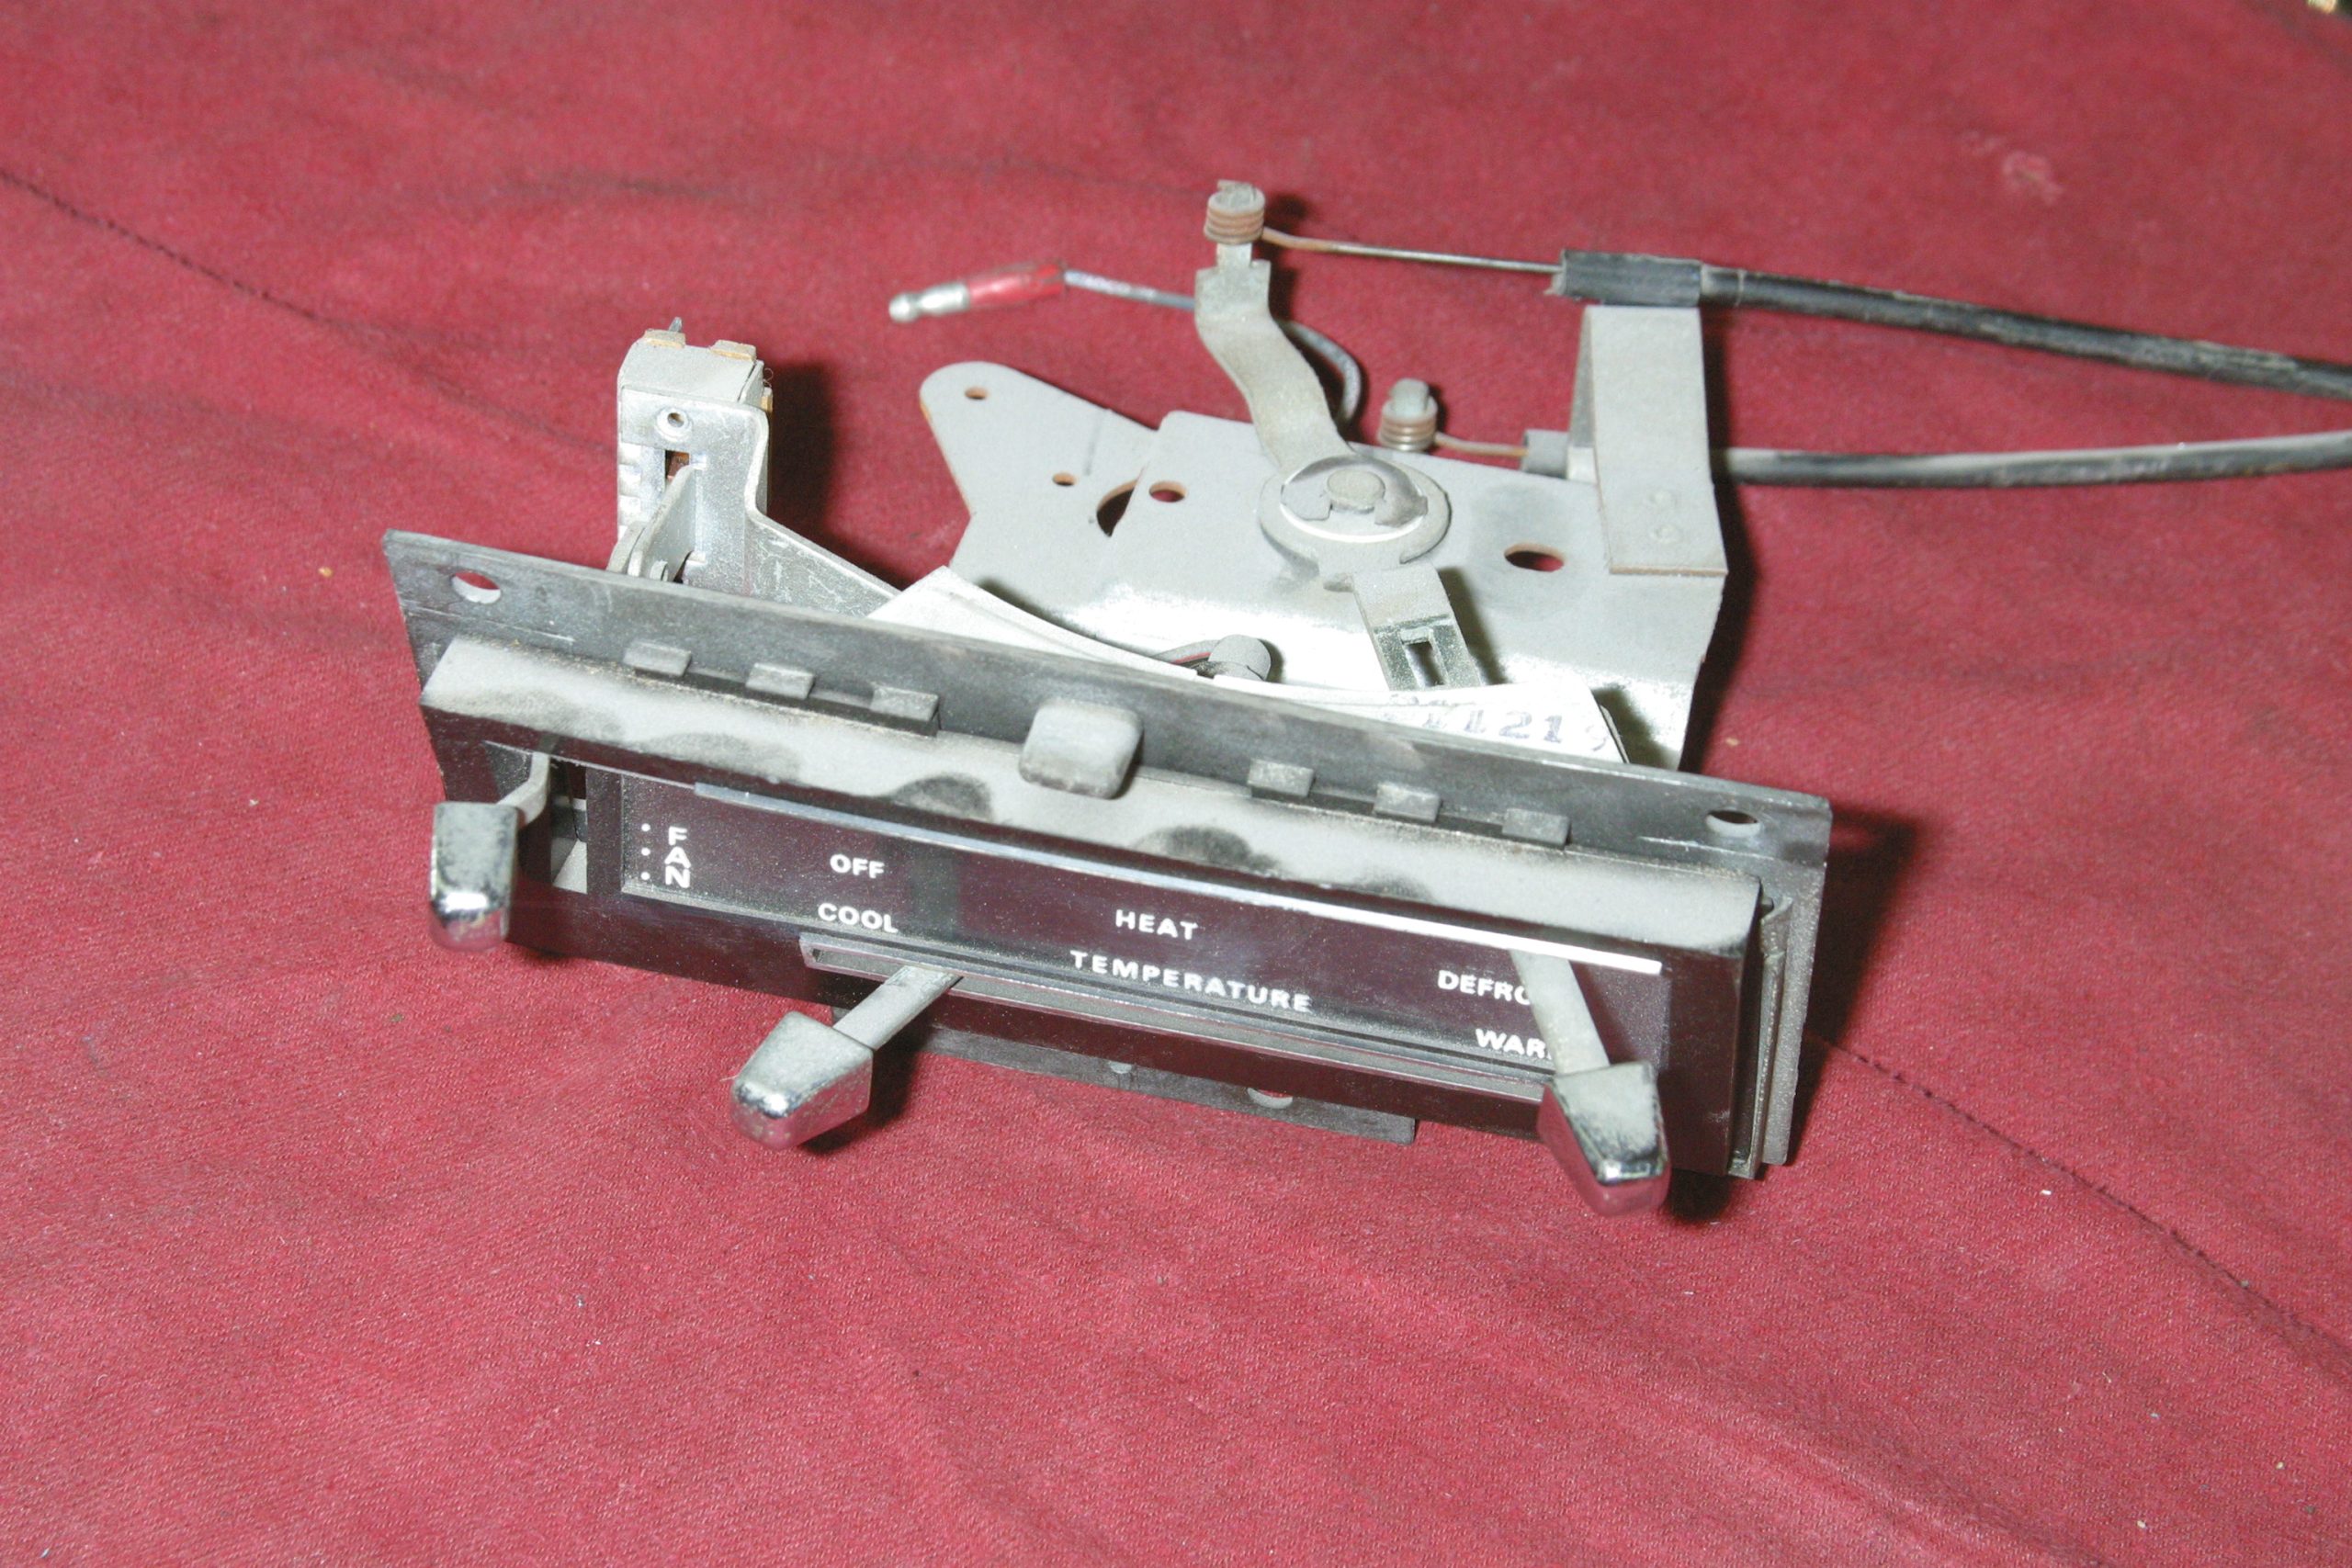
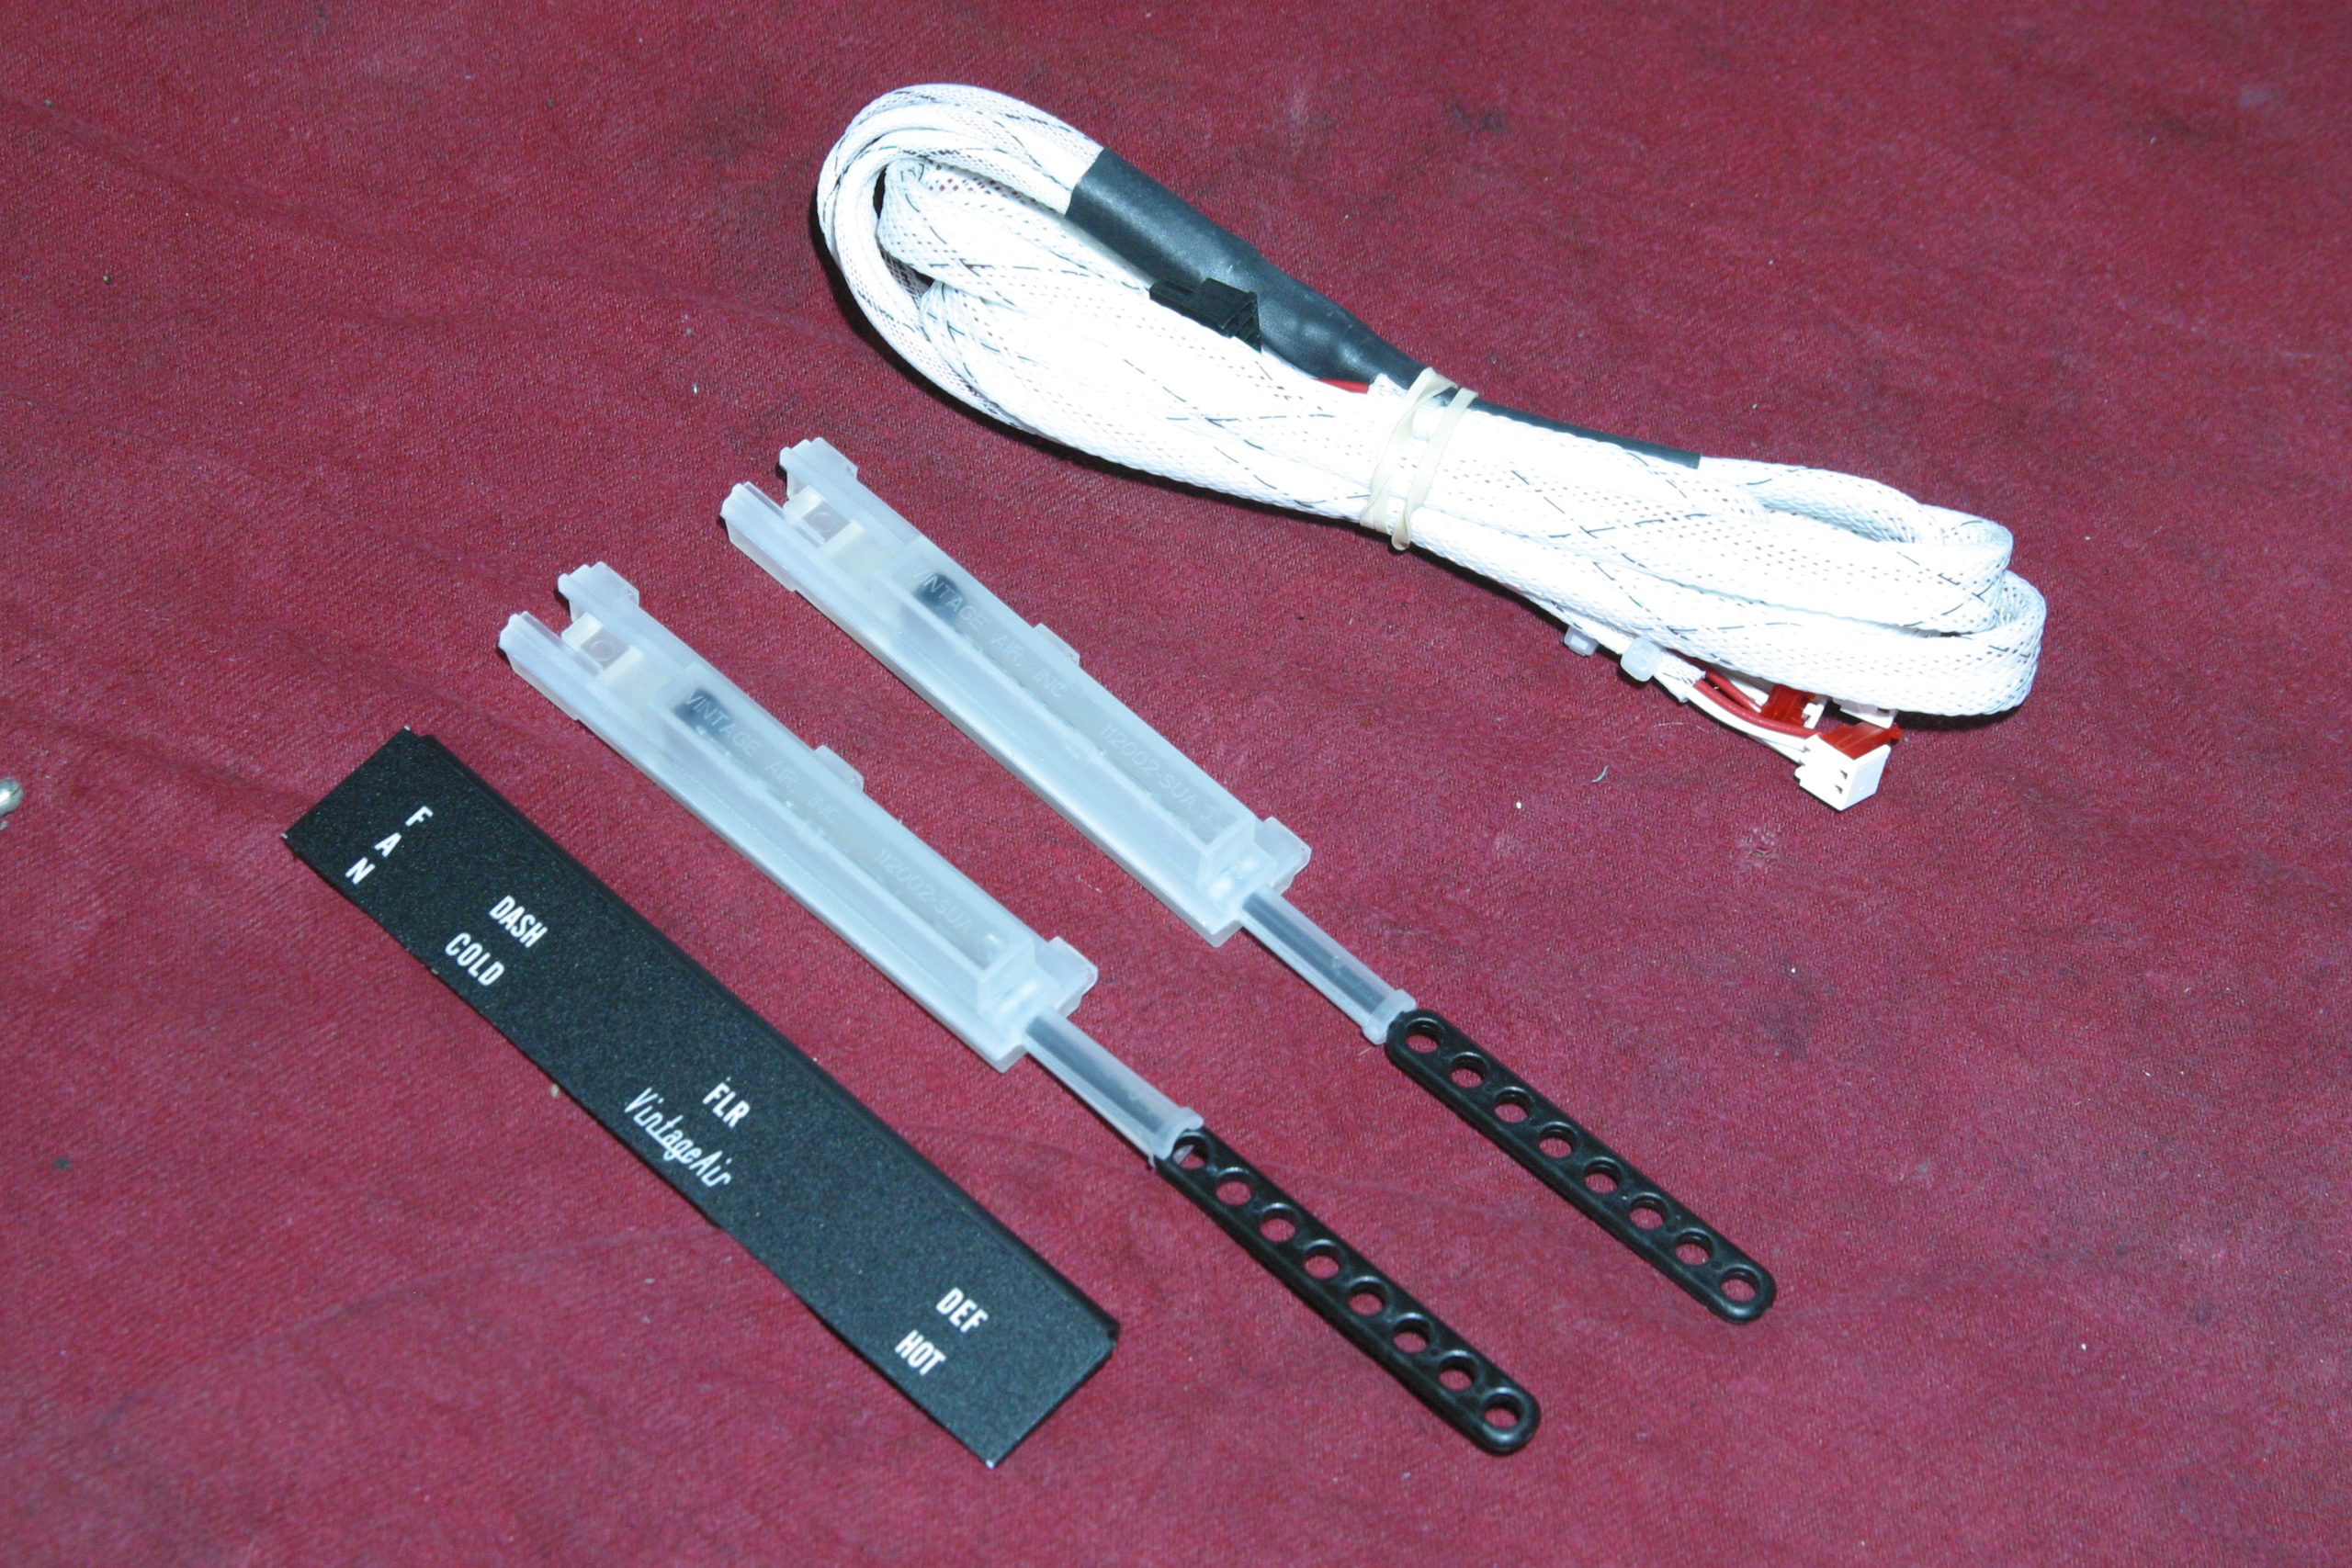
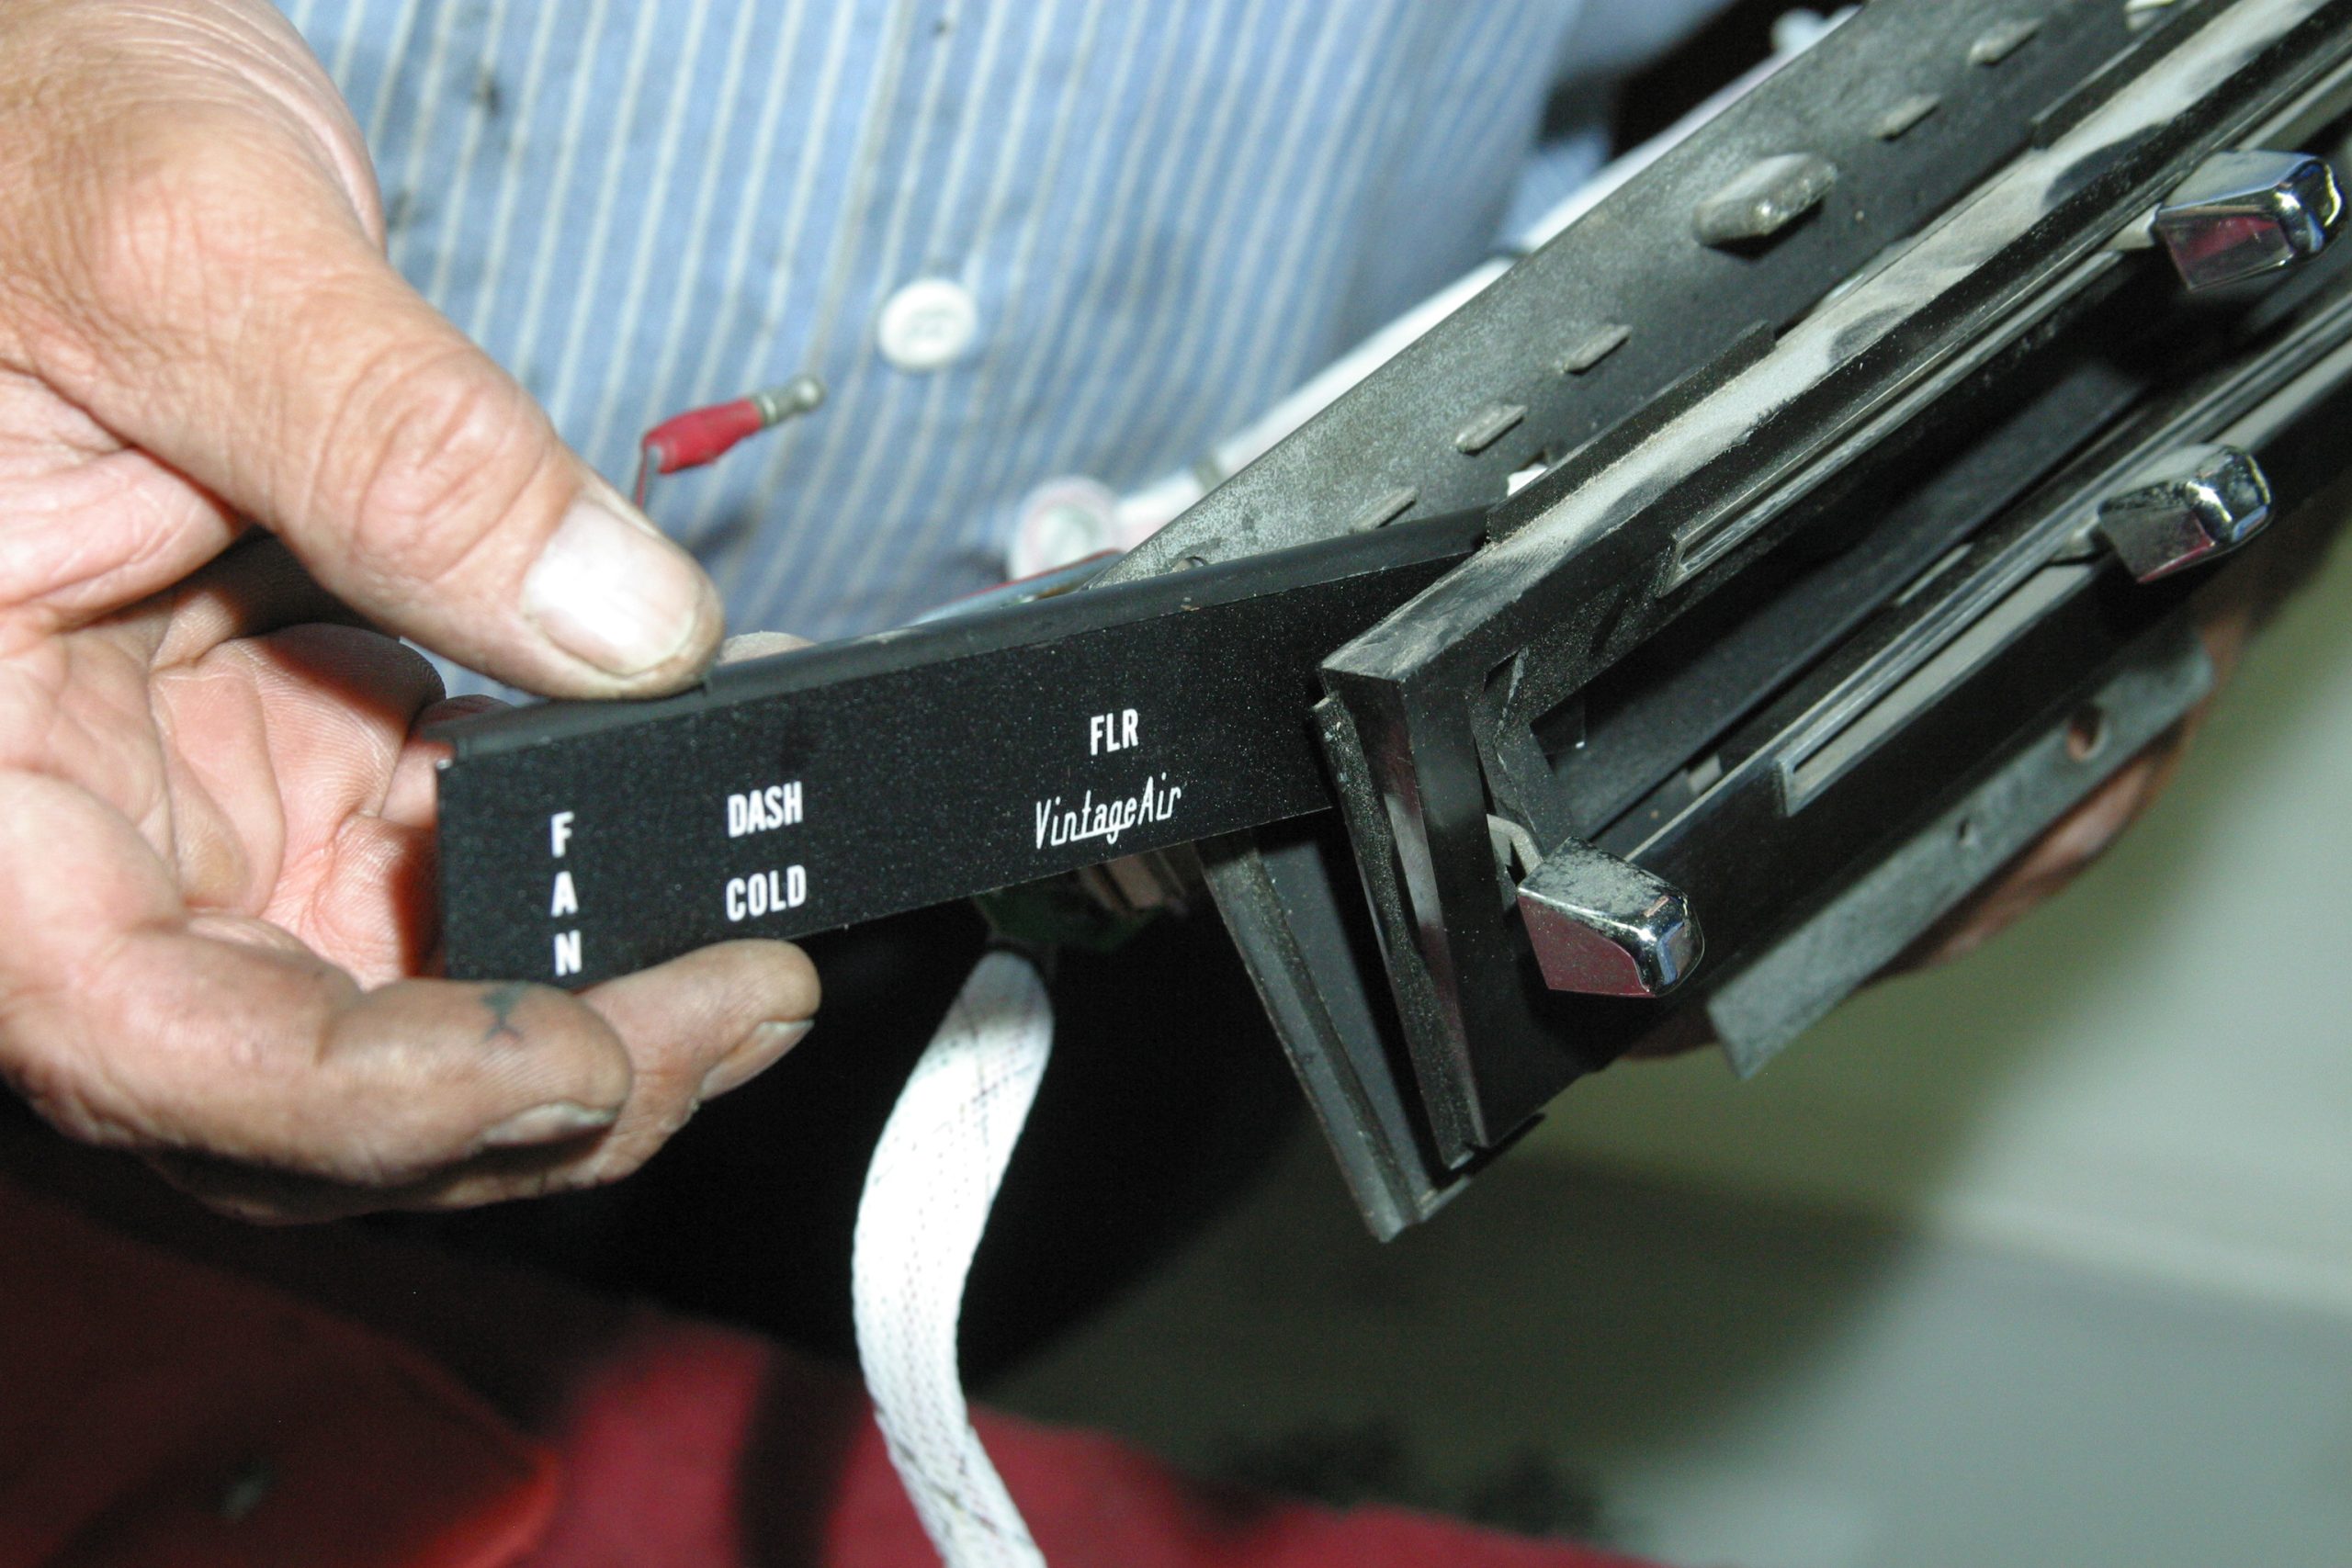
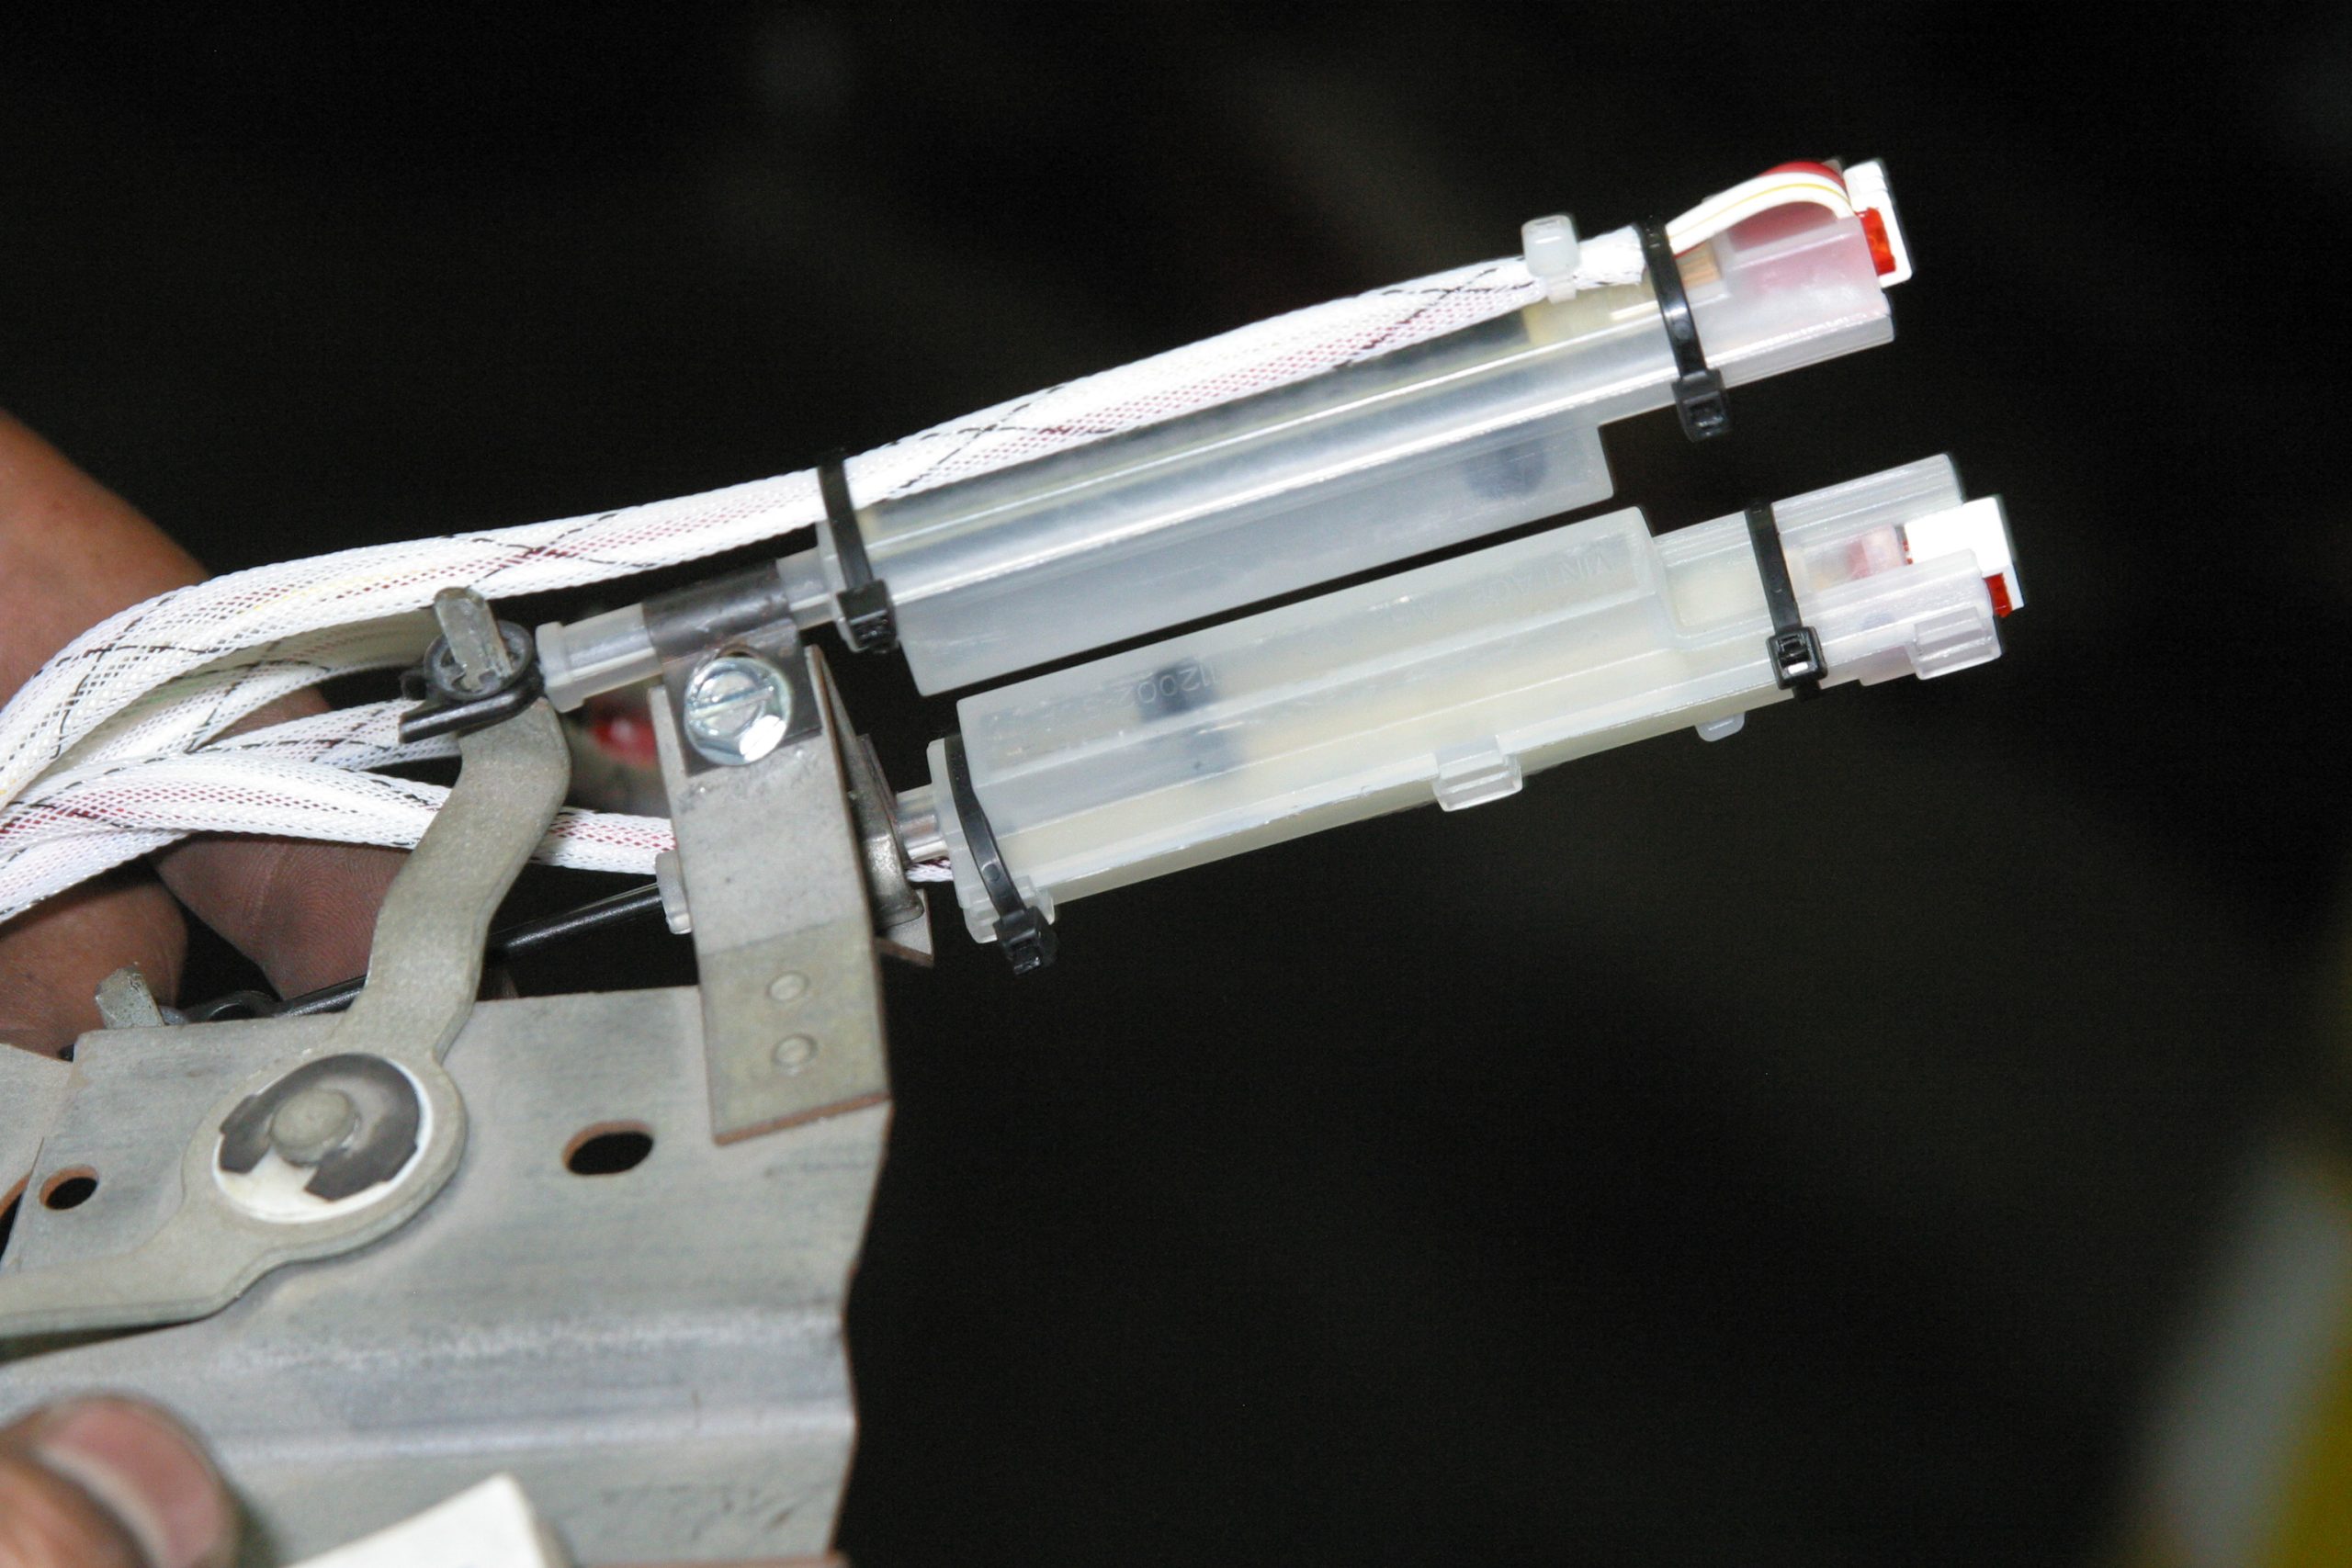
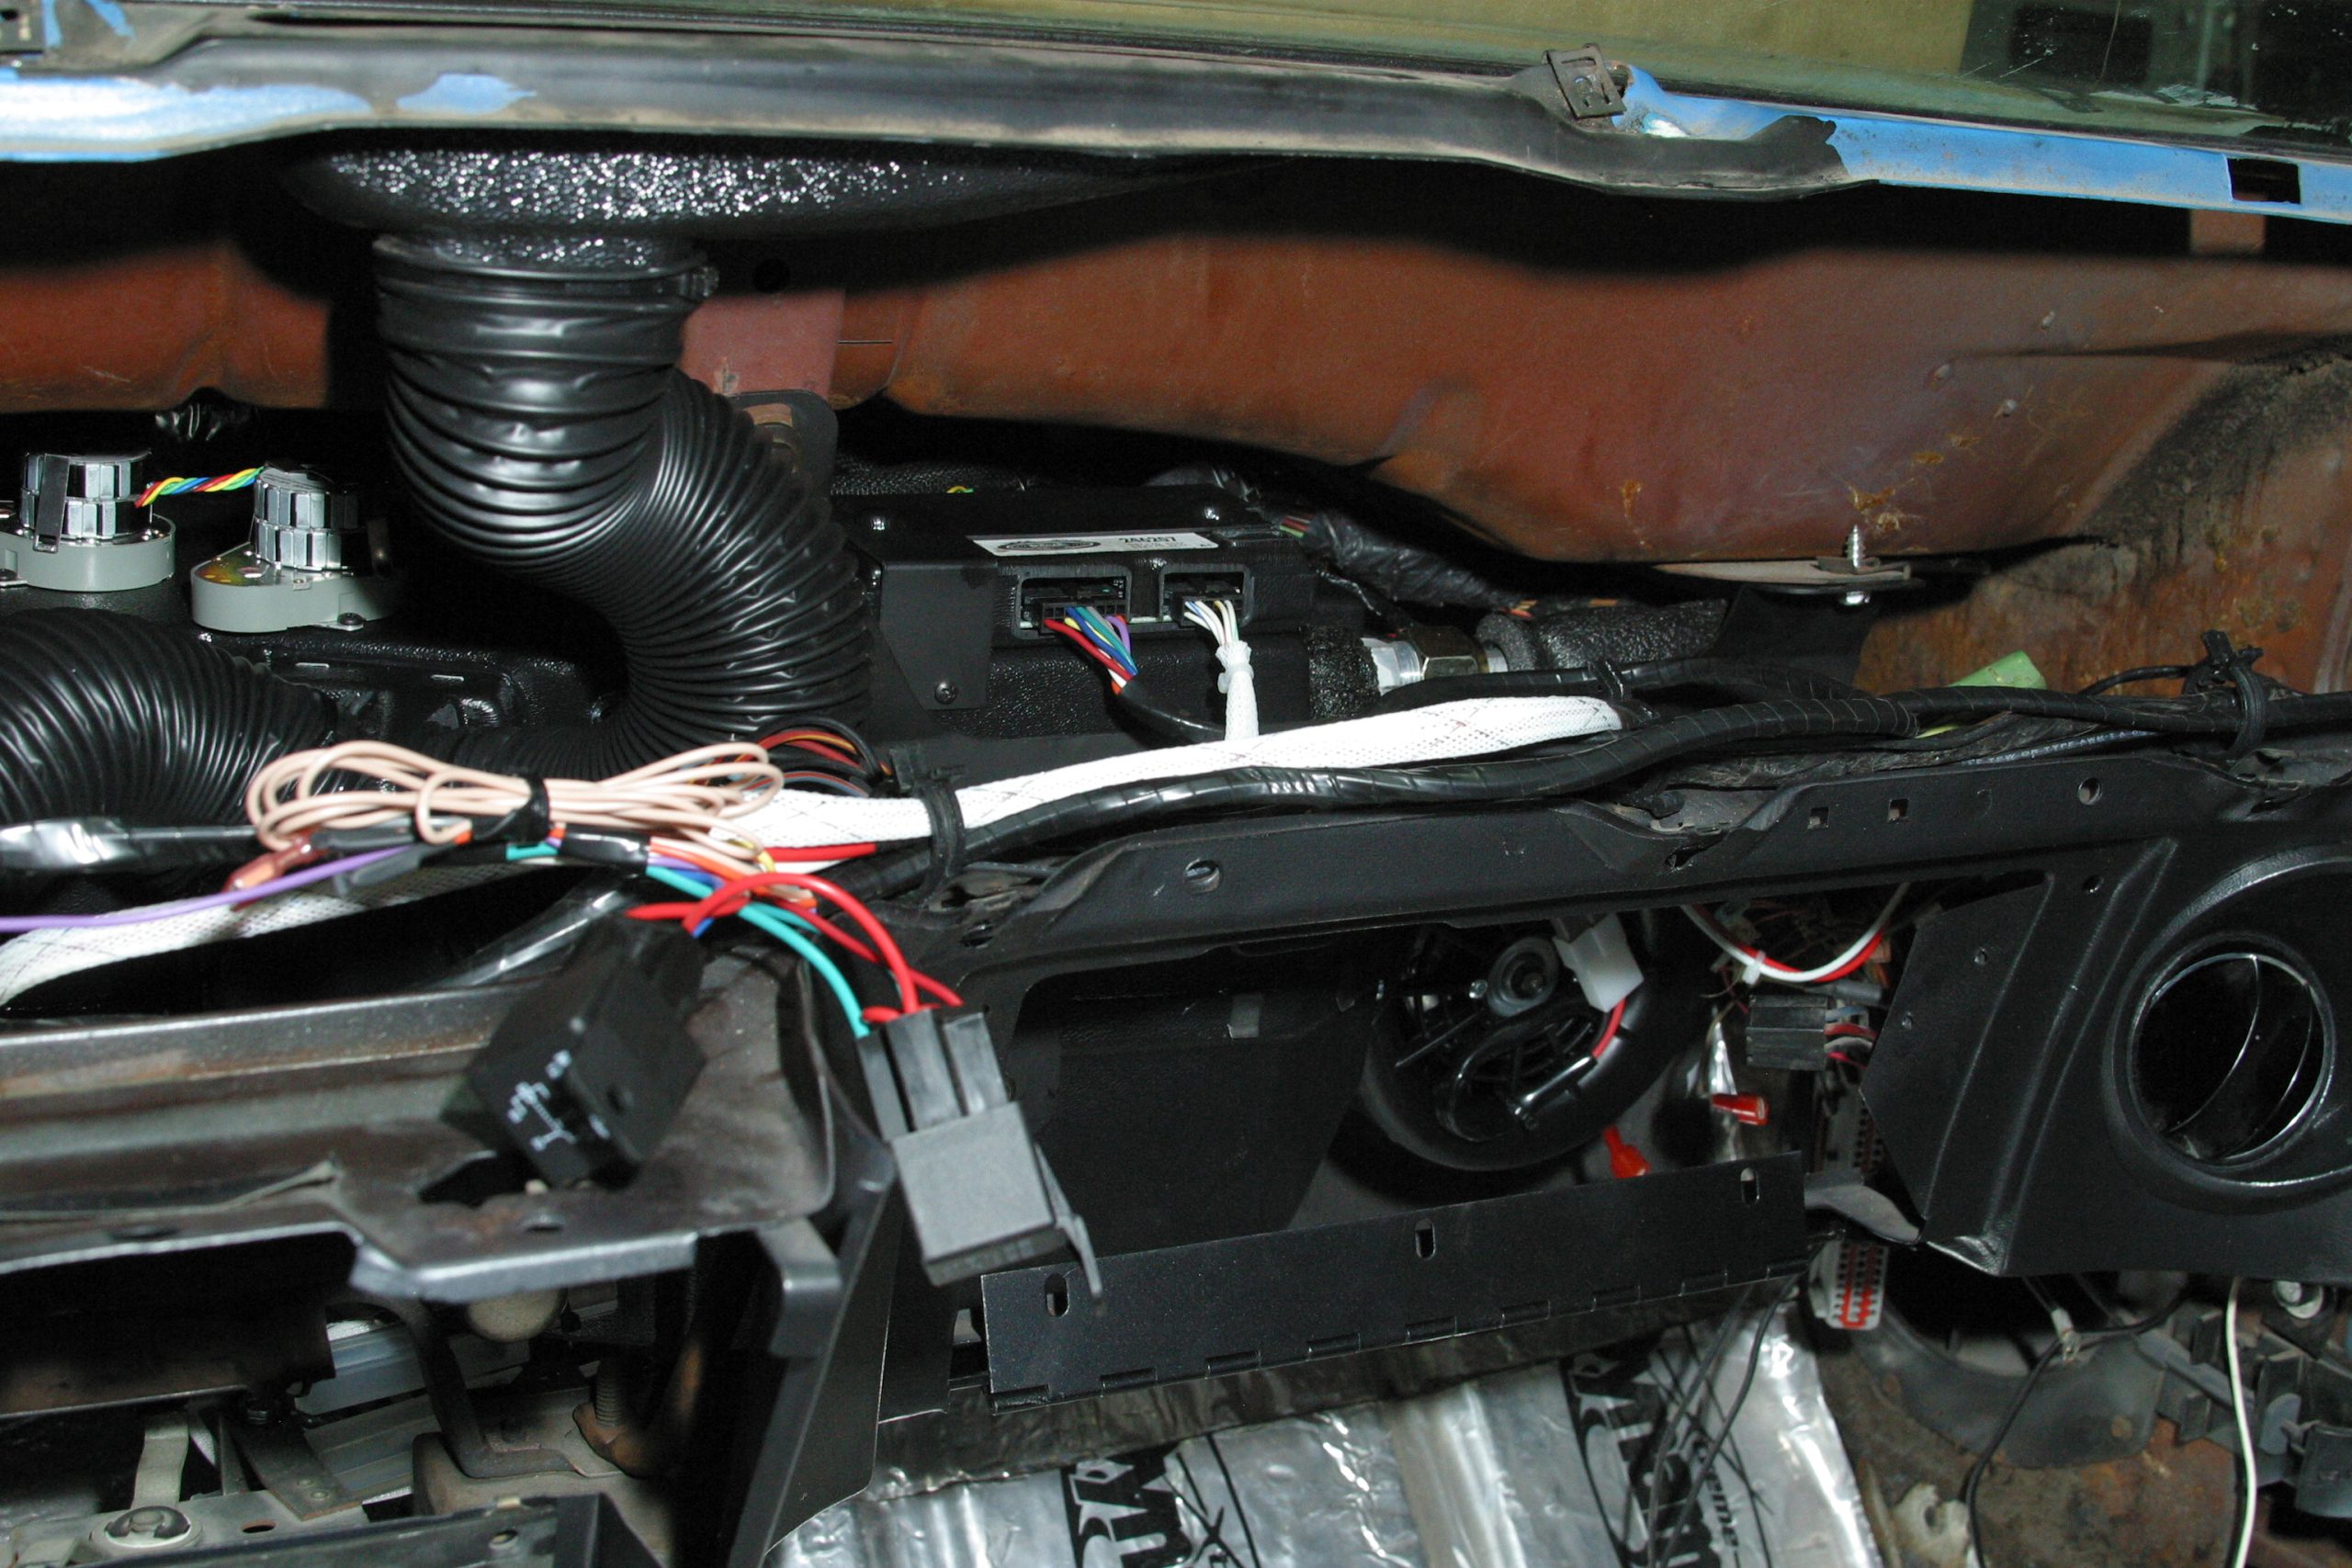
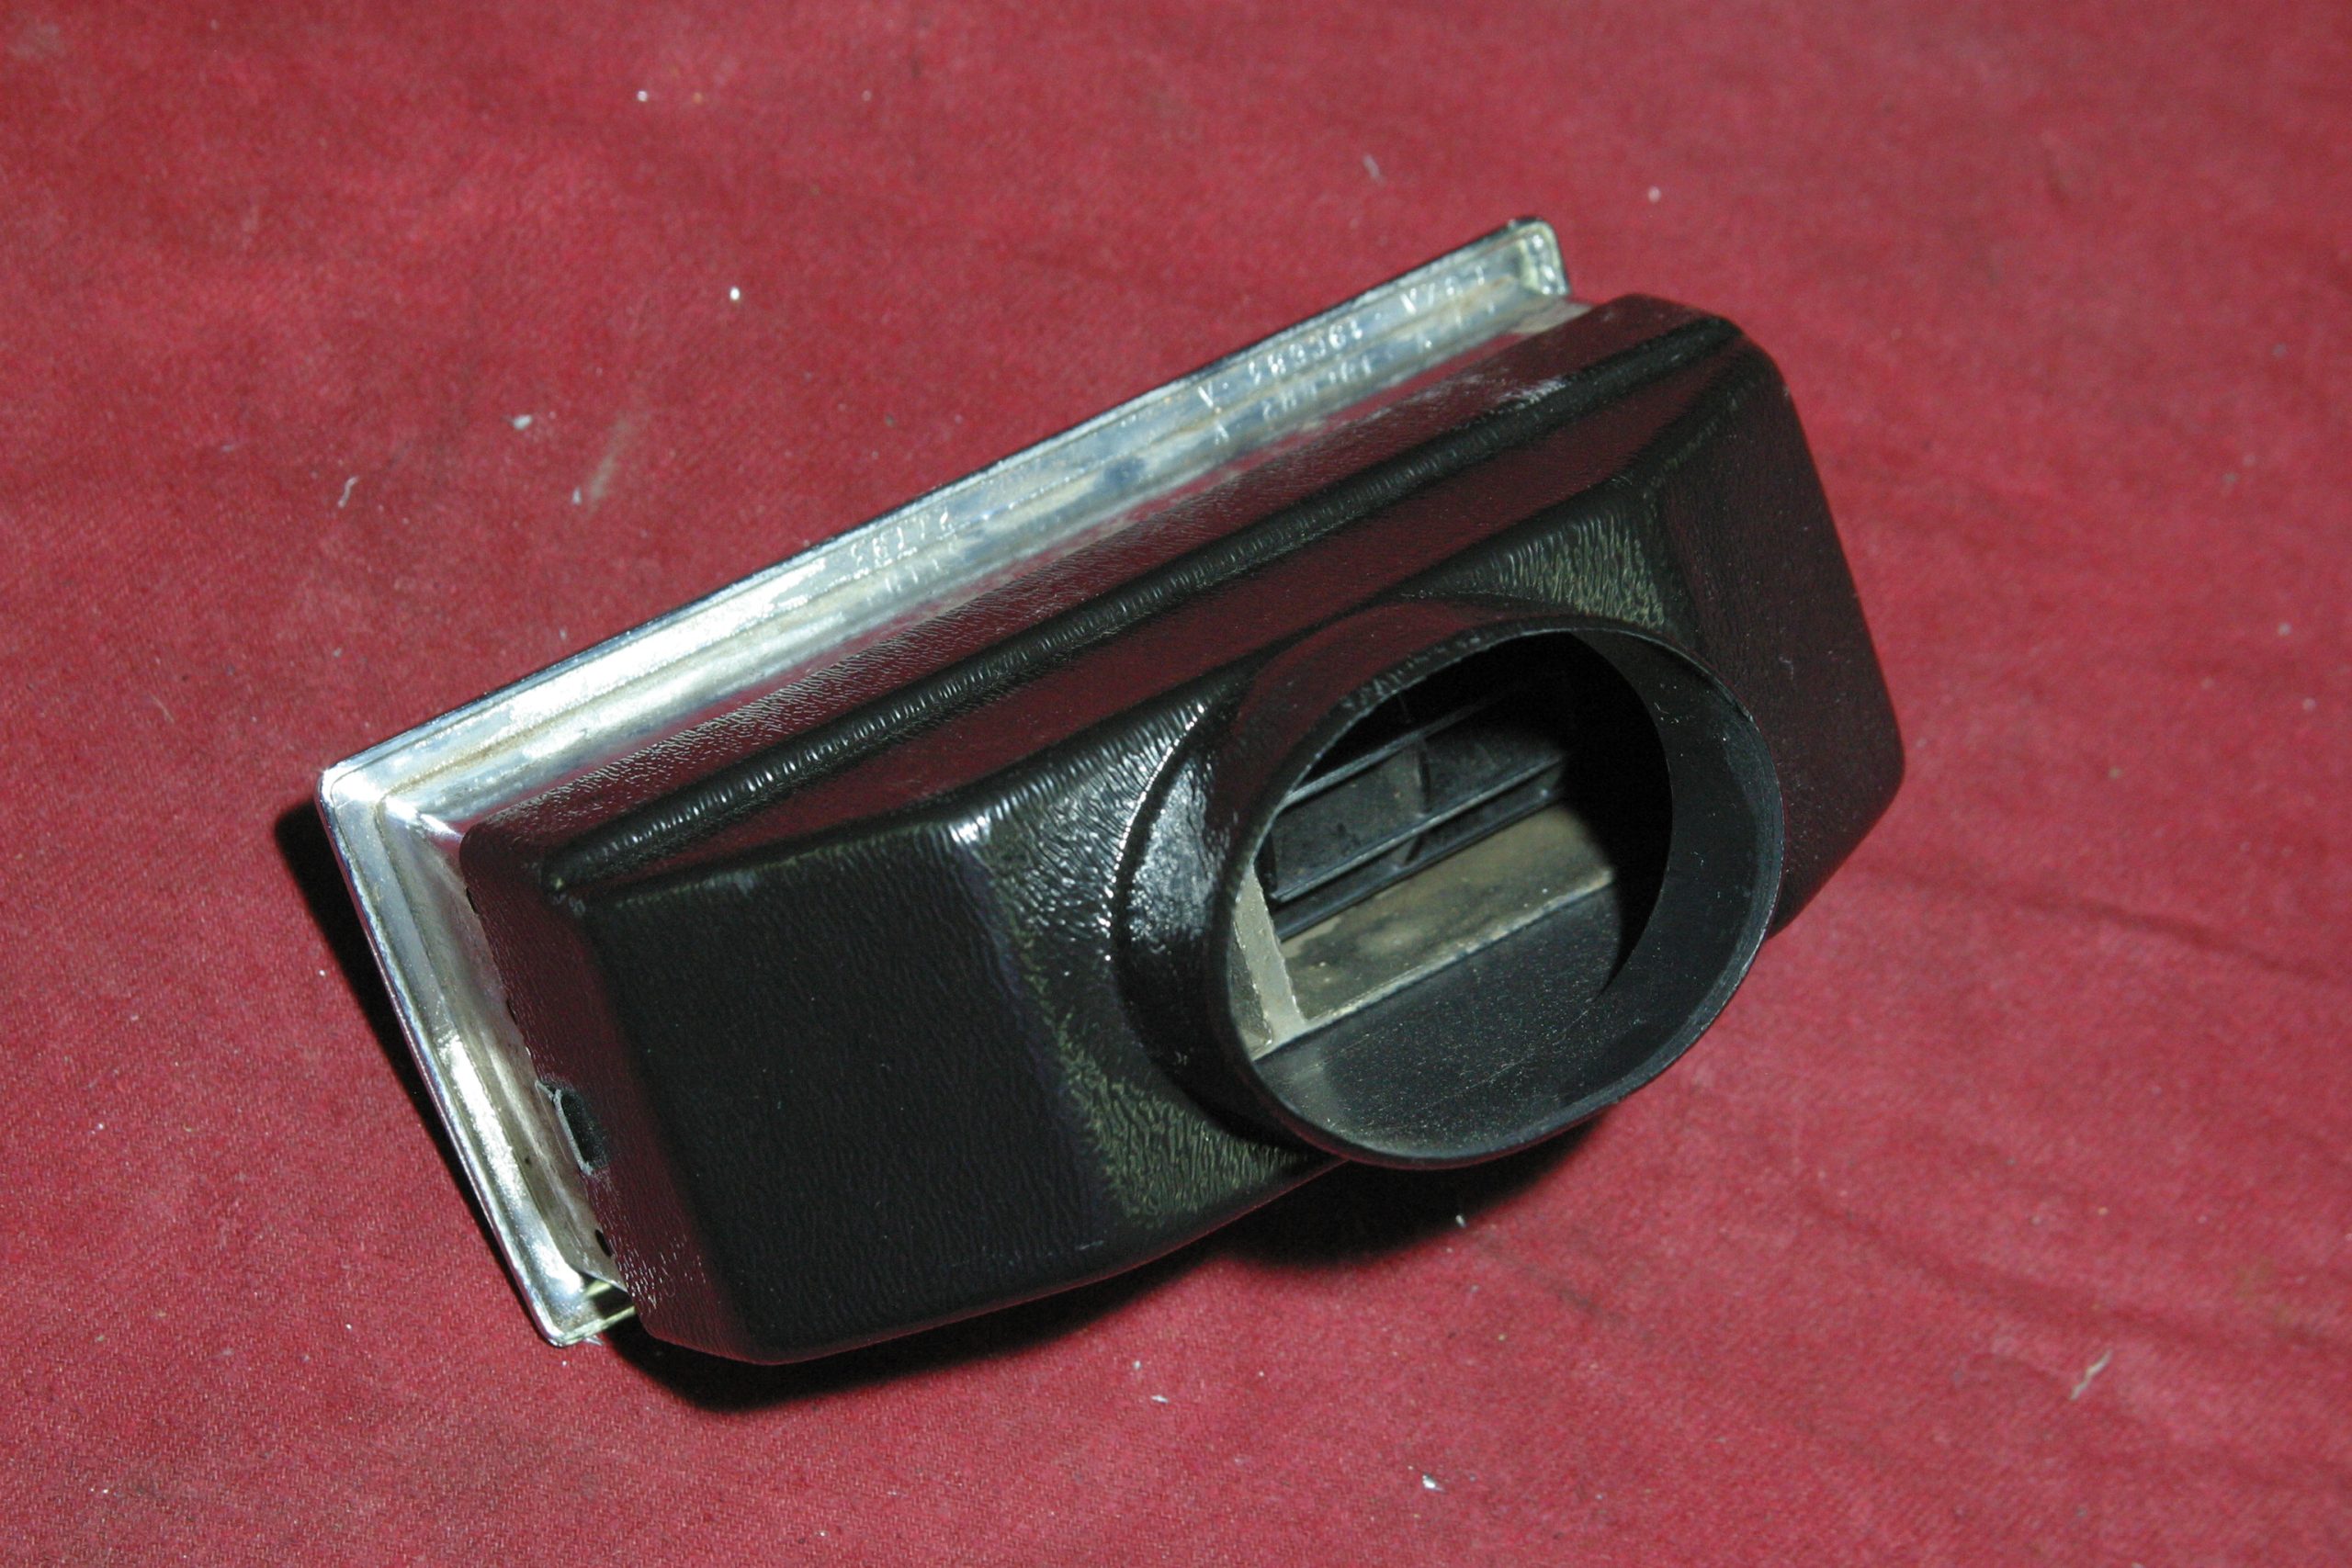
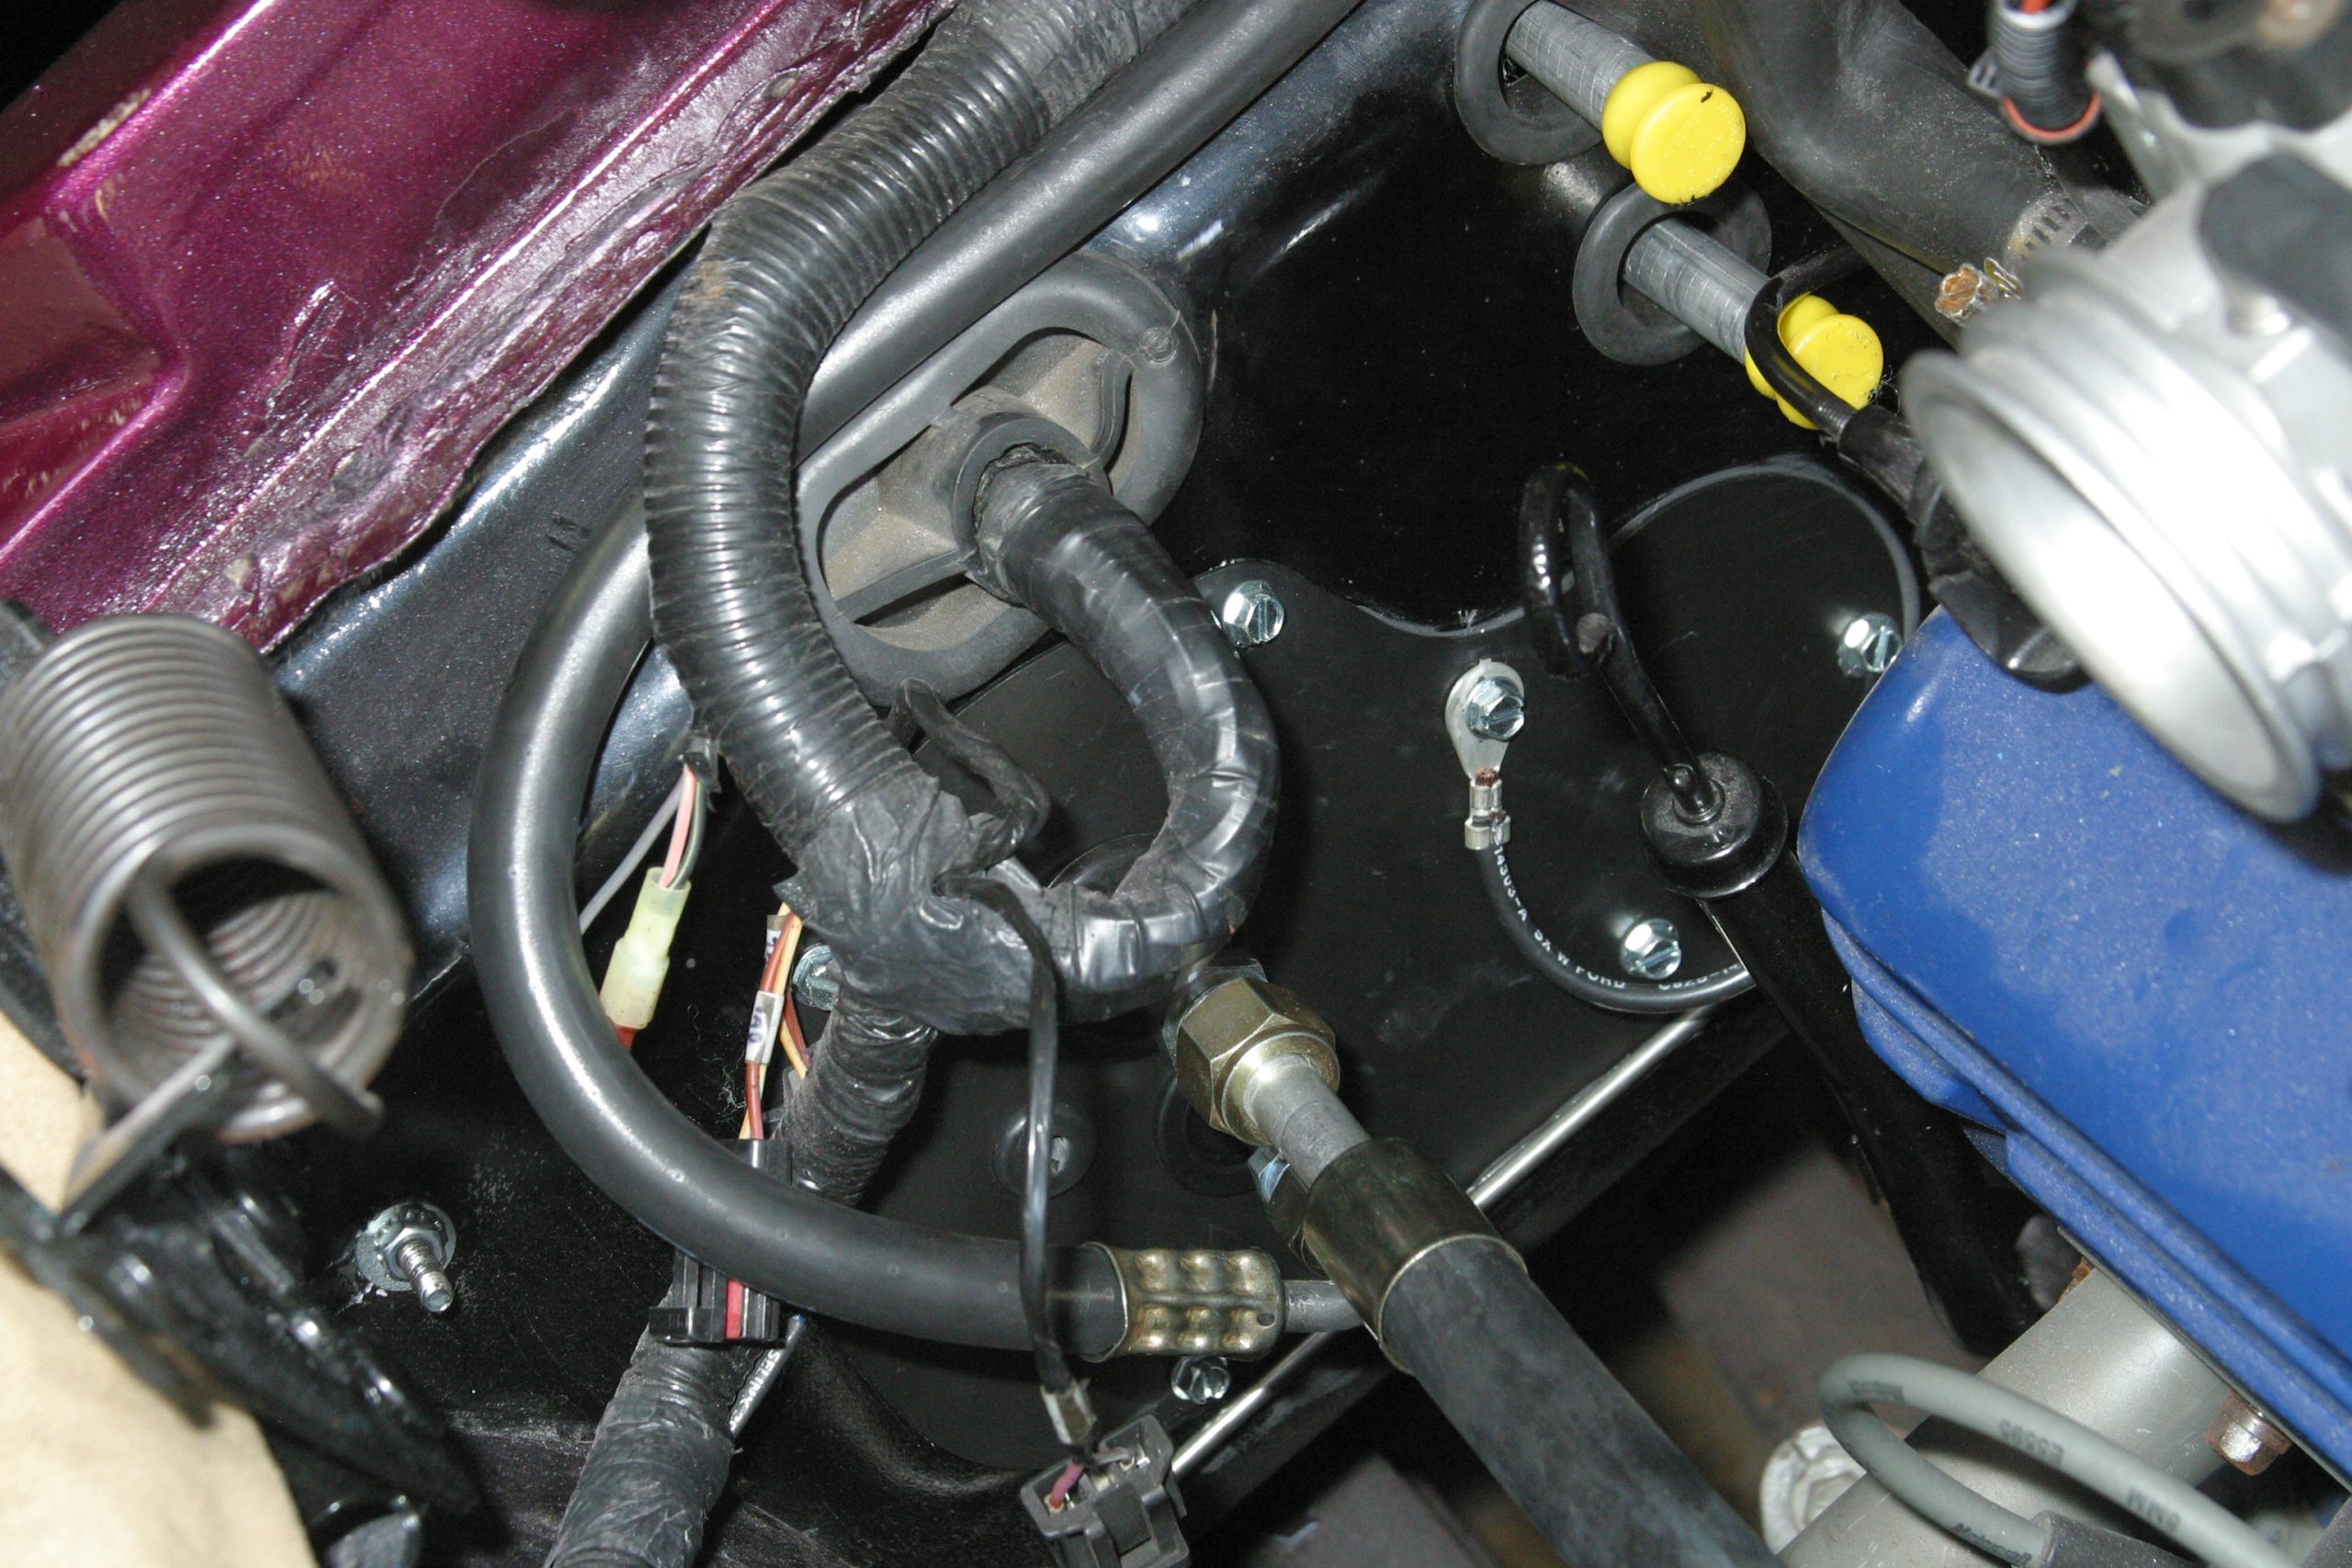
Vintage Air’s GEN IV SureFit climate control system makes getting into winter heat and summer cool easy with this compact kit you can install over a weekend. (Image/Jim Smart)The air management package fits behind the dashboard with plenty of room to spare with reliable electronic servo function. (Image/Jim Smart)Vintage Air’s GEN IV SureFit high-efficiency condenser bolts to the core support in front of the radiator.(Image/Jim Smart)All refrigeration system plumbing and hoses are included in the kit. (Image/Jim Smart)Beginning in 1969, Ford went to bolt-in dashboards, which make removal of the old heating system and installation of SureFit a snap. (Image/Jim Smart)Prior to 1969, dashboards were welded in, which makes removal and installation challenging. (Image/Jim Smart)With the old climate control system removed, now is the time to replace firewall insulation and lay down Dynamat sound deadening to quiet the ride. (Image/Jim Smart)SureFit defroster outlets are installed first. (Image/Jim Smart)The factory cowl vent intake is plugged with this insert because it will not be necessary with the SureFit system. Use RTV silicone sealer around the perimeter and press into place. (Image/Jim Smart)Vintage Air provides this template, which enables you to drill holes where necessary. (Image/Jim Smart)(Image/Jim Smart)This is the SureFit refrigeration expansion valve, which controls refrigerant flow from the evaporator. It is wrapped with heavy insulation as shown to minimize line sweating. (Image/Jim Smart)(Image/Jim Smart)(Image/Jim Smart)These Mustang/Cougar specific brackets bolt onto the SureFit housing, which enables the unit to be secured to existing body structure without modifications. (Image/Jim Smart)These are the heater core connections at the SureFit plenum. (Image/Jim Smart)Refrigeration lines get these O-rings and the oil provided with the kit. Use only this refrigeration-specific oil on these O-rings. (Image/Jim Smart)The Vintage Air SureFit unit is ready for installation including all lines and hoses. (Image/Jim Smart)This unit is easy to fit, with heater hose lines protruding through the firewall (arrows) at the left and refrigeration lines to the right through the large firewall opening. (Image/Jim Smart)The firewall transition plate get RTV silicone sealer around its perimeter as shown, then it’s pressed into place. (Image/Jim Smart)(Image/Jim Smart)If you desire a more factory appearance, opt for hex-head sheet metal screws that don’t have the extra cross slot. (Image/Jim Smart)The microprocessor multiplex connectors are located on top of the unit. The Vintage Air main harness connects here. (Image/Jim Smart)With the unit installed, the evaporator drain hole and tube are located and the firewall passage bored with a step drill. (Image/Jim Smart)(Image/Jim Smart)The condenser is next, with the receiver joined to the condenser as shown. (Image/Jim Smart)That is the pressure switch at the top of the receiver. (Image/Jim Smart)The condenser is installed in front of the radiator, with the receiver-drier oriented as shown. On top of the receiver is the pressure switch, which will be tied to the harness. (Image/Jim Smart)The condenser lines protrude through the core support like this wrapped in a grommet. (Image/Jim Smart)With some installations with a factory Denso compressor, this insert needs to be removed to accommodate the Vintage Air hose fittings. (Image/Jim Smart)Take extra care when removing this insert. (Image/Jim Smart)(Image/Jim Smart)(Image/Jim Smart)Vintage Air provides all of the hoses and fittings you’re going to need to complete the installation. You are free to choose fittings particular to your installation for a custom installation. Any air conditioning or hydraulic shop can swage the fittings onto your hoses. Swaging (crimping) tool kits are also available for purchase or rental. (Image/Jim Smart)Once the Vintage Air SureFit unit is permanently installed, there’s plenty of infrastructure to be completed including electrical and ducting. (Image/Jim Smart)You will want to streamline your installation where ducting and wiring are a nice clean fit. (Image/Jim Smart)Using the factory heater control slider, you will need to update with the Vintage Air fascia and switching. (Image/Jim Smart)(Image/Jim Smart)(Image/Jim Smart)Vintage Air switching has been trimmed and fitted to the factory heater control slider. If your Mustang/Cougar had factory heating and air conditioning, you will need to source a “heater only” control. (Image/Jim Smart)With the dashboard partially installed, you can see how clean this installation is behind the dash. This is a nice compact unit that’s a better fit than Ford’s factory climate control system. What’s more, it is trouble free. (Image/Jim Smart)The factory air conditioning registers can be used with Vintage Air’s adapters as shown. Vintage Air also provides templates that enable you to cut/trim the factory dash to accommodate the Vintage Air adapters. (Image/Jim Smart)The Vintage Air installation at the firewall is a nice clean presentation. On top is the 5.0L High Output’s SEFI harness where it penetrates the firewall to the ECM inside. On the far right is the heater core connections, which haven’t been connected yet. We suggesting keeping the ground strap connection out of view. (Image/Jim Smart)
Jim Smart is a veteran automotive journalist, technical editor, and historian with hundreds of how-to and feature articles to his credit. Jim's also an enthusiast, and has owned and restored many classic vehicles, including an impressive mix of vintage Ford Mustangs.


Comments