If you could send a modern production engine like the GM LS back in time to the middle 1960s, that engine would have appeared to engine builders of that time period as some kind of a pure-bred, exotic race engine. Beyond the EFI, the LS offers fantastic aspects like all-aluminum construction, a wild cathedral intake port, a high tech combustion chamber, and needle bearing roller rocker arms.
By today’s standards, we take for granted parts like needle bearing rocker arms, but they are nonetheless cool. For budget LS engine builders, there’s no need to invest in a set of aftermarket roller rockers because the factory pieces are very good. Even for used rockers with a quarter-million miles on them, you can upgrade them with a simple roller bearing conversion.
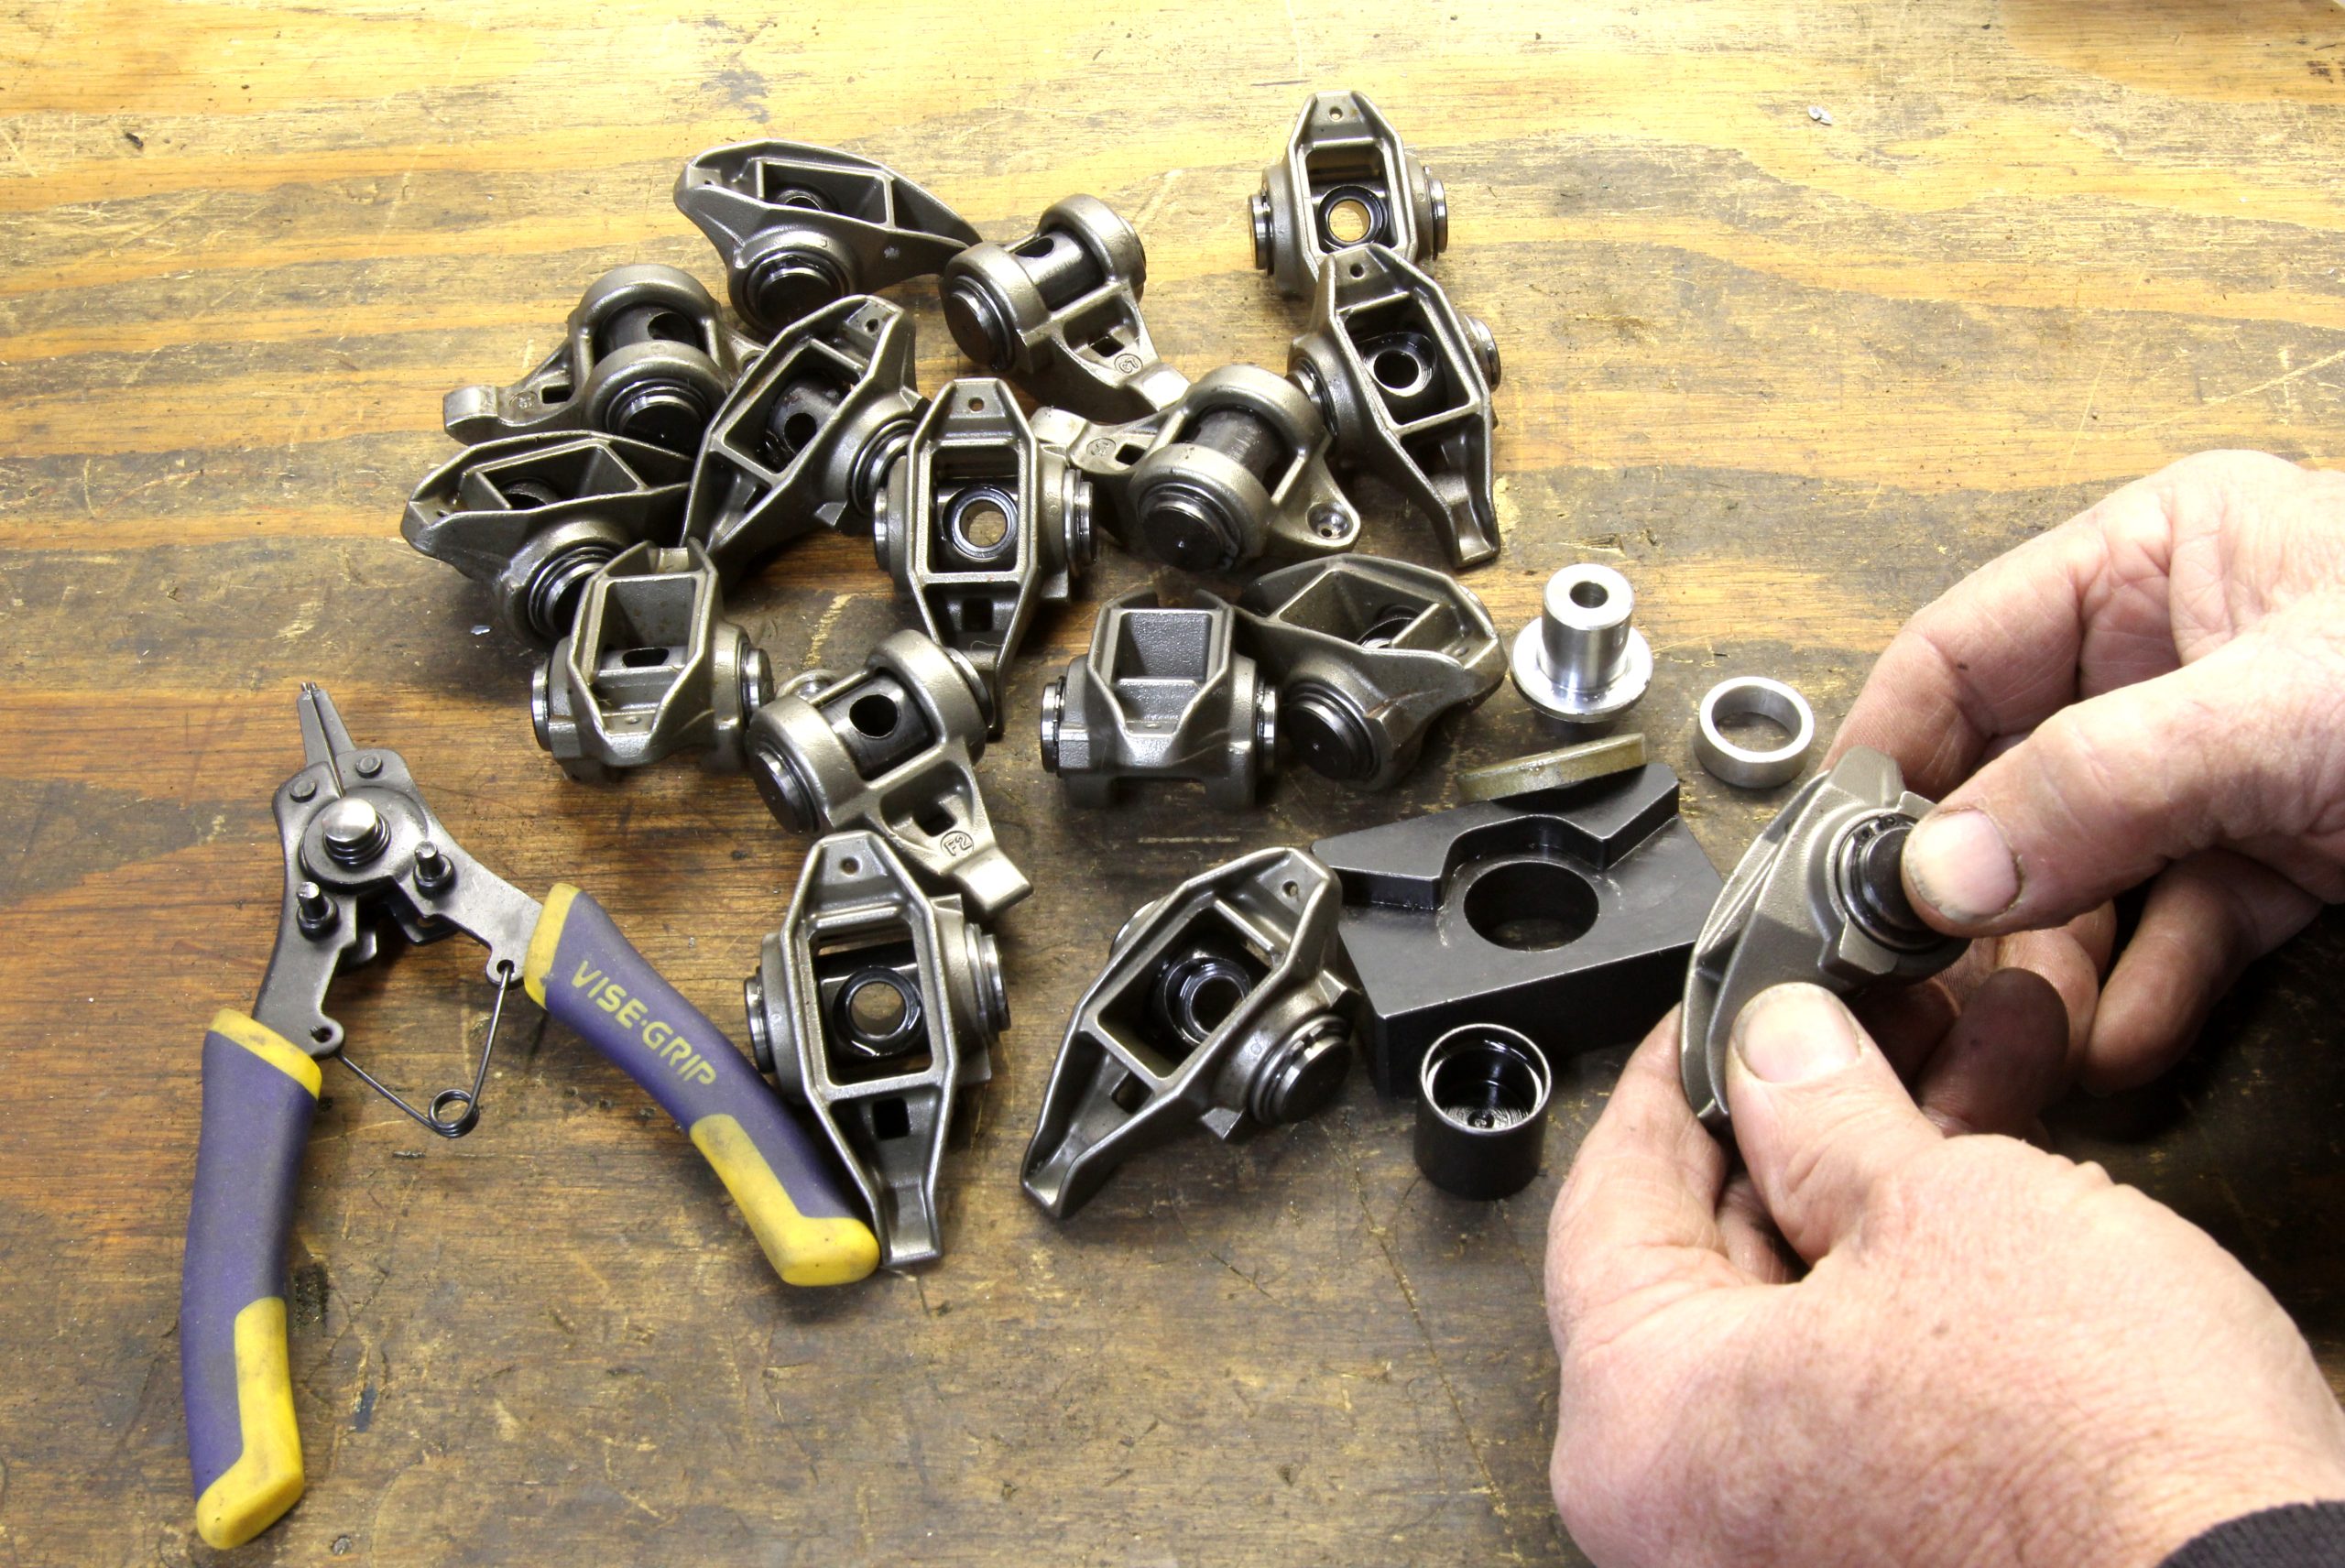
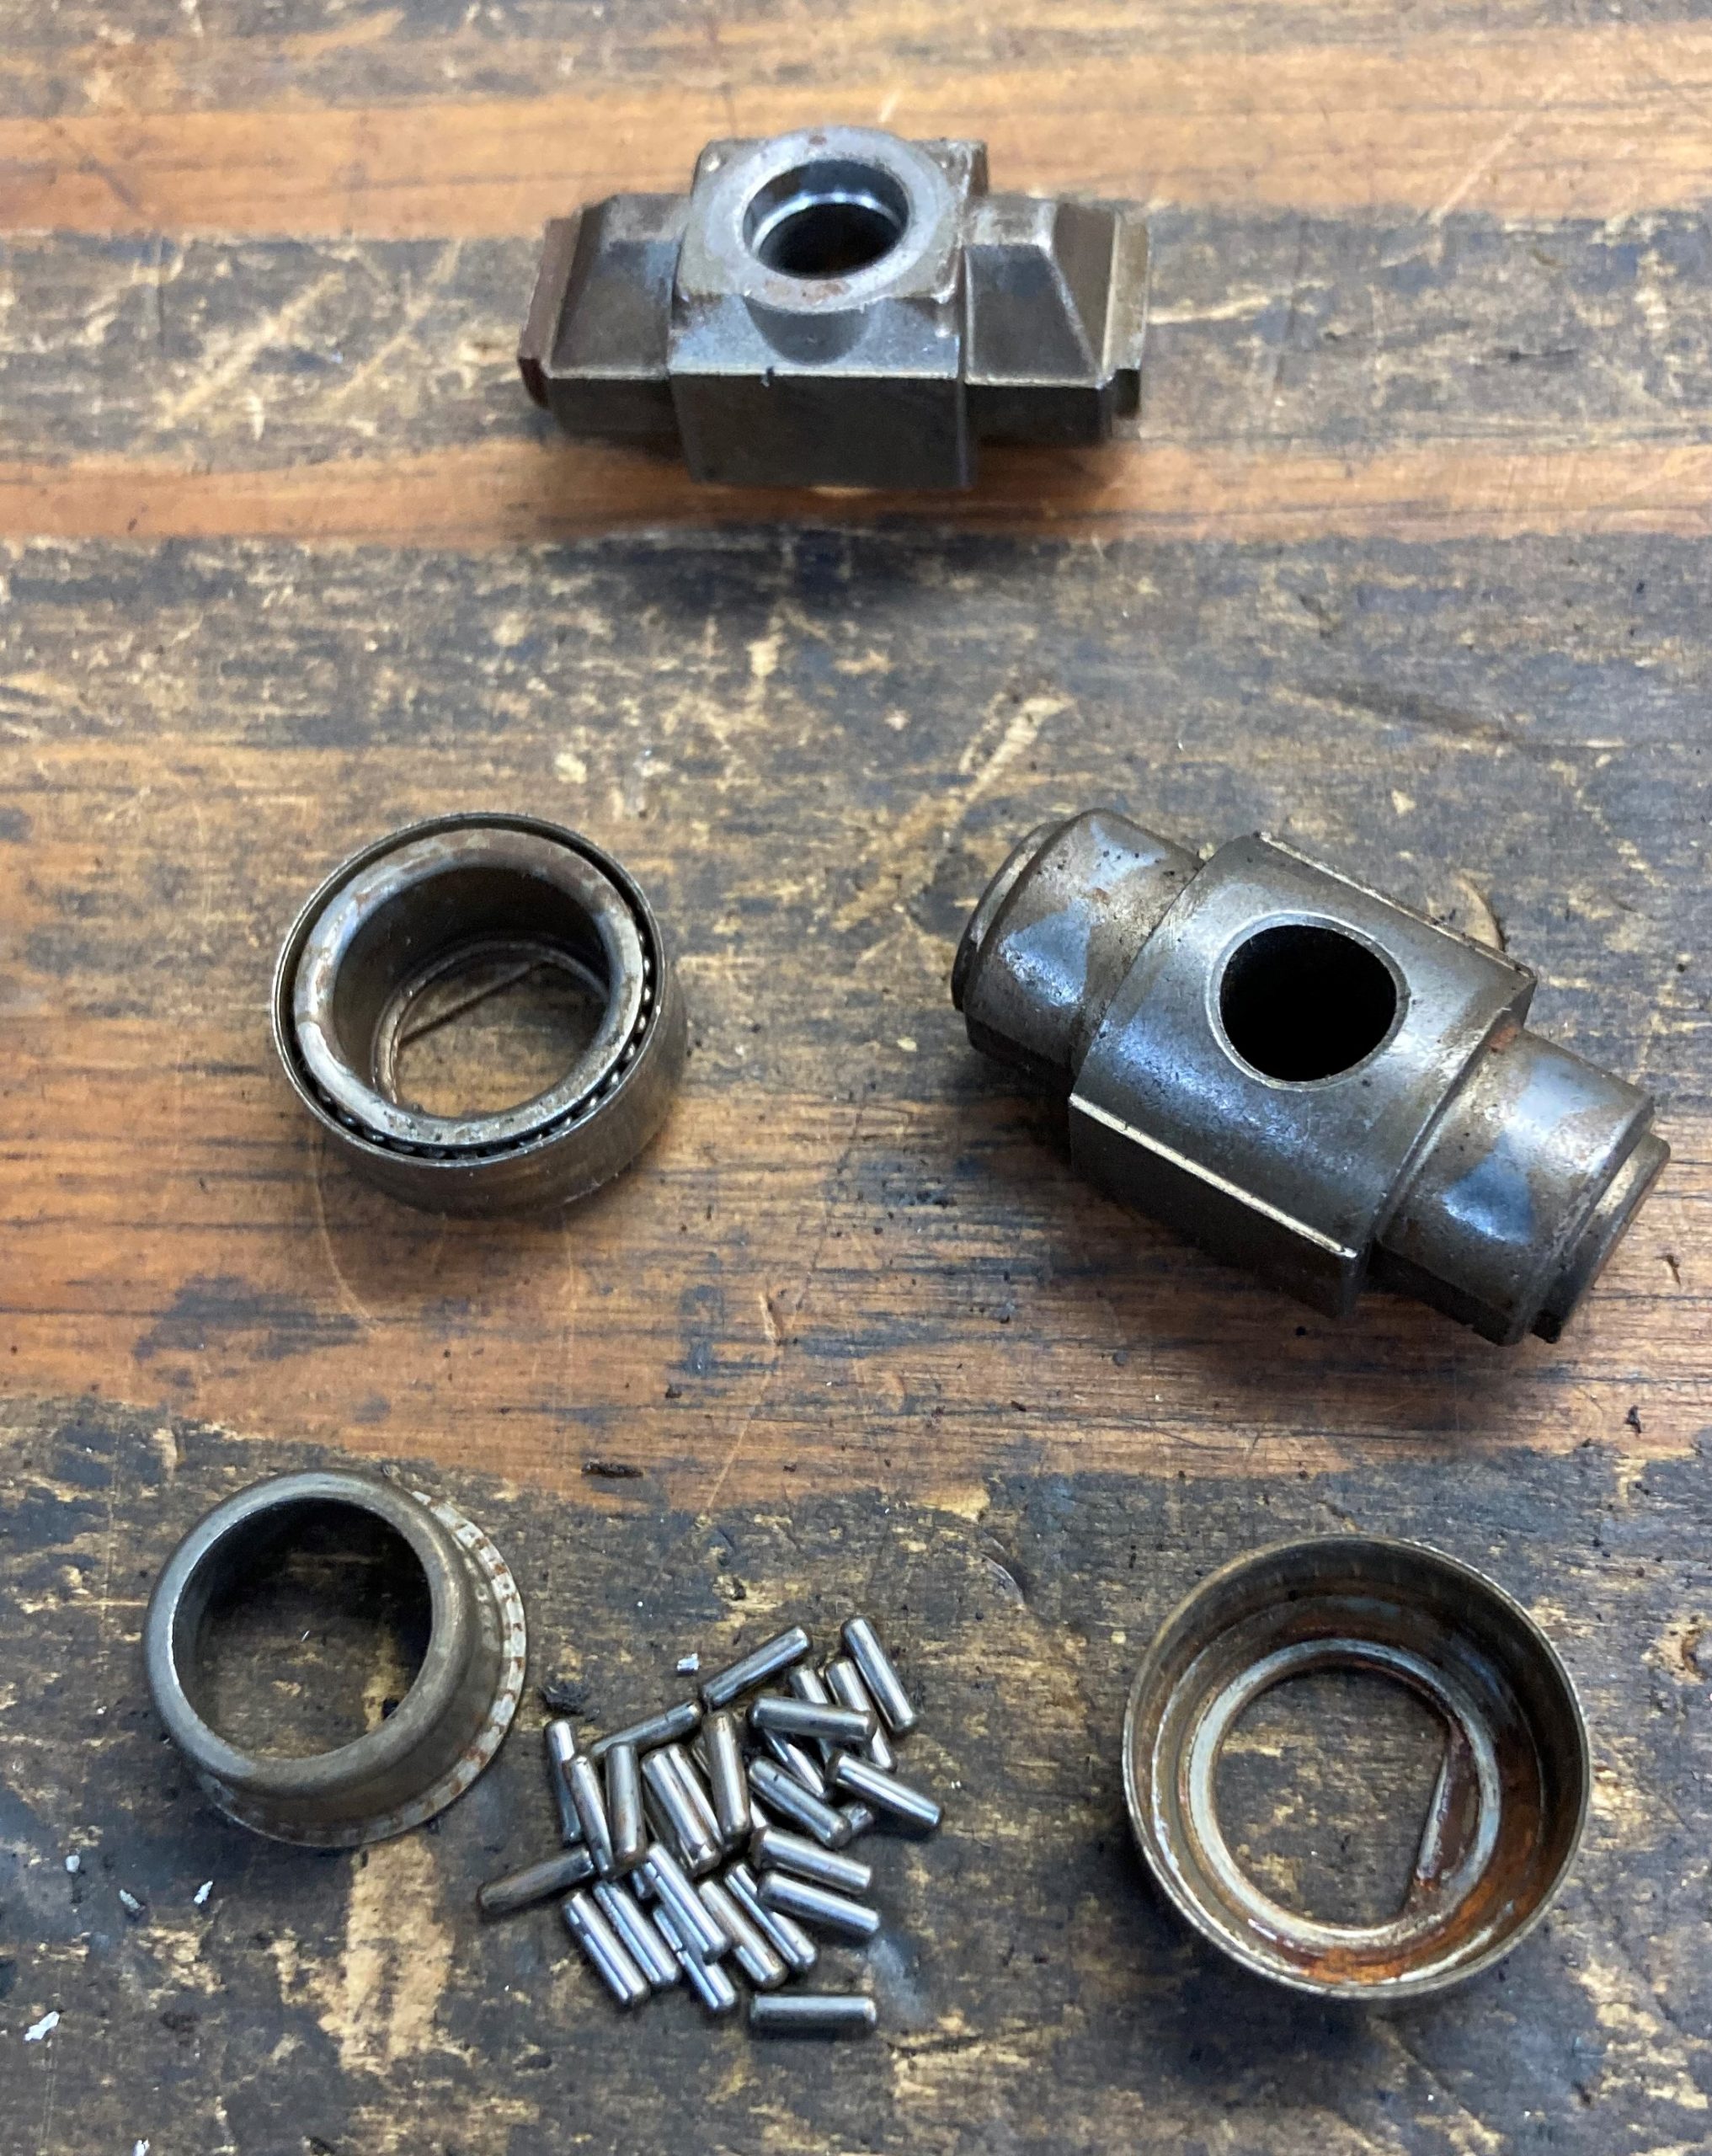
Summit Racing offers a roller bearing trunnion upgrade for stock LS rockers along with an affordable tool that makes the job really easy. We were in the process of rebuilding a high mileage 5.3L truck engine that included adding a mild Summit Racing truck camshaft and better valve springs, and better roller rocker bearings would be a great complement to this valvetrain. Our engine had experienced a hard life and several rockers were a bit salty, so fresh bearings appeared to be a wise idea. A failed rocker that could spit dozens of tiny roller bearings into our fresh engine was not a welcome thought.
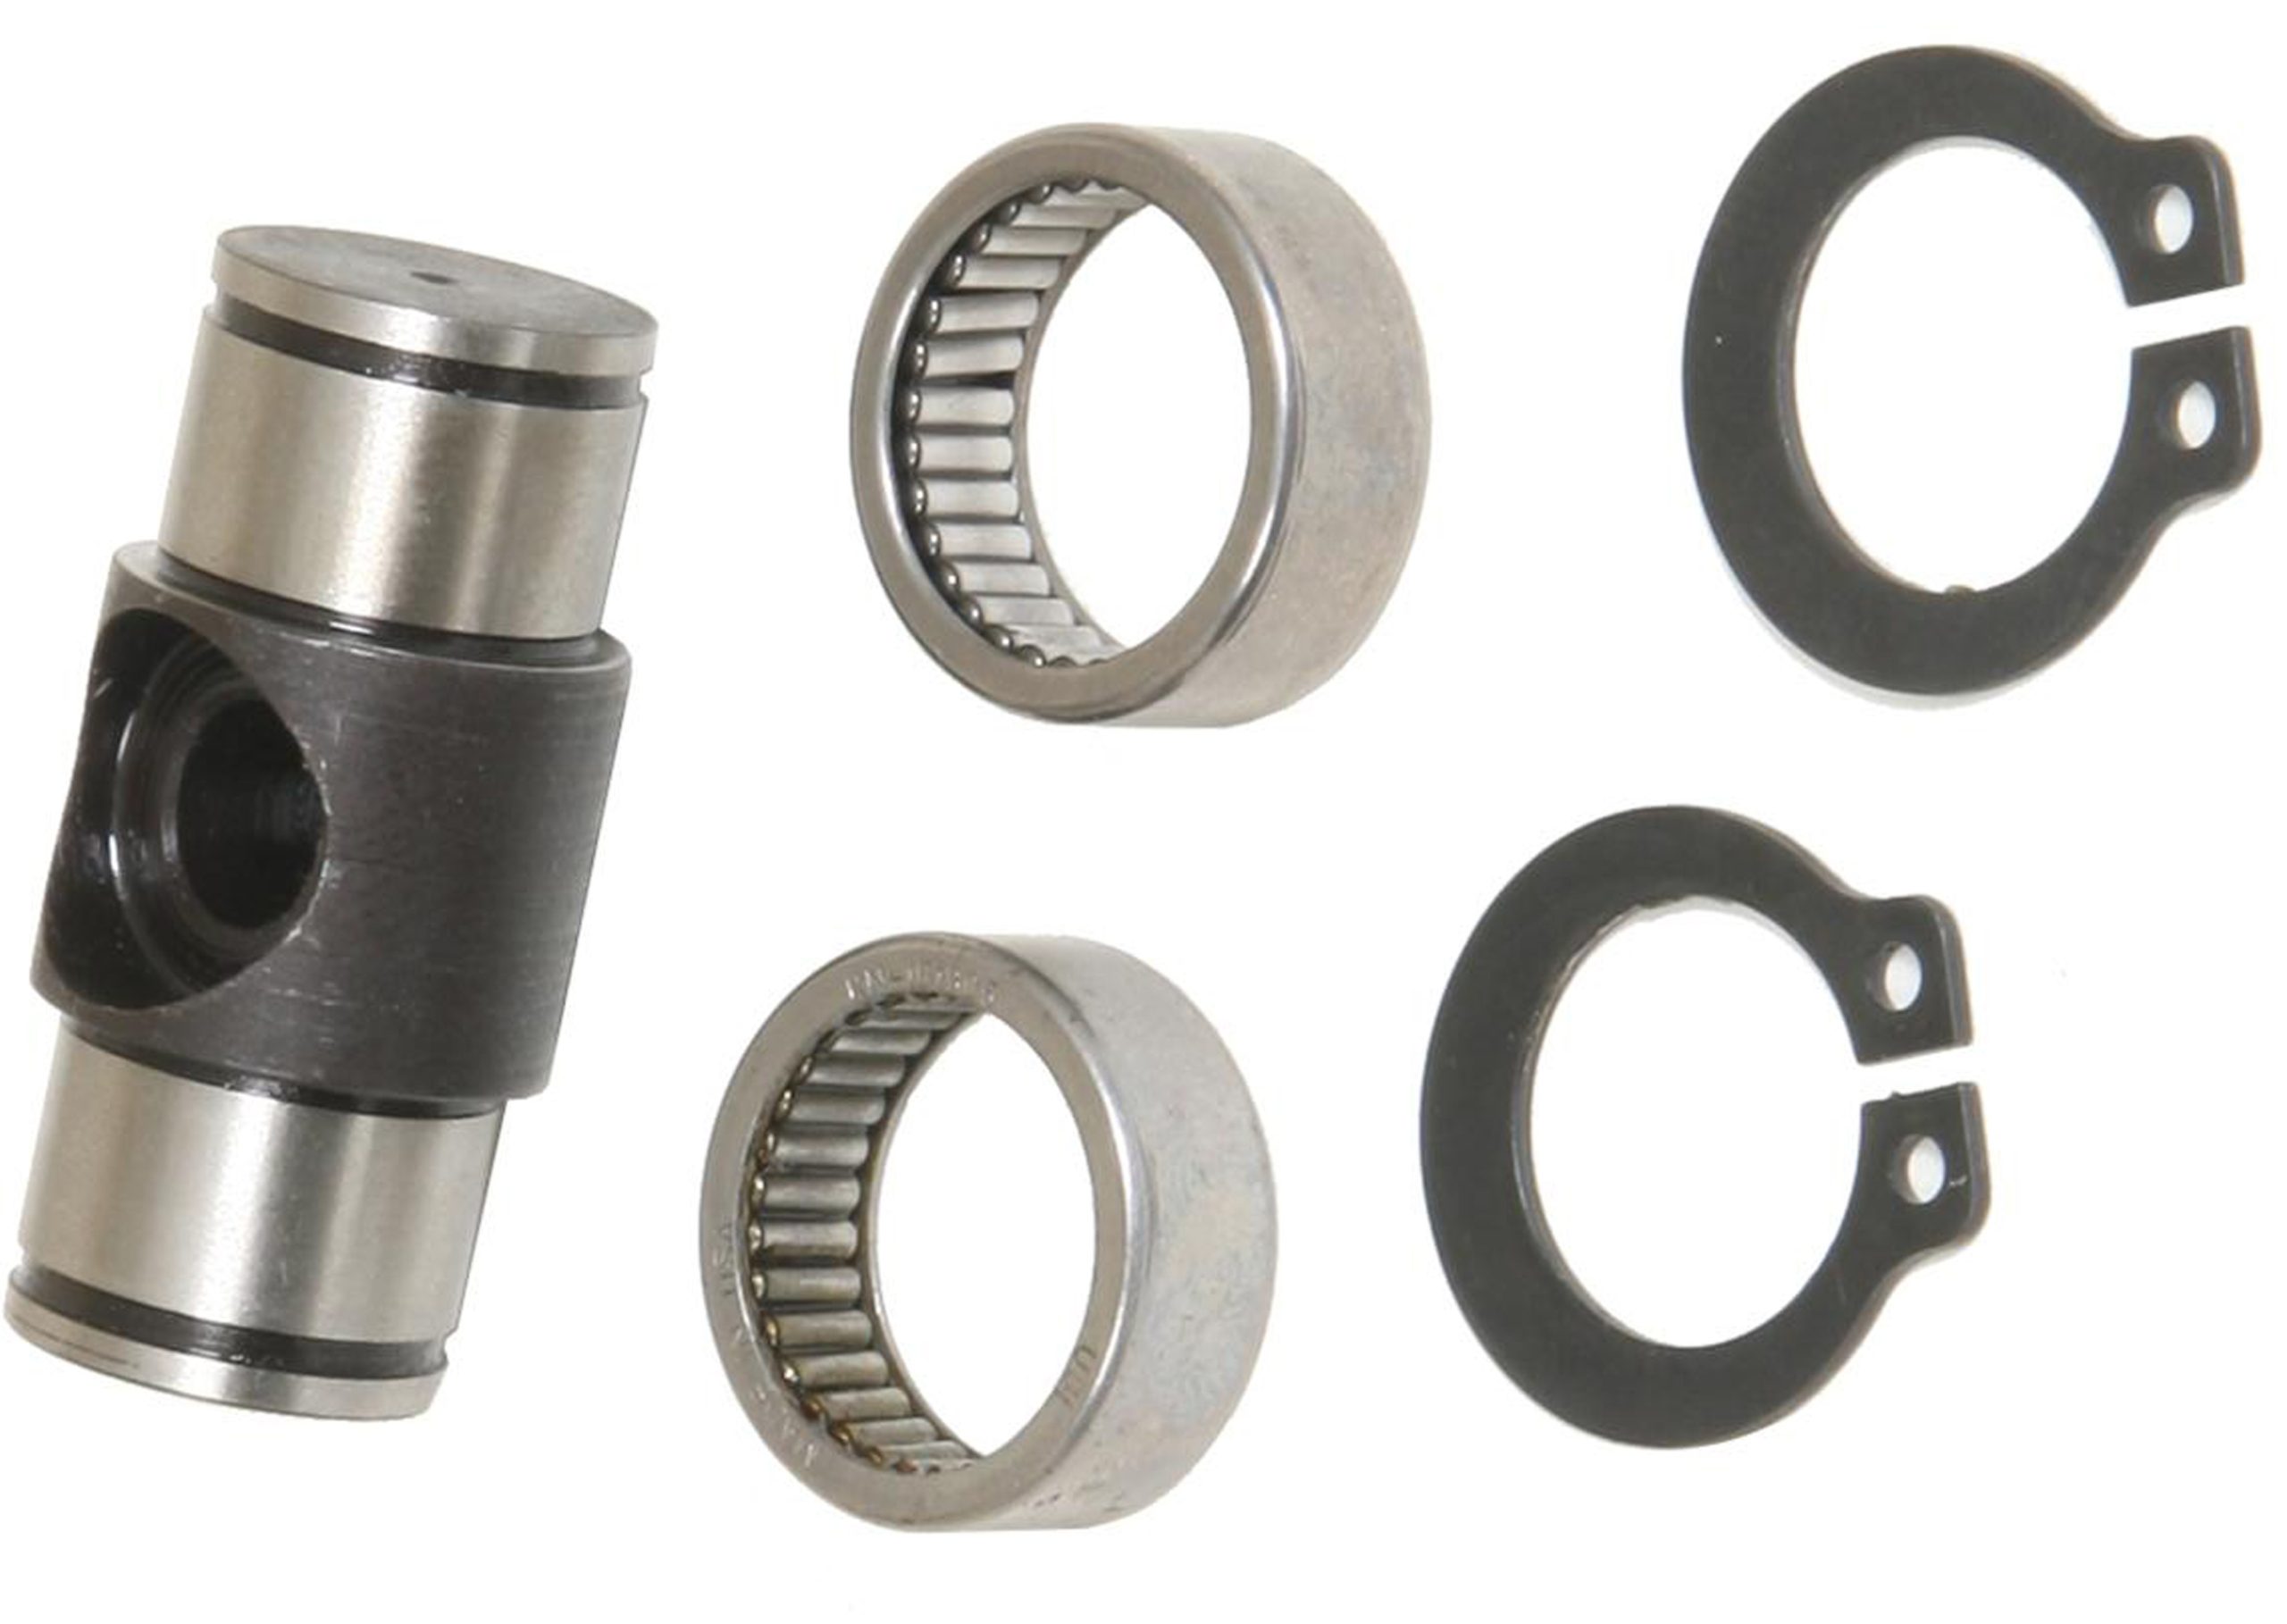
The Summit Racing trunnion upgrade kit comes with 16 high-strength steel trunnions along with 32 enclosed steel roller bearings and 32 ring clips to hold the whole assembly together. While separate components are not available, should you lose a rocker down the road, Summit Racing does offer individual rockers that have already been converted.
A complete parts list is located at the bottom of this article.
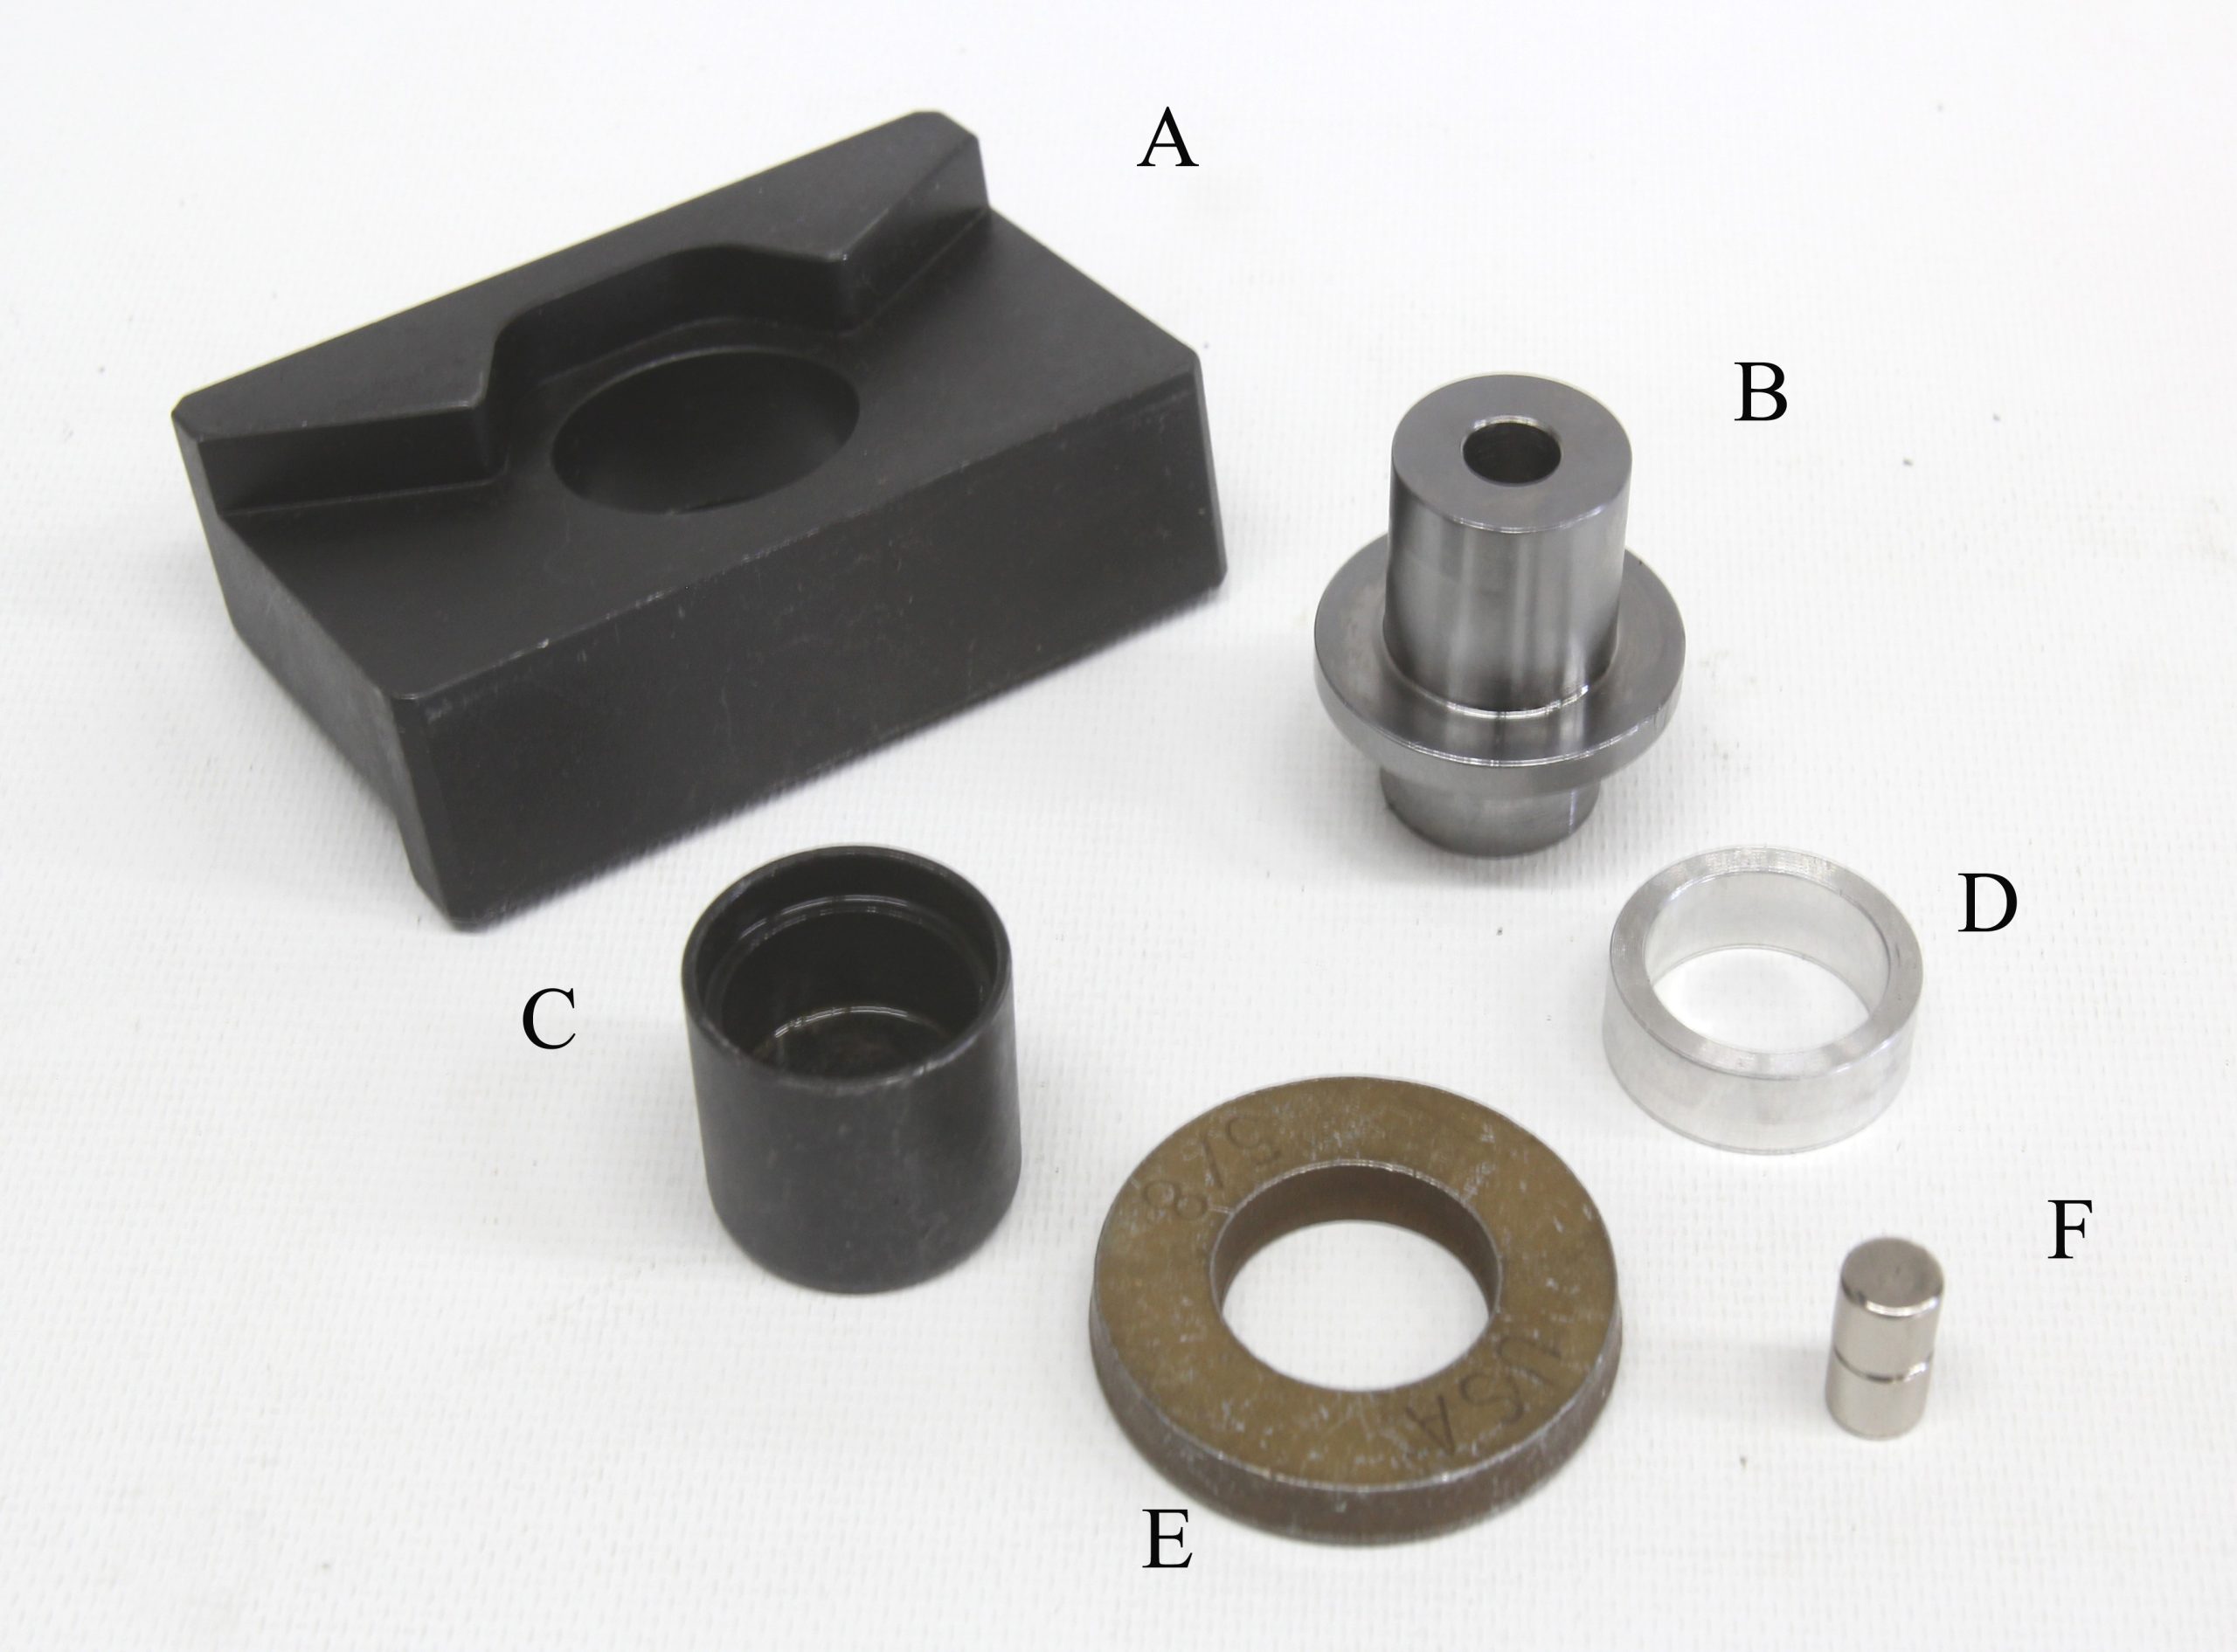
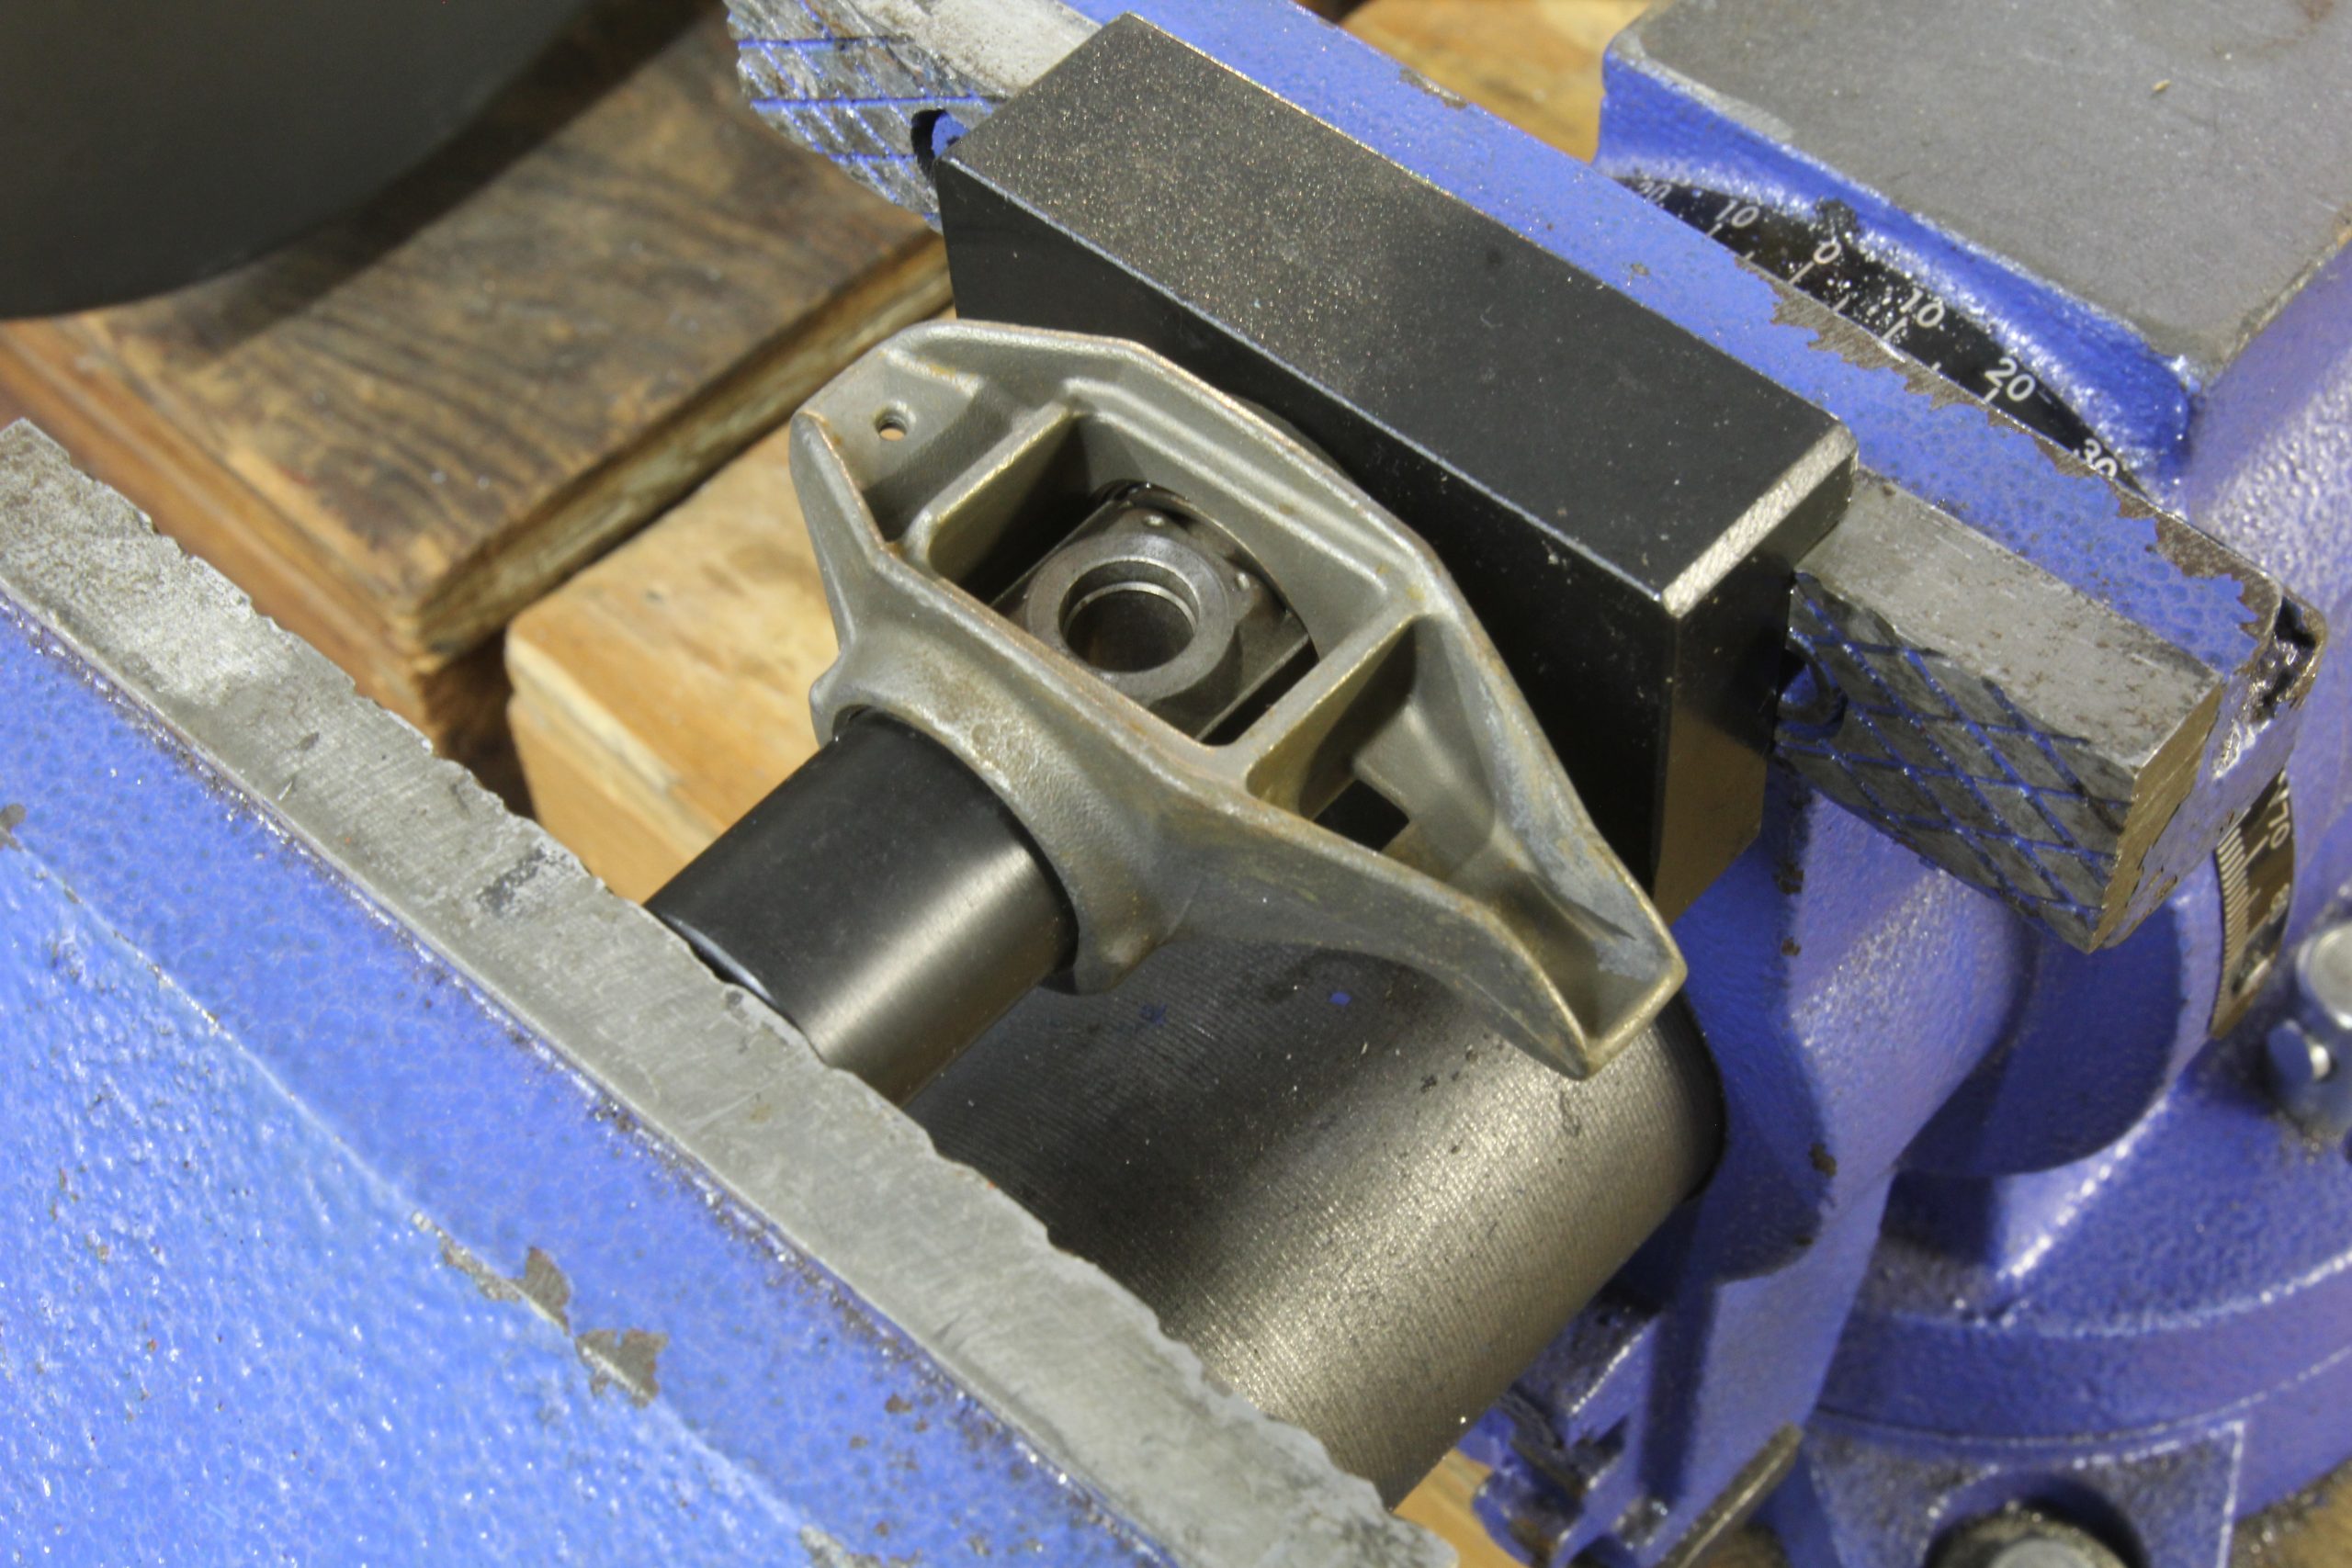
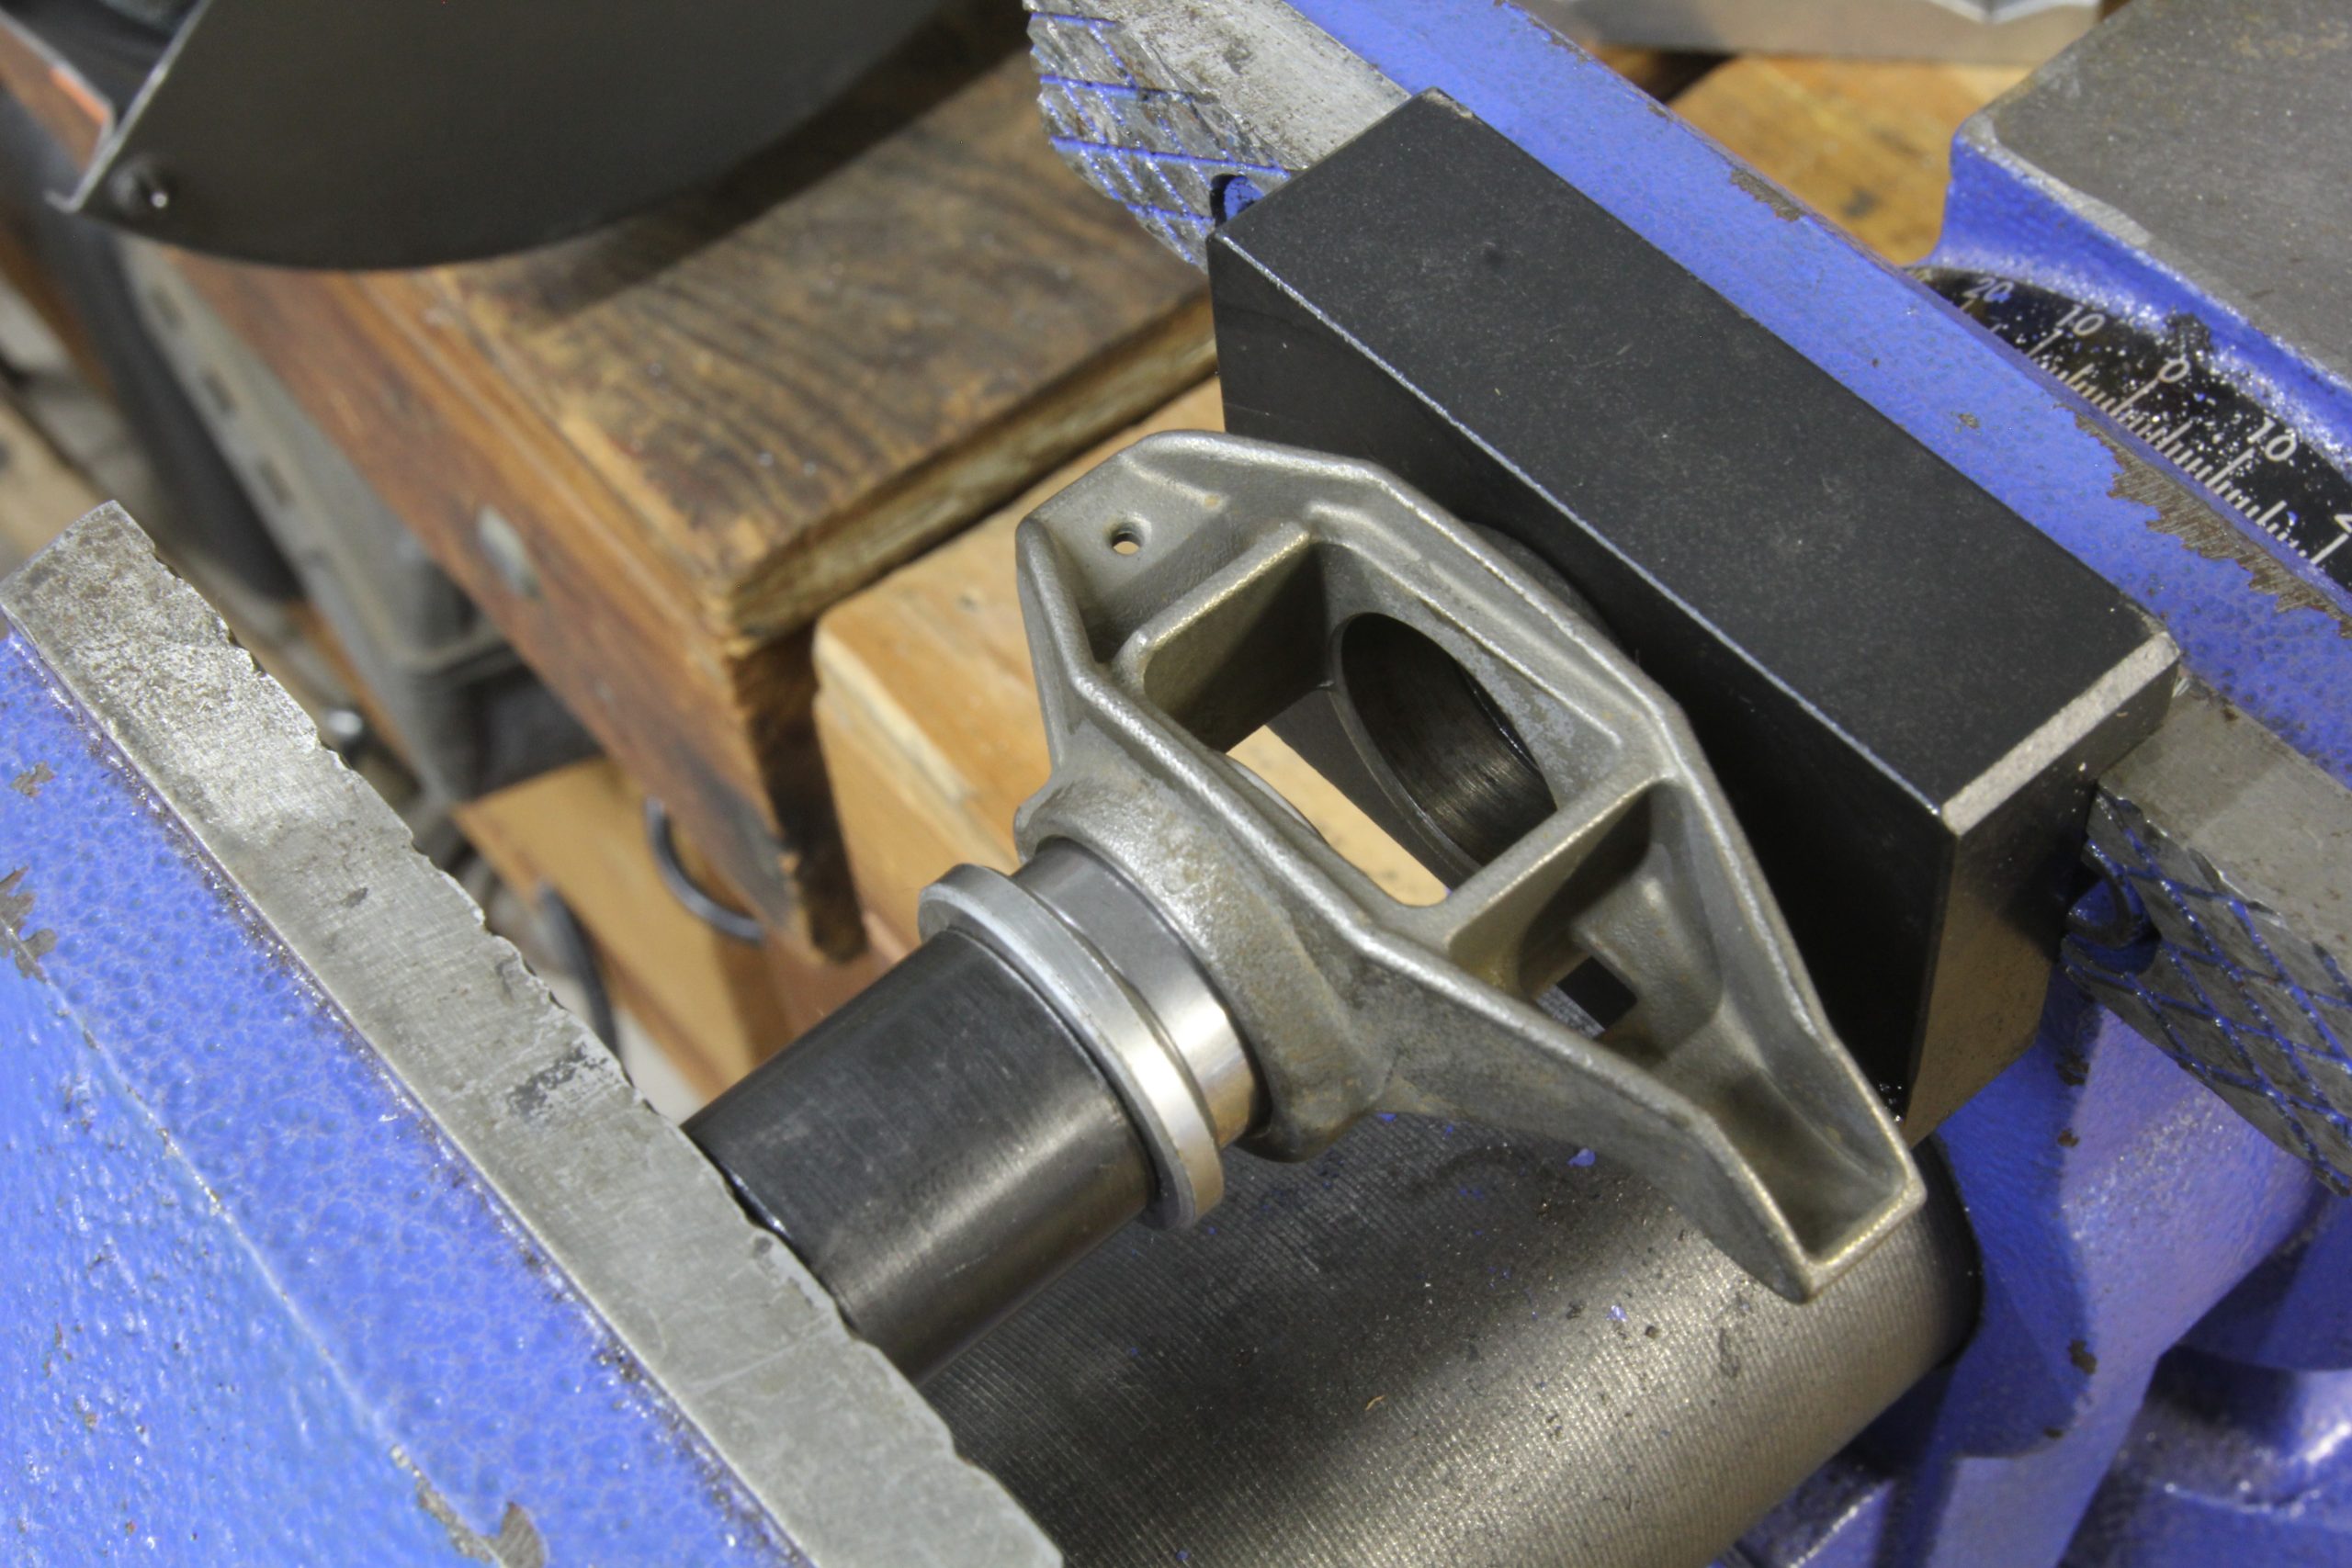
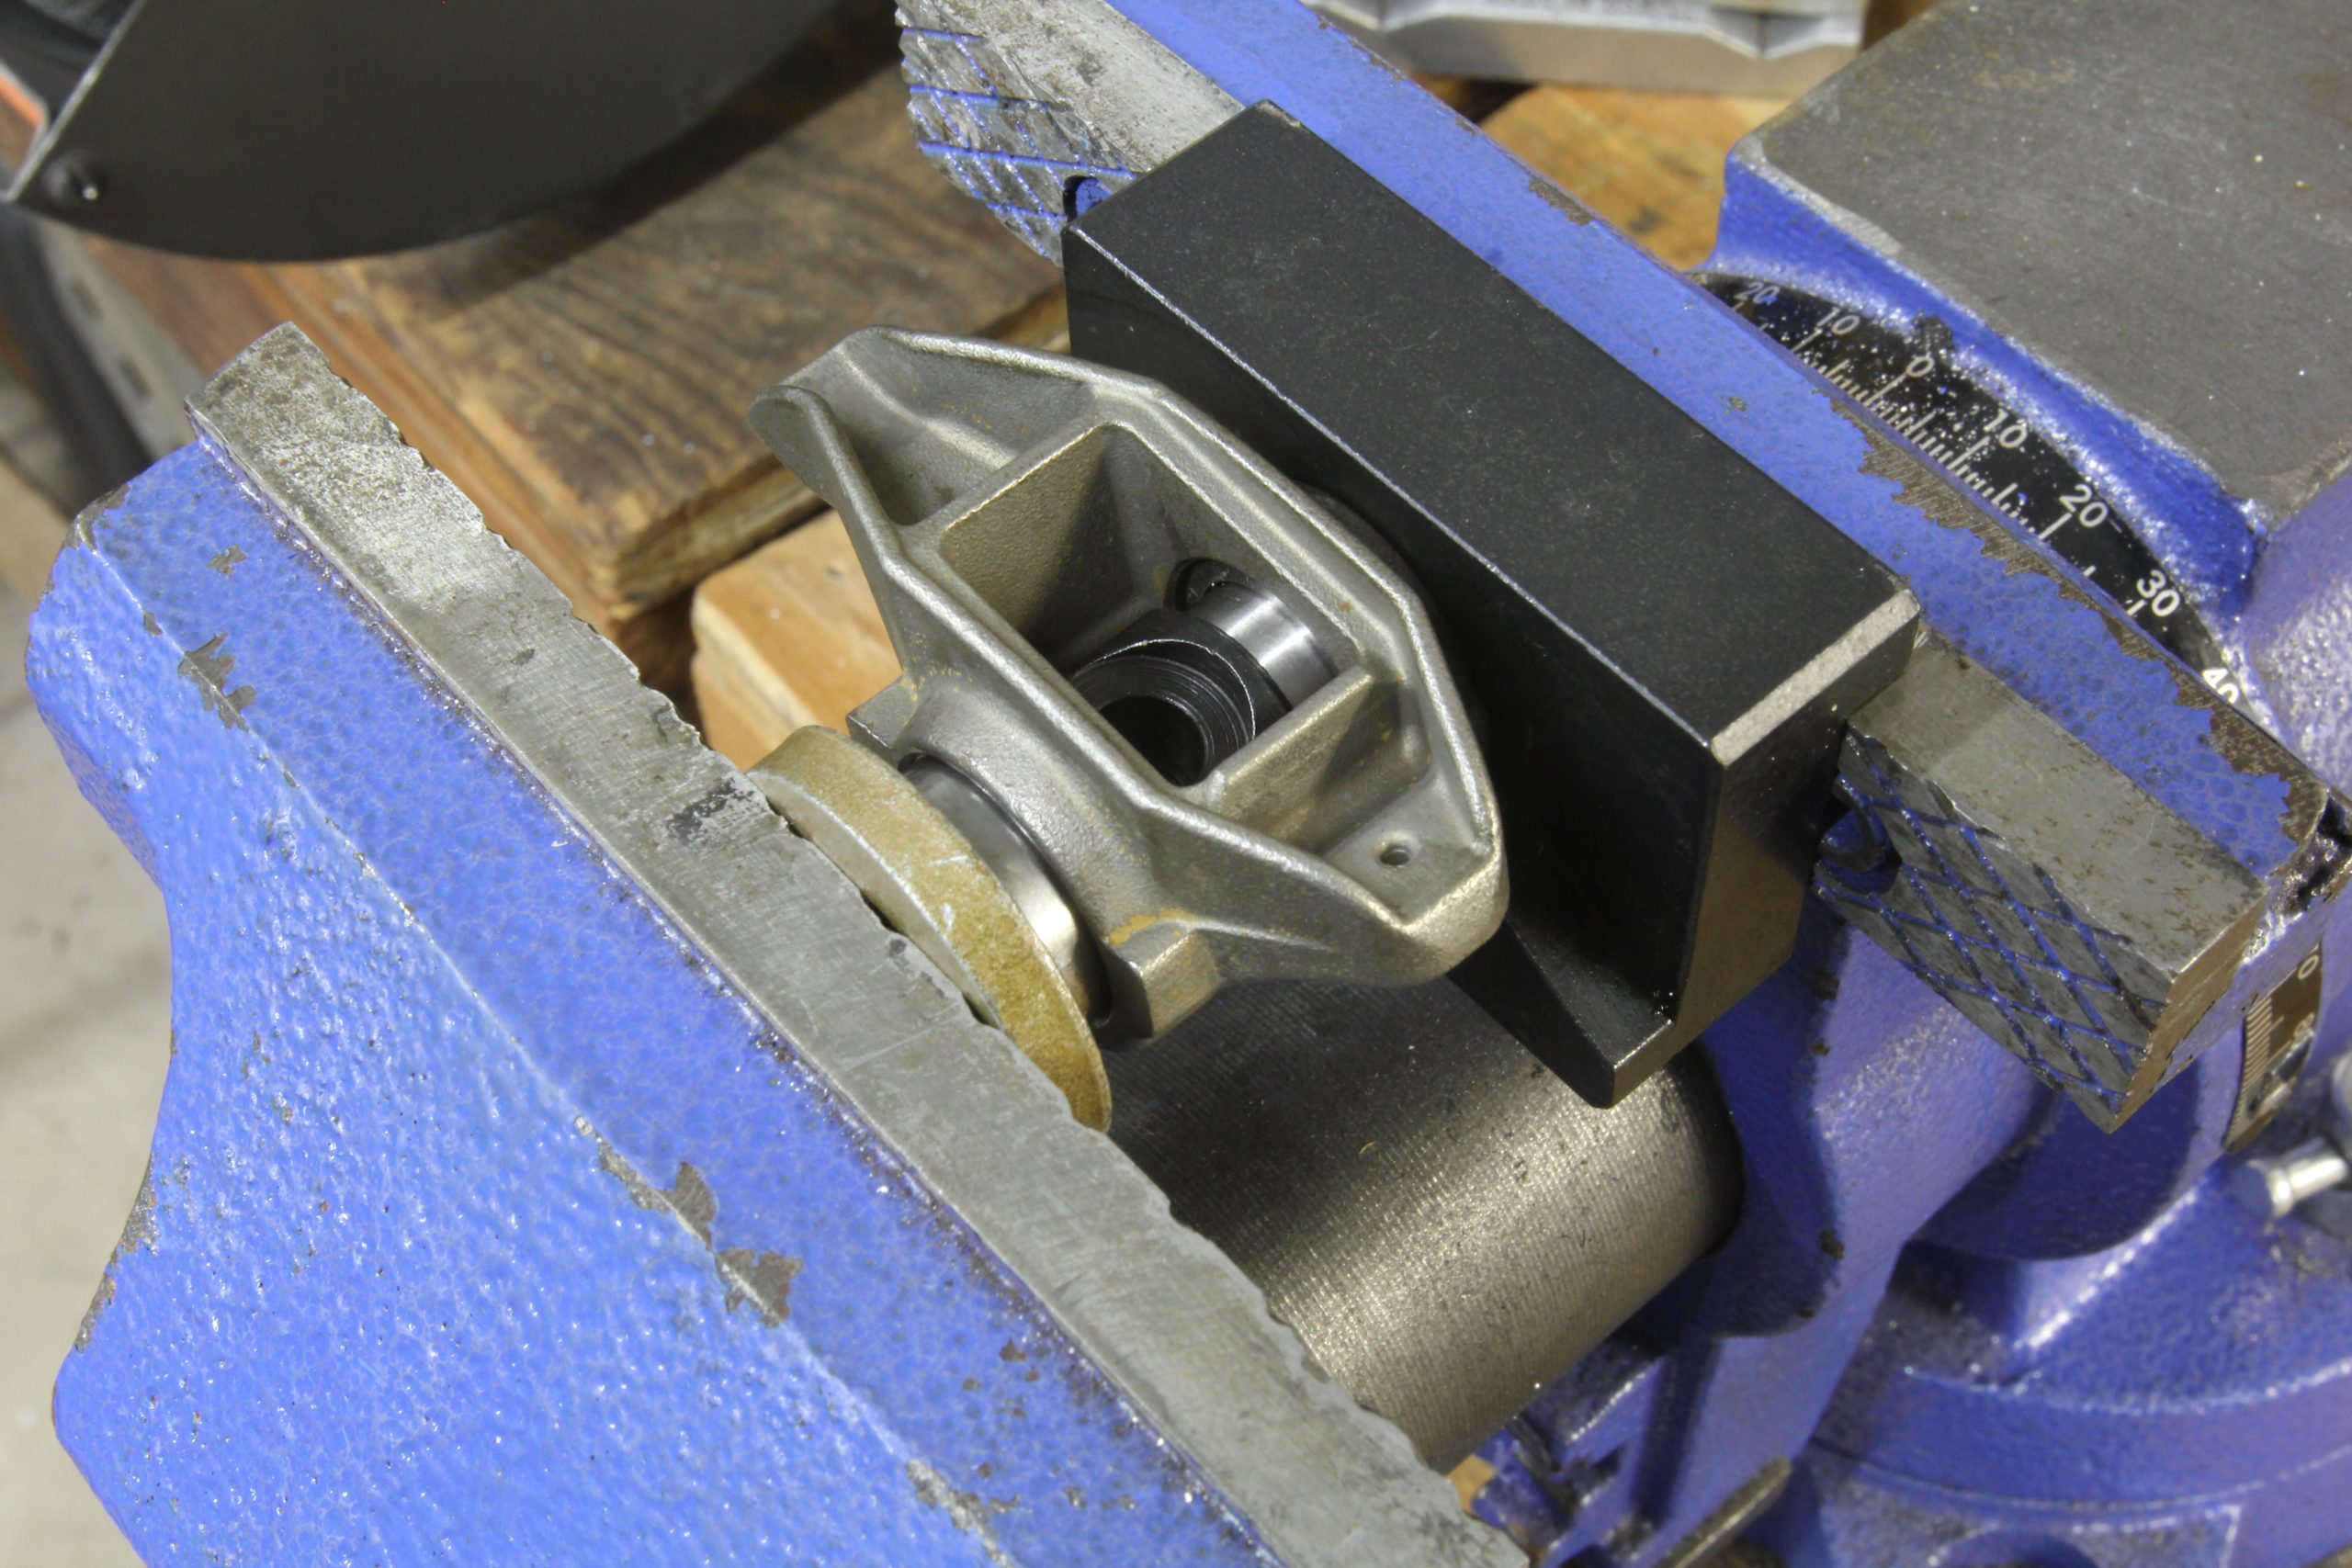
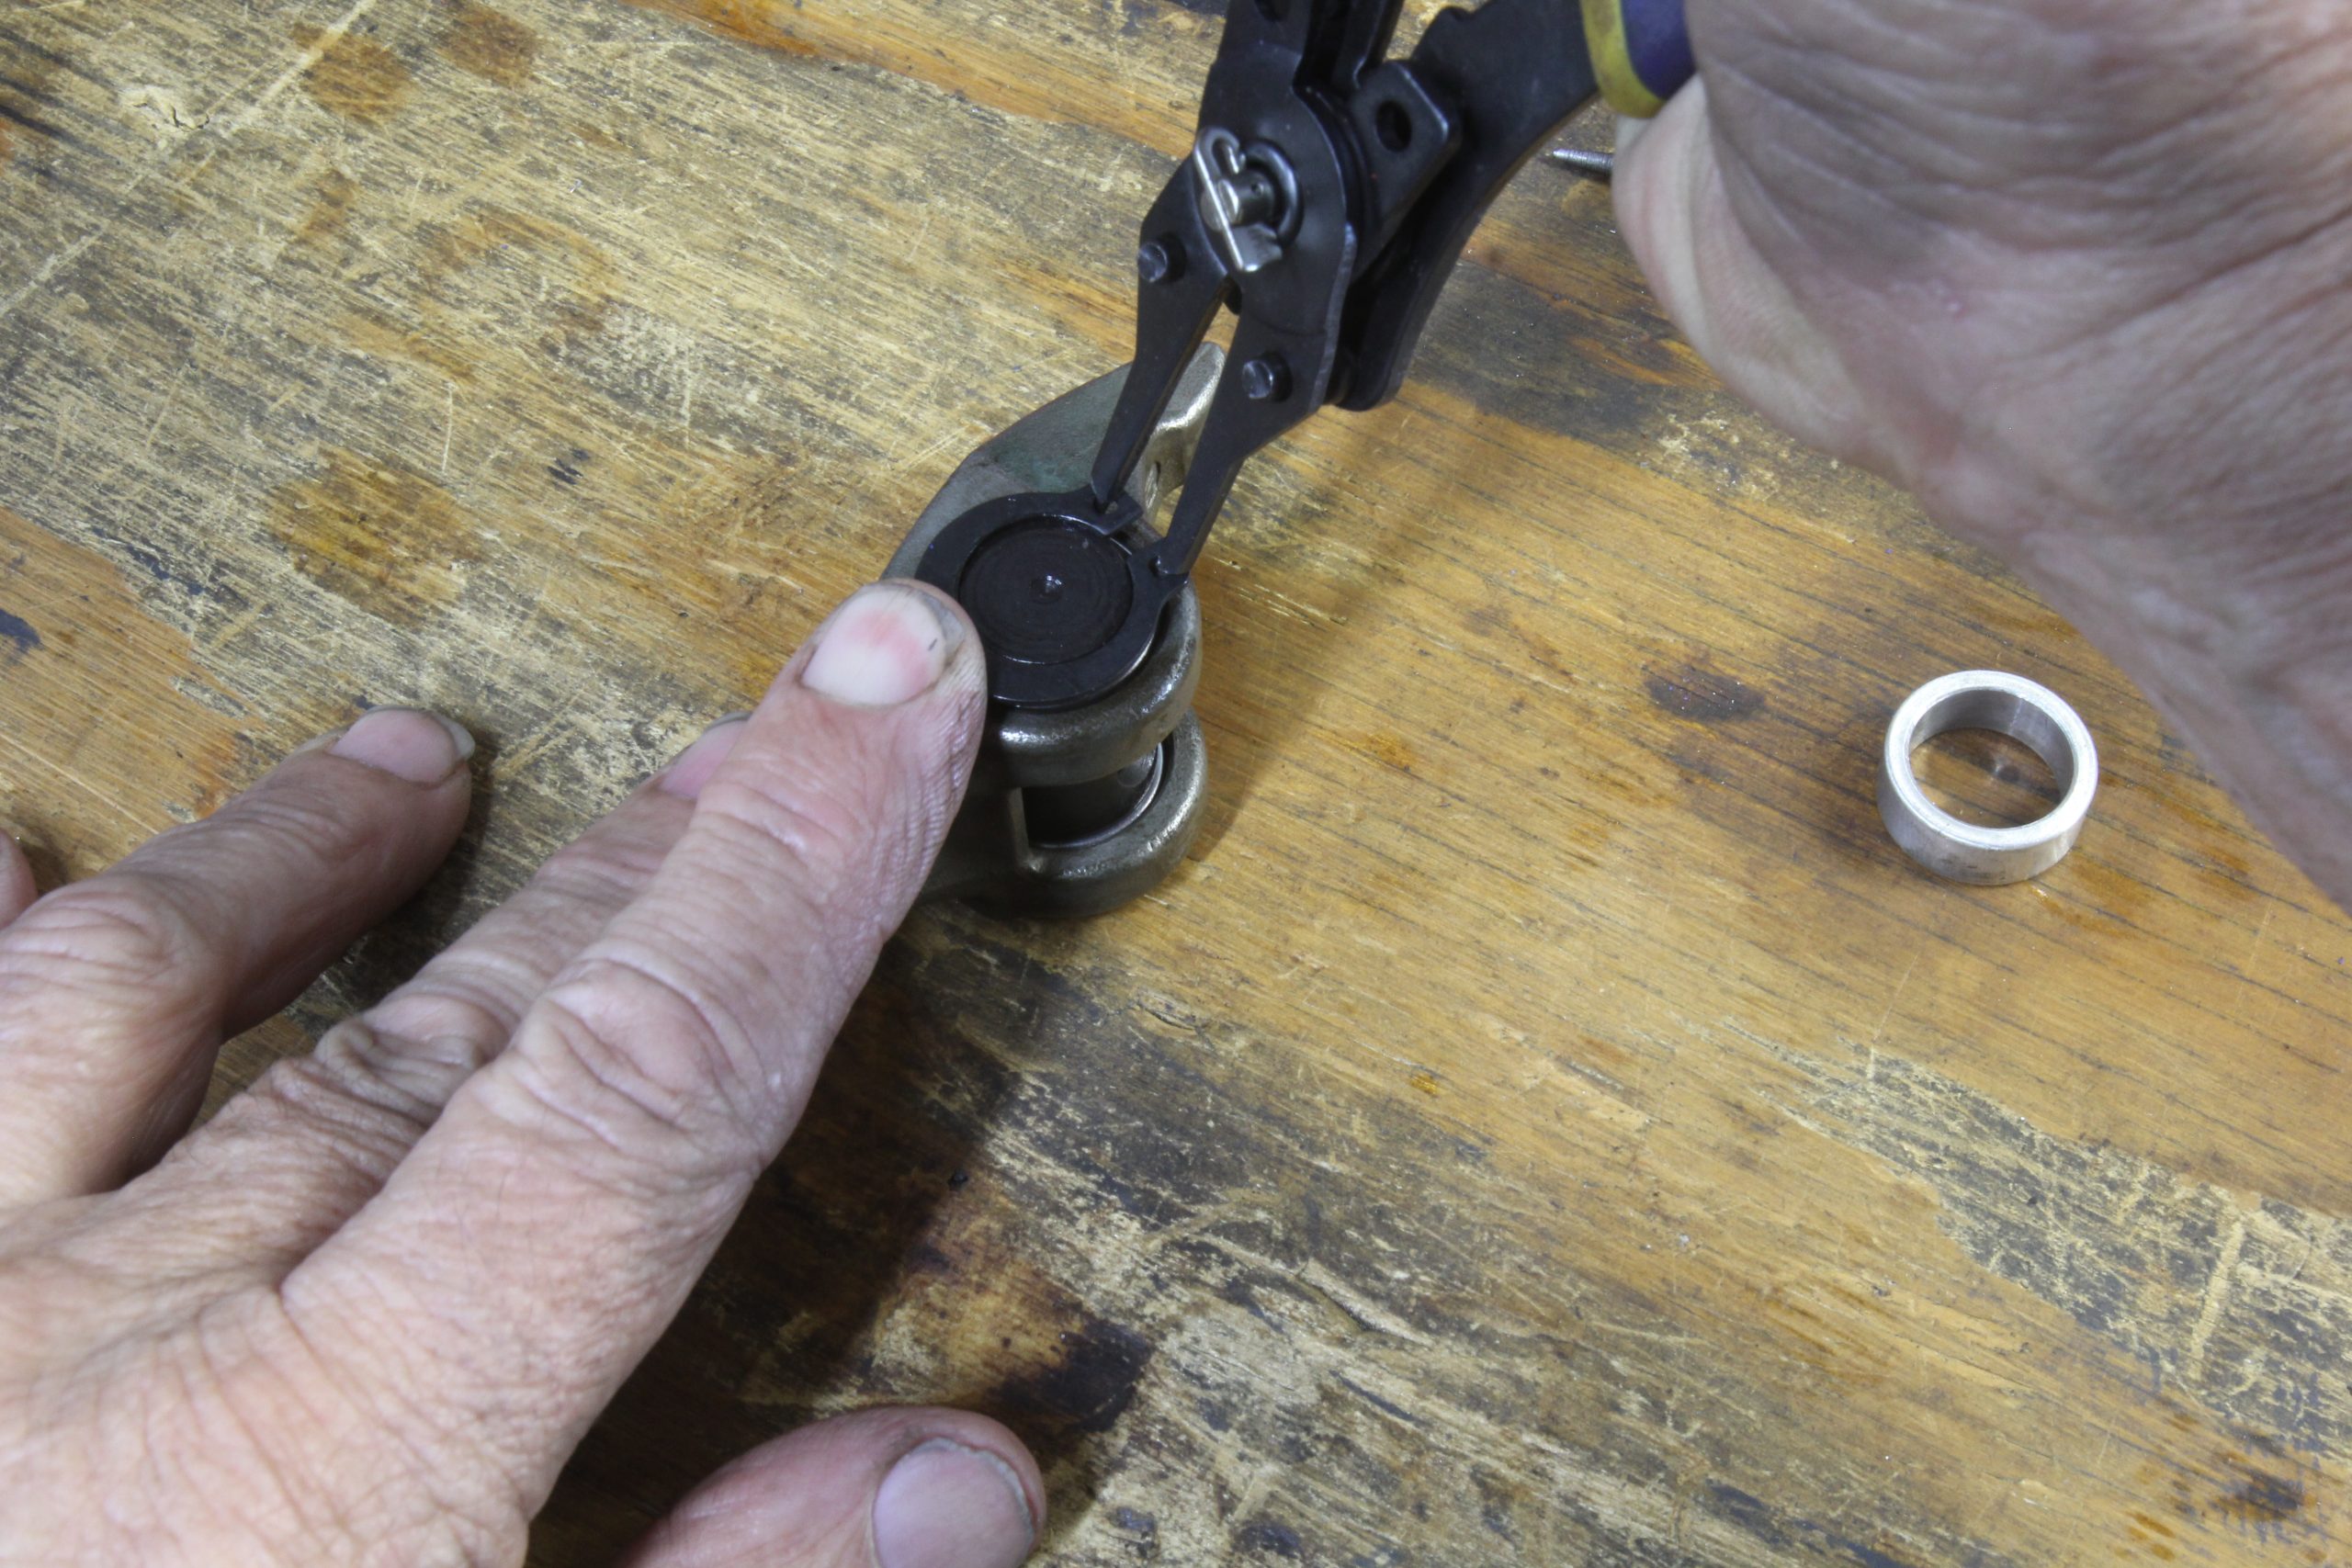
As we mentioned, the conversion process is actually quite easy—especially if you use the Summit Racing tool. Other companies offer similar tools but in our experience the Summit Racing version is better because it includes two small magnets that fit inside the main fixture to hold it in place on your vise. Without the magnets, it’s a three-handed operation to hold the receiver in place, position the rocker, and tighten the vise.
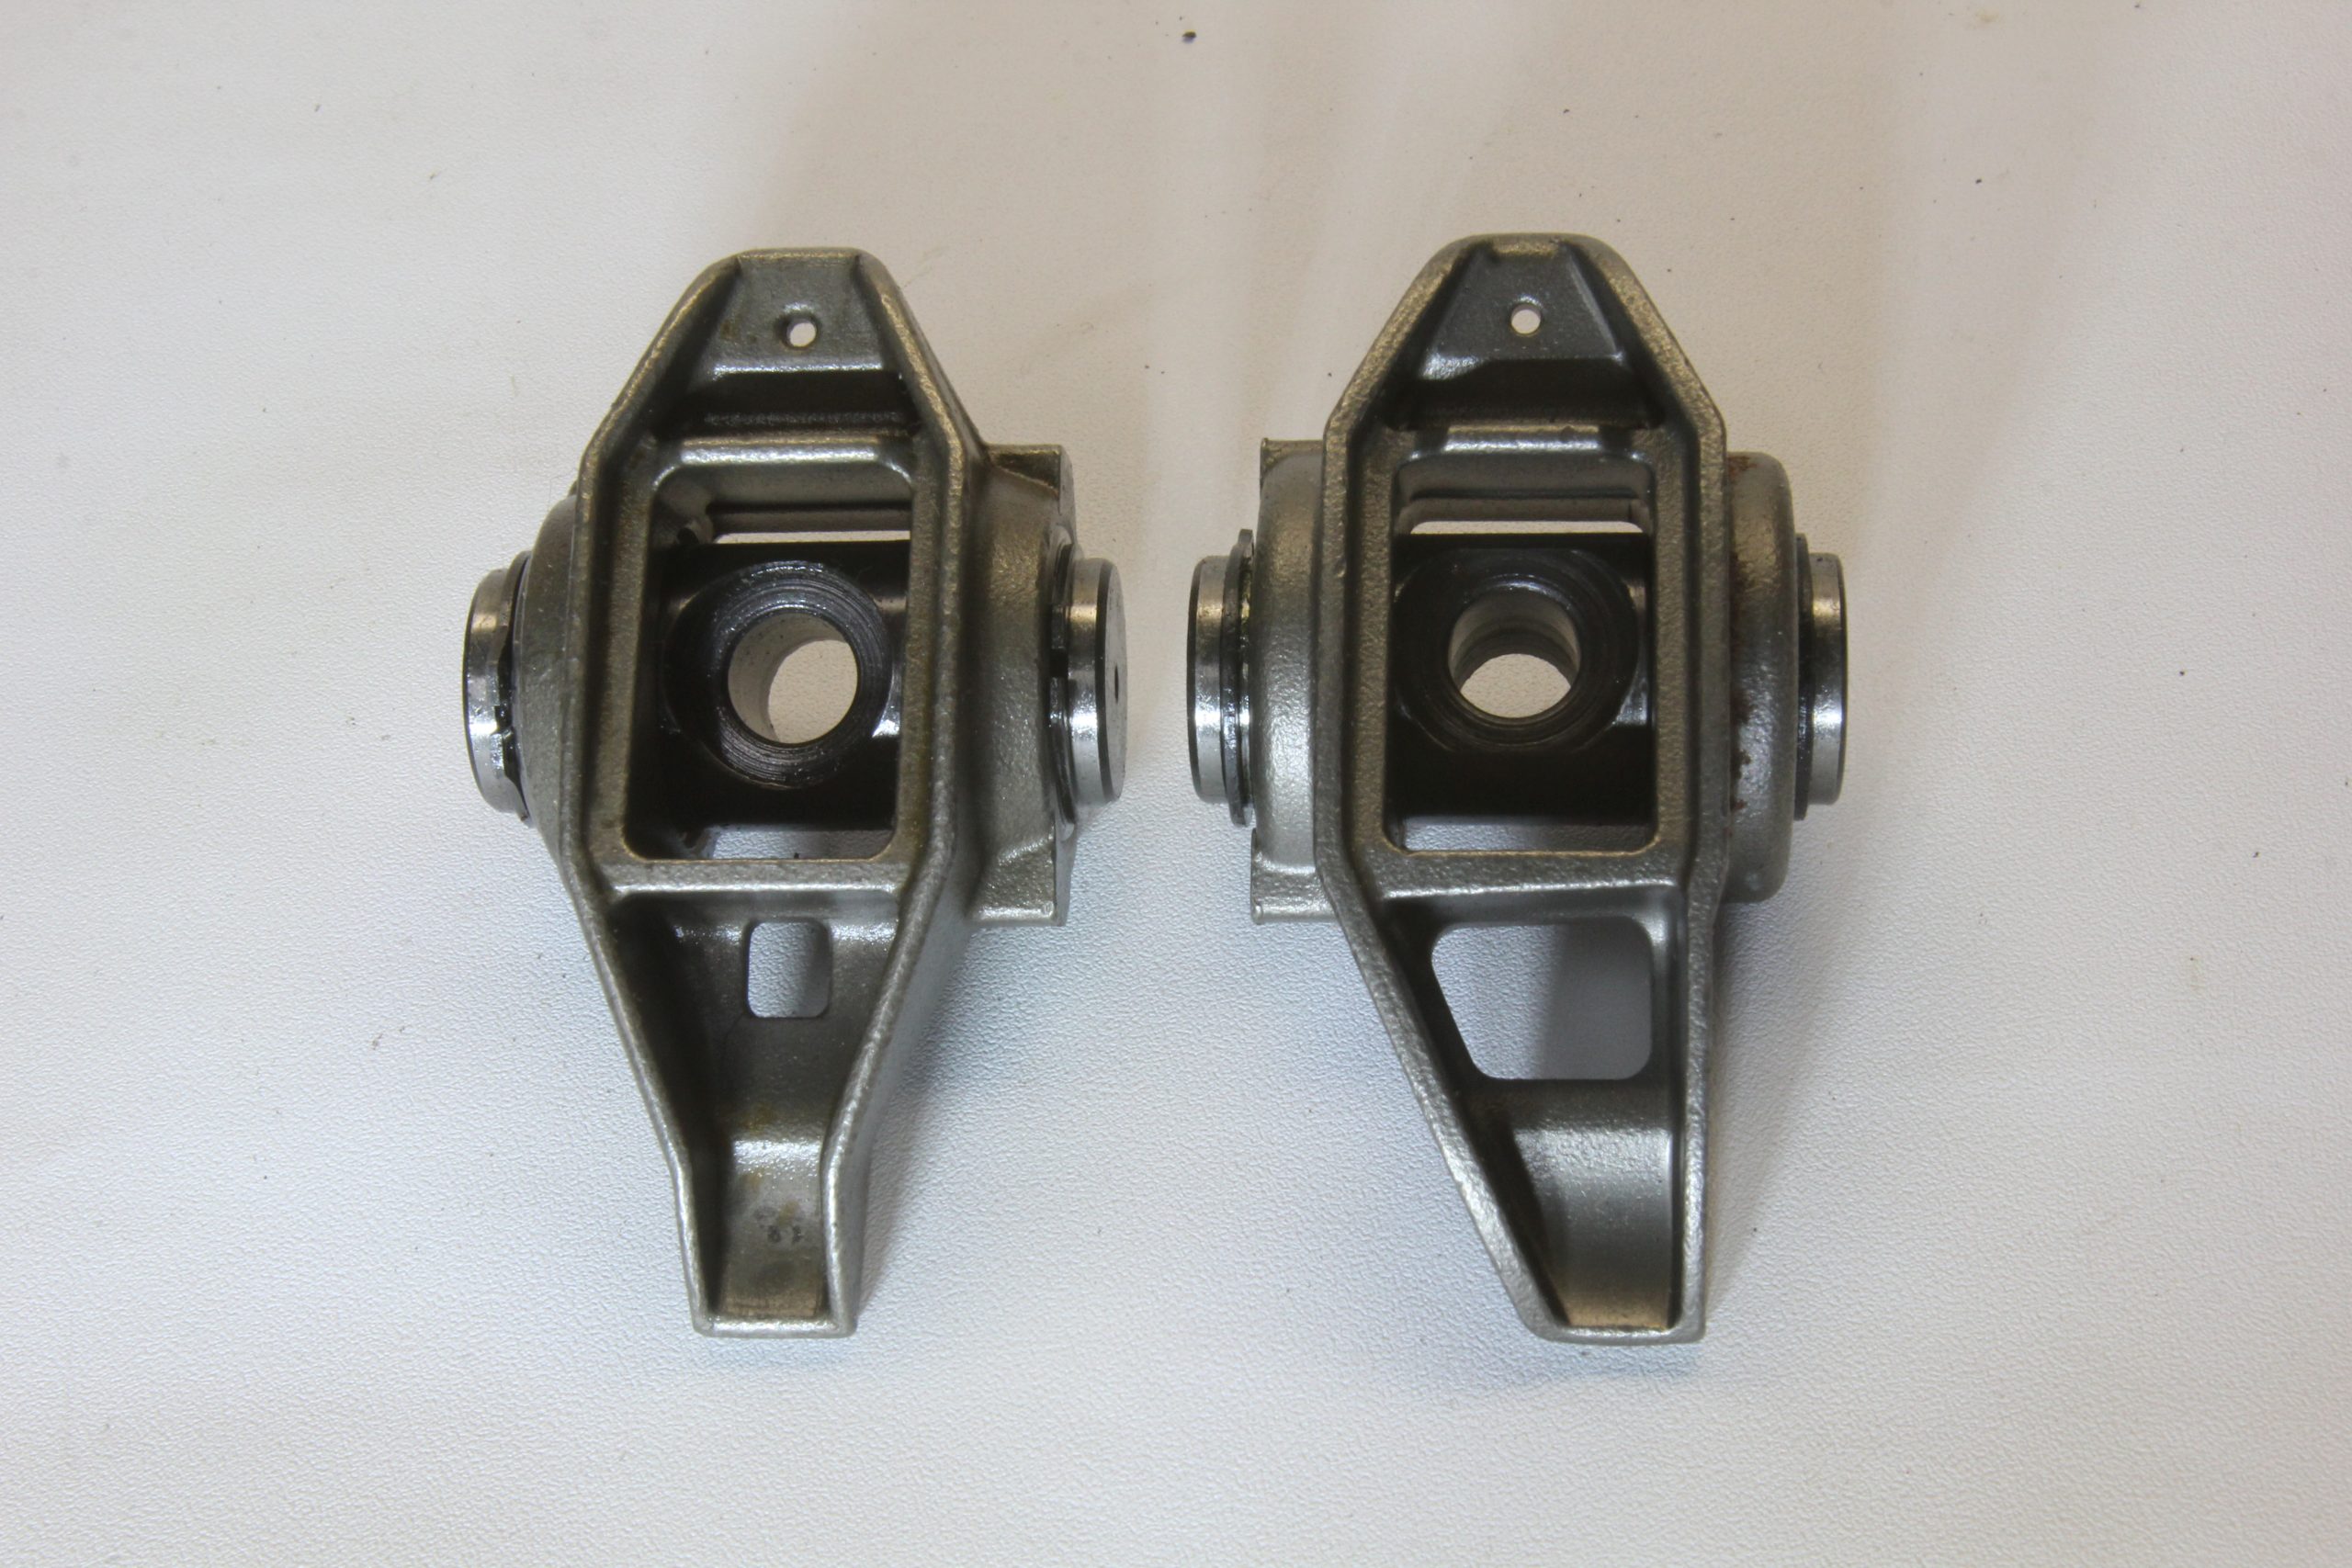
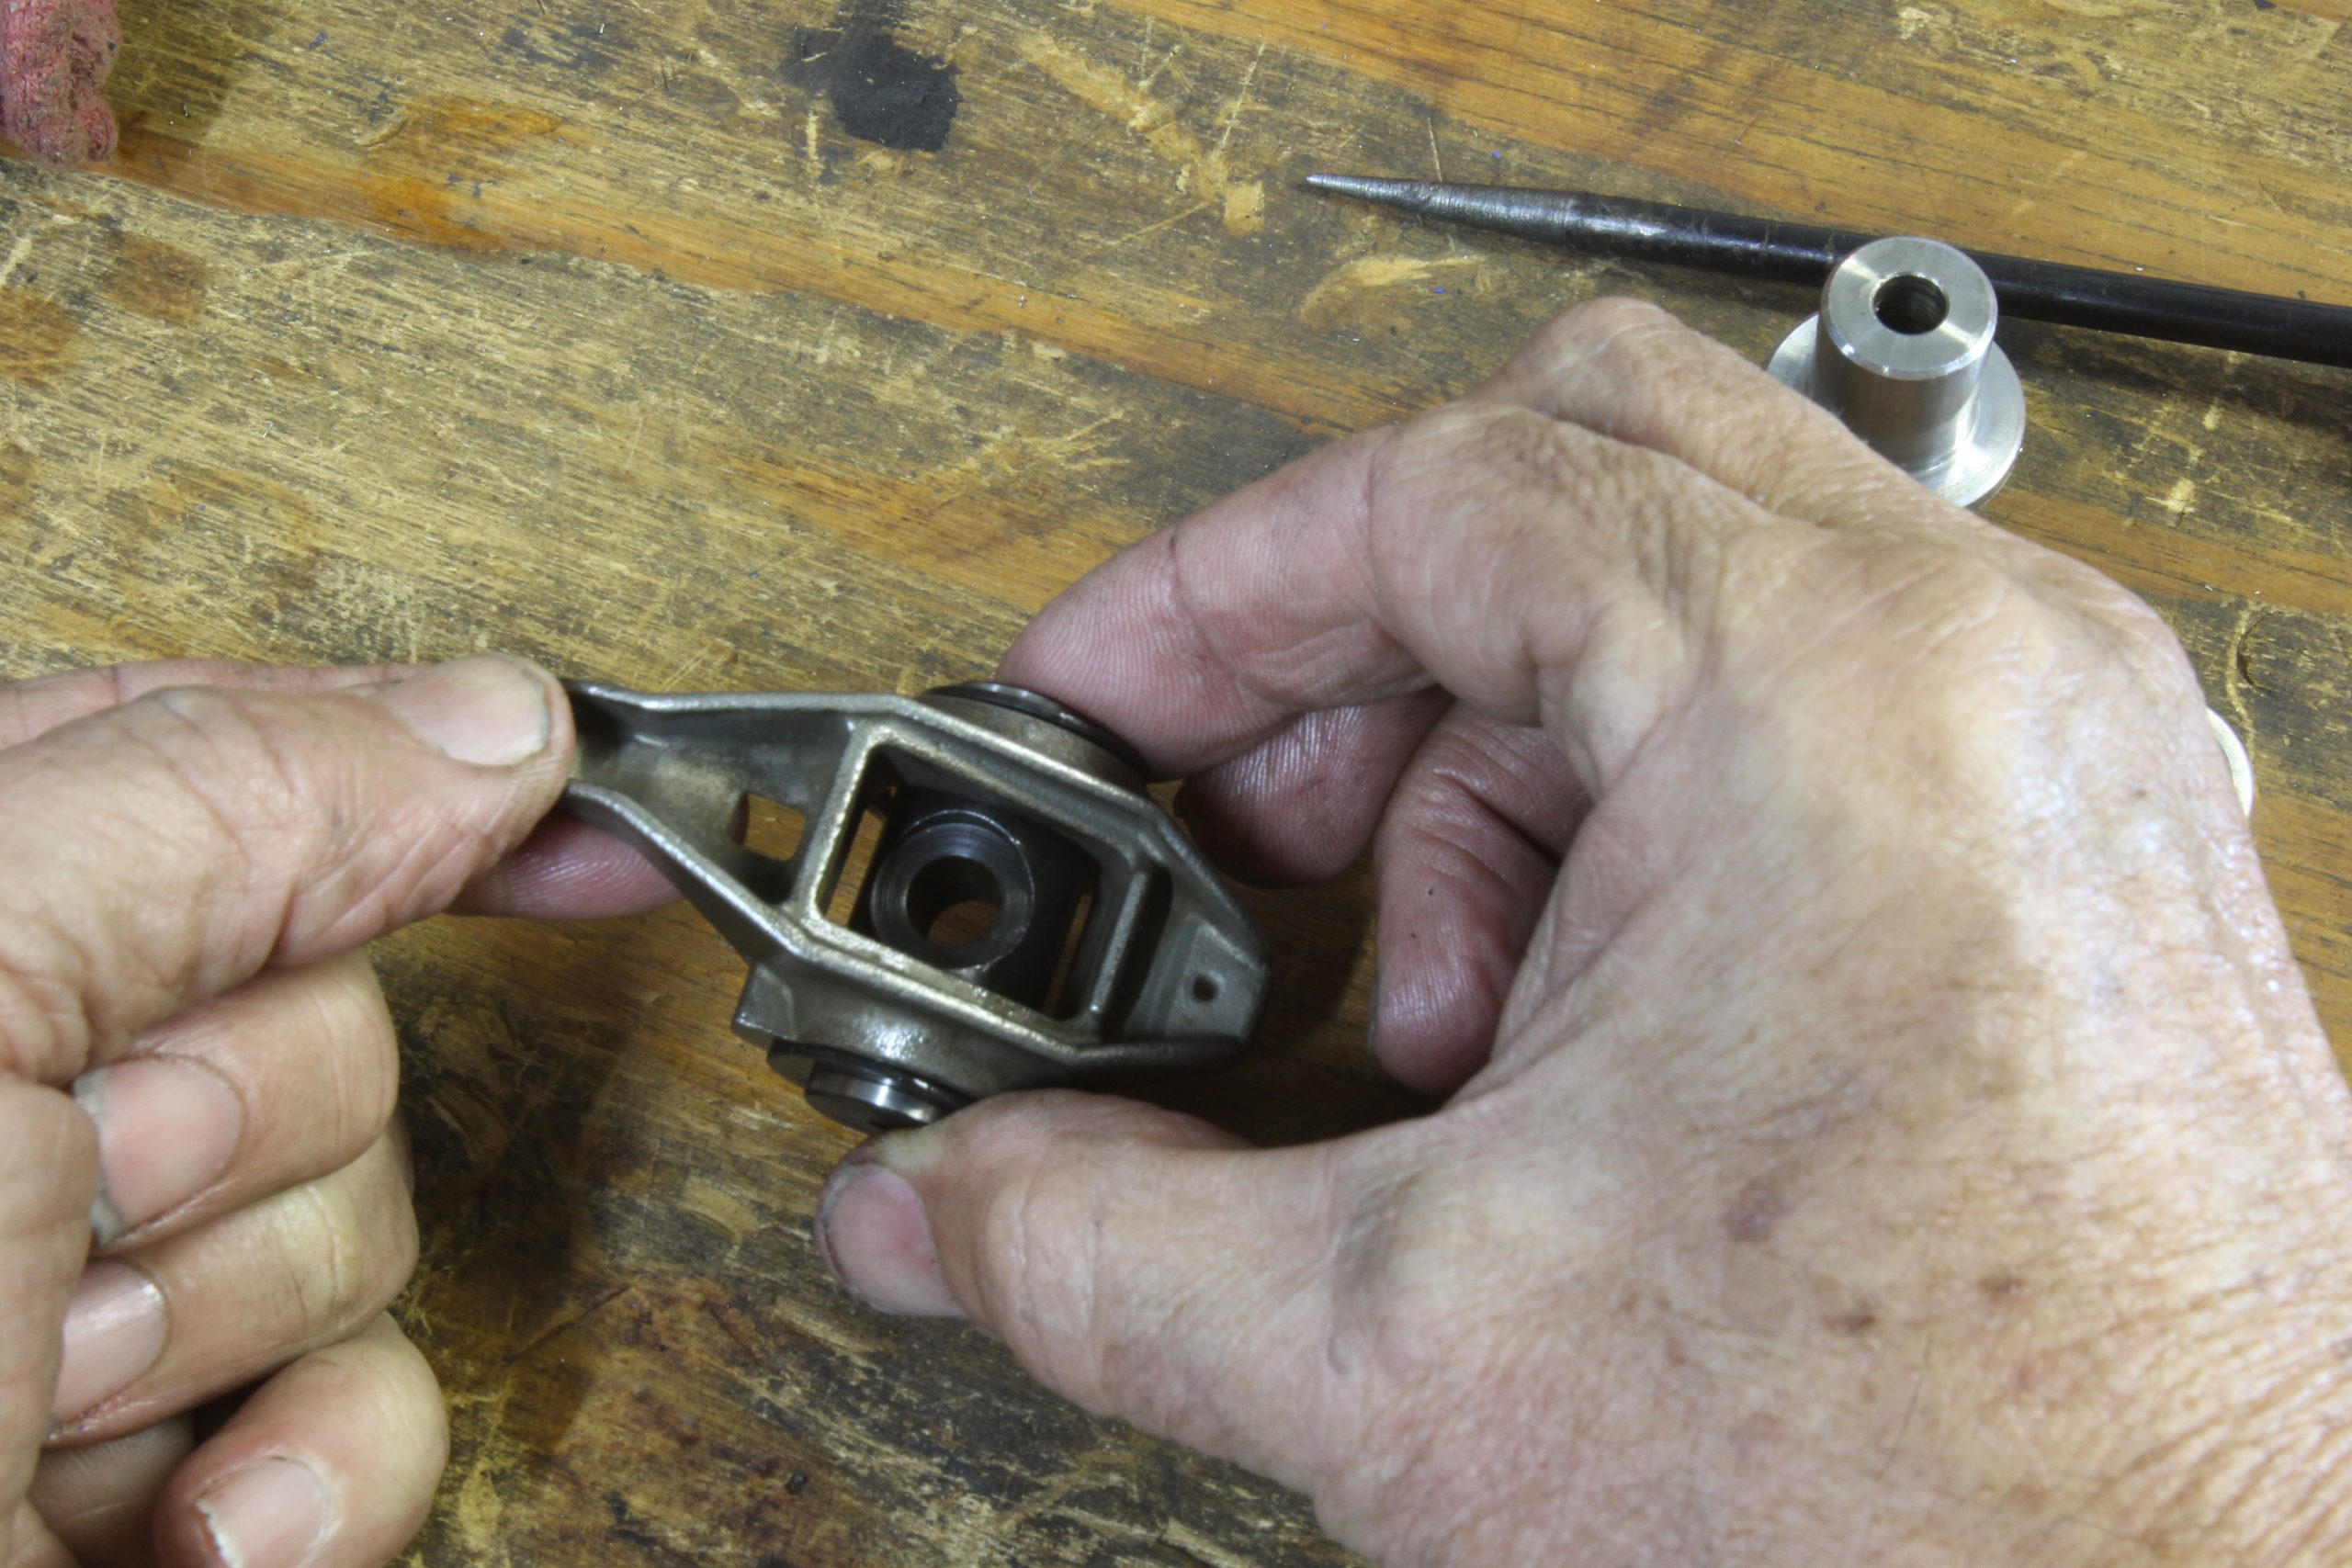
One point worth mentioning is that there are three completely different LS rockers. The Gen. III and Gen. IV cathedral port engines use rockers with no offset. This changed with the LS3 rectangle port heads that employ a much larger intake valve. These heads require an offset intake valve rocker arm. Both of these are 1.7:1 ratio units. The third different rocker is a 1.8:1 ratio rocker specific for the LS7 427ci. The Summit Racing roller rocker conversion kit will work with all three rocker assemblies.
We’ll detail the entire conversion process in the photos and captions and include some information on checking lifter preload. Since the LS family of engines using a net lash system where the rocker is torqued in place and automatically sets the hydraulic lifter preload using pushrod length. Shortening the pushrod length will reduce lifter preload while lengthening the pushrod will position preload deeper into the lifter.
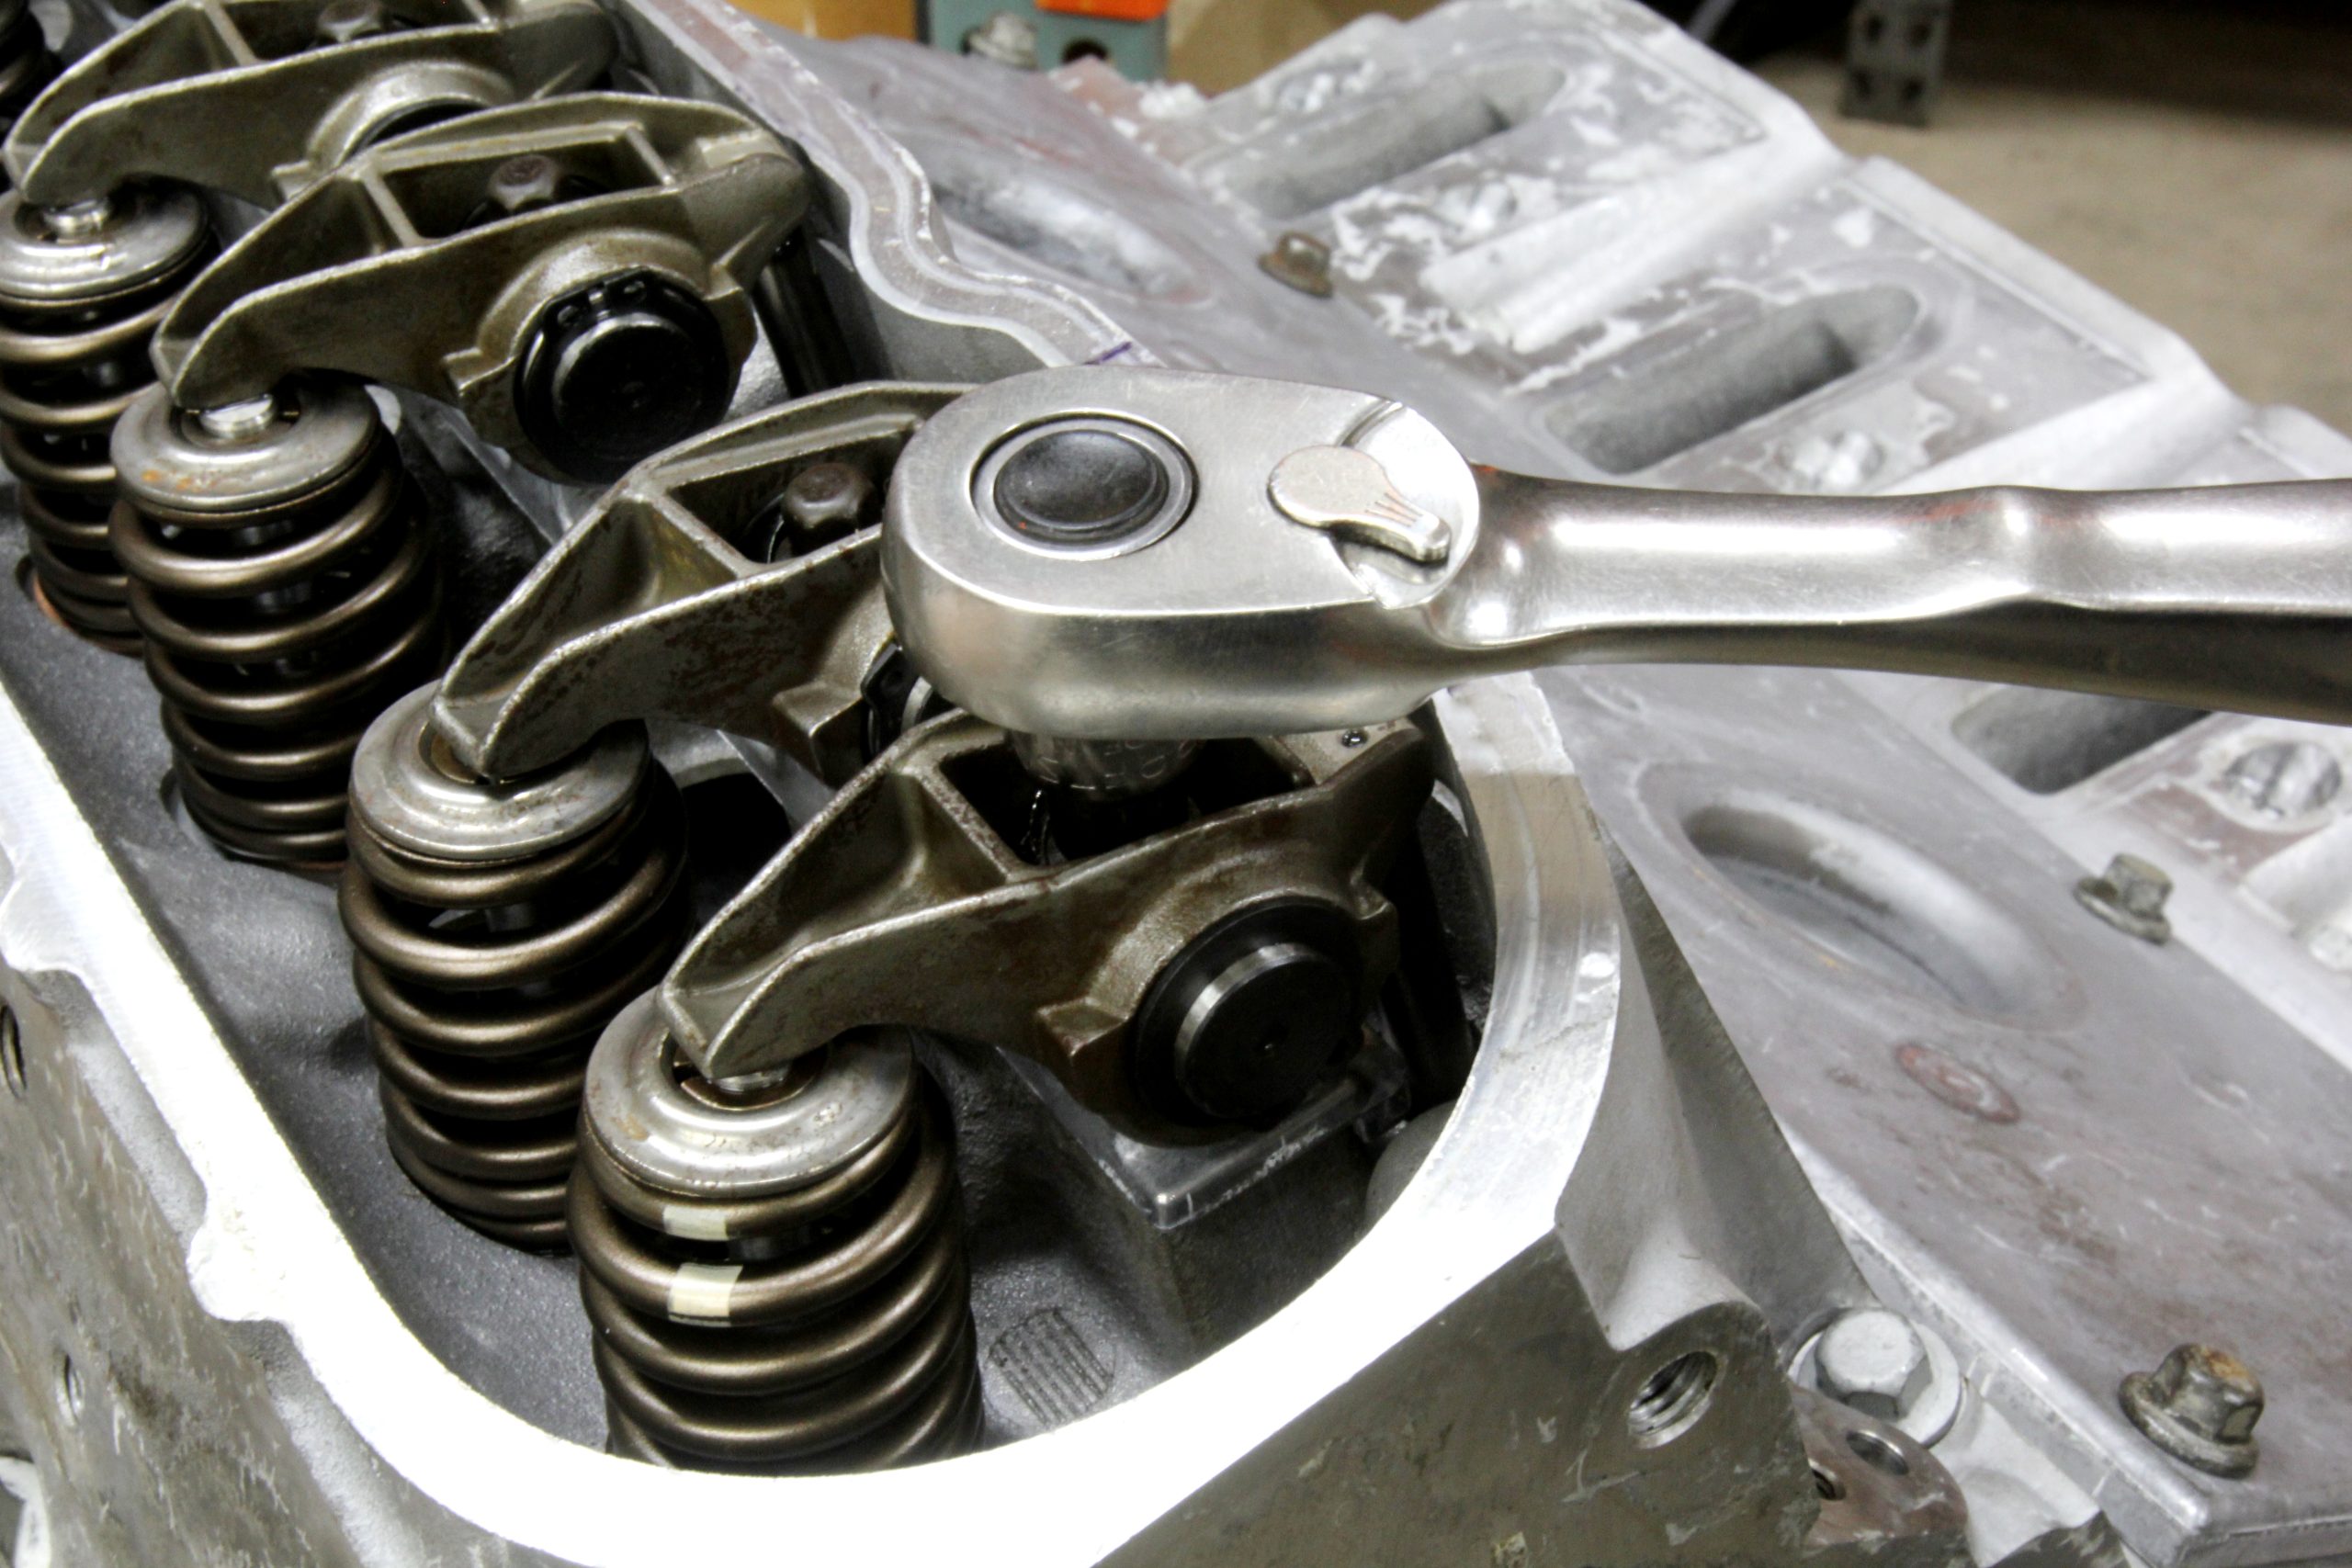
The easiest way to check lifter preload with your existing pushrods is to turn the engine until the Number One intake lobe is on its base circle. If you are not sure how to find the base circle, turn the engine until the Number One exhaust rocker just begins to open. This will place the intake lifter on the base circle of its lobe.
With the intake pushrod, rocker, and bolt in place tighten the rocker bolt until zero lash is achieved. Then keep track of how far the wrench turns to seat the bolt. For the generally accepted 0.050 inch of lifter preload, this should require roughly one full turn of the rocker bolt. Minor variations on either side of this spec are not cause for concern.
With the rocker bolts torqued in place at the factory spec of 22 ft.-lbs., your valvetrain is now fully upgraded and you can move on to the next step in your LS performance quest.
LS Roller Bearing Trunnion Upgrade Parts List
- Summit Racing LS Retrofit Trunnion Bearing Upgrade Kit – SME-143002
- Summit Racing Trunnion Upgrade Install Tool – SME-906011
- Summit Racing Trunnion Upgrade, Bronze Bushings – SUM-141560
- Summit Racing Pro LS Upgraded Rocker Arms – SUM-141556
- Summit Racing LS Rocker Arm, Non-Offset – SME-143021
- Summit Racing LS Rocker Arm, Offset LS3 – SUM-141551
- ARP Pro Series Rocker Arm Studs – ARP-234-7207
Comments