In the past 10 years or so, electric power assisted steering (EPAS) has gone from a newfangled thing to commonplace on new cars. More and more cars have begun adopting it thanks in large part to the Energy Independence and Security Act of 2007, which bumped Corporate Average Fuel Economy (CAFE) requirements (the average fuel economy of an automaker’s passenger cars) up to 35 mpg by 2020. Among other things, this mandate made engineers take a hard look at what could be done to increase efficiency and reduce unnecessary parasitic drag on drivetrains. One of the most obvious sources was the ever present and ever-turning power steering pump.
So, as hot rodders and racers, do we care about innovations spurred by CAFE regulations? When it comes to EPAS, the impetus might have been increasing MPG, but as we’ve learned through this series, removing parasitic drag also has the potential to increase usable horsepower, performance, and reliability. Let’s dig a little into why this is a win-win scenario for efficiency, driver experience, and power.
To begin, most factory hydraulic power steering pumps are not designed for high-performance use. They’re intended to reduce effort in standard street driving scenarios, so they must provide adequate pressure and flow not only when driving at highway speed, but also when the engine is idling and maneuvering at parking lot speeds or stopped.
The vast majority of hydraulic power steering pumps operate in a linear fashion, which means they move more fluid the faster they turn. When the engine is operating at higher rpm, such as on a race track, that usually means they’re pushing more fluid than is required. The GM Type II power steering pump on LS engines, for example, has a roughly 15 percent overdrive pulley, which means the power steering pump is turning 15 percent higher rpm than the crank speed to ensure there is sufficient pressure and volume at idle. Of course, this also means the pump is spinning 15 percent faster at all engine speeds, so at 6,500 rpm, the pump is turning just under 7,500 rpm. Not a big deal for street cars that spend most of their life below 4,000 rpm, but the picture is different at higher rpm.
So, what does this look like in terms of parasitic loss? Well, a nice race modified Type II pump might only require 3 to 5 hp at 6,500 rpm, but a factory pump at the same speed can require 7 to 10+ hp. If you’re a vintage muscle car lover running an old Saginaw pump, the numbers could be roughly double that. We’re not picking on the GM Type II here, this is a common scenario for most street cars with hydraulic power steering, even performance-based ones.
The excess fluid volume produced is internally bypassed inside the power steering pump, which translates into not only wasted power from the engine, but also increased heat absorbed by the fluid. While stock power steering systems operate around 200 to 225 degrees F, in autocross and track day situations, fluid temps can easily exceed 300 degrees F. That can result in increased wear and pump failures if you’re seeing those temps regularly or for extended periods. We’ve seen a lot of power steering fluid puddles under cars on warm track days.
Some of these deficiencies can be addressed by using an undersized pulley (1:1 ratio or lower) that slows the pump down so that it’s flowing less at high rpm. While that may work well for a pure track car, heat will likely still be an issue requiring external coolers to compensate. And any low-speed driving will be substantially more laborious. This is where EPAS shines. If you do it right, you get the right amount of boost regardless of engine speed, zero parasitic drag, no heat issues, and increased tire feedback.
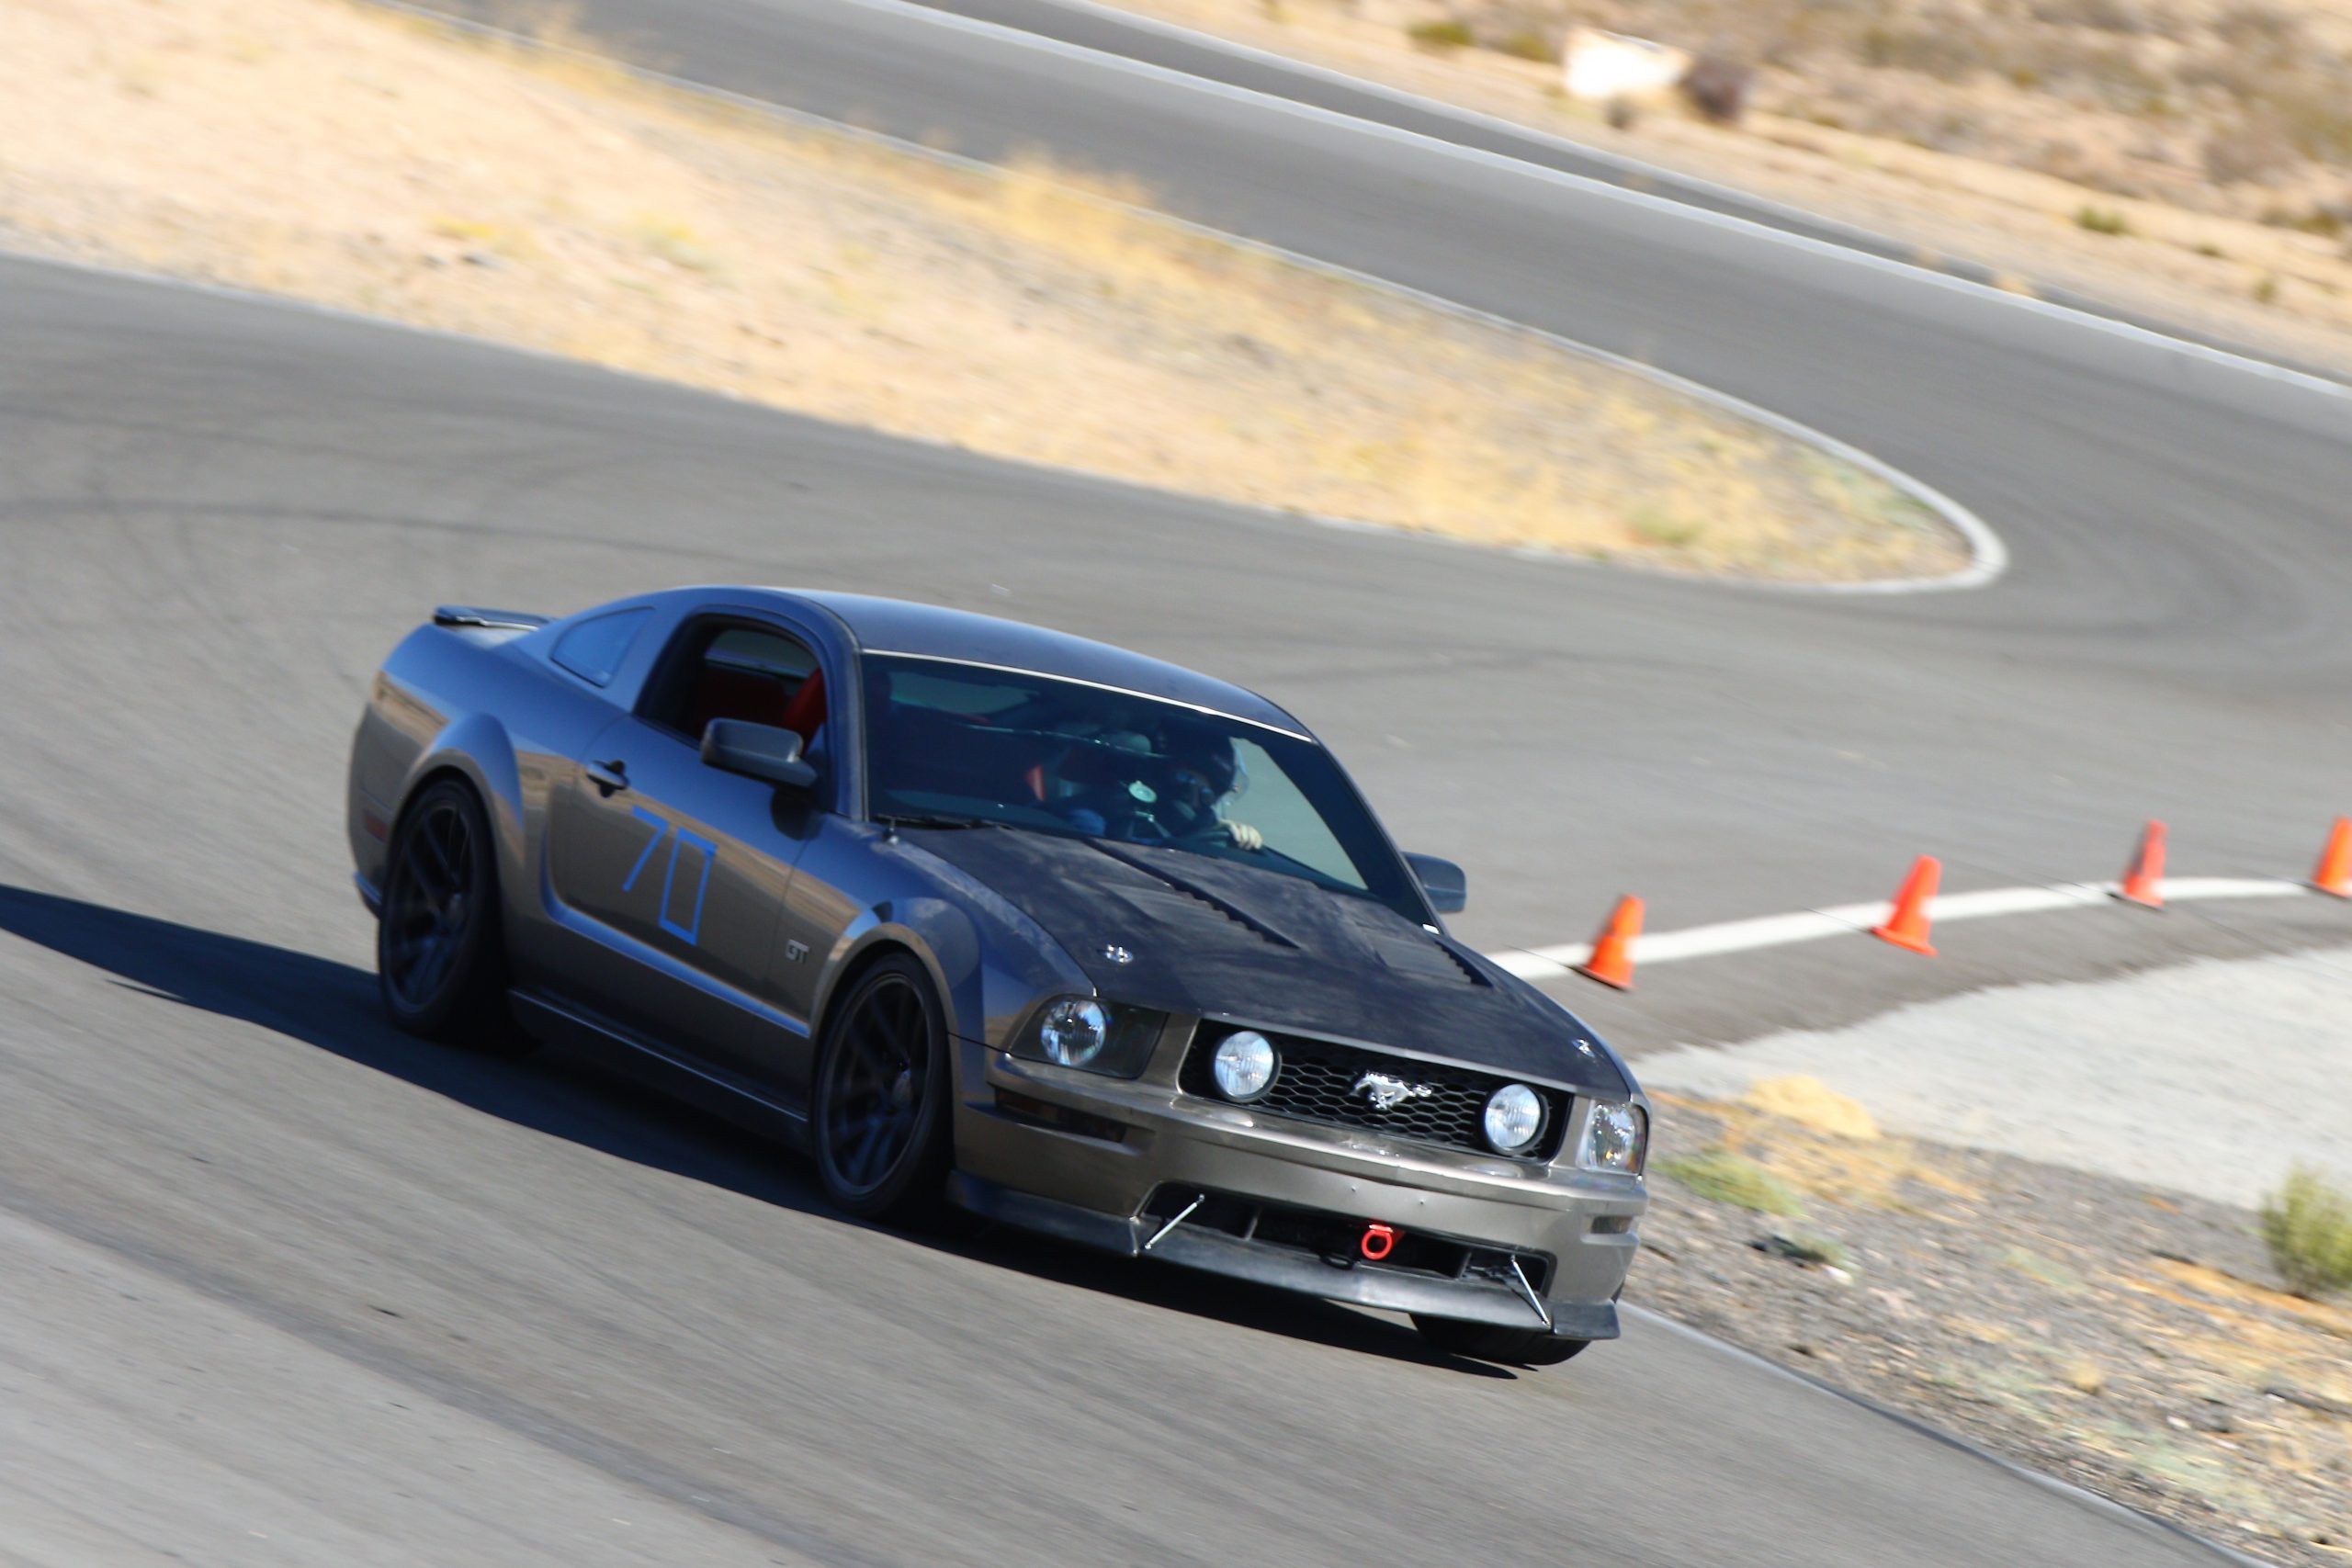
Good thing for us, S197 Mustangs made the switch more than a decade ago.
For older many cars, an EPAS swap means installing an aftermarket kit or finding something from a different make and model that you can adapt. Fortunately for us, when the S197 Mustang got a major facelift and the new Coyote 5.0 engine in 2011, it also received EPAS, which makes this swap a whole lot easier. Now for most street cars, the stock Mustang GT rack from 2011-14 will work fine, so we’ll preface this tech article by saying that if you’re looking for a budget EPAS swap on your 3V Mustang, and you don’t track your car on sticky tires, and your front suspension is stock or only mildly modified, you can opt to use one of these. The downside is that you will lose the ability to select from the factory calibration modes and it’s unclear what the default setting will be (comfort, sport, or something else). Our intent for our project is much more track focused, and we want a calibration that is designed to handle any level of suspension or tire upgrades, so we’ll be using Ford Racing’s Boss 302R rack.
The main reason to opt for the Boss 302R rack is that it will not fall prey to the steering shutter and Electronic Stability Control (ESC) intervention that occurs when street calibration racks are paired with aftermarket control arms, stiffer control arm bushings, and/or wide sticky front tires. The results can be pretty scary and fairly random, so certainly not something you want to experience while on track. Though these issues can happen to any factory S197 GT, they are most reported with 2011 and 2012 model year cars. Model year 2013-14 cars seem to be less susceptible, and there is a rumor that street version of Boss 302 doesn’t fall prey to these issues because it runs a calibration that is more track focused.
In any case, for those who love road racing, the Boss 302R rack is the go-to upgrade. Thanks to specific calibration intended for racing, there is better feedback that allows you feel exactly how the front tires are reacting. If you have a 2011-14 car, this is an easy plug and play swap with no issue. Swapping the 302R EPAS into a 4.6 3V powered car requires a little more work since they used traditional hydraulic assist pumps and do not have a CAN Bus interface to power up the rack, but there is a way around that! Let’s dig into how to make it happen.
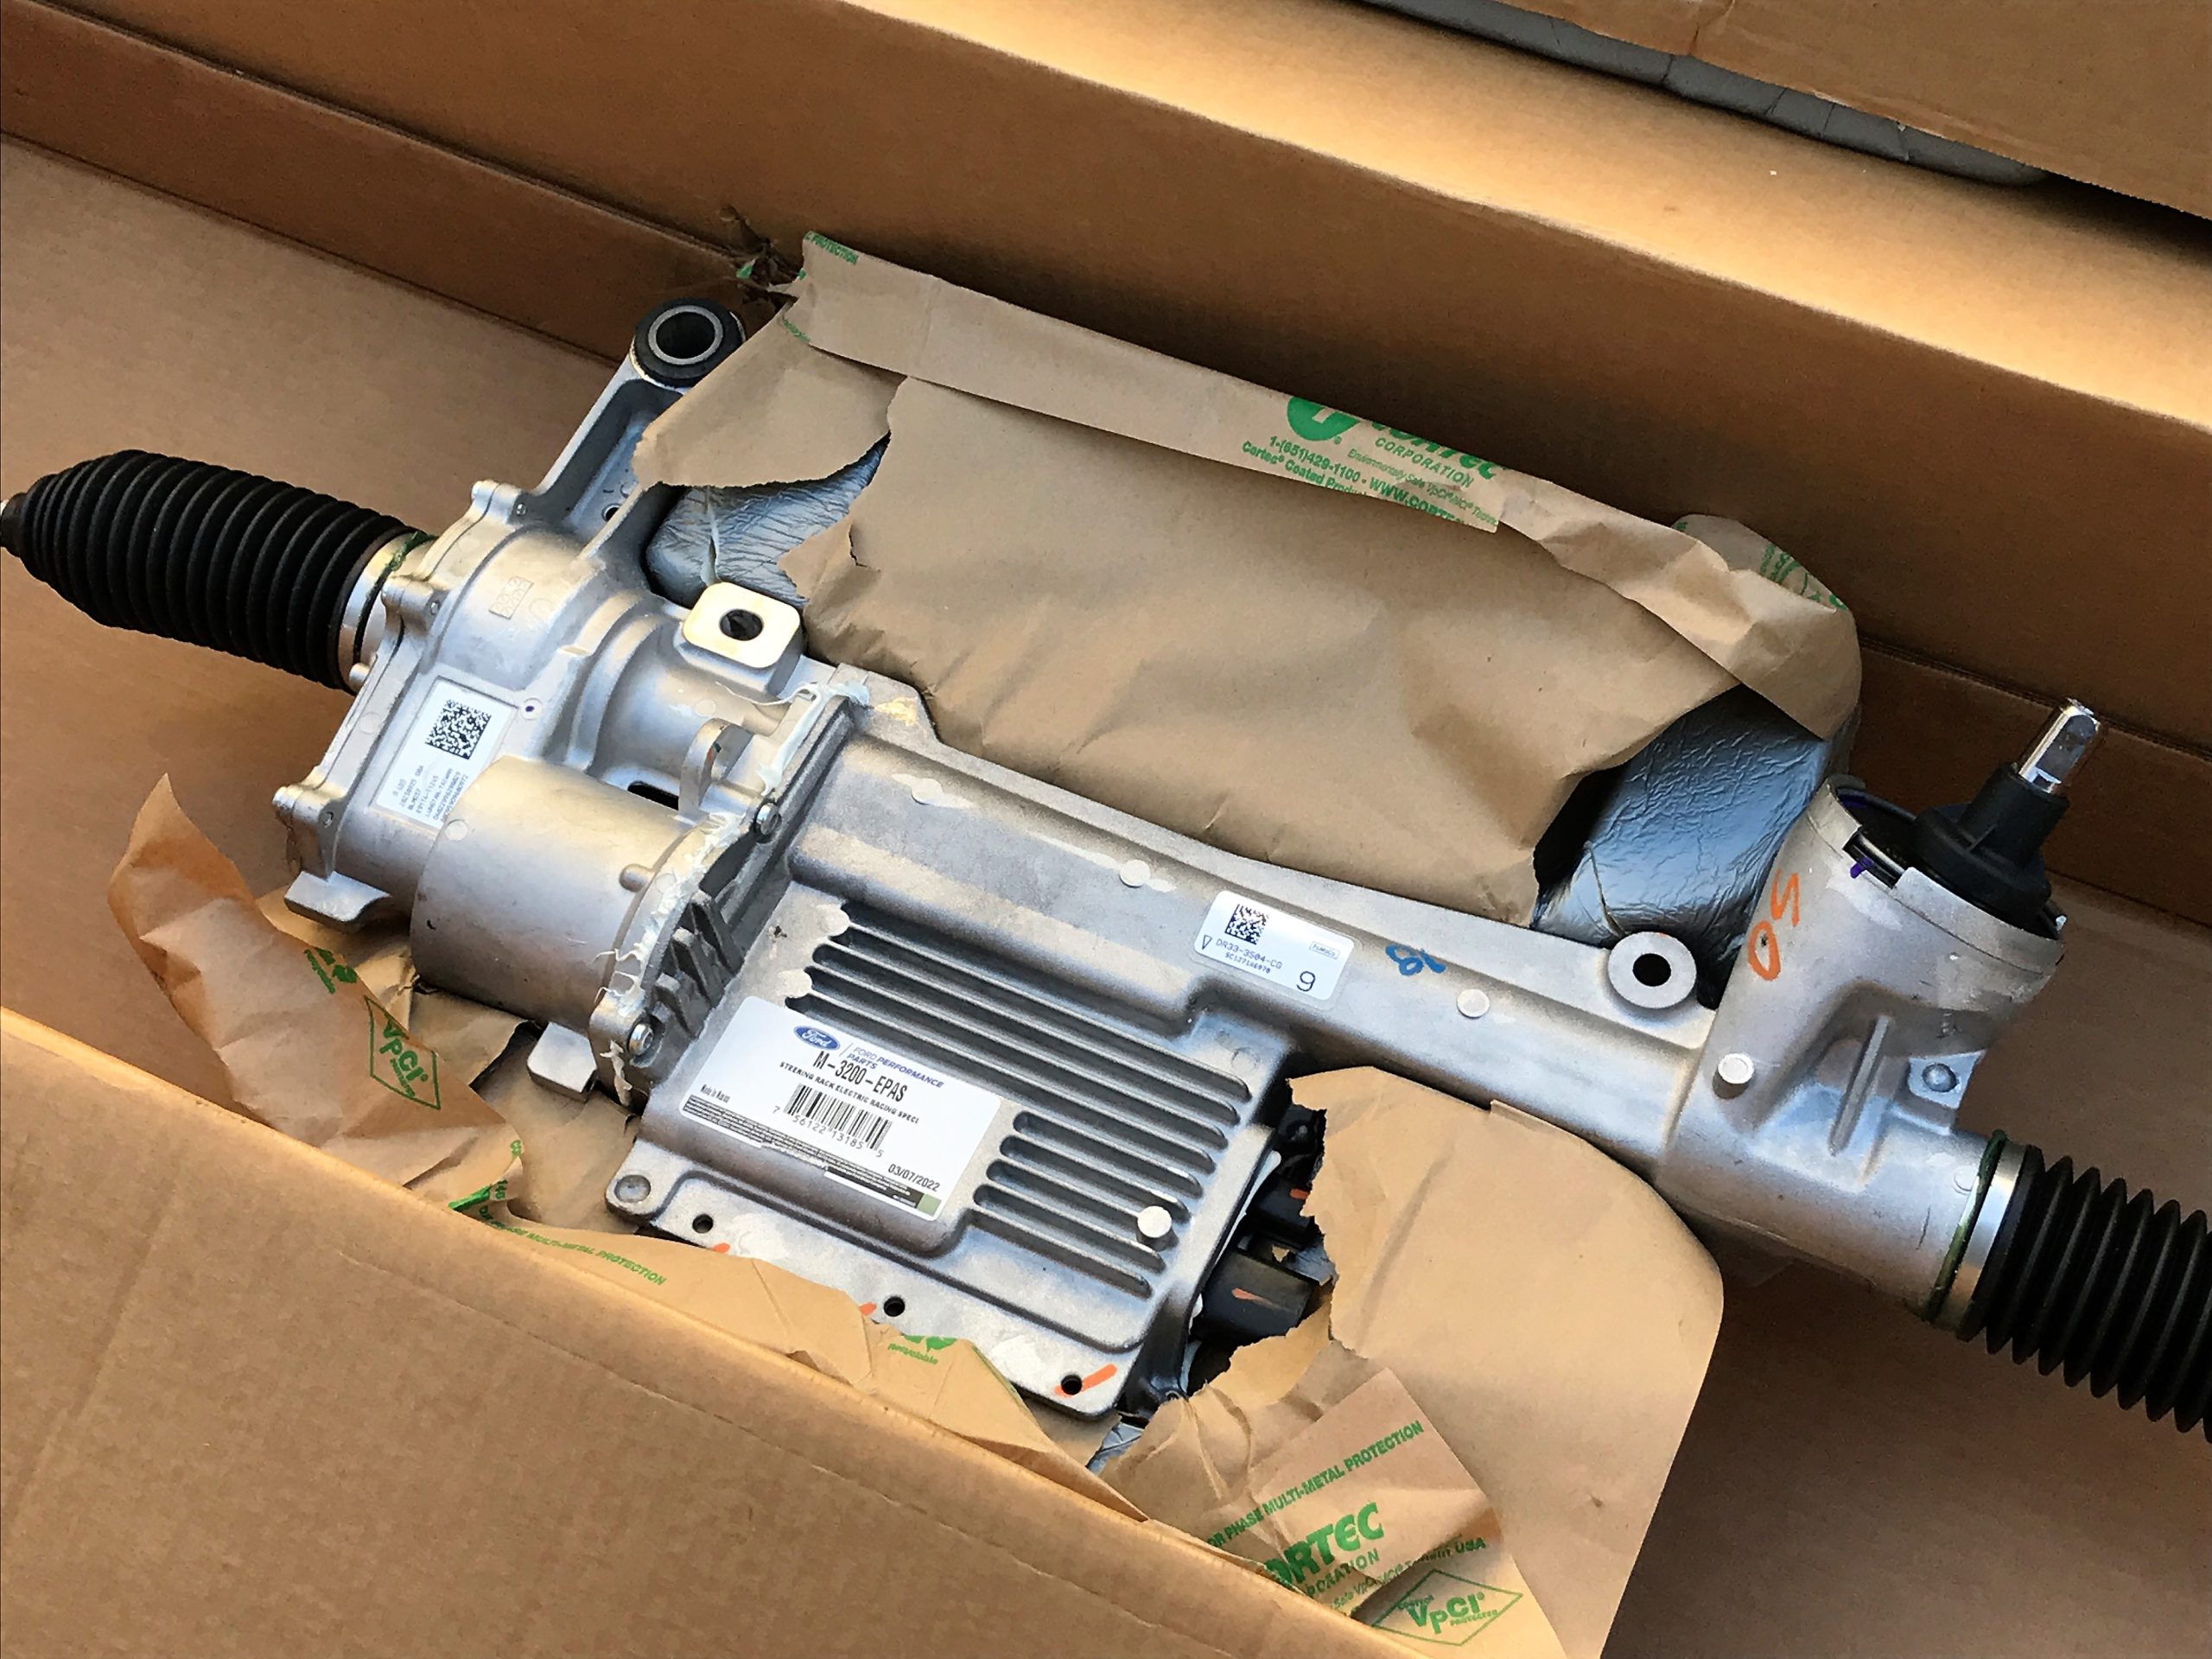
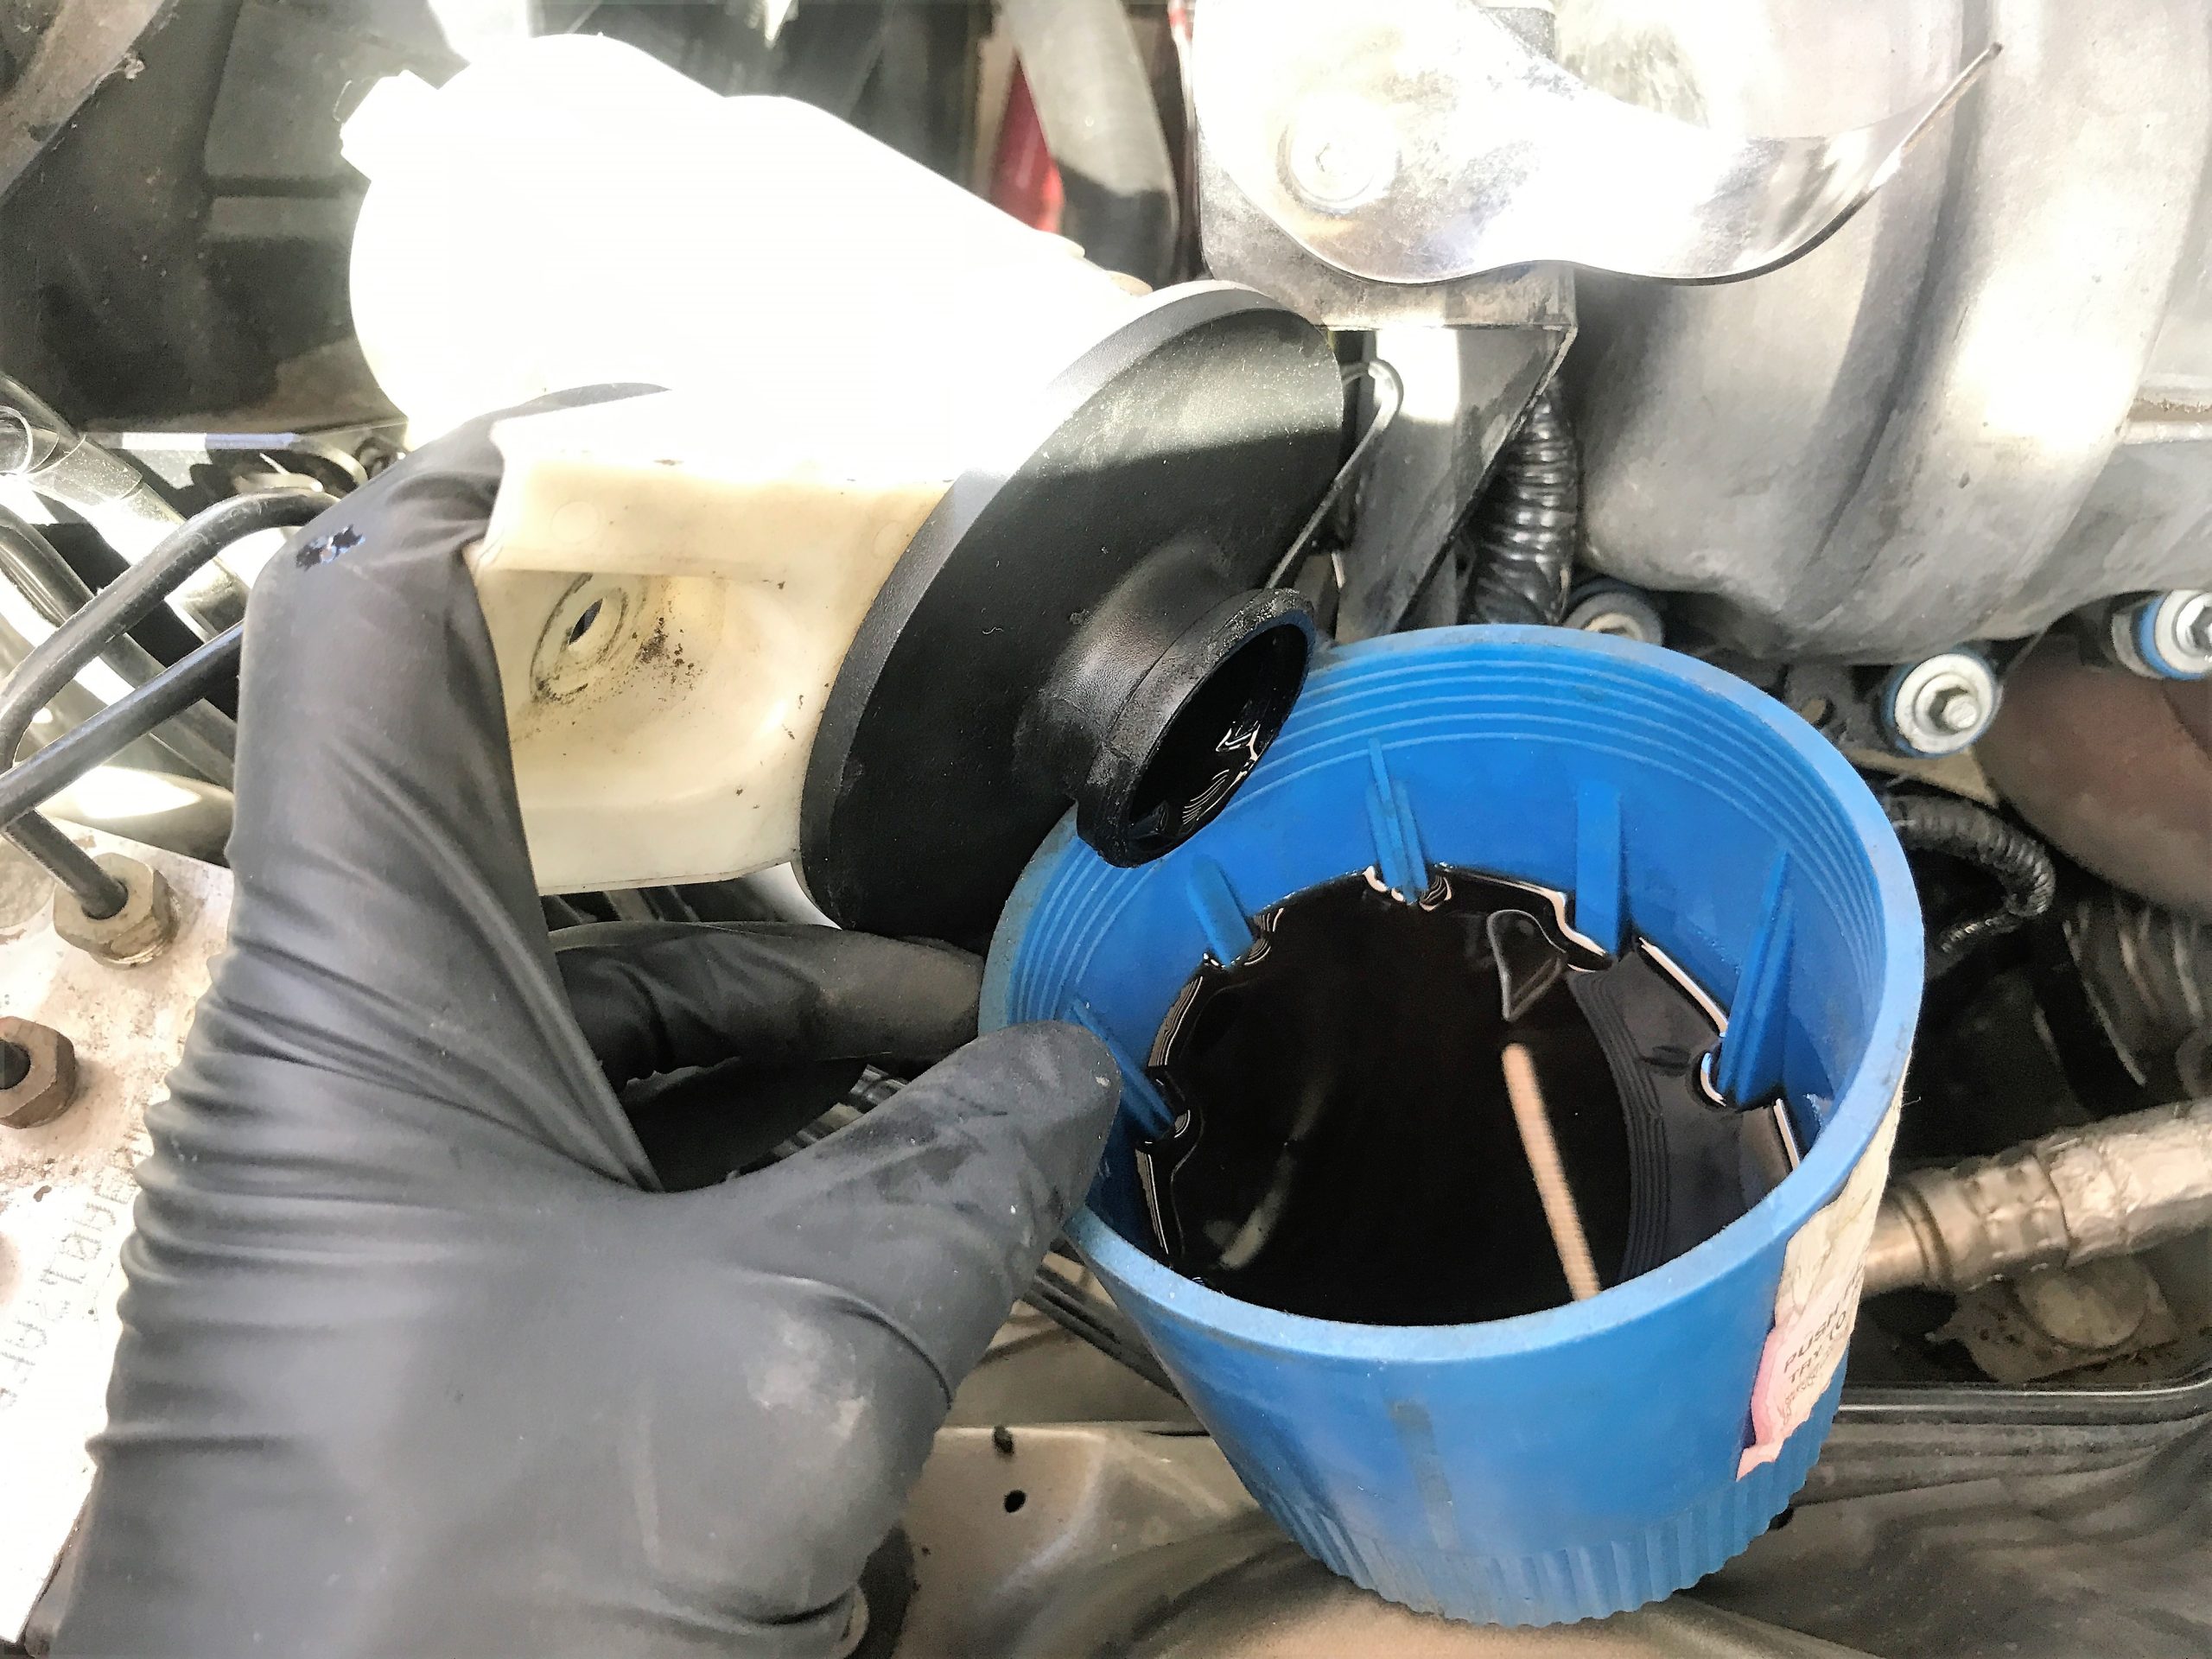
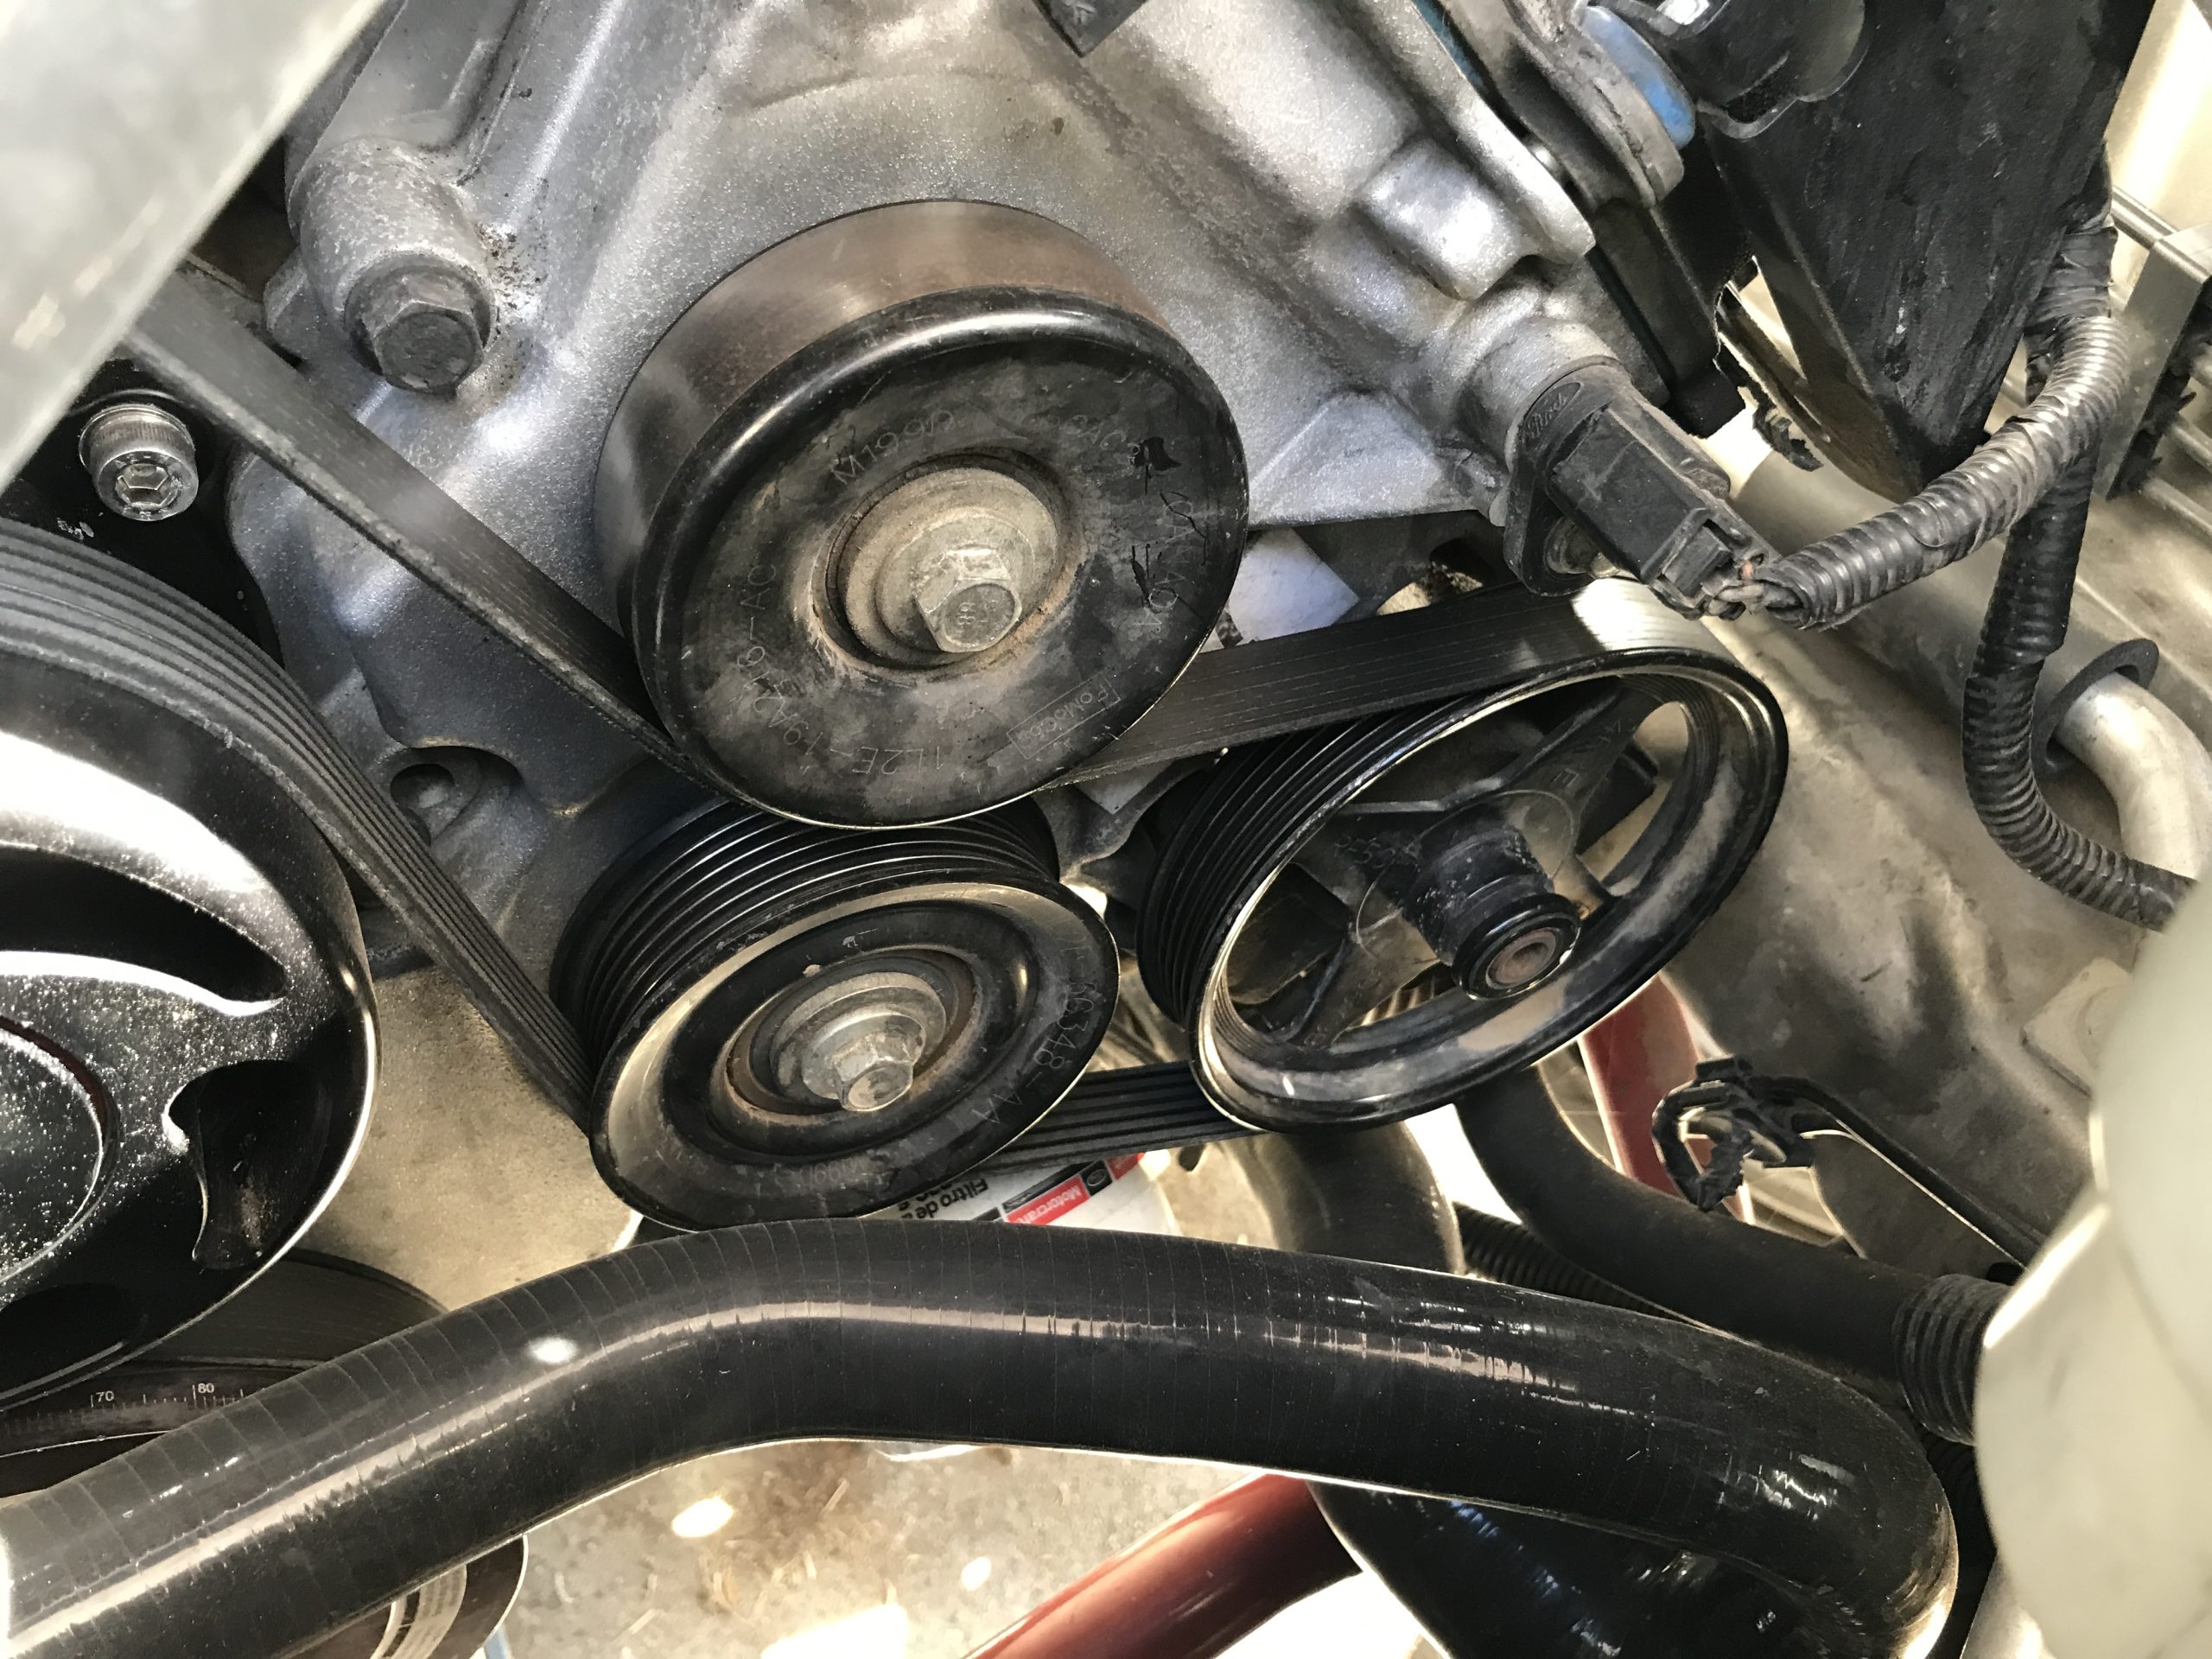
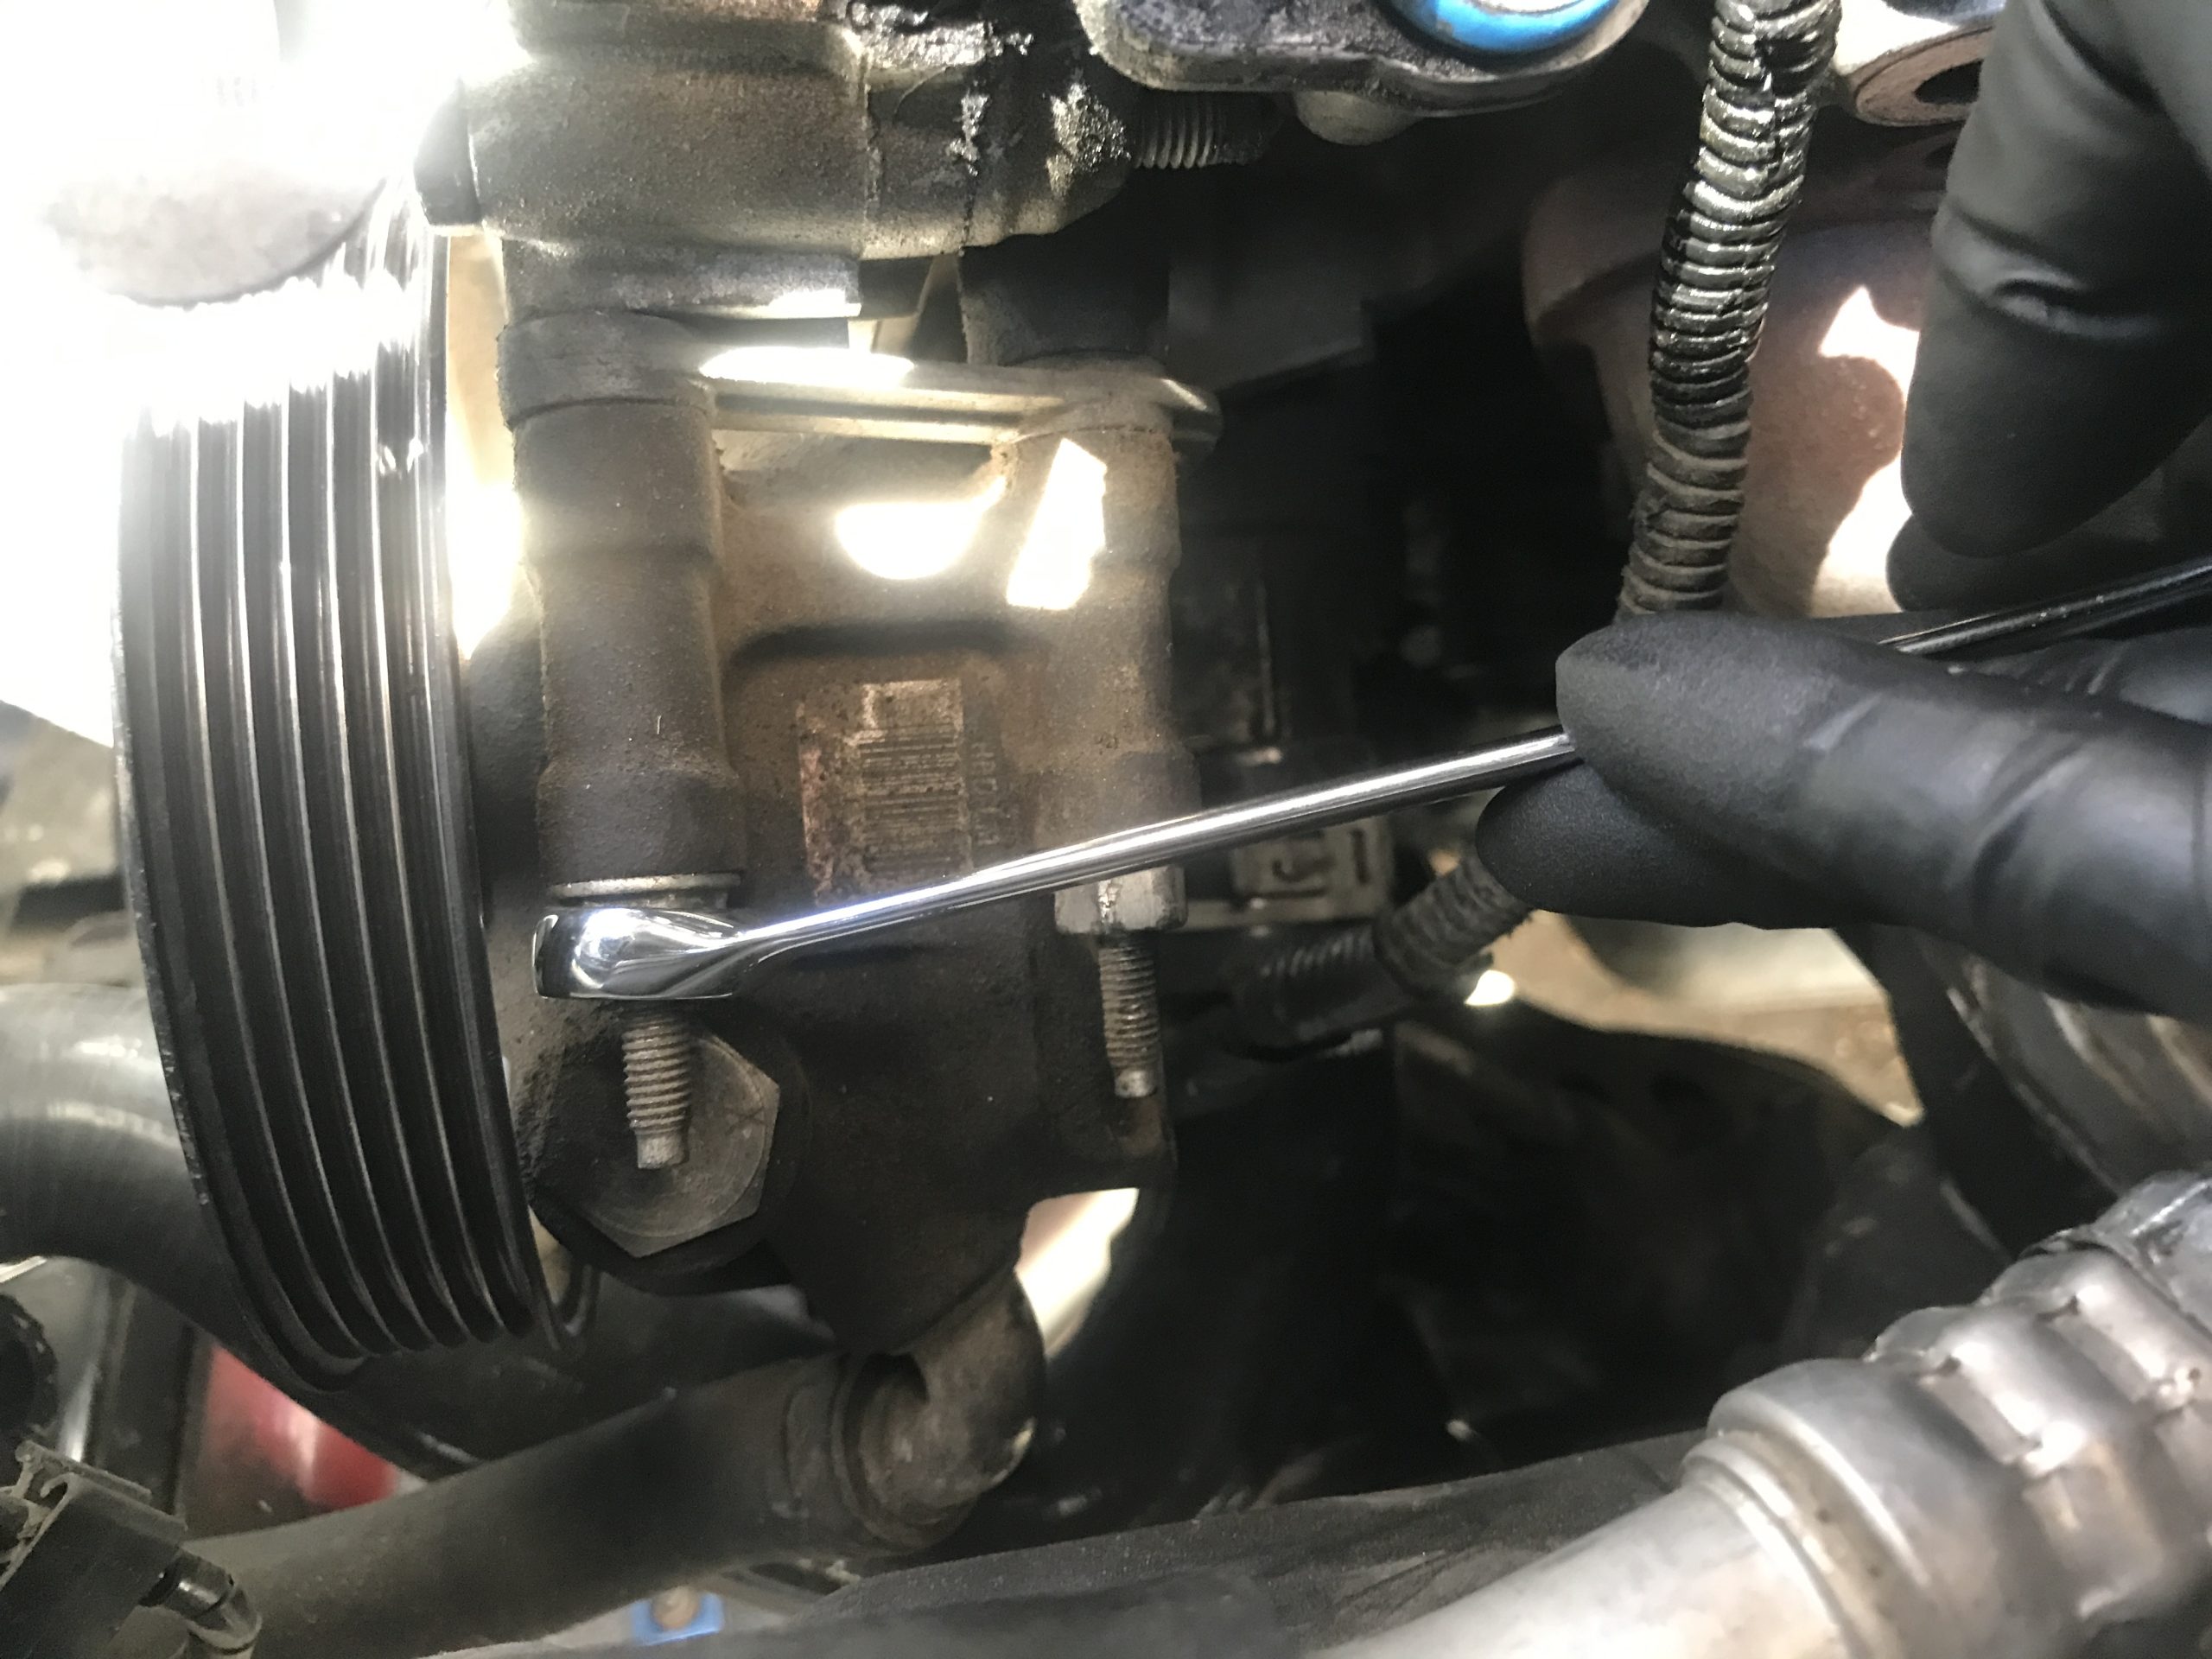
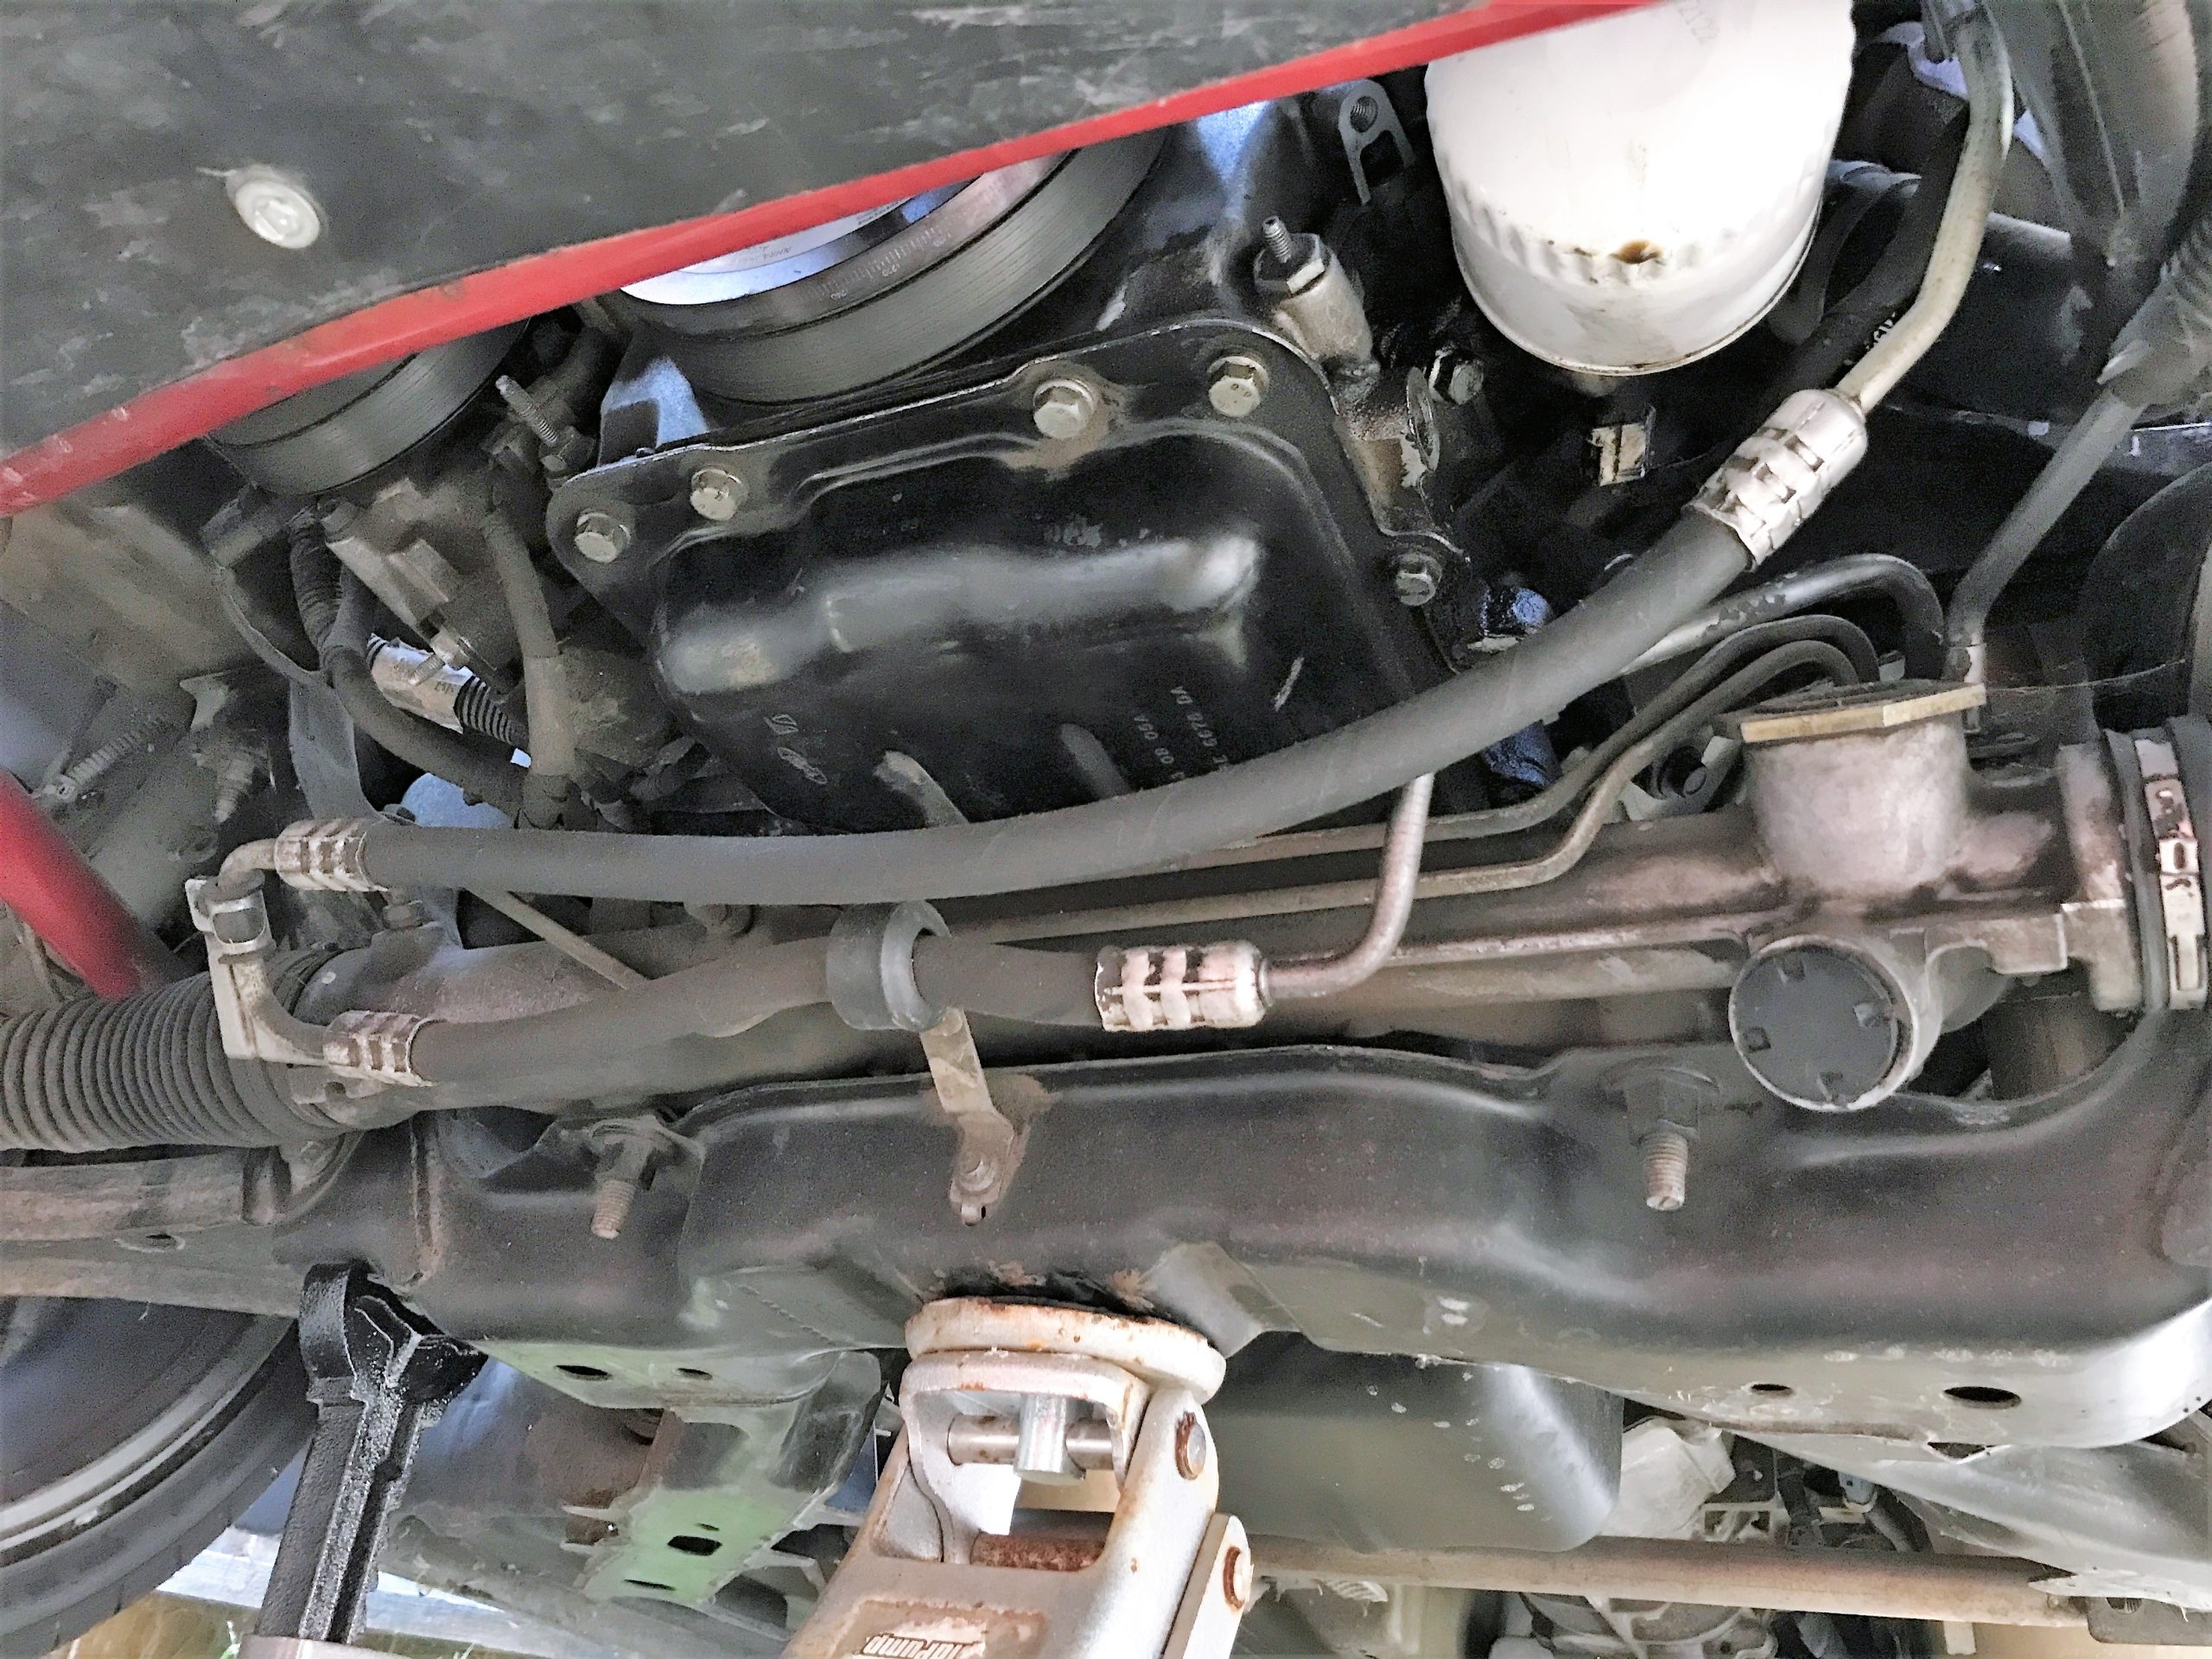
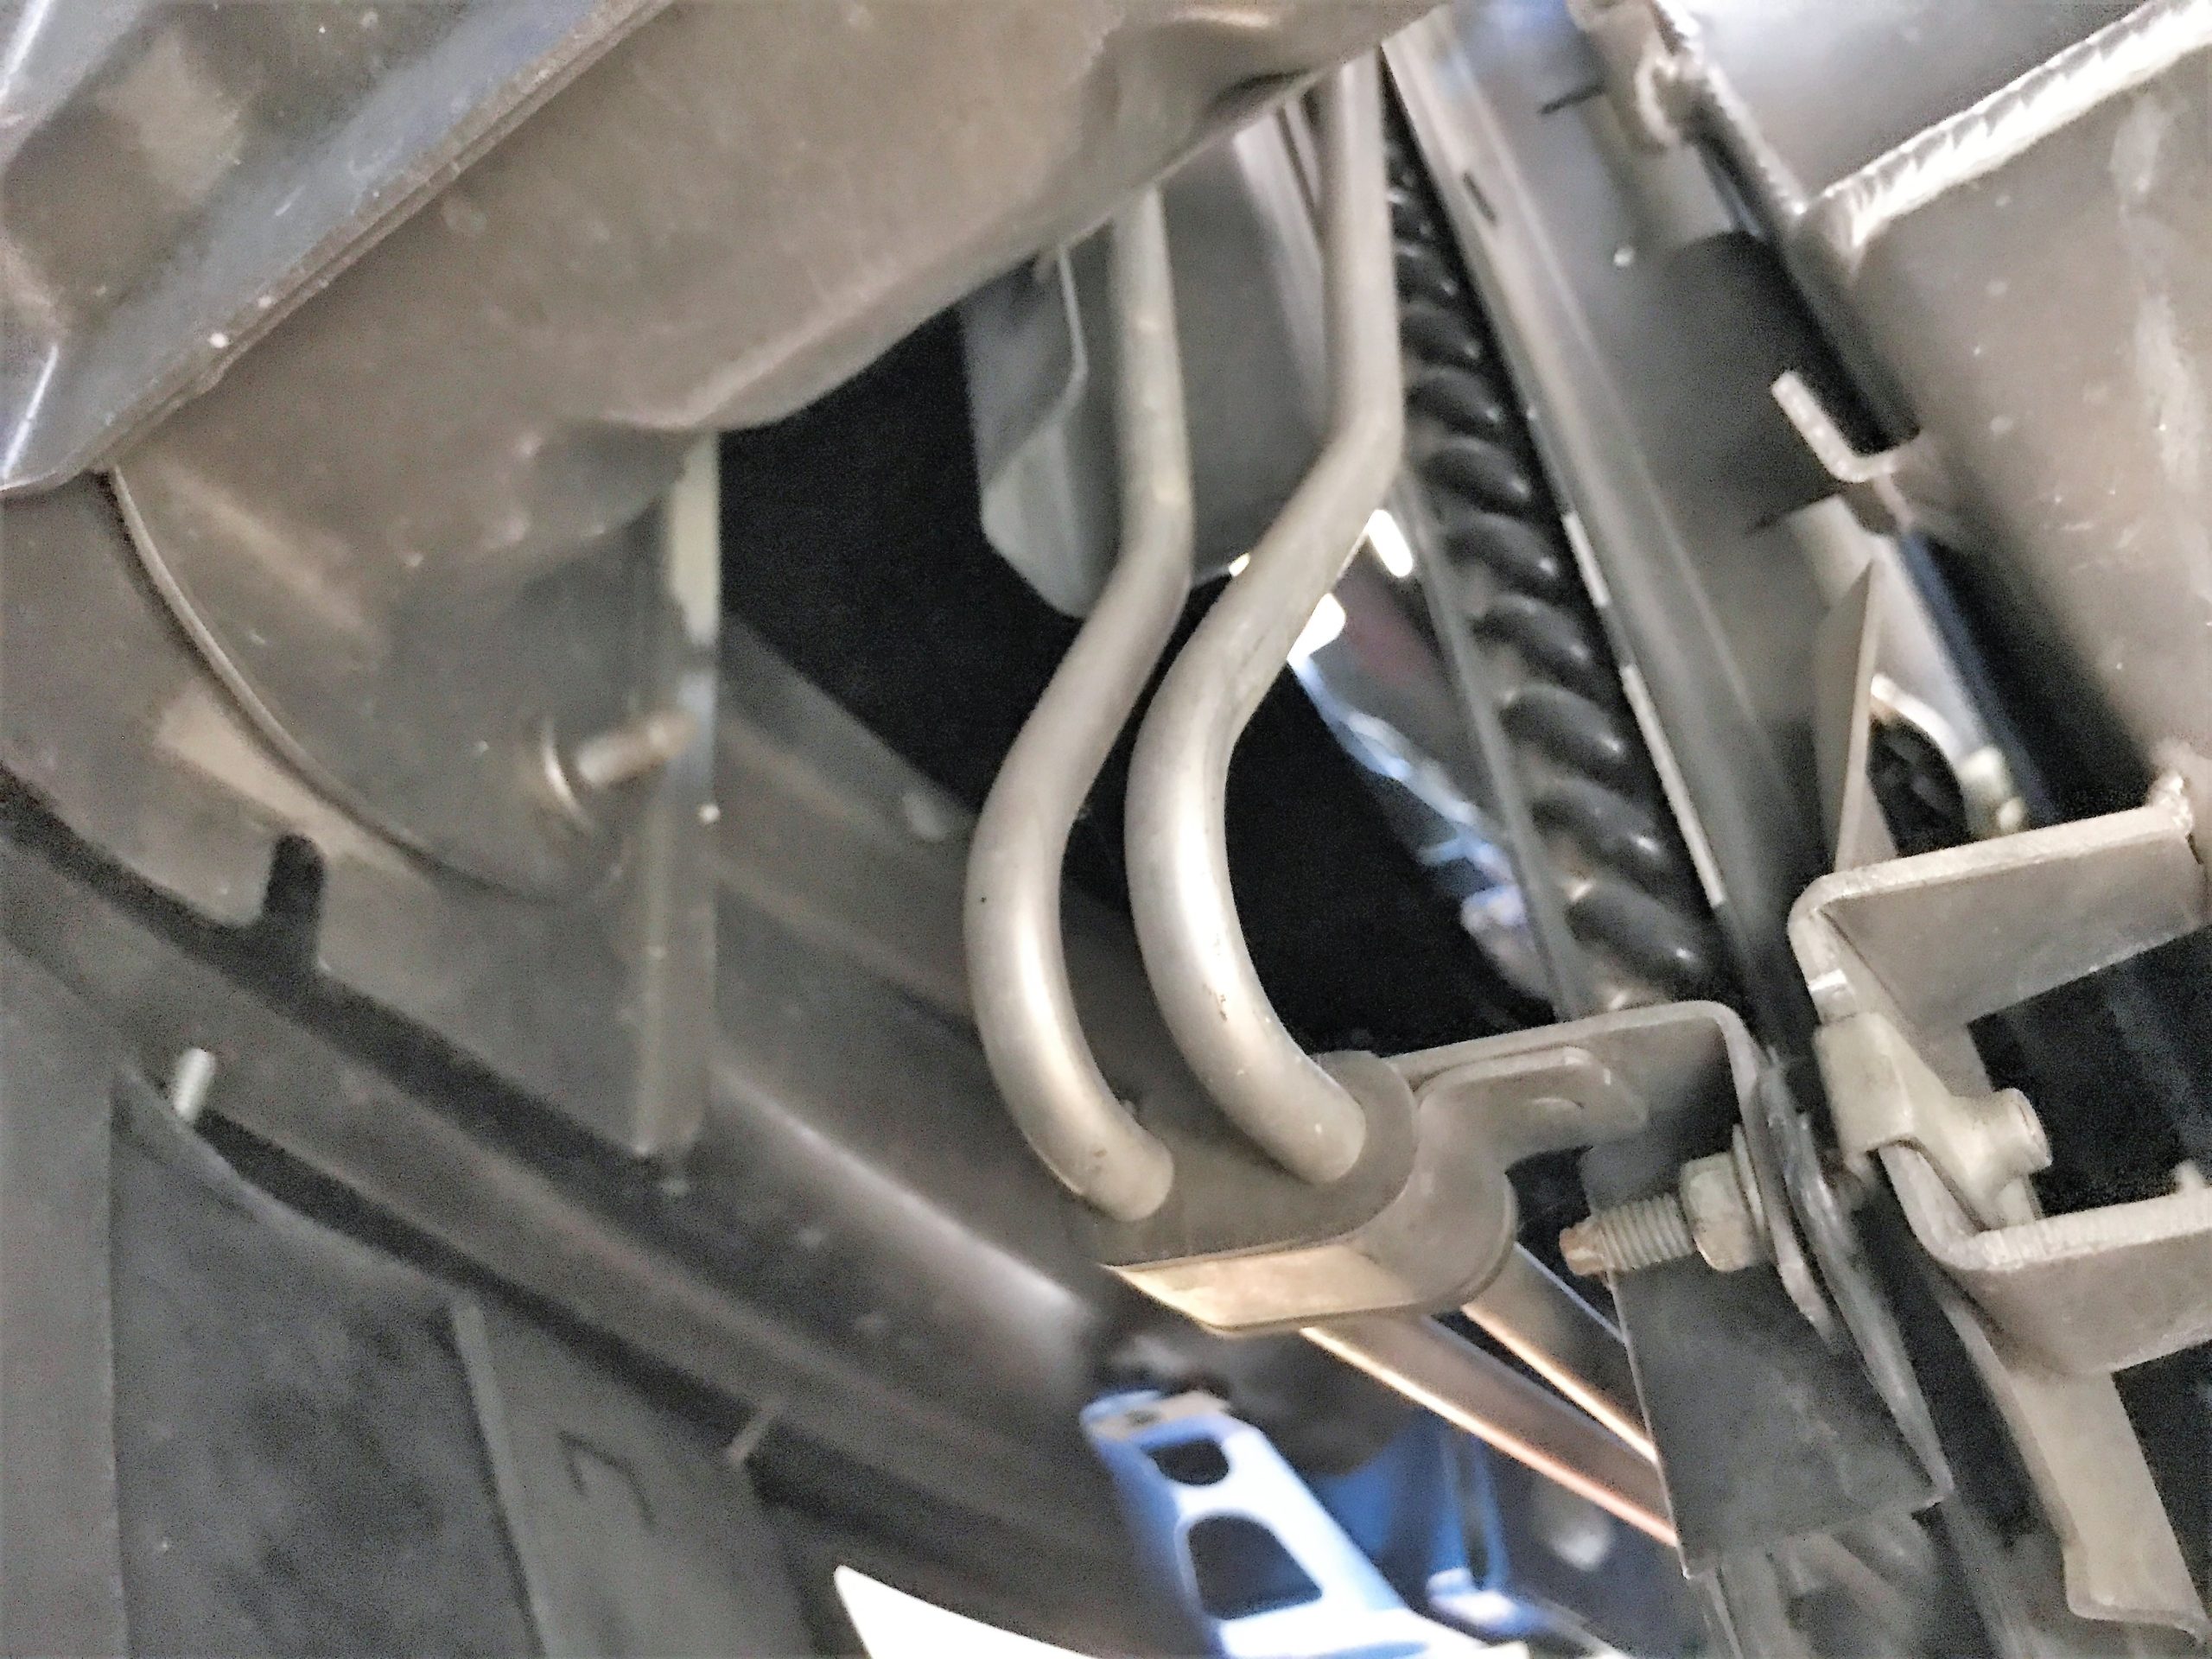
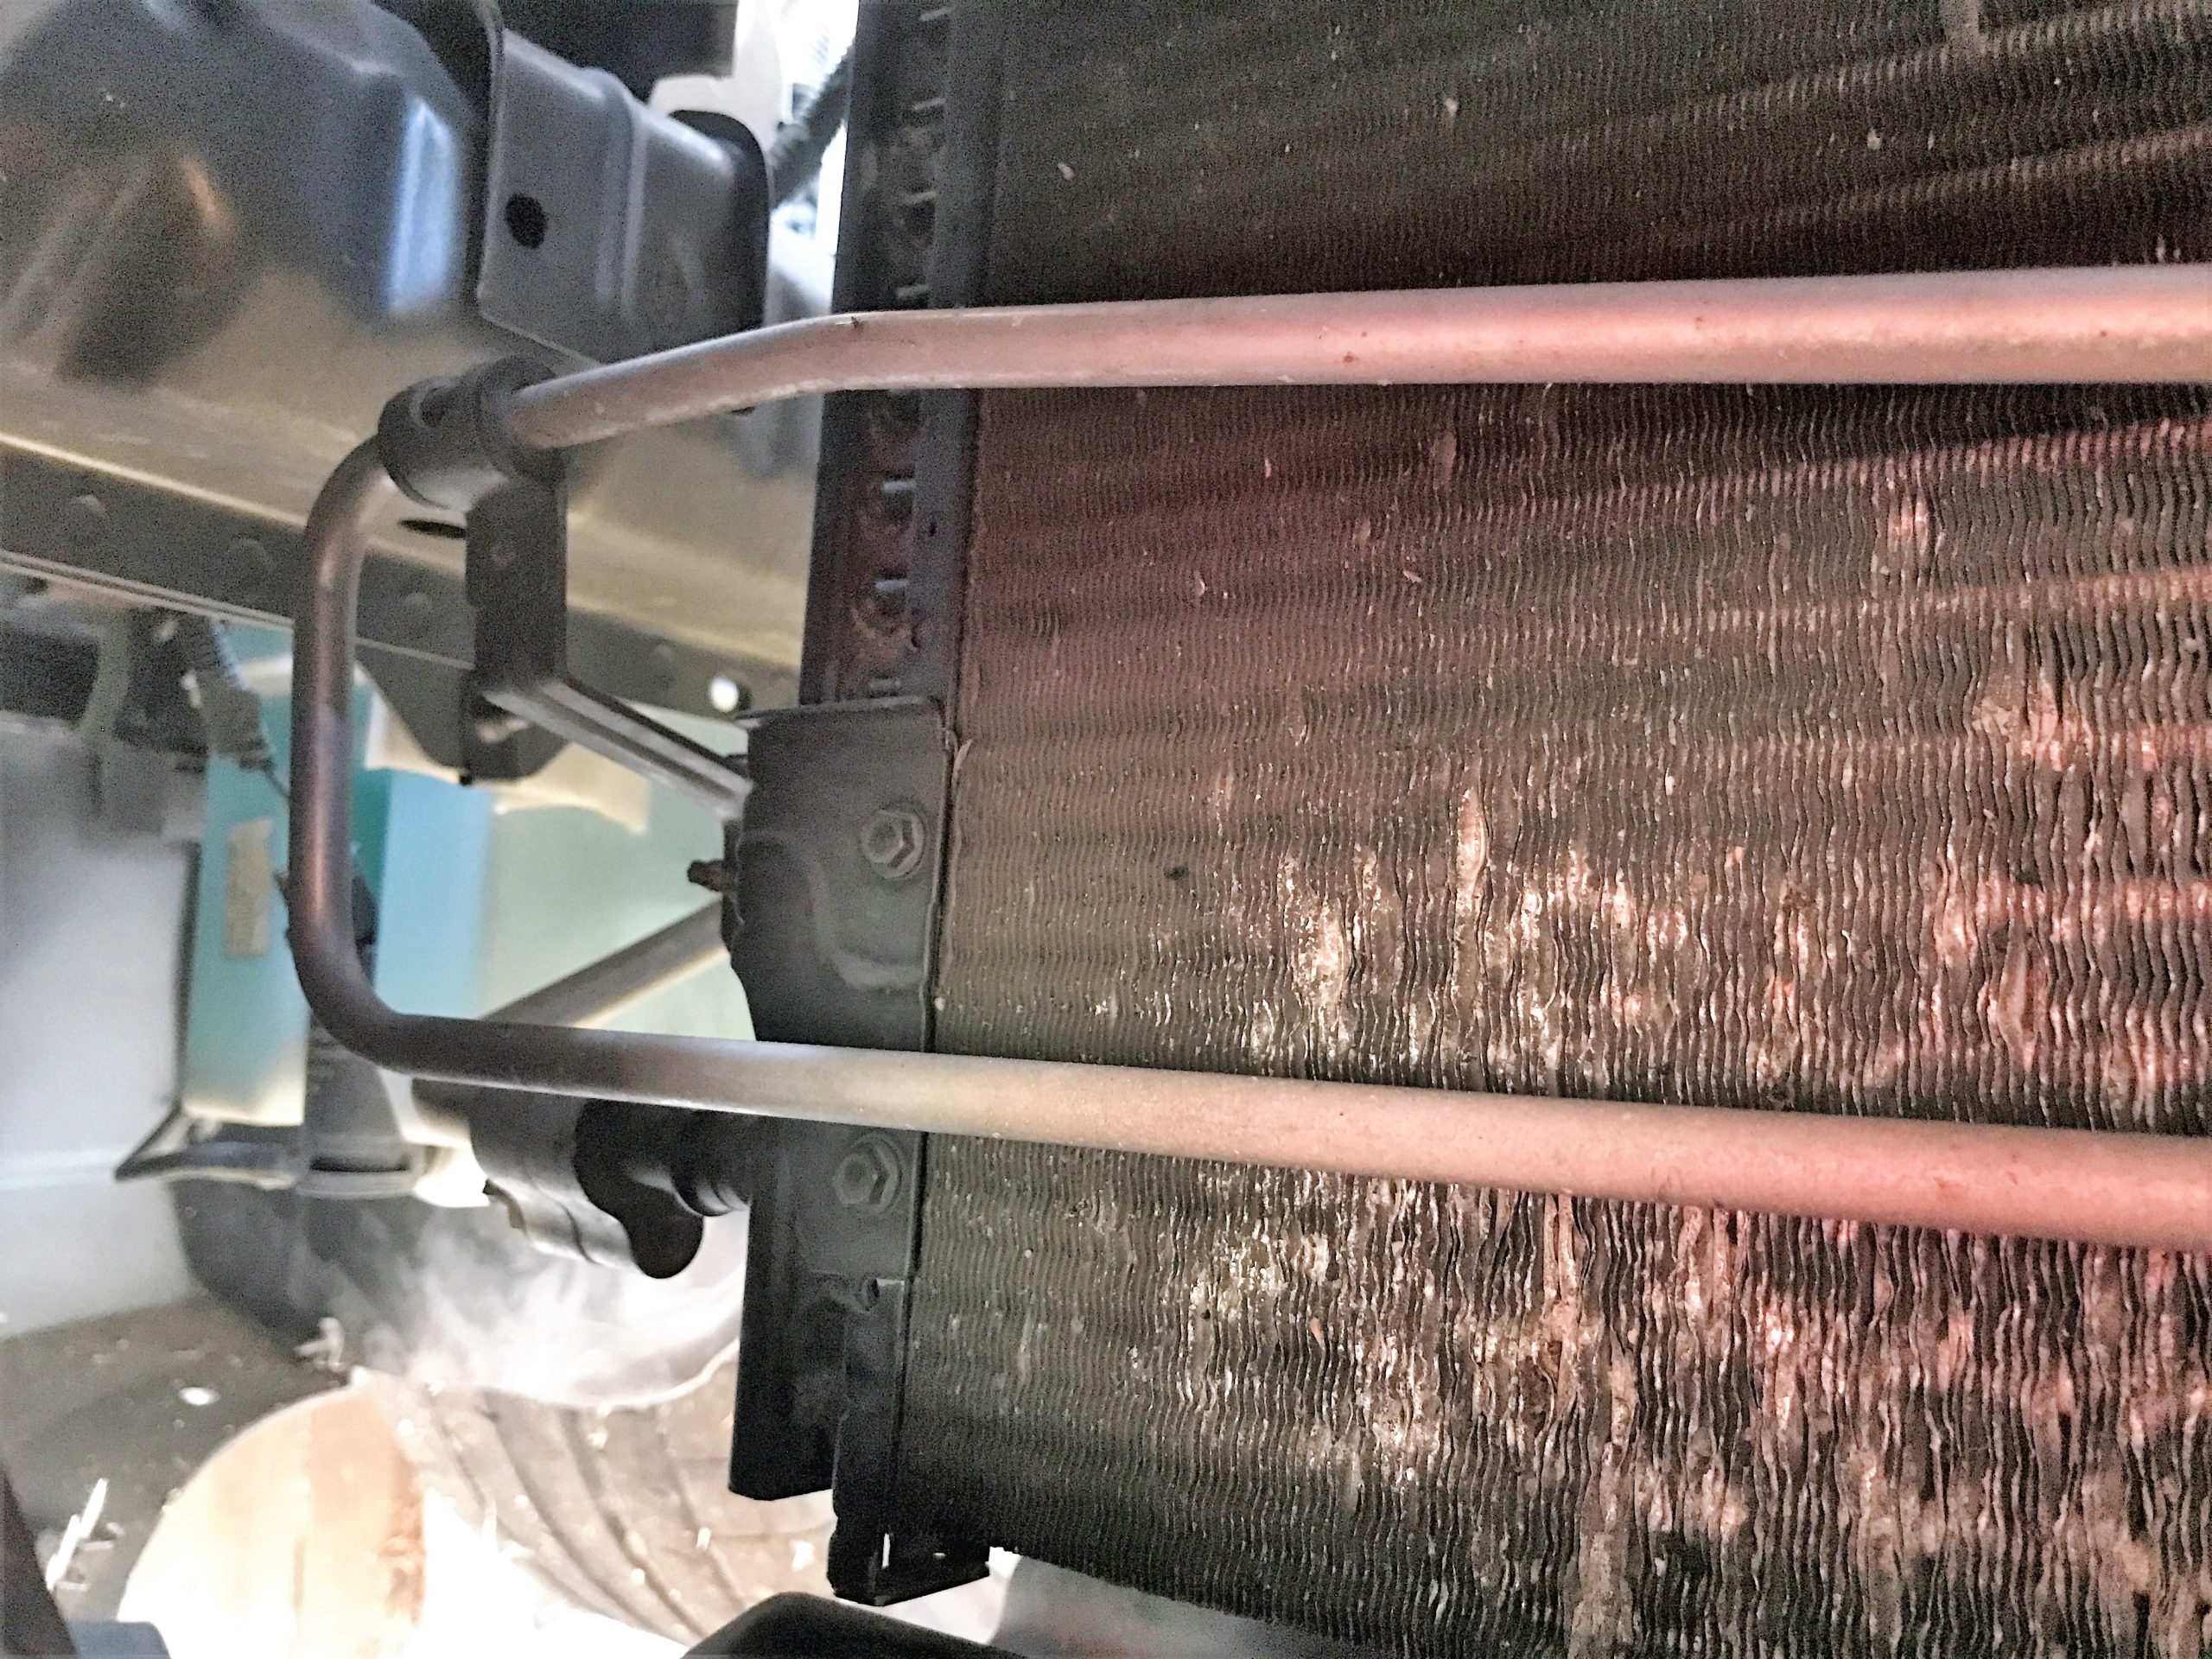
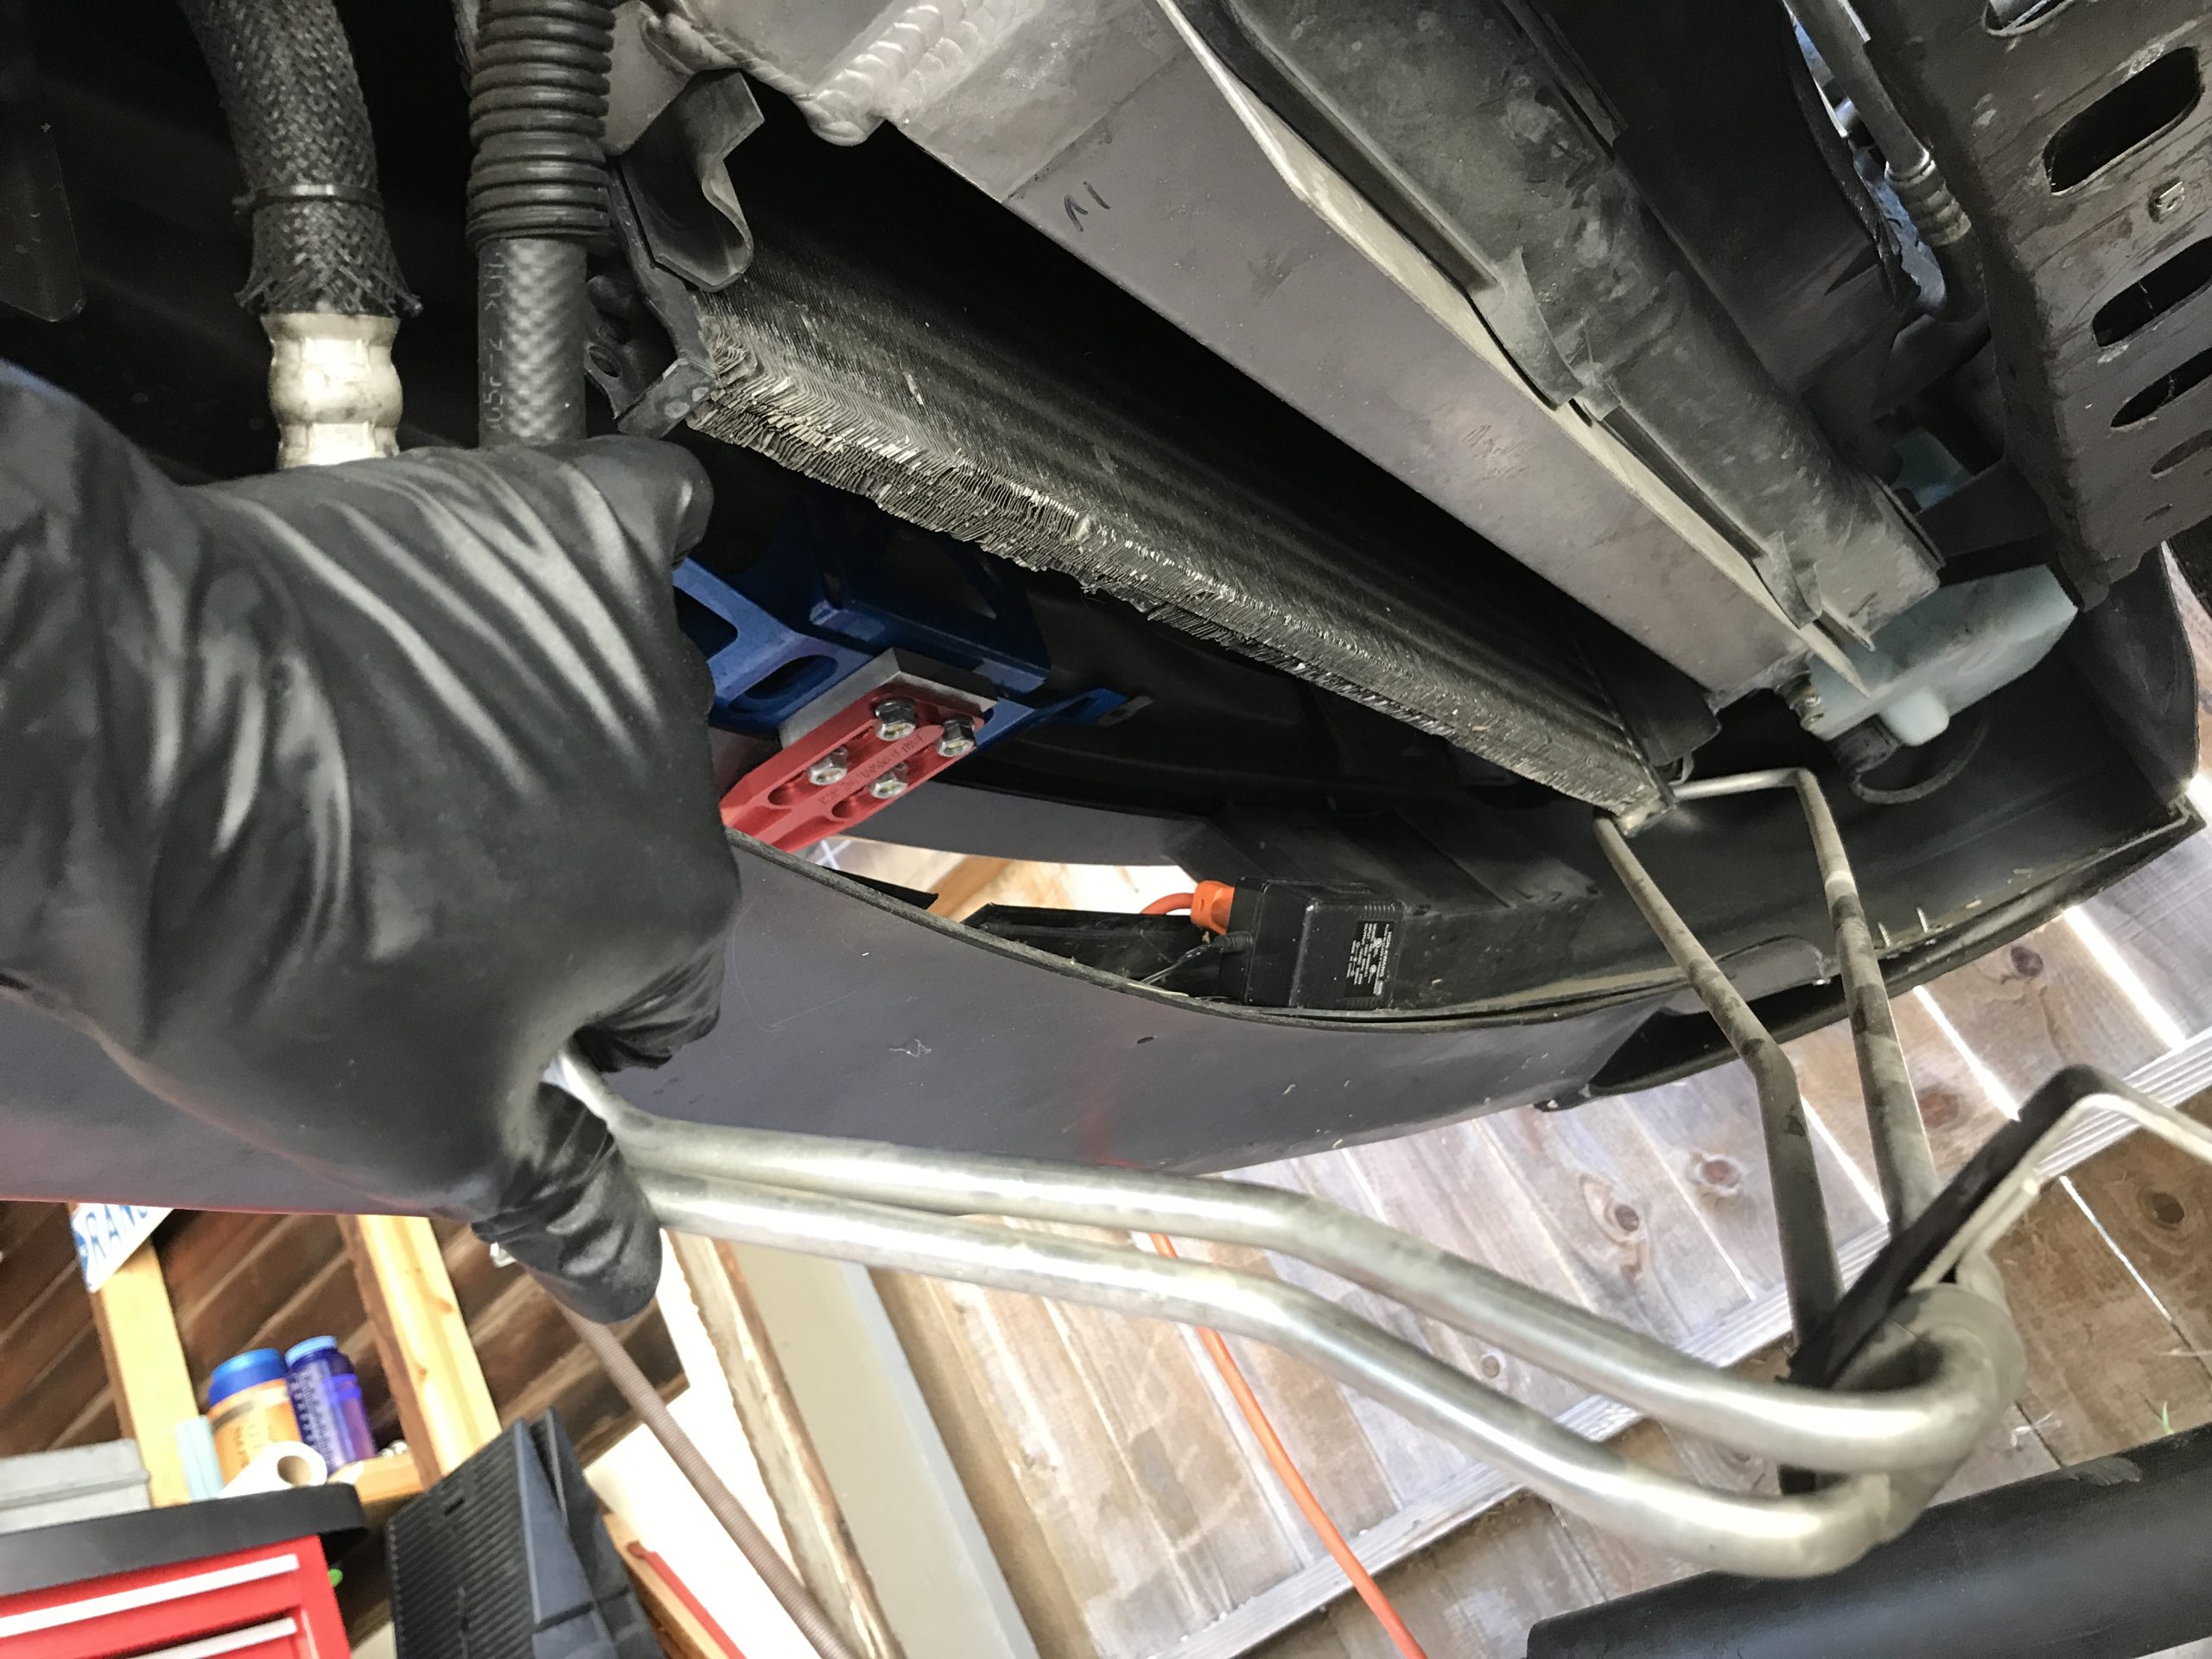
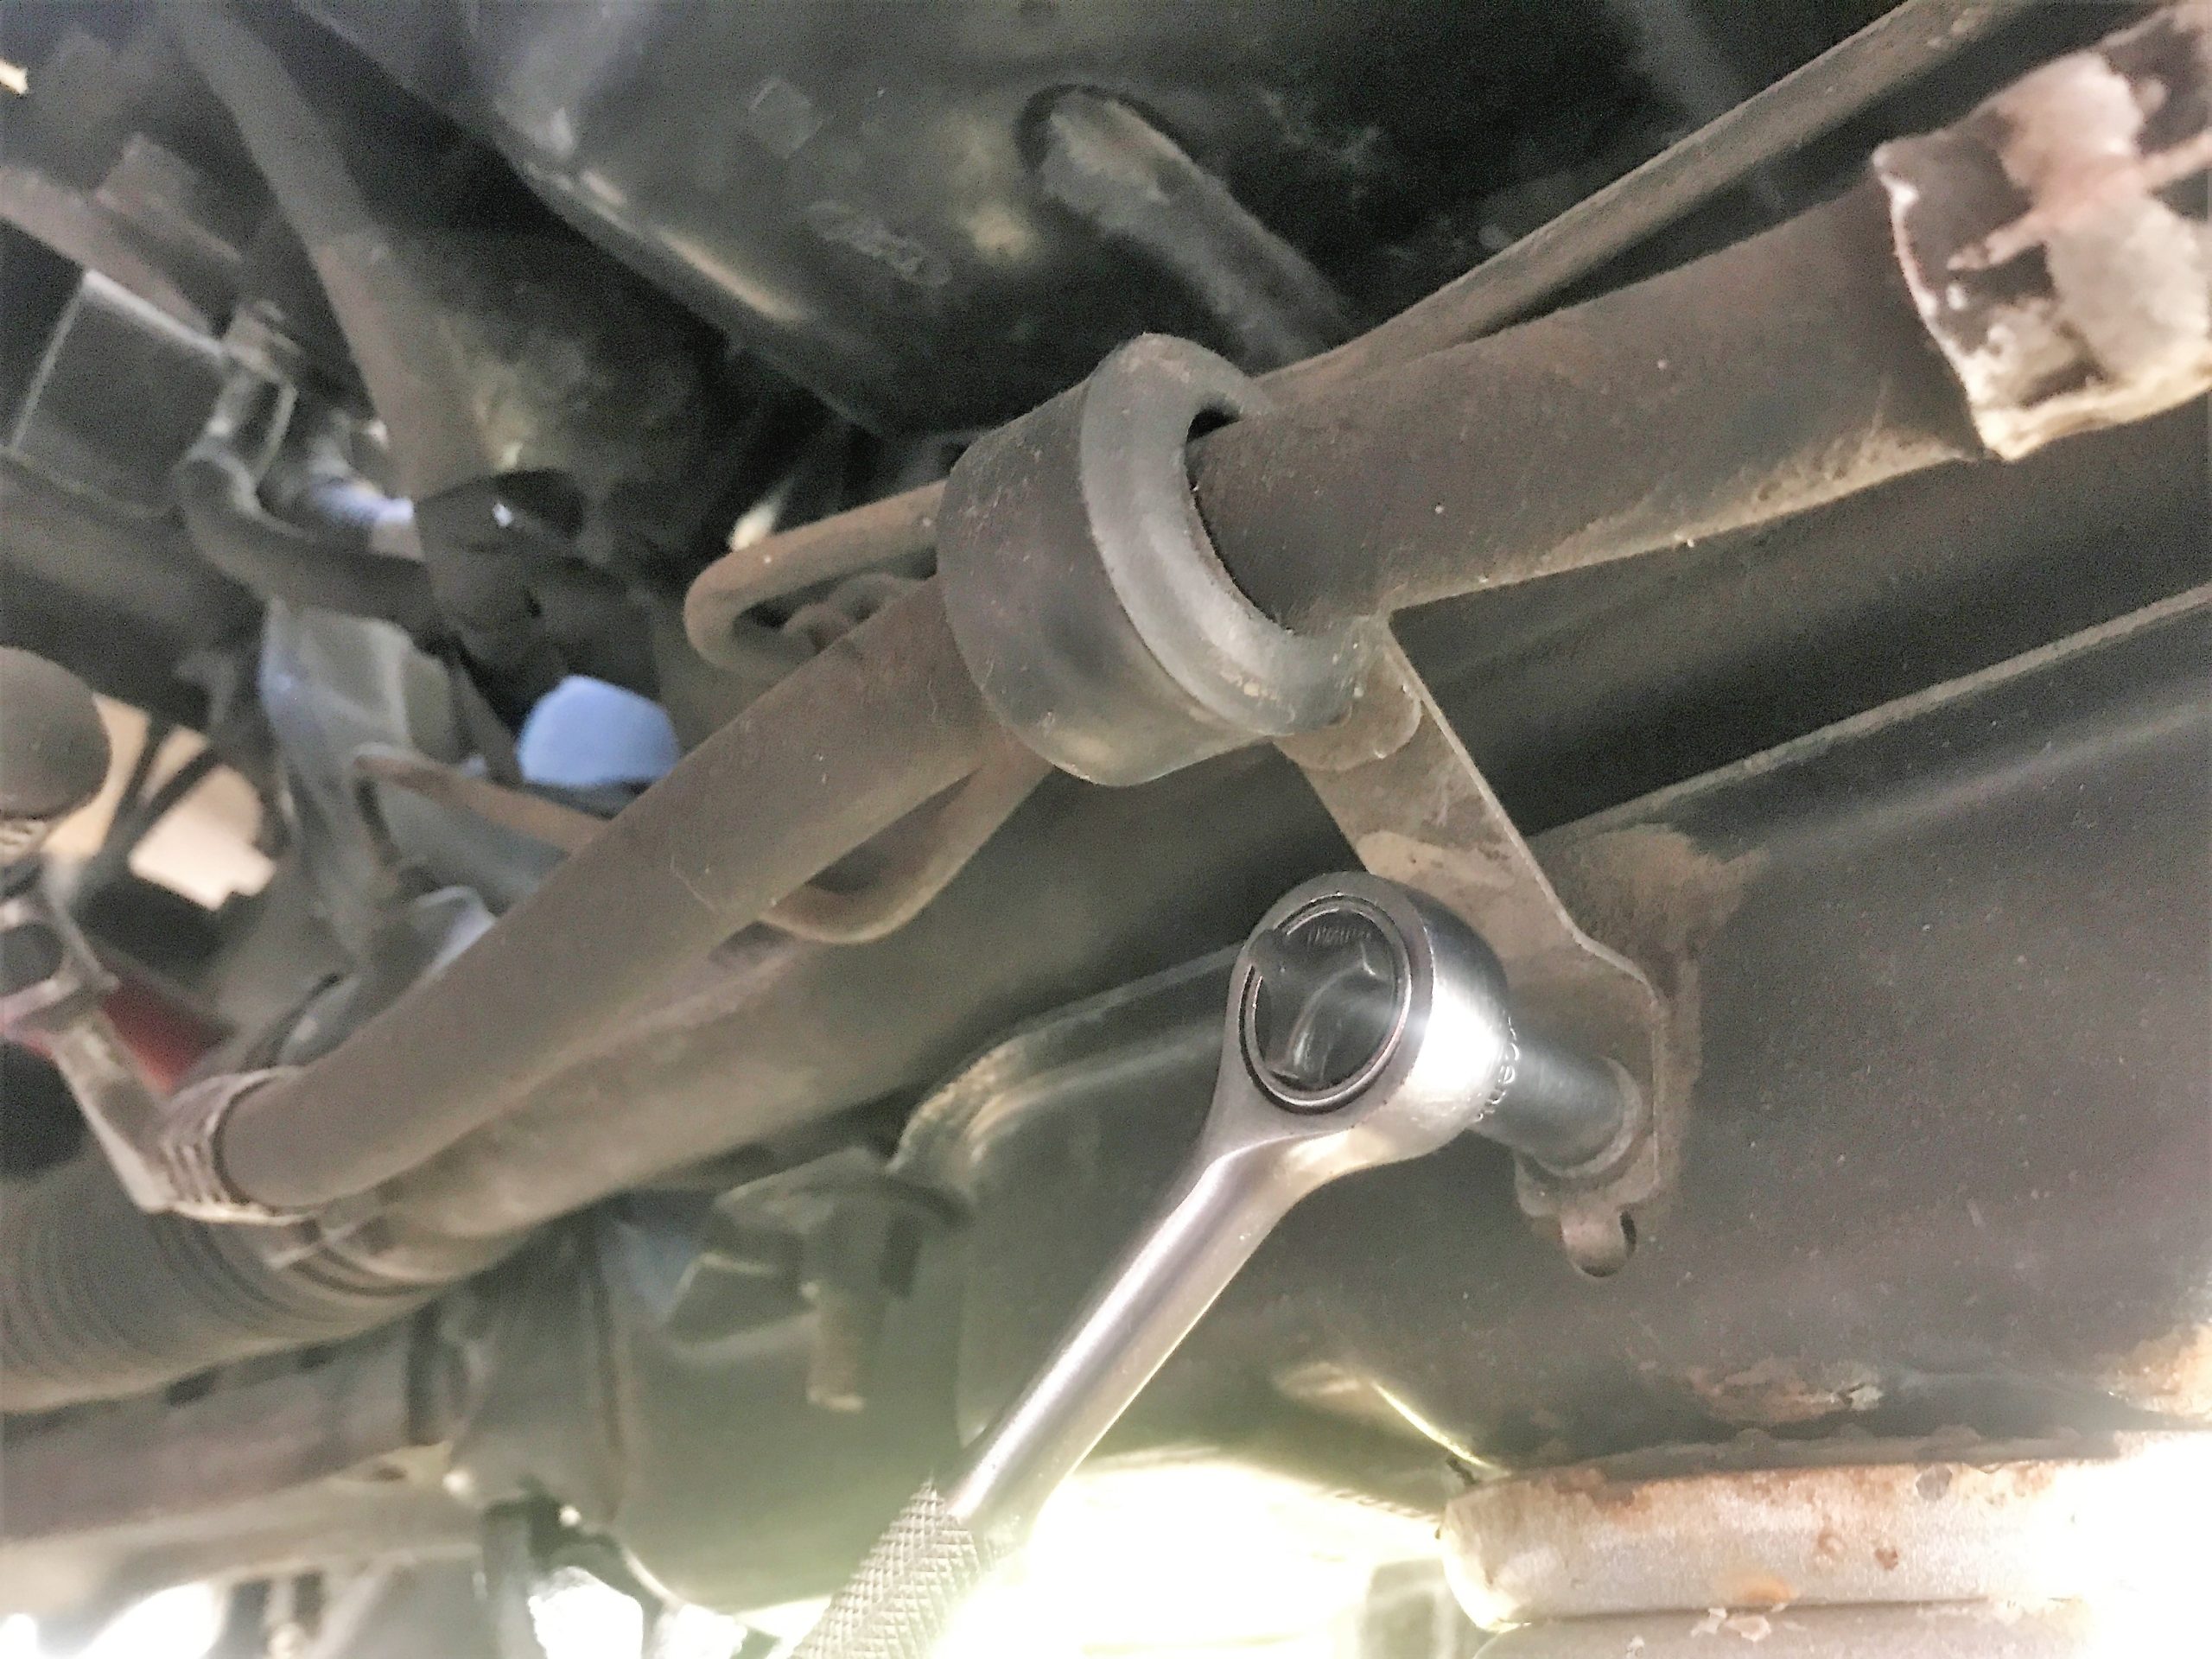
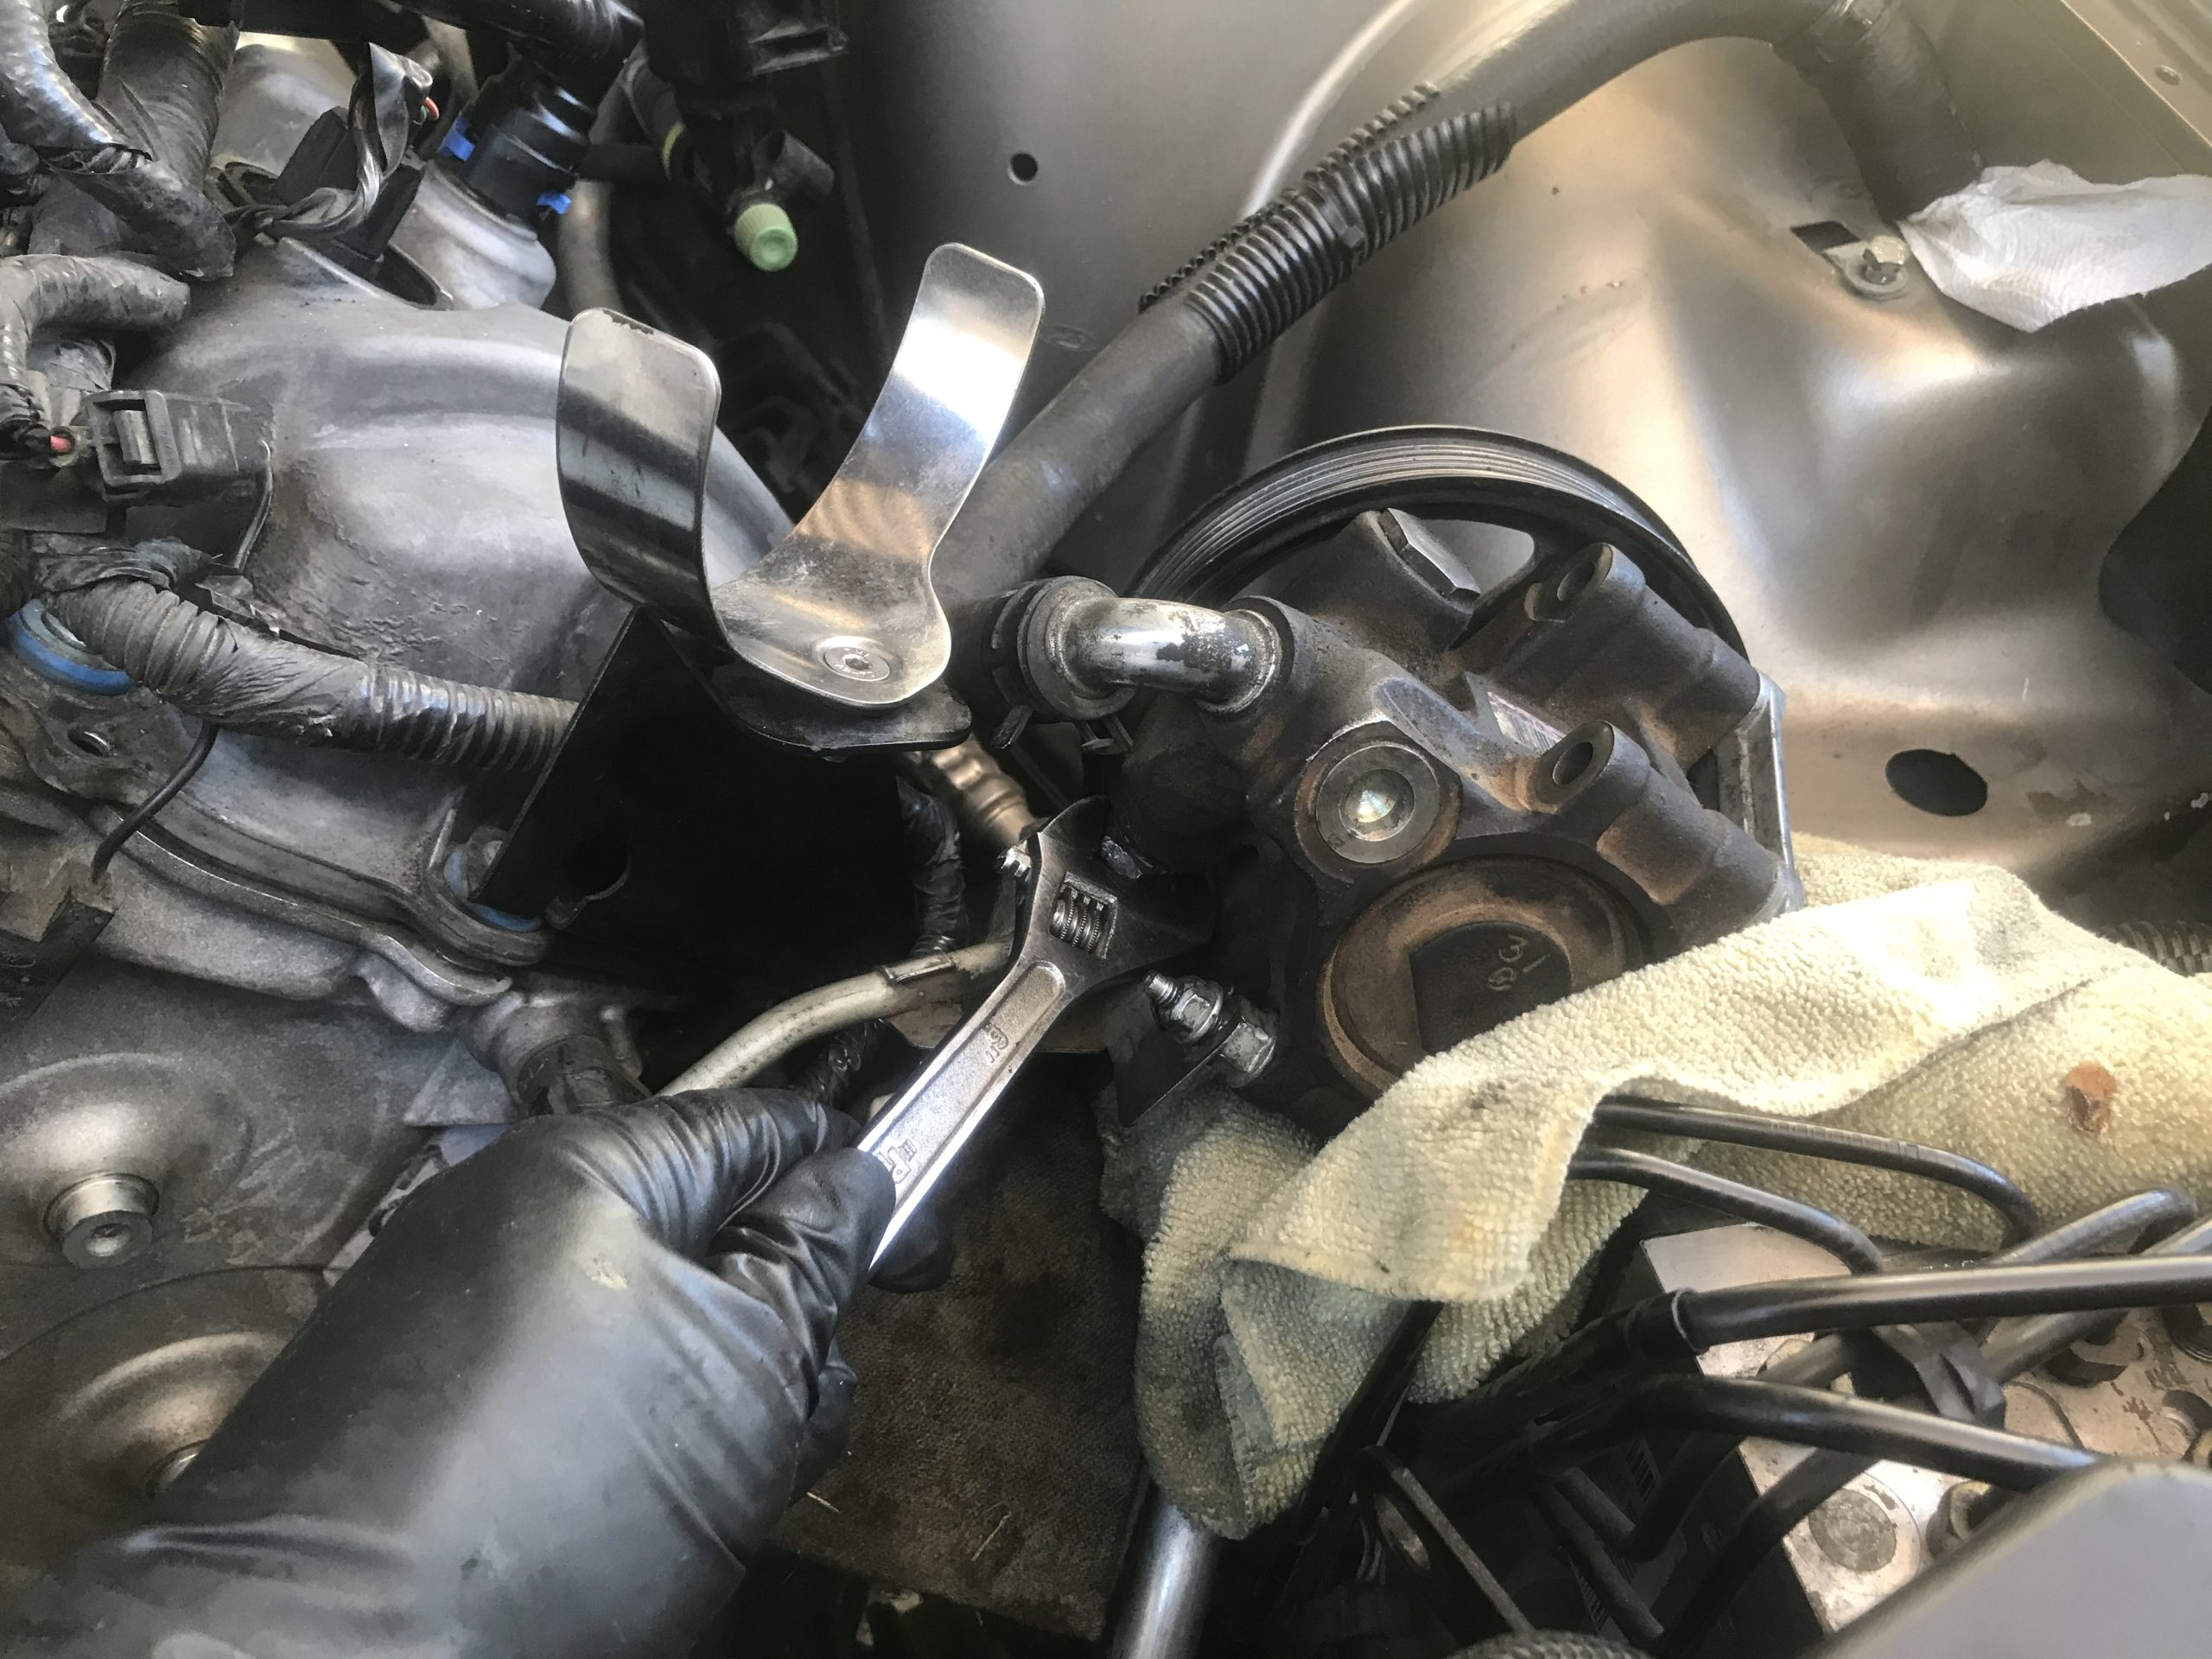
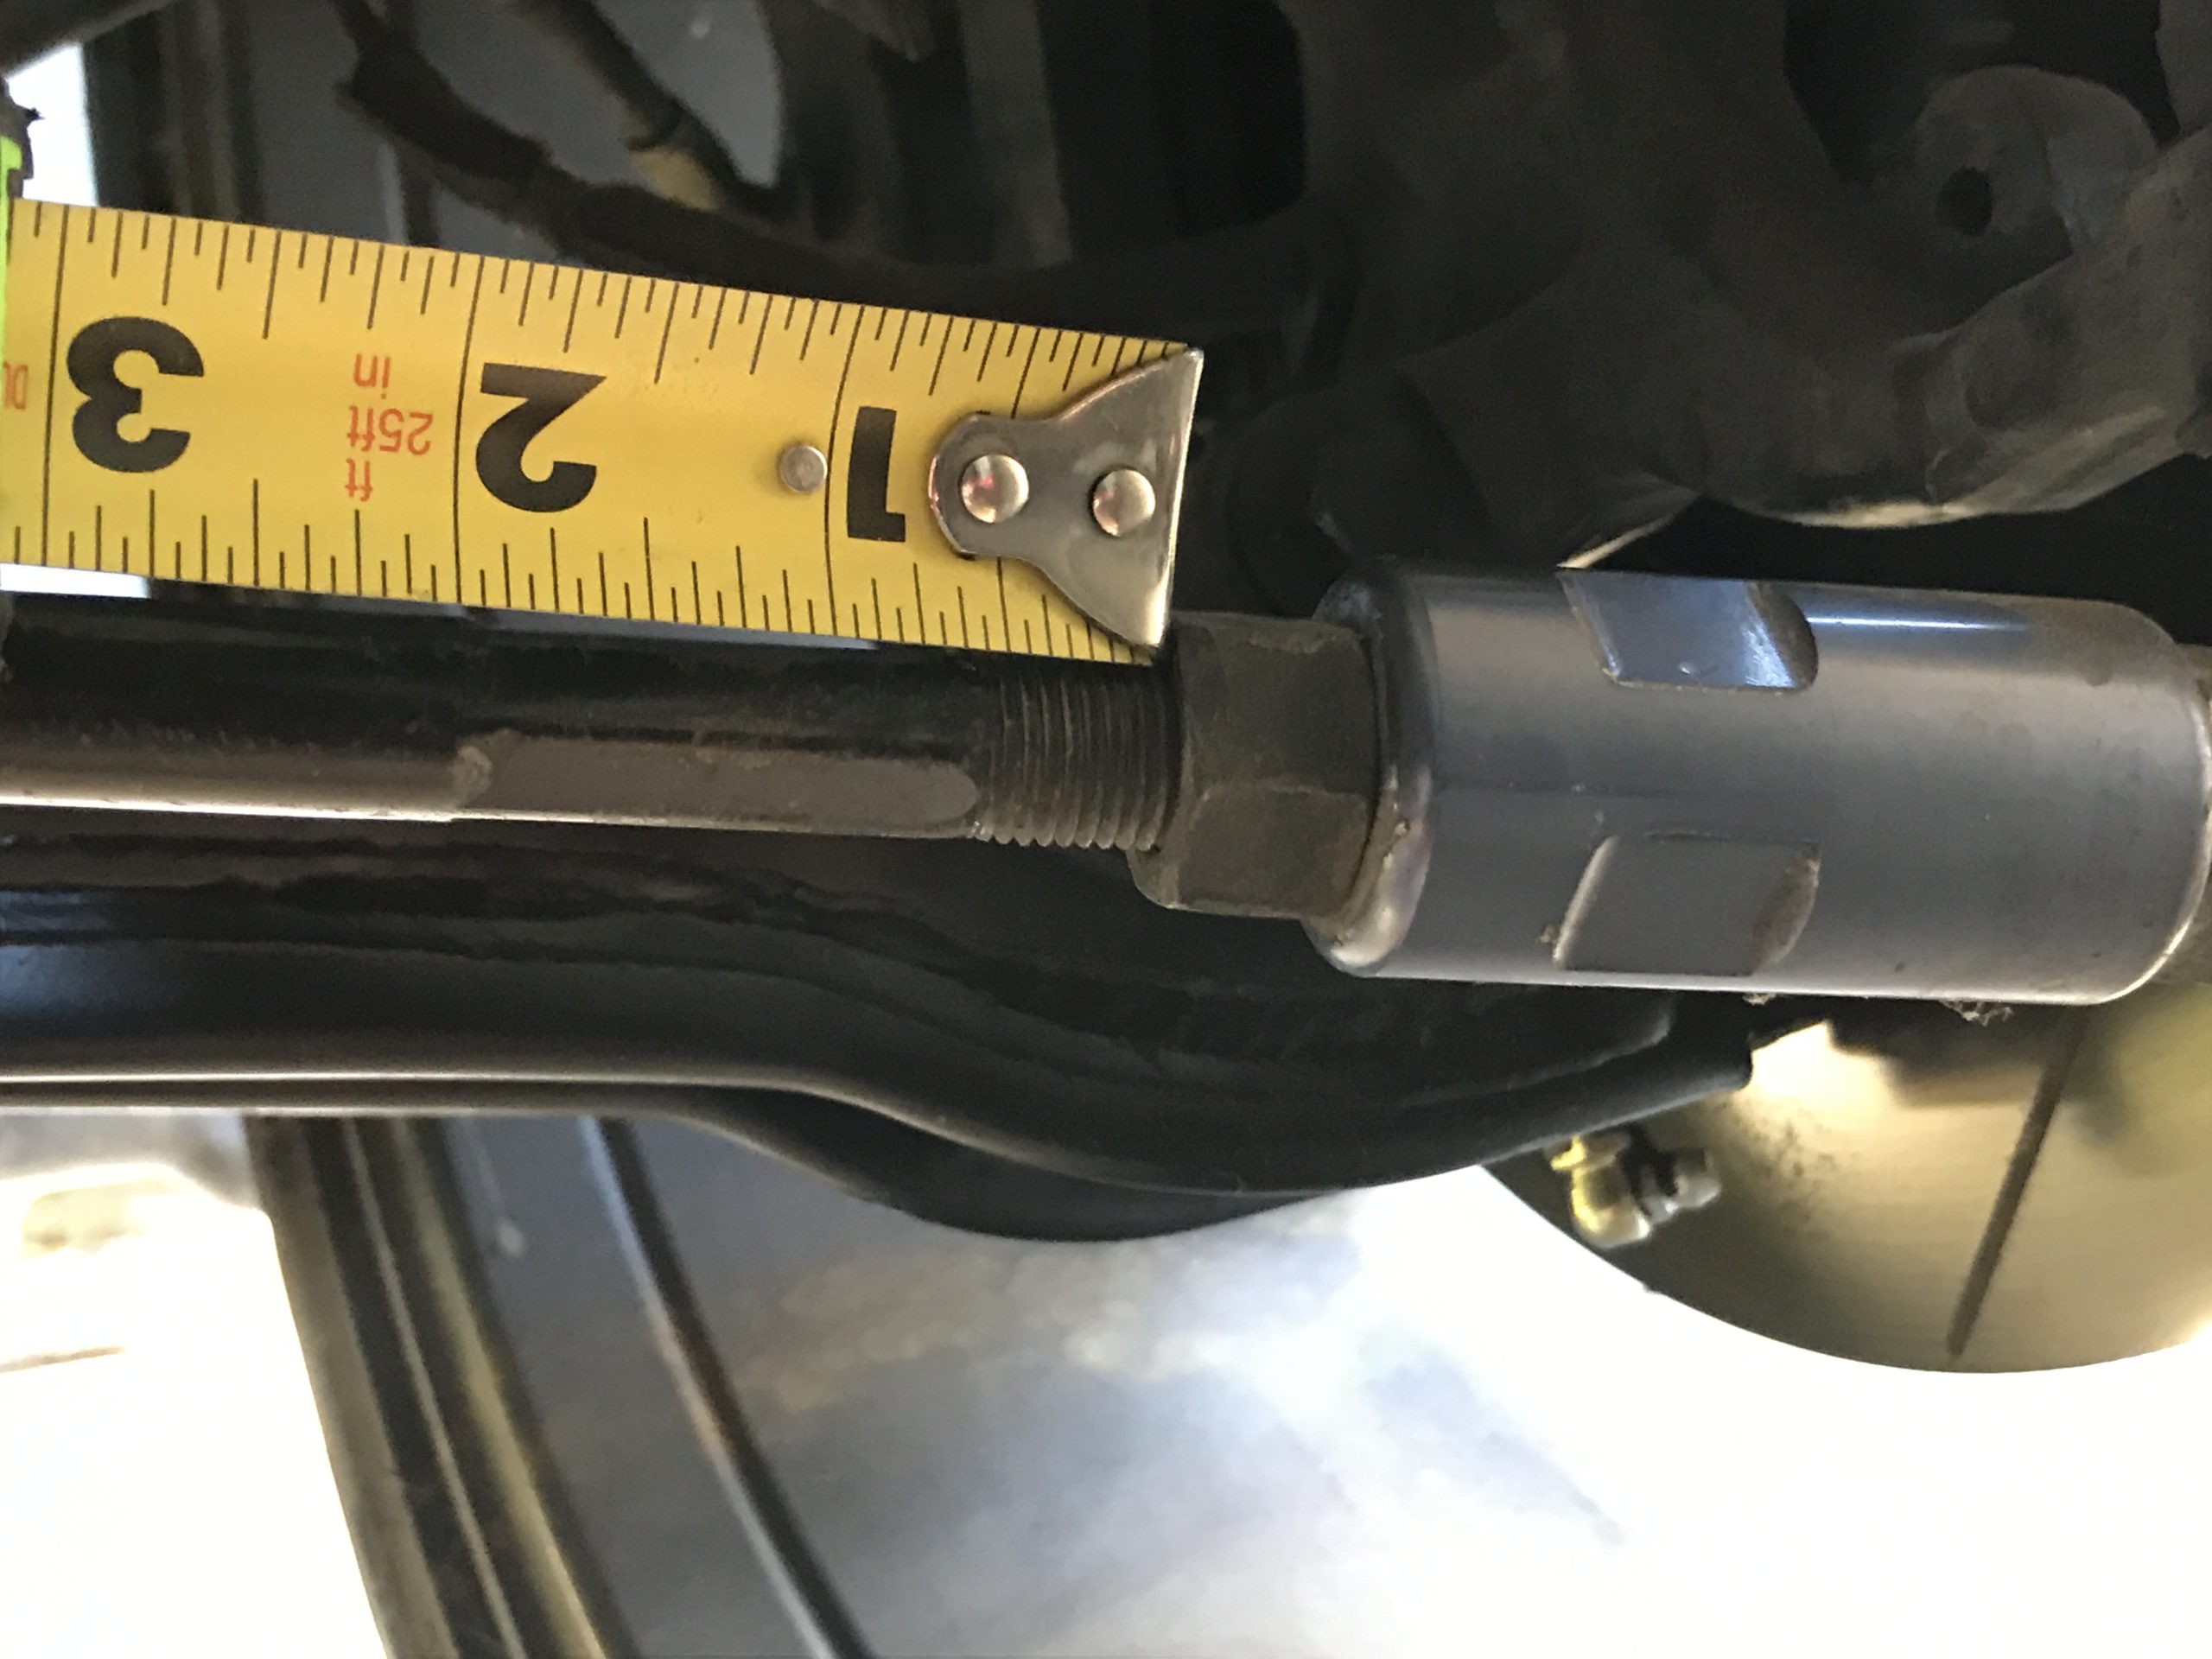
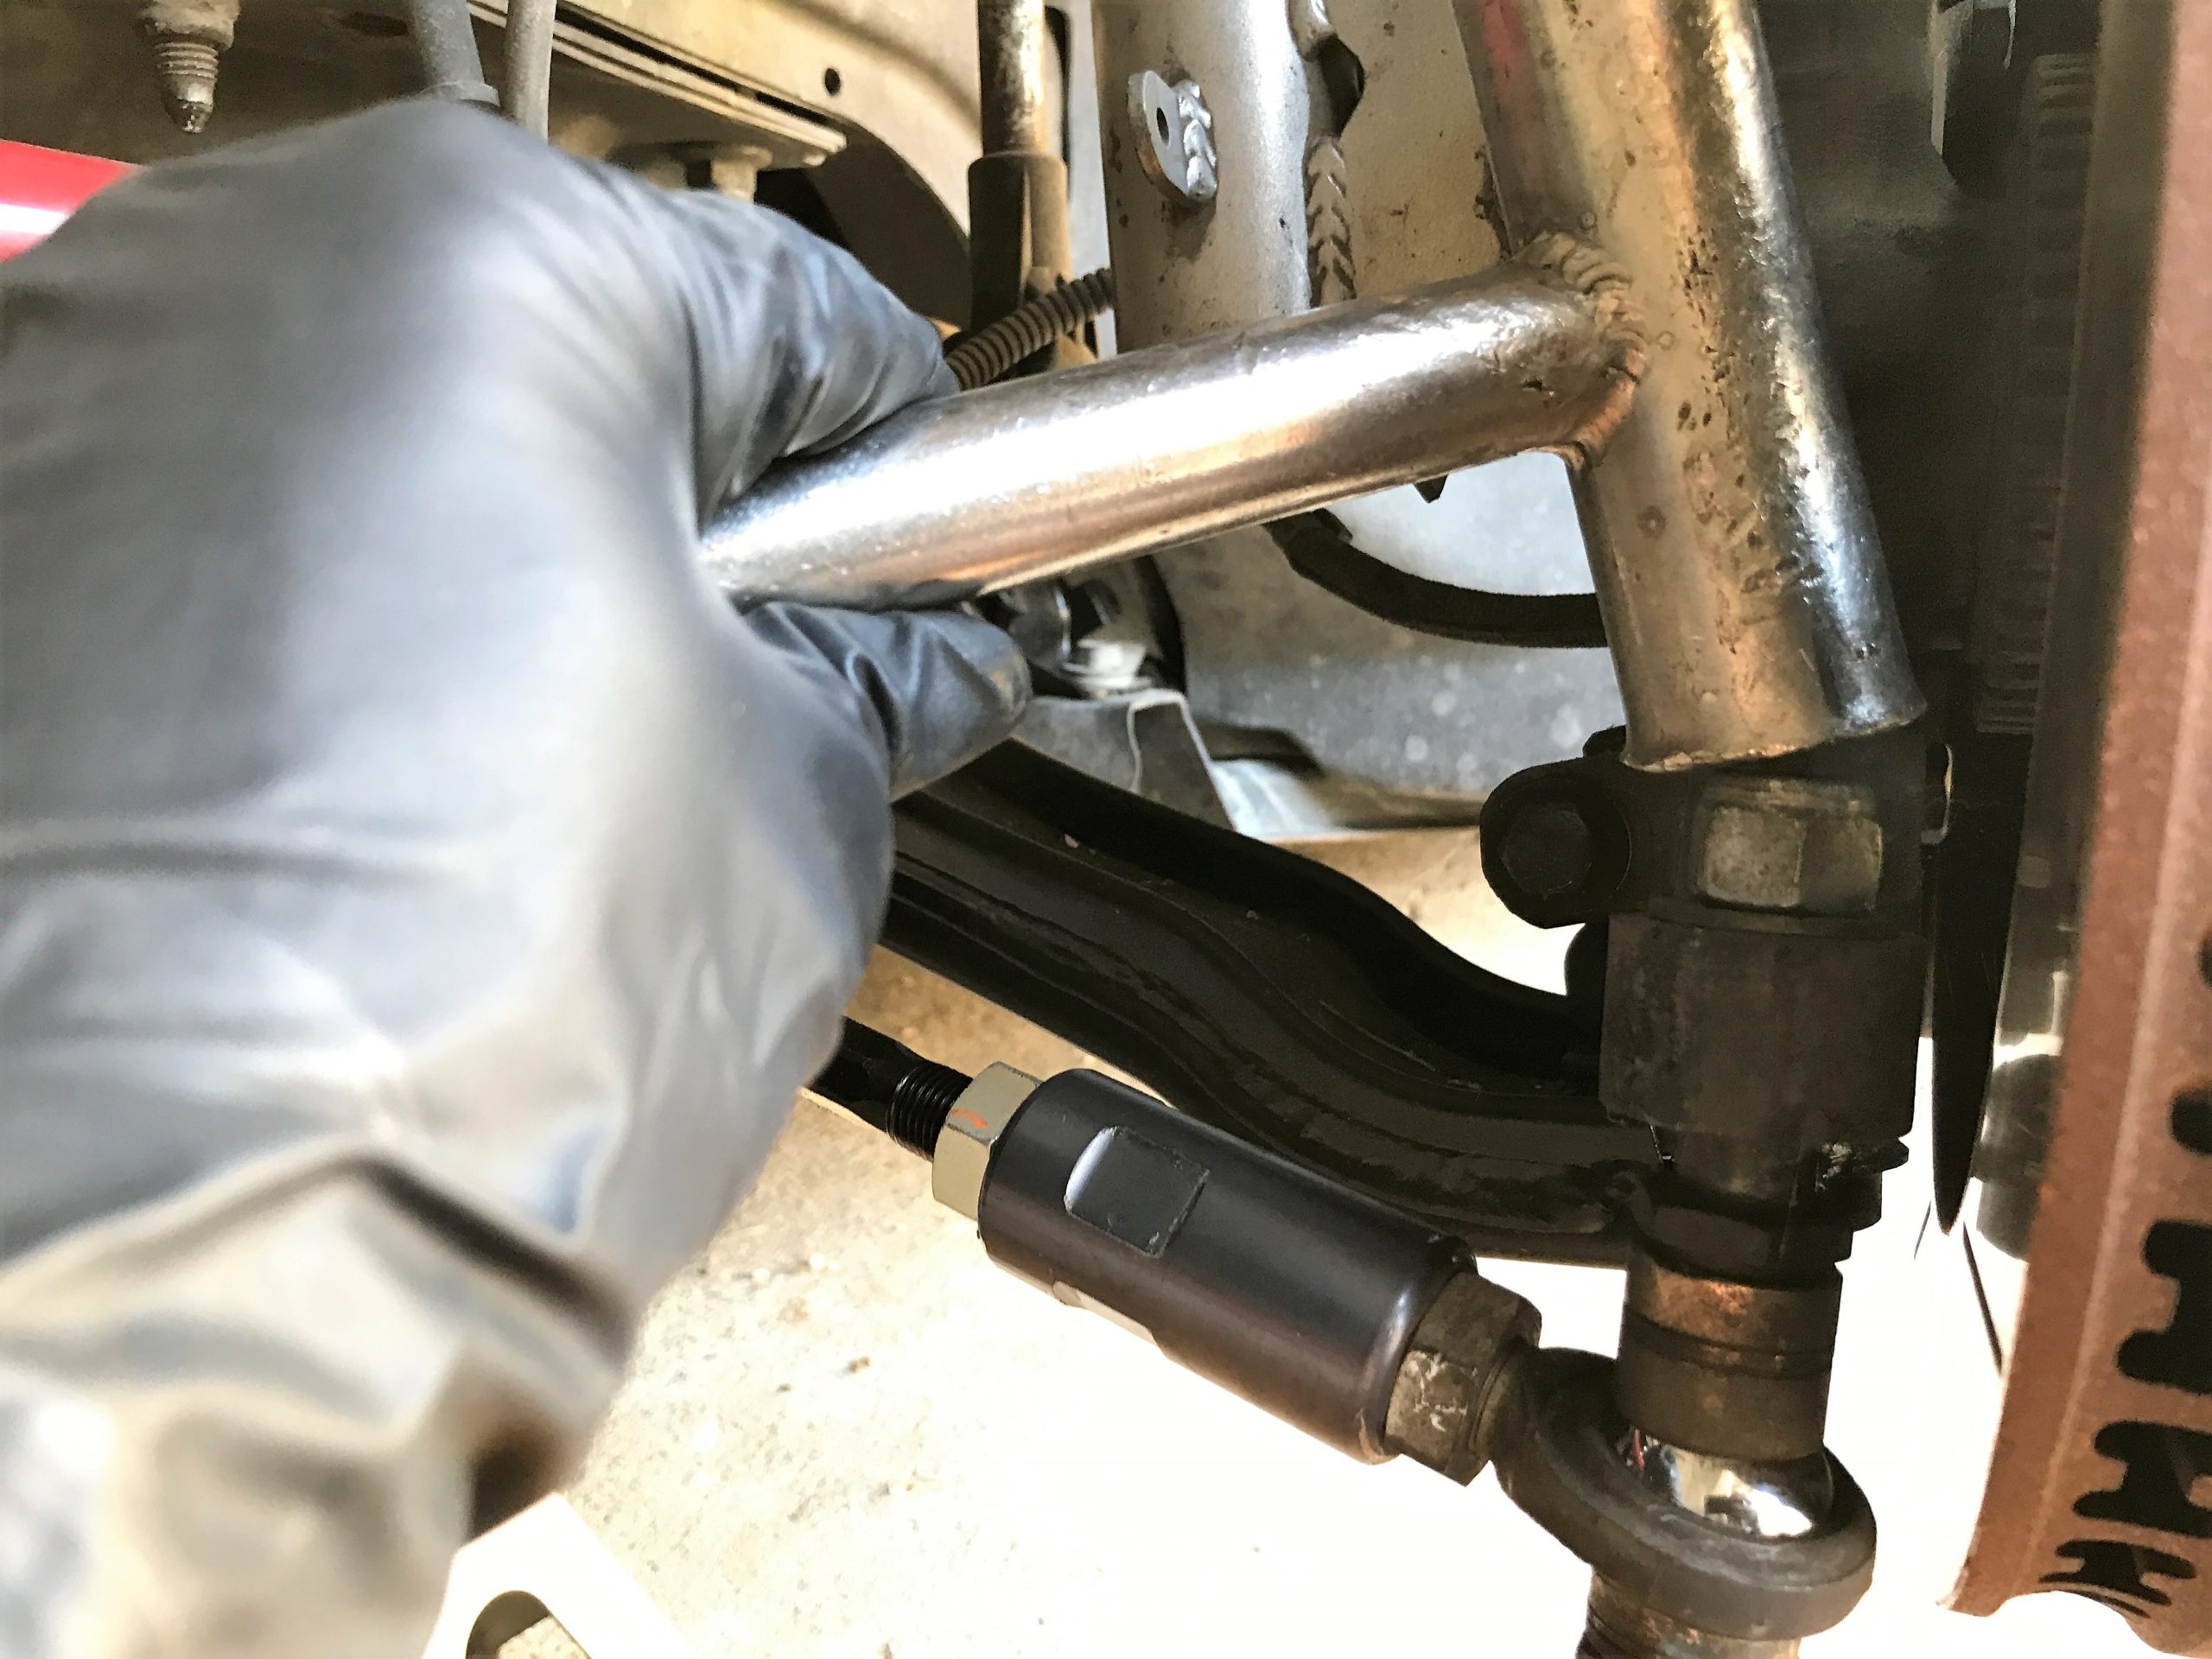
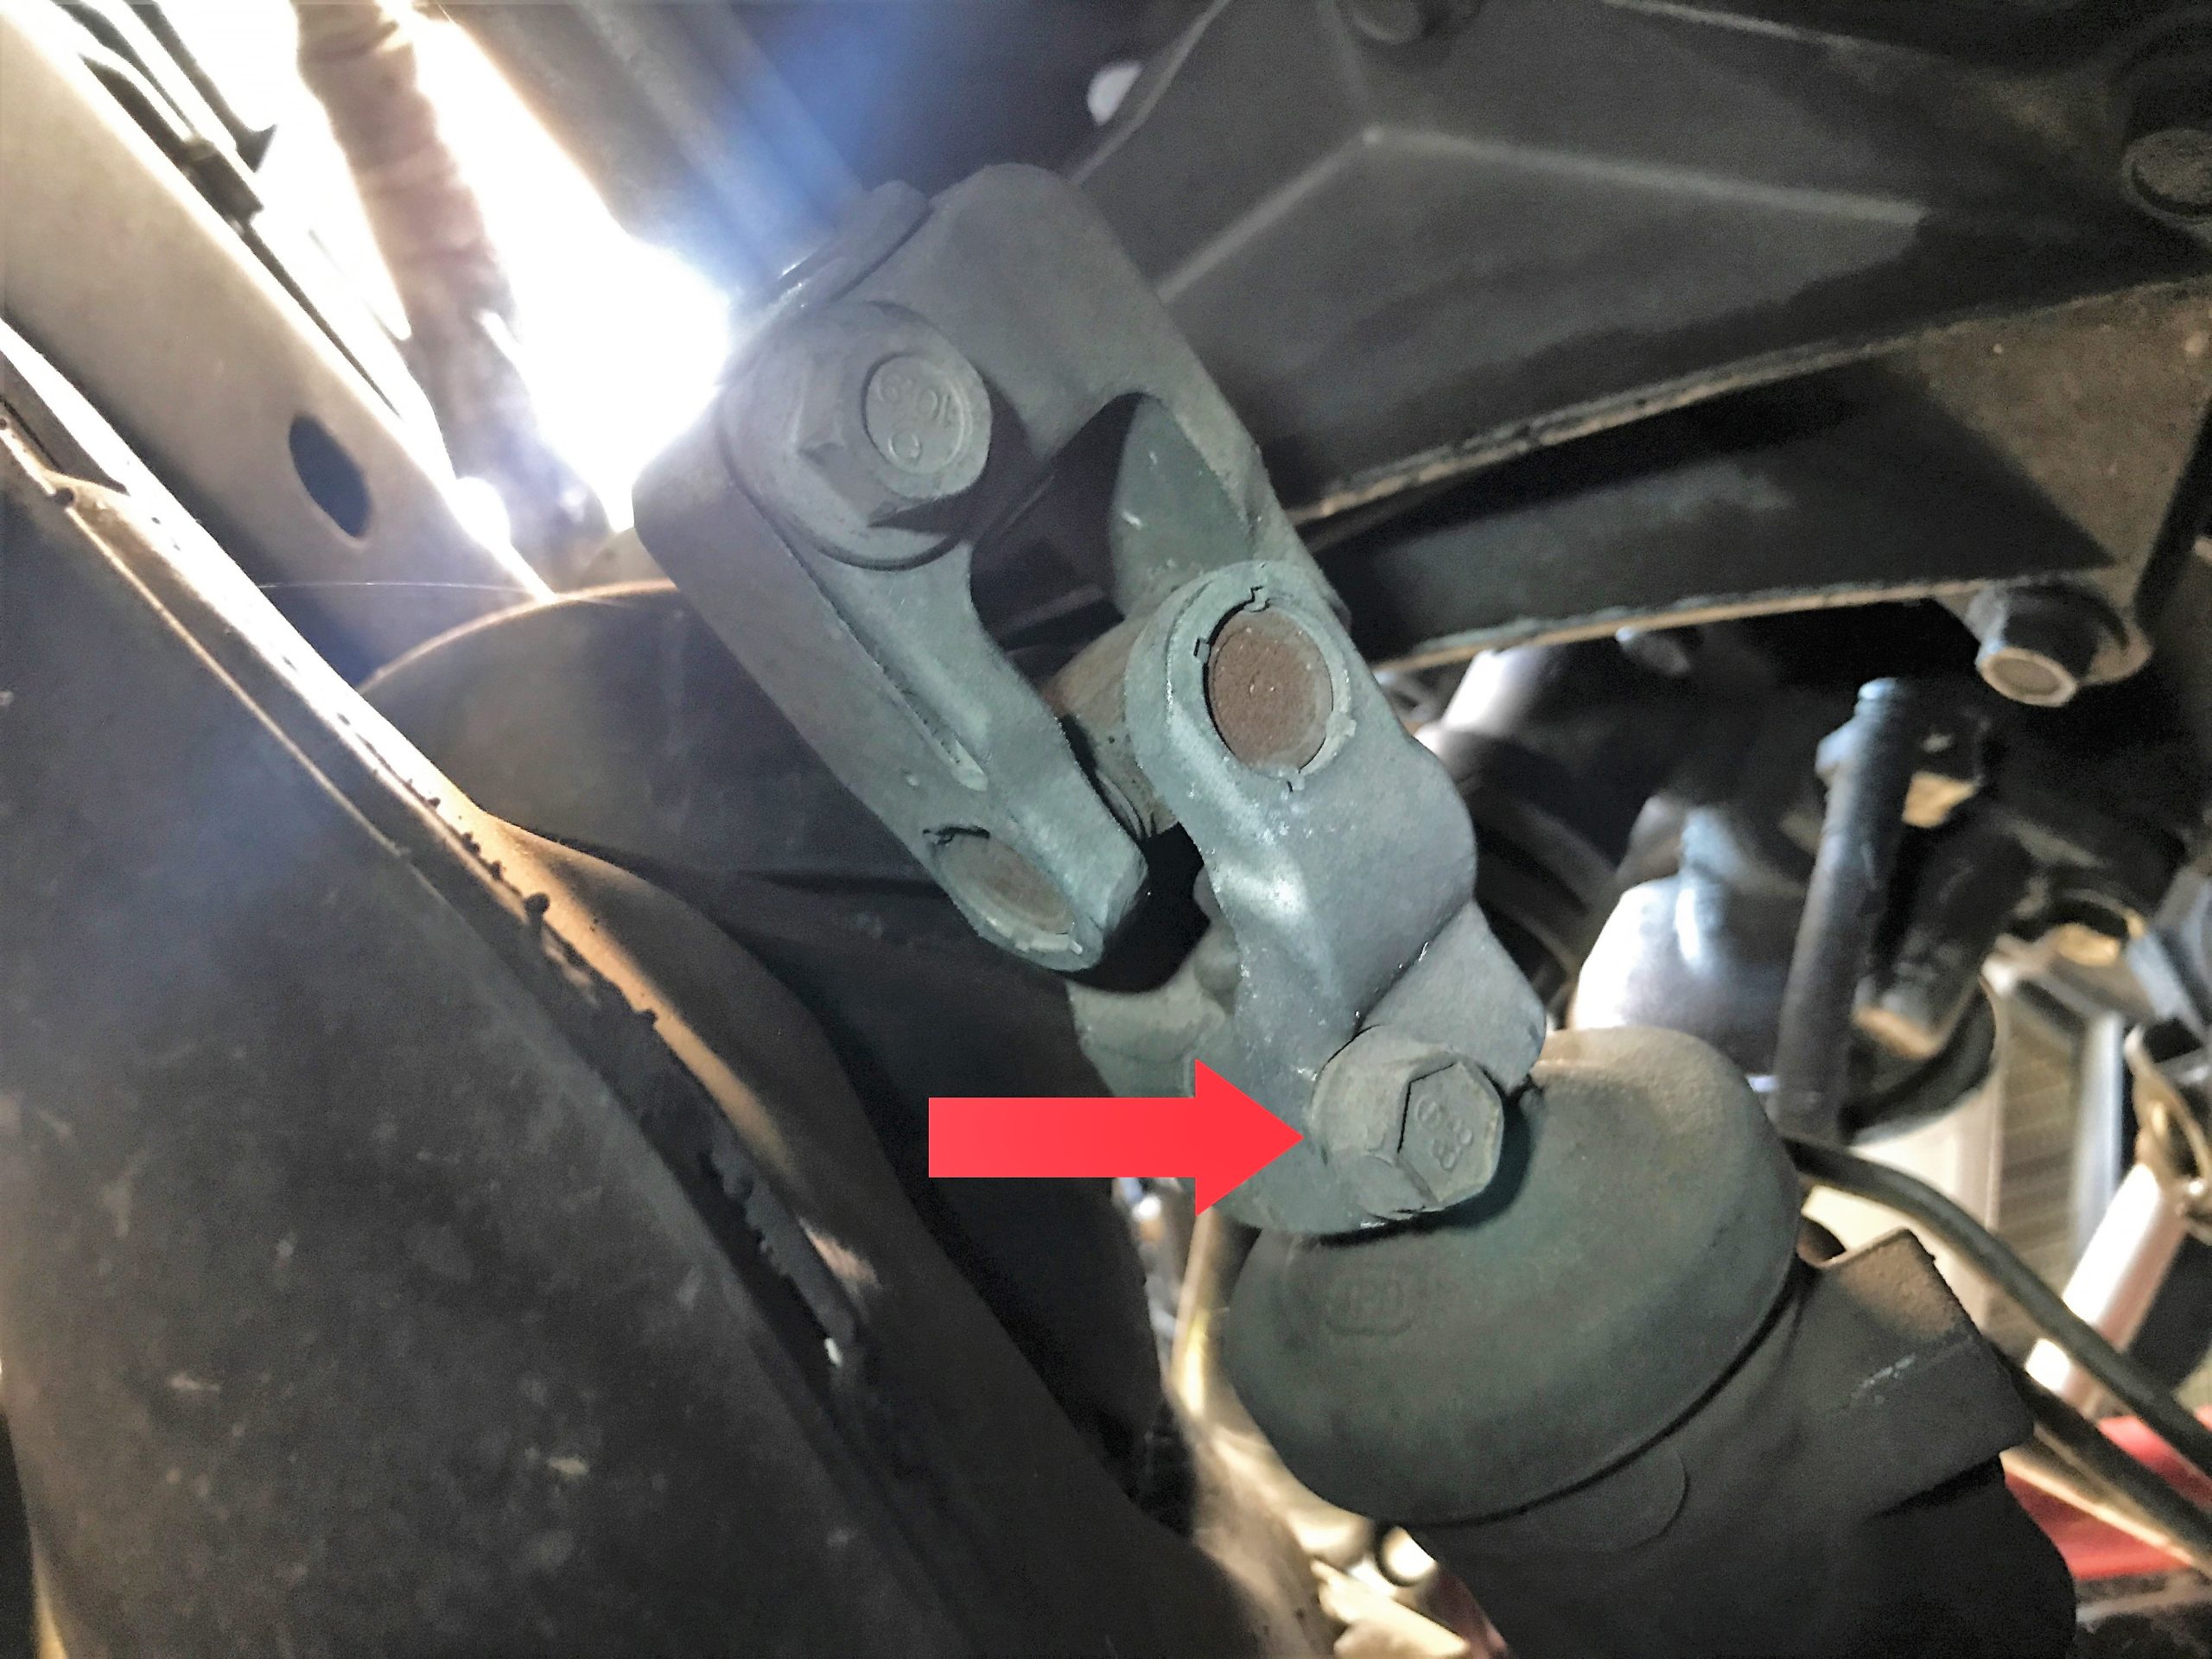
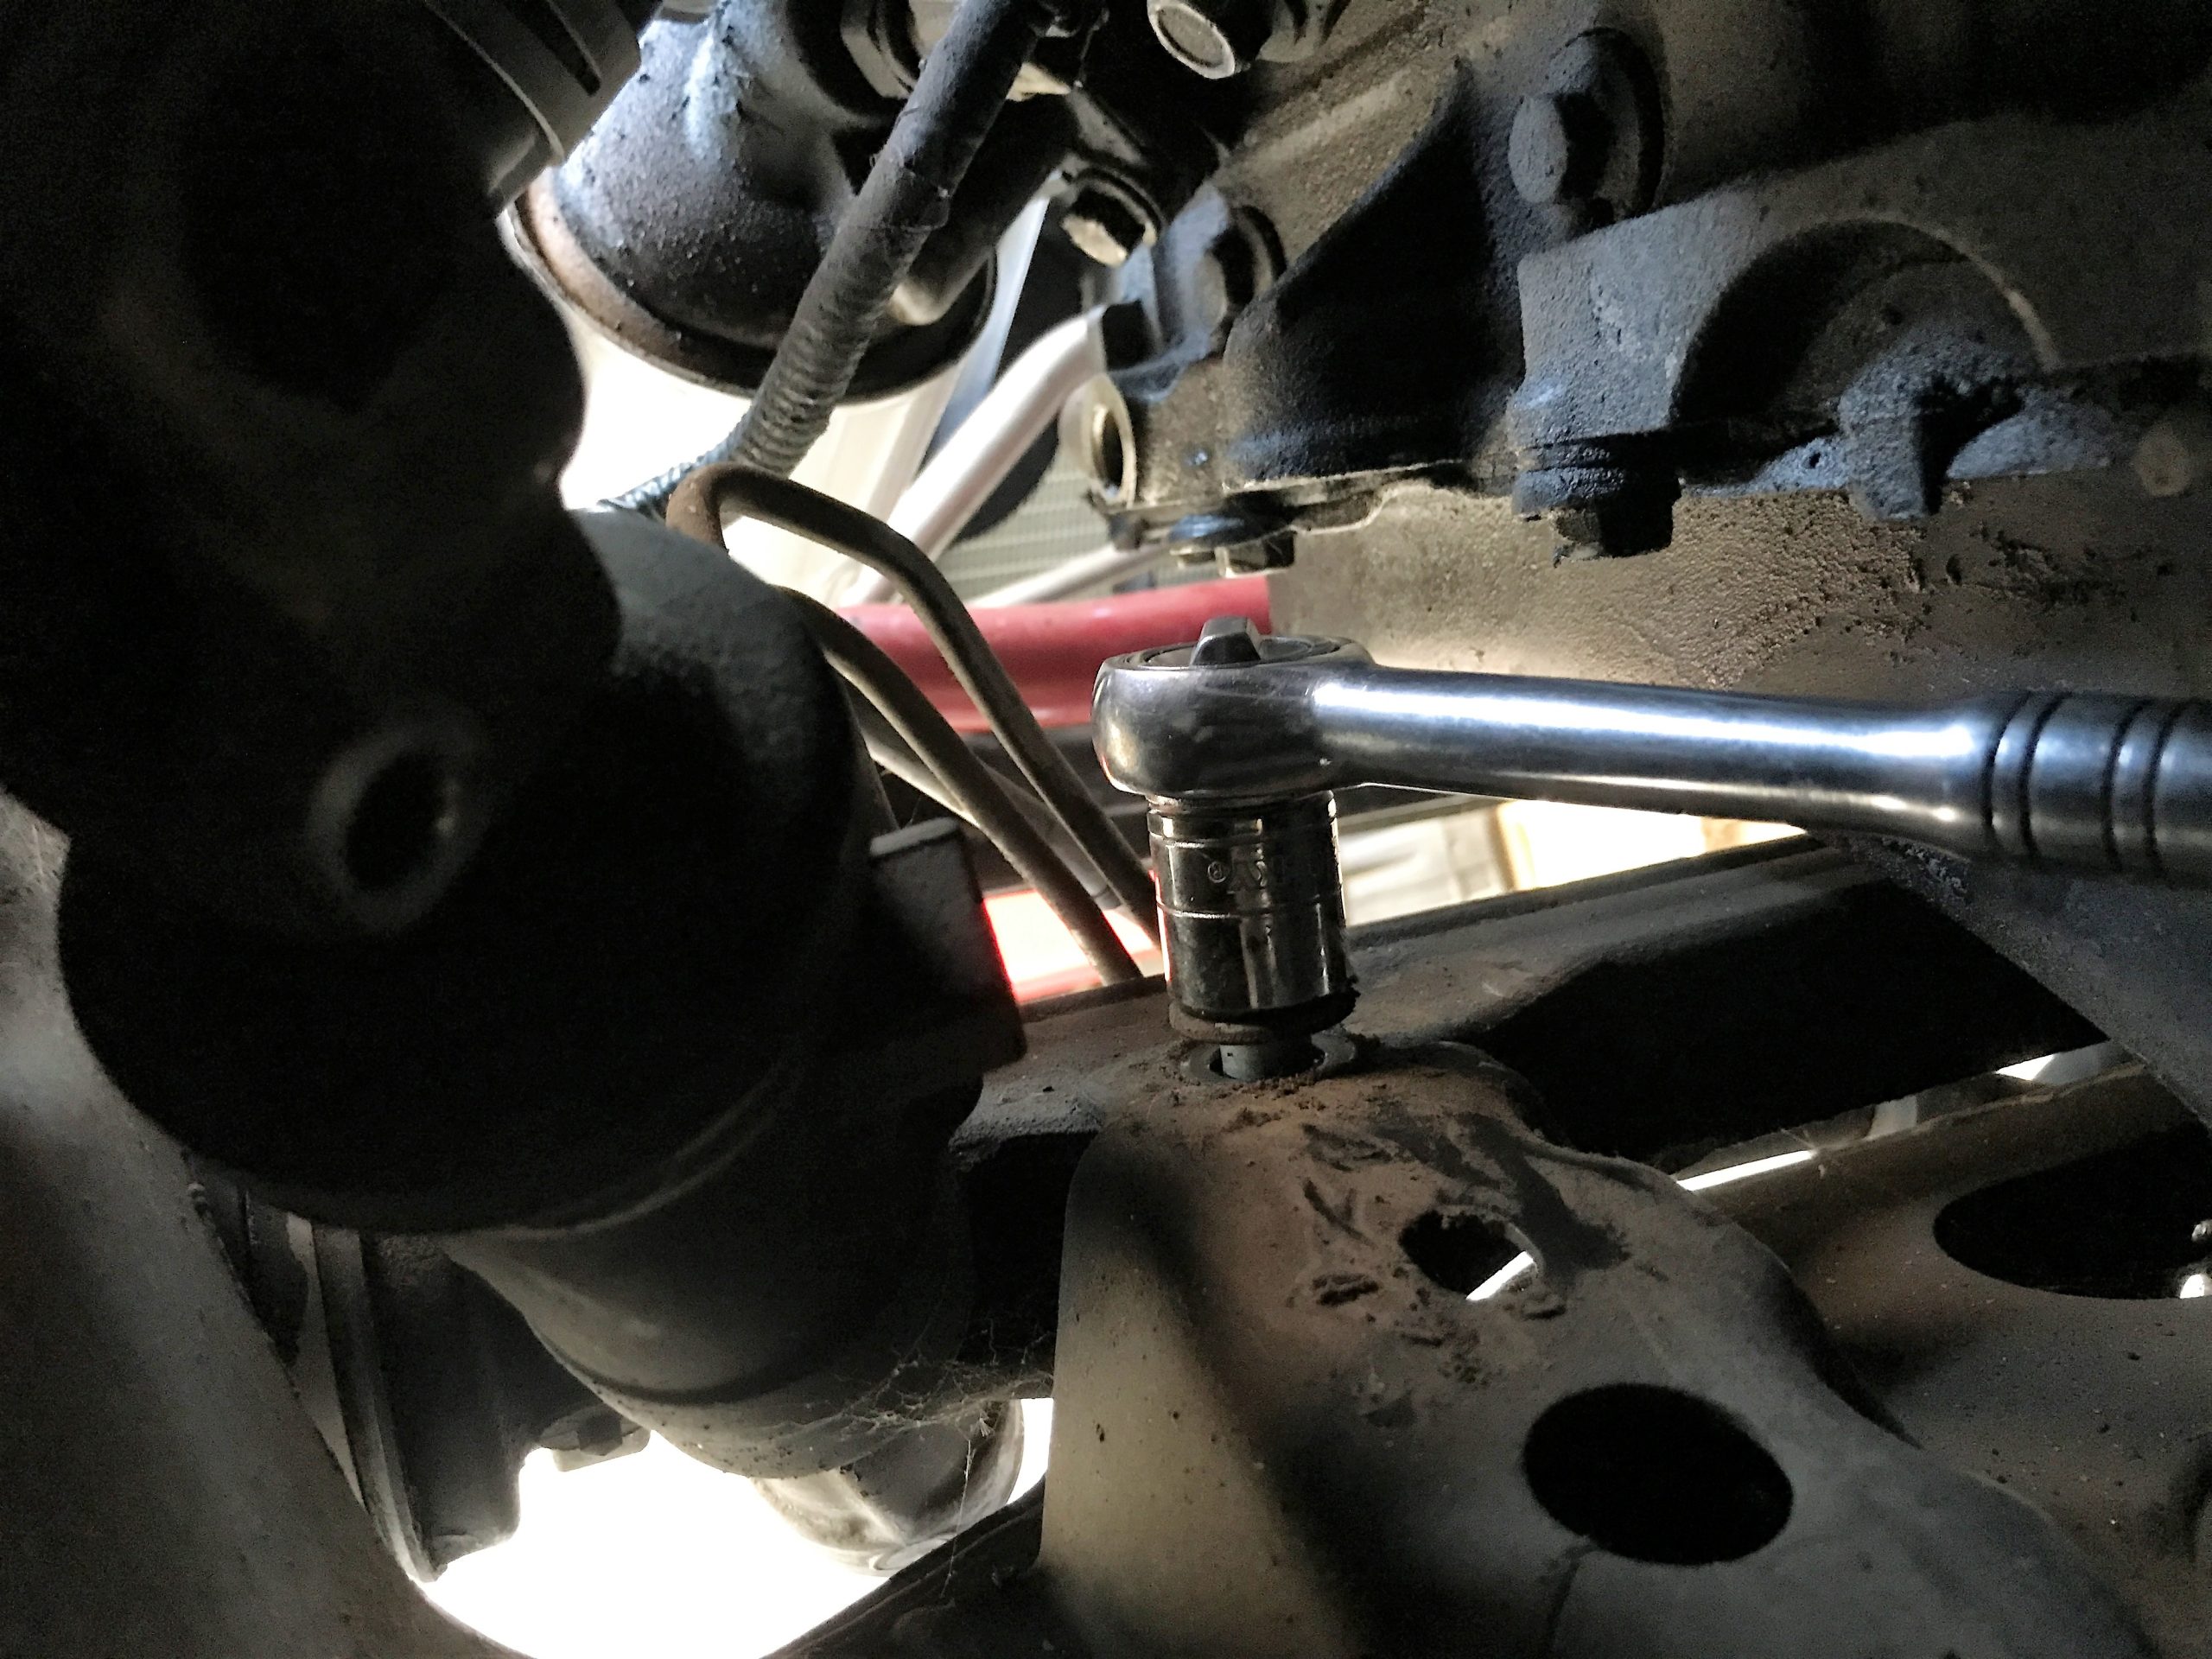
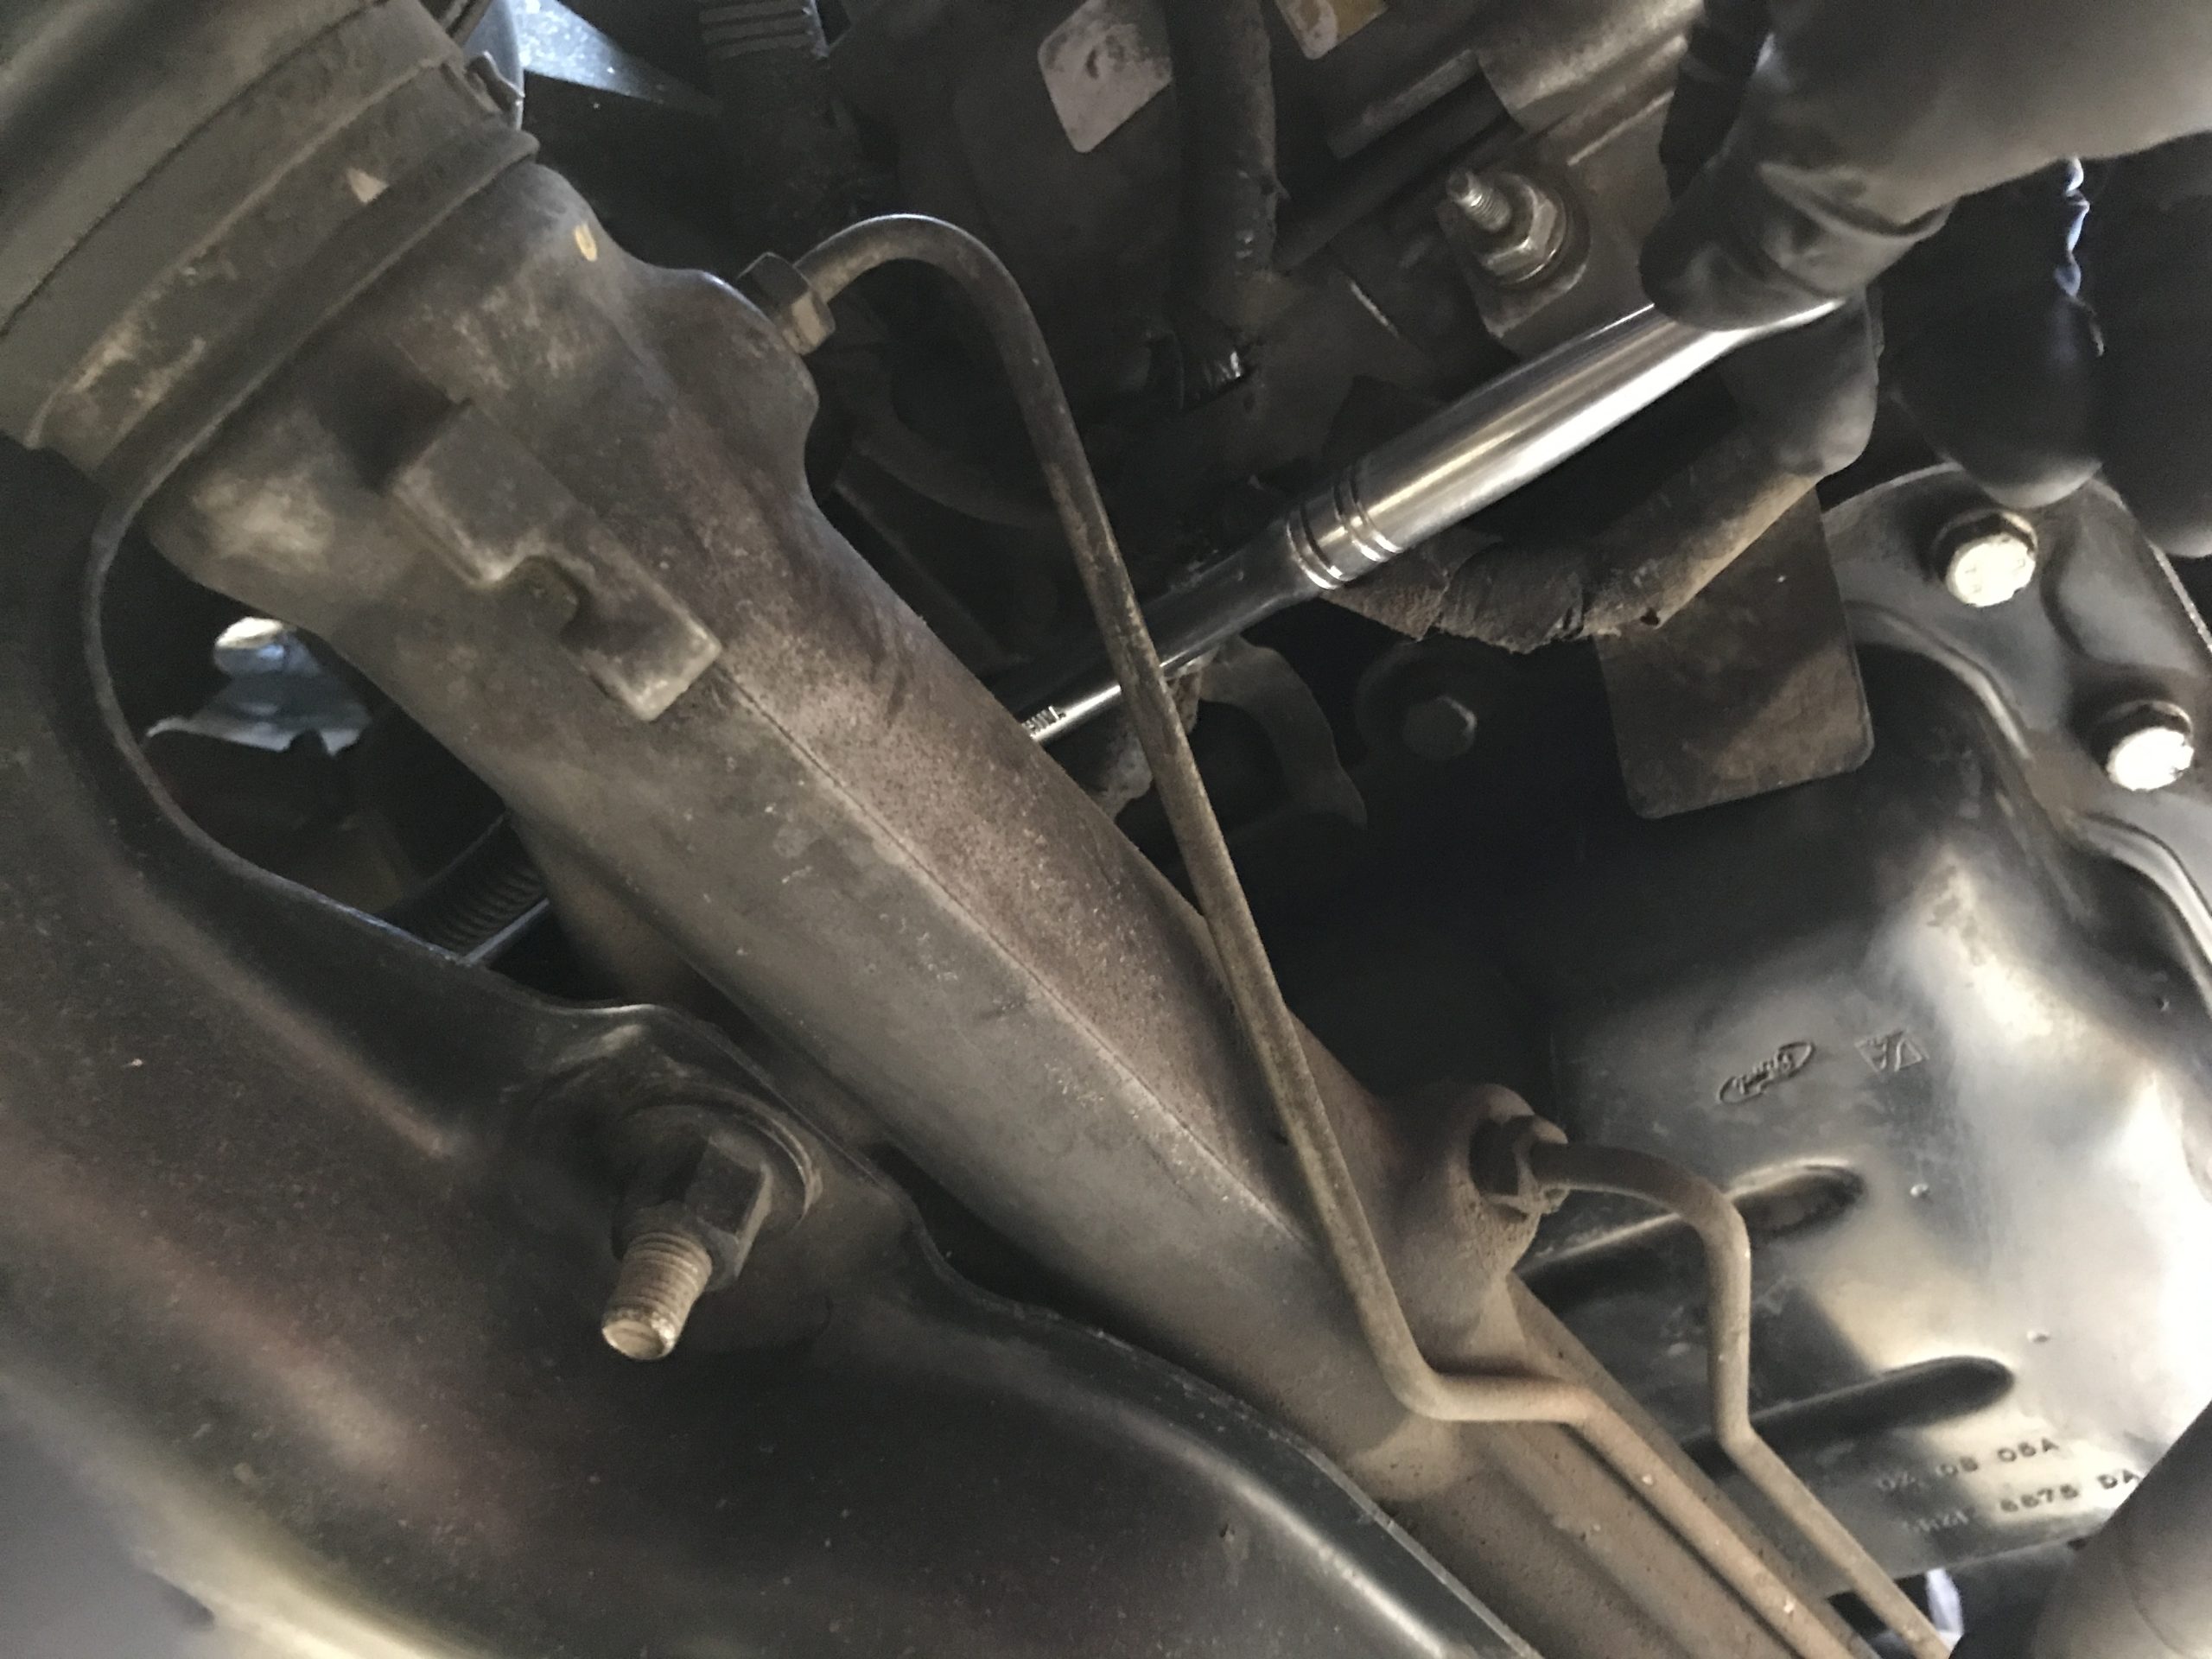
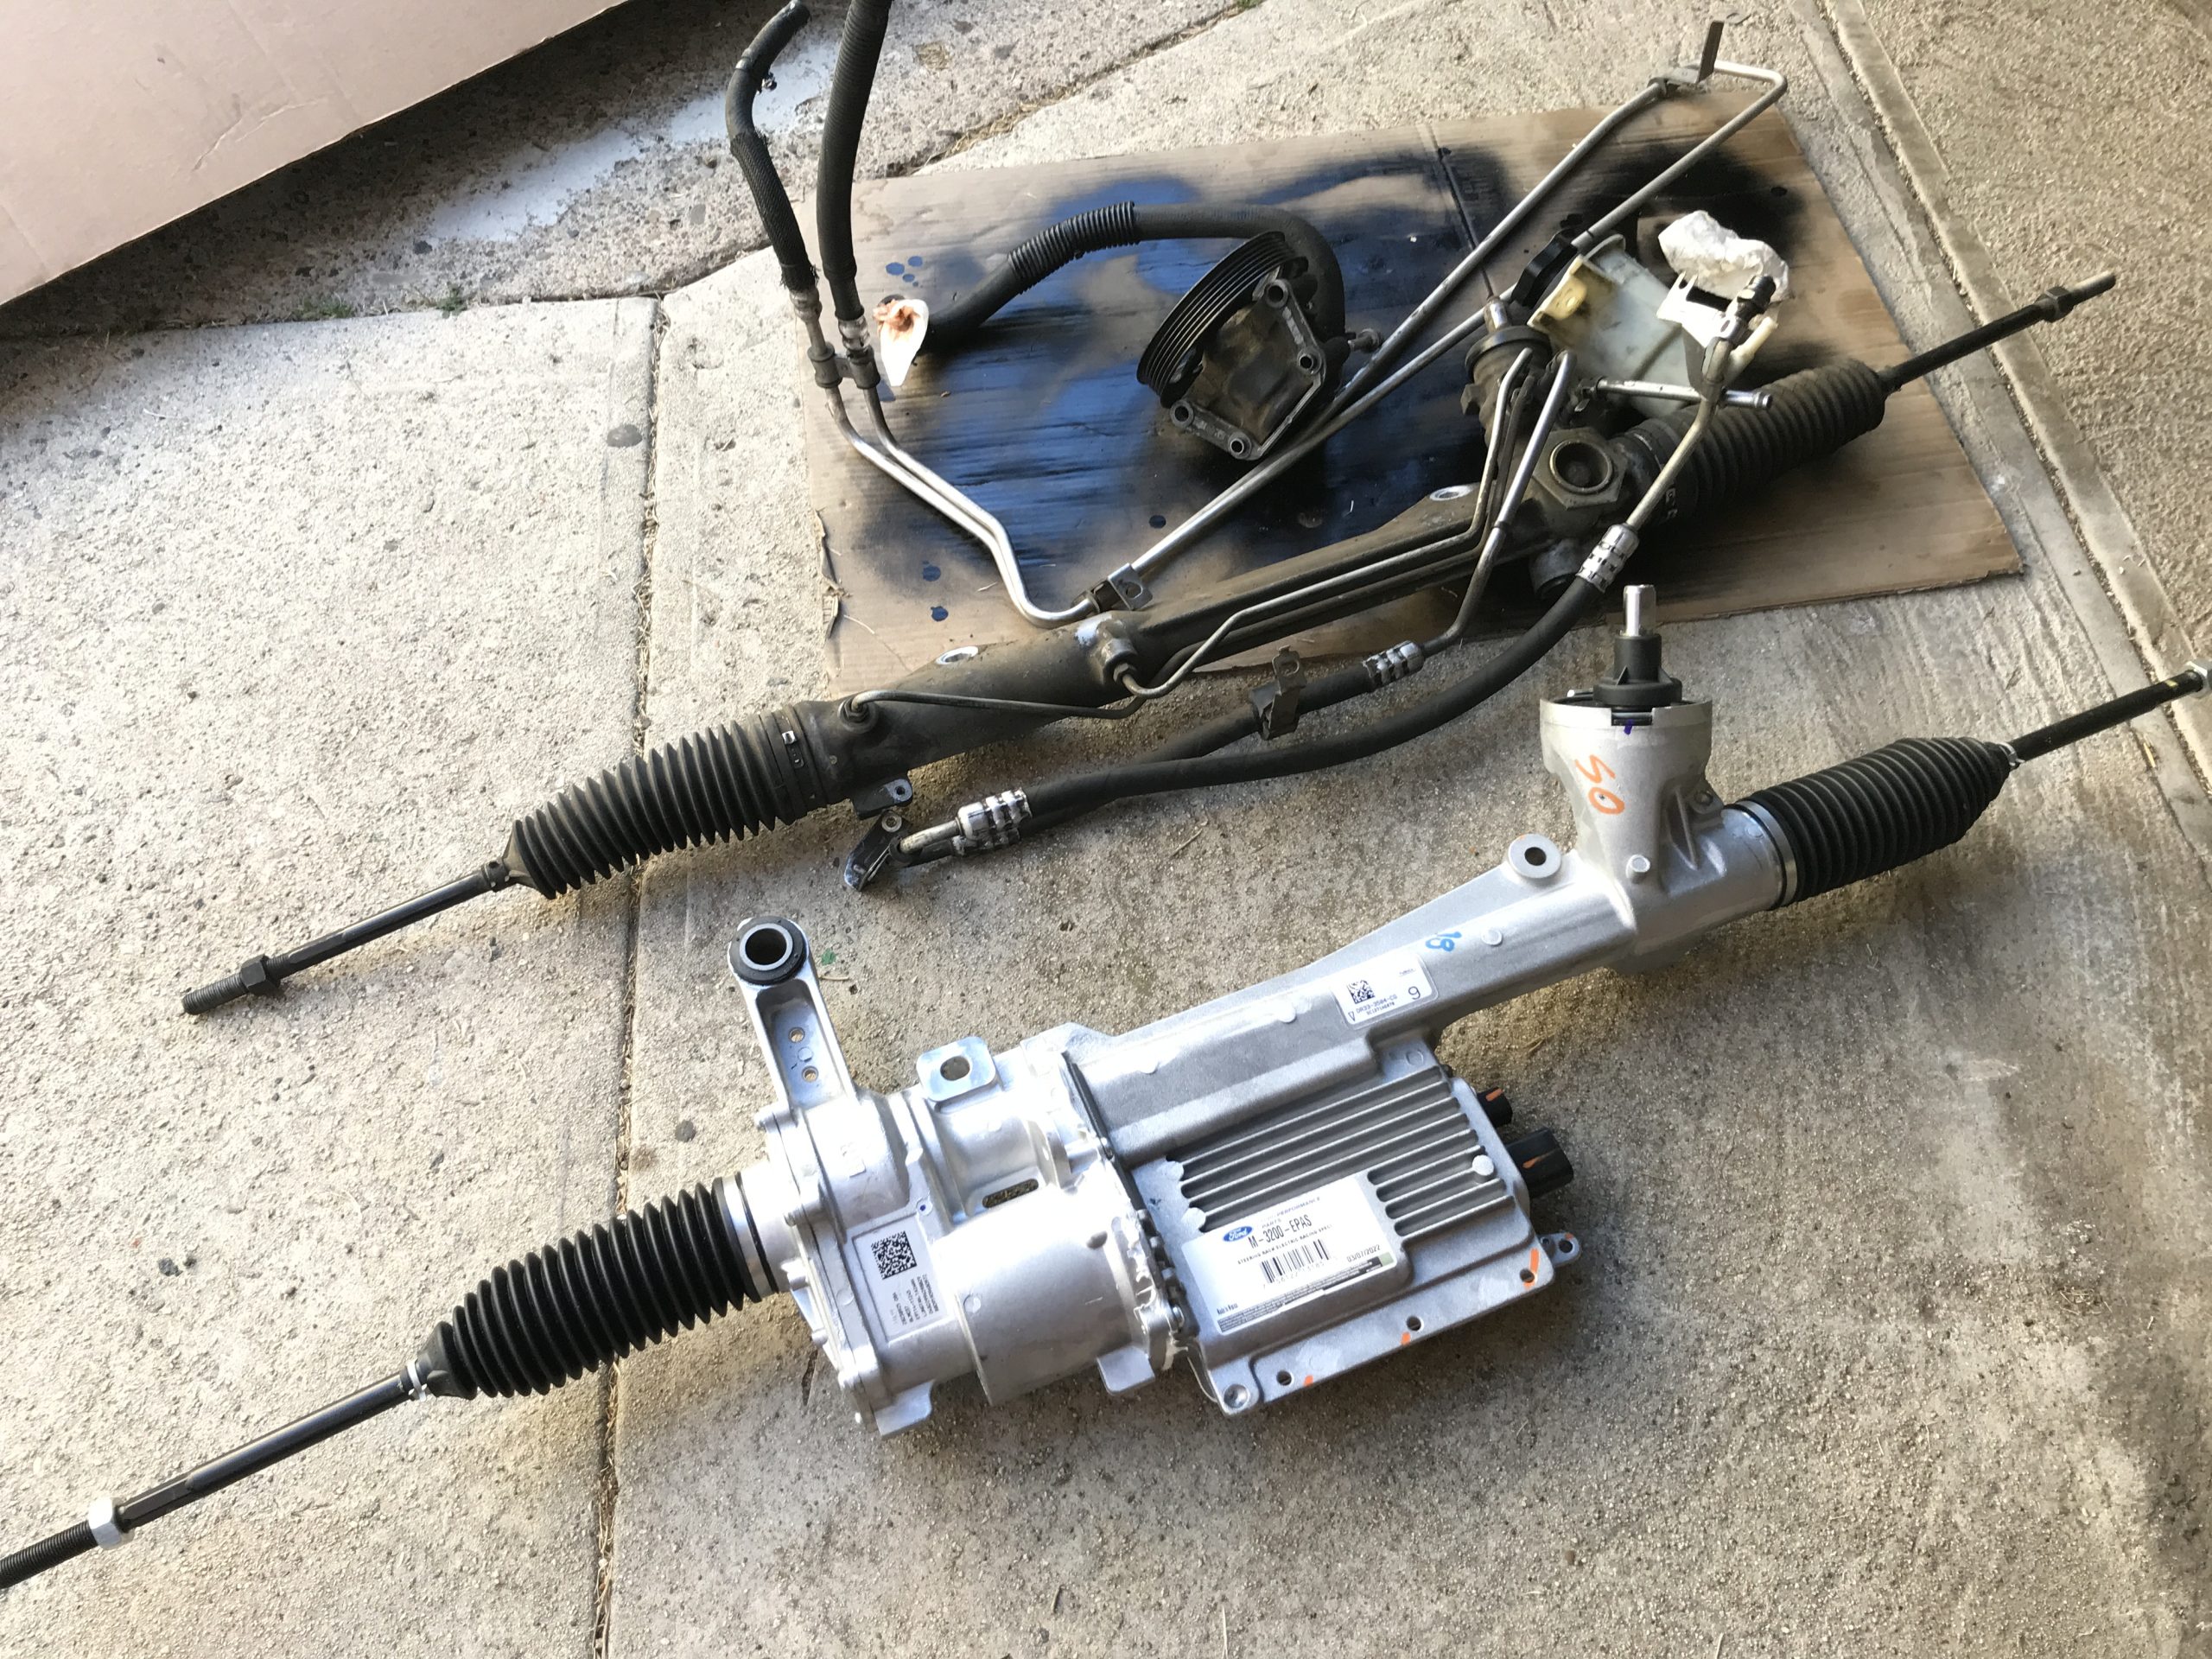
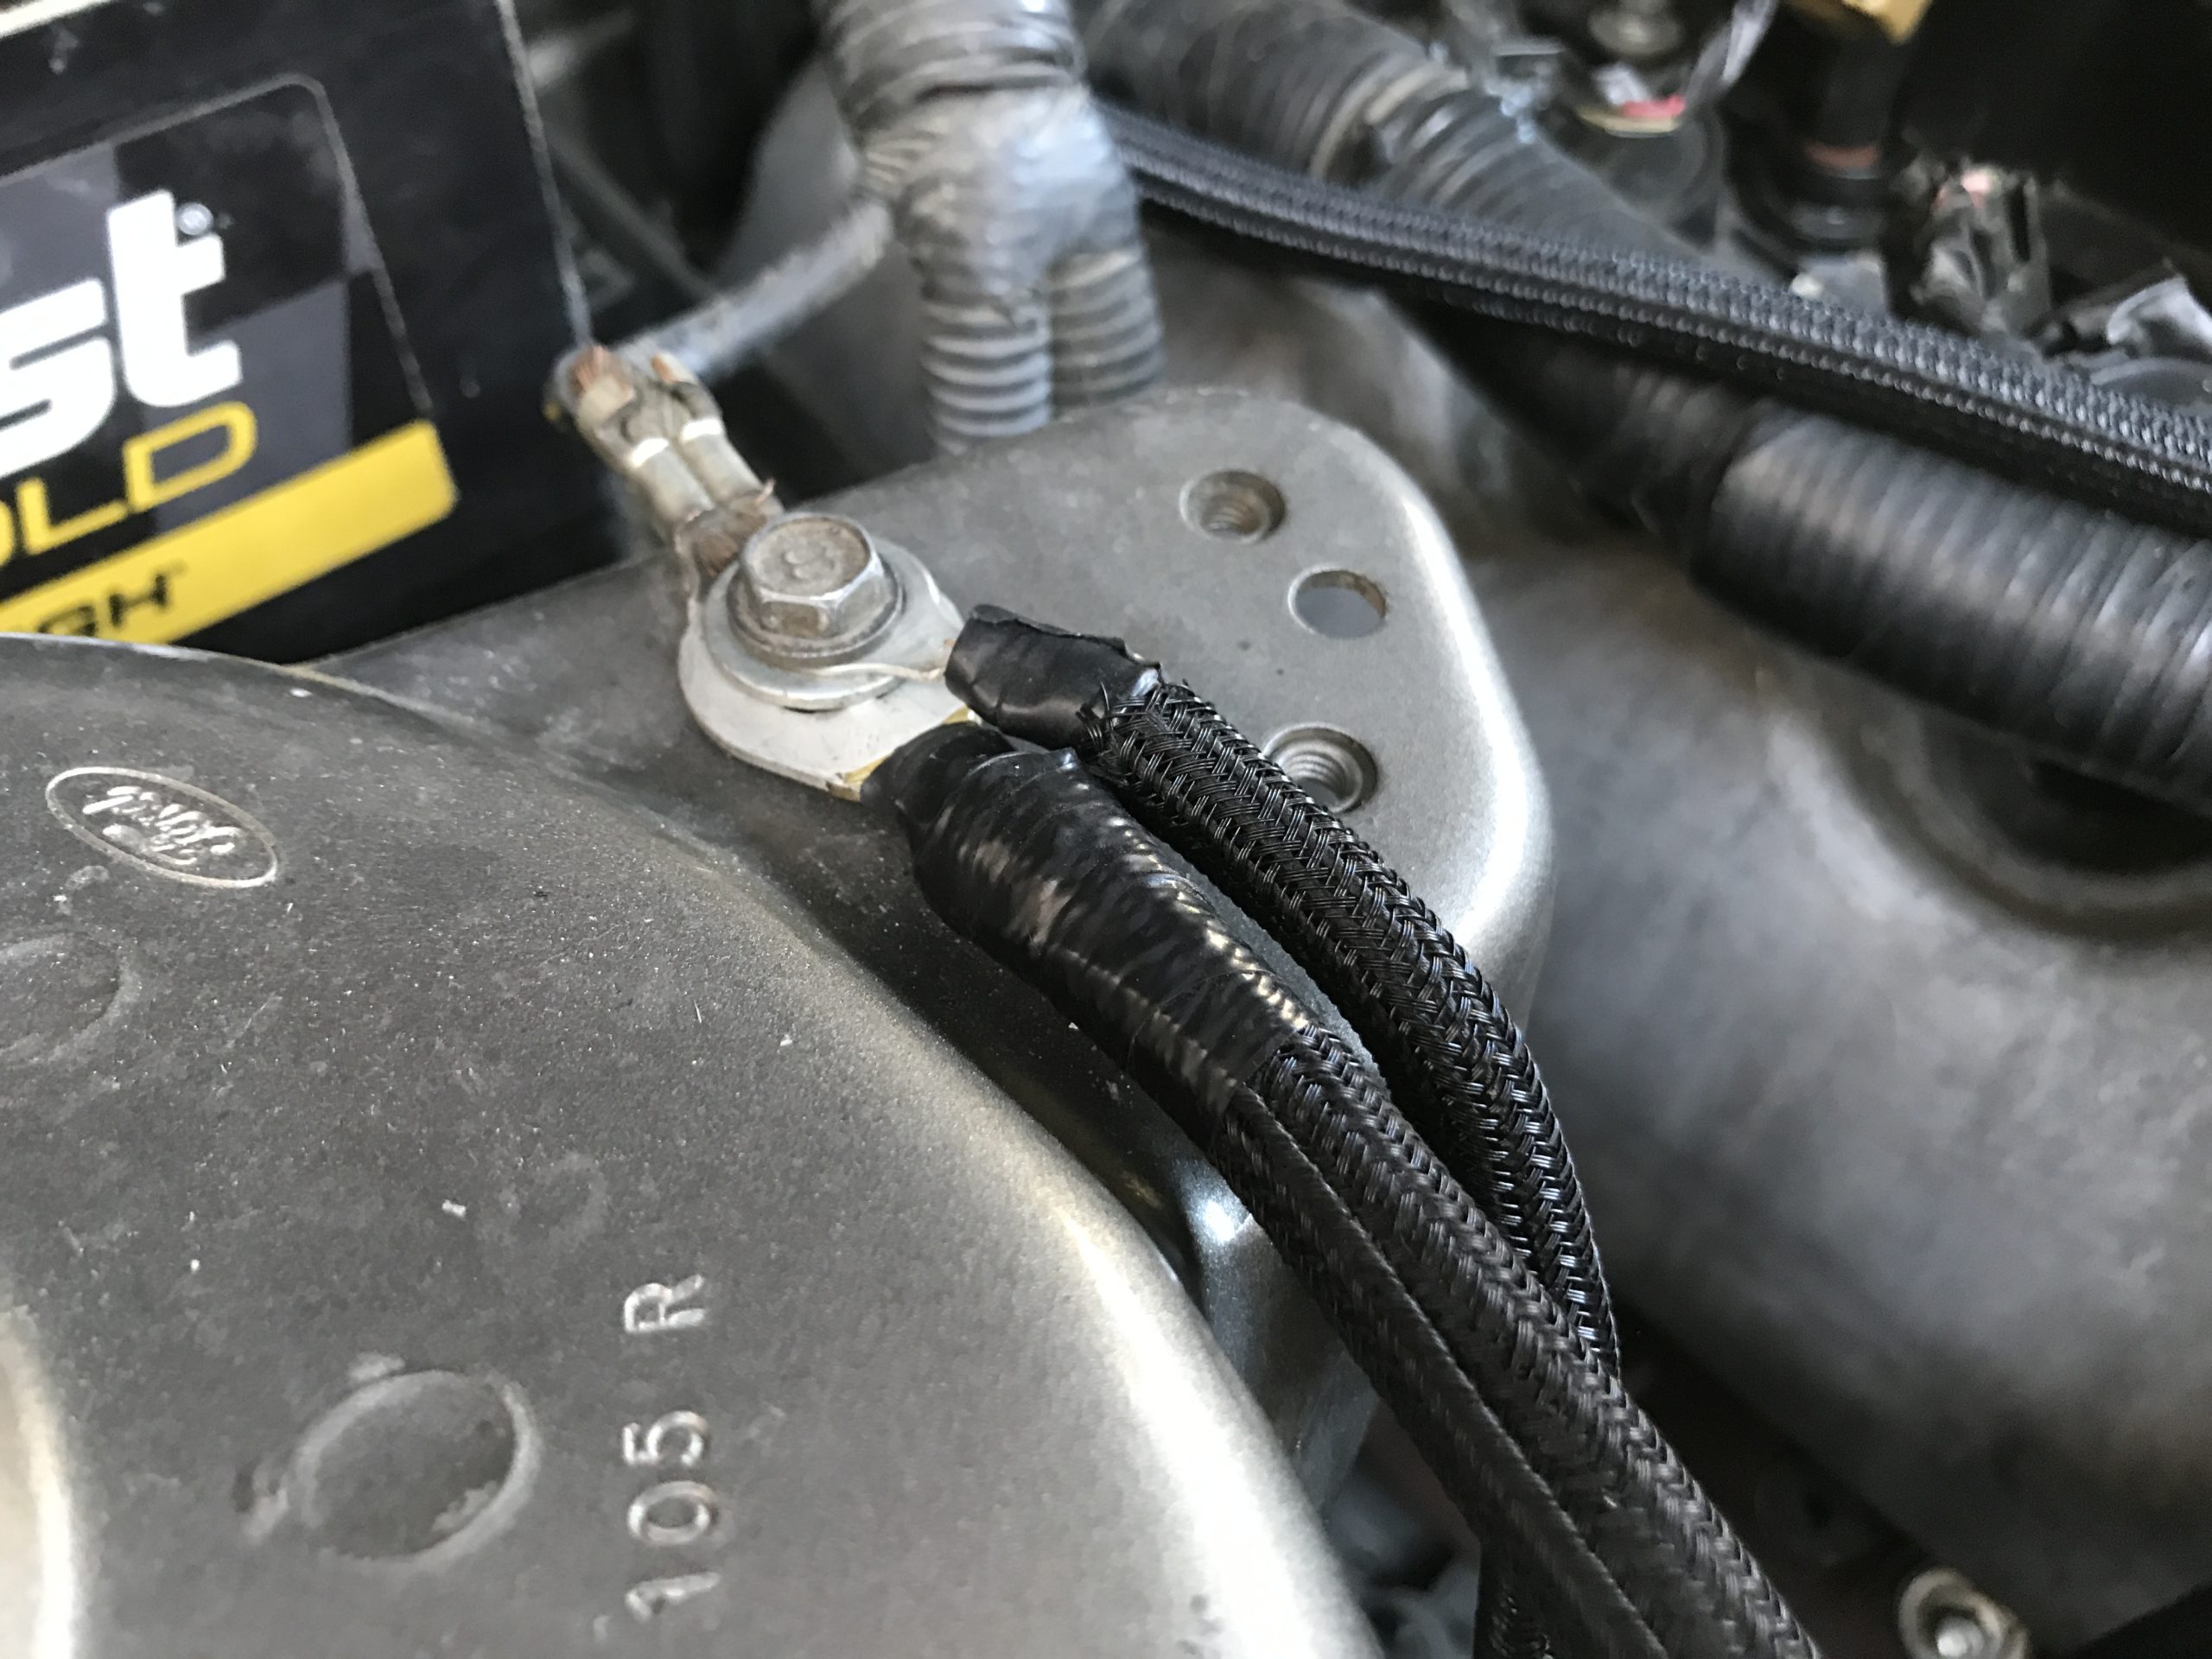
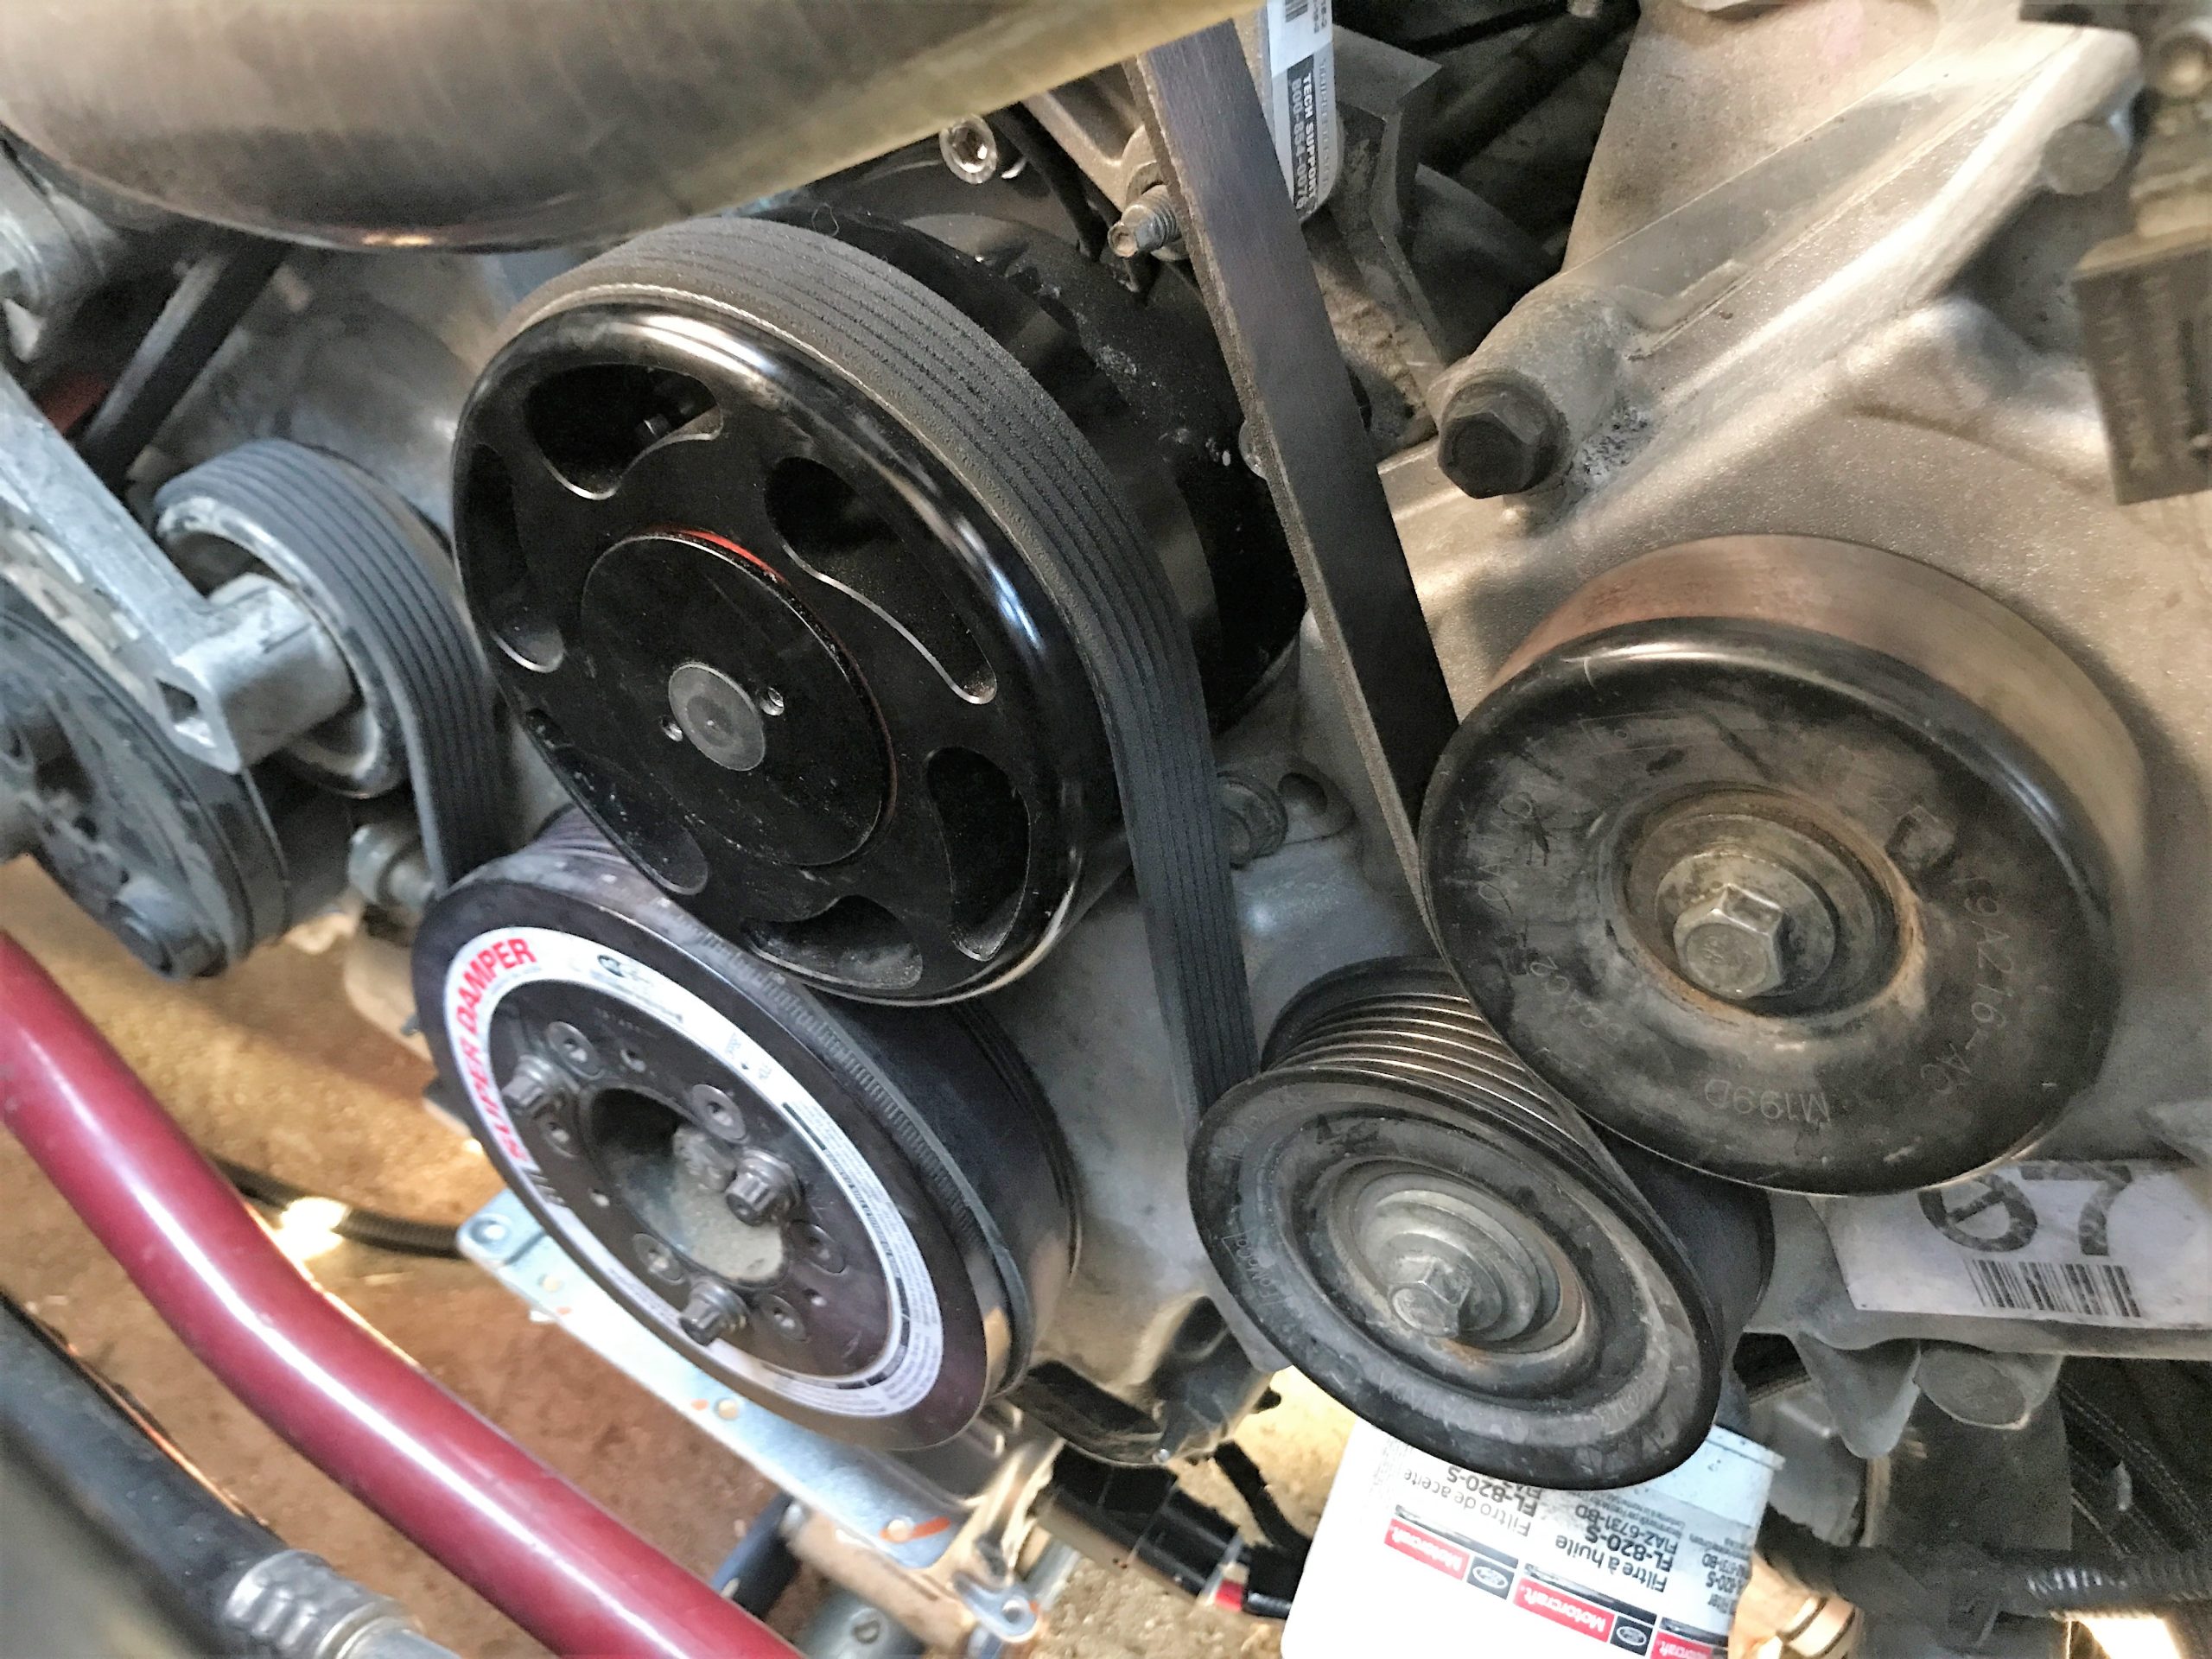
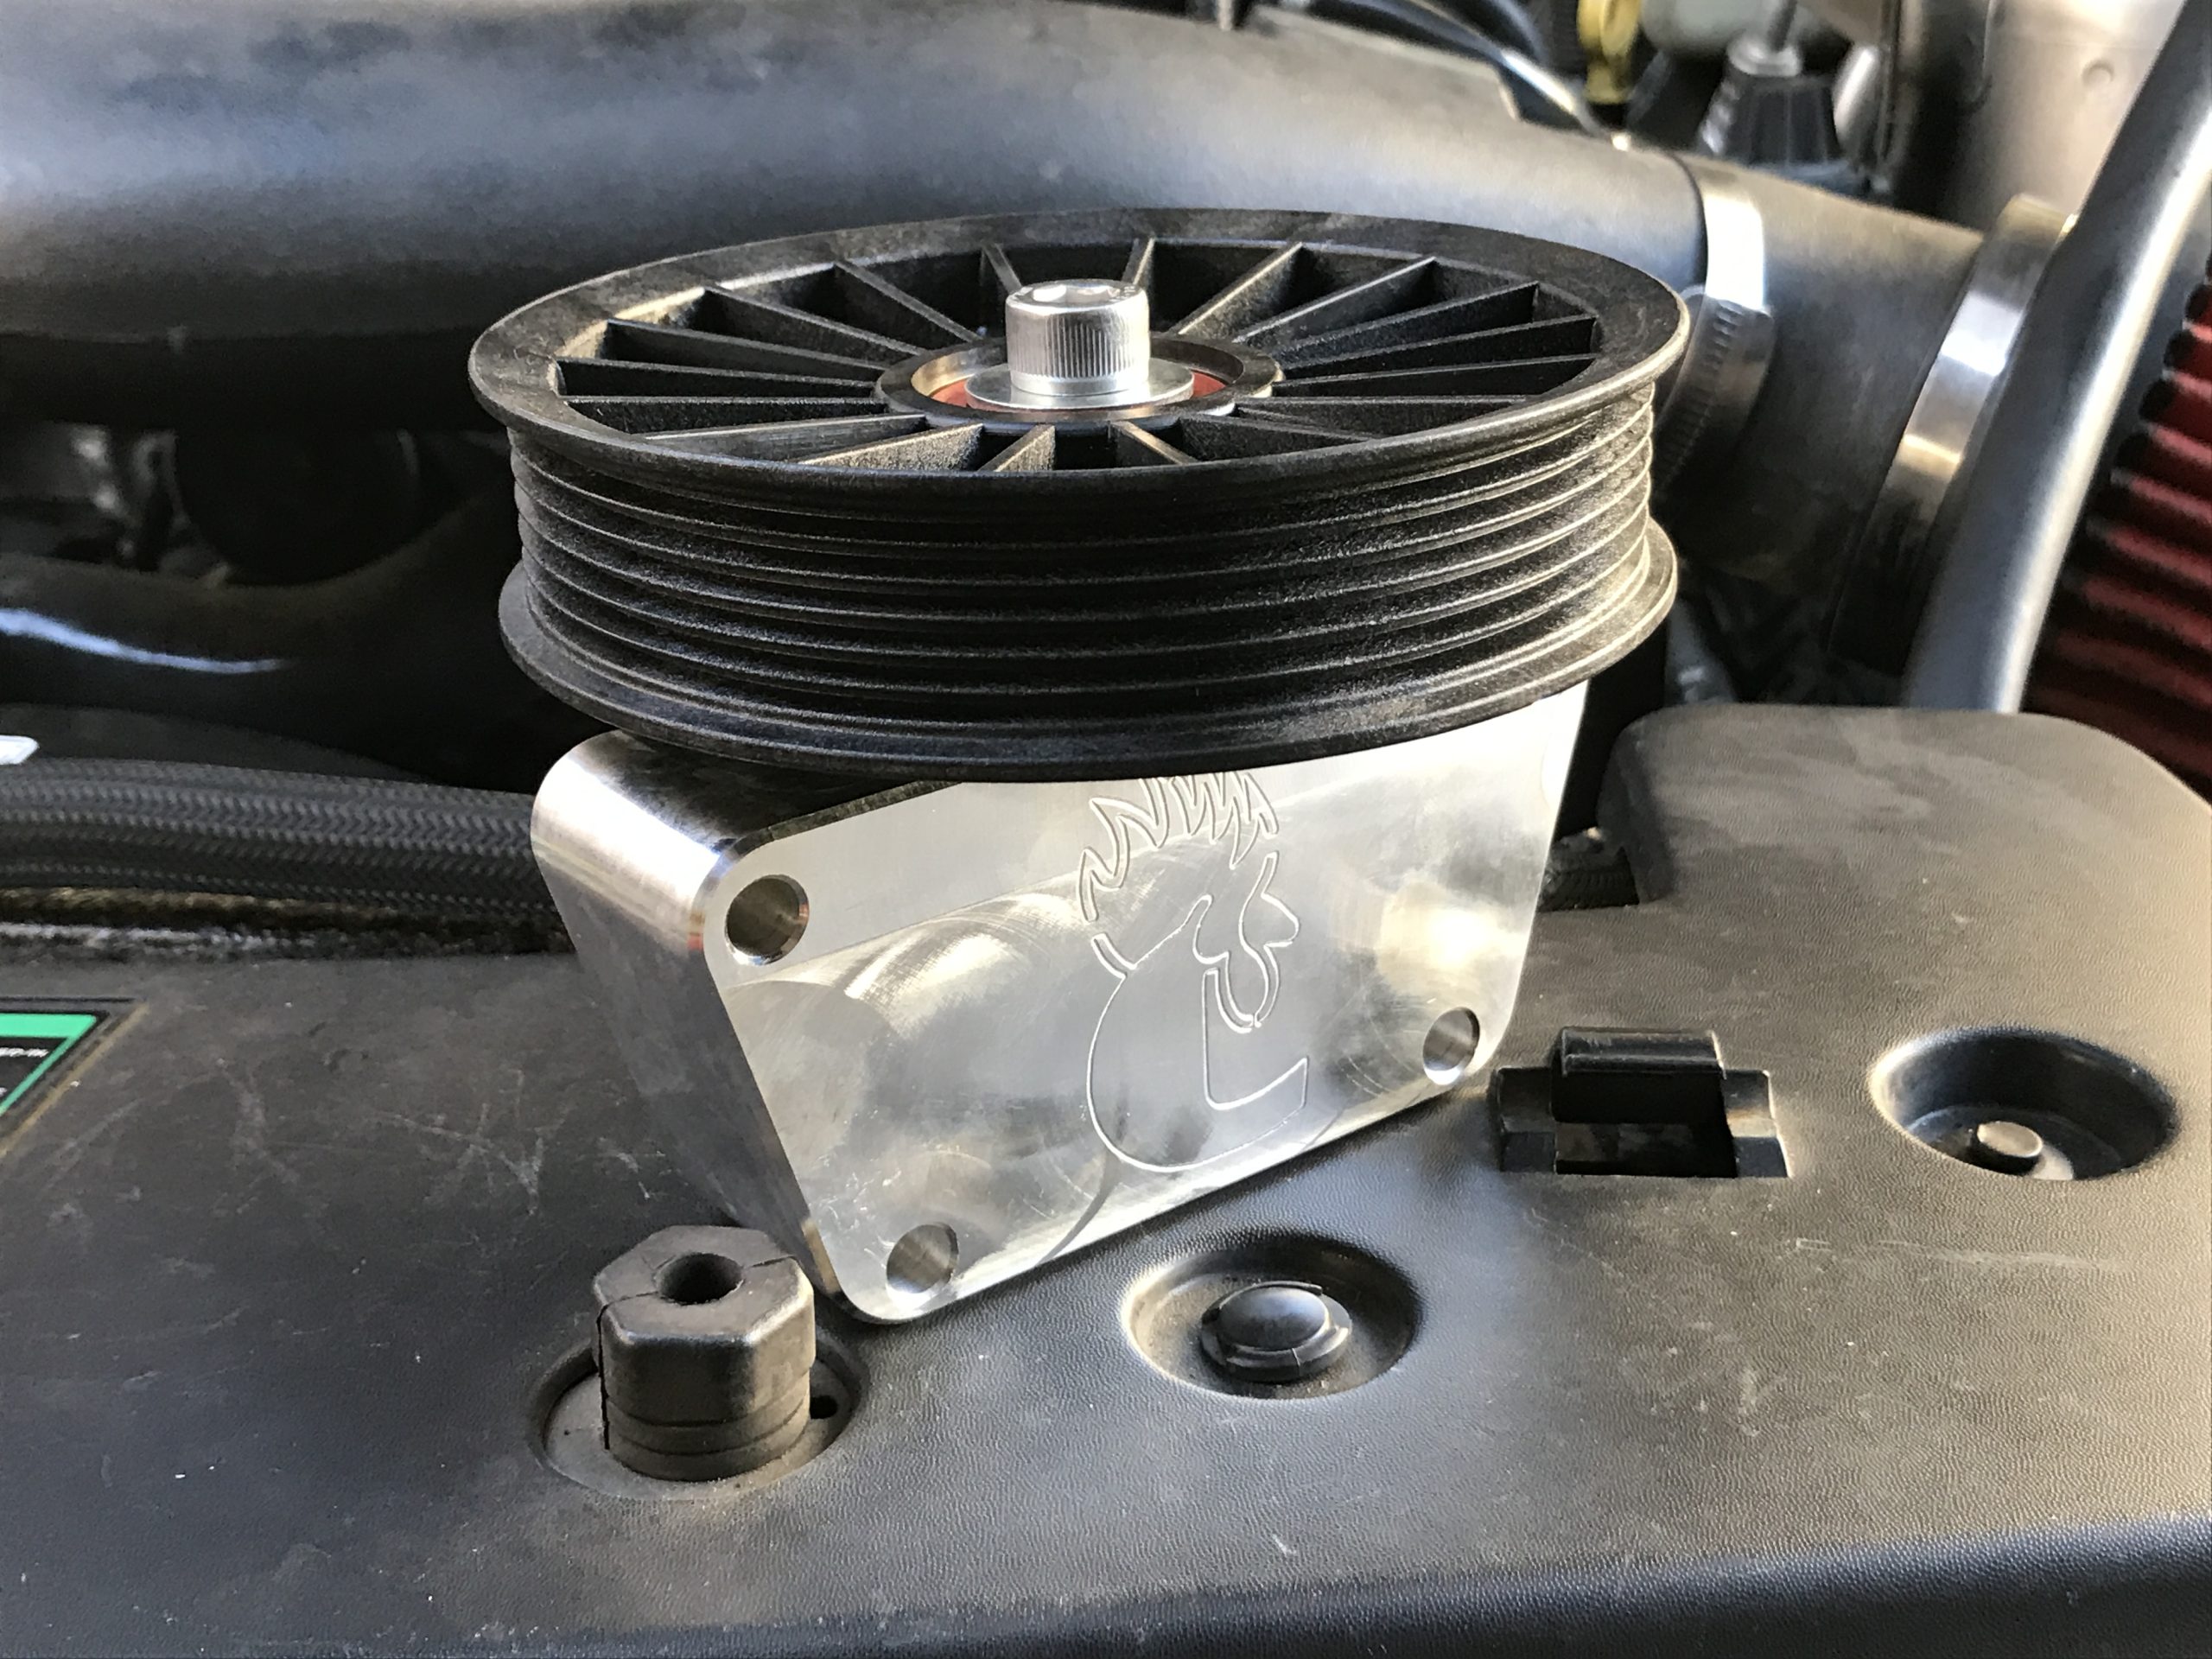
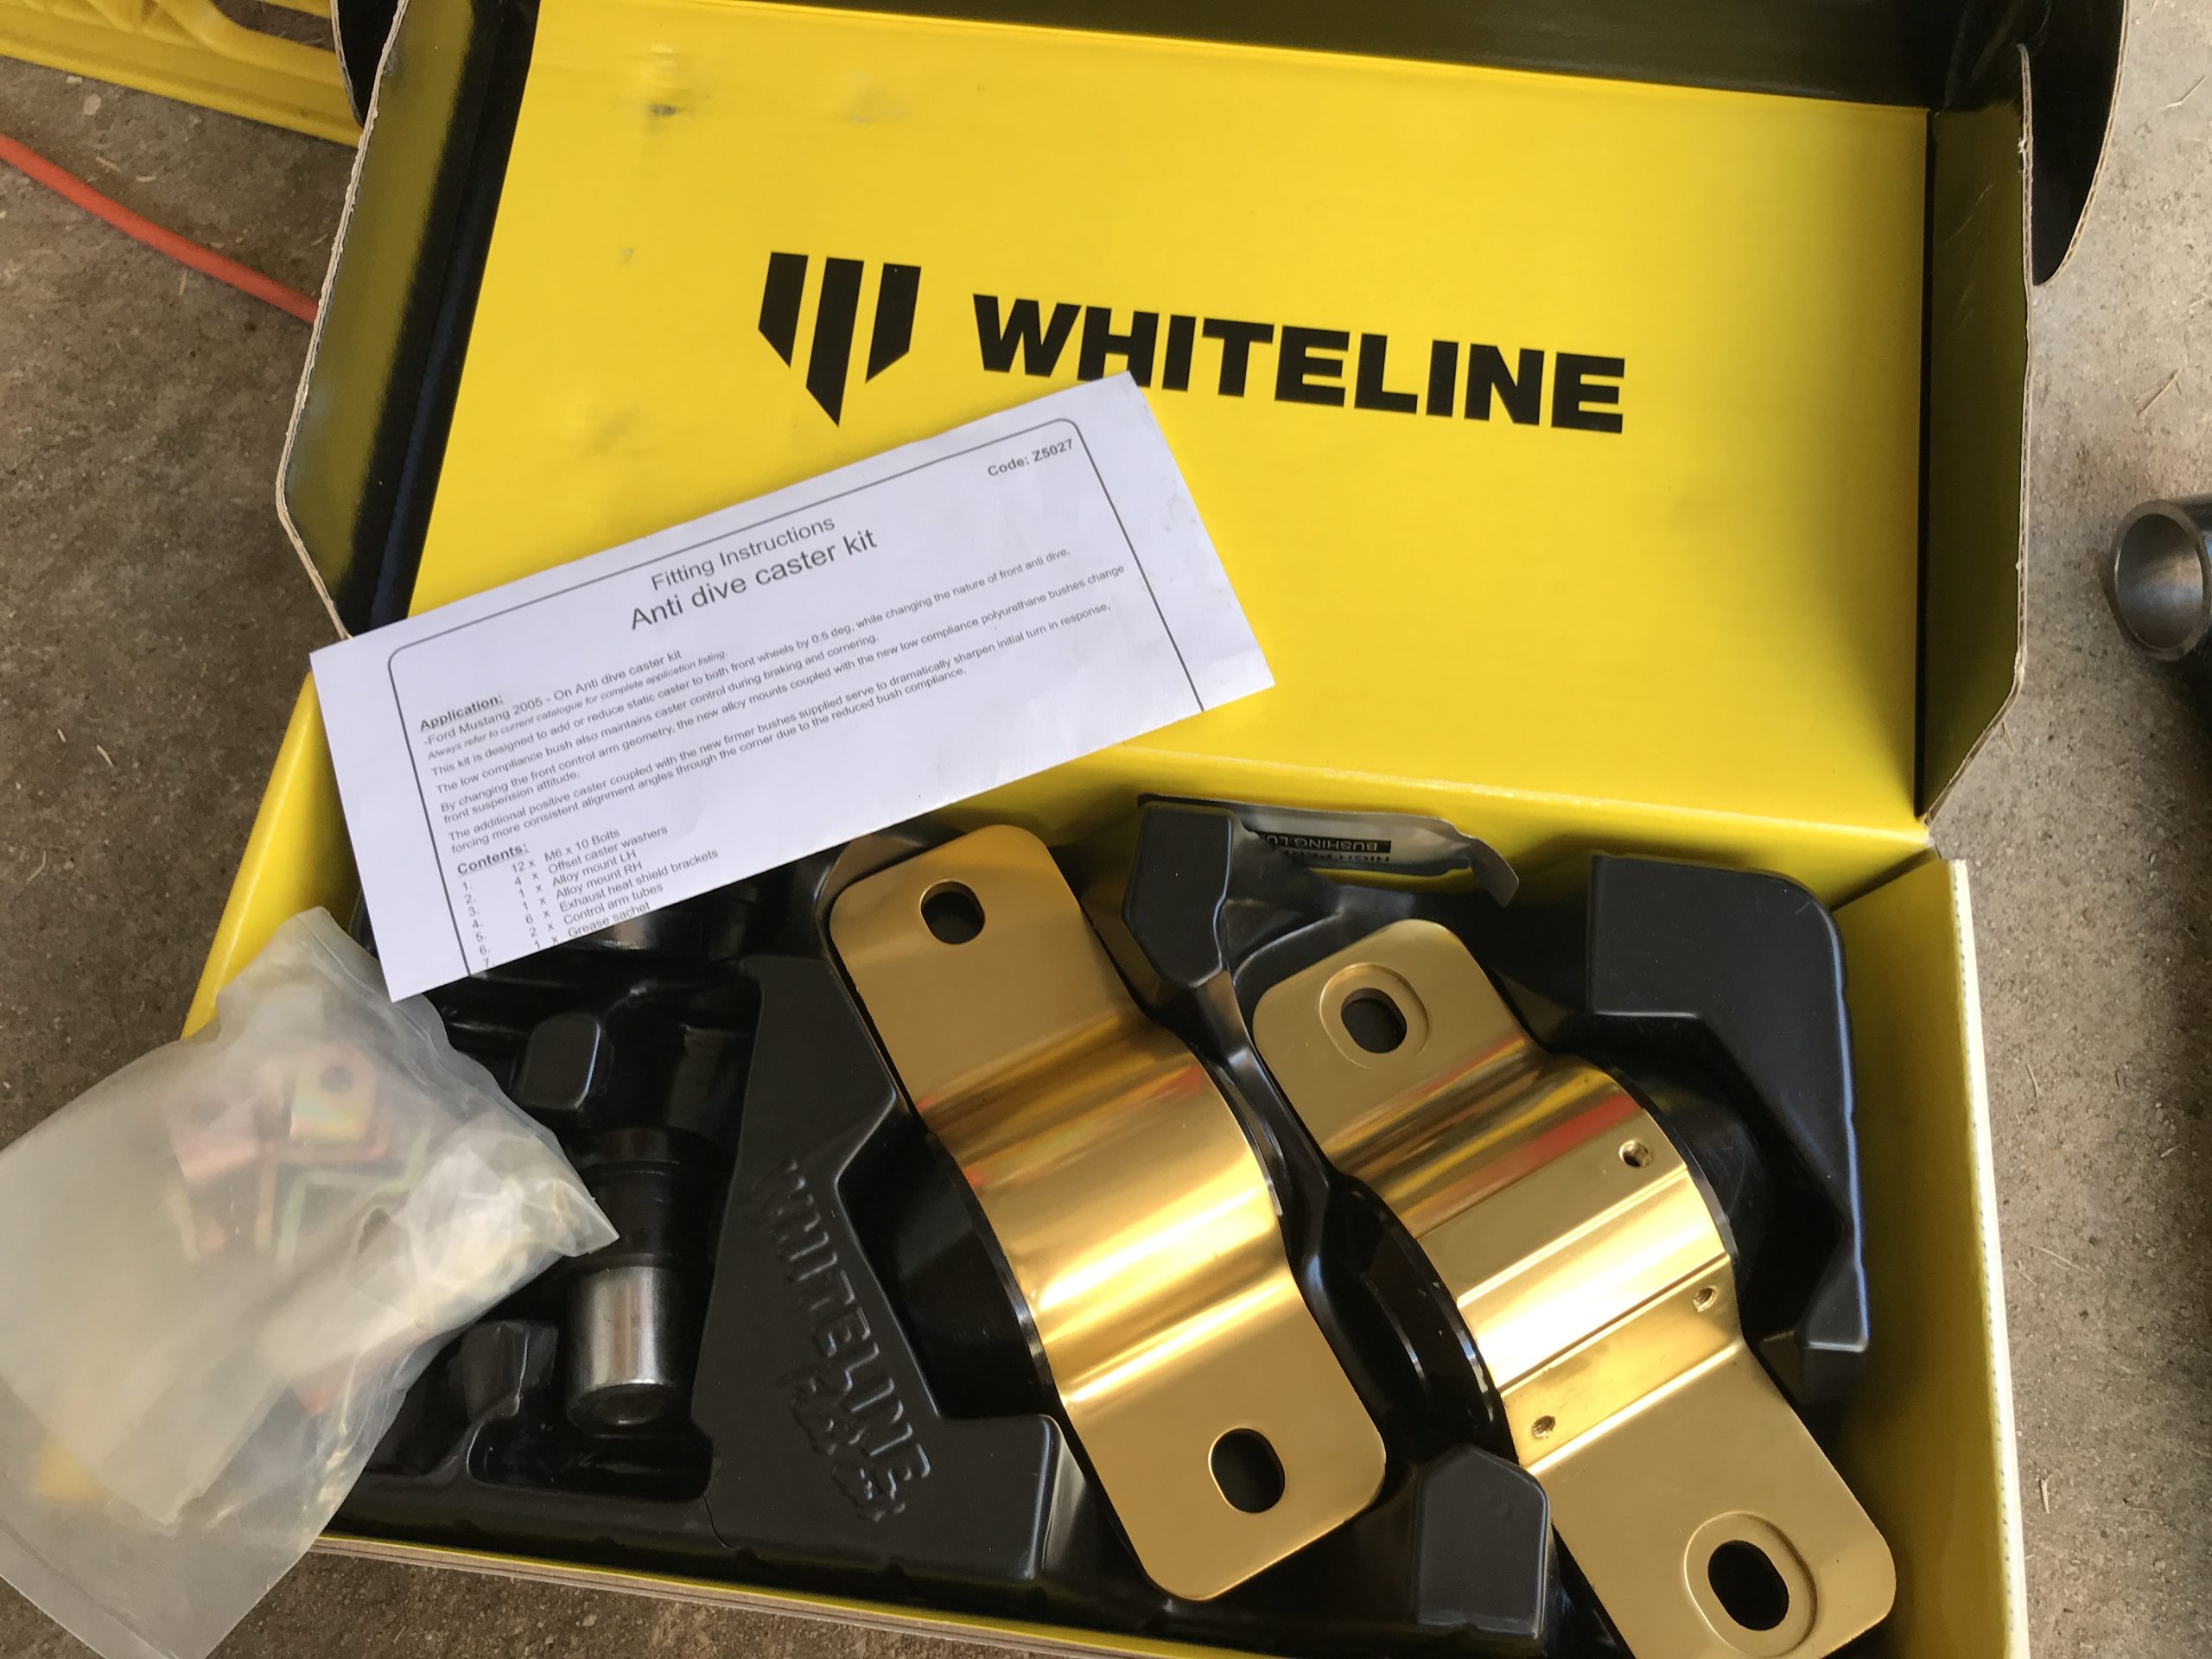
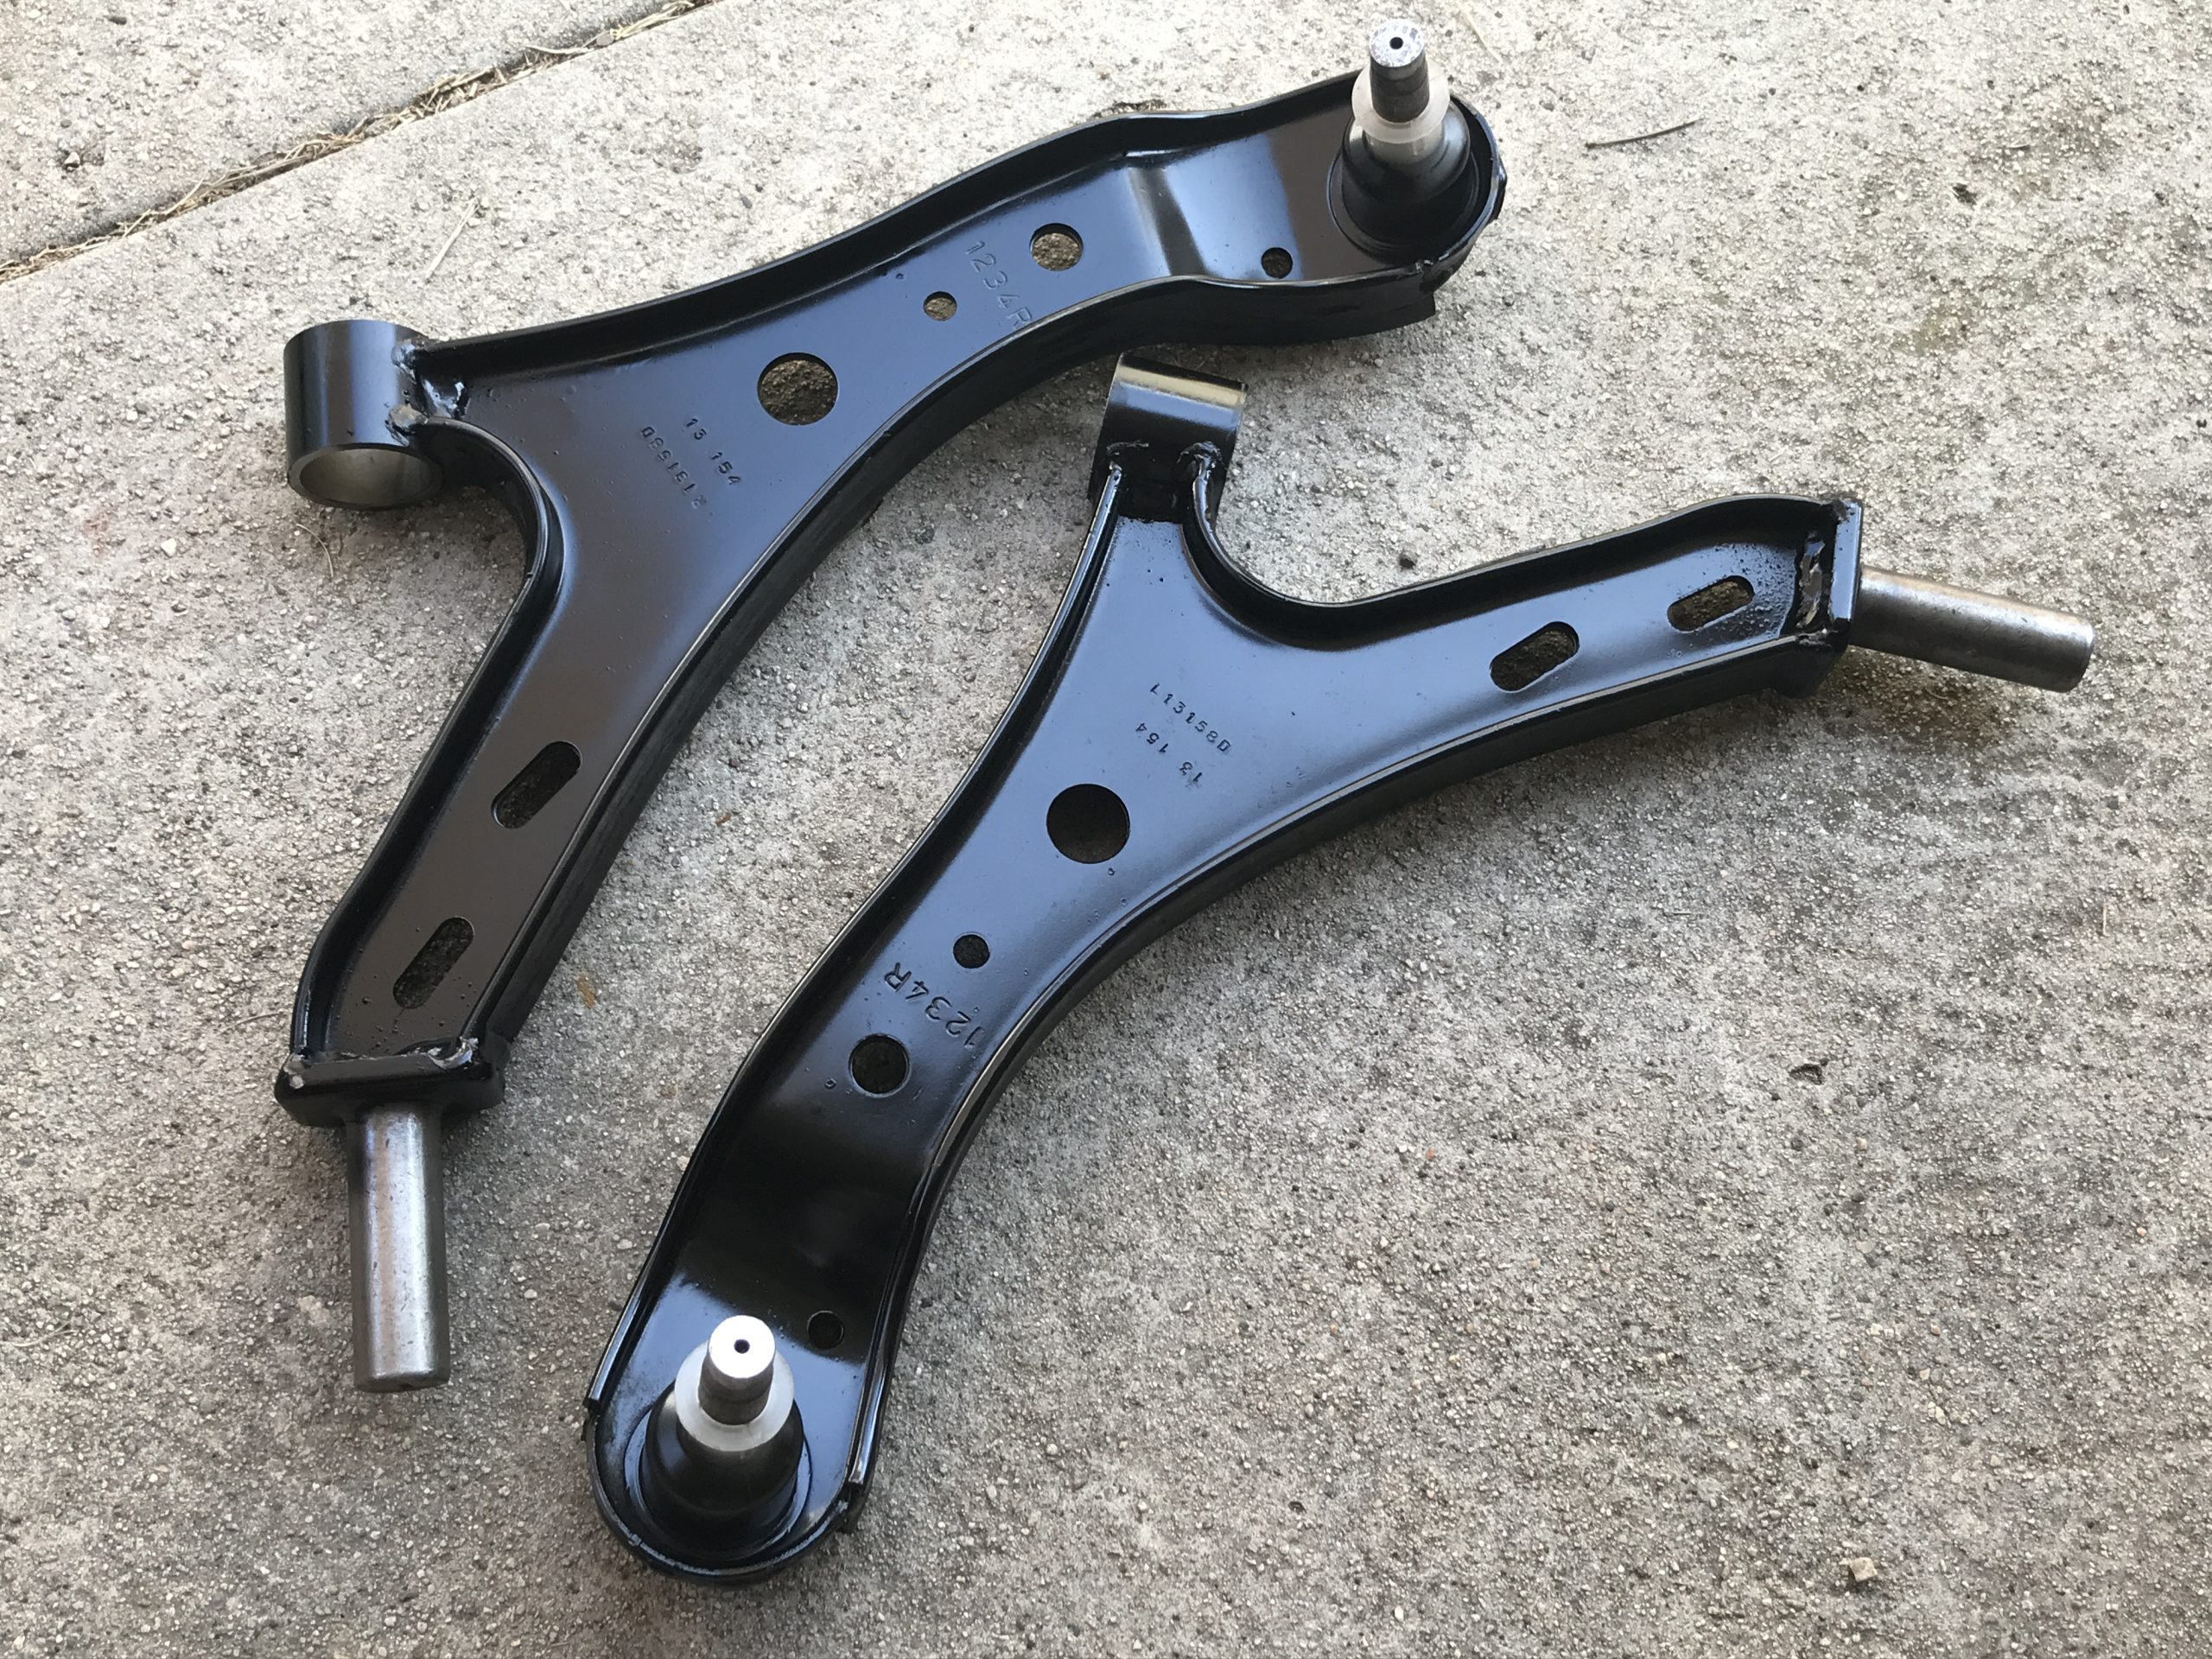
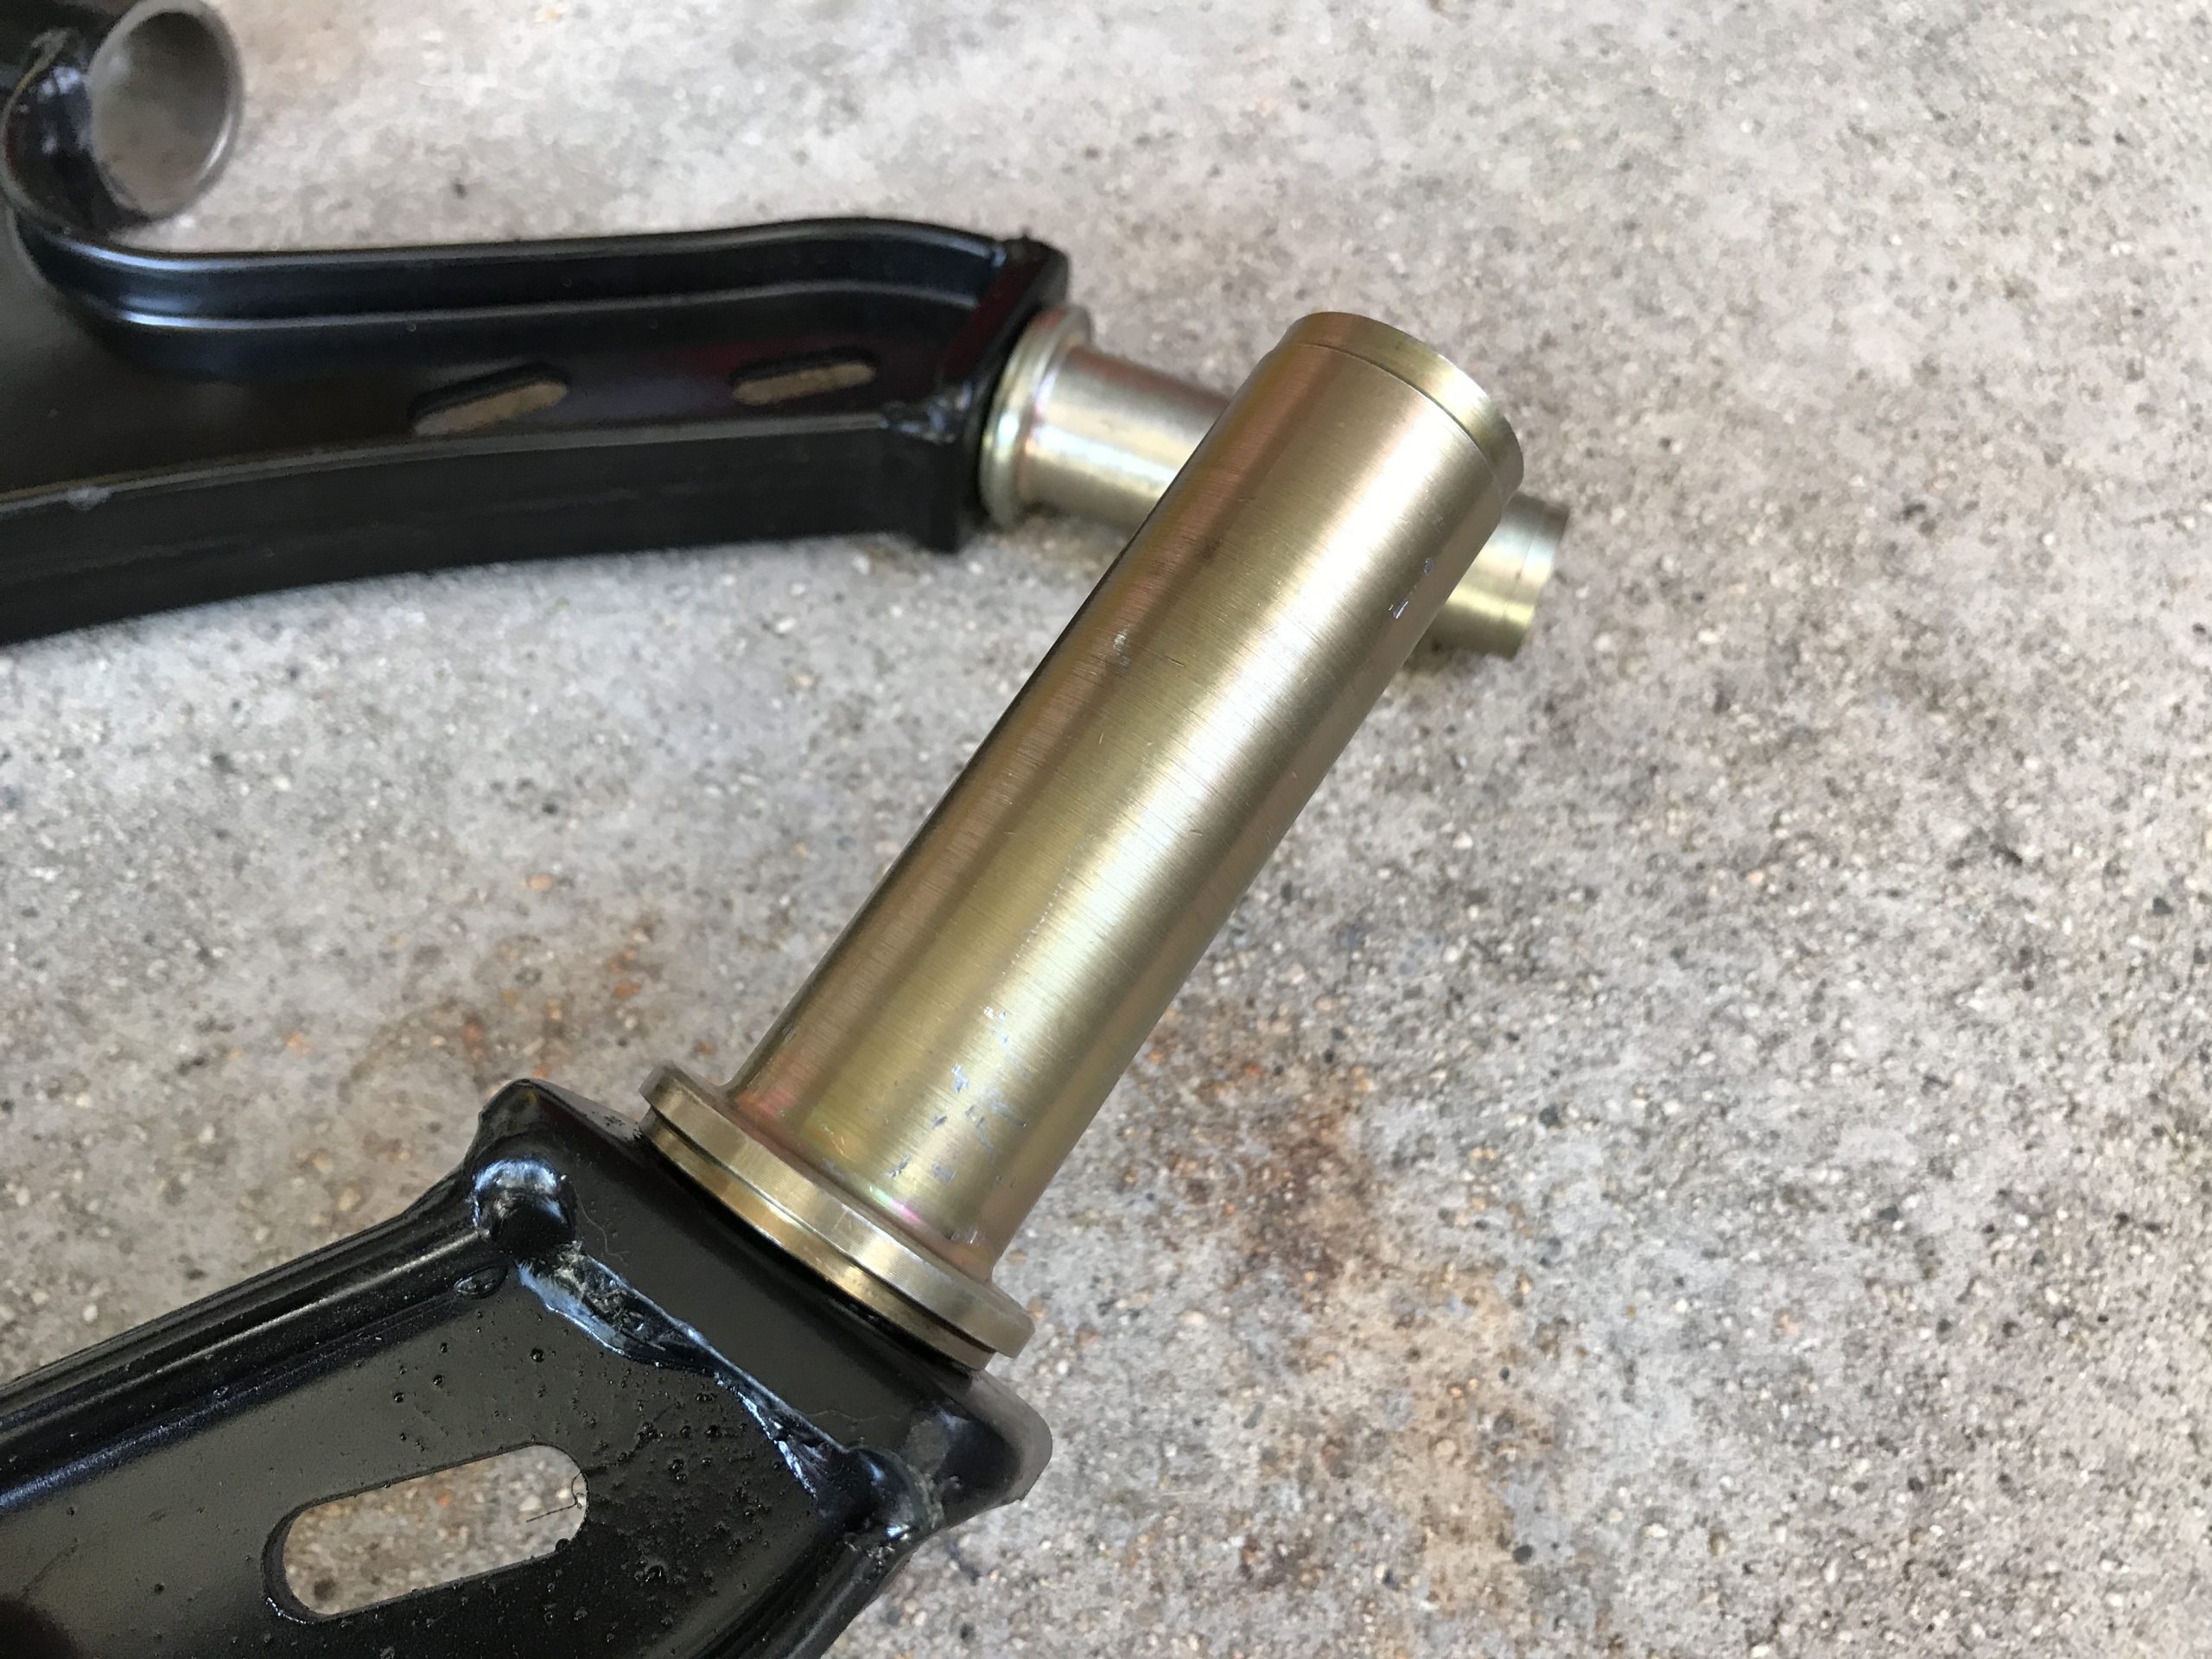
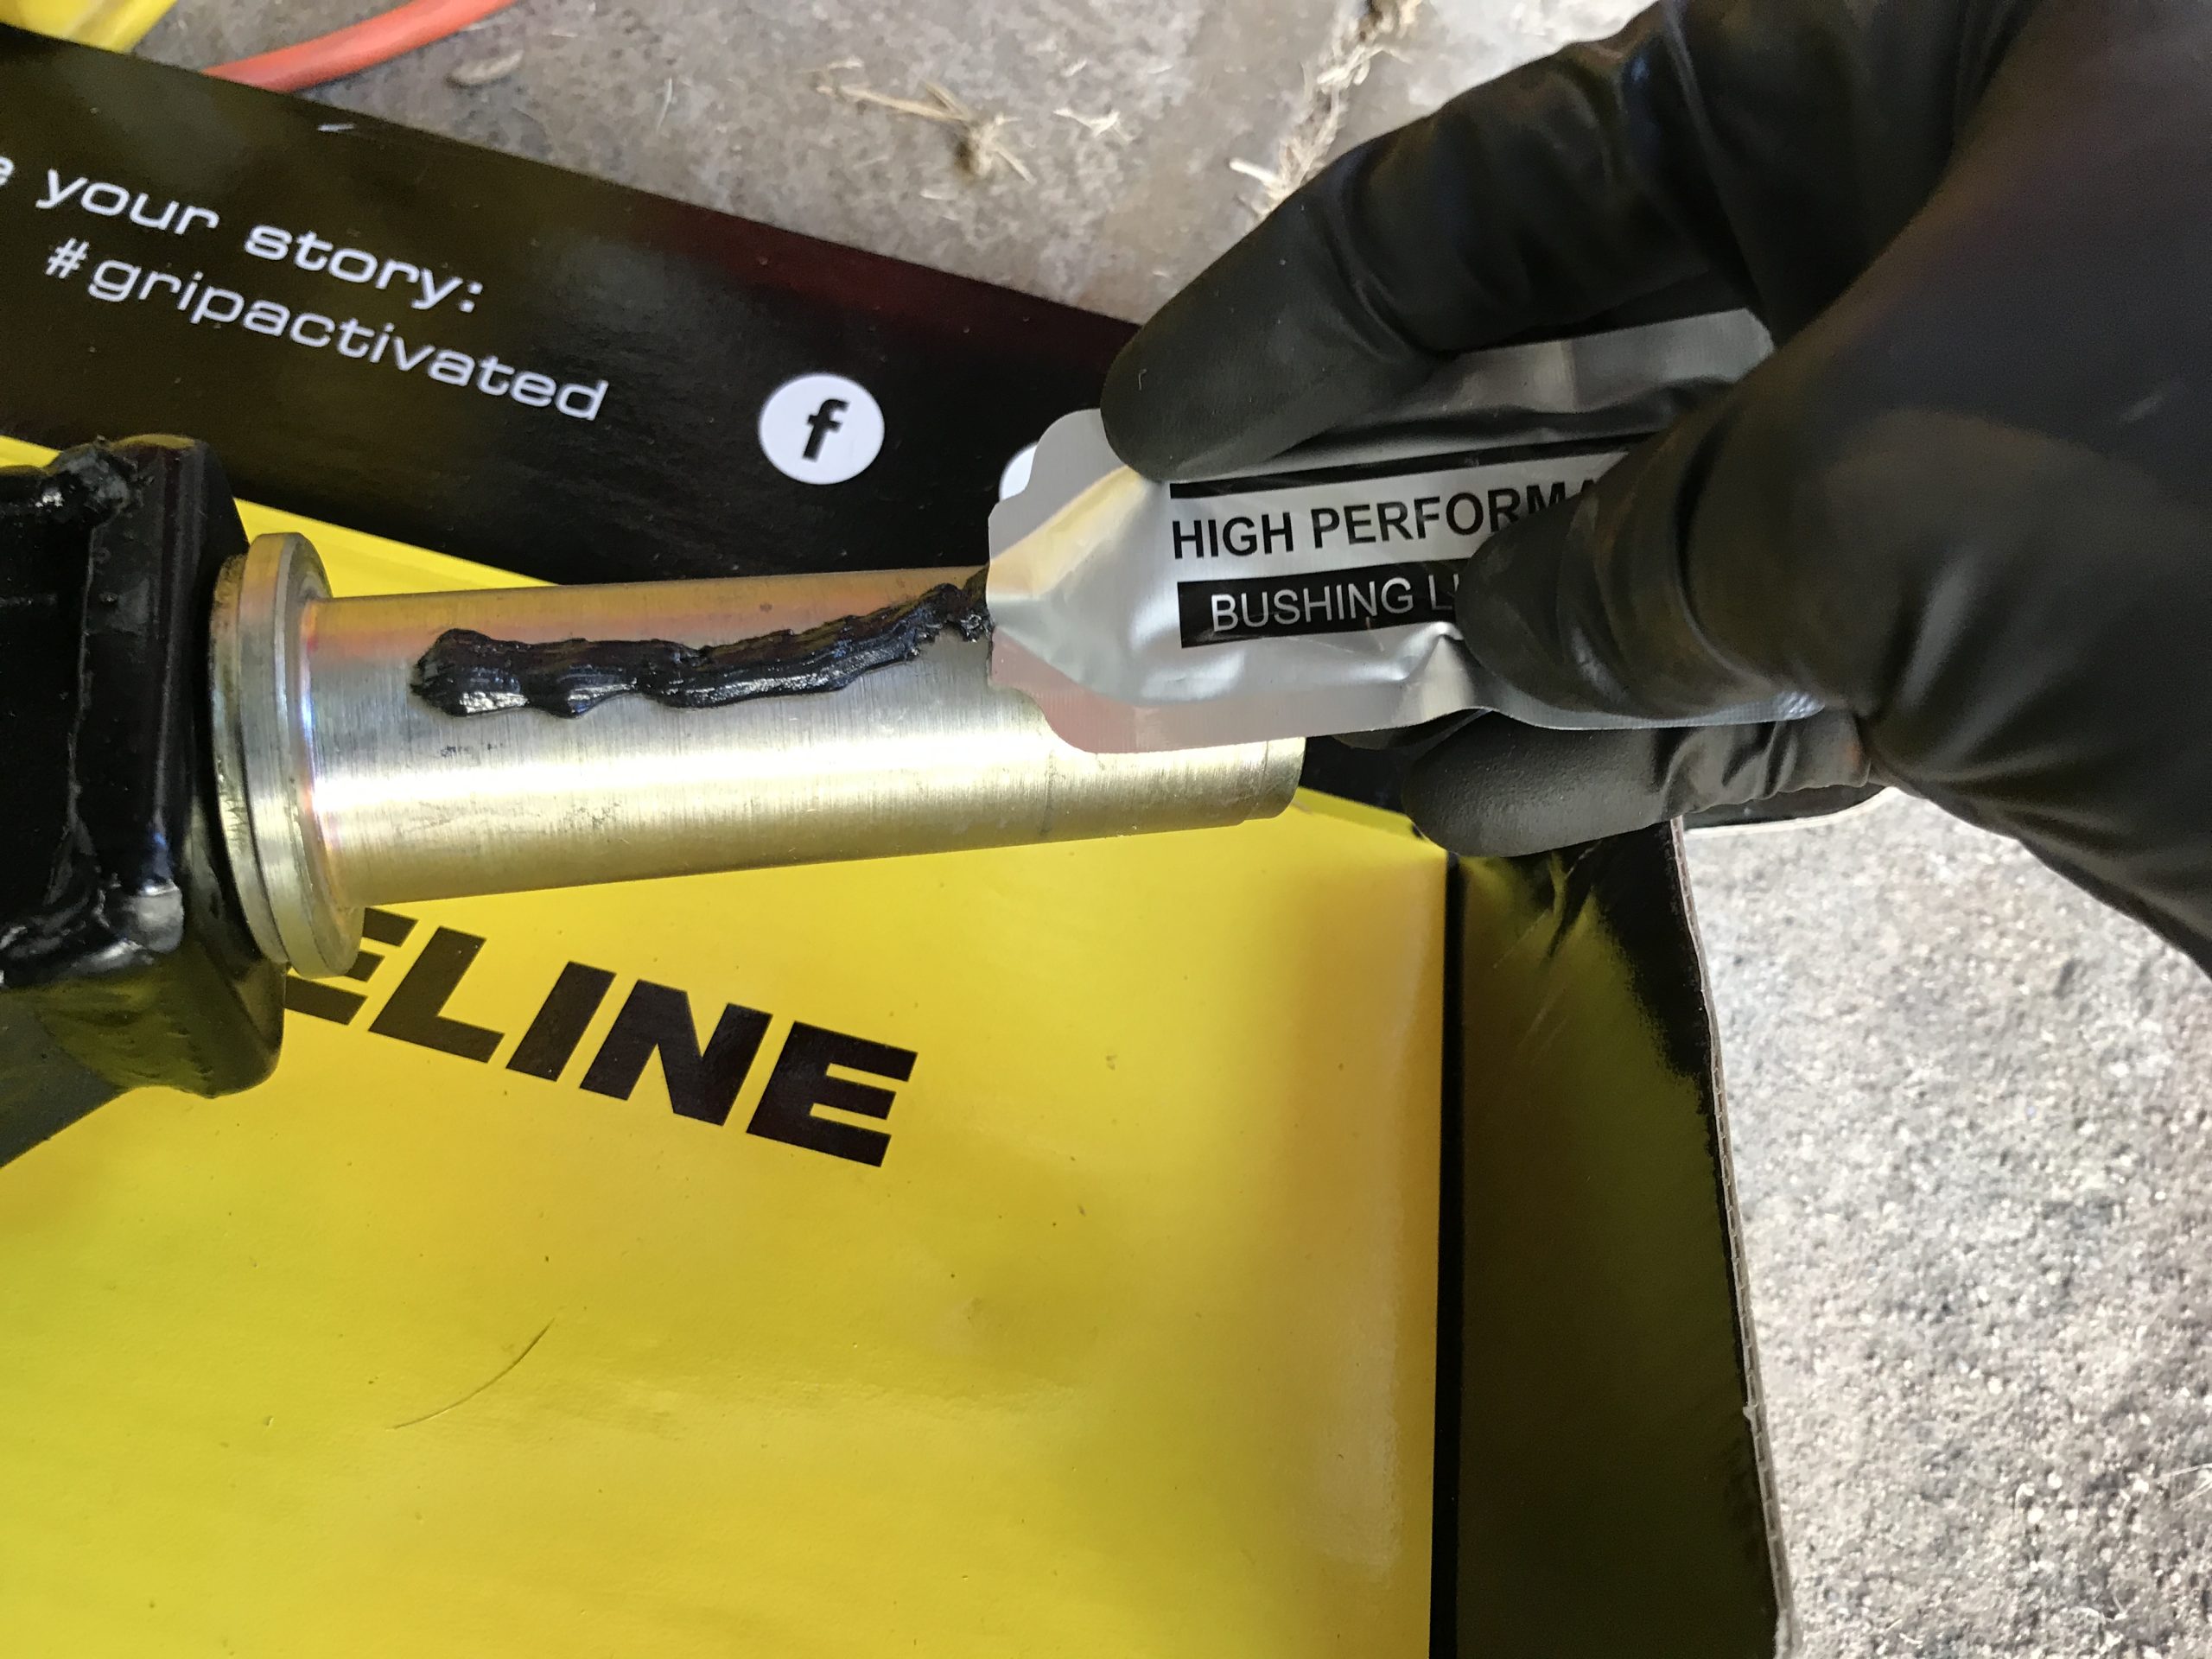
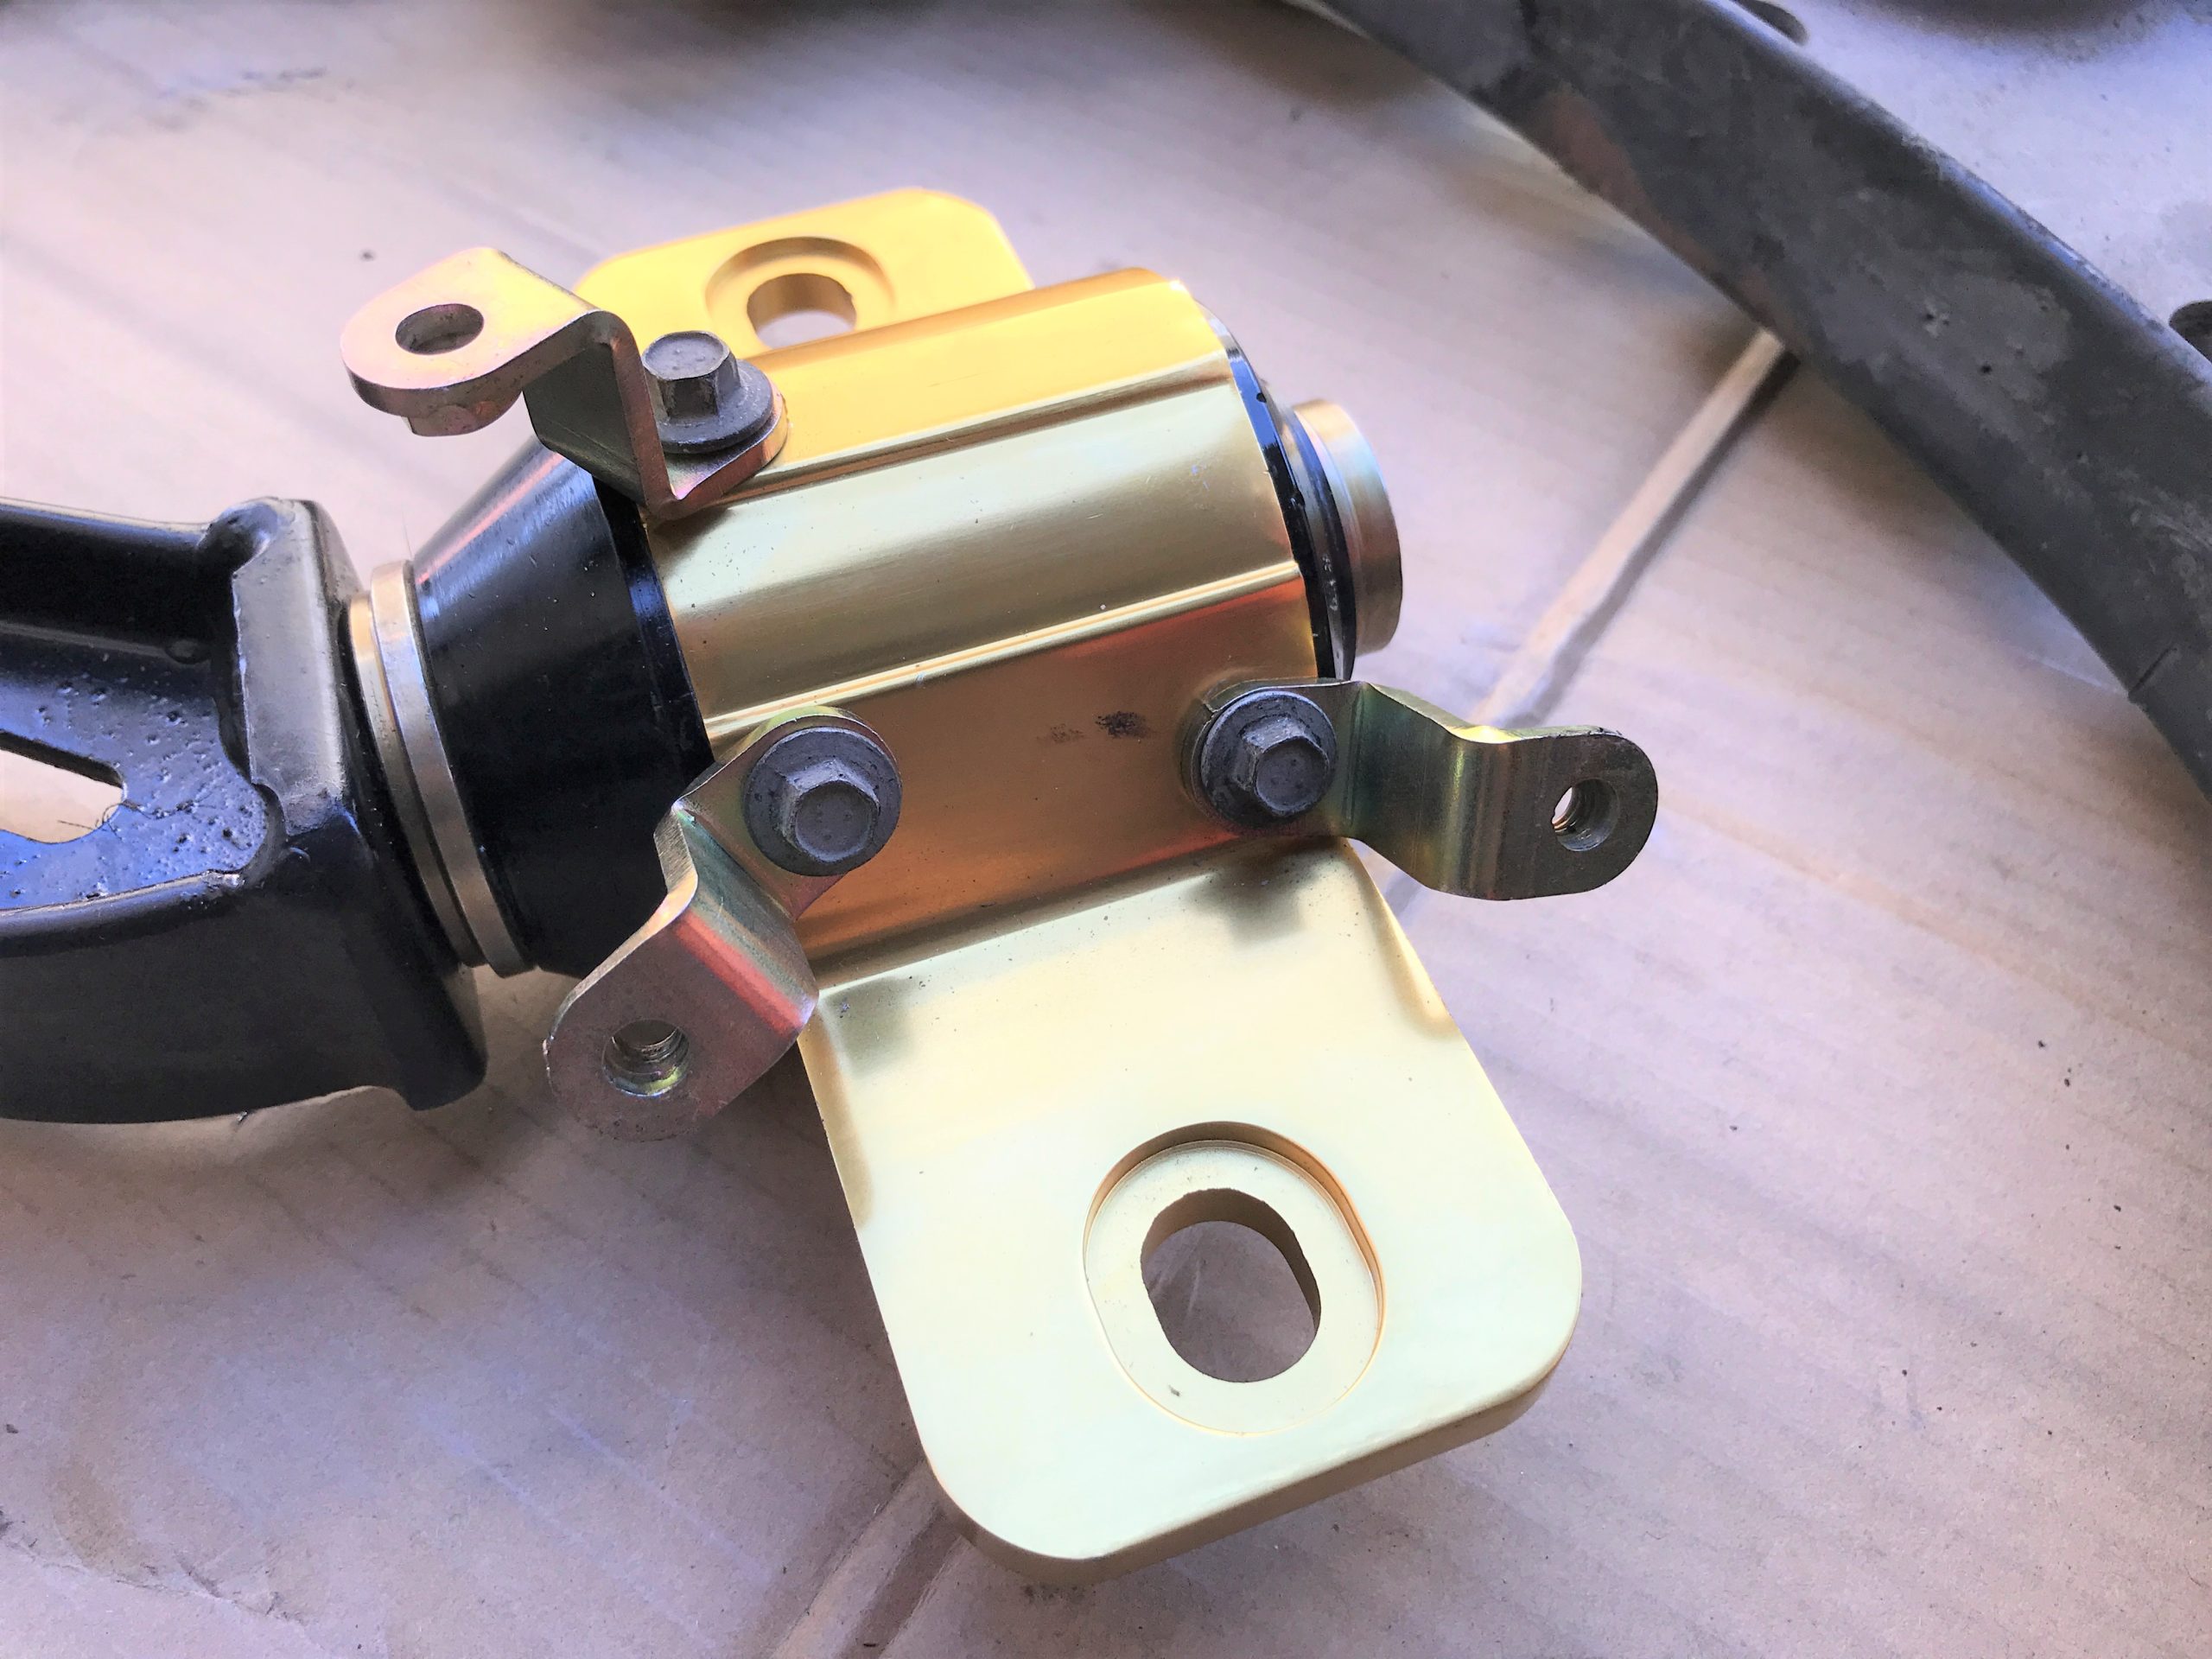
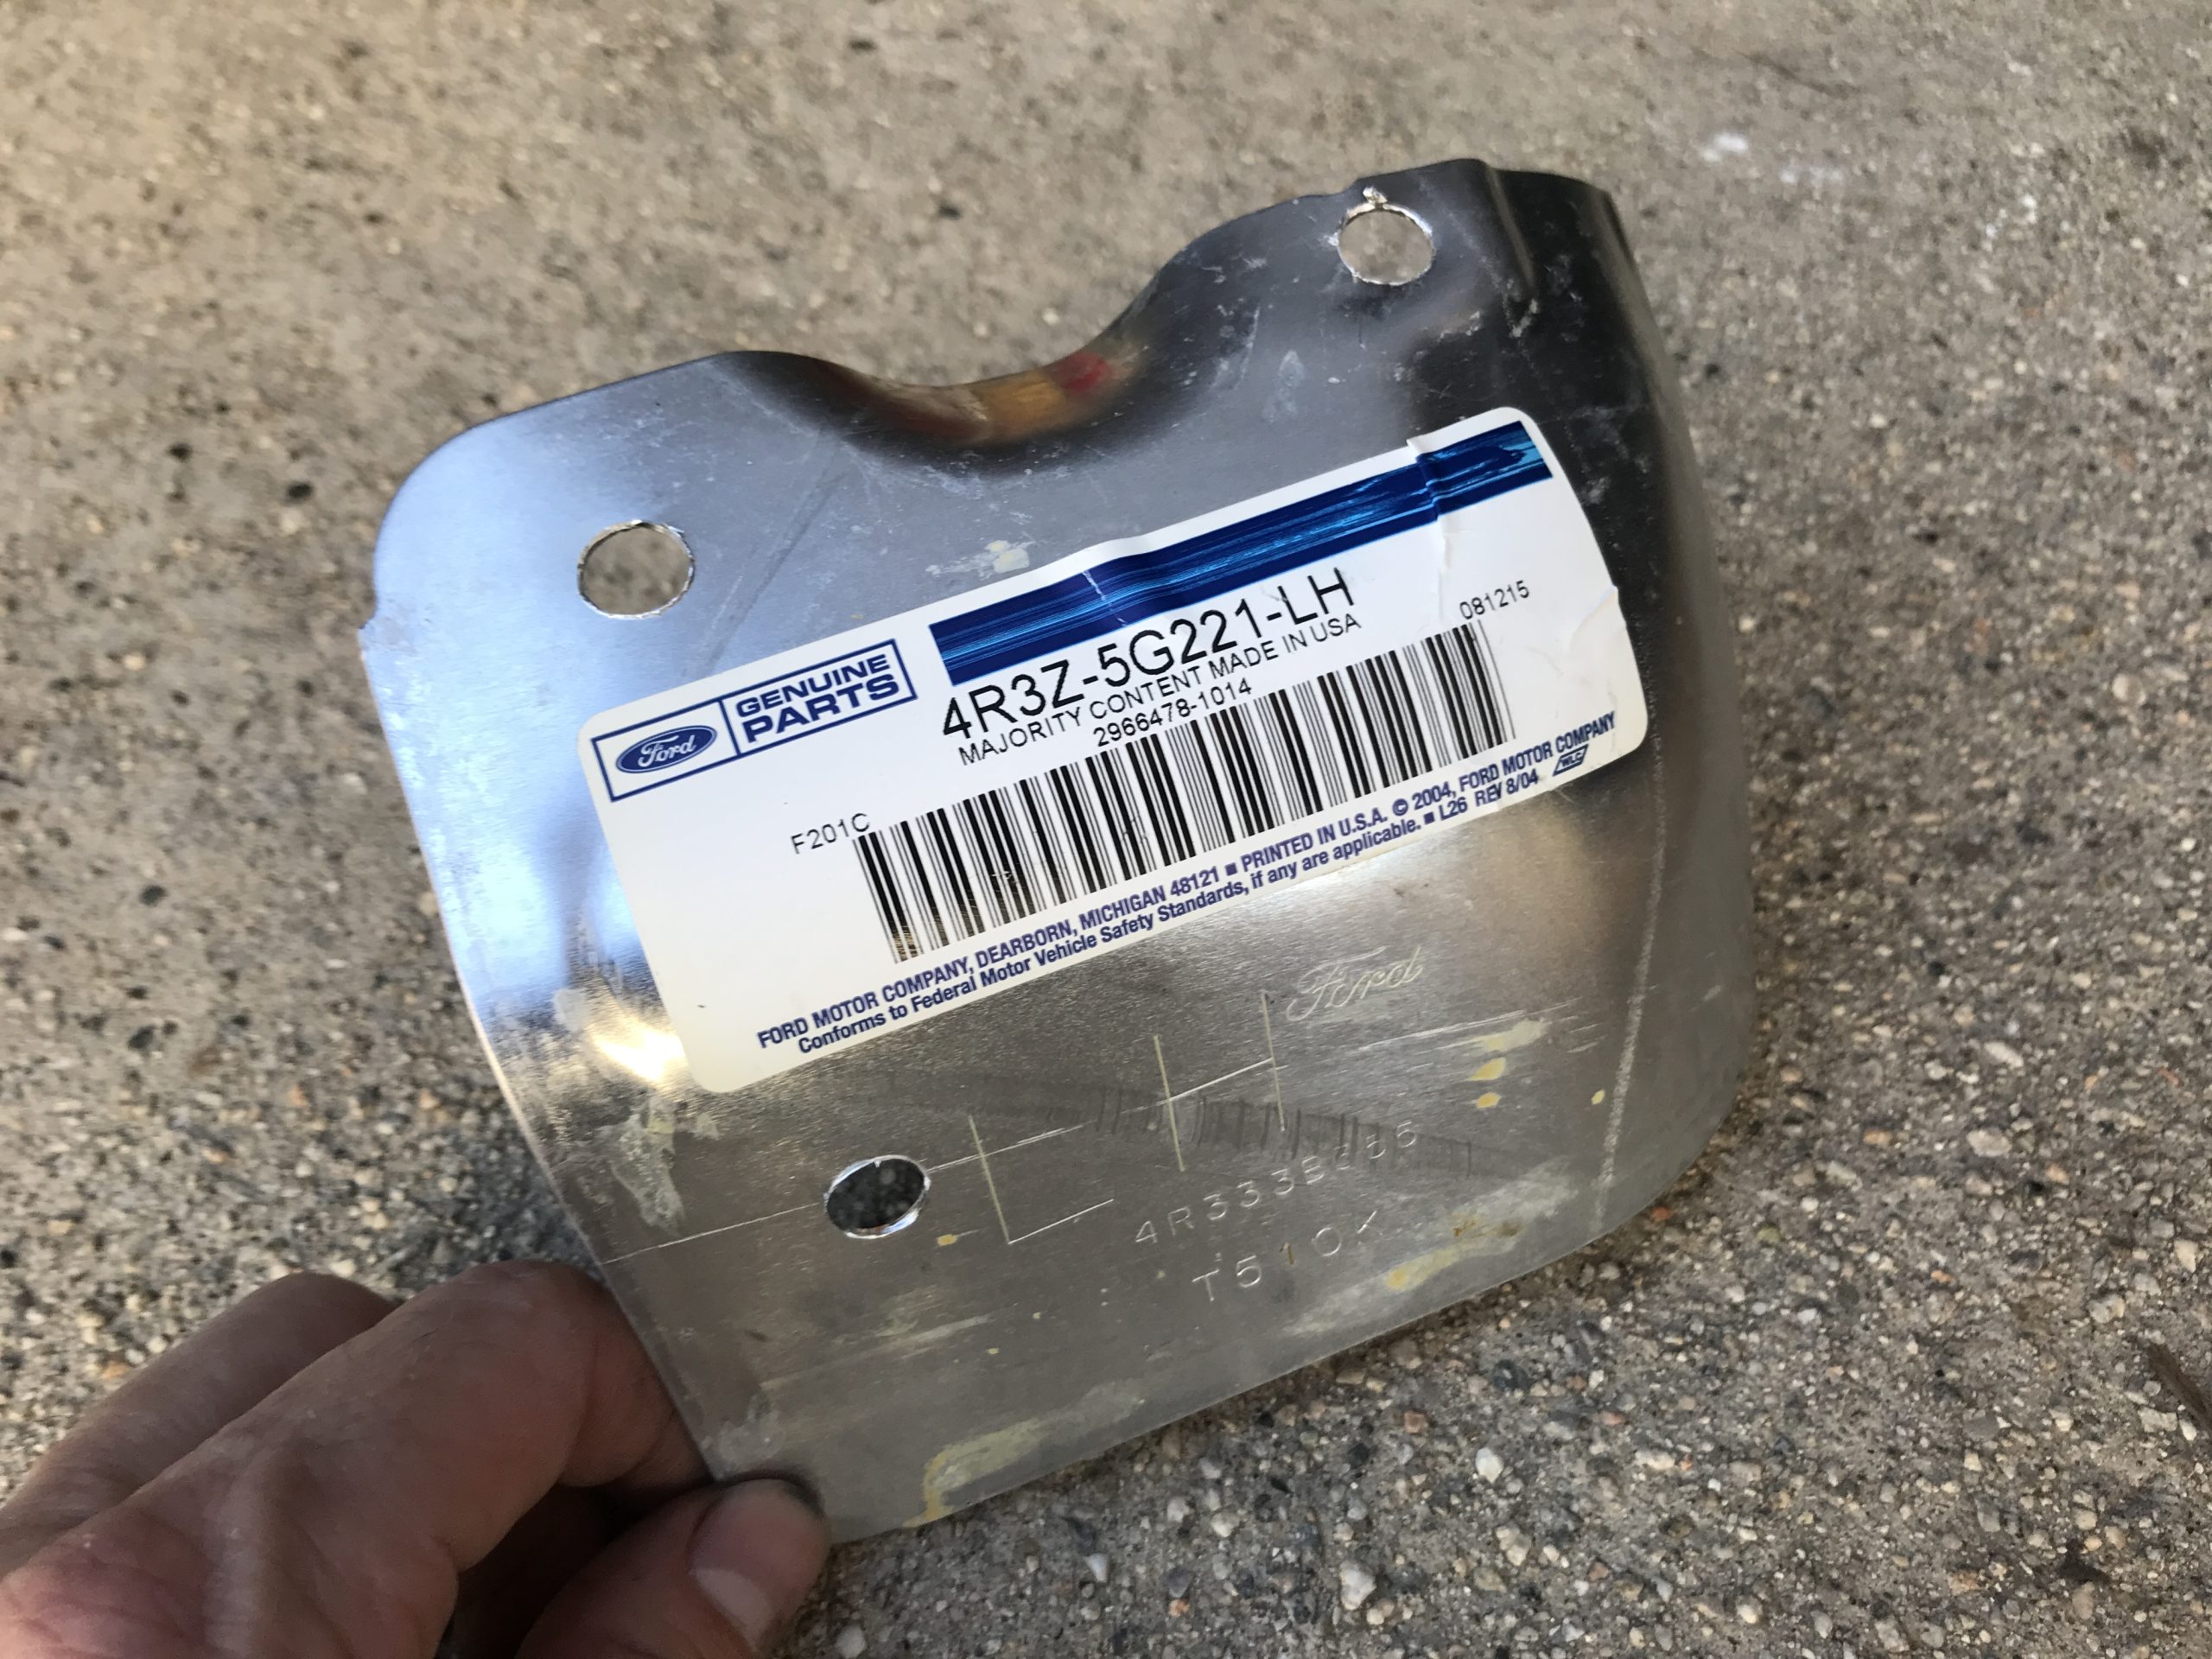
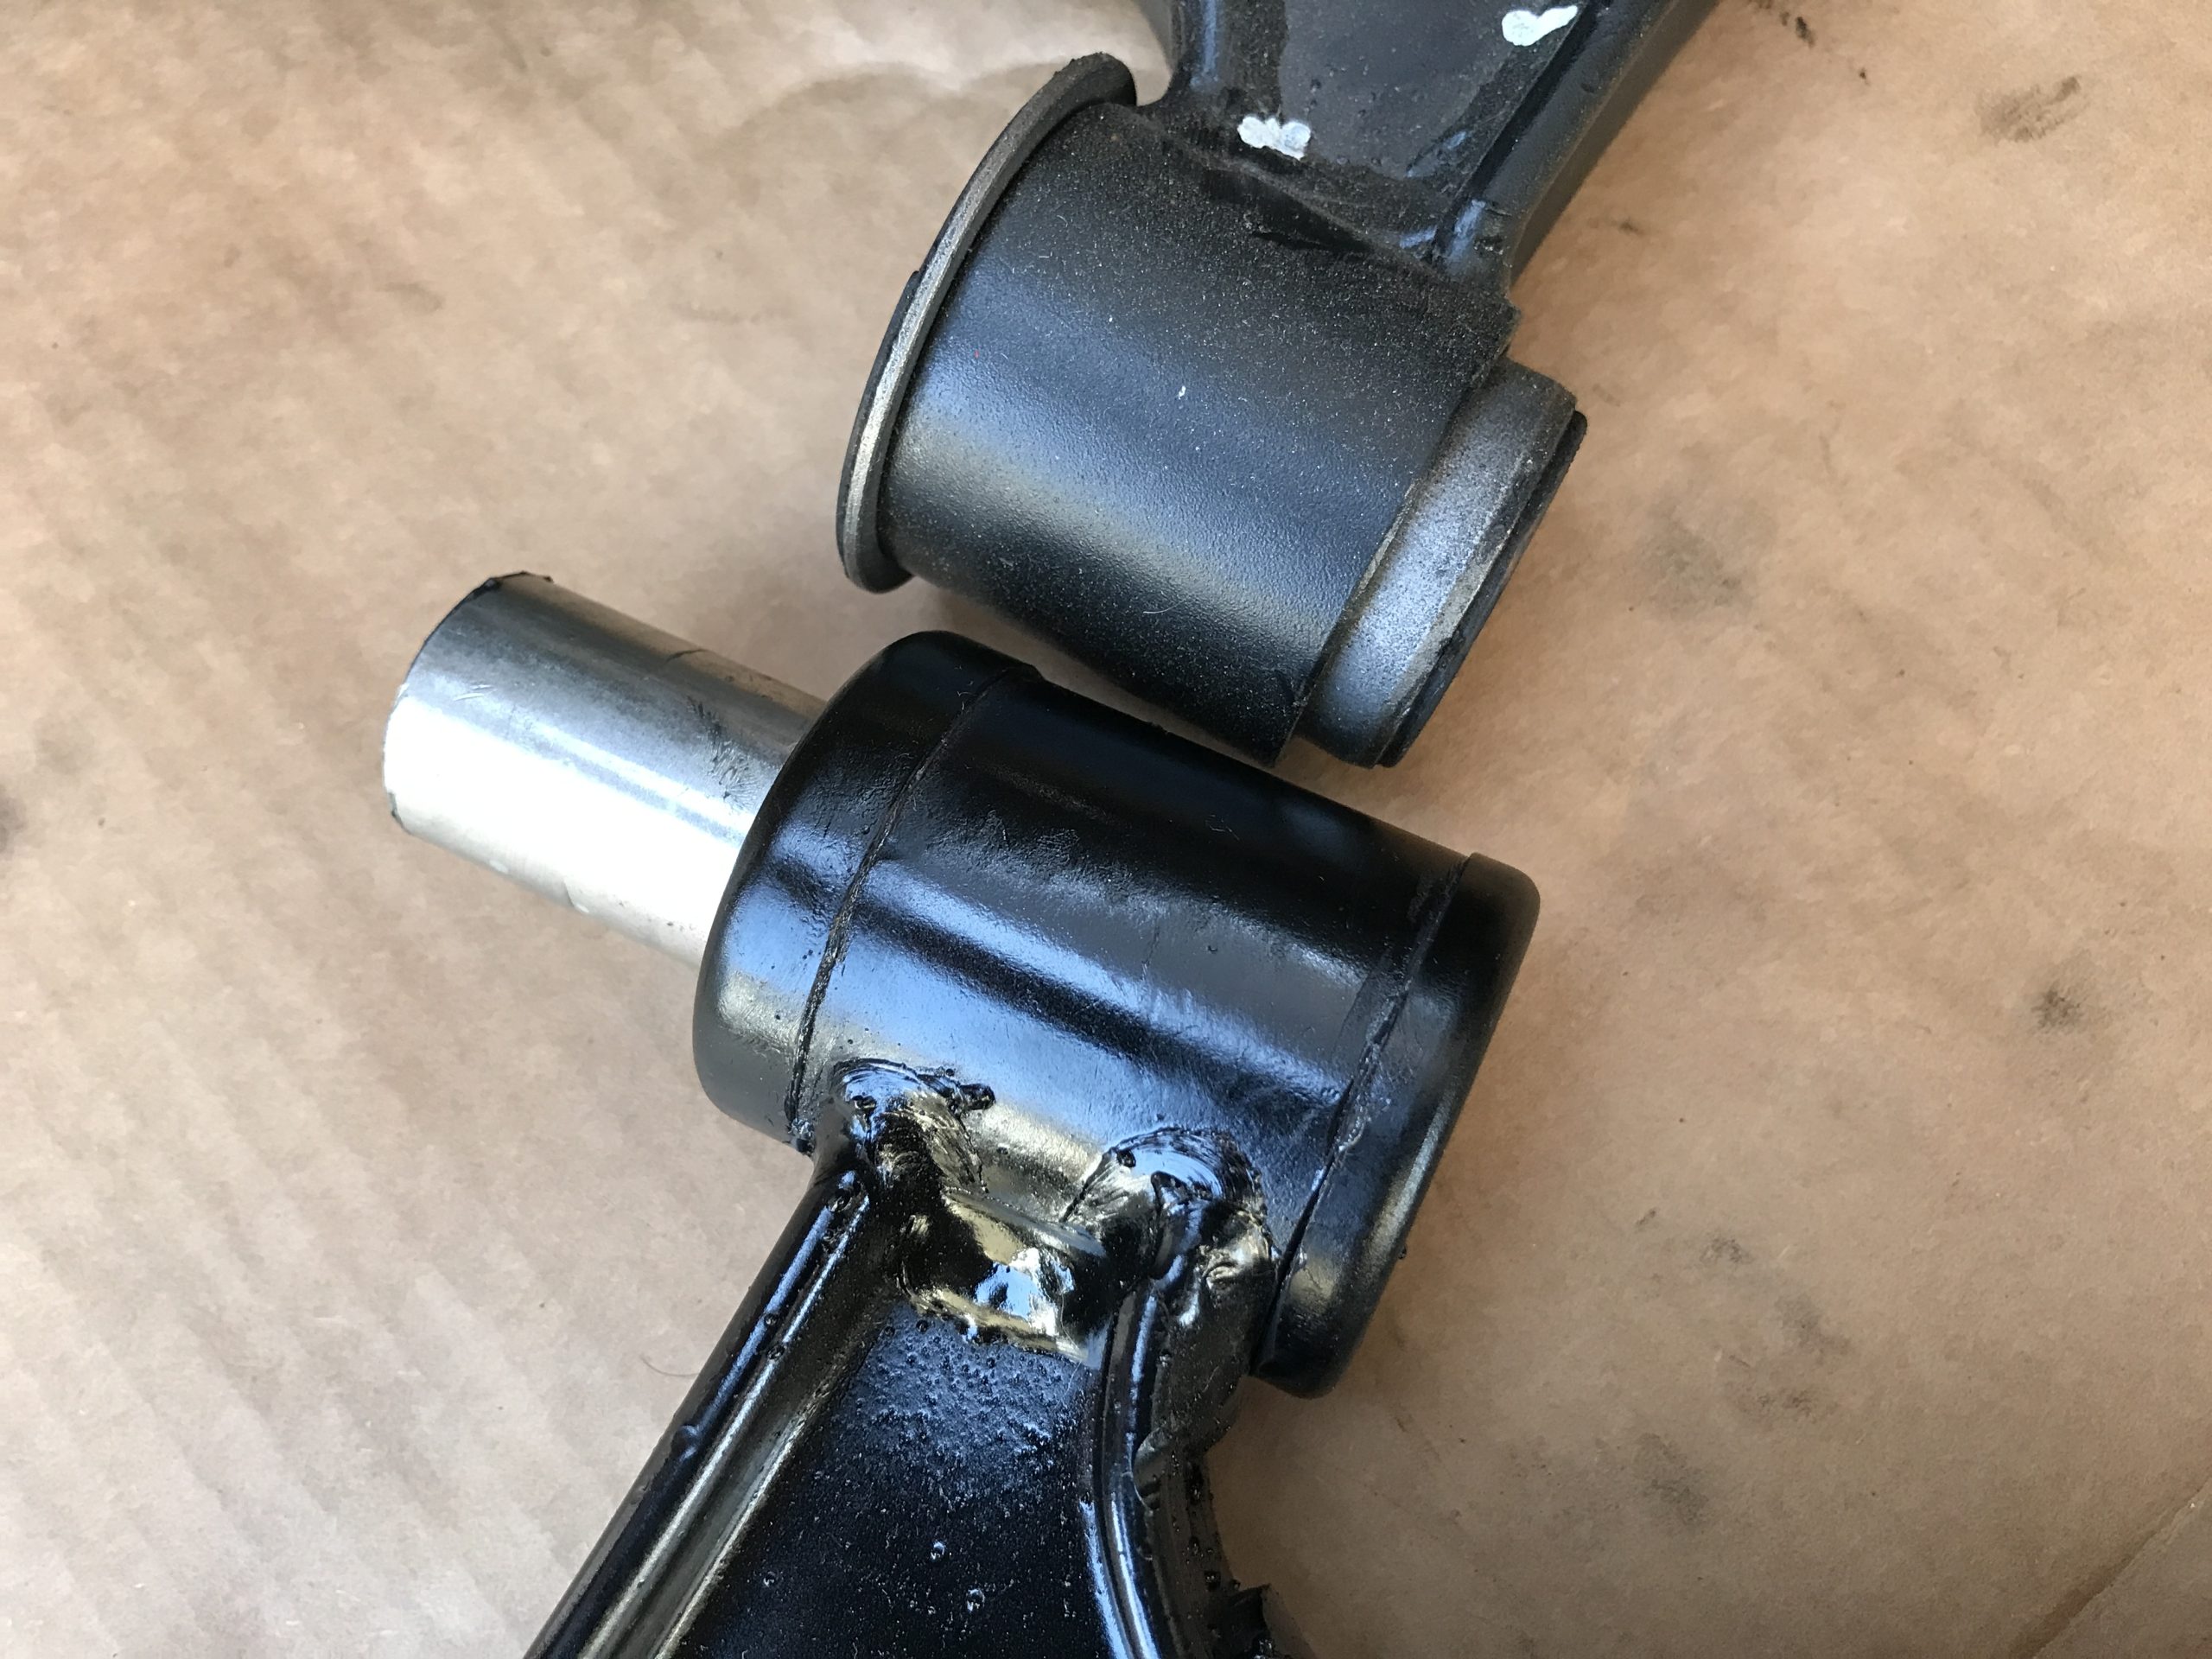
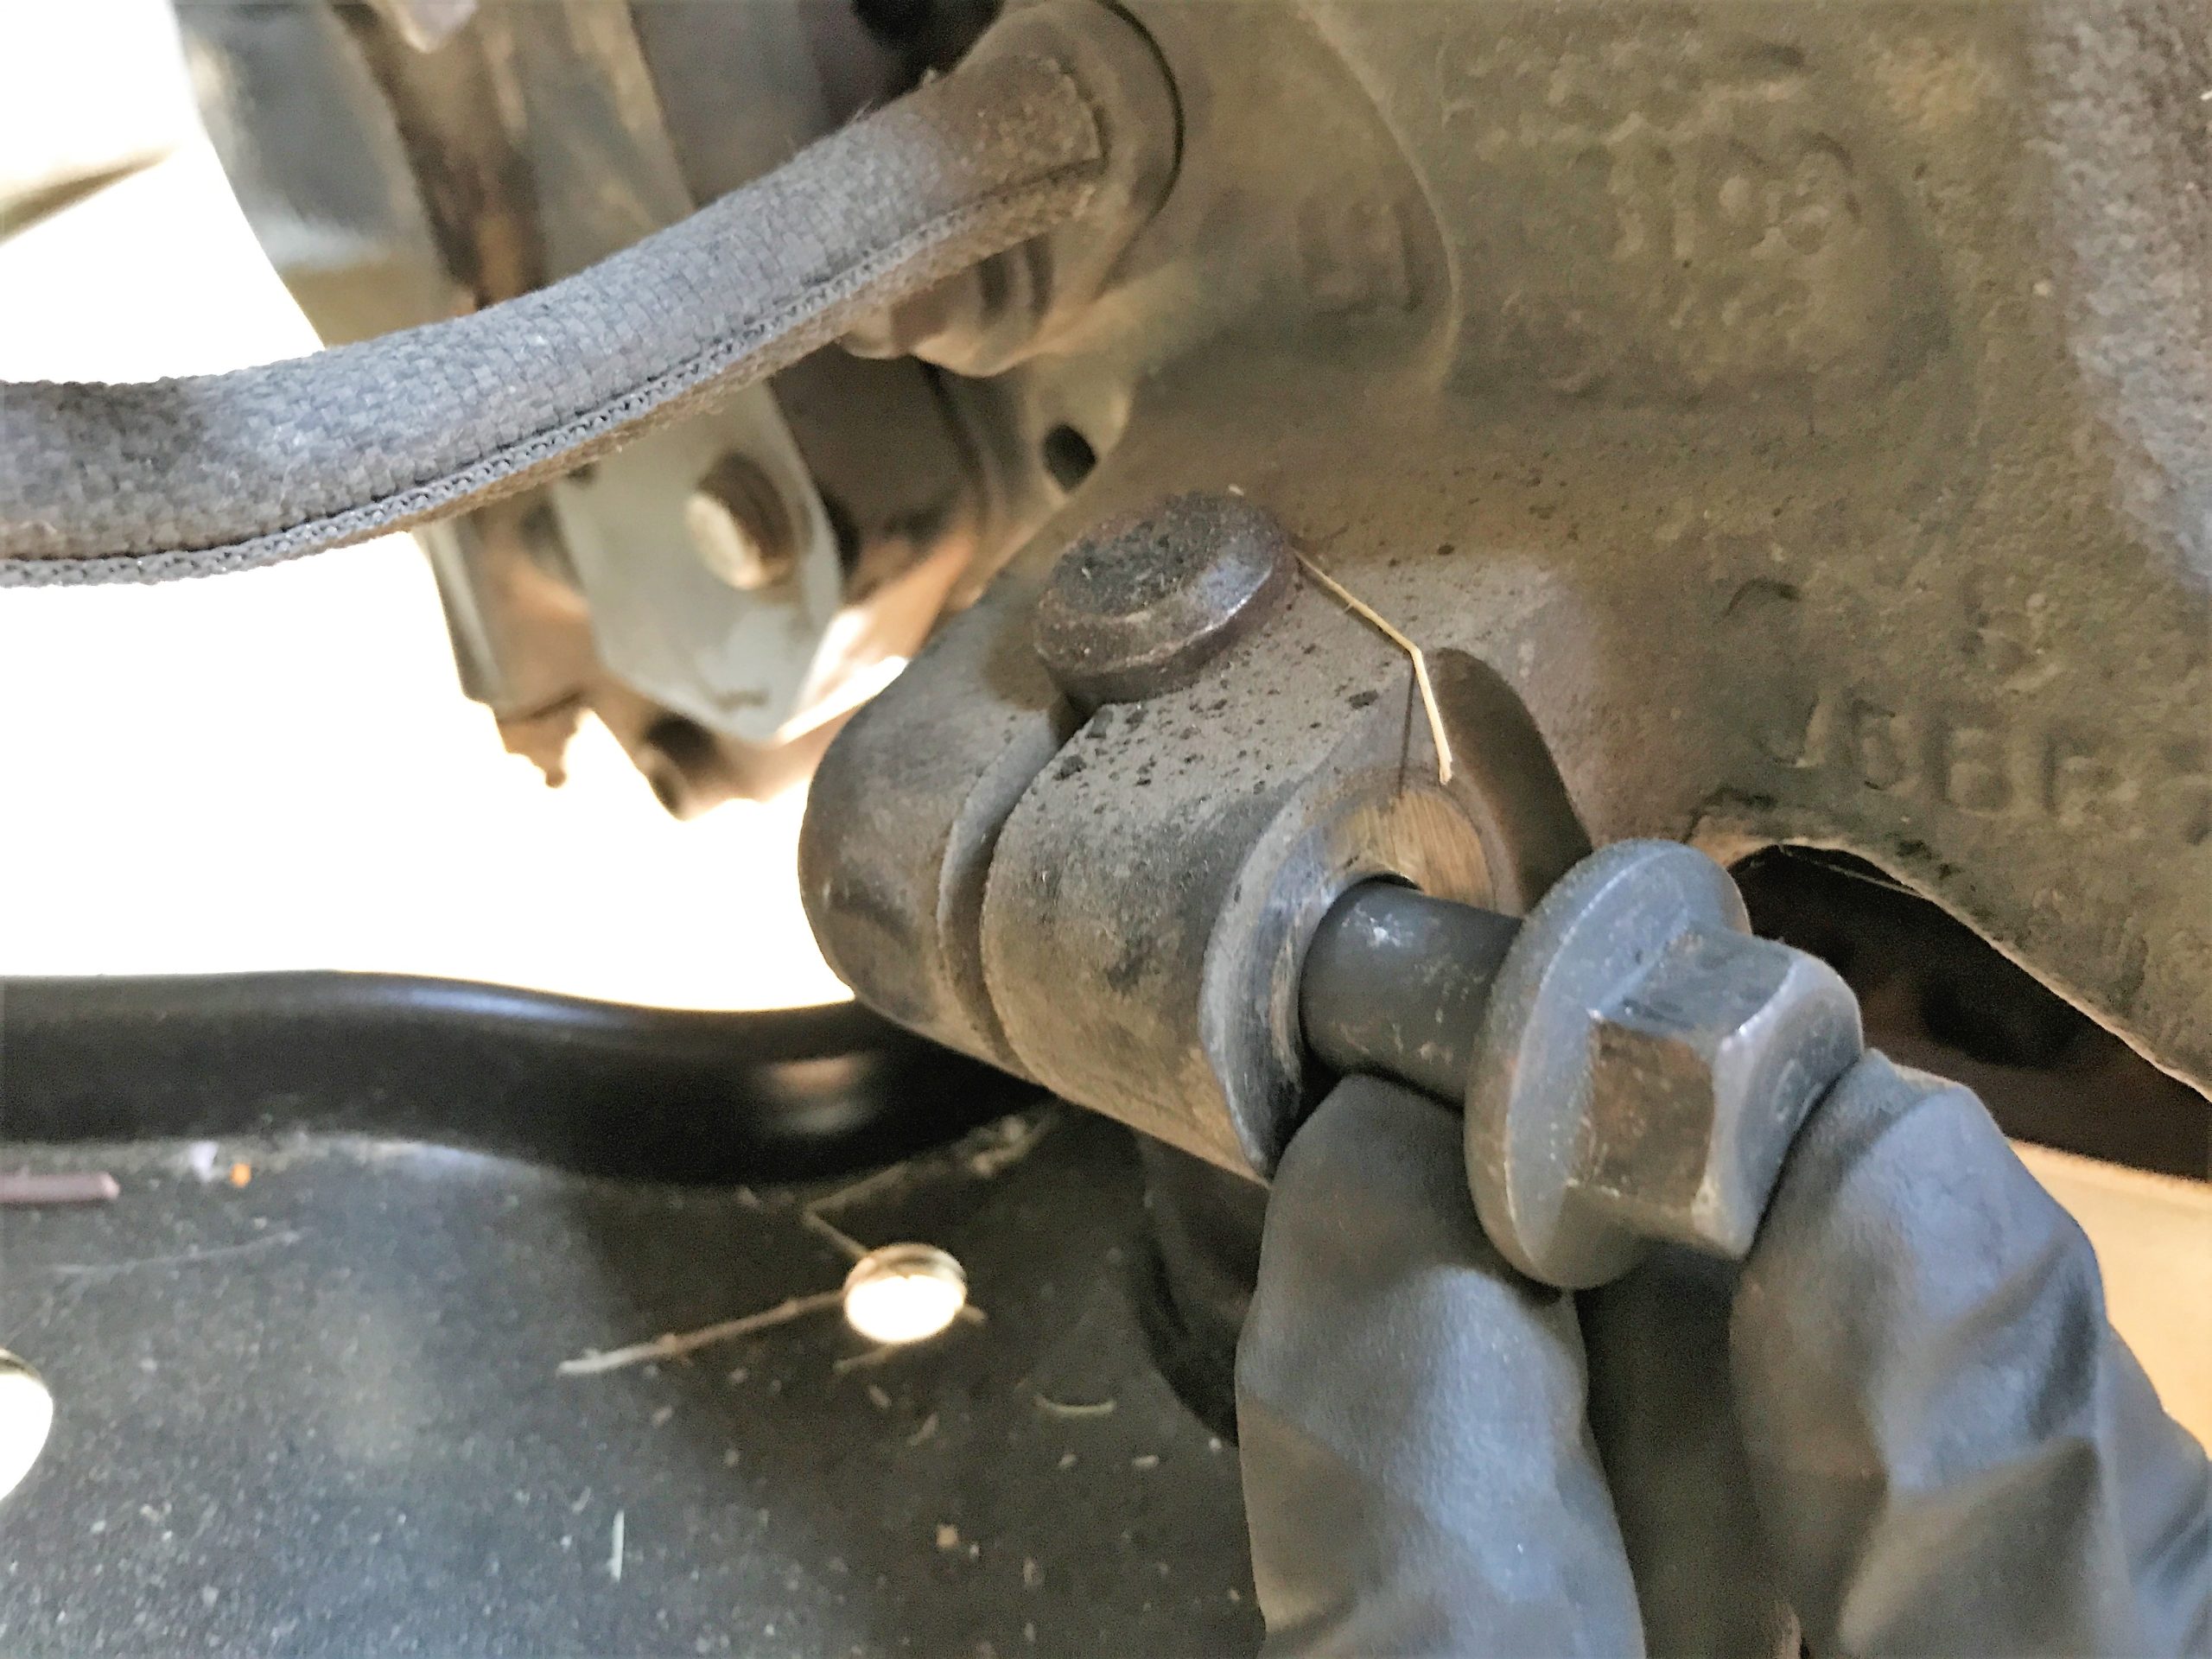
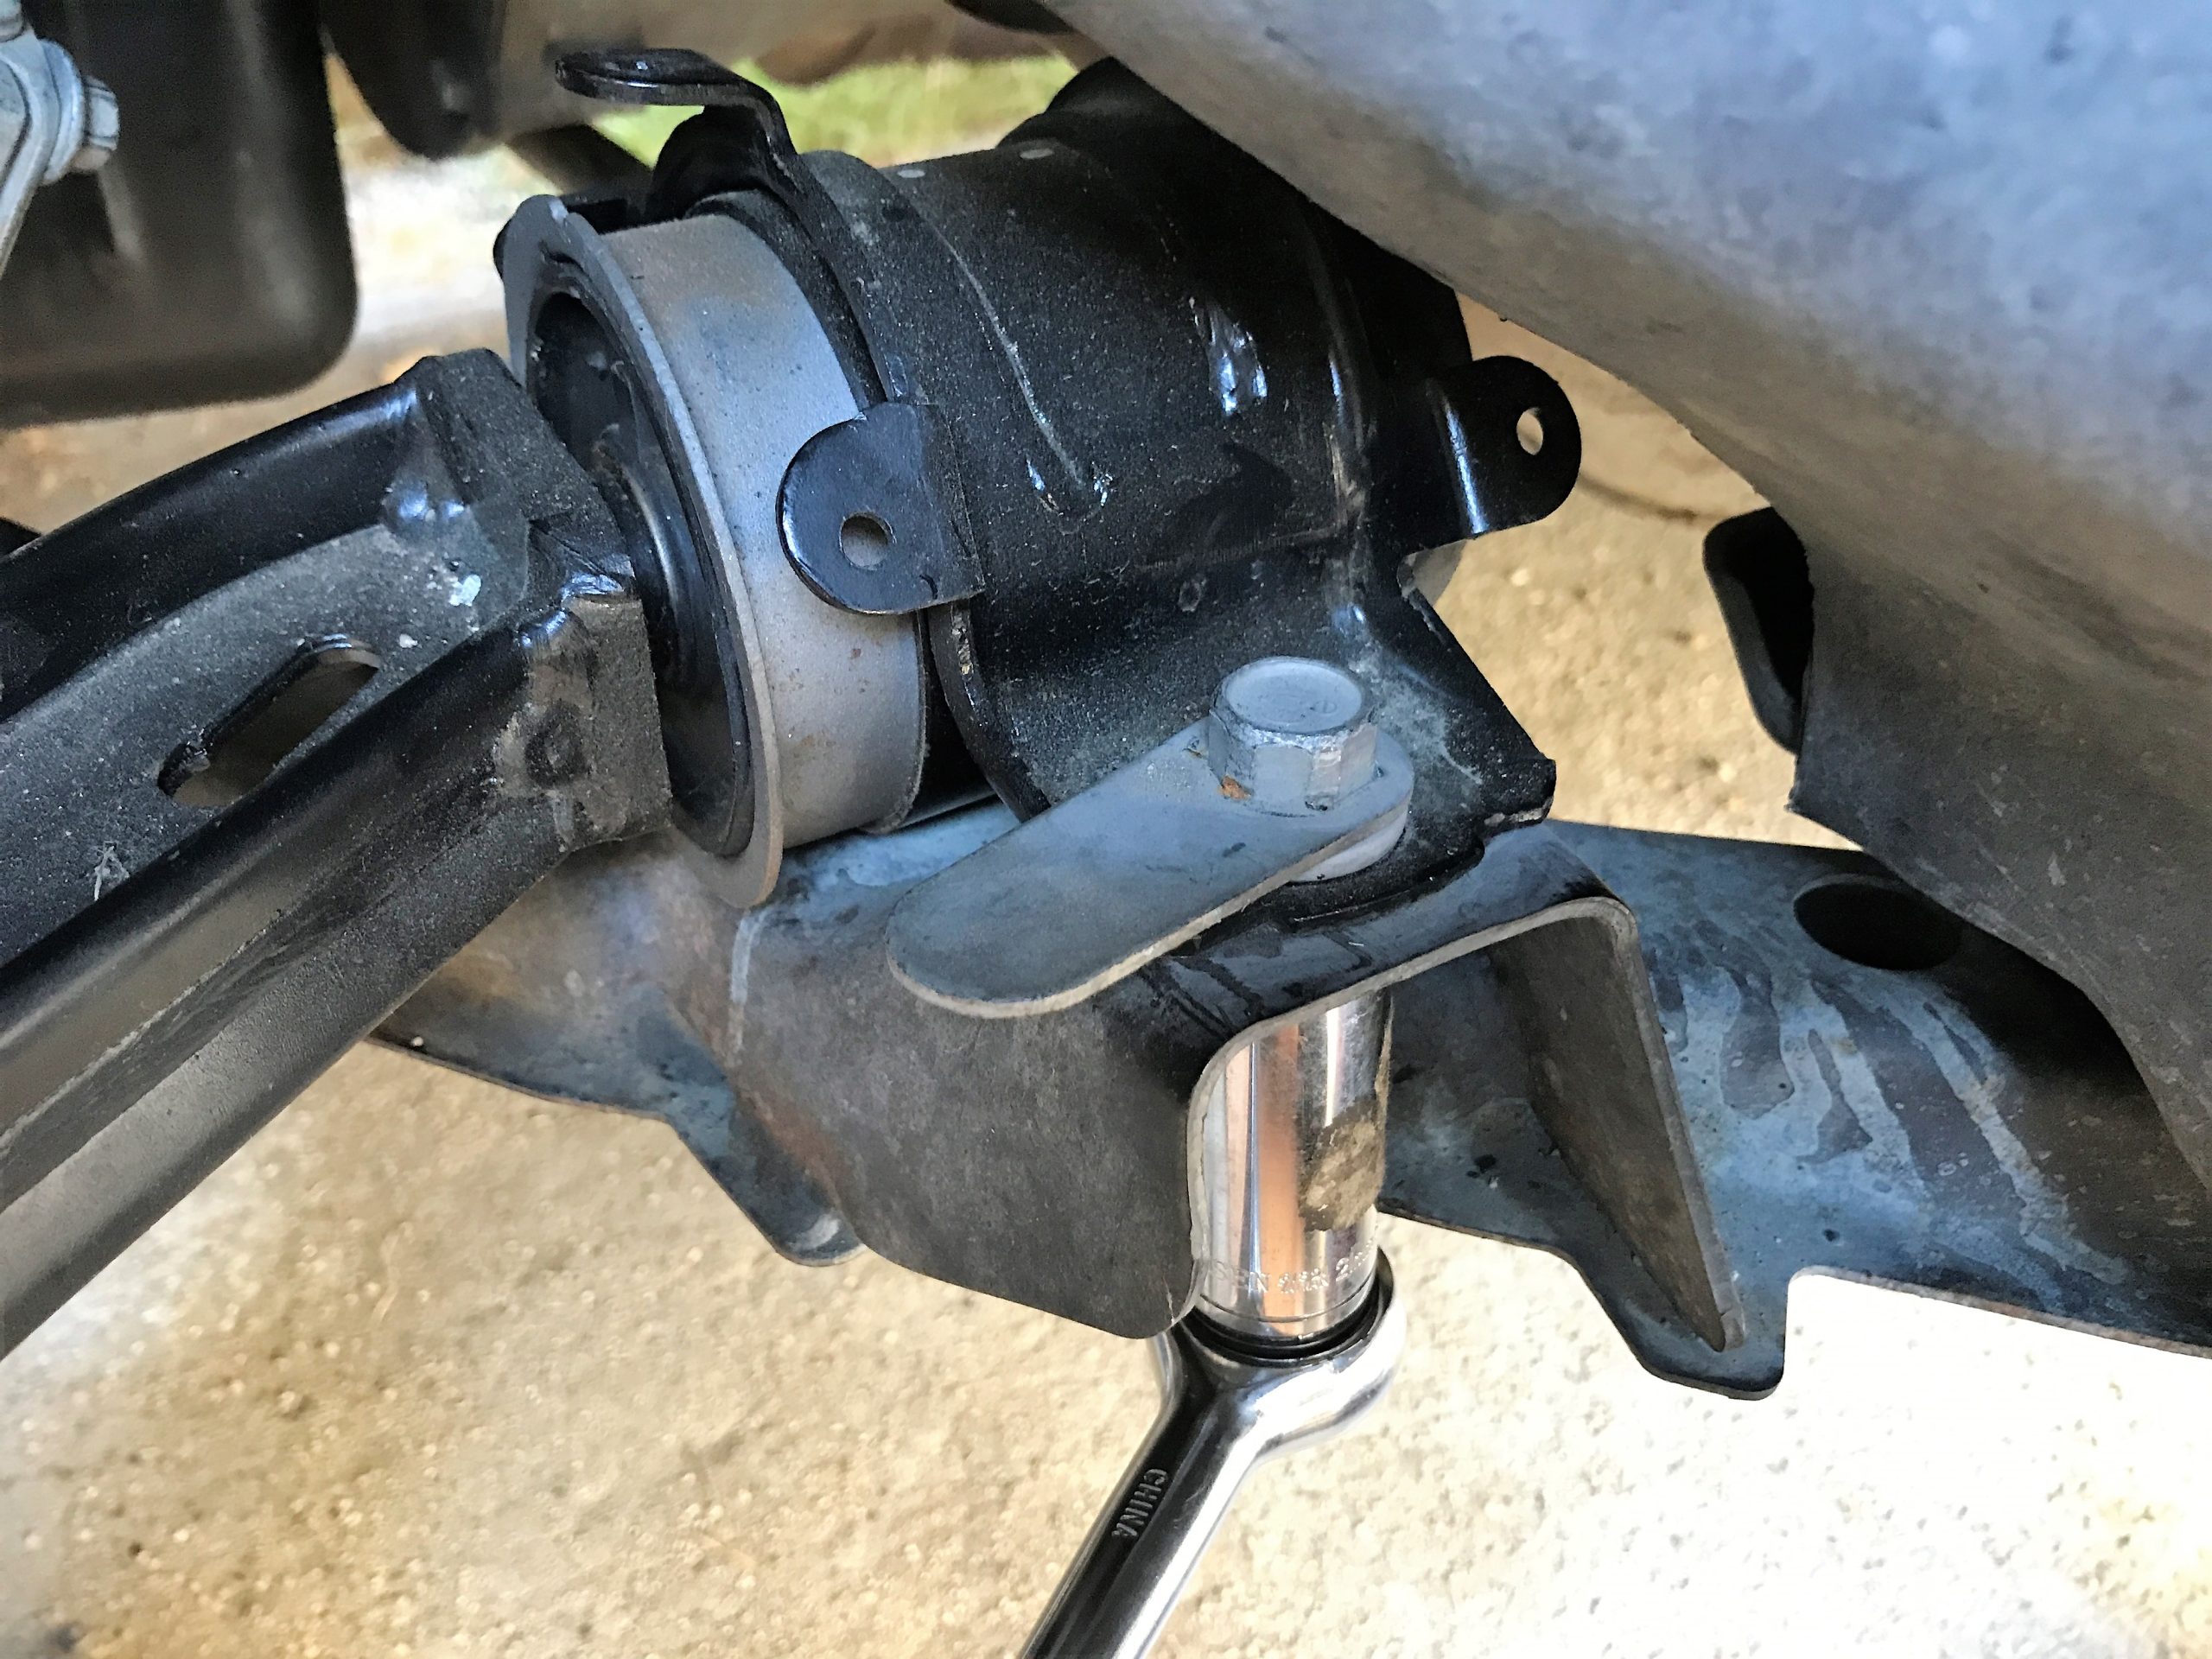
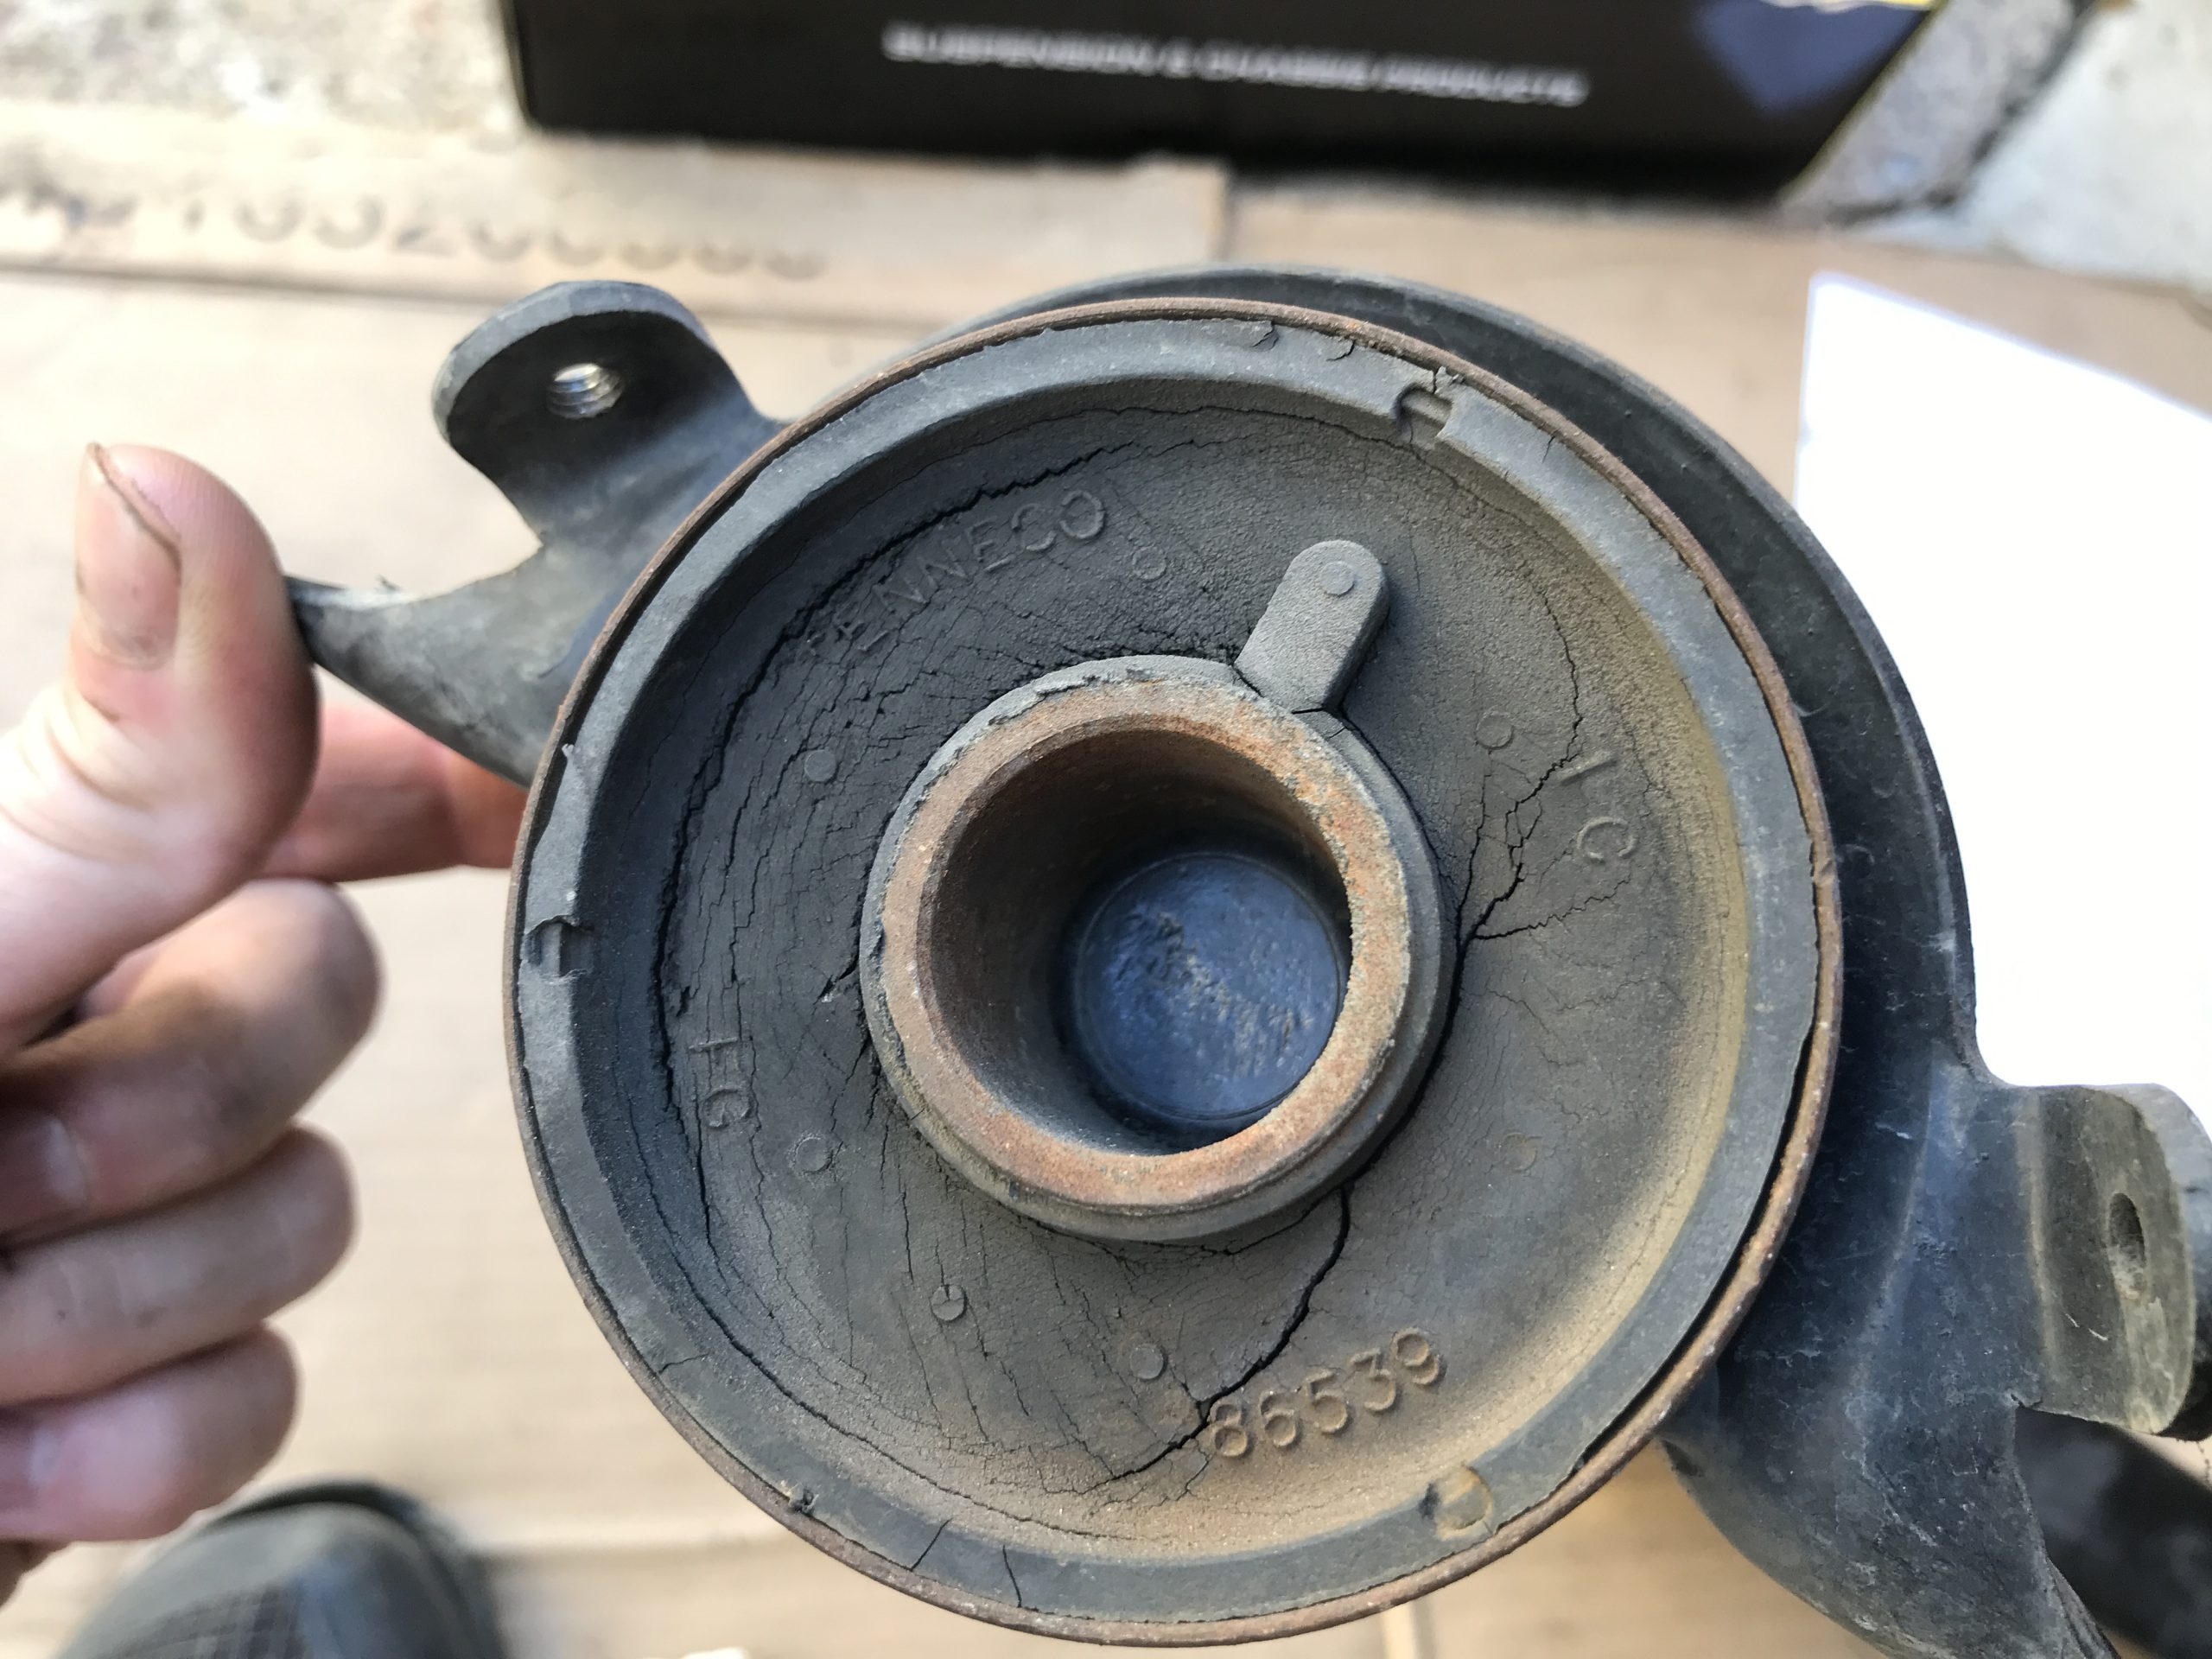
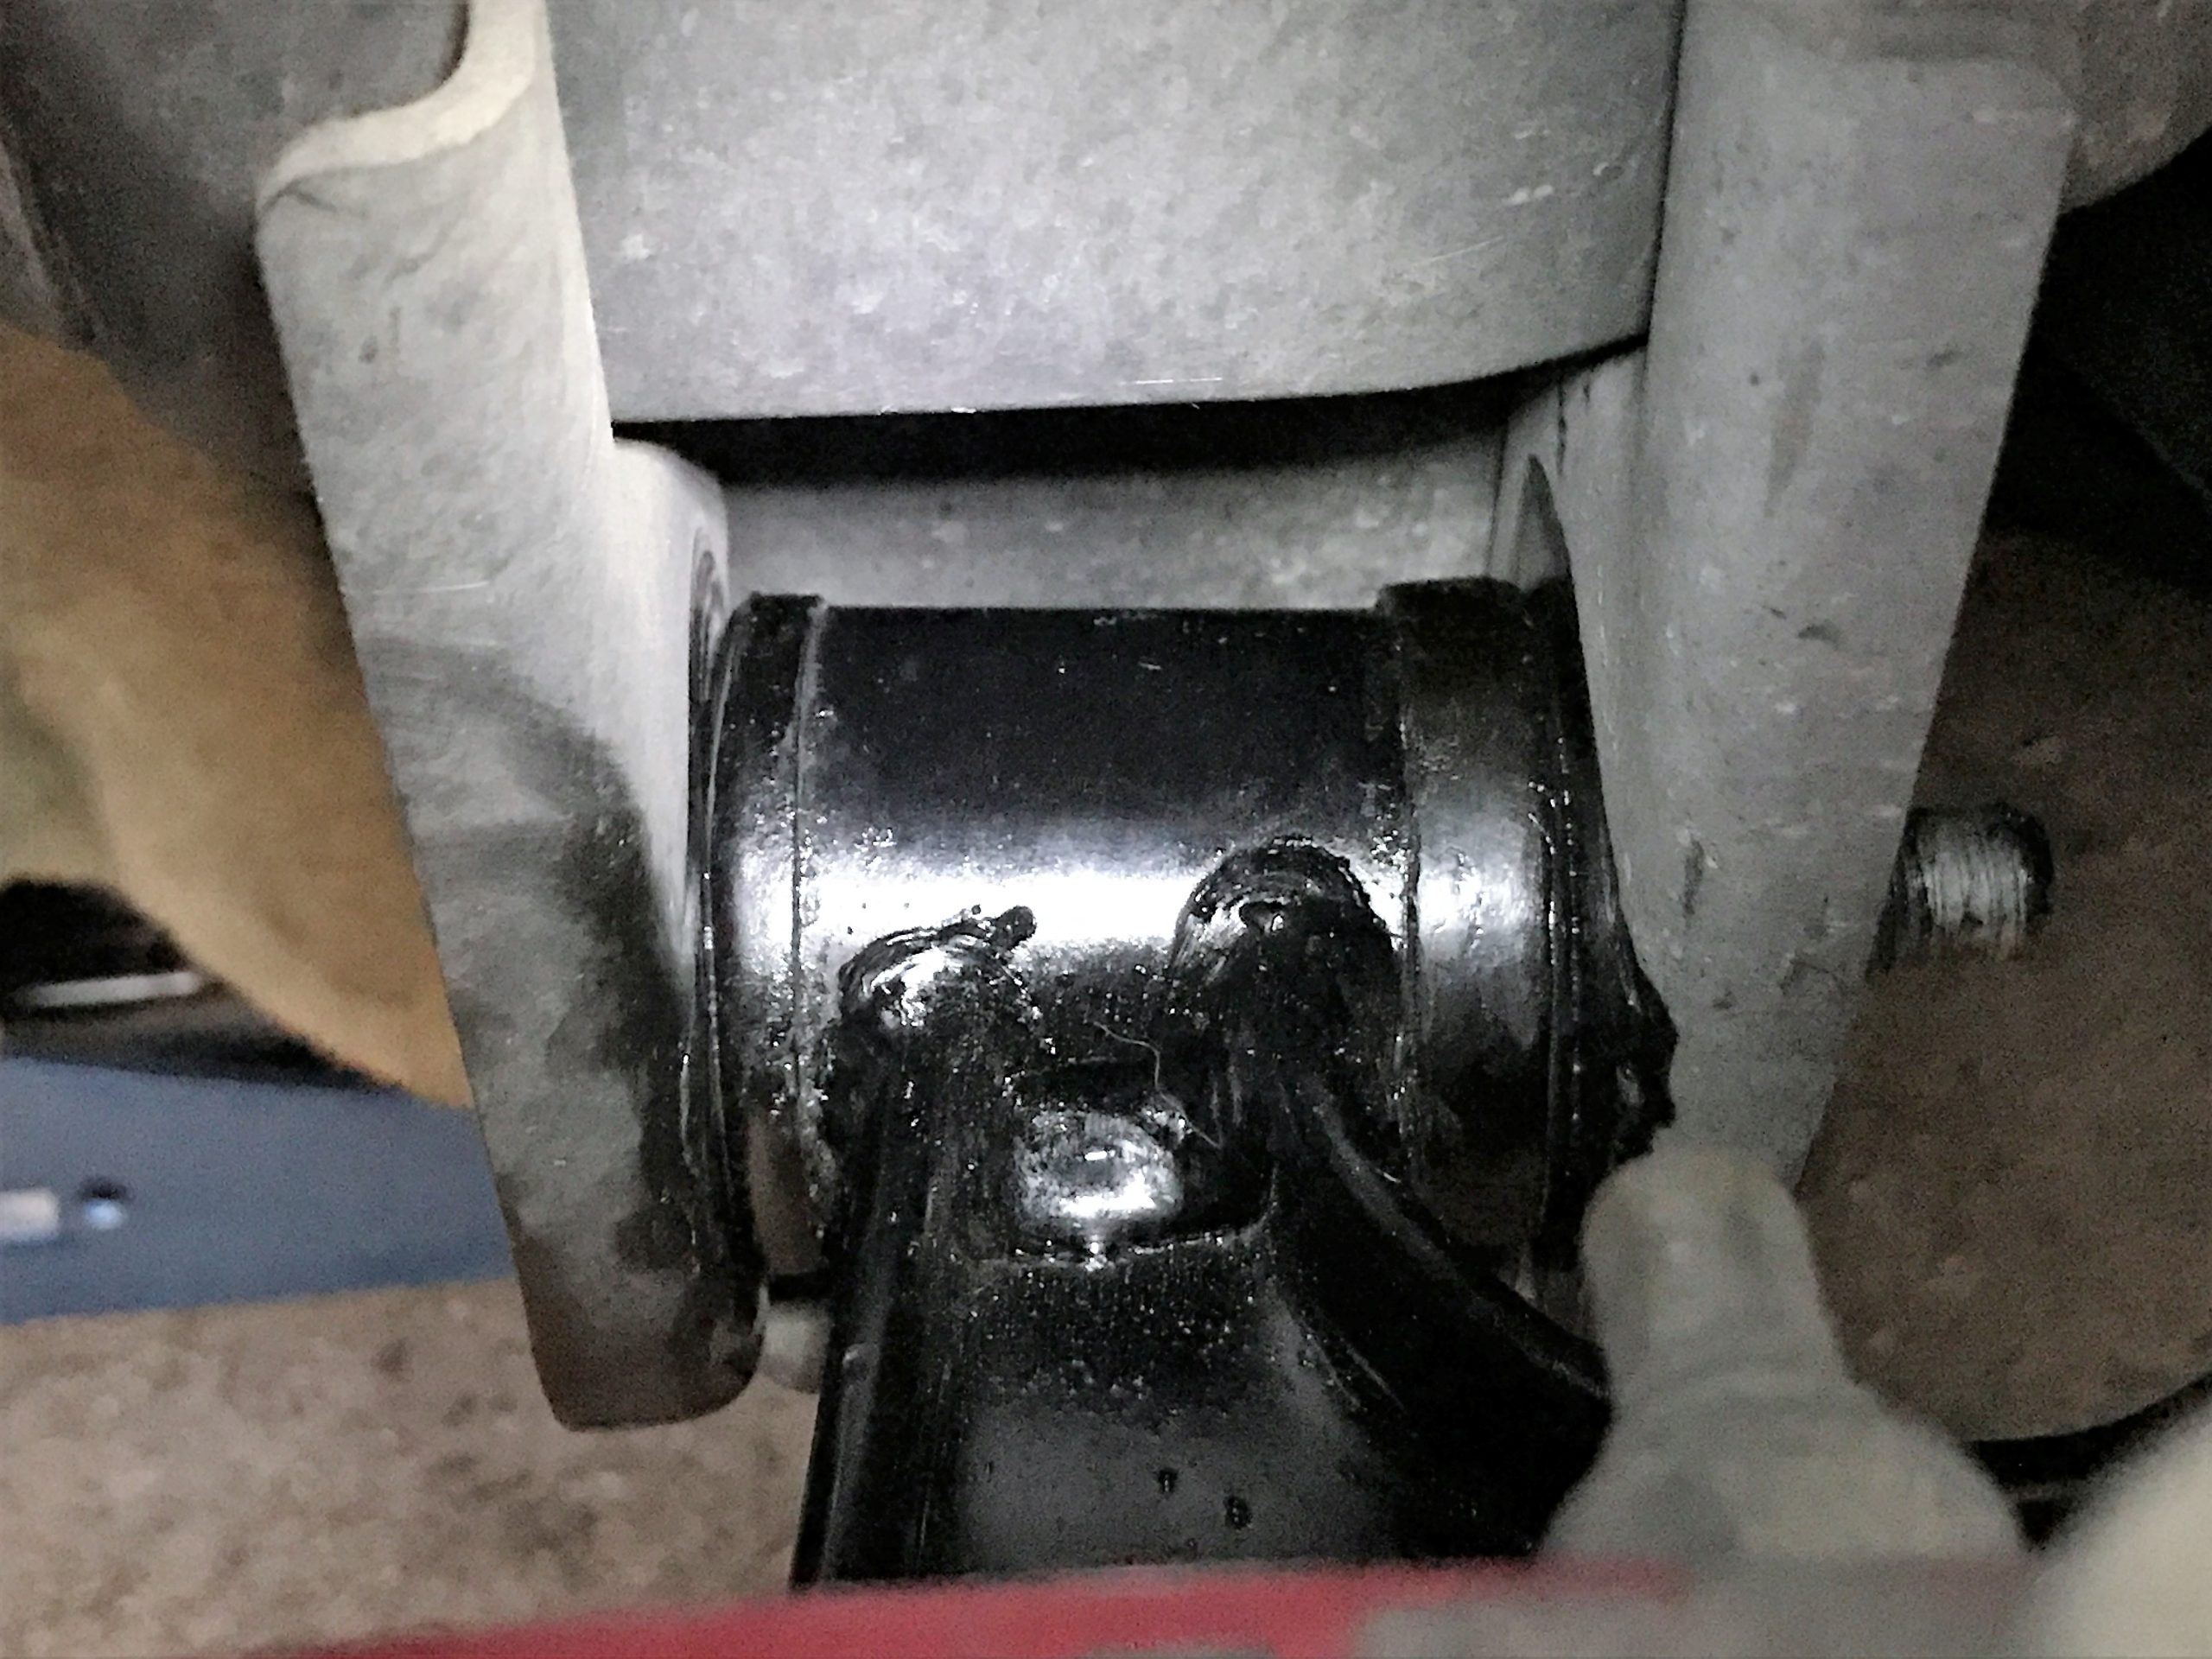
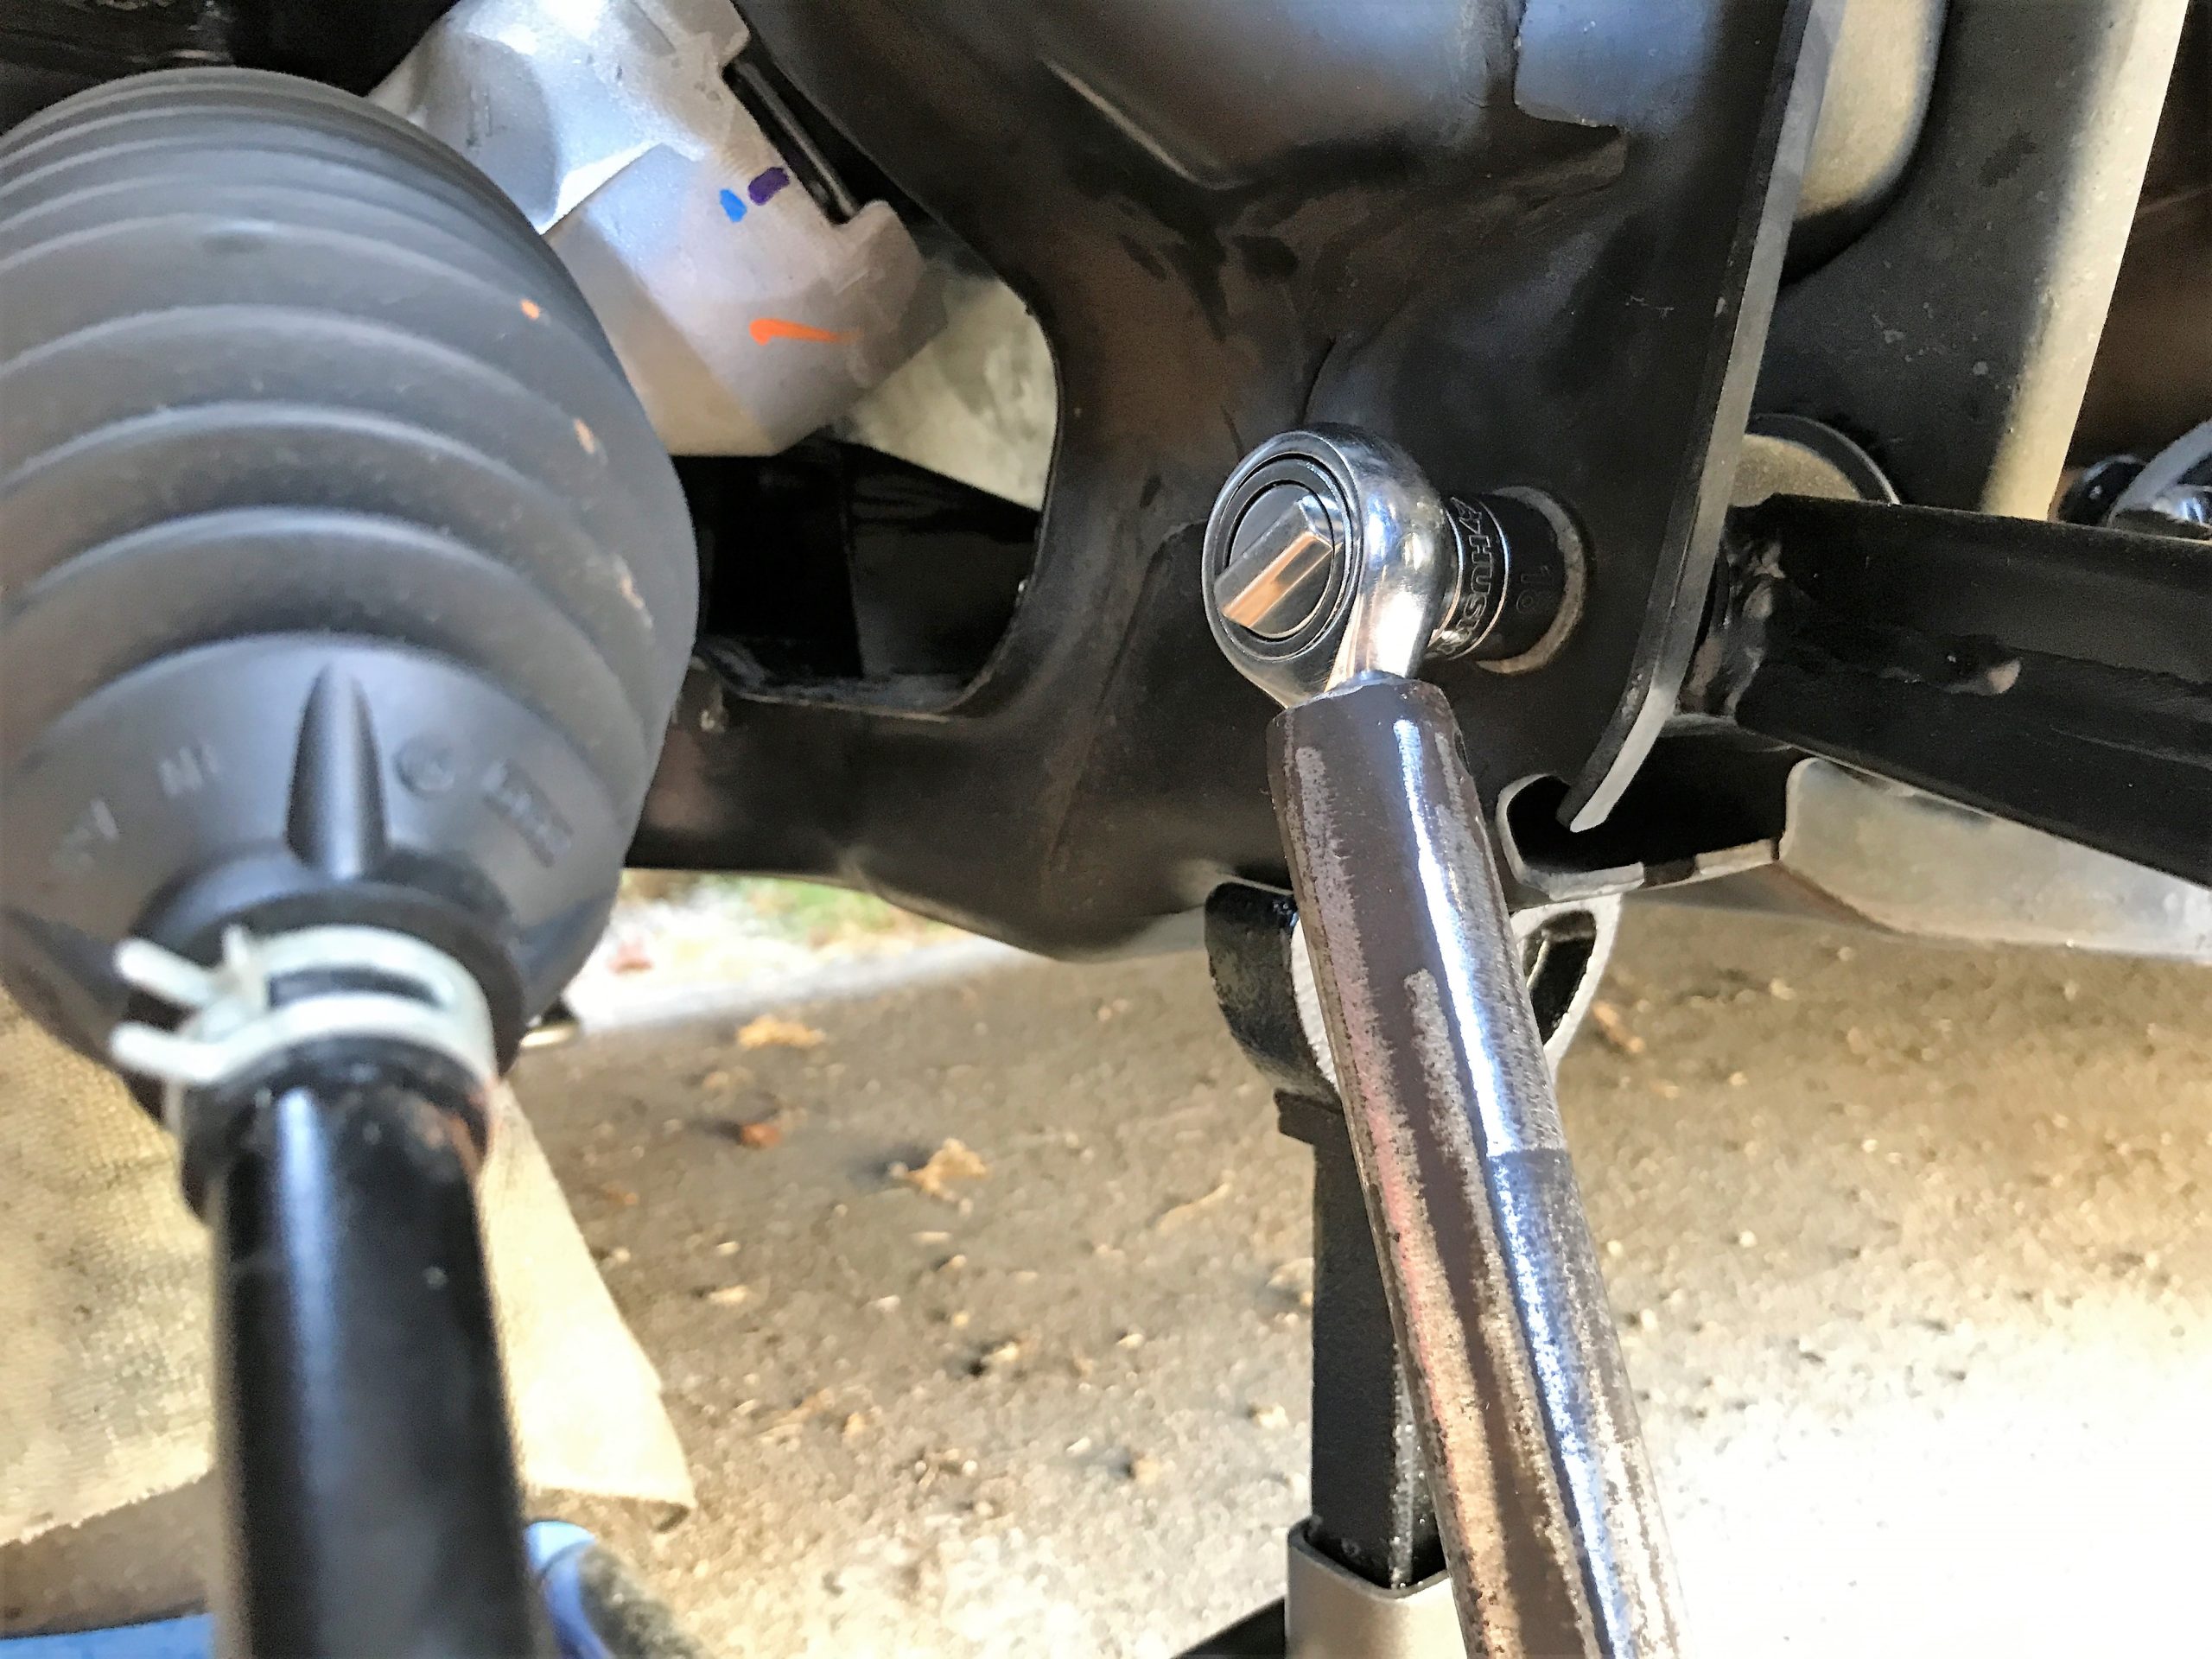
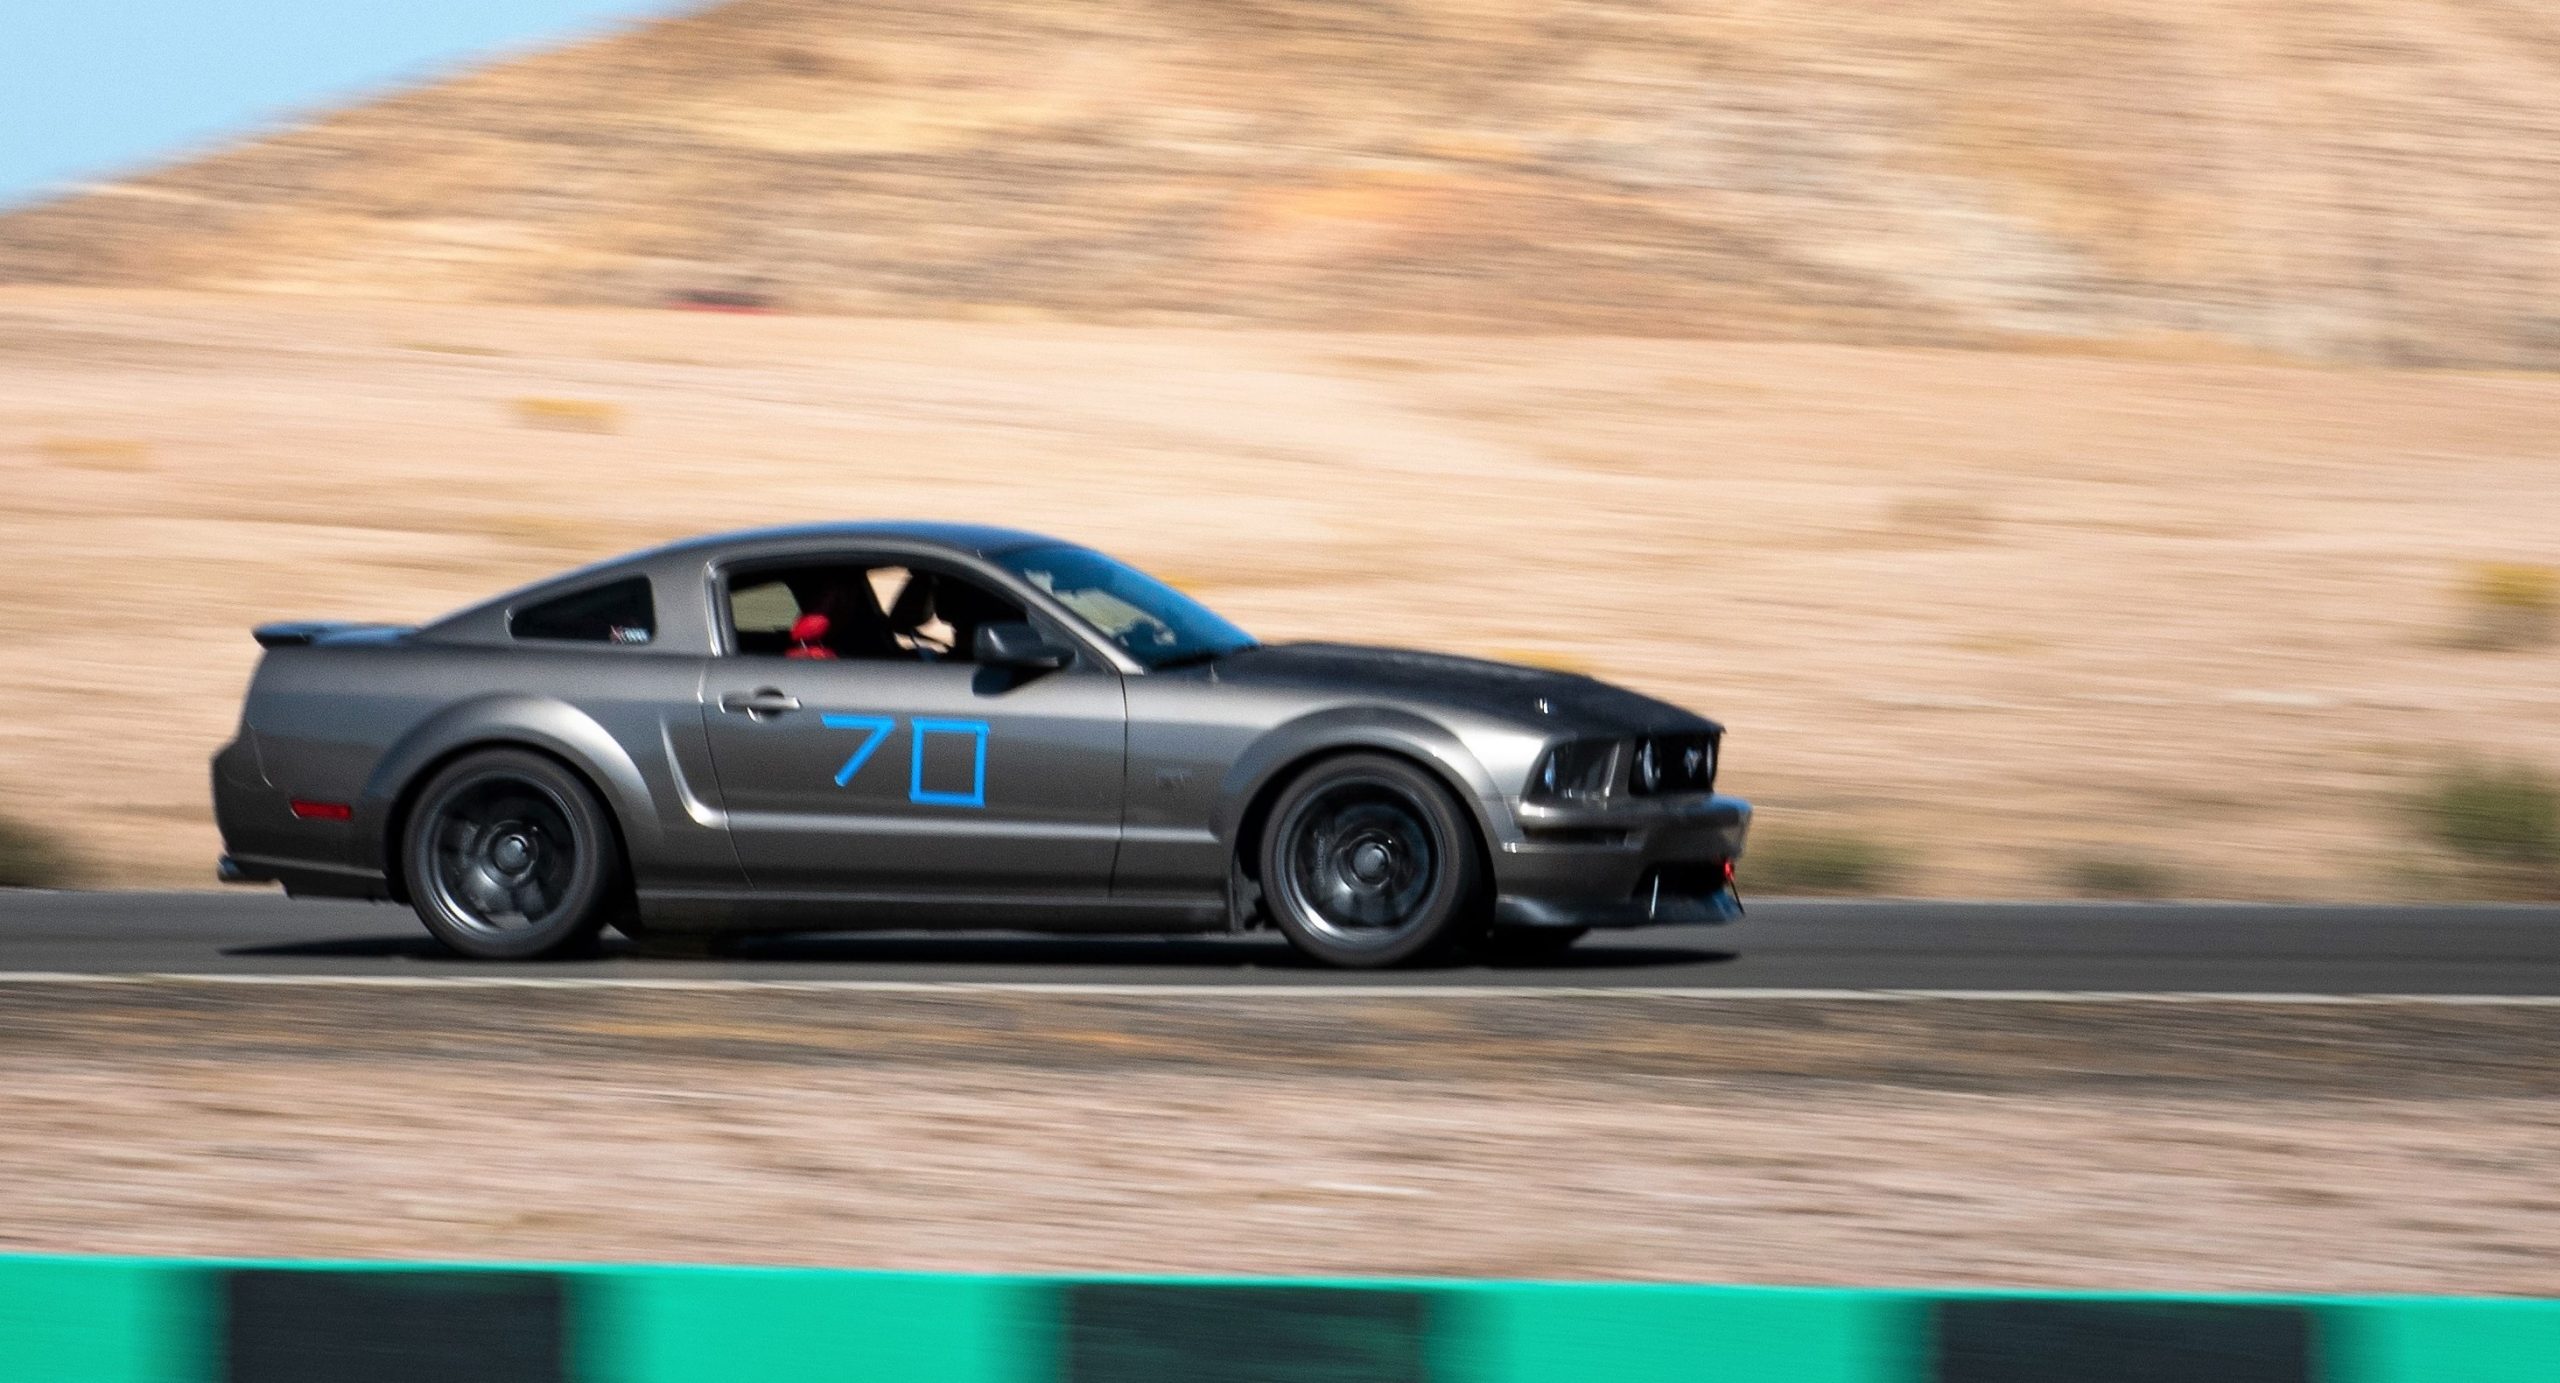
The M-3200-EPAS Ford Performance Parts Boss 302R electric steering rack is a service replacement for 2012-14 Mustang Boss 302R race cars and features a unique performance calibration designed specifically for road racing with racing tires. We would not recommend this rack for a street car that is never driven on track, but it is a streetable part. (Image/CaliPhotography)Before we can install the EPAS, we must remove all of the hydraulic power steering system. To keep it as clean as possible, remove the reservoir from the fan shroud and drain as much fluid out as possible. When this is empty, remove the hose from the bottom and flip it downward to drain it as well. (Image/Christopher Campbell)Before removing the rack from the box, we took a quick measurement side-to-side to make sure the rack was centered. (Image/Christopher Campbell)Here’s a look at the factory pulley and belt routing. Because the two idlers maintain pulley wrap on the alternator and power steering pump, the arrangement is actually going to work really for this swap. We’ll show you how. For now, remove the belt; you won’t be using it again. (Image/Christopher Campbell)Removing the power steering pump from the block is straightforward, but a little annoying if you don’t have a good ratcheting wrench (we highly recommend one). Remove these two bolts on the top, and one on the bottom side, and the pump is off. (Image/Christopher Campbell)We never realized how long the power steering pressure hose is on these cars. There’s a lot of fluid in there, so we took the hose loose to drain more fluid. (Image/Christopher Campbell)Running in front of the radiator and condenser is the tubular power steering cooler. It’s fine for street cars, but definitely not adequate for track cars. To remove it, unbolt the lower mounts for the condenser and slide the cooler mounting tabs out. This is the view from the driver’s side. (Image/Christopher Campbell)The passenger side has this V-shaped bracket that is bolted to the lower condenser mount. It will come off with the cooler. (Image/Christopher Campbell)You’ll need to remove the plastic air deflector from below the radiator to gain enough space to remove the cooler. With it out of the way, the cooler will drop right out. (Image/Christopher Campbell)Back to the K-member, this single bolt and a clip on the passenger side is all that is holding the power steering hose pressure hose. With this removed, we’ll have a lot more slack to remove it from the pump. (Image/Christopher Campbell)With the pressure hose loose, we can pull the pump upward to gain room to remove the hose. Note, we did remove our cold air intake to get a little more room up top. (Image/Christopher Campbell)An alignment will definitely be necessary to reset the toe after the swap, but we can get things very close by taking a measurement of the threads on the tie rod and matching it on the new rack. Our car is using a bumpsteer kit to compensate for the lowering, but the process for a stock tie rod end is the same. (Image/Christopher Campbell)After loosening the tie rod end nut and backing it off a little, hit the knuckle with a hammer sharply a few times to loosen the tie rod. Once you see it move downward, you should be able to lightly tap the nut to finish driving it out. (Image/Christopher Campbell)It would be convenient if these nuts that secure the rack weren’t welded to the K-member, but since they are, we have to remove the bolts from the top side. (Image/Christopher Campbell)Before we get to the rack mounting bolts, this is the ideal time to disconnect the steering column coupler. The bottom bolt is the one that locks the column to the rack via a groove in the rack’s input shaft. Before removing it, center the steering wheel. Once the coupler is disconnected, make sure the upper section does not rotate. (Image/Christopher Campbell)Just to the right of the steering coupler is the driver side mount for the steering rack. Believe it or not, this is the easy side for the bolt with a good amount of space to swing the ratchet. The 3V owners get off easy here; the Ford procedure for replacing the rack in a 2011-14 Mustang includes unbolting the motor mount bolts and raising the motor to reach the bolts. (Image/Christopher Campbell) The passenger side is a little tighter thanks to the starter, but the bolt is accessible from the front side of the rack. There are a lot of reports of problems removing these bolts, but we found them to be easy to handle with a 3/8″ drive ratchet. (Image/Christopher Campbell)With everything out, here’s a side-by-side comparison of the hydraulic system vs. the EPAS. Though we are simplifying the system, there’s no real weight to be saved here. The EPAS weighs about 34 lbs. and the factory system with fluid weighs roughly the same. (Image/Christopher Campbell)Before we can start bolting things back together, there is a slight modification to the K-member required. On the passenger side, the EPAS rack makes contact with the K-member right at the curve in the metal near the mounting bolt and will not allow the bolt to thread in. We hit it with an angle grinder to remove about 1/8″ of material from the curve to allow the rack to slide further back and the bolt to align. (Image/Christopher Campbell)Keep in mind that the steering coupler has to slide on at the same time when you’re sliding the rack into position. While the EPAS is not heavy, the weight is more forward biased than the hydraulic rack, so an extra set of hands, or a floor jack, is really helpful for wiggling it into place. The rack mounting bolts are torqued to 85 ft.-lbs., the steering coupler bolt should get a tiny touch of red threadlocker and torqued to 18 ft.-lbs. (Image/Christopher Campbell)In 2011-14 Mustangs, the EPAS rack receives CAN data from the powertrain control module (PCM) that tells the rack when to energize and provide power assist. Of course, our 3V S197 does not have this CAN data, so a simulator module must be used to energize the rack. CorteX Racing makes this ultra-easy plug and play stimulator module harness that only requires ground and switched 12 volt power. (Image/Christopher Campbell)The CorteX Racing stimulator tells the rack to turn on, but we still need actual battery power. You could use a use harness from a 2011-14 Mustang, but the best way and cheapest way is to use an F-150 harness (Ford PN BL3Z-3F720-A). It’s also terminated with the proper high amp connector for the EPAS motor and incudes about five feet of 4 AWG battery cable for power and ground with ring terminals. (Image/Christopher Campbell)You could use the F-150 harness as-is, but it’s not configured well for routing in an S197 Mustang, and we also don’t need the factory CAN twisted pair of wires. We opted to strip ours down to just the power wires and re-cover it with flexible wire braid. Looks nice and custom! (Image/Christopher Campbell)The easiest way to route both harnesses towards power sources, and keep them away from heat, is to go up and around the lower radiator hose and then along the lower part of the radiator core support towards the passenger side. (Image/Christopher Campbell)For main 12 volt battery power, we’re using the direct battery connection at the fuse box. For safety’s sake, we’re also wiring in a 100 ampcircuit breaker.(Image/Christopher Campbell).The CorteX Racing EPAS simulator draws a minuscule amount of power to turn the rack on, so we’re going to splice into the fused switched 12 volt relay we wired in during our Meziere electric water pump install. You can ignore the pump part of this diagram and wire the relay for the simulator alone. You could also wire this on a switch inside the car if you like the idea of flipping your power steering on and off without the key. (Image/Christopher Campbell)For the ground side of the EPAS power harness, we used the factory battery ground location on the passenger strut tower. (Image/Christopher Campbell)With one less pulley, the serpentine belt has to take a new route. Thankfully, the double idler pulleys, plus the location of the factory power steering pump, make it simple to use a short belt to bypass it. Some measuring and trial and error lead us to a Gates K060870 belt, which is 2,225mm x 20mm. (Image/Christopher Campbell)Here’s the factory serpentine belt routing shown in black, and the modified short belt route shown by the red line. Basically, we’re just wrapping the belt tightly around the lower idler pulley. (Image/Ford & Christopher Campbell)If you need to retain the factory belt routing because of a centrifugal supercharger or otherwise, fear not! Drift American makes this power steering pump delete kit that will replace the power steering pump with an idler pulley. Technically, it’s for a 2V 4.6, but we confirmed it will fit on a 3V. (Image/Christopher Campbell)At this point, you should be able to reconnect the battery, flip the key on, and confirm that the rack has power. After verifying the torque on the tie rods, you’re ready for an alignment and a test drive! If you’re just here for the EPAS install, you’re done! But stay with us—we have a bonus install. (Image/Christopher Campbell)Since our Boss 302R rack isn’t fazed by stiff control arm bushings like some of the factory racks, and because our control arms are original (and we recently had a bushing failure on track) we’re going to take the opportunity to add a Whiteline bushing kit. These bushings will minimize dynamic caster loss and provide positive steering feedback as well as improved turn-in and more consistent alignment angles during cornering. They also feature the ability to dial in an extra 0.5 degree of static caster using an offset eyelet. (Image/Christopher Campbell)If you’re starting with factory S197 lower control arms, you’ll need to reach out to a local shop with a press to have the factory rear bushing pressed off. There is a homebrewed method involving a torch and hammer that you can find online, but we highly suggest just working with a shop to get it done right. Our arms are original Ford Racing FR500C, so they came with no bushings at all. (Image/Christopher Campbell)Remember that shop with a press we suggested you find? If you didn’t need them for removing the factory bushing, you’re definitely going to need them for pressing the Whiteline sleeve onto the arm. This is an extremely tight tolerance fit and unlikely to be achievable without a press—we tried. (Image/Christopher Campbell)There’s nothing worse than squeaky, sticky urethane control arms bushings, but thankfully Whiteline provides several packets of their lube to ensure things move smoothly. We also thoroughly lubed the inside of the bushings. The bushing itself will just slide right onto the arm now. (Image/Christopher Campbell)What are those crazy little arms, you ask? They’re the adjustable mounts provided by Whiteline to mount the factory heat shields. While some early S197 cars did not have them, all later ones did to protect the bushings. (Image/Christopher Campbell)Our car was not equipped the shields, so we grabbed a couple from Ford. These are a particularly good idea if you’re running long tube headers to keep the heat away from the bushings. We recommend opening the holes up with a 5/16″ drill bit to make the installation easier. (Image/Christopher Campbell)The front urethane bushing slides right in, but pay attention to which side you place the larger of the two bushings on. This photo shows the incorrect orientation. We discovered the hard way that if you try to install the arm with the bushings in this orientation, the rear bushings will not line up with the K-member mount. (Image/Christopher Campbell)Man, we love modern ball joints. To disconnect the control arm from the spindle, remove the retaining bolt and just give it a light tap. (Image/Christopher Campbell)If your mounting bolts for the rear bushings have the flag side of the bolt on top, you know that your arms have been replaced at some point. From the factory these flags are on the bottom, but the only way to torque the bolt to spec on the car is to flip them to the top as shown. (Image/Christopher Campbell)They might not look so bad, but cracked rubber bushings are risky on S197 Mustangs that are driven hard since these bushings are not solid; they’re filled with a dense dampening fluid to lower NVH. Severely worn bushings can change the camber and caster by +/- 1.0 degree or more. One of ours actually blew out while at Sonoma Raceway, making for a rather squirrely lap and ruining our session. (Image/Christopher Campbell)Here’s a side-by-side comparison of the factory fluid filled bushing and the solid Whiteline bushing. Besides a much more stable front end when cornering, one of the other benefits to the urethane bushings is how much smaller they are, allowing for more exhaust space. (Image/Christopher Campbell)Remember what we said about the orientation of this bushing? This is the correct orientation with the larger side towards the rear of the car. In this configuration, everything lines up. When reversed, the rear mount will not line up. (Image/Christopher Campbell)The factory flag bolts are reused and torqued to 129 ft.-lbs. Set the flag against the bushing casing and hold it while you tighten the nut until it’s snug. From there, you should be able to fully torque it without the flag bending and sliding over the bushing. (Image/Christopher Campbell)The forward mounting bolt is also torqued to 129 ft.-lbs. The ball joint retaining bolt should be torqued to 76 ft.-lbs. (Image/Christopher Campbell)Testing day! After getting an alignment, we took our project car out to a time attack event at Streets of Willow (SOW) at Willow Spring International Raceway to test the new EPAS and control arm bushings, plus the aluminum driveshaft and electric water pump from previous articles. The steering feedback felt immediately better than we ever experienced with the stock set up. It felt appropriately “heavy” at speed which inspired more confidence. Even though we were only on sticky 200 treadwear tires instead of slicks, the boost level and feel from the tires was much improved over the stock hydraulic power steering. The Whiteline bushings made turn in feel much more precise as well. We didn’t feel like the alignment was wandering. (Image/CaliPhotography)Thanks to the Ford Racing aluminum driveshaft, upshifts and downshifts felt smoother at high rpm, and the problematic driveline vibration we had at various speeds and rpm was gone. We’re also happy to report that even after four sessions of 8 to 10 hard laps, our Meziere powered cooling system never got above 192 degrees—when previously it would easily hit 210 to 220. As for power increases, the little 3V pulled noticeably harder in the 4,000 to 6,000 rpm range, which helped with acceleration out of the slower curves at SOW. We are very pleased with the results and can’t wait to retest at more tracks and with more aggressive tires. (Image/David Dunst)
Christopher Campbell has been heavily involved in the automotive world since he began building his first car, a 1967 Ford Ranchero, with his dad at the age of 14. That started a lifelong passion with custom hot rods and muscle cars. After graduating from Cal State Long Beach, he went to work for HOT ROD magazine as Associate Editor. From there he became Technical Editor at Popular Hot Rodding magazine. Currently he creates freelance content for OnAllCylinders as well as many diverse enthusiast magazine titles such as HOT ROD, Muscle Mustangs and Fast Fords, Mopar Muscle, Super Chevy, Mustang Monthly, and 8-Lug.


Comments