
Whenever you build or rebuild an engine, there’s always a wee bit of anxiety before you fire it up for the first time. If everything goes according to plan—all of the various parts have been machined correctly; all of the clearances have been set correctly; all of the specific components have been properly lubricated; all of the torque specs and sequences have been correctly adhered to; all of the sealing surfaces are properly cinched—then it should be no sweat.
On the other hand, it can turn out to be an absolute disaster. There are a lot of things that can go wrong in the first few minutes of an initial fire-up of a fresh engine. Basically, what you want is an engine that fires right up, builds good oil pressure quickly, doesn’t overheat, and doesn’t leak. In the end, you want all of those bits and pieces inside the engine to get along with each other and you don’t want to see those internal components eat themselves up.
So how do you deal with the anxiety of the first fire up? While the following ten tips won’t help if there were mistakes made during the assembly process, it will help you deal with the chain of events that usually occur within the first fifteen minutes or so of running time.
You may also like this article: Engine Break-In Guide: 10 Tips to Help Properly Break in Your Engine
***
1. Choose a Good Break-In Oil

Selecting the correct break-in oil is crucial when it comes to initial fire up and proper break-in. Summit Racing sells a number of different types of break in oil from several different manufacturers. Break in oil should only be used for the initial engine run in. What type of oil should you use? Many big name, well-respected parts manufacturers recommend you use good old fashioned mineral oil (non-synthetic). Sometimes synthetic oils do their job of reducing friction too well and things like the rings cannot seat. Additionally, most break-in oils have a high level of ZDDP which is absolutely essential when the engine is equipped with a flat tappet camshaft. Extreme pressure additives are also advantageous for engines equipped with roller camshafts and stiff valve springs. Finally, you’ll find break-in oils are typically formulated in straight SAE 30 or SAE 40 or in multi-viscosities such as SAE 5W-30, 10W-40, or 15W-40. The choice is up to you.
***
2. Use the Right Additives
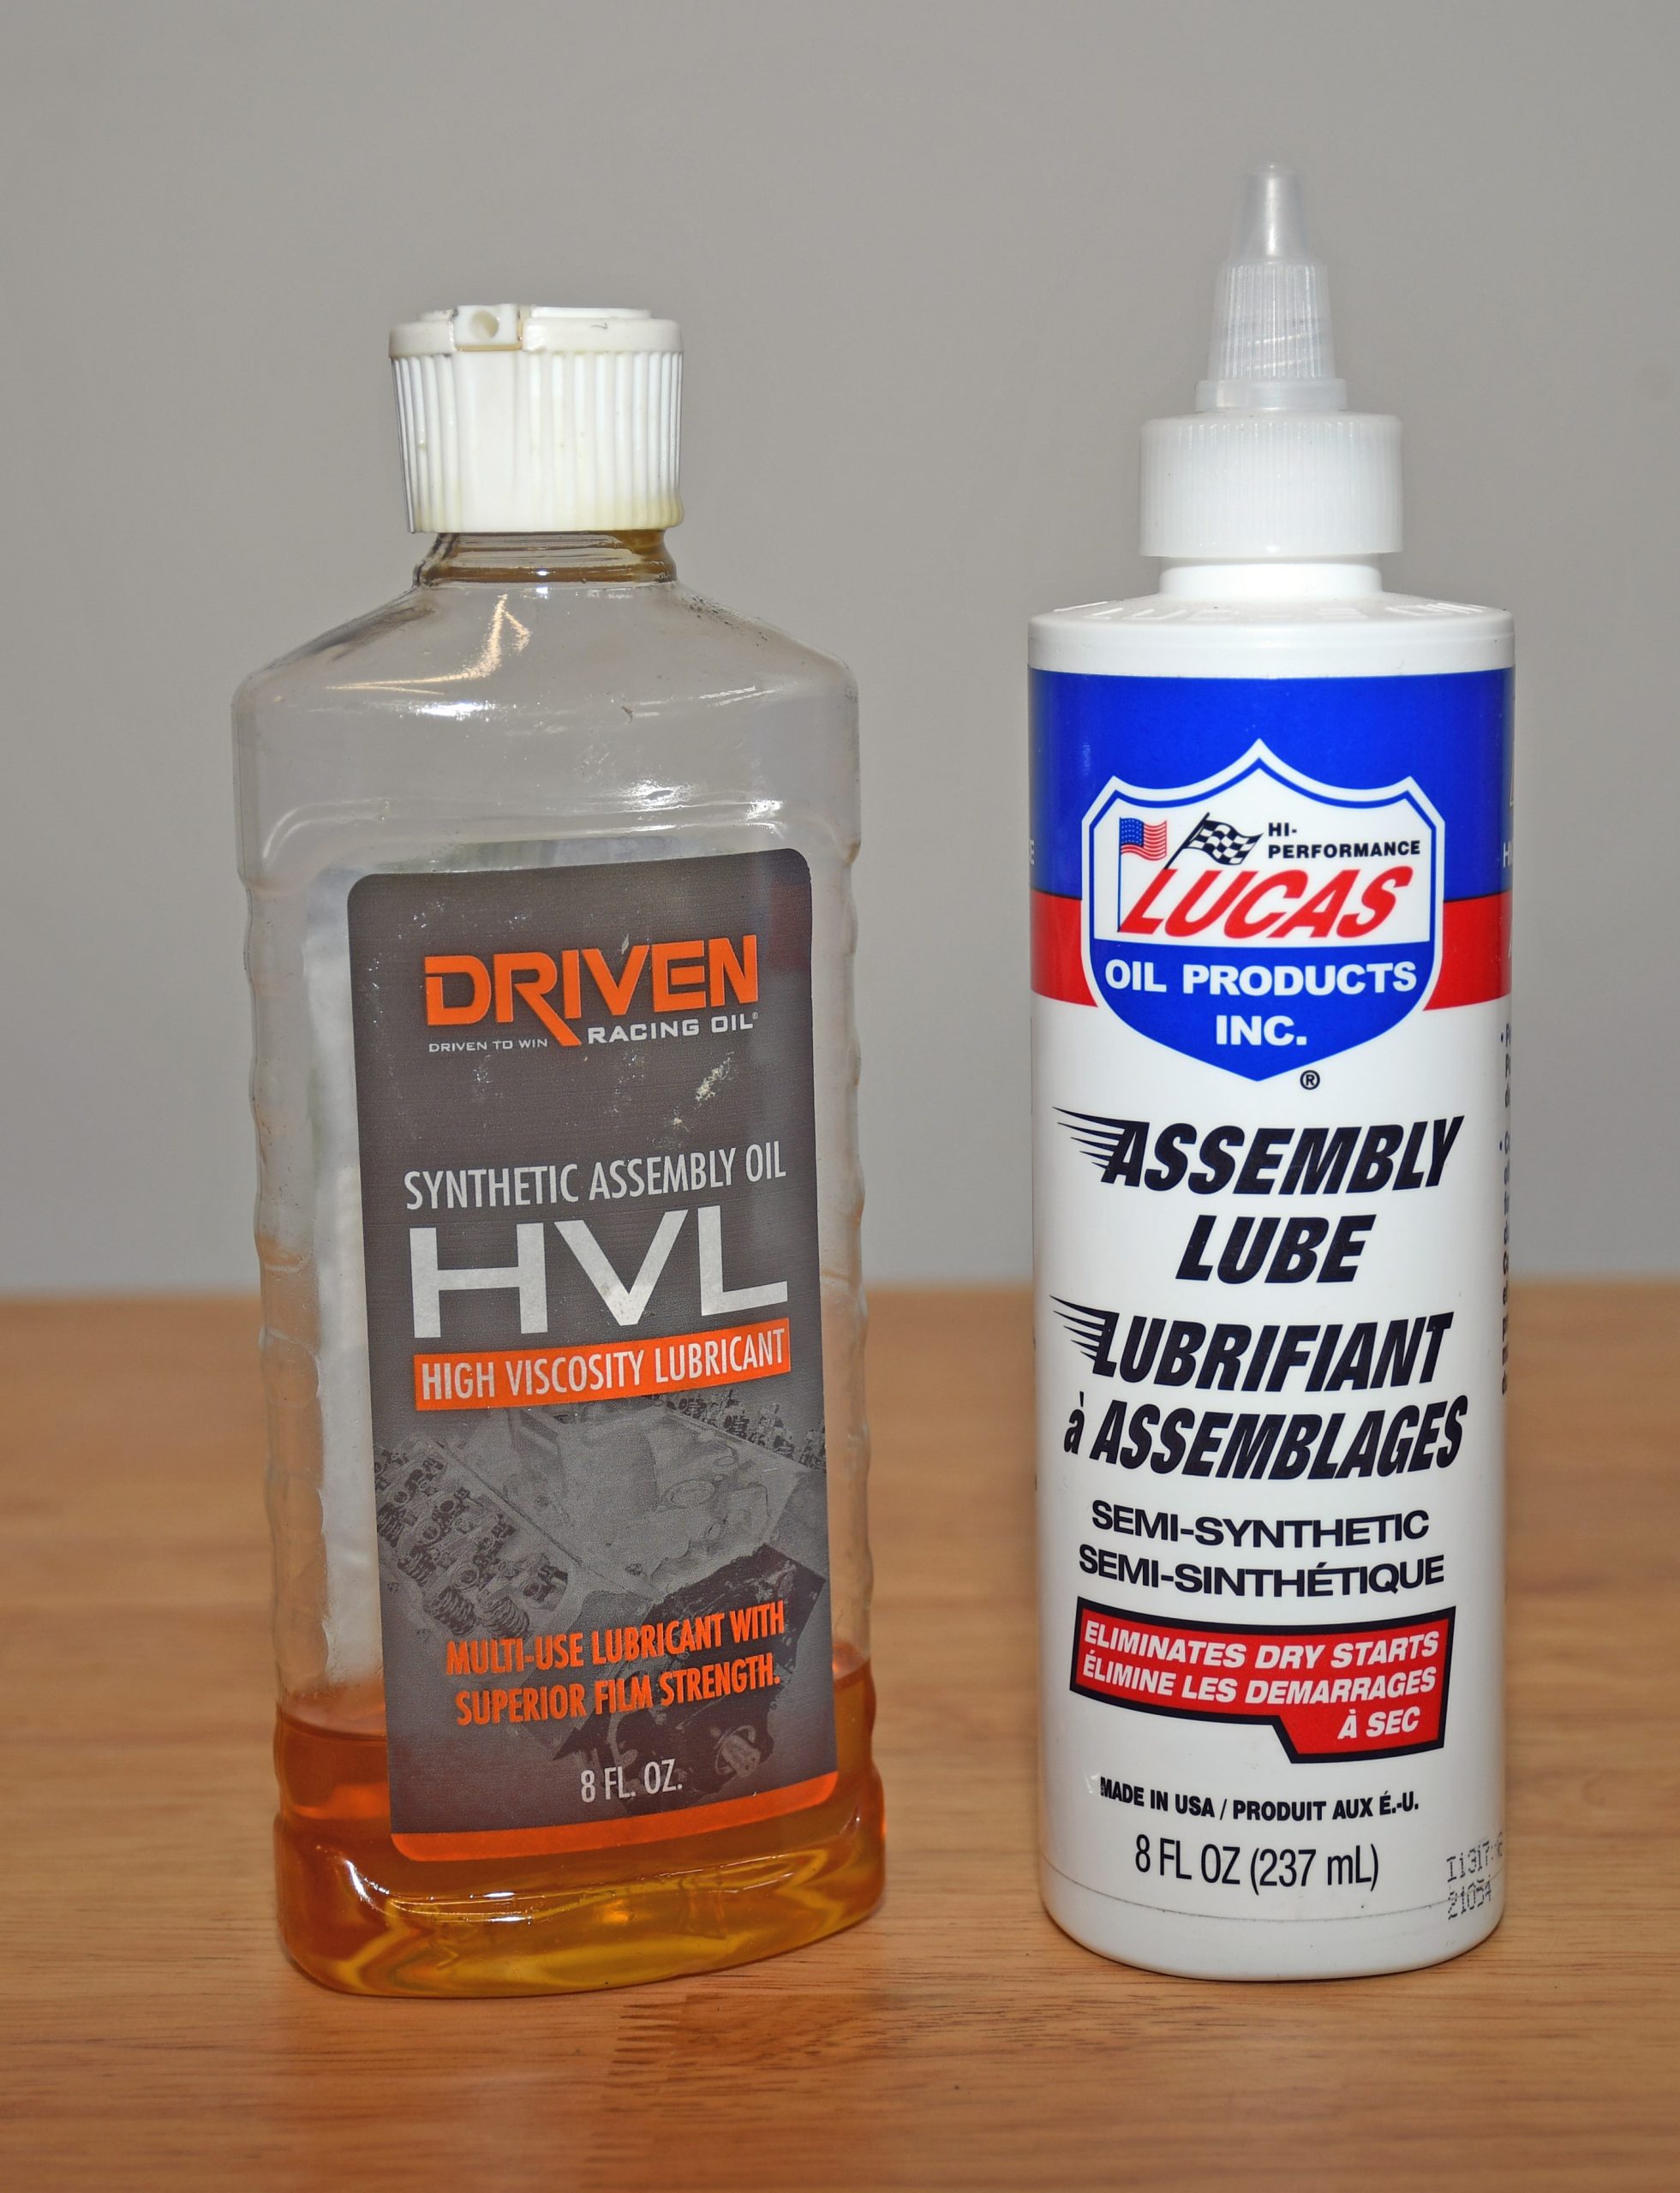
The use of oil additives is important—particularly assembly lubricants. Some of them, such as Driven’s High Viscosity Lube mixes well with break in oil, and it is designed to extend the oil film thickness during the break in process. Most assembly additives are engineered to cling to surfaces better than straight oil. They provide a critical protective film of lubricant on components during the initial fire up. Keep in mind a few of the additives out there are not oil-soluble, and they’ll continue to circulate through the engine until the oil and filter have been changed.
***
3. Check Timing, Fuel Mixture & Valve Lash

Ignition timing, fuel mixture and valve lash should be set up so that the engine fires immediately. This is very important. If the engine doesn’t start right away or if the carburetor becomes flooded, then it’s possible to wash the cylinder walls with gasoline. In turn, that removes the much needed lubrication for rings and piston skirts.

Bottom line here is, you don’t want to unnecessarily crank (and crank…and crank…) the engine with the starter. It’s best to get it running quickly.
***
4. Prime the Oiling System

We’ve pointed this out before, but most oil pumps are built with close clearances, but that doesn’t make them self-priming. Melling notes that if you don’t prime the oiling system, the oil pump can run for several seconds before it picks up oil. In a worse-case scenario, it might not pick up oil at all. The result is obviously wear or damage to the pump and engine bearings. Priming an engine until you see oil pressure on a gauge tends to be cheap bearing insurance on the initial fire-up.
***
5. Monitor Engine RPM

Keep the engine idle speed high and vary the speed. Once the engine fires up, the RPM needs to be increased to 1,500 or so. Vary the RPM regularly for 15 to 20 minutes (some folks recommend 30 minutes). Varying the speed allows the rings to seat. Higher idle speeds also prove beneficial for the valvetrain, cam, and lifters too.
***
6. Prepare Additional Cooling
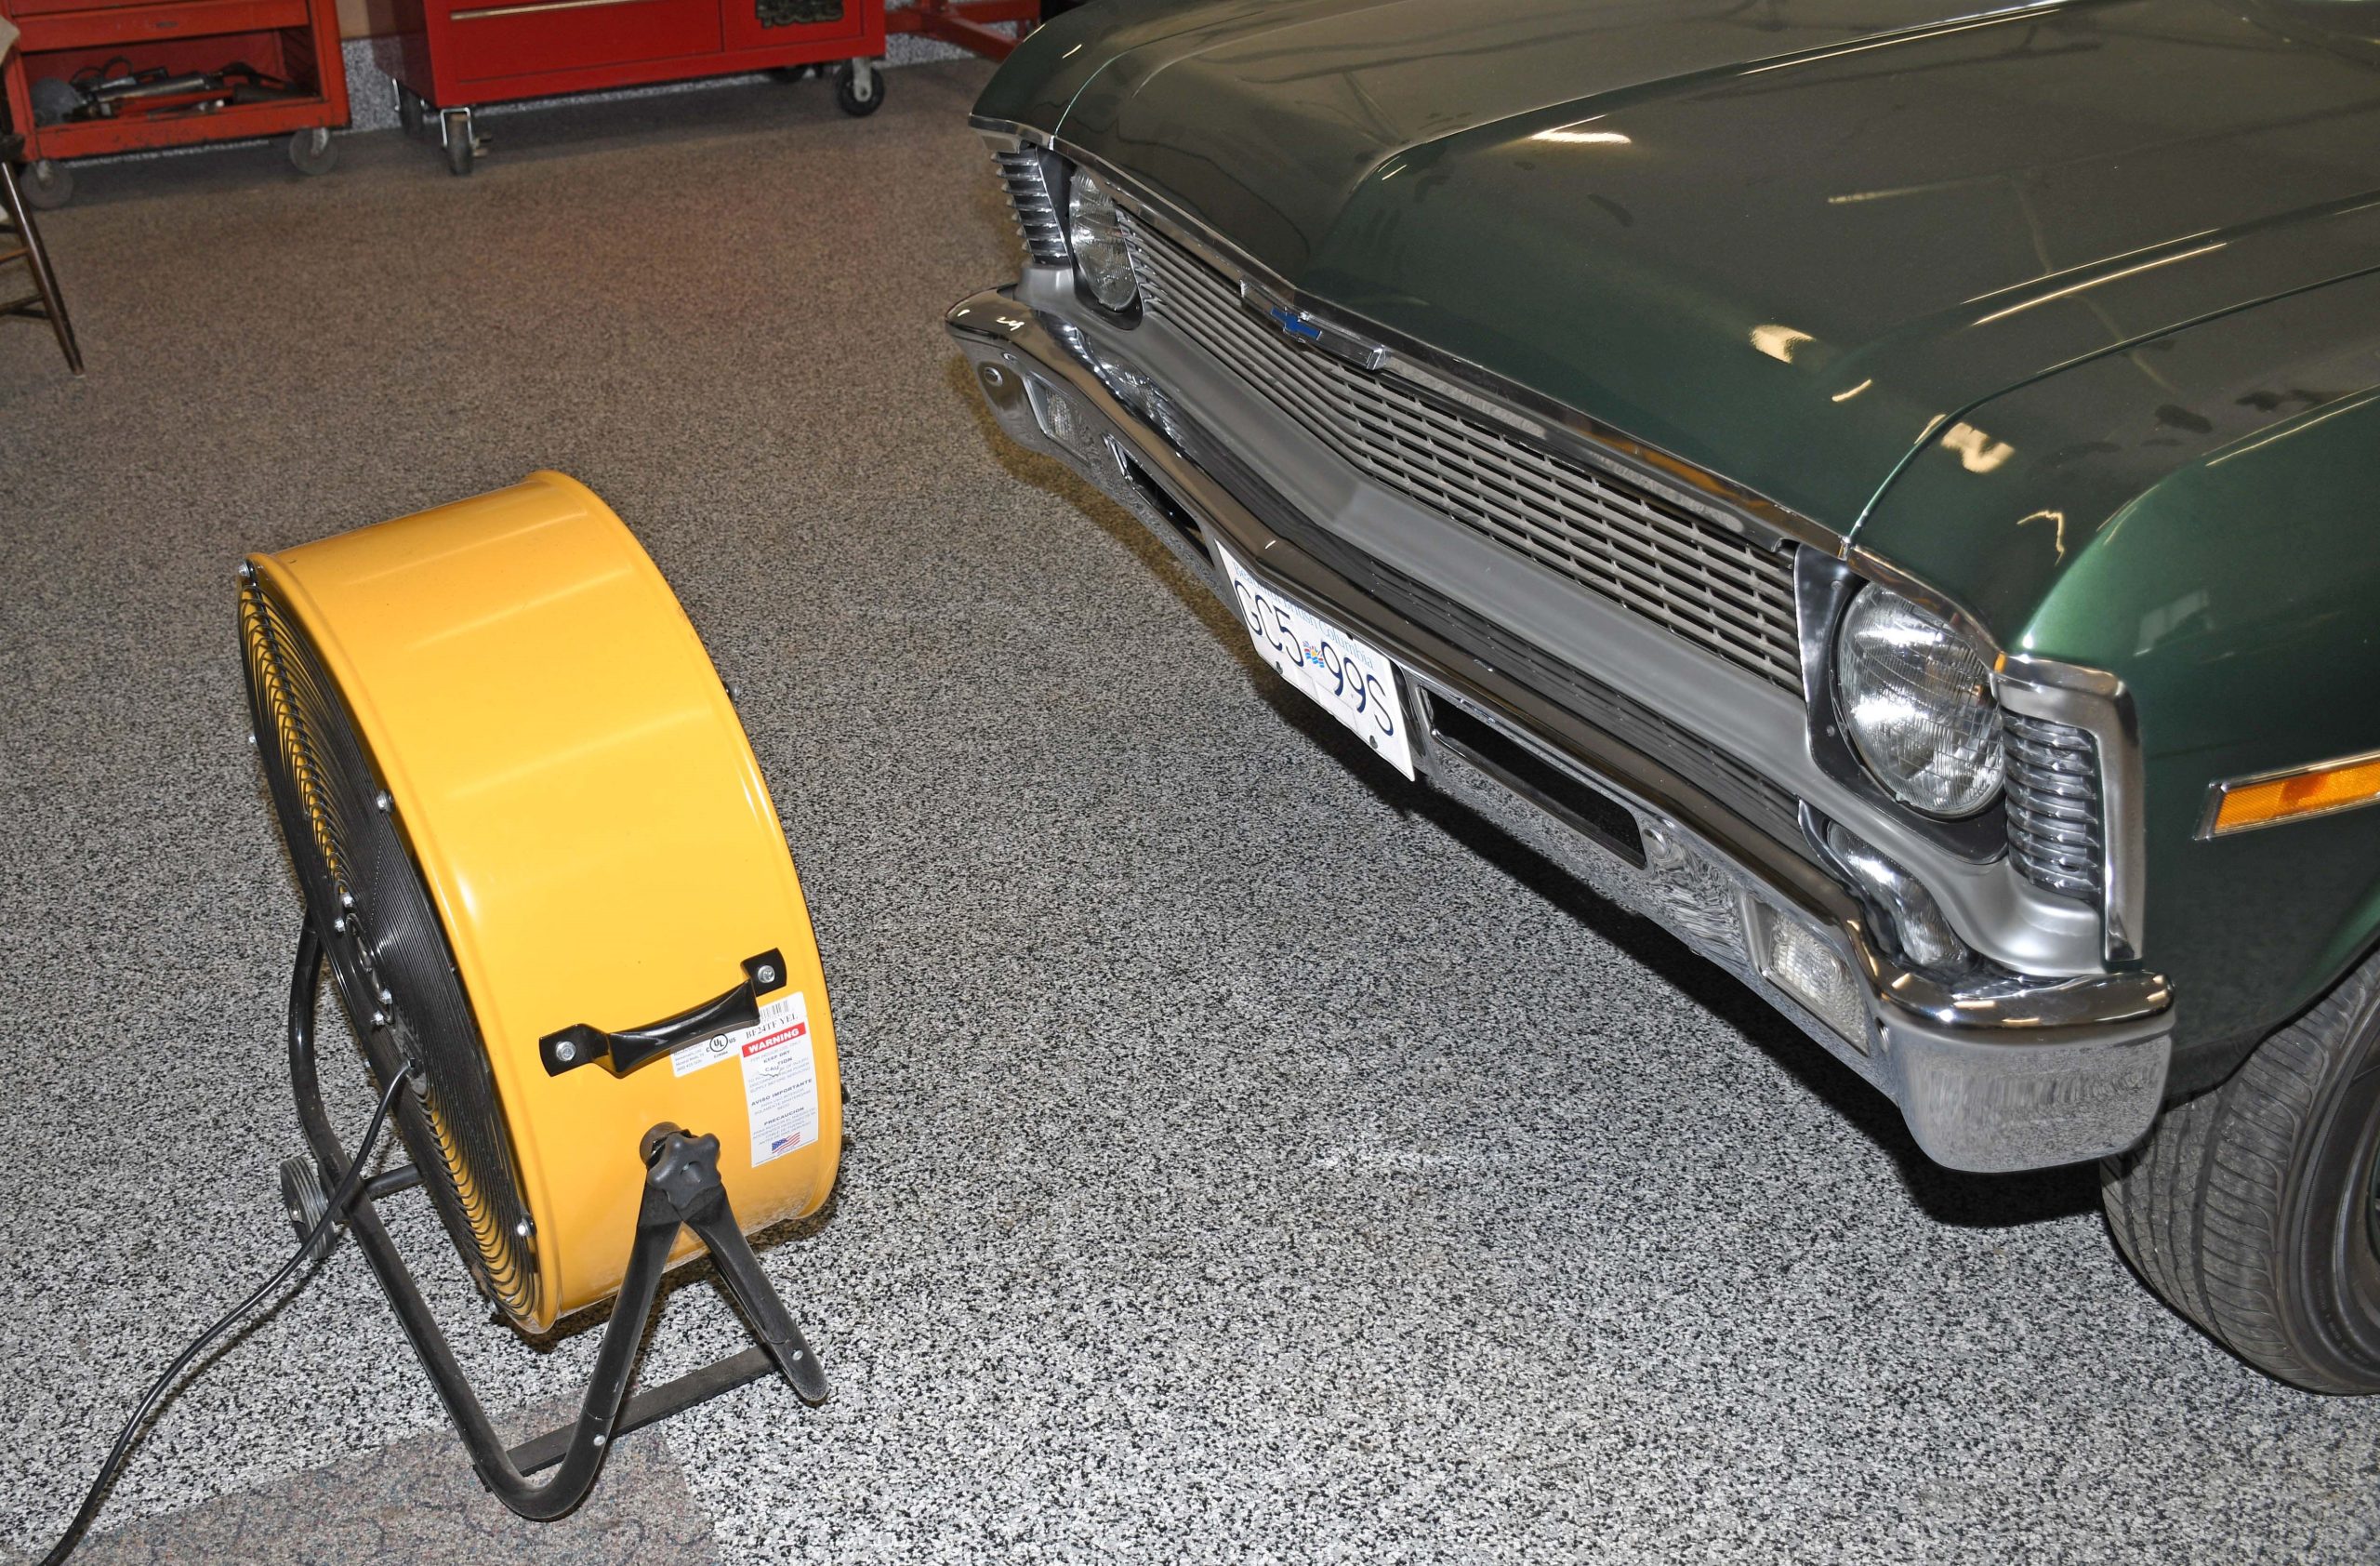
It’s a good idea to park a big shop fan in front of the car’s radiator during break in. It’s not uncommon for a fresh engine to run warm following initial fire-up. Part of the problem is the car is stationary. Aside from the engine fan there is no additional airflow to cool the engine. The big box or drum fan provides that extra airflow.
***
7. Use Even More Cooling Capacity

Excess heat is your enemy when firing up an engine for the first time. Something else to consider adding is a simple garden water hose. Keep it handy so that you can use it to spray the radiator. Watch the engine temperature carefully. If it still overheats (even with an auxiliary fan in place), turn on the tap and spray down the radiator with cool water. The idea here is to keep the temperature from skyrocketing and to keep the engine running during the break in.
***
8. Check for Leaks & Weird Noises!

With a fresh engine, the potential is always there for leaks. Keep an eye out for them. If the leak is minor you can fix it after the break in, but if it’s a gusher (for example, a main seal leak), then you’ll have to shut the engine down, fix the leak and go back to the break-in cycle. Keep an eye on the oil pressure gauge during the break-in process. Listen for anything you might consider unusual: knocks, extra taps or clatters or anything else that might suggest something is amiss inside. If something doesn’t sound right, shut it down and resolve the issue.
***
9. Perform a Post-Run Oil Change

Replace the oil and filter immediately after the initial fire up/fast idle break-in cycle. Once the first fifteen to twenty (or sometimes more) minutes of the initial break in is complete, shut off the engine and drain the break-in oil. You can refill with break-in oil and add a fresh filter. Some folks run the car for another 50 or so miles and change the oil and filter again. Others go 500 miles. In any case, break-in oil should NOT remain in the engine longer than necessary to complete its initial job. Draining the oil and changing the filter removes detrimental wear particles and lingering assembly contaminants before they can damage the engine. That’s why a second oil change in short order can prove beneficial. Basically, with a fresh engine oil becomes dirty quickly. The sooner you drain it and replace the filter, the better off the engine will be.
***
10. Inspect The Oil Filter Afterwards

It’s good practice to cut apart the oil filter after the initial break-in. Inspect the element carefully for any sign of grief. This can include metallic debris that typically indicates some unusual wear is taking place.
I’d suggest using a known good carburetor for the first start and break in. Use your brand new one after the cam is broke in (if a flat tappet cam). As the article says an instant start is needed. A known carb will give you that.
Hi what size of spark plugs best for a 1996 bbc roller stroker peanut heads and the roller push rods whst size hydraulic cam it has
I always fill the block with water by removing the thermostat housing,,,not just by filling the radiator.
What about the 10-10-10 run n stop cool down technique for break-in?
I just finished an amature rebuild of a late 1960’s chevy 250 I-6. I just filled it with oil on sale at wallmart called Pennziol full synthentic “good for older cars” oil. After reading your story I think I will drain and save it though. I am concerned about how to pre set my timing.
I am also concerned about pre adjusting my one barrel carb.
I am going to follow your other tips.