This story is a follow up to our earlier article: 10 Easy Things You Need to Look for When Inspecting a Vintage, Classic, or Collectible Car Before a Purchase
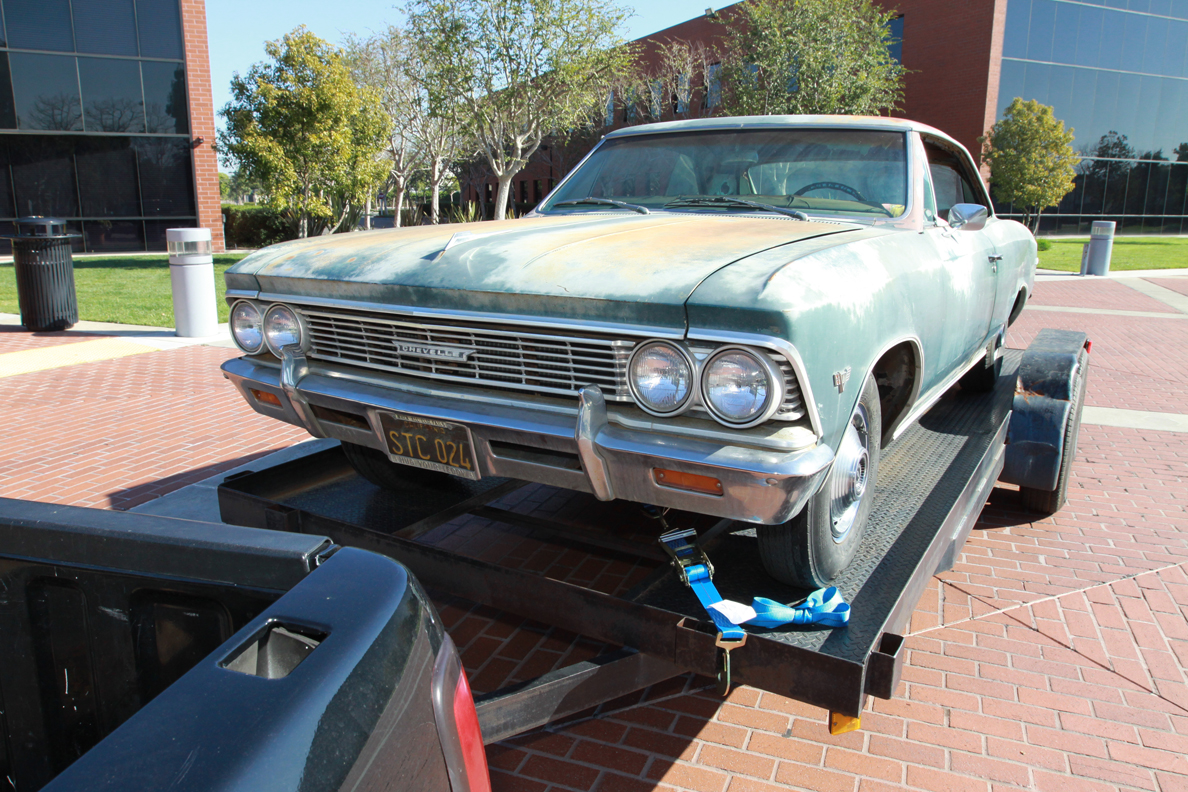
You did it! You finally found your perfect classic cruiser, vintage vehicle, or project car. It passed all of your personal inspections, then you and the seller shook hands, loaded up the car, and it’s finally sitting in your driveway.
Now what?
If you’re new to owning a vintage, project, or collector vehicle, there are five things you should absolutely do during your first 24 hours of ownership. So take a big sip of coffee, because it’s going to be a long day—and it starts with…
1. Transfer the Title to Your Name
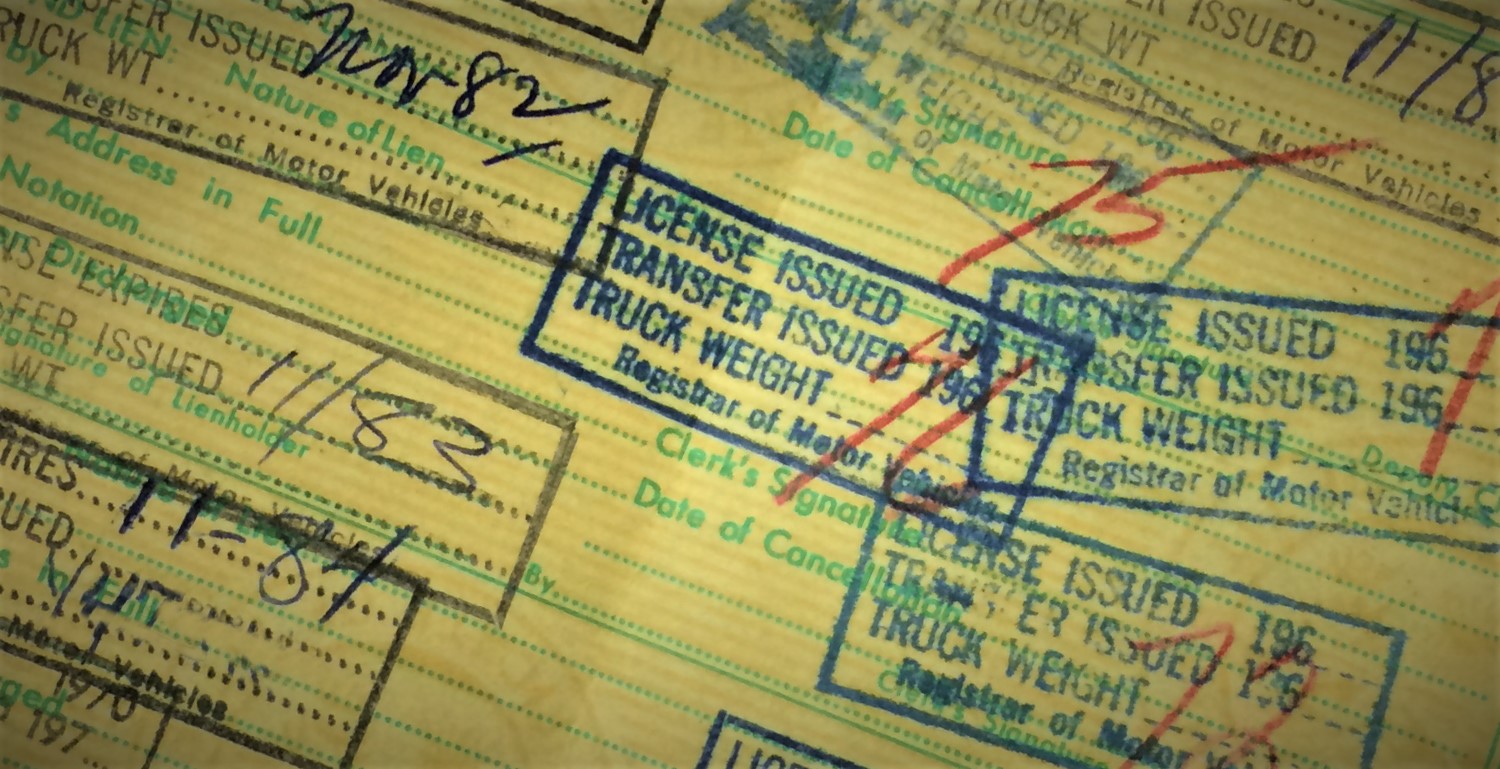
Yup, a trip to the DMV. Before you do anything else, make absolutely, positively sure that the vehicle is legally yours. We’re not saying that you should assume the seller was unscrupulous, but vintage vehicles often have ancient, crumbling paper titles, murky registration histories, and a parade of previous owners. A fresh title with your name on it will alleviate any uncertainty.
Obviously if you bought the car on a weekend, this job may have to wait until Monday.
And if you want to drive the car right away, since you’re already in line, get the car registered with fresh plates. That’ll eliminate a return trip to everyone’s favorite place.
2. Change All the Fluids

Know for sure by replacing it yourself. (Image/OnAllCylinders)
For starters, if the vehicle’s been sitting a while, you’ll want to drain any old, varnished gas. If draining it is too cumbersome, a fluid pump can help you extract it from the tank. Pay special attention to any grit, rust, and particulates that can indicate the health of the fuel tank and lines. Over time, water will separate from the fuel and will actually rust the tank from the inside out.
Once you’ve emptied the gas, it’s time to cycle-in new fluids everywhere else. And we’re not just talking engine oil here—you should drain and replace the transmission fluid and gear oil in the differential(s), then flush the coolant and bleed the brakes.
That’s because those old fluids can be filled with chemical contaminants that may eat away at internal components, even while the vehicle is sitting still. And in the case of brake fluid, it absorbs moisture from ambient air over time, which can lead to a soft brake pedal, rusted lines, and seized calipers or wheel cylinders.
Start fresh with new fluids and you’ll always know what’s swirling around inside your driveline.
3. Take Out the Battery & Charge It
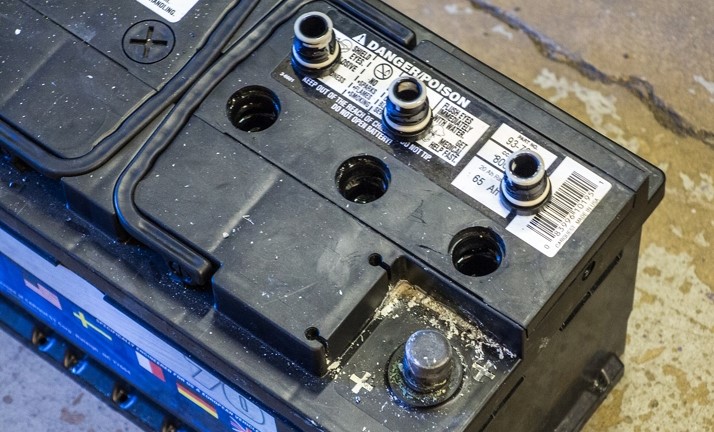
Unless the battery is clearly brand-spanking new, you’ll want to charge it outside the vehicle, in the rare case that it may have a volatile failure while charging. In fact, if the battery looks sketchy at all, you should probably replace it, just for some simple peace-of-mind.
But removing a battery is also very important, as it gives you a chance to inspect that battery tray location. It’s not uncommon, particularly for a decades-old vehicle, for gasses escaping from the battery to combine with ambient moisture and quickly corrode the metal surrounding the battery box. Or, at the very least, it’ll likely eat away at any paint or protective coating, setting the stage for serious rust problems (ask any Porsche 914 owner).
4. Inspect Your Tires & Determine Their Age
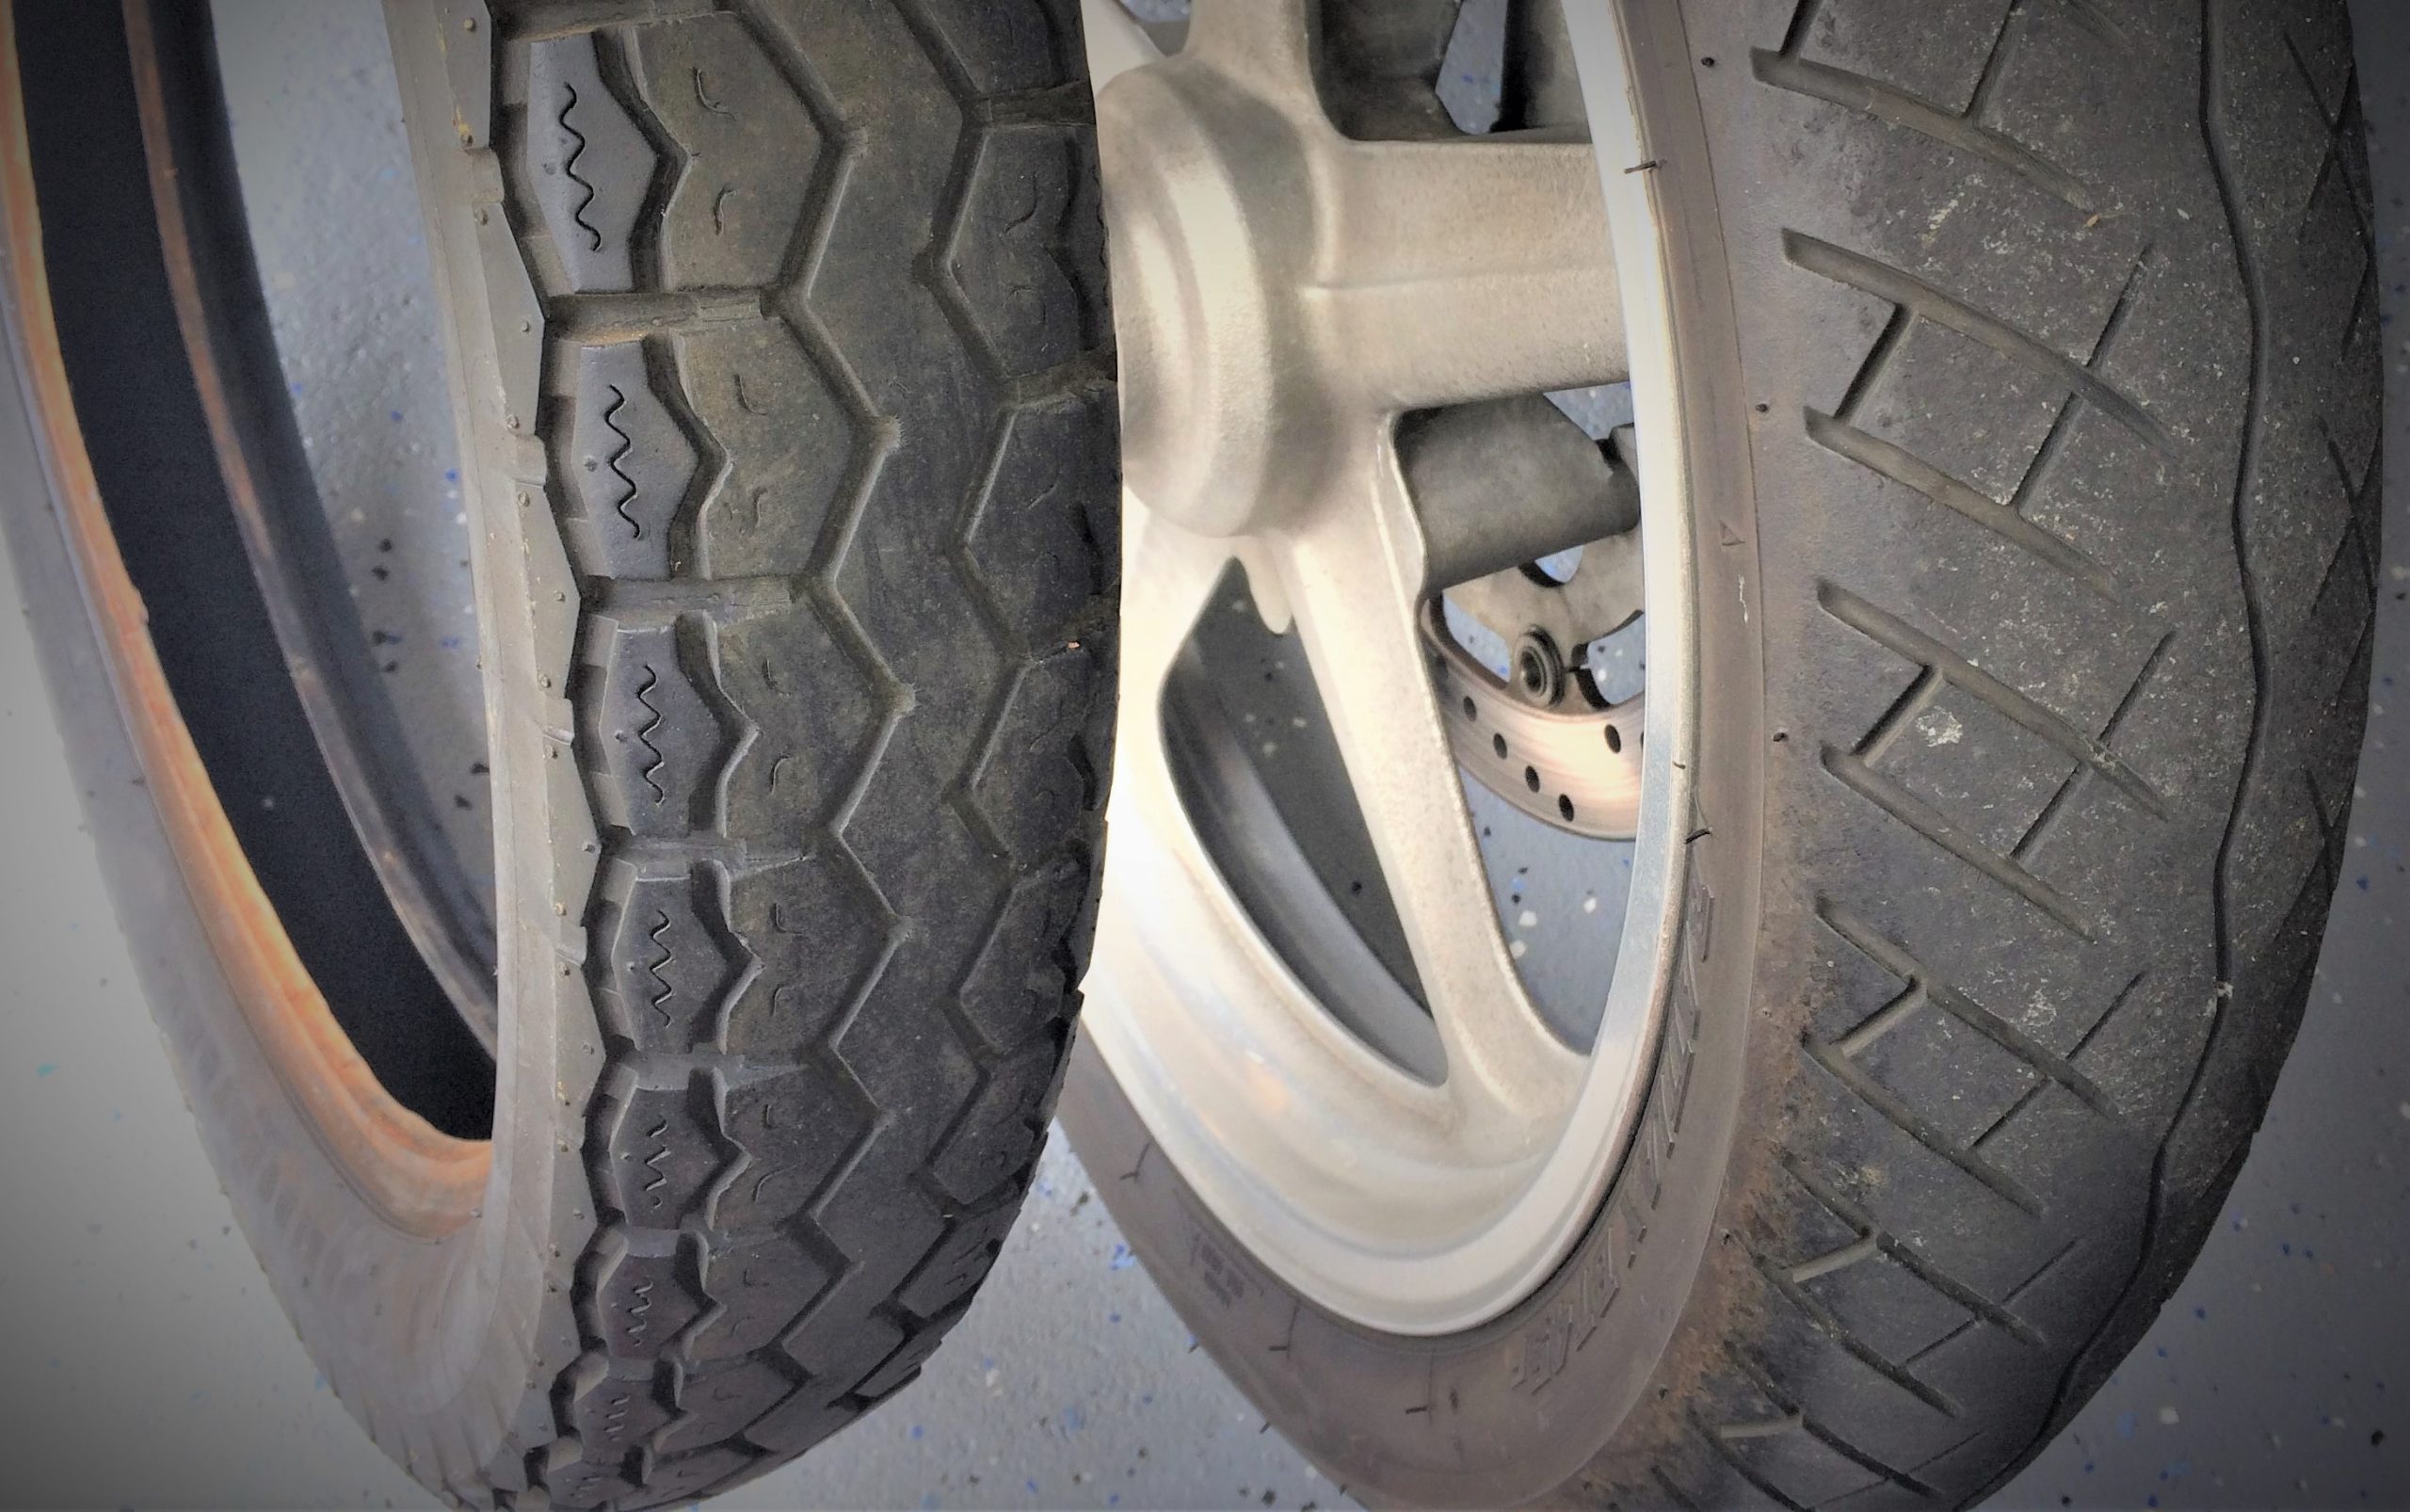
This one’s often overlooked and it’s a biggie. Don’t just give your tires a quick, visual once over, sit down with a flashlight and spend a few minutes with each one, poking around for any signs of potential failure. Even if you plan on replacing the tires anyway, detecting evidence of uneven wear can help you pinpoint suspension and alignment problems before they wreak havoc on your new rubber. We’ve got a good infographic to show you how to interpret your tire’s wear patterns.
Perhaps more importantly, try to determine how old your tires are. Even if they look good on the outside, old rubber will degrade with age—seriously compromising its grip in the process.
Don’t ride on old tires! Click here for a helpful article from Summit Racing that’ll tell you exactly how to determine how old your tires are.
5. Wash & Detail It
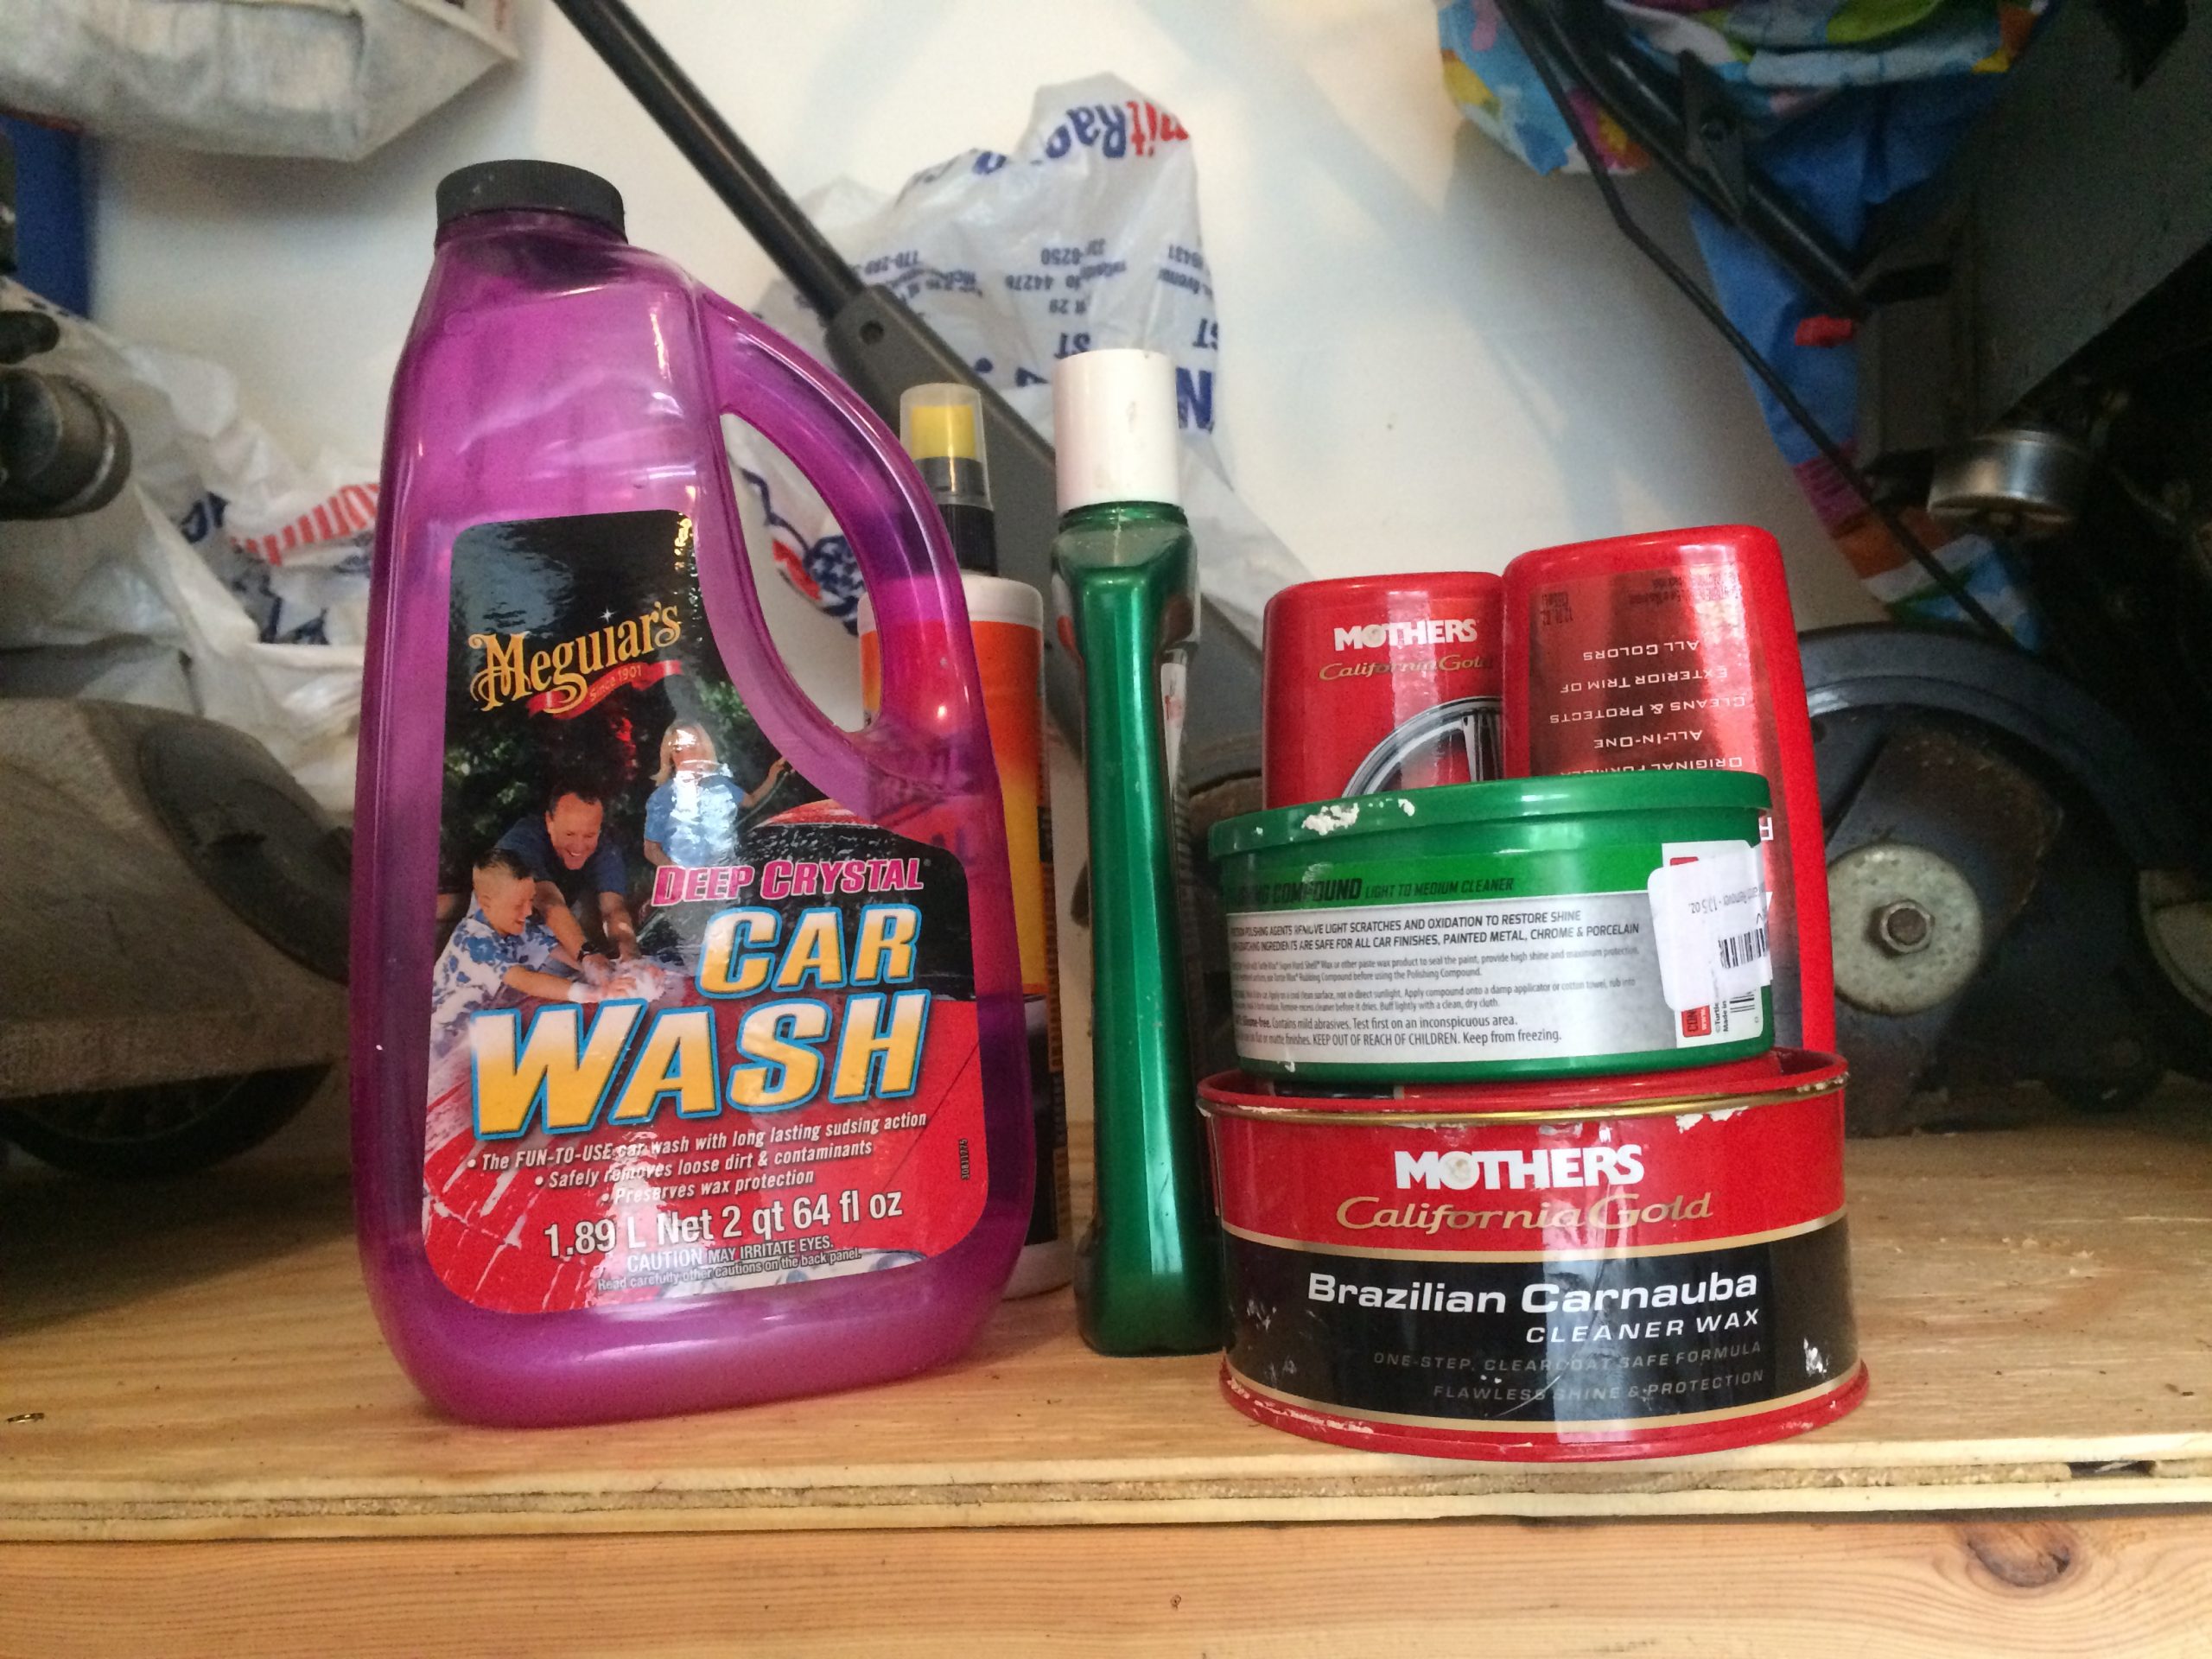
Even if you find car washes tedious, take advantage of your new car euphoria and wash and detail the sucker. While this may be an obvious line-item on a list like this, the reasons may not be.
For starters, a car wash will (hopefully) eliminate any contaminants that accumulated on the vehicle from storage. Secondly, a good detailing job will give you an up-close look at the vehicle’s finish, which can help you spot potential trouble areas before they get worse.
That means more than an overlooked rust spot too. Getting up in the nooks and crannies (inside and out) gives you intimate knowledge of the vehicle, allowing you to notice smaller imperfections that you didn’t see initially. From body ripples demonstrative of a prior repair to a dangling wire under the dash, a good detail job can help you spot issues that you should definitely be aware of.
And who knows, maybe you’ll find a $20 bill in the seat cushions.
Or an old McRib sandwich.
…Either way, you get a free lunch.
***
What’d we miss? Is there another vital maintenance bit we should include? While there are certainly more essential tasks in the future, we wanted to stick to a realistic single day of work here. Let us know your routine in the comments section below.
Insure it with a reputable classic car provider with an agreed value clause. I try to do this before I load one on the trailer. The company I use will cover the car and value of the parts included, running or not. Things happen, don’t risk your project budget to a road crash or theft.
Insurance is a very good point, and something that should be high on the list of priorities, and as you pointed out, whether you’re driving it right away or not.
I remove the distributor cap and check it and the rotor condition out and inspect the plug wire for cracks and rodent damage.
And don’t take it to a speed shop do the work ,do it your self other wise ,you will get taken to the wood shop with labor , parts , and poor service and they will just say bring it back and we will repair again and make sure the give you a estimate not just small talk that they don’t know how much it will cost.