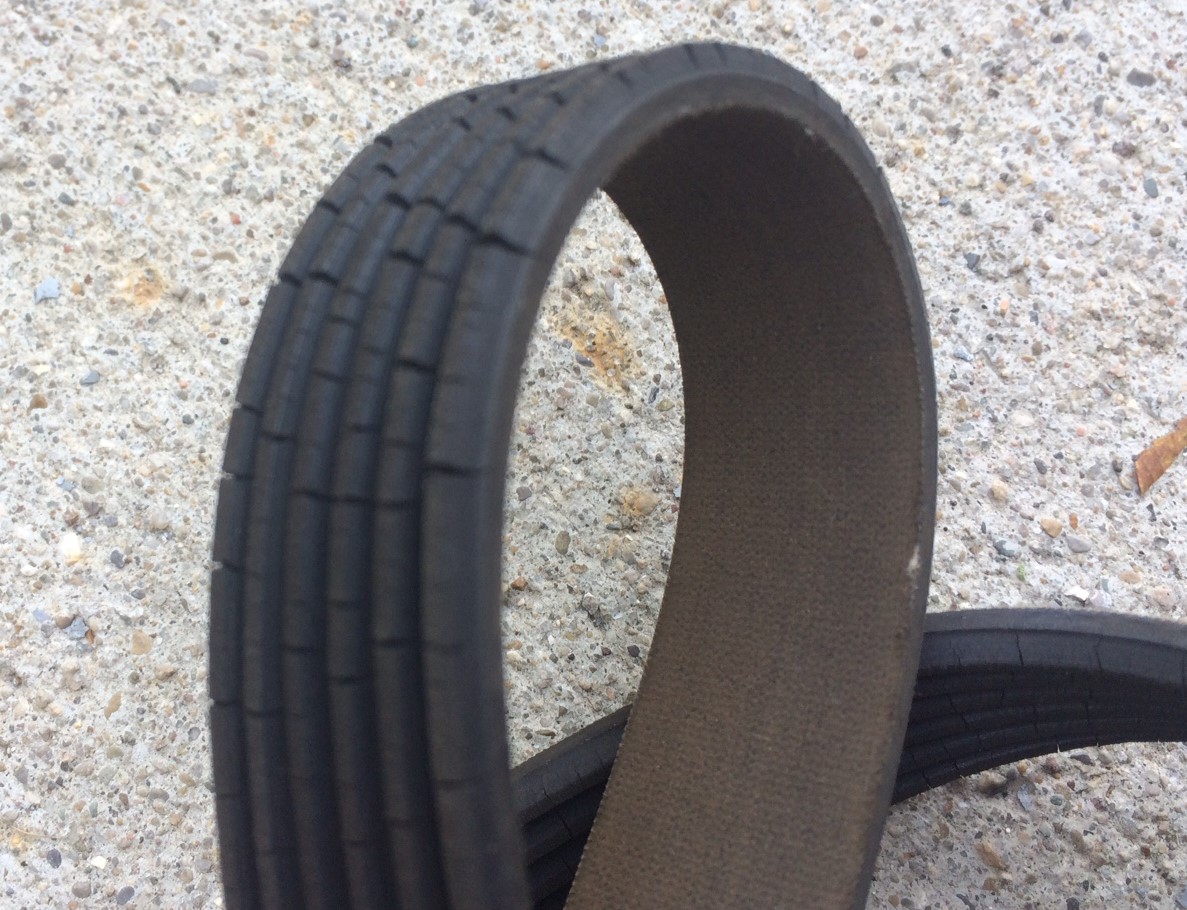
In our experience, swapping out a serpentine belt goes one of two ways: It’s either an easy job done in a few minutes while you’re chatting with your pals…
…or it’s a two-hour adventure that involves removing a wheel, some intense yoga positions, and a serious bit of grunt.
It’s that latter example that brings us to the serpentine belt tool.
The Problem

We were confronted with a typical front-wheel drive import, nothing new, fancy, or exotic. So we didn’t think there’d be much to doing a serpentine belt replacement—something we’d done several times in the past.
In our earlier FWD and RWD efforts, we often simply put a 1/2 inch drive ratchet into the tensioner arm’s receptacle, pulled it back, popped the old belt off and the new one on.
Like maybe a 15 minute job, tops.
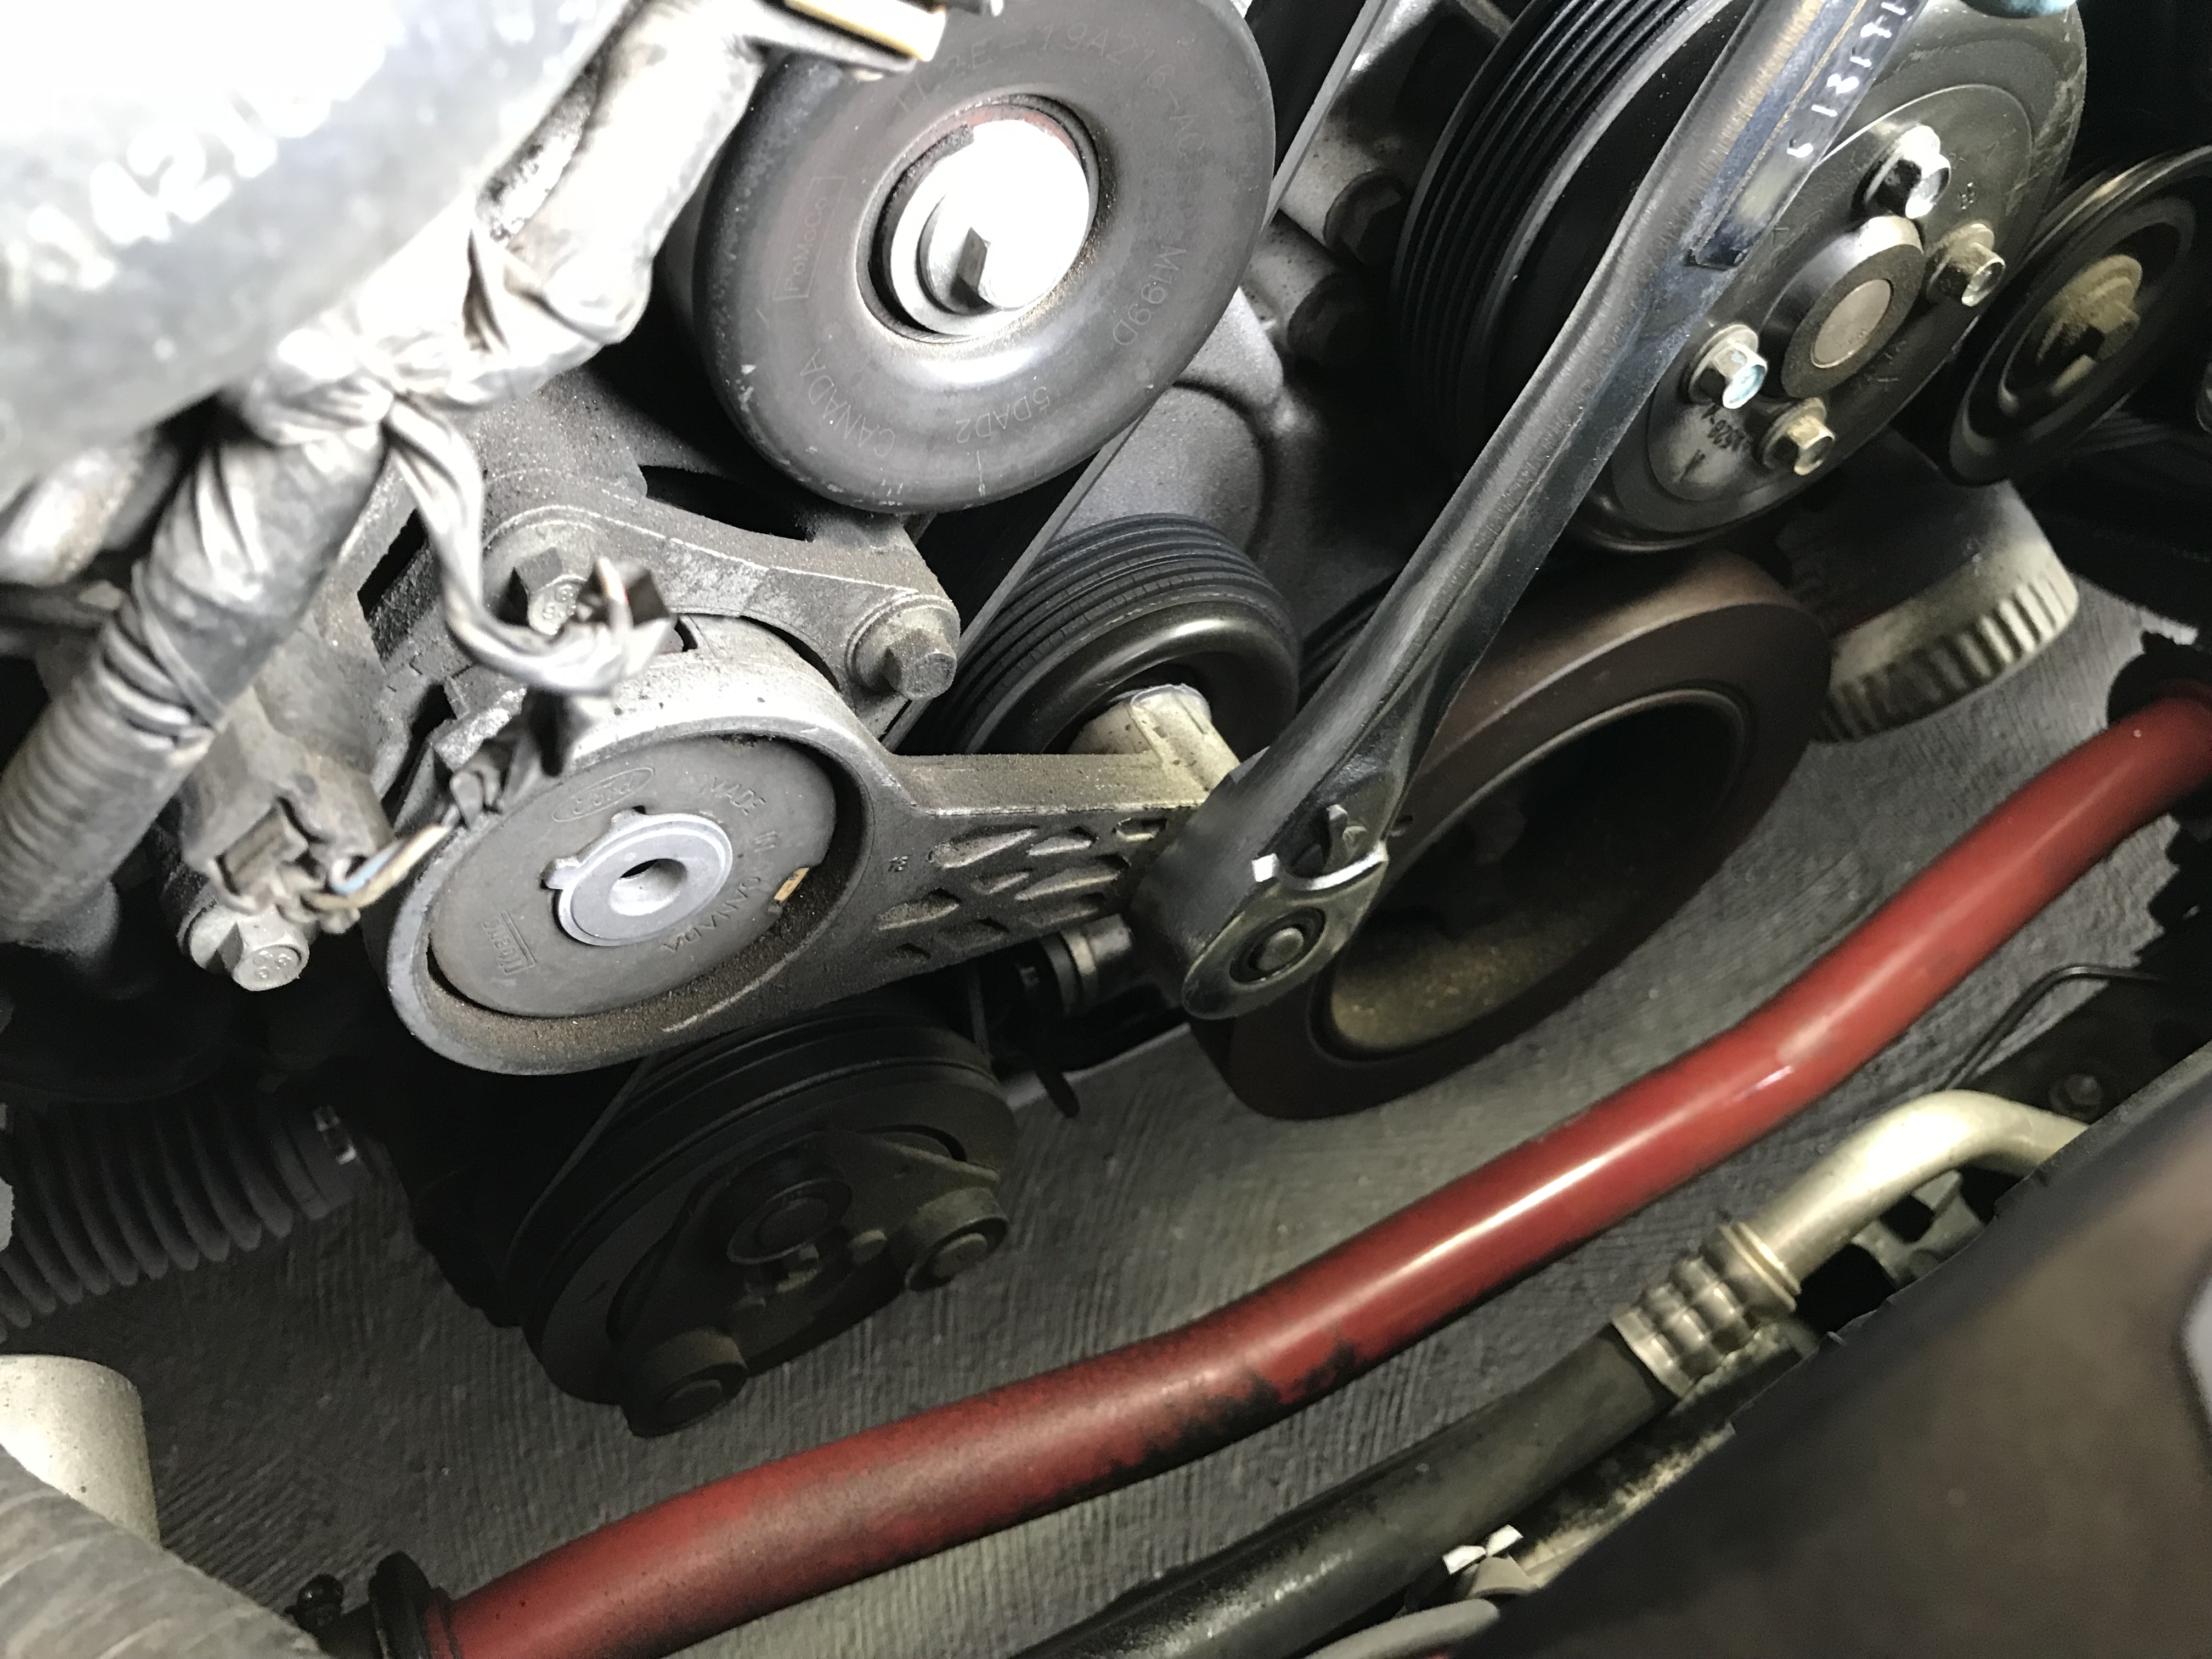
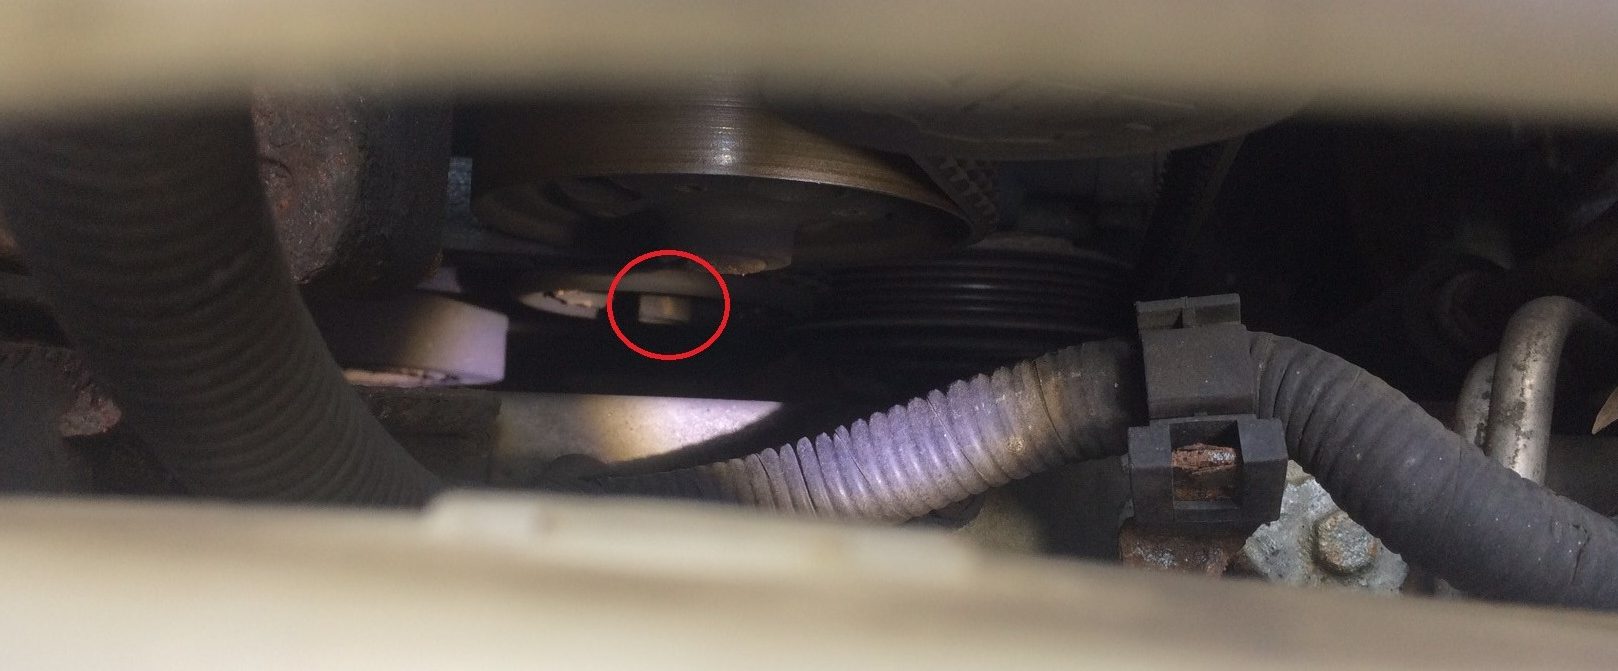
But when we popped the hood on this particular car, we saw that the engineers were generous enough to give us an entire inch of space to work with. The transverse-mounted four-cylinder engine placed the serpentine drive laughably close to the passenger side inner fender and shock tower. Good luck getting anything more than a finger in there.
Suffice it to say, swapping the belt is dang-near impossible without a specialty tool.
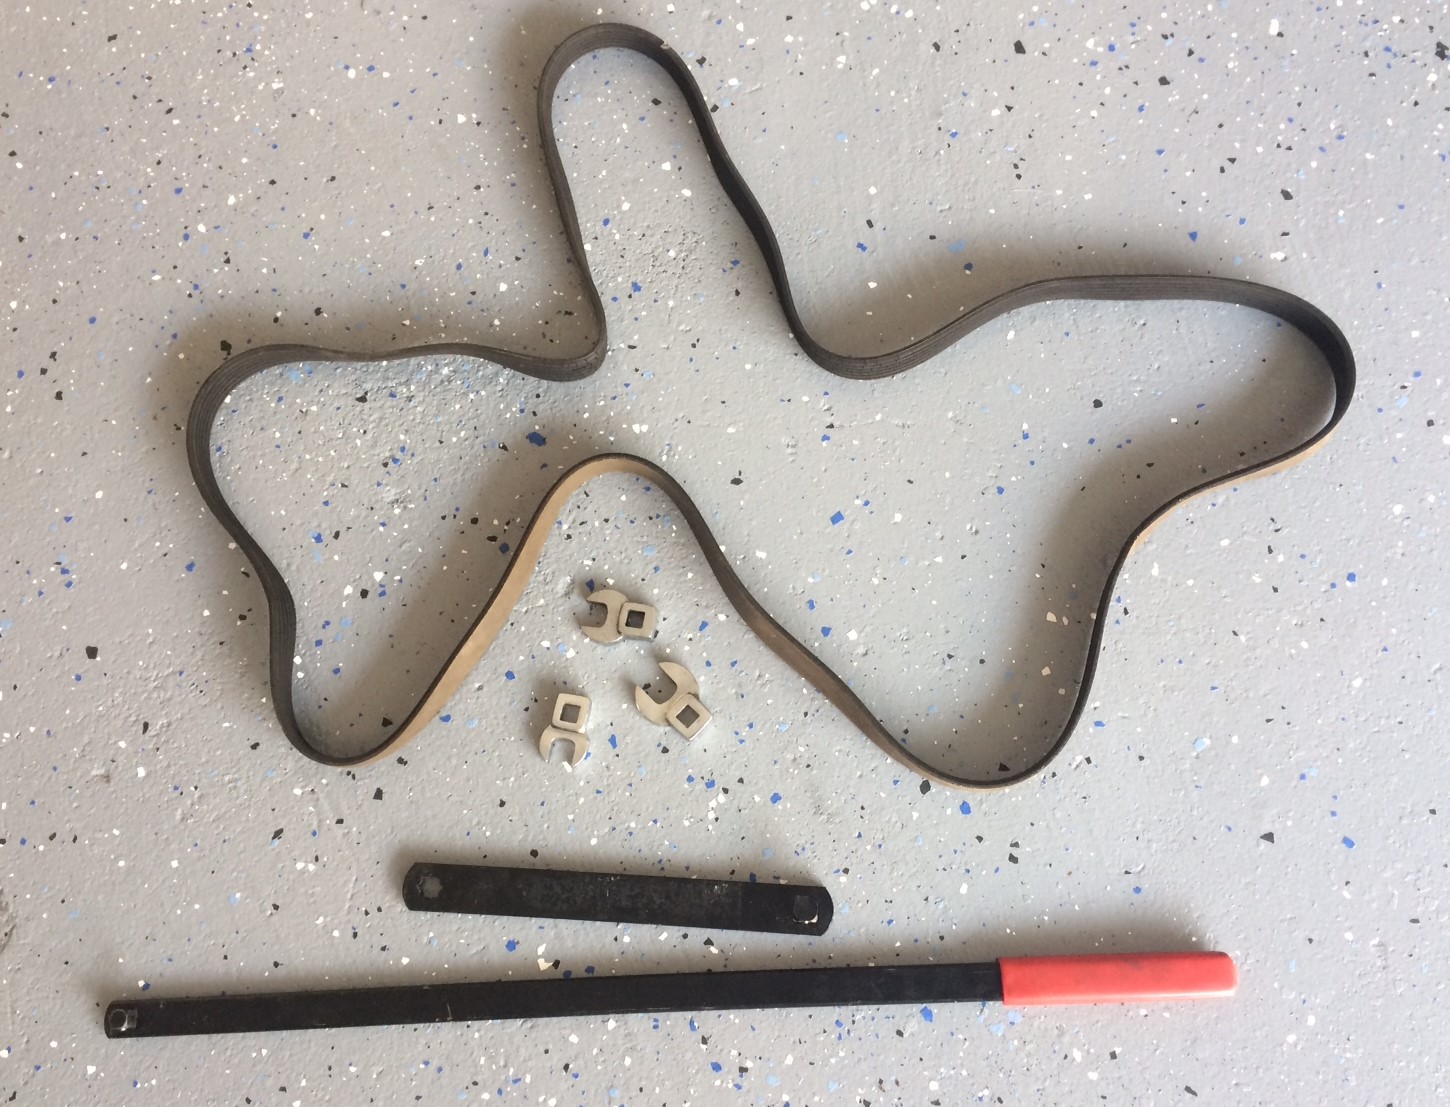
The Serpentine Belt Tool
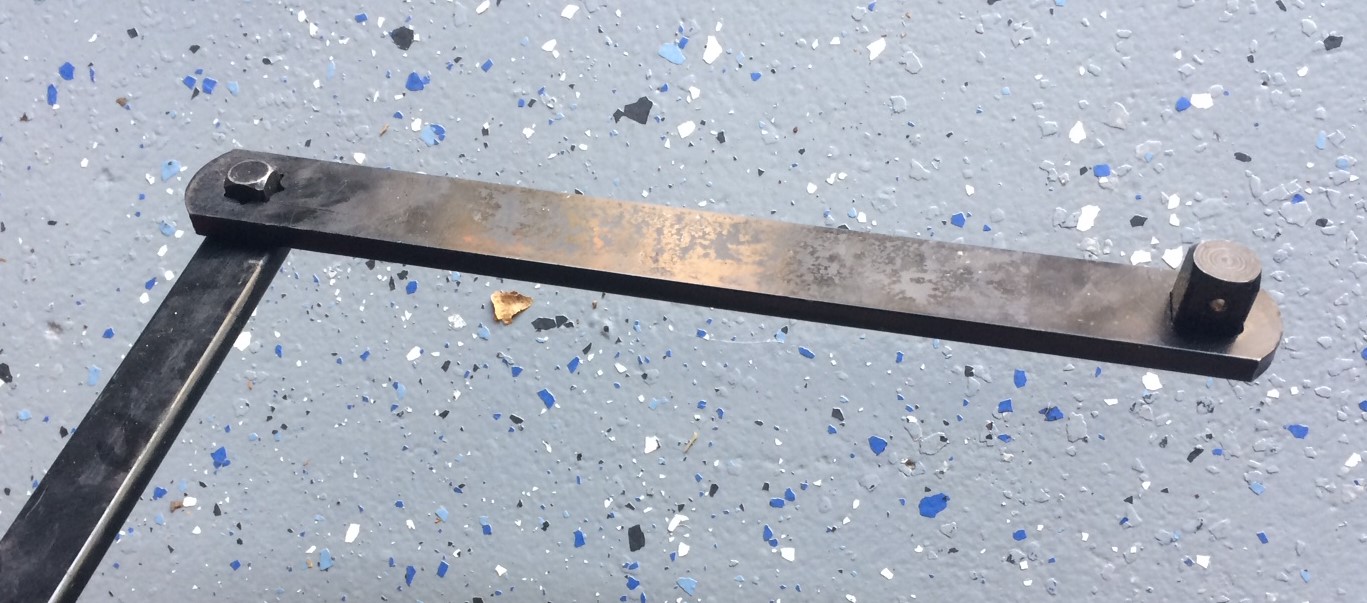
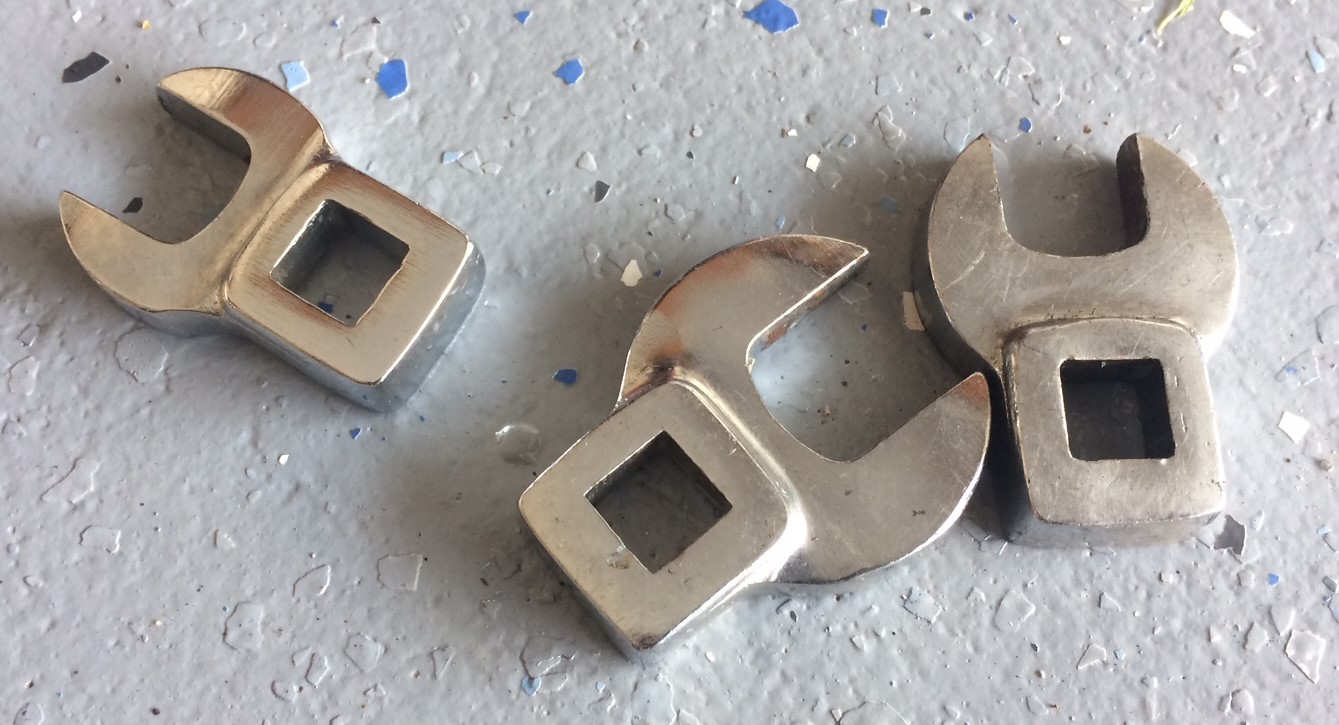
There’s nothing fancy about our particular serpentine belt tool. It’s just two flat bars with a 3/8 inch and 1/2 inch drive ends. Ours came with some crowfoot wrenches too, which we’ll get to in a sec.
And this tool isn’t that expensive, making it worth every penny when you need it.
While we would’ve loved to put a socket around the tensioner arm’s nut, our severe lack of space meant that a crowfoot wrench was our only option.
We’re pretty sure the judges will award us more points for the difficulty though…sigh.
Doing the Job
First, full disclosure: This particular job required far more than just relaxing the arm to remove the belt. We had to jack the car up, then remove the wheel and inner fender liner to reinstall the belt around the lower crank and A/C compressor pulleys.
But that aside, we would have never been able to even get to that point, if it wasn’t for the trusty serpentine belt wrench. Here’s how it worked:
We carefully slipped the 14mm crowfoot wrench around the nut, pushed the serpentine belt tool forward (taking full advantage of Archimedes’ principles of leverage), and slipped the belt off the topmost pulleys. Then with the belt loose, we pulled it out from the bottom of the car.
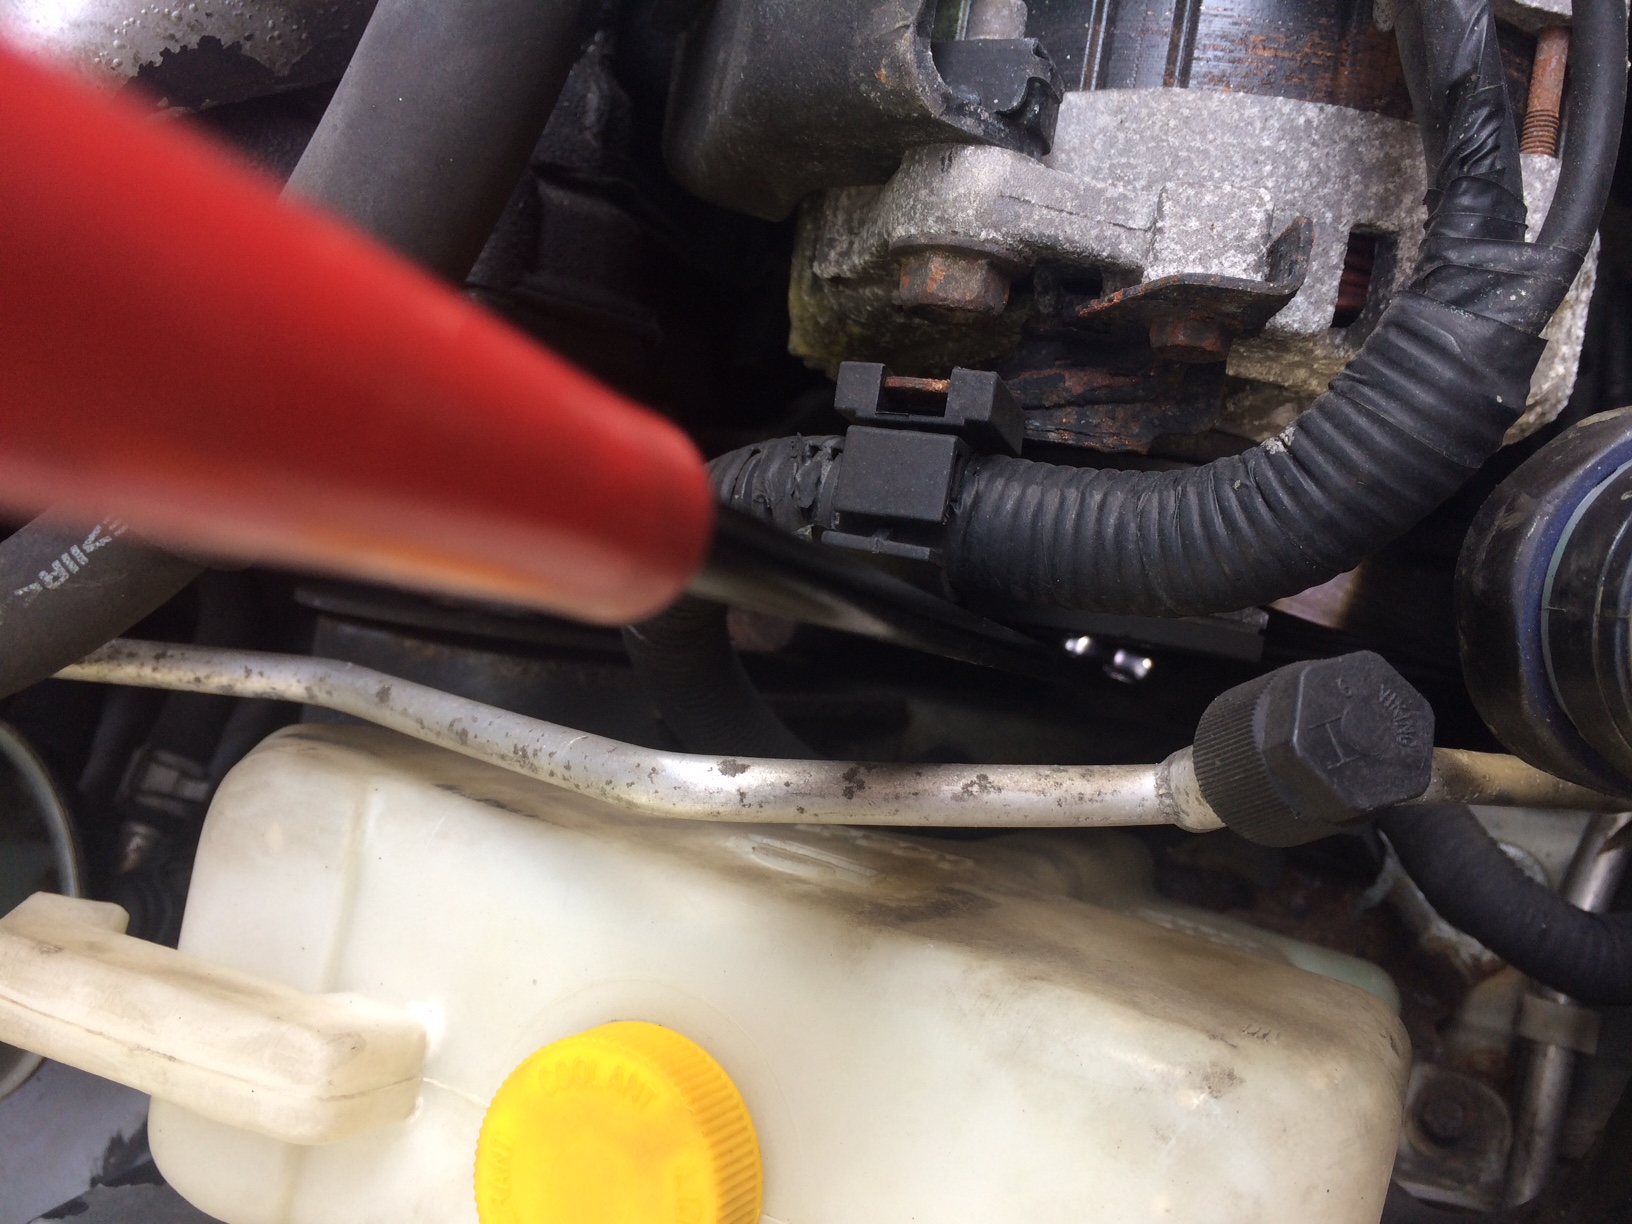
To install the new one, we basically reversed the process, slipping the new belt around the lower crank and A/C compressor pulleys first, before moving up top and pushing the tensioner arm forward with one hand (using the tool) while deftly stretching the new belt over the topmost pulleys with our other.
The next morning, we had sore muscles we never knew existed.
Yet, the belt was swapped and the job done—all because of the Unsung Hero serpentine belt specialty tool.
Good article/will purchase
How do you change the severtine pulley on a mercedes 2004 c class 330