For a second, ponder that forgotten and often misused tool (or tools) in your toolbox: the flat chisel.
It’s the most common chisel used in automotive applications, but there are other types out there including cape chisels, side chisels, round nose chisels, diamond point chisels, and more.
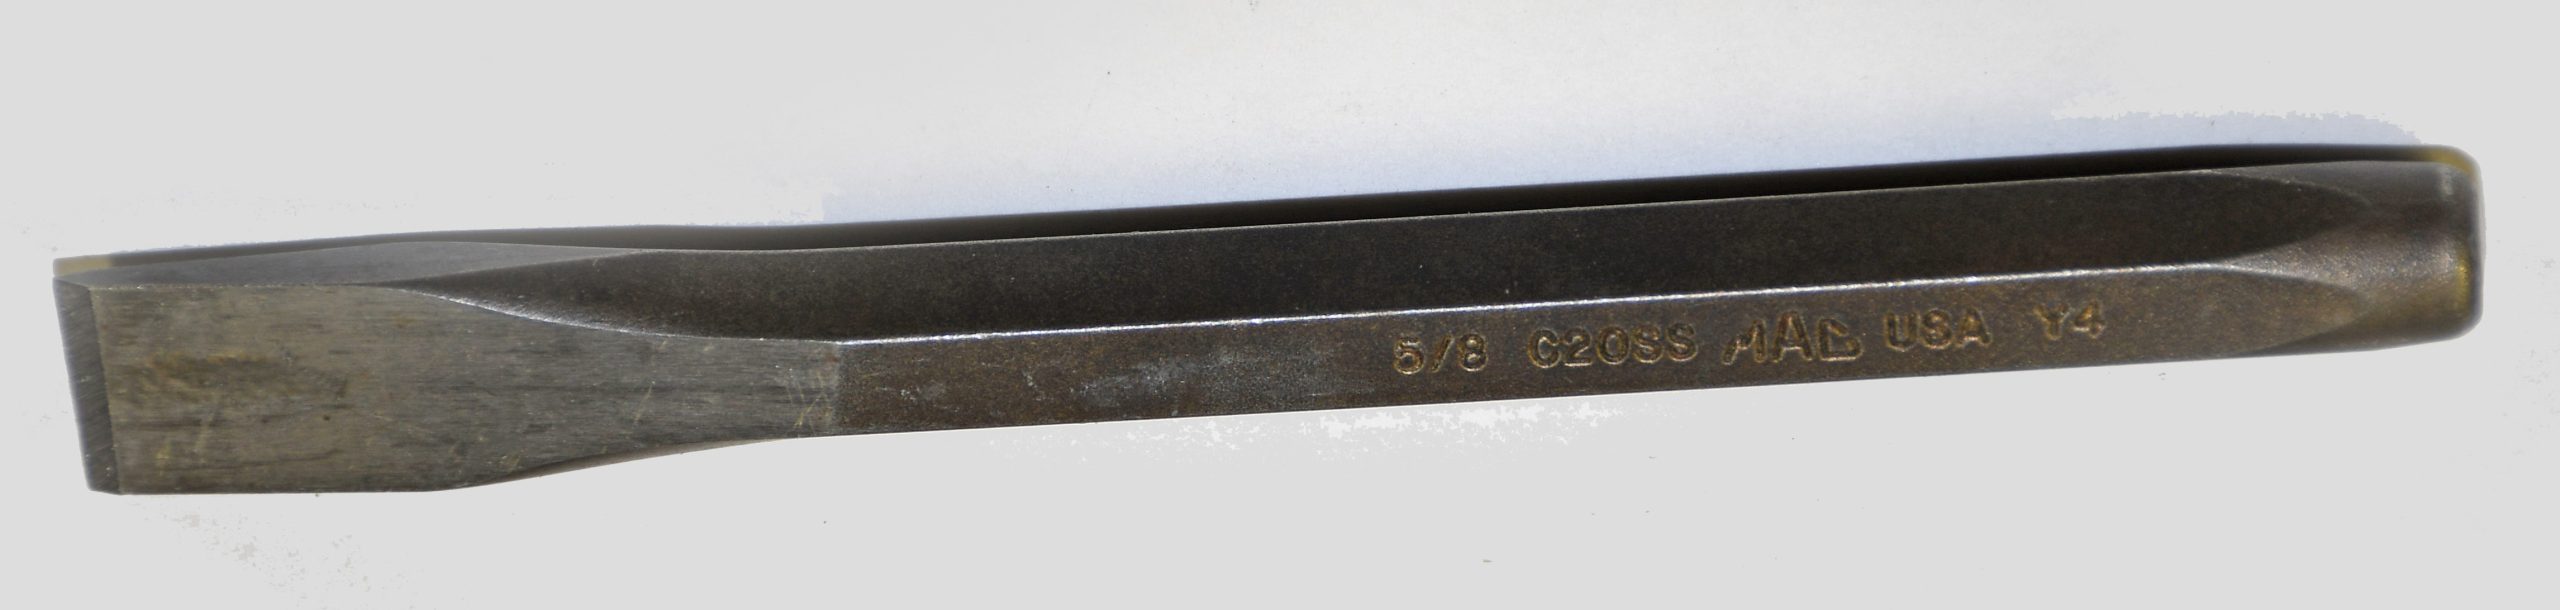
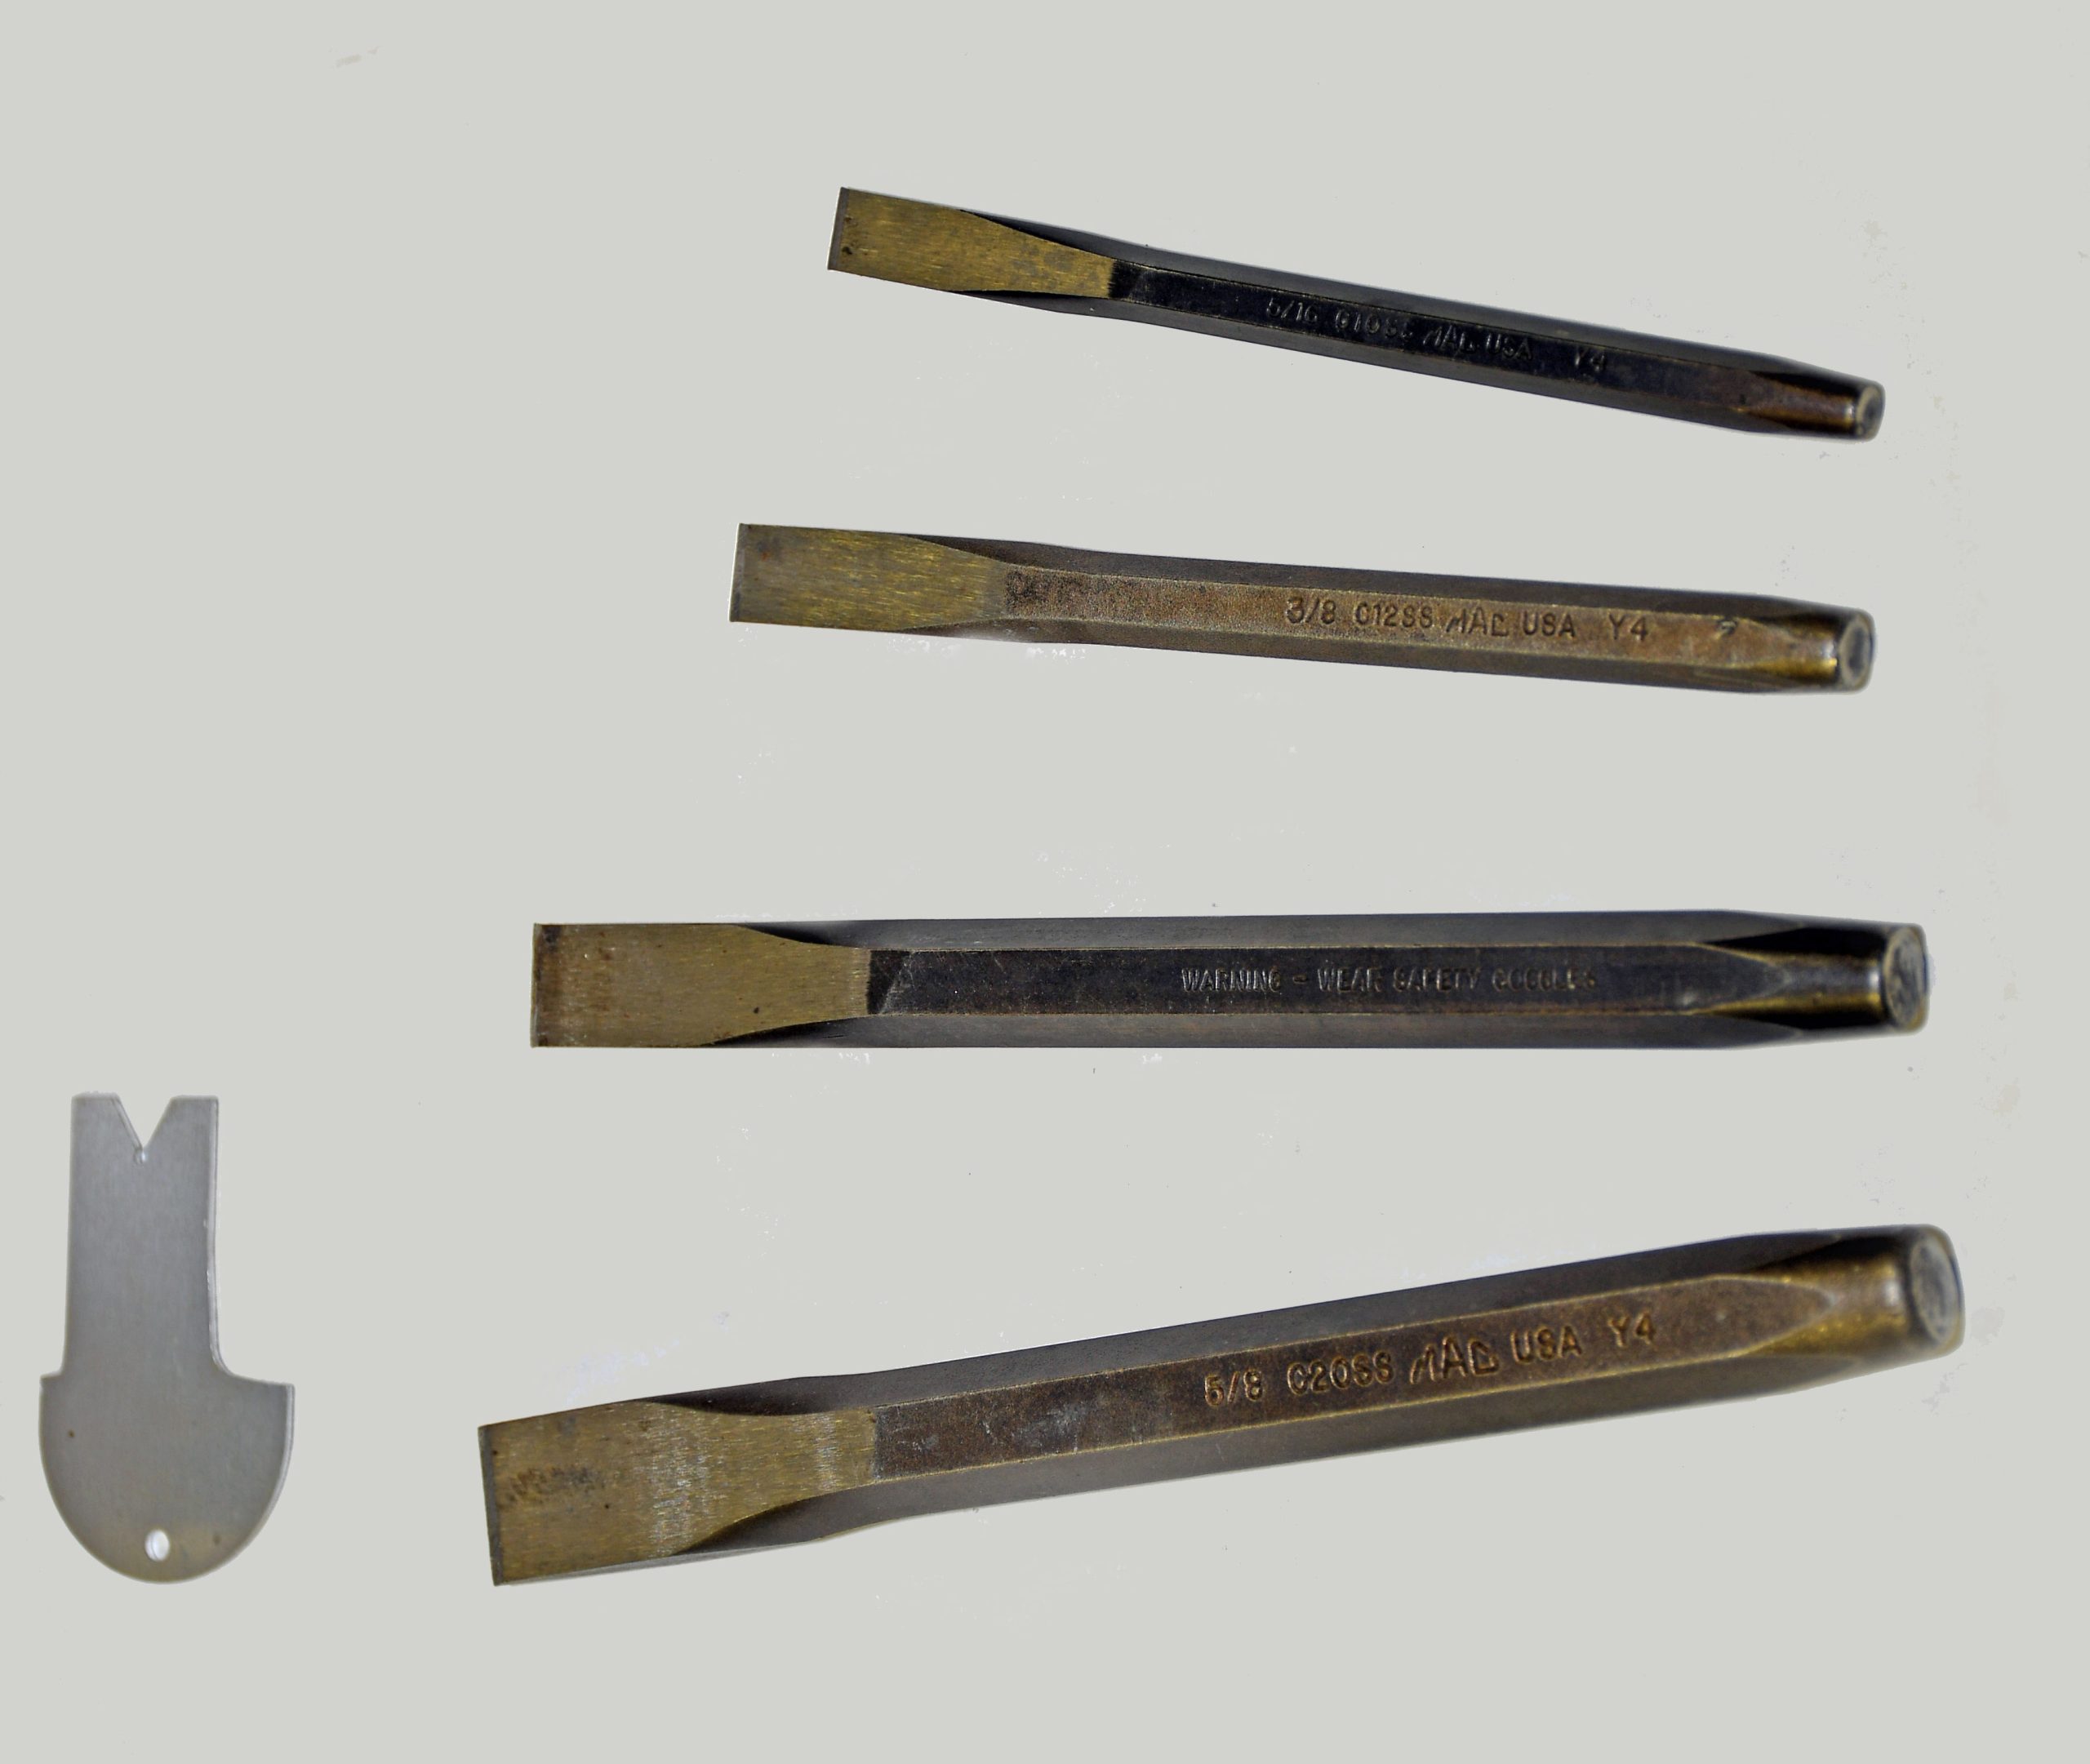
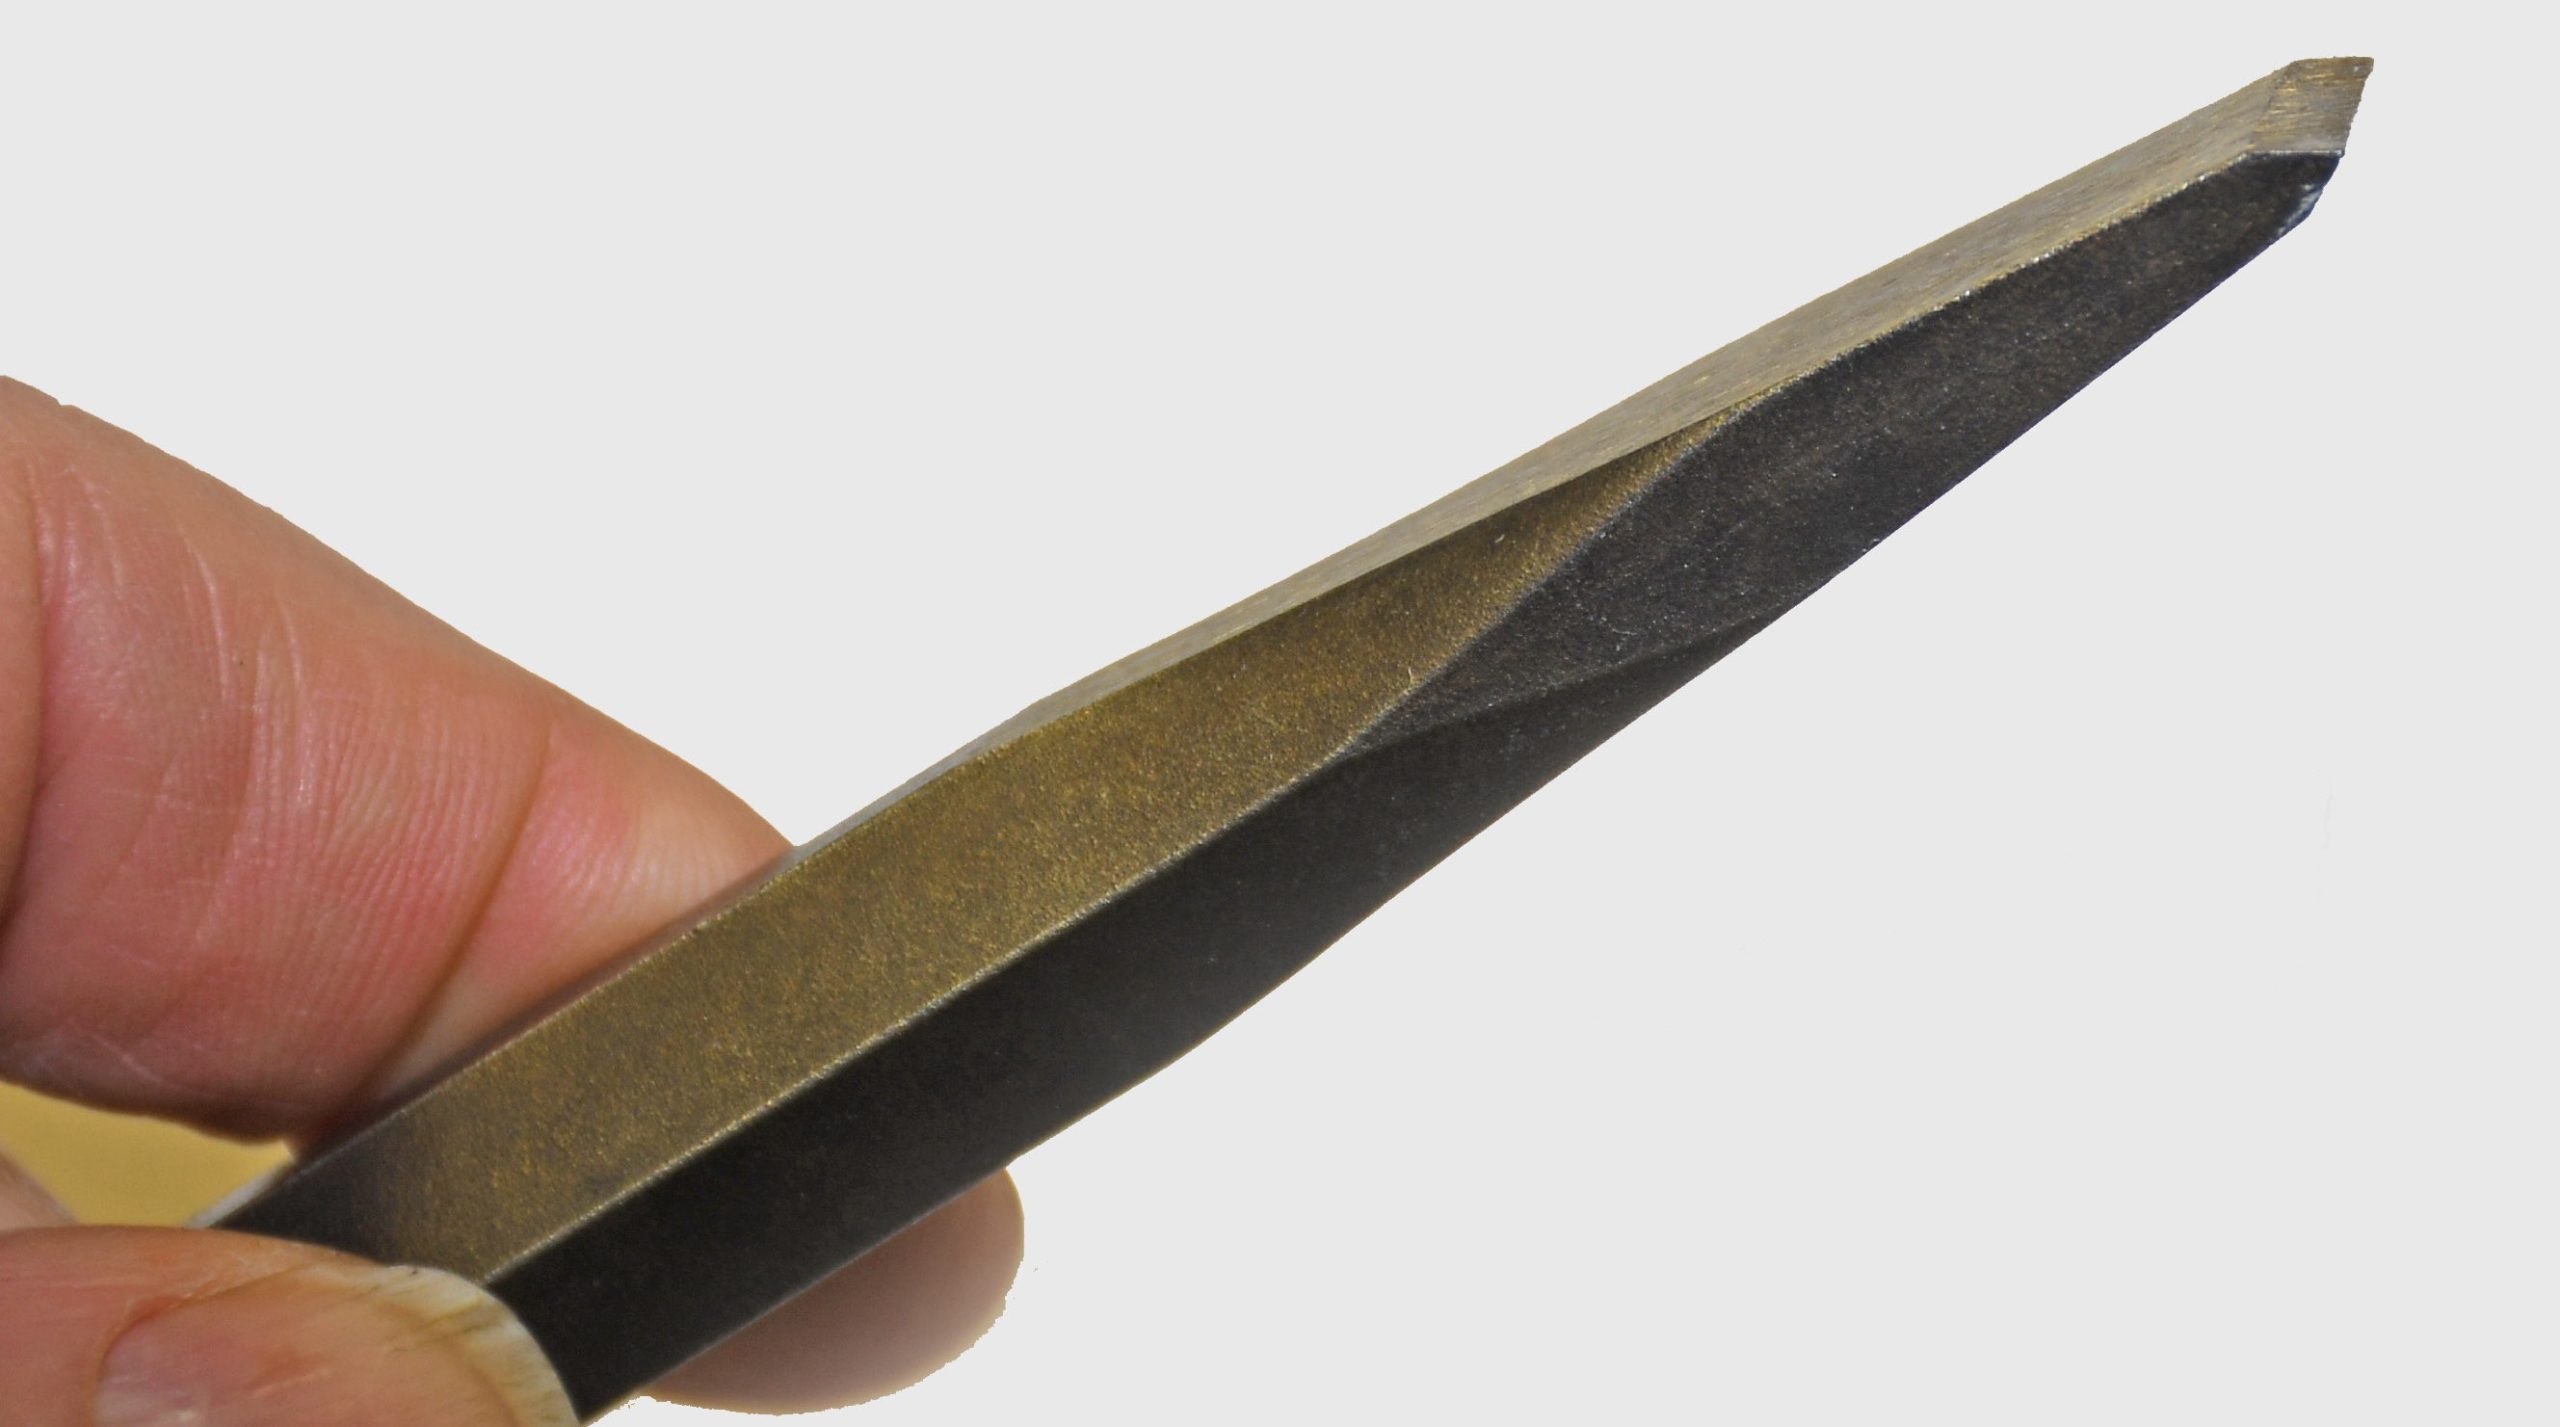
A flat or “cold” chisel is most often called upon to perform jobs like cutting and chipping. No secret we’re sure. The cutting edge is beveled and tapers from both sides toward the center. Typically, the angle of the bevel is between 60 and 70 degrees. A simple rule of thumb is when dealing with softer metal, the angle can be reduced and when working with harder metals, the angle can be increased.
Flat chisels are usually sold in sizes coinciding with the width of the cutting surface. Basically, if you purchase a 5/8 chisel, the cutting edge measures 5/8 inch wide. If it is a 5/16 chisel, the cutting edge measures 5/16 inch wide. Simple stuff.
As noted above, flat chisels are primarily used for chipping and cutting or shearing. Cutting is more or less self-explanatory. Chipping is the process of removing pieces of small metal from material using a hammer and a chisel. Certainly, there are other, often faster, ways to accomplish this—namely an angle grinder, a die grinder, or an air chisel.
But for some jobs (especially intricate ones), there’s still no better tool than a simple flat chisel.
How to Select the Right Chisel for the Job
When selecting a chisel for a specific job, the diameter of the chisel should be approximately one-half that of the hammer’s face. As an example: If the chisel you’ve picked is 1/2 inch in diameter, them the face of the hammer head should be approximately 1 inch in diameter.
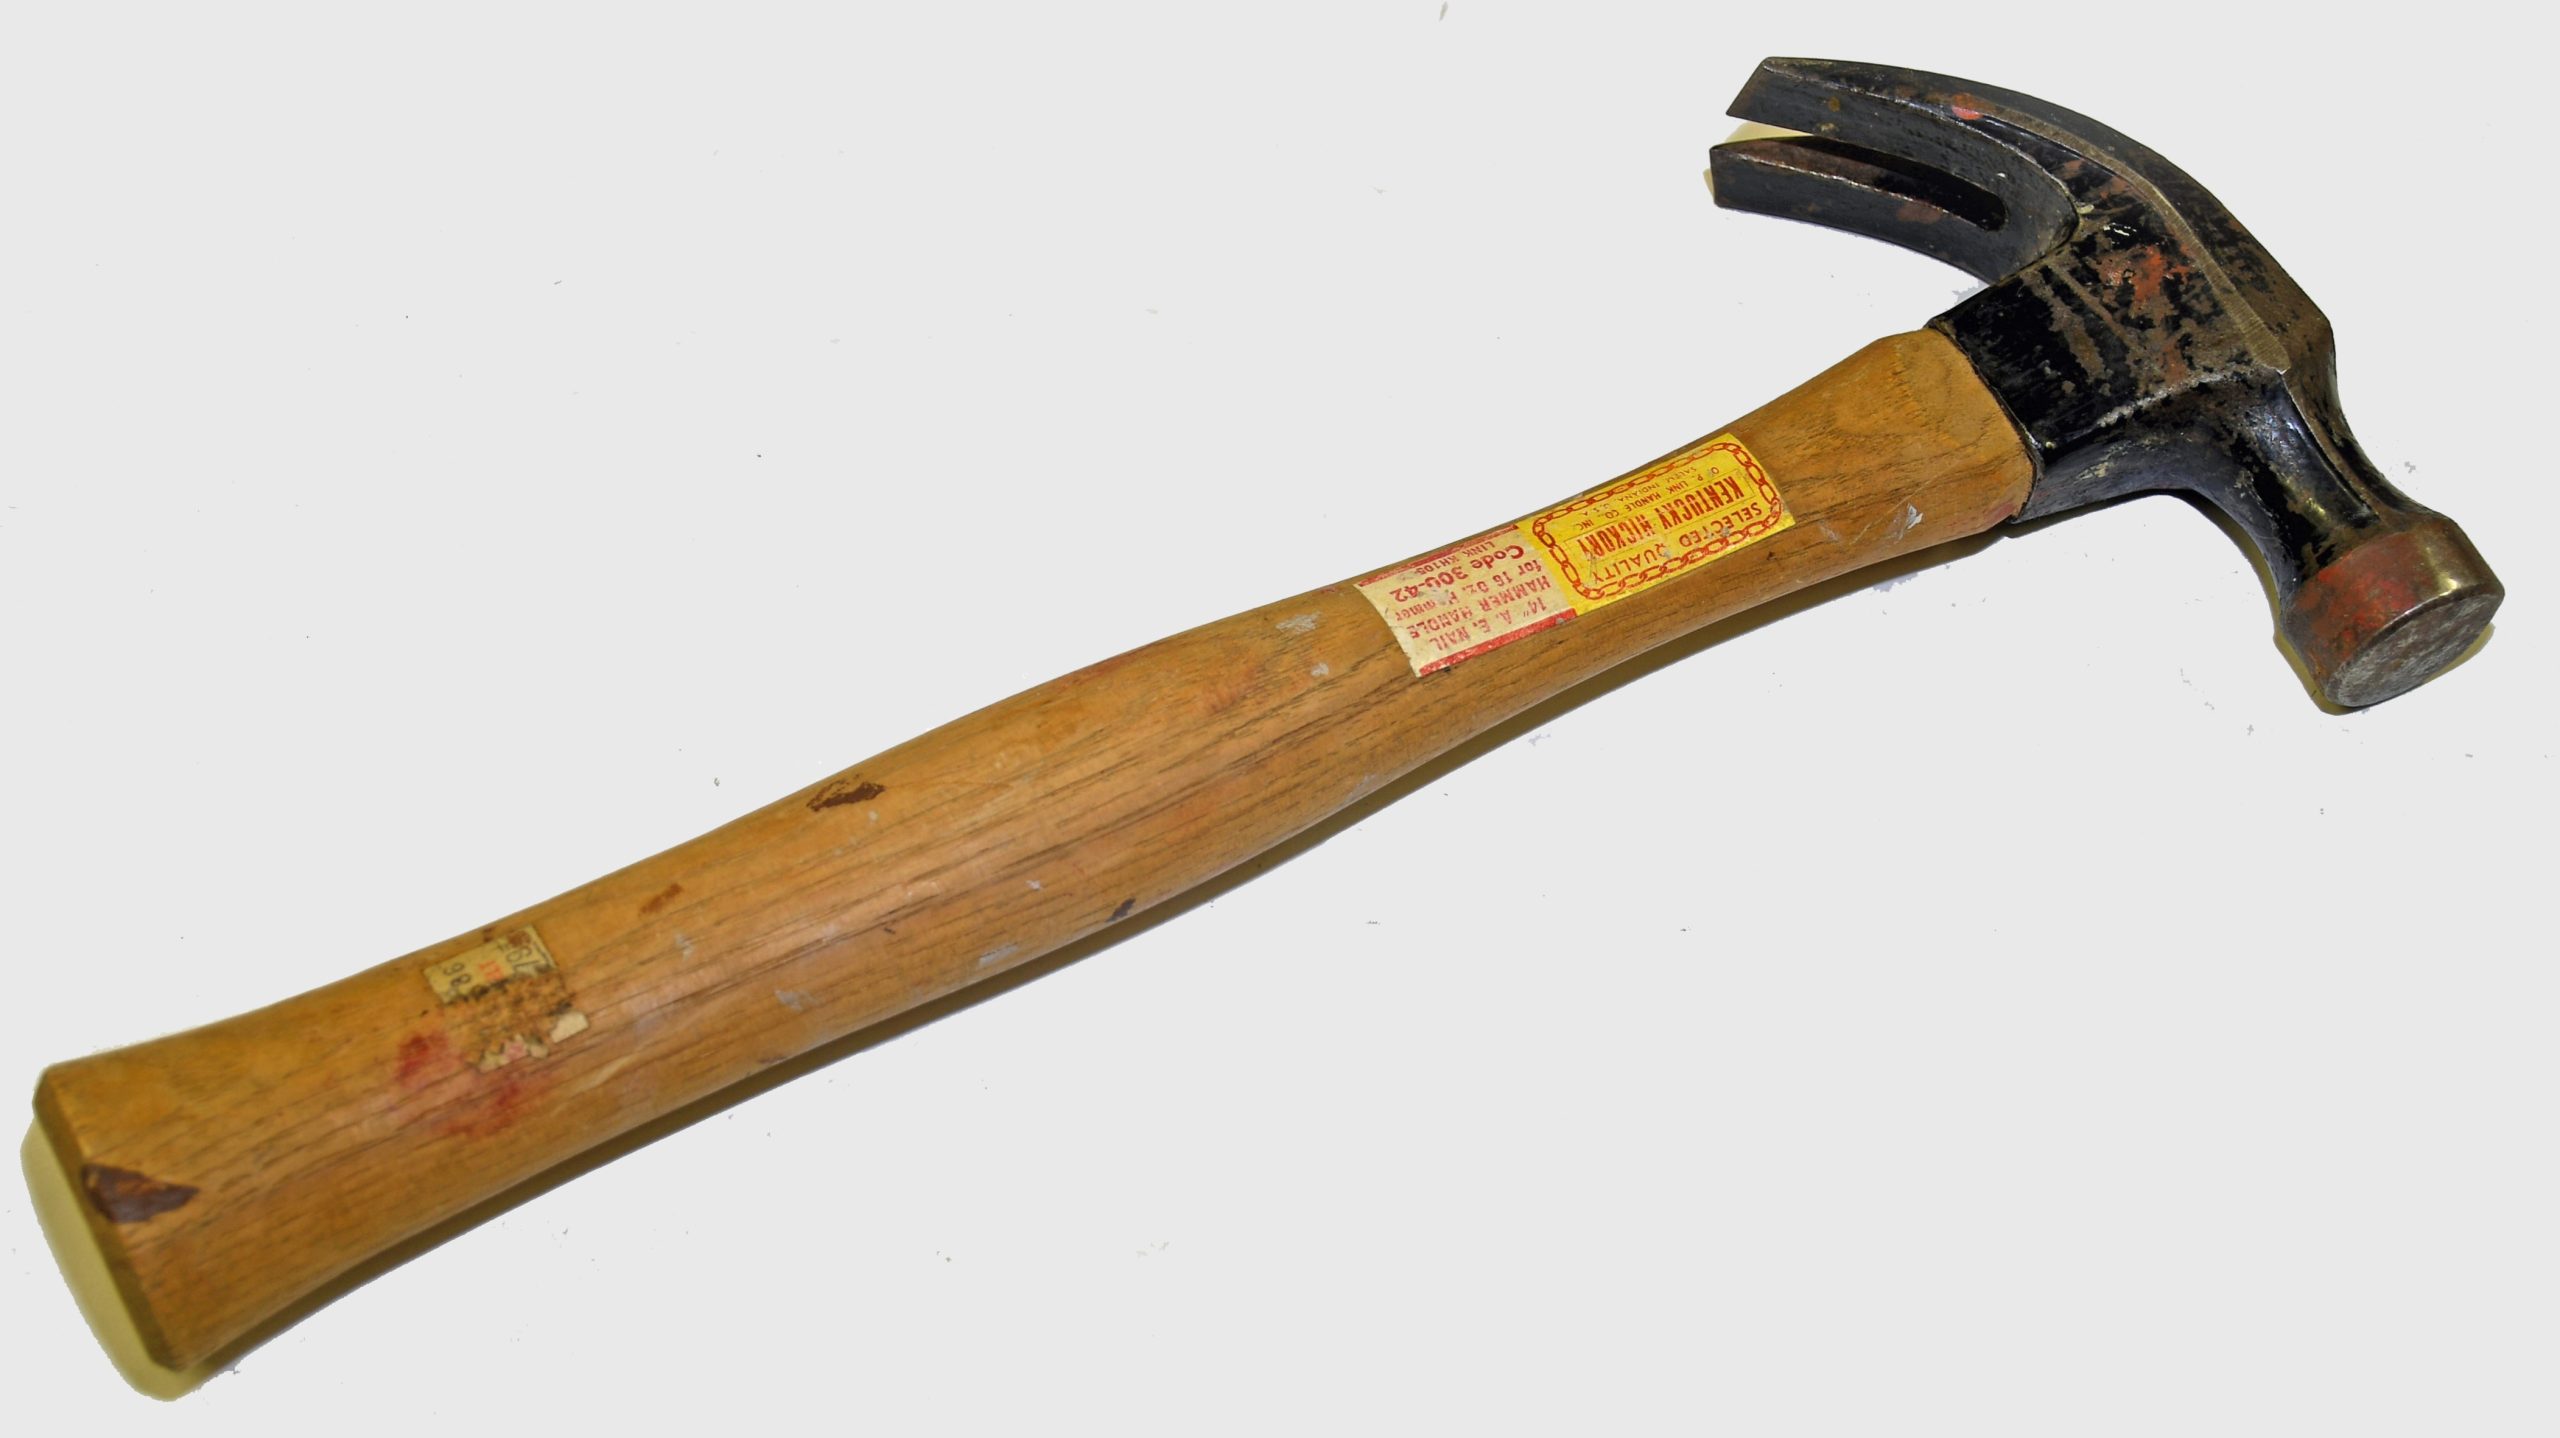
Basically, this rule of thumb prevents you from using the biggest, baddest hammer you have in the tool box! Overkill doesn’t work that great with tools, particularly when it comes striking tools.
How to Work with a Hammer & Chisel
When working with the hammer, strike the head of the chisel squarely. This tends to prevent glancing blows that in turn usually result it wounded fingers.
Make it a practice to wear safety glasses when using a hammer and chisel. Never use a chisel with a mushroomed head. The reason is, metal fragments can easily depart the head of the chisel. And those can cause severe injury to yourself as well as others nearby, not to mention damage to the specific project you’re working on.
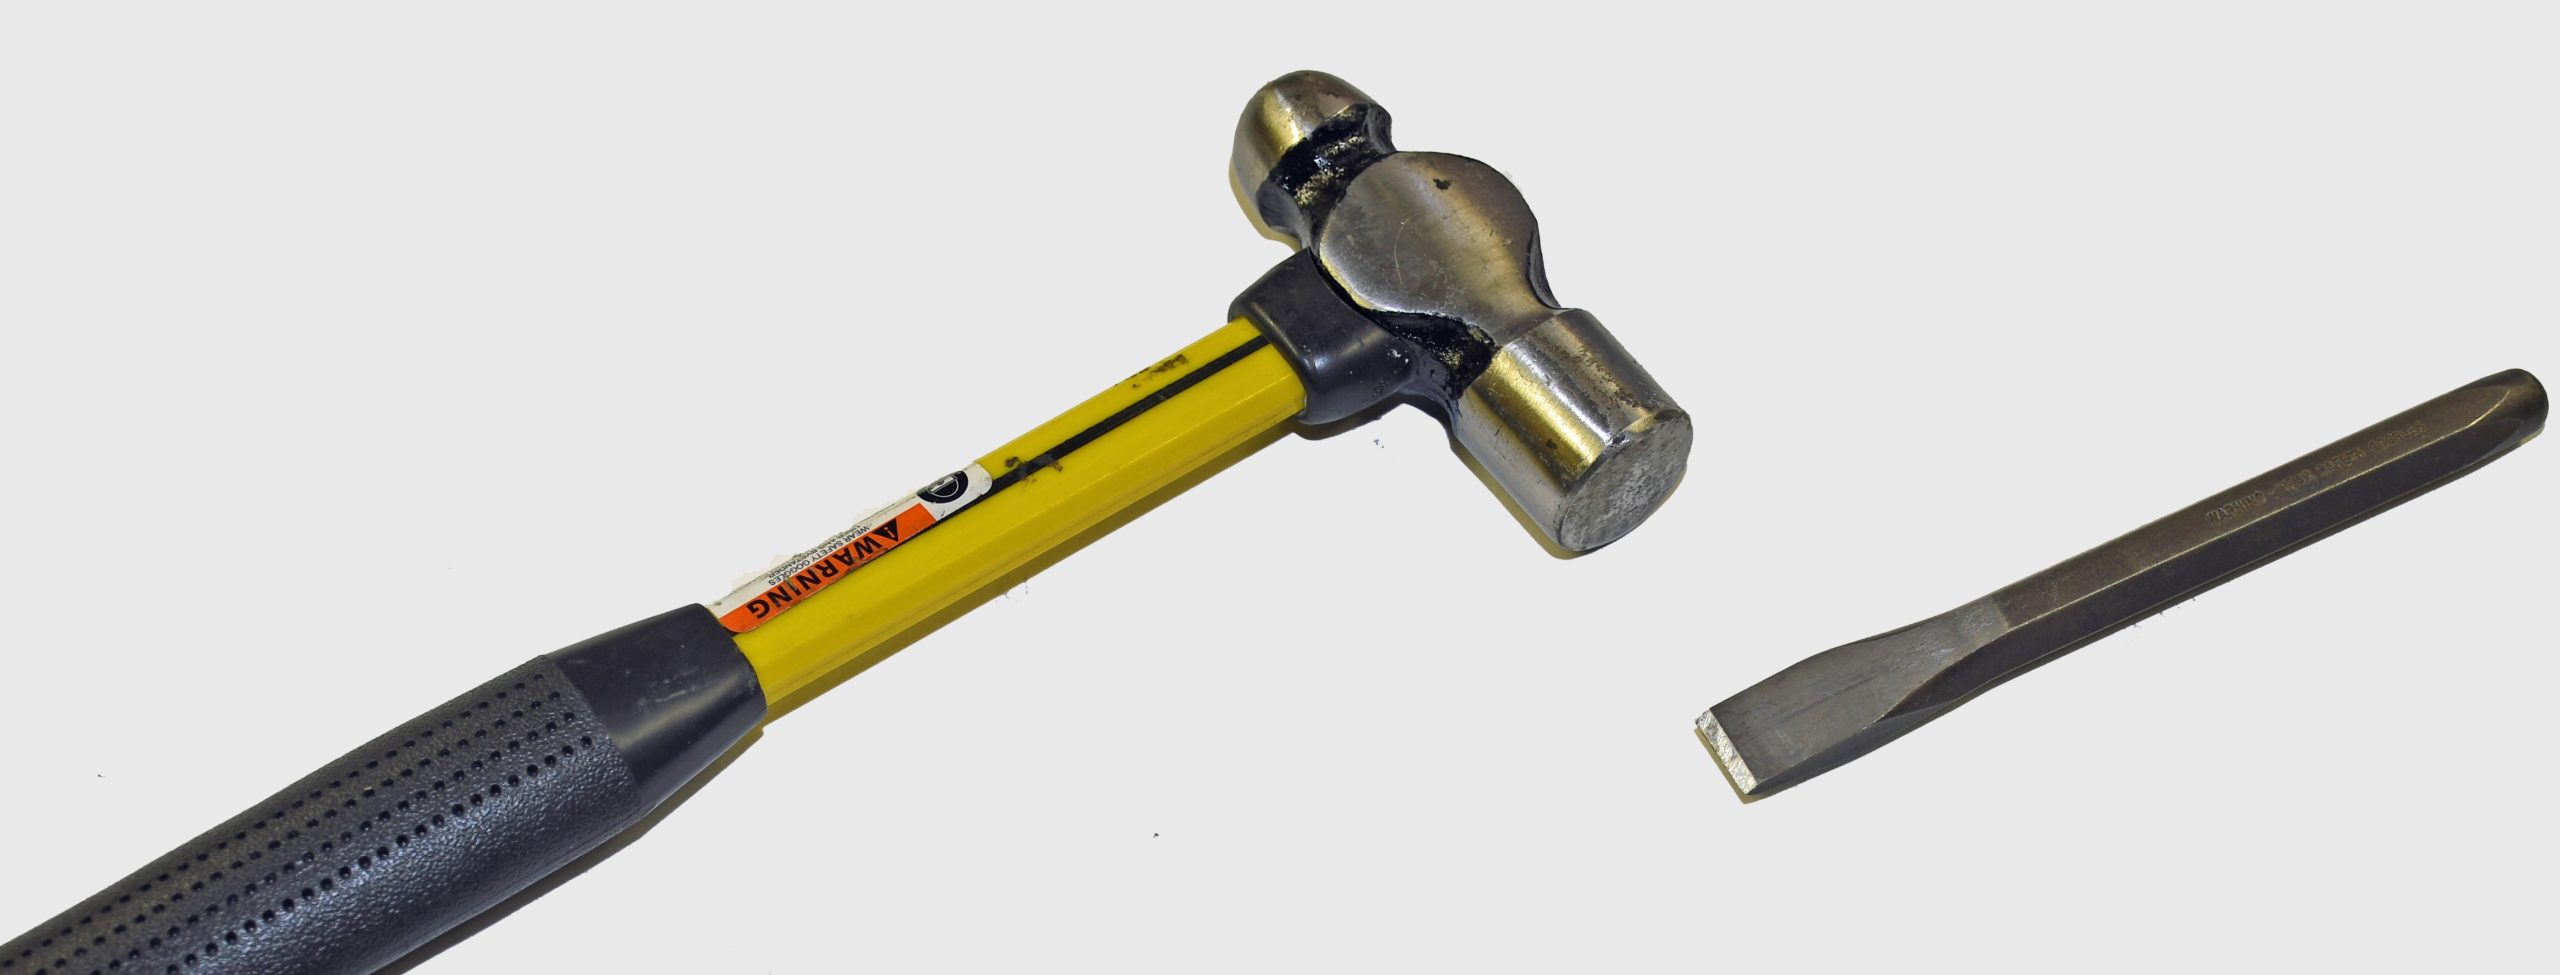
When working with a hammer and chisel, hold the hammer at the extreme end of the handle and hold the chisel near the head. Your thumb and the first finger should lightly hold the chisel while the other fingers apply more pressure to the tool. Meanwhile, the chisel cutting edge should be positioned right on the area where you’re making the cut. When looking at your work, try watching the cutting edge of the chisel, not the chisel head. And don’t grip the chisel too tightly.
The angle of the chisel cutting edge in relation to the material you’re cutting is important too. The appropriate angle will cause the chisel cutting edge to follow the finished surface of the material. If the angle is too aggressive, the chisel will tend to “bite” in and gouge the piece you’re working on.
It’s a good practice to recheck the angle of the chisel following each strike. Basically, take your time. The depth of the cut will depend on the angle of the chisel.
Following each strike of the hammer, the chisel will tend to move along the supporting surface. If you lower the chisel head, the cutting edge will move up. Conversely, raising the chisel head will cause the cutting edge to move down and of course, dig deeper into the material. The cutting edge angle best for all around chipping should be 60 to 65 degrees.
Chisel Maintenance
Once a chisel becomes worn or damaged, it must be dressed (basically, cleaned up or repaired) before you use it again. Chisel damage usually occurs in two spots: the head and the cutting edge. Chisel heads tend mushroom with prolonged use and simultaneously, the cutting edge can become nicked and dull. The solution is to inspect and grind the chisel.
When grinding and dressing a chisel, these are the most important things to consider:
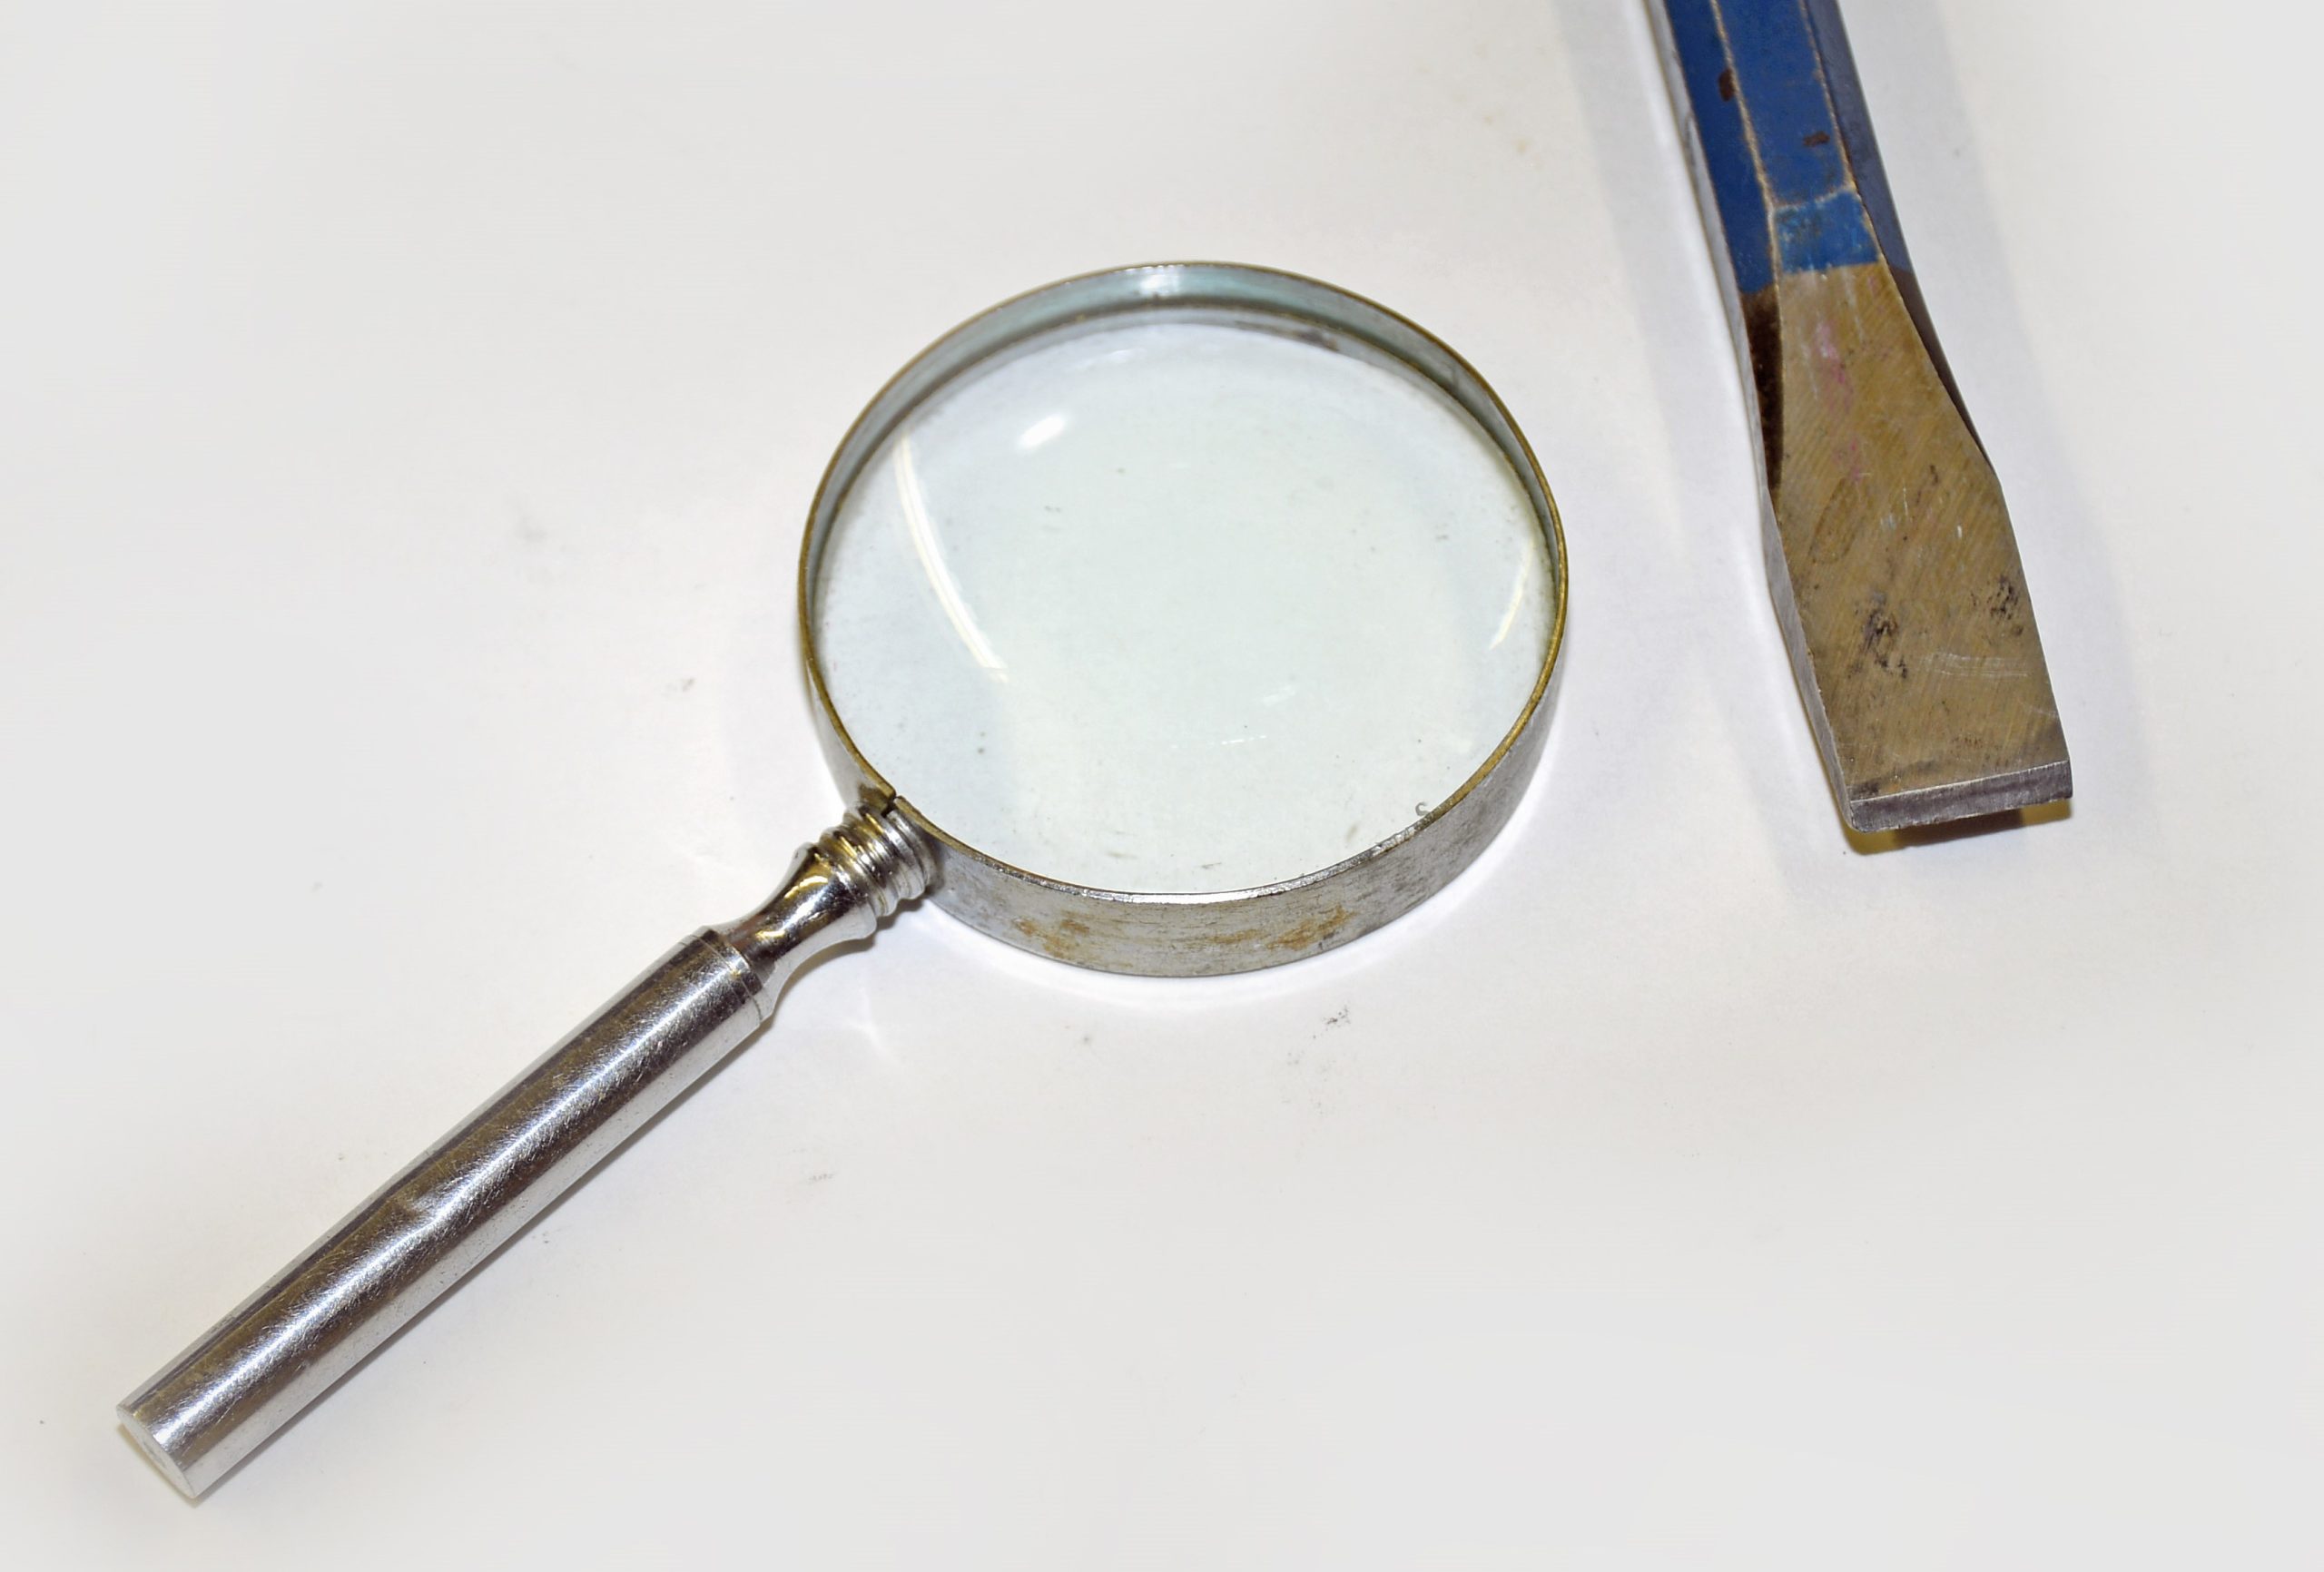
Check for cracks and spalls (these are basically chipped areas). Use a magnifying glass for a closer look. The reason is, some cracks cannot be seen with the naked eye. All of these cracks must be removed.
Don’t attempt to modify the chisel. Dressing it should return to the original shape. The easiest thing here is to use an undamaged chisel as the reference point. Some chisel sets include a profile gauge that allows you to establish the bevel angle.
A medium or fine grit grinding wheel should be used to dress the chisel. The direction of the grinding wheel (rotation) should be away from the cutting edge, directed toward the body of the tool. This effectively directs heat generated by the process away from the cutting edge.
Generally speaking, chisels are heat treated (hardened) to approximately 1-1/2 inches back from the cutting edge and 3/4 inch or so back from the head. It’s a good idea to keep grinding within those boundaries.
When grinding, keep the temperature low. If you don’t control the grinding temperature, the hardness of the area that is being ground can easily be lost. This makes the chisel hard and brittle. It easily crack or break the next time you use it.
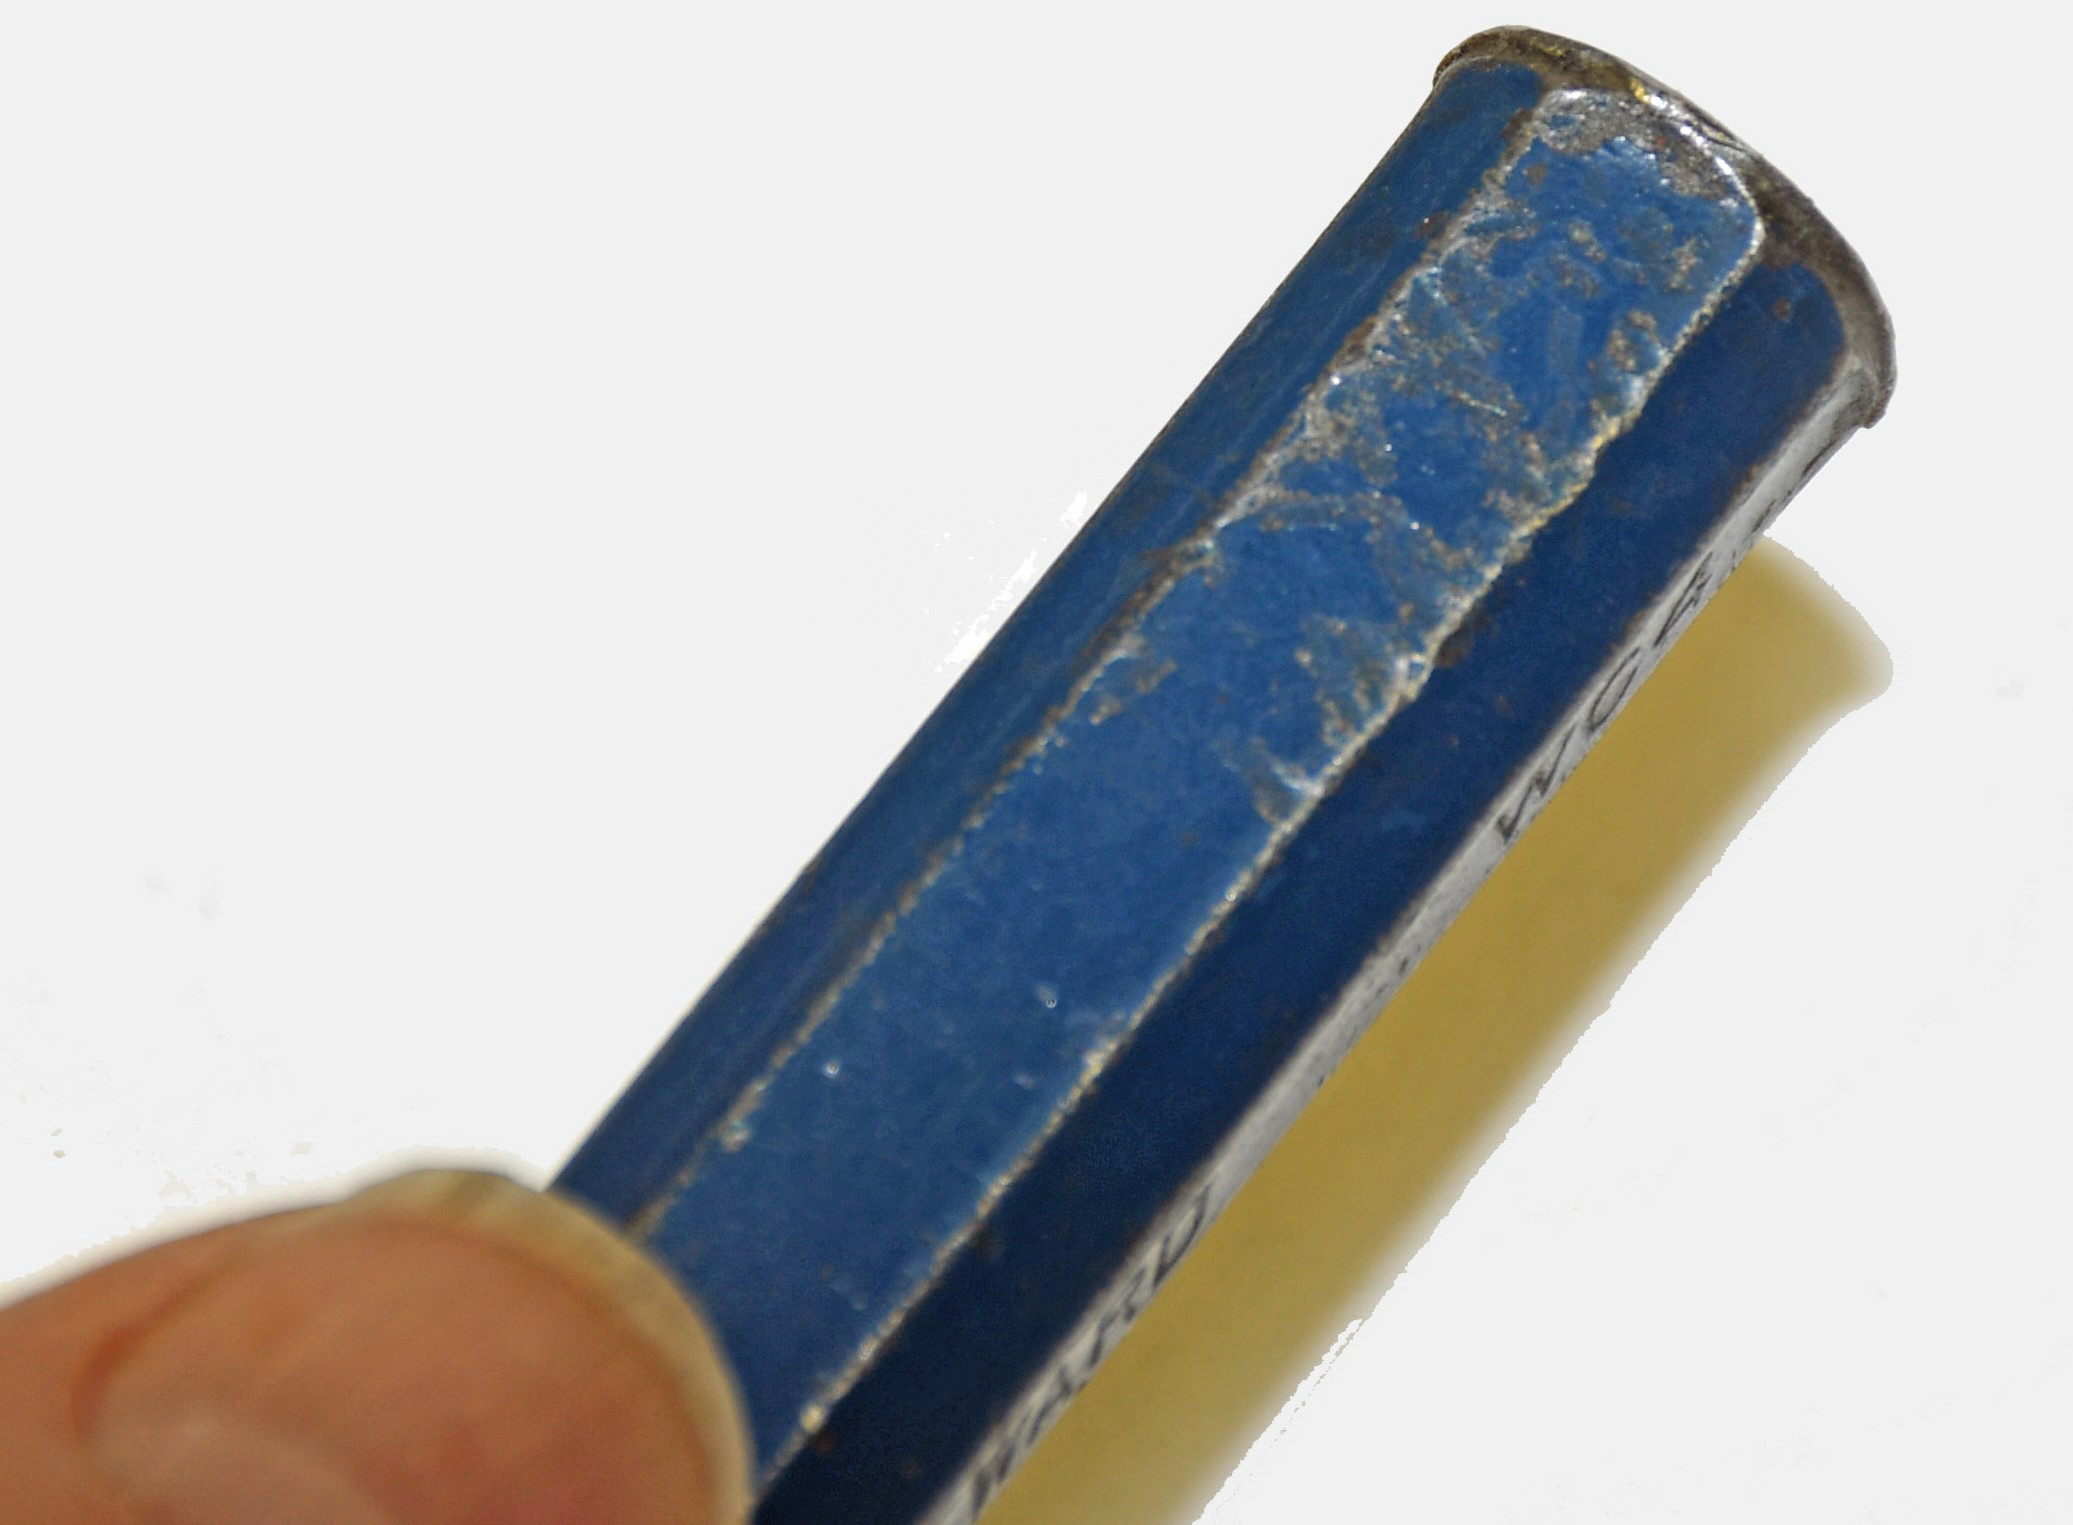
During the grinding and dressing process, hold the chisel at the desired angle and then move it across the face of the wheel. Grind one side and then the other to form the sharp edge. Compare it to a chisel gauge if you have one. Keep in mind if the pressure applied to the chisel against the grinding wheel is great enough, the chisel can be overheated. This will draw the temper from the chisel. Watch the color of the chisel as you’re grinding. If the temperature at end rises to the point where the metal turns blue in color, the temper will be lost. The end will be softened and it won’t stand up to regular use.
Chisel Options
When shopping for chisels, you have plenty of options.
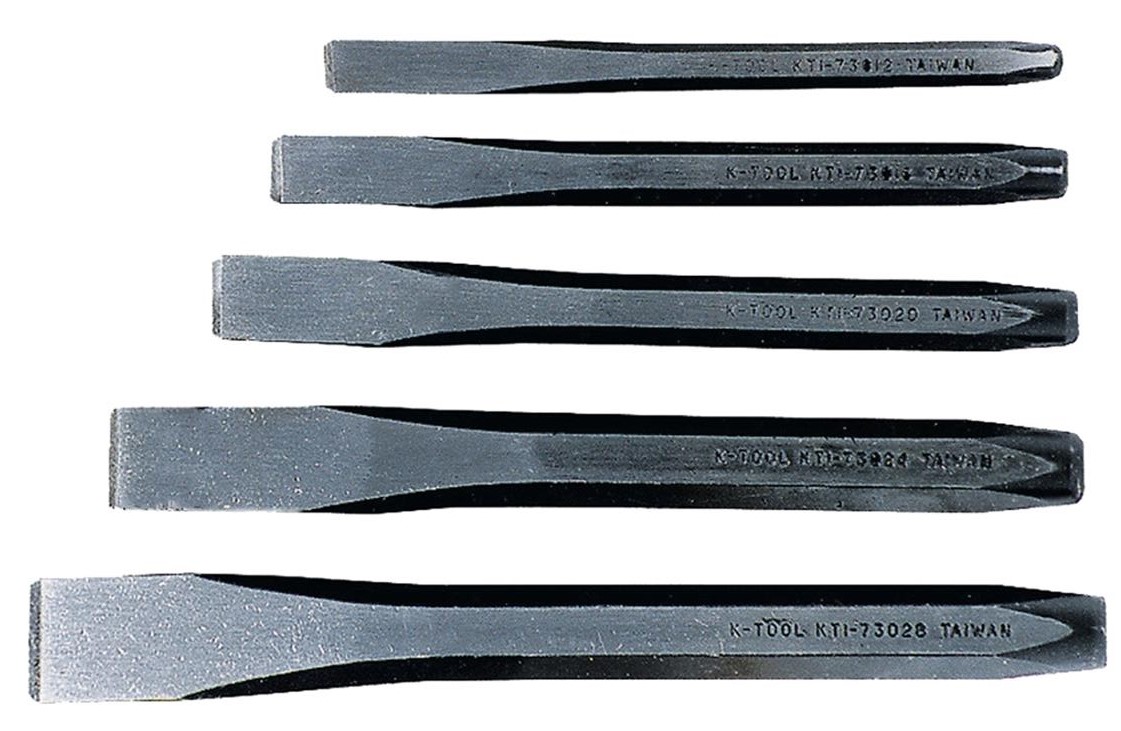
K Tool chisels, part number KTI-73000, are for use in cutting or carving hard materials such as metal, stone, or wood. The tools are great for tackling numerous projects, and each chisel is made with high-grade alloy steel and features black oxide finish to resist corrosion, providing long-lasting durability and superior performance. Included in the set of five are chisel sizes of 3/8 inch, 1/2 inch, 5/8 inch, 3/4 inch, and 7/8 inch.
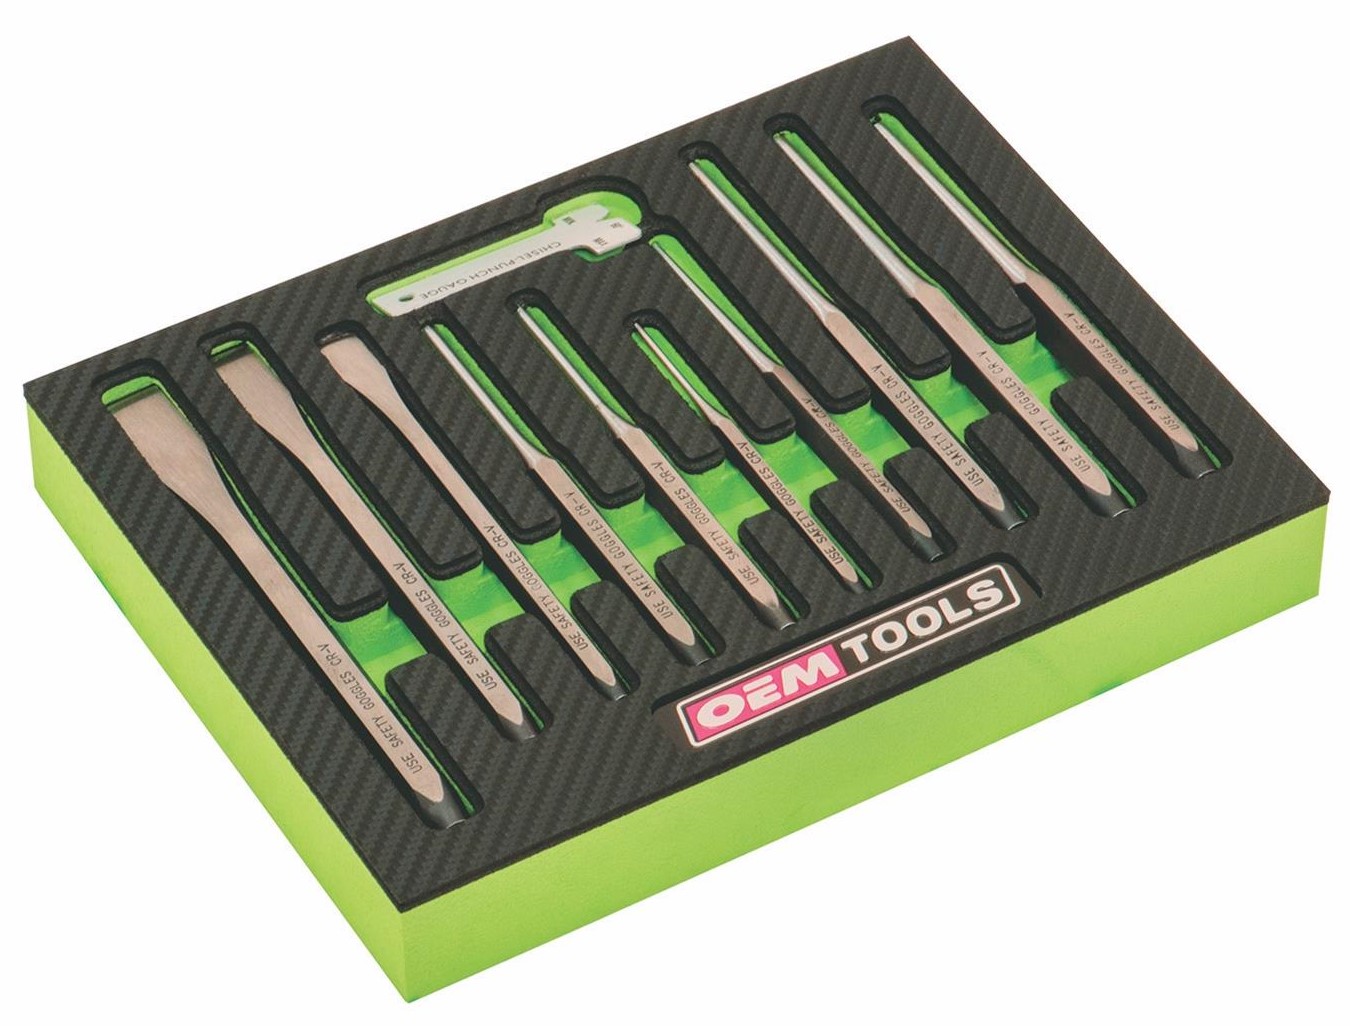
OEM Tools has a punch and chisel set under part number OES-23996. This is an eleven piece set that includes three tapered punches, three pin punches, one center punch, three flat chisels and a gauge.

Wright Tool chisels are also popular. They come in sizes ranging from 3/4 inch X 12 inches long and 1 inch X 8 inches long, all the way up to 1 inch X 12 inches long. These are pro quality Mayhew chisels made in the USA and each comes complete with a slick cold chisel guard.
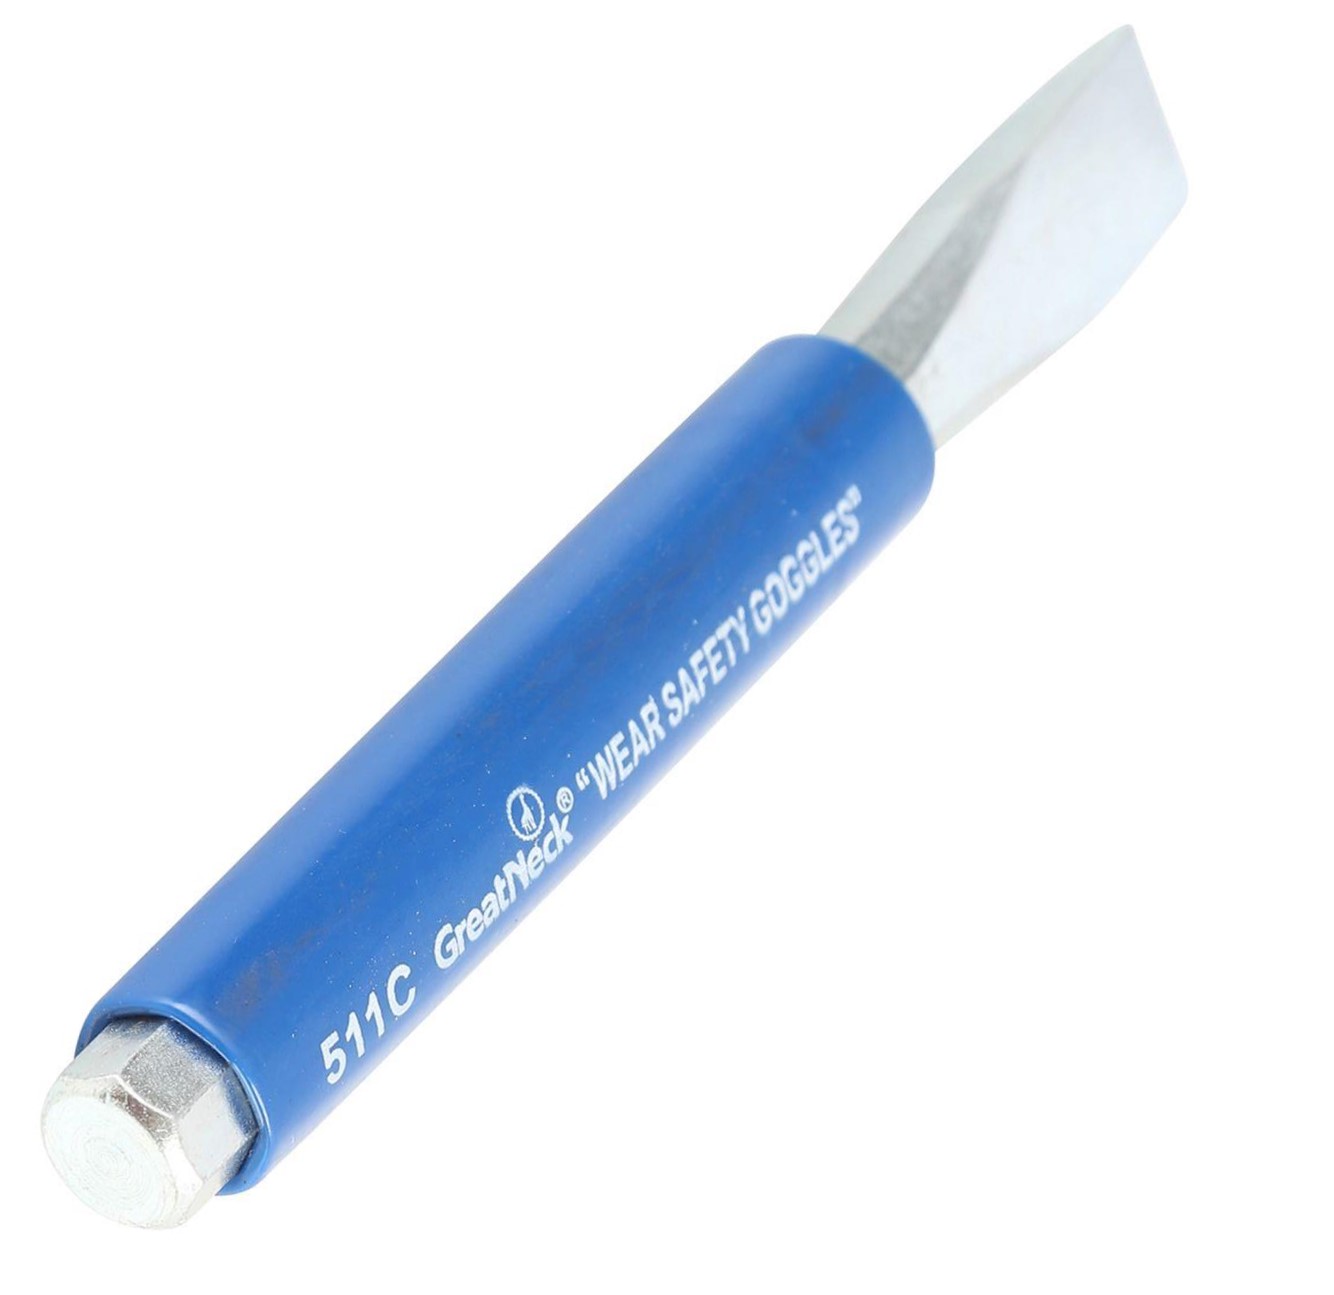
There’s more too, like Great Neck’s flat cold chisels. Here, the chisel handle is encased in plastic. This makes gripping the chisel a bit easier, plus it takes some of the vibration out of the hit when you strike it with a hammer.
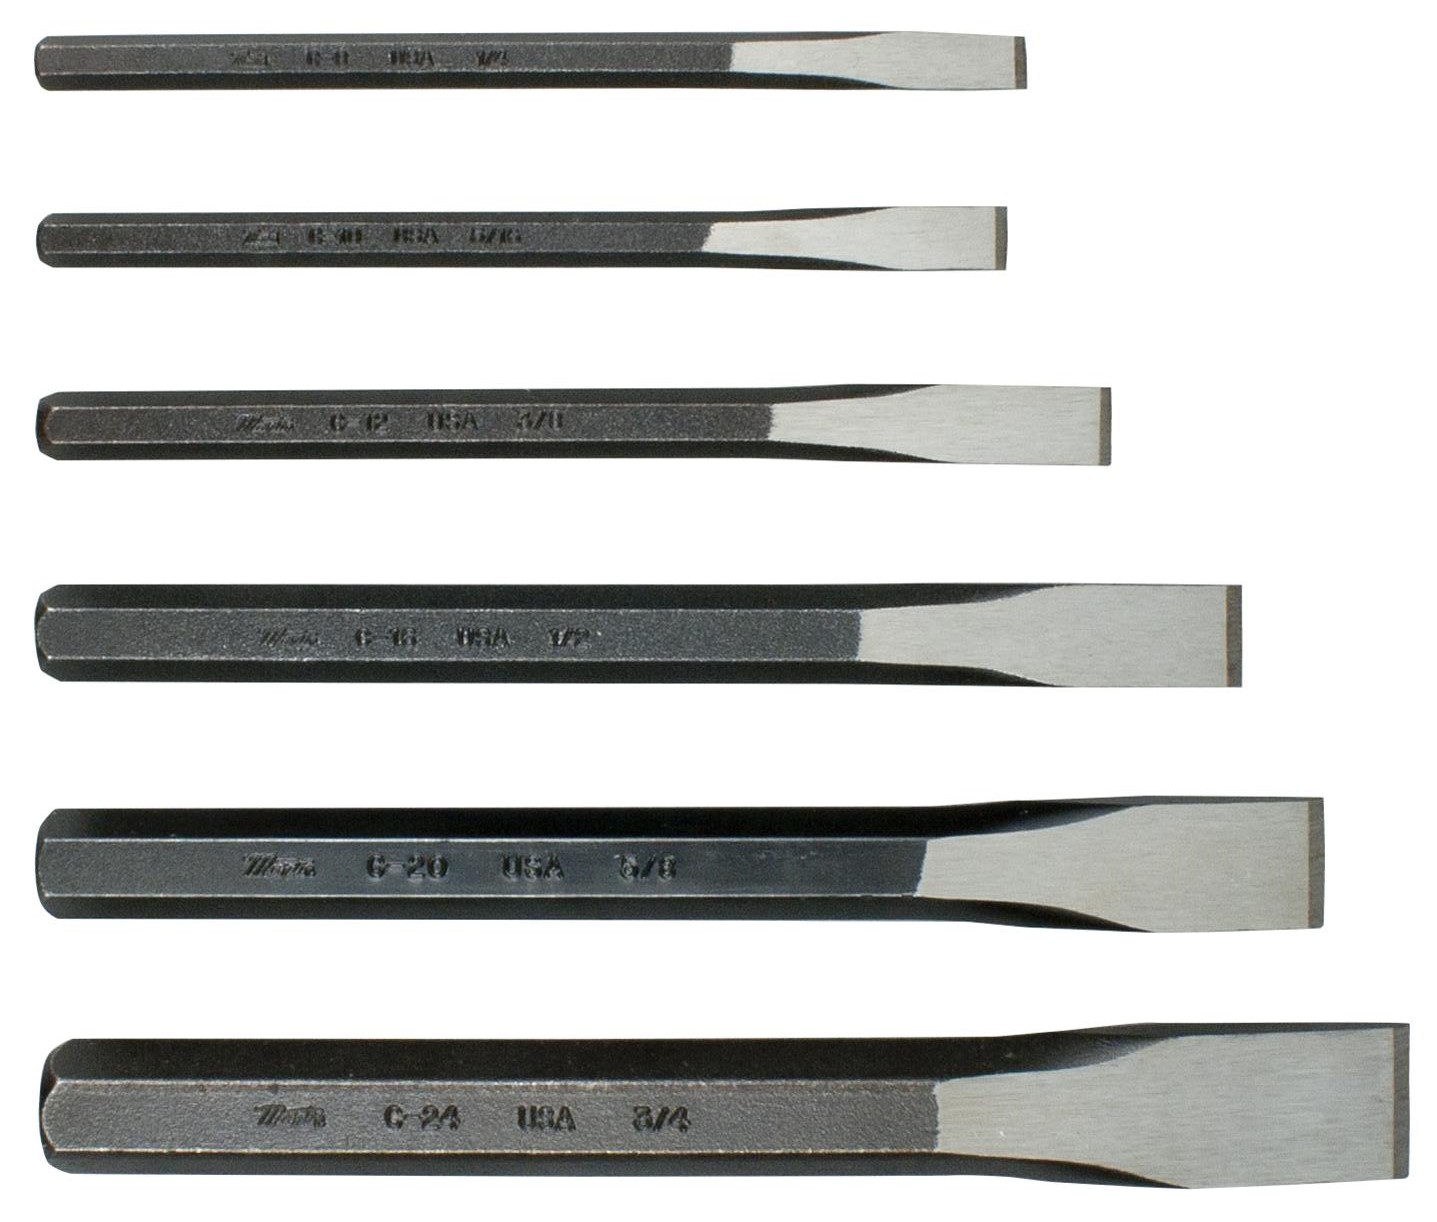
Summit Racing also distributes a complete line of Martin Tool and Forge chisels. There are 99 different chisels from the manufacturer in the catalog, but if you need a complete kit, look at part number MTF-CC6K. It’s a six piece flat chisel kit that goes up to a 3/4 inch size.
Chisels might be forgotten and regularly misused, but when you discover there might no other tool for the job at hand, it’s great to have a suitable collection in your toolbox.
Cold chisels should be sharpened wit a slight camber (curve) to facilitate easier cutting and swarf removal. chisels are currently sold with flat cutting surfaces for quicker and less expensive manufacturing. When cold chisels were used frequently and more detailed training in the use of hand tools during an apprenticeship this was the rule.