As with most things in life, there’s a right way and a wrong way to do things. That idea extends even to crimping battery cables. This story will illustrate how to perform this simple task the right way.
Moroso has designed an impact wire crimp tool that makes it quick and easy to crimp those soft copper battery cable terminal ends directly to a multi-strand battery cable.
While considered a battery cable tool, the Moroso instructions say that this crimping tool can be used for all wire sizes from 16 gauge all the way up to 4/0 cable. We’ve included a chart at the bottom of this post that lists all the different cable and wire gauge diameters to make the AWG ratings a little easier to understand.
New to automotive electrical wiring? Here’s a handy primer: Automotive Wiring 101: Basic Tips, Tricks & Tools for Wiring Your Vehicle
Using the Moroso Impact Wire Crimp Tool
The fact is, it will take us longer to describe the action here than it does to actually perform the crimp. It’s that easy.
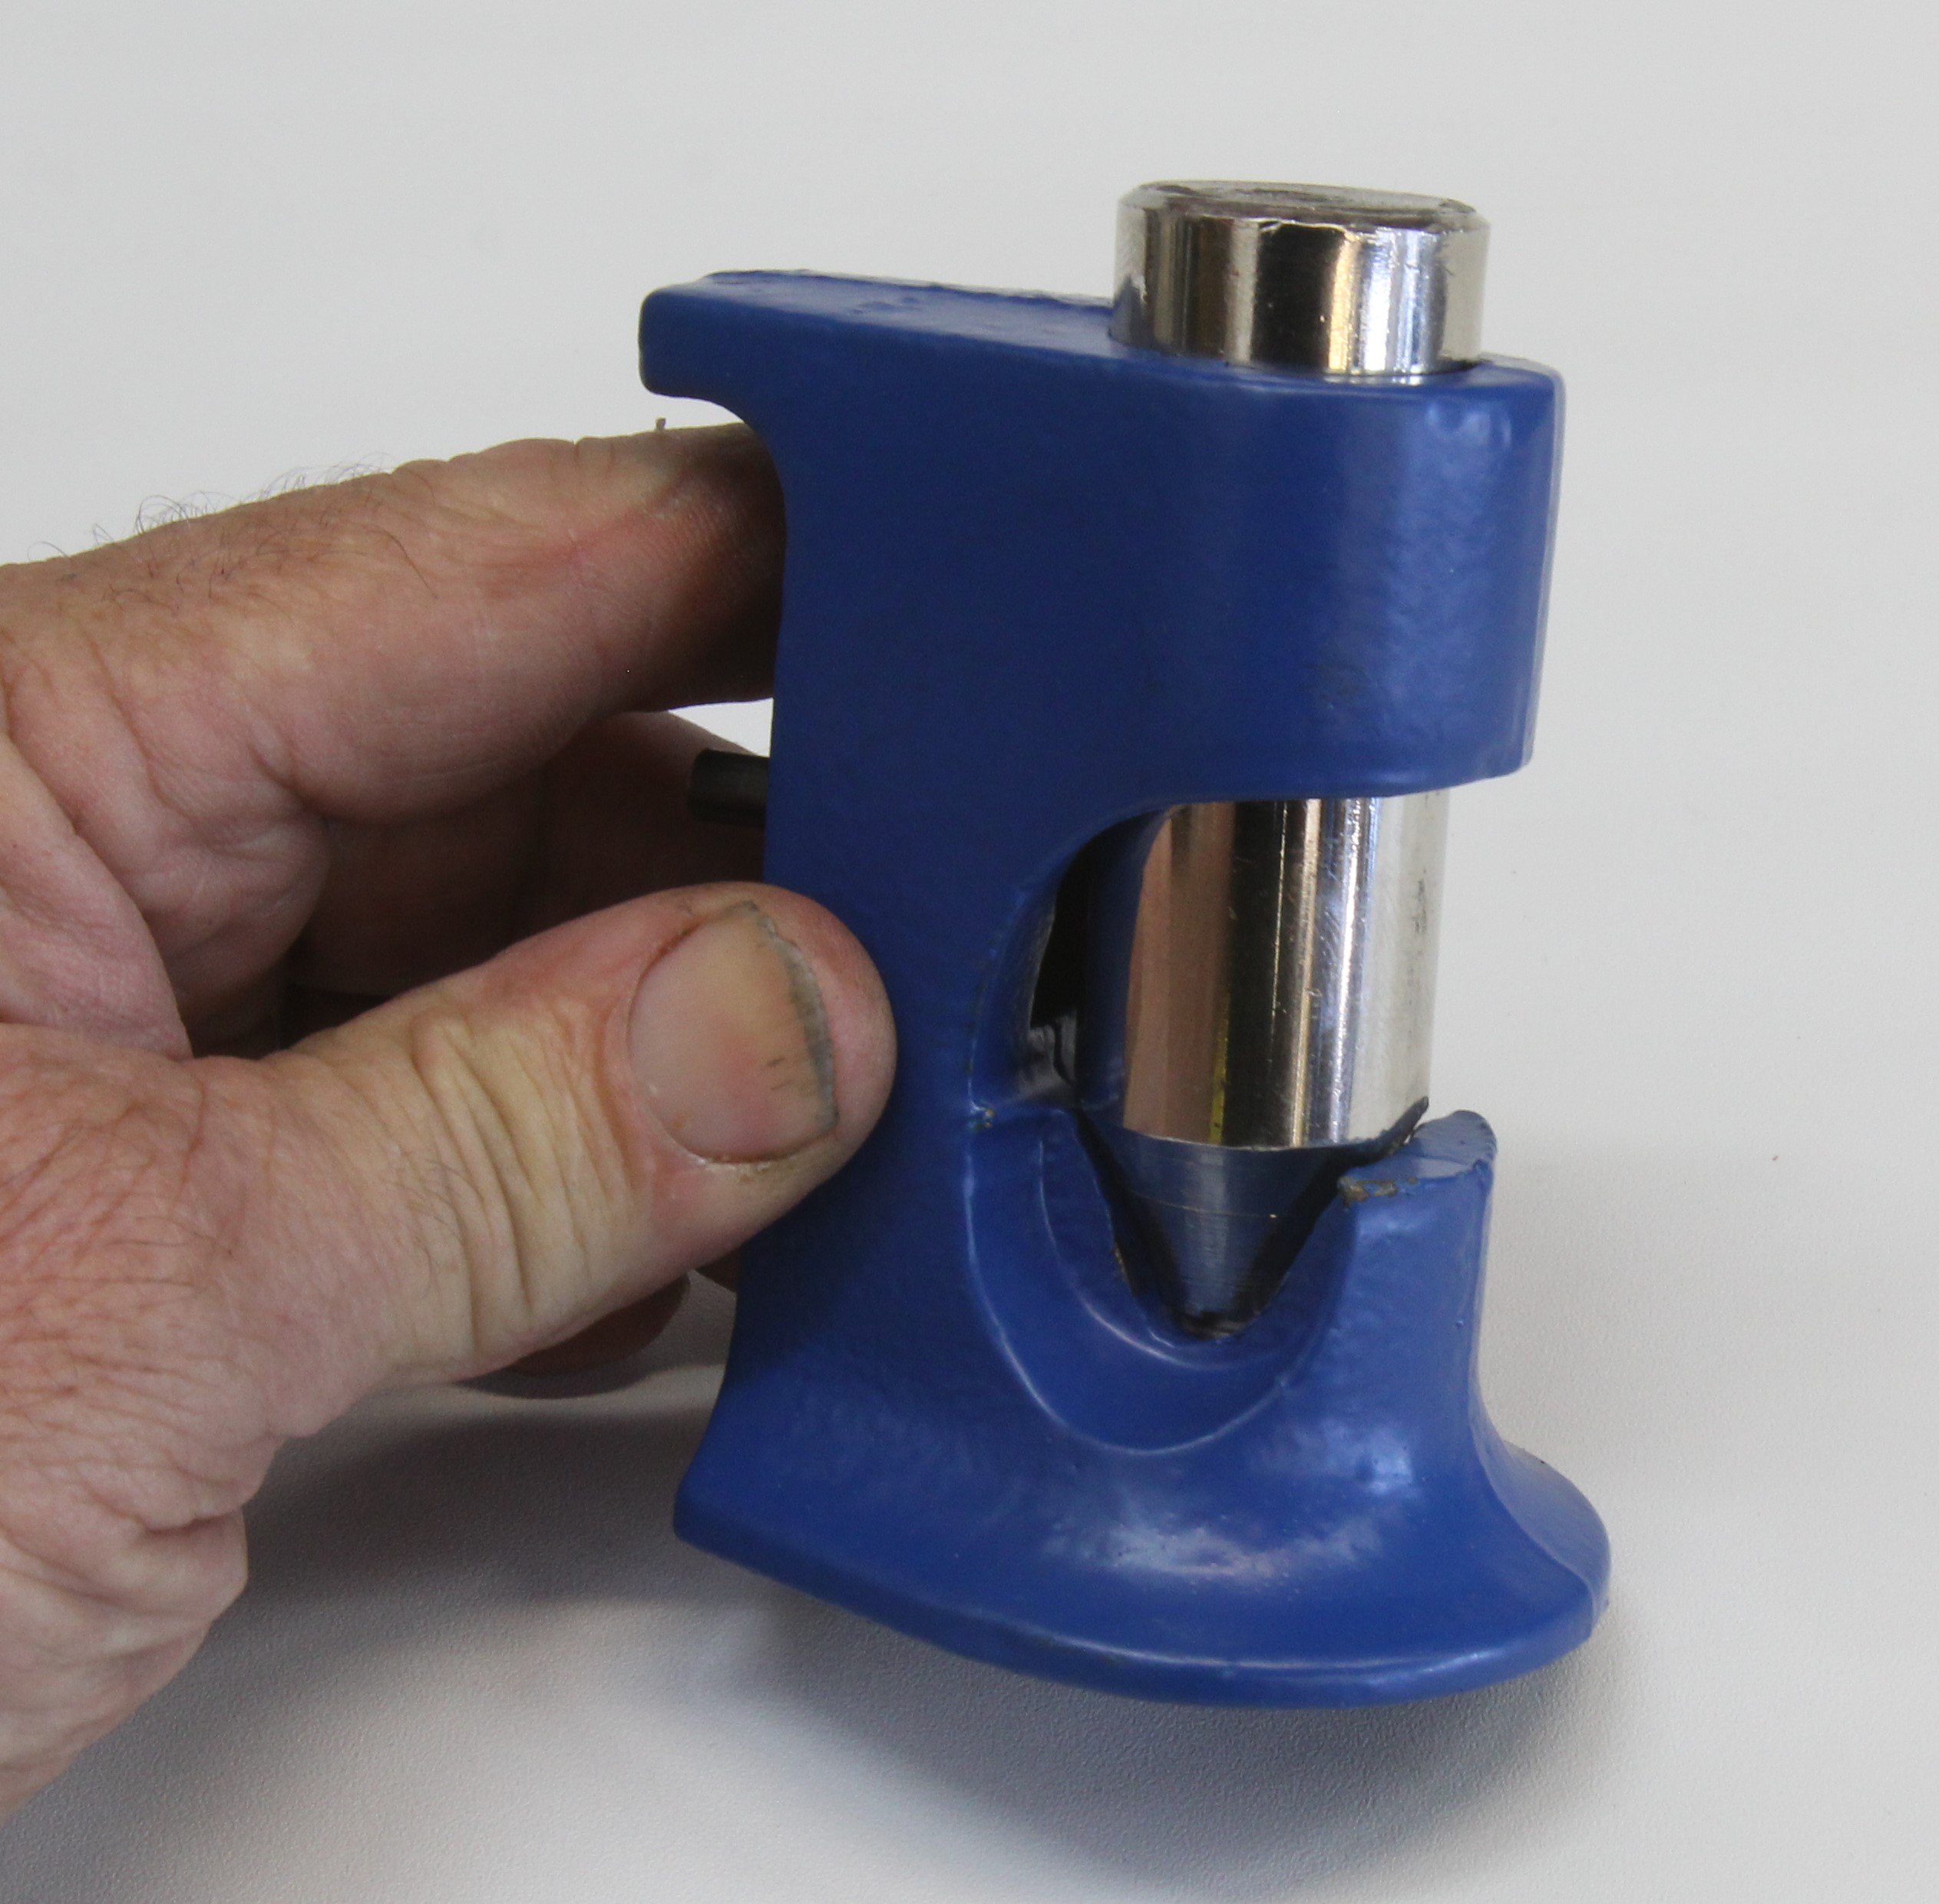
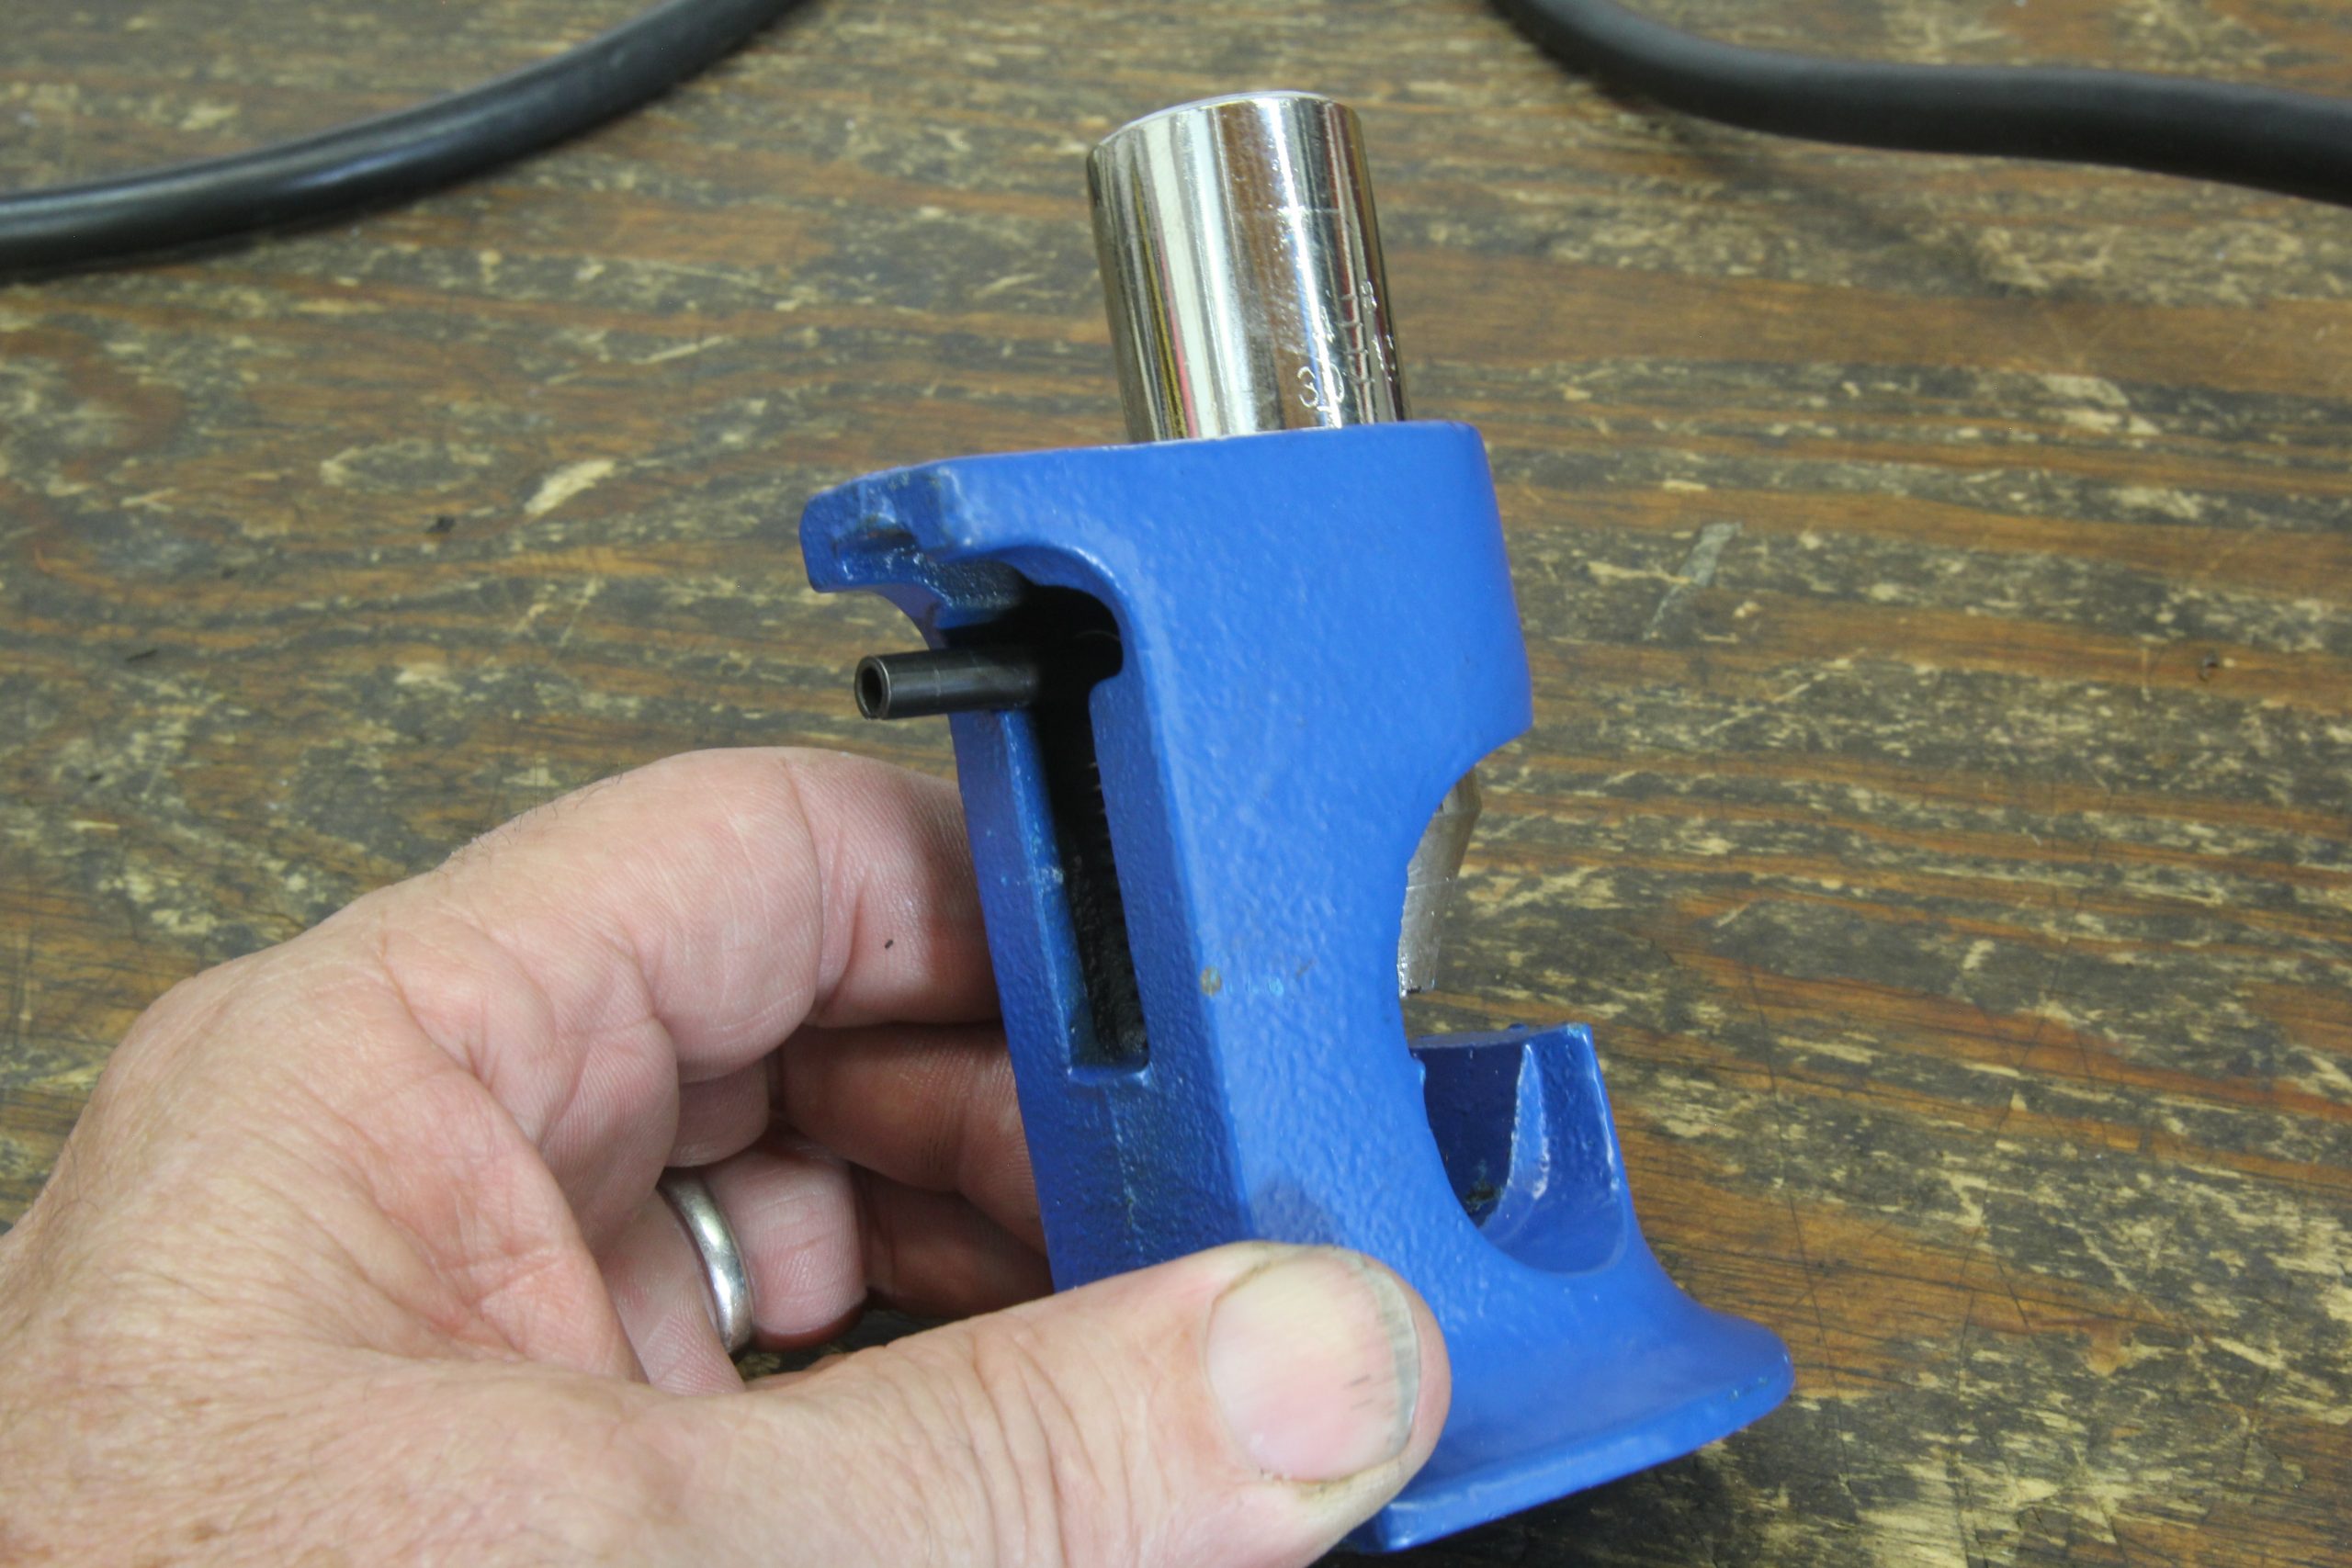
At the back of the Moroso crimp tool is a small pin. The ram is spring loaded and if you pull up on the pin, there’s a ledge that will allow the striker to be locked in the up position.
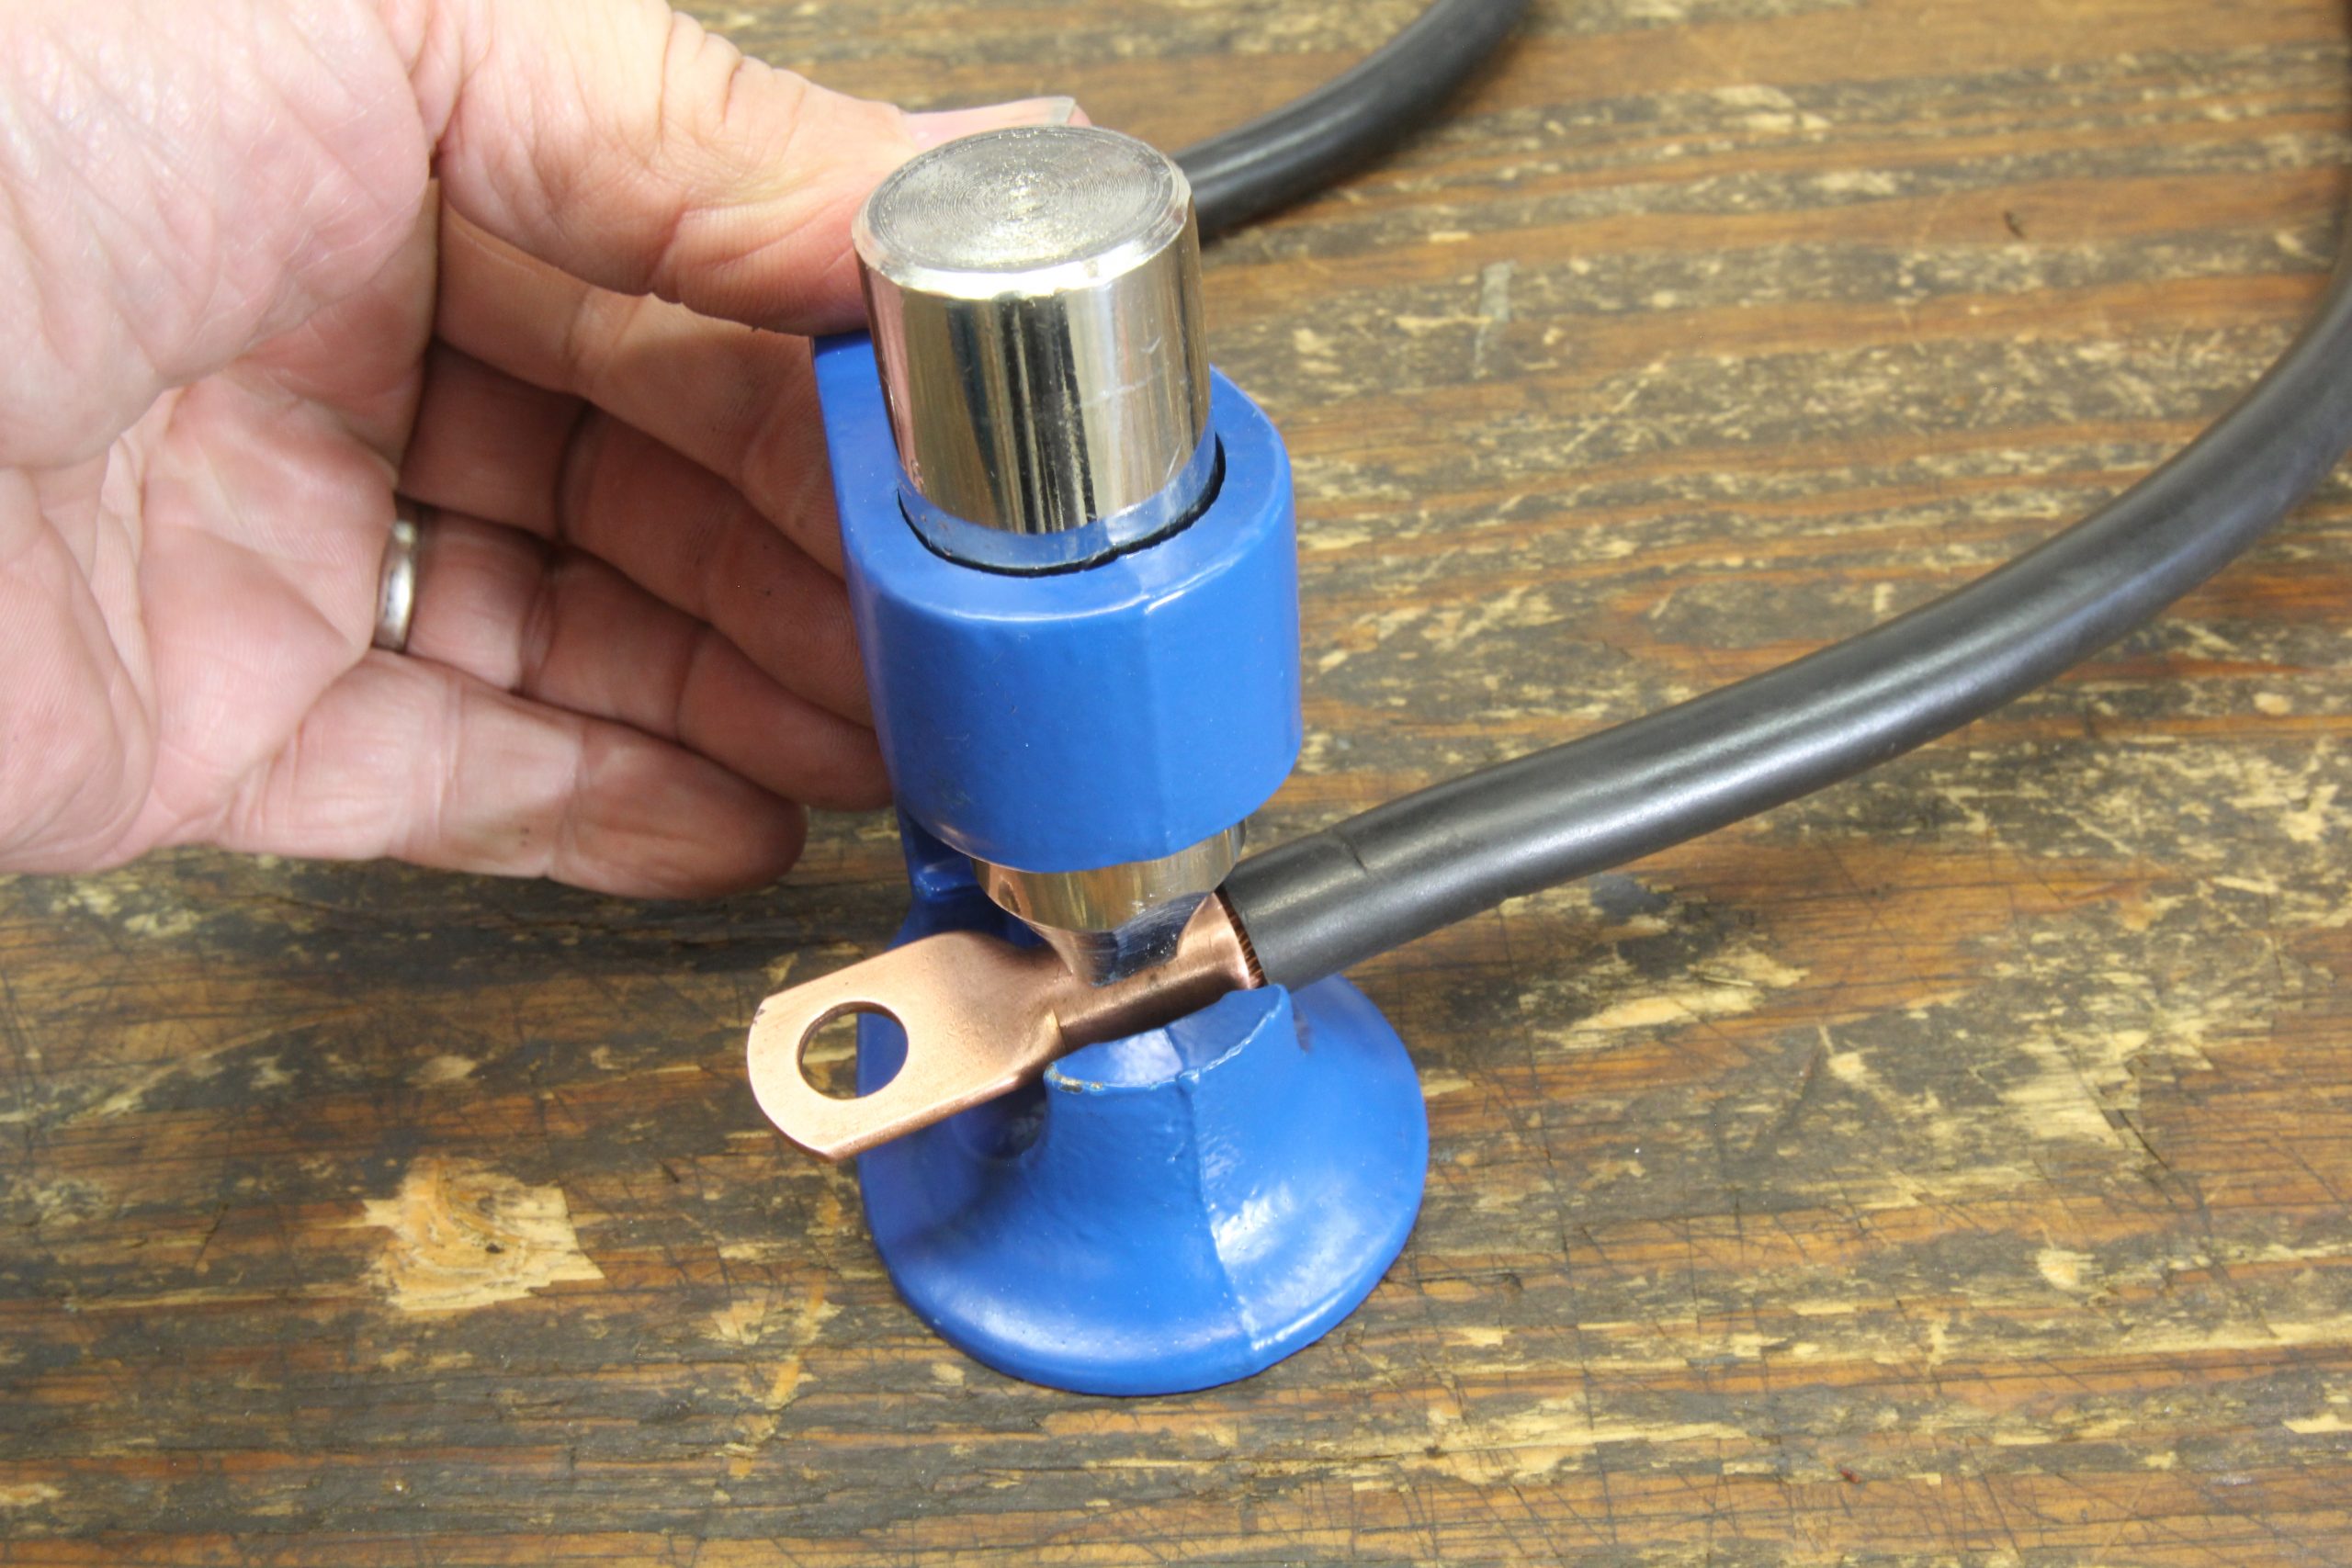
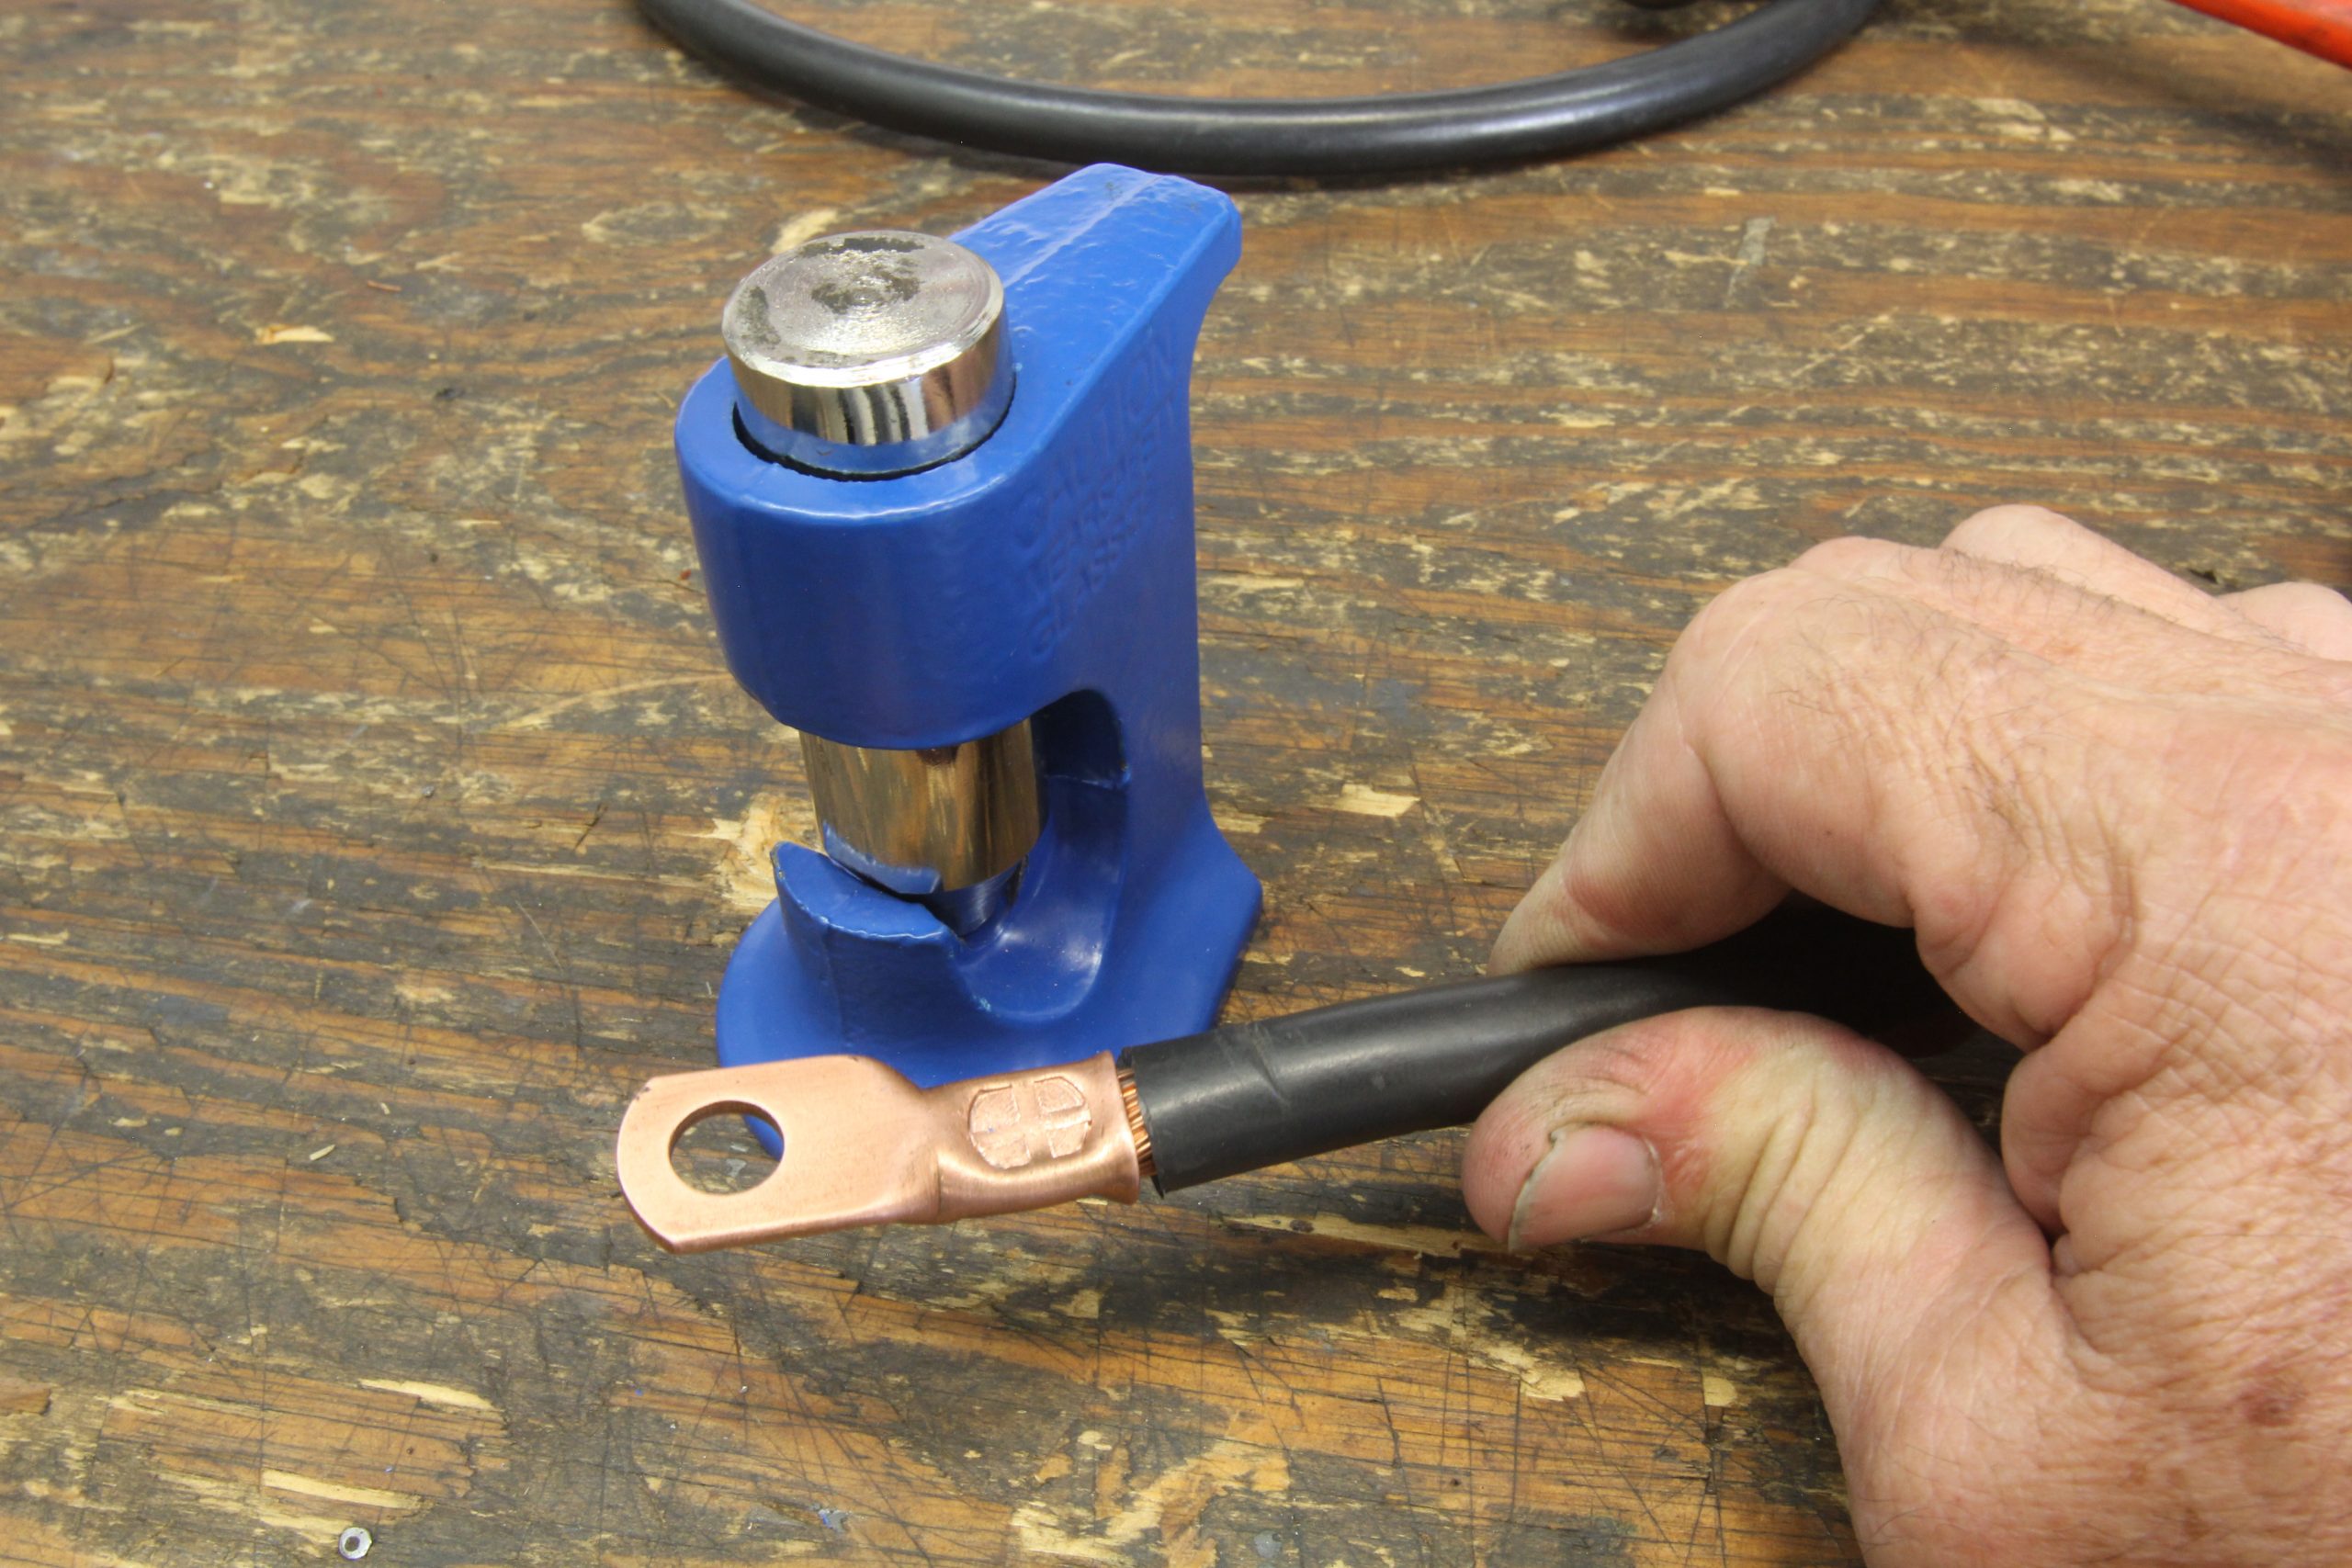
Start by stripping back roughly 5/8 inch of insulation from the end of the battery cable. Next, position the copper terminal in the V-shaped base under the ram. To give the crimp a professional appearance, it’s best to make the indent on the bottom side of the terminal. This creates a clean looking top surface.
If you are going to use a shrink wrap around the cable end, be sure to slide the wrap over the cable before making the crimp.
With the copper fitting end nestled in the tool, lift up on the pin in the back of the tool so the striker locates the middle of the sleeve on the copper terminal. Now insert the battery cable into the sleeve and make sure the cable fits as deeply as possible.
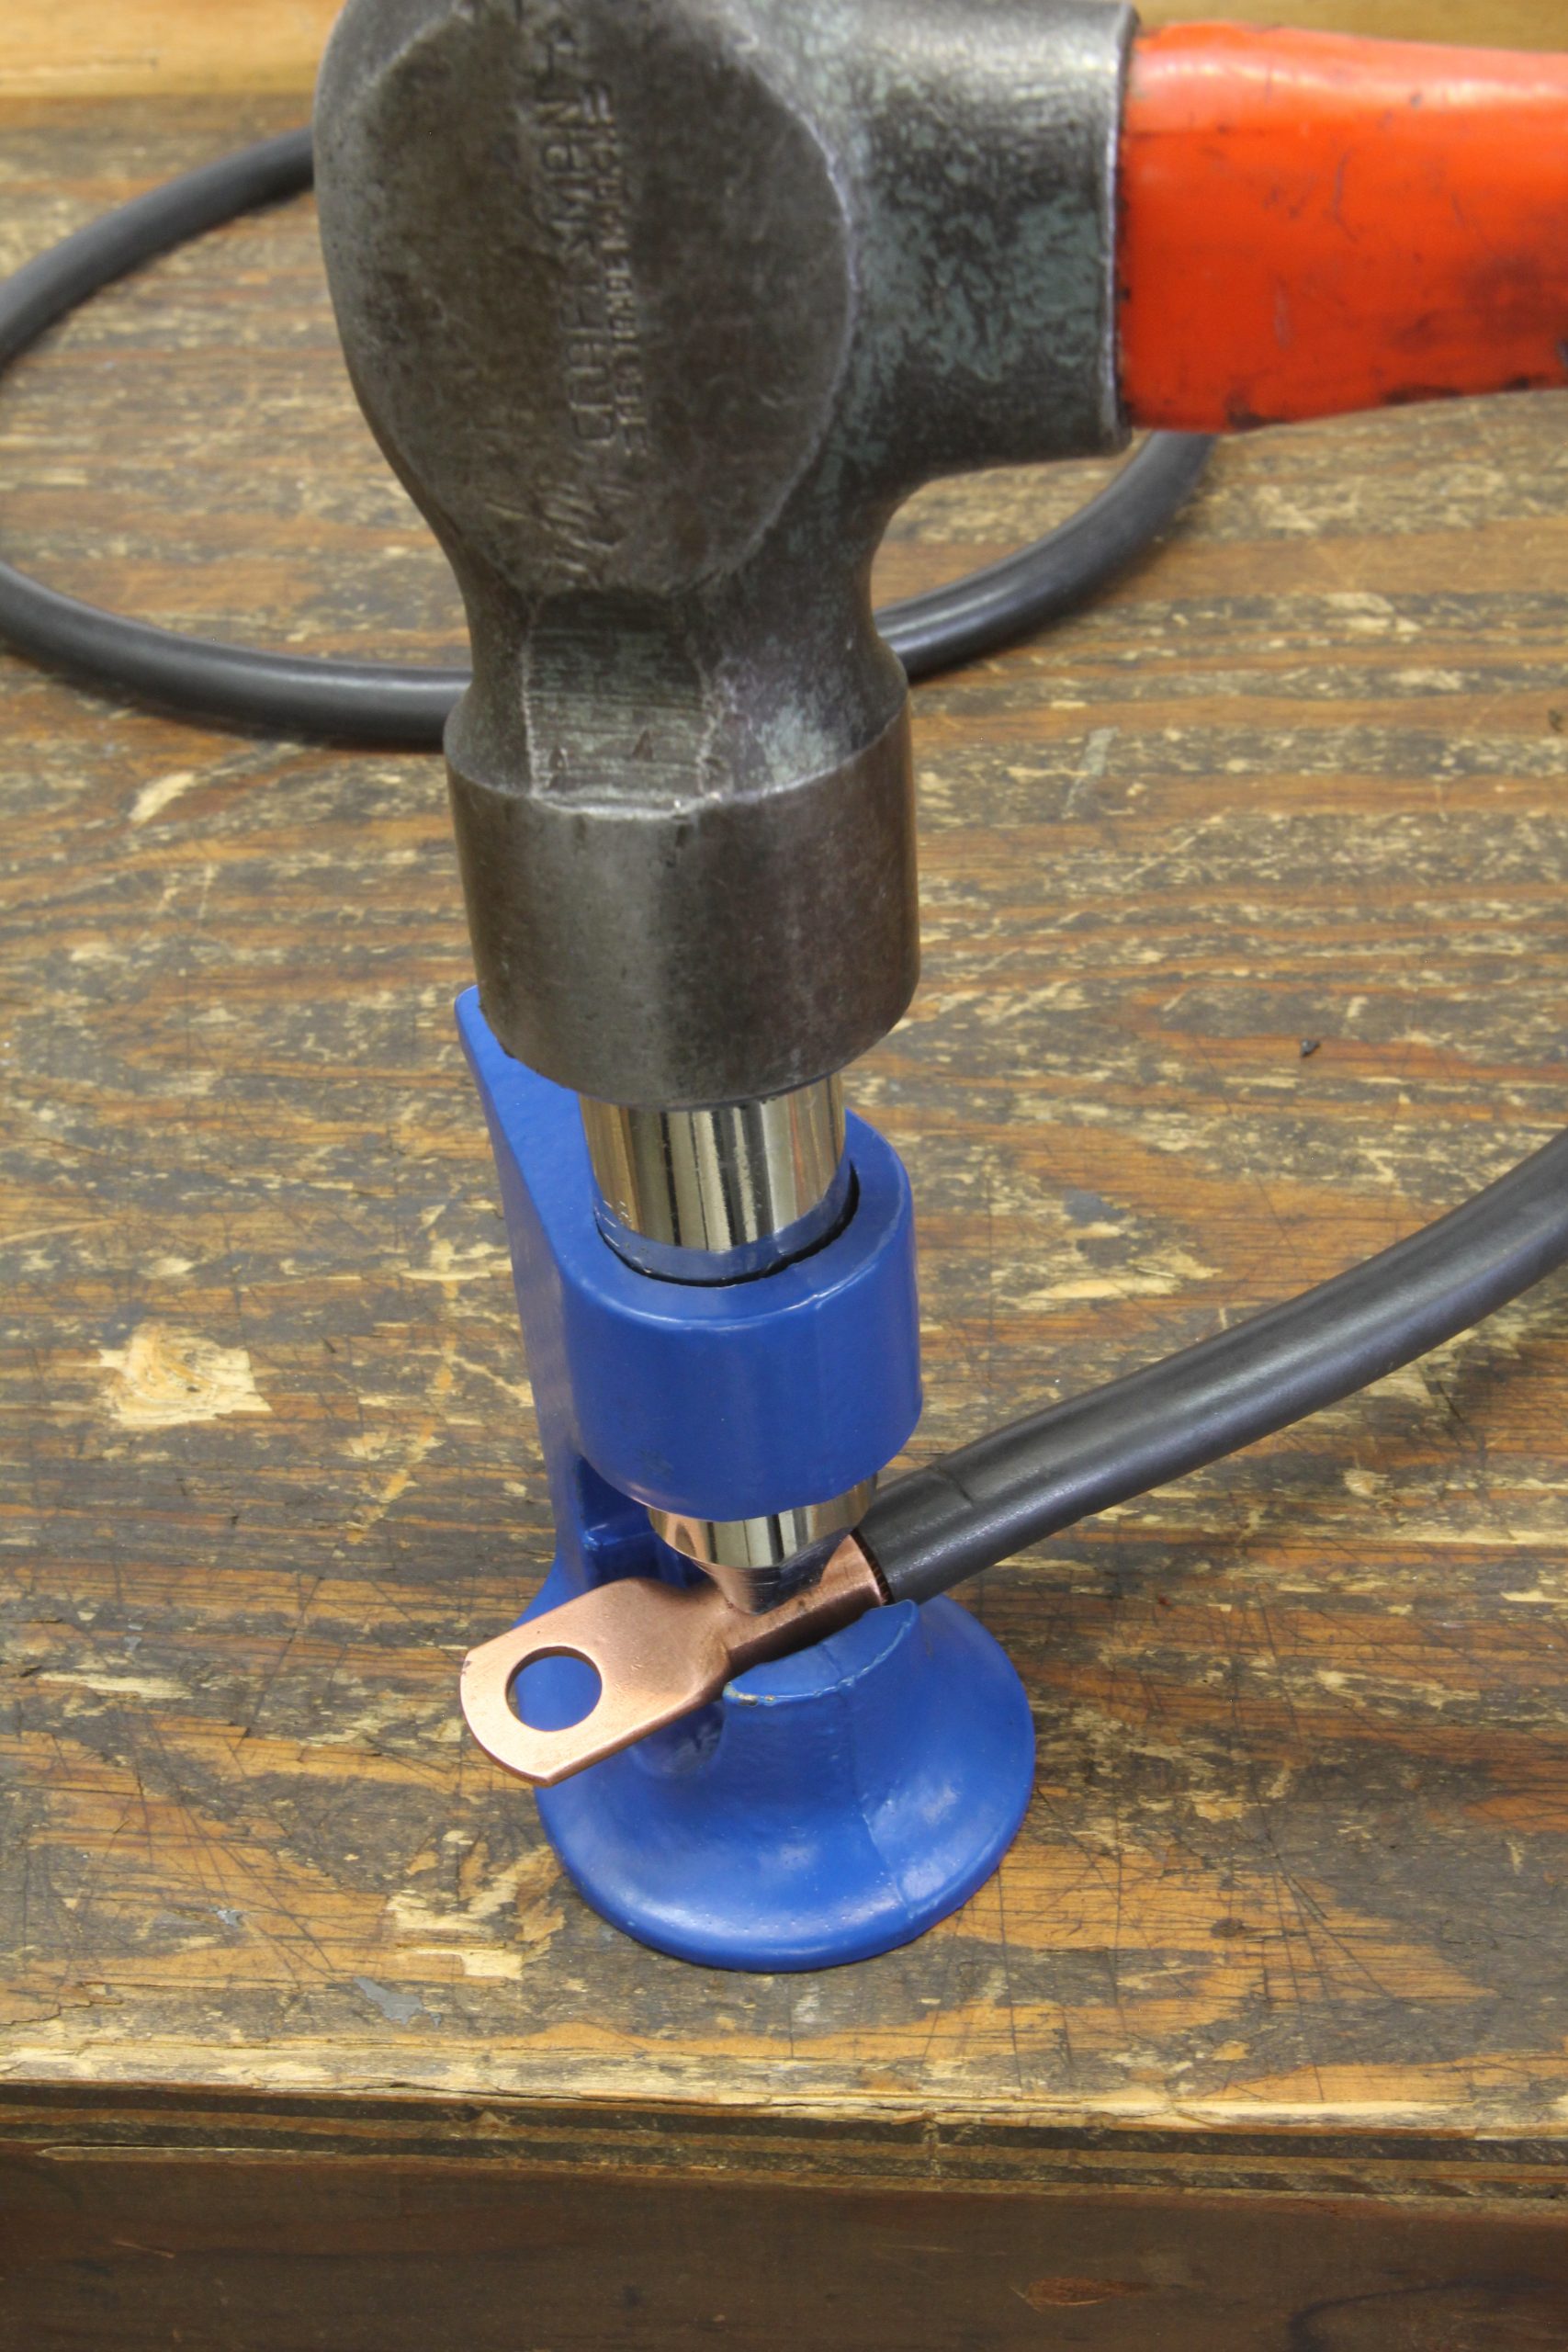
Now strike the top of the tool with a large hammer. This may require more than one hard blow to complete the crimp. It’s best to locate the tool on a solid surface like the edge of a work bench or even a concrete floor. The tool has a small scale on the side of the ram that indicates crimp sizes but we found it hard to read—but it is there if you want to use it.
The crimp tool can also be compressed in a bench vise if wailing on things with a large hammer isn’t your style.
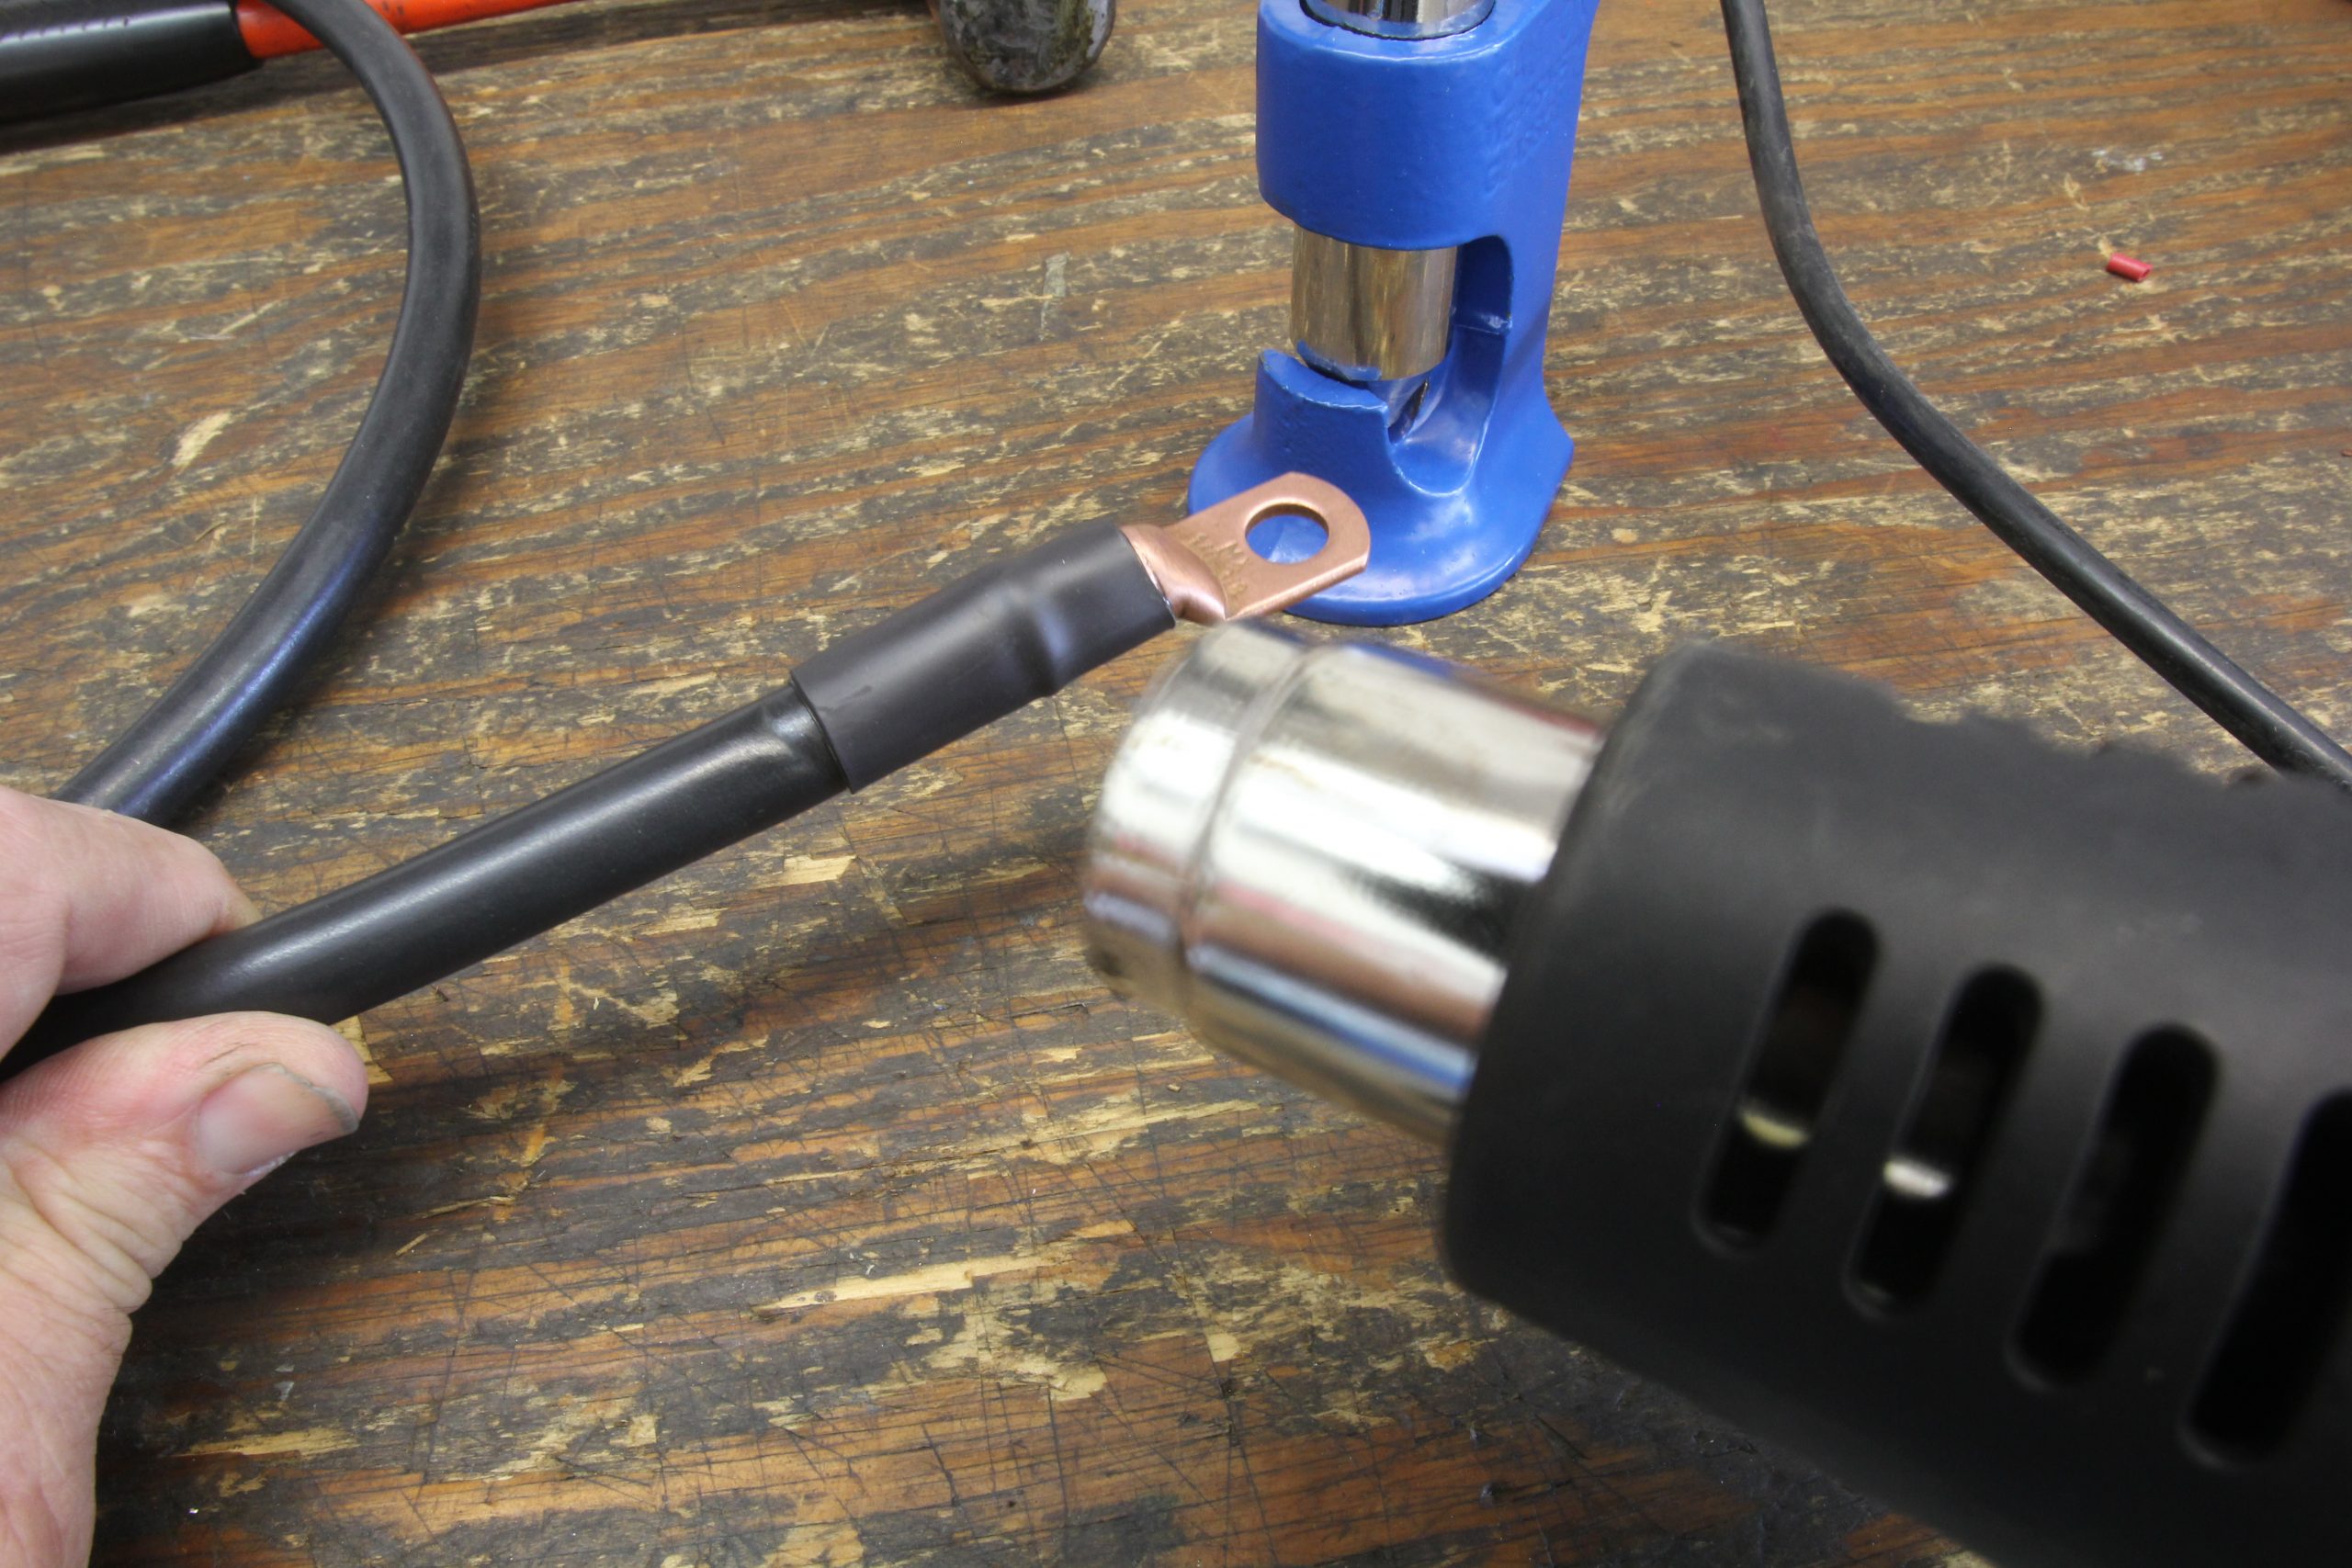
After a couple of hard blows, inspect the crimp and then slip the shrink tubing over the crimp and heat it in place. The instructions claim this tool can also be used to crimp wire down to 16 gauge but after experimenting we prefer hand-held crimping pliers for smaller gauge wire.
That’s it—you’ve now performed a professional crimp that will last years. The job is simple, easy, and will deliver low resistance amperage flow to the starter motor.
That should make both you and your starter motor happy!
Wire Gauge to Wire Diameter Comparison Chart
| Wire Gauge (AWG) | Wire Diameter (Inches) |
|---|---|
| 4-0 | 0.460 |
| 3-0 | 0.409 |
| 2-0 | 0.364 |
| 0 | 0.329 |
| 1 | 0.289 |
| 6 | 0.162 |
| 8 | 0.128 |
| 10 | 0.101 |
| 12 | 0.081 |
| 14 | 0.064 |
| 16 | 0.050 |
Moroso Impact Wire Crimp Tool Parts List
- Moroso Impact Wire Crimp Tool, MOR-62262
- Longacre Copper Battery Cable Ends, LNG-45660
- Summit Racing Heat Shrink Assortment Kit, SUM-890092
Lincoln welding has the same tool, used it for many jobs for many years now.
You mean THIS TOOL? Yep, it’s a popular choice as well.