It all started with a few black spots under our motorcycle’s kickstand, directly above the drive sprocket—a sure sign of a weeping oil seal somewhere. Removing the sprocket cover revealed the drip was coming from the neutral switch.
No biggie: the seal’s cheap and you just pop the switch off, replace the seal, and reinstall the switch. Easy-peasy.
***
<Narrator voice> Except it wasn’t easy-peasy. </Narrator voice>
***
Phillips Head Fasteners v. JIS Fasteners
Editor’s note: This section has been edited to highlight the difference between Phillips and JIS fasteners.
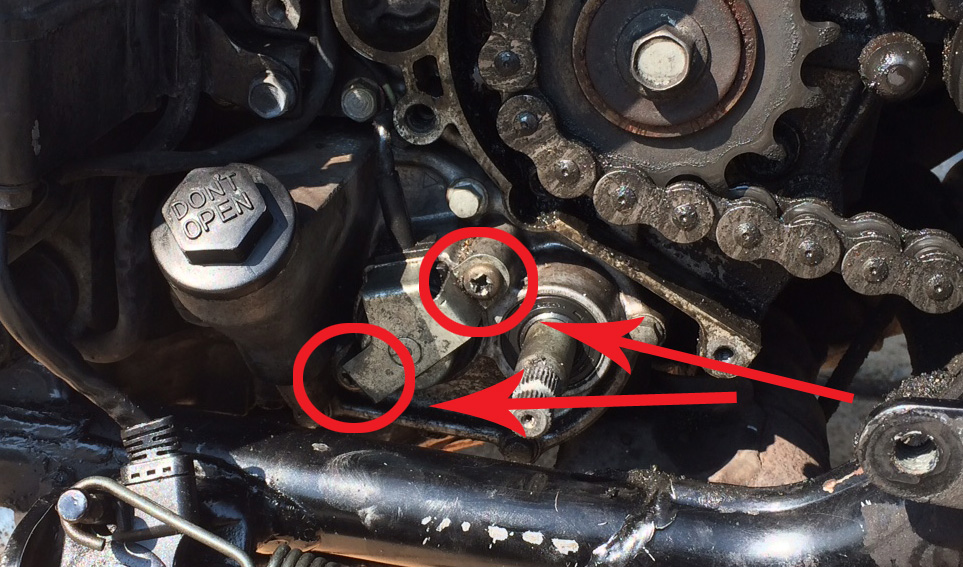
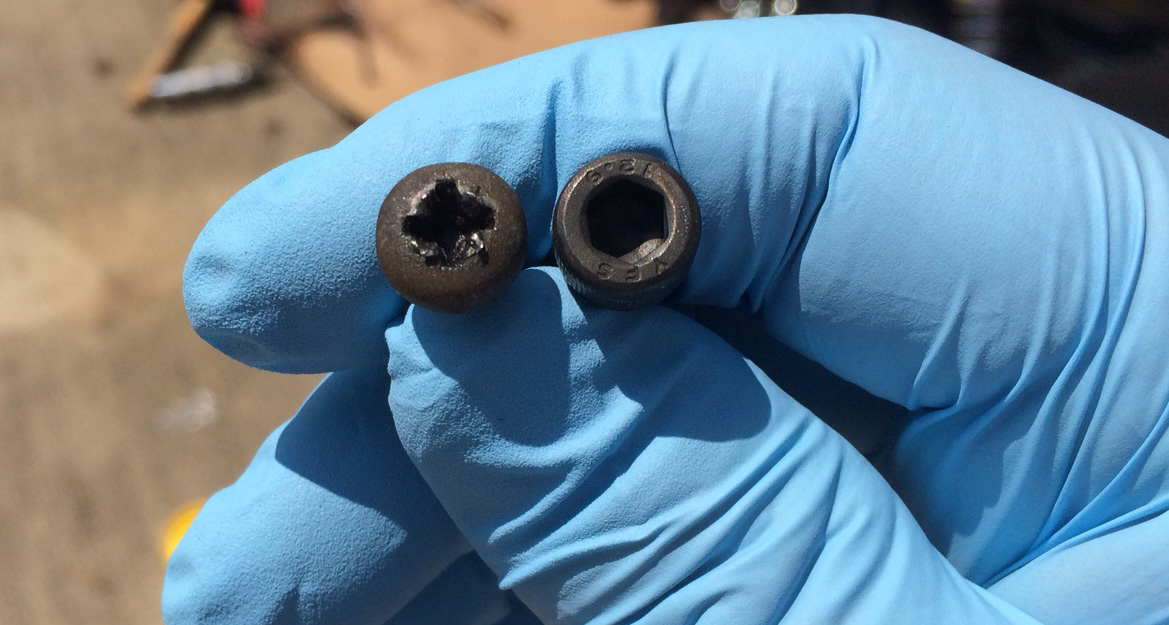
As we looked closer, we noticed that the switch assembly wasn’t secured with the same Allen-head fasteners that were used elsewhere. While these fasteners looked like traditional Phillips head machine screws, they’re actually Japanese Industrial Standard (JIS) fasteners, which feature a different profile than traditional Phillips heads.
And after 20+ years of corrosion, heat cycling, and gunk buildup, the fasteners didn’t want to budge. Anyone who’s ever faced this situation knows that applying too much torque to fasteners like these will cause the head to strip, which would mean that you have to roll the dice on a screw extractor tool or, worse yet, the entire screw has to be drilled out. Stripping a fastener head is alarmingly easy to do, and it’s not a fun road to travel.
But! There was a solution in our toolbox: a manual impact driver.
The Manual Impact Driver to the Rescue!
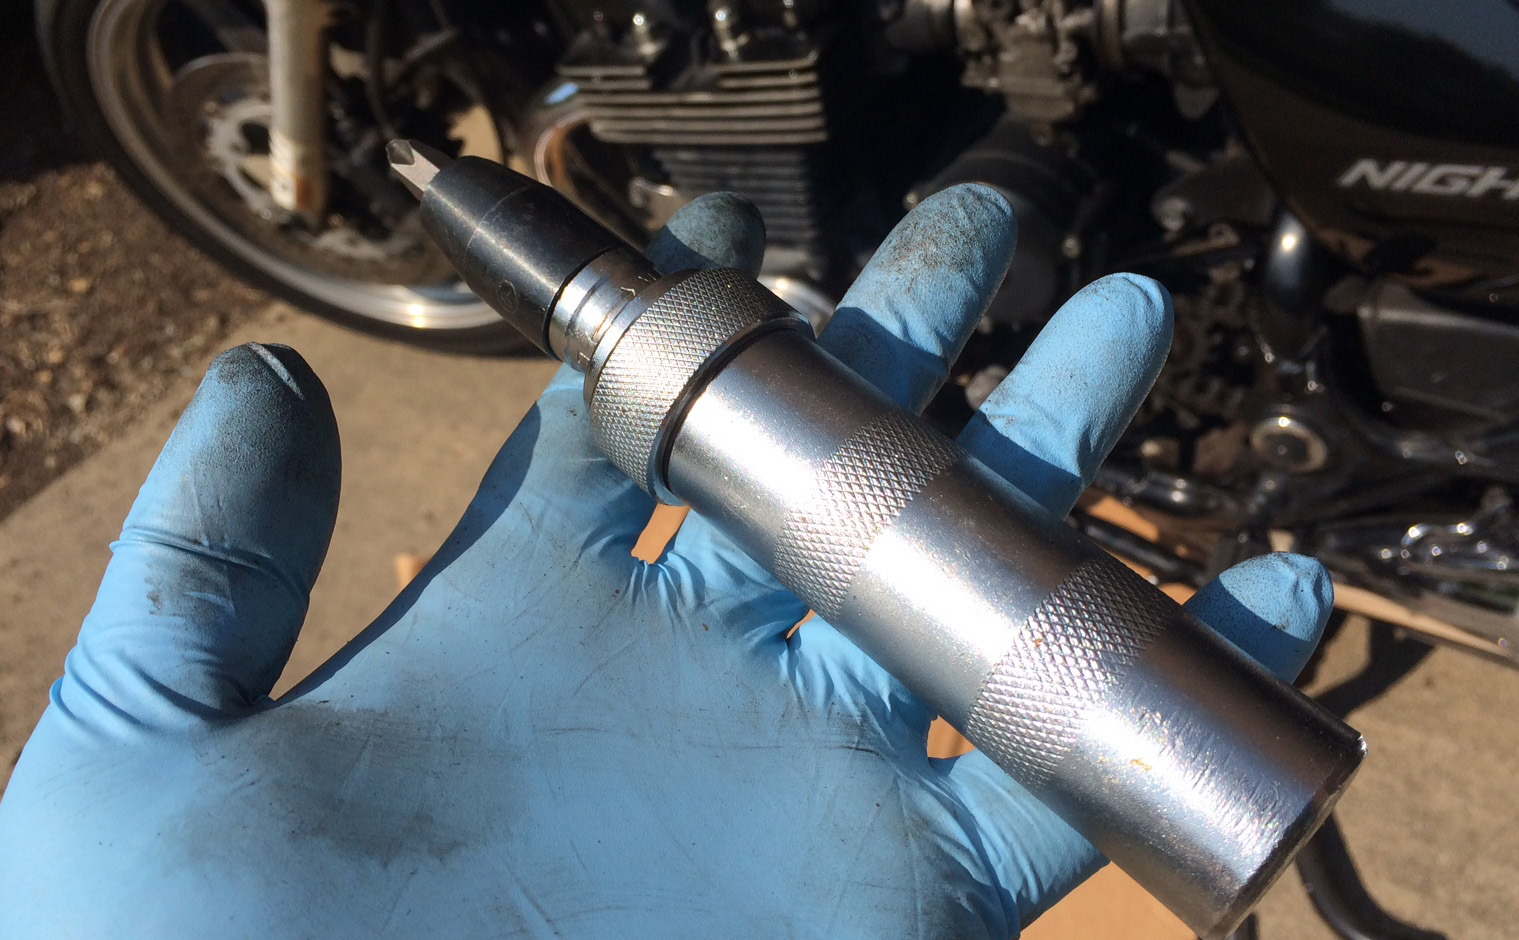
The manual impact driver is a handy gadget that’s worth its weight in gold in these situations. It comes with an assortment of bits and can shock a stubborn fastener loose.
Its operation is brutally simple: You stick the appropriate bit in the tool head, seat the driver on the fastener, and then whack the tool a few times with your hammer.
…Just make sure it’s set to lefty-loosey first by rotating the drive tool head to the proper marks (L or R, usually stamped near the collar).
The driver will take that force and use it to turn the tool head slightly, we’re talking like 1/10th of a turn per whack. But that’s often all you need to get a fastener moving in the right…err….left direction. Better yet, the impact will also be transmitted through the tool into the fastener, just like an ordinary impact gun, to shock the fastener loose in the process.
A few raps with our hammer was all we needed to get both fasteners moving enough to where we could put a traditional screwdriver on them to finish the job.
As an unintended benefit, the tool’s bit may become lodged in the fastener head too. In these scenarios, if the fastener still refuses to budge, you can slip a box-end wrench around the bit (sizes vary depending on the tool) and use that as leverage to free the fastener.
A Few Words of Caution on Using a Manual Impact Driver
Look, we totally understand the frustration that comes from dealing with a stubborn fastener—but resist the temptation to use the impact driver as an impromptu therapy session.
In other words, be careful with that hammer!
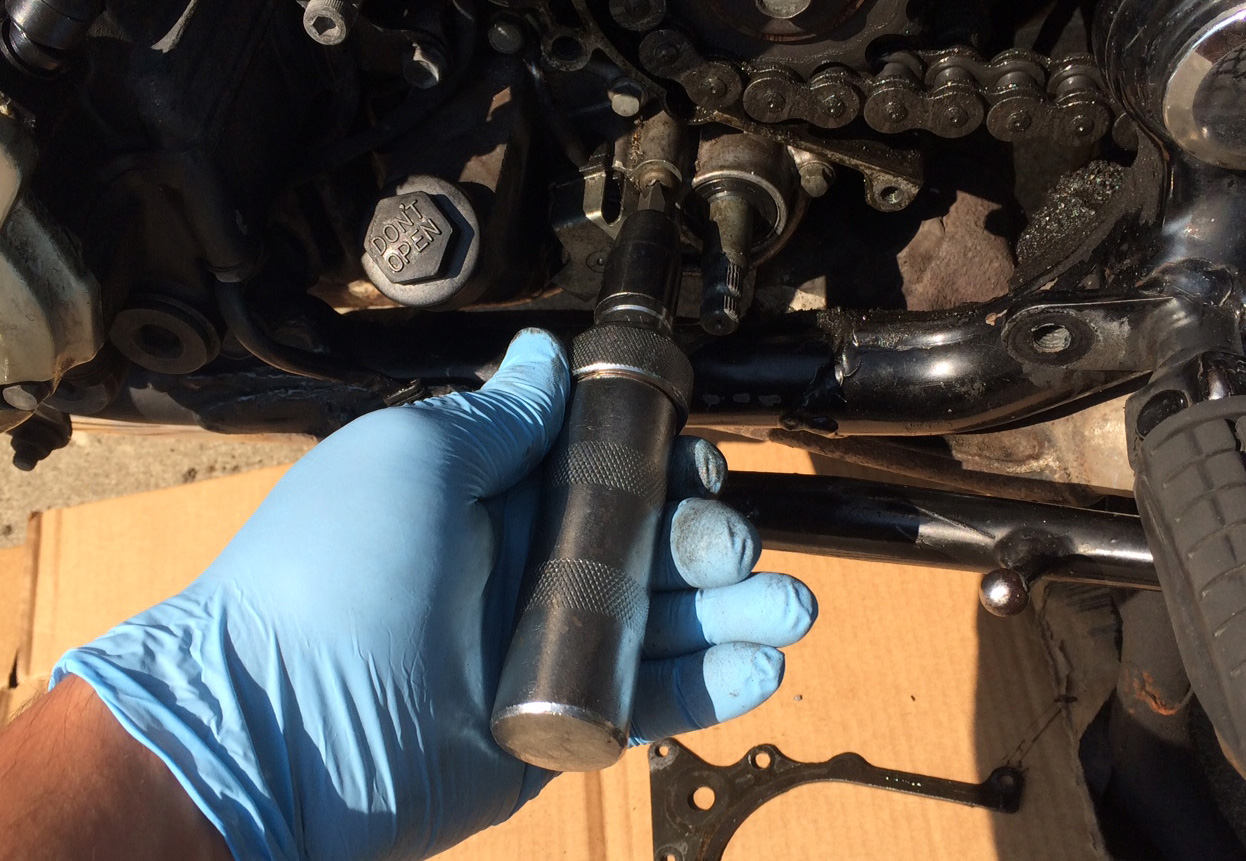
For our Honda, we were mindful of its aluminum transmission case, along with the nearby location of the sprocket and splined transmission input shaft. One errant hammer blow could quickly make a bad situation worse.
One other thing to remember: You may damage the fastener head during the removal process, so have replacement bolts handy. But hey, replacing a few fasteners is way, way easier than drilling out a seized one. And it may even be a smarter move to replace the JIS screws with hex or Allen head fasteners anyway.
Cheap Insurance Against a Bad Day
The best part about manual impact drivers is they aren’t that expensive. And there’s no other tool that can really replicate what it does. Besides, after just one pesky fastener removal like the one on our Honda, you’ll easily see its value.
The manual impact driver is the perfect example of one of those unsung hero tools that you buy and toss in your toolbox, so it’s there when you need it to save the day.
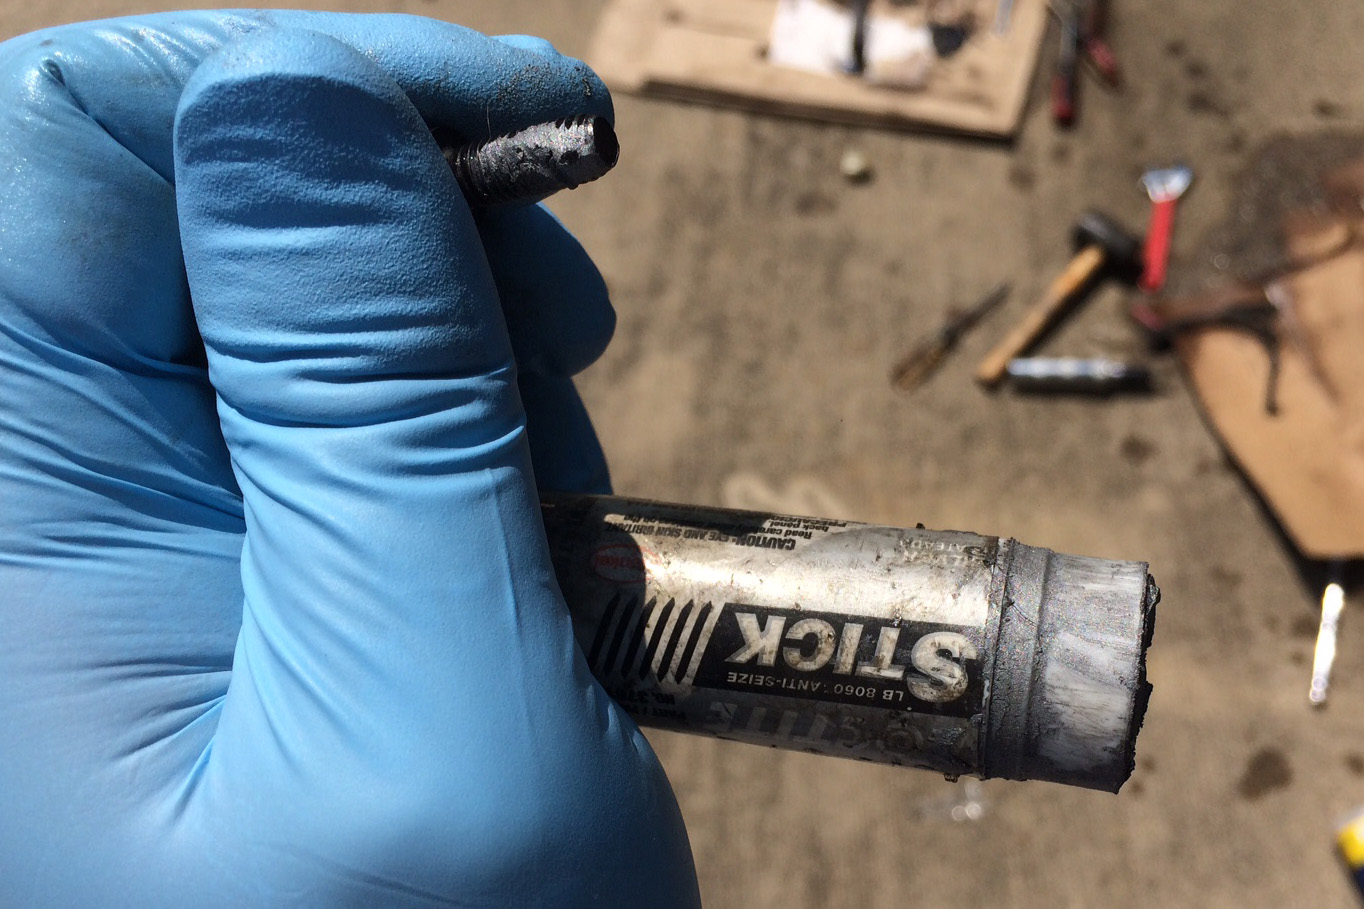
Put lapping compound on the tip so it grips tighter on the screw
head
Honda uses JIS style screws which require a JIS head screwdriver to fit the profile of the screw. They are designed to not cam out when turning. If you have a Honda motorcycle, car or SUV, it pays to have one so you do not destroy the screw. A JIS screw will have one dot or “x” on the head of the fastener.
Spot on.
Using a ‘philips’ head in a JIS recess is bad practice.
Hey Guys–you’re exactly right. But the problem was, even the JIS bit I used didn’t help the top one budge. I’m guessing it’s due to the gunk and moisture those two screws see. The bike in question spent a few years stored outside very, very close to saltwater beach and it corroded the heck out of everything and, combined with the chain grease and road grit flung all over under that sprocket cover, it was pretty ugly under there.–so I had to bring out the proverbial big guns.

…
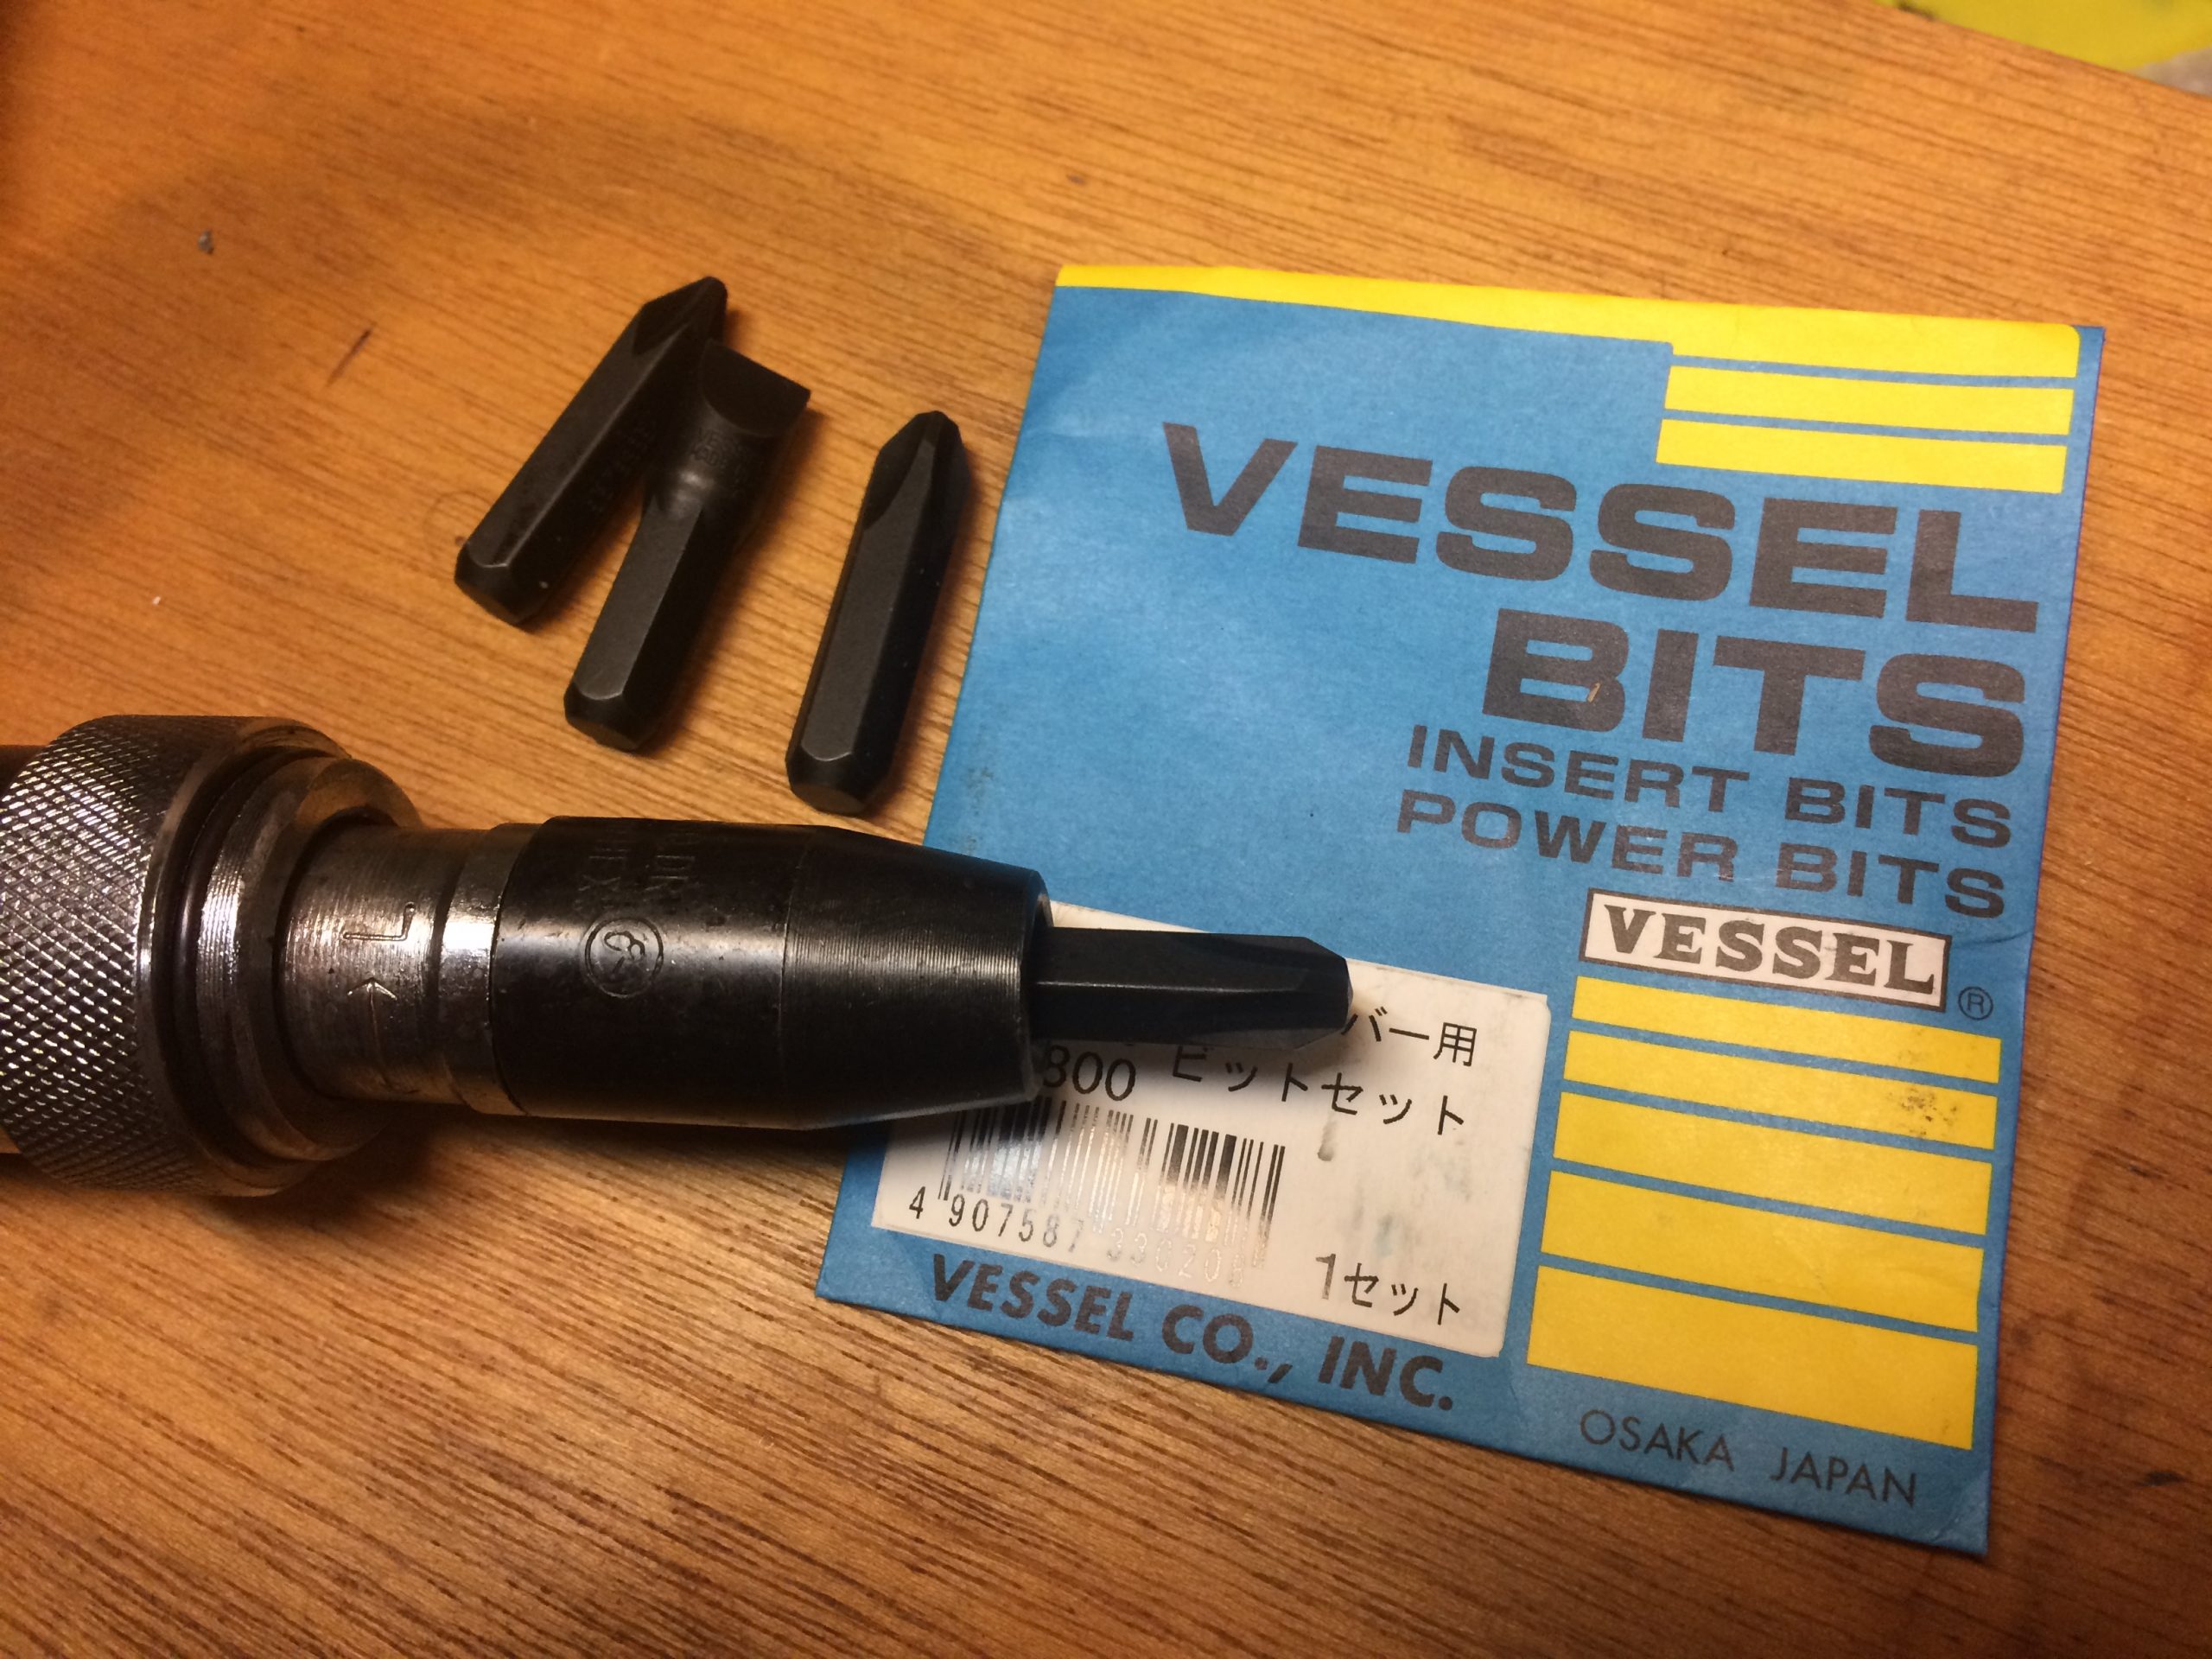
Here’s the bit I used on my T-handle driver before resorting to the impact. Perhaps it couldn’t fully seat due to some grit packed in the bottom? *Edit: At least I think this is a JIS bit? Take a look if you can and let me know–it may explain the trouble?*
That’s a posidrive bit. JIS doesn’t have the raised bit between the fins.
Please stop telling people they are Phillips bits. They’re not, they’re JIS.
You might as well tell people to use a 1/2 inch socket on a 12mm bolt and complain it rounds it off.
Ahhhhhhhhhhhhhh!
Hey Ed, we made some tweaks to the copy for more clarity. Thanks for the heads up.
Impact driver is a handy tool when needed, but try Mac Tools #SXID9K driver and never hit your hand again. I use reg size bits, long bits, sockets, whatever is needed, on this tool. Always check your fit of the bit to the screw/bolt.