Sometimes, how quickly you can slow down is just as important as how quickly you can speed up.
As I was building up my Impala back in high school to go faster with an Edelbrock Performer package, Dynomax headers, B&M Stage II shift kit in the TH-350, etc., my friends’ dads were telling me, “you’re gonna kill yourself in that car boy!”
Now that I’m older and have kids of my own, I have a deeper desire to not only make my car perform well, but to do it safely. Which is why I’m going through this effort of swapping out the non-boosted drum brakes for the factory upgraded power discs.
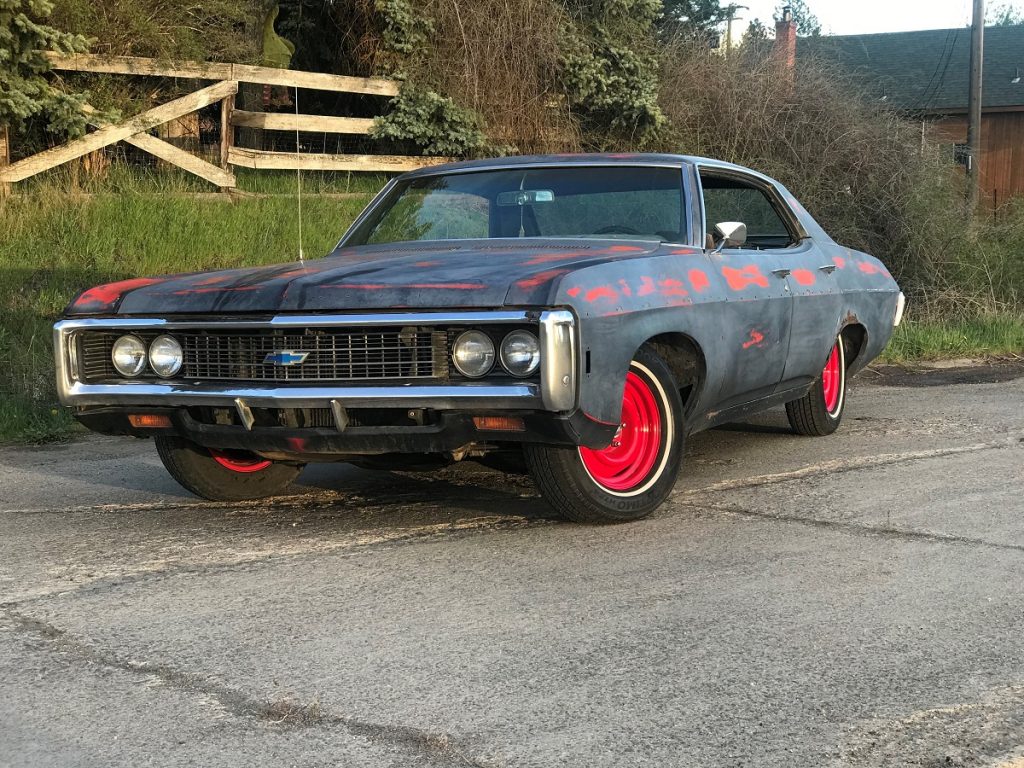
Little background on the car: it’s a 1969 Chevy Impala 4-door hardtop with a 355 cubic-inch small block and a TH-350 transmission. My dad built it back in the 1980s with a brand new black interior, some Cragar SS wheels, and Mercedes Benz Signal Red paint — gosh it was gorgeous. I actually came home from the hospital in that car when I was born back in ’86.
It was driven into the ground as the family hauler, and then I acquired it in high school. My dad and I rebuilt the motor and the suspension and I drove it like that for quite a while. Then I started dabbling in the Jeep world and the Chevy sat for a long time. I recently got it back on the road and it’s time for some upgrades!
So what advantage do disc brakes give you over drums? I can give you three reasons: better performance, self-adjustment, and easy maintenance.
Brakes work by converting kinetic energy into thermal energy, but for brakes to continue to work that thermal energy must be released from the brake system; i.e. heat dissipation. In drum brakes, the friction material is completely enclosed inside the drum, creating a situation where the heat created from braking is trapped within the system. When the drum gets too hot, it loses its ability to transform the kinetic energy into thermal energy and you end up with brake fade and loss of stopping power.
With disc brakes, the entire system is exposed to the outside air. This allows the heat that is created from braking to dissipate quickly, reducing brake fade and increasing stopping power. Many rotors are vented (even the factory 1969 impala rotors) as well and some are slotted and/or cross drilled, which allows for even more heat dissipation and gas release.
Wet brakes do not perform as well as dry brakes simply because the moisture acts somewhat like a lubricant between the friction material and the drum or rotor. Disc brakes handle wet conditions better than drum brakes simply because of their open design. In a drum brake, the moisture has nowhere to go and therefore it takes much longer to dry out. The open design of disc brakes not only allows the moisture to “drain” away quickly, but the air moving past the disc and caliper causes it to dry faster.
Disc brakes also apply quicker than drum brakes, which not only increases safety by decreasing the gap between the drivers response time and brake actuation, but also allows drivers in a performance situation to wait longer before braking before entering a corner. This quicker actuation is due to less moving parts and tighter tolerances between the pad and the rotor compared to the tolerances between the shoes and drum.
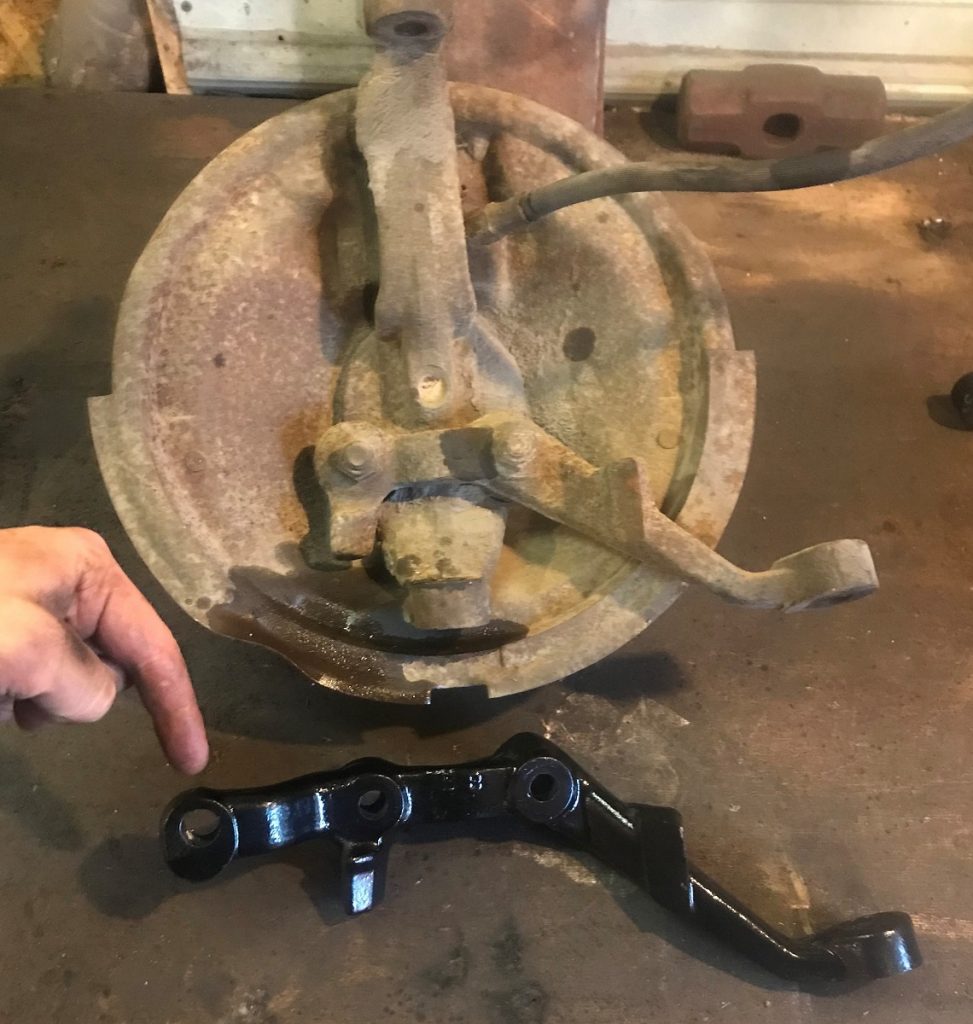
Both drum brakes and disc brakes can self-adjust as the friction material wears — disc brakes just do it better. Drum brakes adjust with a star gear attached to a screw, which pushes out on the brake shoes. There is a lever with spring pressure that pushes on the star gear and locks into the gear teeth when enough friction material has worn away. Imbalances in brake actuation time between driver and passenger sides can happen due to this incremental adjustment. When these imbalances happen, it can cause one side to engage before the other. That can cause the car to dart one way, then the other as you press the brakes.
Disc brakes adjust simply in the amount of hydraulic fluid is in the caliper. As the friction material is worn away, the caliper bore holds more fluid behind the piston to keep the brake pad against the rotor.
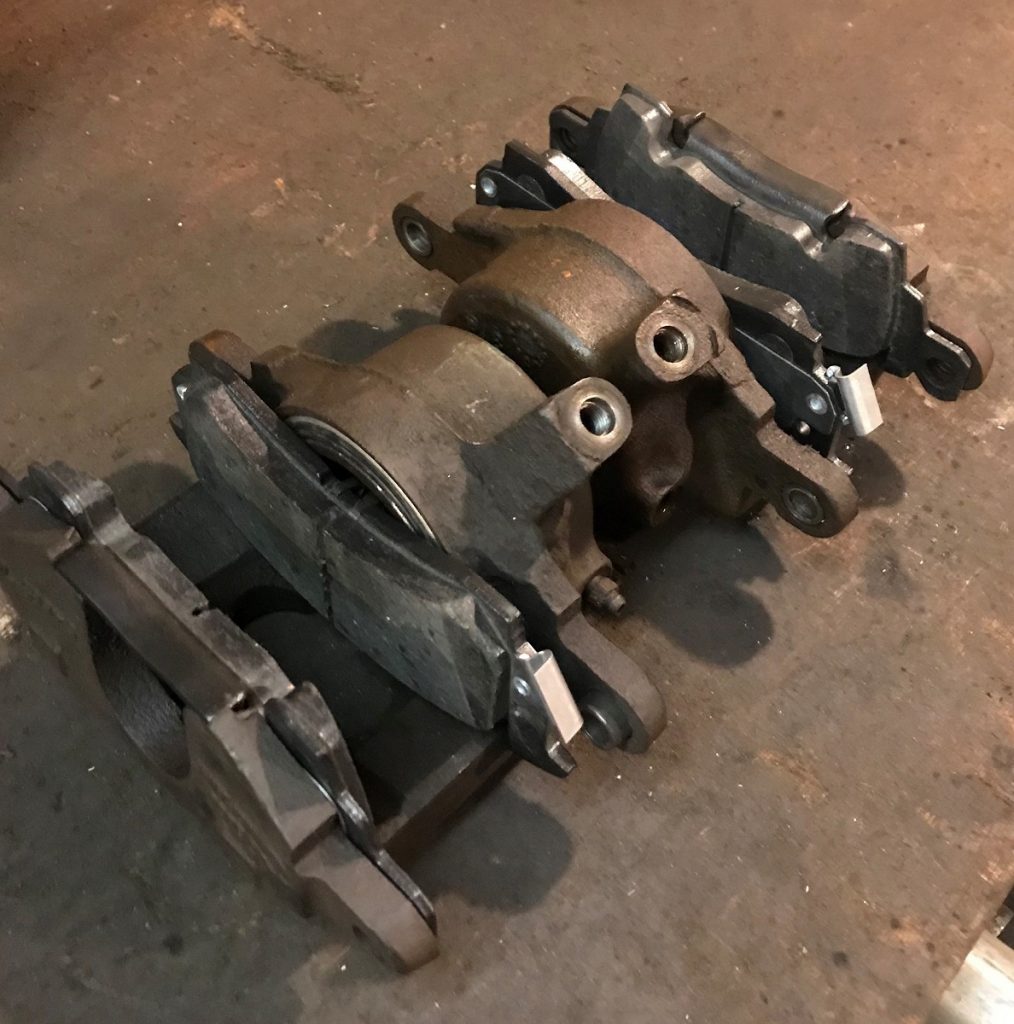
Disc brakes are also way easier to work on. If you have ever had a set of drum brakes apart, you know that there are a bazillion parts within the drum!
Every time I rebuild a set of drums, I end up with bloody knuckles from taking all the springs and clips apart. Disc brake pads are a hundred times easier to replace than drum brake shoes. Usually it just requires removing a couple bolts to undo the caliper, a little squeeze on the piston to make room for the new pads, and you’re all set.
Back in the 1960s and ‘70s, muscle cars were getting more and more powerful, and therefore getting faster and faster. With this speed came a need for increased safety, which is why you could upgrade your drum brakes to factory disc brakes. The donor car for my project was a 1969 Chevy Impala 2 door Hardtop.
This car had a 396 big block, bucket seats, console, and factory power disc brakes. By the time I bought this thing 16 years ago, the buckets, console, and big block were gone, and it had no title. So I scavenged the brake parts, steering column, and a few other random things for my car and parted the rest.
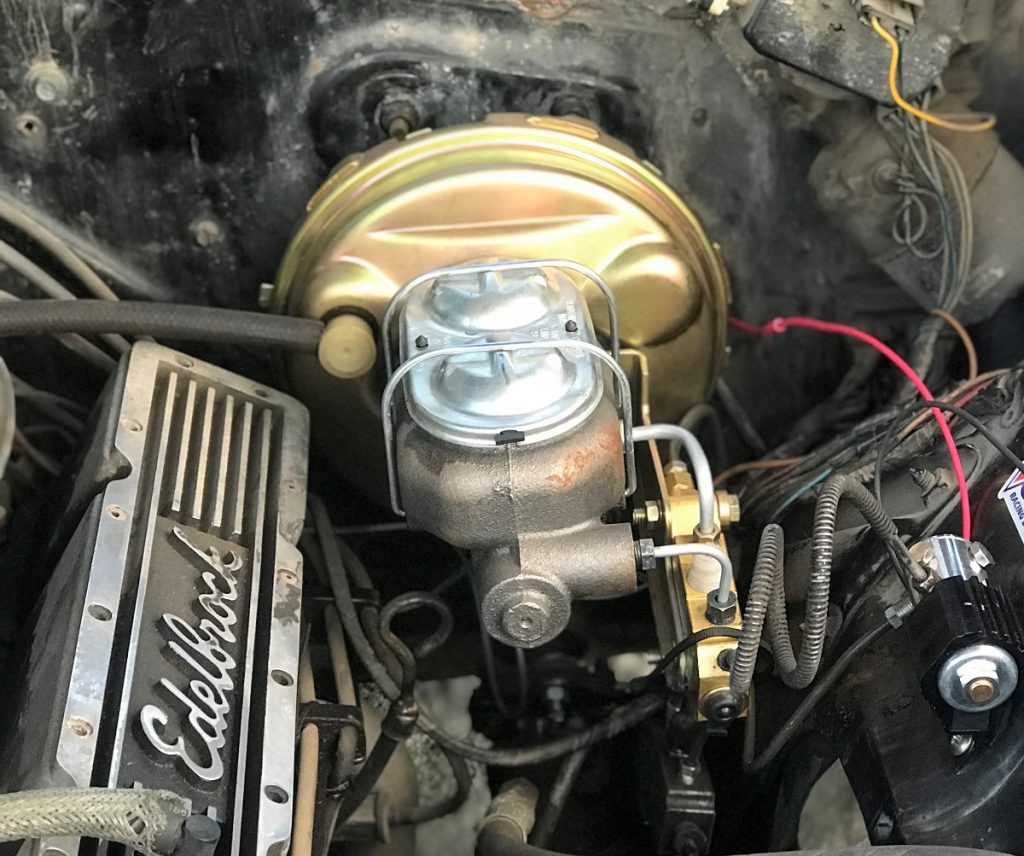
I reused the bearings, hubs, rotors, spindles, and calipers. I replaced the booster and master cylinder with a Right Stuff Detailing master cylinder and booster (RSD-G94210971) and brake hose (RSD-FH46), Bendix CT ceramic brake pads (BEN-SBC52) and rebuilt the calipers with a Dorman kit (DHB-D35494). The car is much more enjoyable to drive, and I feel much more comfortable hauling my kiddos around in it. You can see the entire install on my YouTube channel:
…
Very well written, Son. Spot on!
Thank you!
[…] Sometimes, how quickly you can slow down is just as important as how quickly you can speed up. As I was building up my Impala back in high school to […] Read full article at http://www.onallcylinders.com […]
Hi Josh, thanks for such a great informational article. Your thoughts are really helpful as I’m looking to upgrade to a disc.
Thanks Christopher! are you using a part car like I did or are you going to go all aftermarket?
Can someone contact me. I have some questions about brake conversion for a 2008 Jeep Patriot?
Hey Nikki, click here to reach out to the Summit Racing tech department, those folks can help answer your questions.