Harmonic dampers are typically press-fit and next-to-impossible to properly remove and install without the right tools.
You might get away with yanking one off with a common three-jaw puller, but you can bet your boots the damper will be damaged, if not ruined. In fact, most aftermarket harmonic damper manufacturers explicitly note that the use of a three-jaw puller is forbidden with their respective products.
How about installing one? A block of wood and the biggest hammer in your tool box, or even a dedicated pulley driver aren’t the answers either. You can damage the damper easily.
Ditto if you use a bolt to try and pull it on by way of the crank threads. There’s a really good chance you can destroy the threads in the crank snout doing that.
That’s the bad news.
The good news, and the real solution, is to use the appropriate tools.
I have a couple of examples including several vintage GM Kent Moore service jobs in my tool box. Many versions are available. A really good example is Summit Racing’s removal/install tool, (SUM-G1025).
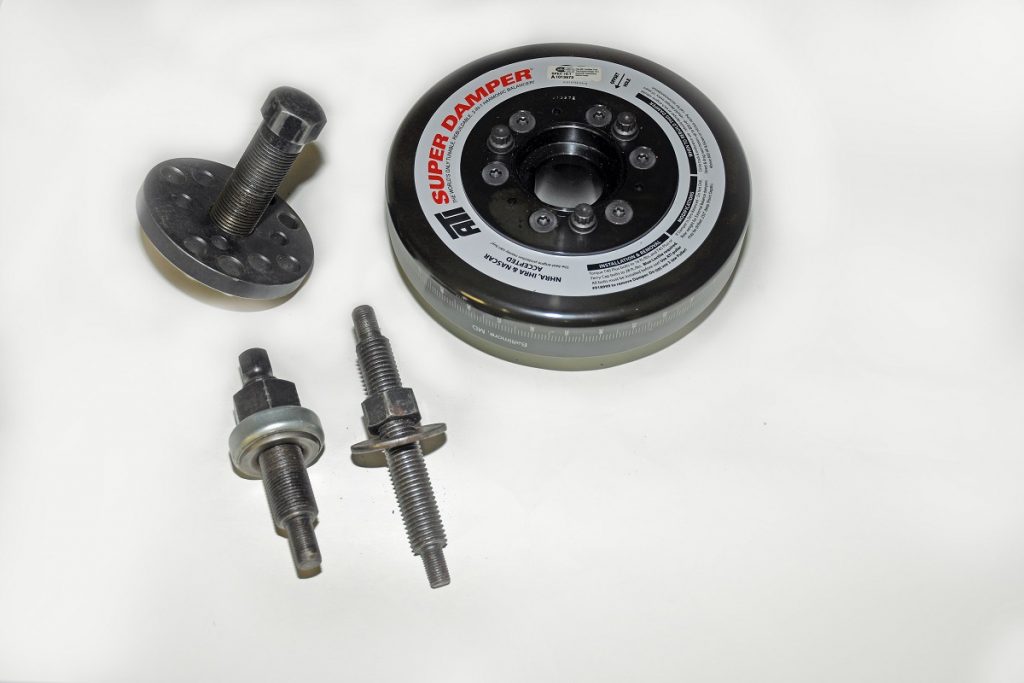
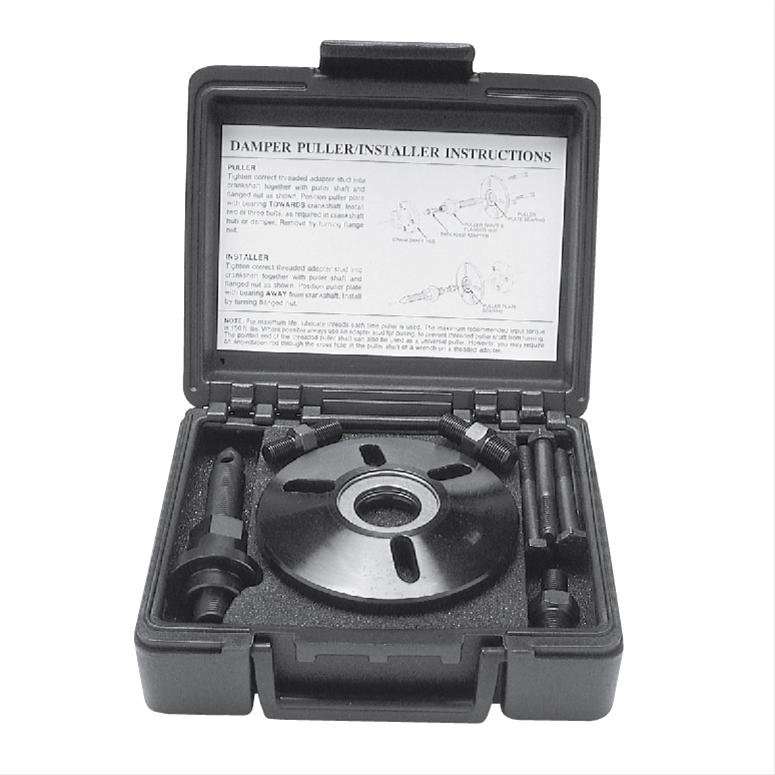
A good damper removal tool is simple to use and extremely effective.
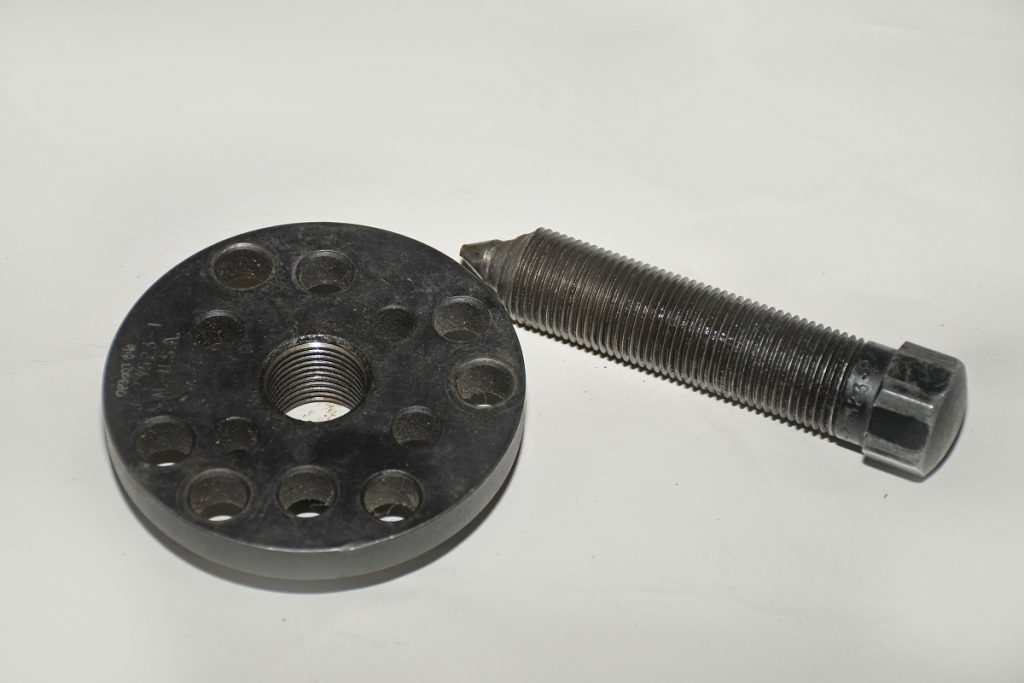
For the most part, you simply bolt a plate to the face of the damper. Typically, the plate attaches to the same bolt pattern as the crank pulley. The puller usually includes a large diameter, fine-thread screw that runs through the center of the plate.
Using a 1-1/8-inch socket or wrench (socket size depends upon the tool — I’m referencing my old Kent Moore puller here), you simply tighten the screw. The magic of threads goes to work, and the damper eases off the end of the crank.
It’s simple and effective, and creates no damage to the damper or crankshaft.
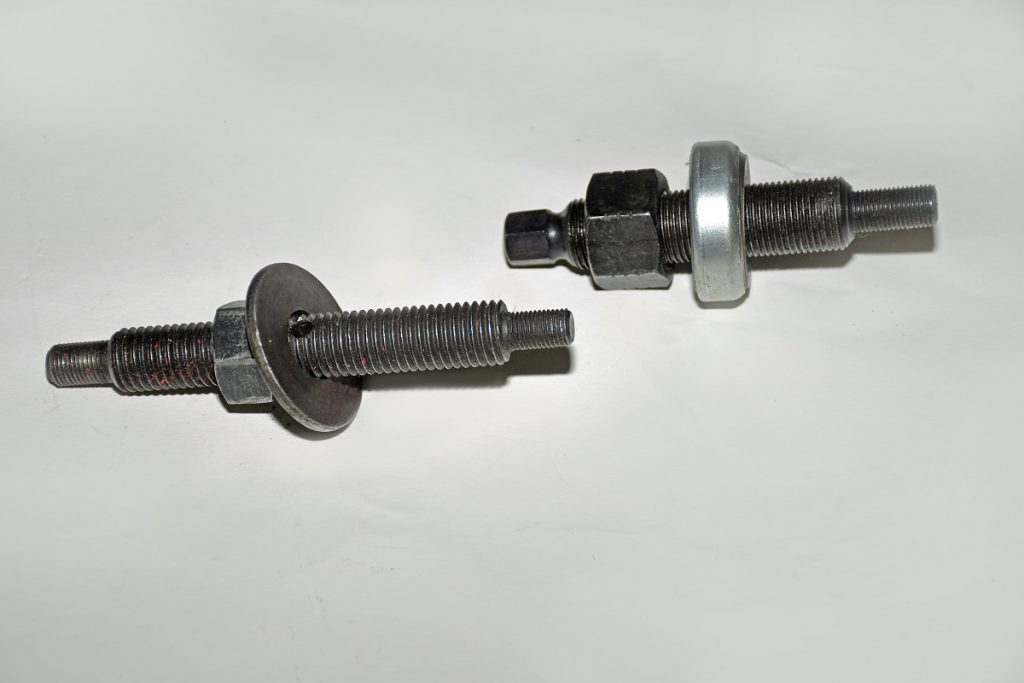
Installation is equally easy with the right tool. Here, the process is slightly different. Harmonic balancer installation tools typically have an end sized to fit the threads in the crankshaft snout. Some tools like my old Kent Moore installation tool are double ended — one size fits a small block Chevy application (7/16-20) and another fits a big block Chevy application (1/2-20).
I also have an older Moroso part number 61741 installation tool, and it has a dedicated 1/2-20 thread for the crank snout. Many different versions are available for different-sized crank snout threads.
In any case, the idea with the installation tool is to thread it into the crankshaft snout.
A word of caution: There are situations where the small snout threads on the tool are too long or the crank snout isn’t drilled and threaded sufficiently deep. If the tool bottoms out in the crank, there’s a good chance the thread will snap during the tightening process. Double-check it.
There’s a huge amount of force applied by the big nut on the tool during the installation process. Next apply a coating of anti-seize to the crank snout, install the key, and slide the damper over the snout. It should slide on partially.
Some of the tools on a large bearing to help distribute the load. Others use a large washer to act as a thrust surface. The bearing and/or the washer are backed by a large nut. The idea here is to tighten the nut with hand tools. Again, like magic, the damper should slide onto the crankshaft.
Some engines require special tools.
The Chevy LS engine family is in that group and so are new Gen III HEMI engines and Duramax diesels.
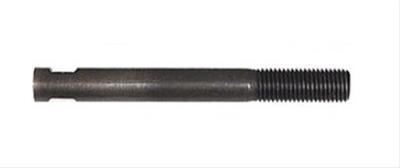
ATI makes a tool (ATI-918999) specially designed for these types of engines. With this setup, you’ll have to purchase an additional dedicated installation stud.
With any of these tools, harmonic damper removal and installation is a piece of cake. Just be sure to check the threads so that they don’t bottom out and be sure to use anti-seize on the crank snout when installing them.
You’ll find what was once a royal pain and a seemingly impossible task (or at least extremely frustrating) turns out to be easy. Check out the accompanying photos for more details.

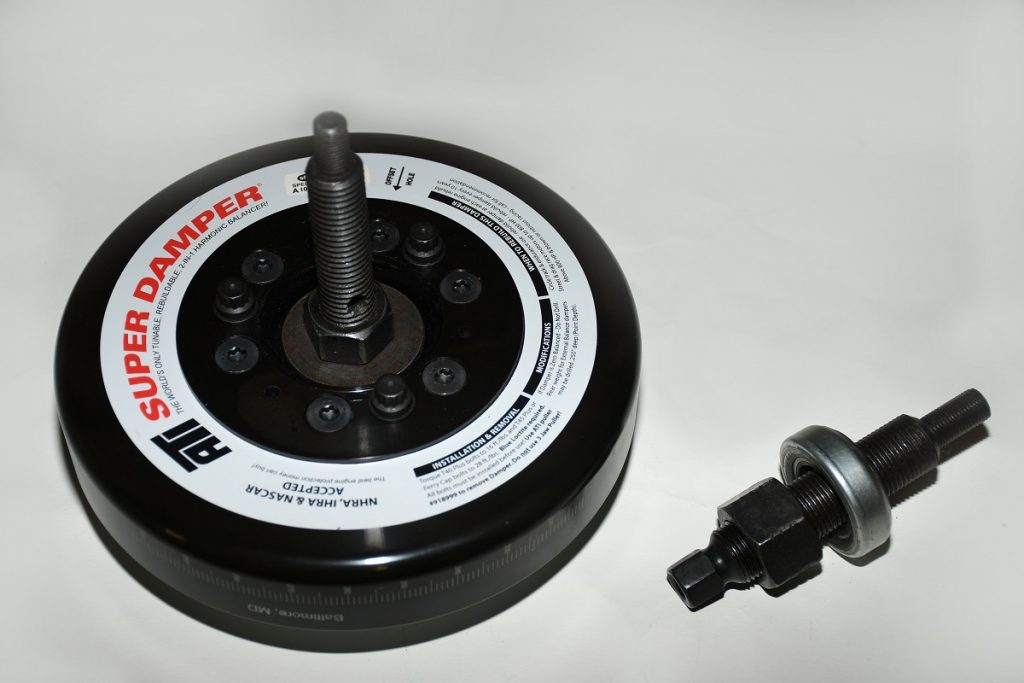
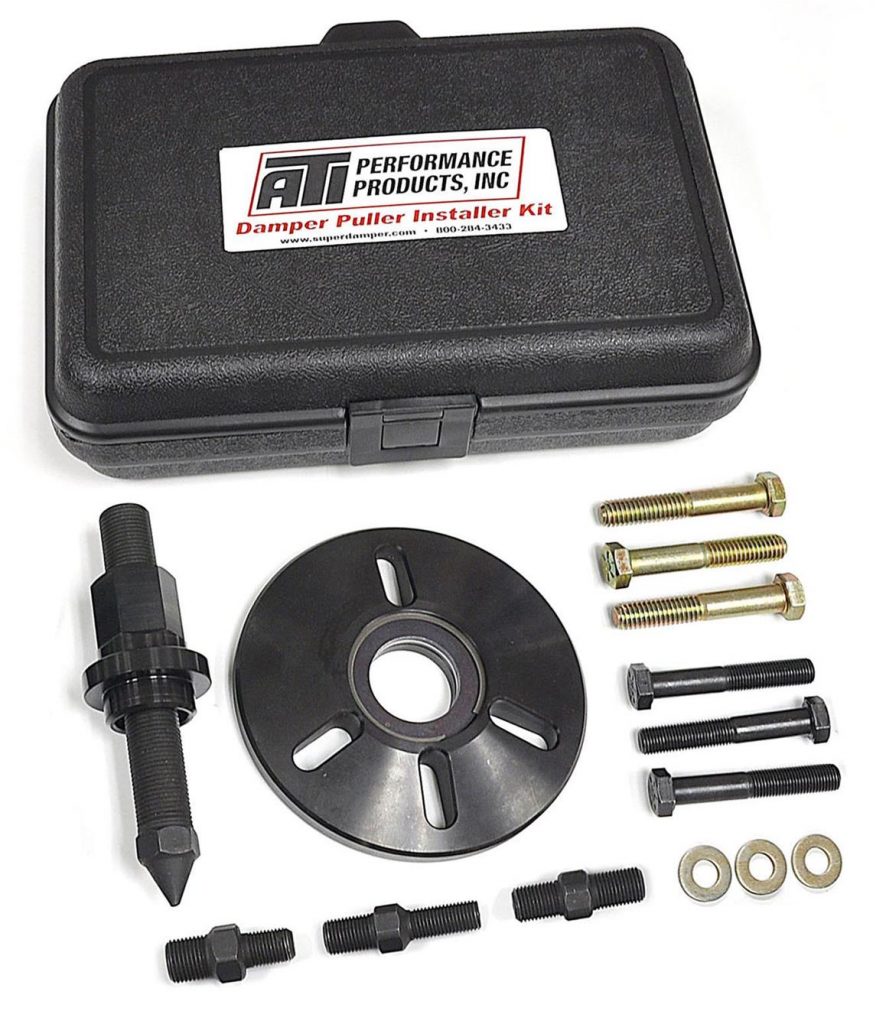
Here’s a look at the ATI puller/installer. It too fits a wide range of engines, but for several applications, you’ll have to purchase an additional installation stud. The Summit Racing website provides more info. (Image/Wayne Scraba)
Excellent advice.
Great article and glad I read it before my project on an LT5.
Hey Jesse, you may appreciate this video too.
Okay so me and my bf bought a 94 Bonneville and we need to replace the hormonic balancer is there ANY ADVICE that you could give me bc I really need to get it done an as cheap as possible thanks
As memory serves, you likely have a version of the venerable 3.8L Buick V6, AKA 3800. If so, did you check out YouTube? There are a couple of walkthroughs there, and you’ll need a specialty harmonic balancer tool (This one says it’ll work for the 1994 Bonneville) (and probably a breaker bar) to get the job done. Good luck!