Securely holding a connecting rod to do simple things like removing the rod bolts, removing the caps, torquing bolts and measuring bearing clearances in the bore cannot be accomplished without the use of a tool of some sort.
Sure, a couple of chunks of wood strapped to the jaws of a vise might work in a pinch, but with today’s (often) expensive connecting rods, that could be recipe for failure.
Rather than risking damage to a set of rods, the best bet is to secure them with a rod vise. They’re been around for a while in a wide range of configurations.
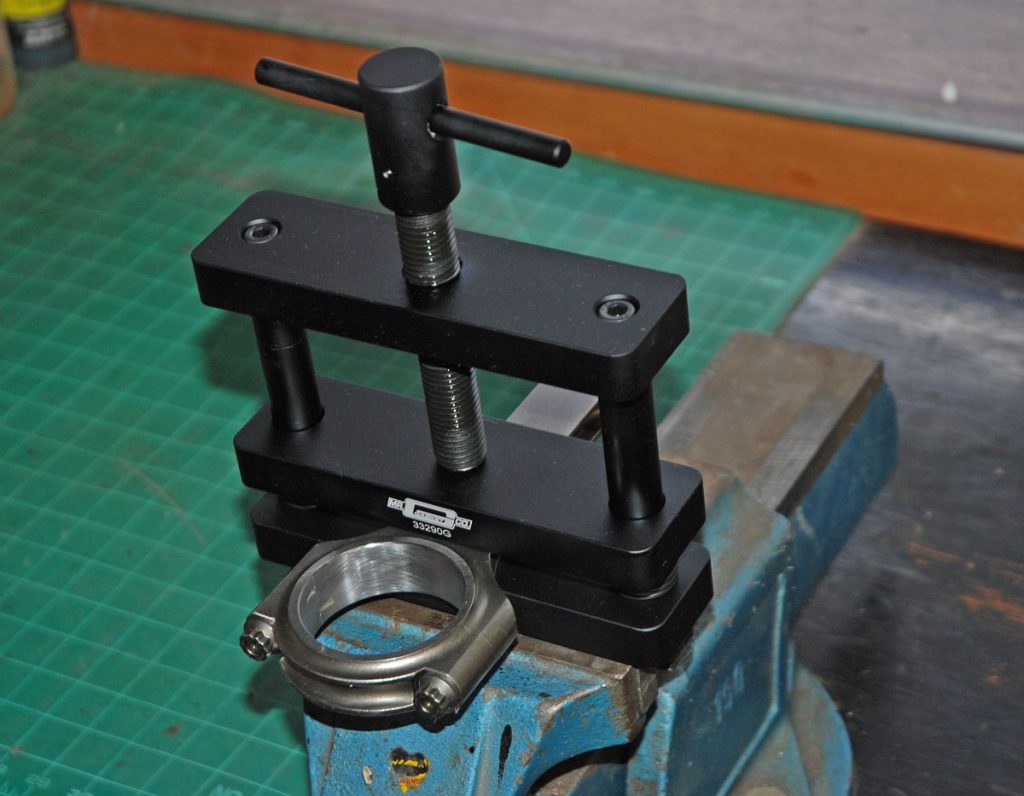
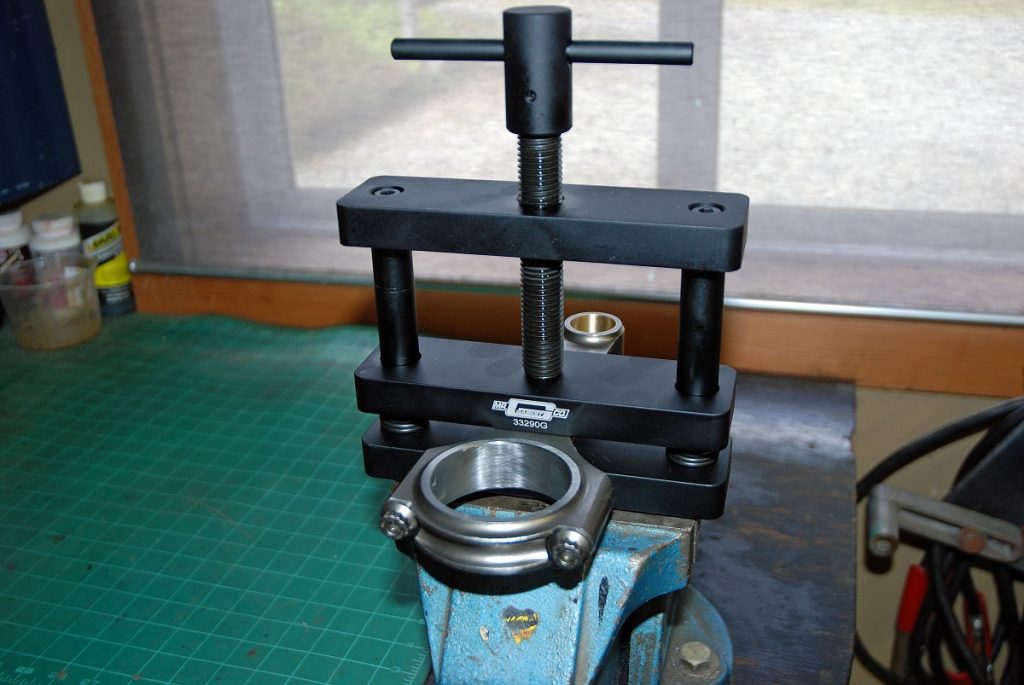
A good example is the Mr. Gasket connecting rod vise (part number 33290G) shown in the accompanying photos. It’s constructed from billet aluminum and then black anodized. Because of the aluminum construction, the vise is suitable for use with both steel and aluminum connecting rods.
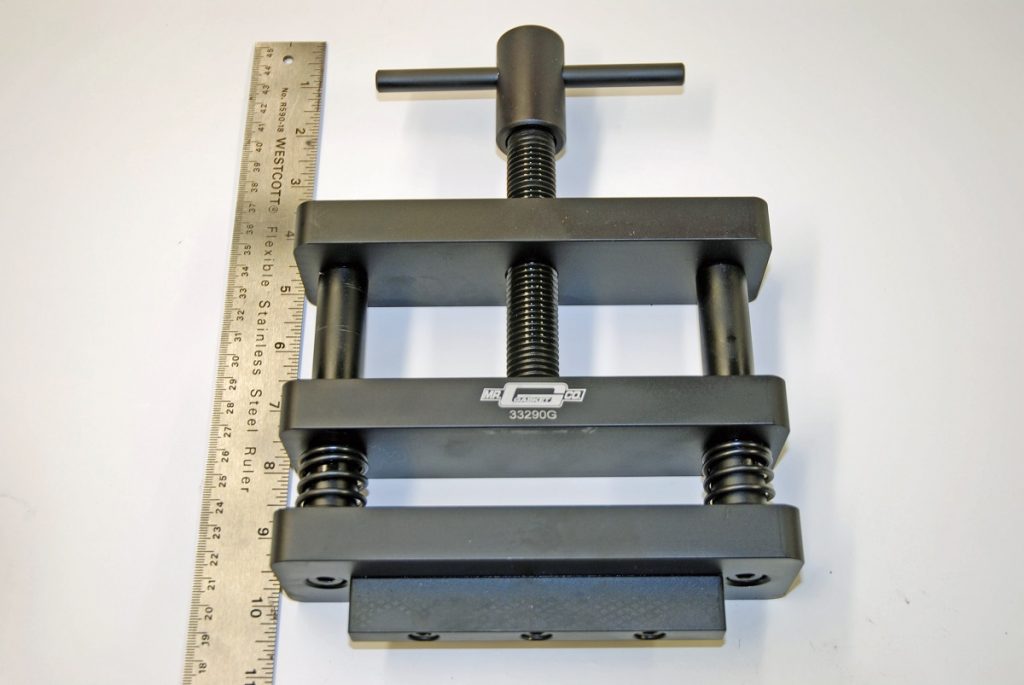
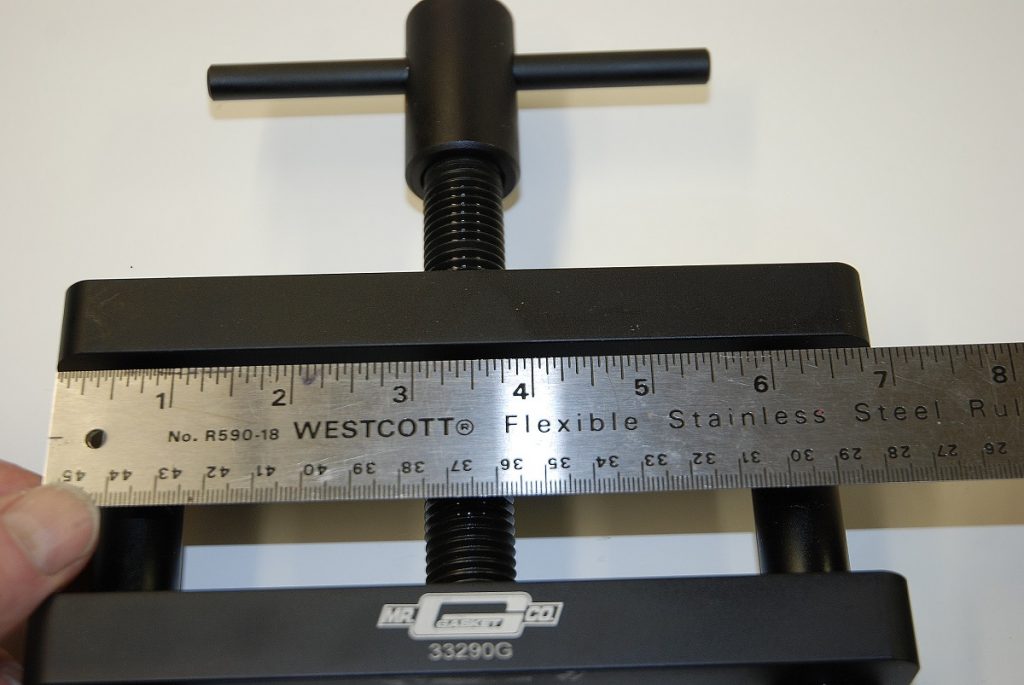
In either case (aluminum rods or steel rods), the vise is large enough and stout enough to hold multiple rods securely. FYI, the working area inside this vise measures 4.75-inches by 2-inches. That’s perfectly suitable for two connecting rods, mounted side-by-side.
In order to use the vise, you can mount it directly on your bench or (our choice) insert it in your bench vise.
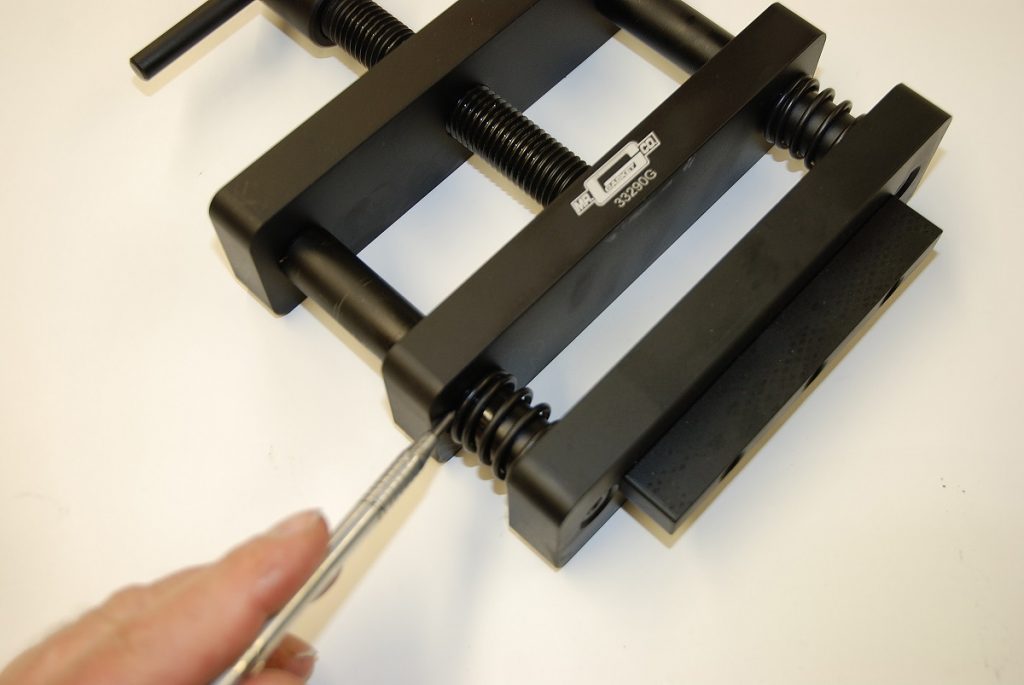
The base of the rod vise features a step engineered to fit into the jaws of a bench vise. Given the steel threads of the adjustment bolt running through billet aluminum, it’s a good idea to lube the threads carefully (anti-seize is perfect here). Ditto with lube on the pair of sprung guide pins on either end.
Using the vise is dirt simple. After it has been clamped in a bench vise or mounted permanently on your workbench, insert a connecting rod (or two) in the rod vise jaws.
Tighten the upper T-bolt to secure the connecting rod(s). At this point, you’re ready to go to work.
You’ll find it makes chores such as loosening or tightening (torque/stretch/torque-angle) rod bolts super easy. Vise squad? You bet!
For a closer look, check out the accompanying photos:


This is terrible advice. The seam where the two halves meet needs to be inside the clamping area. Clamping it like your photos show will introduce torsional stresses on the rod which could lead to twisting and misalignment.