If you build engines, even just for fun, this has probably happened to you. The engine is fully assembled and you’ve bolted it in the car. As soon as the engine starts, you know you have a problem. Maybe it’s a horribly leaking rear main seal because it was accidentally installed backwards. Or maybe a mysterious knocking sound that won’t go away. Or maybe the cam just went flat. Yes, all of those disasters have happened to us! The fix involves pulling the engine back out and repairing the damage. It would have been nice if we had a test stand where we could run the engine first and uncover the fault where it would be easy to repair.
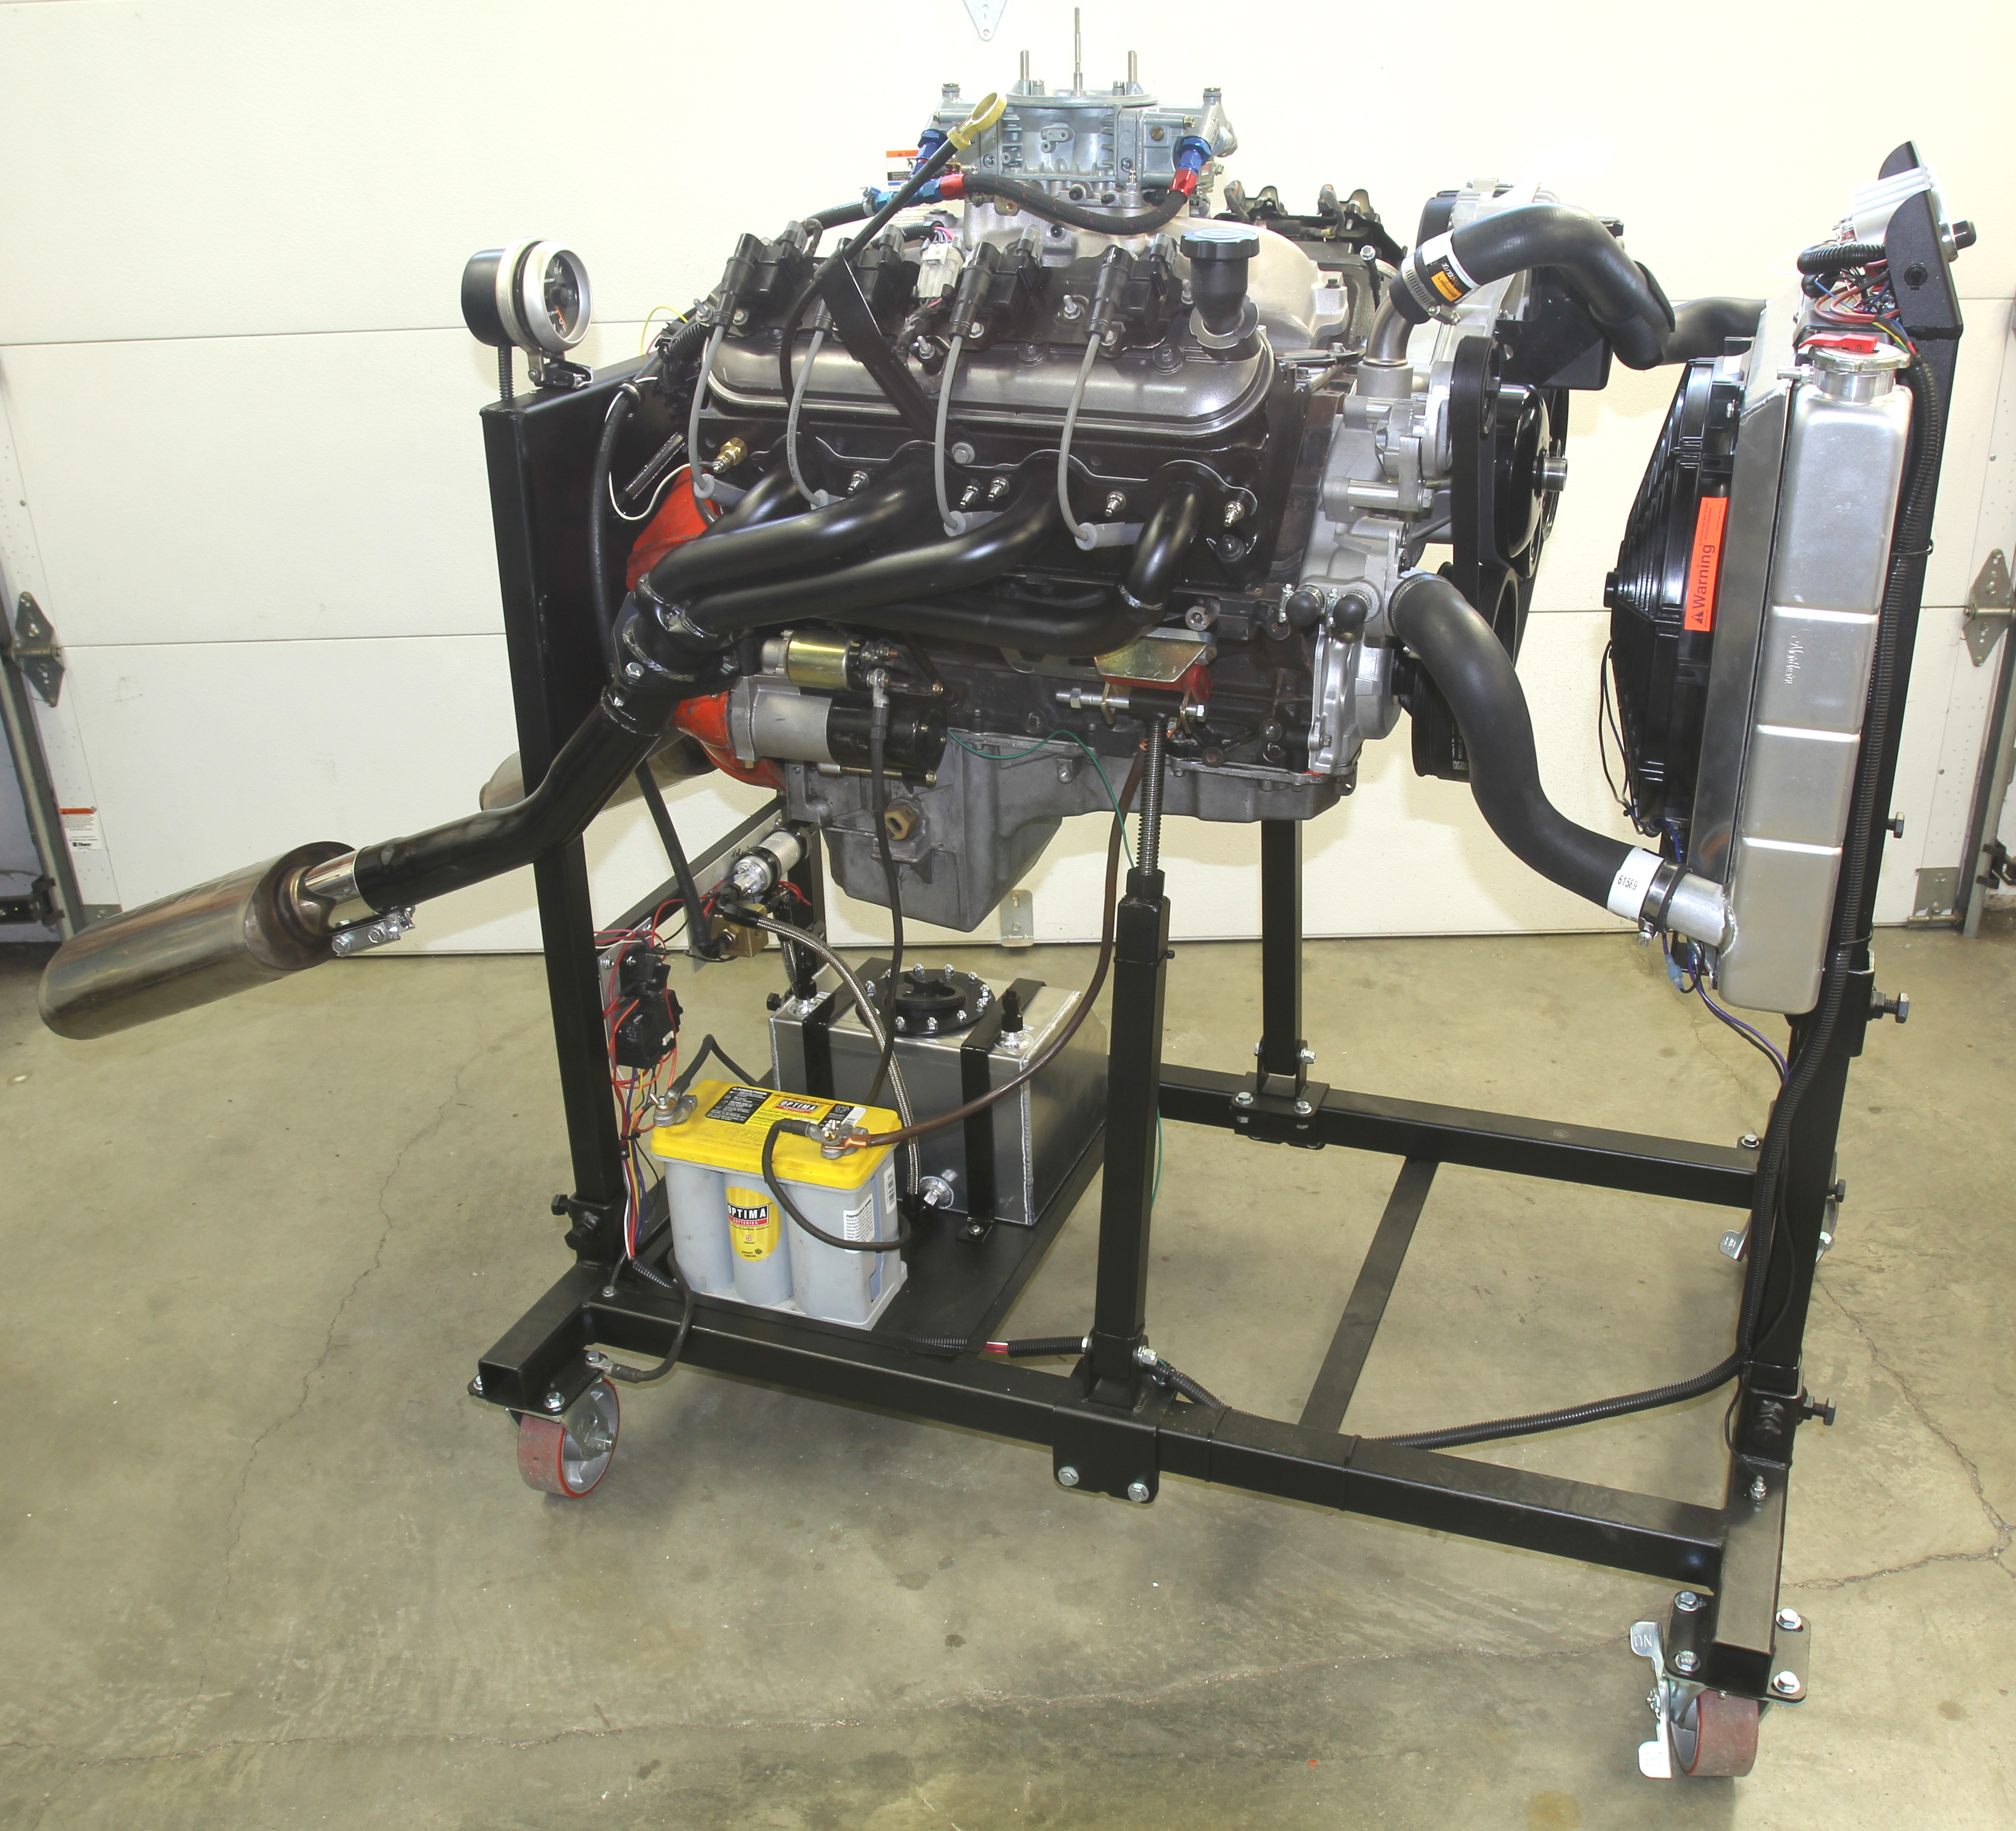
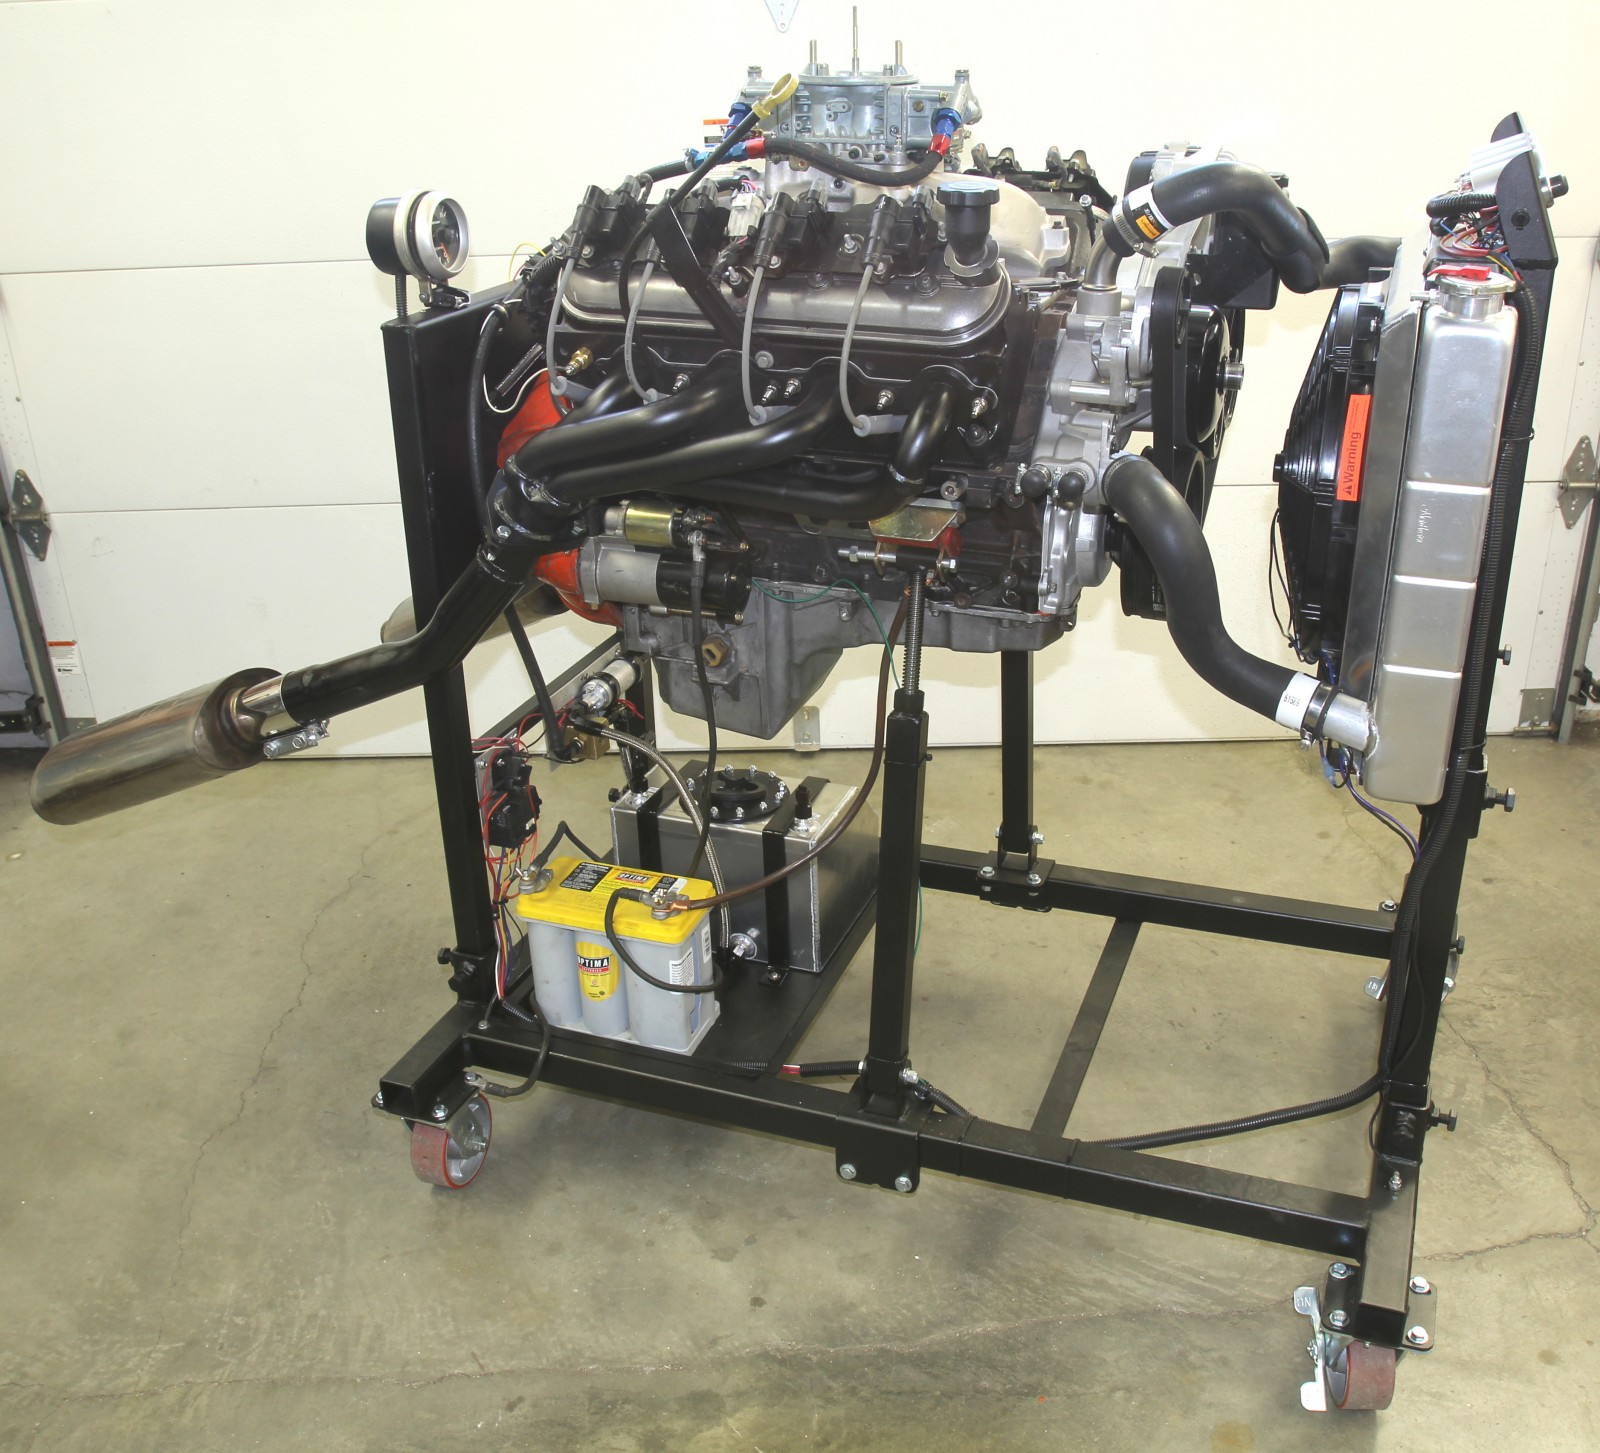
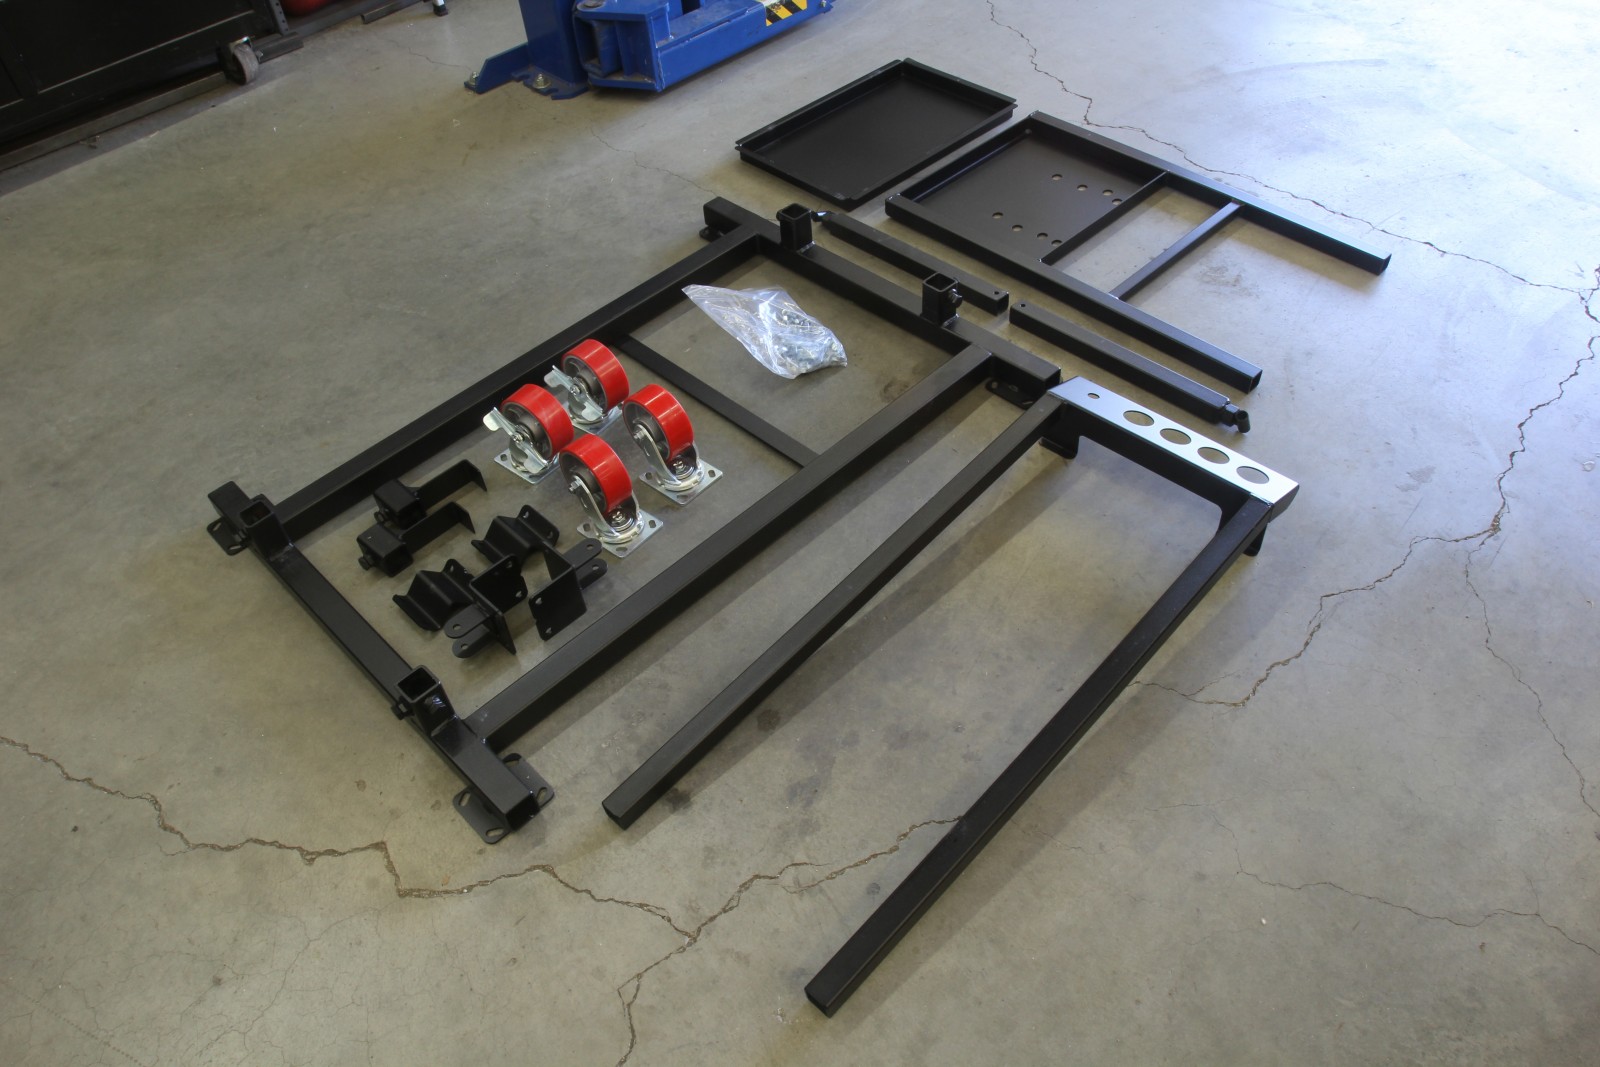
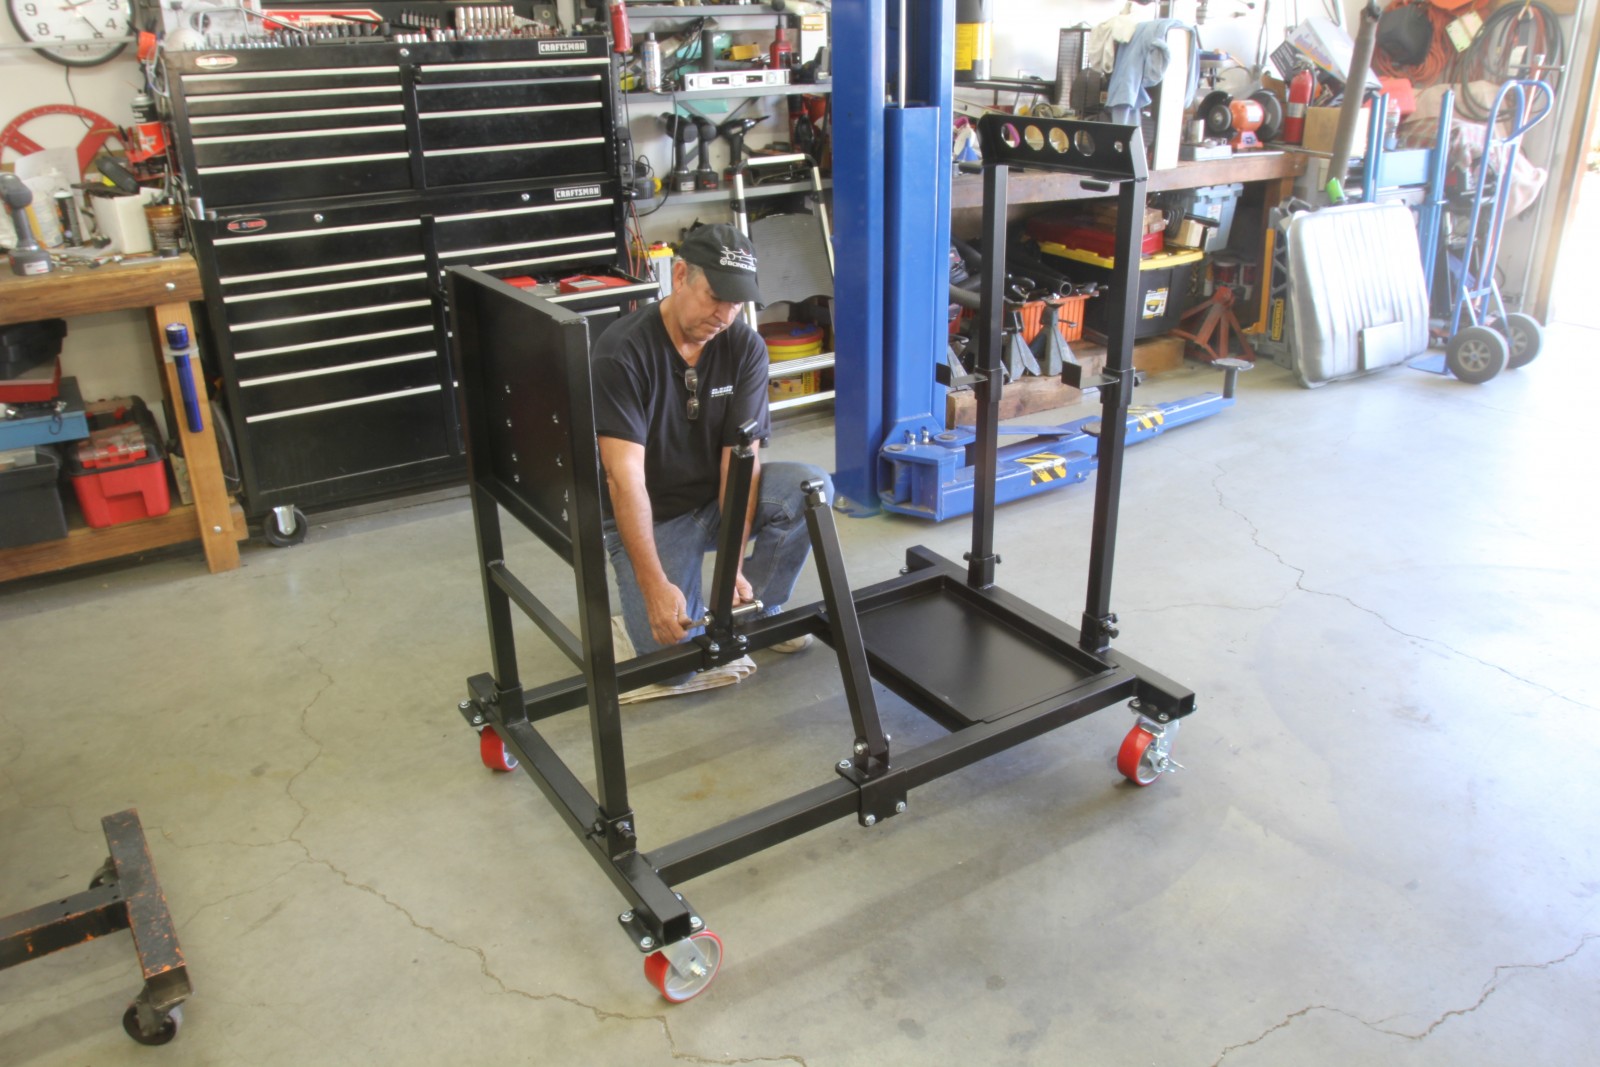
Maybe the guys at Summit Racing have been there too because they just released a simple, self-contained engine test stand on wheels. We decided our life would not be complete without one of these gems and a scant few days later the UPS guy dropped off a big package on our shop floor and we started bolting it together.
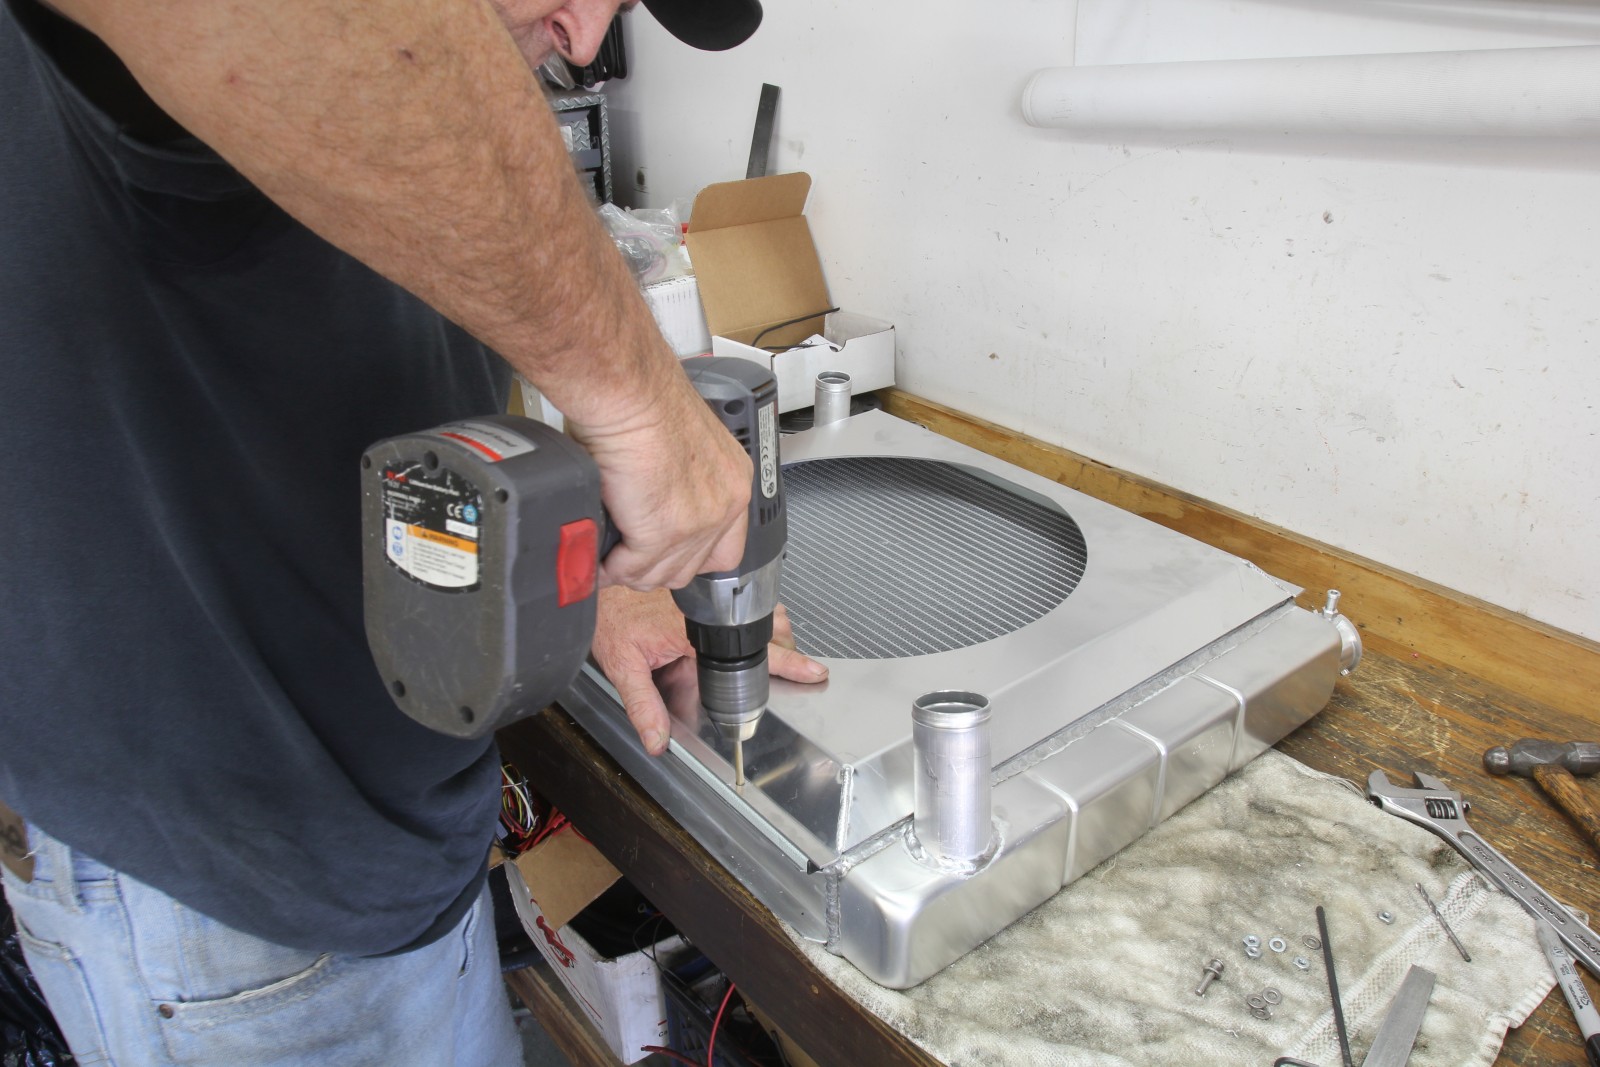
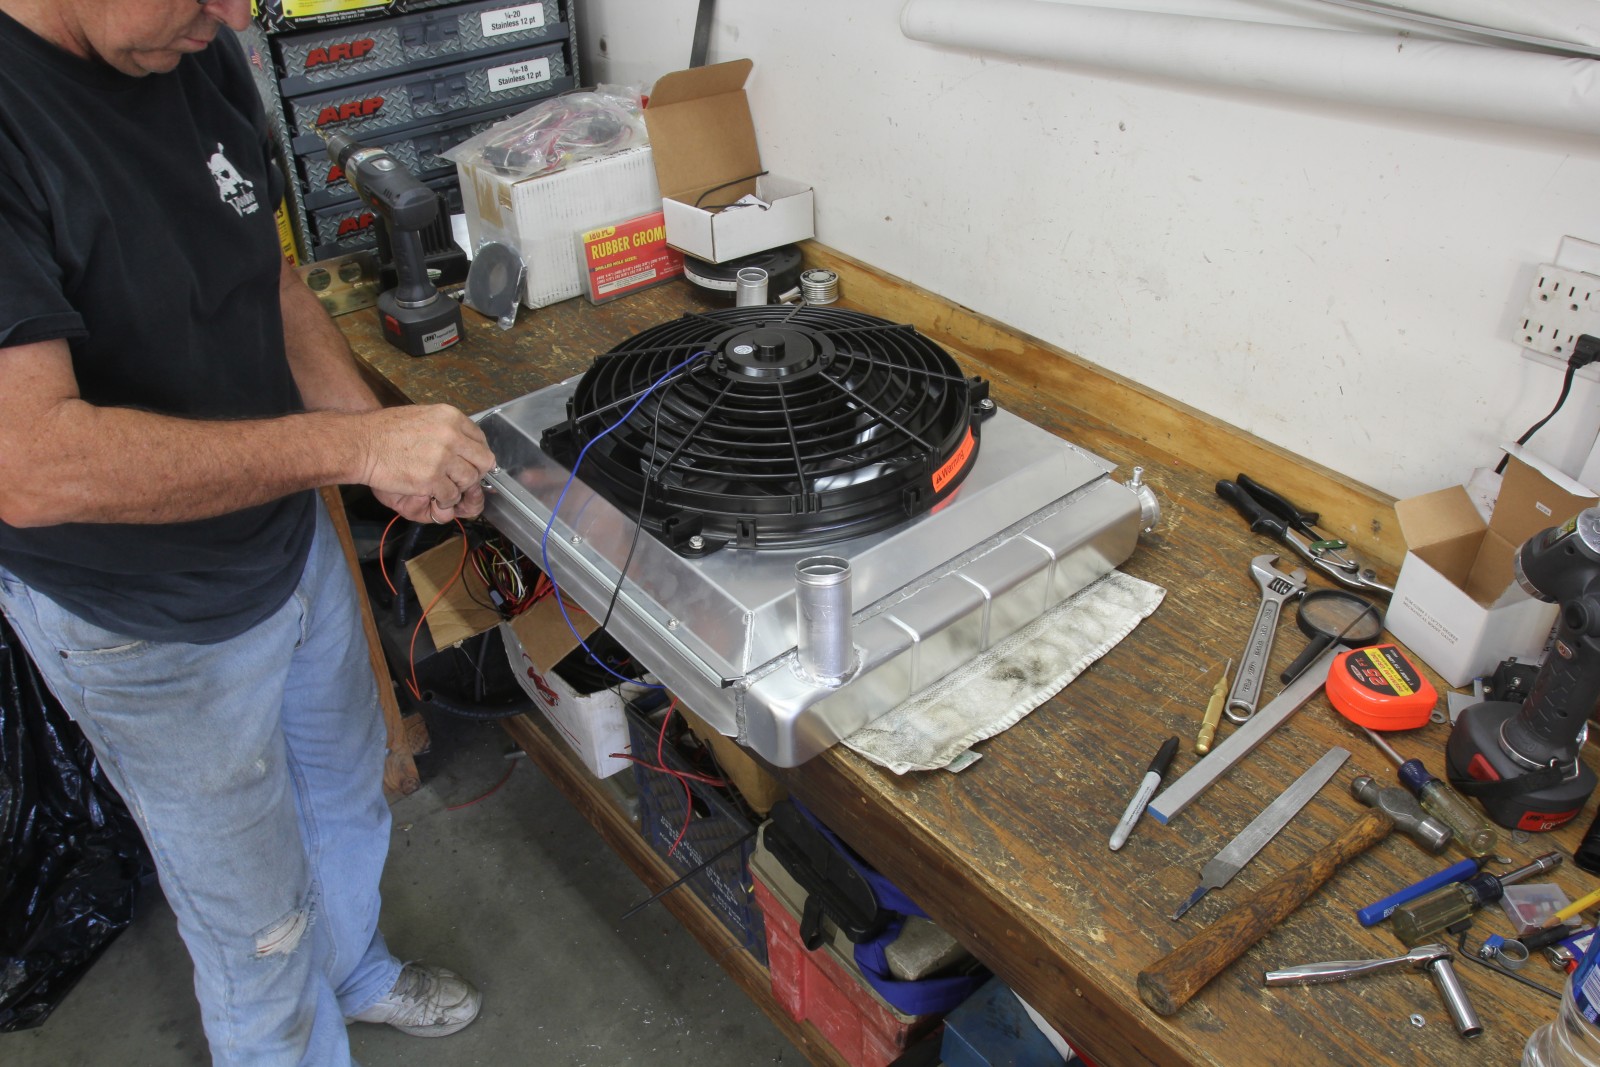
Once our stand was assembled, we started working on all the little details that make this whole system work. Summit has done much of the work for you already, creating an aluminum radiator and hose kit intended for popular engines like the small block Chevy and Fords. We also made a decision to make this stand work for both carbureted and EFI engines, so we began lining up the parts we needed.
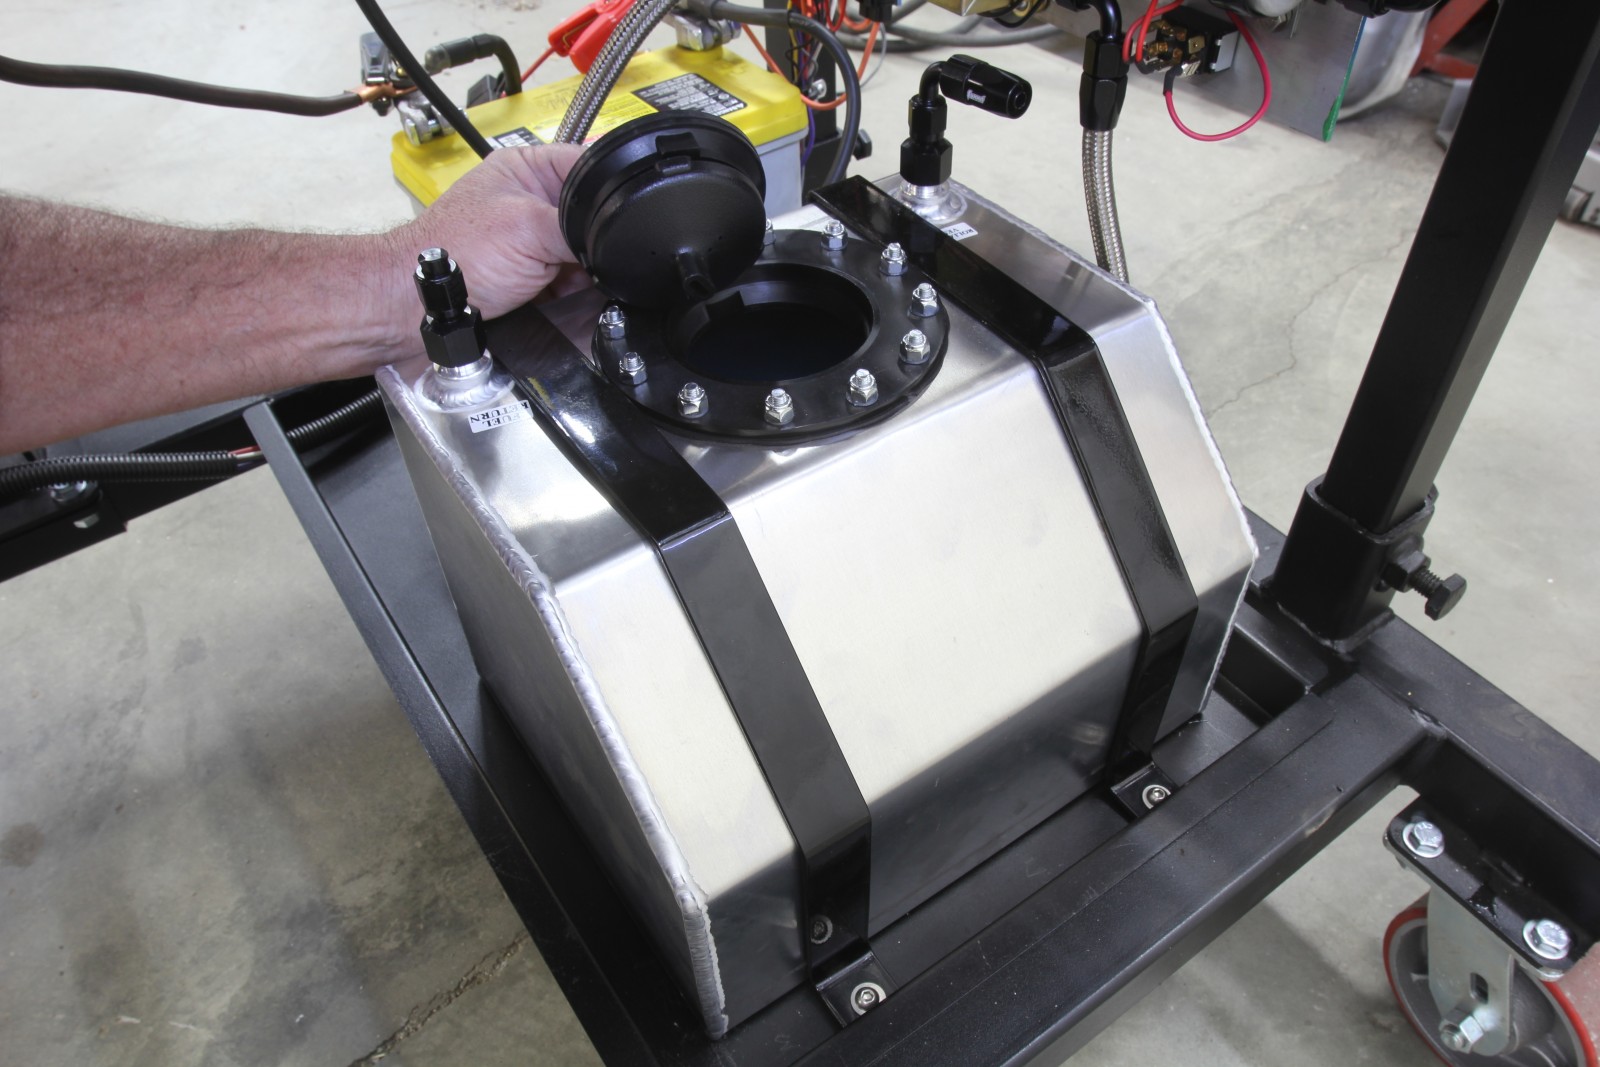
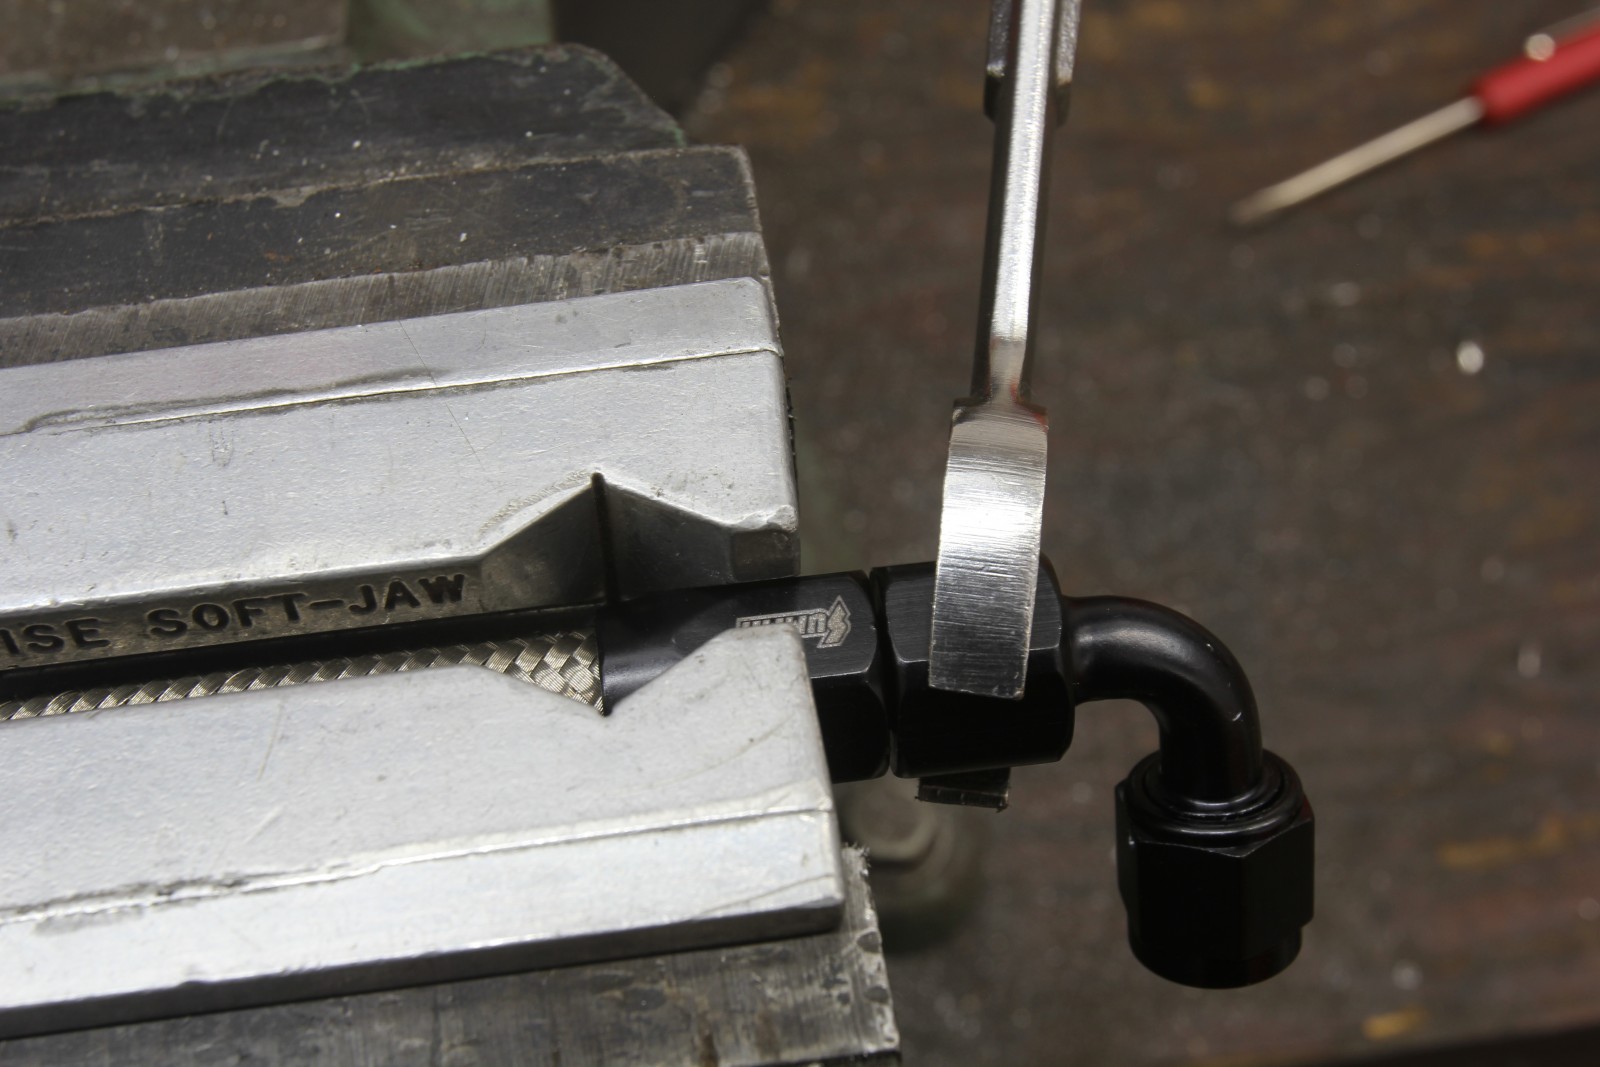
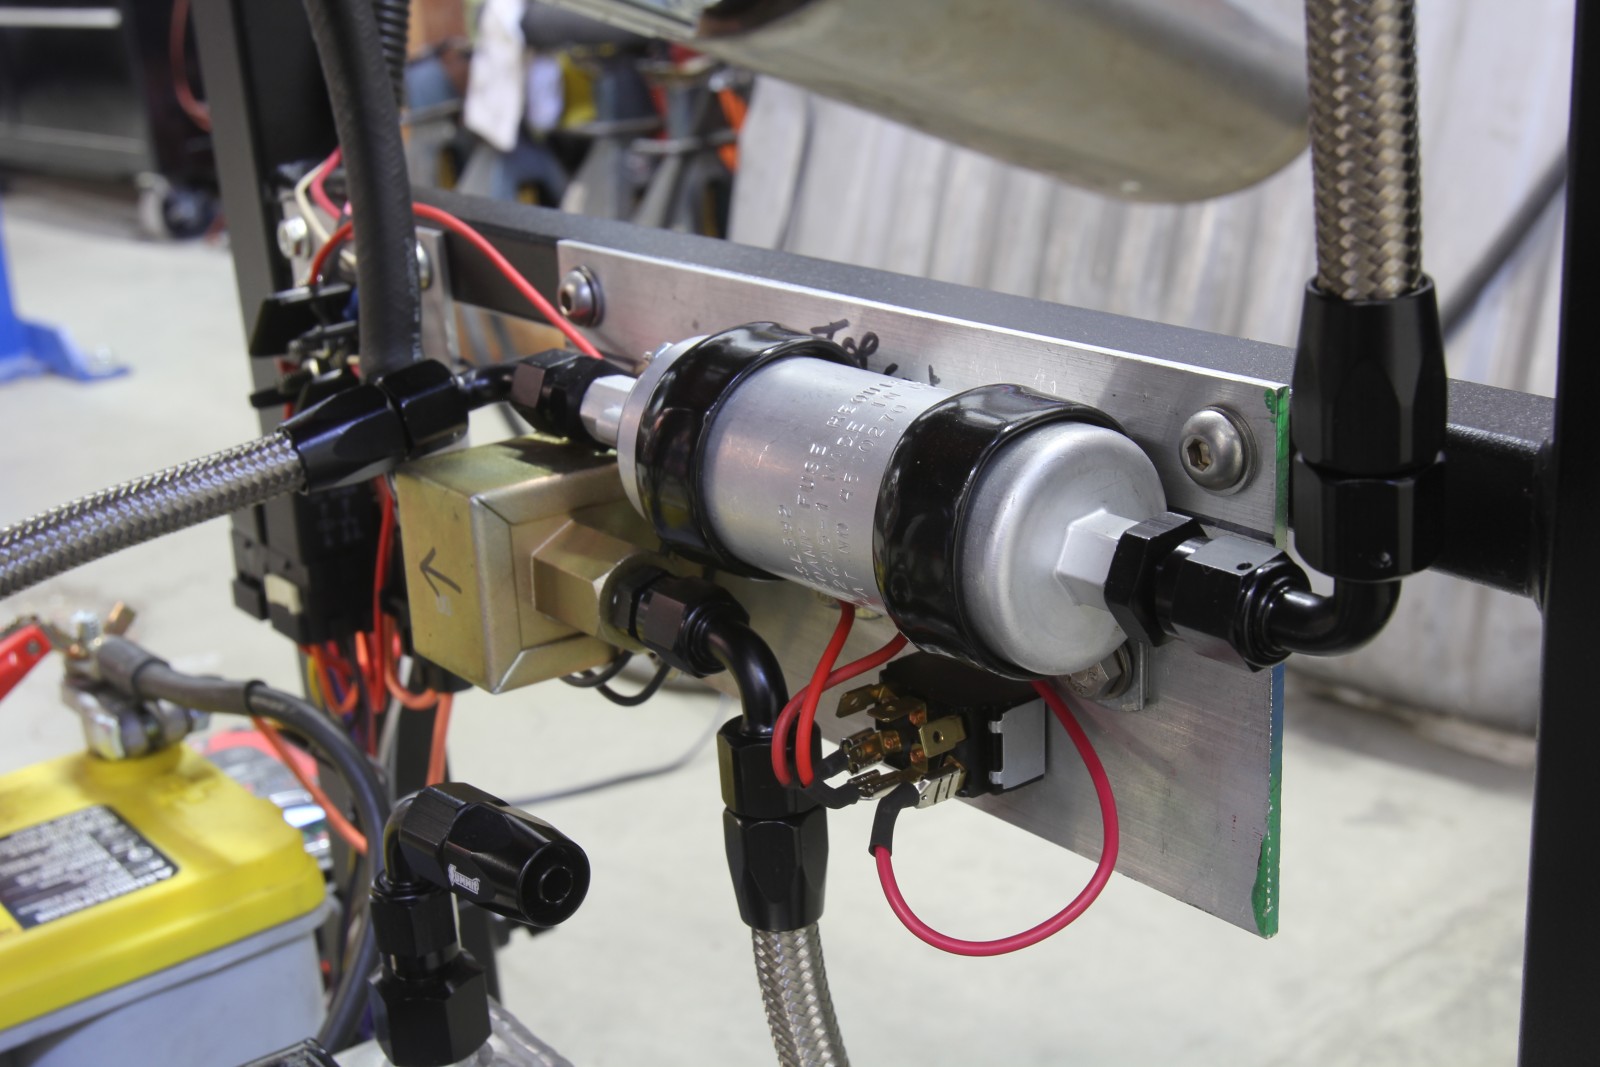
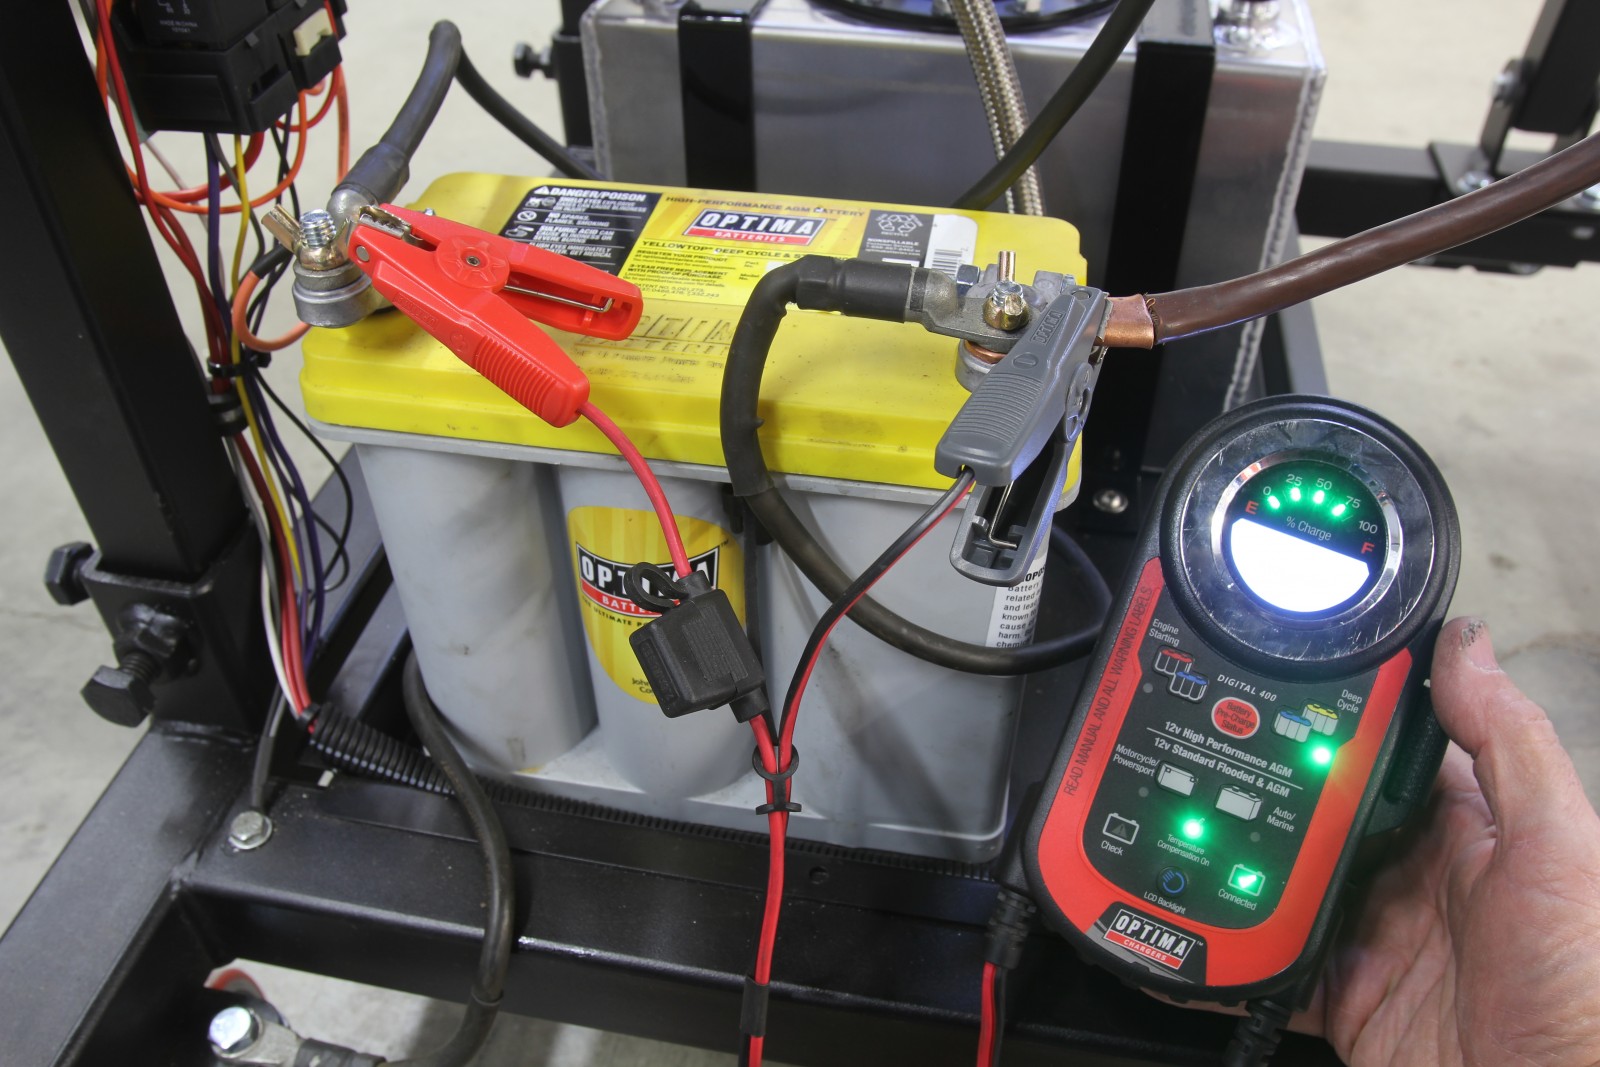
Sure, we could have just dropped a fuel line into a plastic gas can and called it good, but this stand is so nice, it needed a professional fuel system. We had a Walbro external fuel pump left over from a previous project, but to begin with, we needed a fuel reservoir. Summit Racing came through again with a cool 4-gallon aluminum fuel cell with two inlets, return, and vent connections. We used Summit AN adapters to pull these -8 connections down to -6 and then plumbed both the Walbro and the Professional Products lift pump for the carbureted side with stainless -6 hose and fittings.
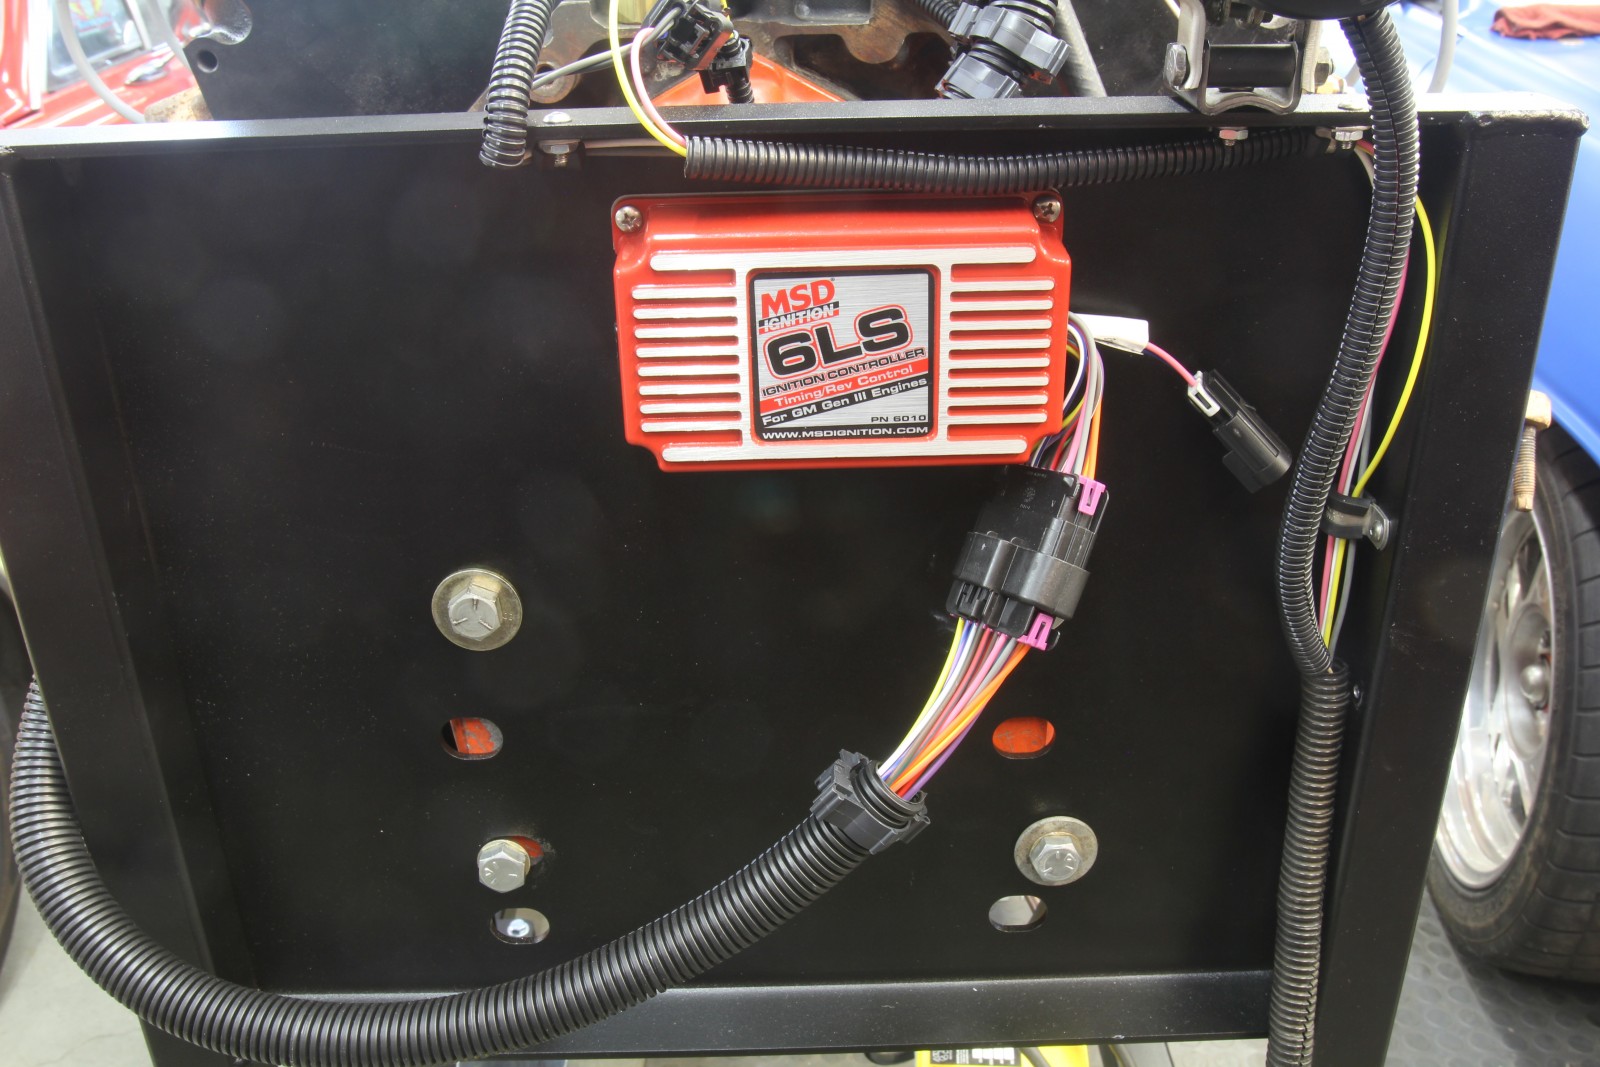
We realized we needed some kind of accessory drive so we added Holley’s slick LS engine accessory drive that allows us to run the truck balancer. This kit includes the power steering pump which we didn’t need so we’ll just loop the return hose back into the reservoir for this test.
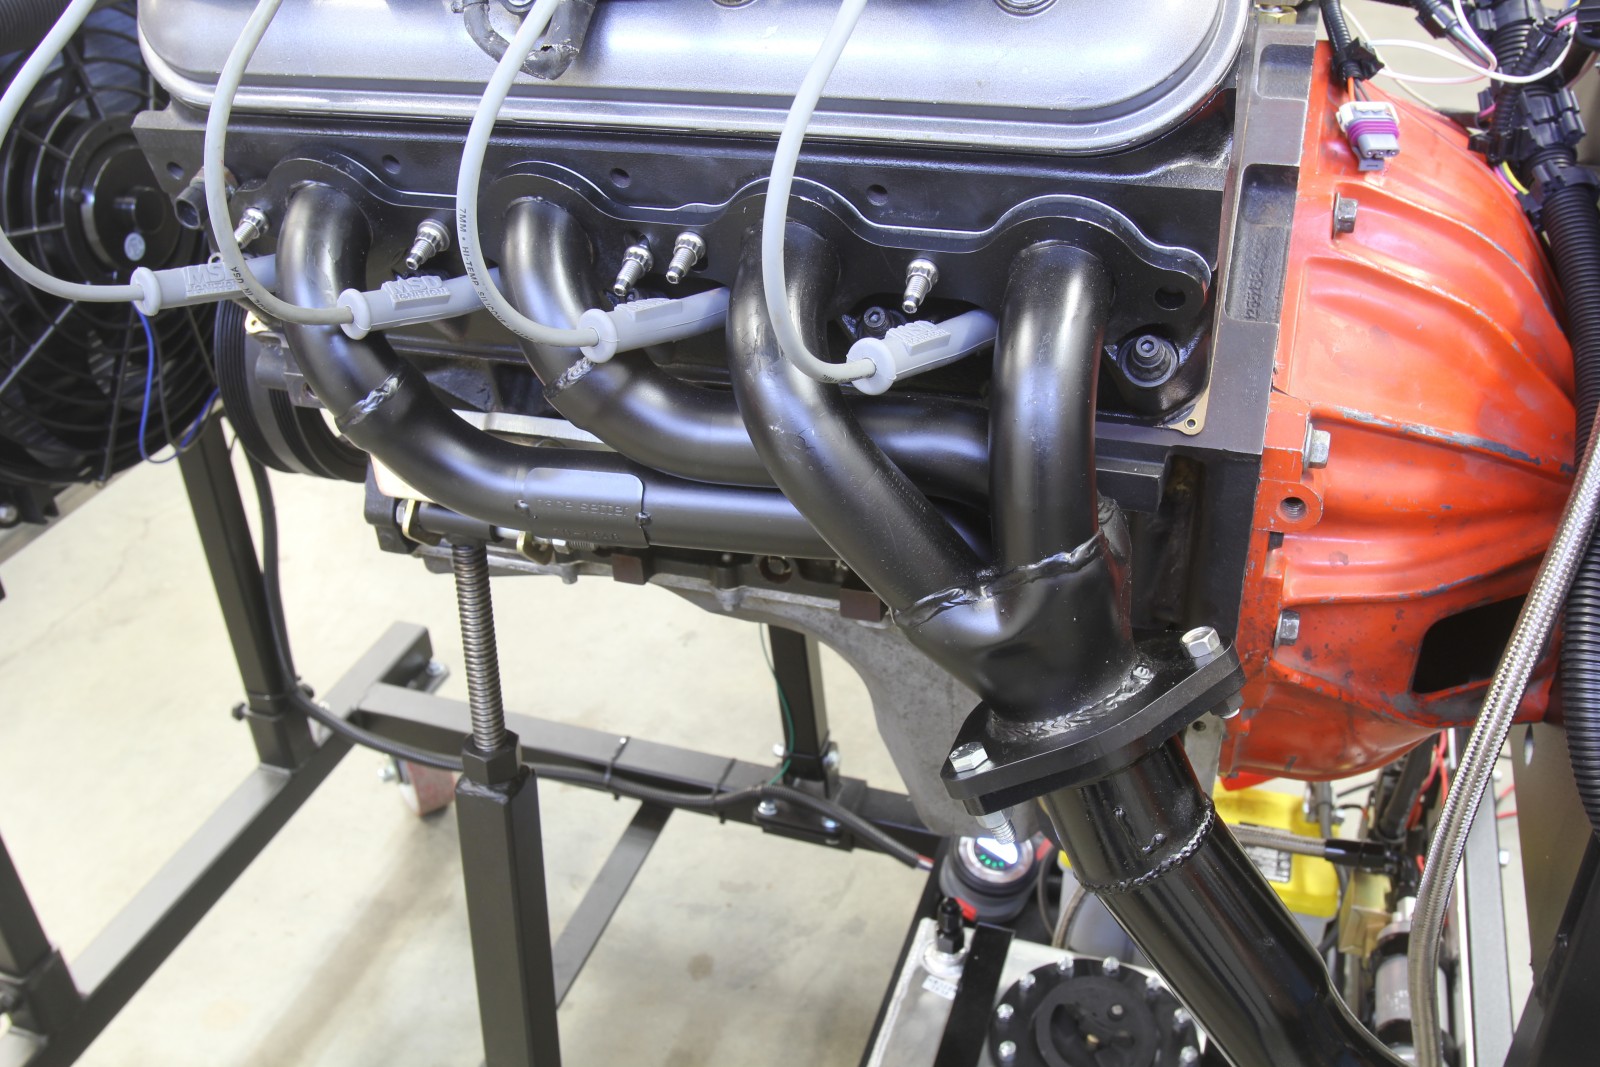
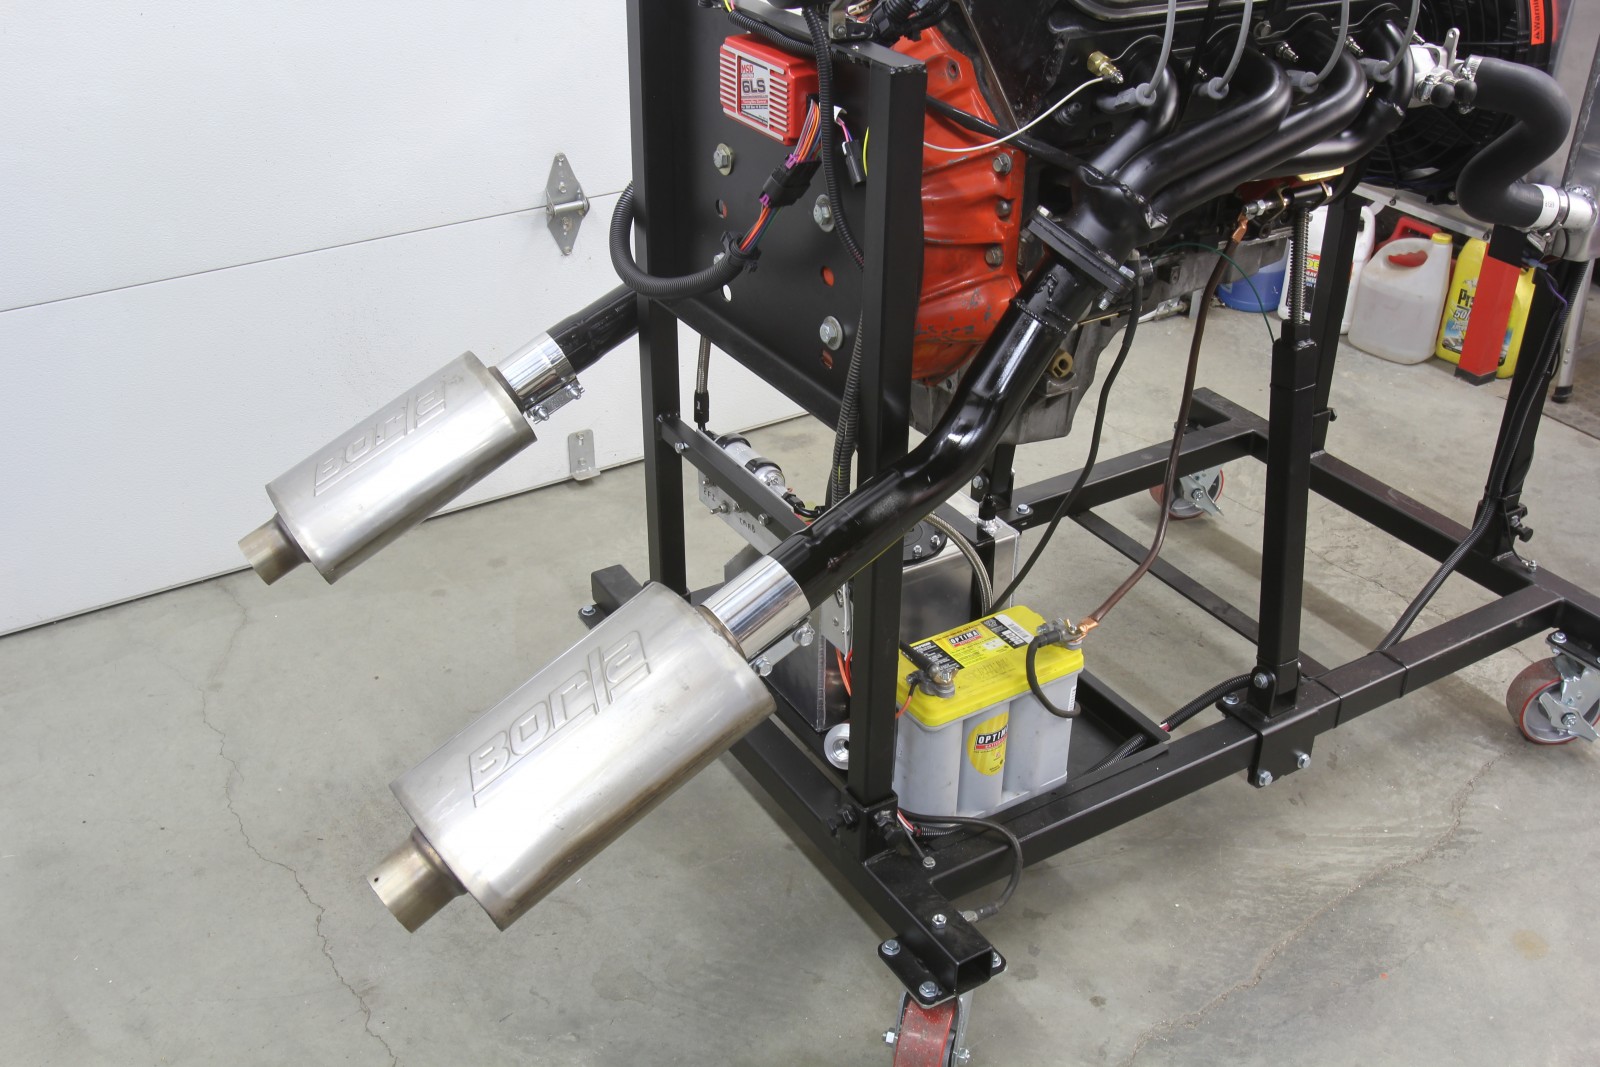
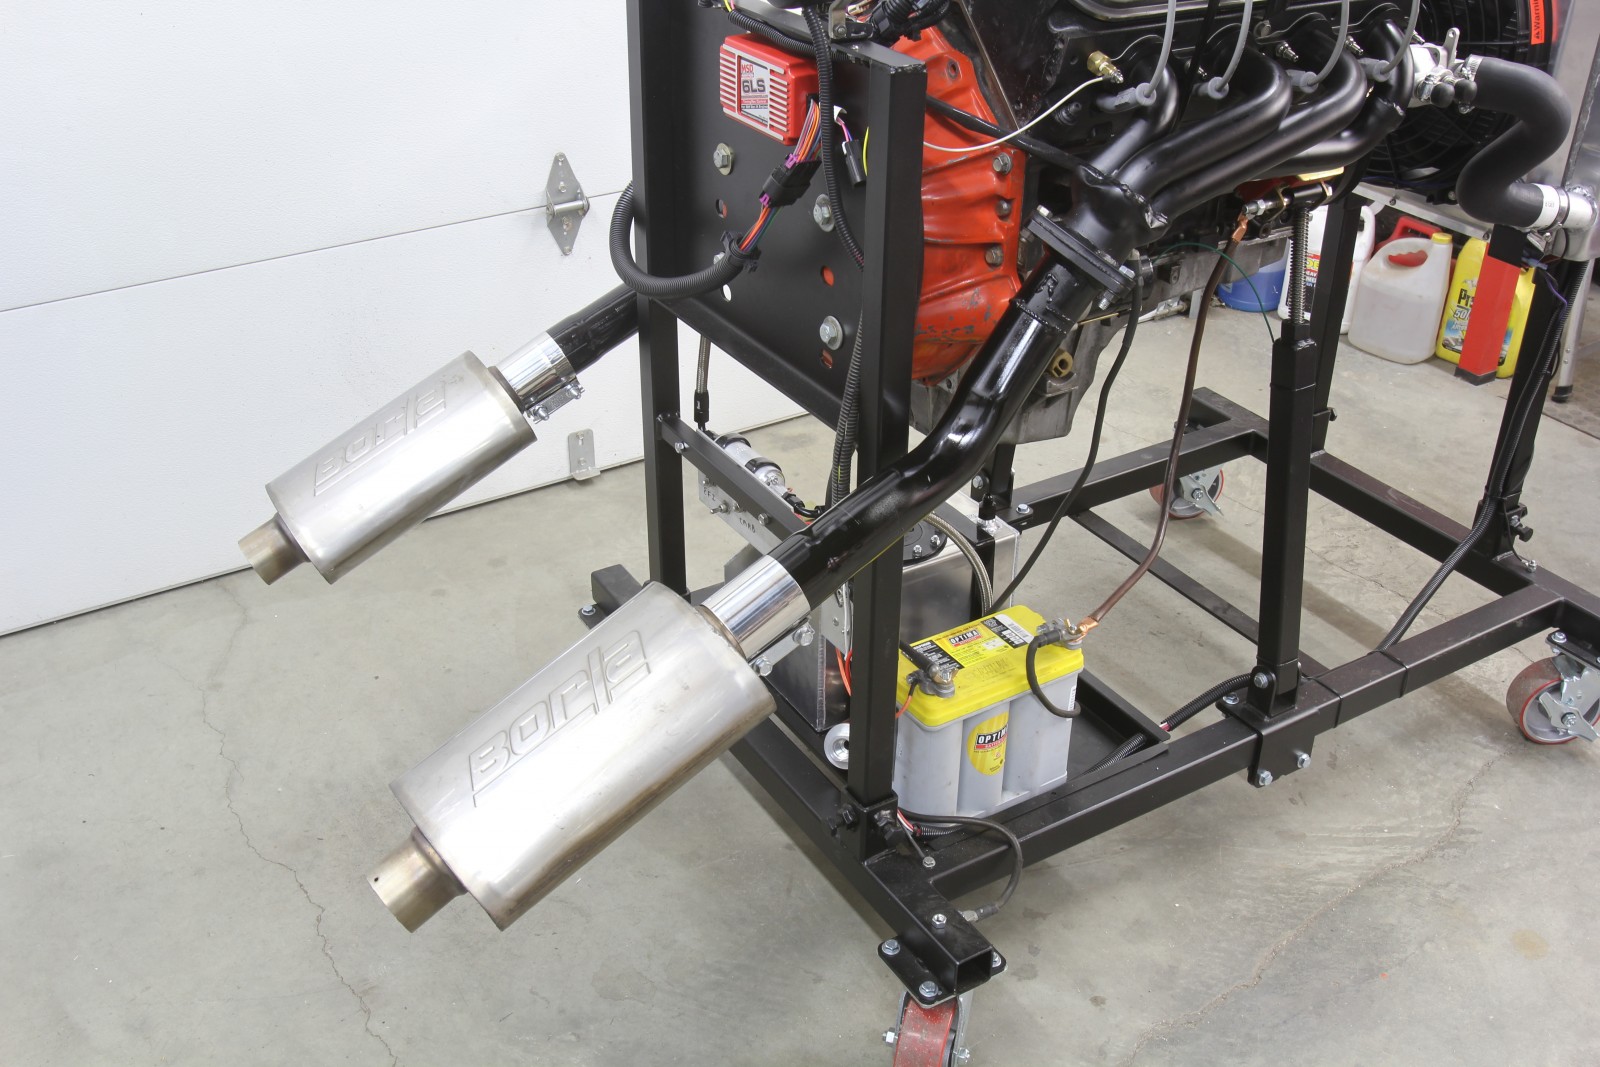
On the exhaust side, we discovered that all of our chassis headers interfered with the rear uprights to work, so we decided to add a set of Summit LS shorty headers for a 2007 Chevy pickup. We then had our pal Scott Gillman weld some lead-down pipes to a set of 2 ½-inch mandrel-bent tubing from Summit that lead to a pair of Borla mufflers that complete the exhaust system. Mufflers are a good idea because you want to be able to hear the engine in case it develops a noise.
After we had our system constructed, another friend, Bill Irwin, suggested a very cool idea. He reasoned we could easily plumb the exhaust into a single crossflow muffler that would sit nicely just behind the rear uprights. This would require only one muffler that could be permanently attached to the stand that would also reduce the overall length. It’s a great idea we might have to try.
After testing the fuel system for leaks and adding five quarts of 10w30 engine oil and also added a bottle of Royal Purple Purple Ice for anti-corrosion protection and then hit the throttle to prime the engine. It fired on the first revolution and after a minor carb adjustment the 6.0L quickly settled into a nice idle since the cam in our 6.0L is still stock. With no leaks, we ran the engine until the coolant came up to temperature. We now know our 6.0L is good to go on the dyno at Westech for a big series of upcoming tests. Overall, the biggest job was wiring all the electrical and welding up the exhaust, but even those were simple and now we’ve got the best engine test stand in the neighborhood!


Safety should always be a concern. It is far safer to locate the fuel cell and the battery under the radiator. In their current position a catastrophic engine failure could result in a huge fire. I like the cross flow muffler and by using the above relocation suggestion and block hugger headers the muffler can be located below the engine. Add a heat shield between the muffler and the operator as well as a kill switch at the relocated battery for additional safety.
Where is the take my money button?
A kit price would be nice instead of looking it all up. I know there are a lot of options but a basic and loaded kit would be nice.
I see that you have used my idea and moved the tray to the front of the stand on the latest version.
I’m maze fromsouth Africa love to build me a engine test stand any help how to build one I have a 20 Ford sapphire engines pdf on how yo make one thanks be blessed maze
Hi, is there a complete kit instead of individual parts thanks
Is there a complete kit? Price and availability.
Hello David, you can click here to see the current price of just the test run stand. You supply the radiator, gauges, fuel cell, and other items discussed in thee article.
How much is the dino tester
Hello, click here to see pricing on the engine test run stand.
How about a basic wiring diagram to start and run the engine would be nice (with on/off switch and pushbutton starting switch). Also, would like to complete the test stand with a charging system monitored by an amp meter, how about some information on that? This would be for a sbc gen 1 engine to start with, then can be modified to accept other version of engines.