If you’re driving an older vehicle with sealed-beam headlamps you’ve probably noticed how much brighter modern headlights have become. Don’t despair; there is a simple headlight mod that can make your headlights work better.
Here’s the issue: the traditional way manufacturers run power to the headlights is from the battery, up to the dashboard, through the headlight switch, back down the factory wiring harness, and eventually to the headlights. It’s like having a layover in Atlanta on a flight from Chicago to New York.
That proverbial path of most resistance creates parasitic electrical loss, resulting in dim headlights. The solution is to run a separate power line outside of the stock wiring harness that links the battery directly to your headlights. Then you install relays (which will be controlled by your stock headlight switch) into those new power wires. Your headlights and high beams will both work like normal, they’ll just be significantly brighter.
You can do a project like this in an hour or two without spending a ton of money—no electrical engineering degree required. Even better news is that there are kits out there with everything you need to eliminate any component-matching guesswork.
Though you can build a harness yourself, we used a universal relay harness kit from United Pacific to upgrade our 1980 Jeep CJ-5. The kit uses factory-style connectors to make the new harness virtually plug-and-play. In the name of brevity, we’ve skipped the mechanical disassembly/reassembly, along with the wire routing walkthroughs, as all vehicles are different. We used this universal harness without modification because there was ample wire length for our little Jeep CJ. Your vehicle may require lengthening areas of the harness.
As with any electrical project like this, make sure to disconnect the negative side of your battery before you begin. You’ll also want to lubricate each connector with a quality dielectric grease to fight corrosion, and seal connections and terminals with insulated electrical tape and/or heat shrink tubing. A supply of zip-ties is handy to secure and tidy up the extra wiring.
We’ll start from the headlights and work backwards. Unplug both headlights and plug the female connectors from the new kit onto the back of each 6014-style headlamp. The kit’s headlight connectors use a small ring lug that secures to the vehicle body to provide the negative ground. If your stock lights didn’t have a similar setup, you may have to drill and install a self-tapping screw to make the connection. It’s a good idea to sand/file away any surface rust and paint from the connection point on the vehicle body to ensure a solid contact with the electrical ground.
Plug the male terminal from the kit into one of the female bulb connectors from the stock wiring harness. This allows the new harness to retain the function of the headlight switch in the dash. The original harness connector for the other headlamp goes unused. Tape it up and zip-tie it safely out of the way.
Next are the relays, one for the high beams and the other for the low. They act as “gatekeepers” for the power coming directly from the battery. Mount them in a dry location; a vertical orientation allows water to drip harmlessly off the housings. If possible, try to put them in a relatively accessible location, in case you need to replace one in the future. Our kit included a handy angle bracket, so we were able to put the relays right between the grille housing and our winch solenoid box.
We made one very important modification to the kit by adding a pair of fuses between the battery and the relays. This prevents your wiring harness from melting to goo in case of an overload. We cut the battery feed wire and spliced-in a Summit Racing fuse block, which we then bolted to the inner fender.
Our fuse block has four taps, which means we have two extra in case we want to add other electrical accessories later. Since it’s a Jeep, we opted for a block with a watertight lid. You can use crimp-on spade terminals, but we soldered our wires directly to the fuse taps to ensure excellent electrical continuity. Heat shrink tubing was fitted around the connectors to keep moisture out.
We chose 10 amp fuses for our Jeep, but your vehicle’s headlamps might require a different current rating. There are ways to test, but you could probably find your ride’s specific value with a little Internet-sleuthing.
From the fuse block, attach the other end of the power leads to the positive terminal on the battery. Our kit’s power wires have ring terminals already installed, which is a nice touch. We cheated a bit and ran our power cables to the starter solenoid, which was fed by a short, stout 4-gauge positive cable running right off the battery.
From here, simply button everything up, reattach the negative battery cable and test out your lights. The headlight switch in your dash should work as normal—and your headlights will be better than new.
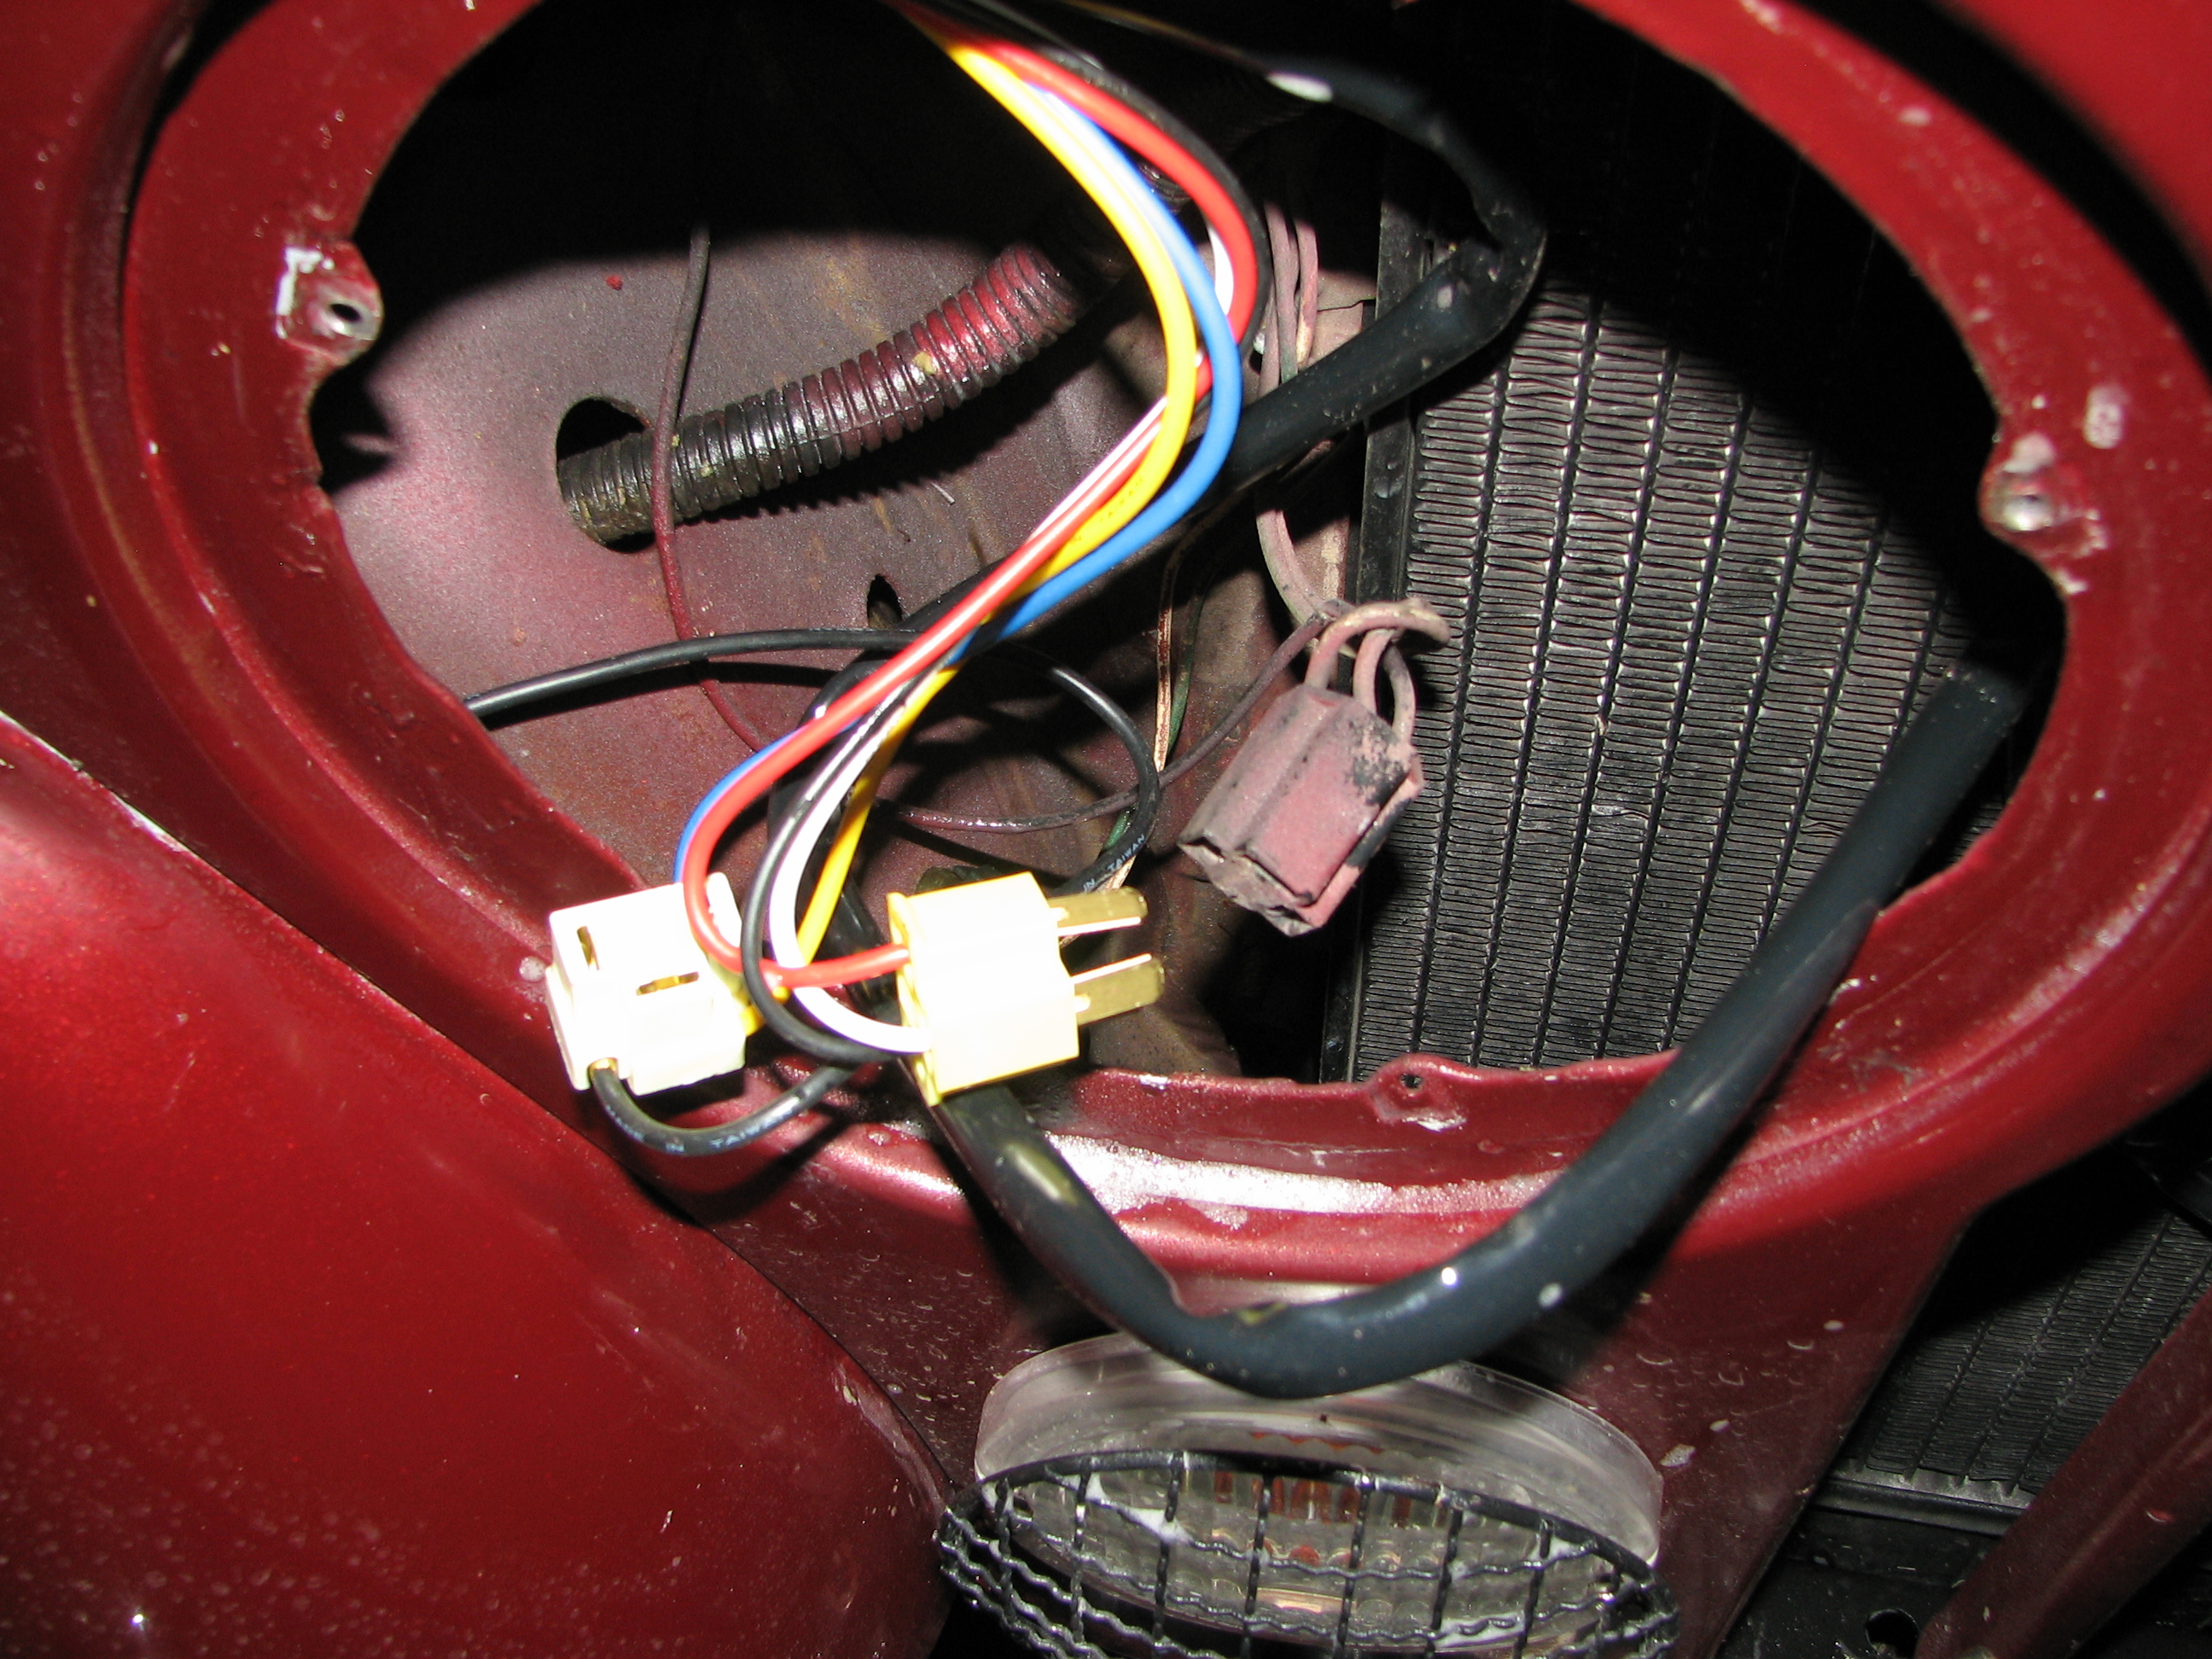
Here are the harness ends inside the headlight area. The male plug from the new harness goes into the female plug of the original wiring. The female plug on the new harness goes into the headlight. On the other light, you just plug the headlamp into the new harness’ other female connector. The extra original connector is unused.
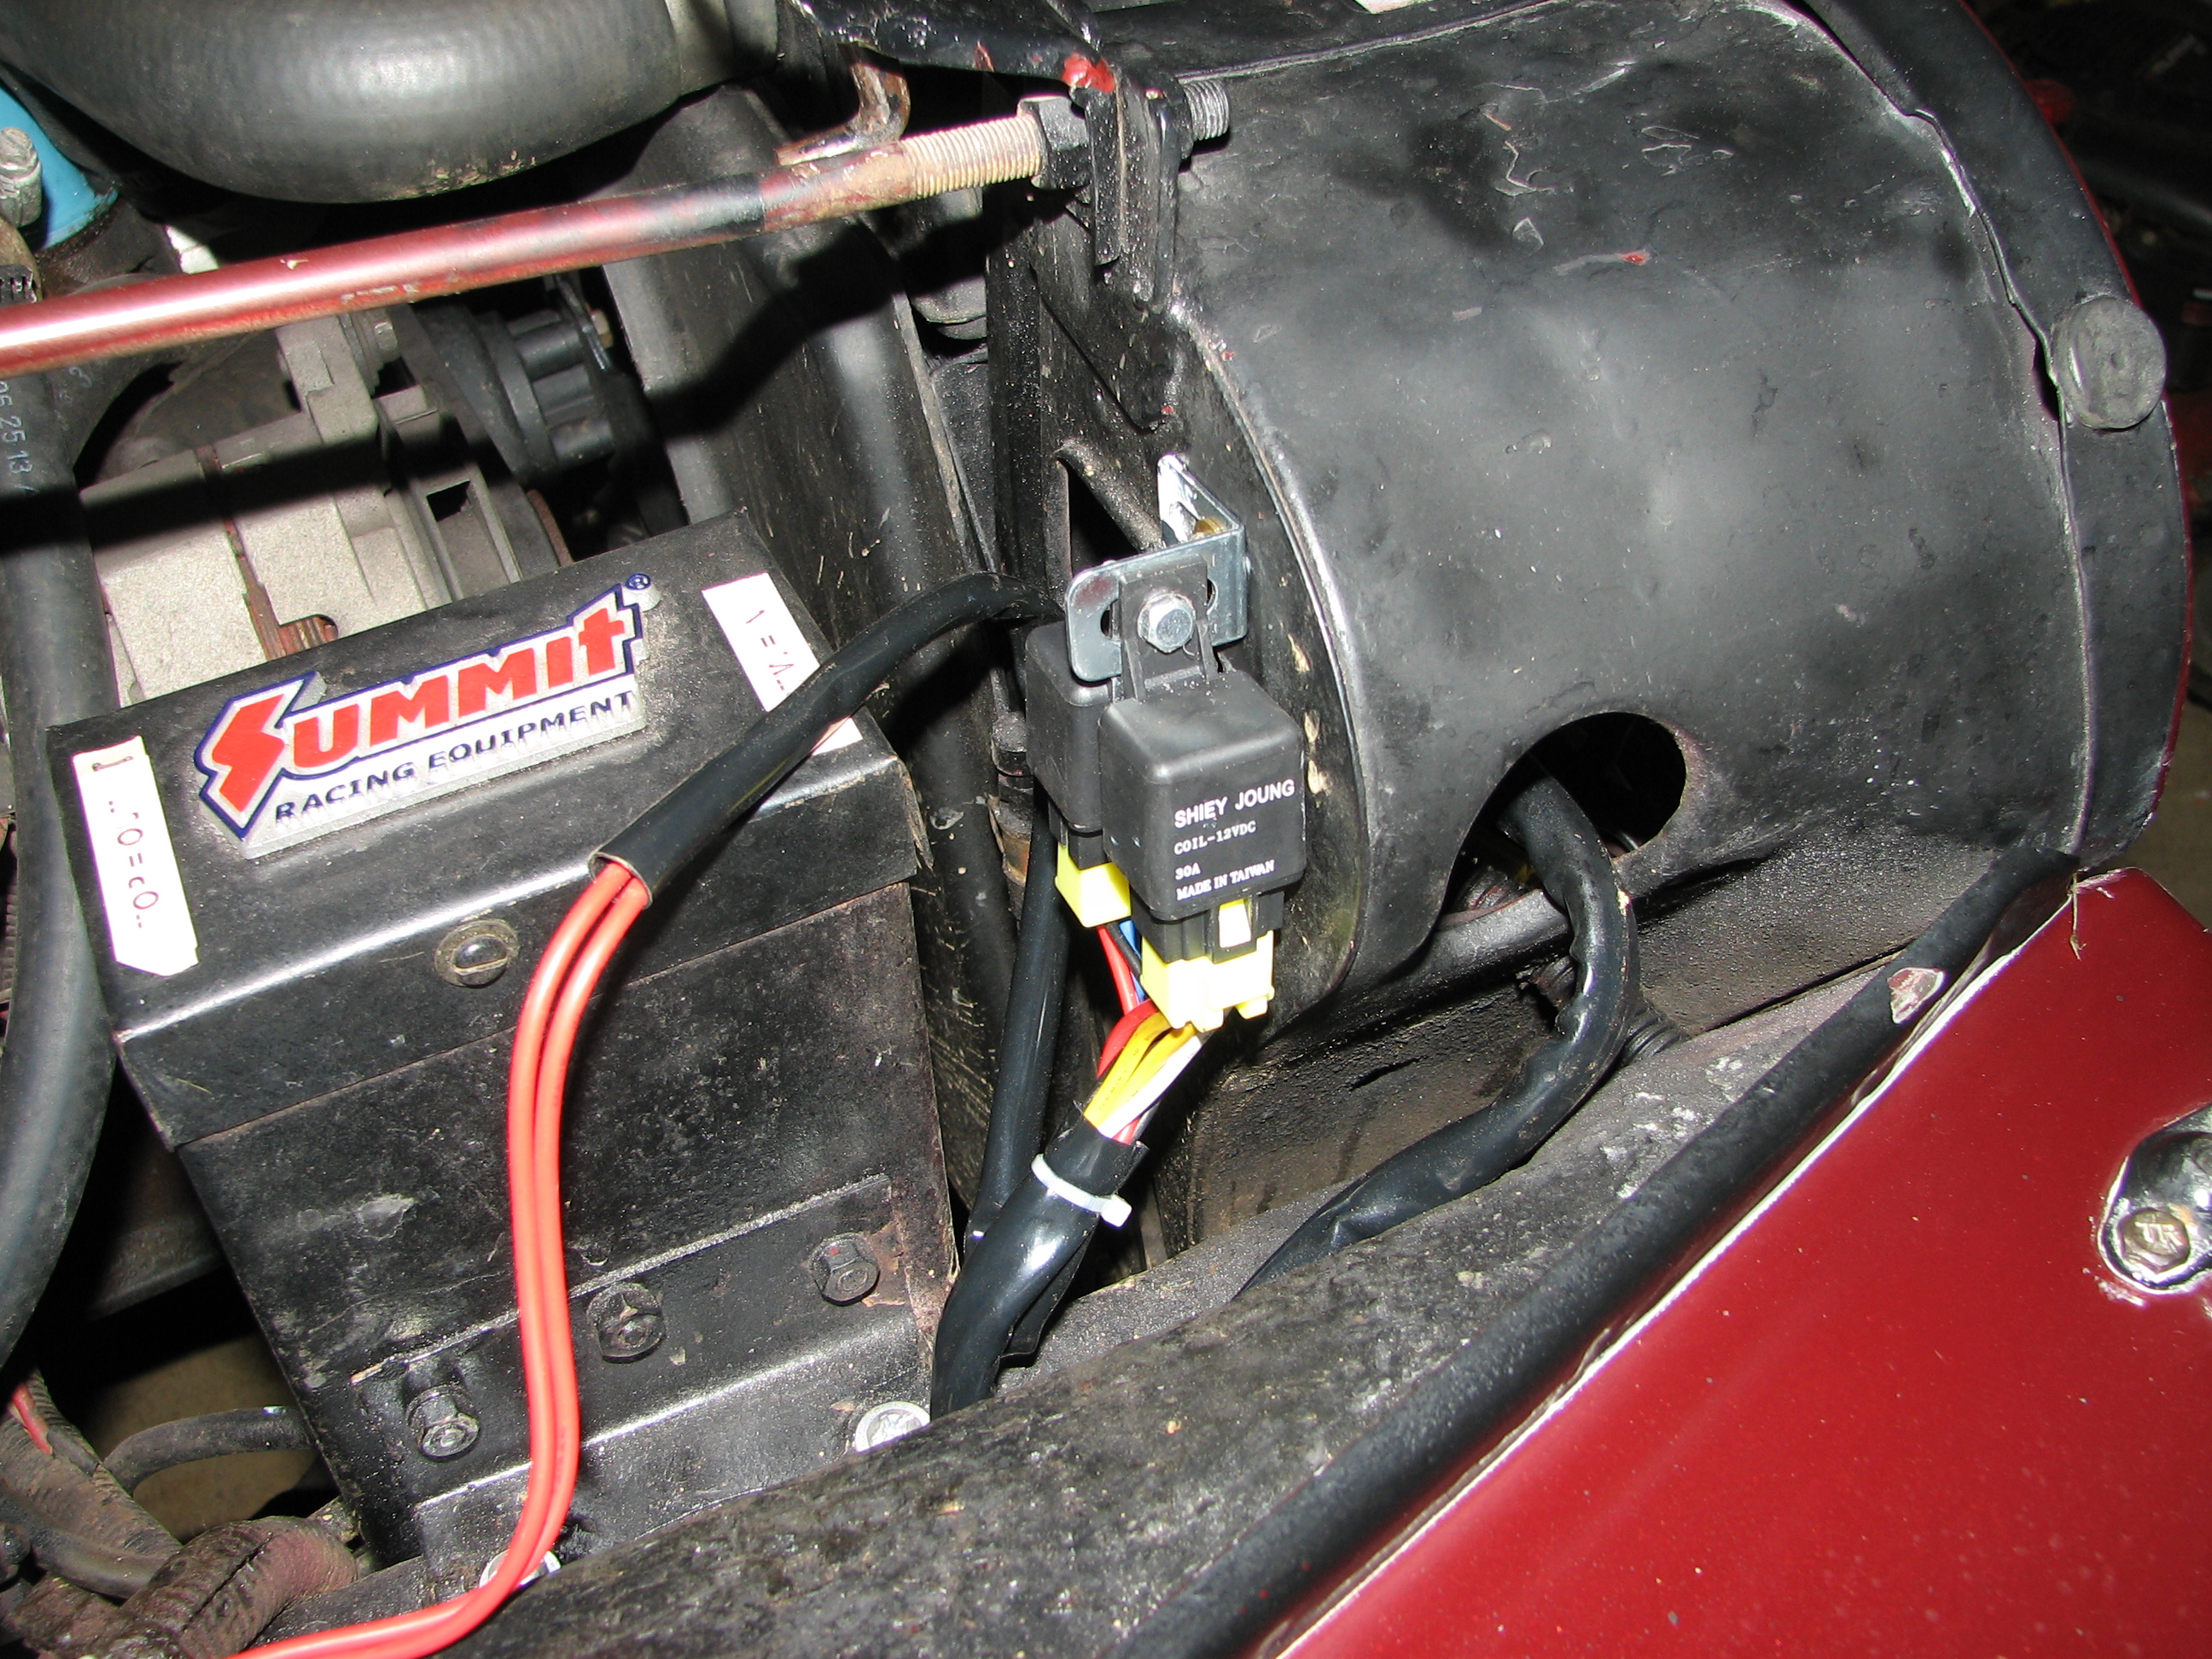
This is where we mounted our relays. We oriented them vertically and placed them out of the way of water. They’re also easy to reach, in case we need to service them in the future.
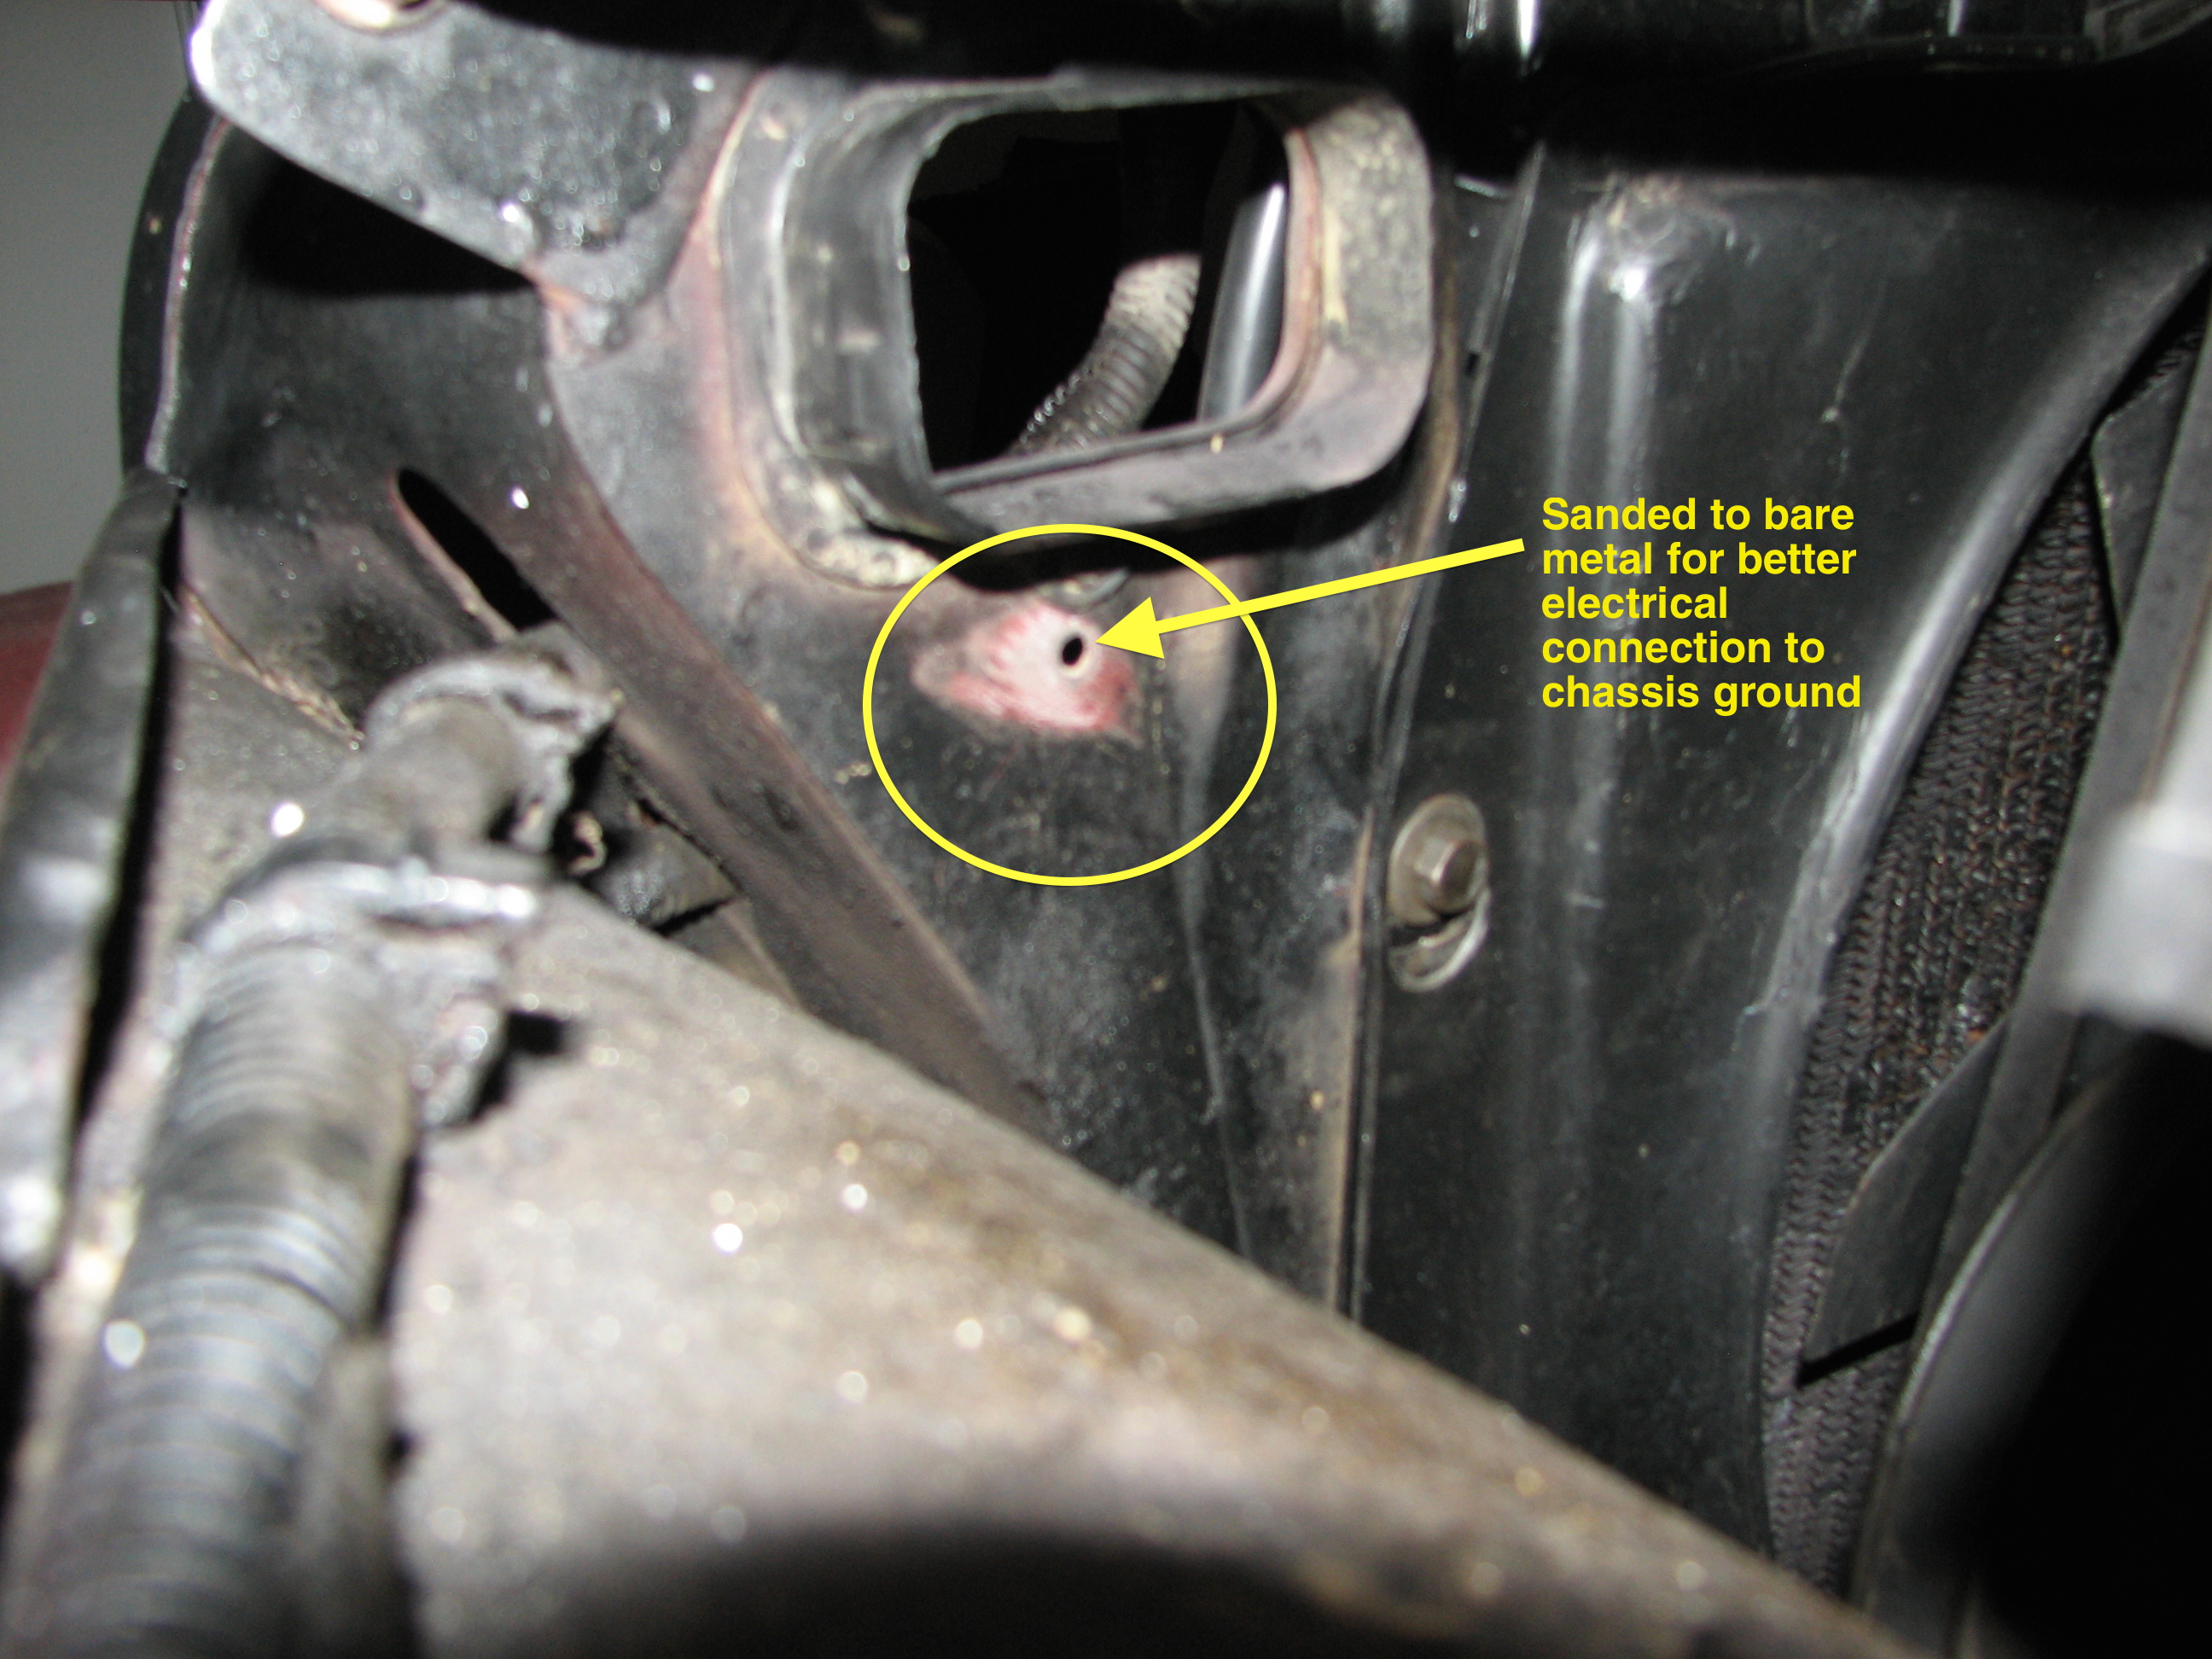
Our headlights grounded to the Jeep body using standard ring terminals and screws. Make sure to clear away excess surface rust and paint from the bare metal to ensure a solid connection to ground.

Here’s our fuse block. There is an ongoing argument on whether it’s better to solder or crimp these types of connections. We chose to solder because we could feed the wire through a small hole on the tab for a supplemental mechanical connection.
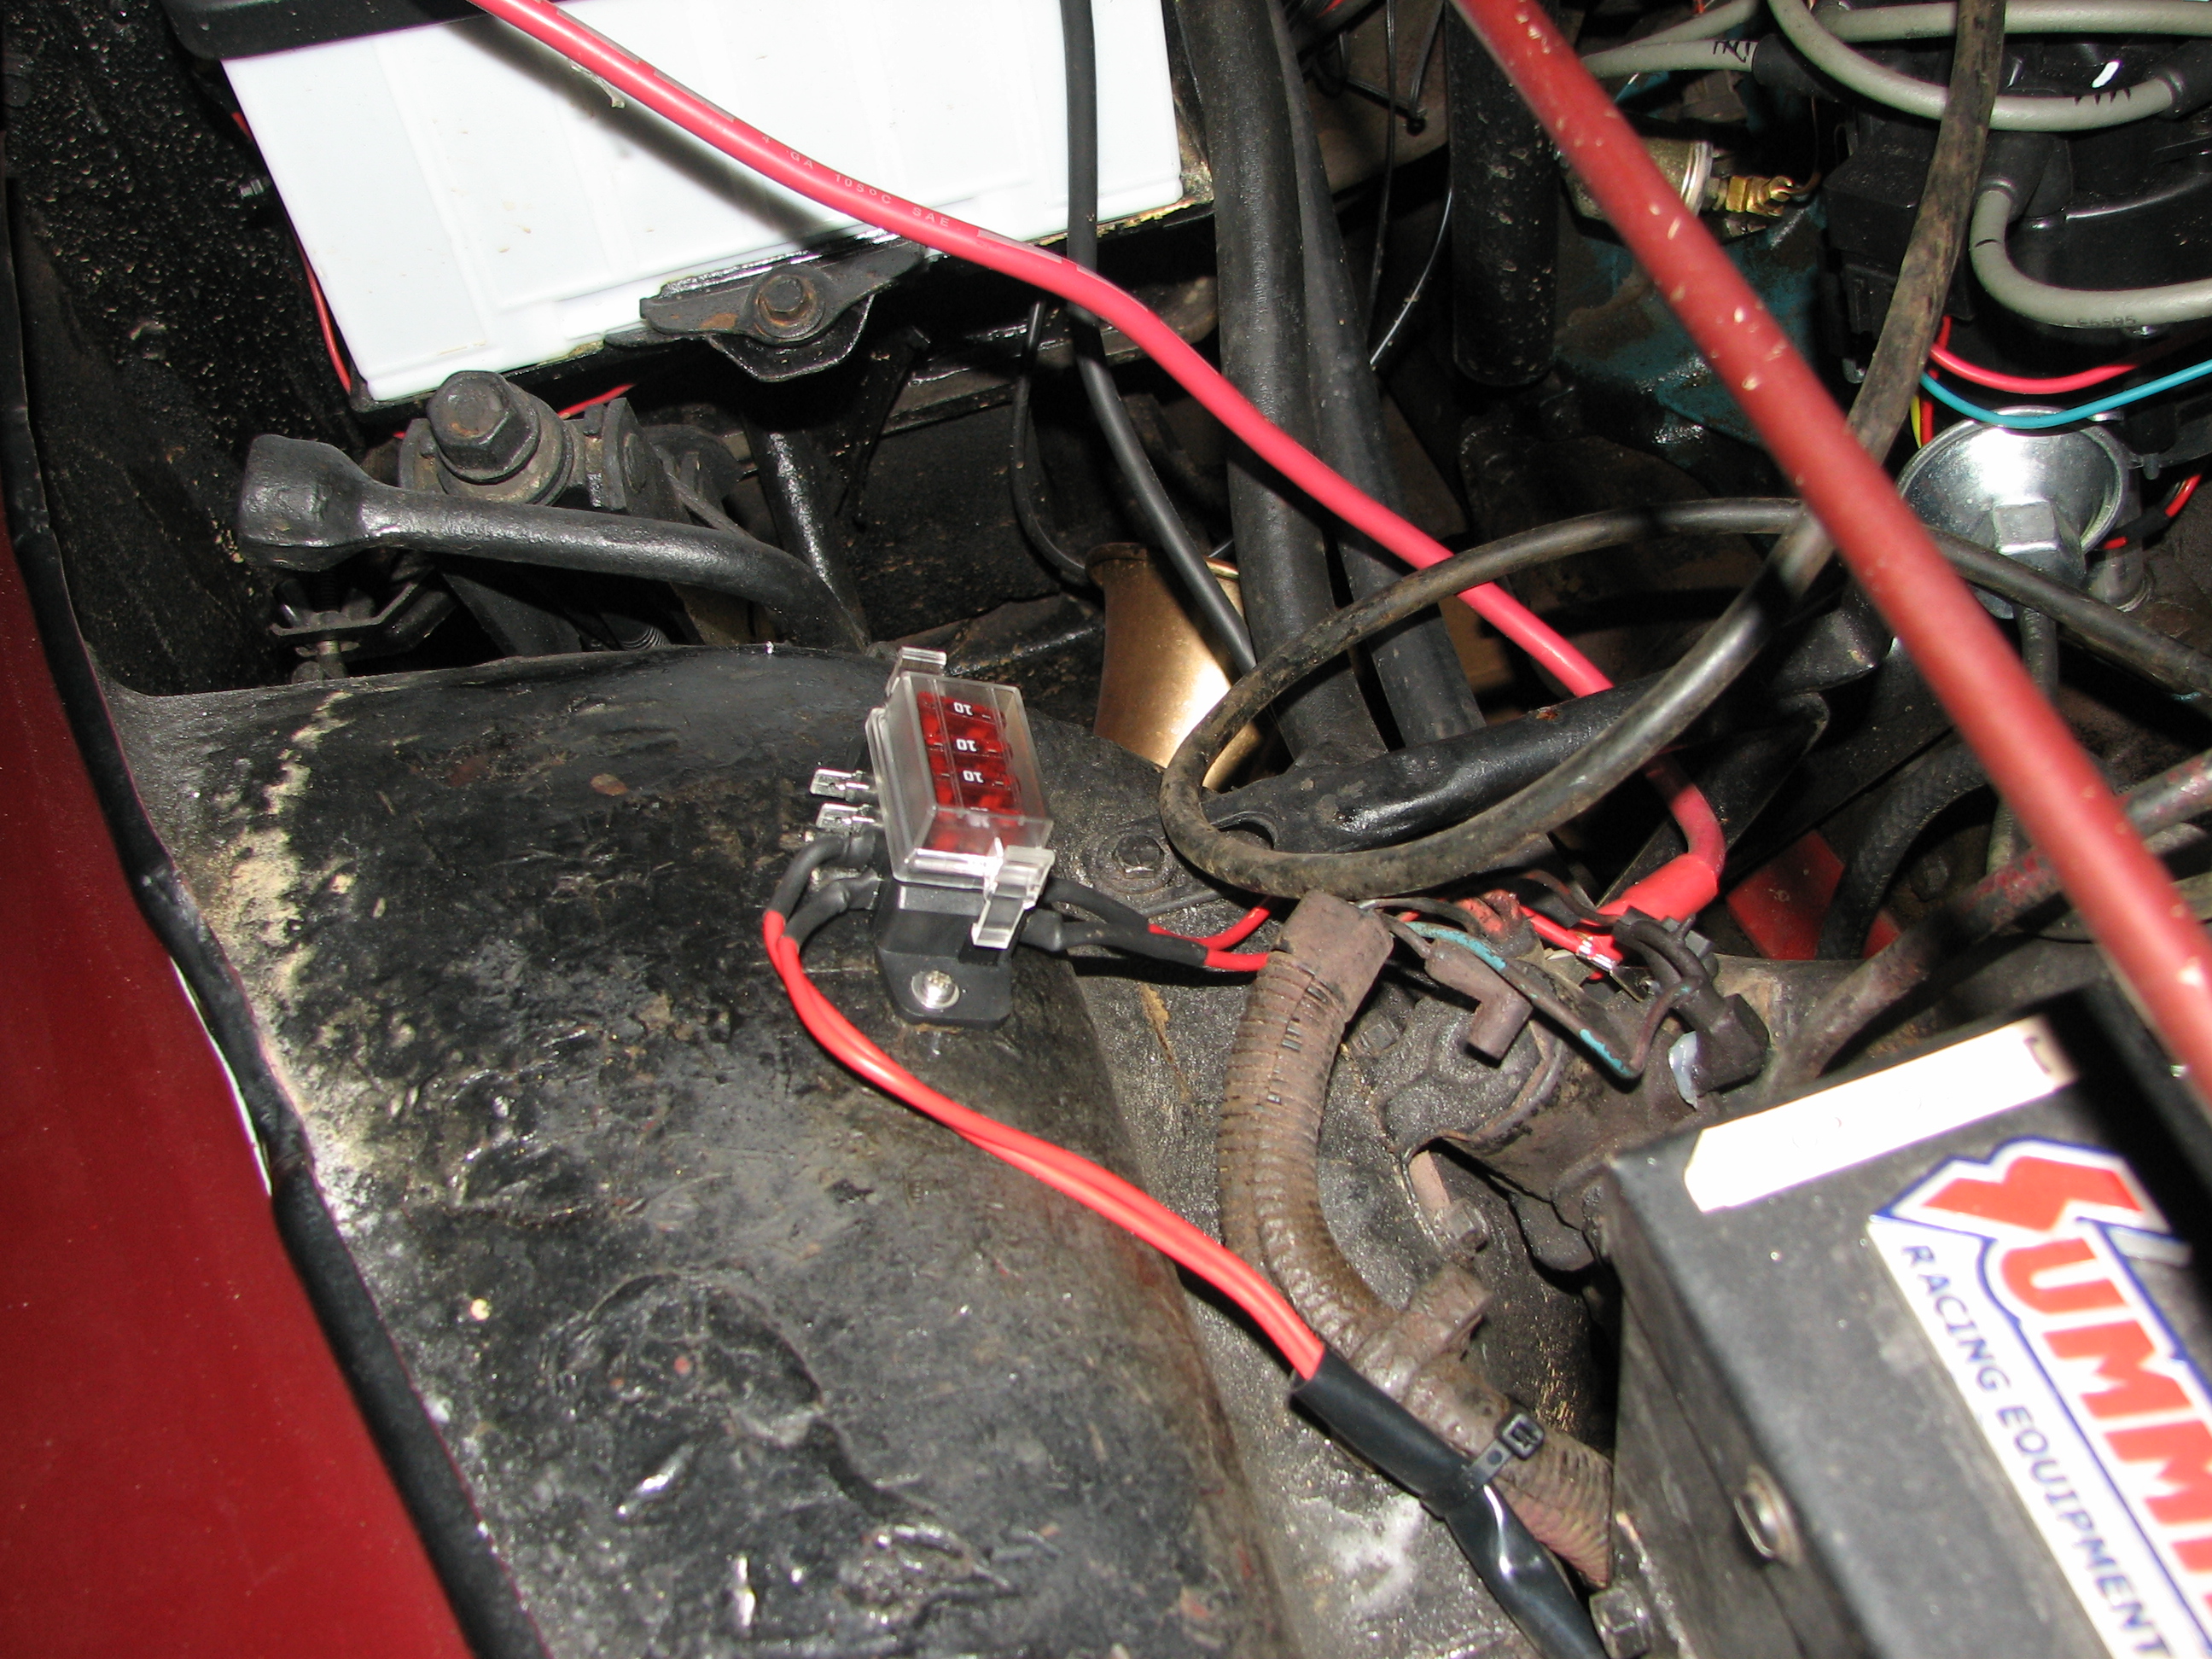
The fuse block installed. Note the waterproof cap and heat-shrink tubing to insulate the connections. This was a four-circuit block, so we used the extra slots to store backup fuses.
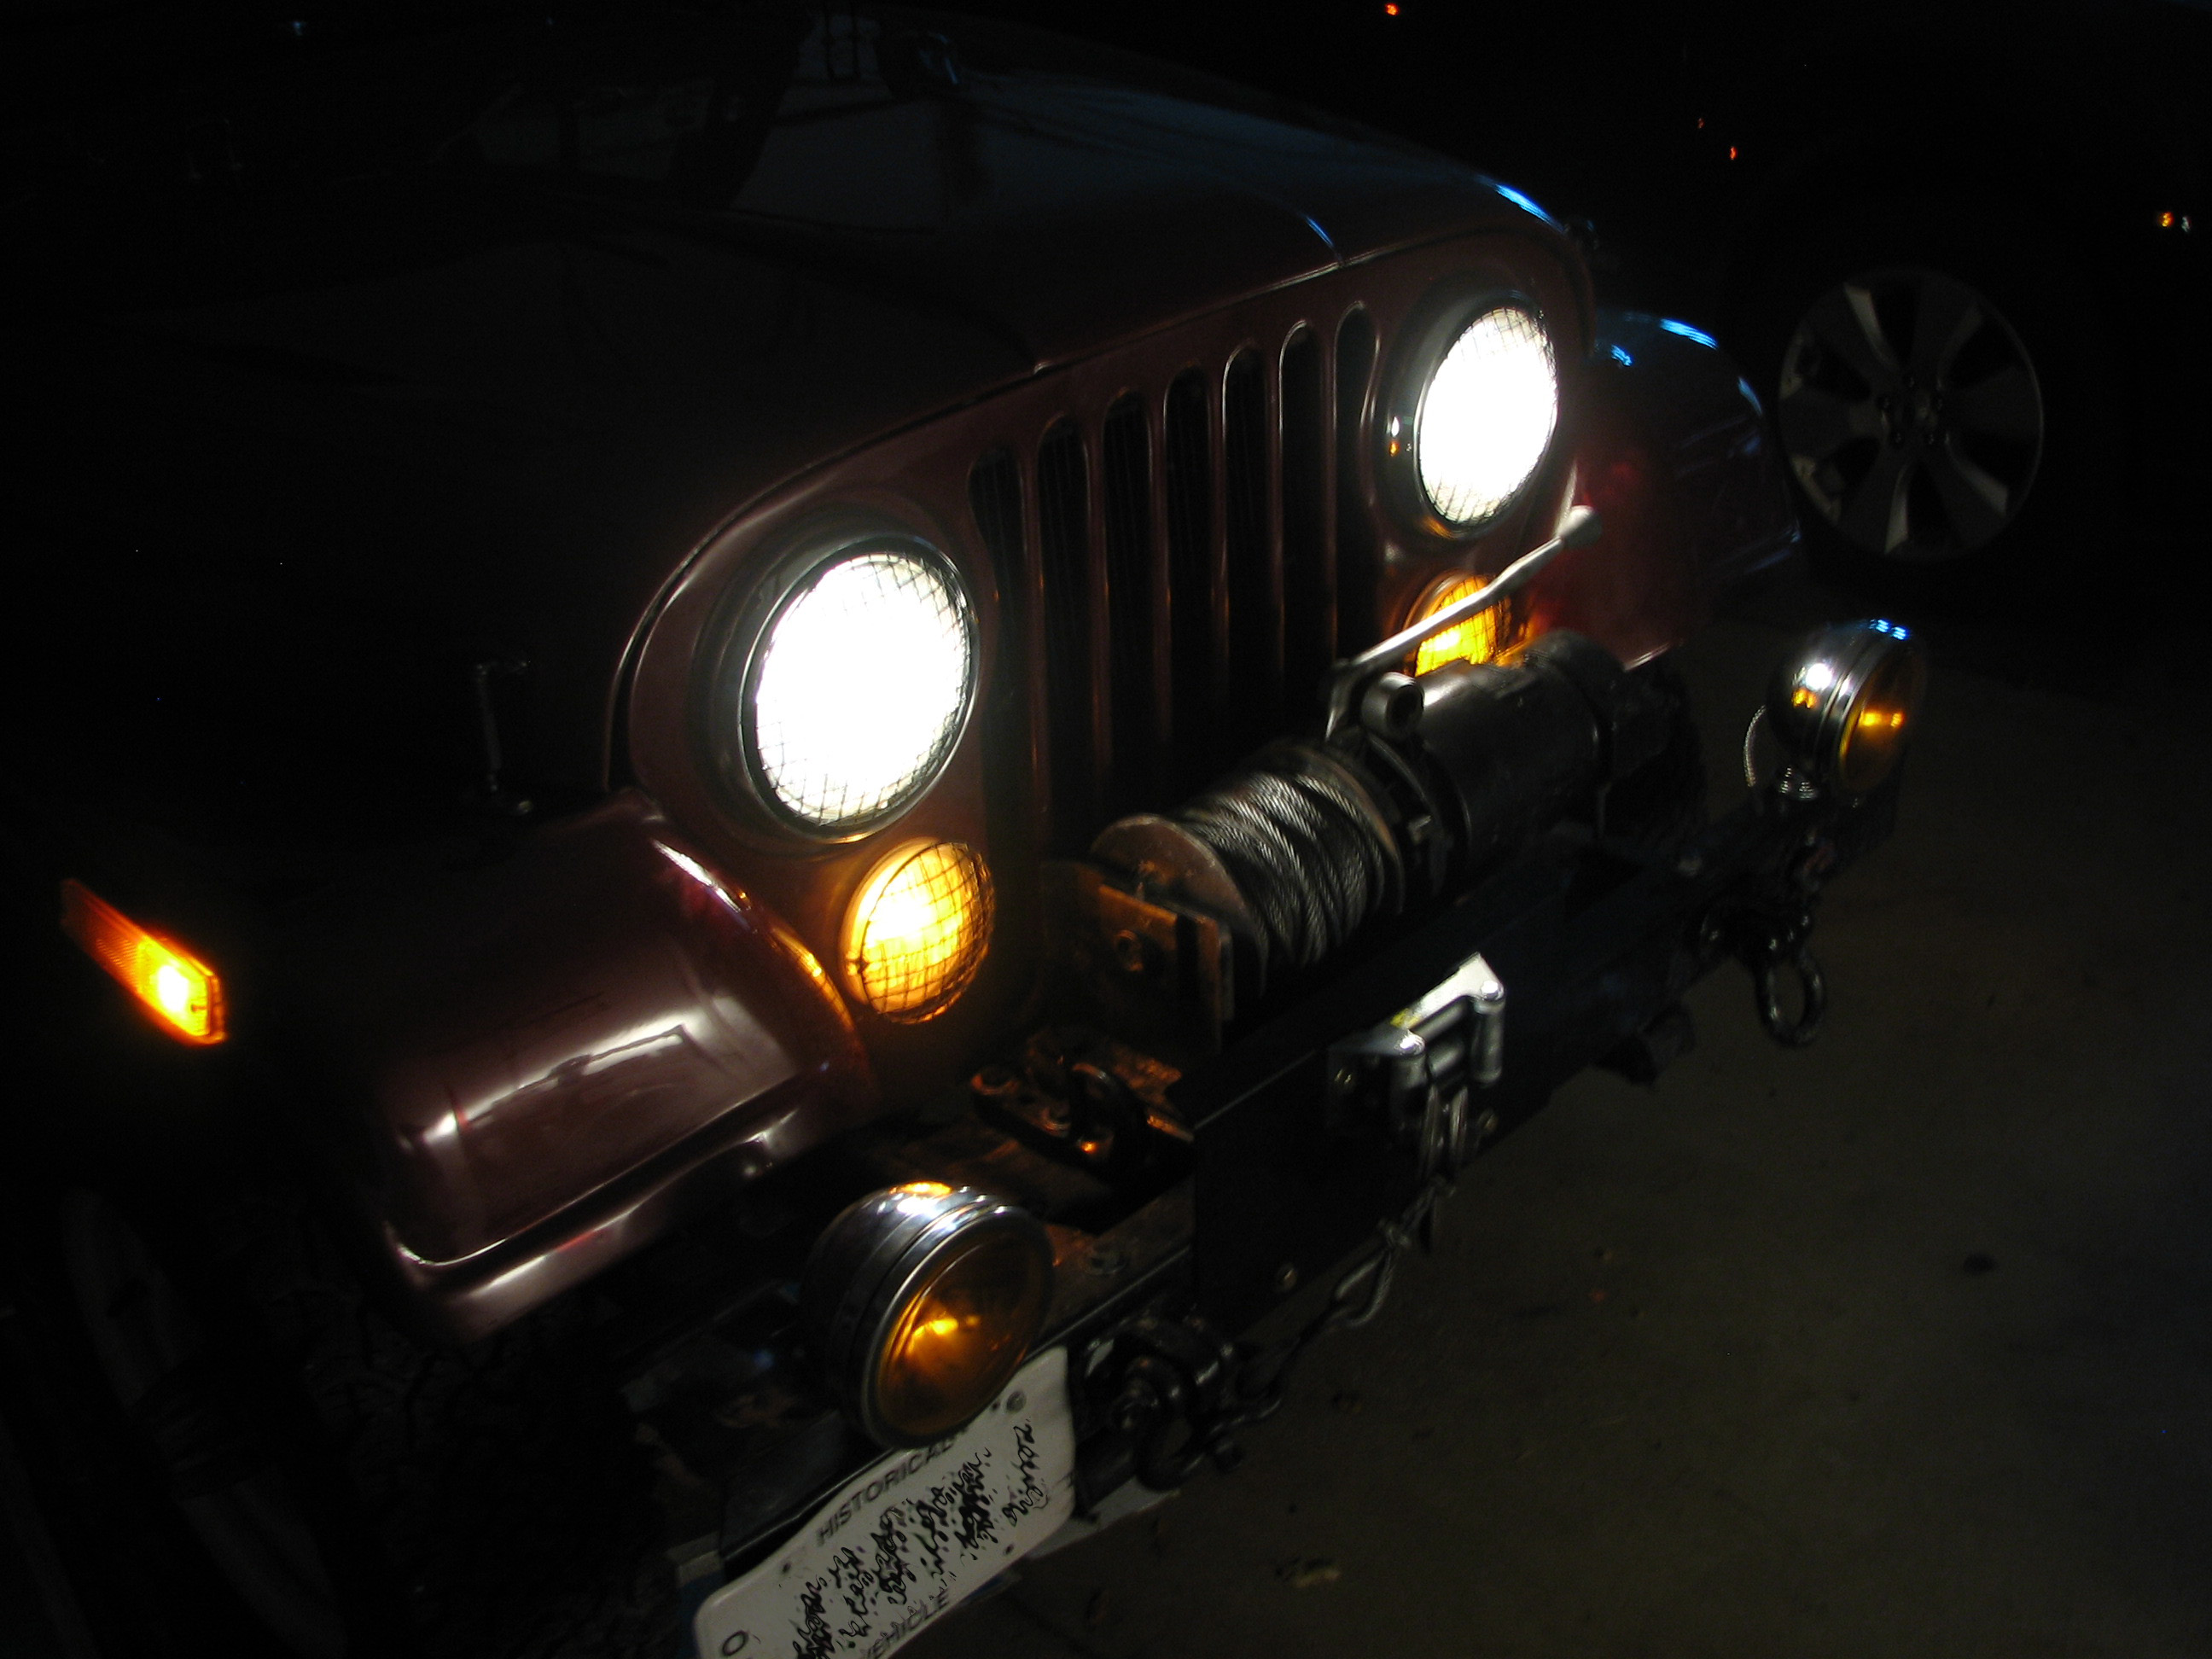
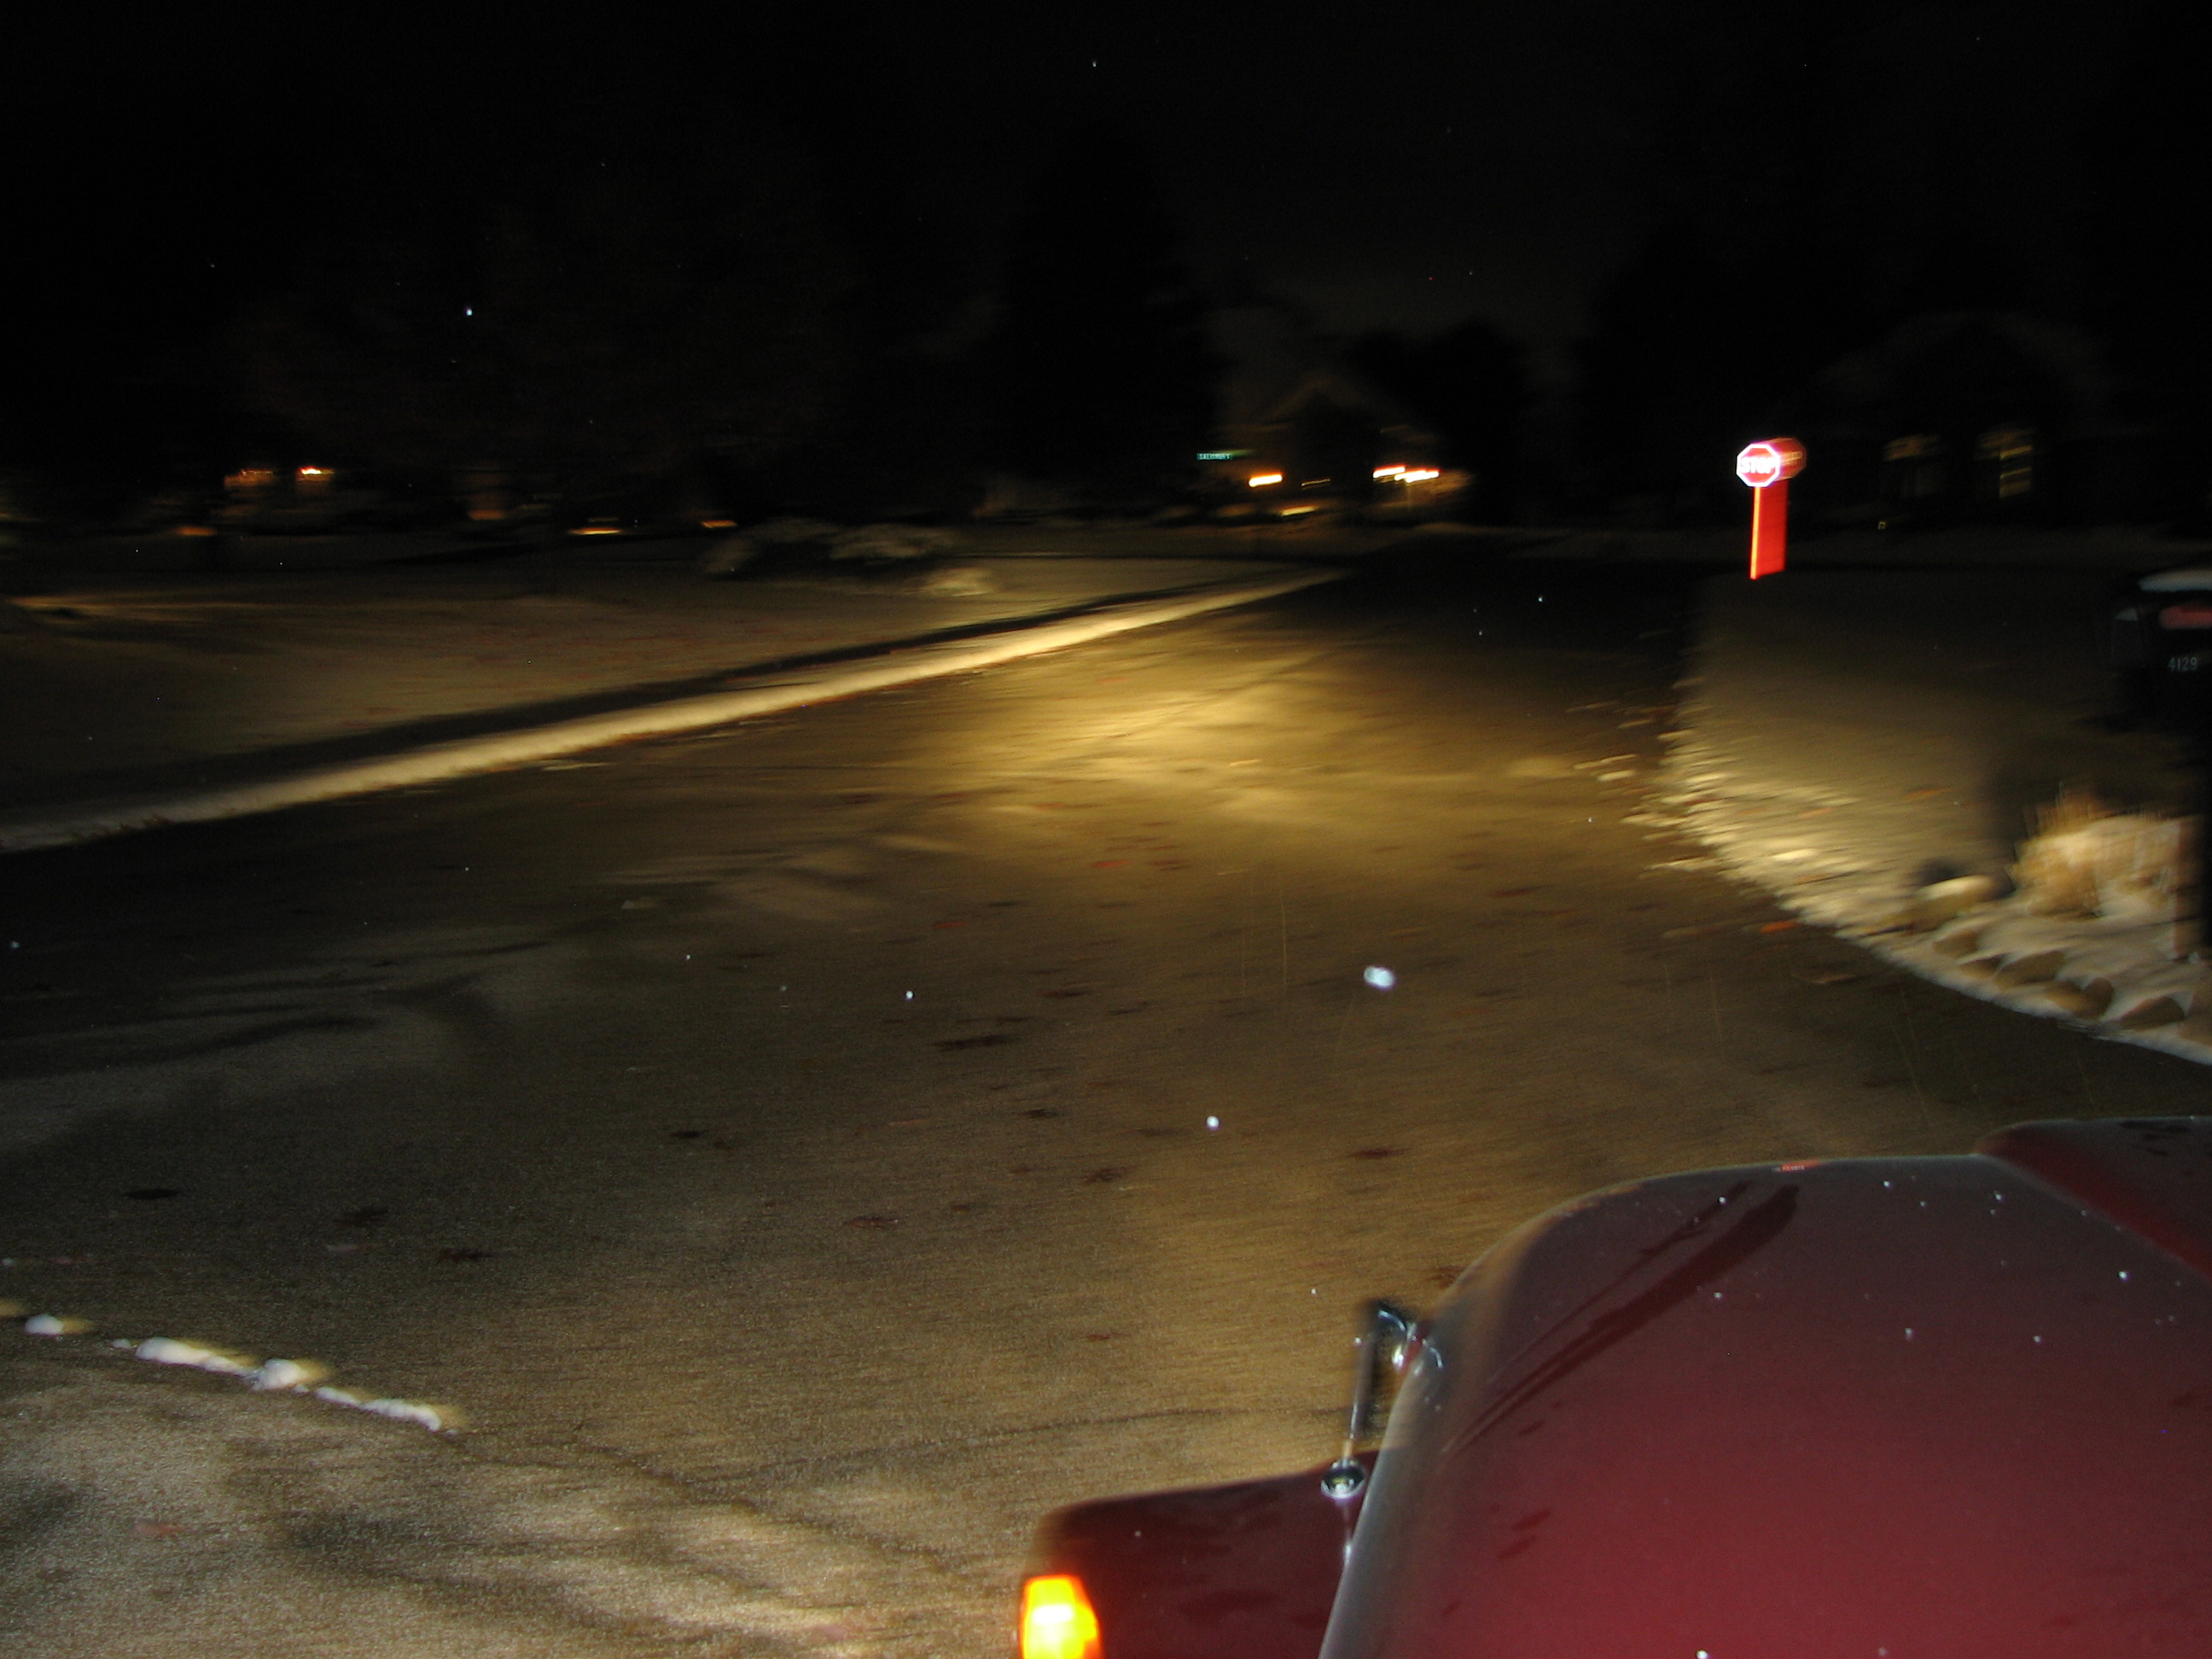
Let there be light! Properly installed, the harness has no negative effect on the ancillary circuits and you can always revert back to stock if the need arises.
I think these come with a fusible link, so no need to cut them and install your own fuses.