Chevy fan or not, you can’t deny the performance potential of GM’s LS series engines. They share most internal and external components with each other and fit in nearly any place a Gen I Chevy small block can fit. When you see Mustang folks run LS engines, you know GM hit a home run.

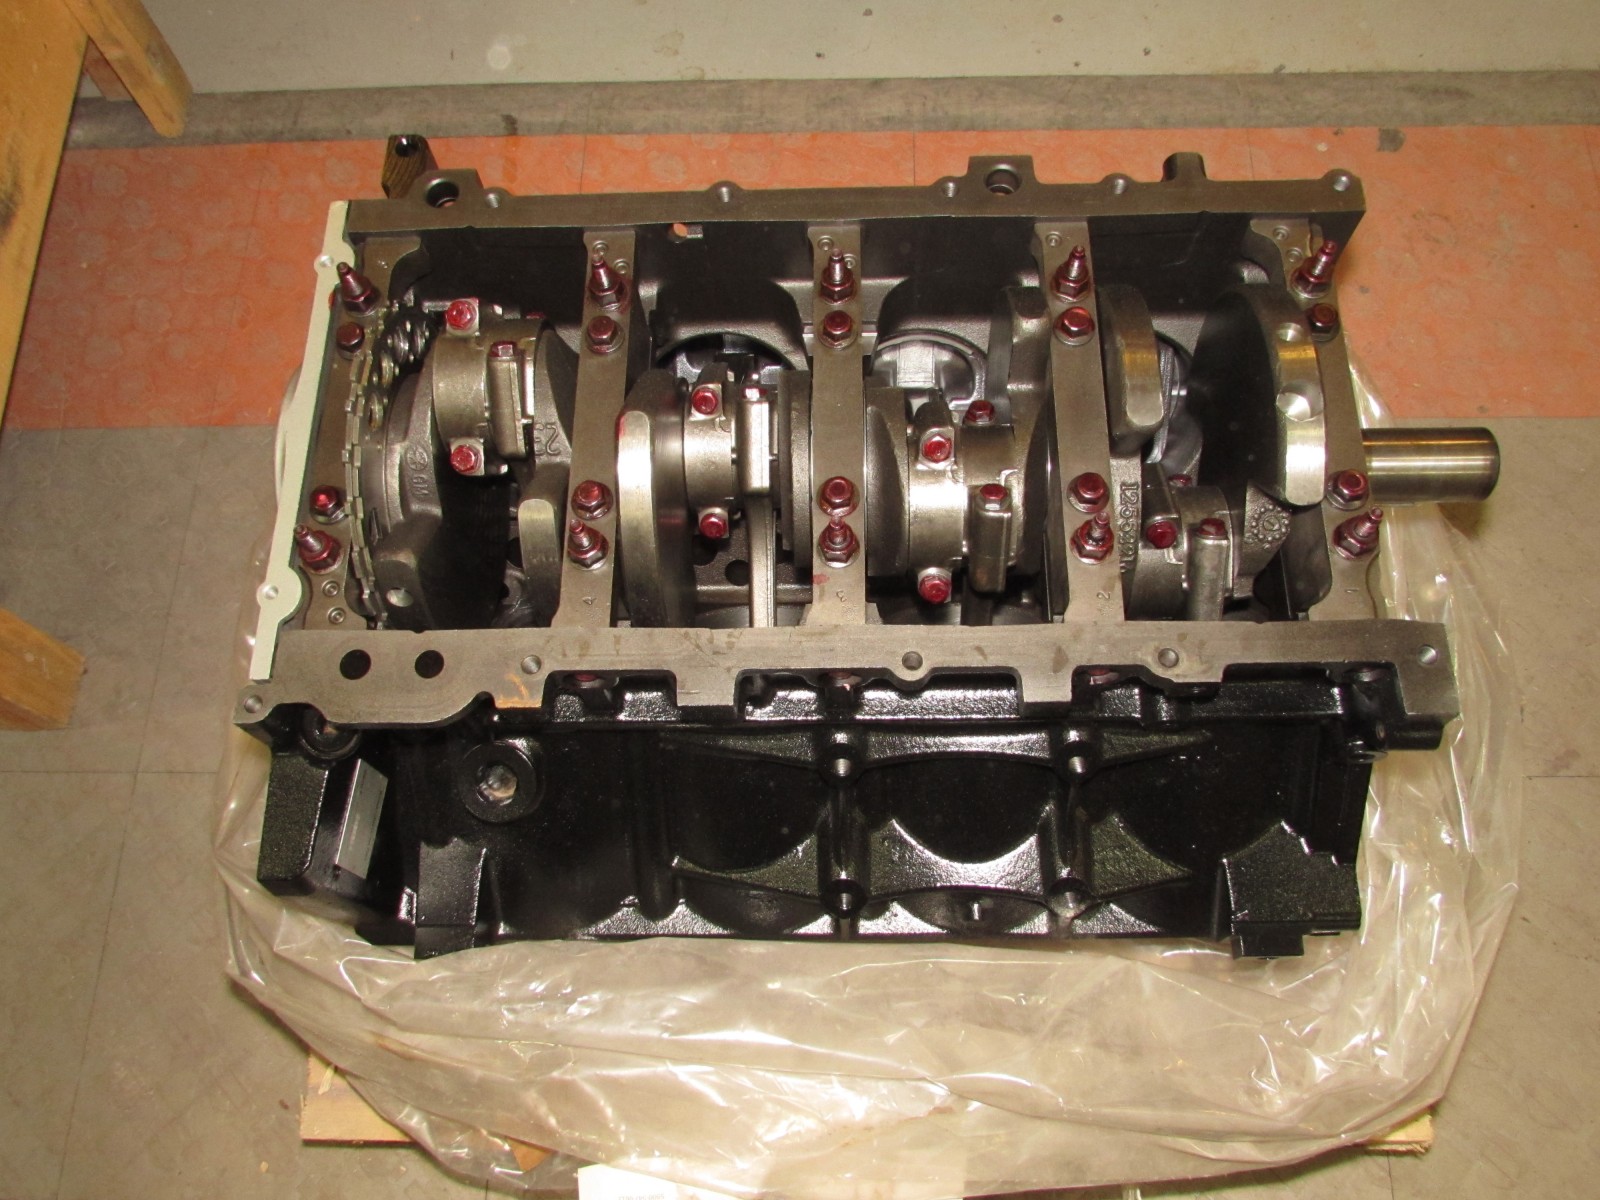
We set out to assemble a 500-ish horsepower, high-torque LS engine for one of our projects, a 1971 Buick GS. We wanted a minimum 6.0 liters (366 CID) of displacement and an iron block for strength. There are several iron-block 6.0 liter LS engines from the factory. Most notable are the LQ4 and LQ9 Vortec, used in the GM’s 1500 and 2500HD series trucks (Gen III/IV LS truck engines are all Vortec).

The LQ4 has 9.4:1 compression and the LQ9 clocks in at 10.0:1 compression. We might use a power adder down the road, so we went looking for an LQ4. It’s a regular inhabitant of most salvage yards, typically with 150-200,000 miles on it. It’s also a sought-after engine with a price tag to match. We could not find one with less than 200,000 miles for less than $1,500 locally.

That is when we started looking at rebuilt short blocks. Summit Racing offers an ATK LQ4 6.0L short block for around $2,000. Considering we will be upgrading the heads, cam, intake, and other components, this is about as perfect a deal as we could have hoped for.

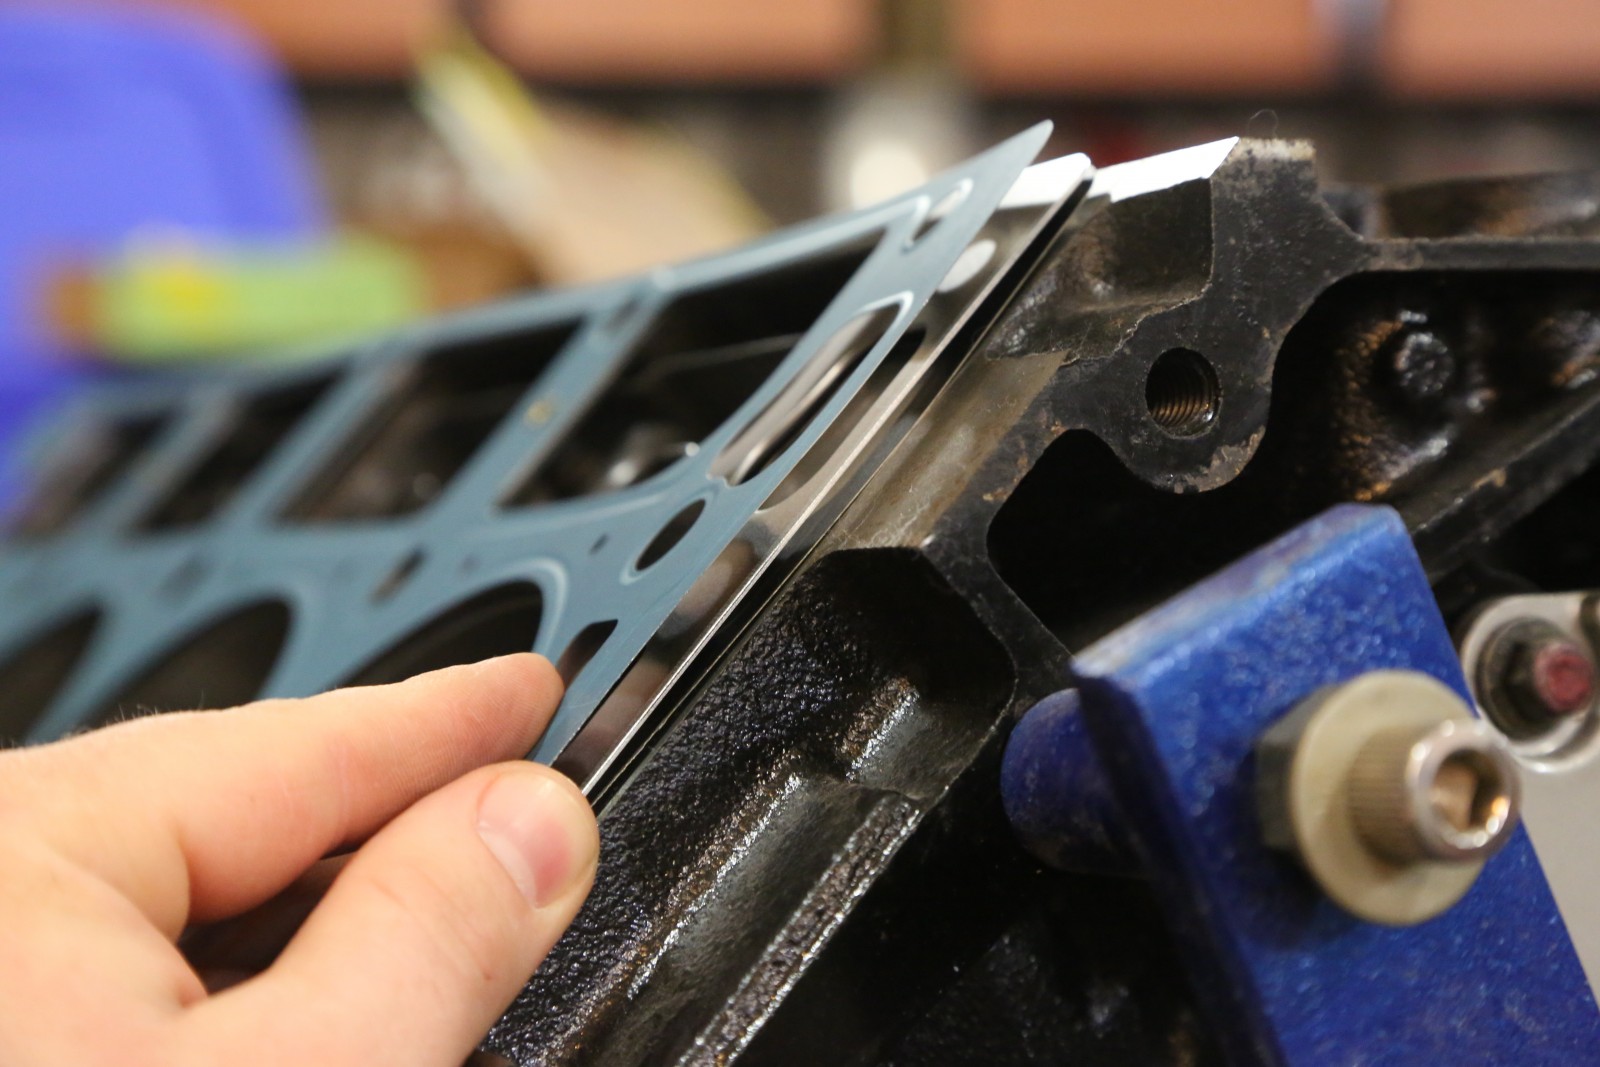
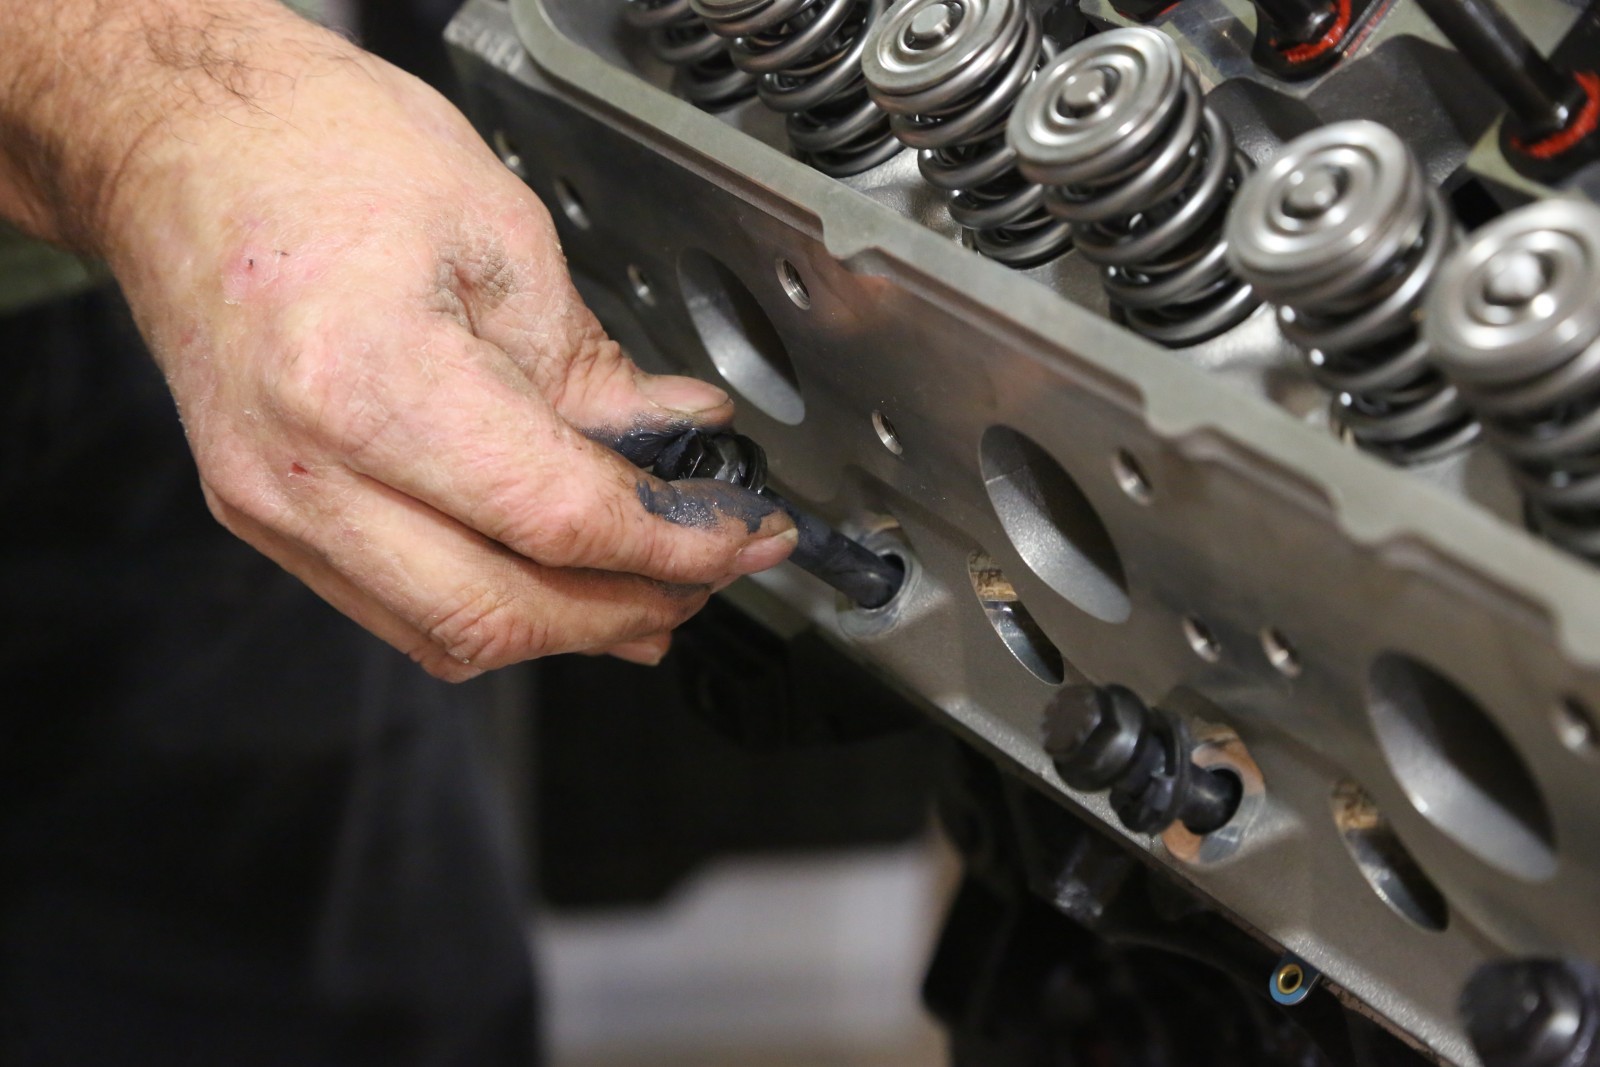
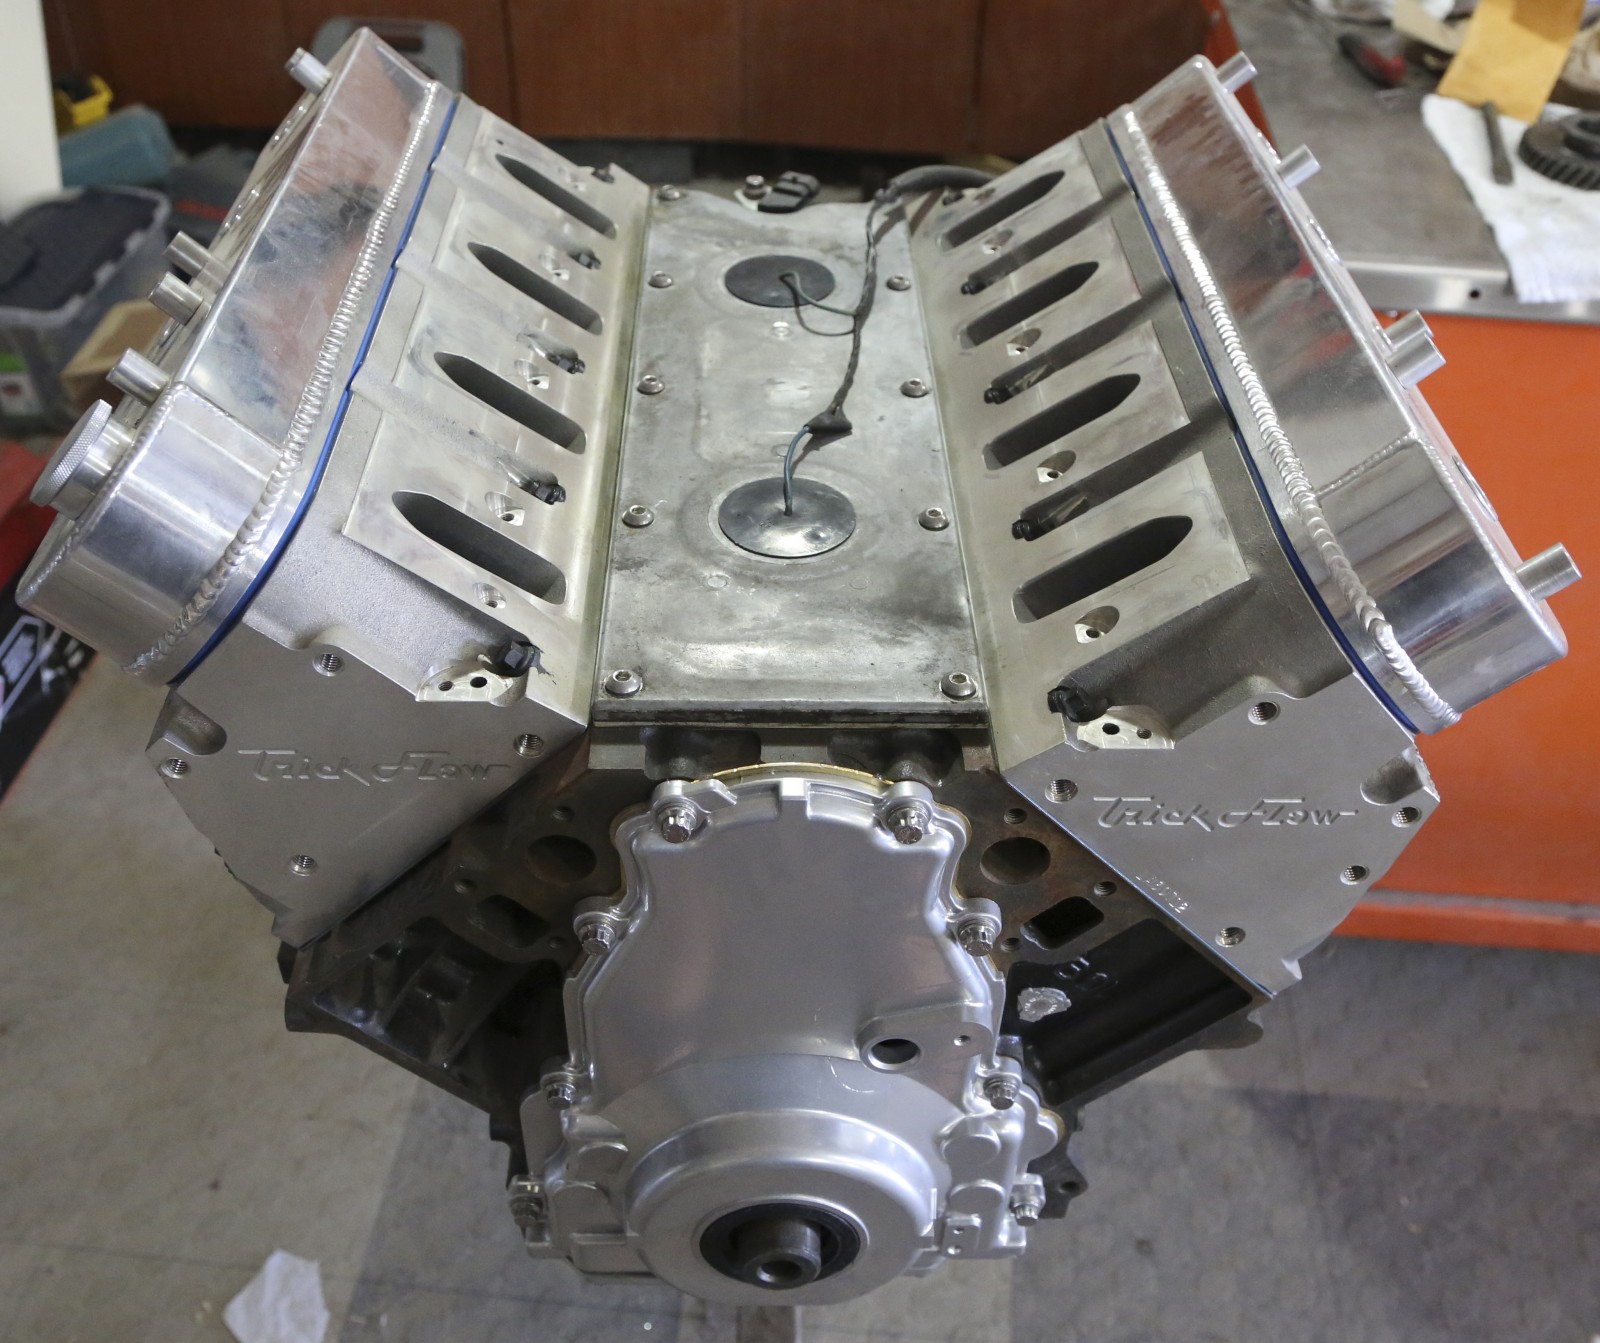
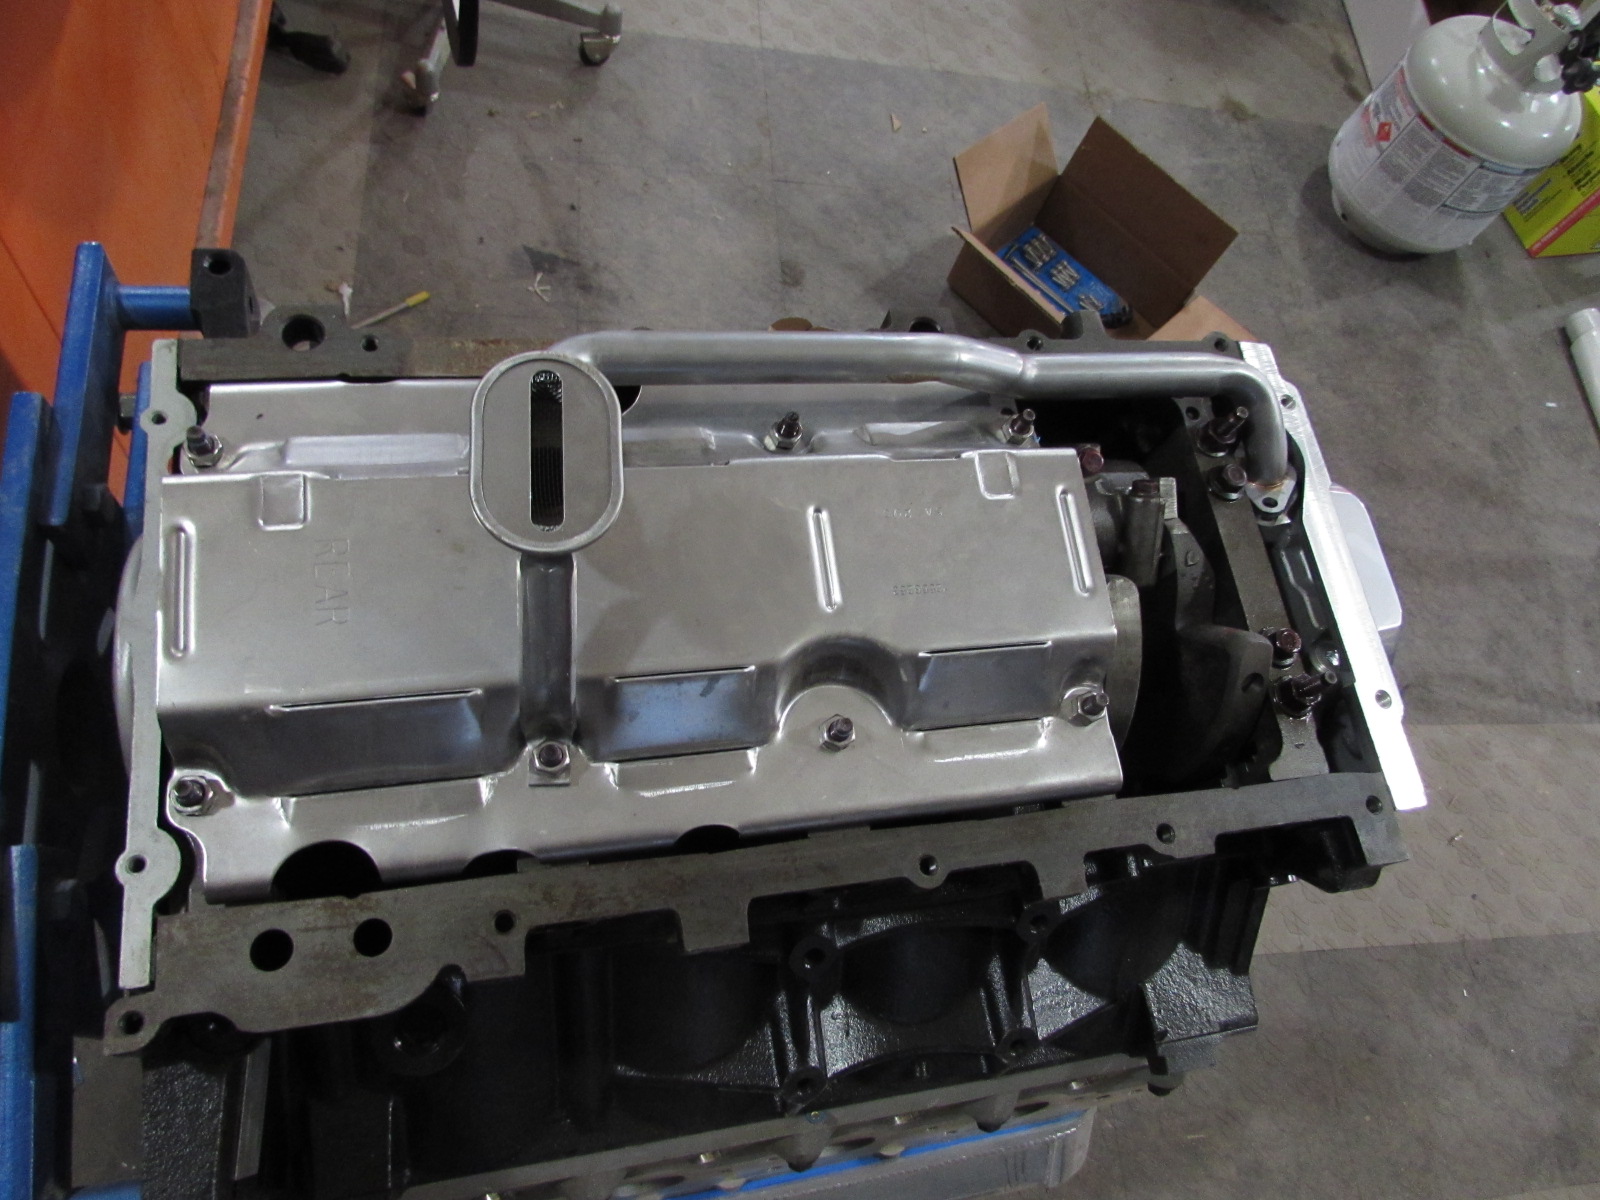
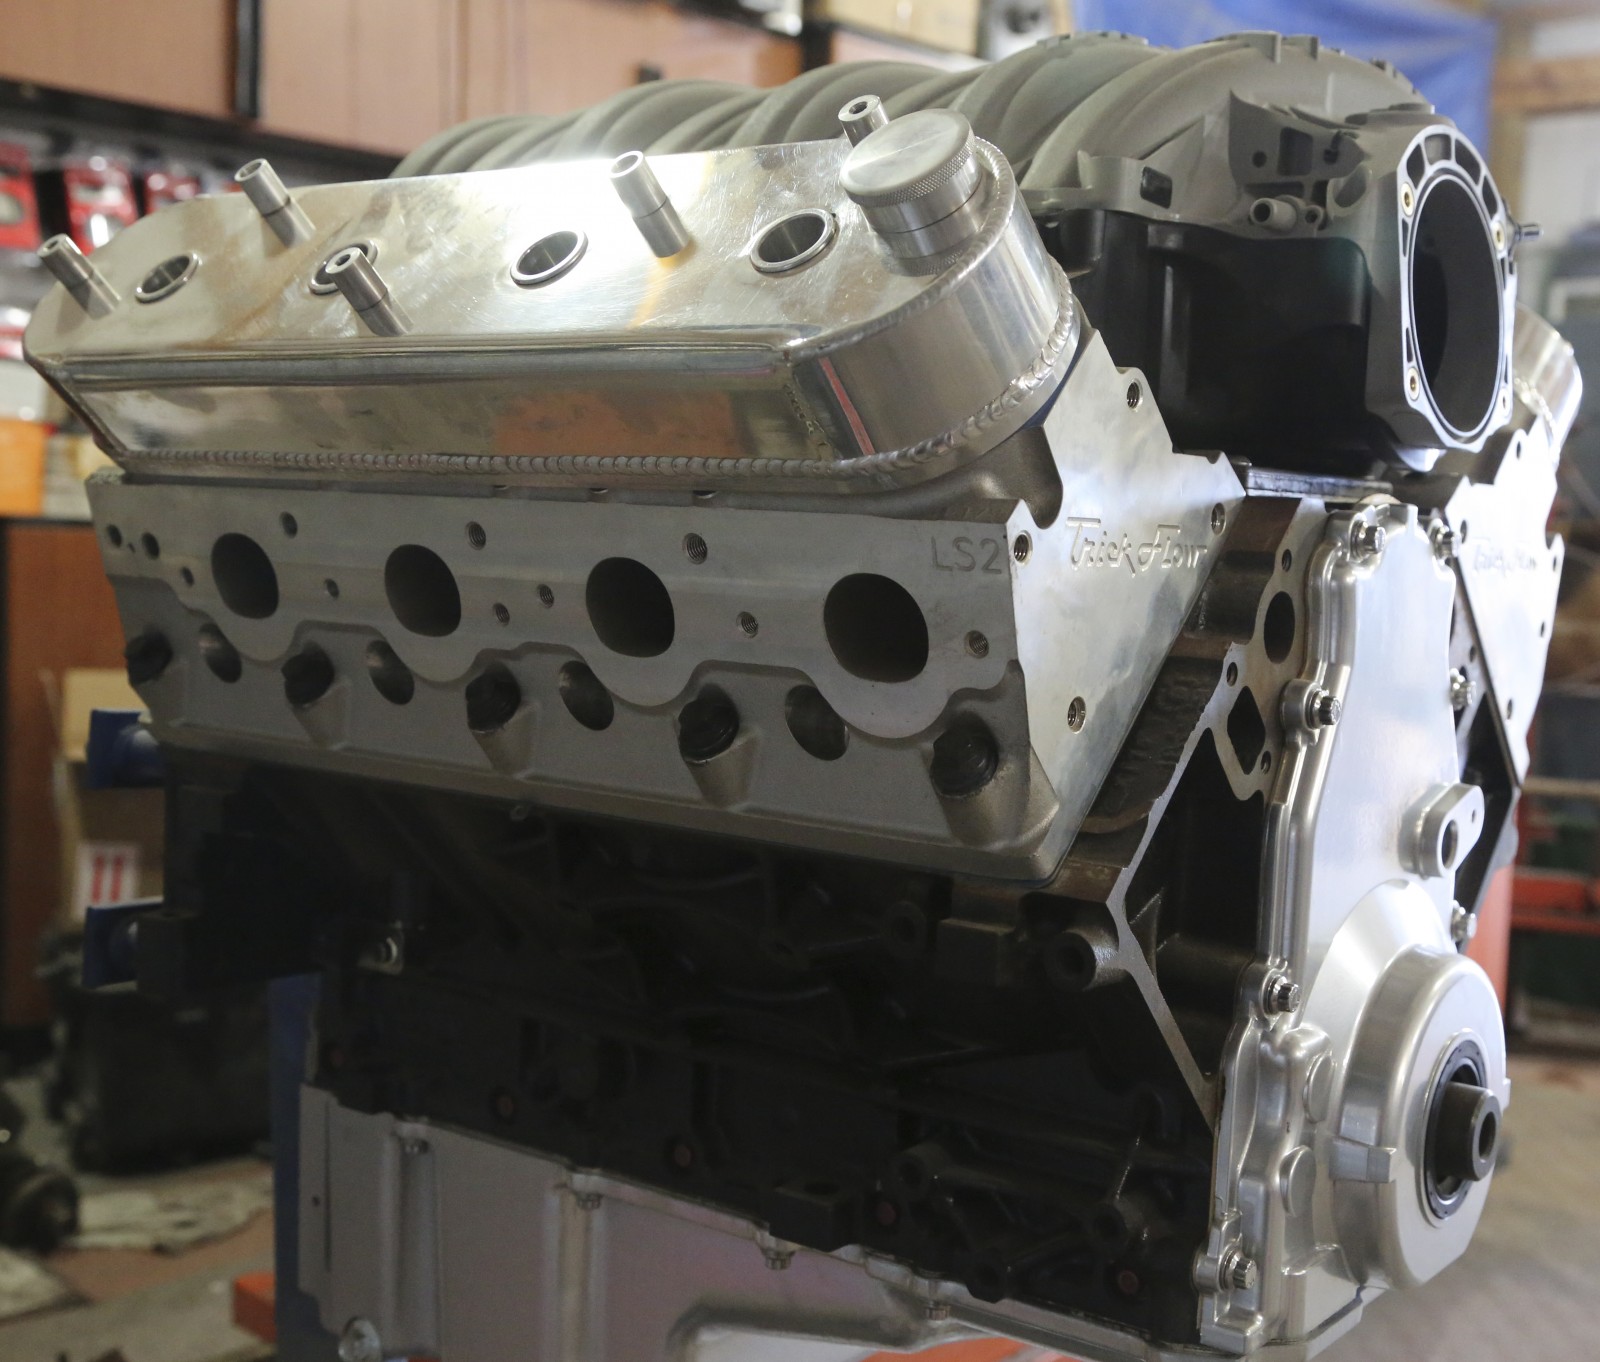
Browsing the Summit Racing website for our upgrade parts, we opted for a set of Trick Flow GenX® 220 aluminum cylinder heads. These LS2-style heads feature as-cast 220cc intake runners and CNC-machined 65cc combustion chambers with 2.055 inch intake/1.57 inch exhaust valves. Even with the as-cast runners (Trick Flow calls them Fast As Cast®), the heads flow some impressive numbers. With no porting, the GenX 220s flow 306 cfm at .550 inches of lift. The real story is the mid-lift airflow numbers, which range from 133 cfm at .200 inches of lift to 297 cfm at .500 inches. That beats stock LS2 heads, especially above .200 inches of lift.

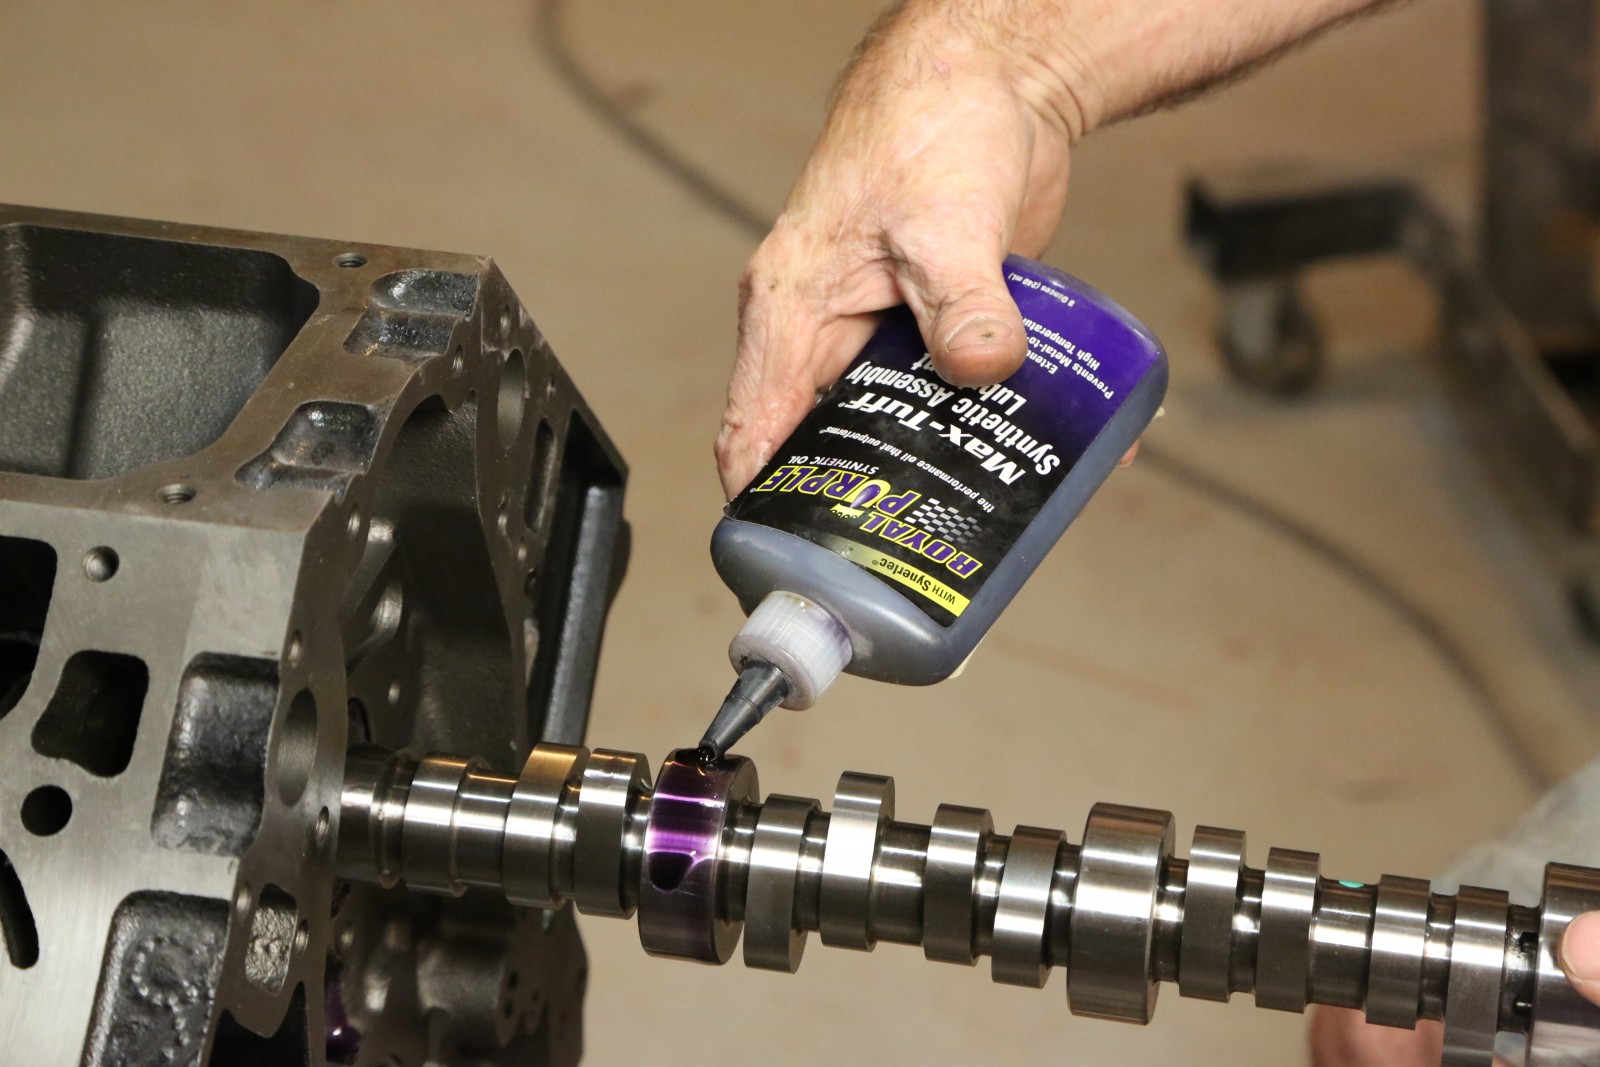
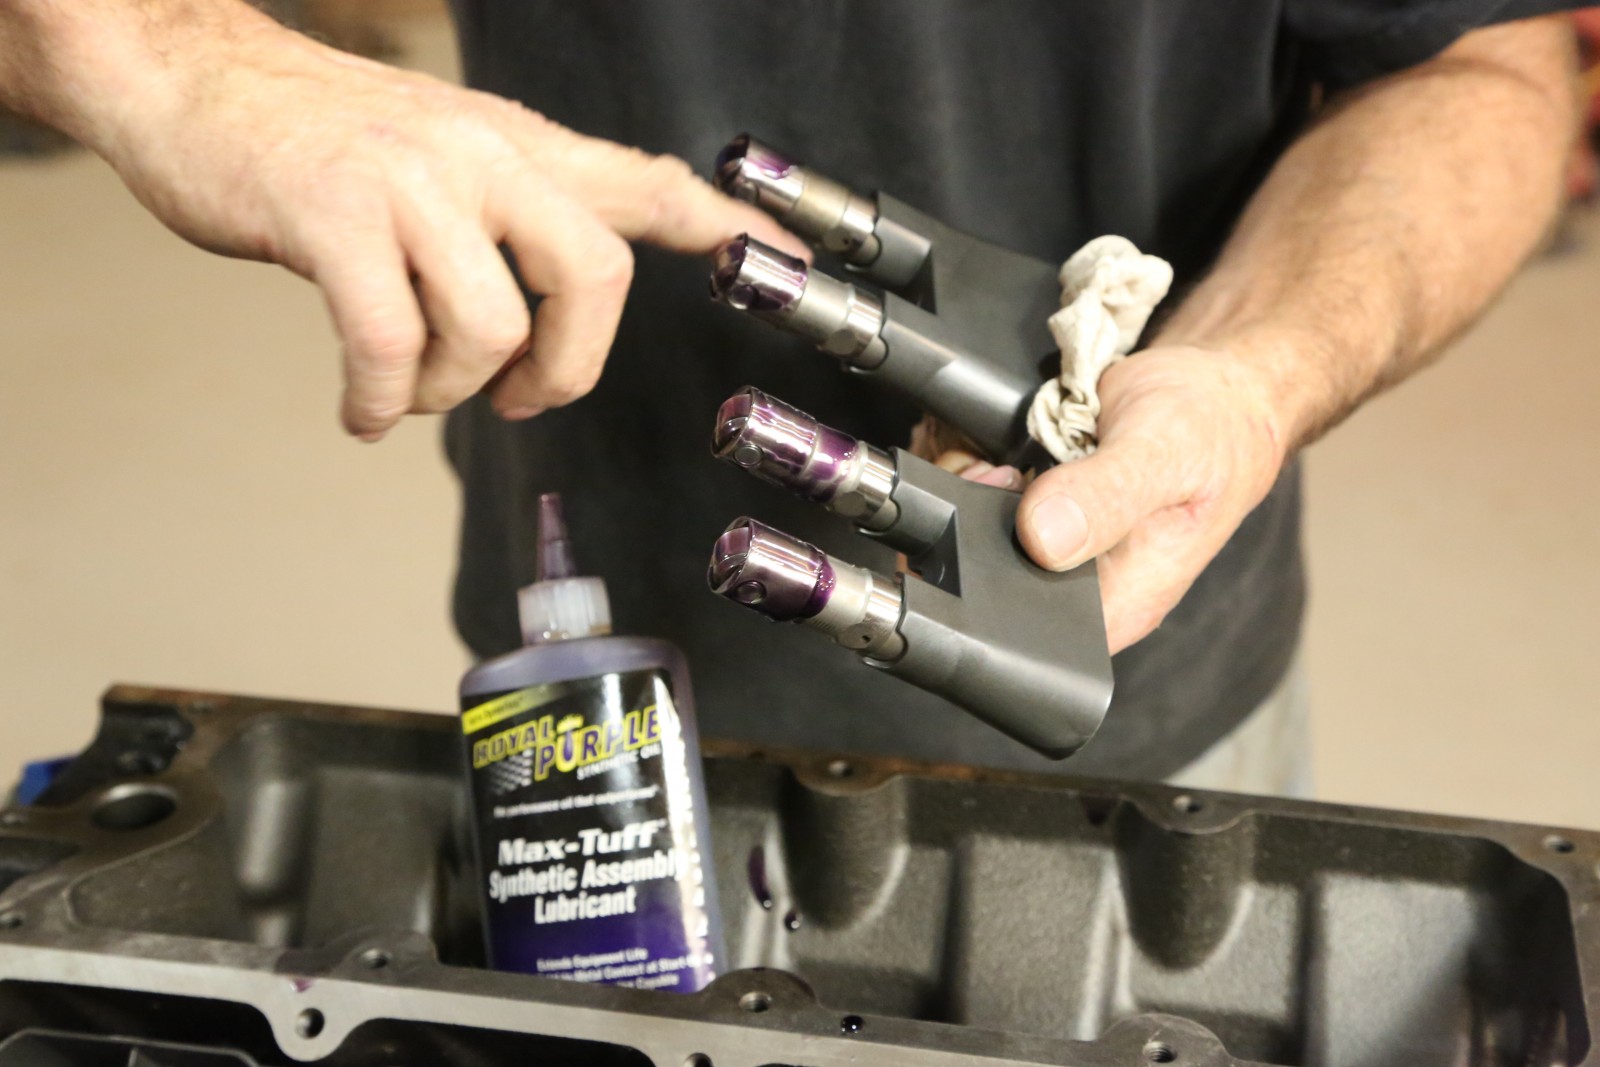
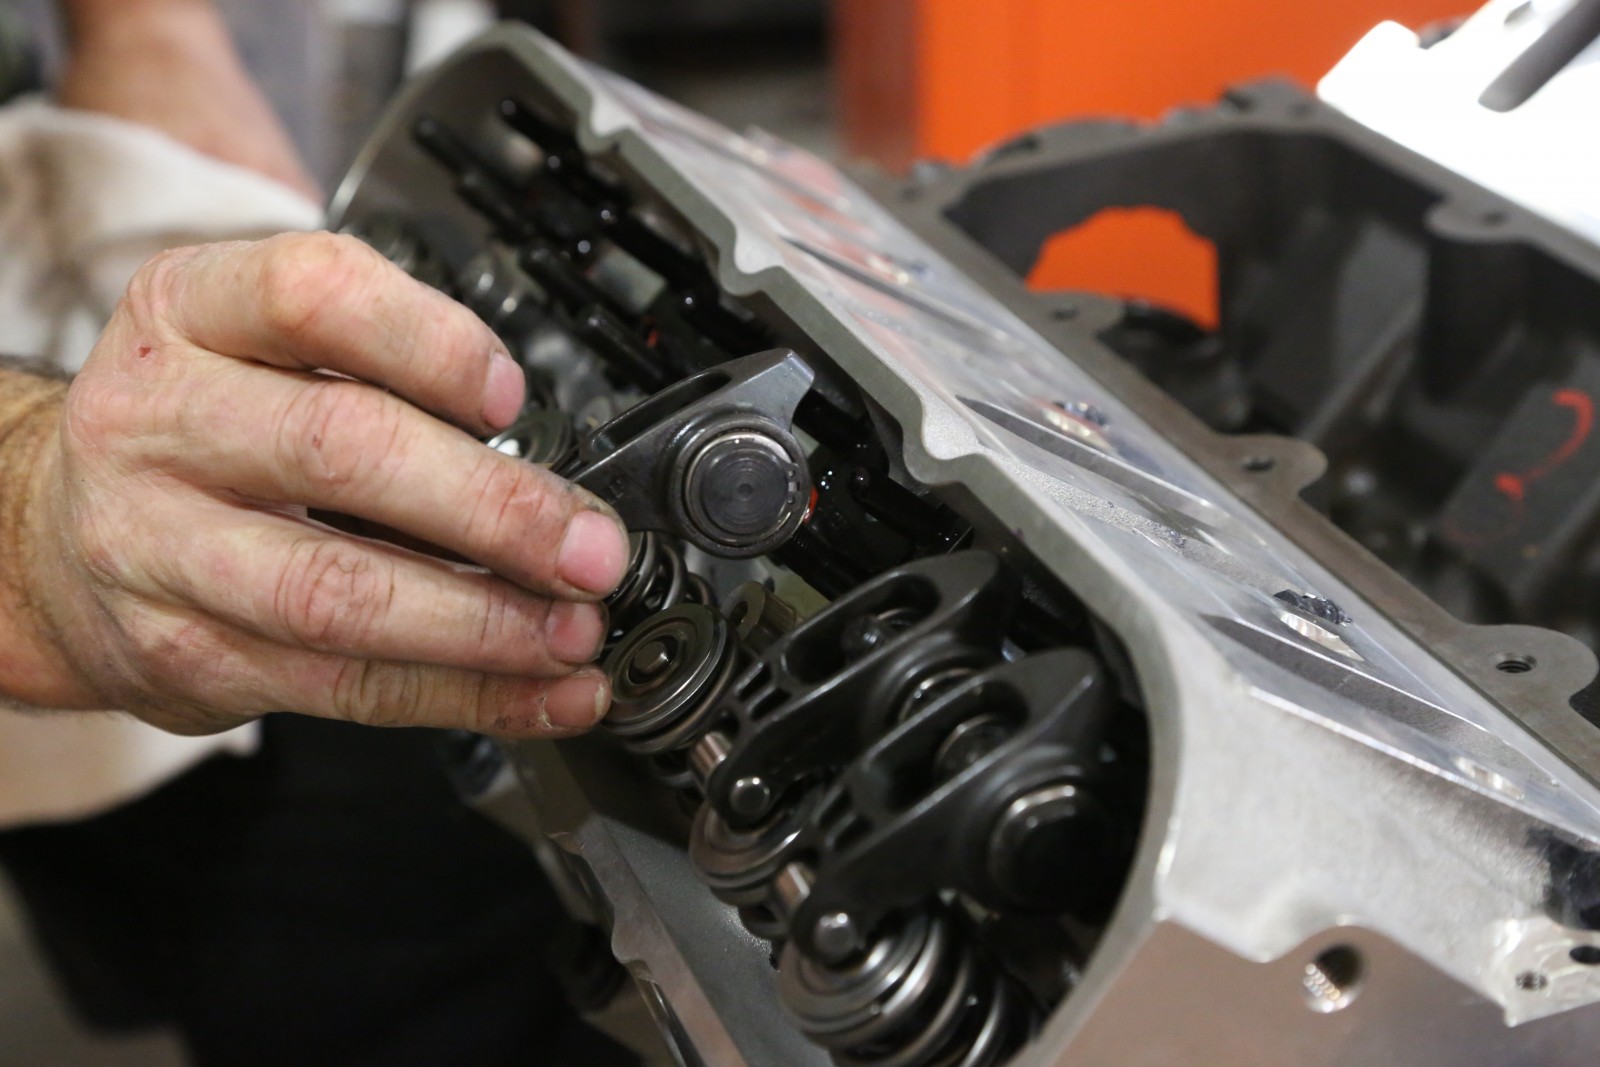
Camshaft selection was kept conservative as we were looking for low- and mid-range torque as opposed to top-end horsepower. Our Comp Cams XFI RPM hydraulic roller cam has 212 degrees duration @ .050 inch and .558 inches of valve lift on a 115 degree lobe separation—ideal for our LQ4. We can swap in a bigger cam down the road if so inclined.

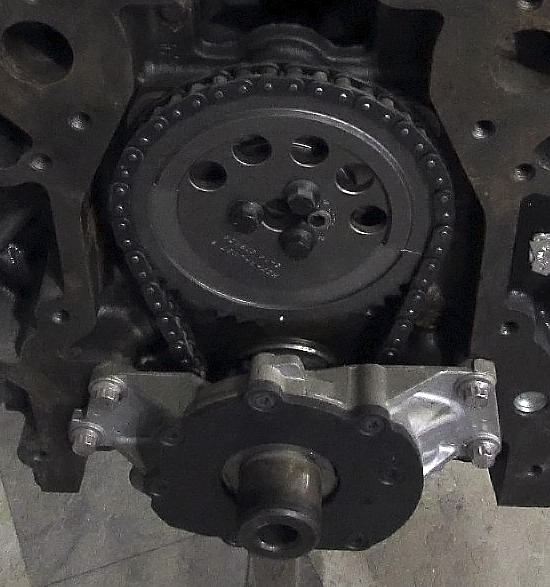
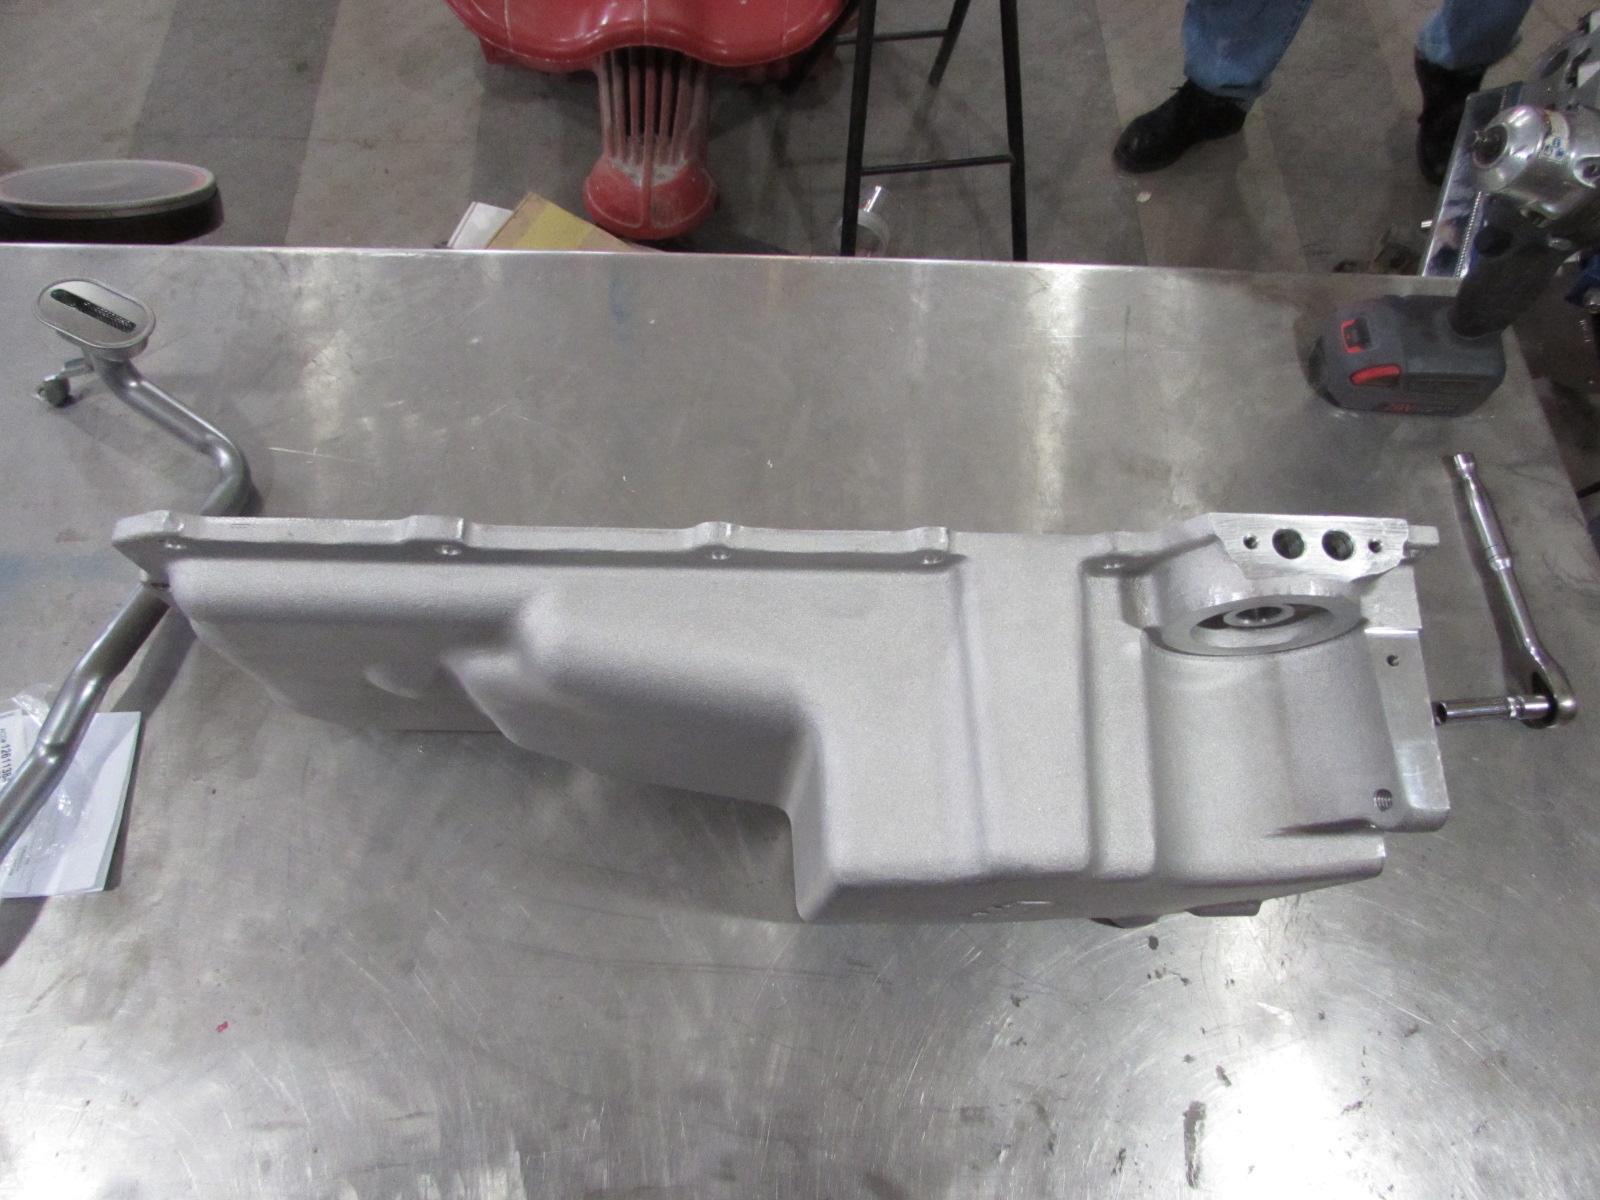
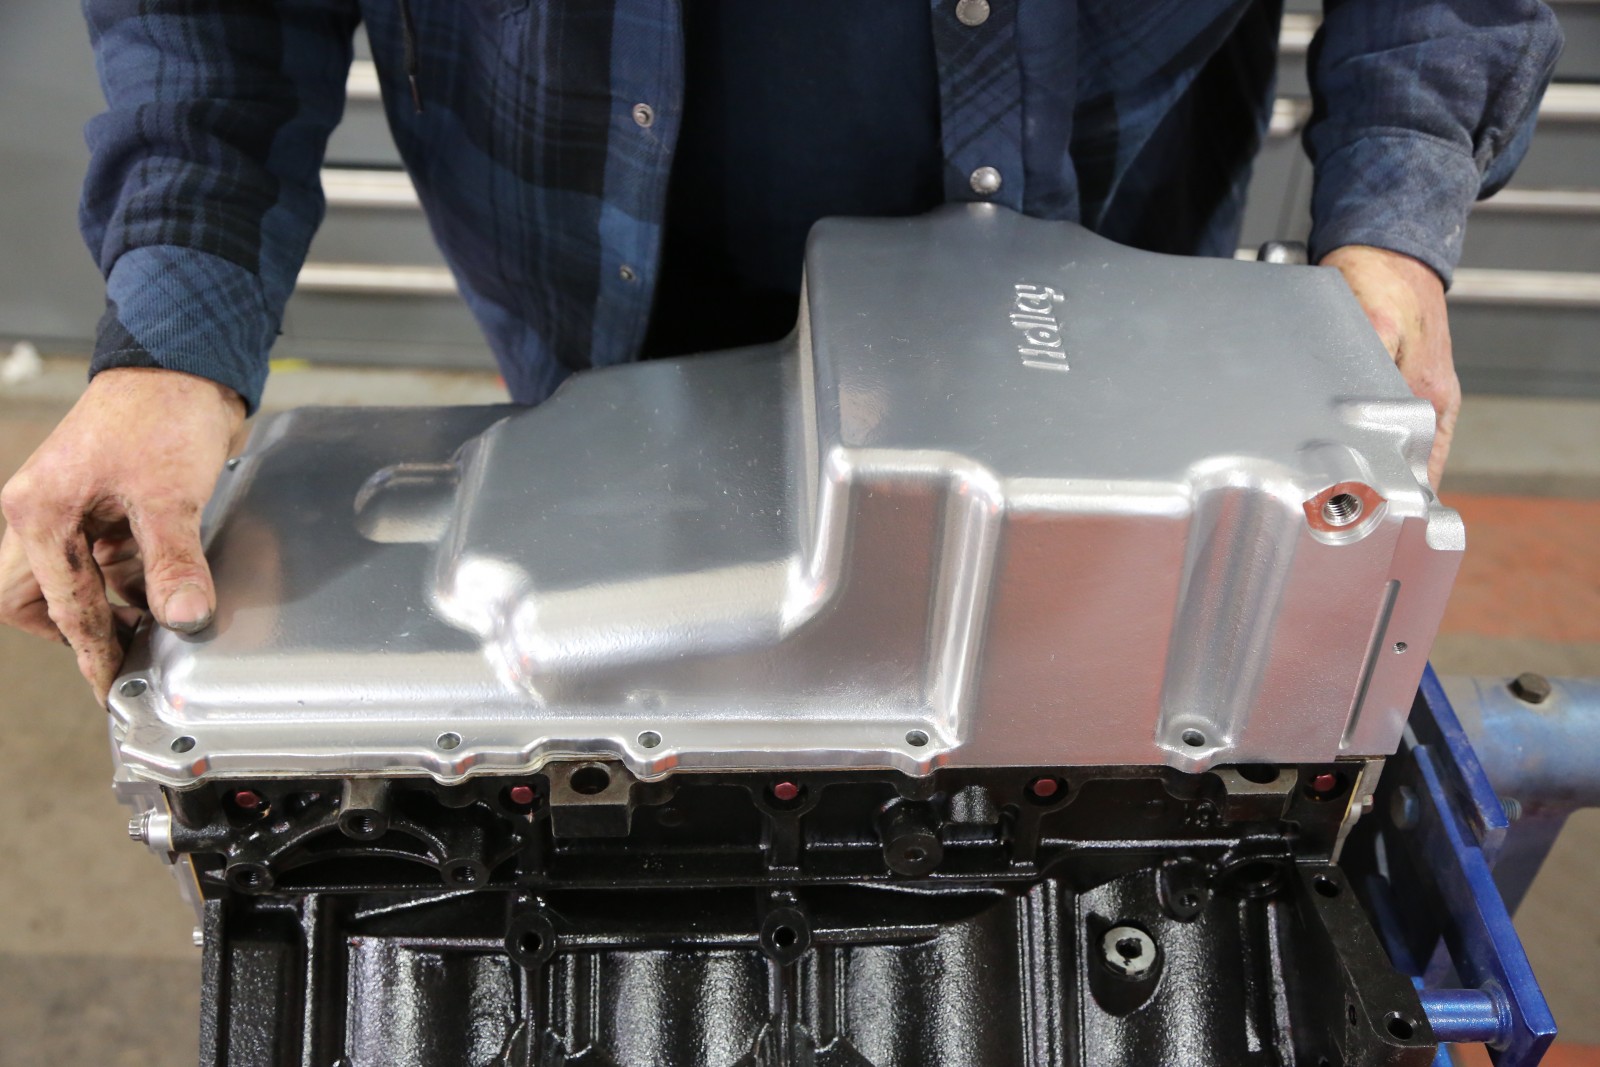
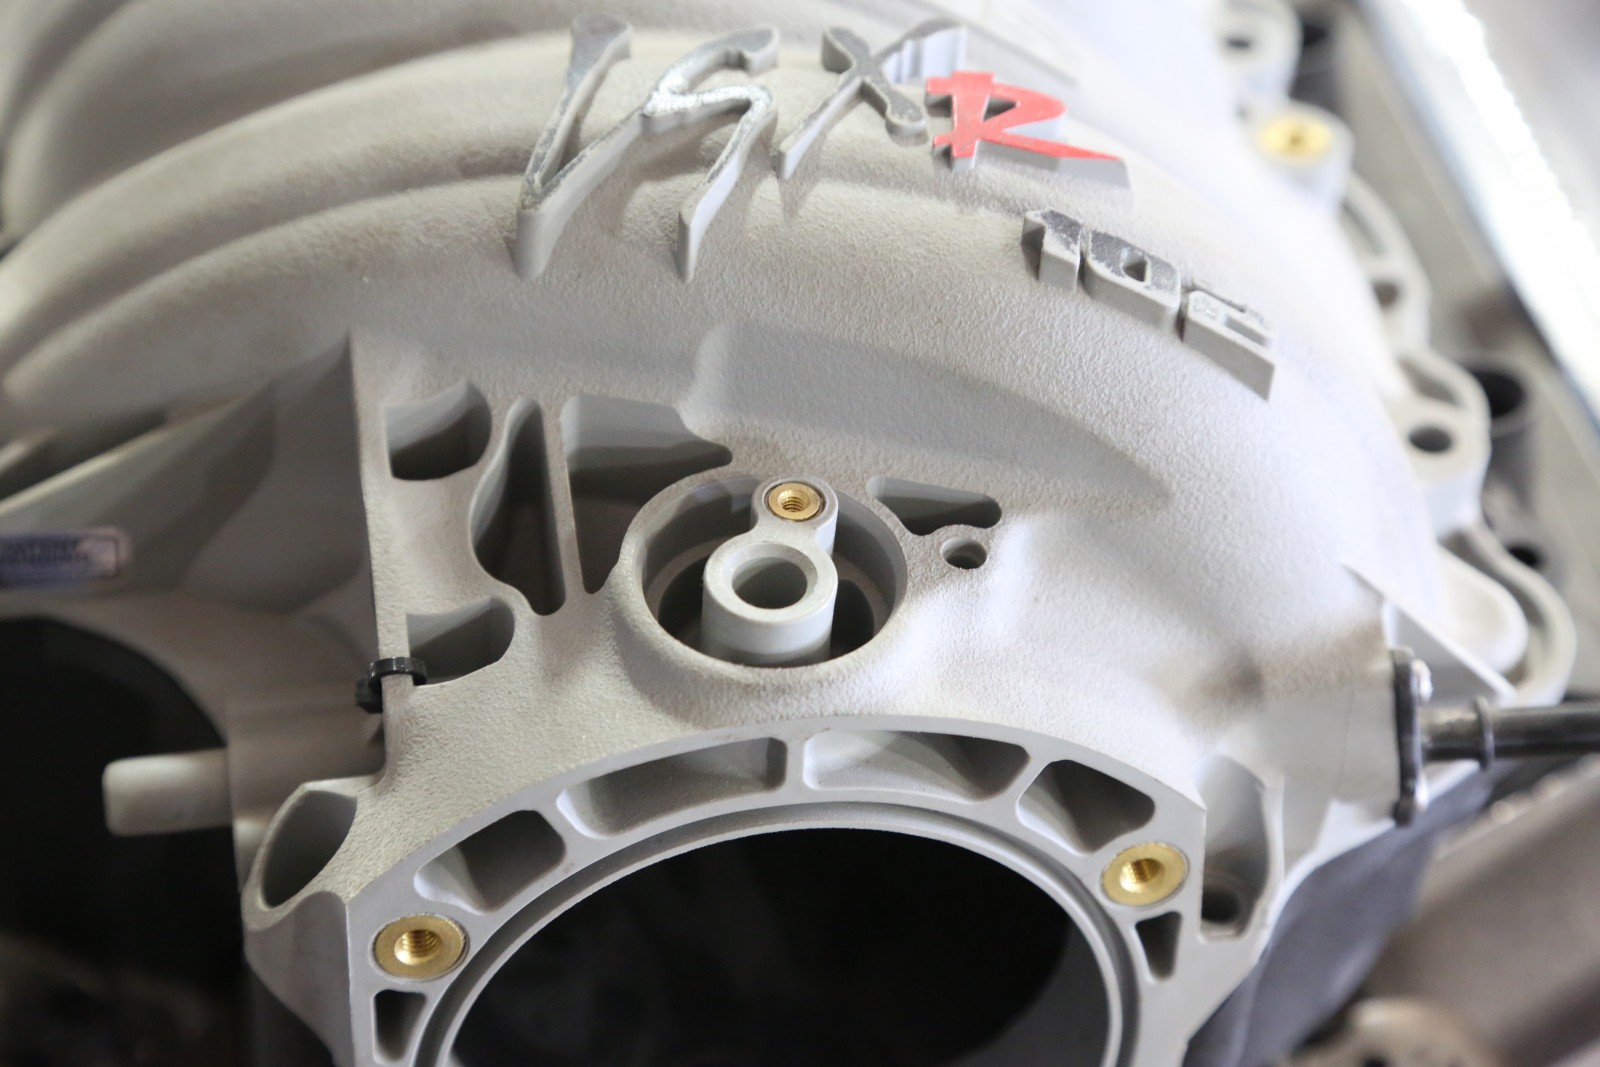
Induction is handled by a FAST LSXR composite intake and a 104mm throttle body. We picked up a Holley Performance LS swap oil pan for a Camaro, which will work on our A-body GS with little modification.

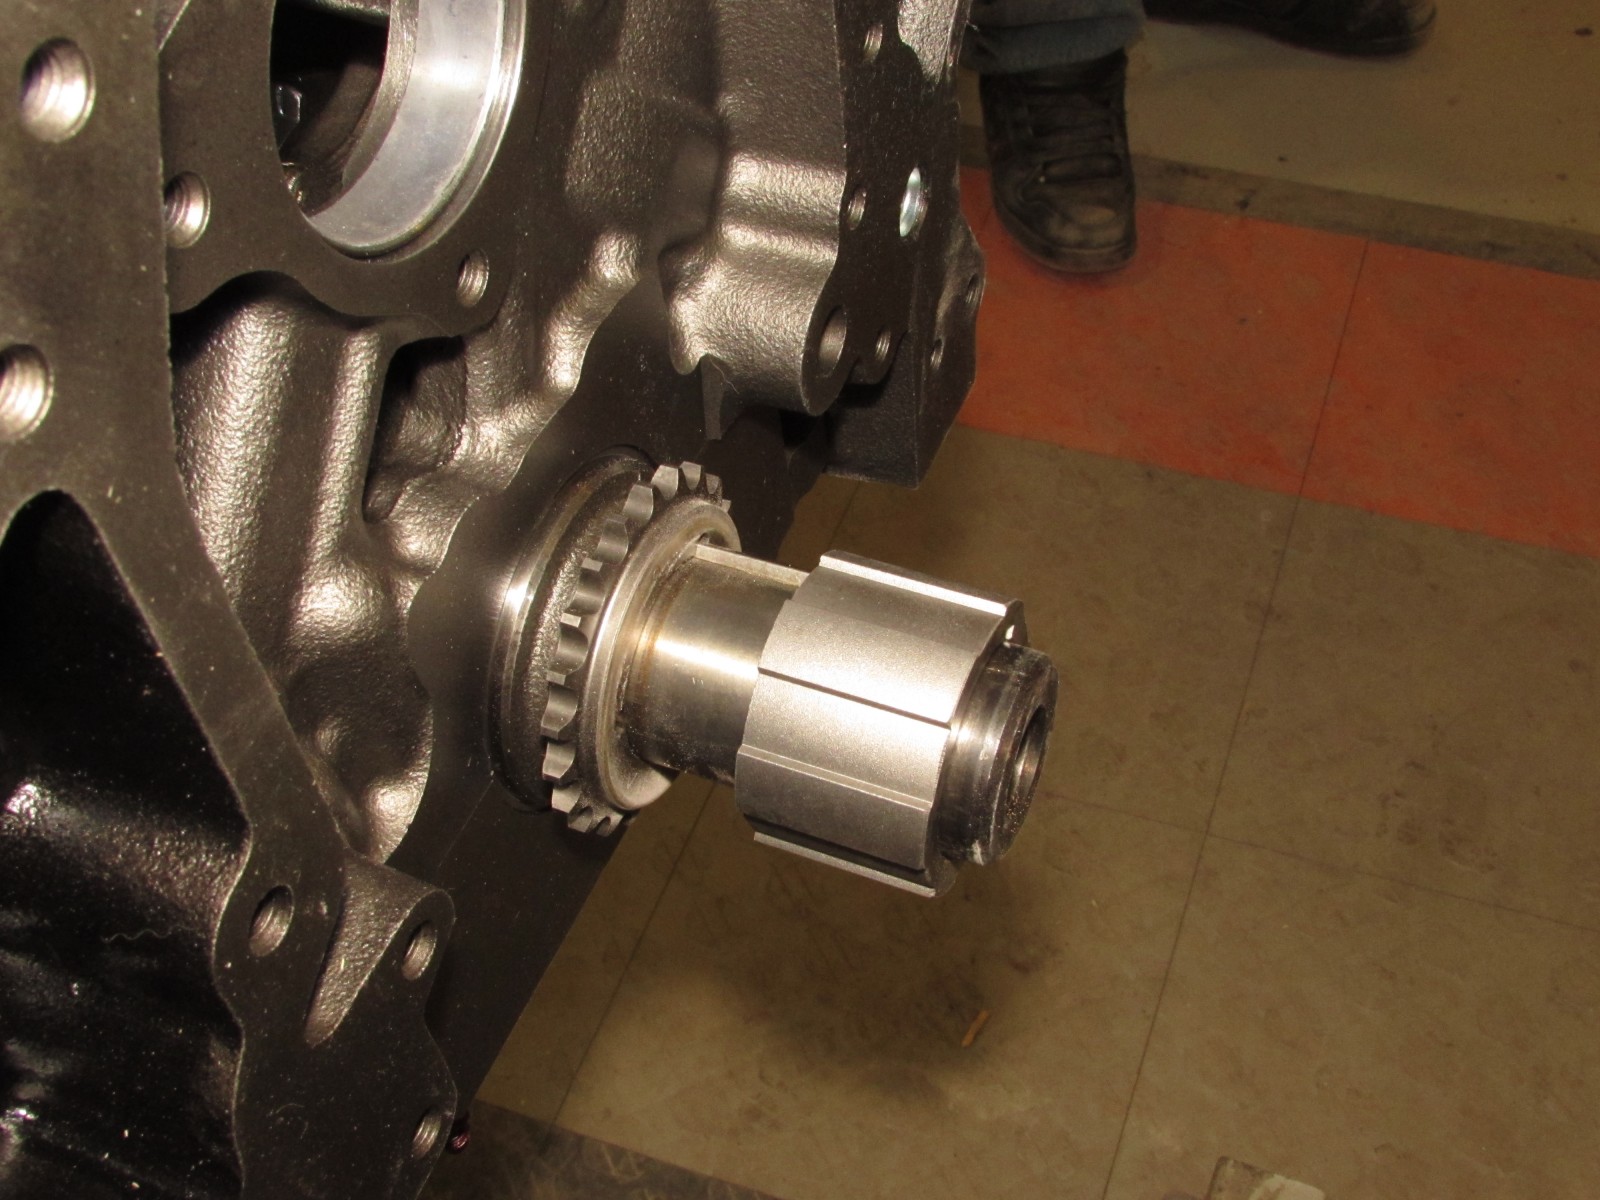
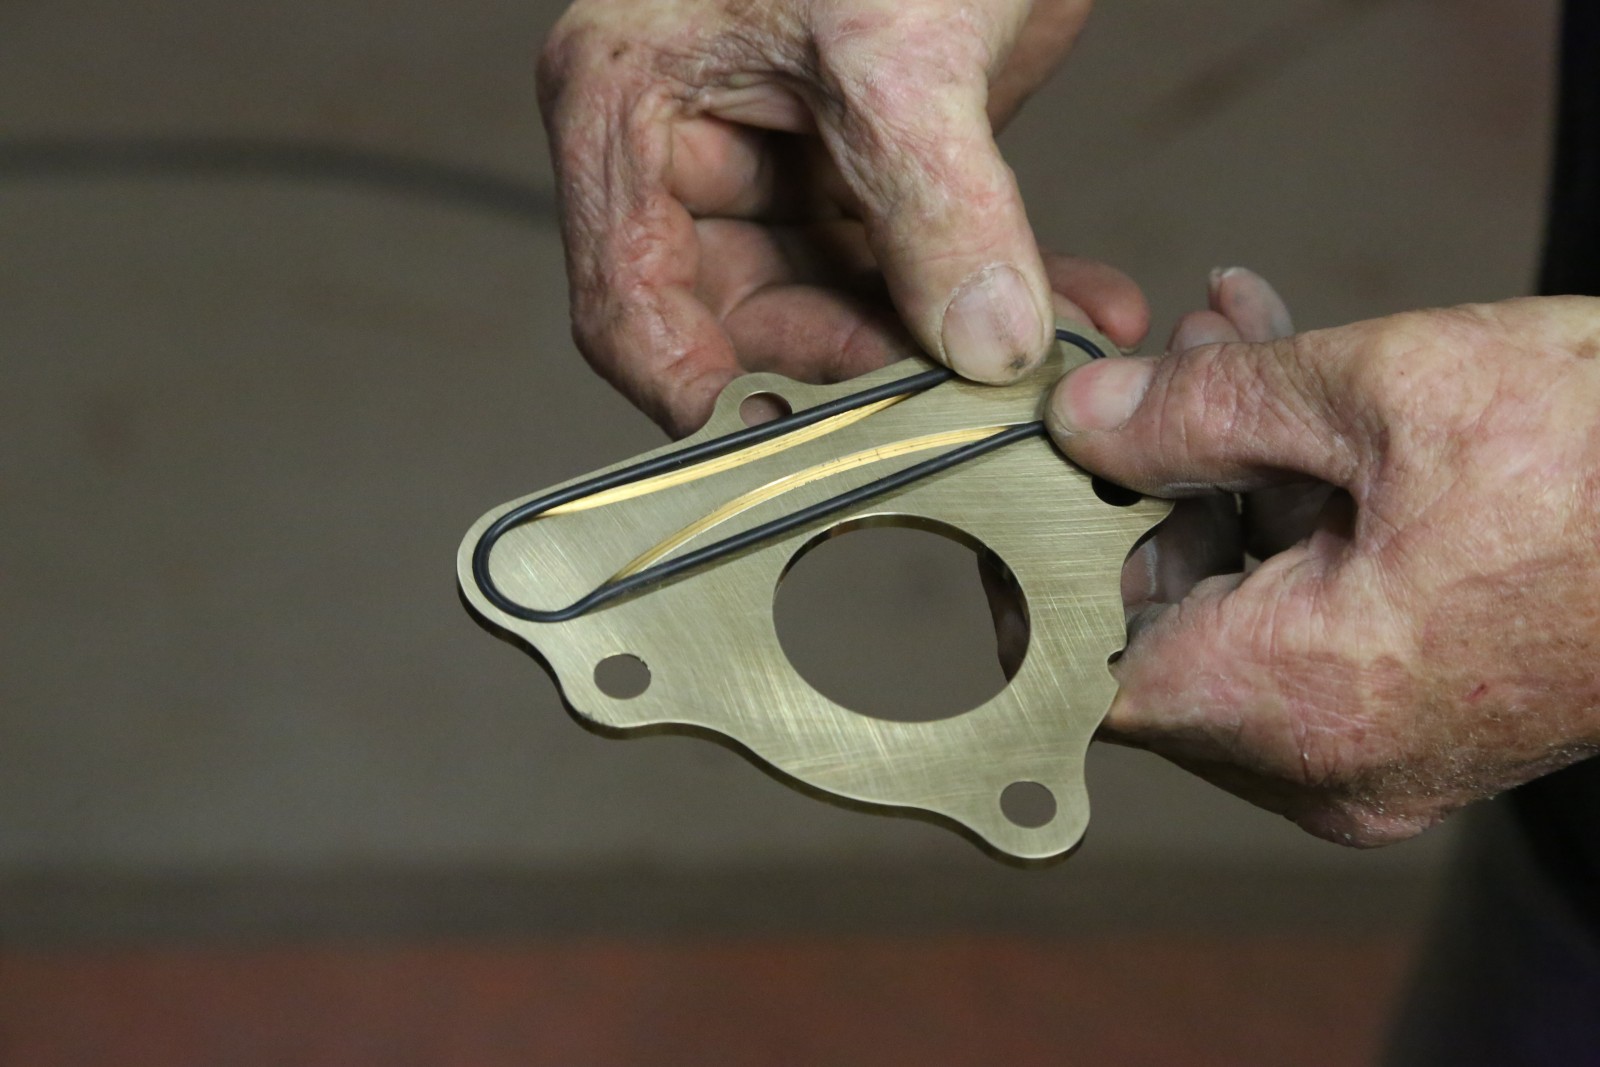
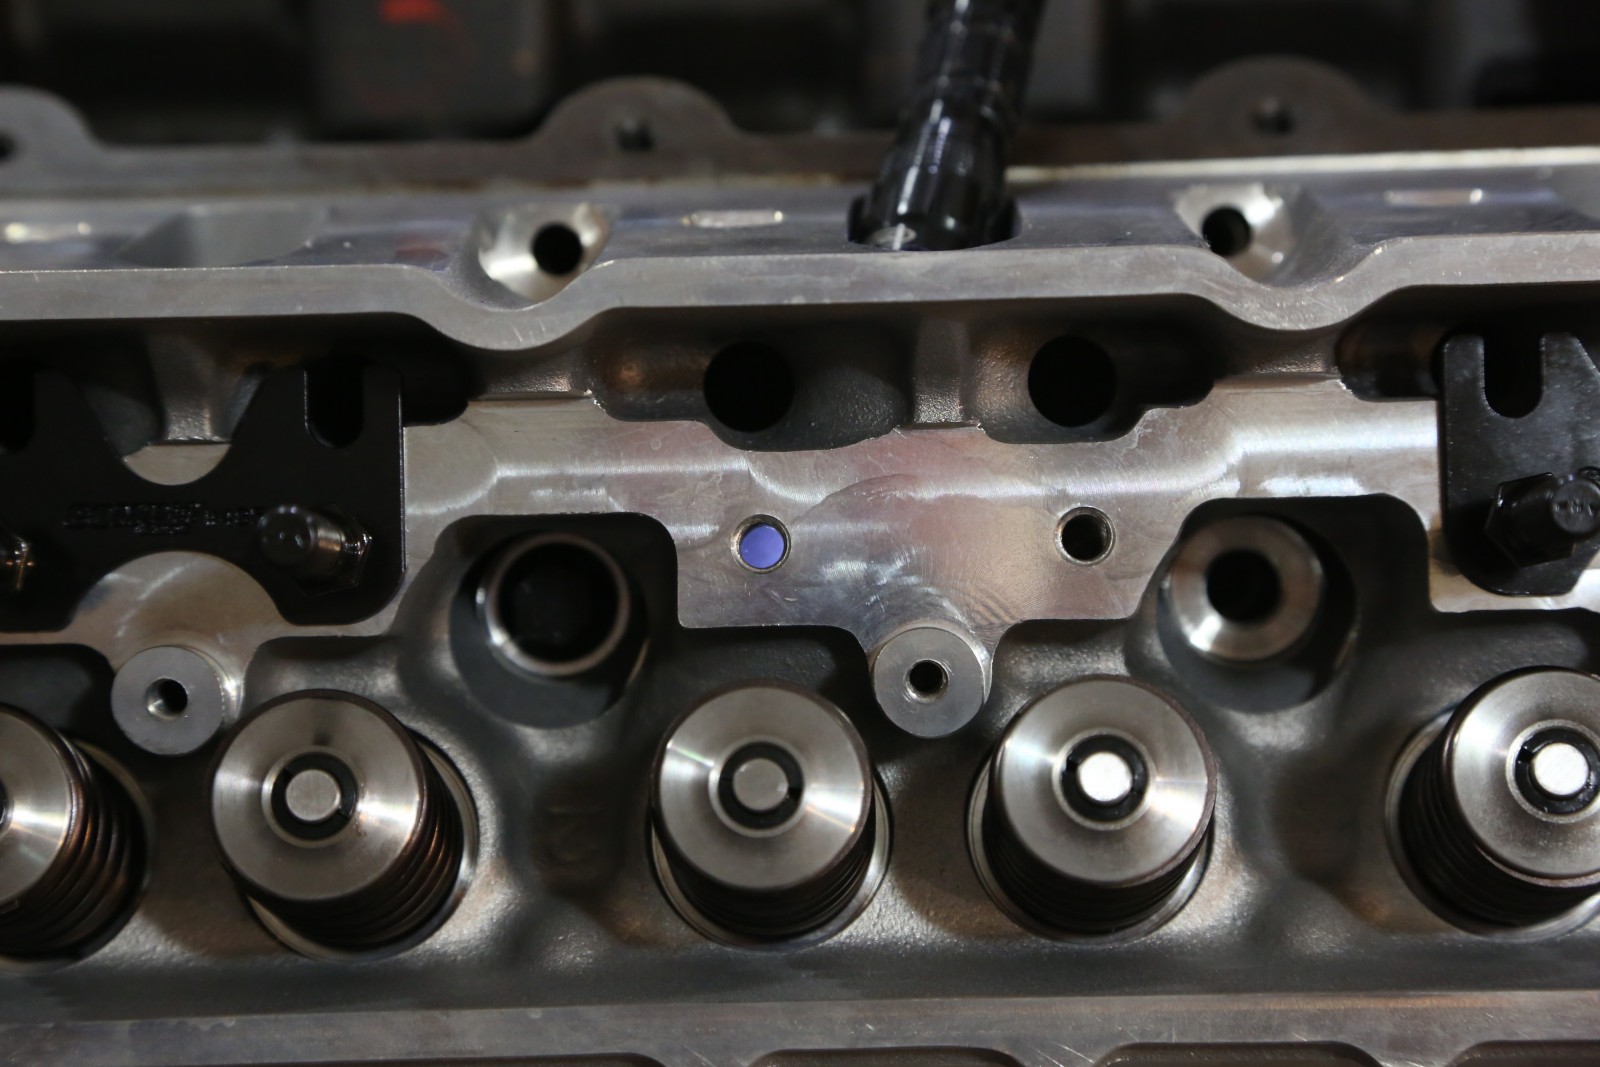
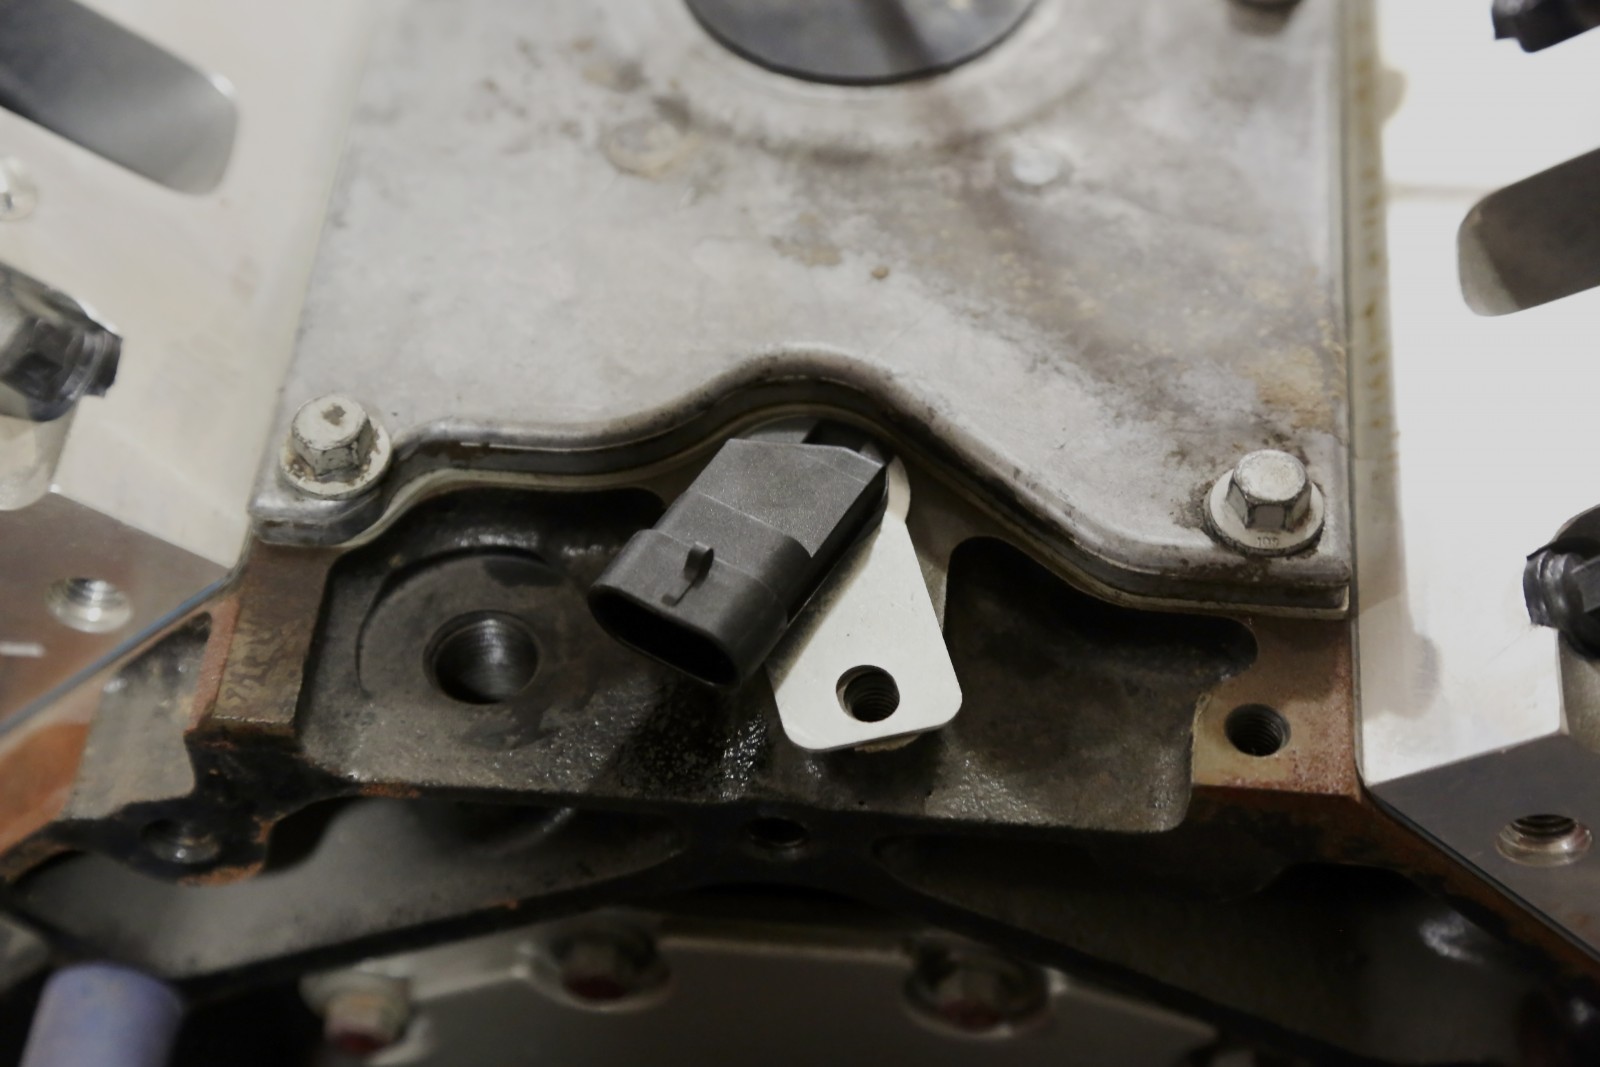
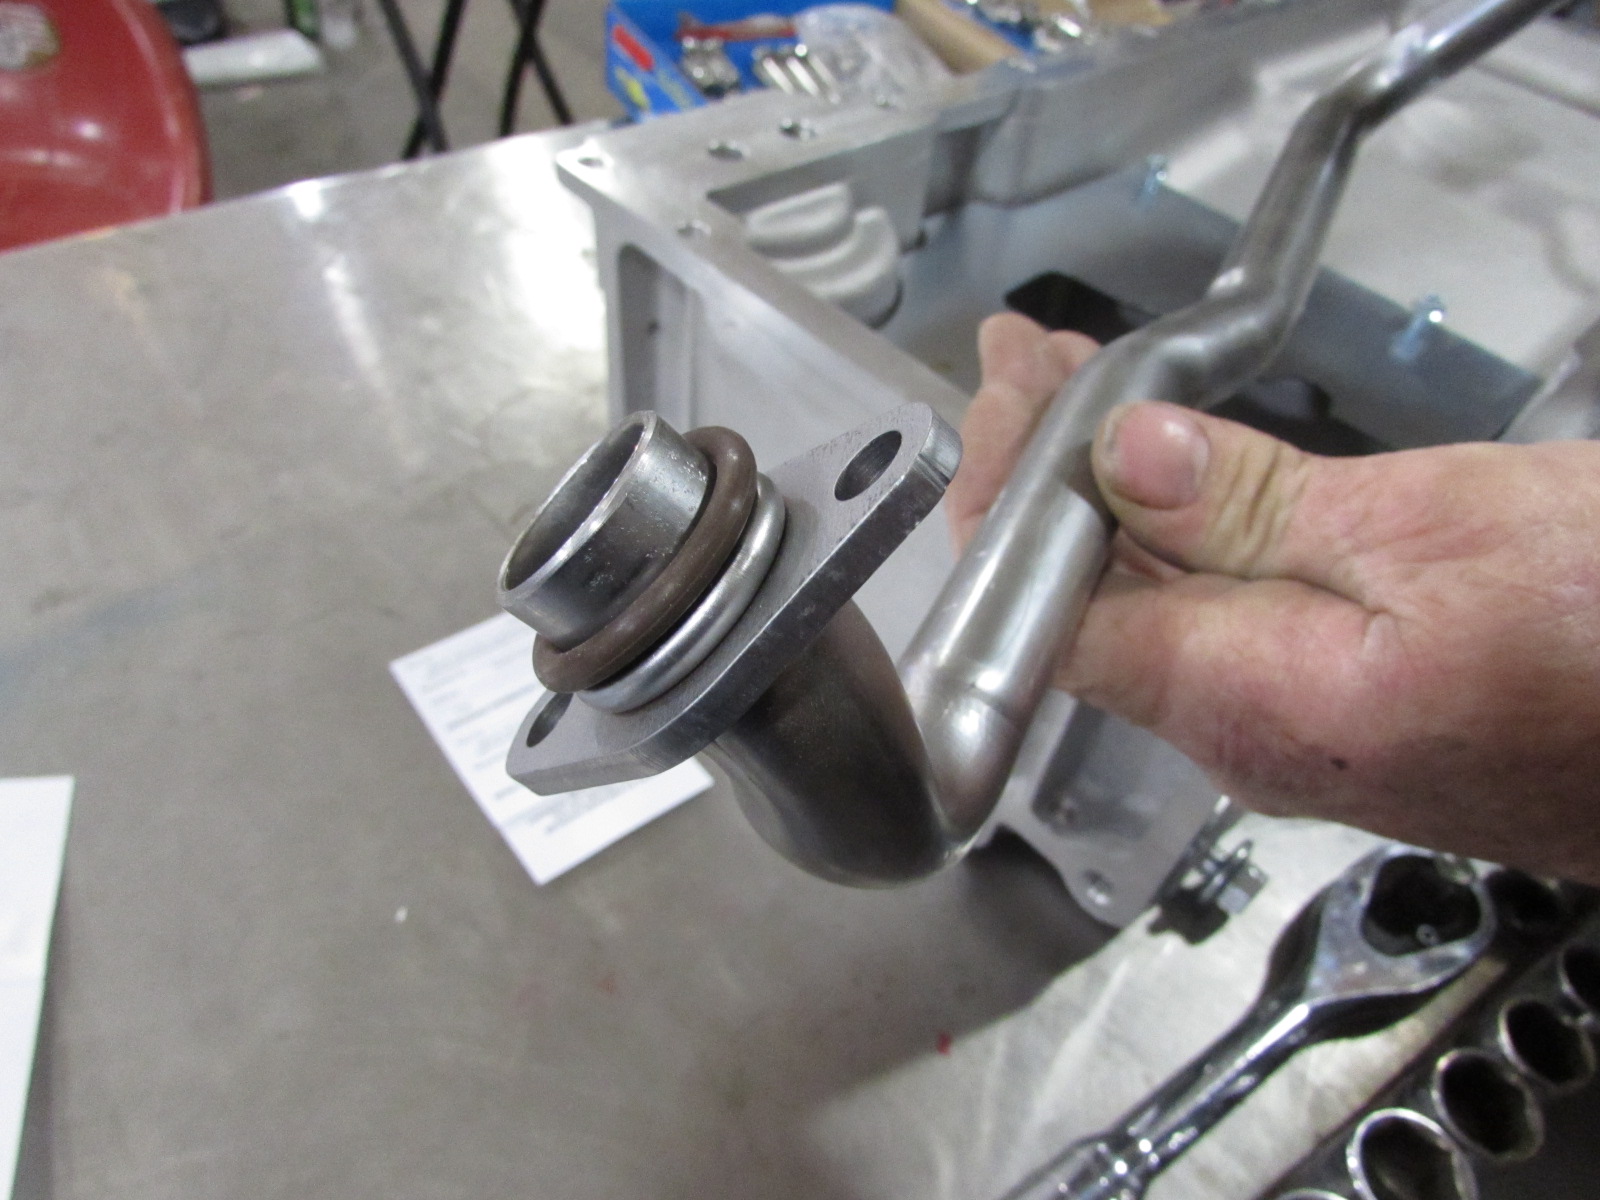
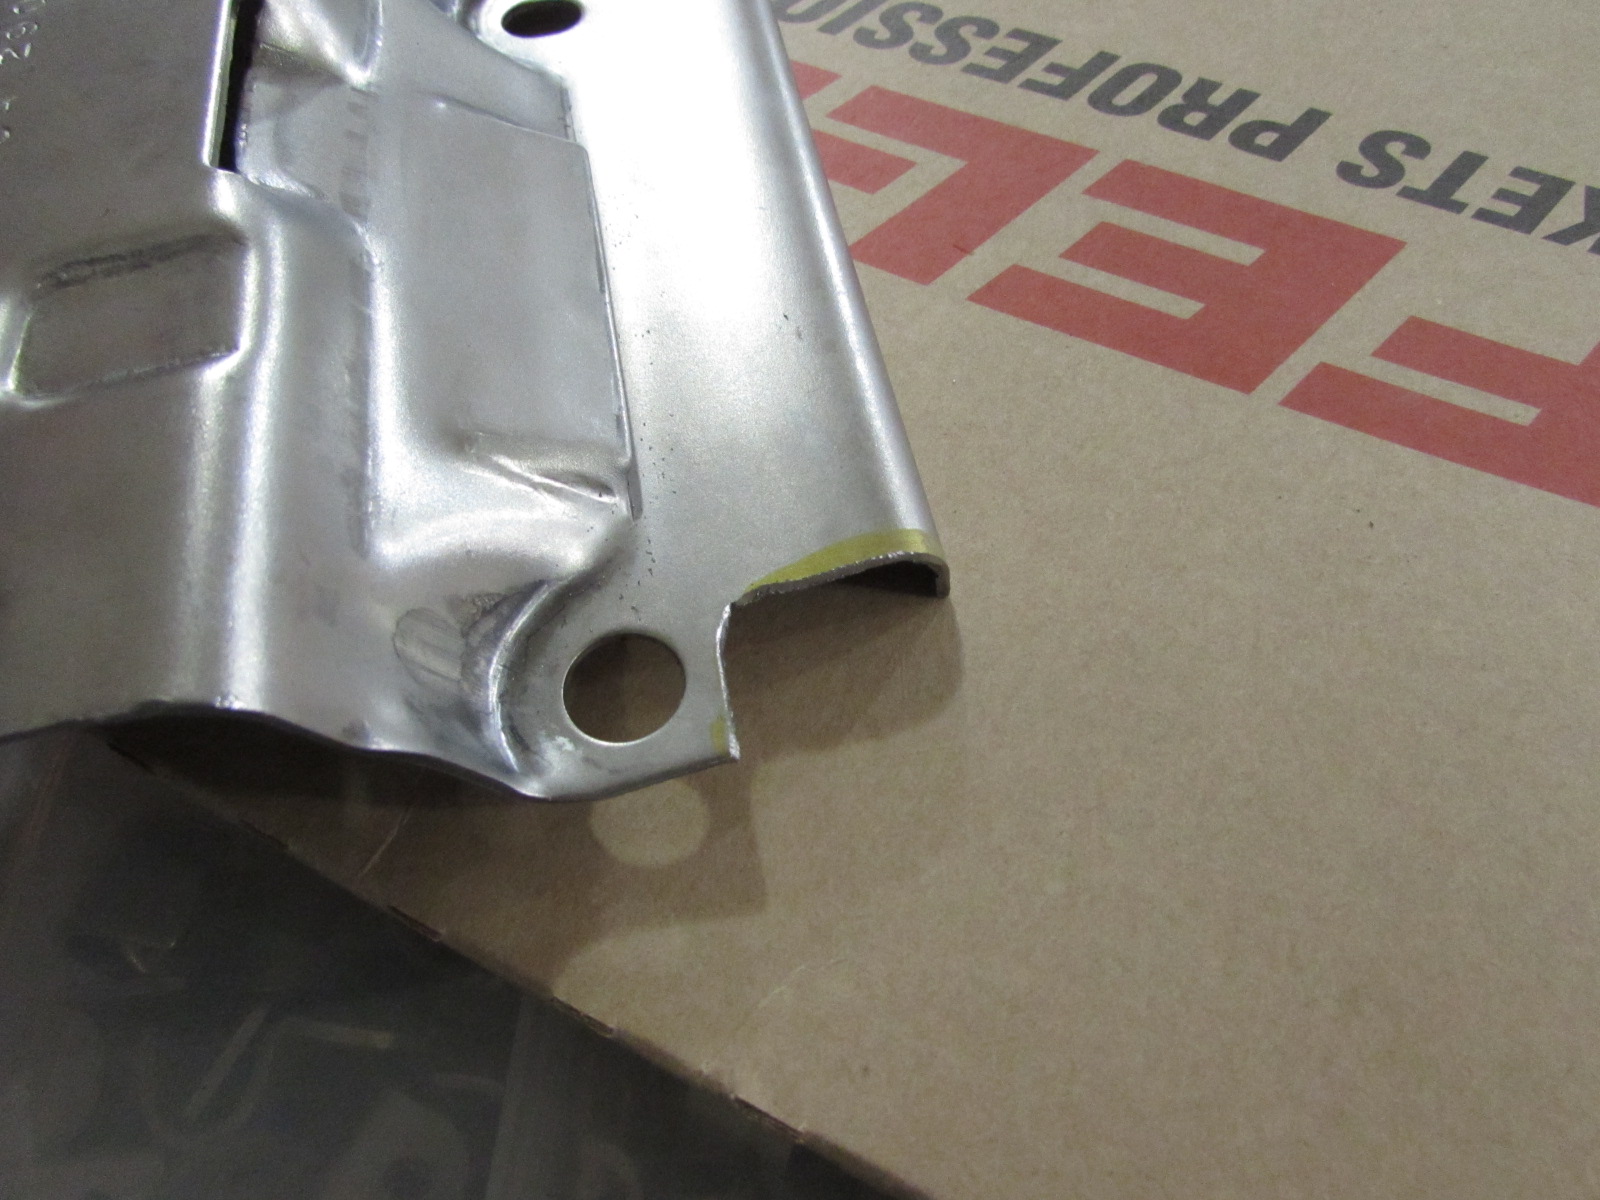
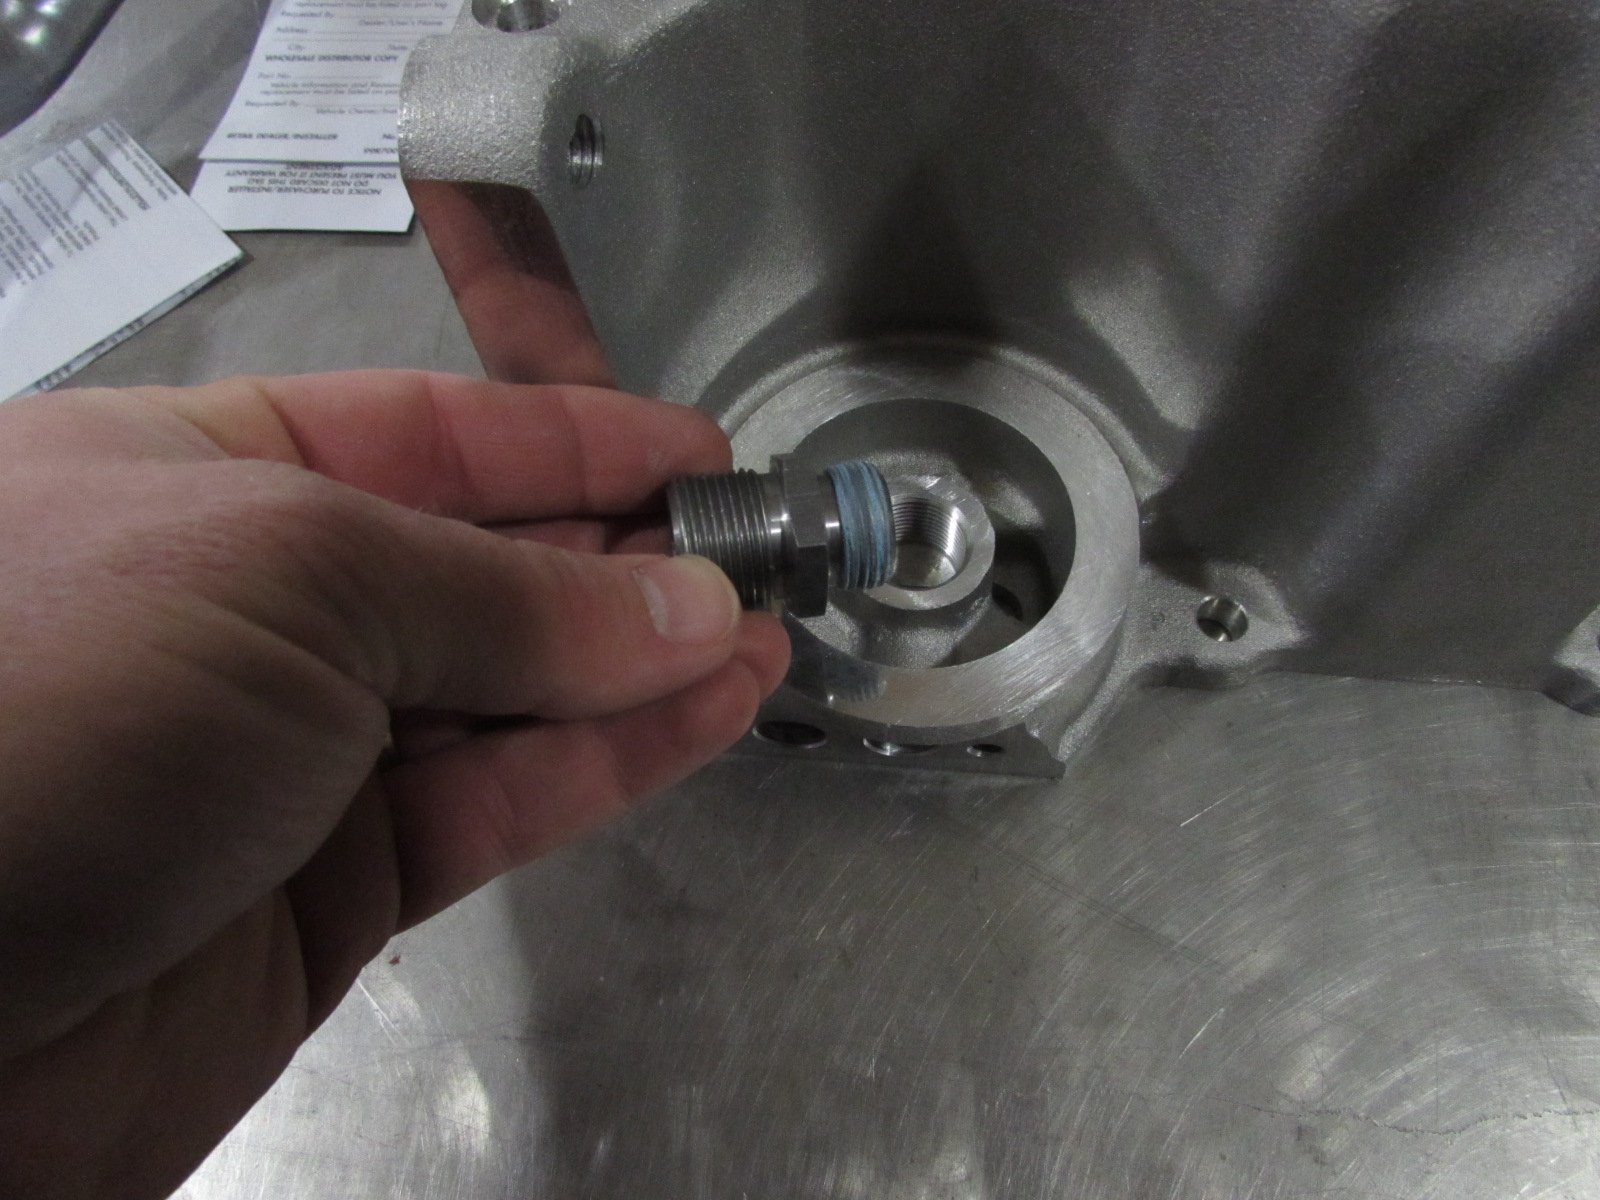
One of the biggest lessons we learned from this build is that there are about a bajillion little sensors, special bolts, and covers that you need to complete an LS build. We highly suggest picking up a high-mileage core from a salvage yard if you plan on building your own. The couple of hundred dollars you spend on a core could easily save you a few hundred more in the small parts.

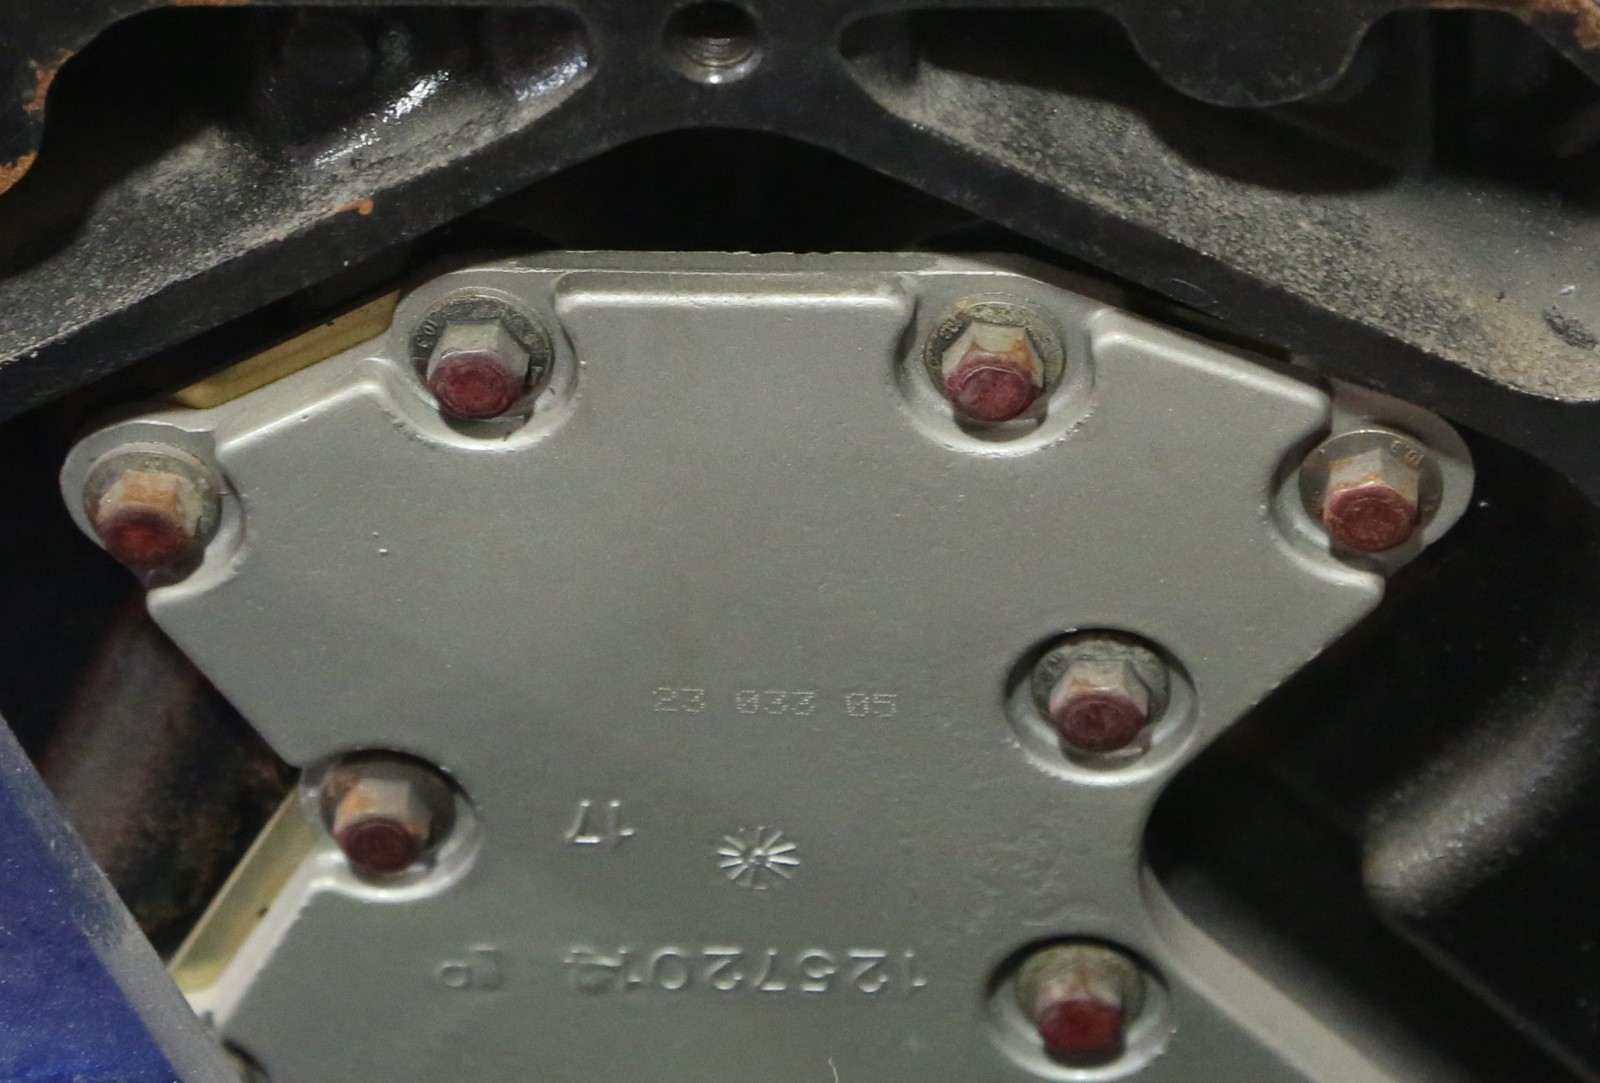
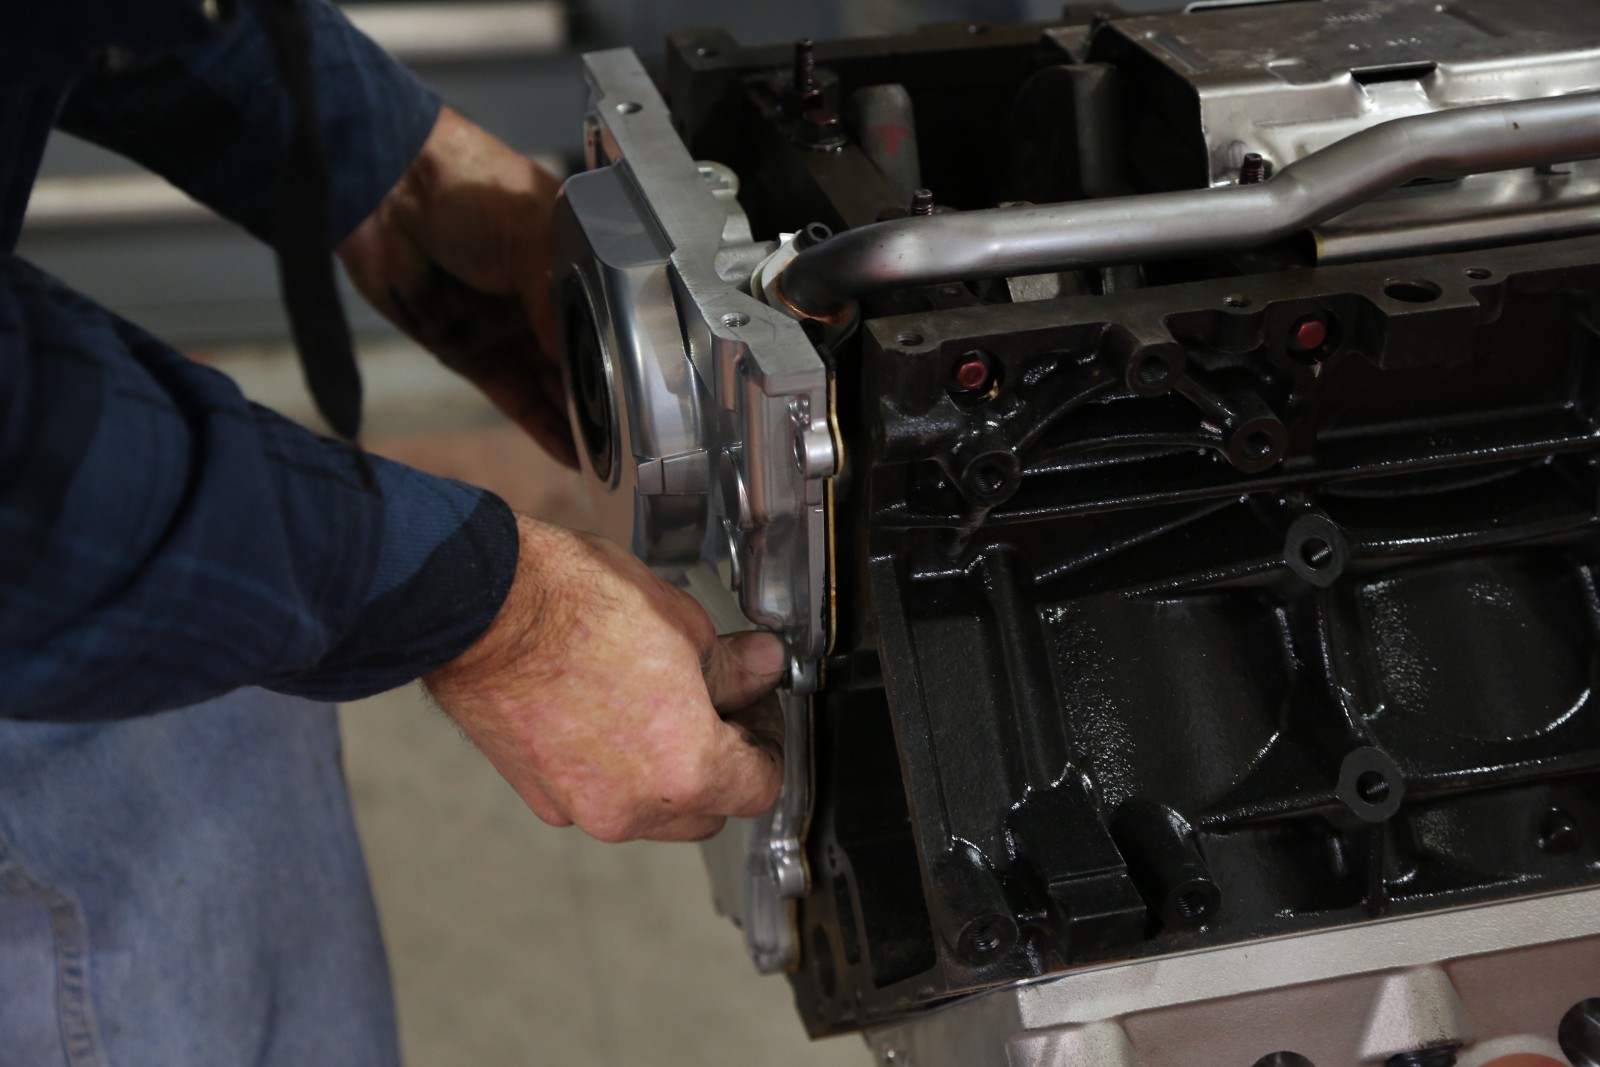
We put the long block together in the Red Dirt Rodz shop. Like most projects, it’s the little parts that get you. Fortunately, Summit Racing carries the bits and pieces needed so you don’t have to scrounge the yards or pay big money at the dealer. Using this article as a guide, you can have those parts in hand before you start building.

atk lq4 long bock crate engine on shop floor
bare crank snout on a gm ls engine
rear engine main cover for gm ls
using royal purple to lube a camshaft prior to installation
o ring seal on gm ls retainer plate
gm ls timing set with chain and gear installed
gm oil pump installed on ls engine with timing cover removed
installing a timing cover on a gm ls engine
lifter holders for a gm ls engine being lubed or install
mls cylinder head gasket being installed
trick flow gm ls cylinder head getting installed
installing cylinder head bolts with lube in gm ls engine
top view of gm ls valvetrain in cylinder head
installing valvetrain into gm ls cylinder head
Trick flow heads and summit valve covers on gm ls engine
cam sensor location on a gm ls engine
sensor port location for crank trigger on gm ls engine
holley oil pan for gm ls engine
holley oil pickup tube for gm ls with o ring
tri location for a gm ls engine windage tray
windage tray installed on a gm ls engine
oil filter port fitting for holley ls oil pan
oil trap plate for an ls holley engine oil pan
holley oil pan getting installed on LS engine
map sensor intake ports on fast lsxr intake manifo;d
front of fast lsxr 102 intake manifold
ls engine on rack with trick flow heads

Our build starts with an ATK LQ4 short block from Summit Racing. It’s based on a hand-picked core that’s had the main bores aligned and honed. ATK then installs an OE GM cast crank with an early 24x crank reluctor wheel, powdered metal rods, and OE-style dished pistons with moly rings. The block comes to you with cam bearings, oil gallery plugs, and freeze plugs installed.

First order of assembly business was slipping the crank gear and oil pump ring from the COMP Cams timing set onto the crank snout.

Unlike a Gen I small block Chevy, the LS uses a rear cover. We ordered this from Summit Racing.

The COMP Cams XFI RPM roller cam was slathered with Royal Purple Max-Tuff assembly lube and slipped into the block. COMP describes the grind as an LS6 upgrade with a very wide power range, good drivability, and excellent throttle response.

LS engines use a retainer plate to secure the cam. This one is from COMP Cams. There is an O-ring that seals the oil galleys—do not forget it. Each retainer bolt got a dab of medium threadlocker before being torqued to spec. The bolts are not supplied with the plate; you can source them from Summit Racing.

COMP Cams’ timing set has a cam sprocket that lets you set cam timing wherever you want between six degrees advanced and retarded. The three-keyway crank sprocket provides another four degrees of adjustment.

LS oil pumps go on after the timing chain is installed. You will need to source bolts for this as well.

There are two timing covers for LS engines—one with provisions for a front cam sensor and one for engines with a rear-mounted sensor. This is a front sensor cover. The gaskets on LS engines are almost all the reusable O-ring-type, including the timing cover. We used Fel-Pro gaskets on this build. The cover is secured to the block with ARP stainless steel bolts.

If you don’t have a donor motor, you’ll need to purchase a set of lifter holders—we got ours from Summit Racing. Each holds four lifters; we slid our COMP Cams roller lifters into the holders, lubed them, and dropped the holders in the block.

LS engines use MLS (Multi-Layered Steel) head gaskets, which provide better sealing than traditional gaskets, especially with power adders. We used new Fel-Pro gaskets.

We dropped the Trick Flow GenX 220 aluminum cylinder heads on the block. These LS2-style heads feature as-cast 220cc intake runners and CNC-machined 65cc combustion chambers. These heads flow some impressive numbers; with no porting, the GenX 220s flow 306 cfm at .550 inches of lift.

The ARP head bolts get a liberal coating of ARP assembly lube. The head bolts are installed with a washer, hand-tightened until snug, then torqued in sequence in three equal steps. Keep in mind that GM head bolts are torque-to-yield and are not reusable. Always use new bolts!

The rocker arms studs go through the intake runners. If you use stock-type rockers, you will need to use the rocker support base. We are using COMP Cams roller rockers with individual studs, so the base is not required.

After installing the COMP pushrods, we bolted on the rocker arms. The rockers were tightened with the supplied locks and preloaded approximately a half-turn.

We bolted on a pair of Summit Racing aluminum valve covers and a stock valley cover we sourced locally. We planned on using a billet valley cover, but the one we ordered did not have provisions for the factory knock sensors. The factory cover comes with the knock sensors.

The cam sensor goes in the rear of the block right behind the valley cover. If you choose to run the LS2 front cam sensor, you will need to plug this port. Make sure you know which sensor type you will use before you buy parts. The front sensor requires a different timing set, and you’ll need a cam with a built-in timing lug if using the LS1-style rear cam sensor.

GM used two types of crank triggers on LS engines—24-tooth and 58-tooth. The 2004-earlier LQ4 used a 24-tooth reluctor wheel. Changing the sensor type is not easy, but you can use a converter module to emulate the 24x signal with a 58x engine. Black sensors are 24x, gray sensors are 58x.

If you are swapping an LS engine into a vehicle that didn’t come with one, you need an oil pan that will fit your chassis. We used a Holley engine swap pan for a first-gen Camaro. It also works well in 1964-72 GM A-bodies like our GS if the engine is raised about a half-inch from the stock position. This allows the pan’s deep front sump to clear the A-body’s steering linkage.

The Holley pan comes with the correct oil pickup tube. Don’t forget the O-ring.

The factory windage tray interferes with the Holley pan’s pickup tube, so we marked where the tube hit and trimmed the tray with a band saw. Make sure that any shavings are removed and dress the cut with a file or die grinder.

With the tray properly trimmed, the pickup dropped right into place.

Holley’s LS swap pans incorporate the stock oil filter location. The oil filter nipple comes in a bag—don’t forget to find it and thread it in the pan.

The Holley pans comes with an oil trap, a stamped-steel plate that helps trap oil in the sump. Don’t forget to put some threadlocker on the bolts.

The assembled oil pan was fastened to the block with ARP stainless steel bolts torqued to spec. The ARP Engine Accessory Bolt Kit is a real godsend—it includes bolts for most of the external engine accessories. The bolts are reusable and really nice looking to boot.

The FAST intake has two ports for the MAP sensor—one in front, one in back. Neither come drilled, so choose the one that works best for your application and drill it out. This is the rear sensor port, which requires disassembling the intake to access.

This is the front MAP sensor port. If you use this one, put a vacuum hose in the throttle body opening to suck out any plastic shavings.

The assembled LQ4 long block is now ready to install in the car.

Keywords
Share this Article

Jefferson Bryant has been a full-time automotive journalist since 2003. He has written countless how-to articles, nine books, and built several award-winning vehicles.