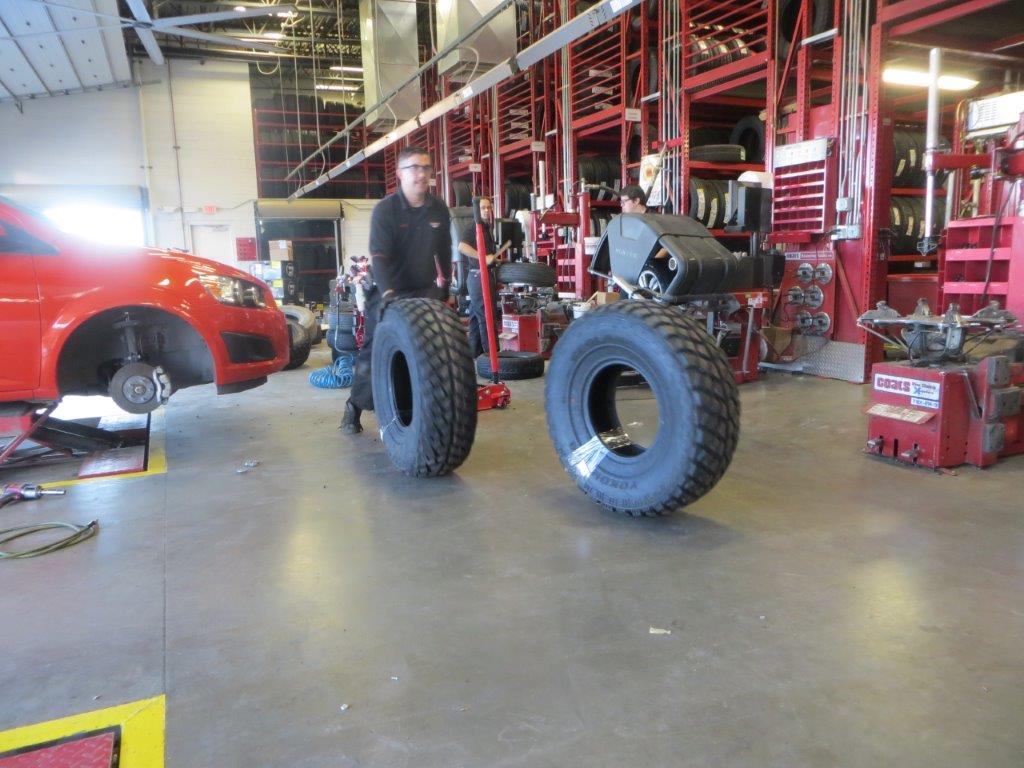
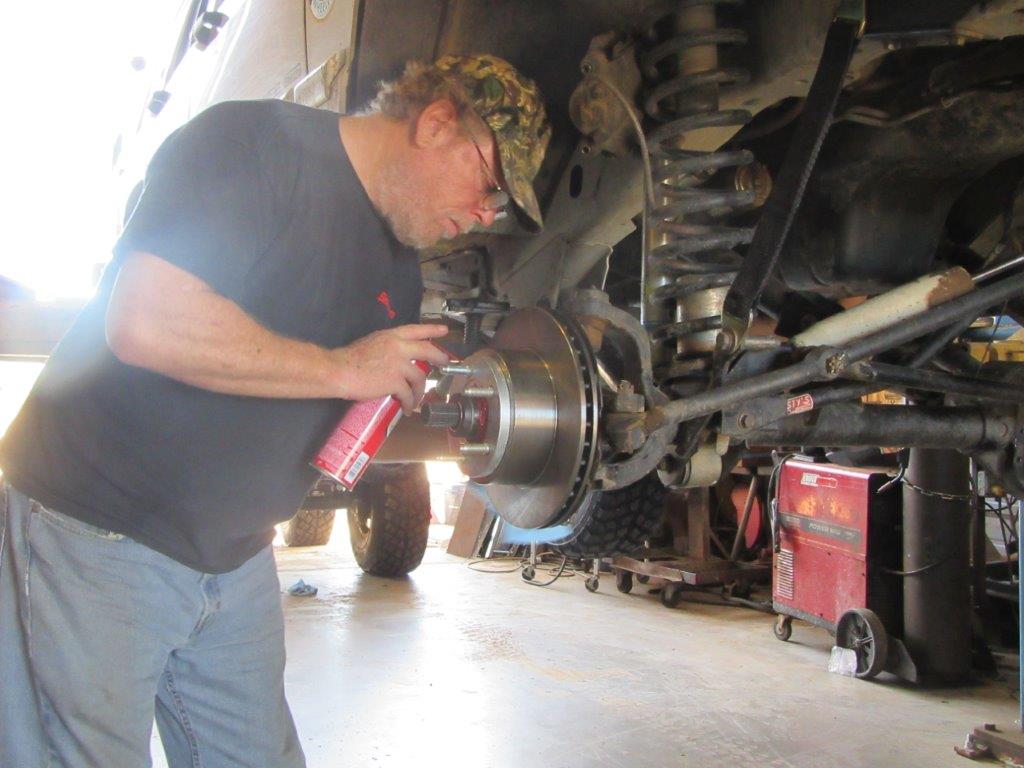
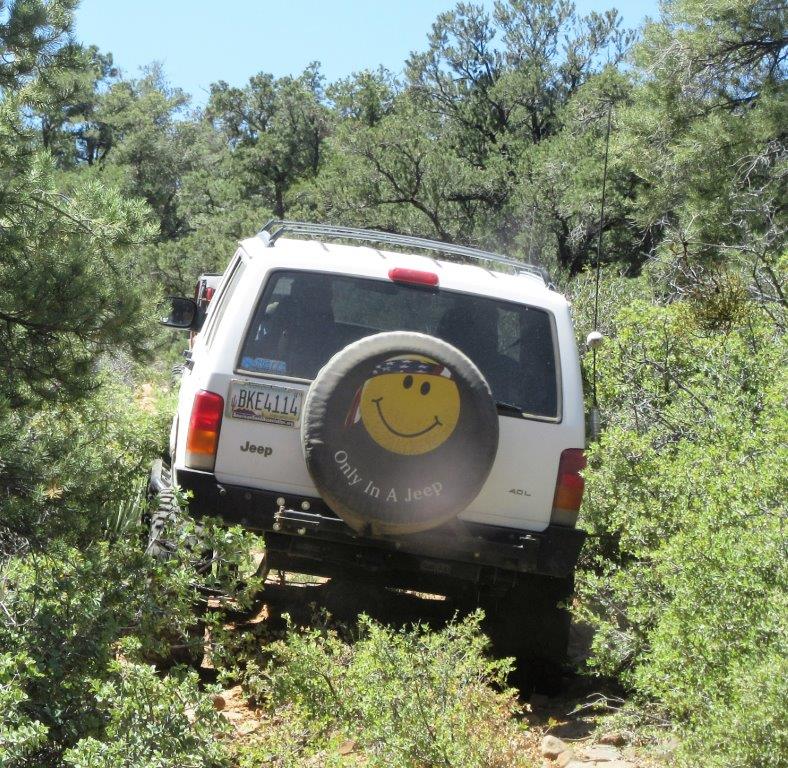
When Mike Barnes bought new tires for his 1997 Jeep Cherokee, he had no idea that the increased traction of the Yokohama Geolandar M/T tires might cause a weak link in his Cherokee’s driveline. He later found out from fellow club members that the enhanced traction of the Yokohama Geolandar M/T has almost eliminated the use of selectable lockers.

While many tires will see a loss of traction when they’ve experienced extended tread mileage, Geolandar M/T tires feature a directional tread pattern for outstanding, long-lasting traction and easier clean-out. Plus, the tires have extra sidewall ribs, an advanced tread compound, and a step-block groove configuration to increase their surface area. The increased traction is great, but it can also lead to twisted or broken front axles, broken axle U-joints, and other potential issues if the 20-year-old OEM axles aren’t updated.

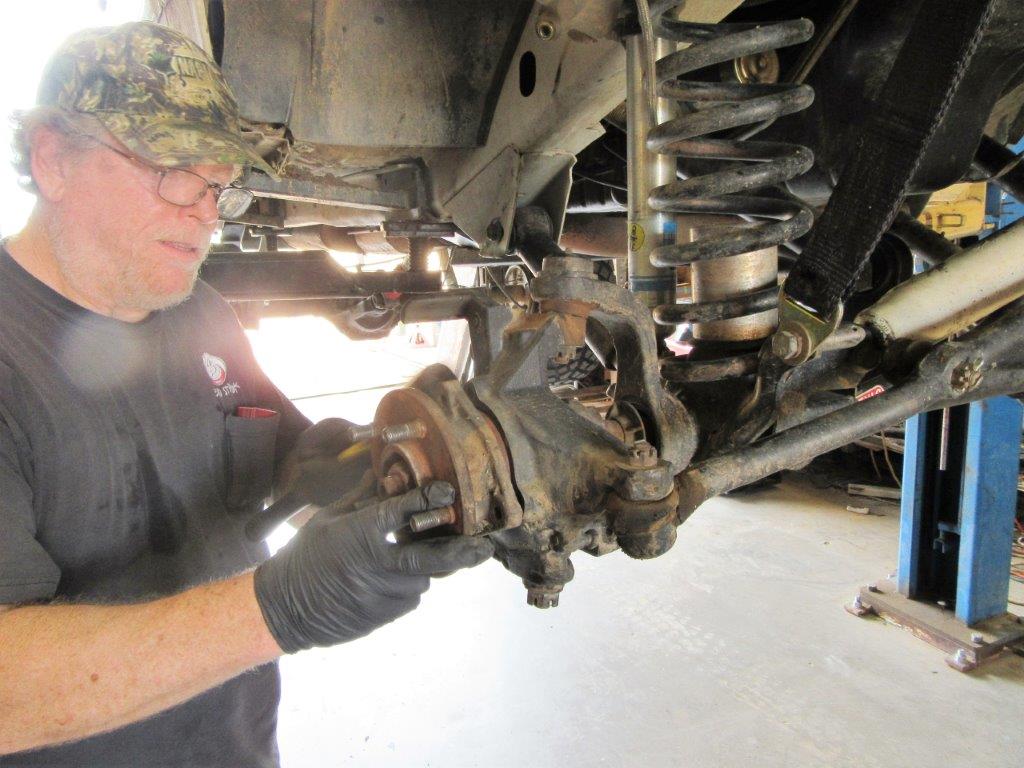
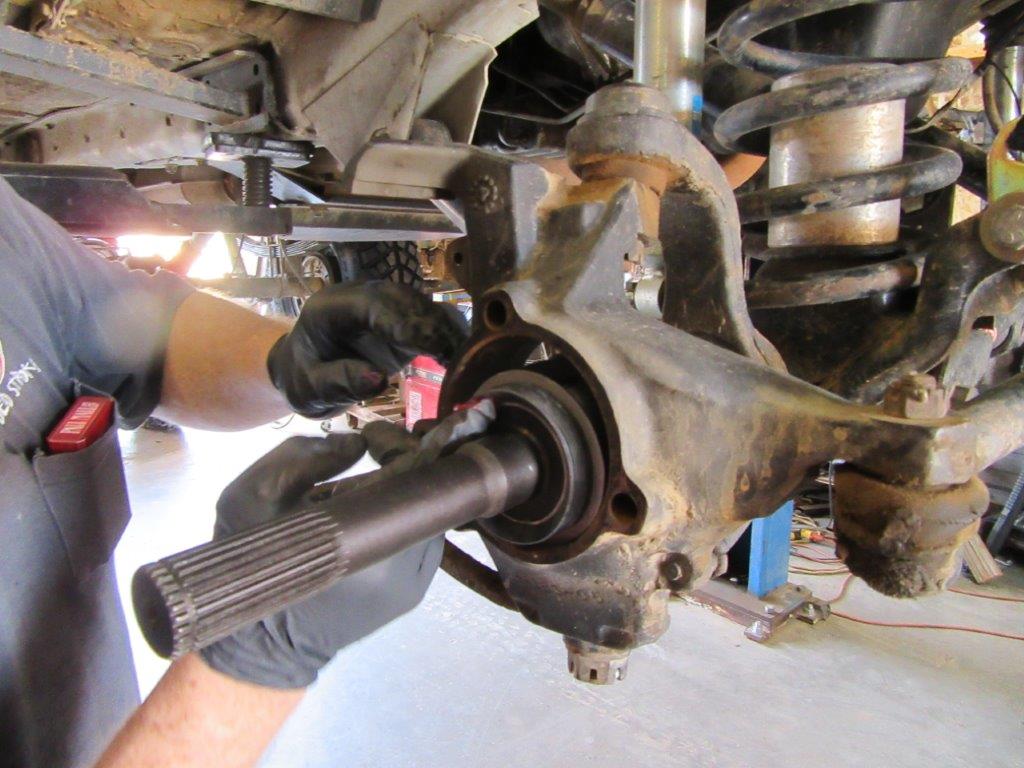
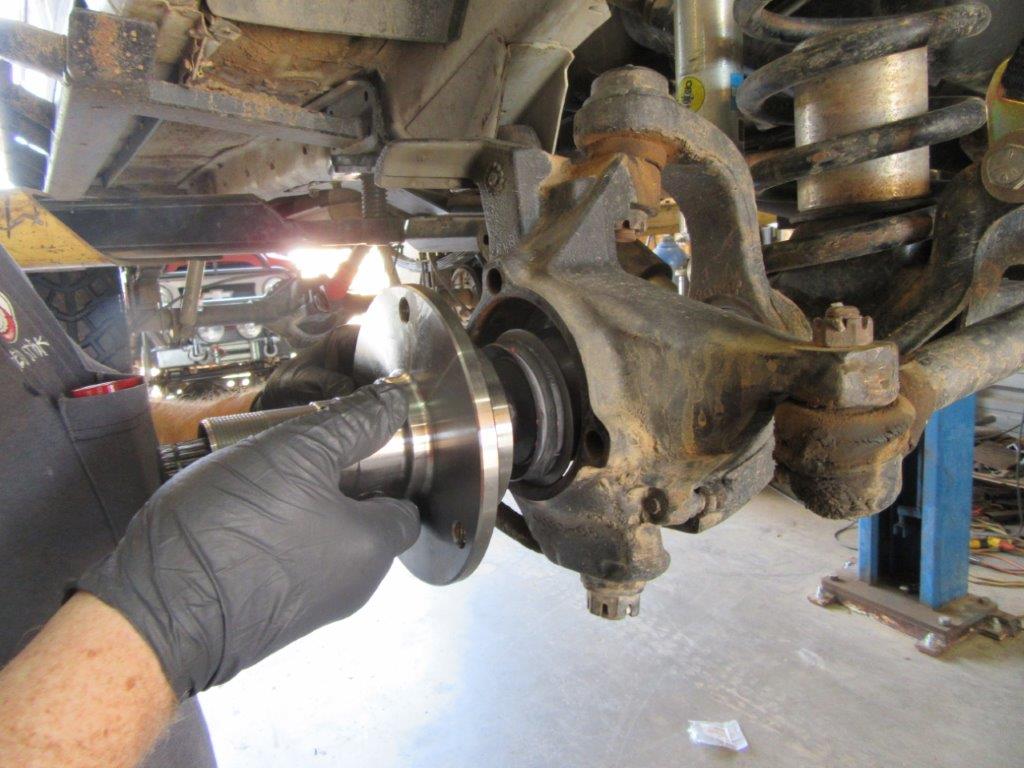
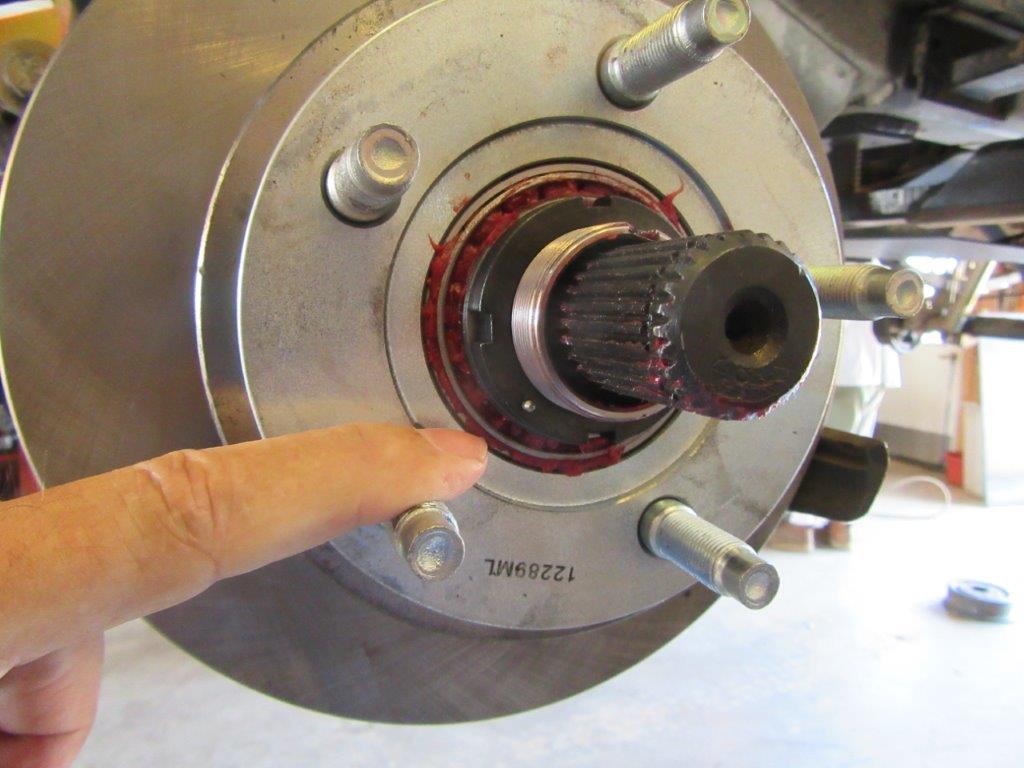
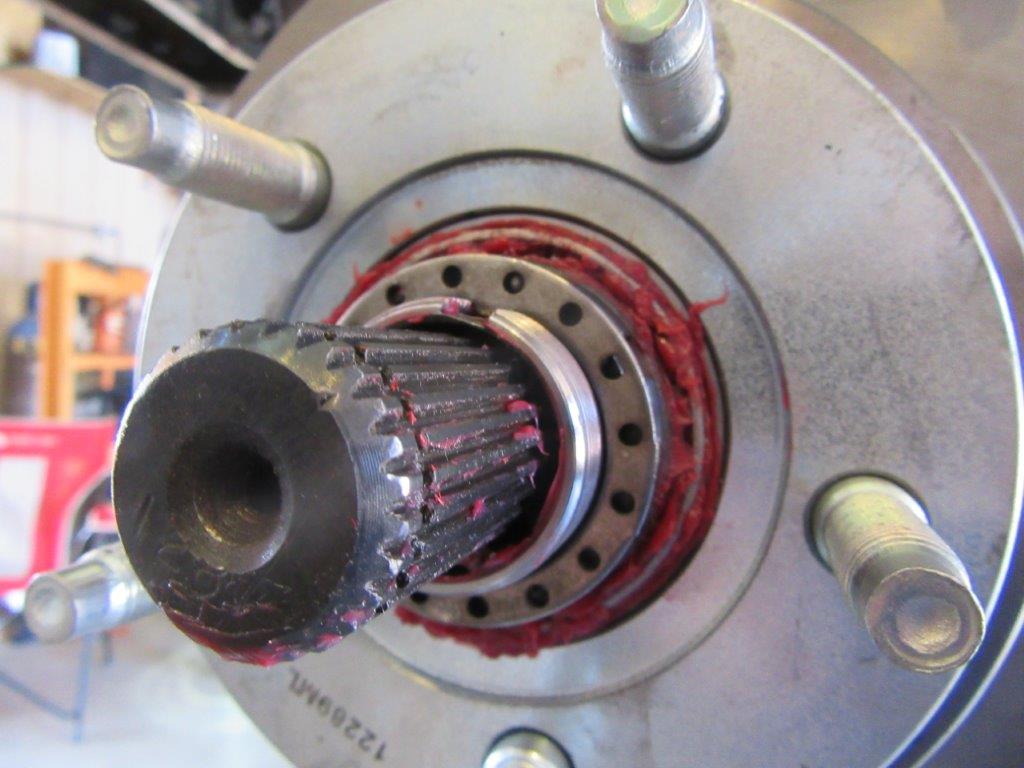
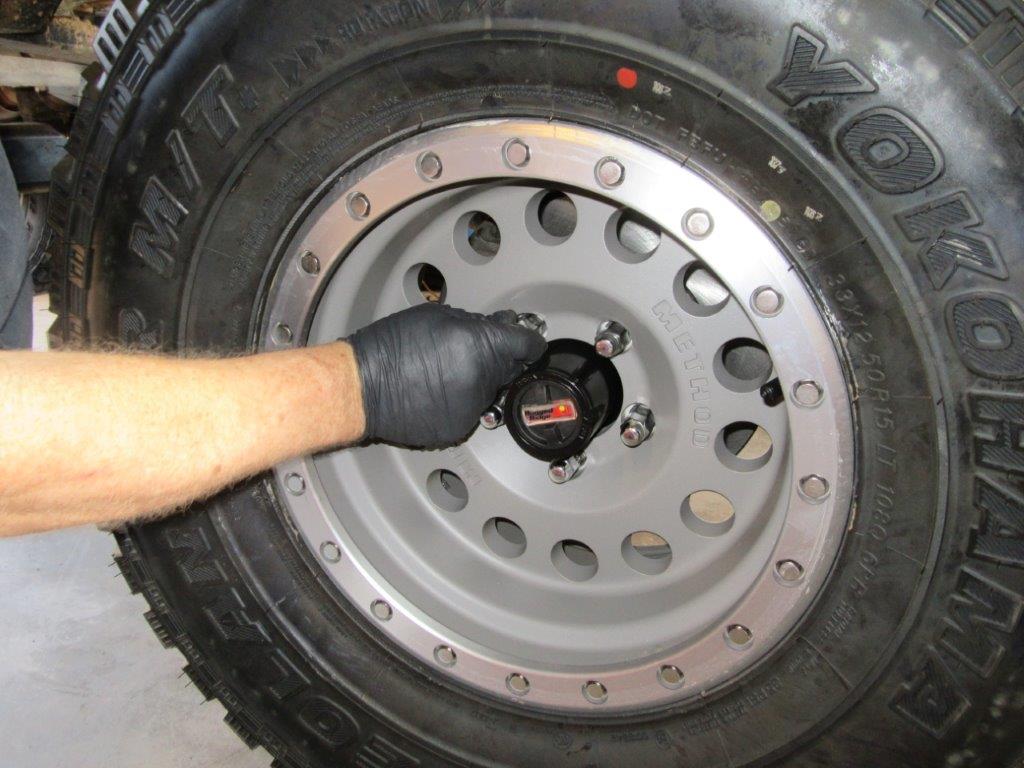
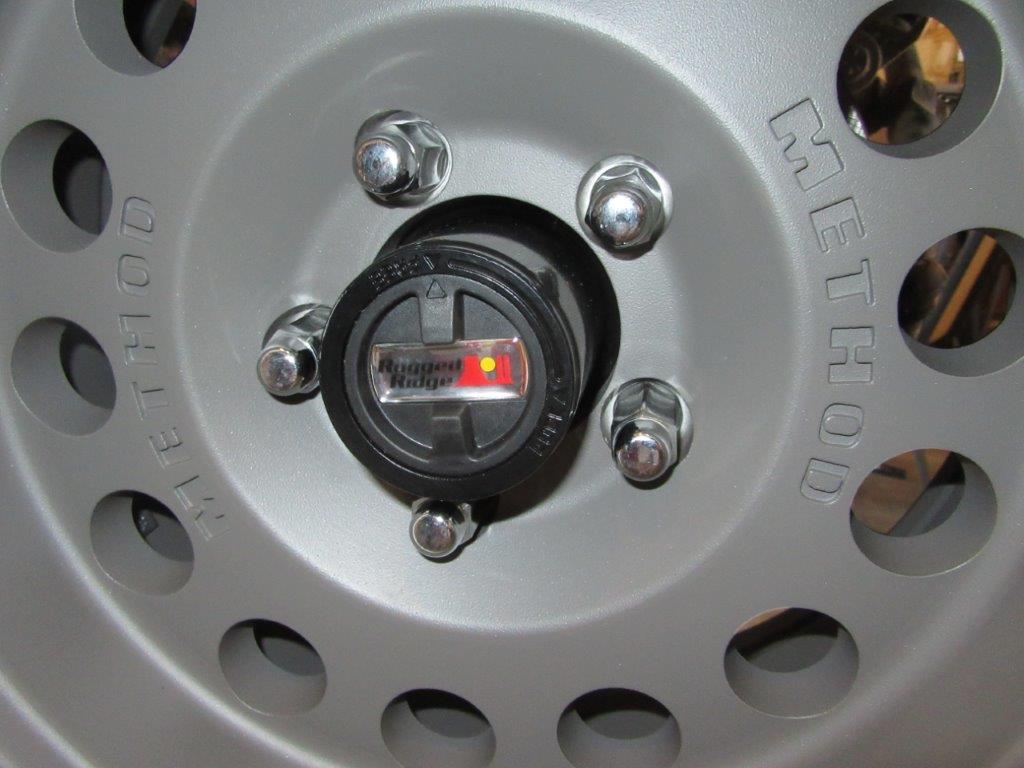
Barnes decided to preempt any possible problems by swapping in a chromoly front axle and manual (freewheeling) hub kit. Freewheeling hubs allow you to manually engage and disengage your front axle, so you can get four-wheel drive traction when you need it. They were offered as options by four-wheeler manufacturers for decades, but were all but phased out in favor of full-time four-wheel-drive transfer cases and, eventually, selectable transfer cases. Nowadays, hubs on new vehicles are rare, but they can still provide many benefits, especially if your Jeep is your daily driver. These benefits include improved highway gas mileage, reduced front driveline wear and tear, easier steering effort, and reduced front tire wear in some cases.

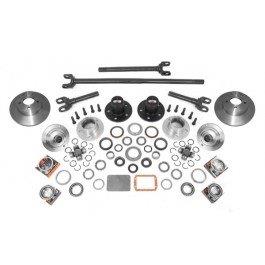
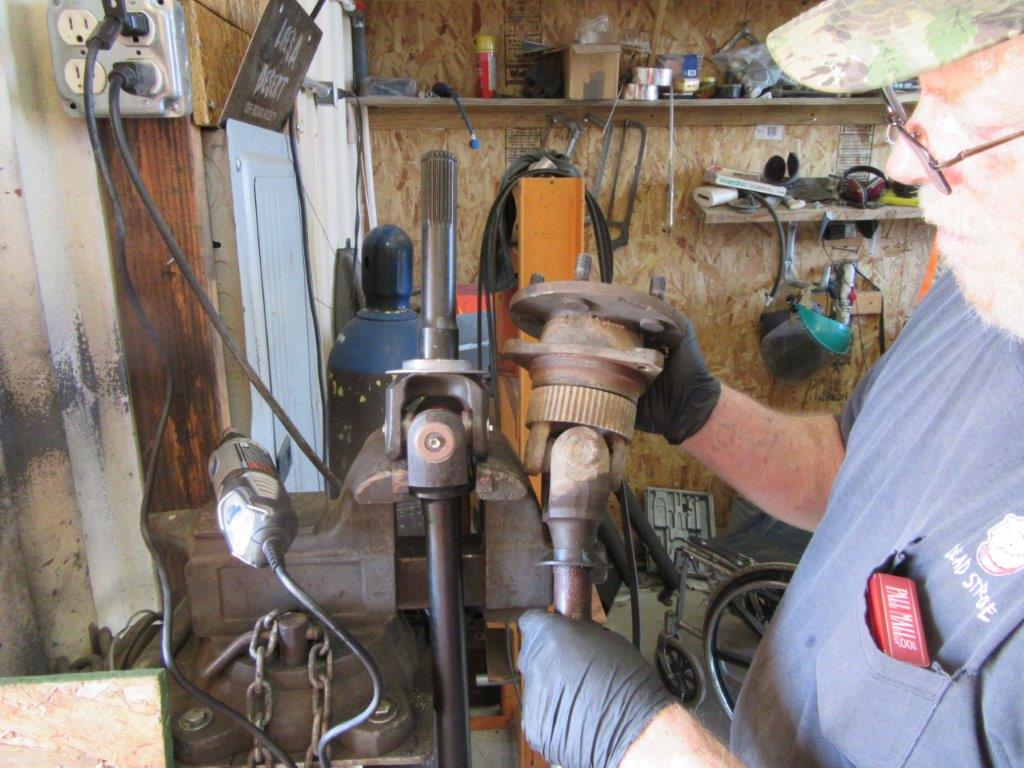
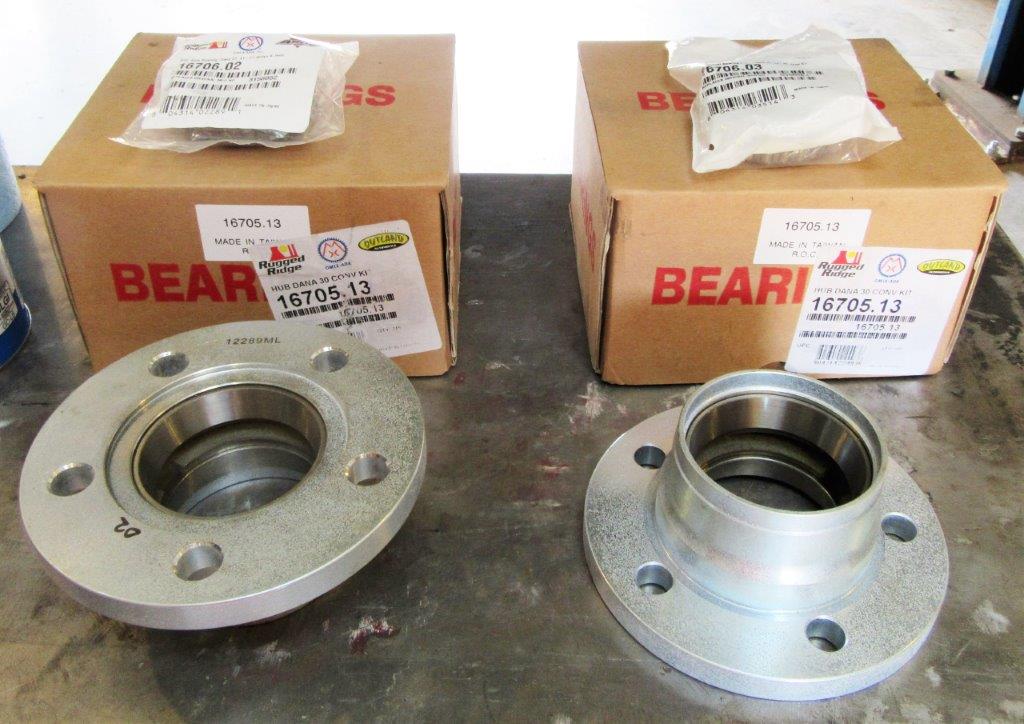
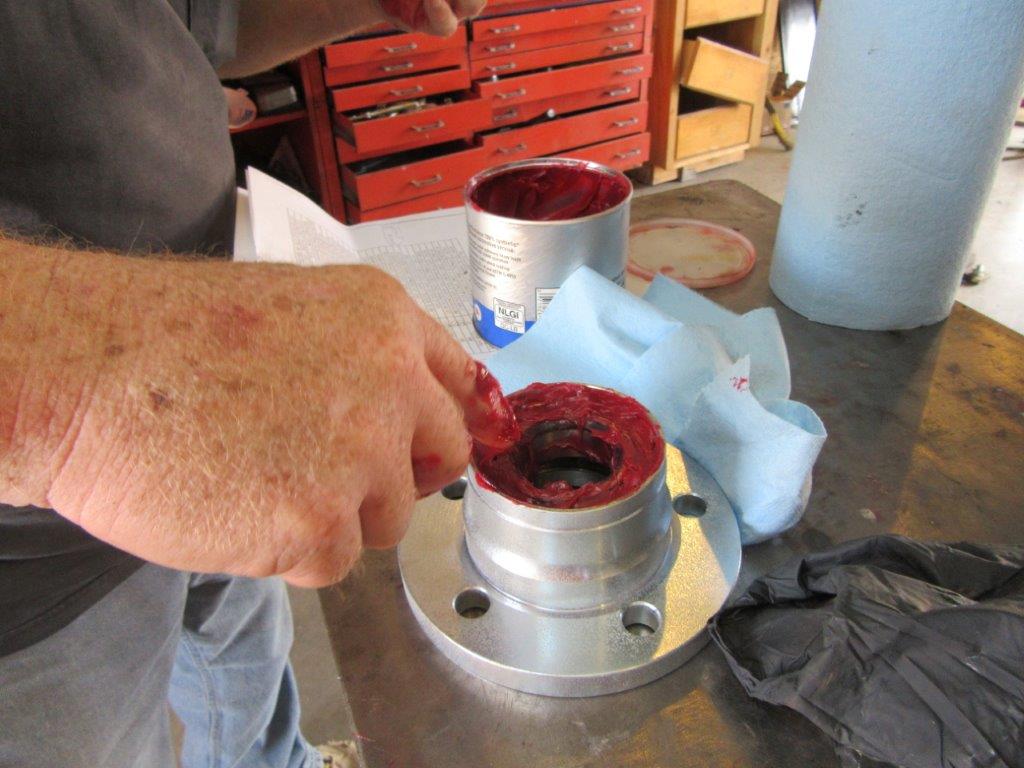
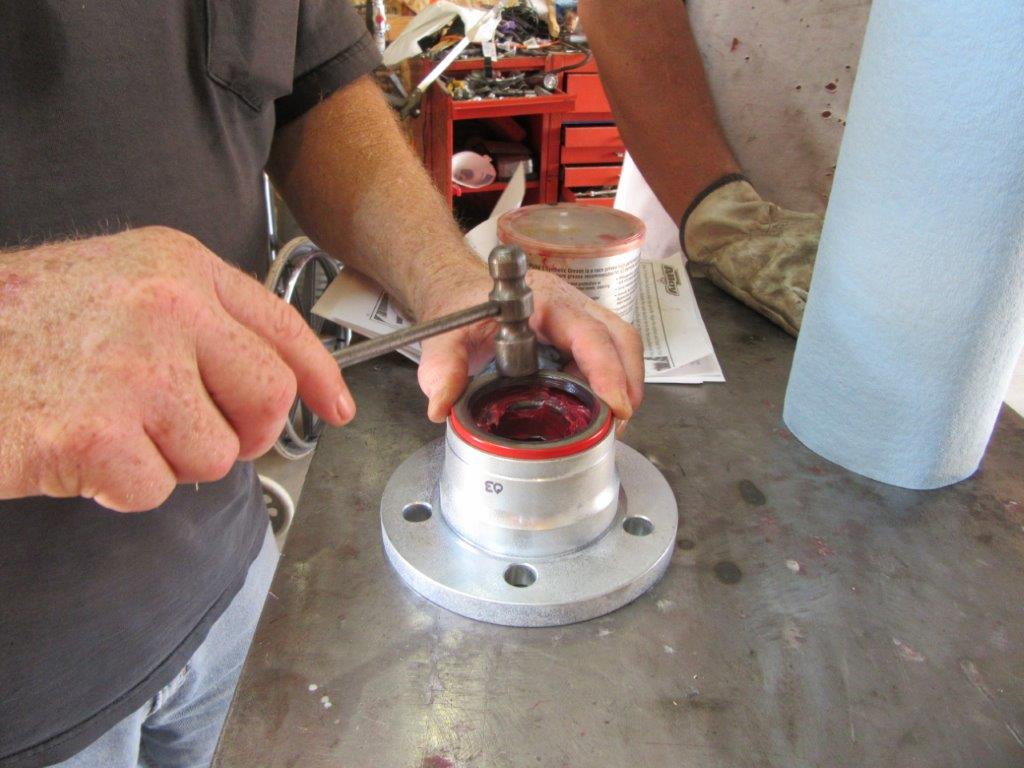
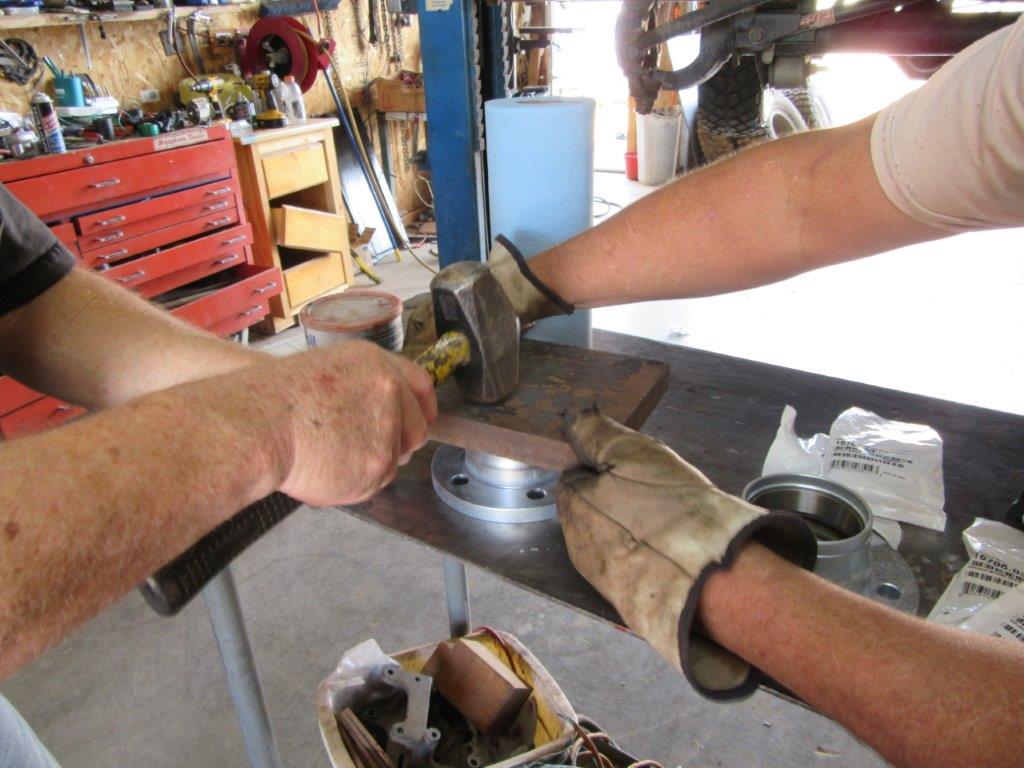
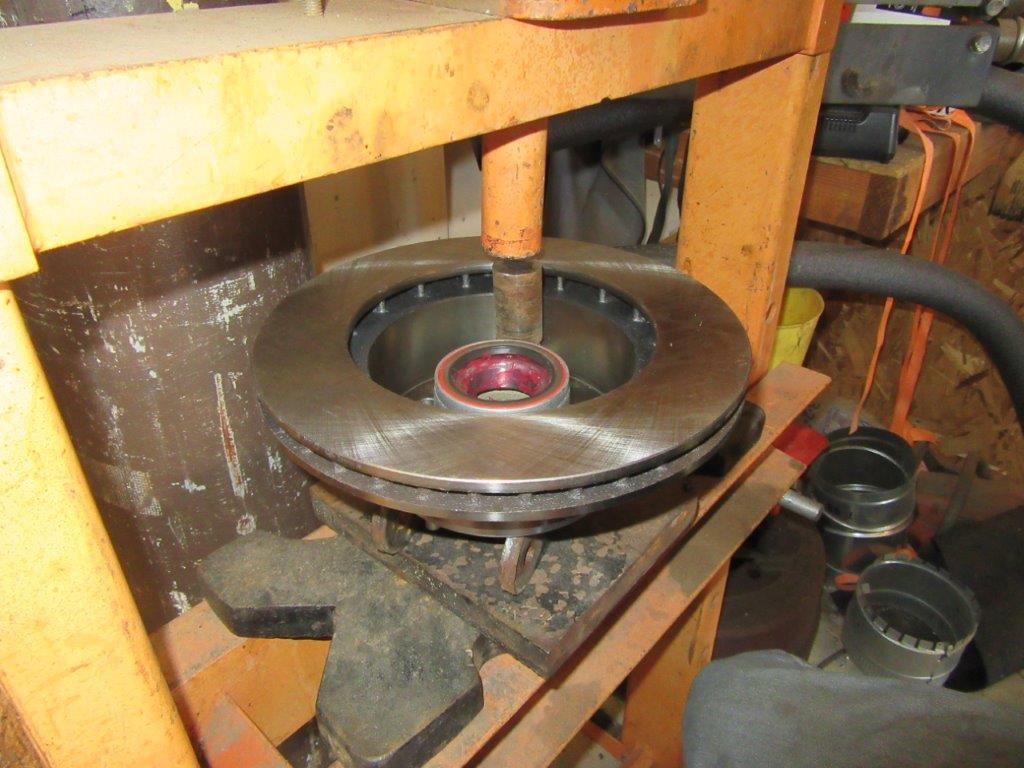
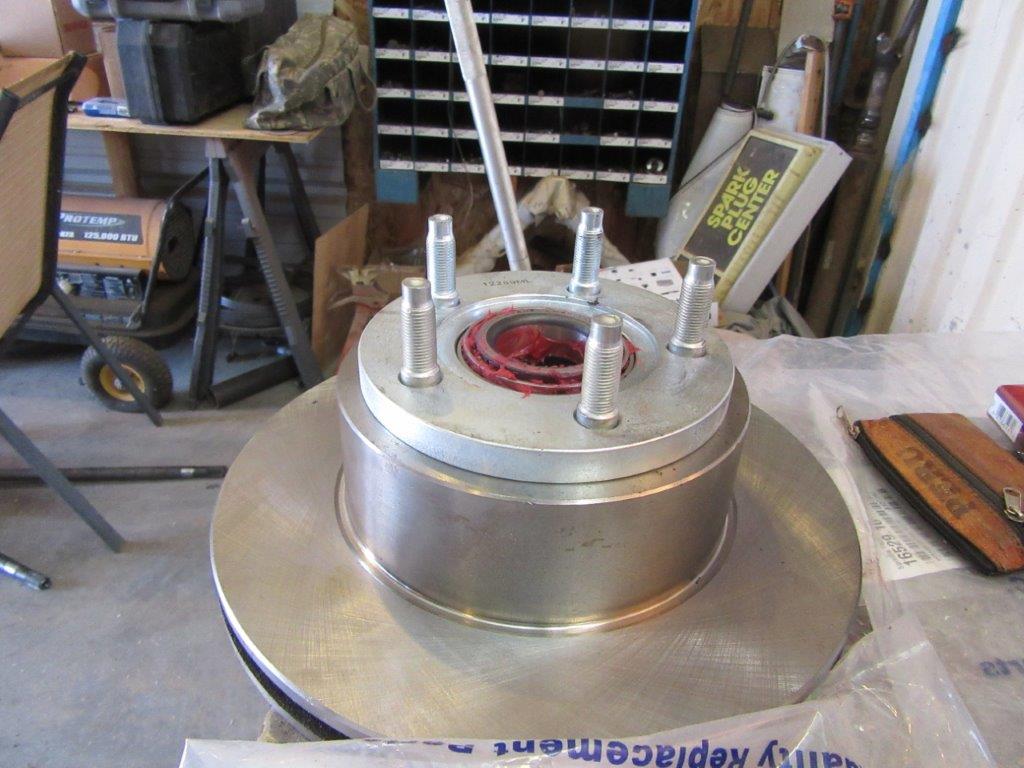
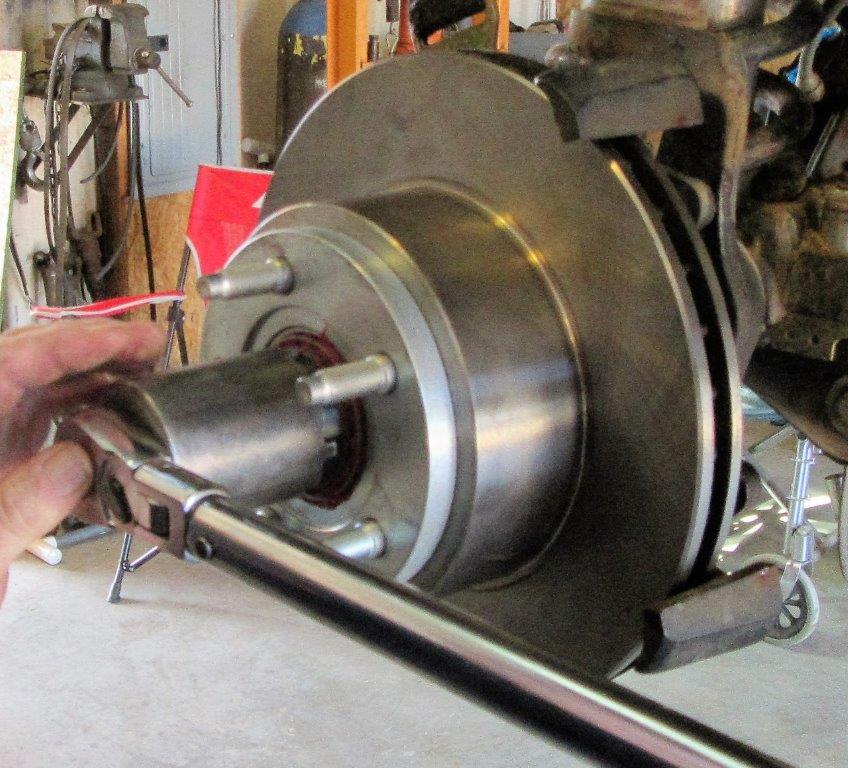
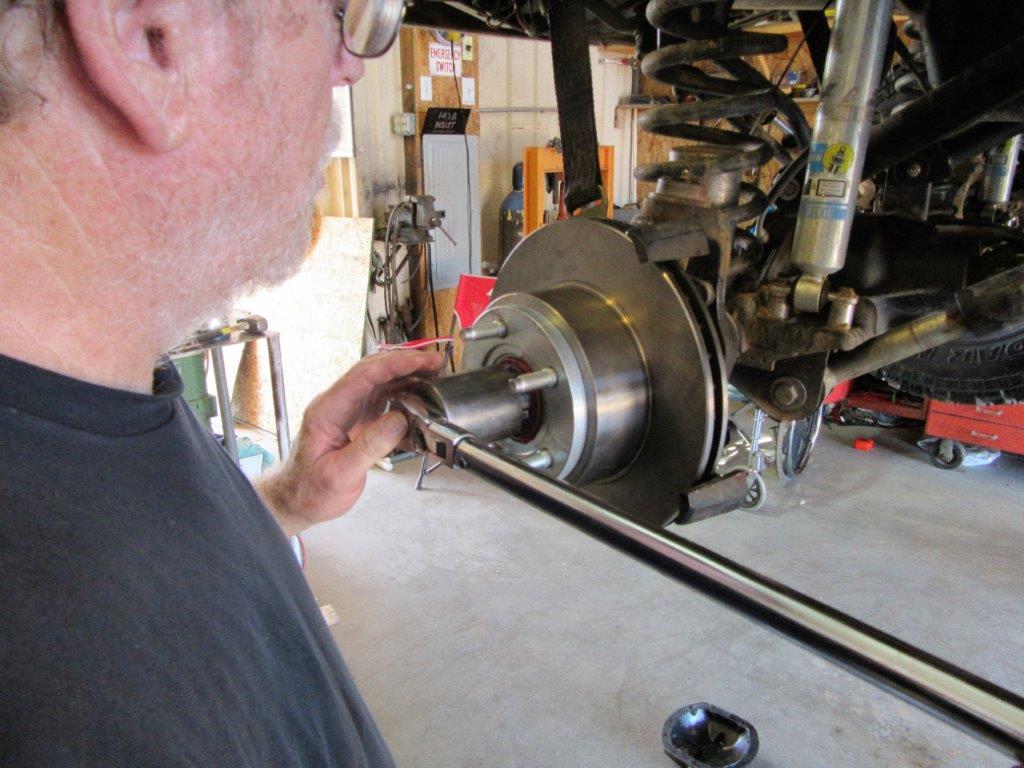
Alloy USA’s Manual Locking Hub Conversion Kit for 1984-06 Jeep Cherokee/Wrangler was the perfect choice to convert Barnes’ Dana 30 to freewheeling. The conversion kit comes with new, very strong front axles, U-joints, bearings, seals, and brake rotors. (Please make note: This kit is for the Dana 30; it won’t work on a Rubicon Dana 44 axle.) Installing the conversion kit is not an easy two-hour task that anyone can do at home. You’ll need sufficient experience, a full set of hand tools, and a floor jack and jack stands (or a lift). If you know what you’re doing, you can expect the installation to take six to eight hours.

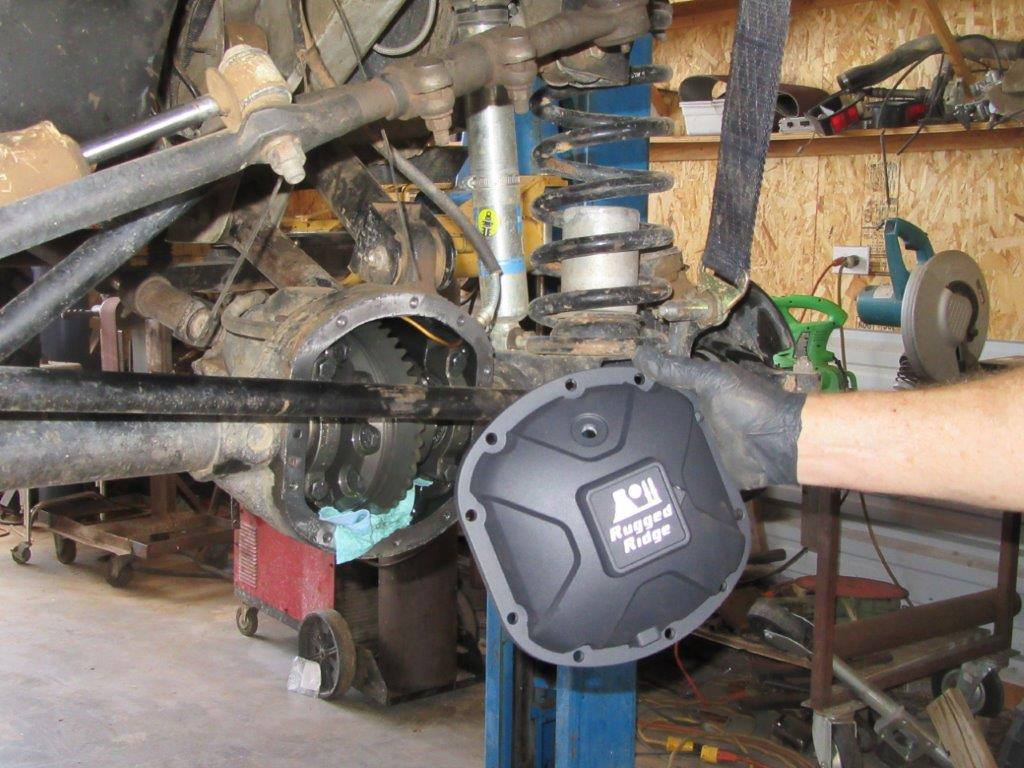
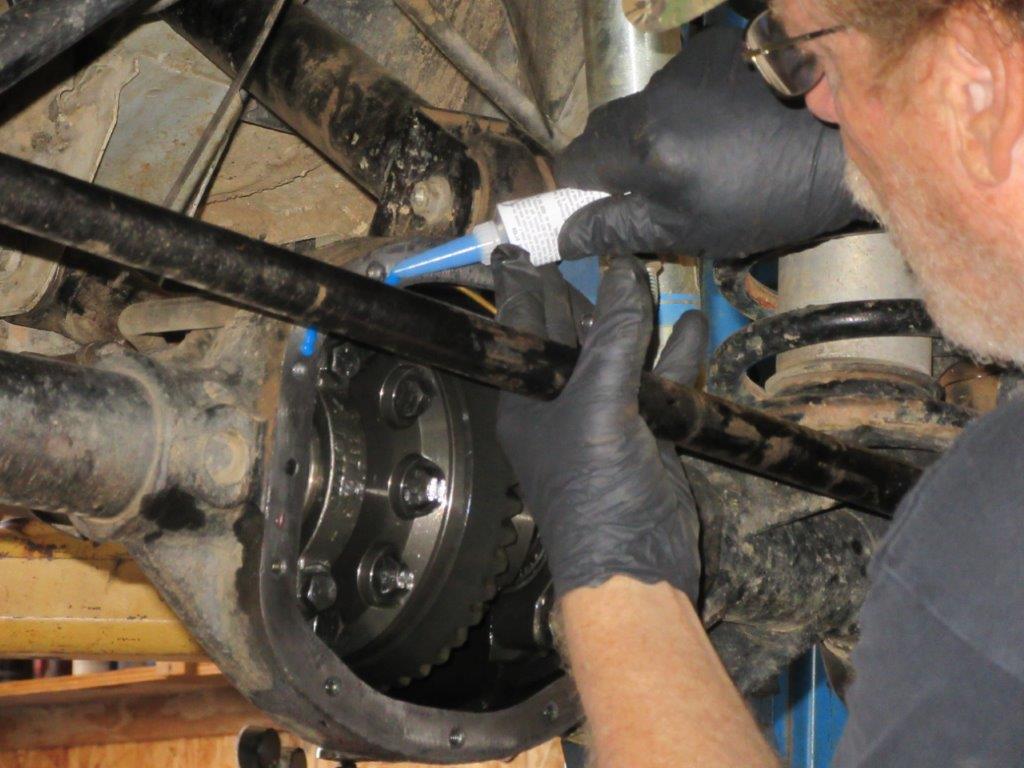
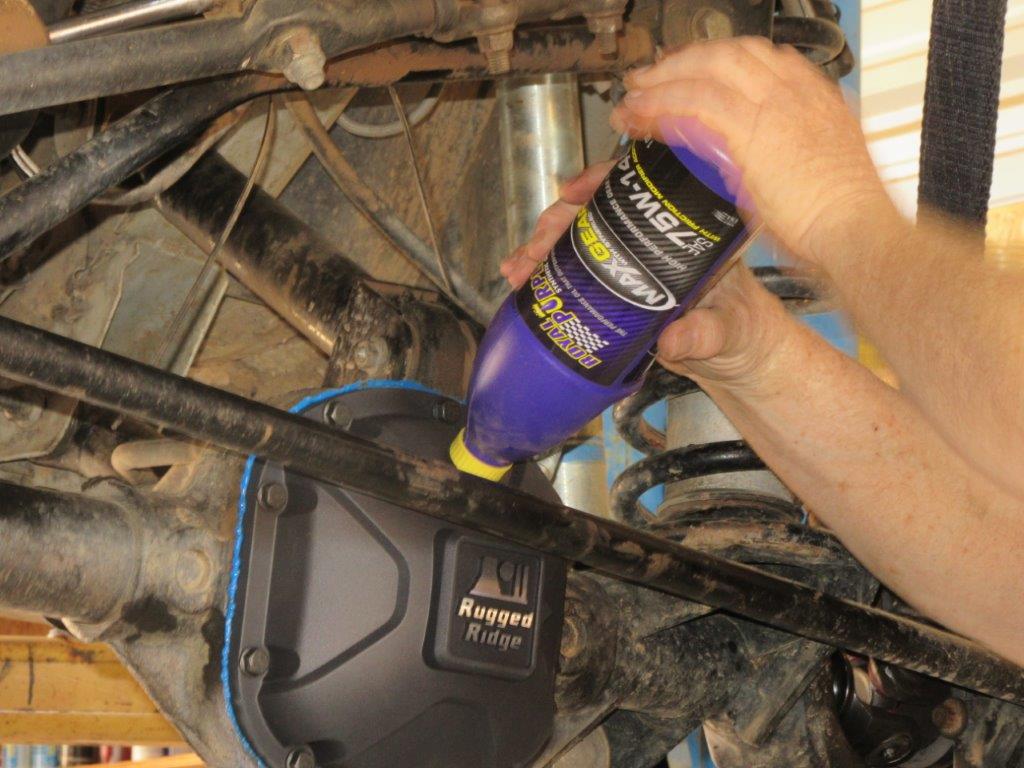
Your first step is to thoroughly read the entire set of installation instructions; however, we had two additional steps that many of you won’t find necessary: Changing the differential cover and the fluid. We’ll be using Royal Purple Max-Gear (75W-140W) synthetic gear oil, which is a high-performance GL-4 and GL-5 automotive gear oil designed to provide maximum protection to heavily loaded gears. It outperforms many other oils and makes your gears run smoother, quieter, cooler, and longer without overhauls.

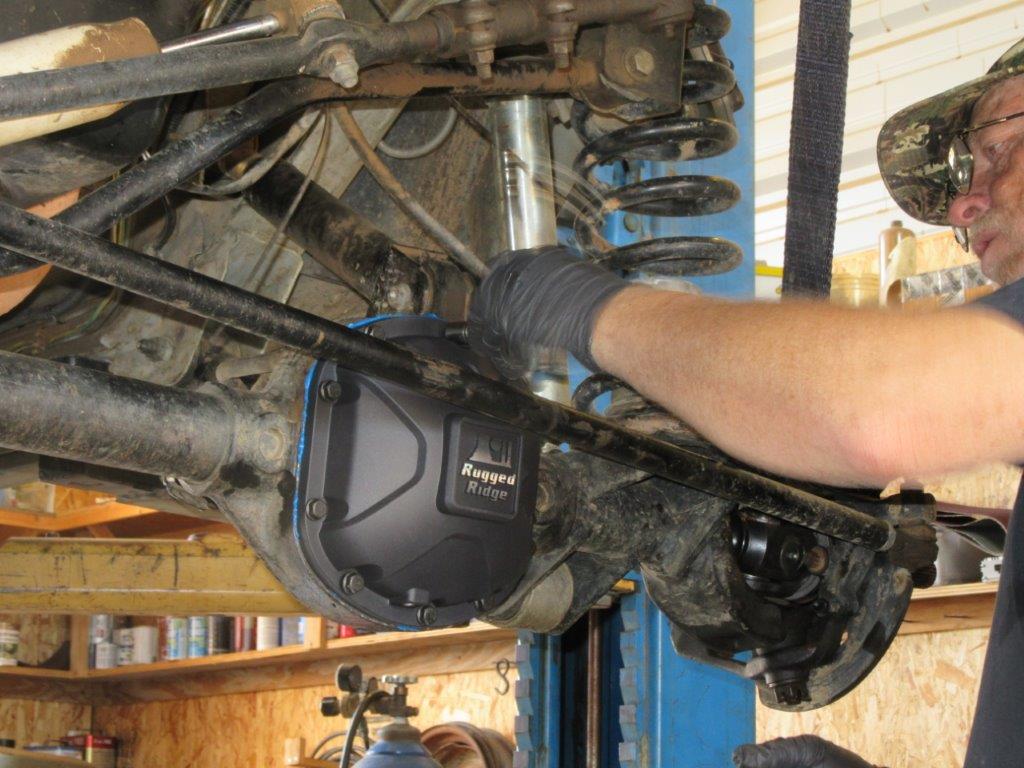
Not liking the OEM cover (which doesn’t have a drain hole), Barnes felt a new differential cover would improve the Jeep’s maintenance routine. The Rugged Ridge Boulder high-strength cast-aluminum differential cover is constructed from A356-T6 aluminum for impact resistance and features a precision-machined sealing surface, allowing gaskets or RTV sealant to be used for a leak-free seal. The cover is designed to help protect the internal components from damage caused by rocks and also helps dissipate heat from the differential.

You can follow the installation below:

jeep cherokee xj climbing a small dirt ridge
locking hub conversion kit for the jeep xj cherokee
rugged ridge dana 30 differential cover
man rolling tires through a garage shop
removing an axle and hub assembly from a jeep xj cherokee
comparing old and new axle shafts
removing an old wheel bearing assembly from an axle
new wheel hub and bearing assemblies on a workbench
putting grease into a roller bearing
greasing a hub assembly
tapping a bearing into a hub with a small hammer
hammering in a bearing seal into a hub assembly
fitting a bearing washer onto a hub assembly
removing wheel hub assembly from an axle
Wheel studs being pressed into a brake rotor
wheel studs in place on a brake rotor spacer
installing hub assembly onto an axle
hub-18
hub-19
close up of splines on an axle assembly
using a breaker bar on a large axle nut
a new brake rotor on an axle assembly
cleaning a brake rotor prior to wheel installation
installing lug nuts on a method race wheel on an xj jeep cherokee
rugged ridge locking hubs on a dana 30 axle
a rugged ridge differential cover for dana 30
putting gasket sealant on an axle differential cover mating surface
sealing the cover on an axle differential
filling a rear axle assembly with gear oil
jeep cherokee xj driving through brush on a trail

All back together and running well. With hubs engaged the front tires are pulling the Cherokee up the slope and throwing dirt behind them.

The hub conversion kit includes a set of Rugged Ridge manual locking hubs, inner and outer Alloy-USA axle shafts, ½-ton capacity aluminum internal mounting hub, U-joints, machined front brake rotors, bearings, seals and hardware. Everything you need to upgrade your rig and prepare it for the trail. Maximum recommended tire size is 33 inches. Rotors are five studs on 4.5 inches.

This heavy-duty differential cover from Rugged Ridge is designed to protect your differential and all its working parts for as long as you own your vehicle. These indestructible covers have been “44-caliber tested”—if they can take a bullet at point-blank range, then they can handle all of the abuse that the trails have to offer.

The Yokohama Geolandar M/T 33x12.50-15R directional tires can churn through the deepest of mud and grab solid rock with ease because they feature beefy, deep tread lugs of very large proportions. The M/T tires are available in several different sizes, from 29 inches up to 40 inches in diameter.

After safely supporting the Cherokee, remove the tires and brake calipers. Set the tires aside and hang the calipers out of the way on wire. Don’t allow the calipers to hang on the brake hose, as it may damage the hose. Remove the brake rotor, hub bearing assembly, axle, and dust shield on both sides. None of these items will be reused.

After assembling the two axles a quick comparison of the two styles shows how different the two designs are, with the new axle having a much stronger and more reliable U-joint. Also make note that each side of the U-joint is equipped with a grease fitting to ease future maintenance.

Carefully slide the two assembled axles into the housing. Make sure that you don’t damage the grease seals as you insert the axles, and also make sure they’re properly seated in the differential.

Unpack the new conversion hubs. Ascertain which bearing race goes into which side and assemble. It may help to write the bearing ID on the hub to avoid confusion during assembly. Assemble both hubs.

Prep all four bearings by packing them with a good quality bearing grease. This is the time-honored method for bearing packing. With the grease in your palm, press the bearing into the grease until grease begins to squeeze out the top. Continue to press the bearing into your palm as you rotate it. This is the same way you repack the bearings when needed, except you keep pressing until new grease comes out the top to replace the old dirty grease.

Slip the bearings into their races. One on each hub will be retained by a grease seal while the other two go in just before the conversion hub is installed on the Jeep. (If you’re having trouble seeing the photos in the instructions, you can go to Alloy USA website and print out new instruction sheets.)

Very carefully tap the rear bearing grease seal into place (the metal frame is quite fragile). Make sure it is squared up with the conversion hub.

Use a block large enough to cover the entire seal so that it can be tapped in without bending or rocking.

The bearing should be installed in the back side of the spindle with the proper tool. Make sure the bearing is completely seated in the spindle. Now install dust seal; the open side of the seal goes inward toward the bearing.

Install the plastic fiber washer on the inward side of the spindle, slide the spindle over the axle shaft, and bolt the spindle onto the differential housing using the original bolts. Use Loctite on the bolts and torque them to 75-ft.-lb.

he wheel studs hold the rotor and conversion hub assembly together. Being careful not to damage the studs’ threads, press them from the back side of the rotor, securing it to the hub. Use an alternating pattern when pressing in the studs.

Carefully inspect the threads on all the studs to make sure the threads aren’t damaged.

Install the hub/rotor assembly onto the spindle (take care not to damage the rear seal). After installing the outer bearing, install the inner bearing locking nut.

The inner locking nut has a small pin that must be on the outer surface face, toward the wheel.

Use the proper spindle nut socket and torque the inner locking nut to 50-ft.-lb. After torqueing the nut, rotate the rotor in both directions to assist in seating the bearings, then loosen the nut a quarter-turn to release some pressure on the bearings.

Align the notch on the inside of the lock washer with the notch cutout in the spindle. Make sure the small pin mentioned in photo 18 is aligned properly for this lock washer.

Install the outer locknut on the spindle and torque it to 125- ~ 150-ft.-lb.

Once the locknuts on both sides have been properly torqued down, check for end play. If any end play occurs, the preceding procedures will have to be repeated.

After installing the rotor/hub assembly onto the axle shaft—so that you won’t be getting grease and/or dirt on it any longer—thoroughly clean both sides of the rotor (where the brake pads rub it) with brake cleaner.

Install the brake pads in the calipers and then install the calipers. Slip the hub lock onto the spindle, then install the wheels, they hold the hub lock in place. Torque the lug nuts to Jeep’s specifications.

Move the dial on the hub lock into the lock position. As you spin the wheel, make sure the axle shaft rotates with the rotor (check both sides).

These Rugged Ridge Boulder high-strength cast-aluminum differential covers come complete with a magnetic drain plug for protection against costly damage from metal particles that can accumulate in gear oil. They also include a specially designed dipstick bolt to help Jeep owners avoid under or overfilling their differentials.

After completely cleaning and scraping the differential’s surface, apply RTV silicone to act as a gasket. Be sure to circle the bolt holes as well.

Finger-tighten all of the supplied flange bolts before tightening them. Torque all the bolts to 30 ft.-lbs. in an alternating crisscross pattern.

Using Royal Purple Max-Gear (75W-140W) synthetic gear oil, fill the differential until the fluid begins to seep out of the filler hole, then insert and tighten the dipstick bolt. Use Loctite on the dipstick bolt and the magnetic drain plug to keep them from backing out accidentally.

Back on the trail again, but with a stronger, more reliable Dana 30 front-end.

Just before loading the Cherokee on the lift for the install, we drove an 80-mile loop on I-40 east out of Kingman, AZ for a mileage test. The route predominately climbs above Kingman’s 3,500-foot elevation but also covers rolling hills and fairly long flat stretches for 40 miles and then returns to Kingman in a reverse direction. Other than having no traffic, it’s an excellent repeatable route for mileage tests. The pre-conversion mileage was 15.1 mpg; while the post-conversion mileage was 16.6 mpg. Admittedly, this was a controlled test, so your results will vary, but it’s still a good indication of what your results will be.

Share this Article
Author: Jim Brightly

A former editor of Truckin’ and Trailer Life magazines, and tech editor of Four Wheeler, Petersen’s 4-Wheel & Off-Road, and Family Motor Coaching magazines, Jim Brightly is now a semi-retired photojournalist living, writing, and wheeling in northern Arizona. He’s been building and wheeling Jeeps for more than fifty years.