hose1

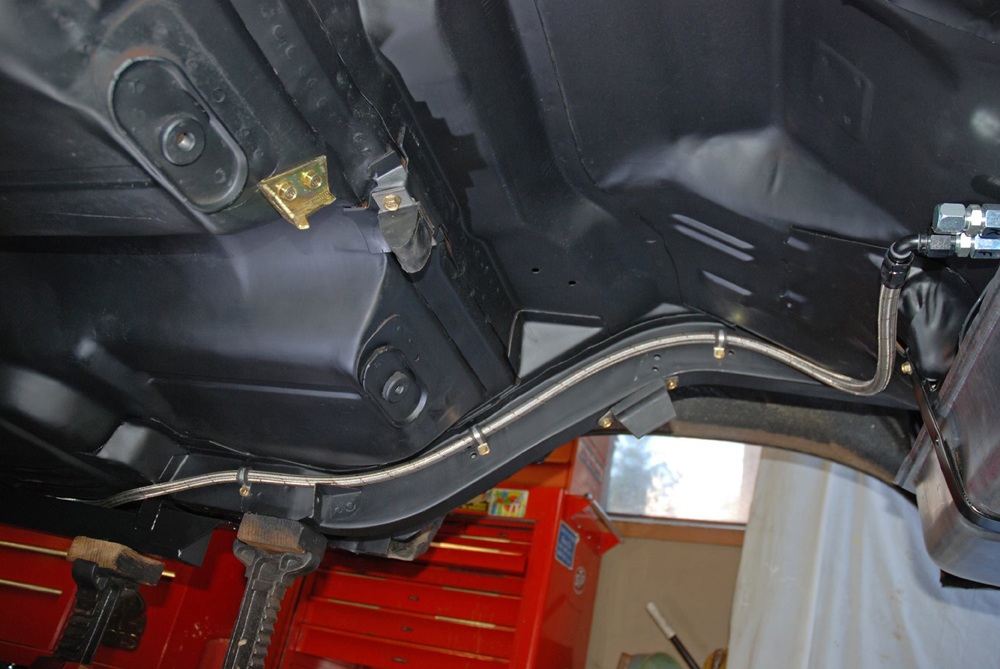
There have been plenty of articles penned on how to assemble AN hose (and hose ends).

The process is pretty straightforward. Get it wrong and you’ll have a leaky fitting. Get it right and you’ll have a good-looking and equally functional component. In between, you can mar the fittings, leave unsightly (and potentially faulty) gaps, and generally make a mess. And it’s not like the pieces are inexpensive either!

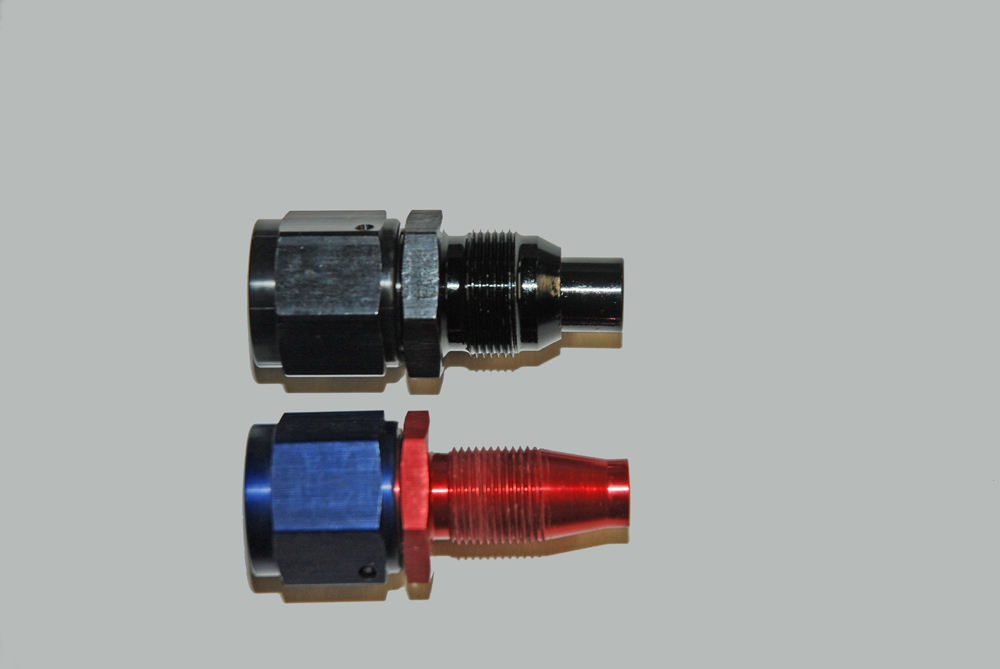
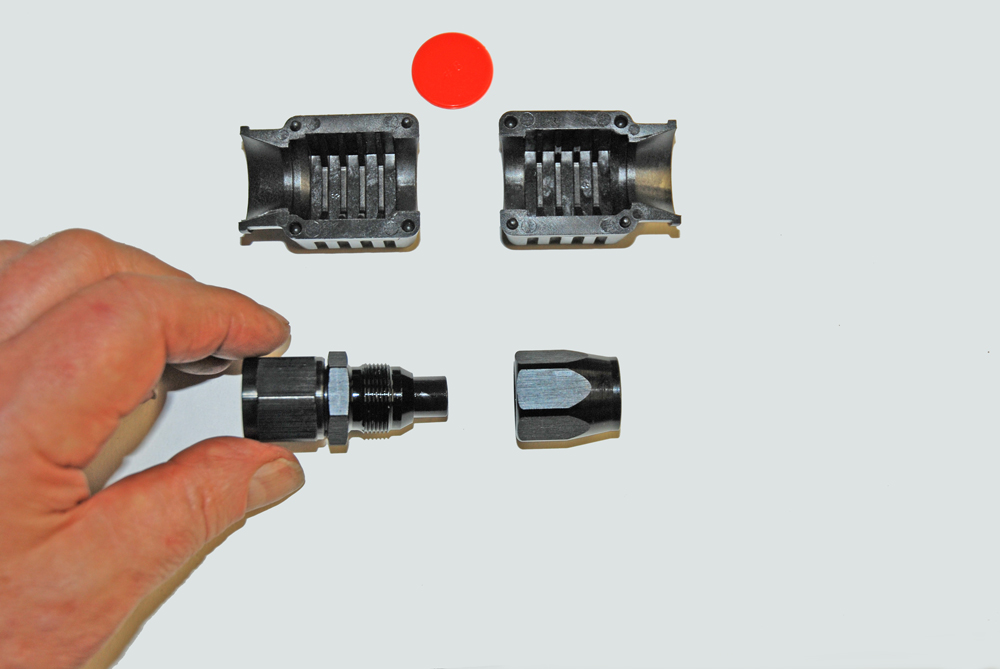
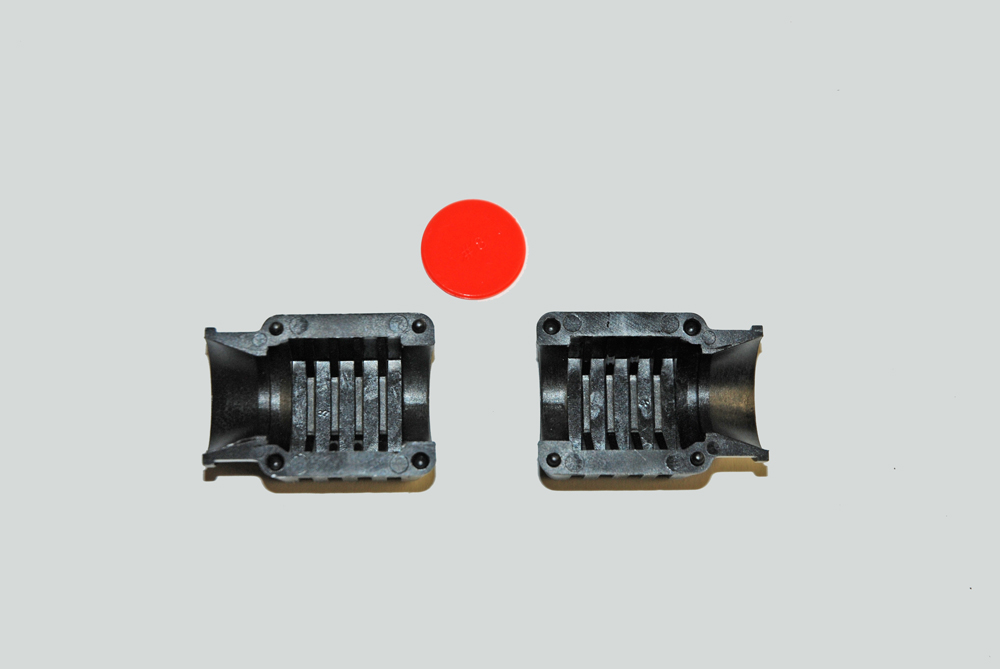
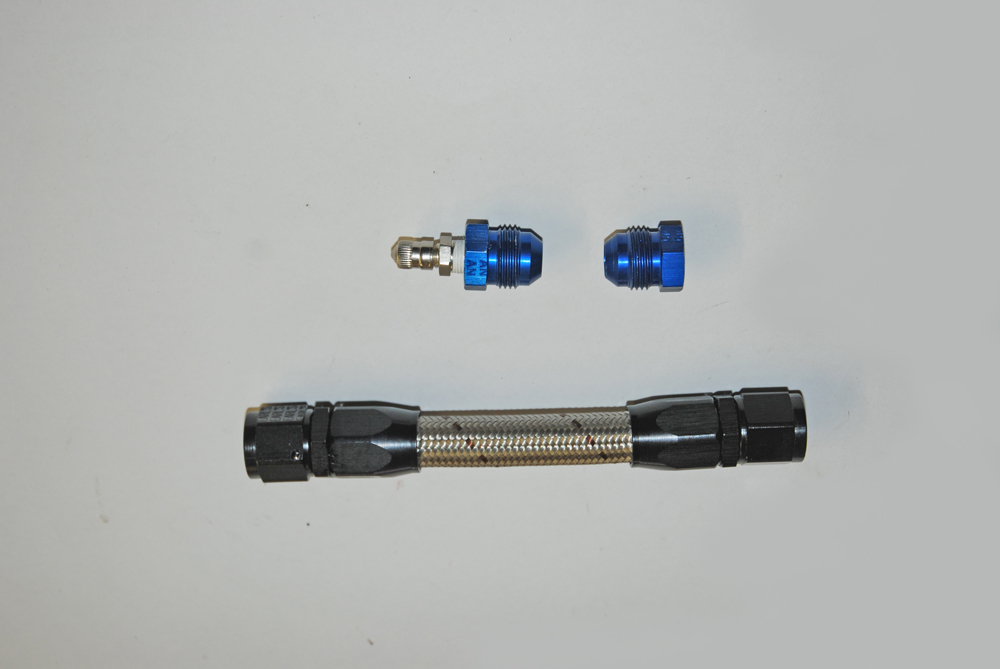
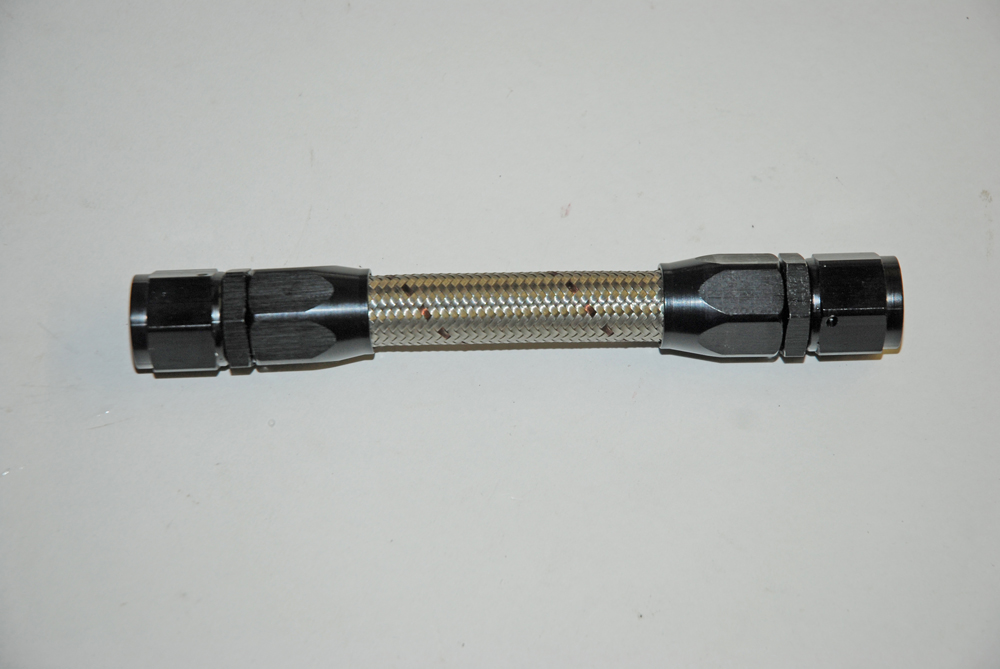
There are several different types of quality hose ends available on the market. One is a tapered style; the other is a cutter style. The cutter style hose end is considered by many in the racing biz to be more secure than the tapered style. We’ve used both, but the truth is, there are some misconceptions when it comes to assembling cutter style hose ends. Once those are out of the way, then cutter hose ends become almost as easy to assemble as the tapered style.

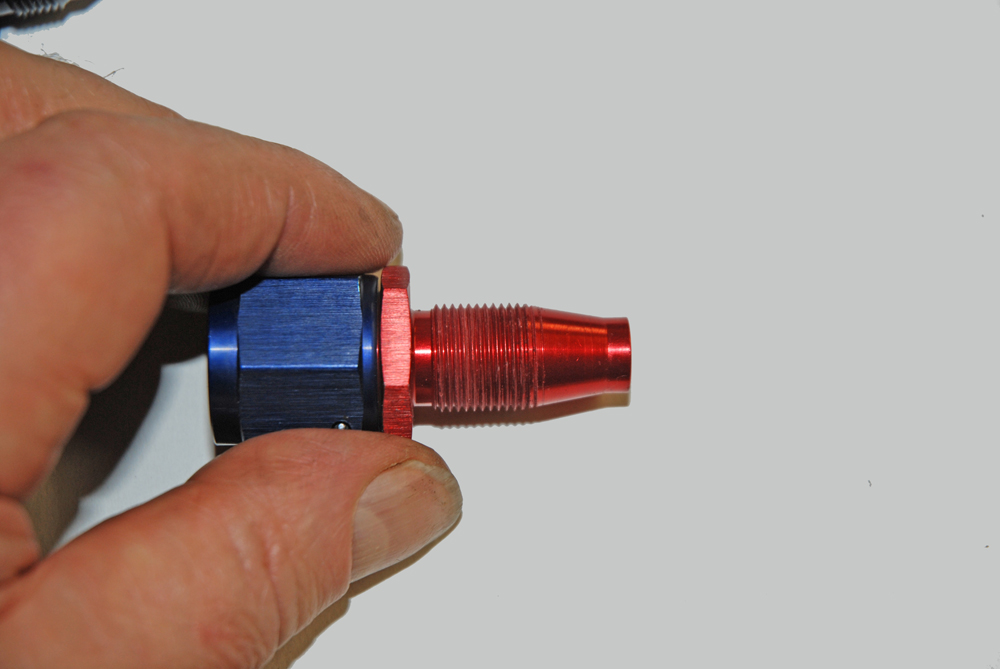
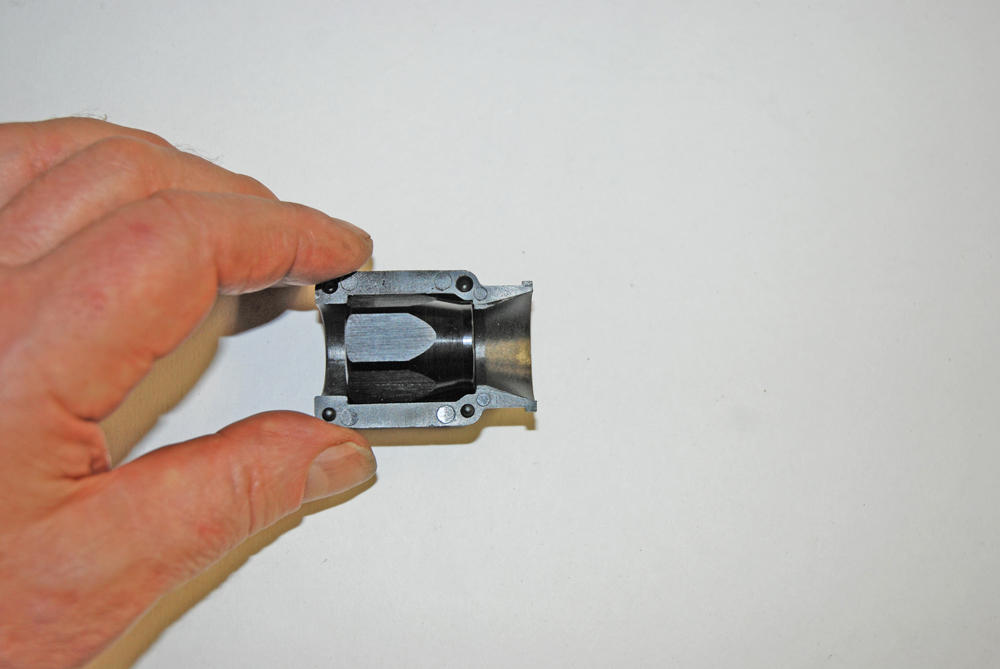
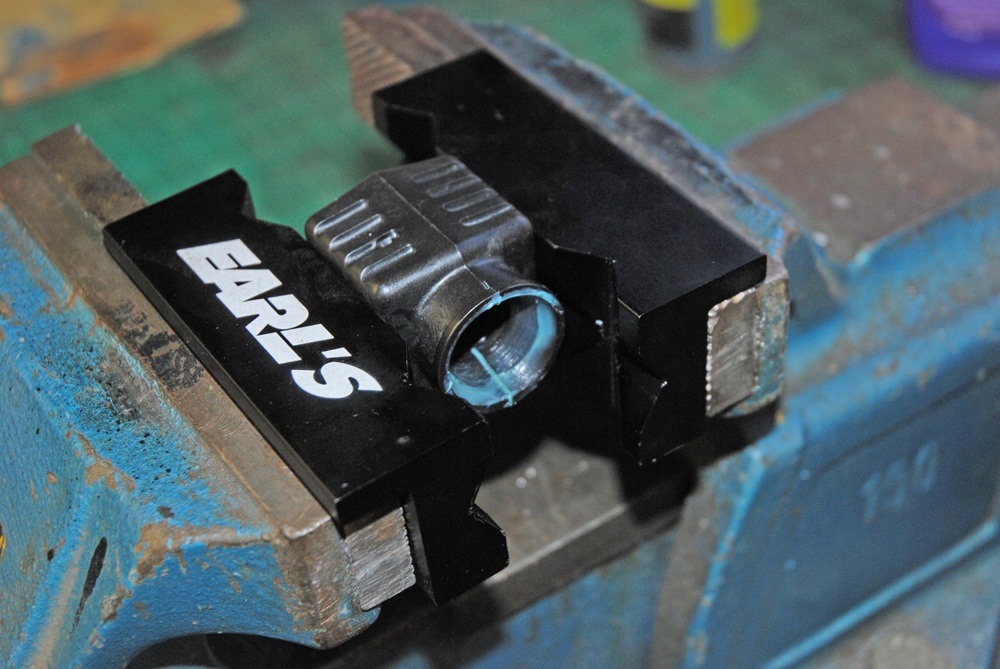
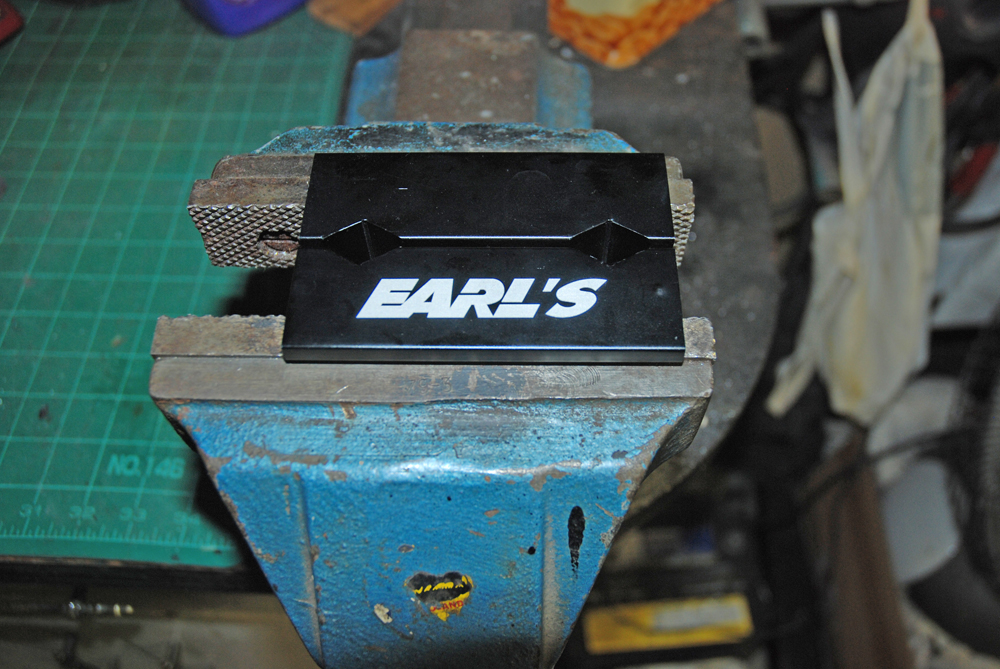
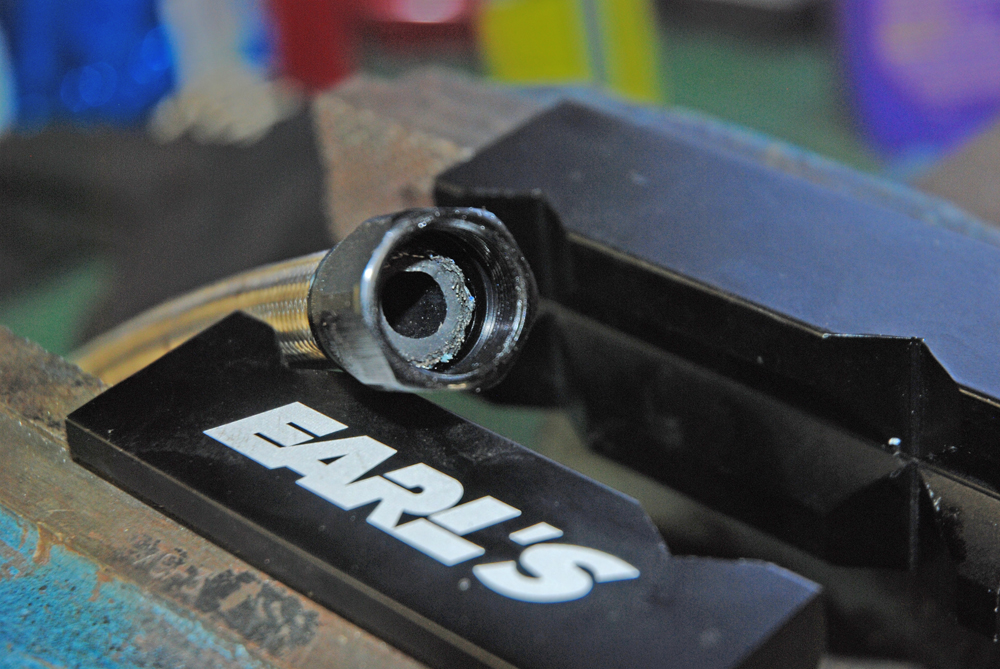
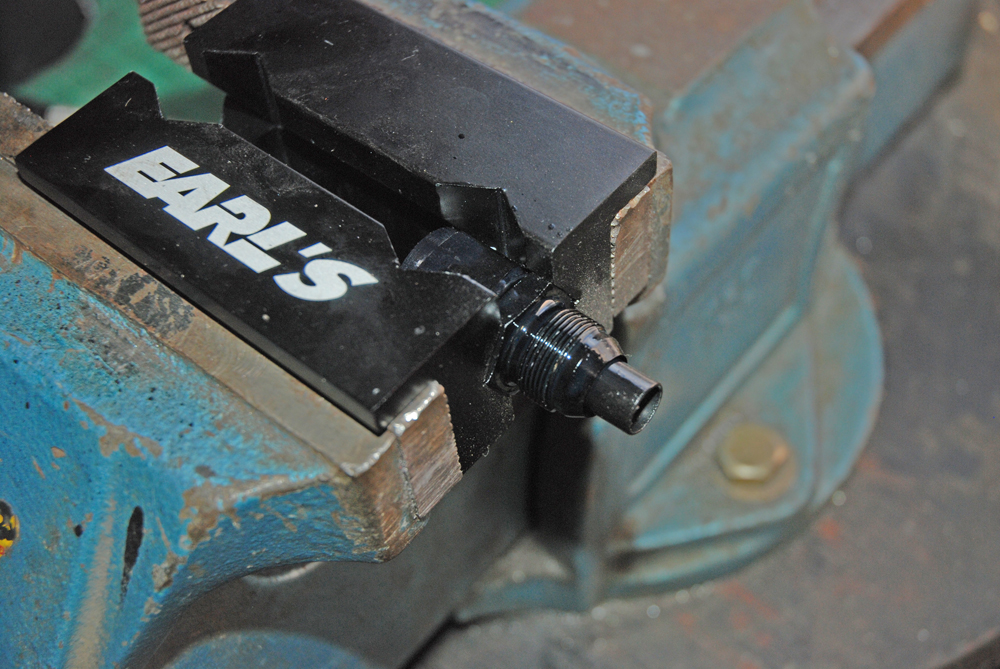
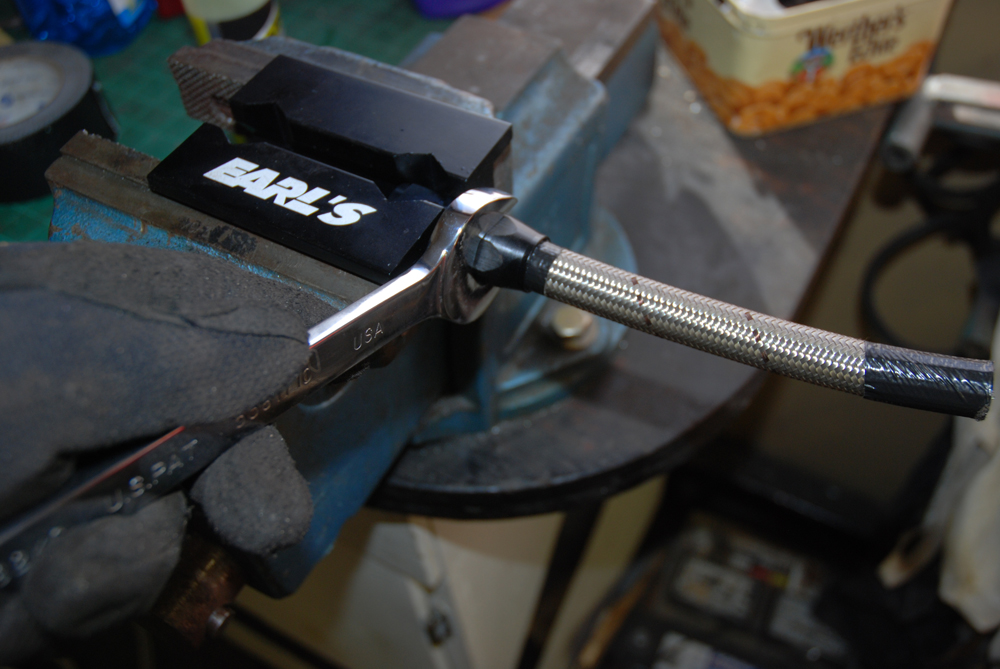
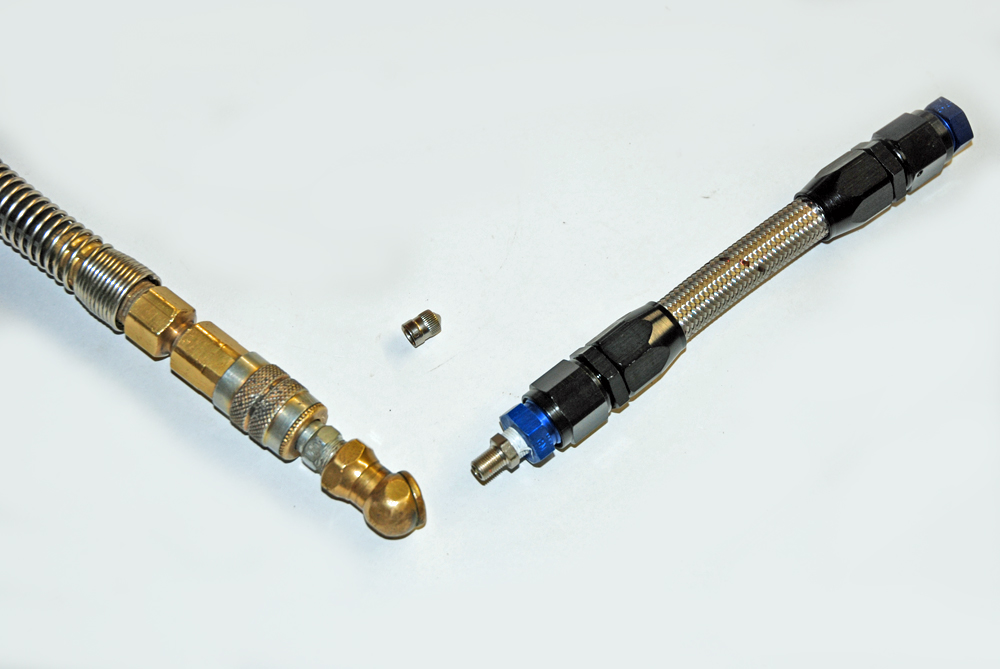
The cutter style (such as the Earl’s Swivel Seal fitting shown in the slide show) assembles in a slightly different manner than the tapered style and many people are assembling them wrong. If you lock the hose with the socket (tube nut) end into a vice and try to assemble it, you’ll encounter grief (more in the photos). Instead, lock the cutter end of the fitting into the vice and as you push the hose on, engage the threads. This way, there’s far less chance of the hose backing out. Another bonus is there seems to be less of a chance getting a wayward rubber “flapper” in the line (we’ve made up lots of these hose ends using this method and we’ve never encountered a loose piece of rubber in the line).

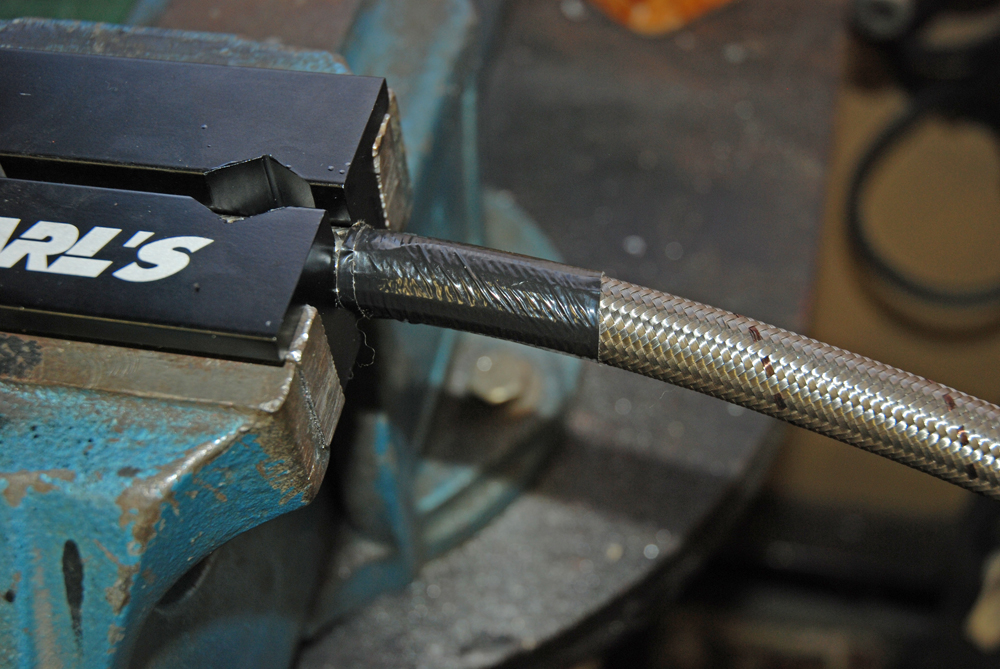
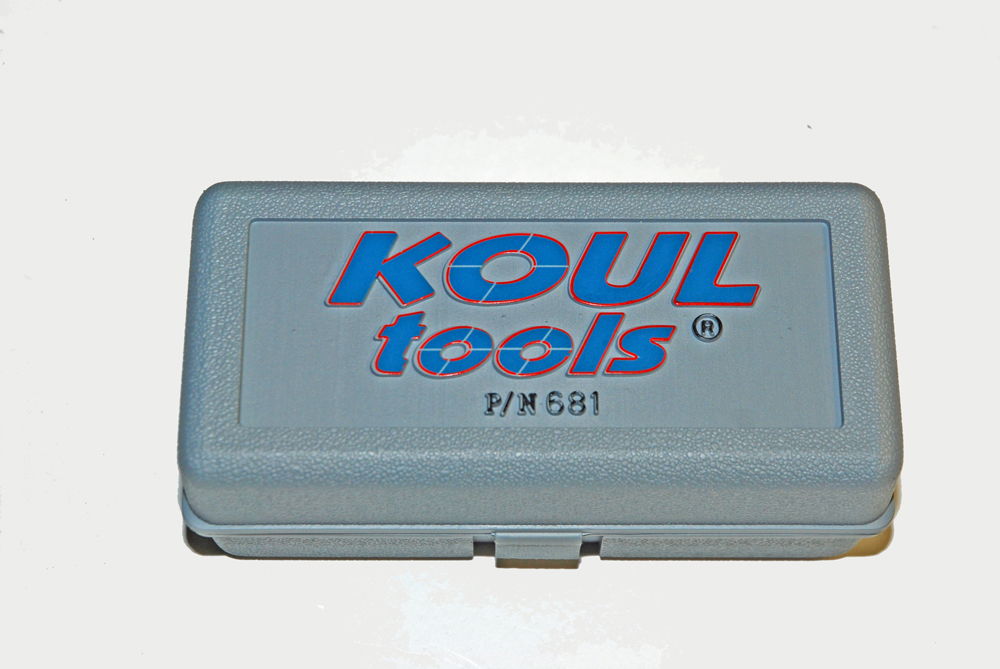
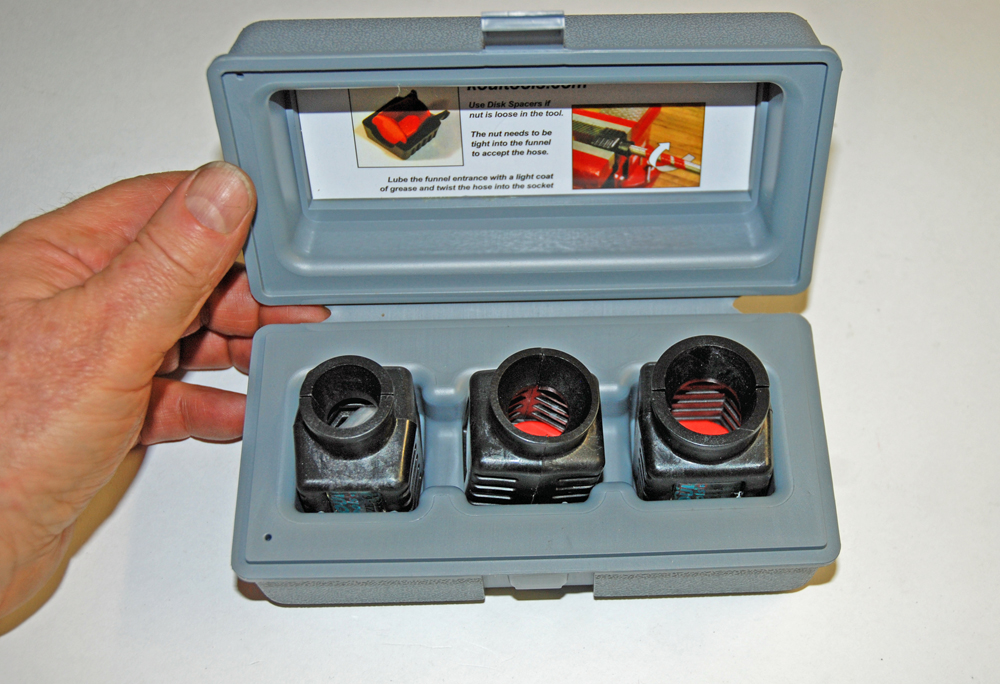
Another potential issue with cutter style hose ends is tools. You should use a proper set of AN fitting vice jaws (Earl’s Performance has a nice one – see the accompanying photos and check out the Summit Racing catalog). They’ll lock the fitting in place without damage, allowing you to properly engage the fitting threads. As far as we’re concerned, another of the must-have tools is the Koul Tool. This unique tool eliminates the hard struggle of assembling hose ends. Just insert the socket into the tool, twist in the hose, and socket assembly is complete in less than 10 seconds.

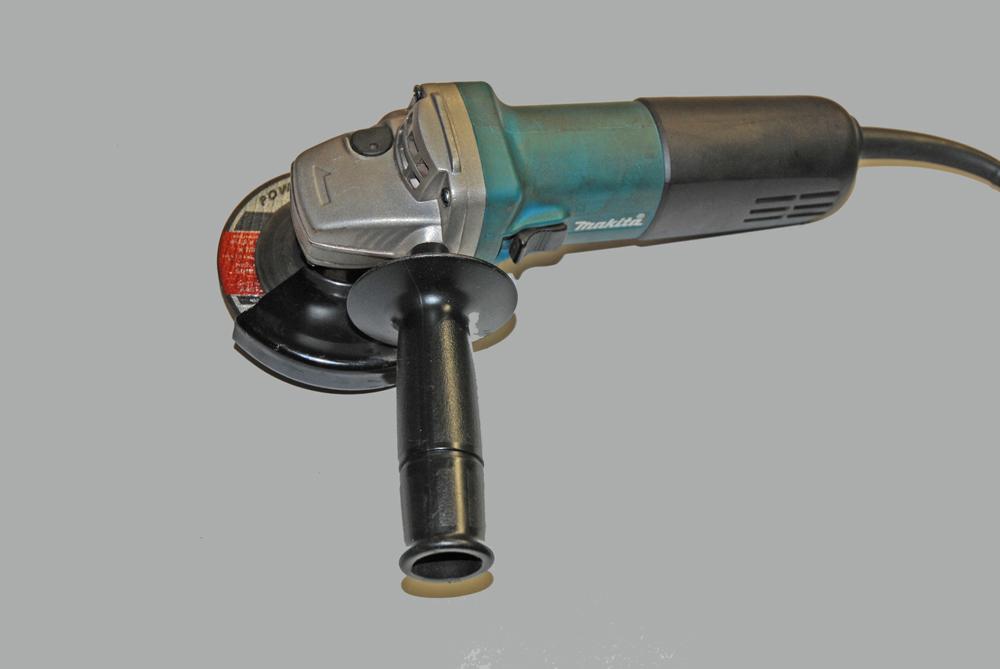
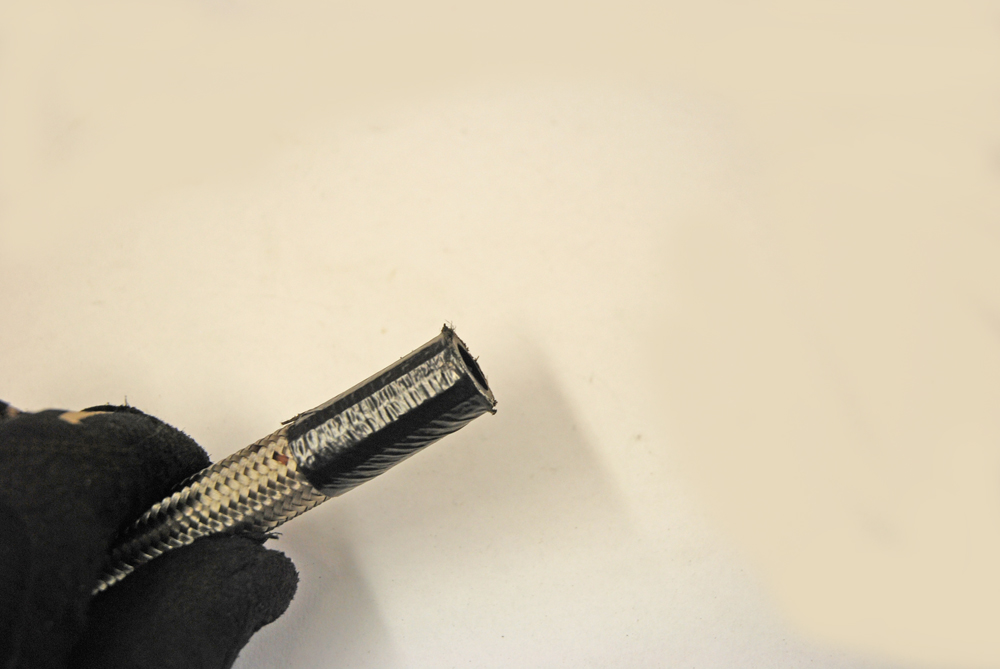
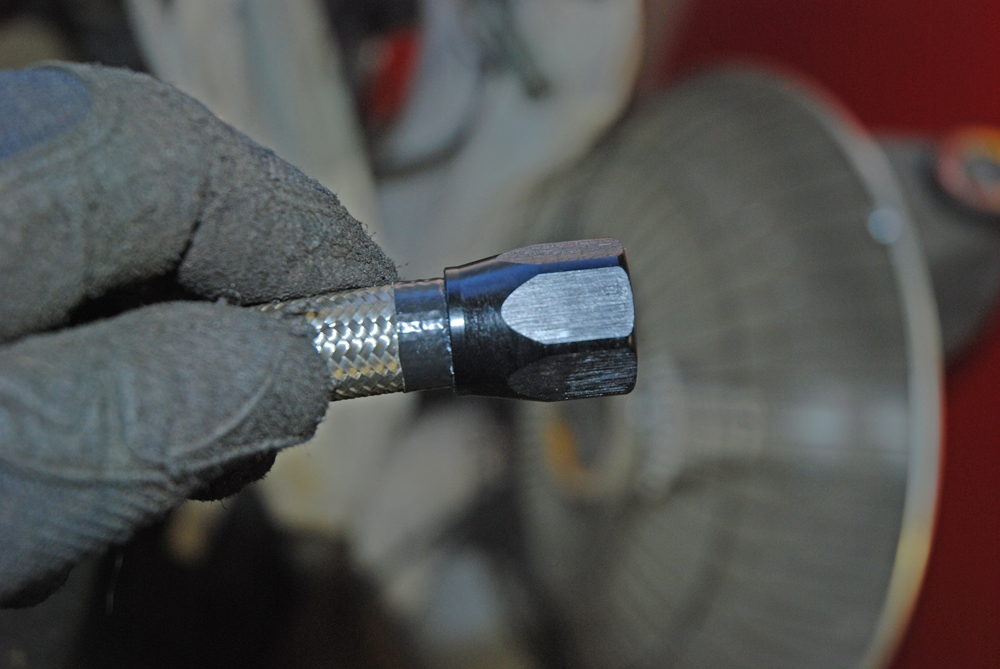
The final challenge when assembling cutter style hose ends is actually getting a clean cut on the hose before you attempt to assemble it. Years ago, we’d tightly wrap the hose with duct (racer) tape, clamp it a vice, and cut it with a fine tooth blade hacksaw. It works, but you’ll still end up with some frayed edges. Instead, try using an angle grinder fitted with a cut off wheel. It’s way faster, cleaner (less stray braids), and makes a nice straight cut. However, if you do have a crooked cut or encounter some wayward braids, don’t bother trying to trim them with hand tools. Instead, simply dress the hose end(s) on a bench grinder.

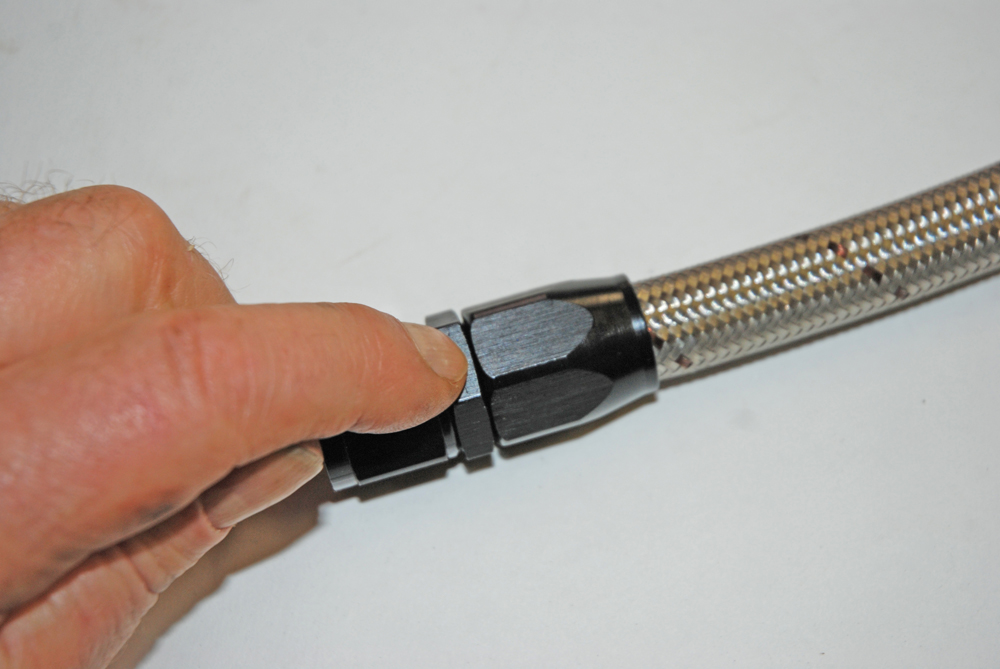
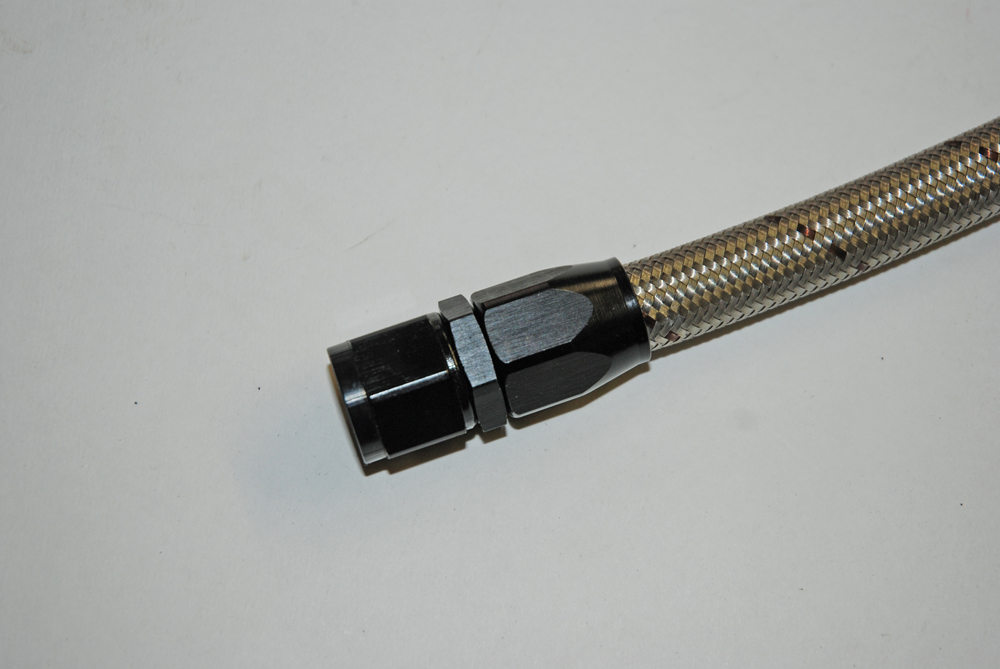
So how does all of this stuff actually go together?

For a closer look at how to handle those “difficult” cutter hose ends, browse the slide show below:
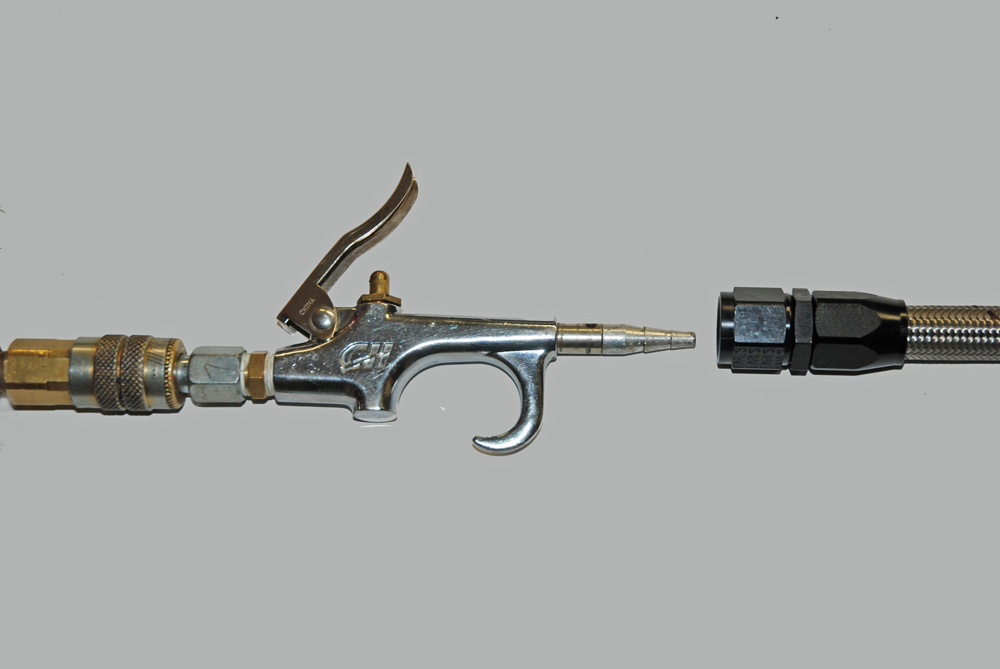
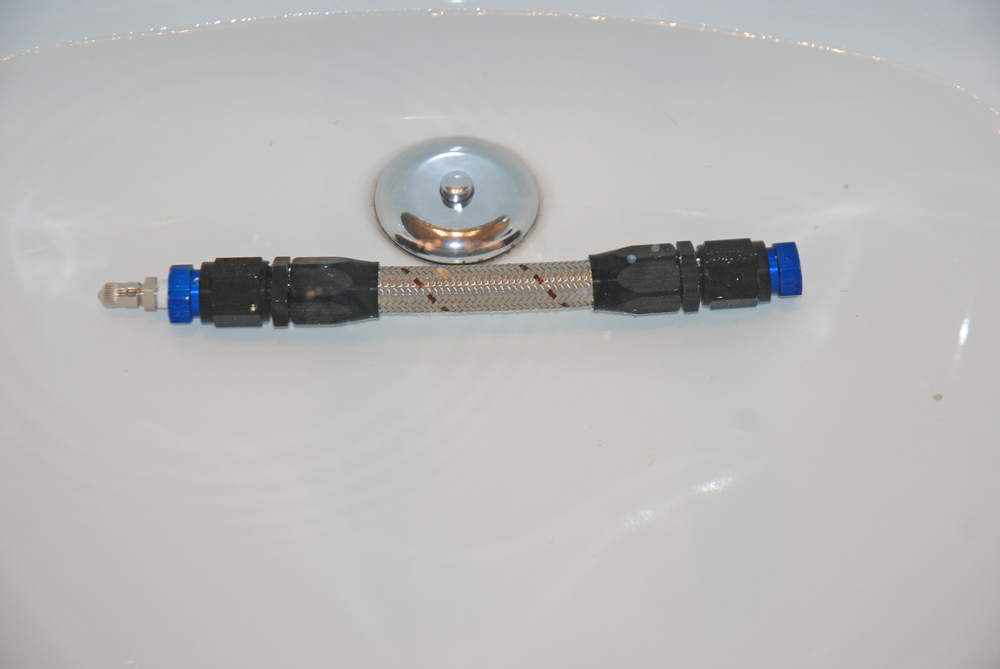
a fuel line routed along an old car frame
a side by side comparison of fuel hose fittings
man holding an AN fitting for a fuel hose
a section of hose wrapped in tape prior to cutting
an electric angle grinder
end of a cut braided hose fuel line with tape
a box containing hose fitting dies
a specialty hose fitting with corresponding die
two sides of a specialty AN hose fitting die
a hose fitting held by a man
a braided hose fitting in a bench vise
specialty aluminum jaws for AN hose and fittings in a bench vise
a braided hose fitting in a bench vise
man holding a bottle of Earl's hose assembly lube
a braided hose fitting end held by man
a braided hose fitting in a bench vise
installing an AN fitting onto a small section of braided hose
close up of the end of an AN hose with fitting
an air gun being inserted into a small section of AN hose
a small section of AN hose and fittings

We mentioned two different configurations of hose ends in the text – the Earl’s hose end at the top is engineered with a "cutter" and the other without. On the outside, both types of hose end look pretty much the same. Take them apart though and you can easily spot the differences.

An Earl’s Swivel Seal hose end build with a "cutter" is designed to physically slice into the inner hose liner. This makes for a more secure engagement into the hose, but they’re more difficult to work with and anytime you have to remove the fitting, the hose will have to be shortened. The reason is the cutter requires fresh hose to work (it physically slices into the hose).

In comparison is hose end with a taper. Up close, you can see that in this sort of configuration, the hose slides over the nipple and it’s held in place by the compression of the threads. These hose ends are not as strong a connection (ultimately) as a cutter.

Before you cut the hose, wrap it tightly with duct tape and clamp it in your vice.

This is the best tool for cleanly cutting AN hose. It’s a simple 4-1/2-inch angle grinder fitted with a cut off wheel. It slices through hose like butter.

This is typical of the type of cut you’ll get with a cut-off wheel. If there are any extra stainless strands, simply dress the hose on a bench grinder.

This is the Koul Tool set we mentioned in the text. There are several different kits available from Summit. This one covers three of the most common sizes: -6AN, -8AN and -10AN.

In order to use the Koul Tool, disassemble the hose end. See the red circle? That’s a spacer that might be needed for hose ends with short sockets. It’s not required for the Earl’s hose ends.

The Earl’s socket fits inside the plastic Koul Tool as shown.

Close the Koul Tool. Add a small amount of grease to the taper in the tool (where the hose enters the tool).

Here the Koul Tool is clamped into the Earl’s aluminum vice jaw set. At this point, you simply twist the hose into the hose end socket. It goes easier than you think, plus there’s no chance of stabbing yourself.

Push the hose into the socket until it reaches the threads.

Lightly lube the ID of the hose and the threads on both the socket and the cutter. Earl’s Assembly Lube (P/N 184004ERL) is engineered for this job and it works better than any other lube. Period.

Mark the end of the hose (behind the socket). We simply add a wrap of duct tape to this spot. The idea here is to watch for hose back out.

This is how most folks orient the hose for cutter installation. This is WRONG! This setup will encourage hose end back out as you’re tightening it. Plus it makes engaging the threads difficult.

Instead, clamp the cutter portion of the hose end into the vise jaws. Oil the threads and the cutter with Earl’s Assembly Lube. Now you can easily push the hose and the socket onto the cutter and simultaneously engage the threads.

Using an appropriately sized open-end wrench (Mac Tools’ “knuckle savers” work great because they fit tightly), complete the tightening process. Believe it or not, a tight fitting open-end wrench is the best tool for the job. Be careful not to damage either the nipple end or the socket when tightening.

Tighten the nipple end into the socket until there is a gap of approximately 0.031" between the socket and the shoulder of the nipple. A good rule of thumb (pun intended) is your thumbnail -- it's usually about 0.031"! Double-check the mark for push-out. If the hose has backed out by more than 1/16", then you have to go back to square one and start all over again. This often means you have to re-cut the hose (back to clean, undamaged "rubber"). You'll also have to carefully clean the hose end so that the threads aren't filled with rubber.

Clean the hose and hose end (good old fashioned solvent works). Wipe clean.

Blow out the hose assembly. A couple of blasts of high-pressure air will clean it out perfectly. More in the next photos…

Before use, the hose should be tested. I use these special fittings manufactured by Earl’s Performance (P/N D016ERL). Summit offers them in a kit, with plugs and Shraeder valve adapter fittings in all common A-N sizes.

Using aluminum hose end wrenched, assemble the test fittings into your hose. Tighten so that the adapters seat. Be sure to double-check the Shraeder valve to ensure it’s tight. Air it up. It’s a good idea to test the hose at twice the maximum operating pressure. Simply air it up with an air compressor, and then check the pressure with a common tire gauge.

Place the hose under water and check for leaks. No bubbles. No leaks. The hose assembly passed.

The finished top-of-the-line Earl’s hose package.


Share this Article
Author: Wayne Scraba

Wayne Scraba is a diehard car guy and regular contributor to OnAllCylinders. He’s owned his own speed shop, built race cars, street rods, and custom motorcycles, and restored muscle cars. He’s authored five how-to books and written over 4,500 tech articles that have appeared in sixty different high performance automotive, motorcycle and aviation magazines worldwide.