It’s all about a profile that looks cool.

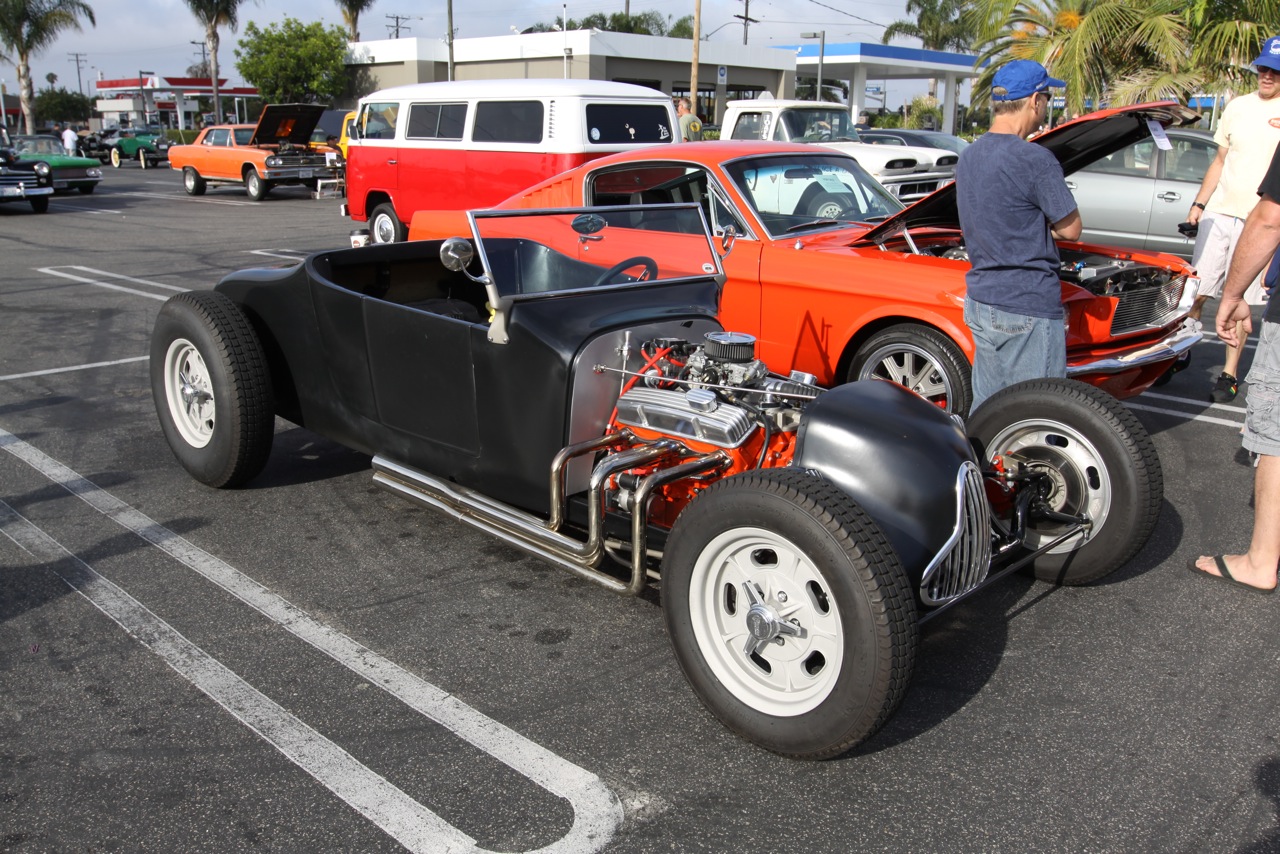
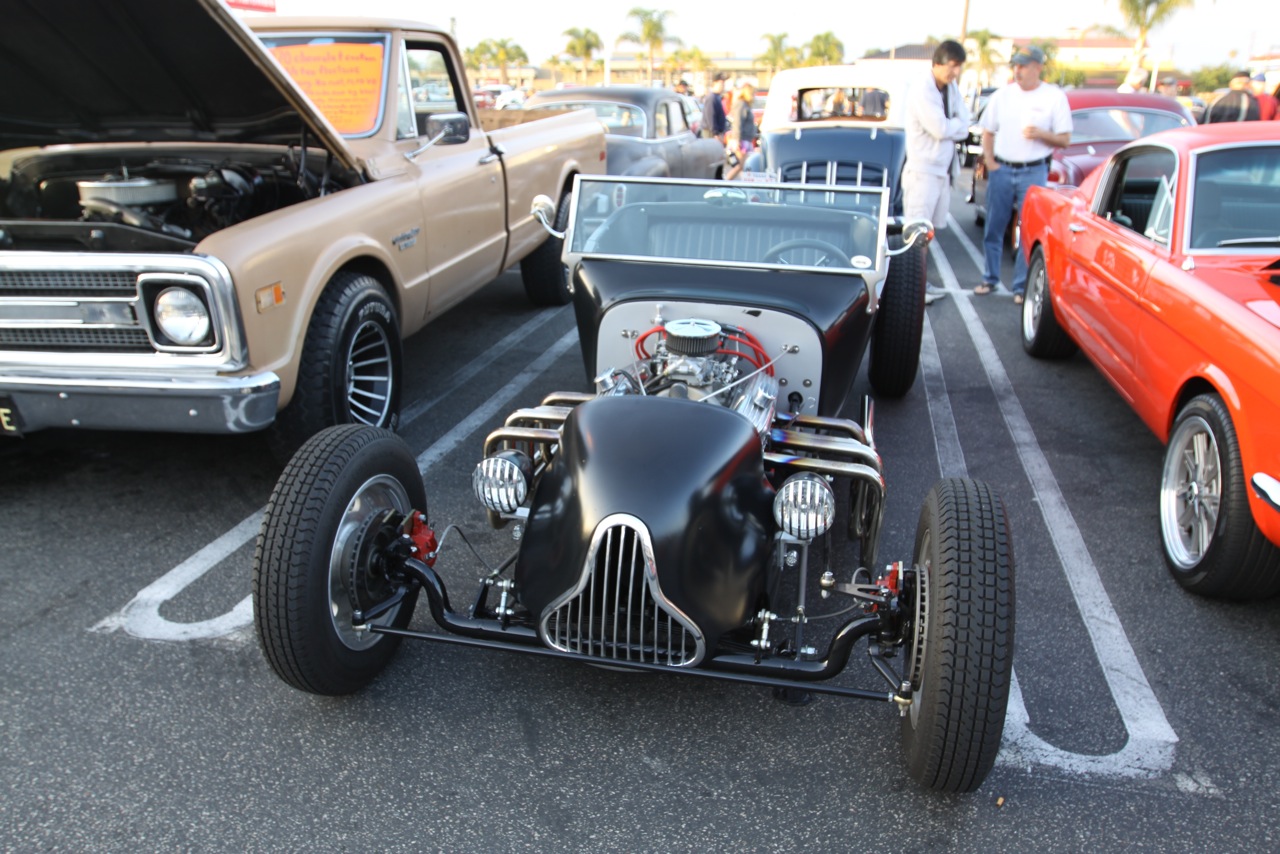
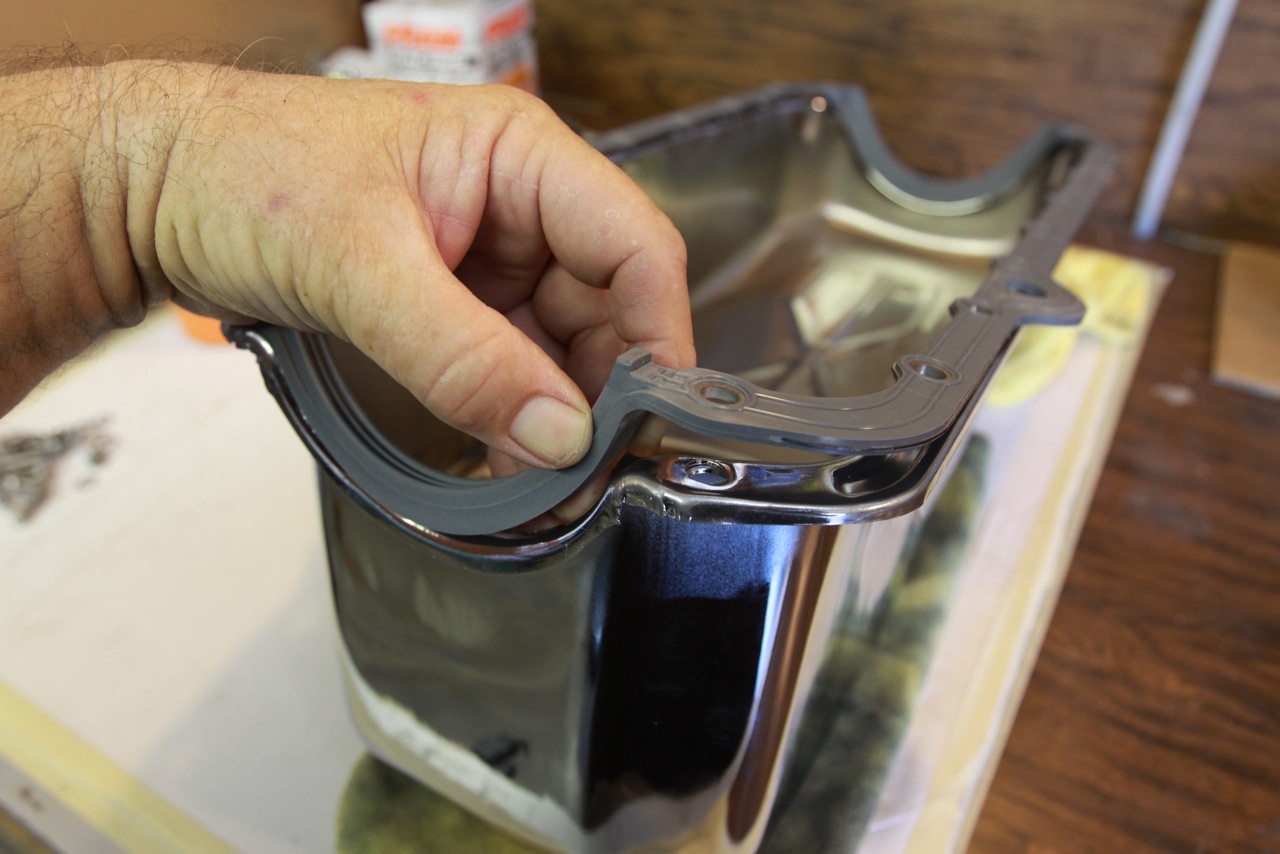
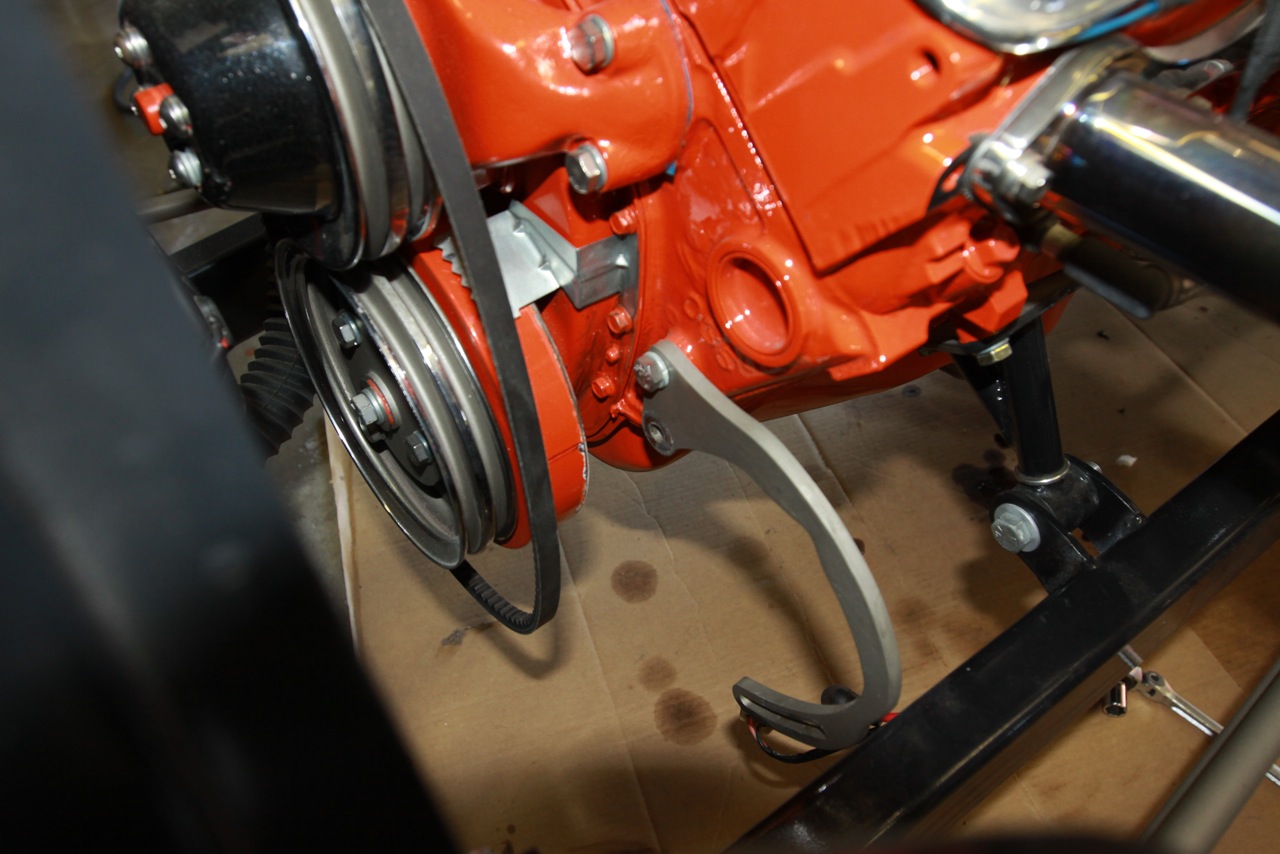
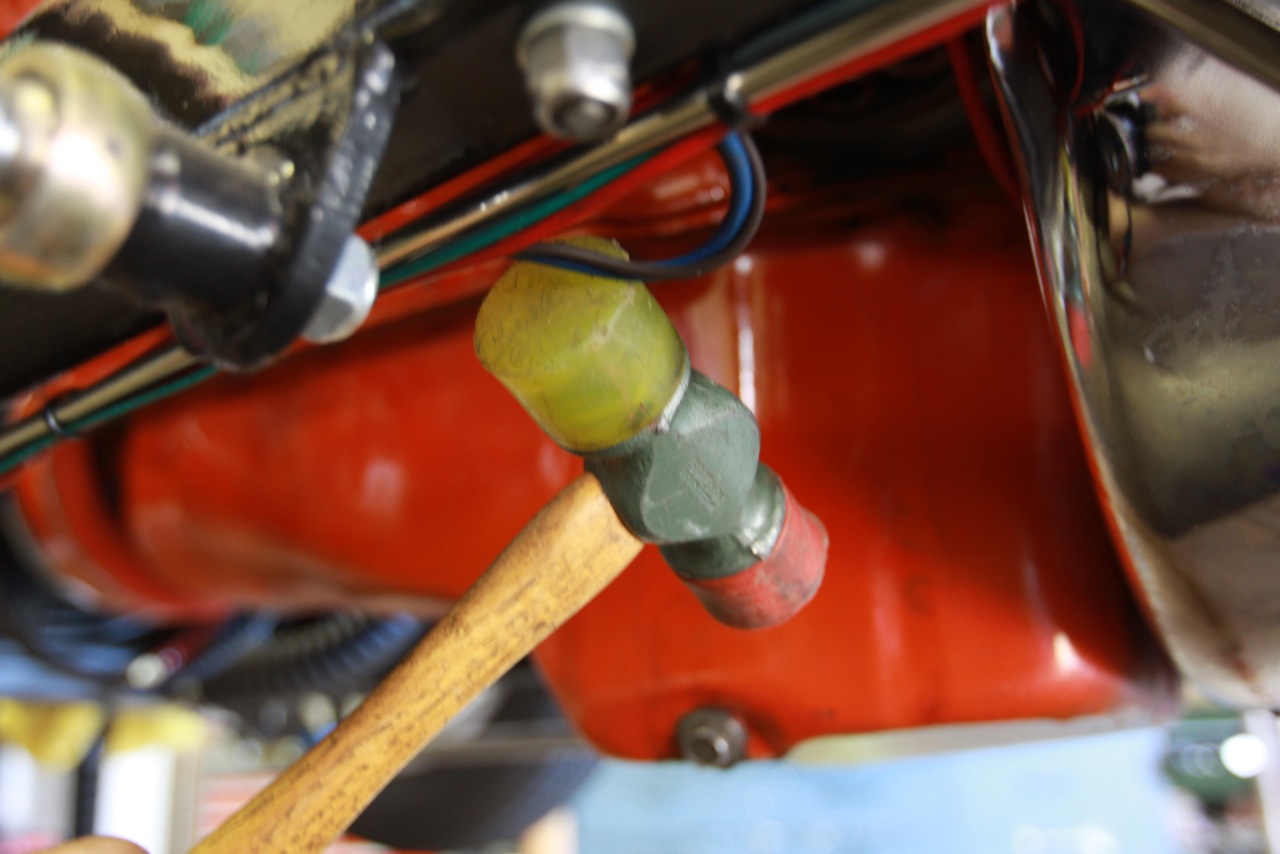
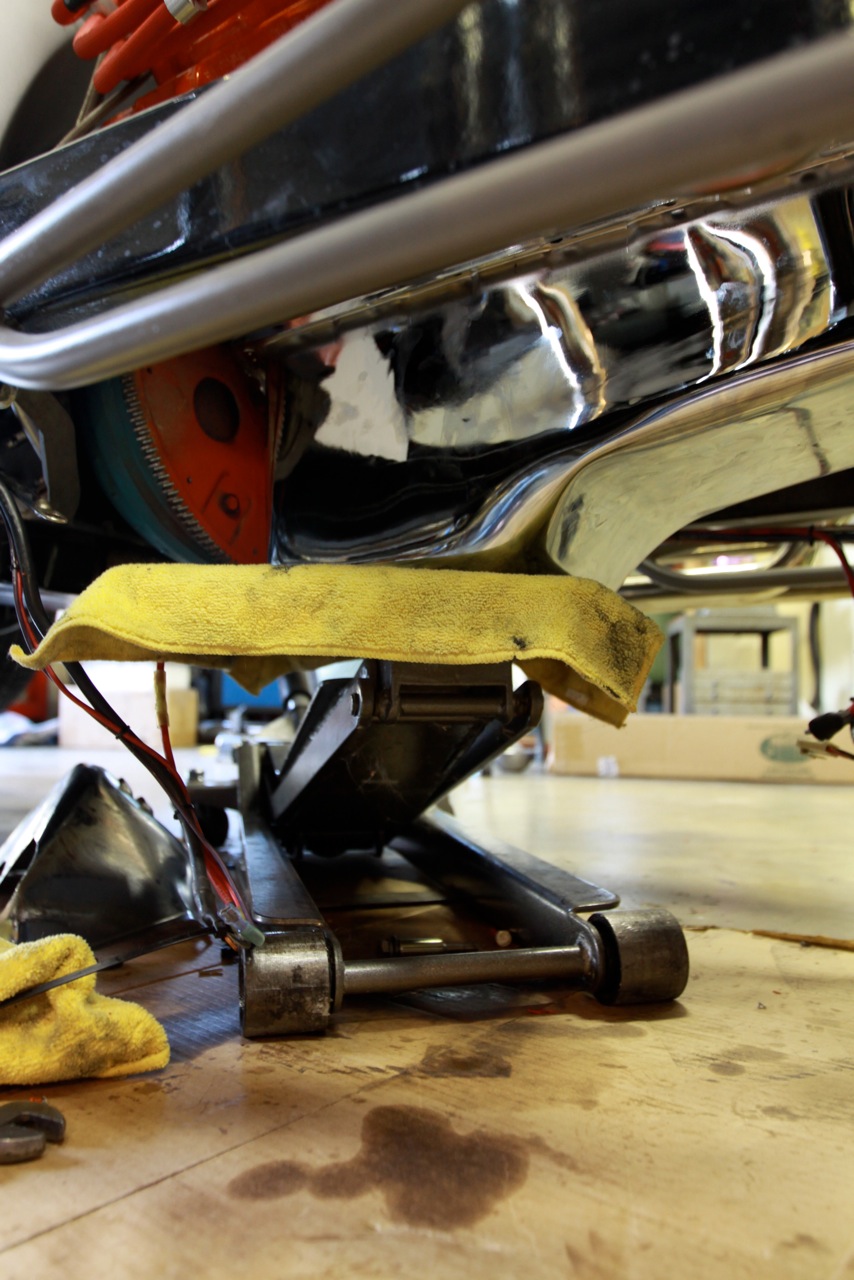
Having the right lowered stance is what sets a killer hot rod apart from a dorky looking hot rod. That said, driving low can come at the cost of an oil pan if you don’t pay attention to ground clearance—something I recently discovered the hard way. While turning into a driveway, my King T track roadster bottomed out and the oil pan took a direct hit and fractured.

Oil everywhere.

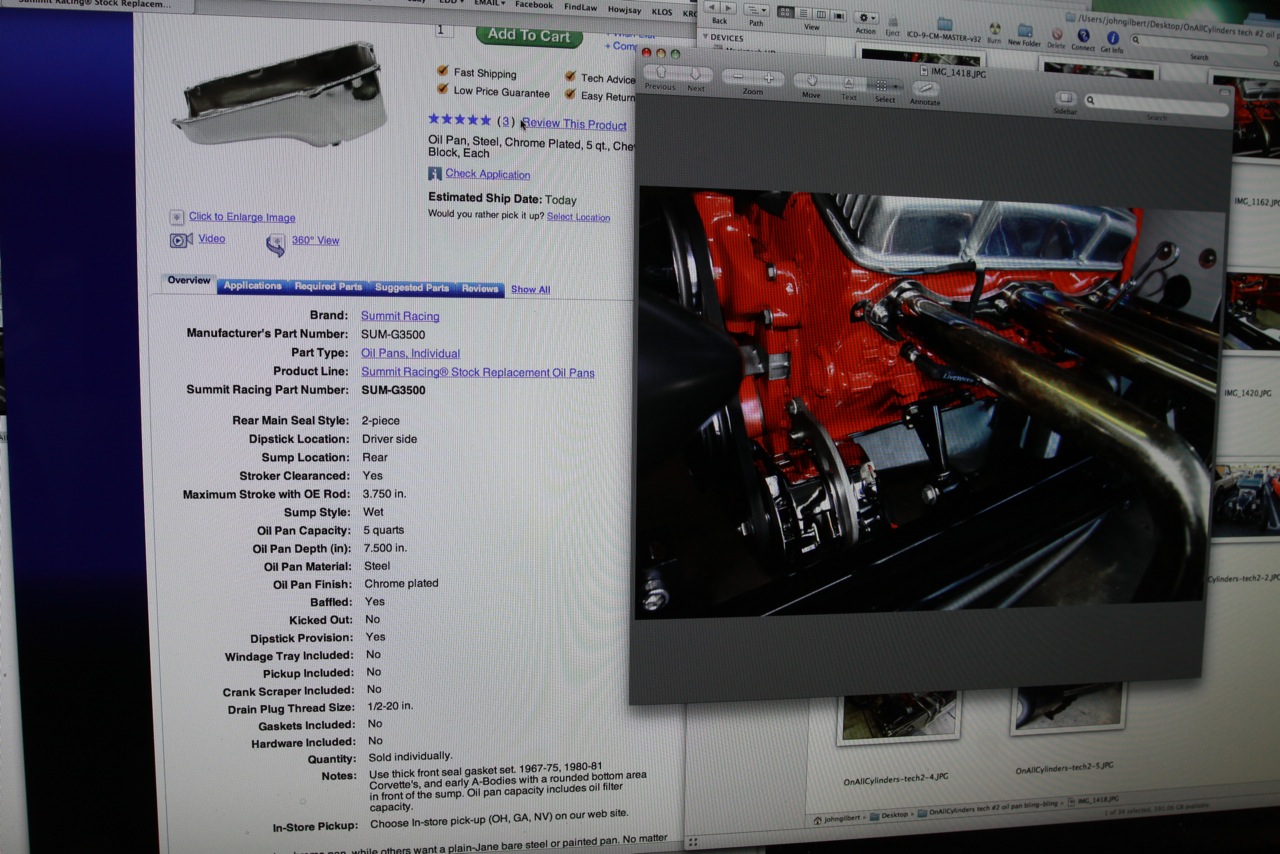
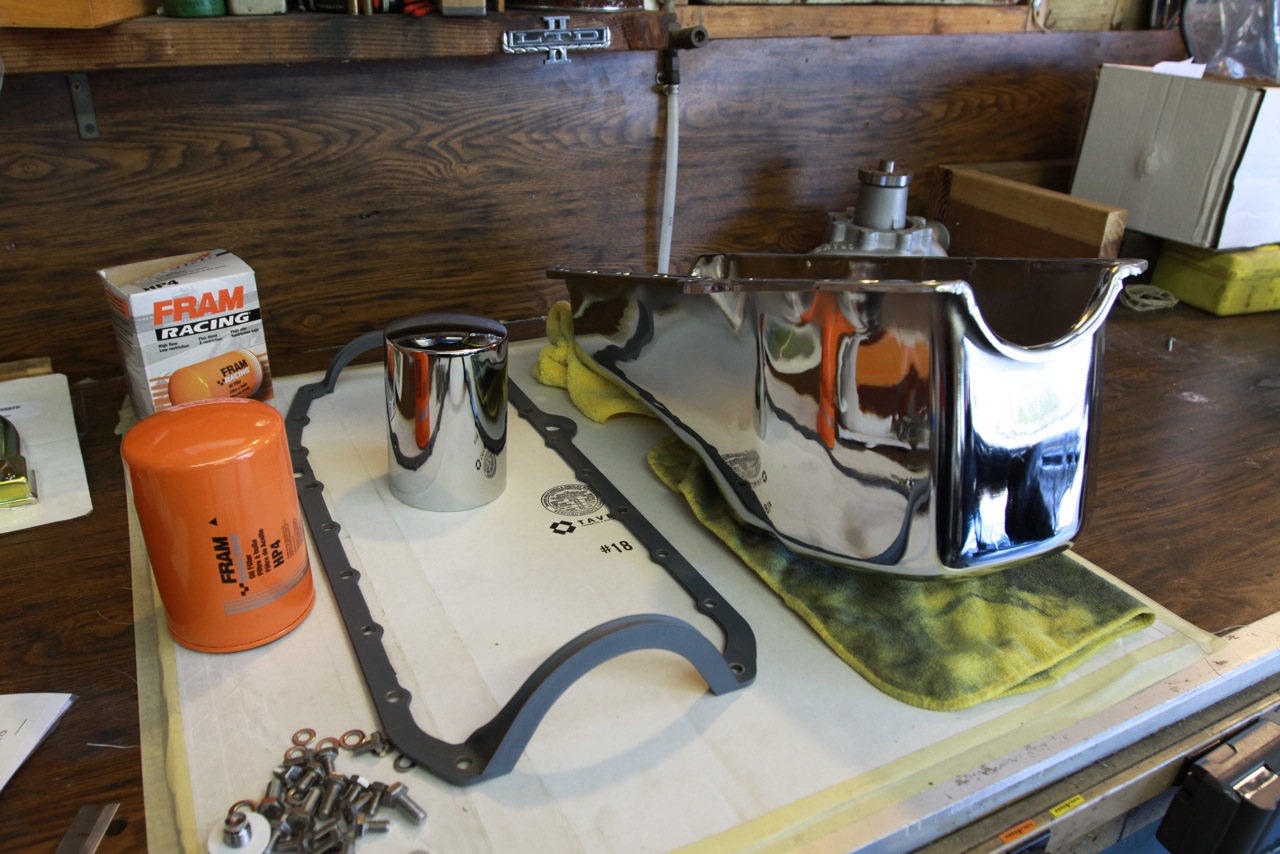
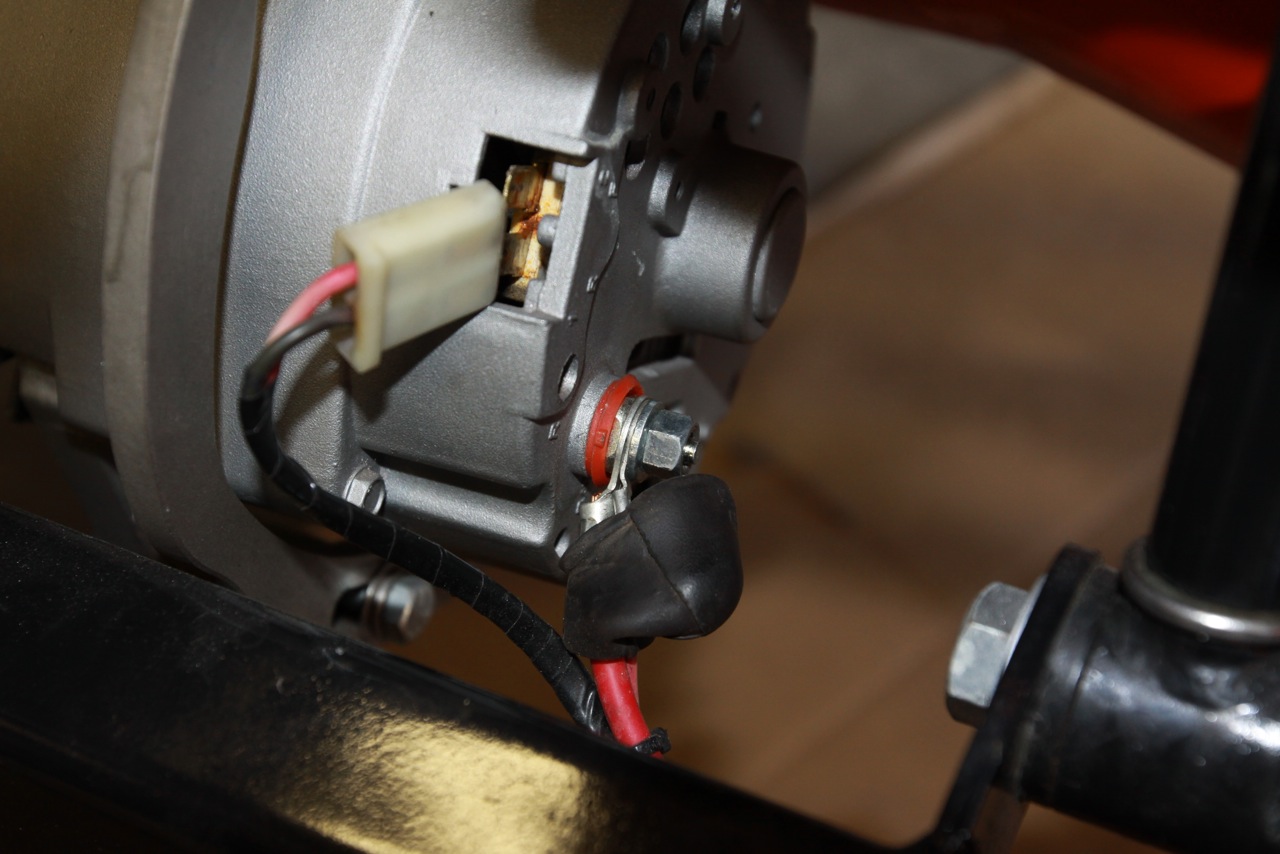
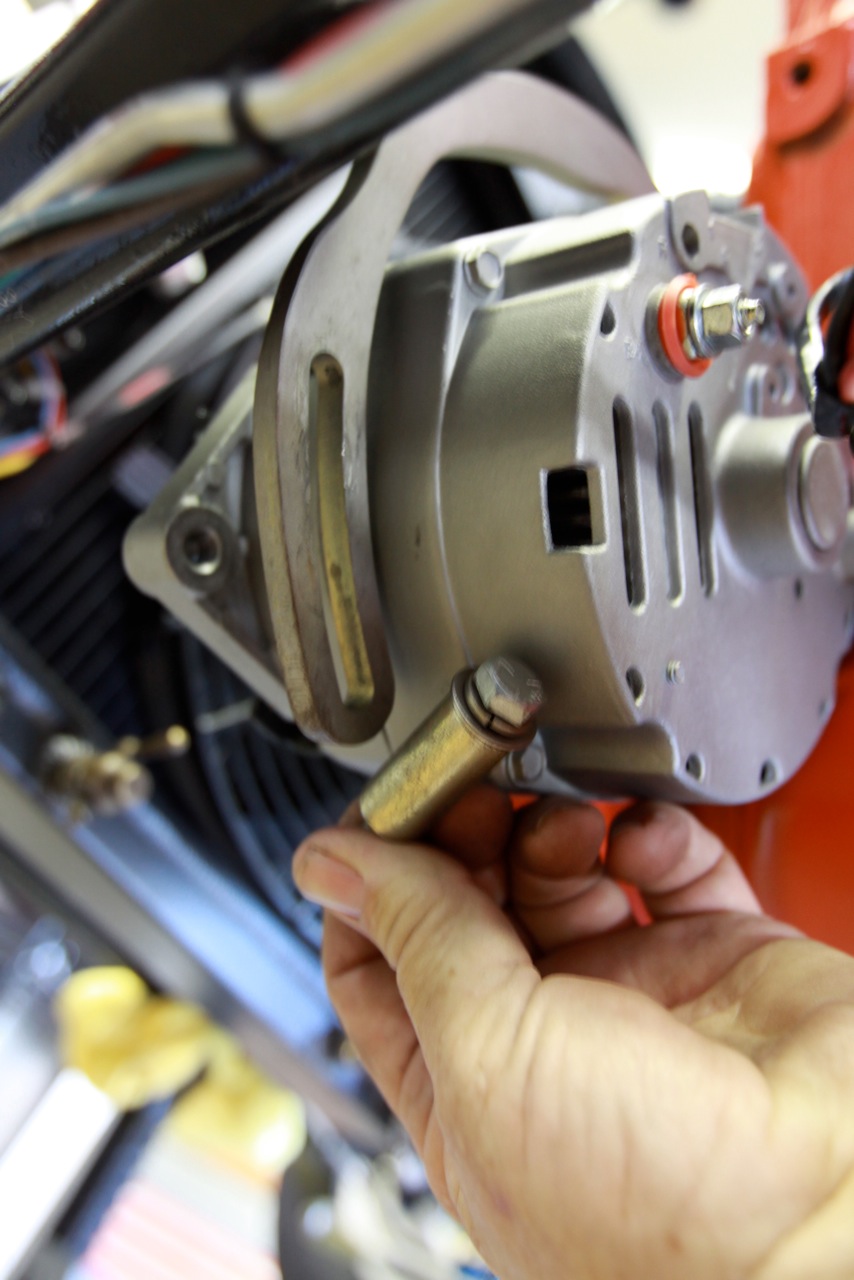
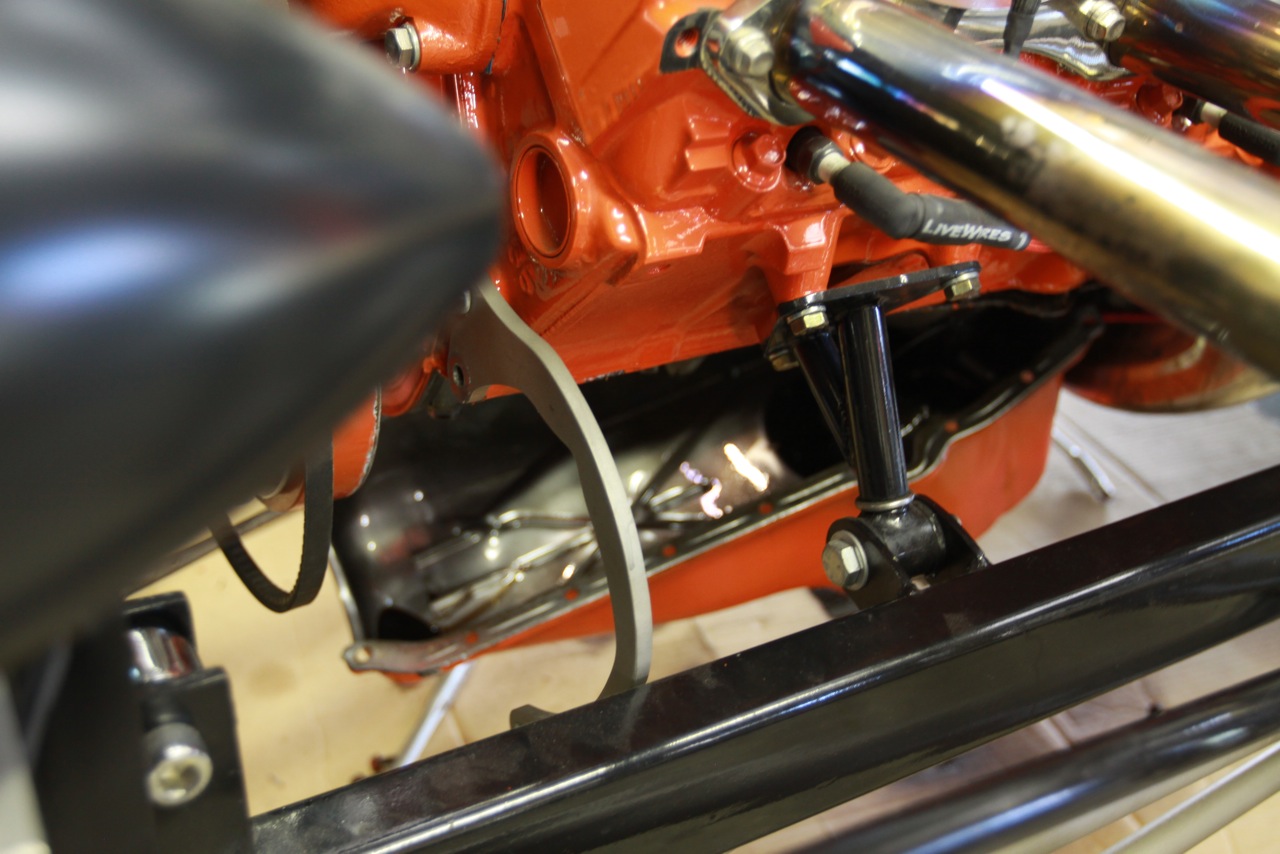
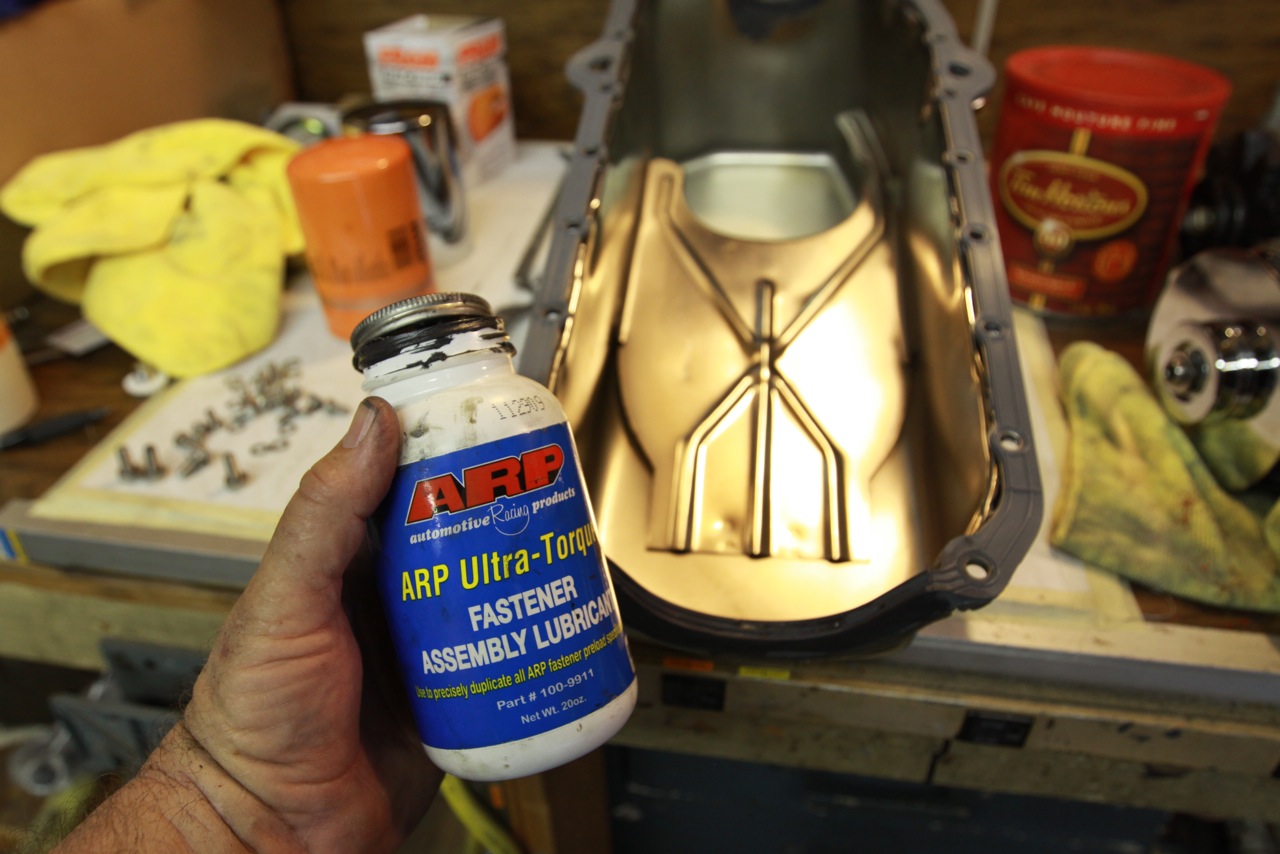
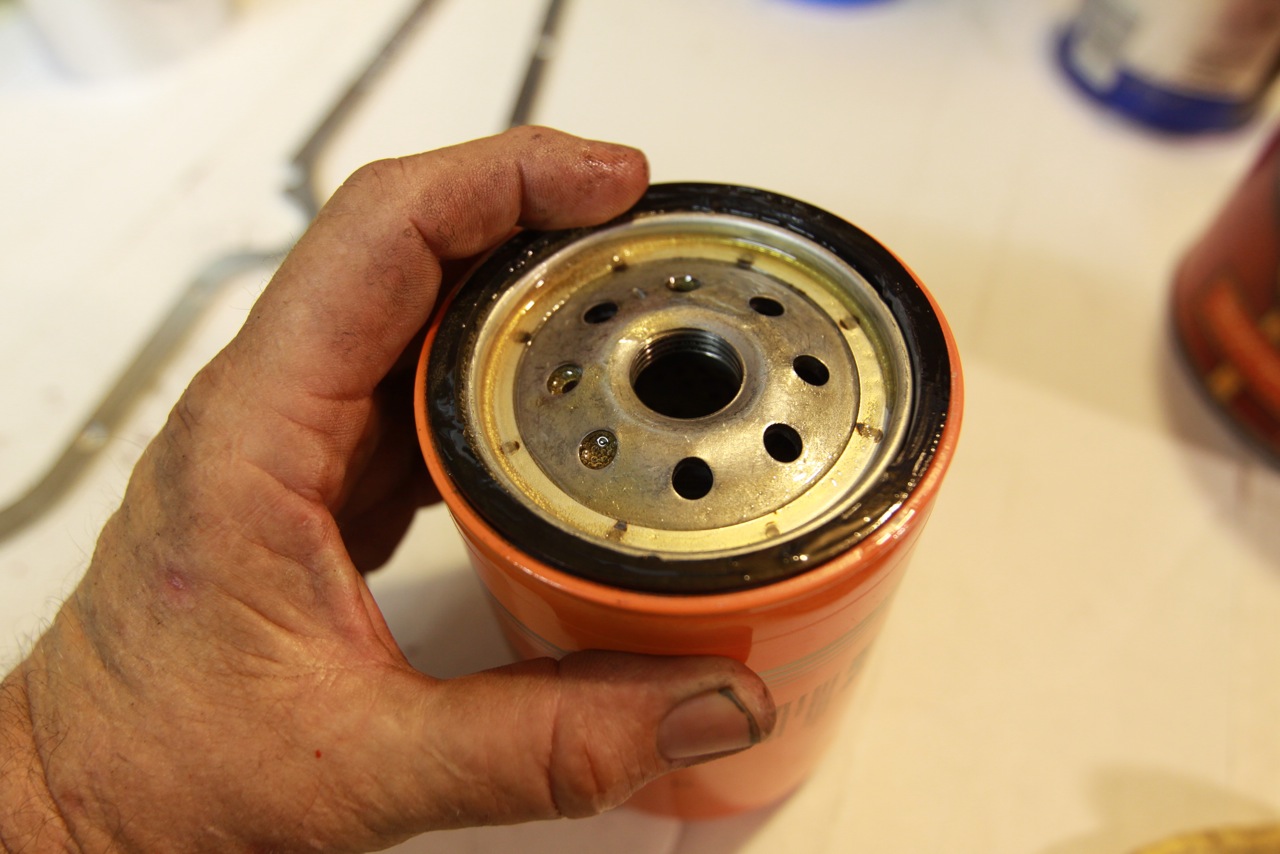
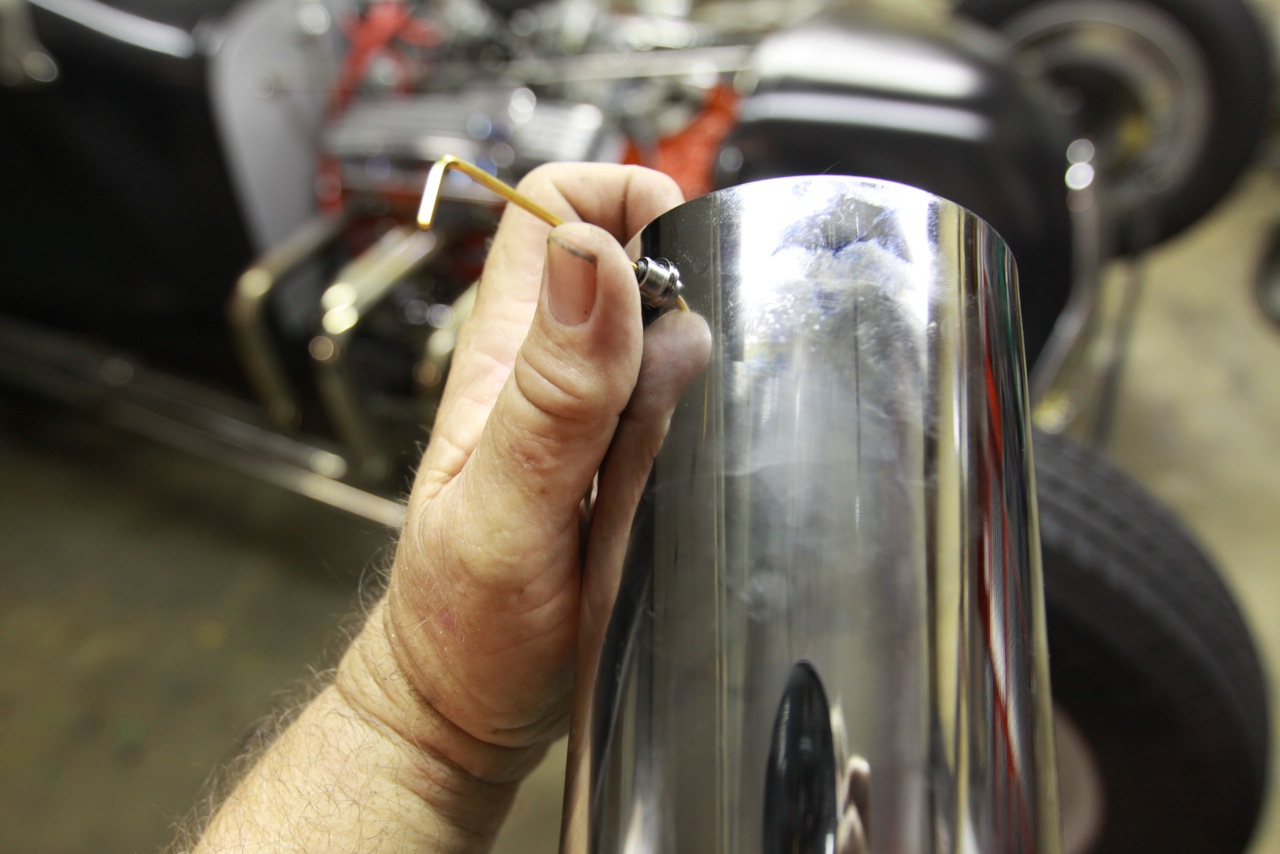
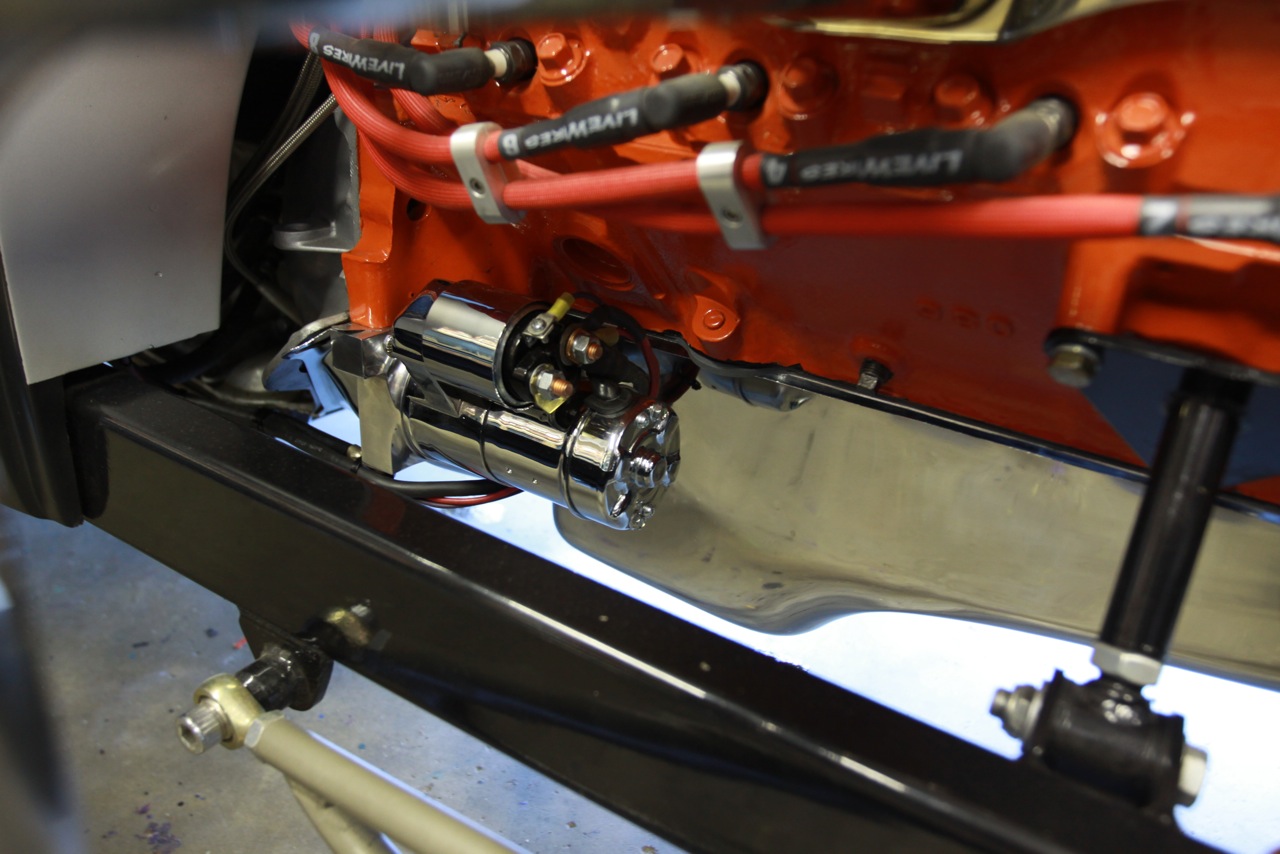
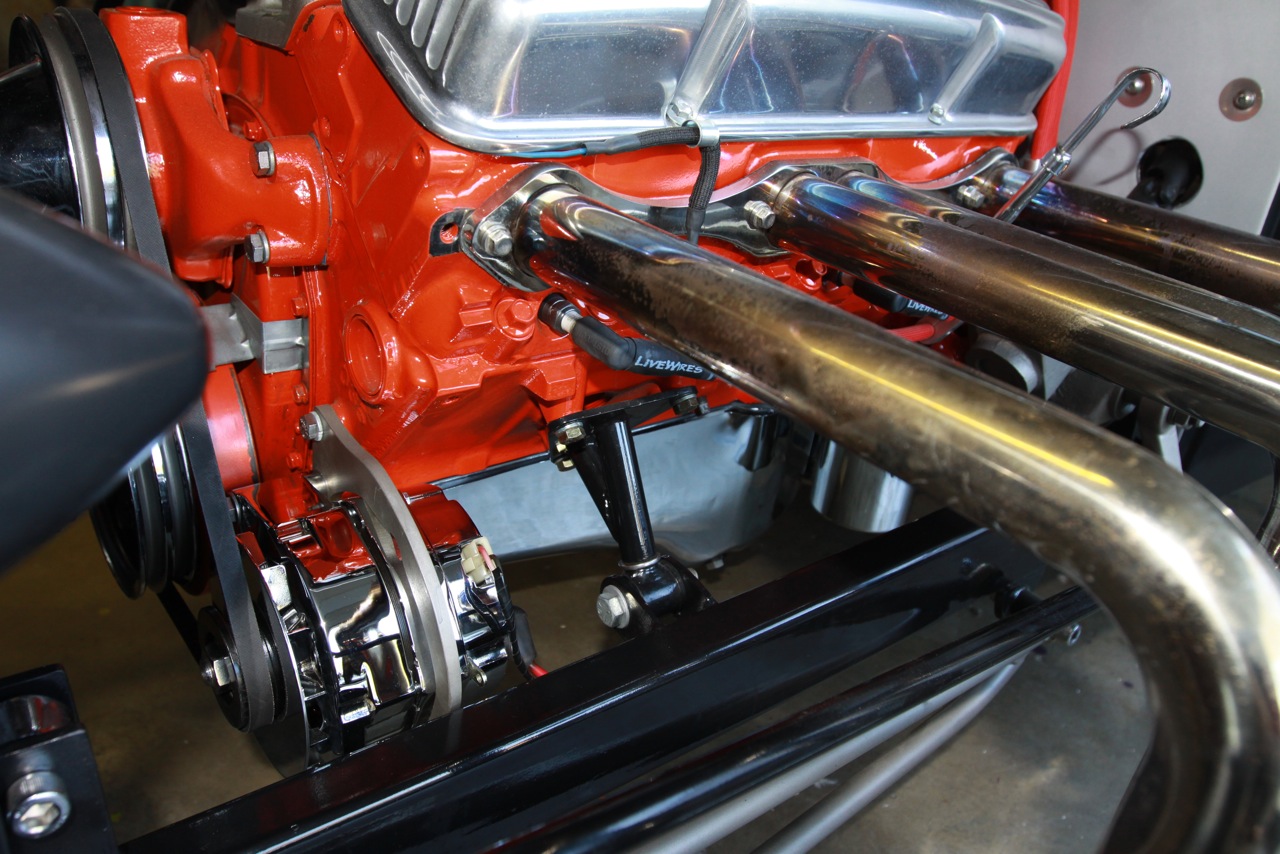
I recently replaced the oil pan and took the opportunity to add a few other items, too. With an upcoming feature with Street Rodder magazine on the horizon, I wanted to add some more chrome to go with the proper ground clearance. Follow along in the slide show below to see how to choose and install a new oil pan in a lowered vehicle. Please note that large-capacity oil pans tend to be less shallow at the front and can impair ground clearance. A stock oil capacity works just fine for a hot rod.

hot rod girl t bucket ford hot rod at cruise in
vintage model t bucket ford hot rod at a car show
hot rod leaking oil onto garage floor
picture of an oil pan on a desktop computer monitor
engine upgrade components on a workbench
man holding a frame engine oil filter
installing a rubberized gasket maker to a chevy v8 engine
negative battery terminal post on a hot rod
backside of an engine alternator with connector plug removed
installing an adjustable engine alternator bracket bolt
front side of a chevy v8 engine getting installed in a hot rod
an air wrench with deepwell socket attached
OnAllCylinders-tech2-17
prying off oil pan from chevy v8 hot rod engine
removing oil pan from a chevy v8 hotrod motor
man holding arp bolt lube near oil pan on workbench
installing a chrome oil pan on a v8 hot rod engine
putting an oil film on the gasket of an oil filter prior to install
installing summit racing chrome oil filter cover
Starter motor on a vintage hot rod engine
chrome headers, alternator and valve covers on a vintage hot rod engine

This track T might be a familiar sight for those of you that are loyal Street Rodder readers. The project was known as Hot Rod Girl, and the car was originally constructed by Street Rodder tech editor Jim Rizzo’s wife in 2008 (to find additional coverage please Google “Hot Rod Girl Summit Racing Street Rodder”).

The track T was driven as-is for a thousand miles before it was stripped down to the bare frame for a total restoration. During that thousand miles we determined the most important upgrade was to beef up the front suspension so the oil pan would cease smacking the pavement under certain conditions. During reconstructing the T there was no reason to disturb the original equipment oil pan as provided with the GM Performance Summit Racing part number NAL-10067353 small-block Chevrolet engine. There was a dent along with long deep scrapes filled with JB Weld, but there wasn’t a trace of an oil leak to be found.

Then one Saturday morning after the Donut Derelicts weekly meet in Huntington Beach, CA, we cruised into Ron’s tire shop in nearby Stanton, CA and hit the driveway just a little too hot. A loud thud permeated the air and we knew the oil pan took the brunt of the hit. Long-story-short: the oil pan fractured open along a sharp dent and oil began to seep.

The search was on for a new oil pan and with usage in the T selecting a sheet metal steel oil pan over a cast aluminum version was a no-brainer. A blunt impact can crack cast aluminum open like an egg. The beauty of shopping for parts online with Summit Racing is a thorough chart of specifications is included with each item. The first thing to learn in the specs was which oil pan was the shallowest. Because we were having to replace the oil pan, and with an upcoming feature shoot with Street Rodder on the horizon, we opted to add a little chrome to the picture.

How easy it's going to be to replace a small-block Chevy oil pan gasket successfully depends on which style gasket one uses. Our gasket of choice is always the Fel-Pro one-piece gasket.

The Fram Racing HP4 oil filter comes in a heavier gauge steel canister (resists an impact better) and offers higher GPH flow (gallons per hour) and finer filtration.

To ensure proper installation from the start, we like using a minimal amount of Permatex 82180 ultra black silicone to hold the Fel-Pro one-piece gasket in place. Make absolutely sure all holes in the gasket align with the bolt holes in the oil pan.

While we were replacing the oil pan, we decided to add a matching chrome alternator and starter. Always disconnect the Negative post on the battery before beginning any electrical work. And yes this battery can be installed upside down.

Removing the stock alternator begins with unplugging the two-lead white plug and unbolting the heavy gauge 12-volt lead that originates at the battery.

For trouble-free reassembly pay attention to spacer placement during disassembly.

Leave the top bolt fully-tightened and in place. Installing the new SUM-6167A chrome alternator is a simple matter of reversing the steps to disassembly. Check to ensure the V-belt is properly adjusted (not crooked).

Moving on to the oil pan, remove all of the pan bolts 1/20 and the four 5/16 coarse bolts, two at each end. The stock Chevy oil pan flange rails are not reused with the SUM-3500 Summit Racing chrome oil pan.

They’re usually stuck on pretty good. We used a soft-blow hammer to thump the oil pan loose without denting.

As soon as there was a tiny gap, we twisted a flat blade screwdriver to dislodge the oil pan from the engine.

The stock styled Chevy oil pan, with its rear sump 7 ½ -inch depth and shallow nose, works the best for lowered applications.

For that fully detailed show car look I used a SUM-G1570HS Summit Racing stainless steel oil pan bolt kit. I used ARP anti-seize on the threads and as an assembly lube for the Fel-Pro pan gasket.

We pressed the SUM-3500 Summit Racing chrome oil pan into place by hand to ensure a perfect fit. To make installing the pan bolts a one-man job, we used a floor jack to hold the SUM-3500 into place.

It’s a good practice to always smear a slight oil film on the oil filter gasket before installing. Some folks fill the oil filter with oil before installing.

The finishing touch to any show car is the SUM-G3860 Summit Racing chrome oil filter cover. Slip it over the Fram HP4 and snug down the setscrew.

We also installed a SUM-829100-C chrome high-torque starter per the directions. Make sure to shim the starter properly. You’ll know if it’s wrong because it will sound like a cat got in between the starter and the flywheel.

Chrome, chrome, and more chrome! Now the car is ready for its big Street Rodder magazine reveal.


Share this Article
Author: John Gilbert

Born in Southern California, John Gilbert was ingrained with a dedication to customizing, restoring, and racing vintage cars, trucks, and motorcycles. In his early years John owned Crazy John Custom Paint, Auto Exotics, and Cycle Craft. Later, he served as editor of Tailgate, Custom Classic Trucks, American Truck, Highbeams; tech editor for Hot Rod Bikes, Classic Trucks; and feature editor for Rod & Custom and Street Rodder. His photographic images have appeared on over 250 magazine covers.