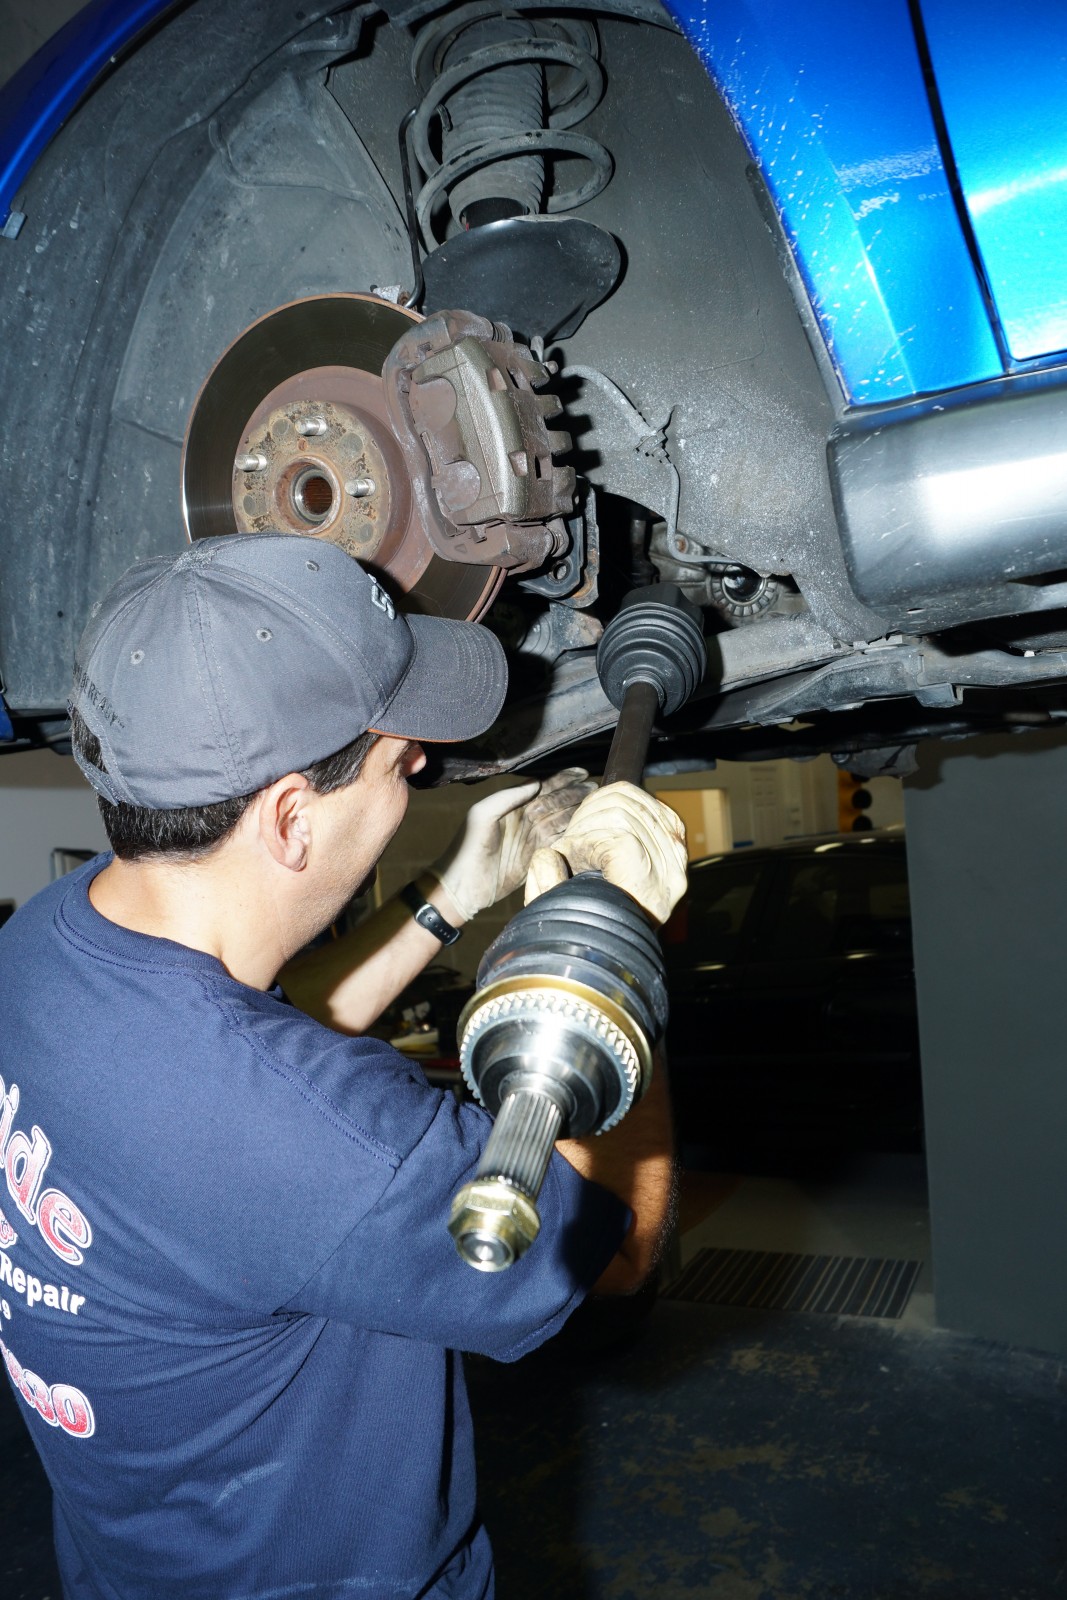
Since the dawn of front-wheel-drive automobiles, the front drive axles have become a weak link and are often in need of replacement on high-mileage vehicles. If you’re more familiar with rear-wheel-drive muscle machines, well, fear not as the CV axle replacement is fairly simple and something most any gearhead with a few years of wrenching can handle. In this article, we’re going to show you how to replace the front axles on an all-wheel-drive Subaru Impreza WRX.

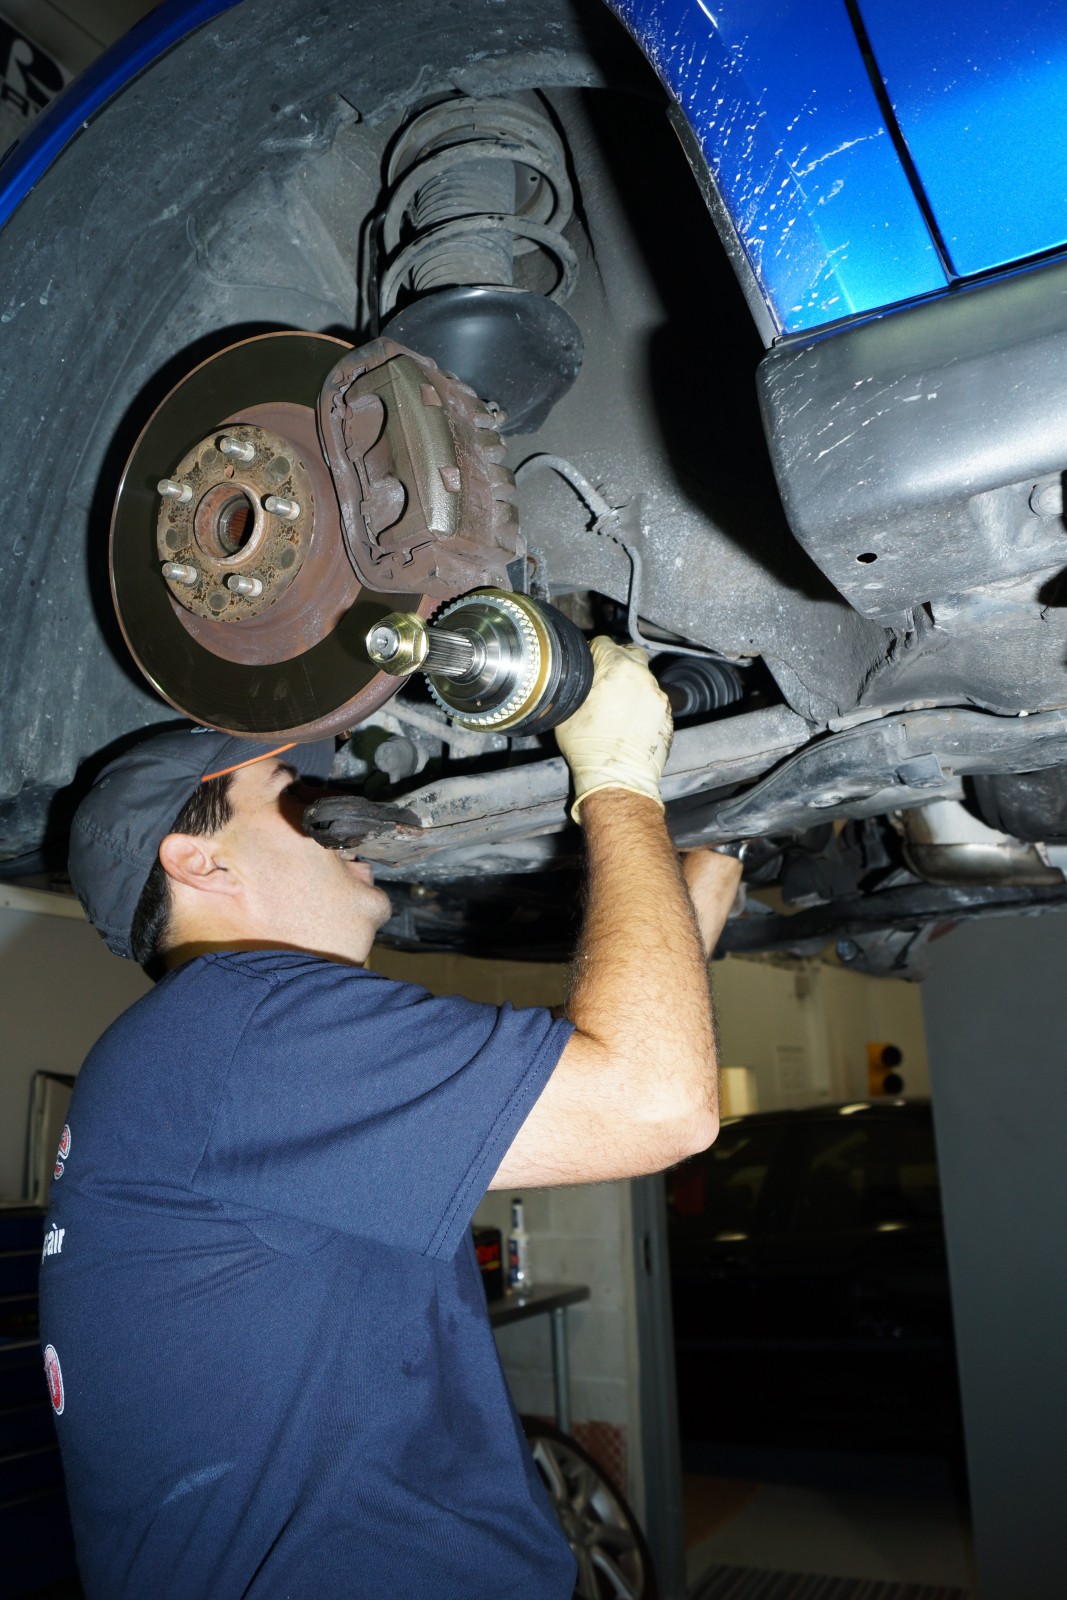
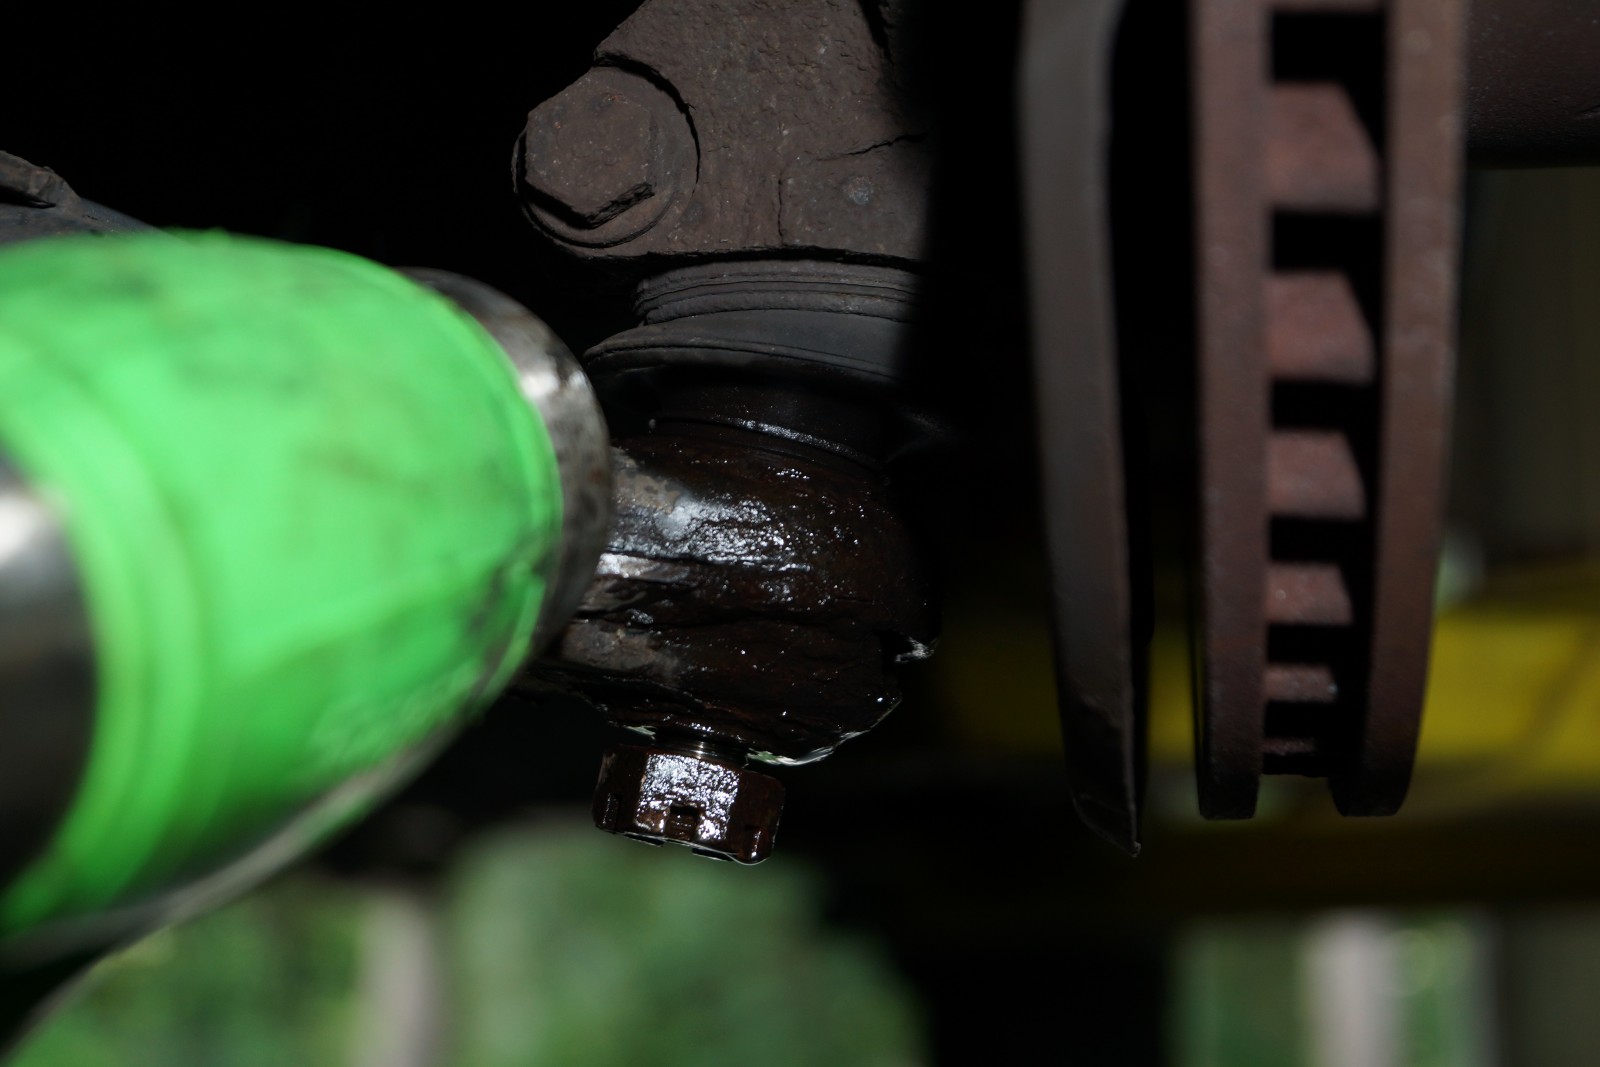
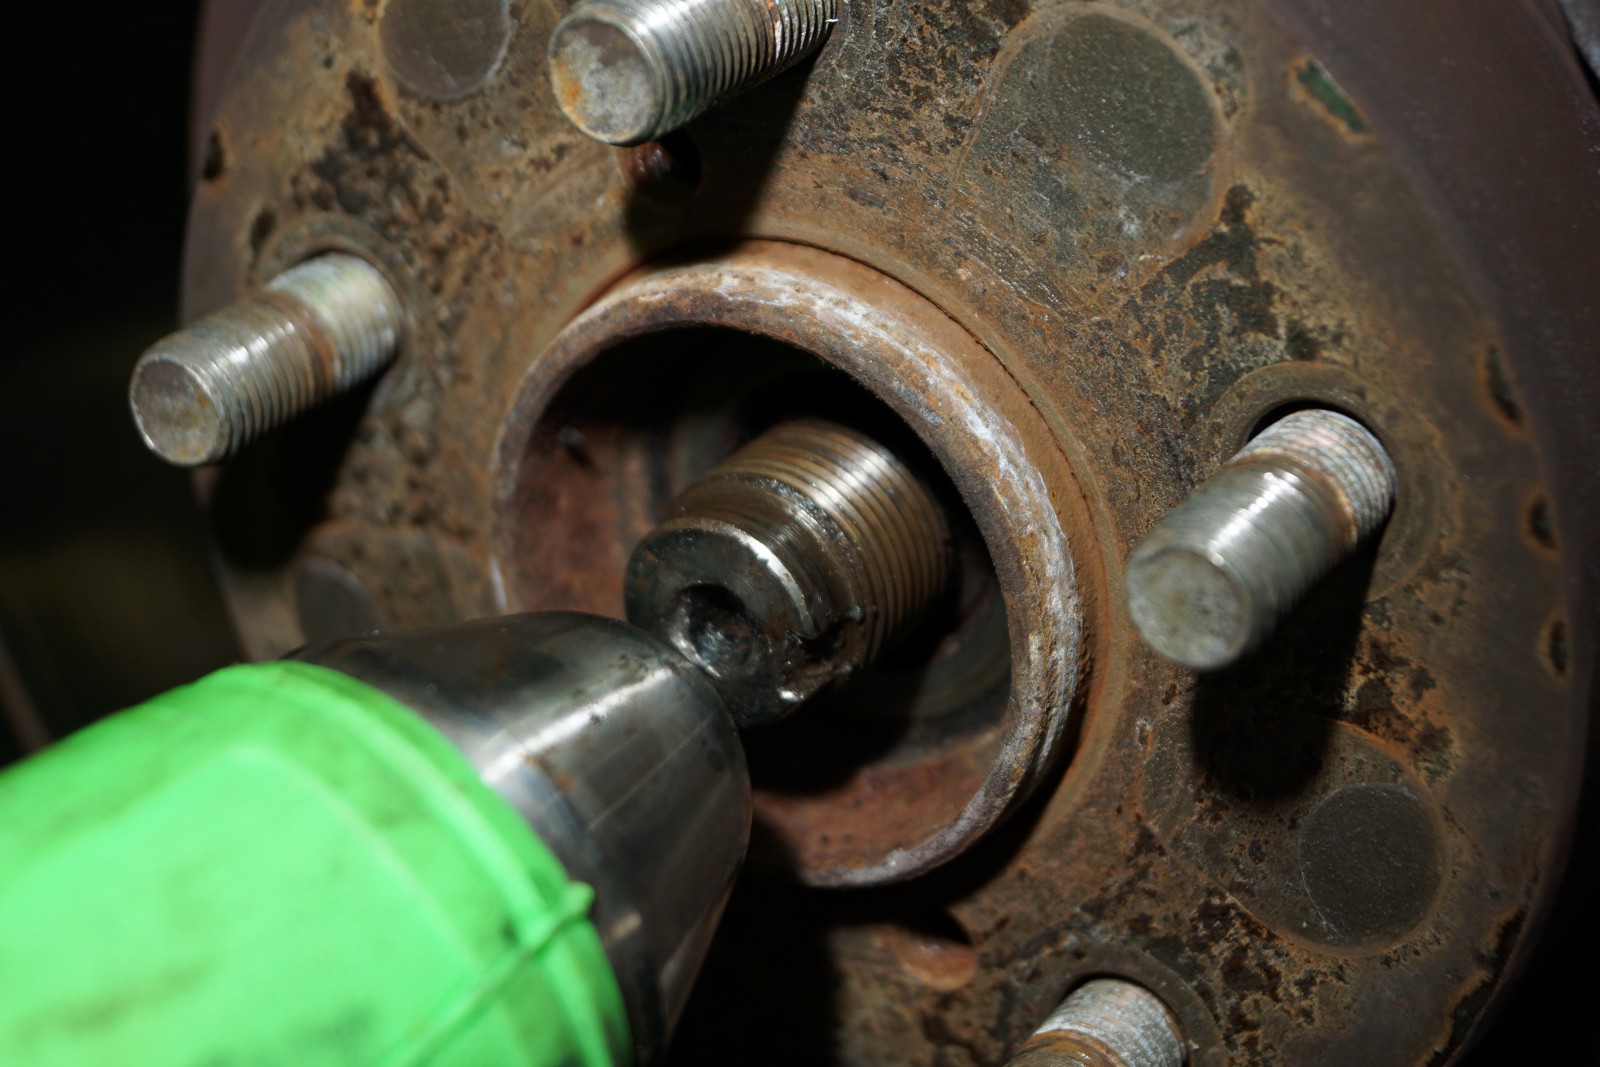
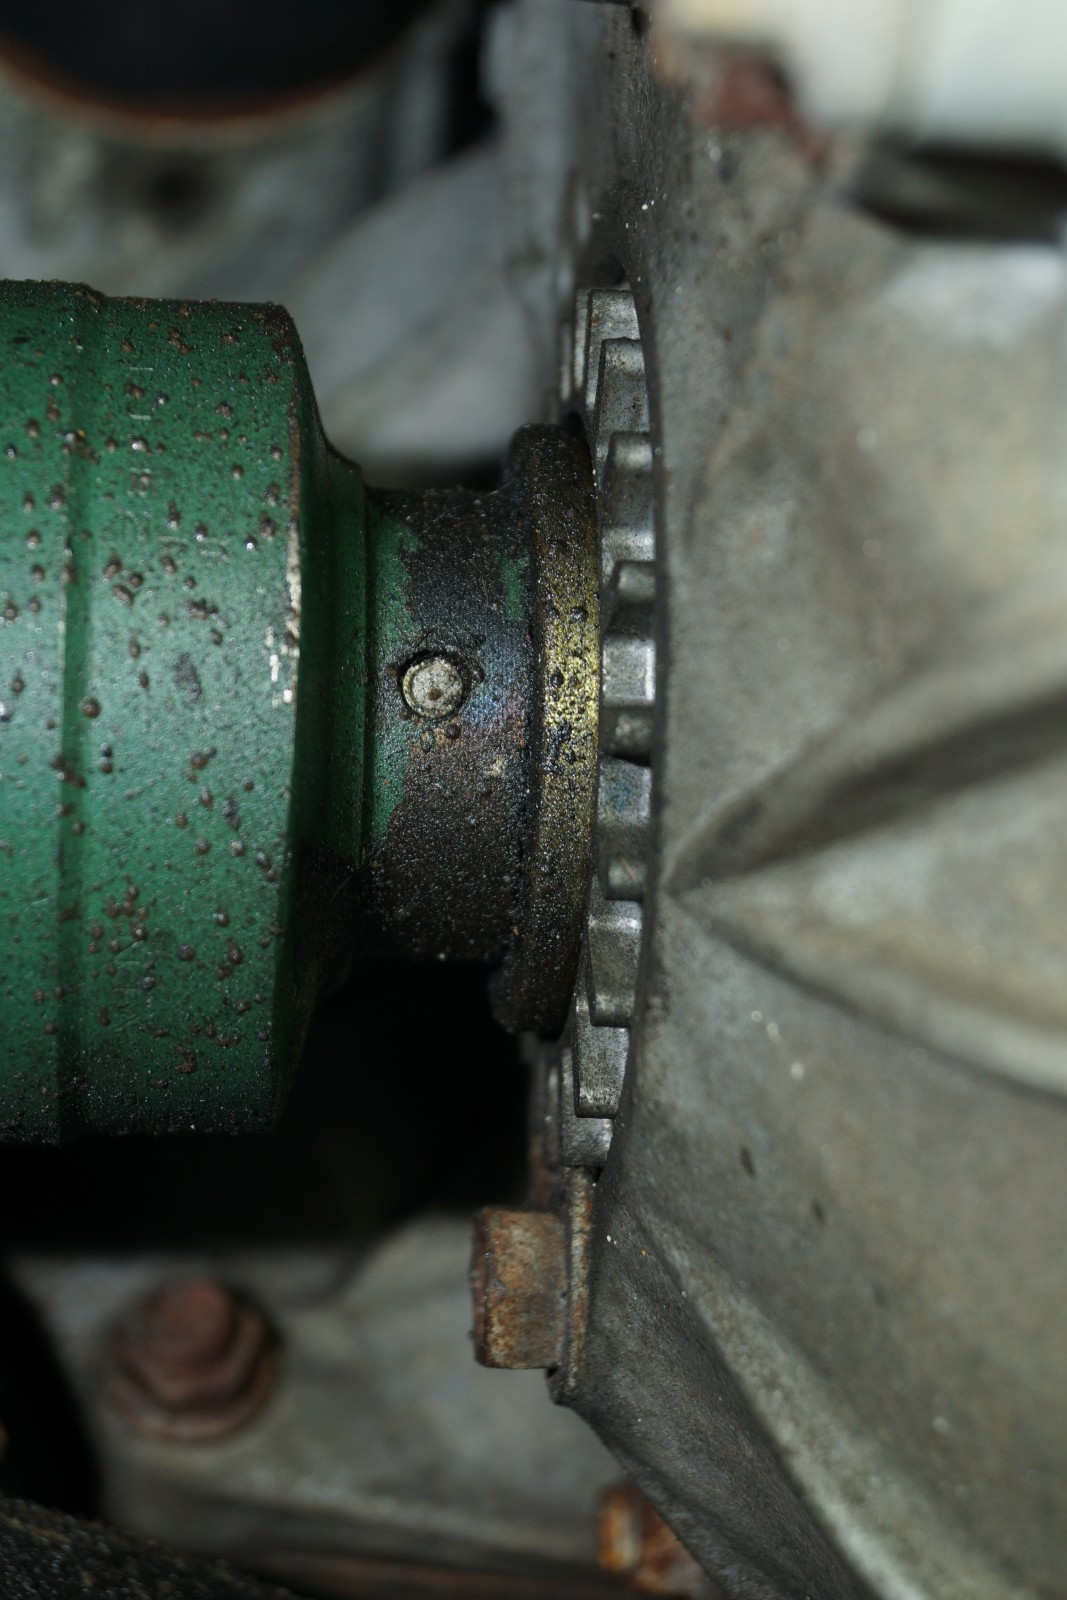
Unlike traditional solid rear axles, the axle shaft of a front-wheel-drive or all-wheel-drive vehicle utilizes a constant velocity joint (CV) to allow it to steer the car in addition to driving it forward. Due to the stresses of performing double duty, the CV joints eventually wear out, and they can produce a clicking sound that indicates the joint is failing. Additionally, the protective boots that encapsulate them often break open, exposing the joint to the elements and ejecting the grease that keeps it lubricated. Often times this break in the boot leads to premature failure of the joint.

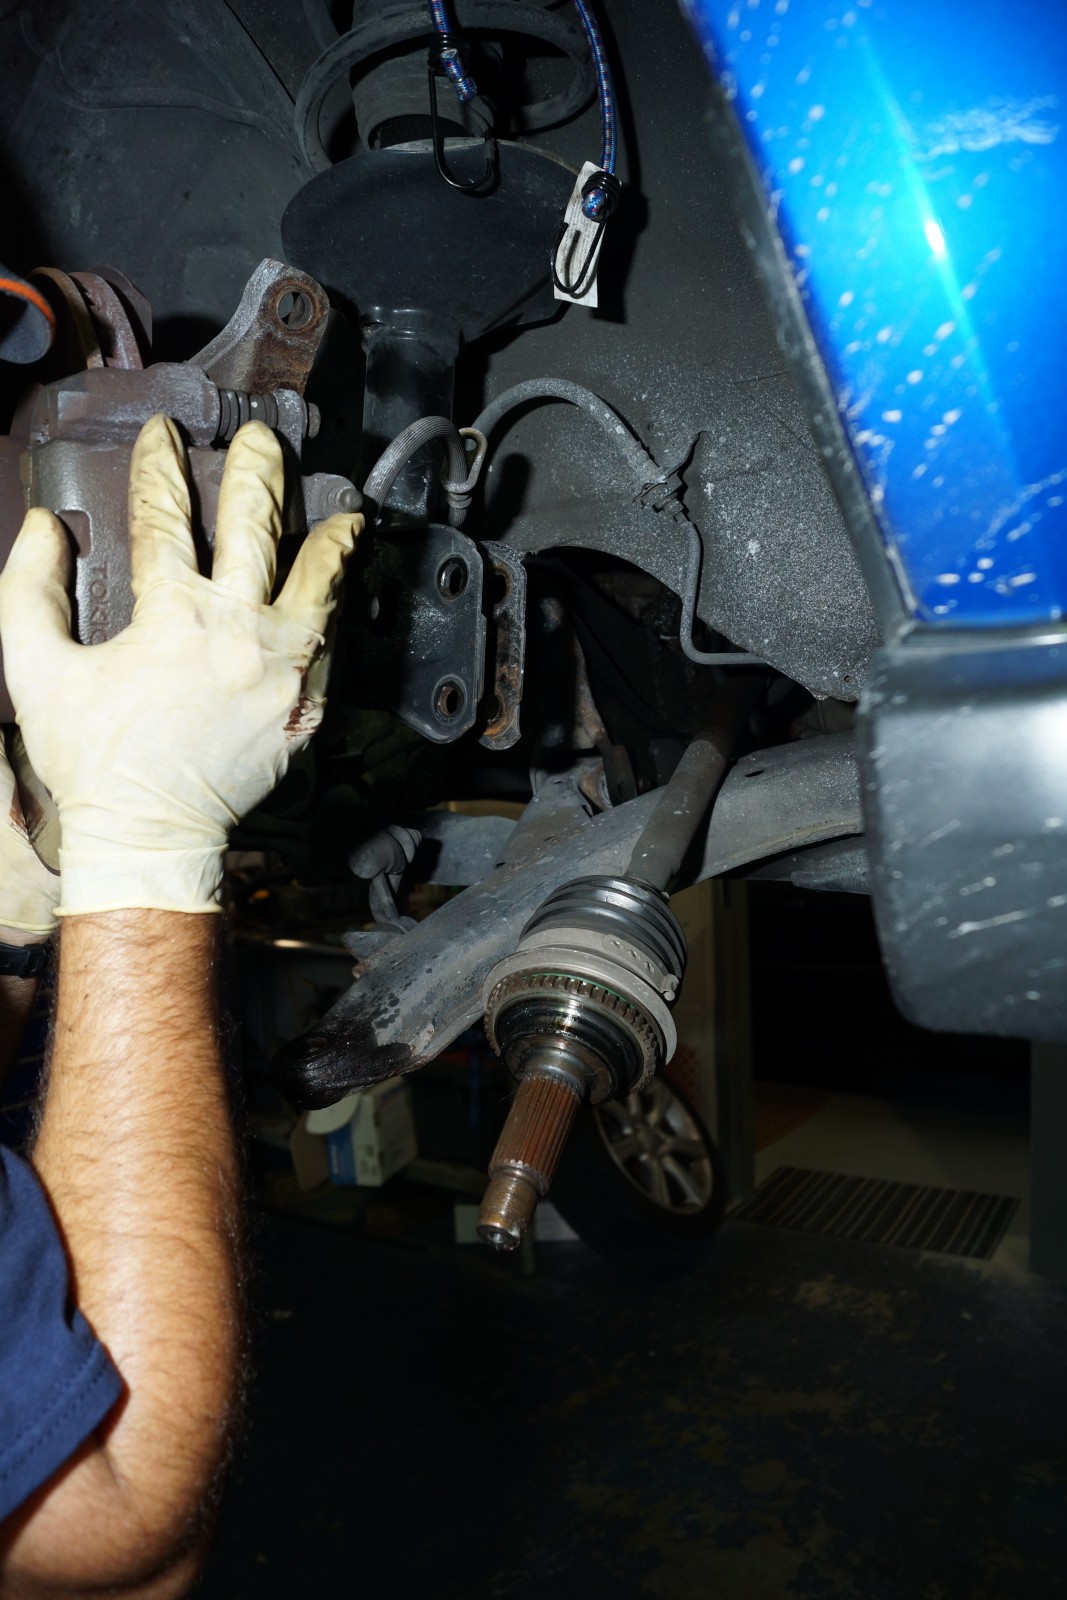
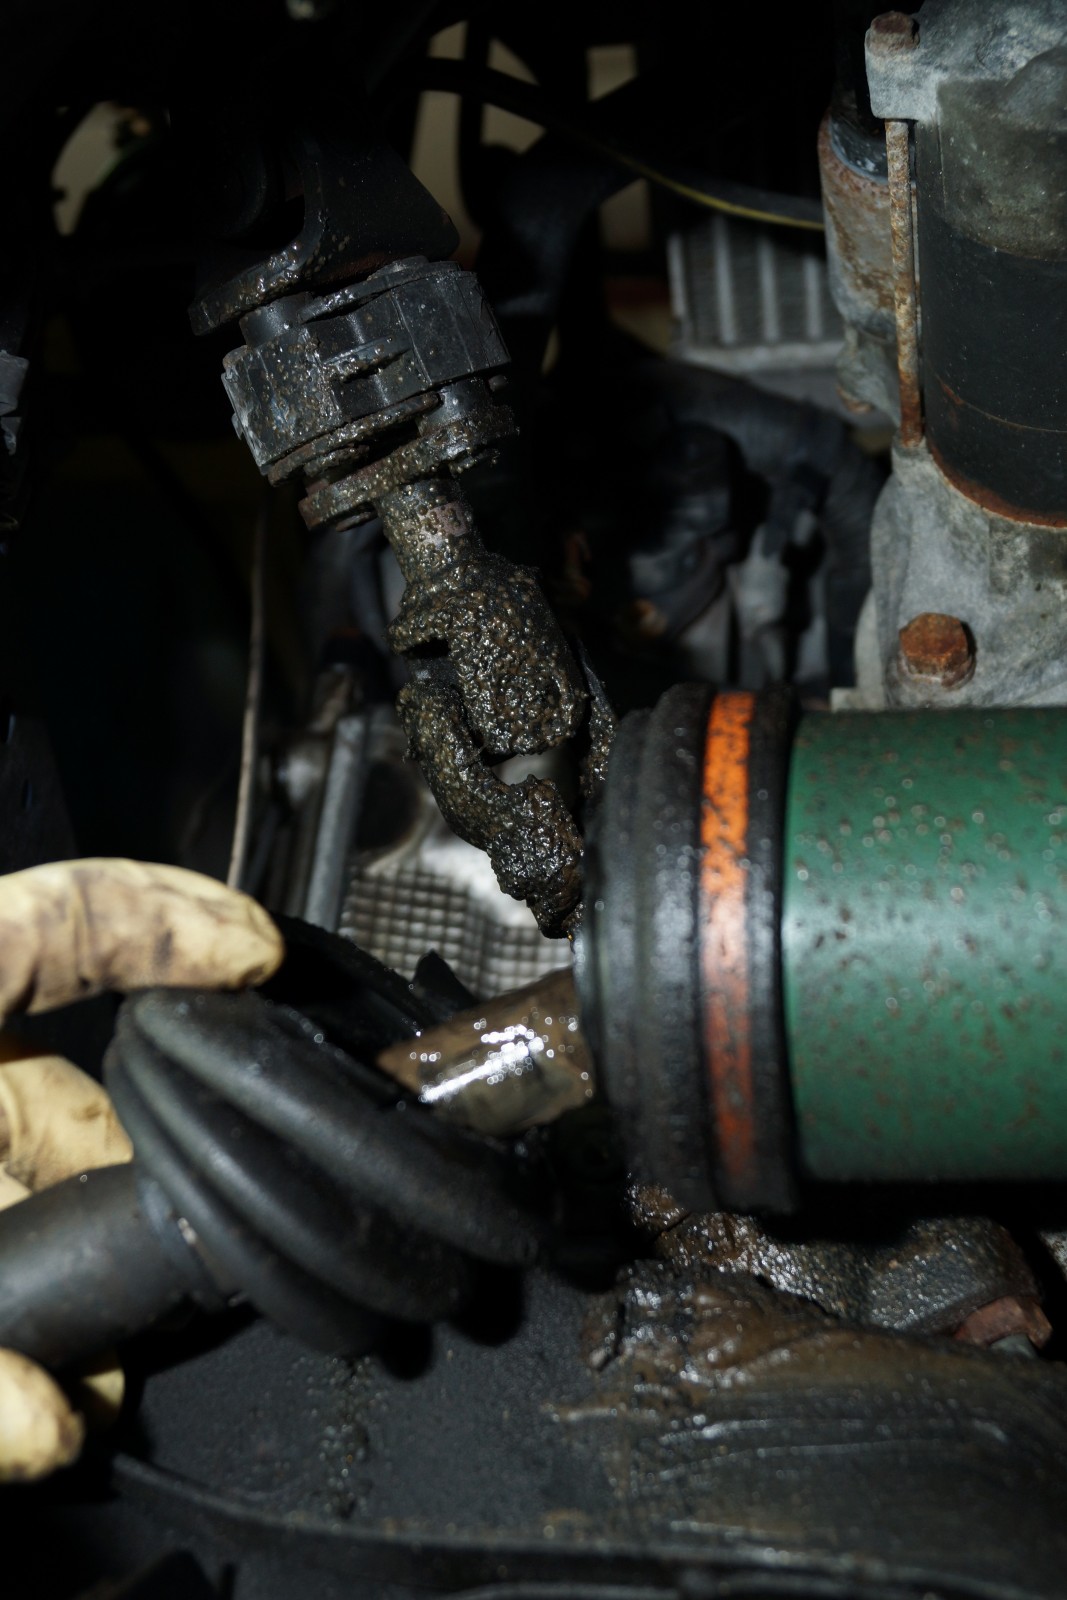
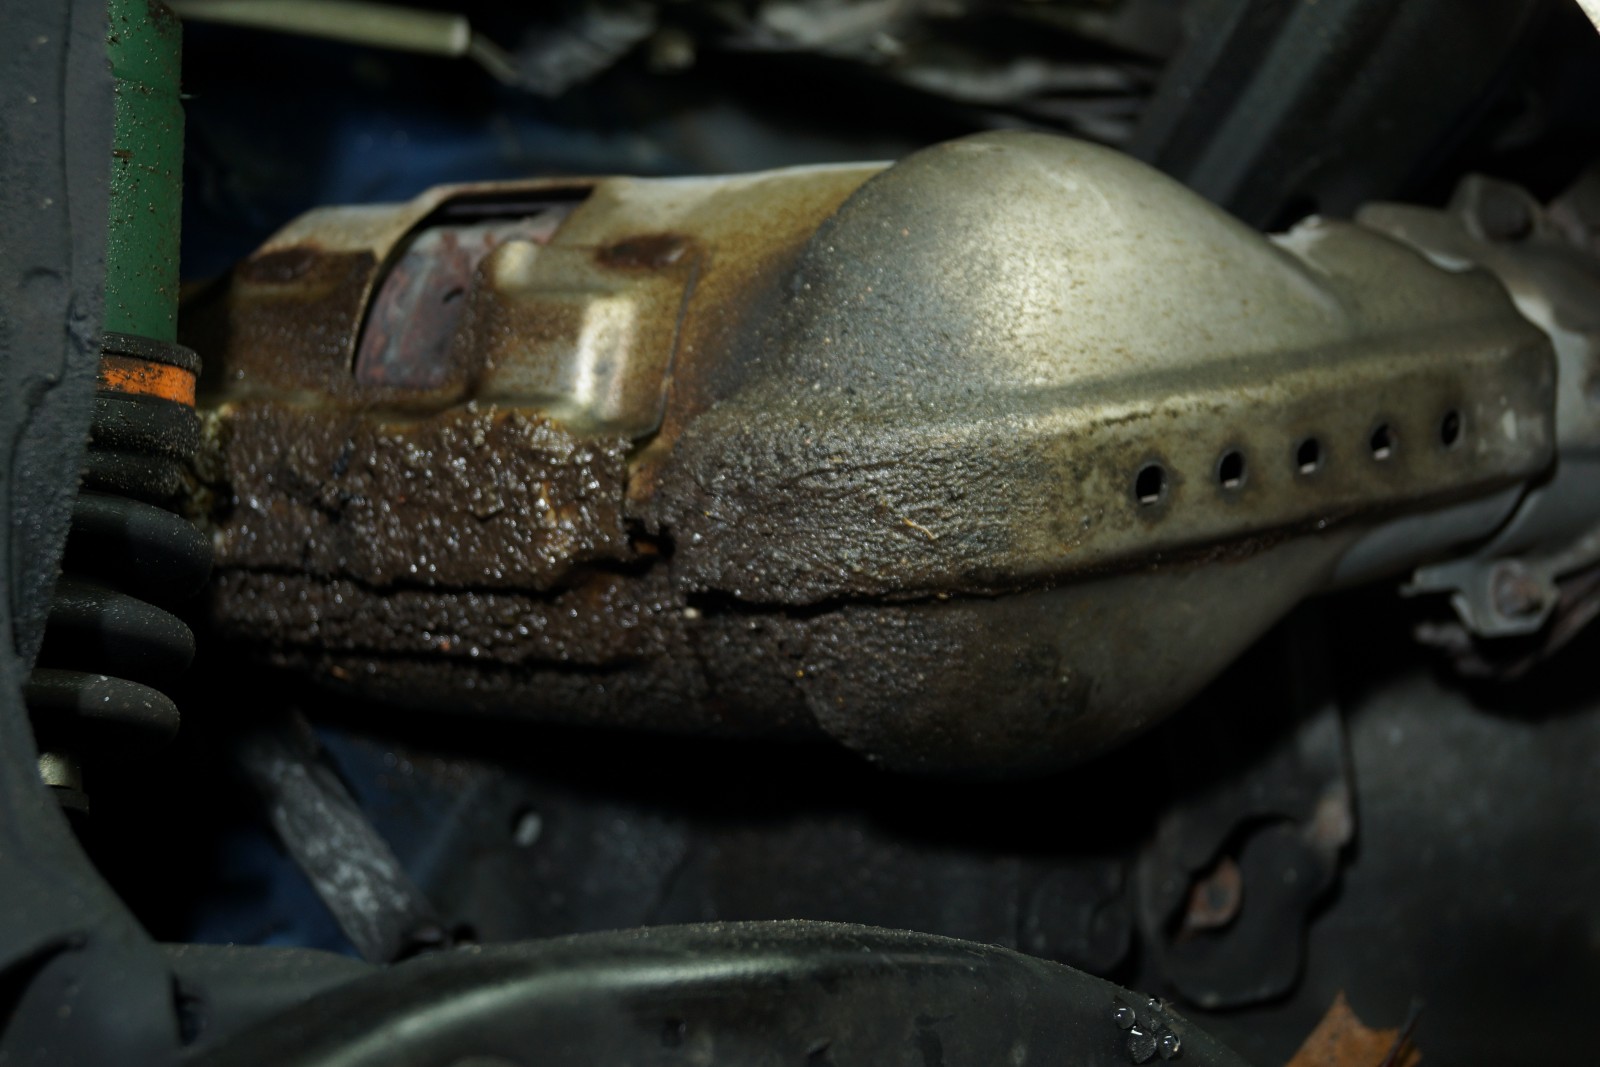
On our 2003 subject vehicle, both inner boots on the front CV axles were split and allowing the grease to be slung all over the underside of the car and in the engine bay. There was no audible indication of joint failure, but it’s not far away once the boot is open. And considering we are looking to install a shiny, stainless steel exhaust next, we certainly wanted to take care of the grease issue.

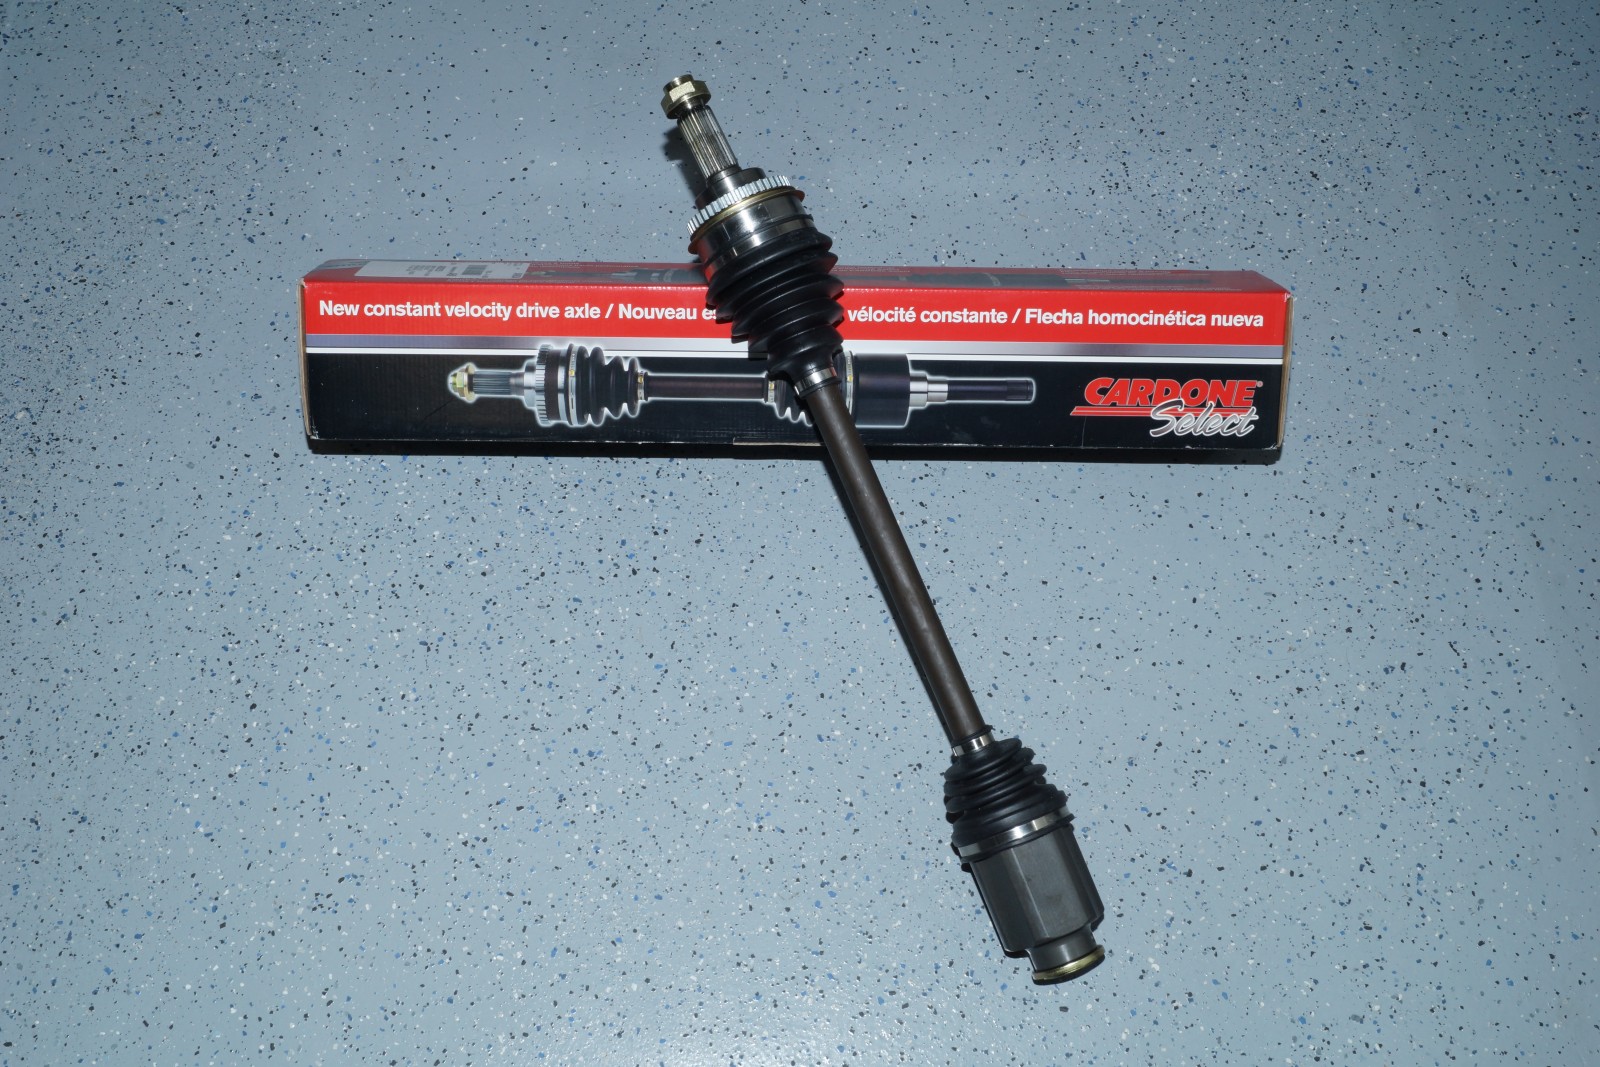
For many car models, owners and repair shops have the option of rebuilding the CV joint, and these kits usually come with new boots as well. If your car is a high-miler like our subject vehicle is, for just a few bucks more, a new replacement is a better option. For our new replacements, we turned to Summit Racing Equipment. Despite what the name might imply, you can go to Summit Racing for just about any stock replacement part on your vehicle.

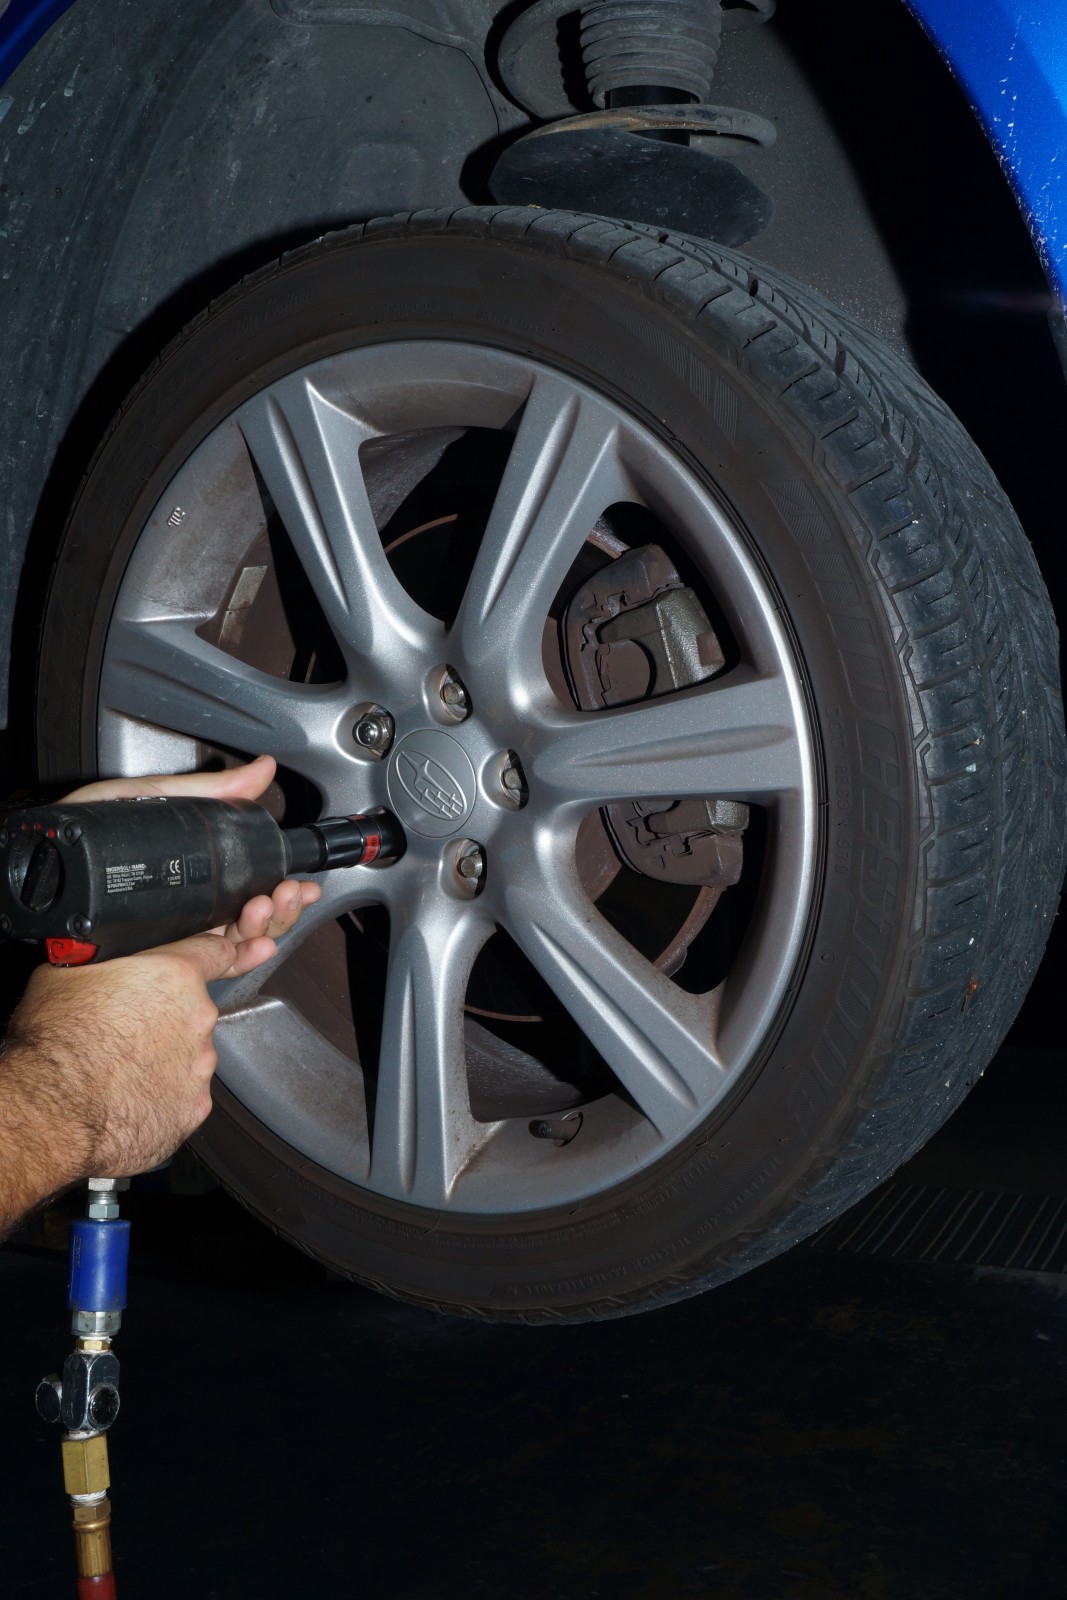
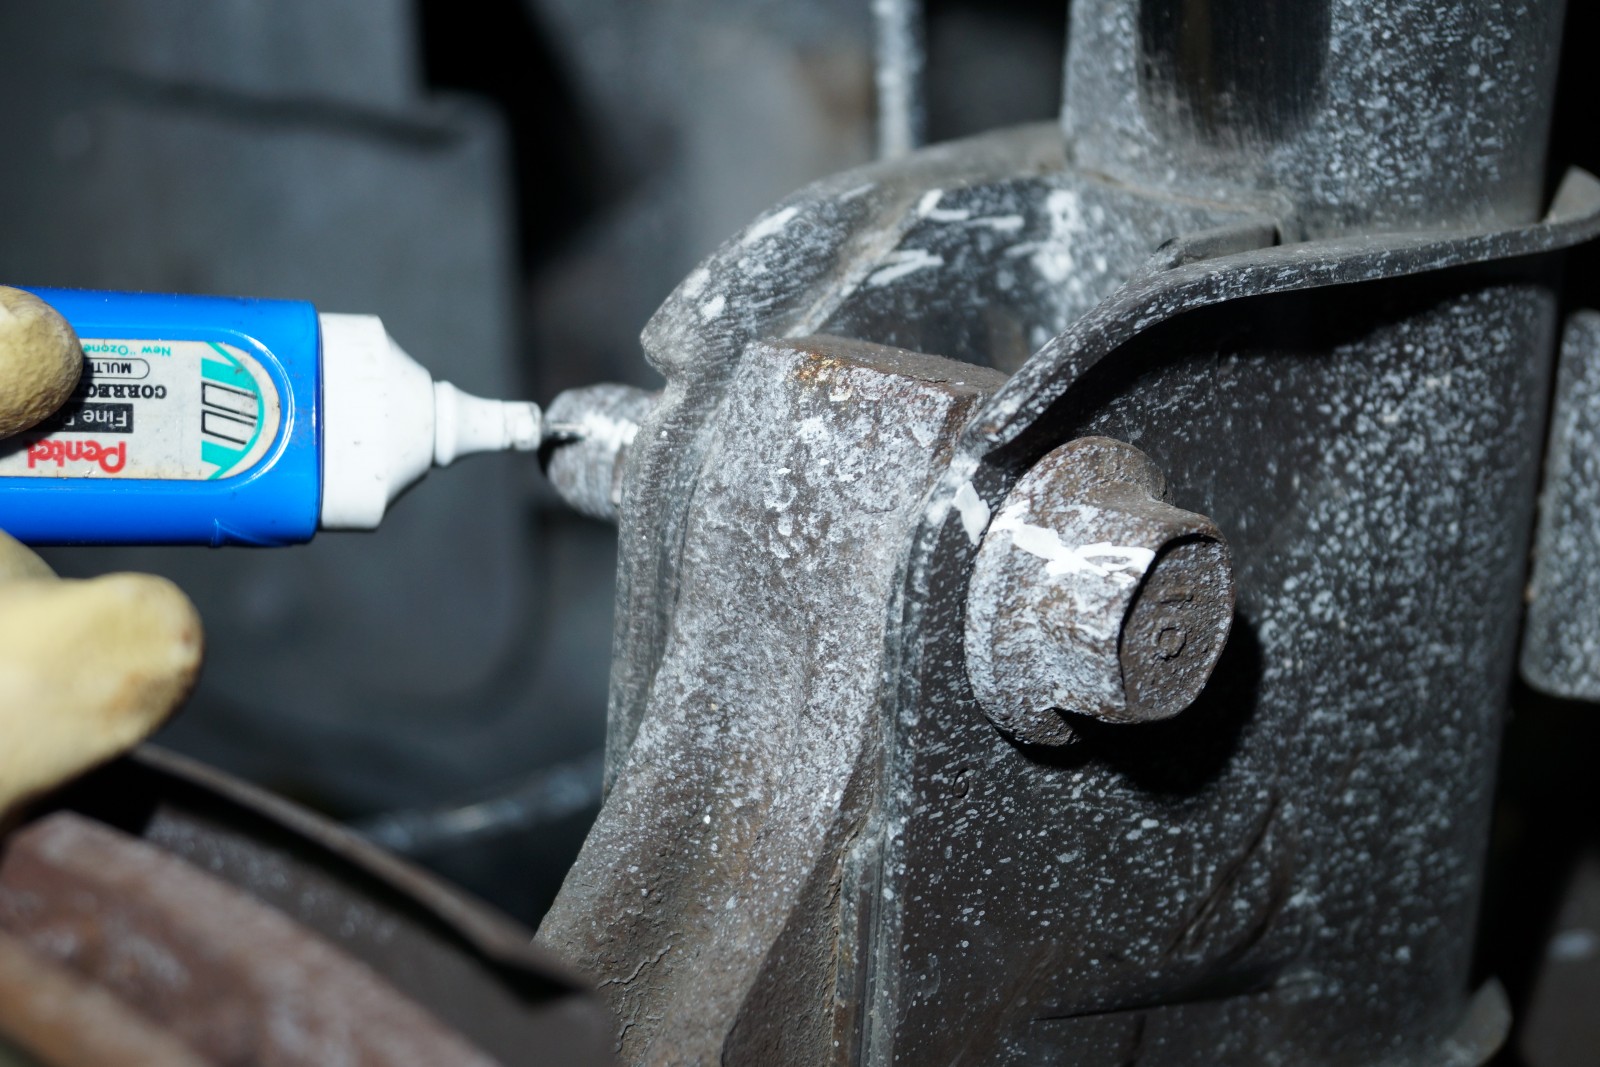
The instructions below will work for most CV axle removal/installations; read the captions to see how easy it is to swap in new CV axles in your WRX. Be sure to check back, as we make a few performance modifications to this WRX as well!

removing cv axle shaft from a subaru wrx
new subaru wrx cv axle on shop floor
removing wheel from a subaru wrx
removing axle retantion nut from a subaru wrx axle
removing cotter pin from a spindle castle nut
removing the ball joint tie rod end on a subaru wrx spindle
marking bolt location on a subaru spindle nut
removing spindle bolts for a subaru wrx cv axle replacement
unbolted brake line
hammering out splined cv axle from hub
removing cv axle from a Subaru wrx
torn cv boot and damaged axle
oil and grease on a exhaust heat shield
roll pin on a subaru wrx cv axle
installing a CV axle in a subaru WRX
side by side comparison of subaru and aftermarket axle roll pins
dimple on an axle retention nut

) Changing out a CV axle is not as difficult as you might think. It usually requires only basic hand tools and maybe a torque wrench.

To remedy our subject car’s leaky stock CV joints, we ordered a pair of Cardone Select CV drive axles through Summit Racing Equipment. Part number AAZ-66-7259 is an exact-fit replacement.

The first step is to disconnect the car battery and then get the car safely in the air. While we had the luxury of using a two-post lift, jack stands will work just fine. Remove the wheel next. As a side note, if this is your first time, do one side at a time in case you can’t figure out how things go back together—this is a fairly simple and straightforward install though.

. Next, you’ll need to remove the retaining nut atthe center of the brake disc. As you can see from the picture, the top of the nut is made to be crushed into the retainer slot. You can open this a bit with the tool of your choice, but most impact guns will zip the nut off with no problem, and the new axle comes with a new nut. Many cars and manufacturers utilize different fasteners for drive axle retention, with some requiring odd sized sockets or cap screws, so research your vehicle in advance.

You need to separate the lower ball joint from the control arm next. Remove the cotter pin and then loosen the nut, but leave it threaded on the stud a few threads. If these have never been off the car before, or you live in a snowy climate, you may have to break the ends of the cotter pin off and then drill out the remains like we did. Start with a very small drill bit and once you’re through the stud, you may be able to push the leftovers out with an awl or similar implement.

You can rent a ball joint removal tool, or do it like we did—with the suspension at full droop, use a large hammer and hit the control arm near the ball joint. With the WRX having boxed control arms made from stamped steel, striking the arm doesn’t have the same intensity that hitting a solid one does, but it works. You’ll want to make sure they are not overly rusty as you could further fatigue the metal, and you want to be careful not to hit the ball joint boot as well. Striking the control arm should separate it, but if it doesn’t, use a jack to lift up on the ball joint stud and keep pressure on it while you continue to strike the control arm. Don’t use the hammer technique if your particular vehicle has aluminum control arms.

While we recommend getting an alignment after this procedure, you’ll want to keep the suspension settings as close to normal to get you to the alignment shop. Mark the upper and lower bolts across the bolt and onto the strut and be sure to line these marking up during reassembly.

The strut fasteners are different lengths, so be sure to remember where each one goes. Once these are removed, you can lift the spindle assembly out of the control arm.

Unbolt the brake line bracket from the strut.

Before going any further, you’ll want to ready some sort of hanging implement as you’ll need to suspend the spindle assembly during the axle swap. A bungee cord will work, but something less flexible will ensure that the spindle stays out of the way. We used simple brake caliper hooks, similar to the OTC Caliper Hanger set (PN OTC-7661) available through Summit Racing. Since we are discarding the old CV axles, it’s ok to use a hammer to tap the axle back through the spindle hub. Once you’ve got it on the move, most CV axles are easily pulled out the backside.

Pick up the spindle assembly, pull it out and turn it towards the front of the car. As you are doing this, push the CV axle inward and flex the joint as needed to remove it from the backside of the spindle. Now hang the spindle assembly up and out of the way.

Here, you can see that the CV boots have broken open and have slung the internal grease all over. Once you have the axles removed, take the time to clean the mess up, as this will make it easier on you should other maintenance or modifications require you to dive back in and under your car. Also notice the grease all over the factory downpipe. This can make your car a bit stinky, and it can ruin the finish of aftermarket pipes as well.

Different manufacturers and car models have different ways of securing the CV axle to the transmission. For many Hondas, it’s a simple snap ring and you only need a pry bar to pop this end of the axle loose. For VWs and Audis, cap screws around the perimeter are employed. This WRX, and most Subarus, utilize a simple roll pin. Use a roll pin punch to drive the pins out, and then slide the axle off of the splined transmission shaft.

Break out that new Cardone Select CV axle and slide it into position. Be sure to note where the roll pin hole is on the transmission shaft and the CV axle, and line them up as you’re sliding it on. If you meet resistance when tapping the pin in, you may have to rotate the CV axle 180 degrees to get the roll pin holes to line up properly.

We preferred the factory Subaru roll pins over the included new ones from a design standpoint, but as you can see, the new ones are longer and will be needed to properly lock the axles onto the transmission shafts.

Now reassemble the suspension components in reverse order and be sure to check all of your fasteners. The final one, the axle retention nut, must be torqued to 137 ft-lbs. If all you have is hand tools, you may need to pop the center cap to your wheels, mount said wheels, and set the car on the ground to apply the torque wrench. Most quality impact guns exert greater than 137 ft-lbs of torque, though, if you choose to go that route. With our new CV drive axles installed, we can look forward to many more care-free miles on our WRX. As we continue this build series, we’ll be installing a cold air kit and a turbo-back exhaust next. See you then.

[All images/Steve Baur]

Share this Article
Author: Steve Baur

Steve Baur is the founder and principal of Driven Media Works, a Florida-based creative-services firm serving the automotive aftermarket. After attending the University of South Florida for journalism, Steve signed on with Muscle Mustangs & Fast Fords magazine, where he served as associate editor and, later, technical editor during his nine-year tenure. In 2010, he was promoted to the editorship of Modified Mustangs & Fords, a publication he helmed for four years before launching Driven Media Works in 2014. A lover of all things automotive, Steve has contributed to a wide range of motoring publications, including Car Craft, Truckin', Modified, Super Chevy, Race Pages, GM High Tech Performance, Fastest Street Car, and High Performance Pontiac.