jeep wrangler jk crawling down desert trail
jeep suspension lift kit resting on a concrete floor
removing sway bar end links from the front of a jeep wrangler suspension
removing old shocks from a jeep wrangler frame
removing abs sensor from a jeep wrangler brake caliper
removing old bump stop from a jeep wrangler frame
installing bump stop extensions in a jeep wrangler frame
installing coil springs in a jeep wrangler front suspension
slipping bushings into a shock absorber
new shocks going into the front suspension of a jeep wrangler
removing shocks from a jeep wrangler rear axle
removing old bump stop from a jeep wrangler frame
removing the rear track bar on a jeep wrangler
drilling a hole in a suspension mount
pressing bump stops into a jeep frame mount
coil spring getting installed onto a jeep wrangler frame
mount end of a shock
sway bar mount on a jeep wrangler frame
new shocks installed during a jeep lift kit project
side by side tire size comparison on a jeep wrangler
pointing to a factory steering stop bolt on a jeep
measuring lift height on a jeep

Dropping off a ledge on the Rubicon Trail, our heavily-loaded Jeep Rubicon Unlimited didn’t scrape on the way down thanks to Daystar’s 3-inch lift kit.

The Daystar kit includes everything you see here, including four Scorpion shock absorbers and all the hardware you’ll need to complete the installation. Before you start any project, make sure whatever kit you’re using includes everything that’s listed on the instructions.

With the tires removed and jack stands under all four corners of the Jeep, disconnect the sway bar end links and save the nuts and bolts. If you only have two jack stands, do one axle at a time.

Remove both OE shock absorbers and set the nuts and bolts aside.

Pull the ABS lines from the brackets on the steering knuckles on both sides.

Lower the axle down to remove the coil springs and the OE bump stops. Use a screwdriver to pry the bump stops out. When dropping the front axle to remove the springs, make sure the driveshaft does not rest on the exhaust crossover pipe. Do one side at a time; you’ll follow the same procedure when reinstalling the springs.

After sliding the Daystar lift spacer over the stock spring isolator, install the bump stop extenders in the factory cups. We discovered that using the extra floor jack and some wood blocks eased the task, much like pressing in a bearing. You may need some silicone spray to lubricate the bump stops.

Install the coil springs one side at a time.

Install the bushings, sleeves, and boots on the Daystar Scorpion shock absorbers.

Install the new shocks and sway bar links using the factory hardware. Reinstall the ABS lines in their brackets, install the front wheels, and drop the front of the Jeep on the ground.

Now it’s time to do the rear suspension. Chock the front wheels, jack up the rear of the Jeep, and rest its frame on jack stands. Remove the rear shocks, disconnect the sway bar at the frame, and unbolt the bracket that holds the brake line to the frame. Save all of the factory hardware.

Use a flat screwdriver to pry out the rubber bump stop.

Remove the rear track bar at the axle end. Make sure the vent tube, brake lines and ABS cables are disconnected when working on the rear suspension. Also, remove the brackets holding the parking brake cables.

Instead of marking the new track bar bracket and drilling the two 3/8 inch mounting holes at our work bench per Daystar’s instructions, we drilled the holes with the bracket in place on the Jeep. We then bolted the bracket into place and used a come-along to correctly slide the track bar into place.

We used some wood blocks and a floor jack to press the bump stops into place on the rear axle.

After installing the rear left spacer over the factory spring isolator, reinstall the coil springs. We had to use a lot of muscle and some pry bars to get our springs into place.

Install the bushings, sleeves and boots on the Daystar Scorpion shock absorbers.

Install the rear sway bar drop-down bracket with the supplied hardware.

Bolt the Daystar shocks in place starting at the top and then doing the lower bolts. Reconnect all components, install the rear tires, and drop the Jeep to the ground.

We just had to compare our new Toyo Open Country M/T LT285/75R17 tires to the OE BFGoodrich 32-inch tires. The Toyo tires are not only 2 inches taller, they also have heavier lugs to grip the trail much better.

You’ll find a factory steering stop bolt at each front wheel. On older Jeeps, these had a pair of movable nuts so that they could be adjusted and then locked into place. Nowadays Jeep welds the nut into place, so we used a quarter-inch spacer to shim the bolt out so the tires would not rub on the sway bar and track bar. Thirty-three-inch tires do not need a shim; 35 inch or larger tires will require wheel spacers or new wheels with the proper offsets. Check for clearance on the front brake and ABS lines before driving with larger tires.

We measured height at all four corners before we started our lift kit installation. After a trip to Starbucks to allow the components to settle into place, we measured all four corners again. We found the Daystar lift kit and Toyo tires raised the Jeep approximately five inches.

In our opinion, Jeep should include a three-inch lift and 33-inch tires in the JK Wrangler Rubicon option package.

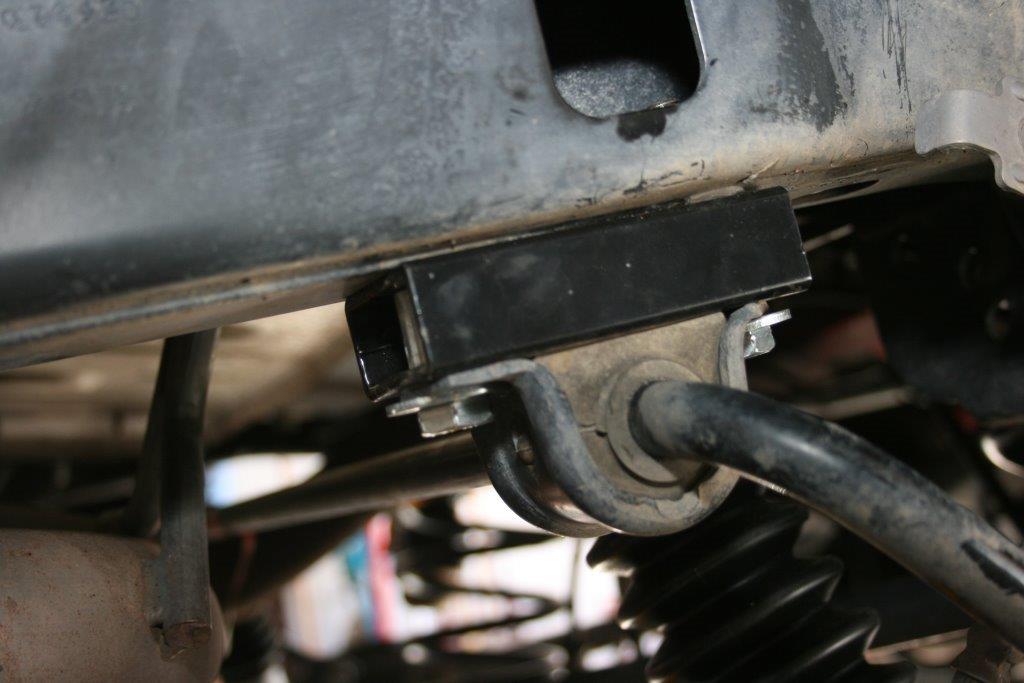
After all, this package already includes a heavier-duty transfer case with 4:1 low range, heavier-duty Dana 44 differentials with 4.11:1 gears, selectable lockers, and a front sway bar that can be disconnected from inside the cab.

So why not include even larger tires and a lift as well?

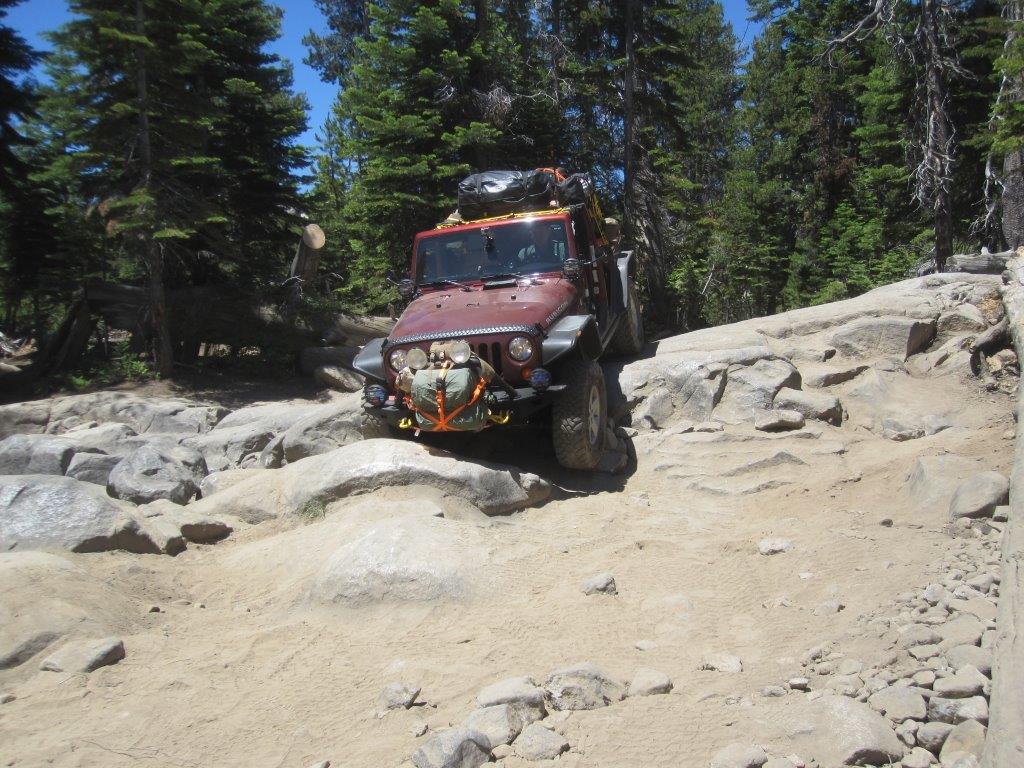
Those of us who enjoy Jeeping the way it’s meant to be enjoyed want a Rubicon. We love to explore and camp in the backcountry, and the maroon four-door JK is perfect for that—except for the scraping, screeching and sliding over the rocks on any moderately challenging trail. To remedy the problem, we decided it was time to lift and upgrade the tires on my 2008 Wrangler Rubicon Unlimited.

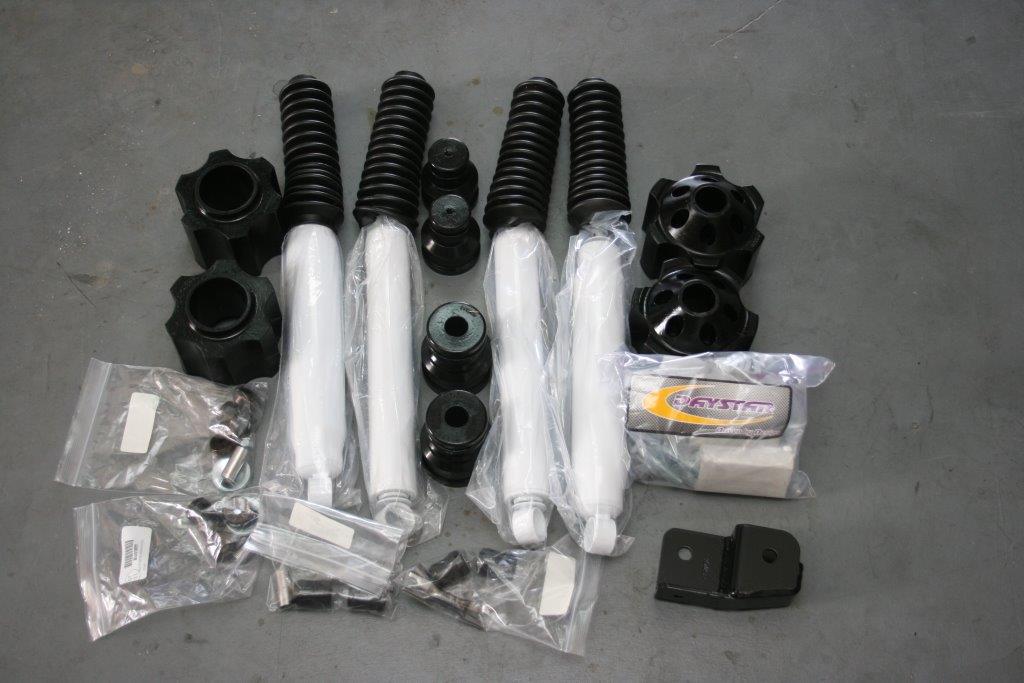
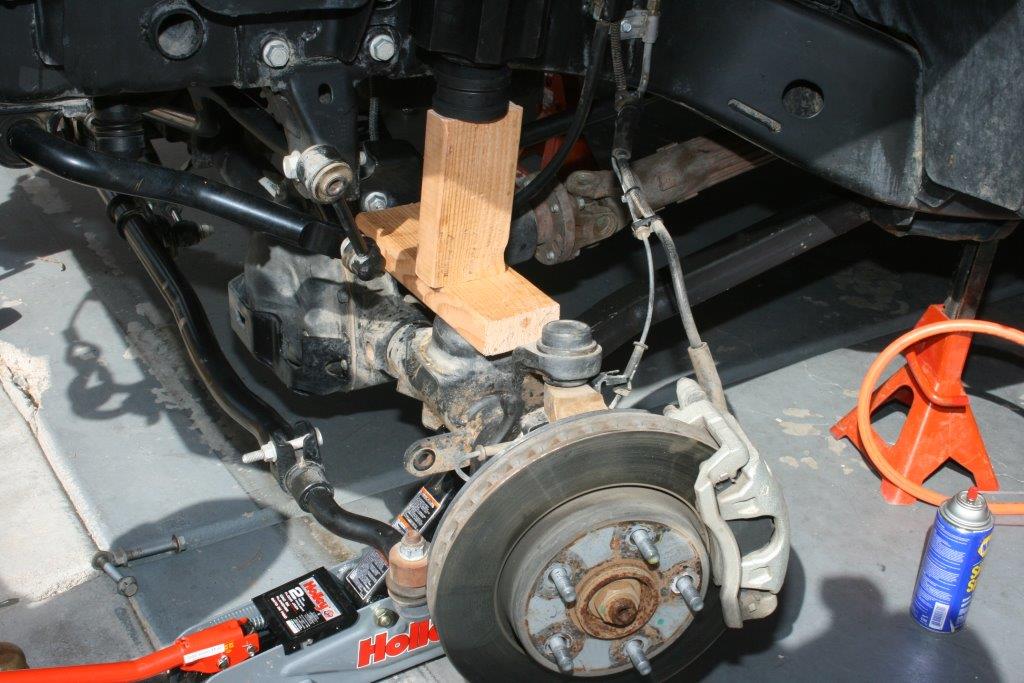
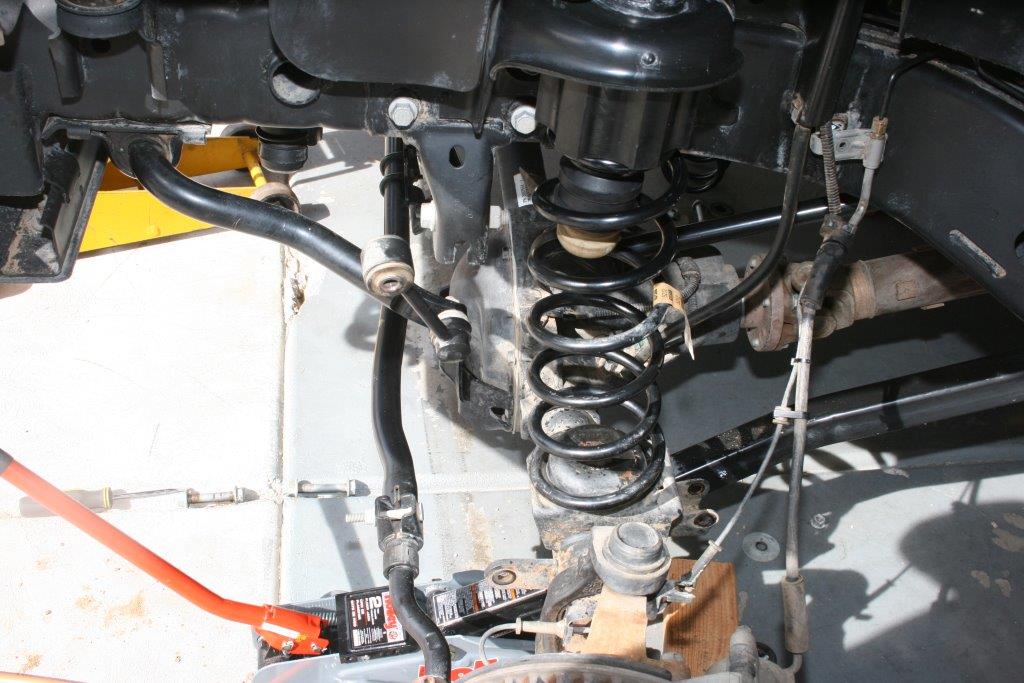
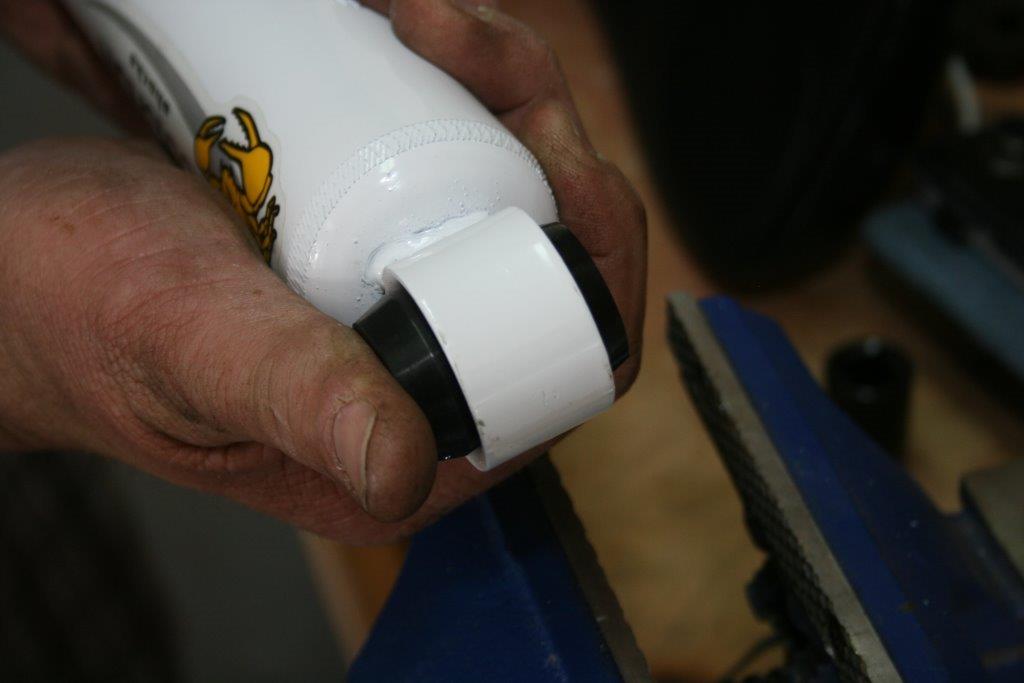
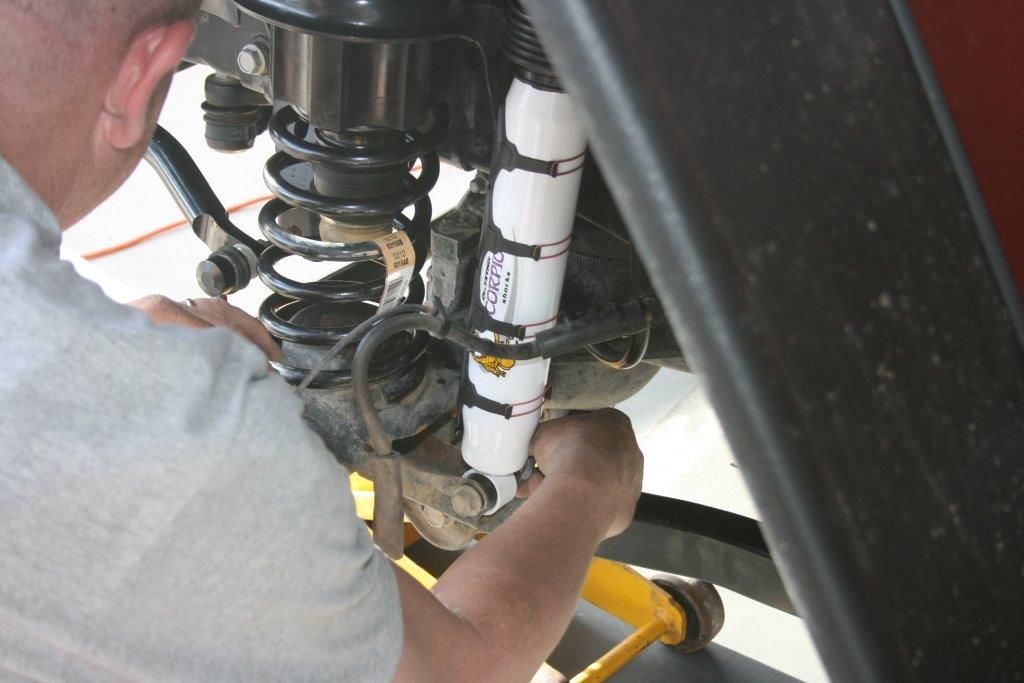
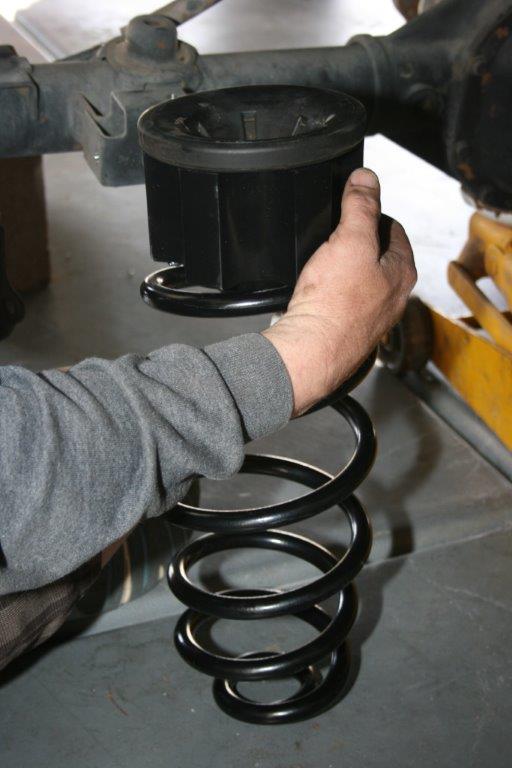
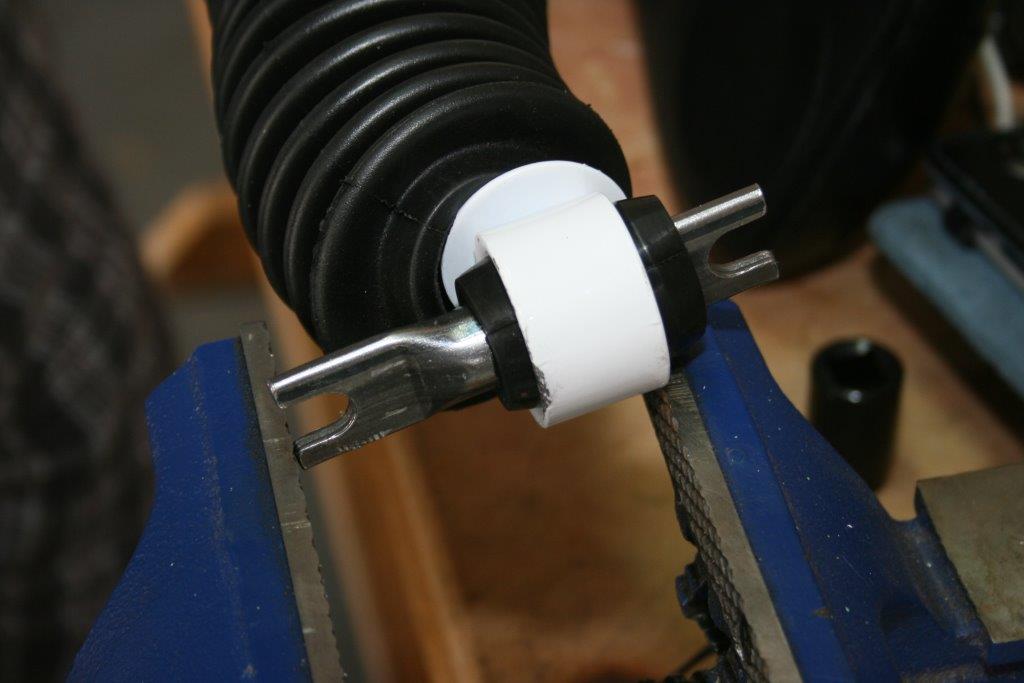
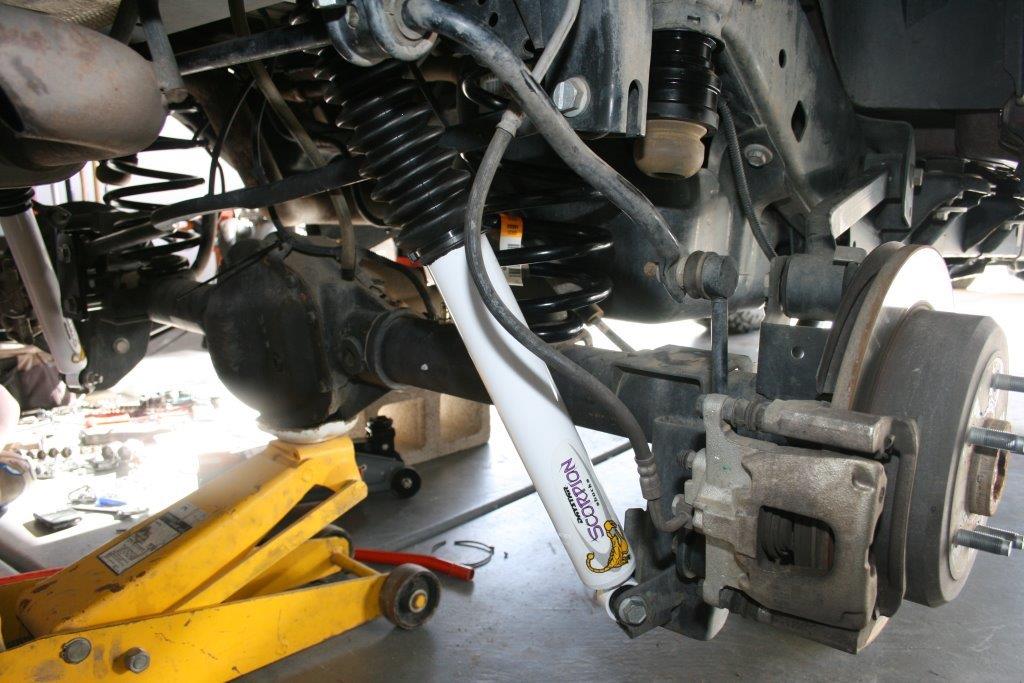
Fortunately, we found the ideal solution in the form of a Daystar three-inch lift kit for 2007 to 2013 JKs. Daystar’s lift kits use three-inch high polyurethane spacers, plus four Scorpion shock absorbers to help improve suspension damping. There’s no metal-on-metal contact—Daystar uses polyurethane material as an insulator to absorb the noise, vibration, and harmonics that come from the suspension and avoid transmitting them to the passenger compartment. Plus, the kit is covered by a lifetime warranty.

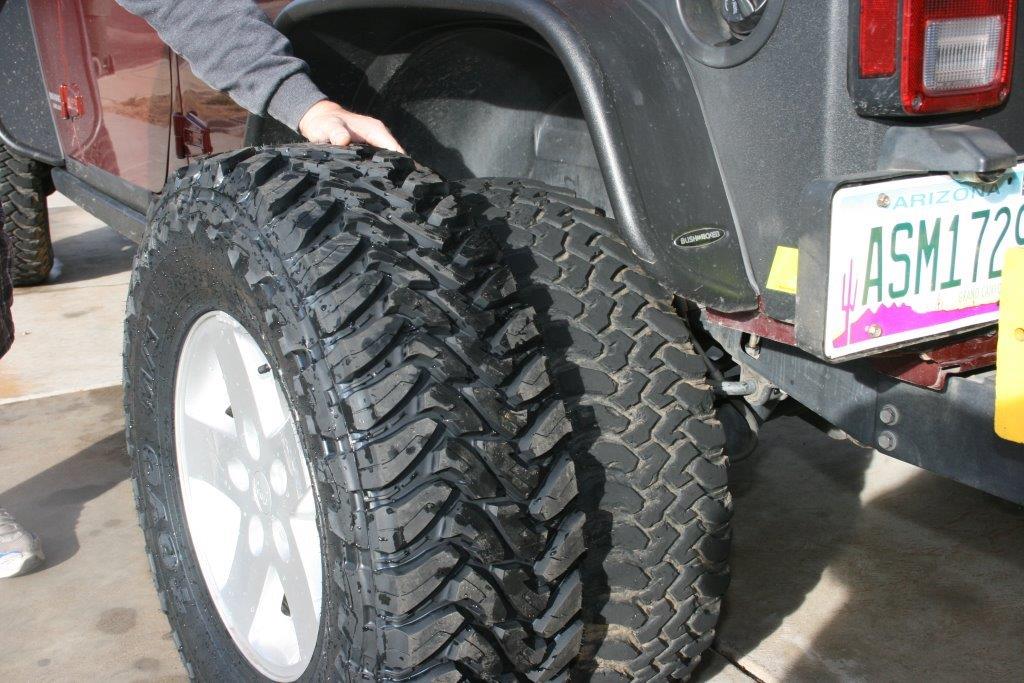
Using the Jeep’s original equipment coil springs, we expected the ride to be exactly like that of the original Rubicon. However, we were pleasantly surprised to find the Jeep actually has a better off-road ride with the Daystar kit, and there’s no change in the on-road ride that we could notice. The longer Daystar Scorpion shocks seem softer initially (so the smaller bumps and ruts aren’t felt as much as before) and then they dampen down on the bigger dips, rocks and ridges in a progressively stiffer manner. The only other addition to the JK was a set of taller, heavier-duty Toyo Open Country M/T LT285/75R17 tires (approximately 34 inches in diameter).

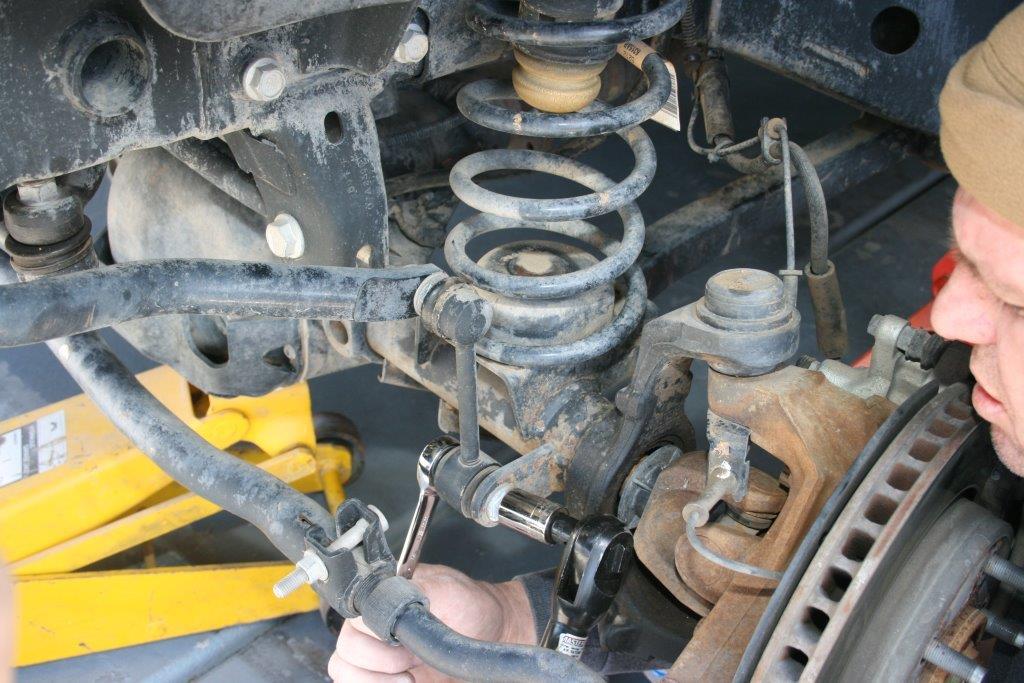
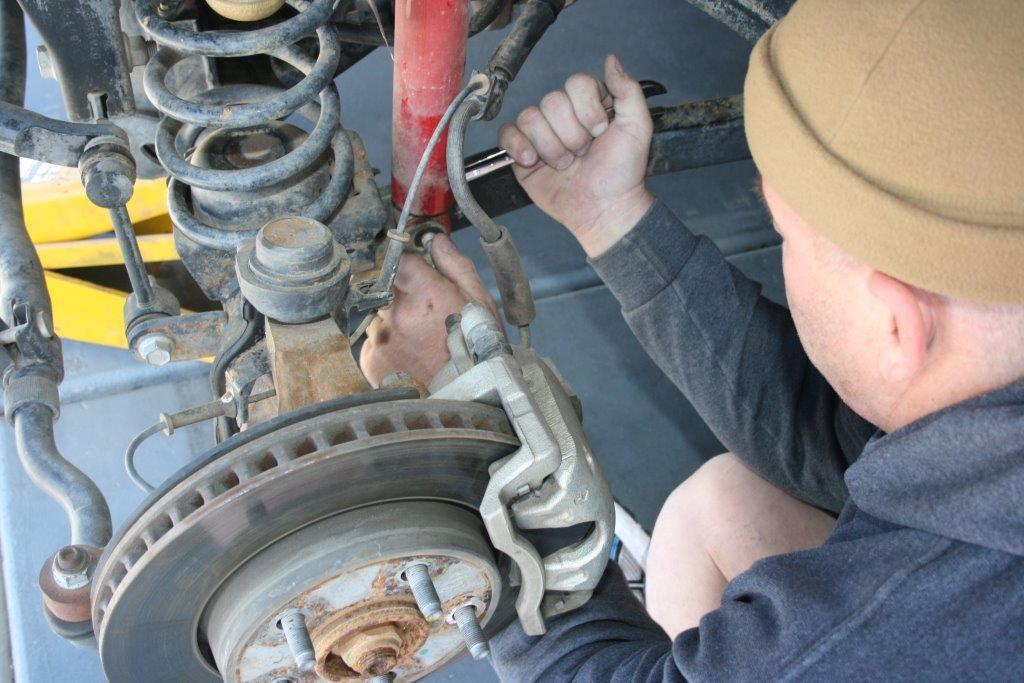
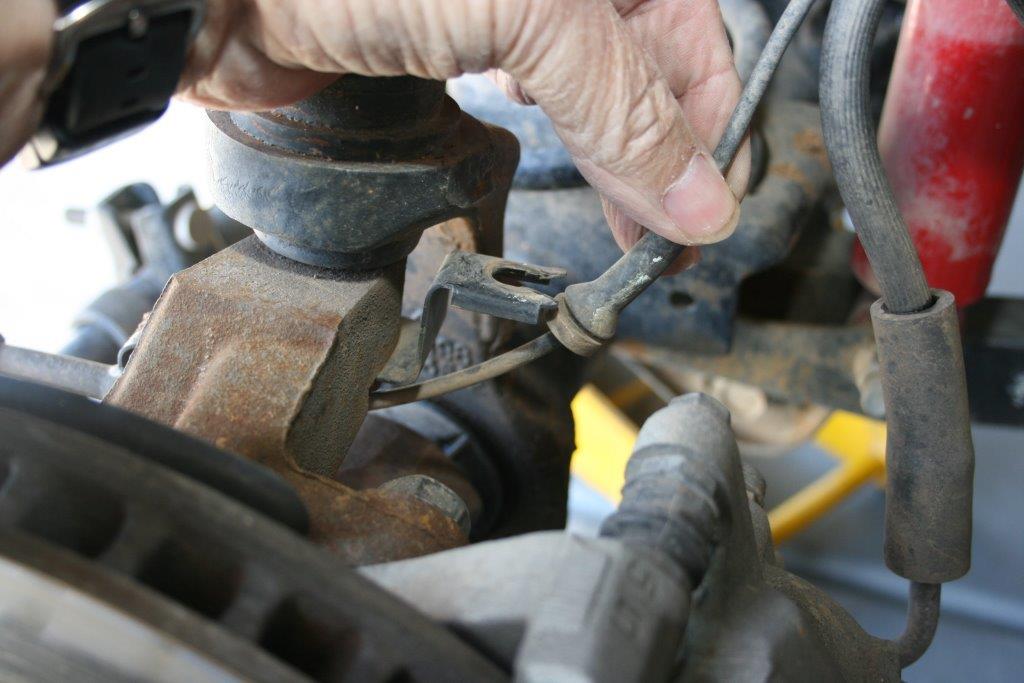
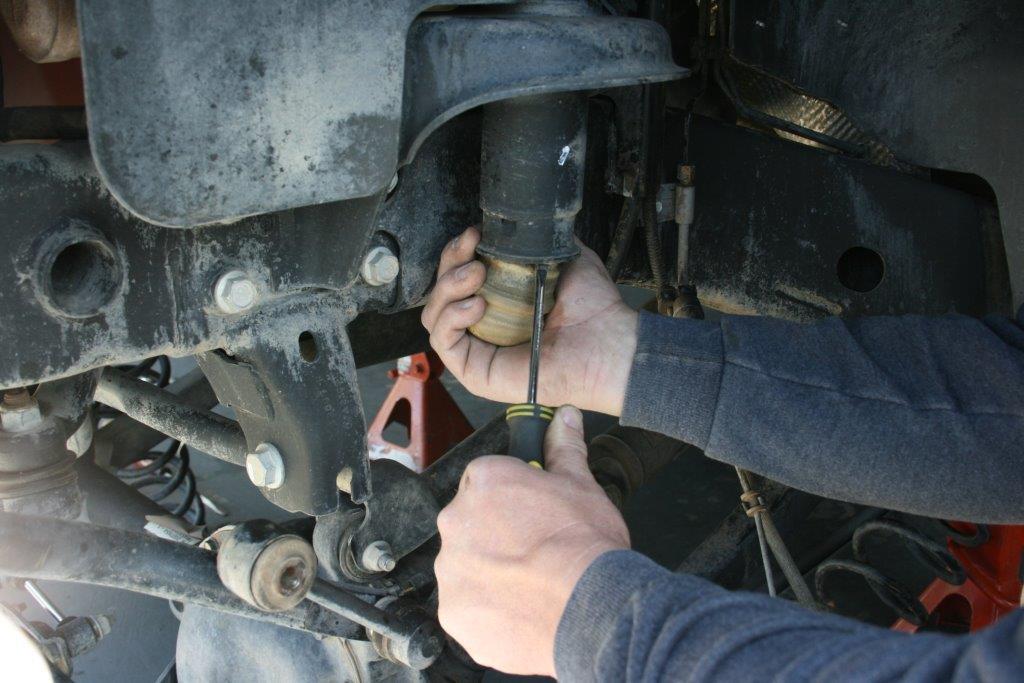
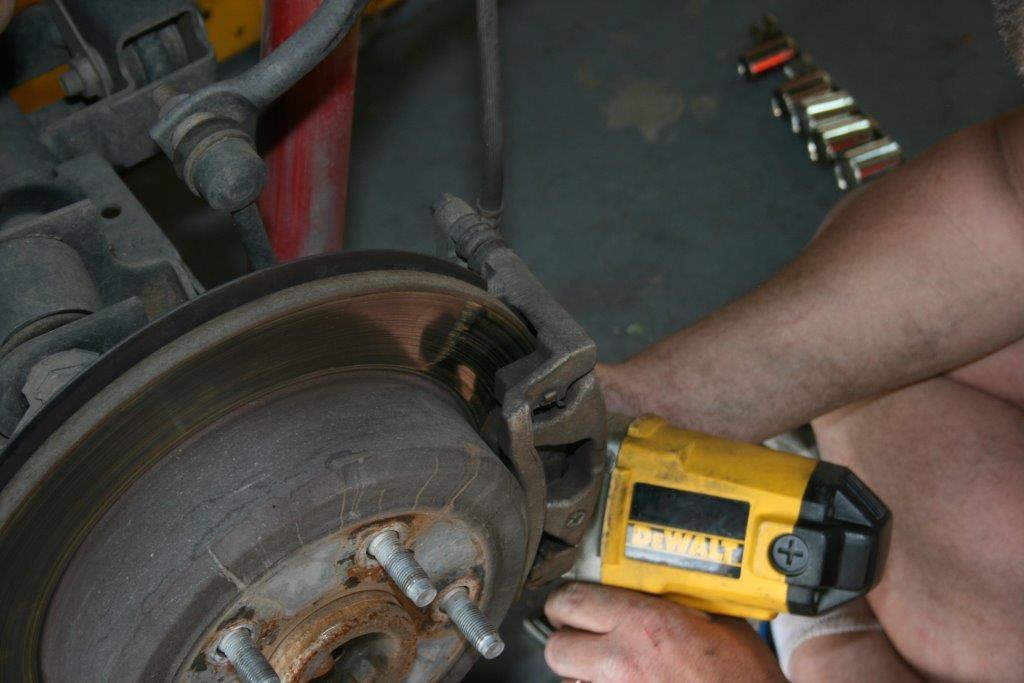
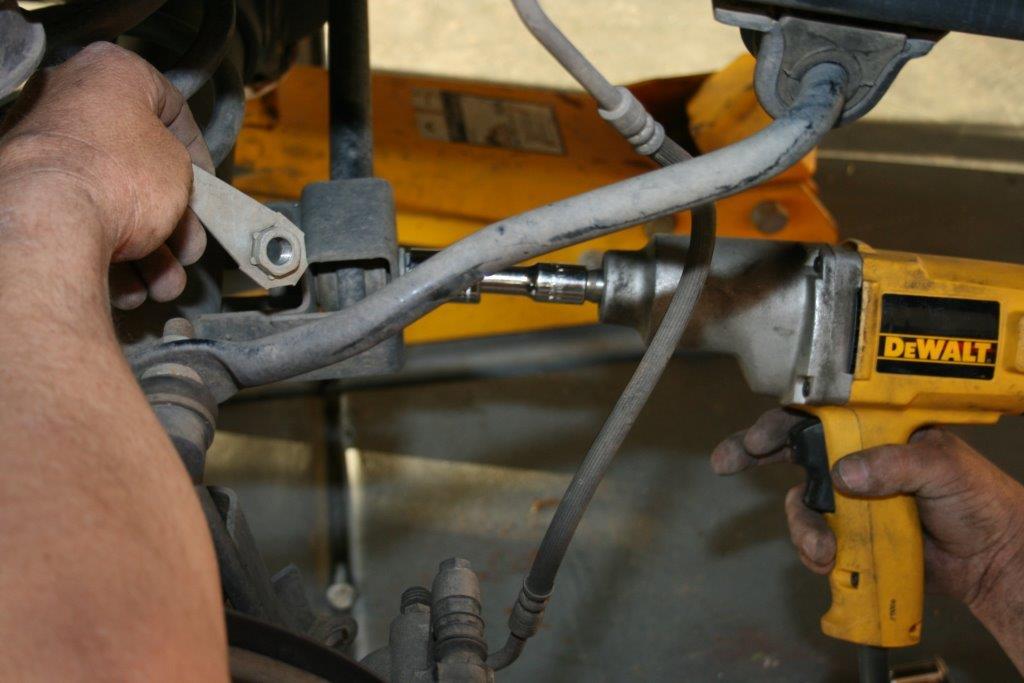
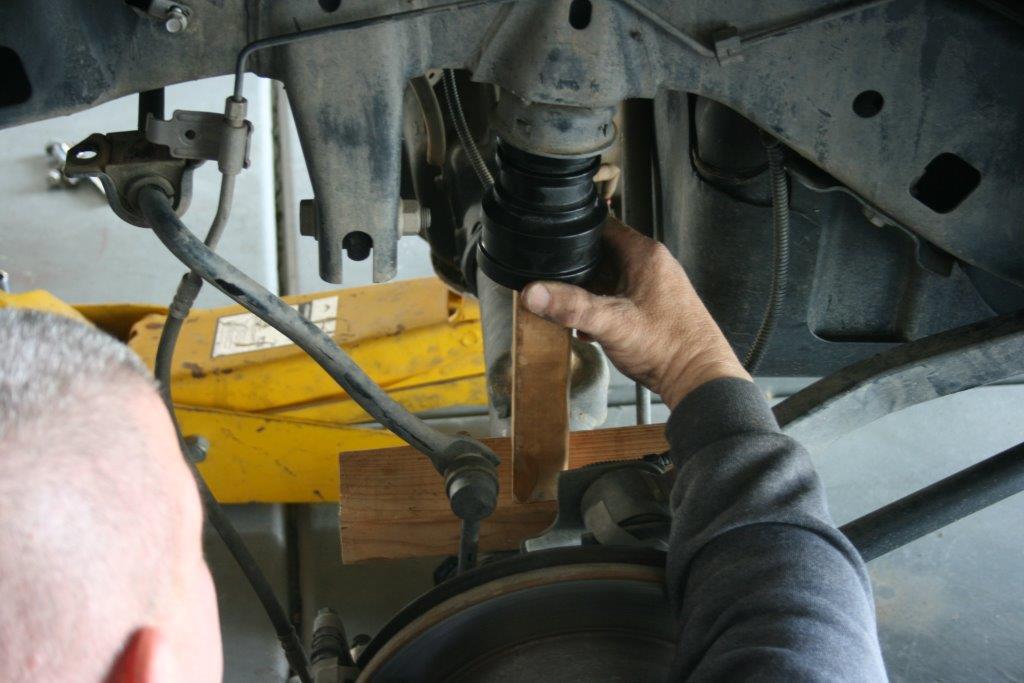
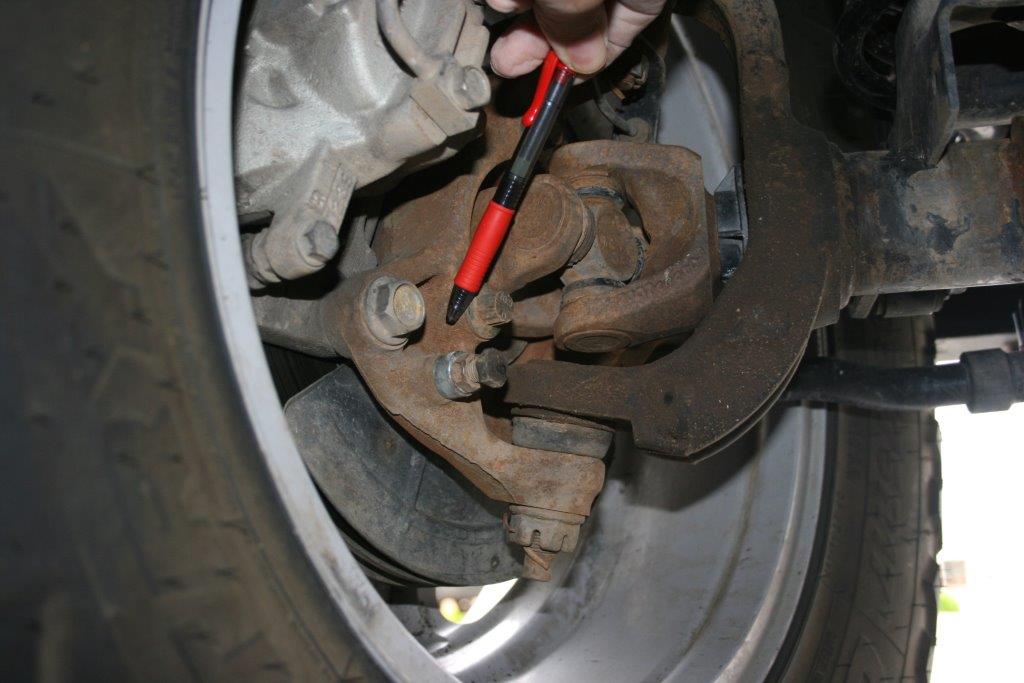
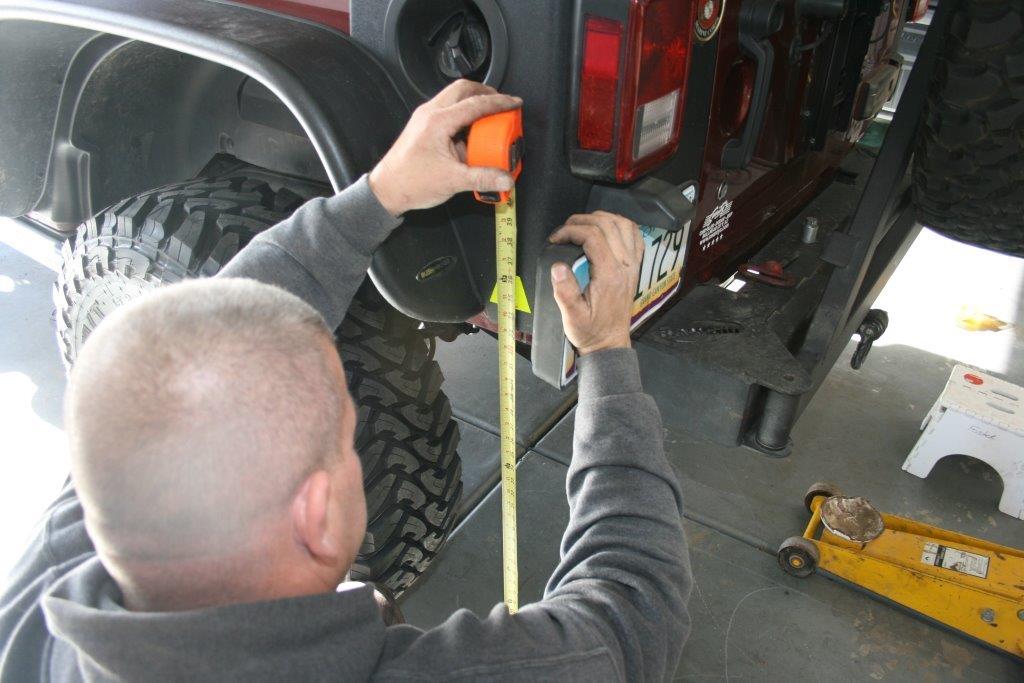
Daystar’s instructions are top-notch and include a list of the tools you’ll need. A second floor jack really helped with raising and lowering the axles during the installation while the Jeep was supported with jack stands. You may need some pry bars and very large screwdrivers as well. Make sure to follow Daystar’s step-by-step instructions in numerical order—the results are well worth the effort!


Author: Jim Brightly

A former editor of Truckin’ and Trailer Life magazines, and tech editor of Four Wheeler, Petersen’s 4-Wheel & Off-Road, and Family Motor Coaching magazines, Jim Brightly is now a semi-retired photojournalist living, writing, and wheeling in northern Arizona. He’s been building and wheeling Jeeps for more than fifty years.