There are two very good reasons to bed-in brake pads—three, if not crashing ranks as a top priority:
- Transferring brake pad material evenly onto your brake rotors to avoid unwanted vibration and brake judder.
- To drive out resins used to bind brake pad material during manufacturing, but need to be cooked out in order for pads to produce proper brake friction.
We’re going to tell you how to do both, based on the collective wisdom of the brake system geniuses at StopTech and Baer.
Important Note: Don’t try to bed-in brake pads without seasoning your rotors. Also, when bedding your pads, give yourself a substantial coast-down zone that will give you plenty of room to stop the car safely in the event of brake fade.
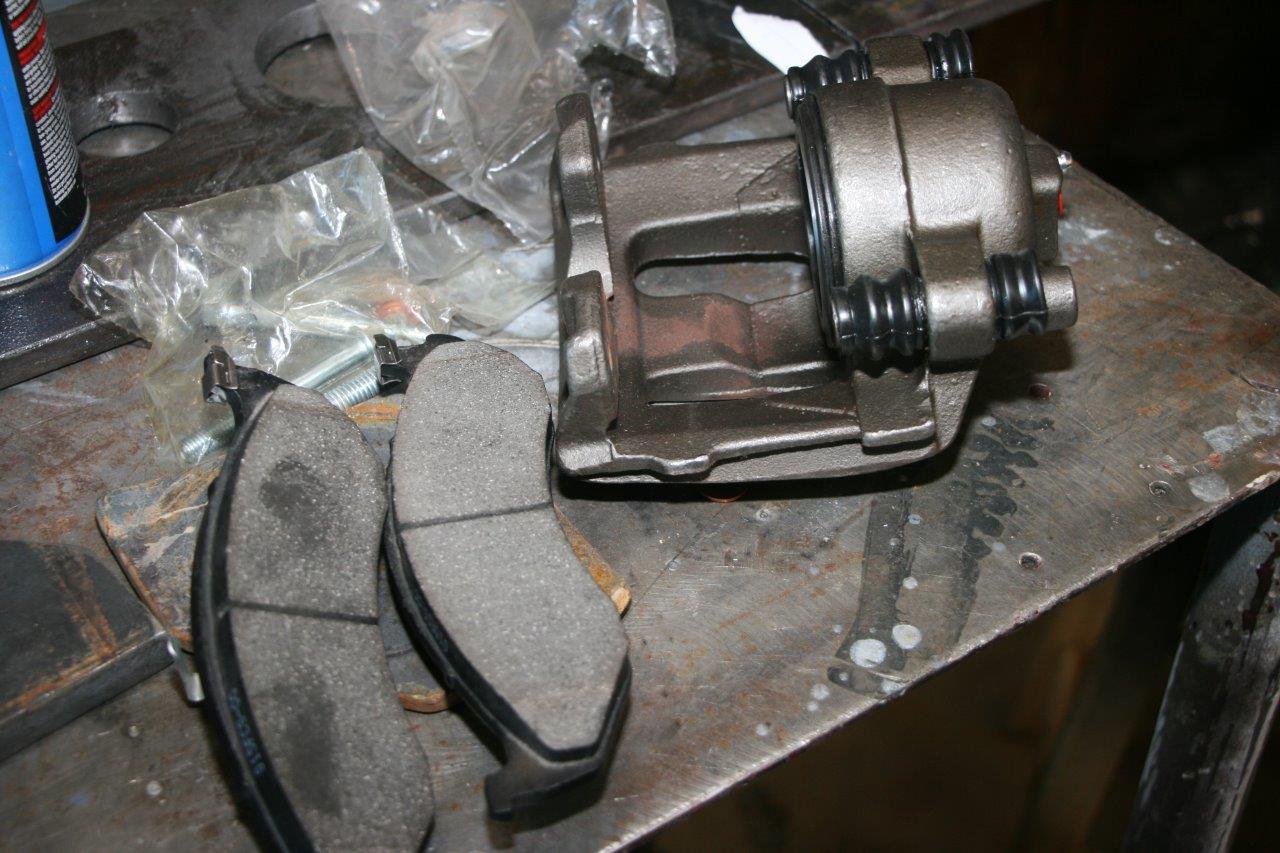
Bedding-in brake pads, at its core, is about heating the brake system to the appropriate temperature to effectively transfer an even layer of pad material onto the brake rotor.
Uneven pad deposits on the rotor face are the #1 and almost exclusive cause of vibration and brake judder, according to Matt Weiss and James Walker Jr.’s StopTech white paper Pad and Rotor Bed-In Theory, Definitions and Procedures.
“It only takes a small amount of thickness variation, or TV, in the transfer layer (we’re only talking a few ten thousandths of an inch here) to initiate brake vibration,” the white paper said. “While the impact of an uneven transfer layer is almost imperceptible at first… the high spots can become hot spots and can actually change the metallurgy of the rotor in those areas, creating ‘hard’ sports in the rotor face that are virtually impossible to remove.”
Street Brake Pads vs. Race Brake Pads
Your bed-in procedure will have to be application-specific if you want to do it right.
The adherent temperature range required to properly transfer pad material to the rotors varies widely depending on whether you’re bedding-in a street machine or race car—typically 100 degrees F-600 degrees F for street pads and 600 degrees F-1,400 degrees F for racing brake pads.
The 5-Step Bed-In Procedure for Street Pads
Baer recommends running your brake pads through normal commuting-type driving for at least 150-
200 miles before using them aggressively.
- Perform four repeated light-to-medium stops—from 65 miles-per-hour down to 10 miles-per-hour, to bring the rotors up to temperature.
- Perform three light stops in succession. Then, perform eight heavy stops, back-to-back, at a point just short of wheel lock—from 65 mph down to about 5 mph.
- Drive for 10 minutes to cool off your brakes. Avoid braking as much as possible during this time. A 10-minute drive with zero braking is ideal.
- Perform three light stops in succession. Then, perform eight heavy stops, back-to-back, at a point just short of wheel lock—from 65 mph down to about 5 mph.
- Drive for another 10 minutes of cool-down time without using your brakes, if possible.
Repeating the process is encouraged to be on the safe side, but otherwise—mission accomplished.
The 5-Step Bed-In Procedure for Race Pads
Baer recommends bedding-in a few sets of pads at a time in the event you may need to change brake pads during a race. Racing on non-bedded pads causes green fade as those aforementioned binding resins escape your pads too quickly, causing a liquid-gas buildup between your pads and rotors.
According to Baer, “This condition is the reason for reverse slotting or cross drilling rotors, as it allows a pathway for the gasses to escape.” Read about how to choose aftermarket brake rotors here.
StopTech maps out a much more-aggressive bed-in procedure for race pads.
- Brake from 60 mph down to 10 mph, followed immediately by three or four partial braking events—from 80 mph down to 10 mph in rapid succession, as you don’t want to give your brakes time to cool.
- Perform a set of 11 stops from 80 mph to 40 mph, or a set of seven stops from 100 mph to 50 mph.
- Perform a 10-minute cool-down period where you drive at highest safe speeds allowed, while trying to avoid braking.
- Repeat the process a second time, followed by an additional cool-down period.
- It can’t hurt to repeat the process a third time, but twice is generally efficient, StopTech officials say.
Note for racers: Racers will see that, when a pad is properly bedded-in, there will be approximately 2 mm (0.1 inch) of the pad edge near the rotor, where the paint has turned to ash, or the brake pad color will have changed to look as though it has been overheated, StopTech officials say.
The key to successfully bedding-in your brake pads is to bring the pads up to their operating temperature range in a controlled manner and keeping the temperature in that range long enough to begin the brake pad material transfer process.
Different brake pad types, brake systems, and driving applications may require slightly different procedures for the perfect pad break in—follow your brake component manufacturer’s recommendations—but the methods covered here will provide a good starting point both on the street and at the track.
SUMMIT RACING GETS YOUR RACE SHIT HANDLED.ON TIME, NO HASSELE.
[…] should season your brake rotors before bedding in your brake pads. Though the two procedures are relatively similar, they are done for different […]
[…] How to Bed-In Brake Pads […]
New features in centric brake pads are also being designed such as ensuring proper fitting to reduce the reverberation which occurs when there is hard braking. For more than ten years, centric has been earning appreciation and praise from racers and vehicle lovers.
http://autoplicity.com/manufacturer/1394-centric-brake-pads.aspx?categoryid=4
[…] How to Bed-In Brake Pads __________________ https://www.youtube.com/watch?v=RtvG…data_playerARK HFC'S-ARK Grip-Stillen G3-M370-UPREV-Kinetix upper control arm-WC Latheworks-Stage2 Bad@$$ Driver(318whp/268tq)- […]
Good article!
[…] the right pads, mounting procedures, and pad/rotor break-in process are key to avoiding dreaded brake […]
[…] THEN, do the proper bedding-in process. […]
For non-racing applications,I don’t understand the difference between seasoning rotors and bedding in brake pads Except for driving normal easy for a week with seasoning – they’re the same – right? Do you use old pads when seasoning?
[…] get maximum performance from your brakes, you must perform the proper bedding (break-in) procedure. This carefully heats the surface of the brake pad, applying a transfer-film layer of friction […]
[…] get most efficiency out of your brakes, you need to carry out the right bedding (break-in) process. This fastidiously heats the floor of the brake pad, making use of a transfer-film layer of […]
The larger the vehicle the longer it takes to bed in new brakes. Simple law of physics bigger vehicle has bigger brakes, therefore they will operate cooler when said vehicles is not loaded to max. Example- it took more miles/stops to bed in brakes on my Superduty then on the Jeep Wrangler.