modified jeep wrangler tj descending a desert trail
steering and suspension parts on a workbench
close up of a tie rod end link upgrade for a jeep wrangler tj
close up of a tie rod end link jeep wrangler tj
working on the front suspension of a jeep wrangler tj
close up of steering arm on a jeep wrangler tj
close up of a castle nut on a jeep wrangler tj suspension tie rod
man welding parts on a jeep wrangler tj suspension
man drilling a piece of metal bar stock on a press
specialized steering mount bracket
man welding on a car part
close up of steering stabilizer on a modified jeep wrangler tj
front suspension on a modified jeep wrangler tj
Removing tie rod on jeep wrangler tj
installing steering rod clamps on jeep wrangler tj
jeep wrangler tj climbing large boulder on desert trail

Effortless and worry-free wheeling over terrain like this boulder-strewn canyon floor requires a steering upgrade.

Two tie rod ends have standard right-hand threads, so you screw them in clockwise. The other two ends are threaded in counterclockwise.

Be sure to slide on the supplied clamps before you thread the ends into the tie rod or drop link. Otherwise you’ll have to remove end to install them. The clamps are very tight so you’ll probably need a small hammer or rubber mallet to position them.

Thread all four ends into the rods until there is approximately one inch of thread showing. This will save you quite a bit of time during the adjustment process. After threading them in, install the supplied zerk fittings into the ends.

The new rubber grease caps are extremely stiff so it’ll take some muscle to push enough threads through to catch the castle nuts.

Thread the upper end of the drag link into the Pintle arm, thread on the nut, and tighten the nut until the cotter pin hole is clear. Do not loosen the nut to clear the hole.

After the nuts are tightened, insert the cotter pin and bend its ends back over the nut.

The Warn differential skid plate interfered with the stabilizer when the steering was all the way left, so we trimmed a bit off the top for clearance.

Since my track bar mount was not stock, we had to fabricate a differential mount for the stabilizer. We used a piece of flat steel and drilled a hole large enough for the mounting bolt.

The stabilizer mounting bolt slipped into the mounting plate.

A plug weld holds the bolt in place and then another bead locks it into place.

The plate was then welded to the driver’s side spring pad, and the stabilizer bolted into place.

Everything is in place. Drag link is bolted to Pitman arm and tie rod. The tie rod is bolted to both steering knuckles. And the stabilizer is bolted to the tie rod and differential.

Before removing the OEM tie rod, measure between front tires to determine the proper toe. It should be about 1/8-inch toe in. After dropping the Jeep onto the floor so its weight sets the front tires, raise the Jeep back up and use the drag link to properly set the steering wheel.

Tighten all four rod clamps now that everything is in place.

Negotiating dry waterfalls like this one requires heavy-duty steering components for worry-free wheeling.

It’s much more difficult to bend a strong straight shaft than a strong bent shaft.

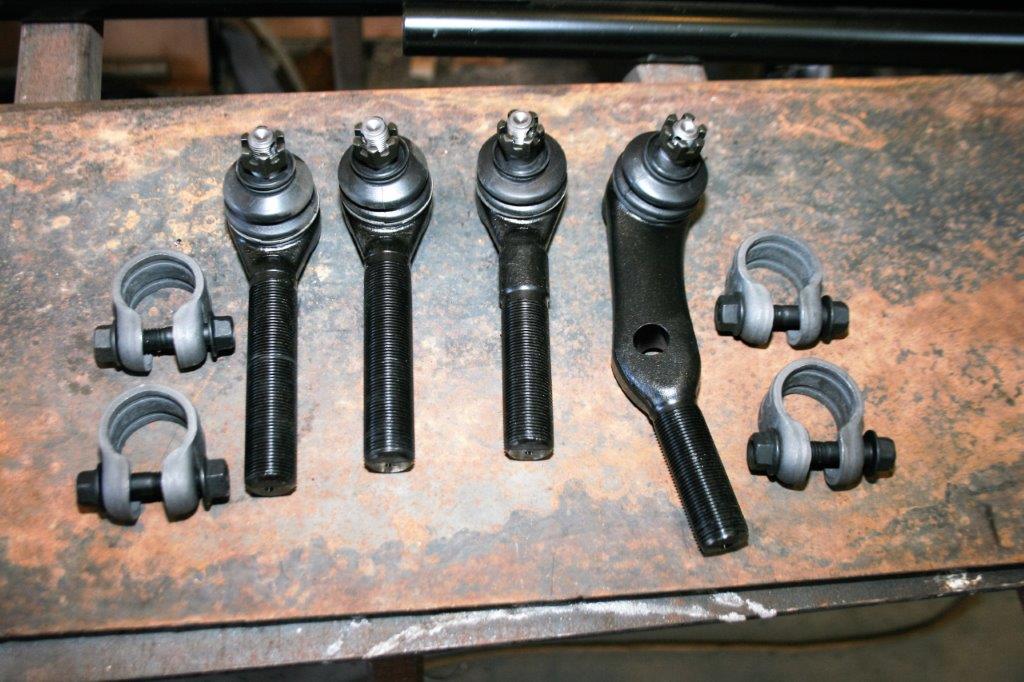
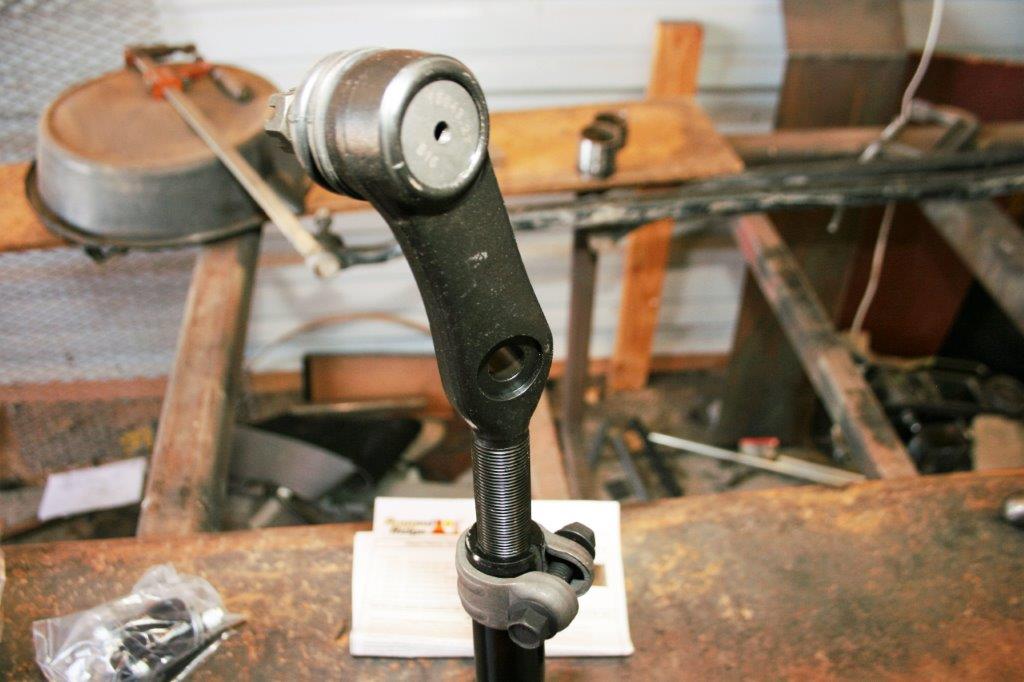
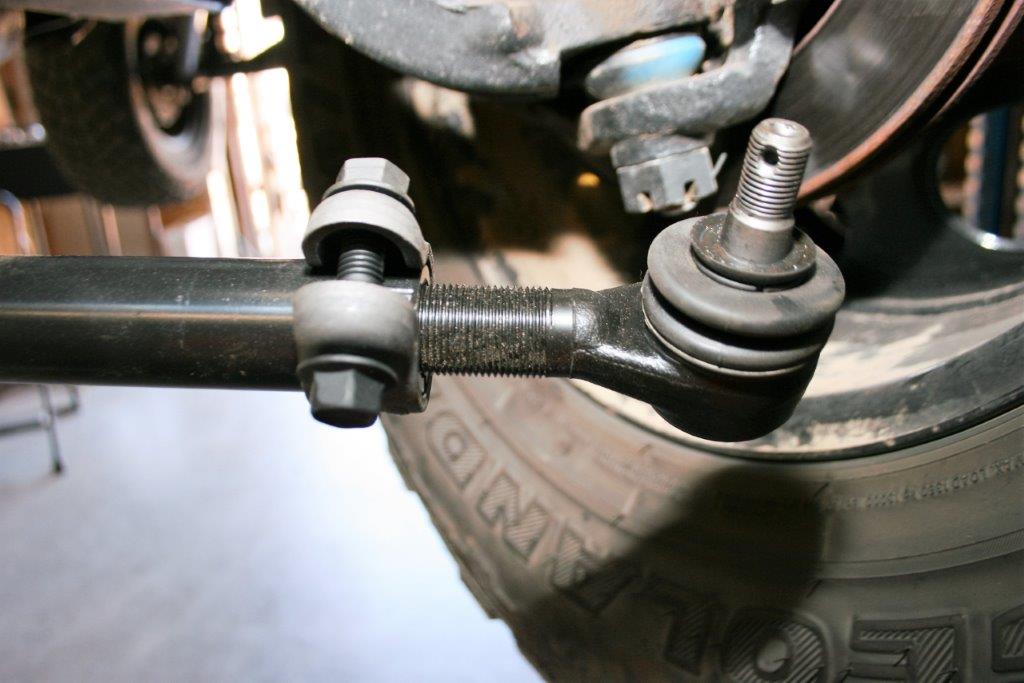
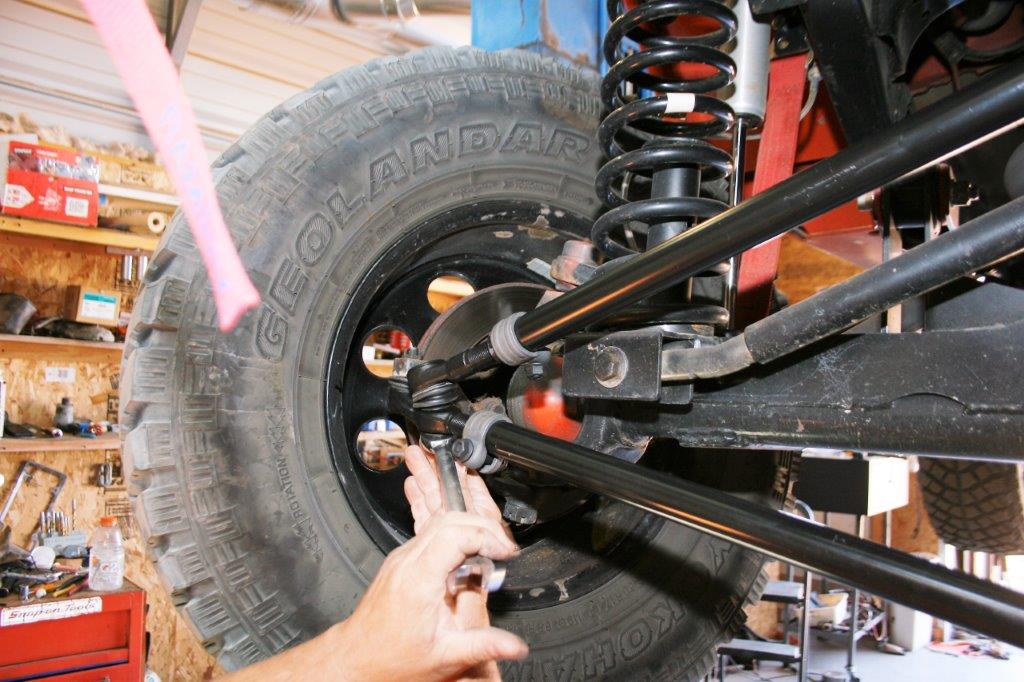
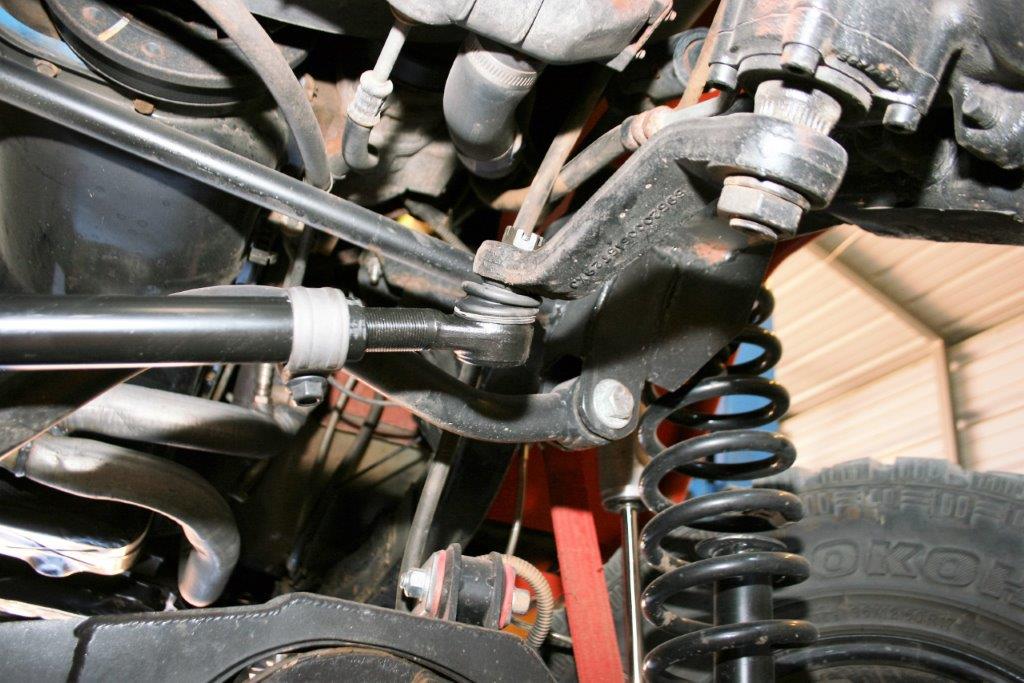
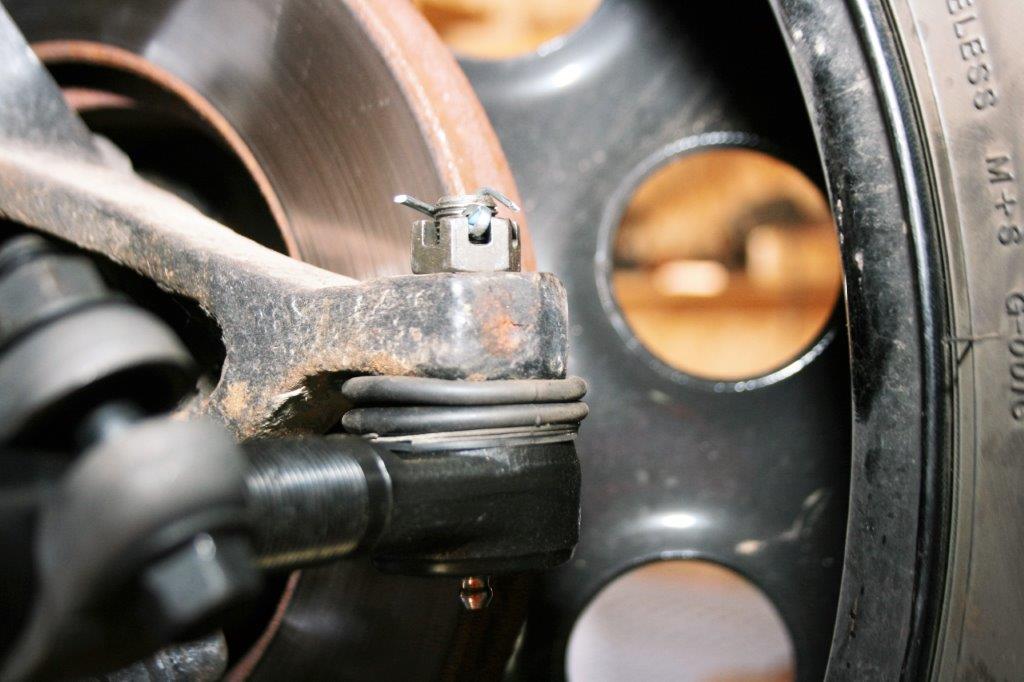
That’s the reasoning for replacing your curved OEM Jeep tie rod with a straight tie rod and drop link kit from Rugged Ridge. This heavy-duty steering kit will prevent your tie rods from bending out of shape when four-wheeling with larger tires. Best of all, it’s an easy, bolt-on solution, making it one of the easiest upgrades you’ll ever perform on your 1997-2006 Wrangler TJ/LJ.

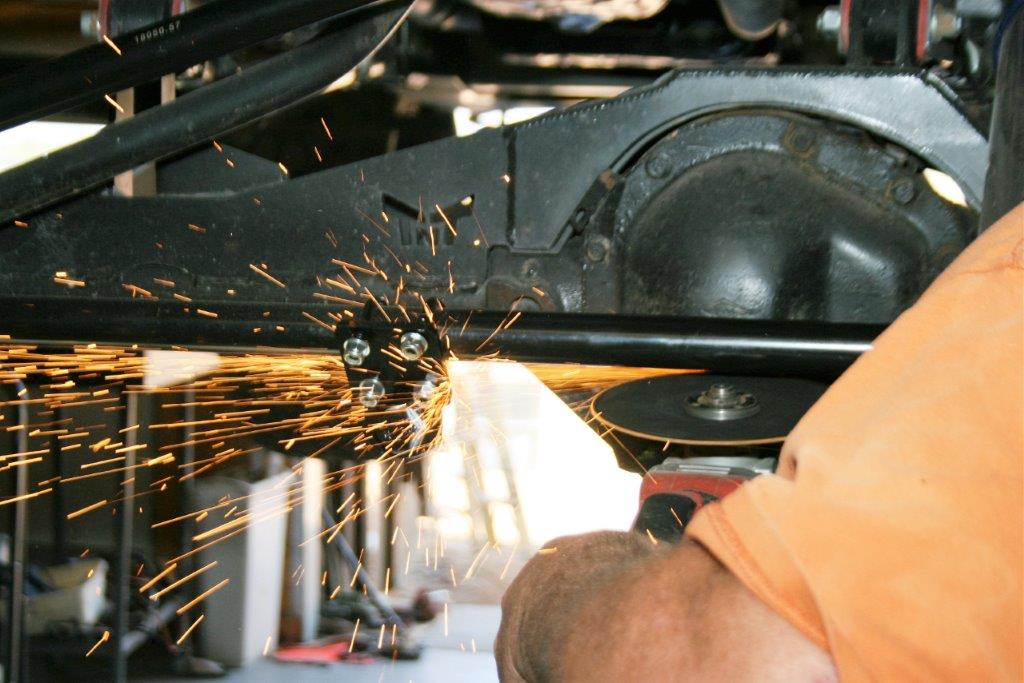
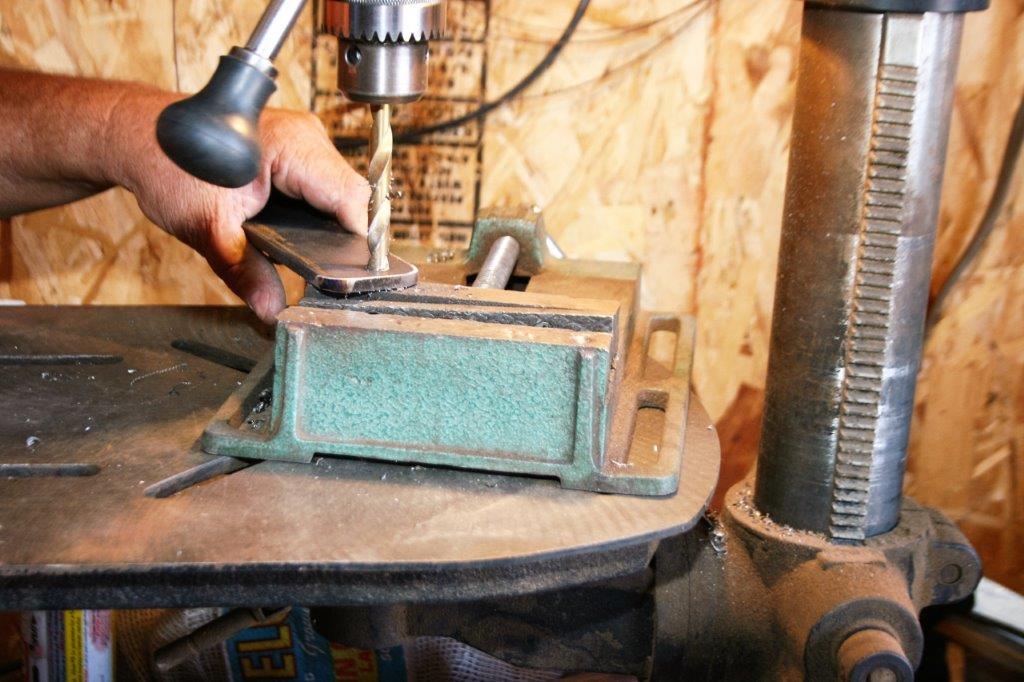
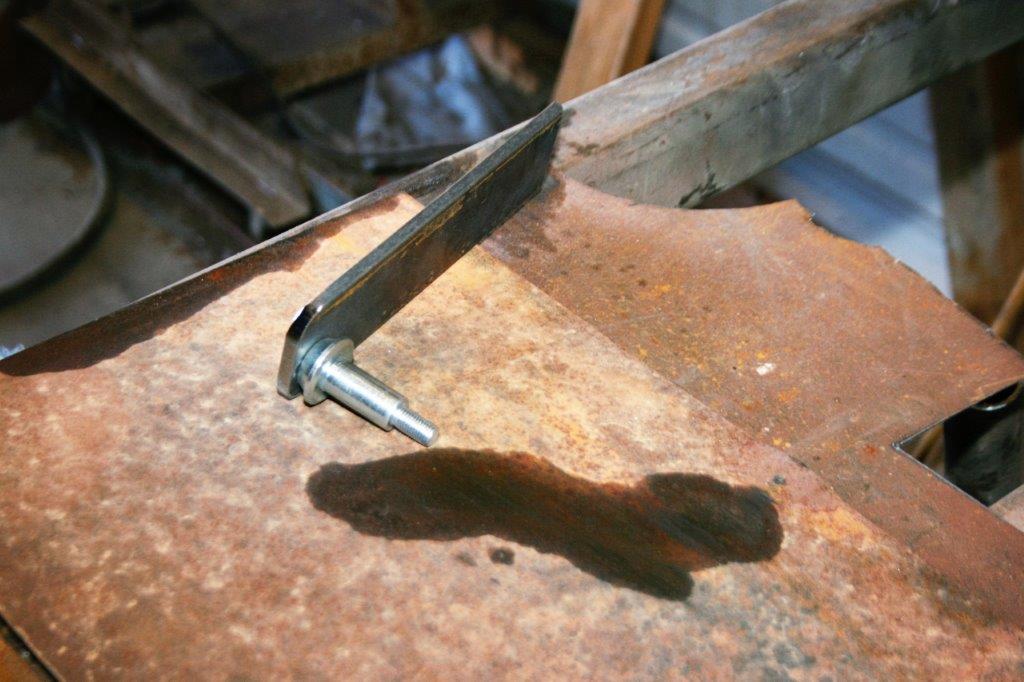
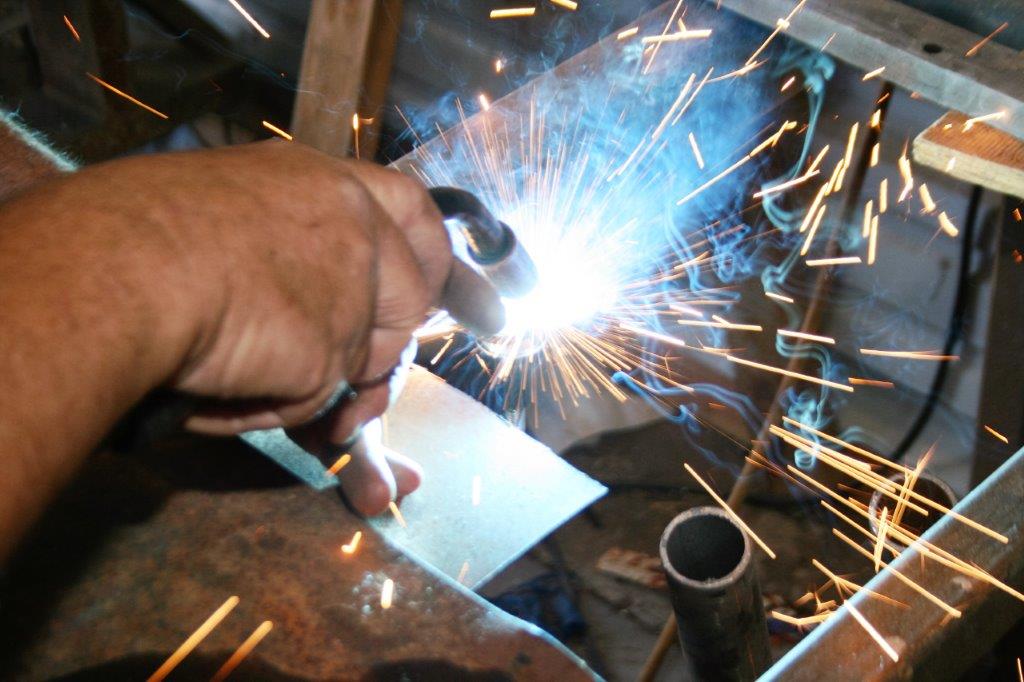
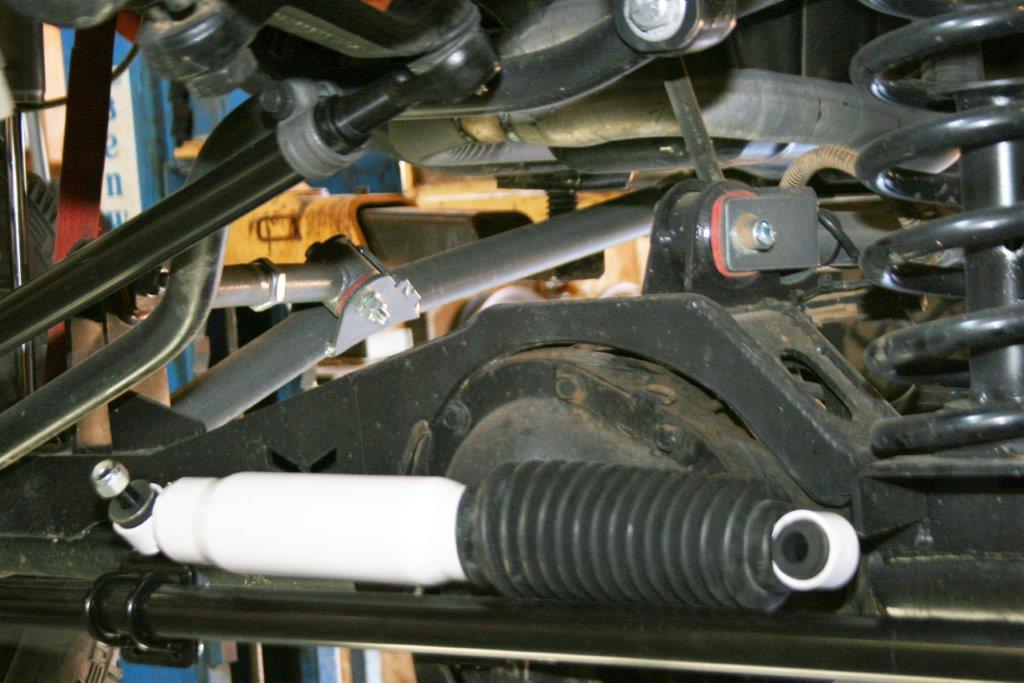
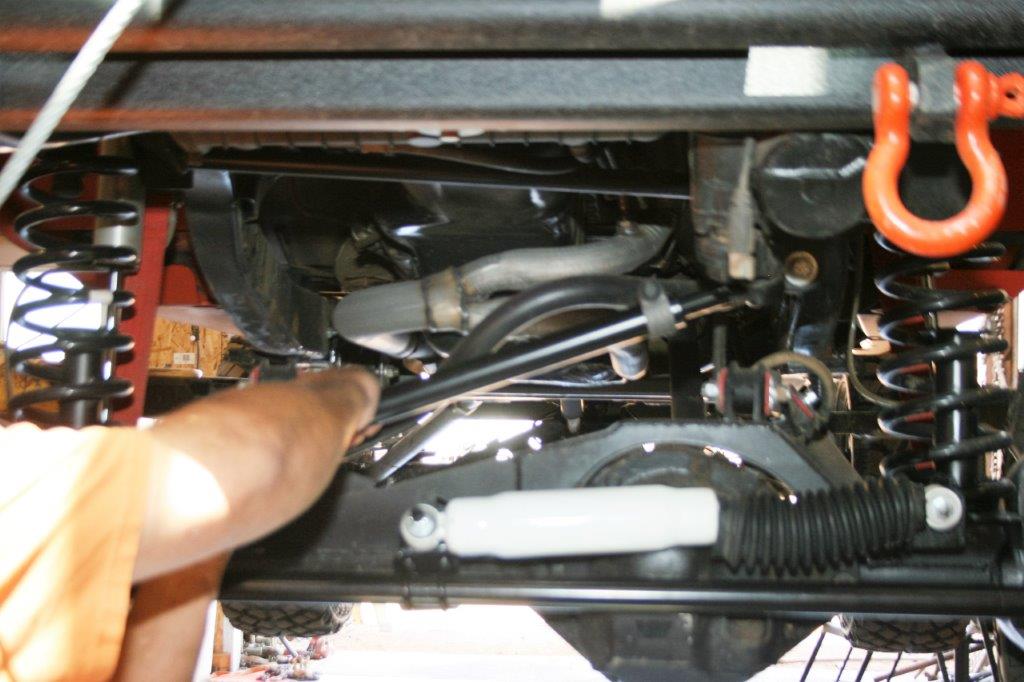
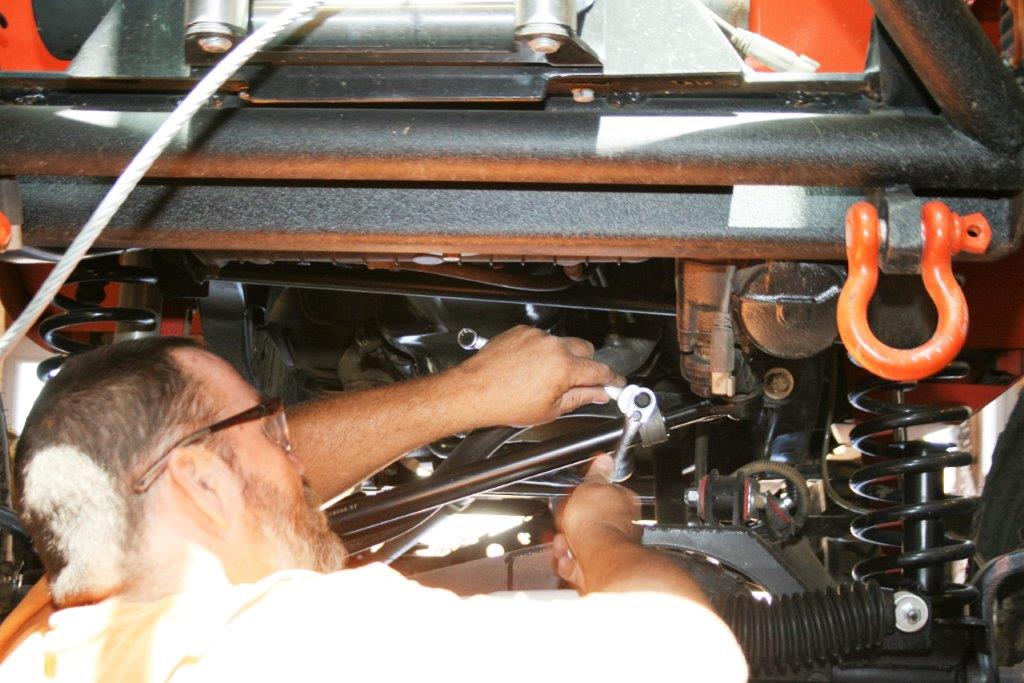
It typically takes about an hour to install this kit unless you have to make a custom bracket for the stabilizer, as we did for our Wrangler. The stabilizer normally uses the OEM track bar mount on the front axle. The kit includes a specially designed bolt that replaces the track bar bolt and then secures the end of the stabilizer, but you can check out our photos for suggestions if you have to fabricate a custom mount. If your Wrangler has an incipient wobble—or even a full-out death wobble—you’ll also want to add the heavy-duty ORV stabilizer kit.

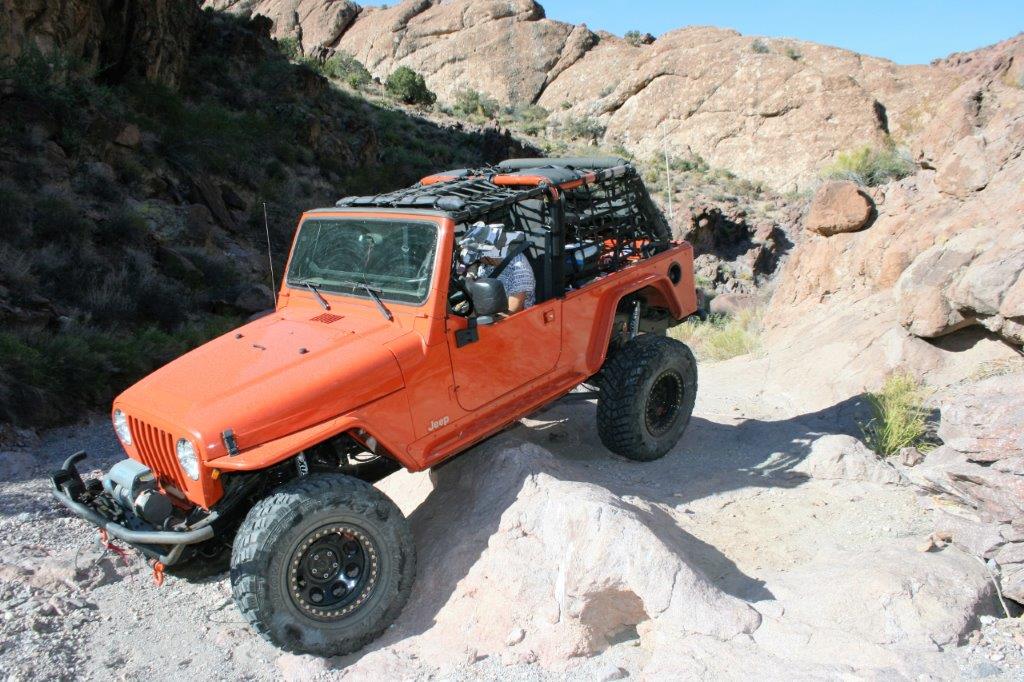
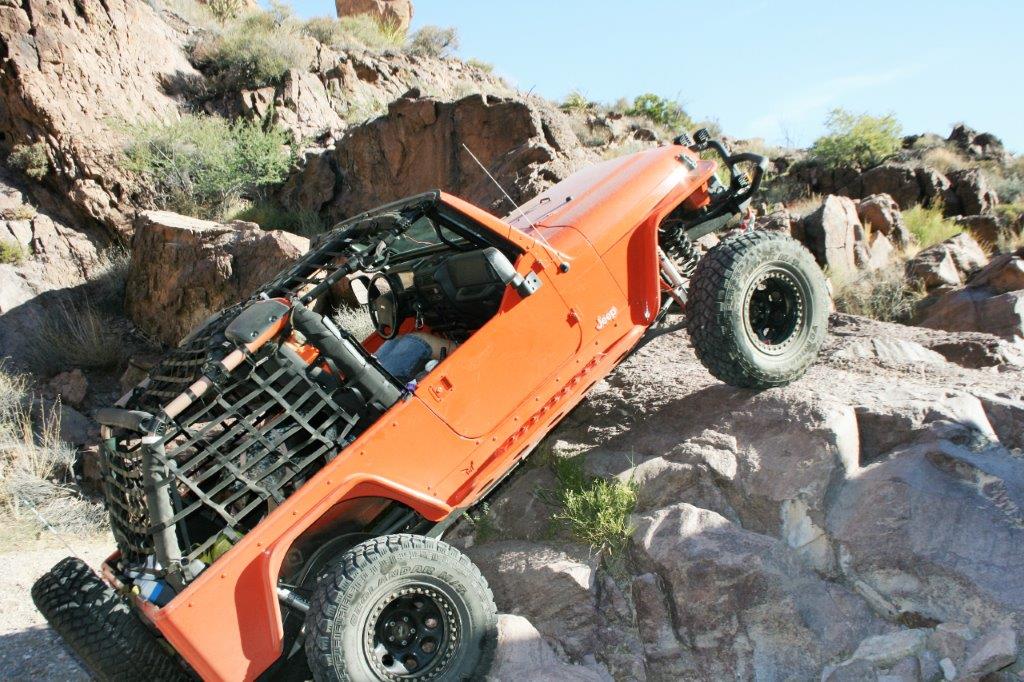
If your stock height or lifted Jeep spends time wandering across a rocky stream, slipping and sliding into the backwoods, or slopping across a deep muddy pothole, you should seriously consider upgrading your steering with this pair of kits.

Think of it as preventative maintenance—you’re correcting a problem before it occurs!

Keywords
Share this Article
Author: Jim Brightly

A former editor of Truckin’ and Trailer Life magazines, and tech editor of Four Wheeler, Petersen’s 4-Wheel & Off-Road, and Family Motor Coaching magazines, Jim Brightly is now a semi-retired photojournalist living, writing, and wheeling in northern Arizona. He’s been building and wheeling Jeeps for more than fifty years.