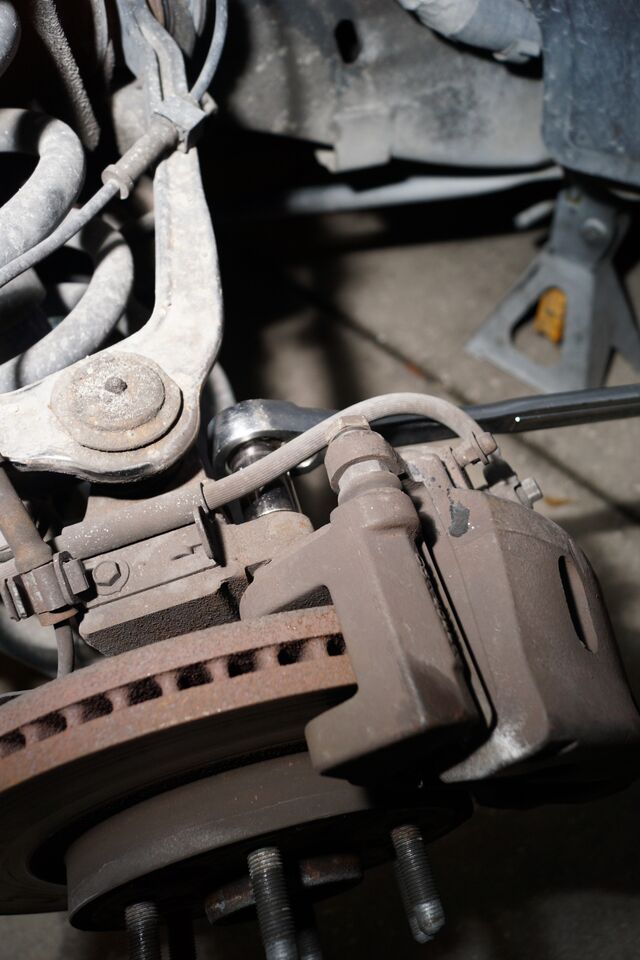
If you happened to catch the introduction of the Saving Silverado project, then you know that there are as many things wrong with it as there are right. One of the trouble spots with this newly acquired crew cab pickup is the braking system, which shows off its warped front rotors and squeaky pads at every stop. Since this is a daily driver with occasional towing, we didn’t go crazy with the brake options, but rather picked out a nice, moderate upgrade for the front, while staying with the reliable rear drum brake setup.

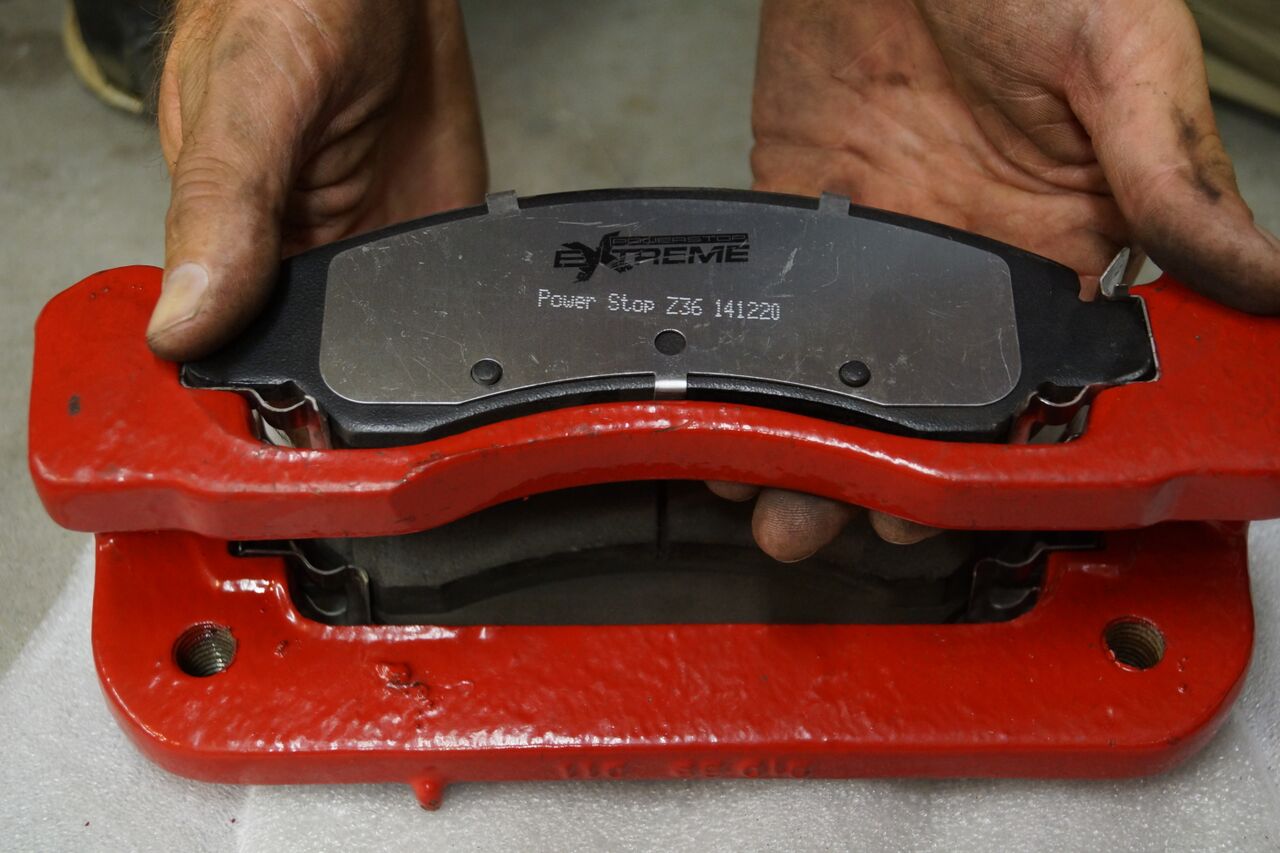
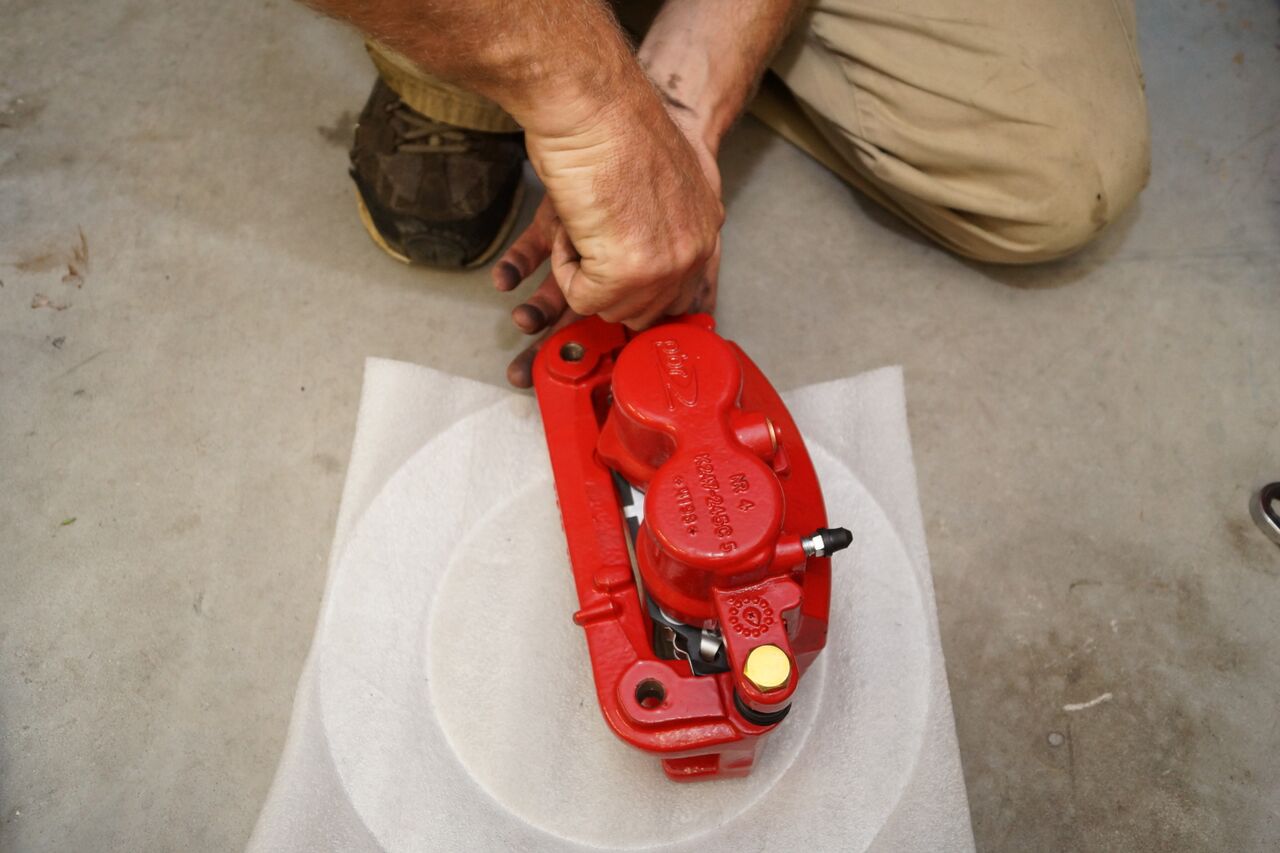
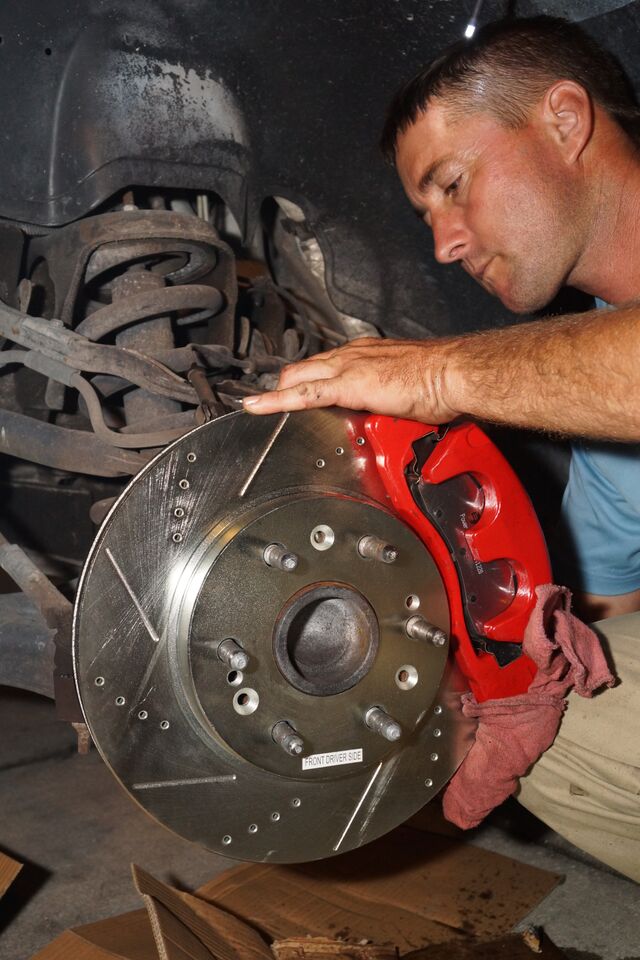
At the front, we picked out Powerstop’s PWR-KC2067-36 front disc brake kit. This setup comes with new powdercoated factory calipers with all new hardware, cross-drilled and slotted Evolution zinc-plated, 13-inch rotors, and your choice of Z23 Evolution Ceramic or Z36 Extreme High Performance brake pads. We chose the Z36 pads as they are a bit more aggressive for towing, and frankly the truck owner drives the Silverado as if it were a sports car so a little more aggressive is called for. The Powerstop kit retails for $329.97 plus a $70 core charge.

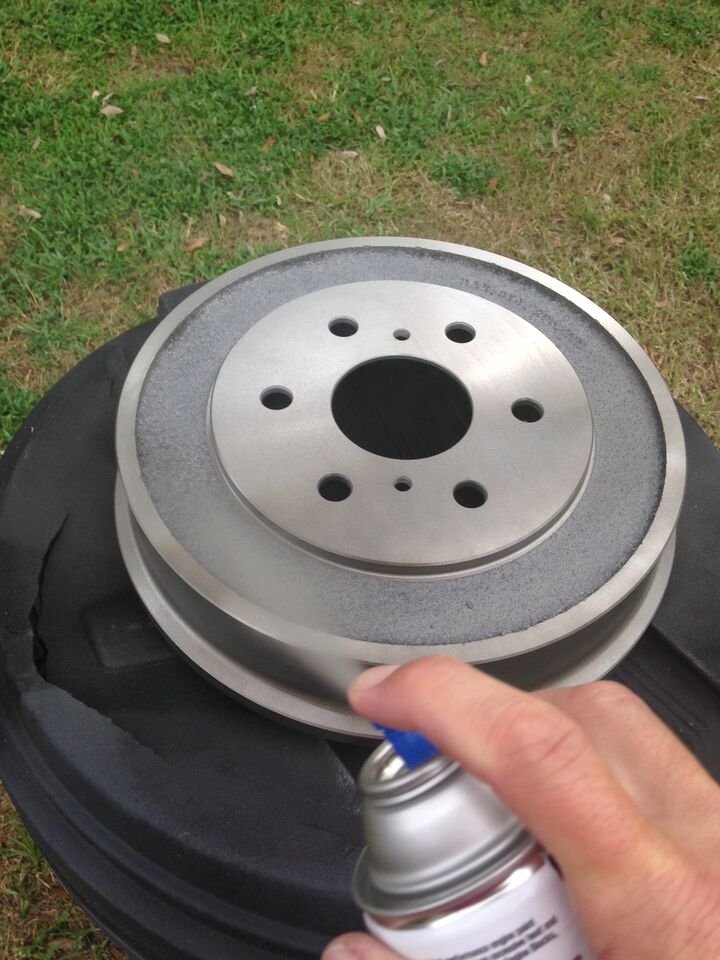
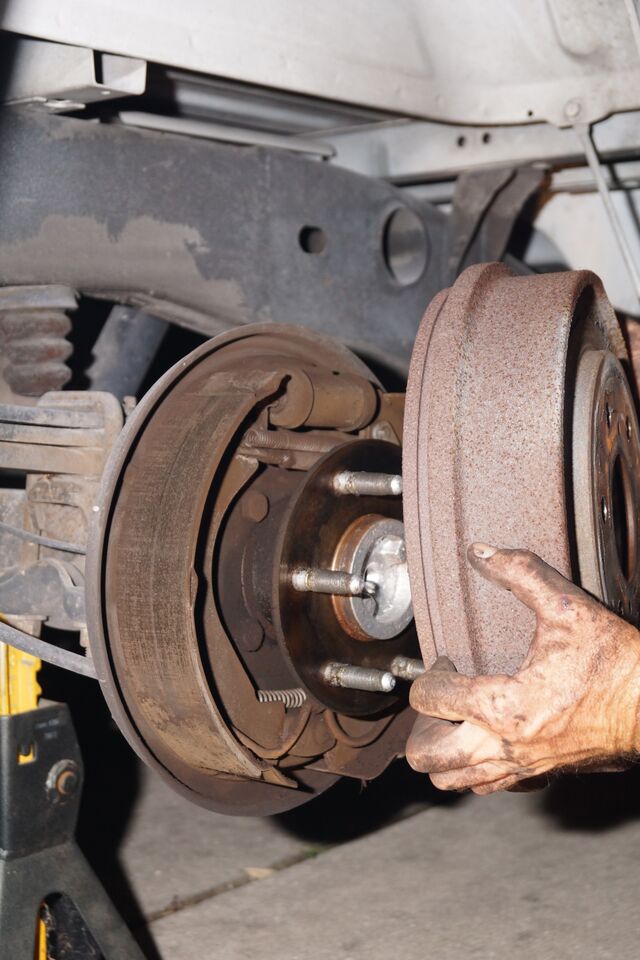
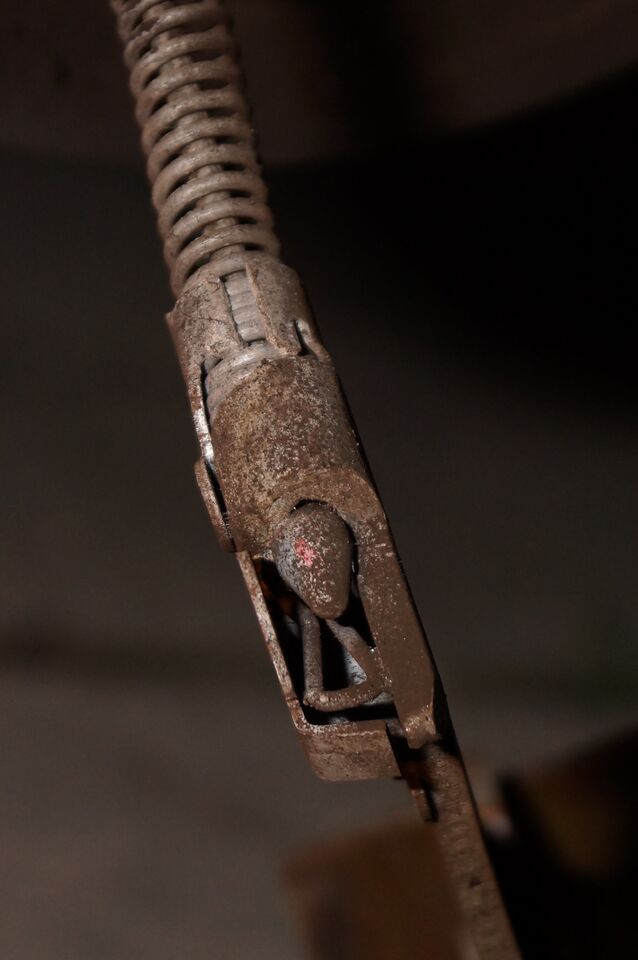
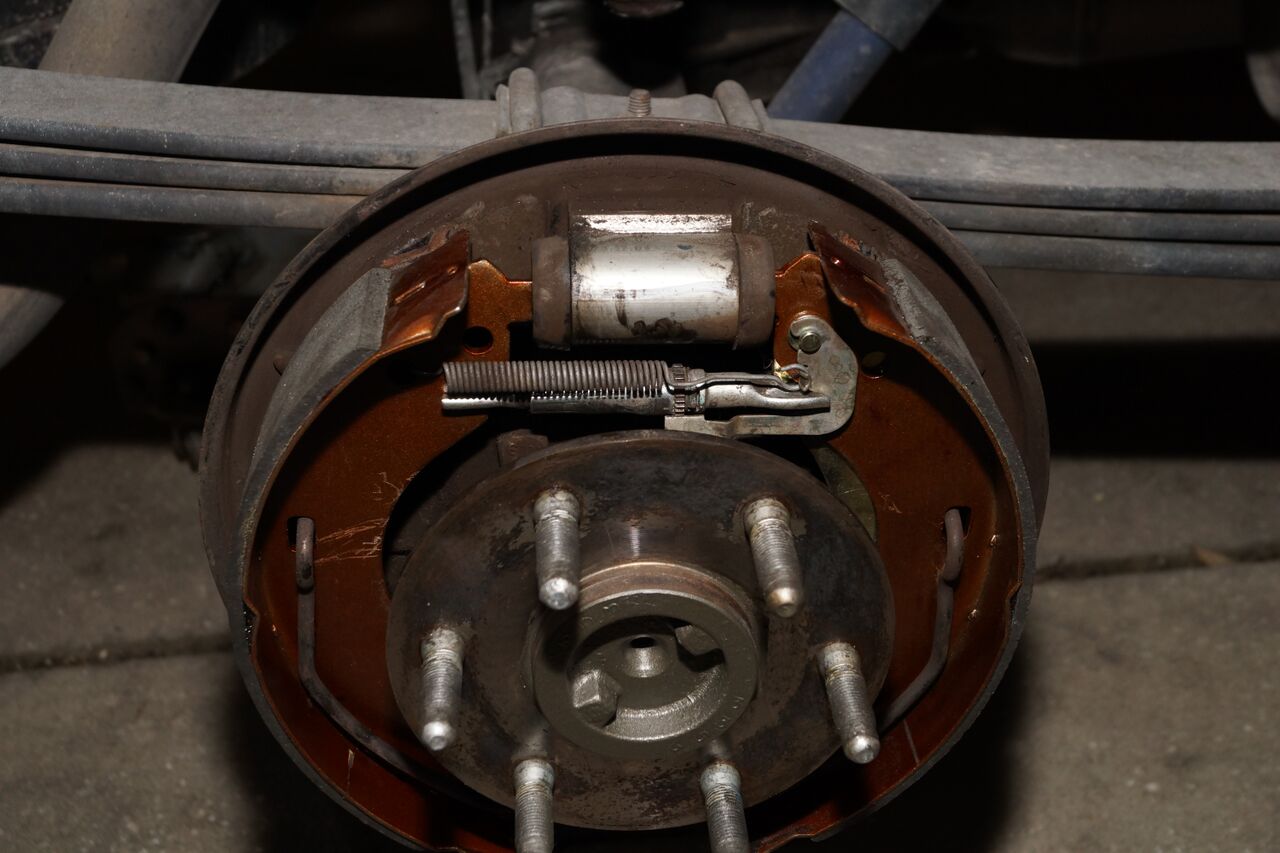
At the rear of the truck, we turned to Summit Racing’s stock replacement parts catalog and ordered Bendix cast iron drums and Auto Extra brake shoes. The drums rang up at $45.97 and the shoes at just $37.97. Remember that most drums, these included, are shipped bare with a rust inhibitor coating on them. They need to be cleaned and painted before you put them on the truck lest they turn to a lovely shade of rust. We opted for cast iron engine enamel from the local parts store.

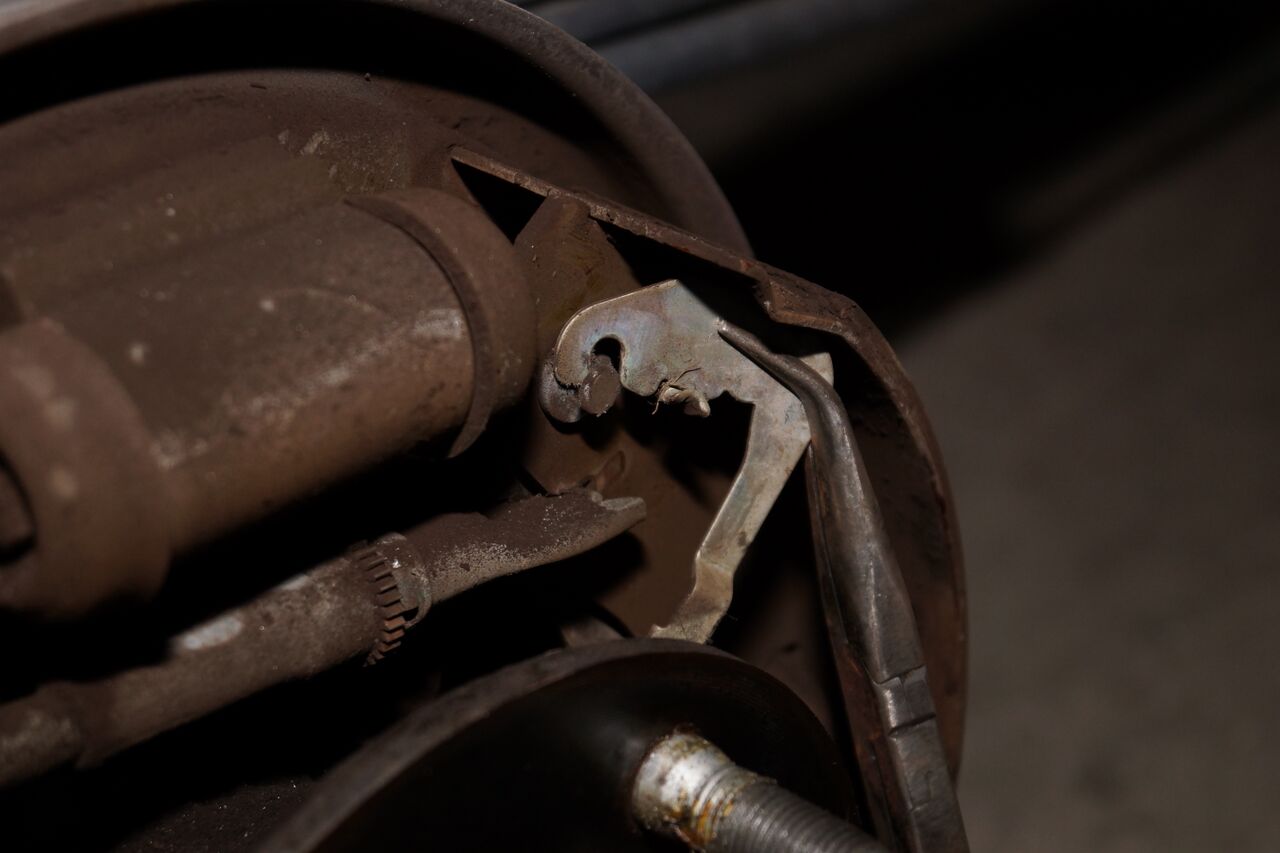
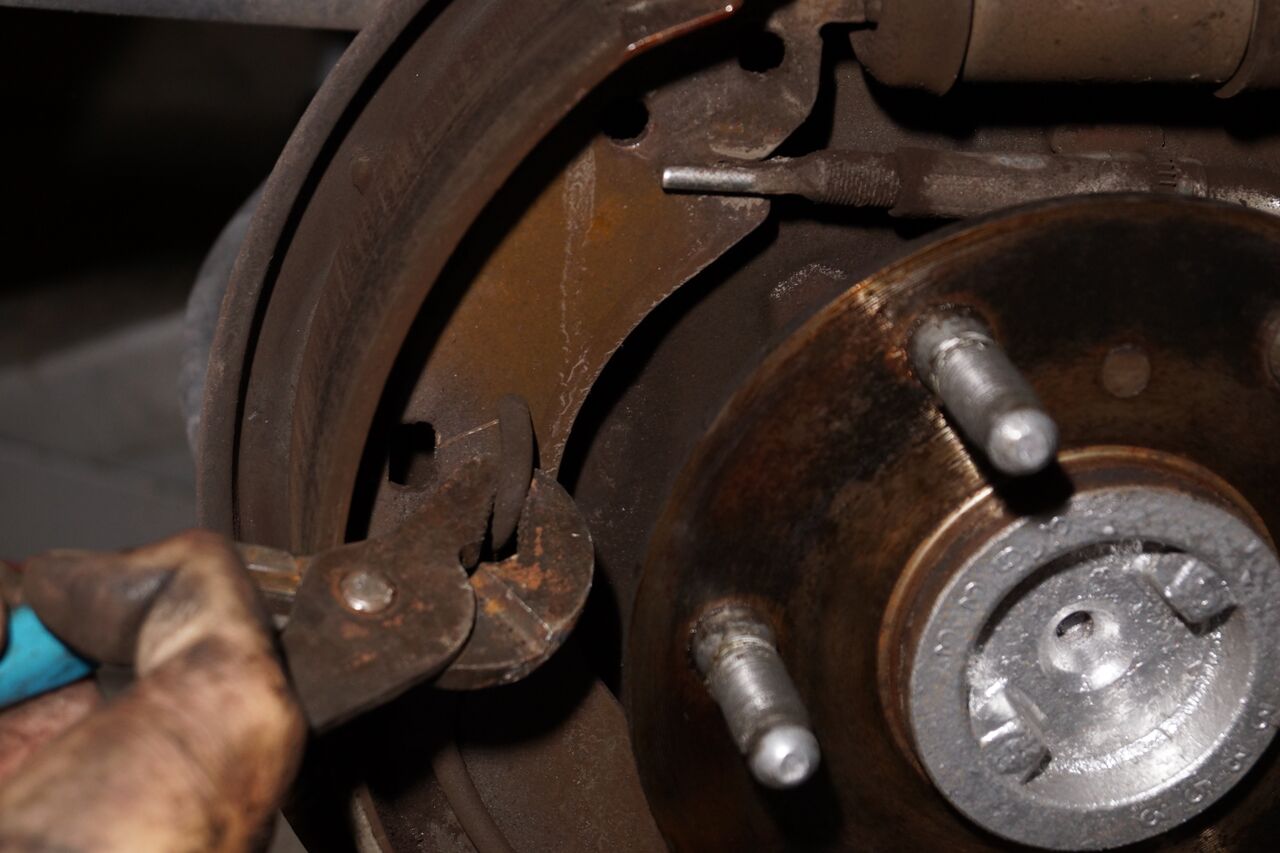
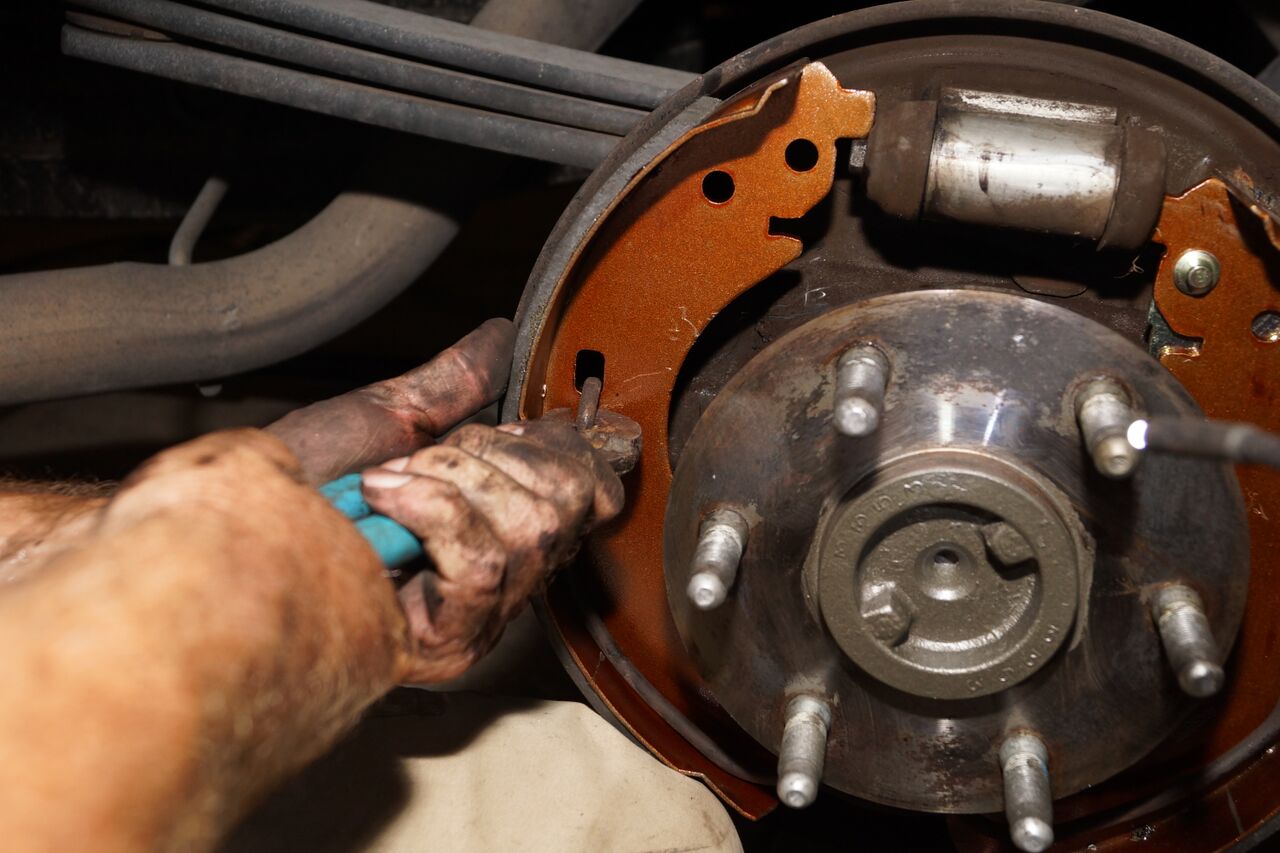
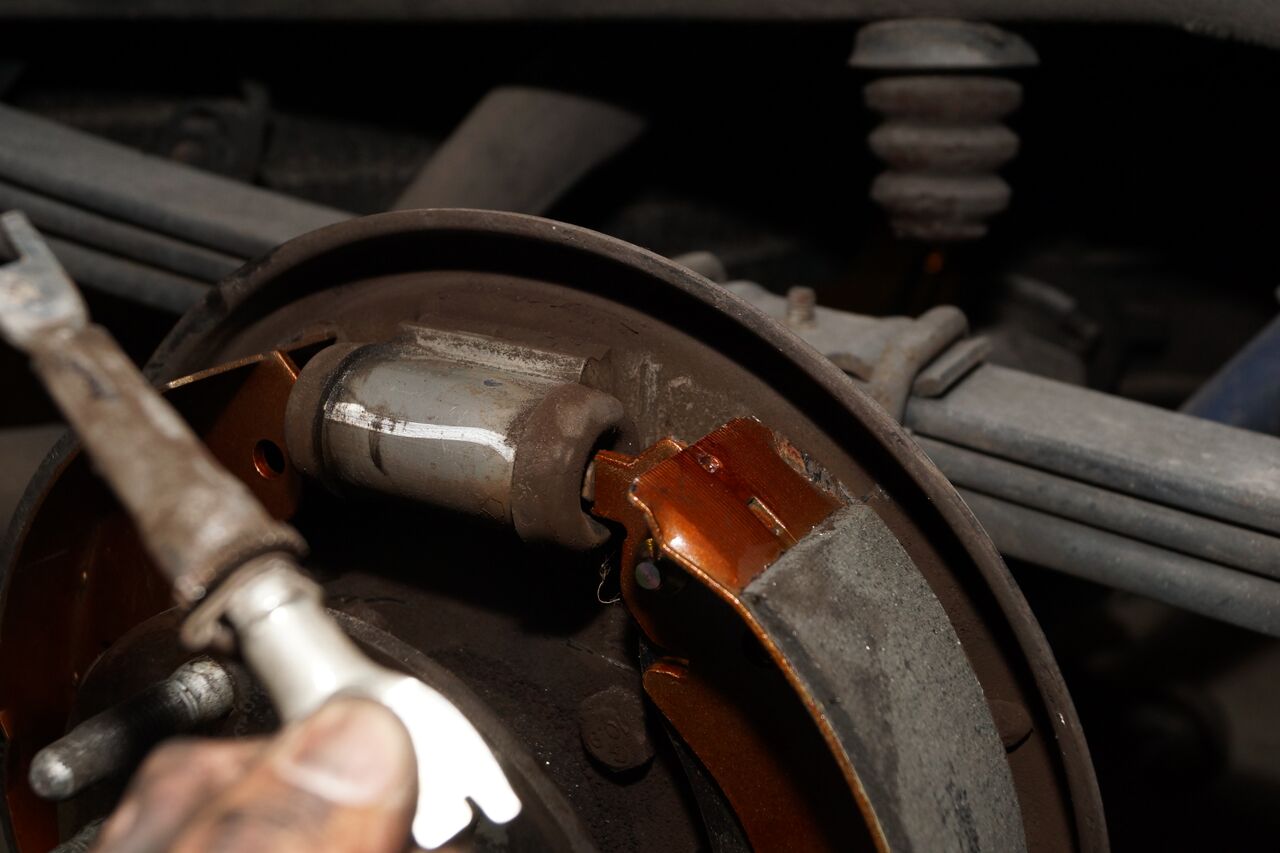
A brake job is a relatively straightforward project that most anyone can knock out in a day provided they have basic mechanical knowledge and adequate tools. Check the photos to see how this basic brake overhaul turned out, and be sure to check back for the next installment of our Saving Silverado project.

painting a brake drum silver
view of old disc brake rotor and caliper still installed on Silverado
man holding a disc brake pad near caliper
painting a caliper red
man installing a disc brake rotor and caliper onto a chevy Silverado
Chevy Silverado Brake Updgrade
man removing drum from brake shoes and hub
Chevy Silverado Brake Updgrade
prying off drum brake spring from brake shoe
Chevy Silverado Brake Updgrade
removing a brake show spring from a drum brake
close up of wheel cylinder on drum brake shoe system
rusty drum brake shoes from a chevy Silverado
custom lug nuts for a chevy Silverado wheel

Before you get started, break out the brake parts cleaner and hose down the new drums. Then, give them a few coats of your favorite high-temperature rattle-can enamel. We went with this author’s favorite, cast iron, to give them a nice natural metal finish without drawing any unnecessary attention to them.

To get started, raise and support the vehicle, remove the front wheels, and then remove the front calipers and rotors. You’ll need something to cap off the brake lines to keep the fluid from bleeding out while you make the swap.

Next, load the new Z36 brake pads in the cages using the included clips.

Now you can bolt the pad and cage to the caliper itself using the supplied hardware. Got rusted bolts? Who cares, because you have new hardware.

Install the new rotor and caliper in reverse order of the disassembly of the original items. Make sure that you have the correct side on with the bleeder at the top of the caliper.

That’s pretty much it for the installation of the Powerstop front brake kit. They look good behind the wheels and the red will pop off the truck’s white exterior. The red powdercoating will keep them looking good for years to come.

Moving to the rear brakes, we start by removing the factory drums—make sure you don’t have the parking brake on—and then give the system a good lookover as you may find a leaky wheel cylinder or two. A telltale sign, other than fluid coming directly from the cylinder itself, is a buildup of oily dirt below it.

As with any drum brake job, unless you’re an expert, do one side at a time so you can look at the intact side as a reference of how things go back together. Granted these drums use a large metal clip rather than the usual menagerie of springs and pins, but if it’s your first time or something you don’t do often, it won’t hurt to have the reference—it’ll save you from running in the house and putting your dirty paws all over the computer at least. Here we start by removing the automatic adjuster arm followed by the adjustment shaft.

Next up is the large metal clip that holds the shoes in place. They make special tools, of course, for this but we just used a set of channel locks to get a firm grip and pulled the clip out.

With the shoes free, you’ll find that the parking brake cables need to be removed next. Push down on the metal clip that is just past the pointy end of the cable and that will release it. It may take an extra pair of hands to get the job done, and pushing the cable back and compressing the spring will make it easier to depress the clip and release the cable.

Provided your wheel cylinders are in good order, you’re ready to install the new shoes. Once you have them mocked up in place, reinstall the giant metal clip. Don’t worry about keeping them exactly in position as they can be further manipulated once the clip is in place.

With the shoes secured, make sure they are centered side-to-side and top-to-bottom and that the tabs are on the wheel cylinder pins. Once you have that done, you can reinstall the e-brake cable and test fit the drum to make sure it has a very slight drag but that it comes off fairly easily.

After bleeding the brakes and setting the wheels on the lugs, the last thing we added was a set of chrome Summit Racing lug nuts (SUM-7540160) to replace the cruddy, open-end lug nuts. They are sold in packs of 6, so order four for your 6-lug Silverado/Sierra.


Share this Article
Author: Steve Baur

Steve Baur is the founder and principal of Driven Media Works, a Florida-based creative-services firm serving the automotive aftermarket. After attending the University of South Florida for journalism, Steve signed on with Muscle Mustangs & Fast Fords magazine, where he served as associate editor and, later, technical editor during his nine-year tenure. In 2010, he was promoted to the editorship of Modified Mustangs & Fords, a publication he helmed for four years before launching Driven Media Works in 2014. A lover of all things automotive, Steve has contributed to a wide range of motoring publications, including Car Craft, Truckin', Modified, Super Chevy, Race Pages, GM High Tech Performance, Fastest Street Car, and High Performance Pontiac.