a jeep pulling a custom made jeep trailer
an old jeep drum brake hu with a wheel adapter spacer installed
shack lift leaf springs on a jeep truck
man removing jeep shocks from an old truck
comparing new and old shocks for a jeep truck suspension
replacing shocks on an old jeep truck suspension
man routing compressed air lines on an old truck
installing a schrader valve for a compressed air system on a jeep bumper
drilling a hole into a jeep bumper
checking air lines for on-board compressor system
man holing a trailer light connection socket
a truck fog light resting on a workbench
close up of the corner of an old pickup truck bed with taillight
a pair of aftermarket truck taillights in box
replacing the taillights on an old truck bed
back of a pickup truck taillight with connectors
comparing trailer harness wiring plugs
seeping mattress in the bed of a custom made camping trailer
flashlight mount installed in a truck bed
a custom made jeep trailer from the bed of an old pickup truck

The budget camping trailer’s first phase was completed several years ago and was finally ready for the trail.

In order to use OEM Jeep JK wheels, I bought a pair of adapters that changed the S10’s lug bolt pattern to the Jeep’s 5-on-5 pattern.

The 10-inch-long shackles had holes for a 6-inch lift or a 4-inch lift, we chose the 4-inch lift for better stability and strength.

The trailer’s old shocks were also Monroe models, but we have no idea how many miles were on them. They were pretty well shot, though.

Seemingly smaller, the new Monroe Max air shocks are stronger and are capable of support more weight.

They easily bolted right back into the factory shock mounts. Since the trailer is a recycled S10 bed, it has shocks—most small cargo trailers do not.

After mounting the shocks, Kevin routed both air tubes back to the bumper.

We used a separate Schrader valve for each air shock, which were mounted to either side of the license plate.

Mike helped with the install and drilled the holes for the Schrader valve.

To make sure the lines were secure and not leaking; we filled the shocks and then checked the air pressure the next morning.

Using a six-wire cable and a six-prong connector, we will add electrical accessories to the upgraded budget trailer.

Those accessories include two or three of these dual-filament work lights, which we will mount to the roof rack once we have a tray fabricated to fit the cap’s roof rack. The lights have two levels of brightness, hence the three wires.

The trailer’s taillights were aged and becoming more and more foggy, due to sun fade. So we decided to exchange them with some Anzo LED taillight assemblies from Summit Racing.

The Anzo LED taillights, which are available for several different models and makes, come two in a box and are so easy to install there’s no instruction sheet.

Much better looking than the OEM taillights.

The small side-marker light bulb and the backup light bulb are both reused in the new assembly. And there’s a ballast with a peel-and-stick panel so the reduced electrical needs of the LEDs will not speed up the flashing of the turn signals.

Anzo includes a matching coupler from the LEDs, which plugs into the OEM coupler in place of the original light bulb.

18. The “new” mattress fits perfectly and lies flat, and it’s very comfortable, even on longer trips. The black Rhino really protects the bed but it also really soaks up light.

We discovered early on we needed a flashlight close for late-night strolls or noises.

Jacked up and lit up, the upgraded budget trailer is ready for more trails!

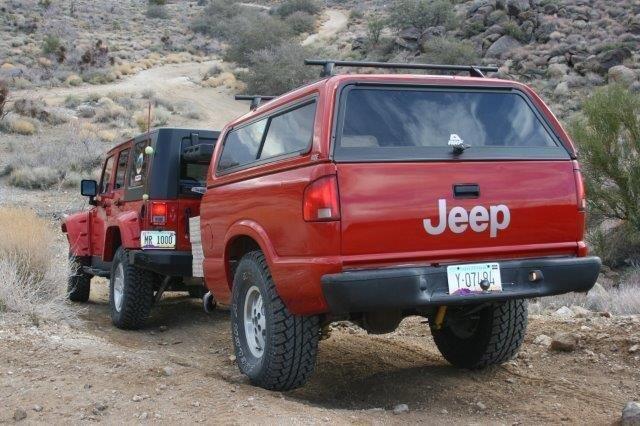
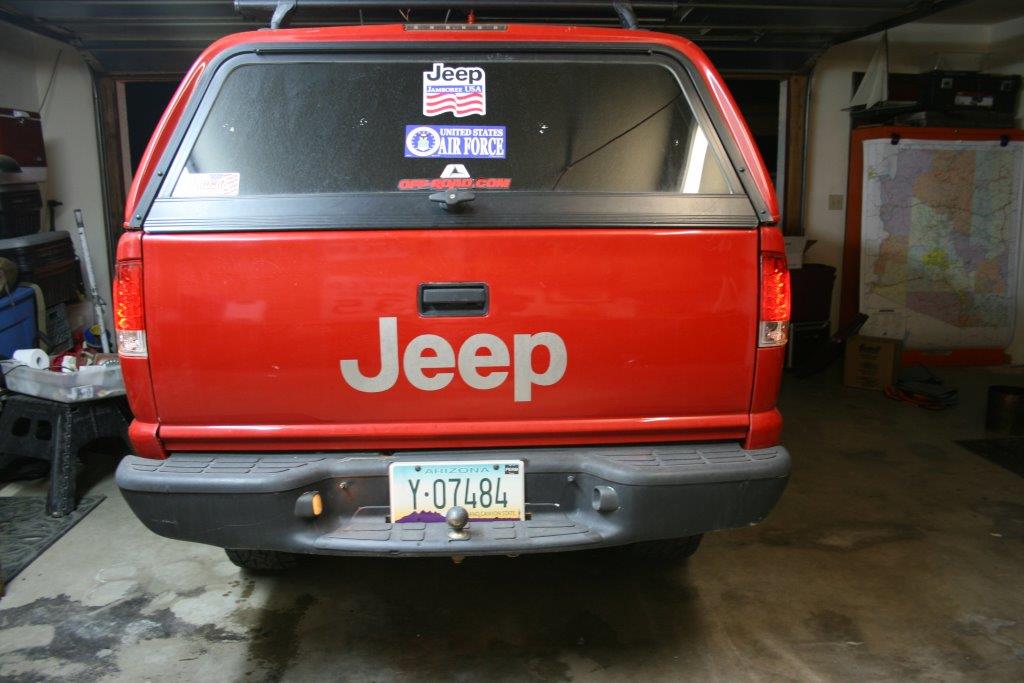
An off-road New Mexico vacation in a camping trailer designed for Jeep and Chevrolet S10 pickups provided the evidence: the trailer desperately needed more stability on the rough terrain and truck’s rear bumper needed raised.

The trailer needed shocks and more height. The curved design of the original bumper would sometimes dig into the trail, kicking up dust and picking up water that would drown anything stored in the trailer near the tailgate.

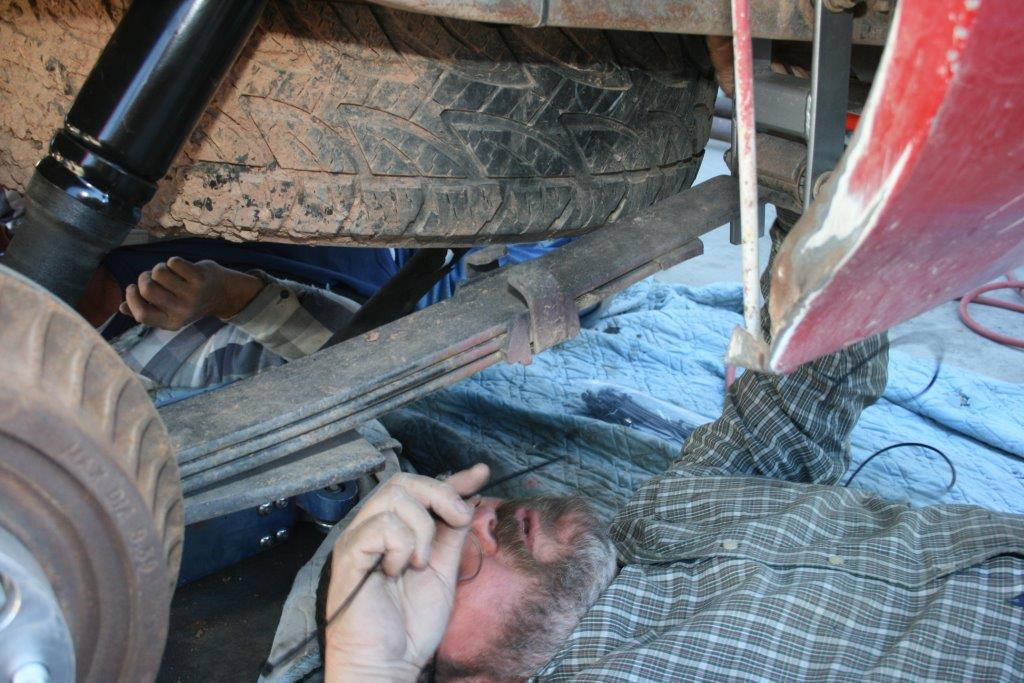
Raising the Rear Bumper

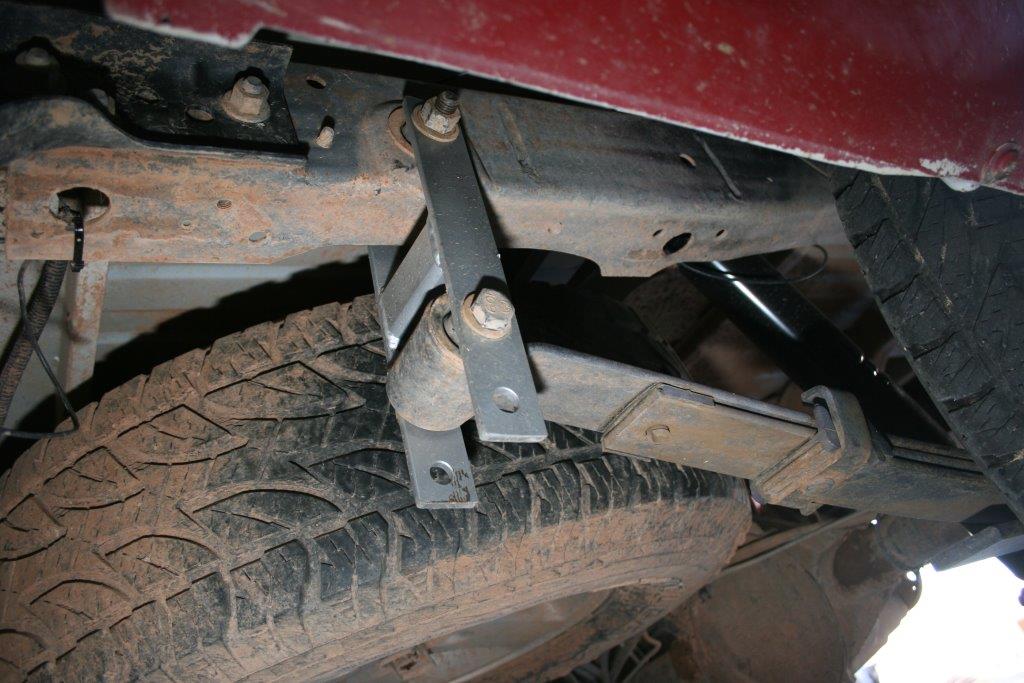
The first order of business was raising the rear bumper. It was accomplished by adding 10-inch shackles with holes drilled at six and eight inches. Using the six-inch holes, the trailer was lifted four inches.

By using the eight-inch holes, you can achieve a six-inch lift, but might have created stability issues due to the length of the shackles.

With four matching pieces of steel and properly drilled holes in the ends of the shackles, welding a piece of square tubing for strengthening, and bolting them to the frame and leaf spring, raising the rear bumper proved to be a simple modification.

Installing New Air Shocks

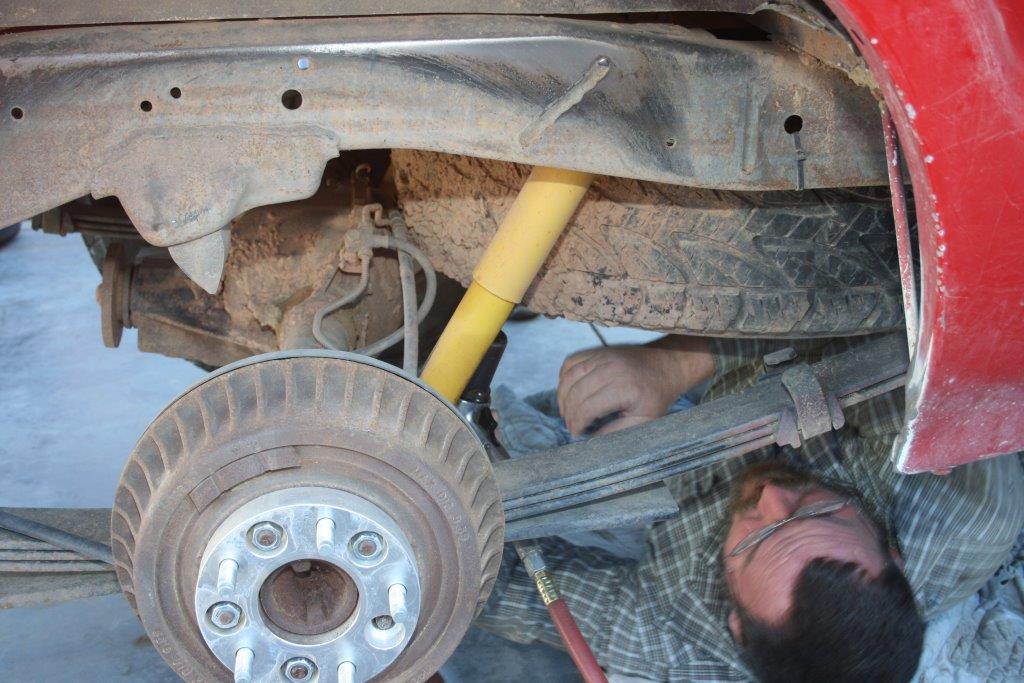
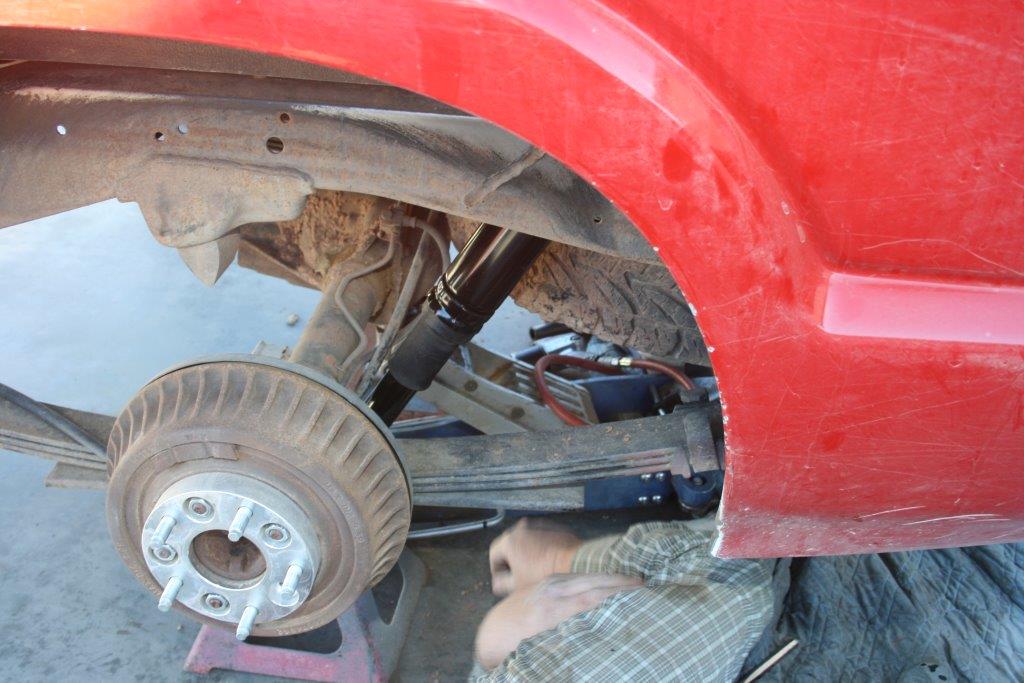
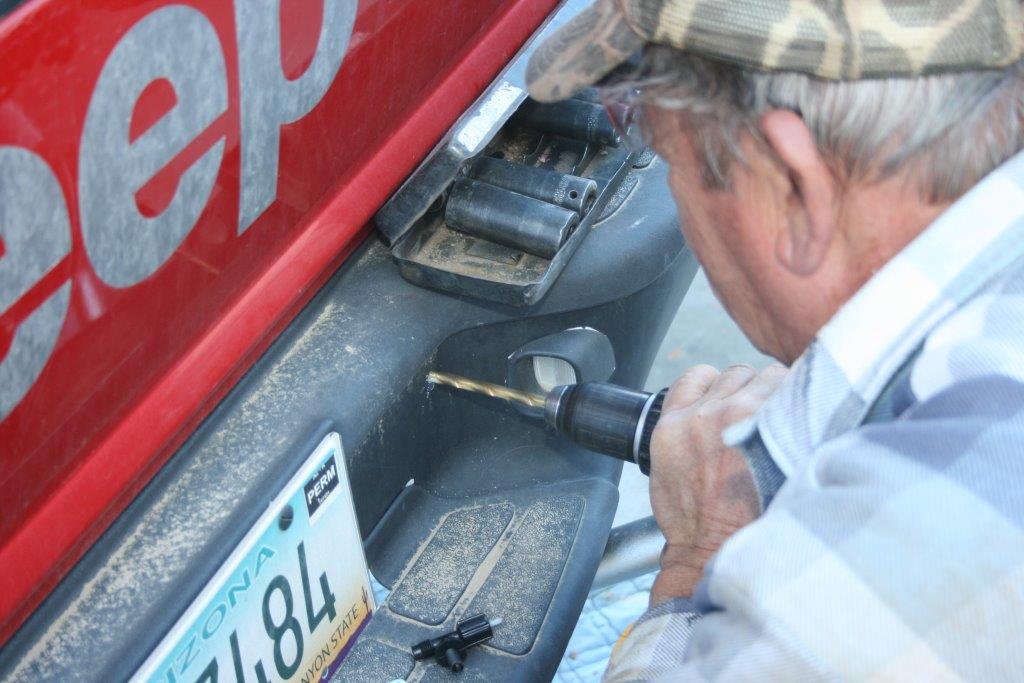
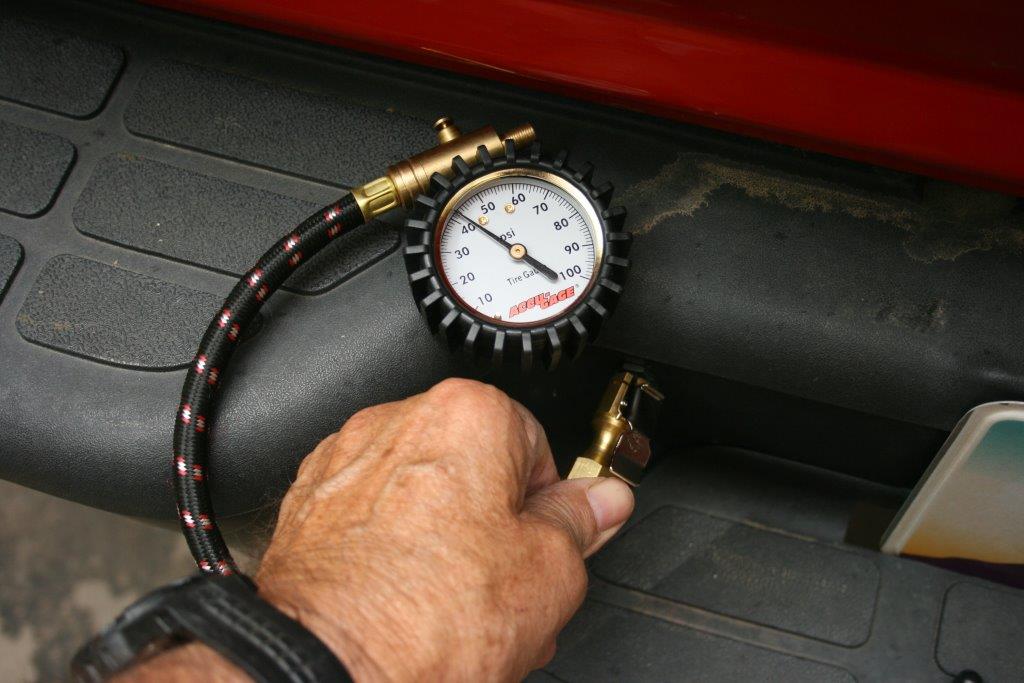
The second job—new air shocks—was also an easy modification, but because of high-speed highway runs and sometimes-rough, off-camber trailers, the truck needed separate air lines for the new air shocks, which we located in the rear bumper.

The usual installation uses one Schrader valve with a Y in the air lines to supply both shocks. This allows air transfer between the two shocks, which means the low-side shock could lose air to the high-side shock. This usually doesn’t matter on the pavement because the trailer doesn’t stay low on one side but will swing back and forth quickly, depending on road conditions.

While negotiating the trail, the rig can encounter off-camber ground and be in that position for several minutes, which can result in some tense moments. Separate lines keep the air in the respective shocks, which means a more-stable trailer off the road, reducing the risk of a tip-over.

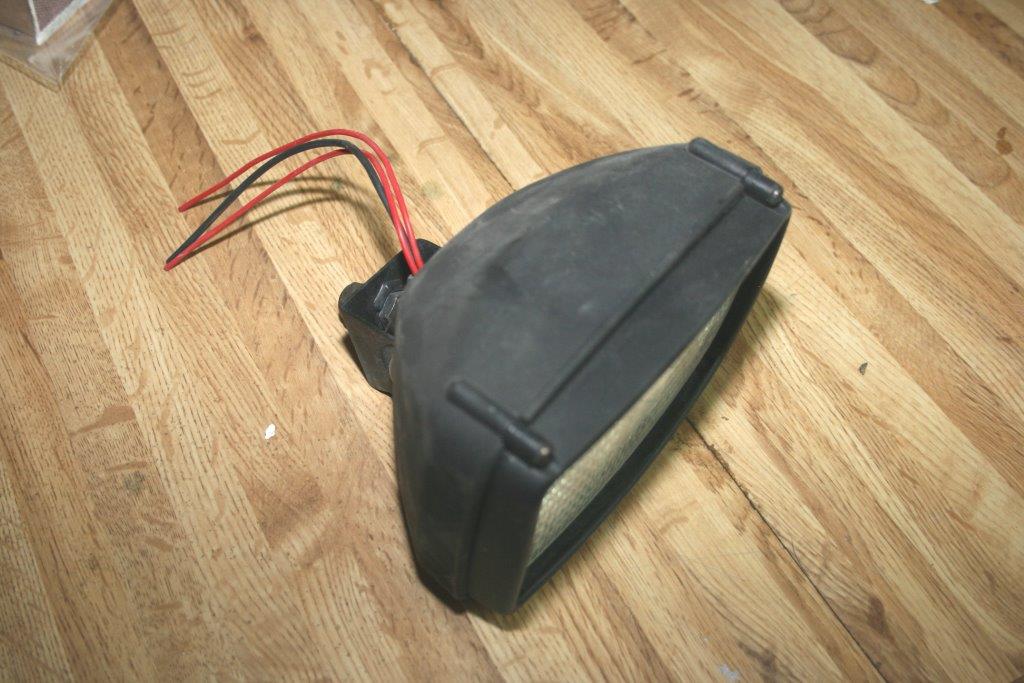
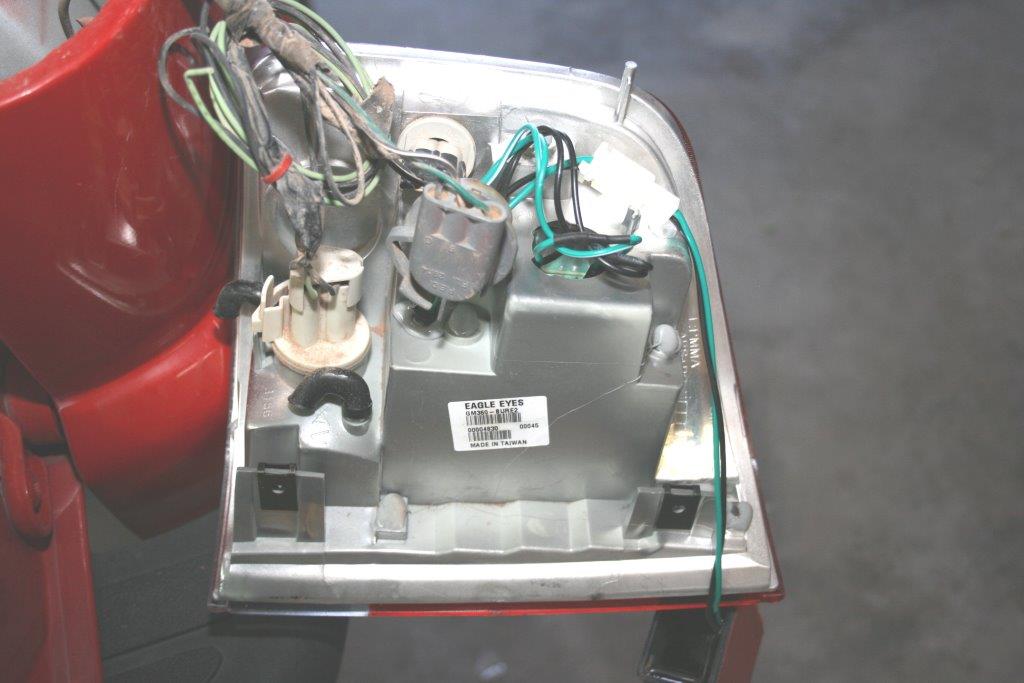
Installing New Electrical Components

In order to add a battery, camping lights, and backup lights to the trailer, new and additional cabling was needed.

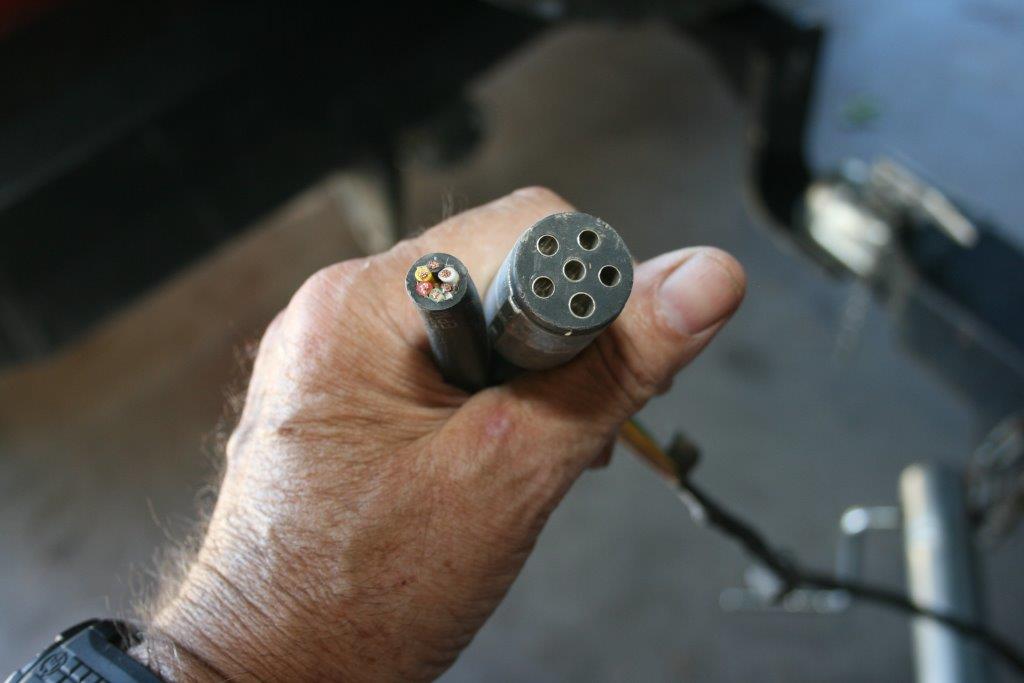
Eventually, the larger, RV-style seven-prong electrical connector; however, the six-prong connector shown in the photos was used for this install.

The common flat four-prong connector is the basic trailer plug. It allows for a ground, taillights, a right turn signal, and a left turn signal. The turn signals also provide the brake lights. By upgrading to a six-prong connector, you can add electric brake lines and a charging line for an onboard battery. If the trailer has no electric brakes, the backup lights or third brake light can be activated. A seven-prong connector adds more options.

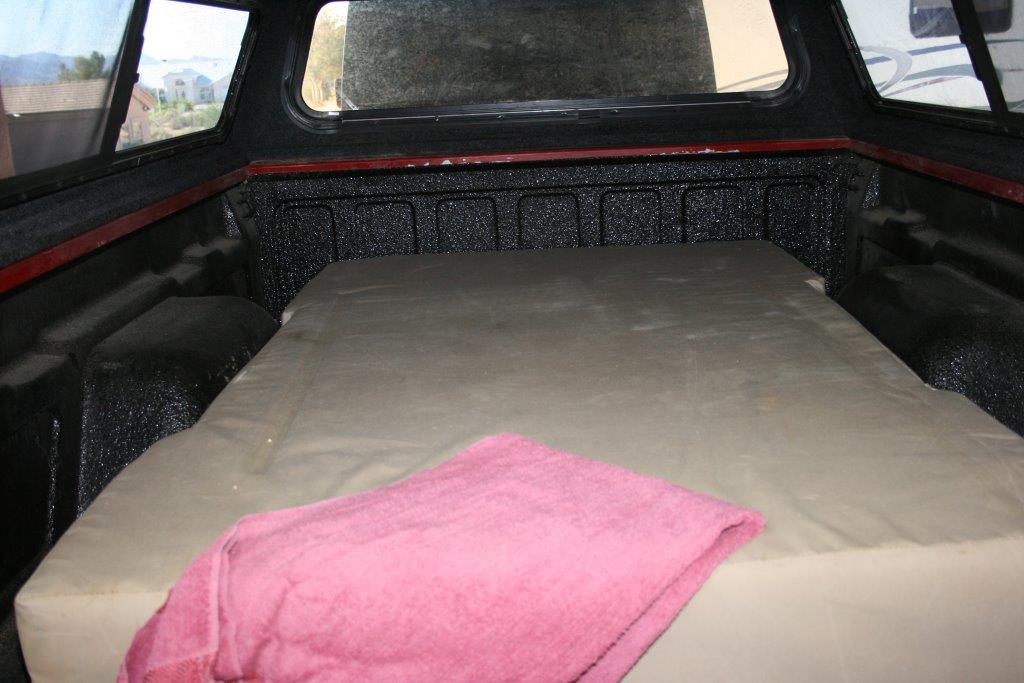
Sleeping Tip: A boat upholsterer can cut and customize bed mattresses to fit the shape of your truck bed! This simple upgrade turned a bowed, uncomfortable mattress into something pleasant to sleep on!

Share this Article
Author: Jim Brightly

A former editor of Truckin’ and Trailer Life magazines, and tech editor of Four Wheeler, Petersen’s 4-Wheel & Off-Road, and Family Motor Coaching magazines, Jim Brightly is now a semi-retired photojournalist living, writing, and wheeling in northern Arizona. He’s been building and wheeling Jeeps for more than fifty years.