For most of us, the sound of a lumpy cam and a rumbling exhaust is music to our ears. But even for hardcore enthusiasts, the noise can eventually get on your nerves. Same goes for the added heat from a big cubic inch engine and a huge-by-large undercar exhaust system.
Basically, it boils down to this: Build horsepower and you build heat and noise. In some cars, that extra cockpit heat can be almost unbearable. A good example is this writer’s 1971 Corvette. How hot does it get inside? Let’s just say you know when the thermometer crosses 80 degrees.
A few years ago, we wrote an article on how to tame excessive exhaust noise. This time we’ll show you how to reduce both noise and heat with a sound deadener/heat barrier.
Story Overview
- Sound and heat control products can significantly reduce noise, vibration, and high temperatures in your vehicle’s interior
- Pre-cut insulation mats made by companies like HushMat are easy to install on floors, firewalls, doors, and trunk areas
- Always test-fit insulation mat before installing it permanently
- Minor trimming is usually required and is easy to do with scissors or a utility knife
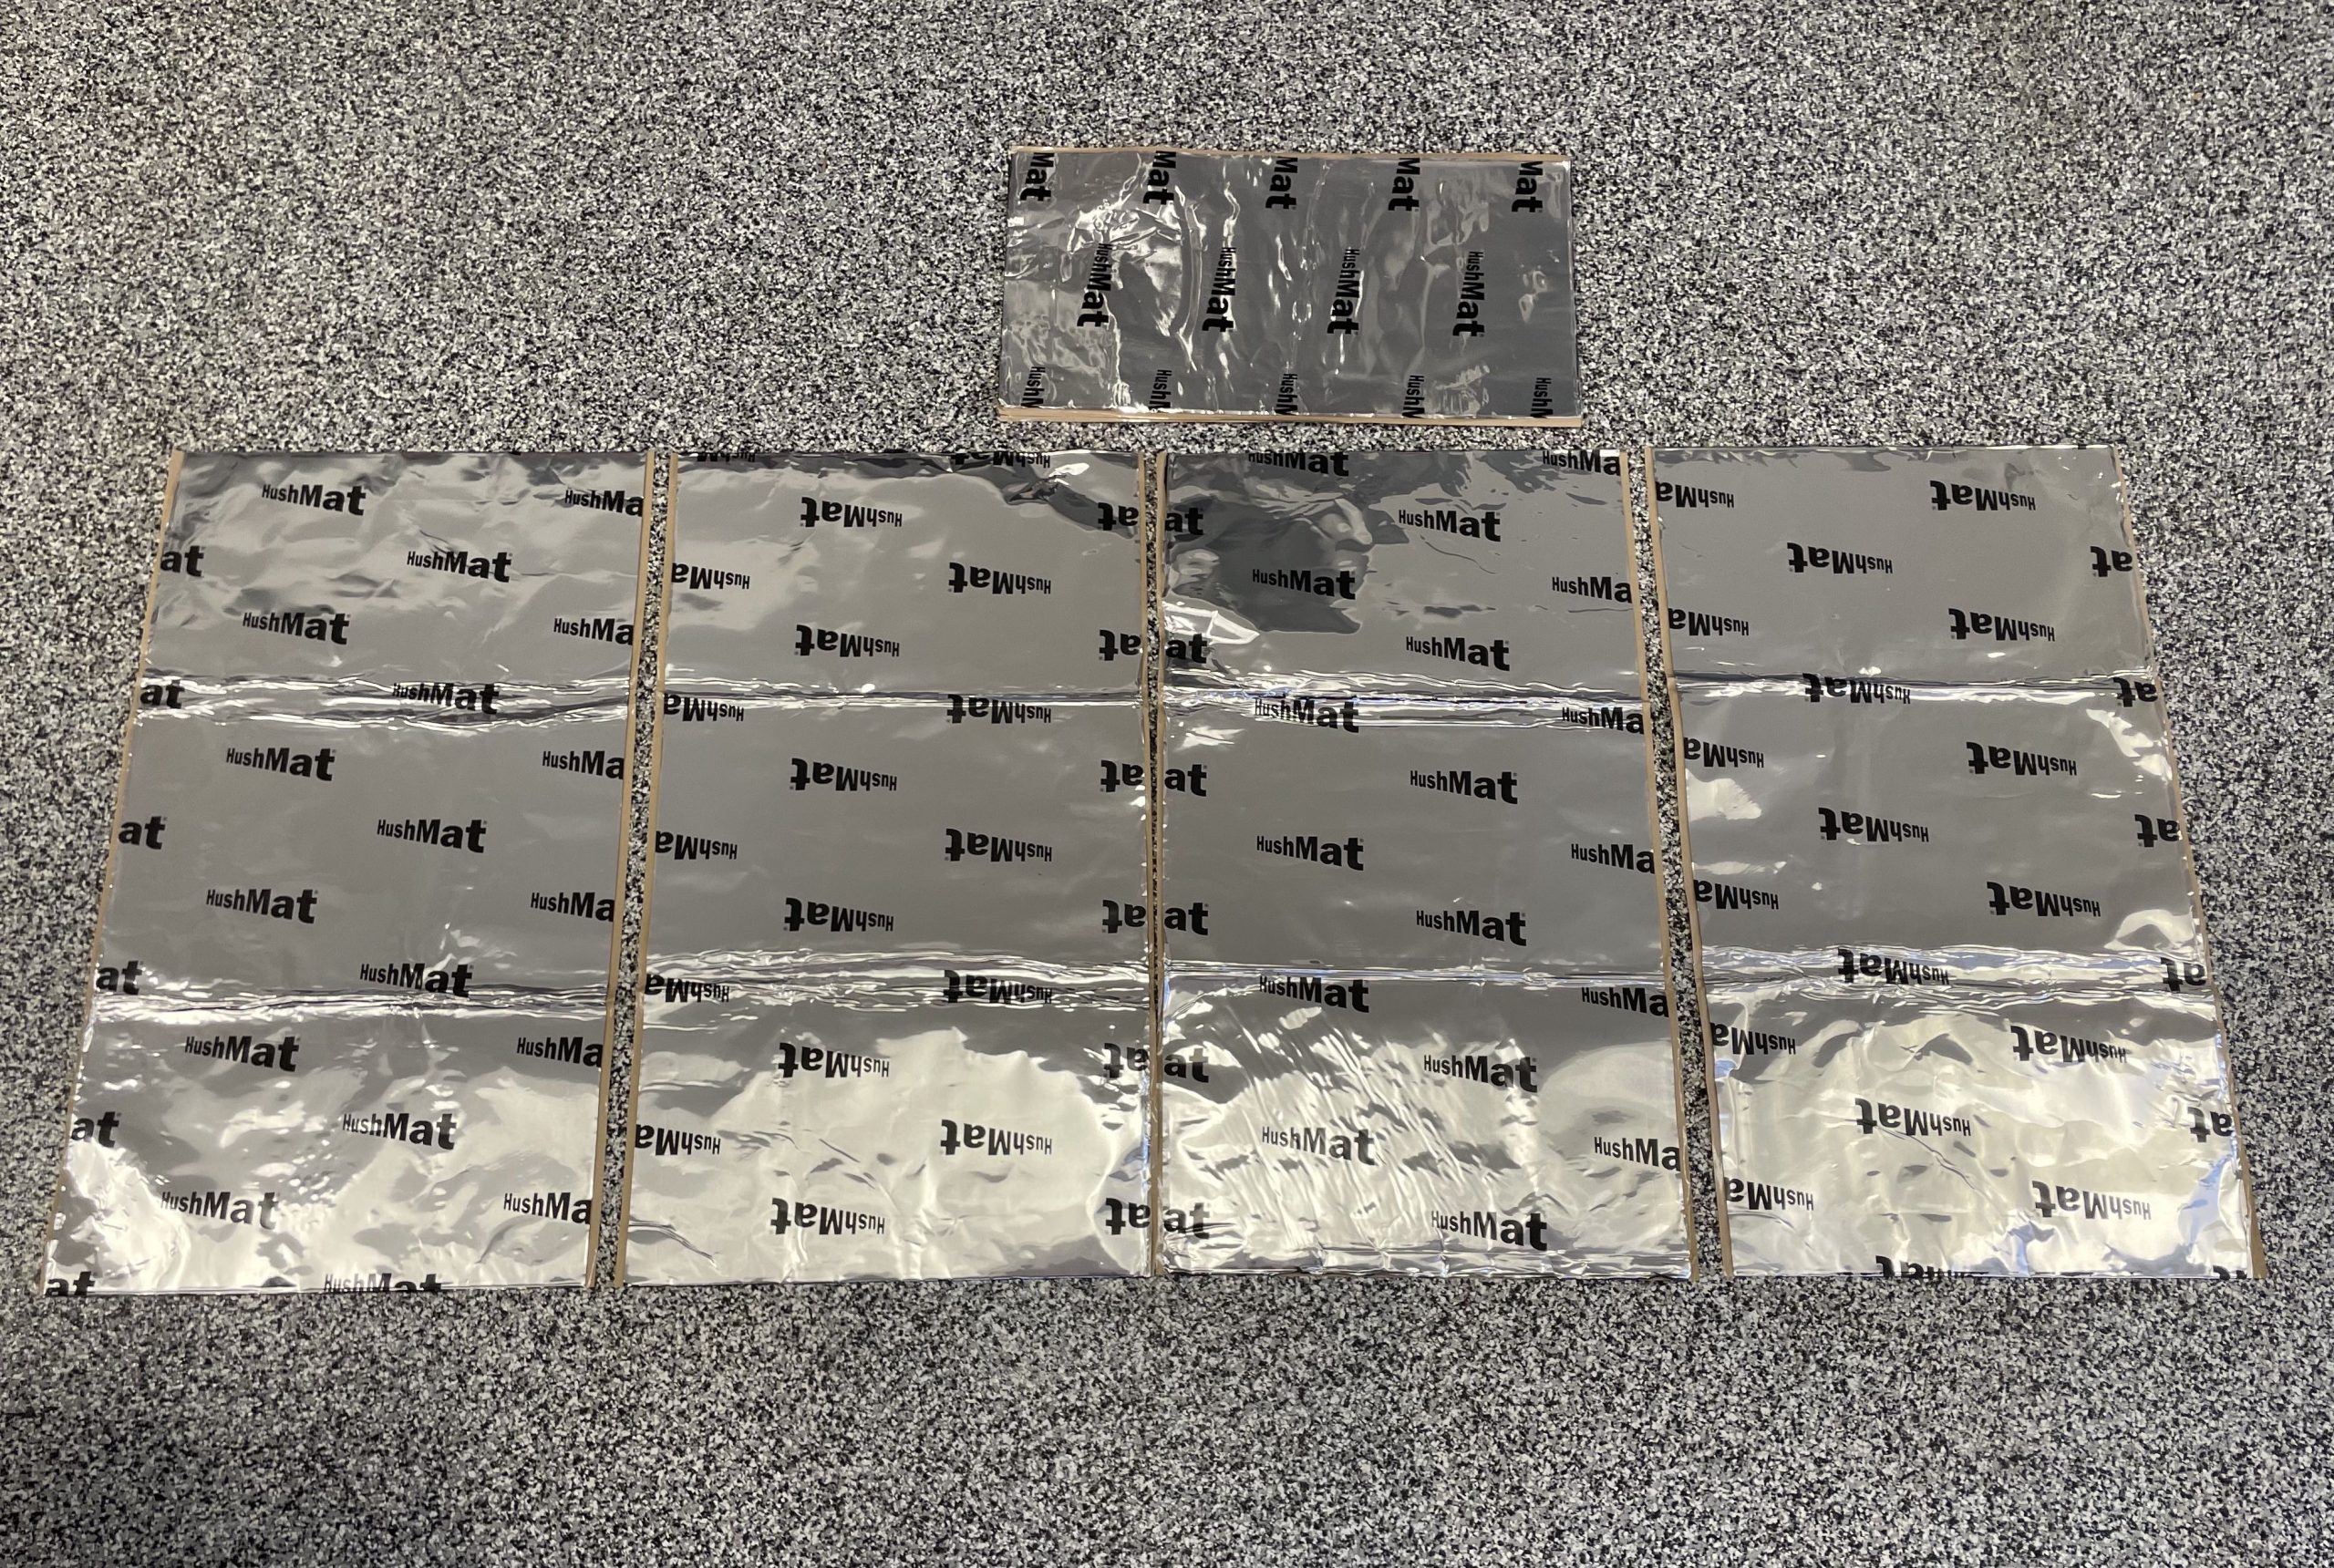
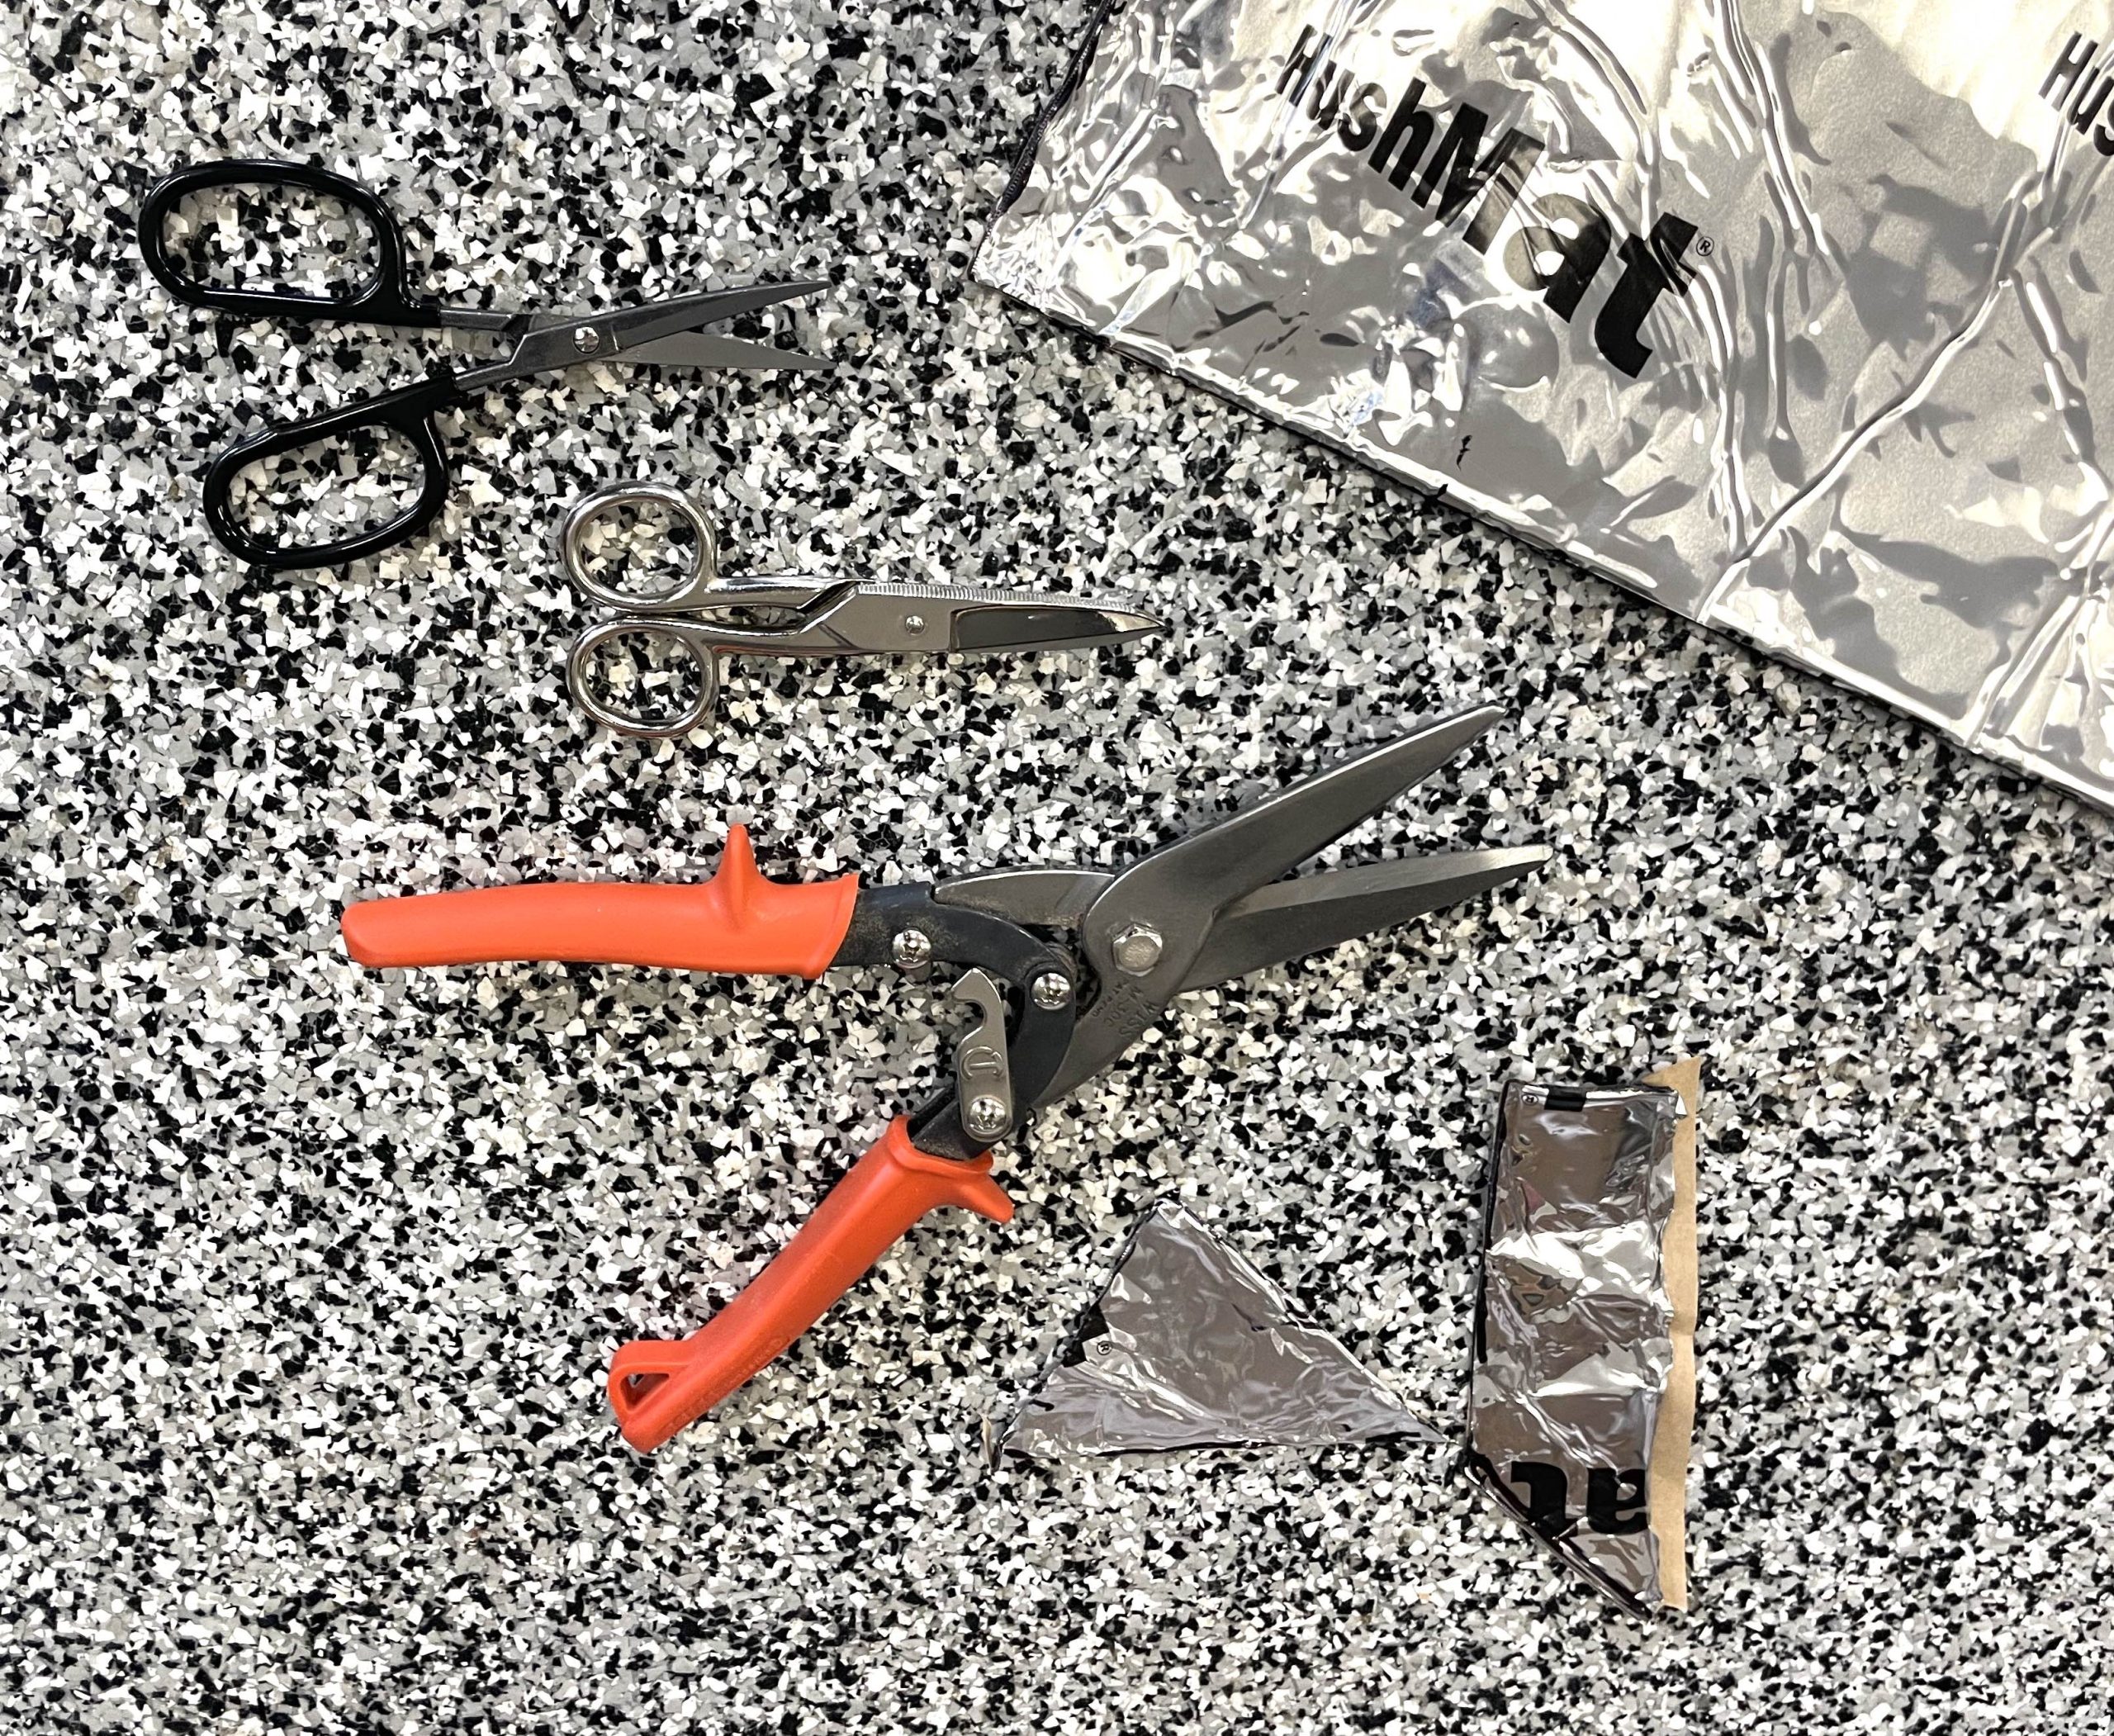
The Summit Racing online catalog has a lot of heat barrier and sound deadening material choices. We chose HushMat for our Corvette. Their insulating material can lower interior temperatures by over 40 percent and significantly reduces road noise and vibration. HushMat is self-adhesive and easy to cut with scissors or a utility knife.
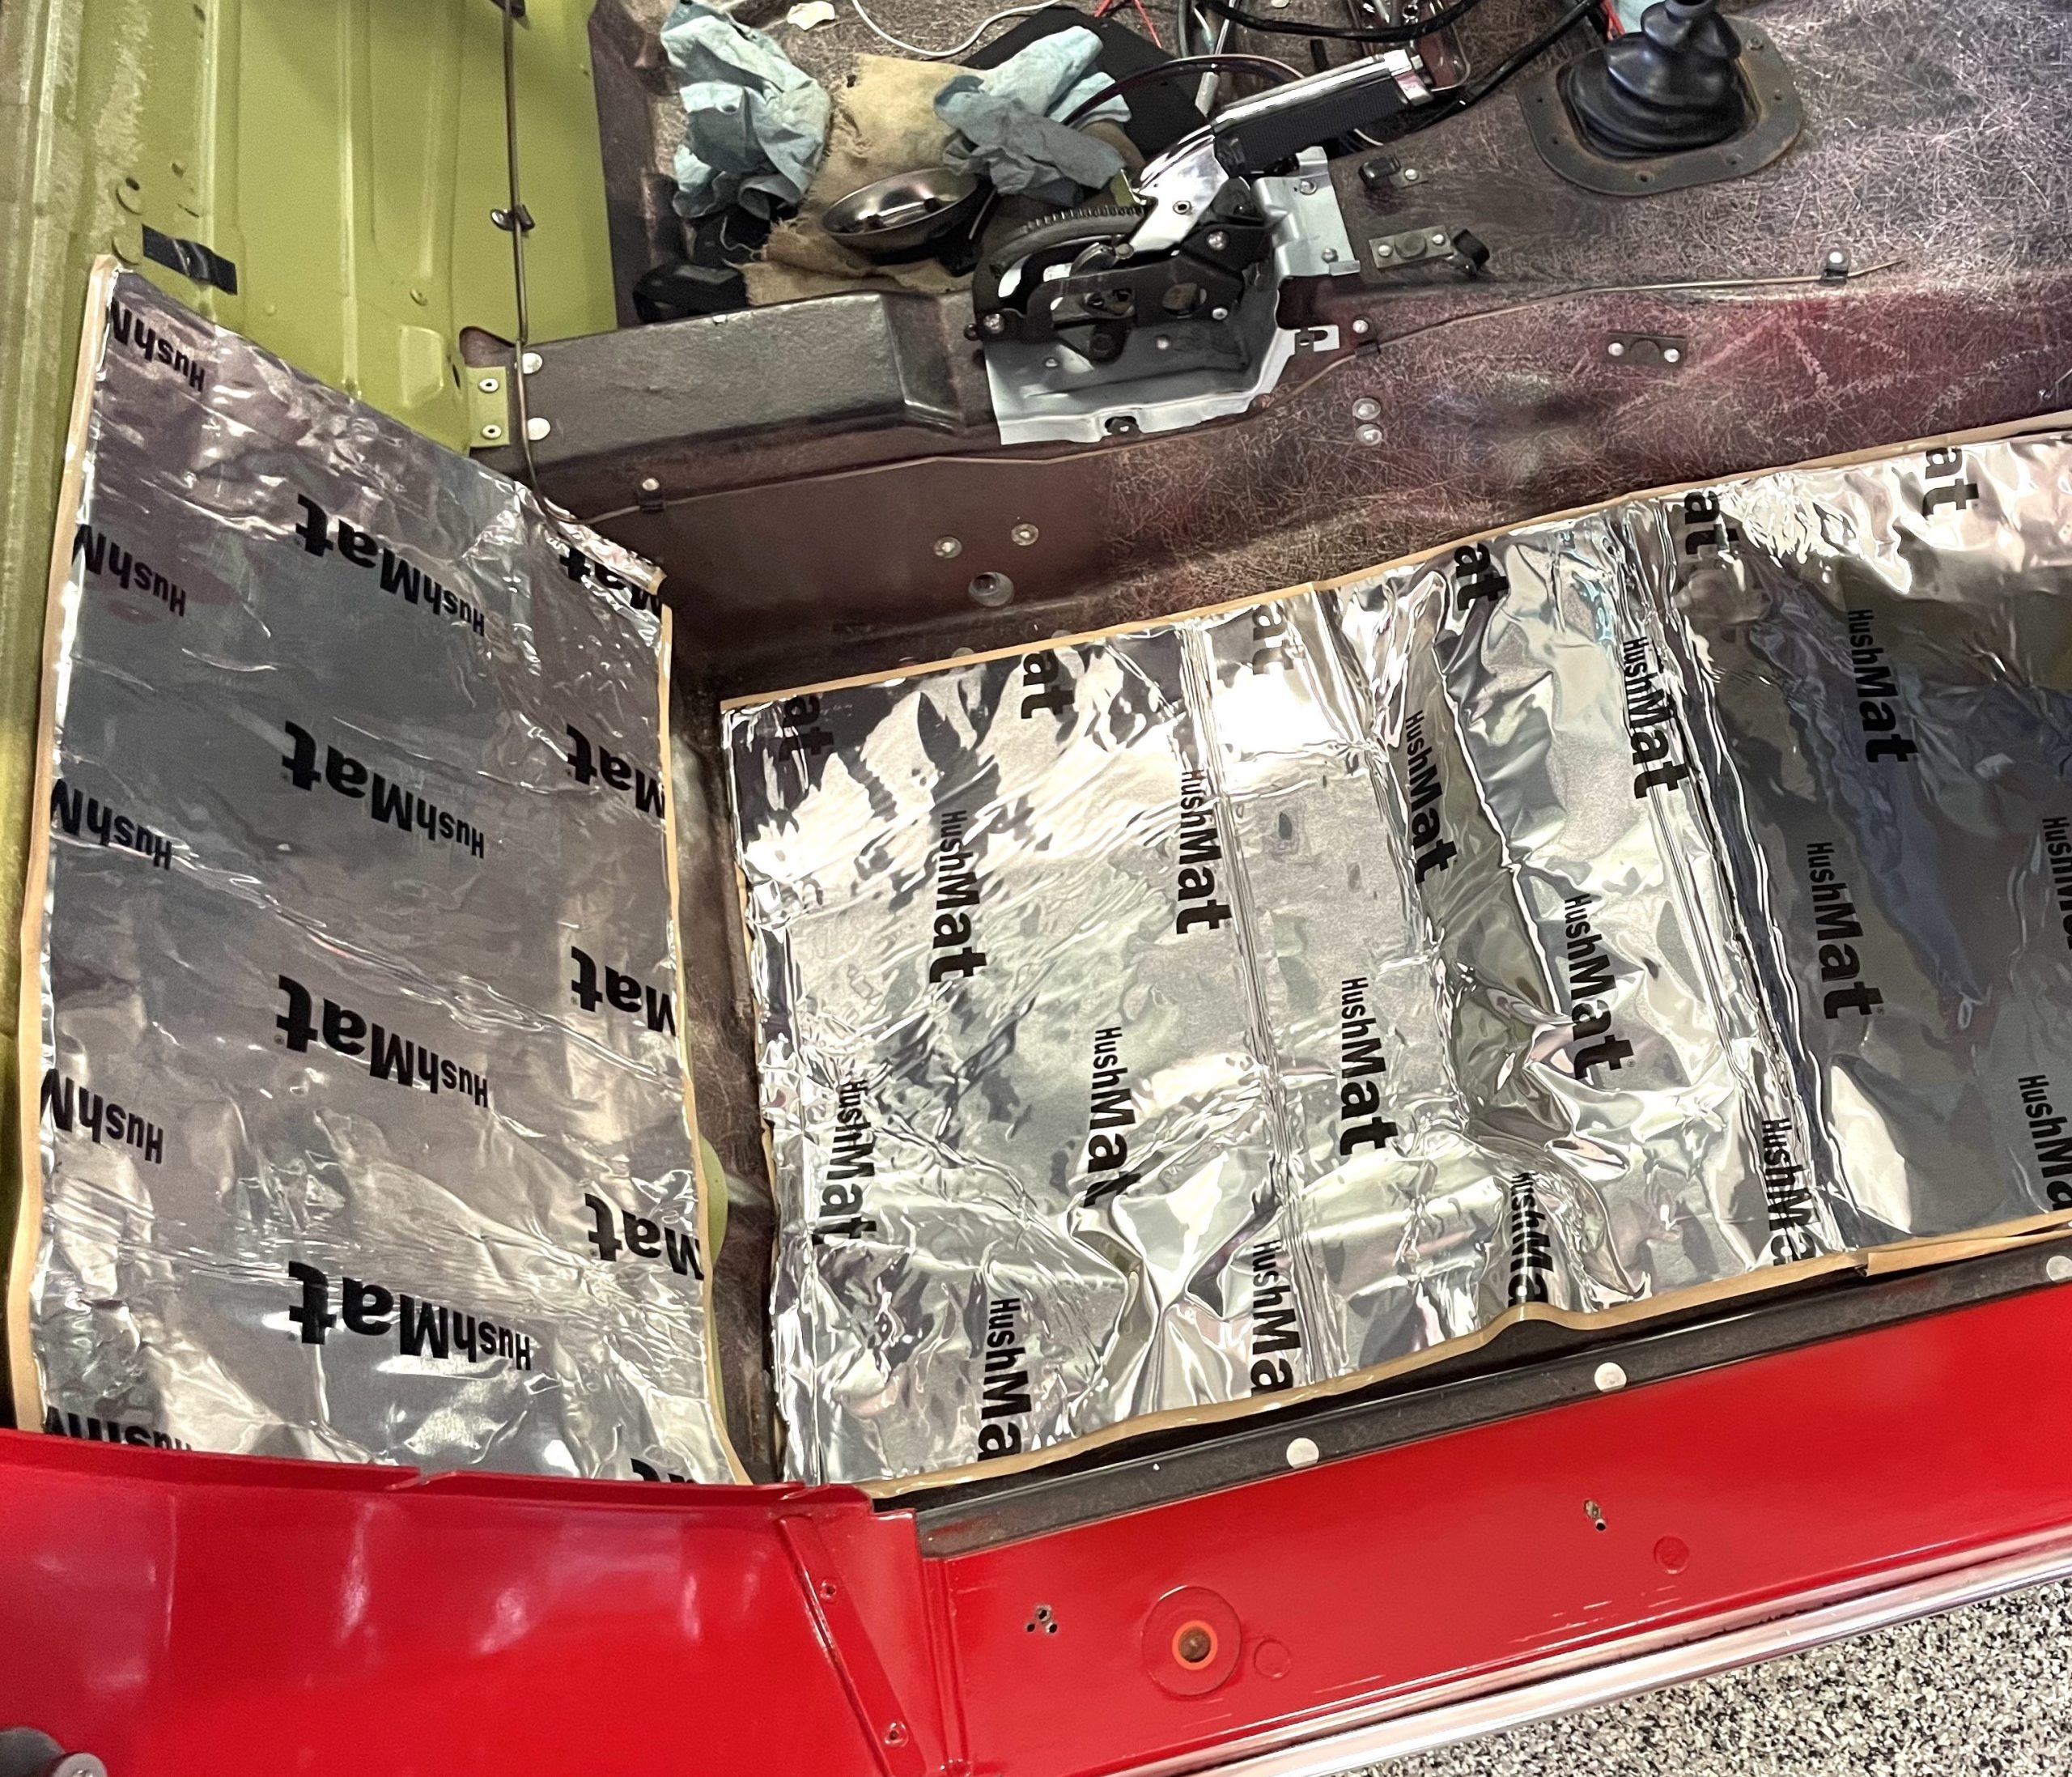
HushMat makes pre-cut kits for the floor, rear cargo hold, doors, firewall, and T-tops of third-gen Corvettes. They do require some trimming for a perfect fit. It’s not that tough to fit the pieces because they’re made close to the required size.
The HushMat material is only 0.060-inch thick including the peel-off backing, so you won’t have many fitment issues when reinstalling seats and other components. One place where you might have problems is the factory door panel to metal door frame area where clearance is tight. On a Corvette, the outer skin is fiberglass but the complete inner structure is steel. In those cases, it might be best to apply HushMat on the inside of the outer door skins rather than the steel frame just to be safe.
Installing Hush Mat
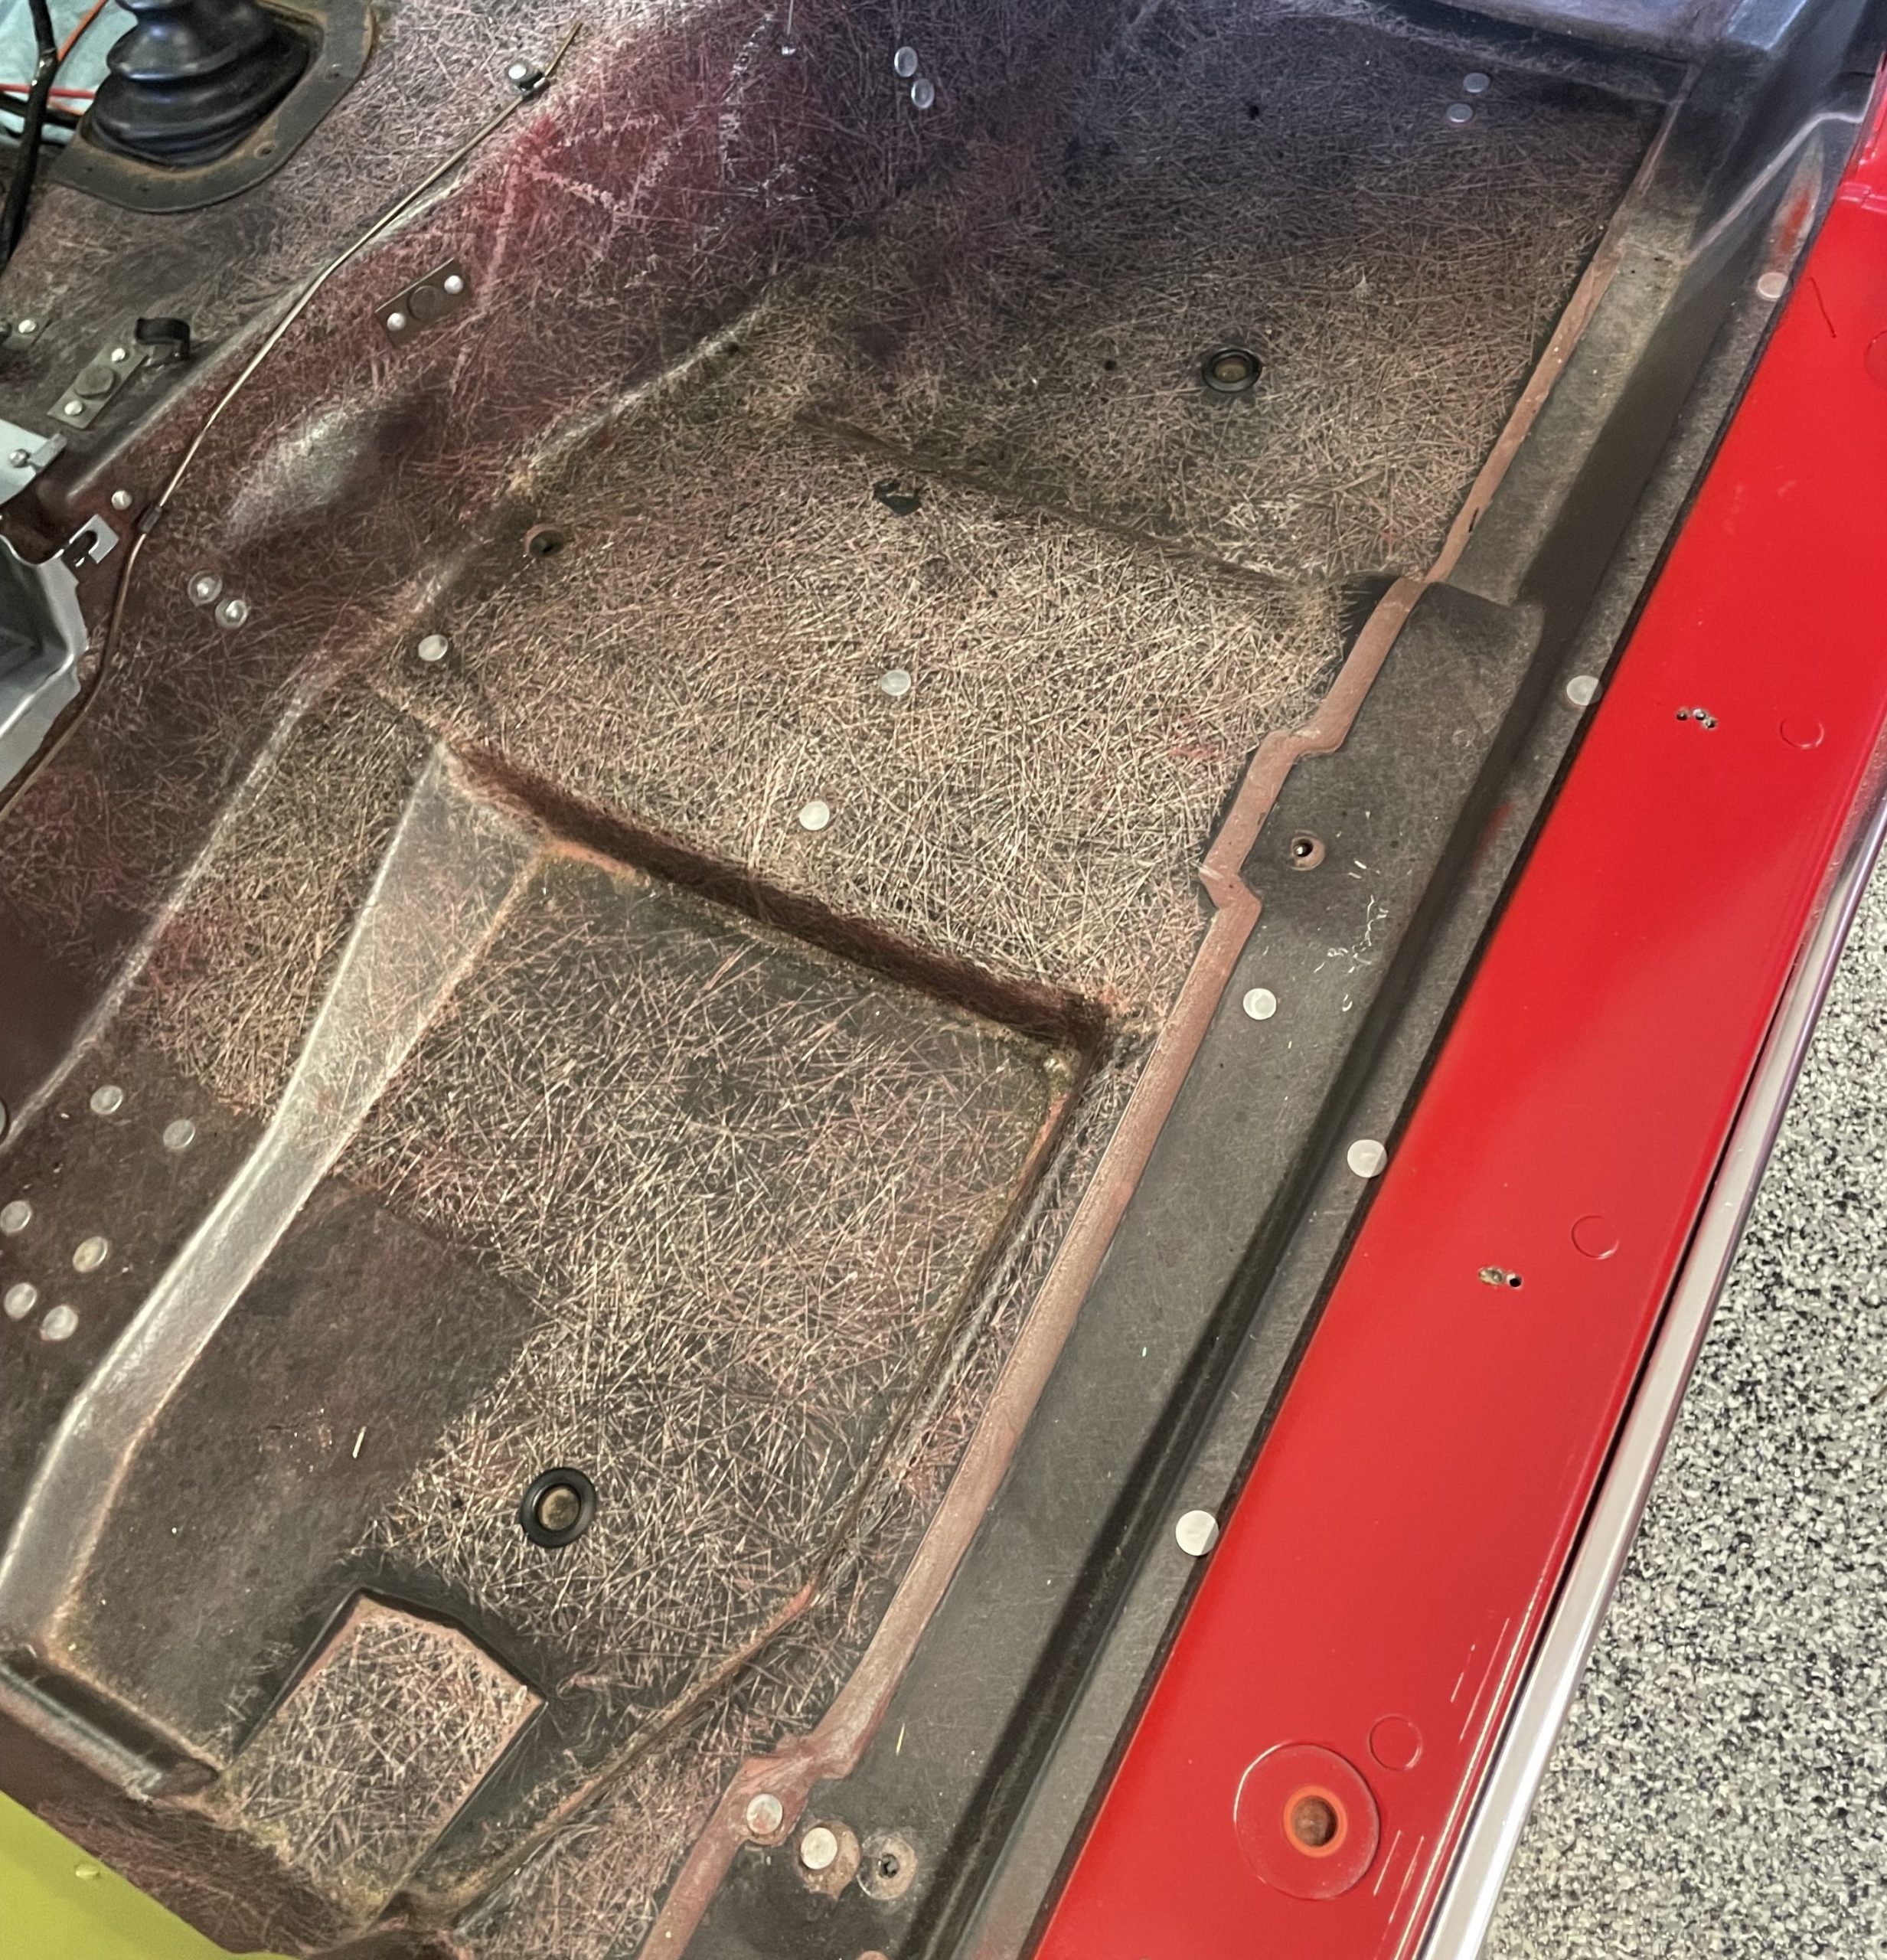
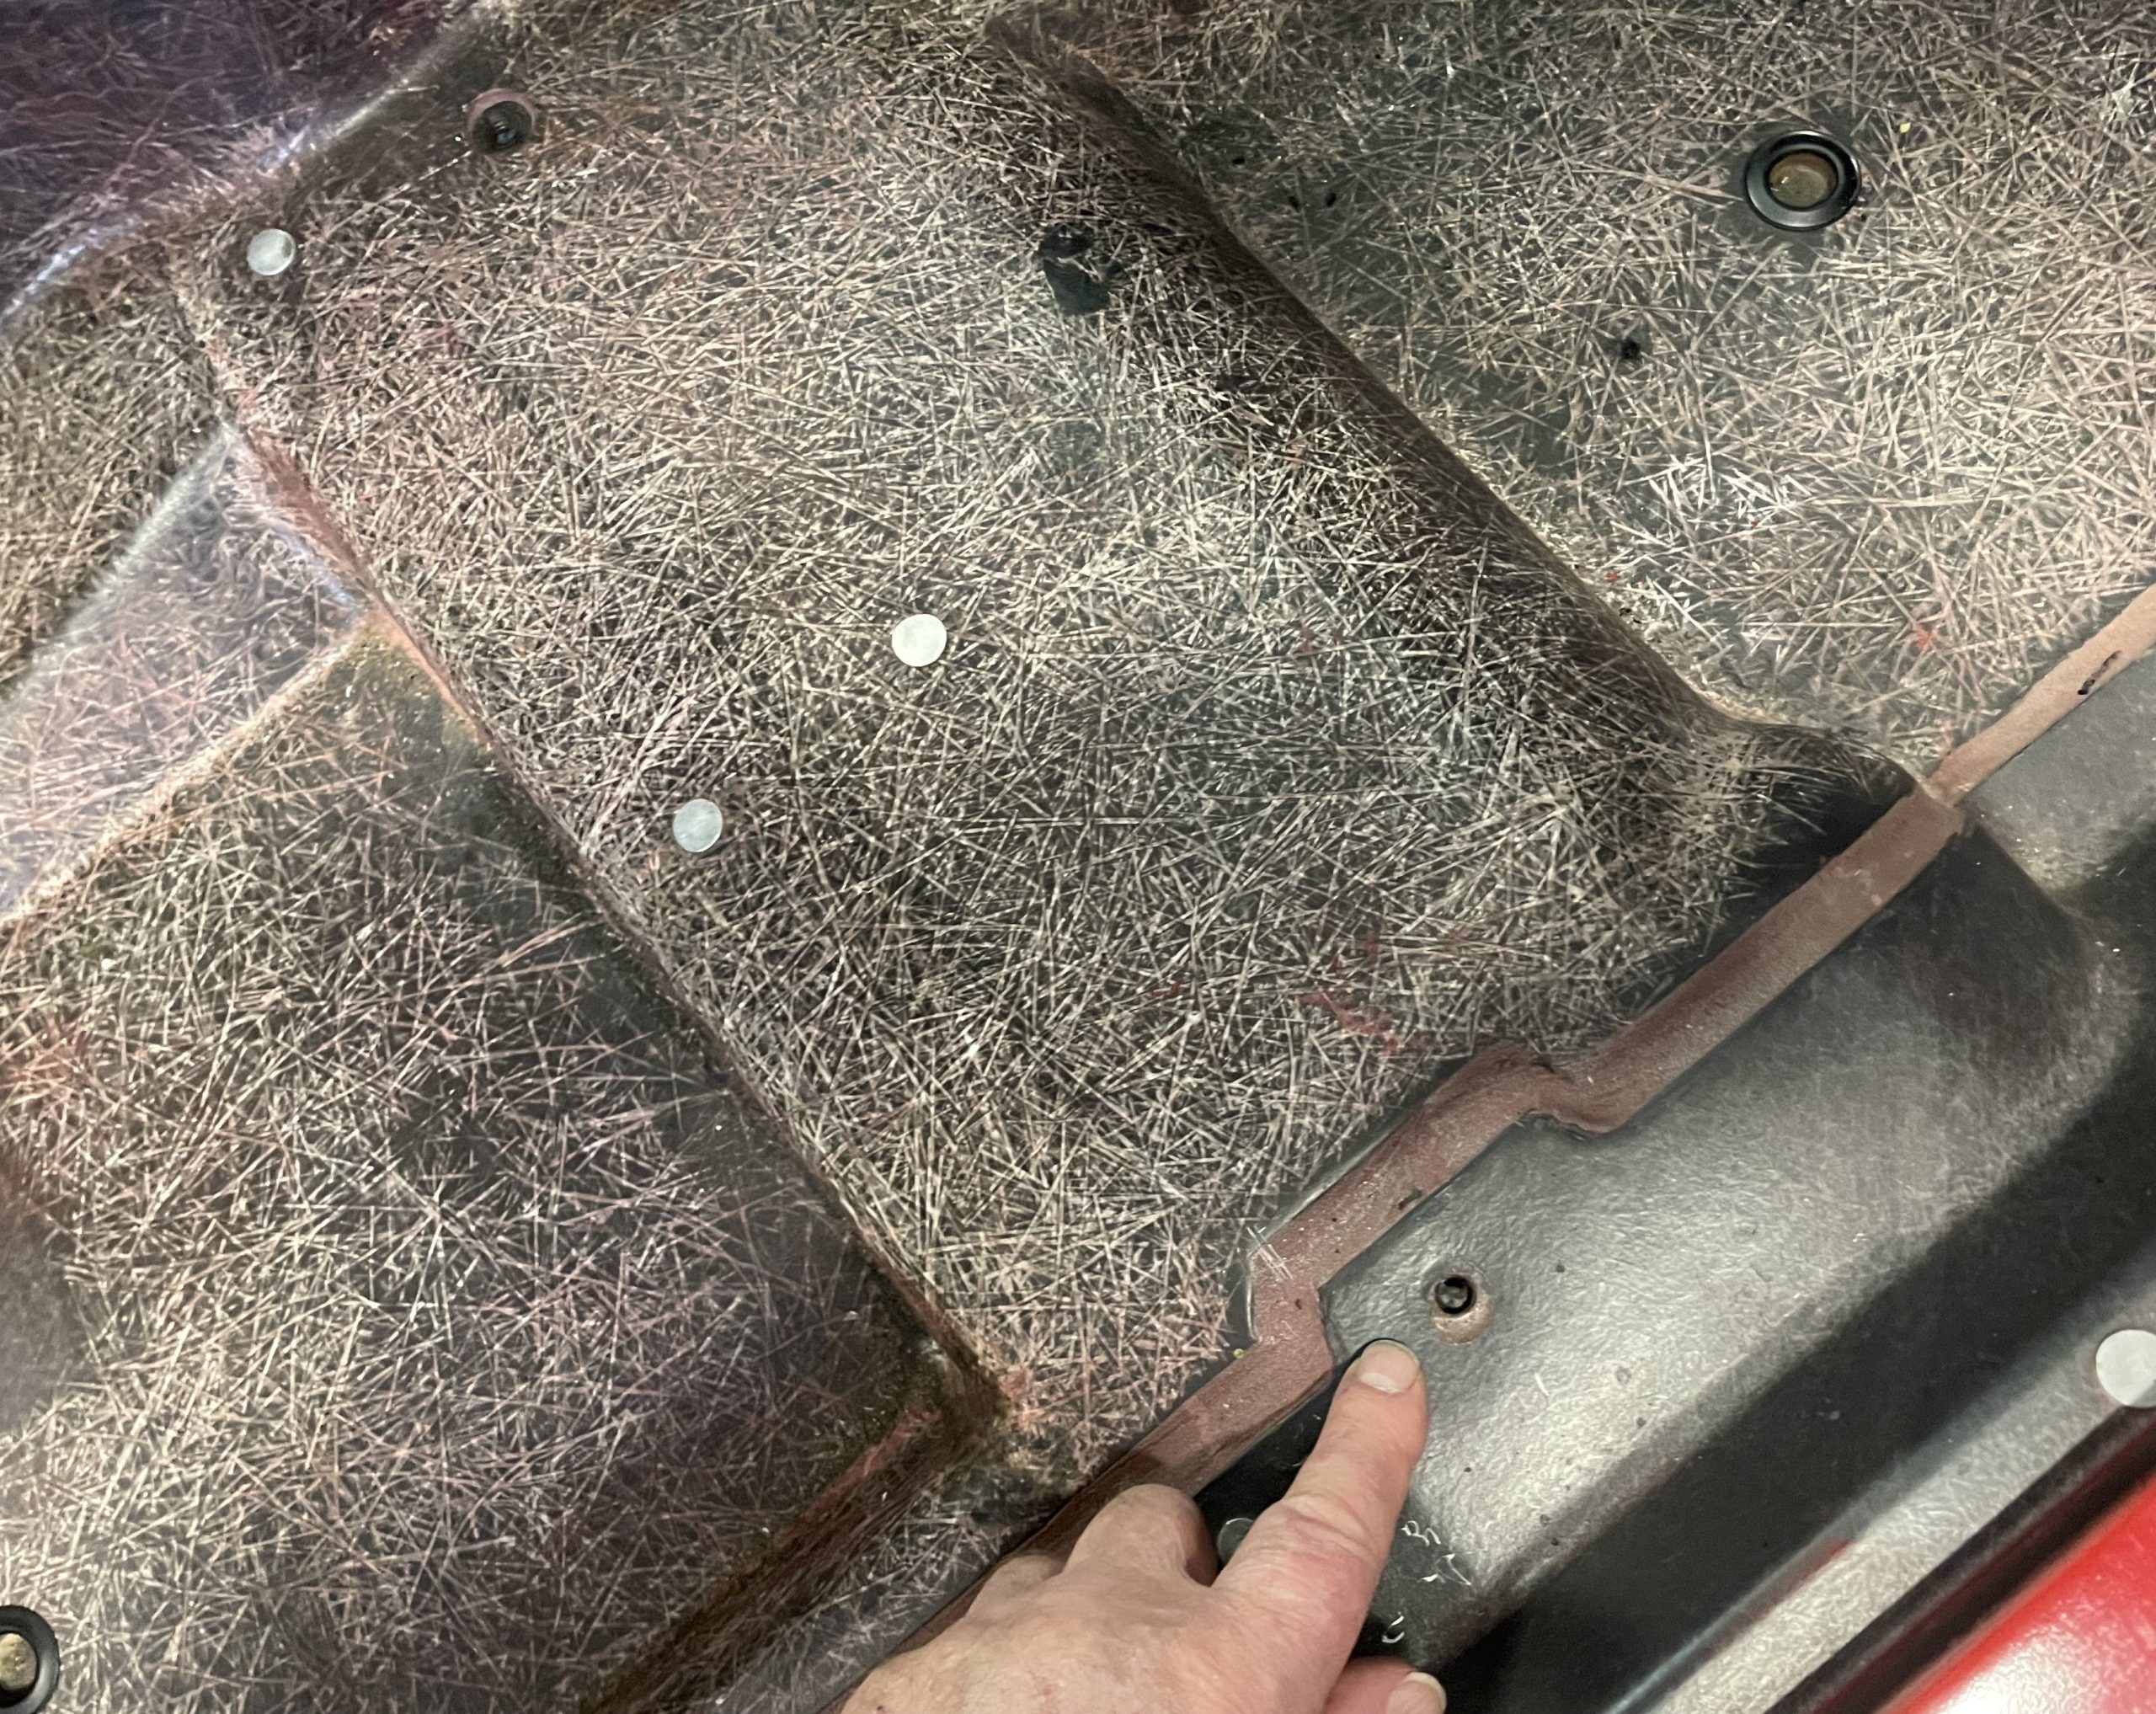
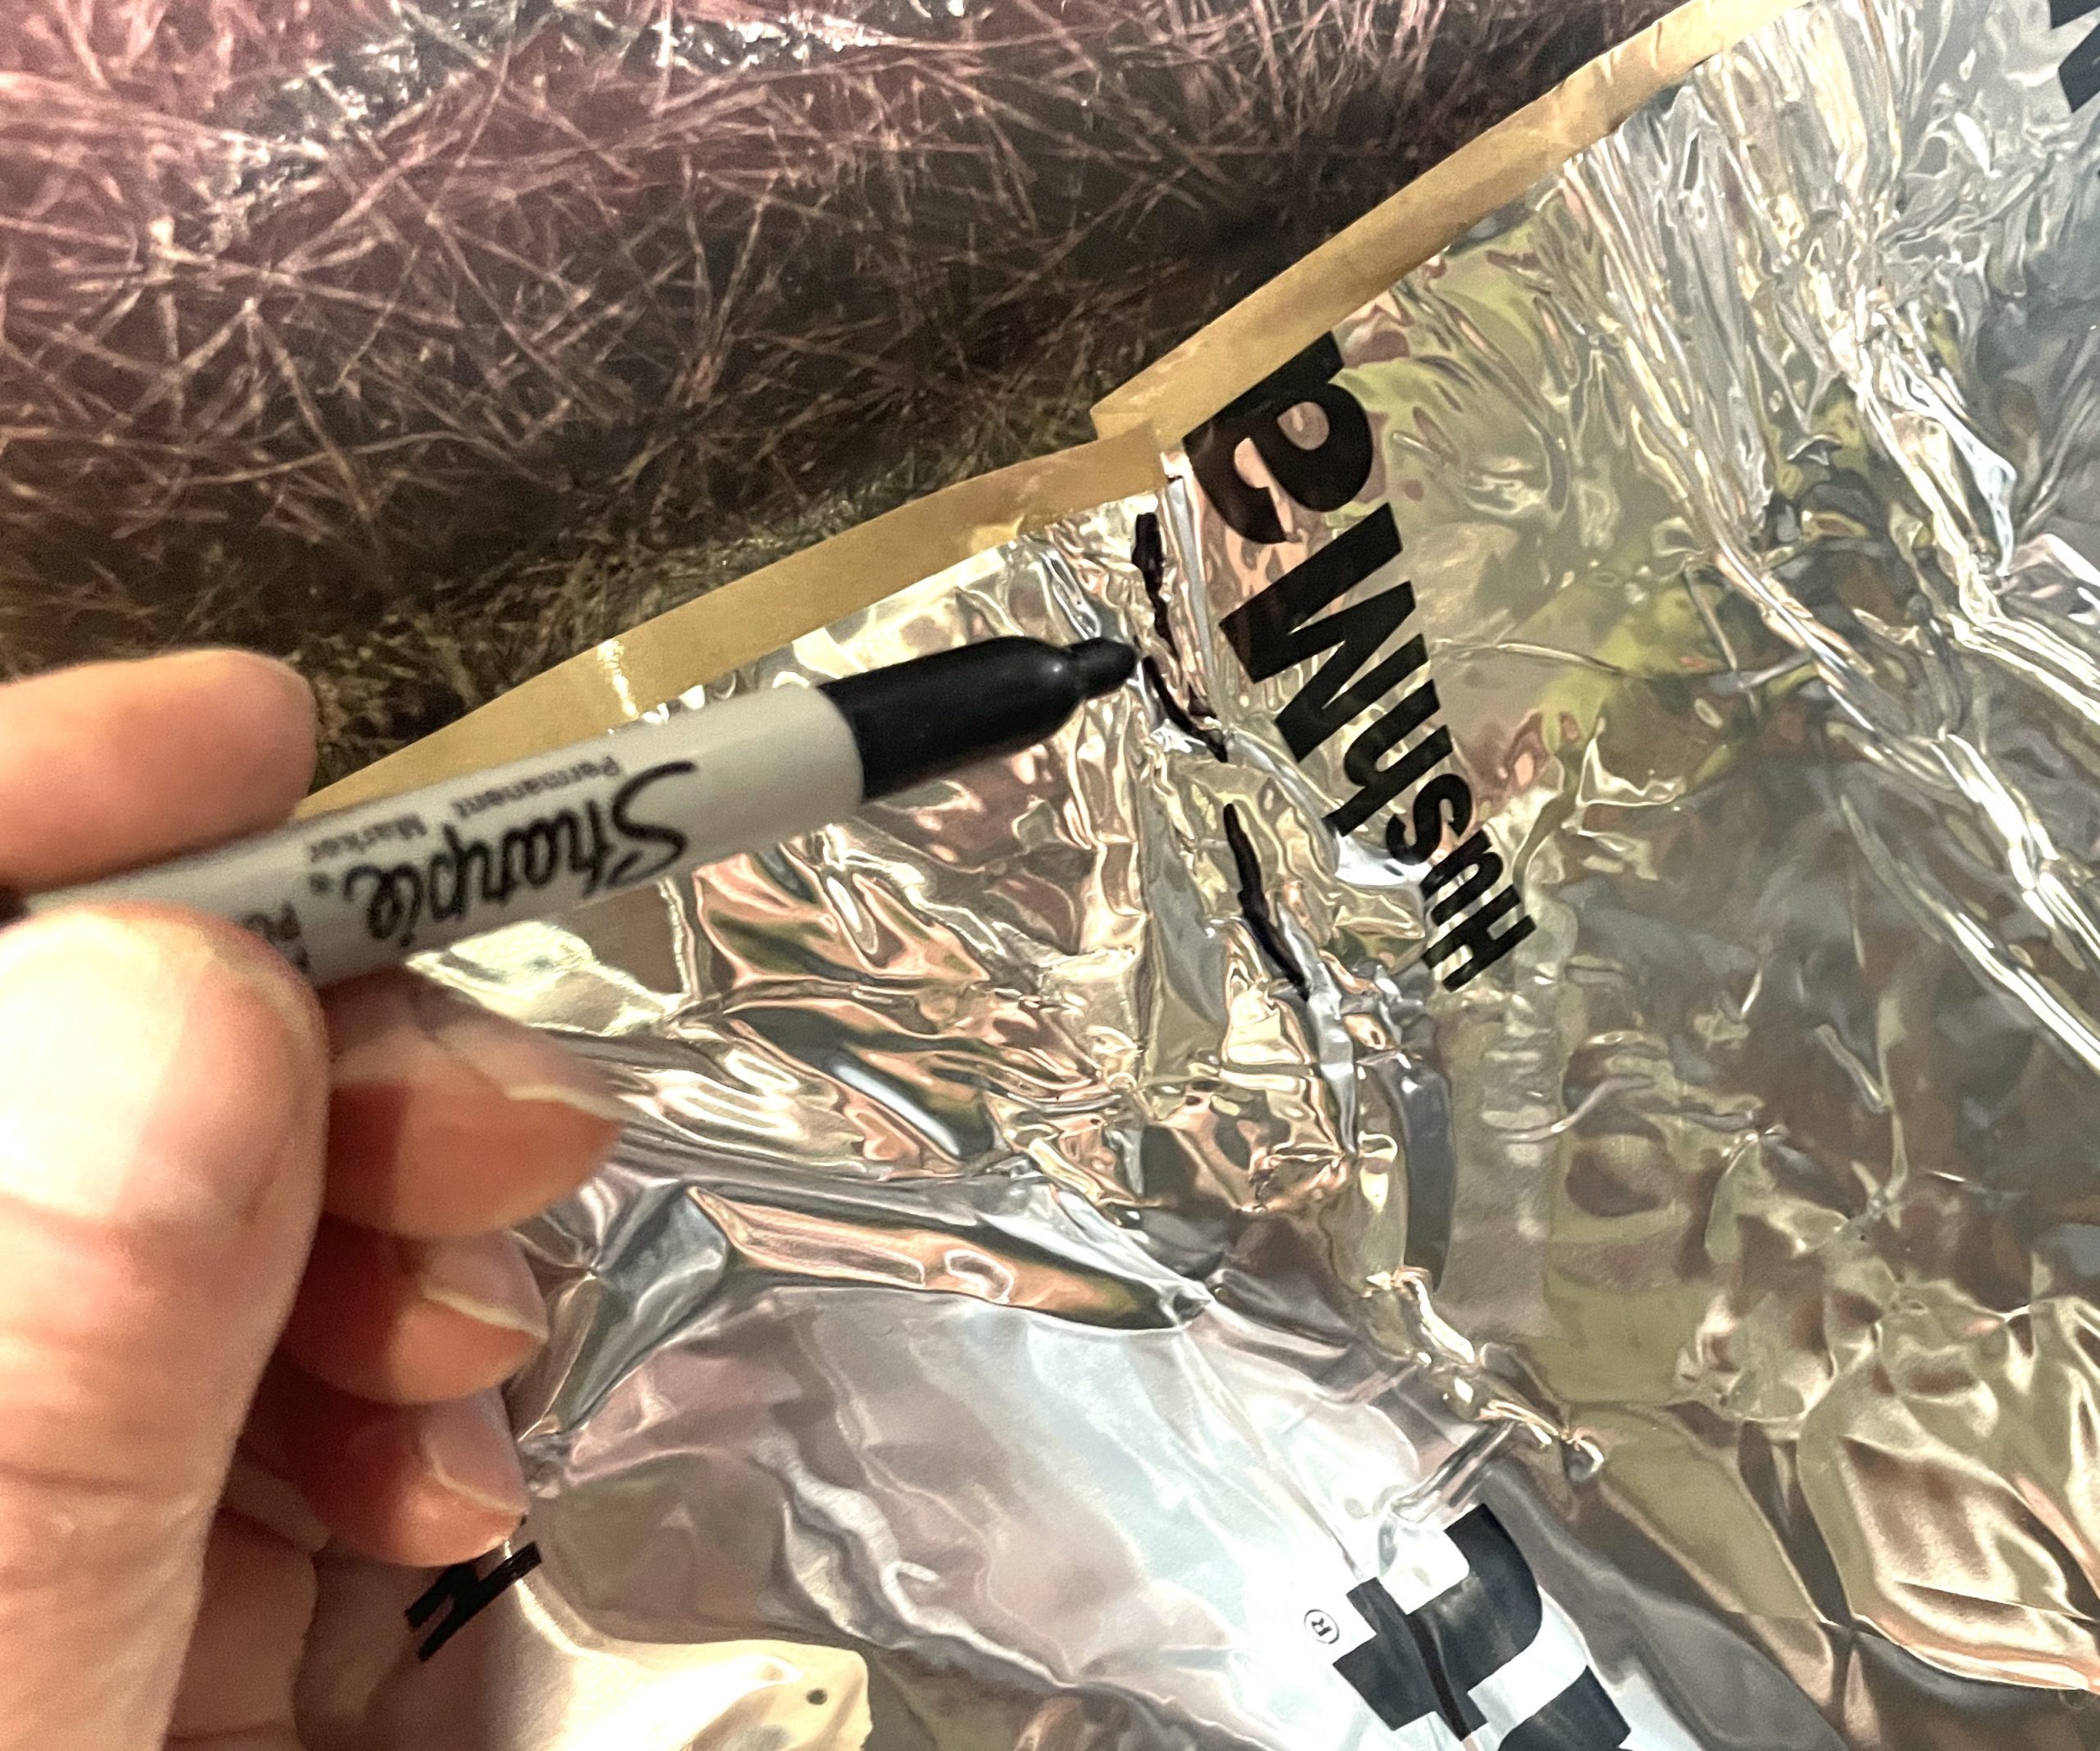
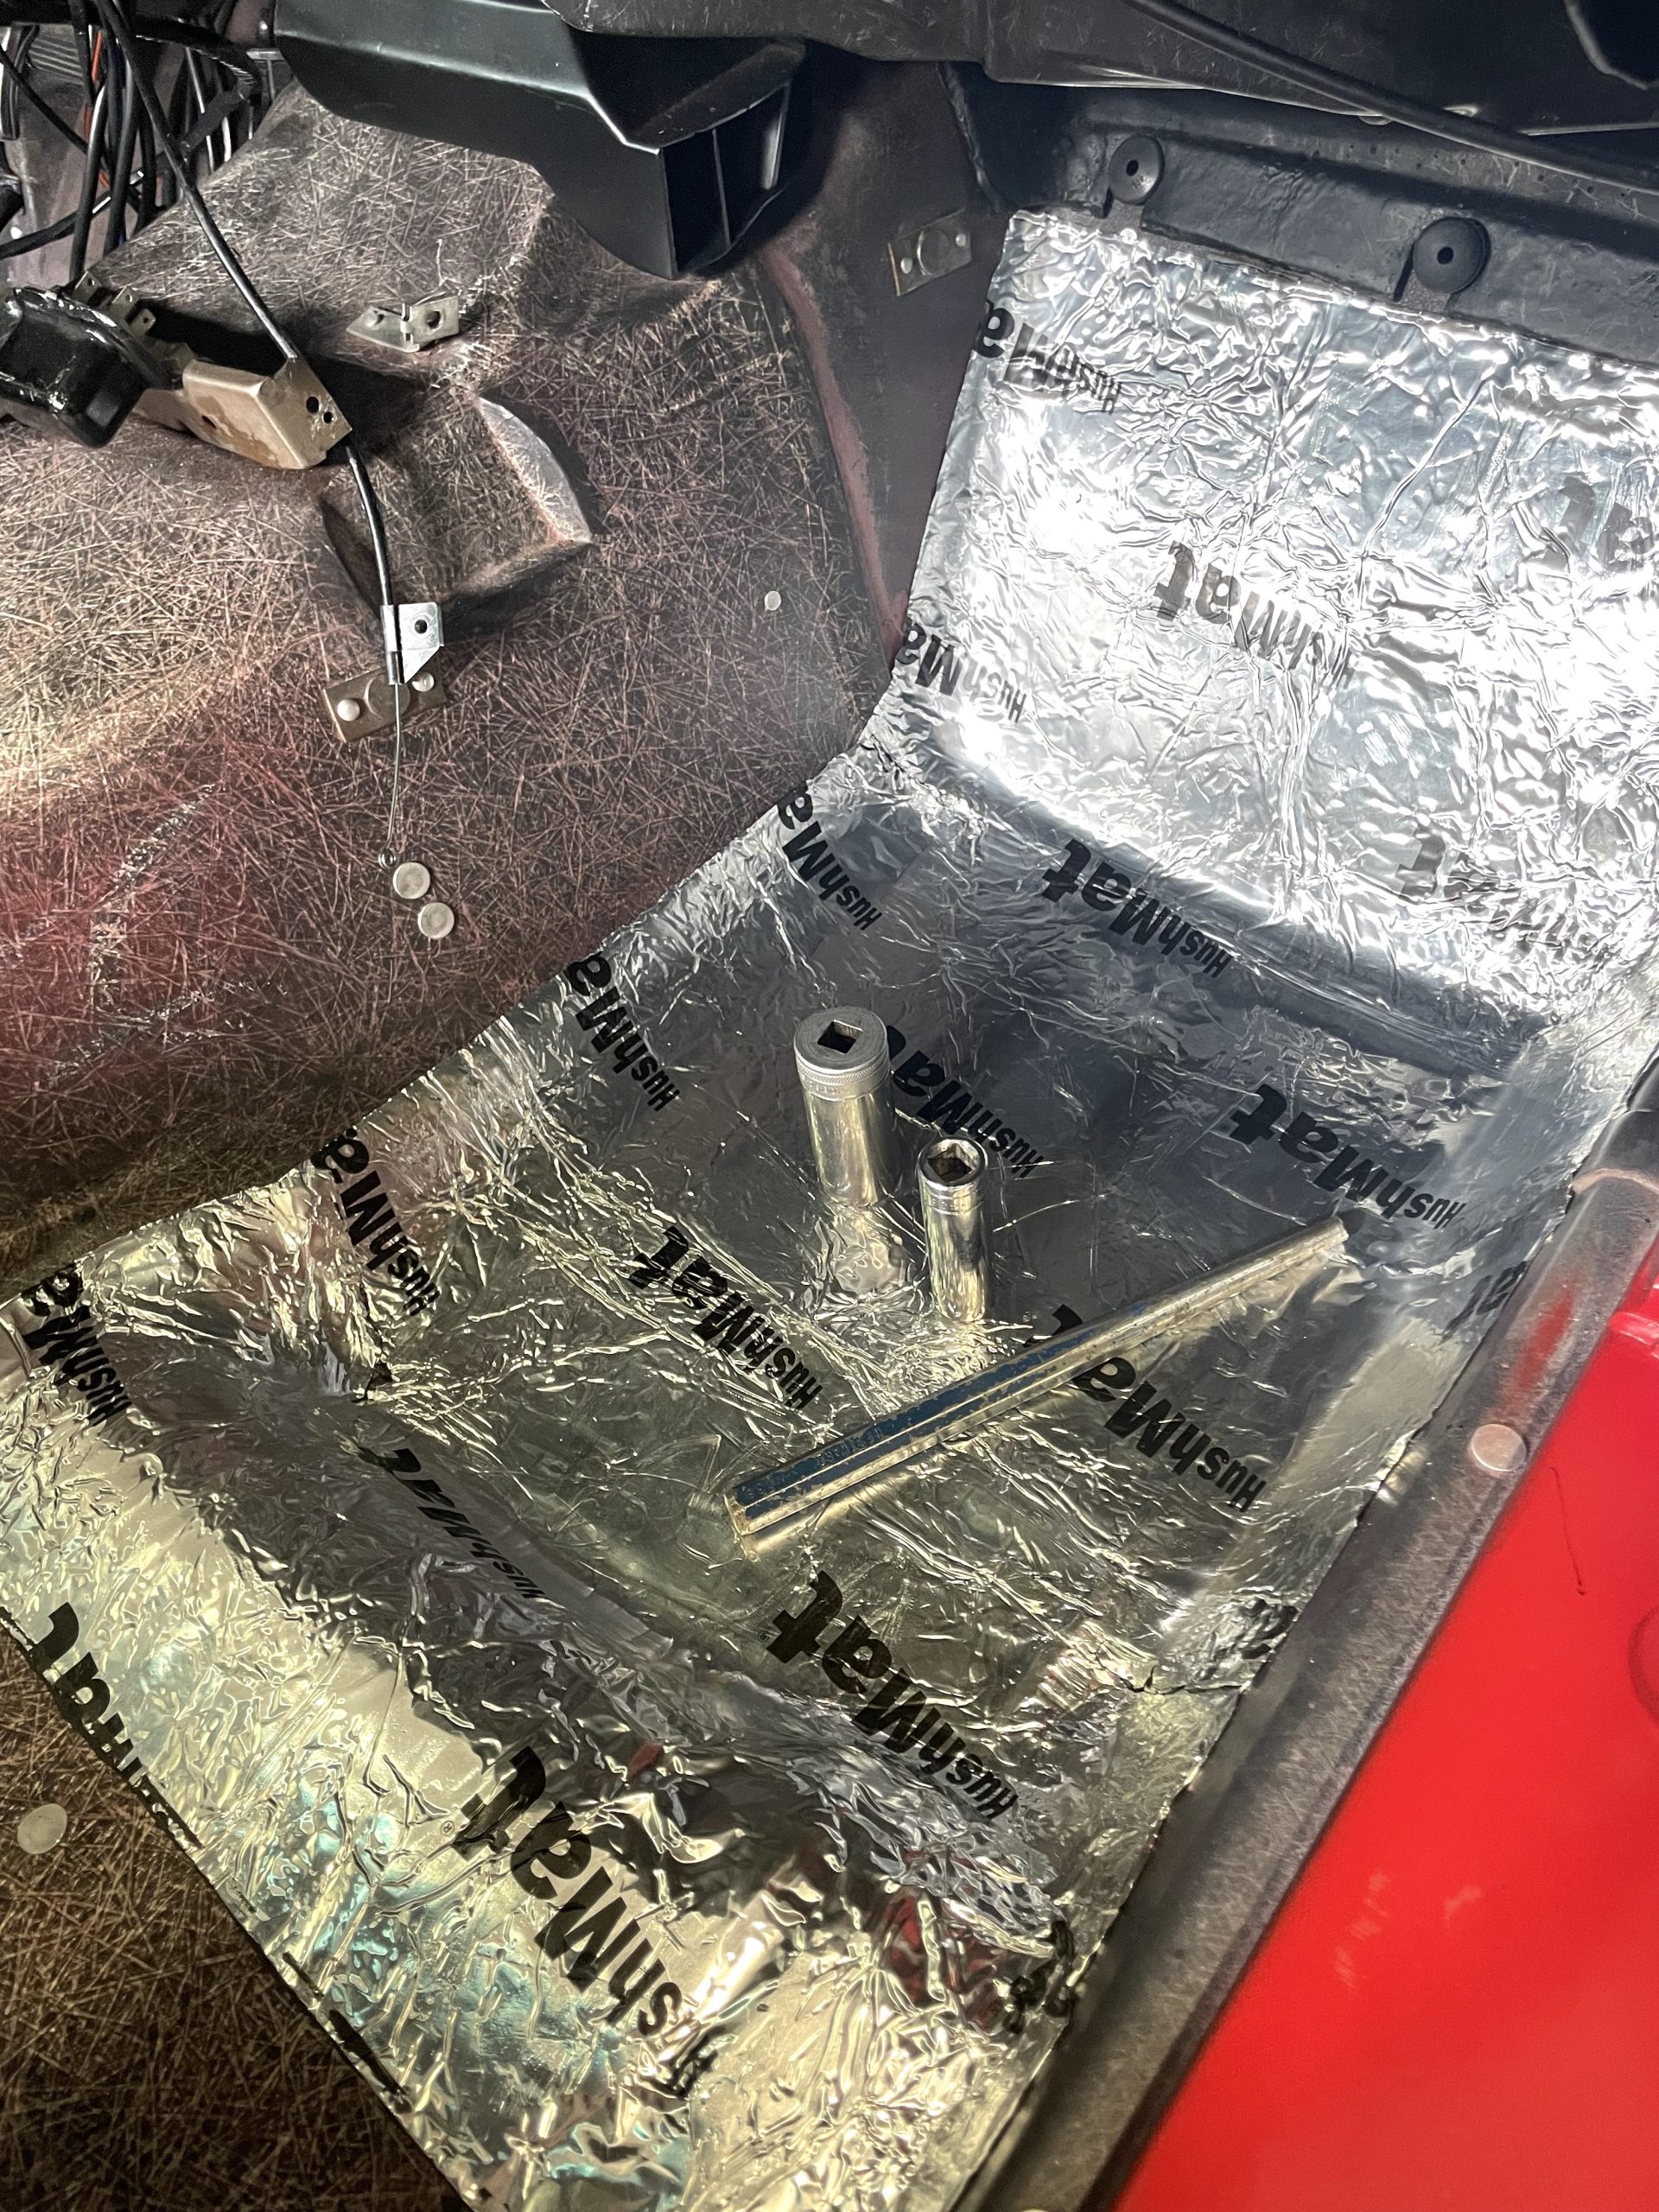
Installation begins by cleaning the floor. Remove any insulation material, excess glue, loose hardware, and so on. Note any drilled holes in the floor pan for seats, seat belts, center console, etc. Taking photos of the bare floor will help you locate them when you reinstall these components. The HushMat instructions tell you to make impressions of the mounting holes in the material’s foil layer. You can cut around the holes when installing the mat or mark the holes by punching through the material with an awl or other sharp tool.
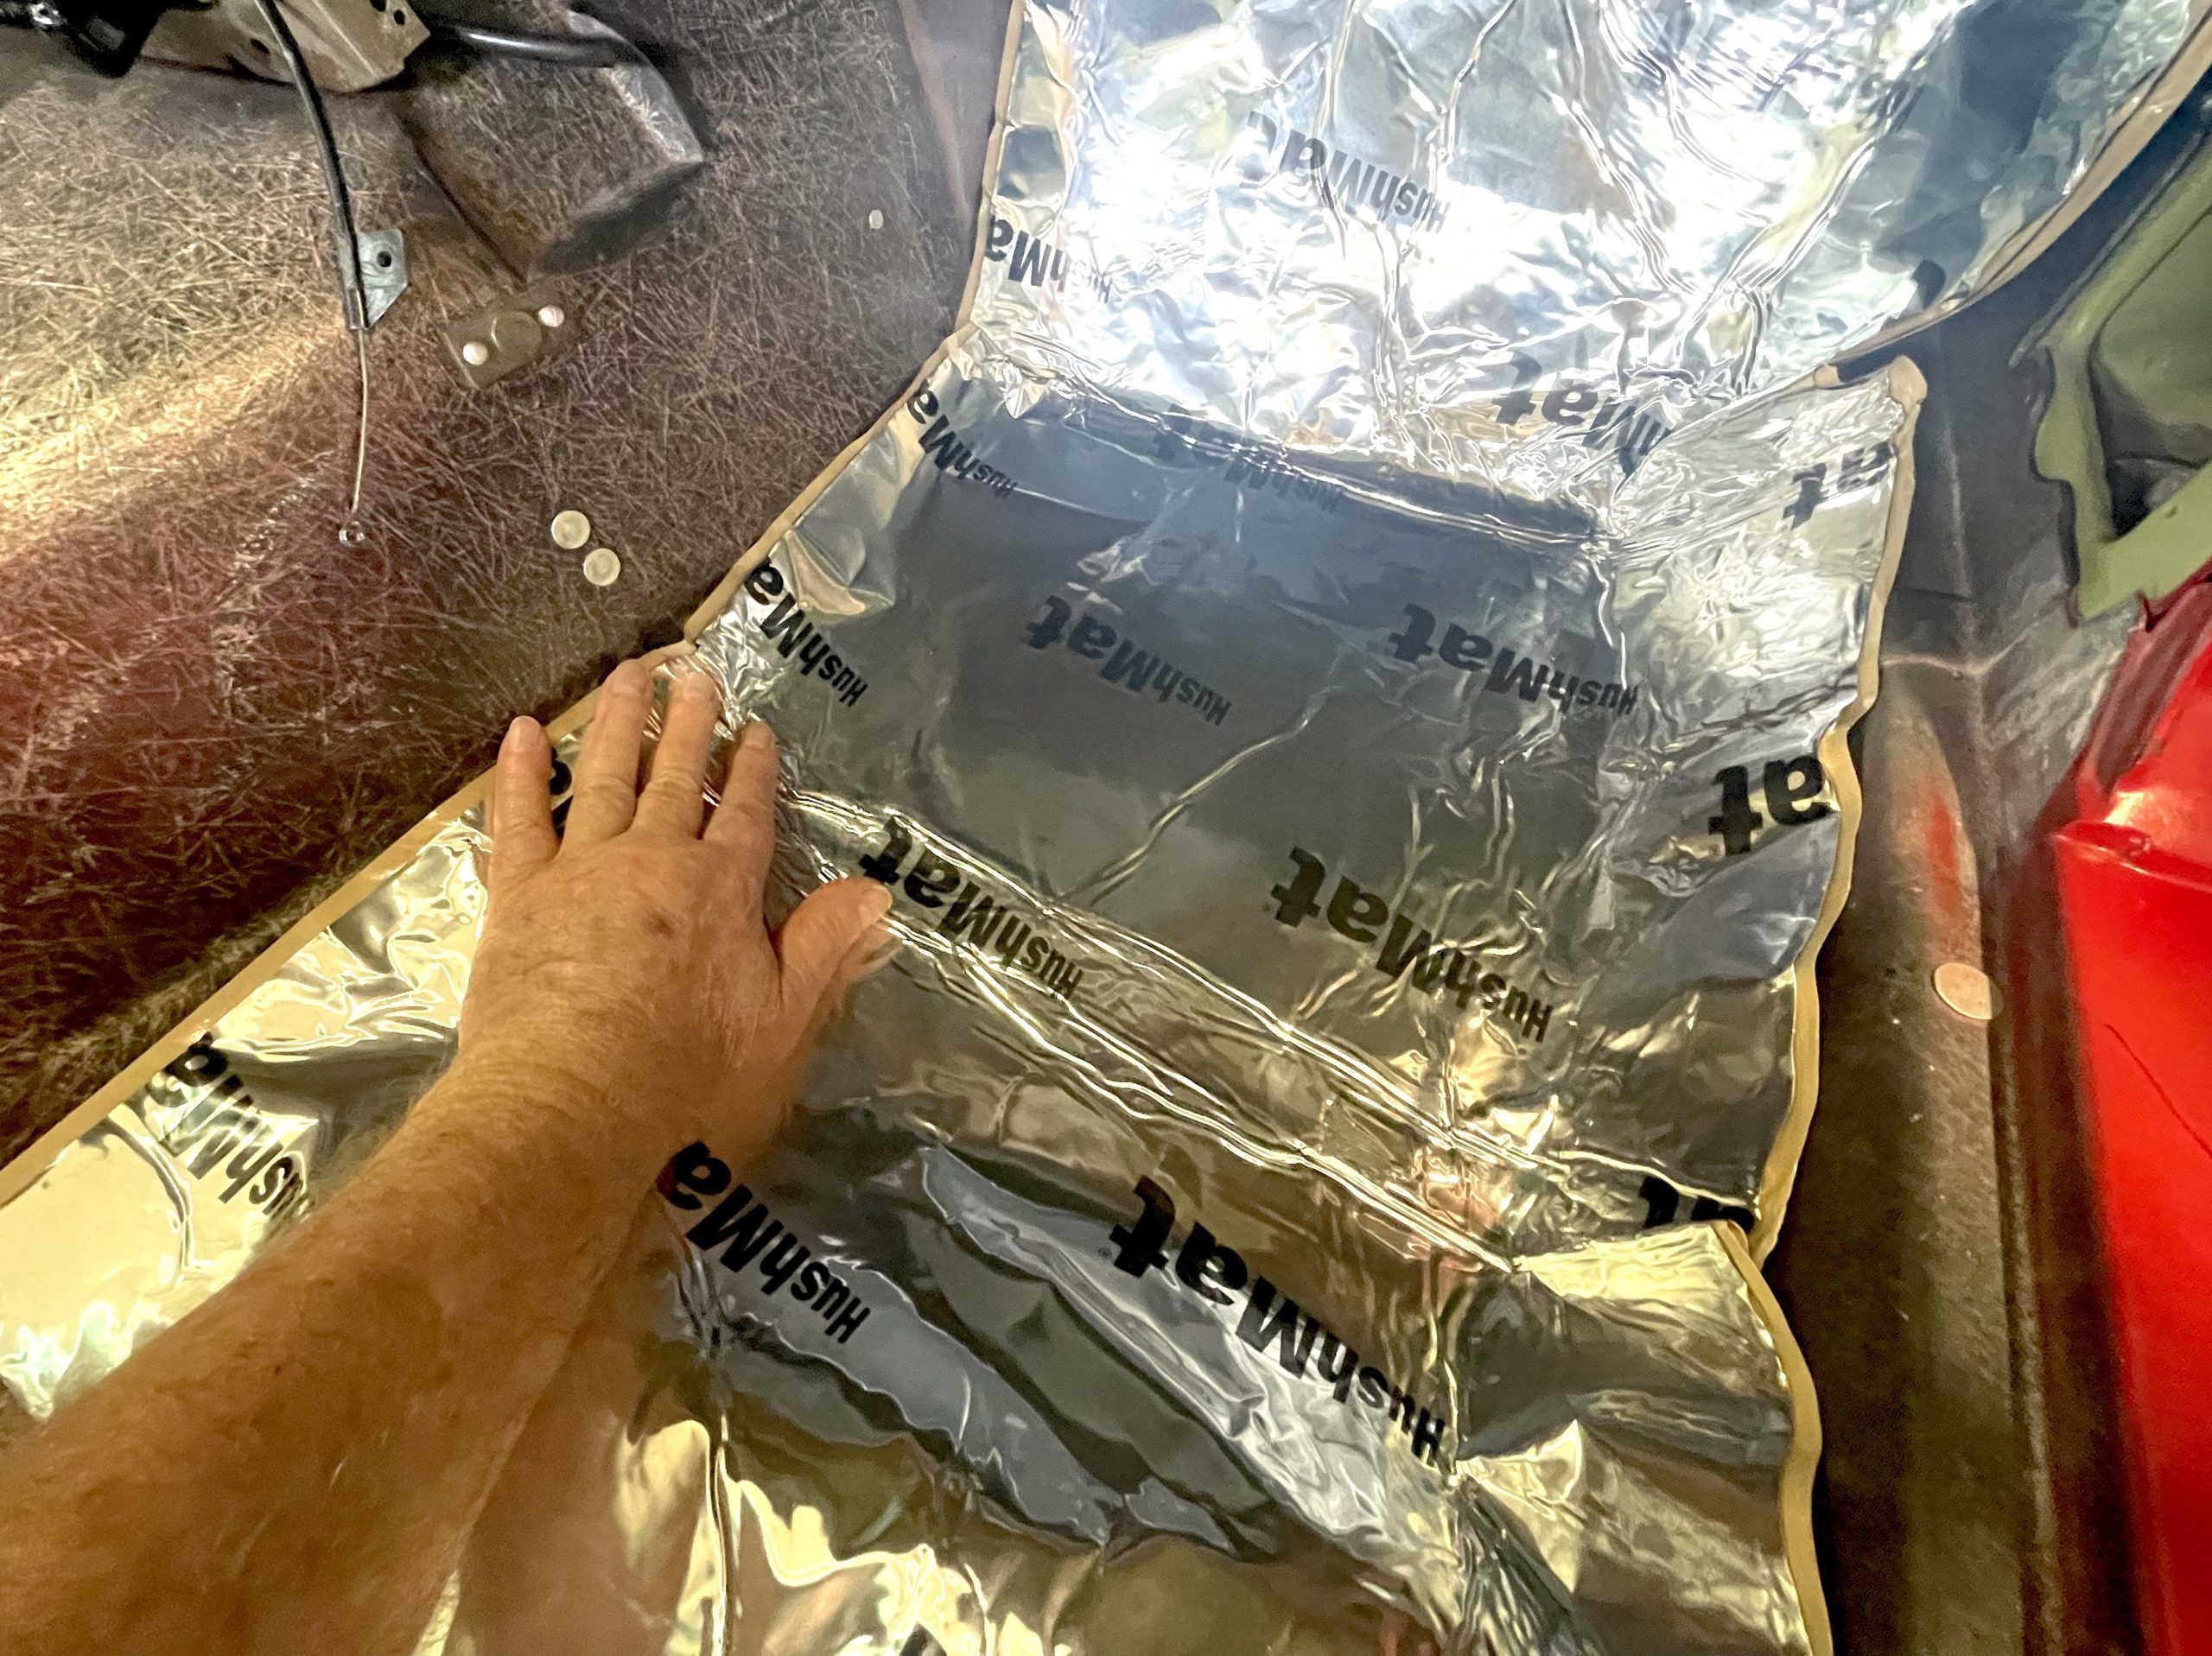
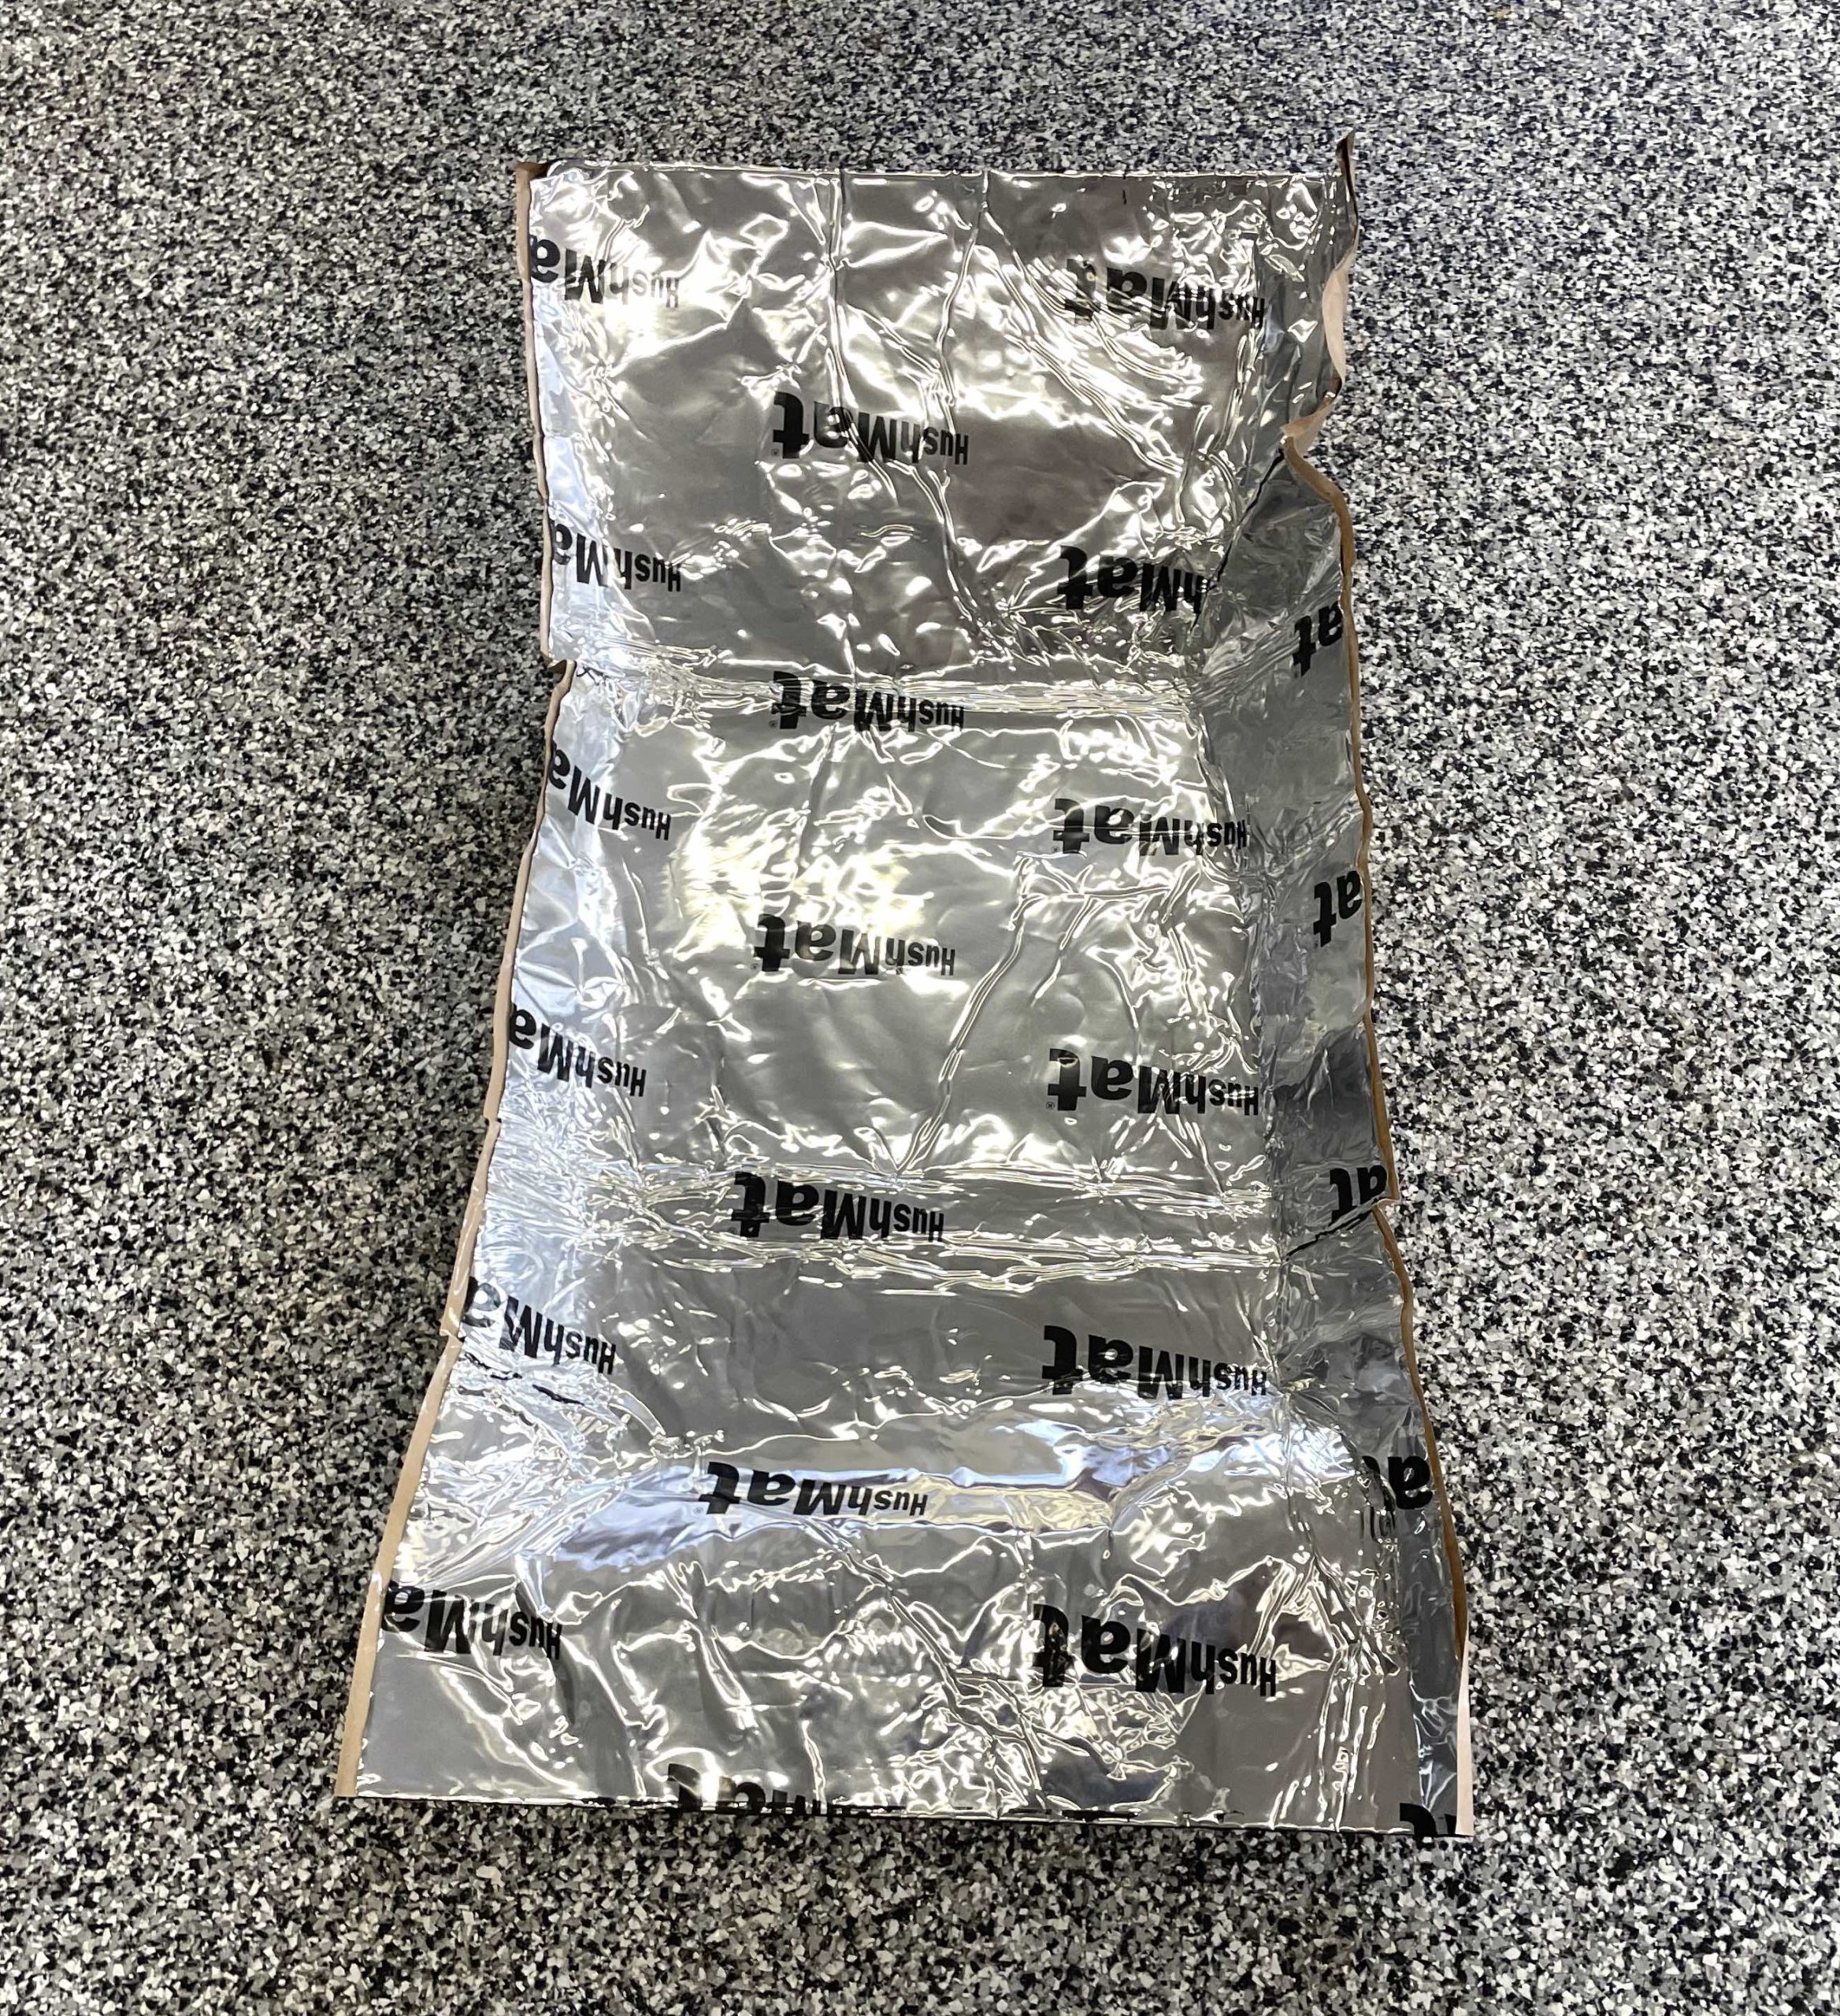
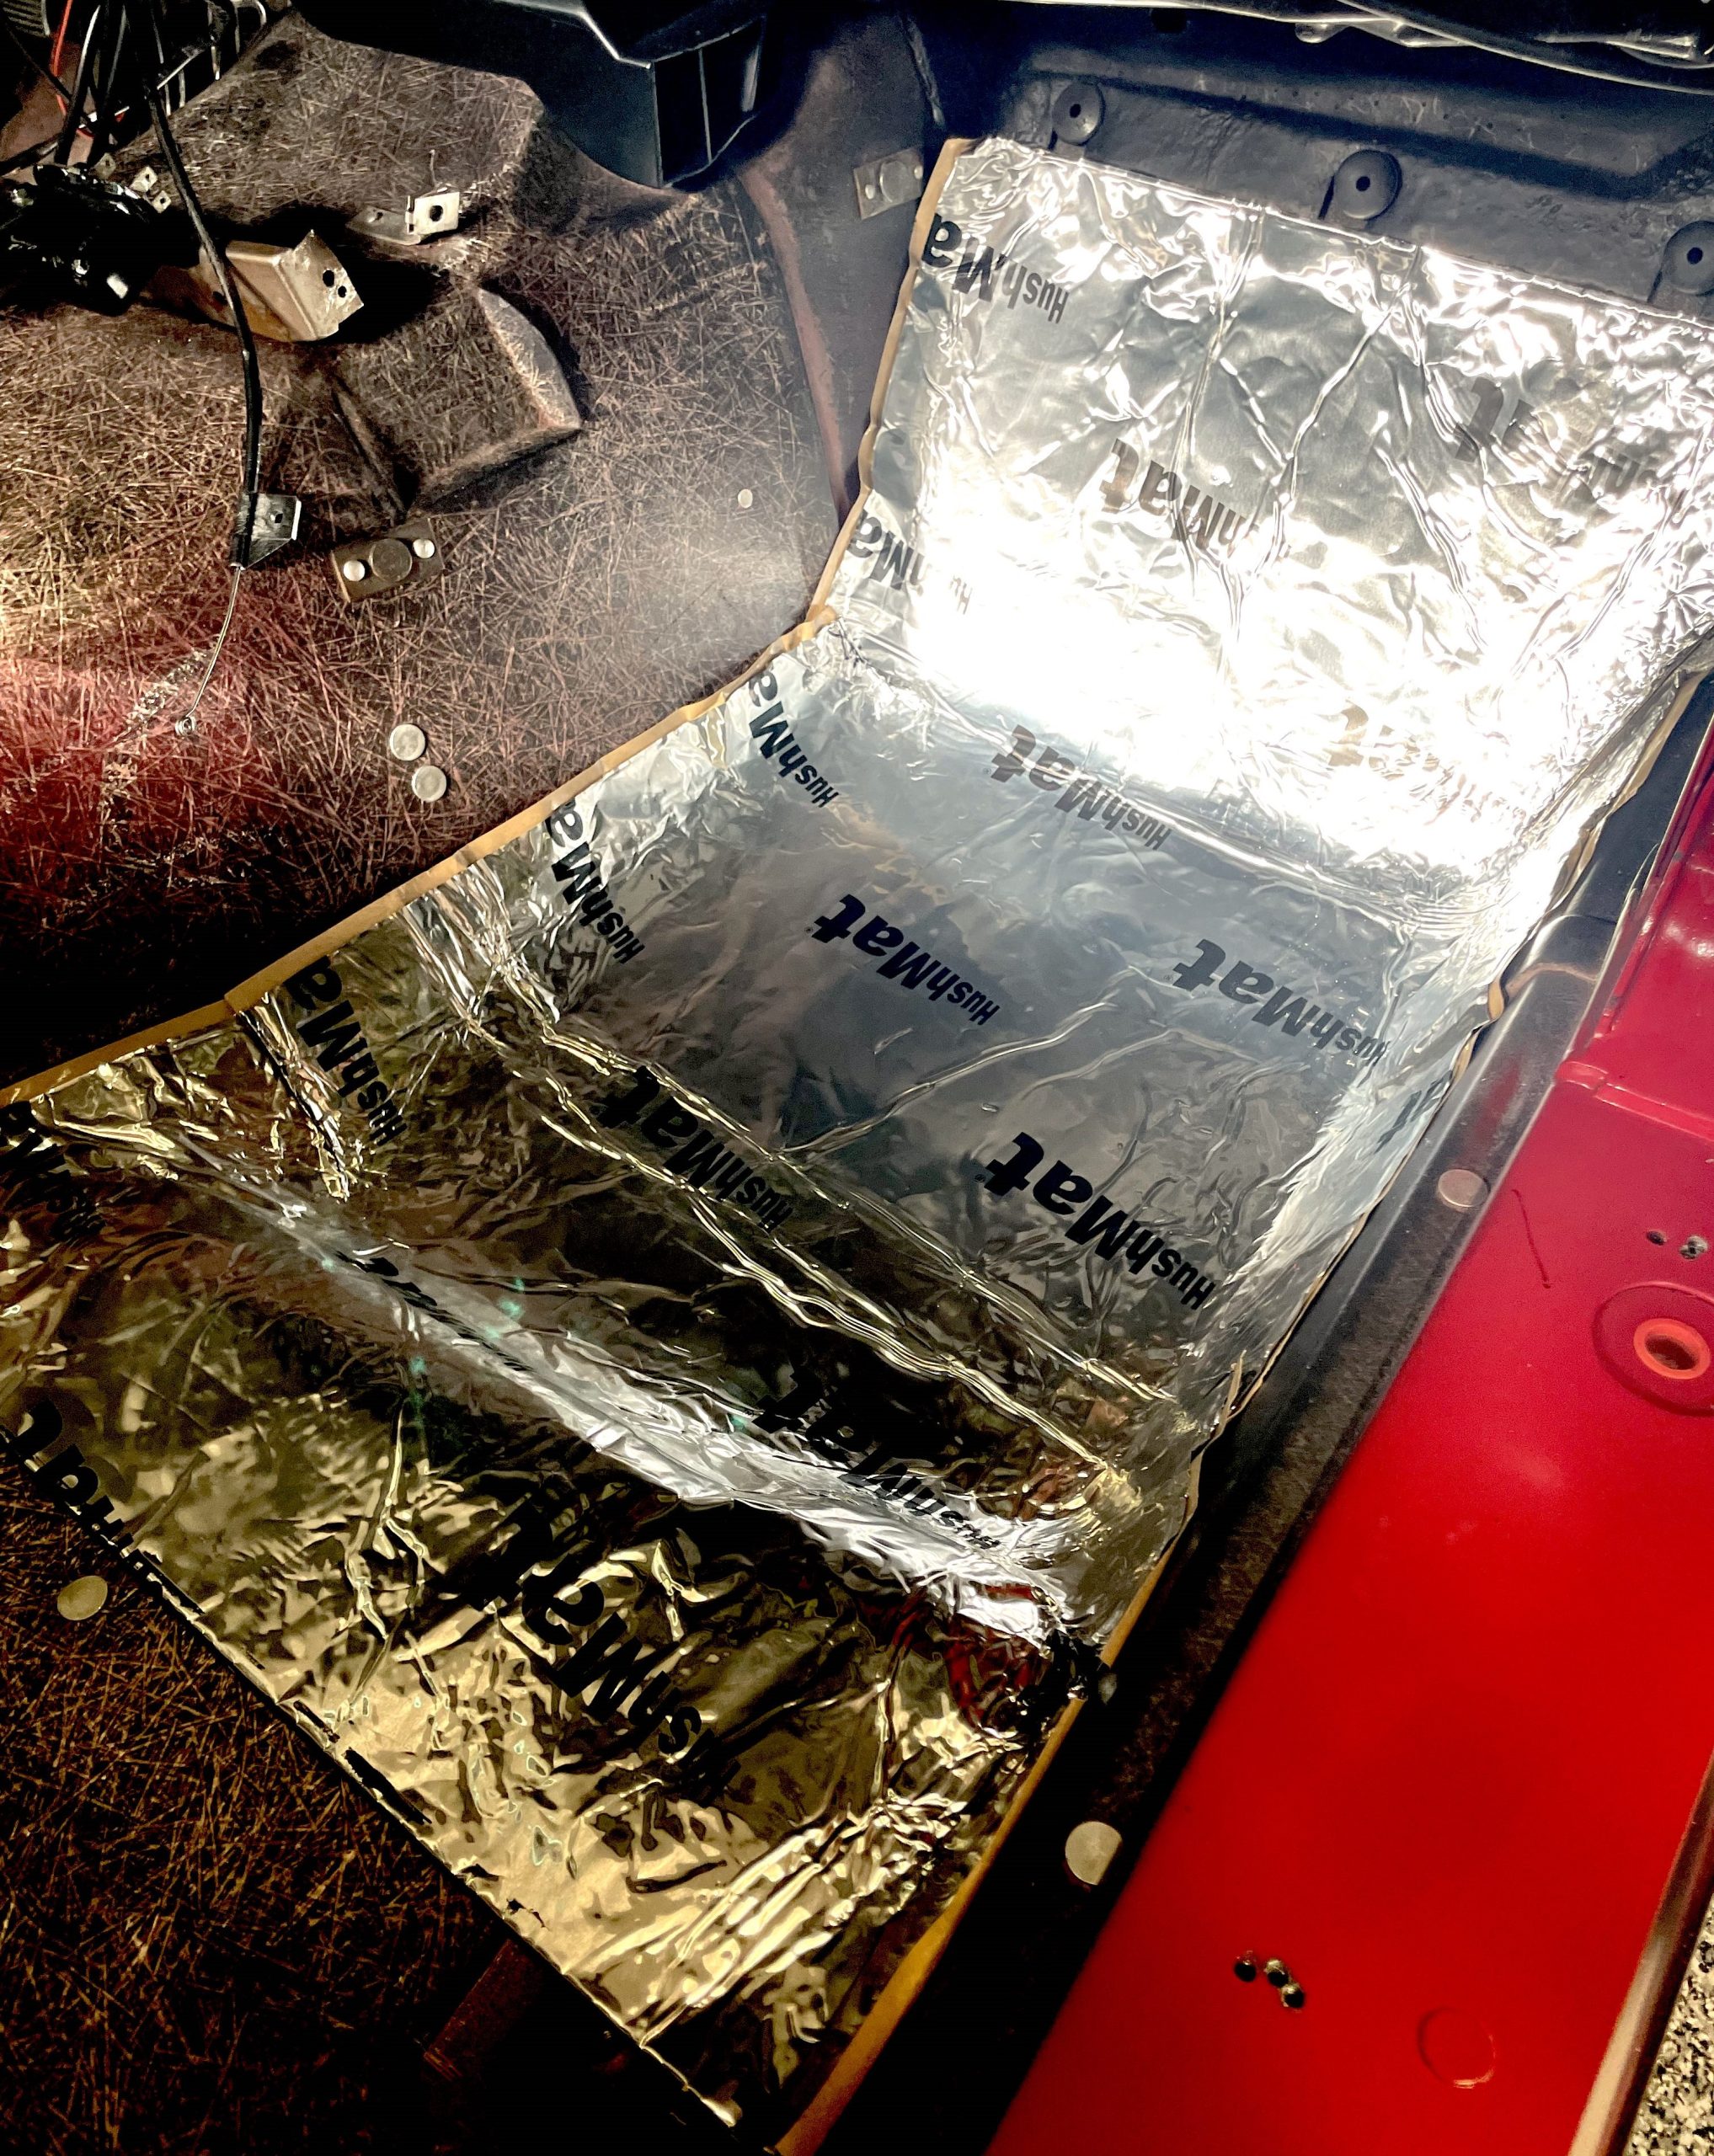
At this point you should be ready to lay down the HushMat. Always test-fit the mat by pressing it down tightly without removing the backing. I use a black Sharpie to mark the cut locations in some spots. In other areas I cut the material to fit. When you come to an angle (for example, the toe board on the floor pan), you’ll have to make multiple cuts to accommodate the angle changes. If you’re concerned about thickness where it overlaps, the mat is thin enough that it shouldn’t be an issue.
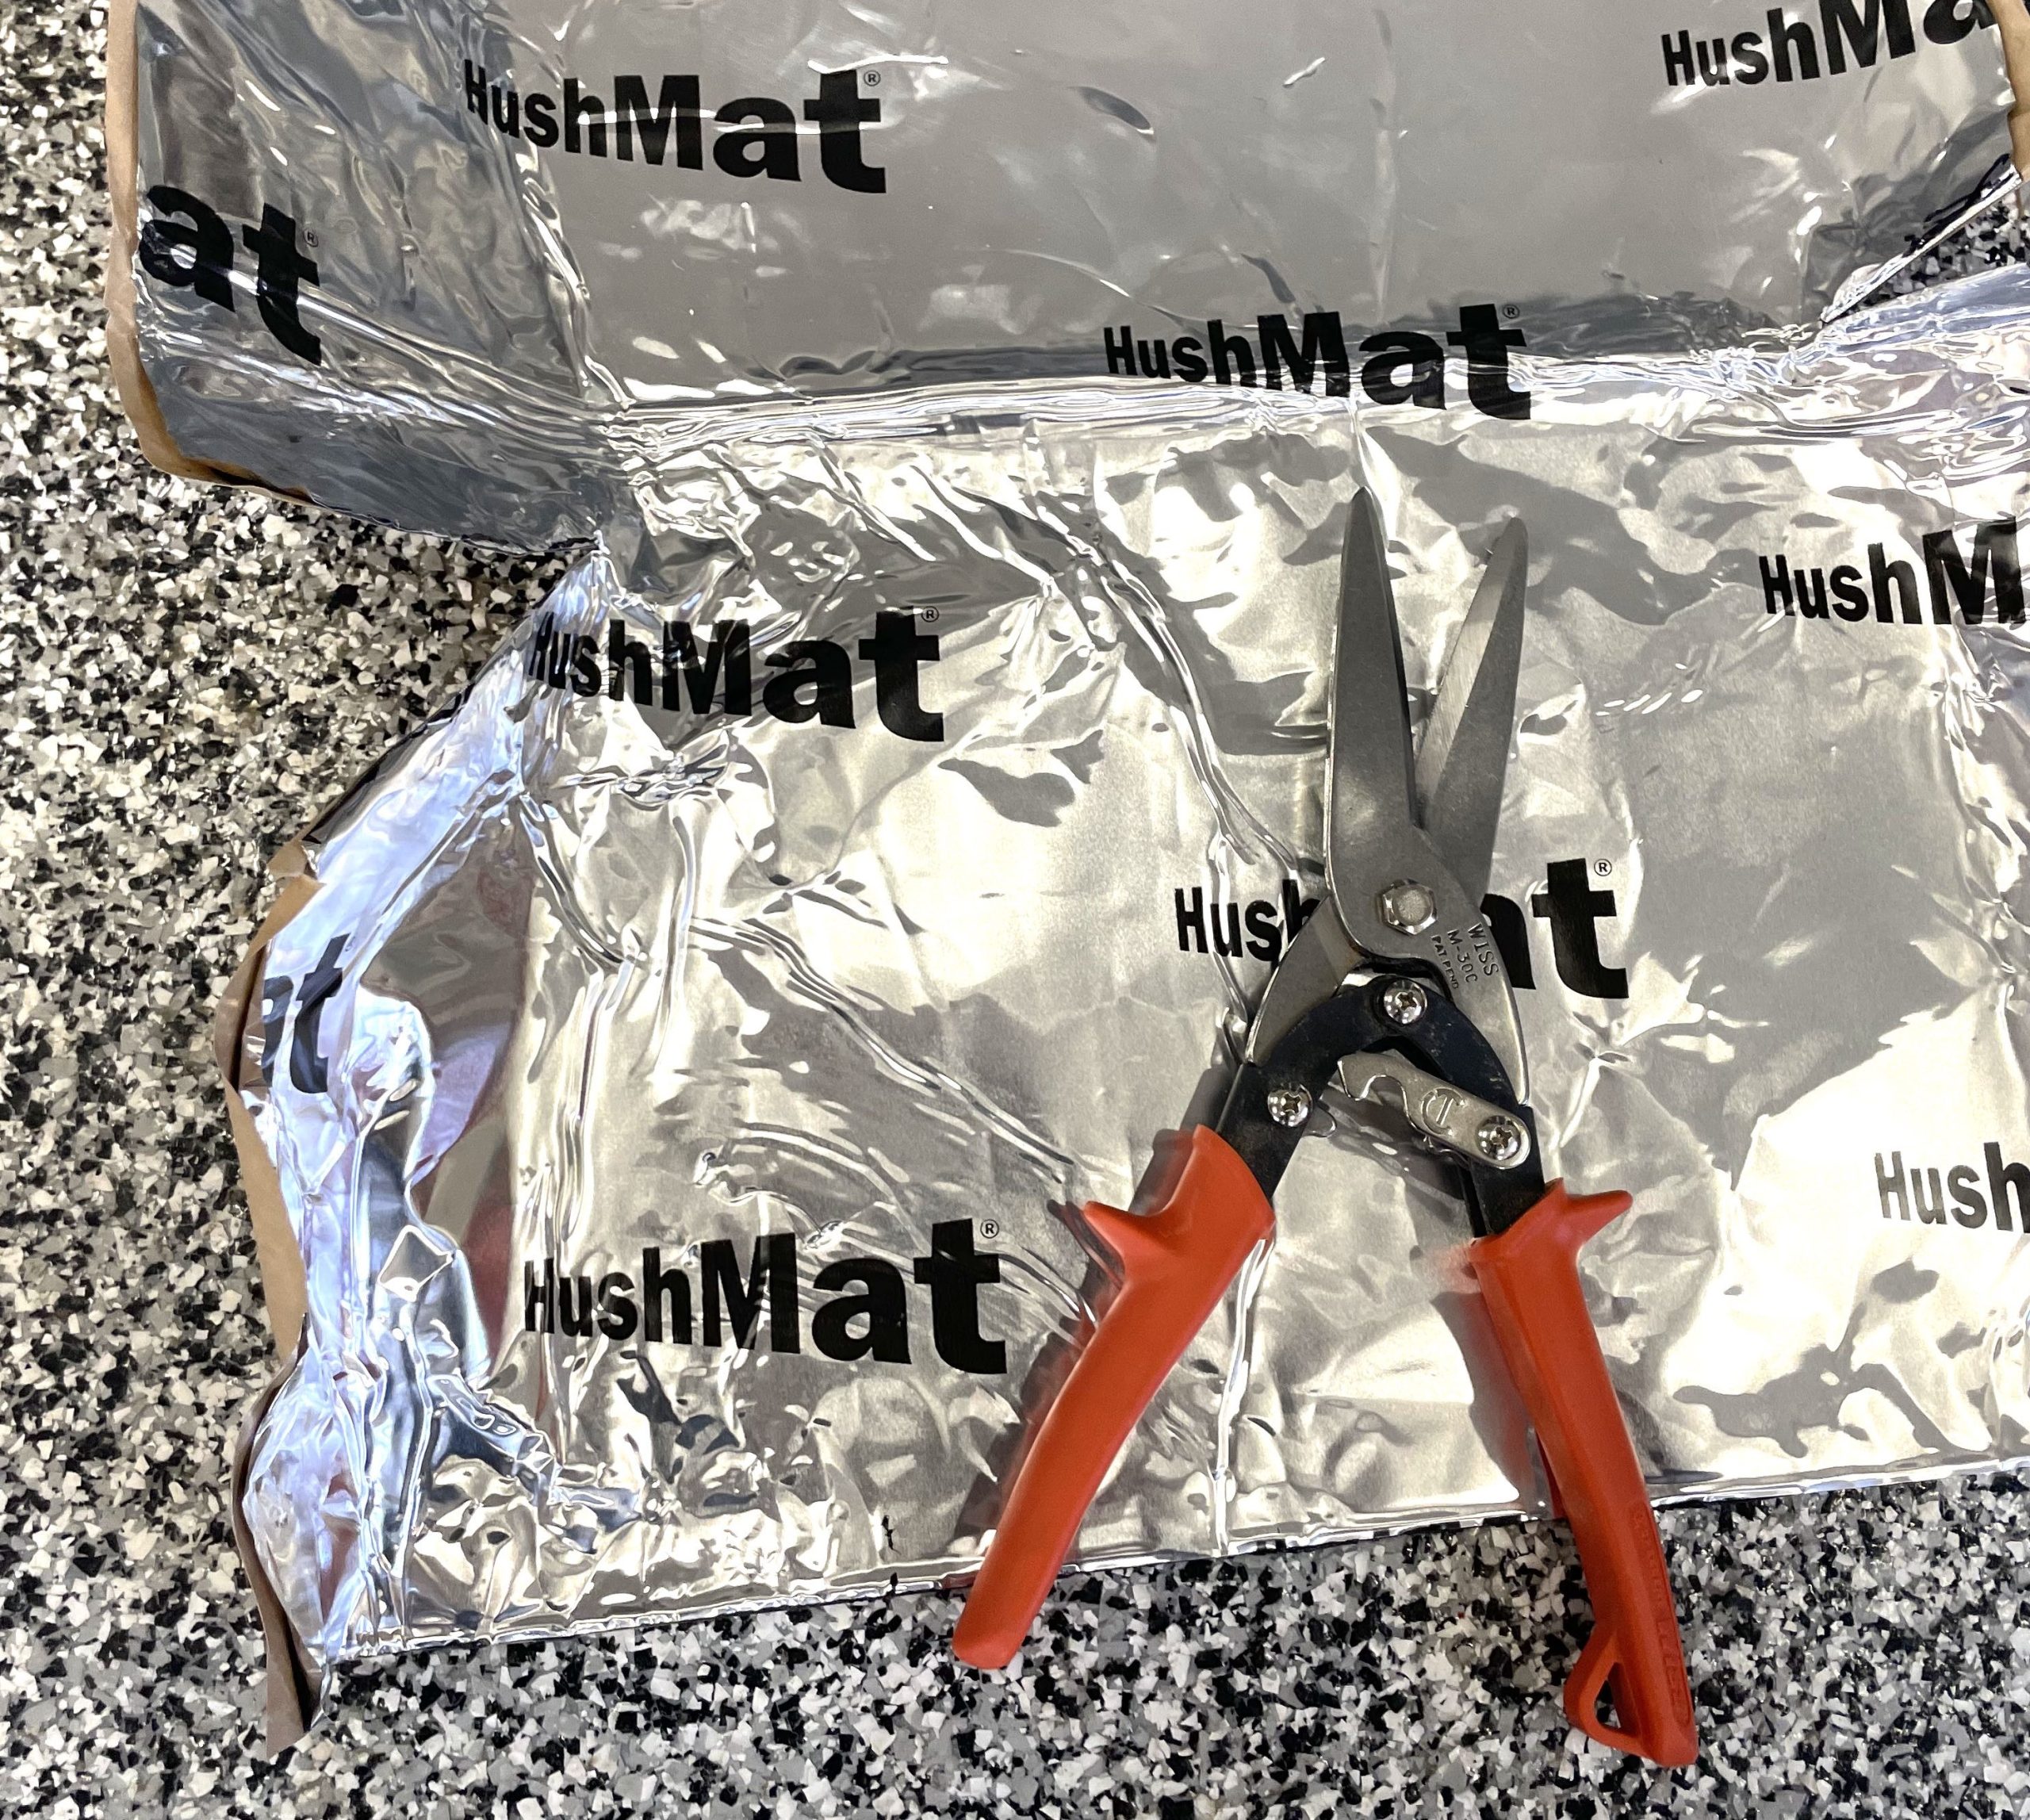
I use a utility knife and a variety of scissors and shears to cut the mat. Bigger shears can cut through large expanses of HushMat quickly and easily. Smaller scissors and the utility knife are better for finer work.
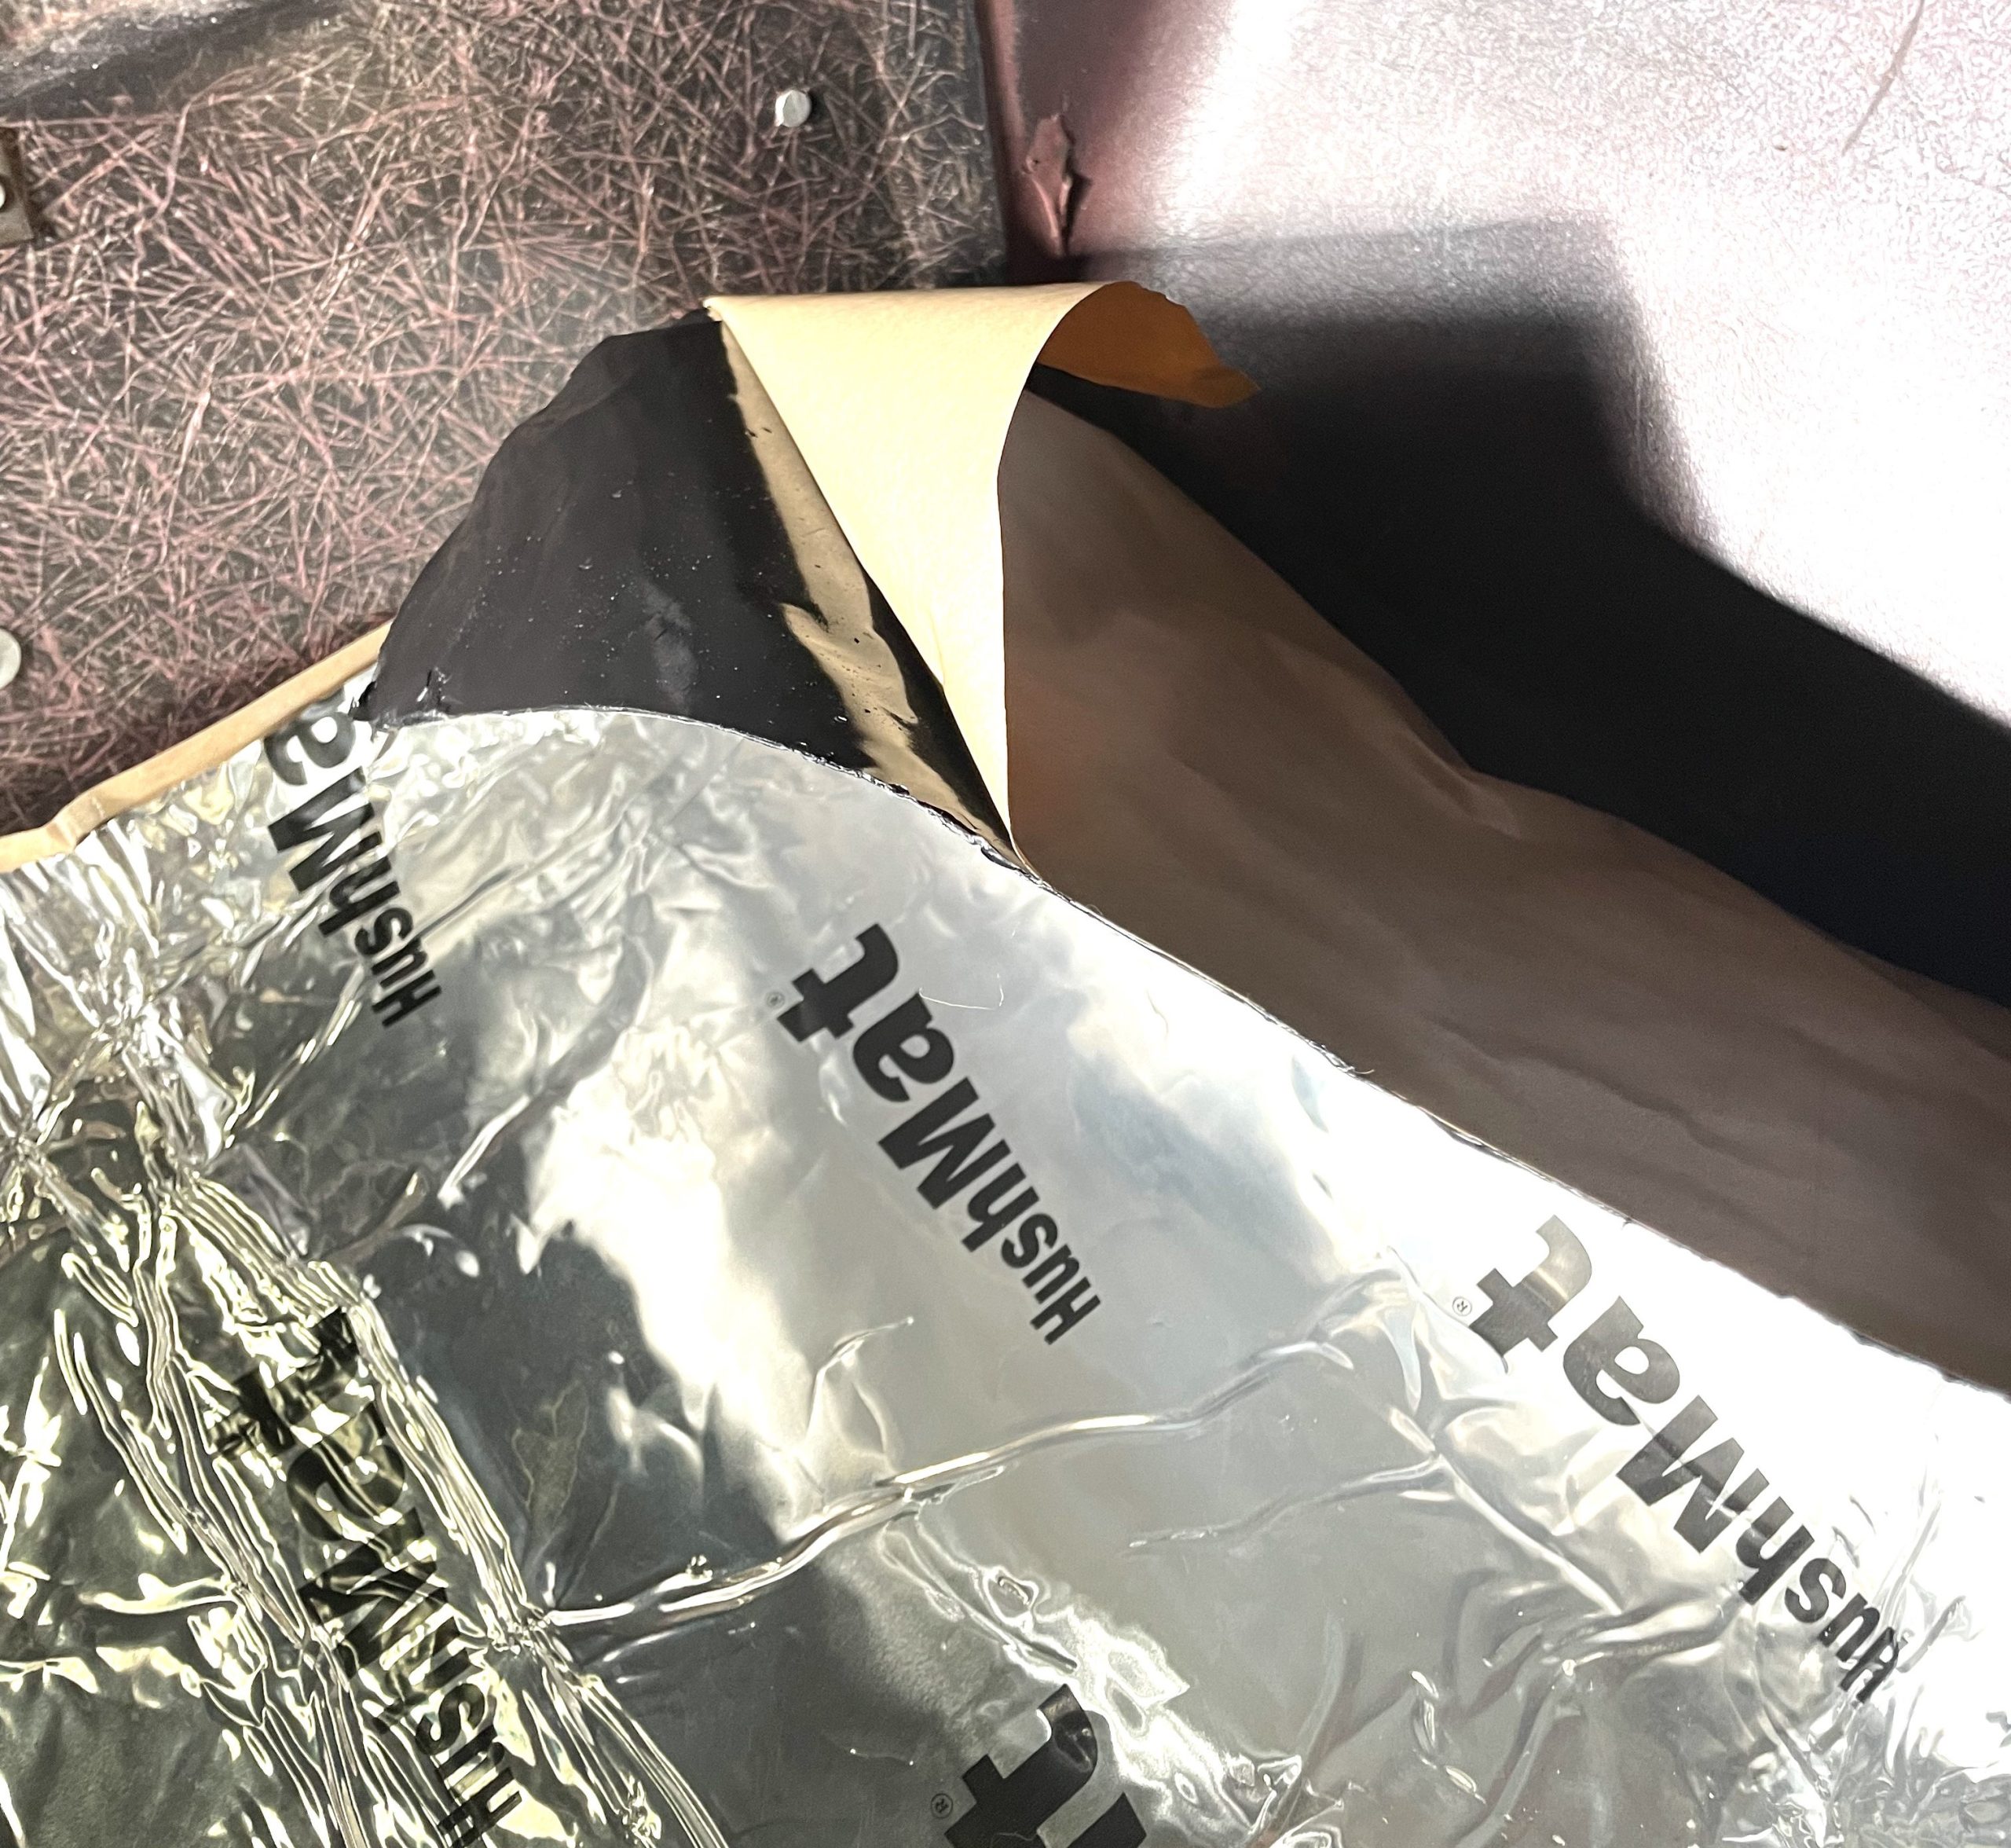
Once the mat is trimmed to size, you can peel off the paper backing and lay it in place. There are rollers available to smooth out the mat, but its pretty easy to do with your hands. For tight spots that prove difficult to reach, the end of a large round punch or even a socket works well as an automotive “rolling pin.”
You can go as far as you want with sound deadening and heat control insulation. Some folks will only do the floor and parts of the firewall. Others will go over the entire interior. Basically, every little bit helps. When you’re done, your ground-pounding hot rod will be much easier to live with.
Parts List
HushMat Floor Kit HUT-627681
HushMat Cargo and Trunk Kit HUT-627684
HushMat Door Kit HUT-627683
HushMat Firewall Kit HUT-627682

Comments