Listening to the radio in a car is an American tradition dating back to the 1920s. That’s 100 years of music, news, and farm reports. Even with the advent of audio tape, CDs, and streaming music, FM radio remains the king of automotive music. In fact, a majority of all Americans still listen FM radio weekly.
Chances are good your classic muscle car or truck has a factory or retro-fit radio with FM capability. If you’ve had issues with static and signal drift when listening to your favorite FM station, it’s often not the radio’s fault but the antenna’s. Some simple maintenance or upgrades will really help improve reception.
And if you’re into CB radio, you may enjoy this article too: 5 Easy CB Radio Install Tips
Types of Car Radio Antennas
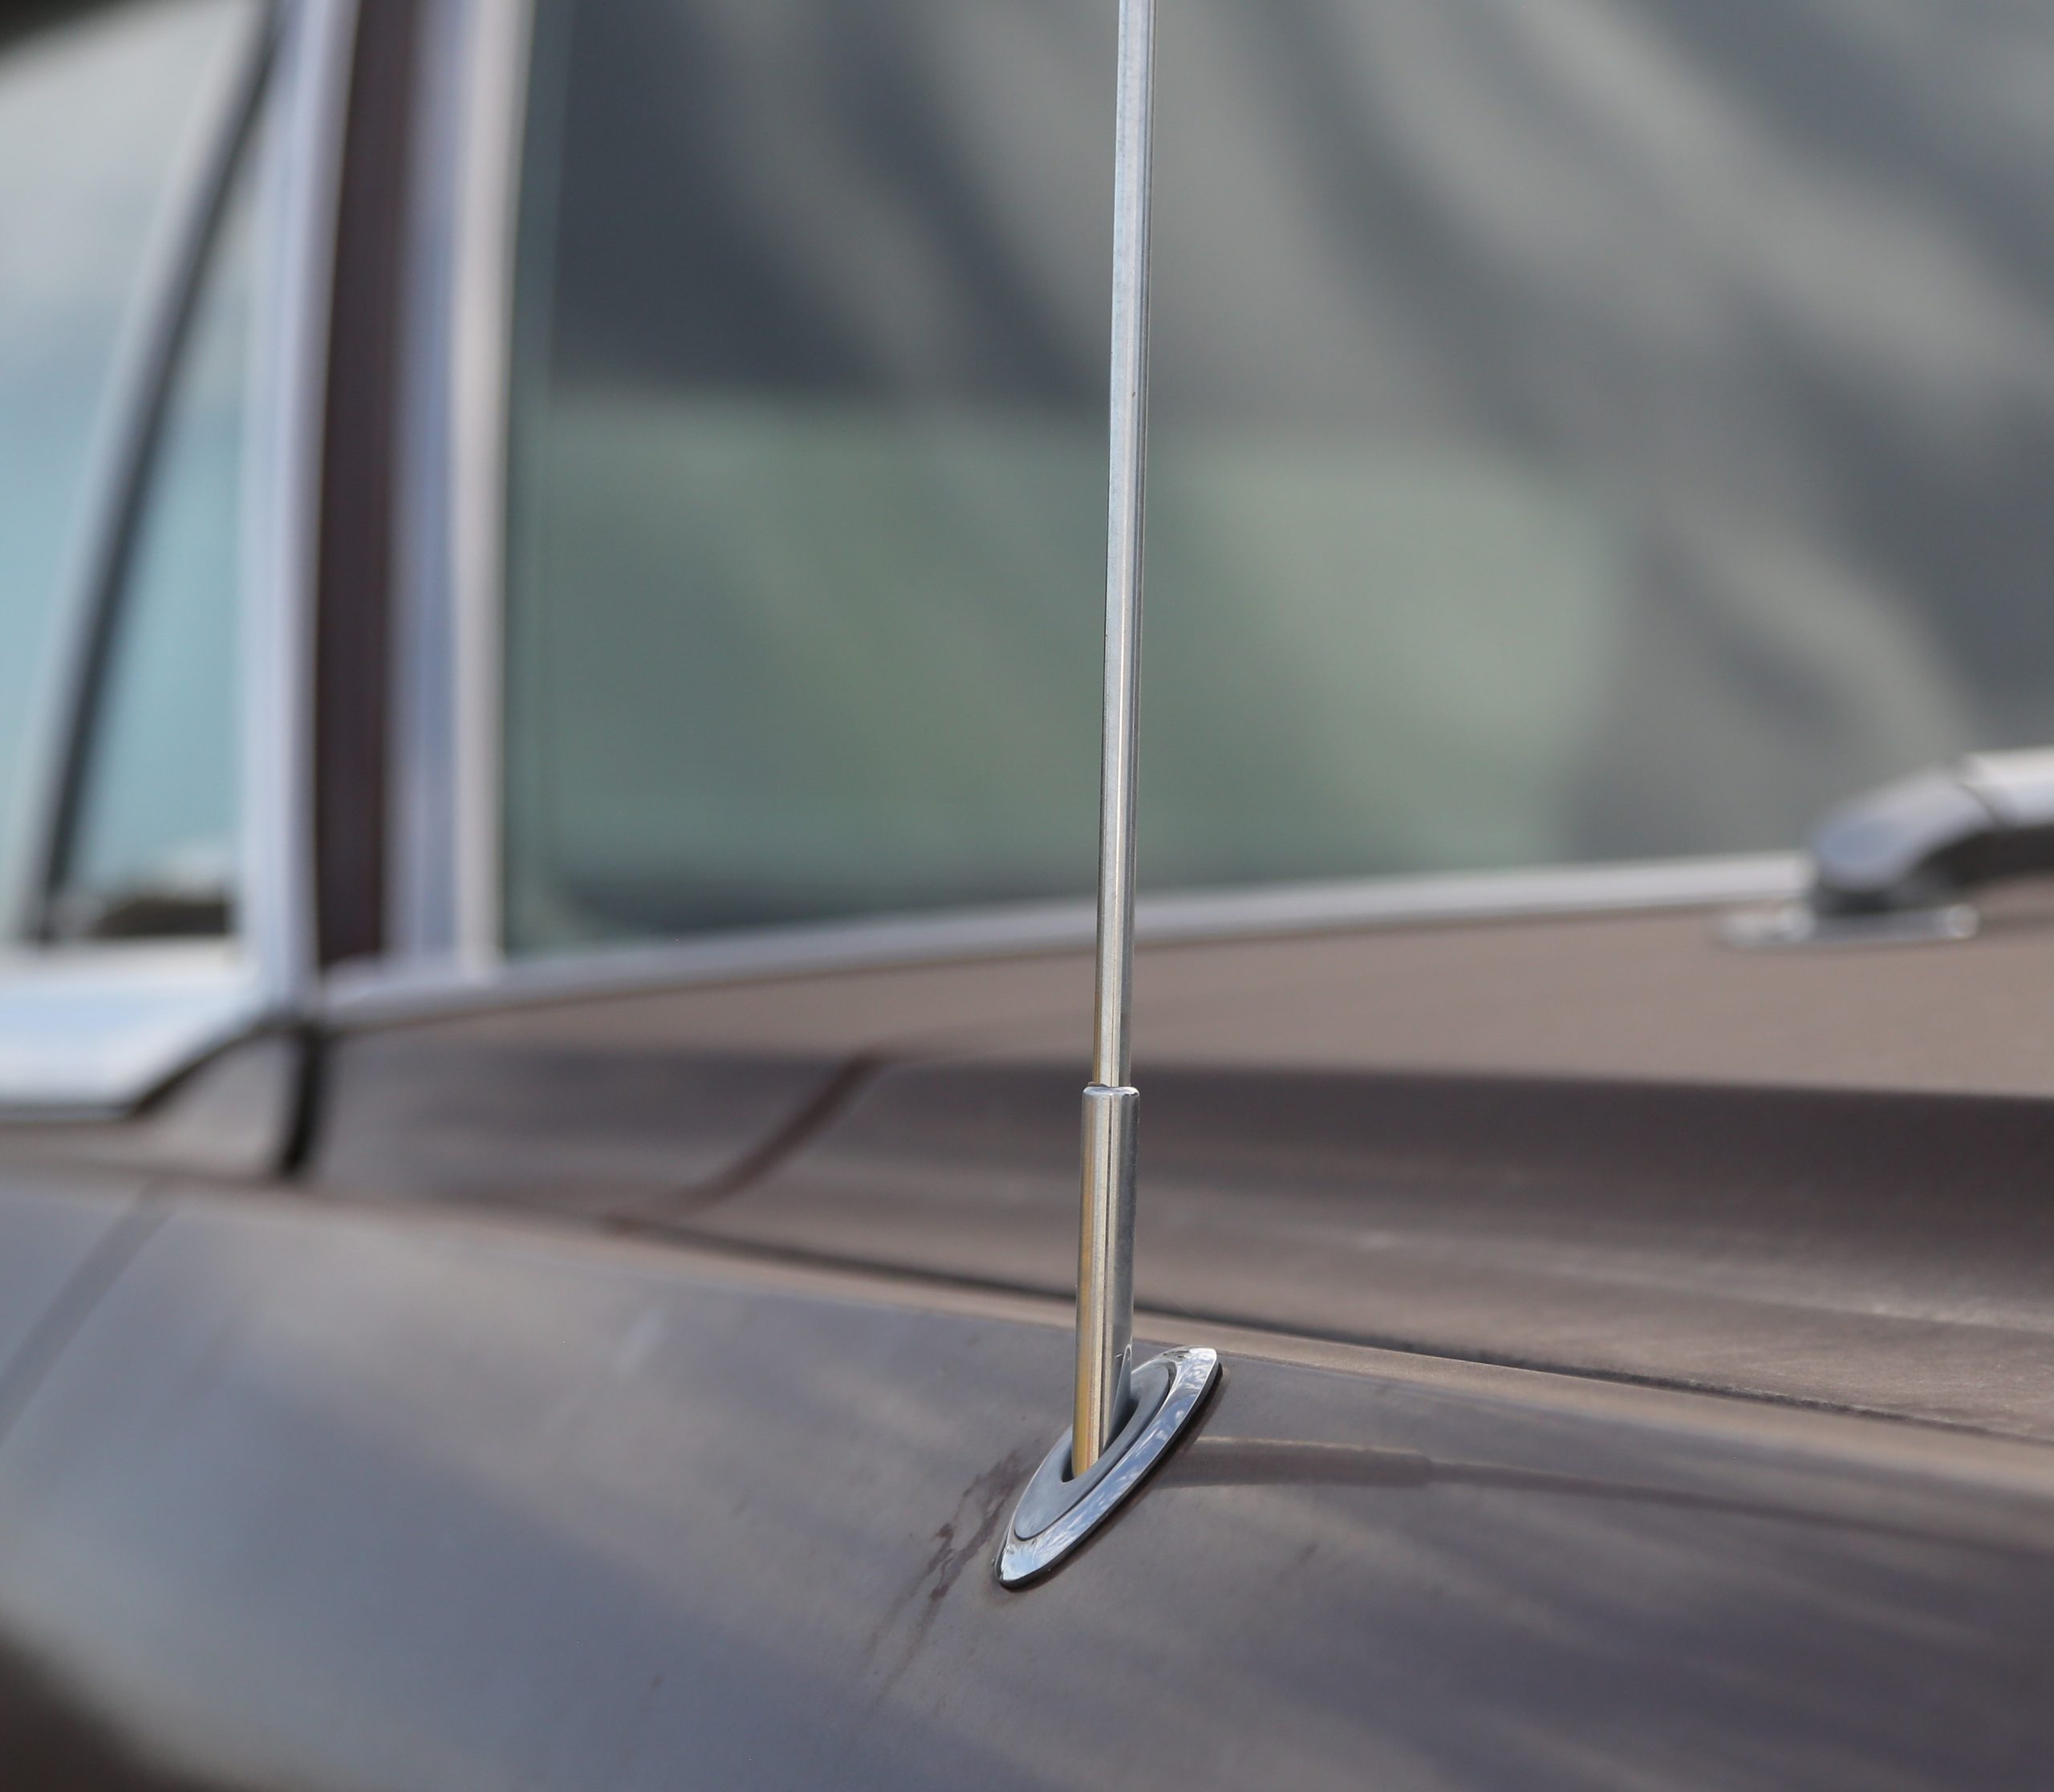
The most common OEM antennas on older vehicles are the whip aerial and windshield-mounted dipole. The whip aerial is the familiar metal antenna mounted to a fender or quarter panel. They are omni-directional, meaning they pick up signals from any direction. Antenna height directly affects reception—the taller the antenna, the better it will pick up signals. A bend in the mast, even a little one, will affect the reception. Universal-fit and reproduction car radio antennas are available to replace broken or missing ones.

The dipole antenna uses a pair of equal-length wires arranged in a T-shape. If you have a GM vehicle made between 1968 and the mid-1990s and see two thin black lines in the windshield, you have a dipole. These antennas work really well but are susceptible to damage due to cracks in the glass that run through the wires. Corrosion or breaks where the antenna connects through the cowl will disconnect it from the radio. Aftermarket windshields my not even have the antenna wires in them, leaving you without one altogether.

Aftermarket ‘hidden’ dipole antennas are available. They can be mounted almost anywhere in the vehicle, though they work best when mounted to the windshield or close as possible to it. The antennas tap power from the radio to operate. They’re not the best choice for AM radio, but work really well for FM station reception, especially for fiberglass-bodied cars and boats.

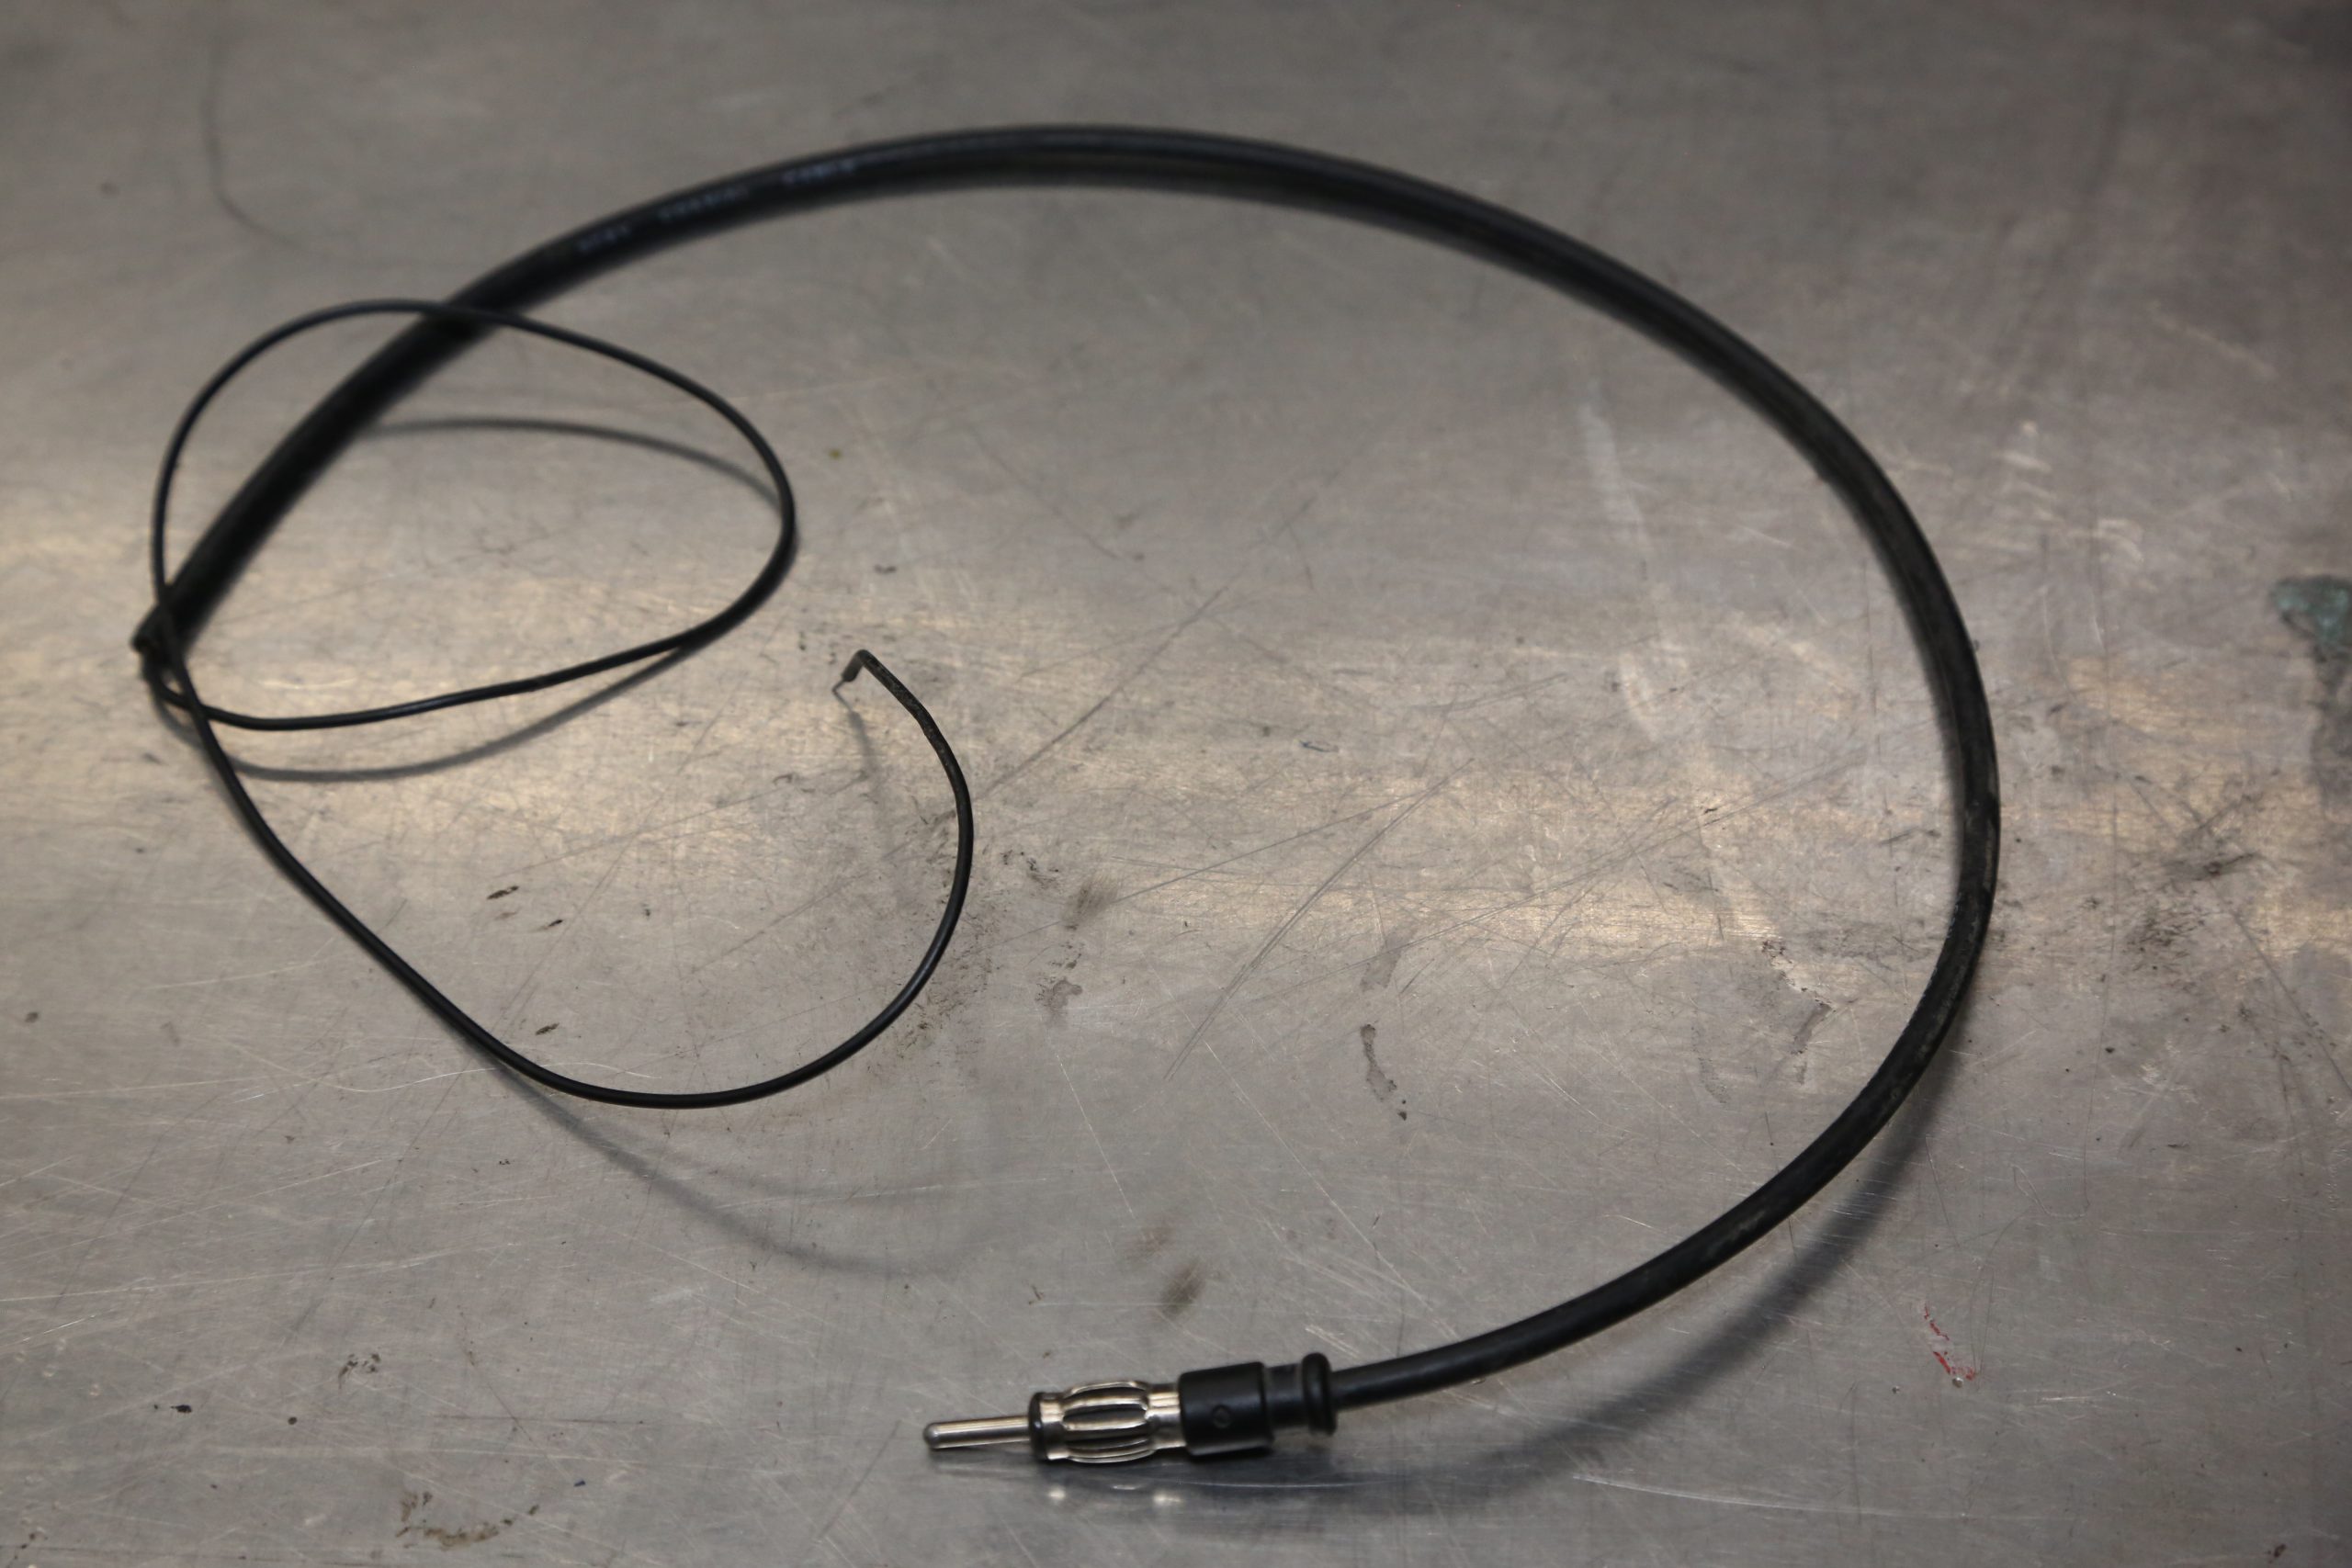
Another type of antenna is the wired monopole. It’s similar to a whip antenna but uses a wire instead of using a mast. A wired monopole can be easily installed under the dash, in the headliner, or other areas of the interior. The further you can mount it from the radio or other electronics, the better the antenna will work.
How to Test a Car Radio Antenna
There are a few tests you can do to check the viability of your vehicle’s antenna. The first would be testing for a good ground connection. First, disconnect the antenna cable from the back of the radio. If you’re lucky, you can reach behind the dash and unplug the cable.
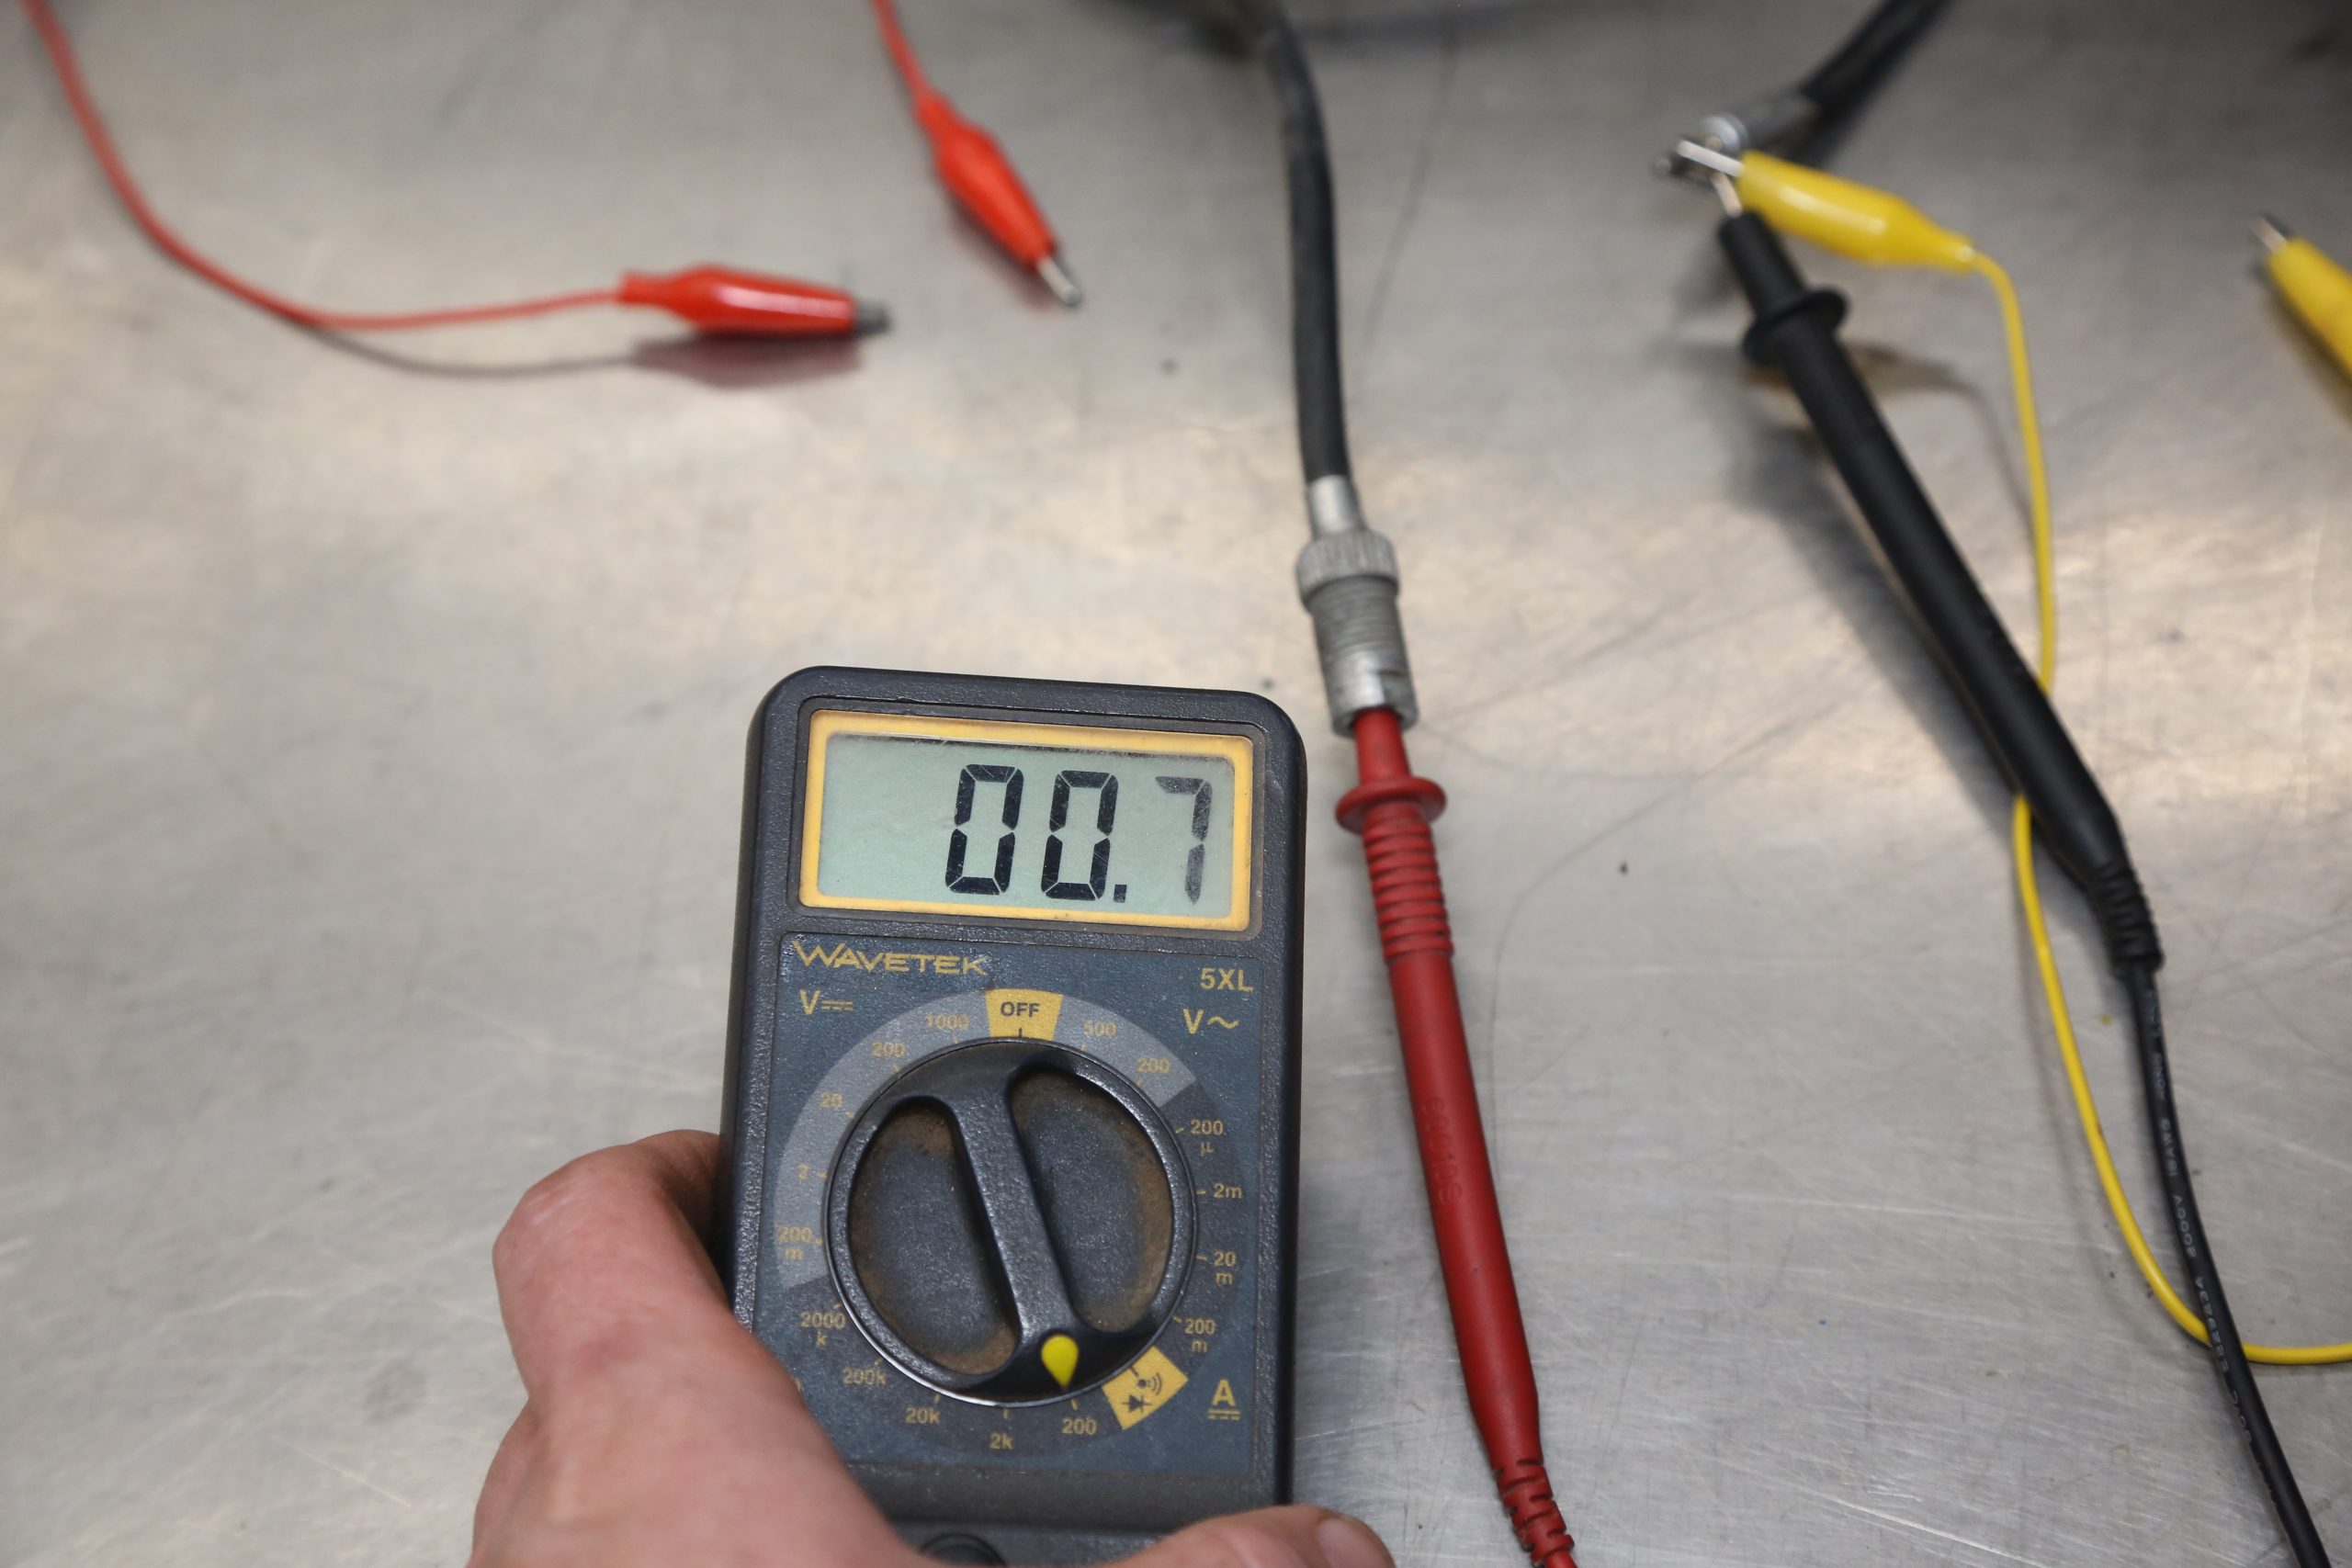
Next, grab your digital multimeter and set it to 200 ohms. Touch one probe to the outer ring on the antenna plug, then touch the other to a good ground point. The meter should read less than five ohms and preferably as close to zero as possible. This indicates a good ground. If the resistance is higher than five ohms, you have a ground issue that needs addressed. It could be a loose connection or a bit of rust on the antenna base or the plug where windshield antenna is mounted. If you can’t figure out the cause, you can add a second ground to the base to fix the problem.
Next, you need to check the antenna itself. To do this, touch one probe of the multimeter to the pin of the antenna and the other probe to the antenna itself. This is difficult on windshield antennas as there is glass in the way, but is easy for whip antennas. The resistance should be less than five ohms. If you have more than that, the threads for the mast could be corroded or have silicone or some other adhesive causing connection issues.
If your vehicle has an intermediate cable between the antenna and the radio, disconnect it from both sides and check the resistance between both connectors on the cable. If resistance is higher than five ohms, replace it.
Car Radio Antenna Adapters

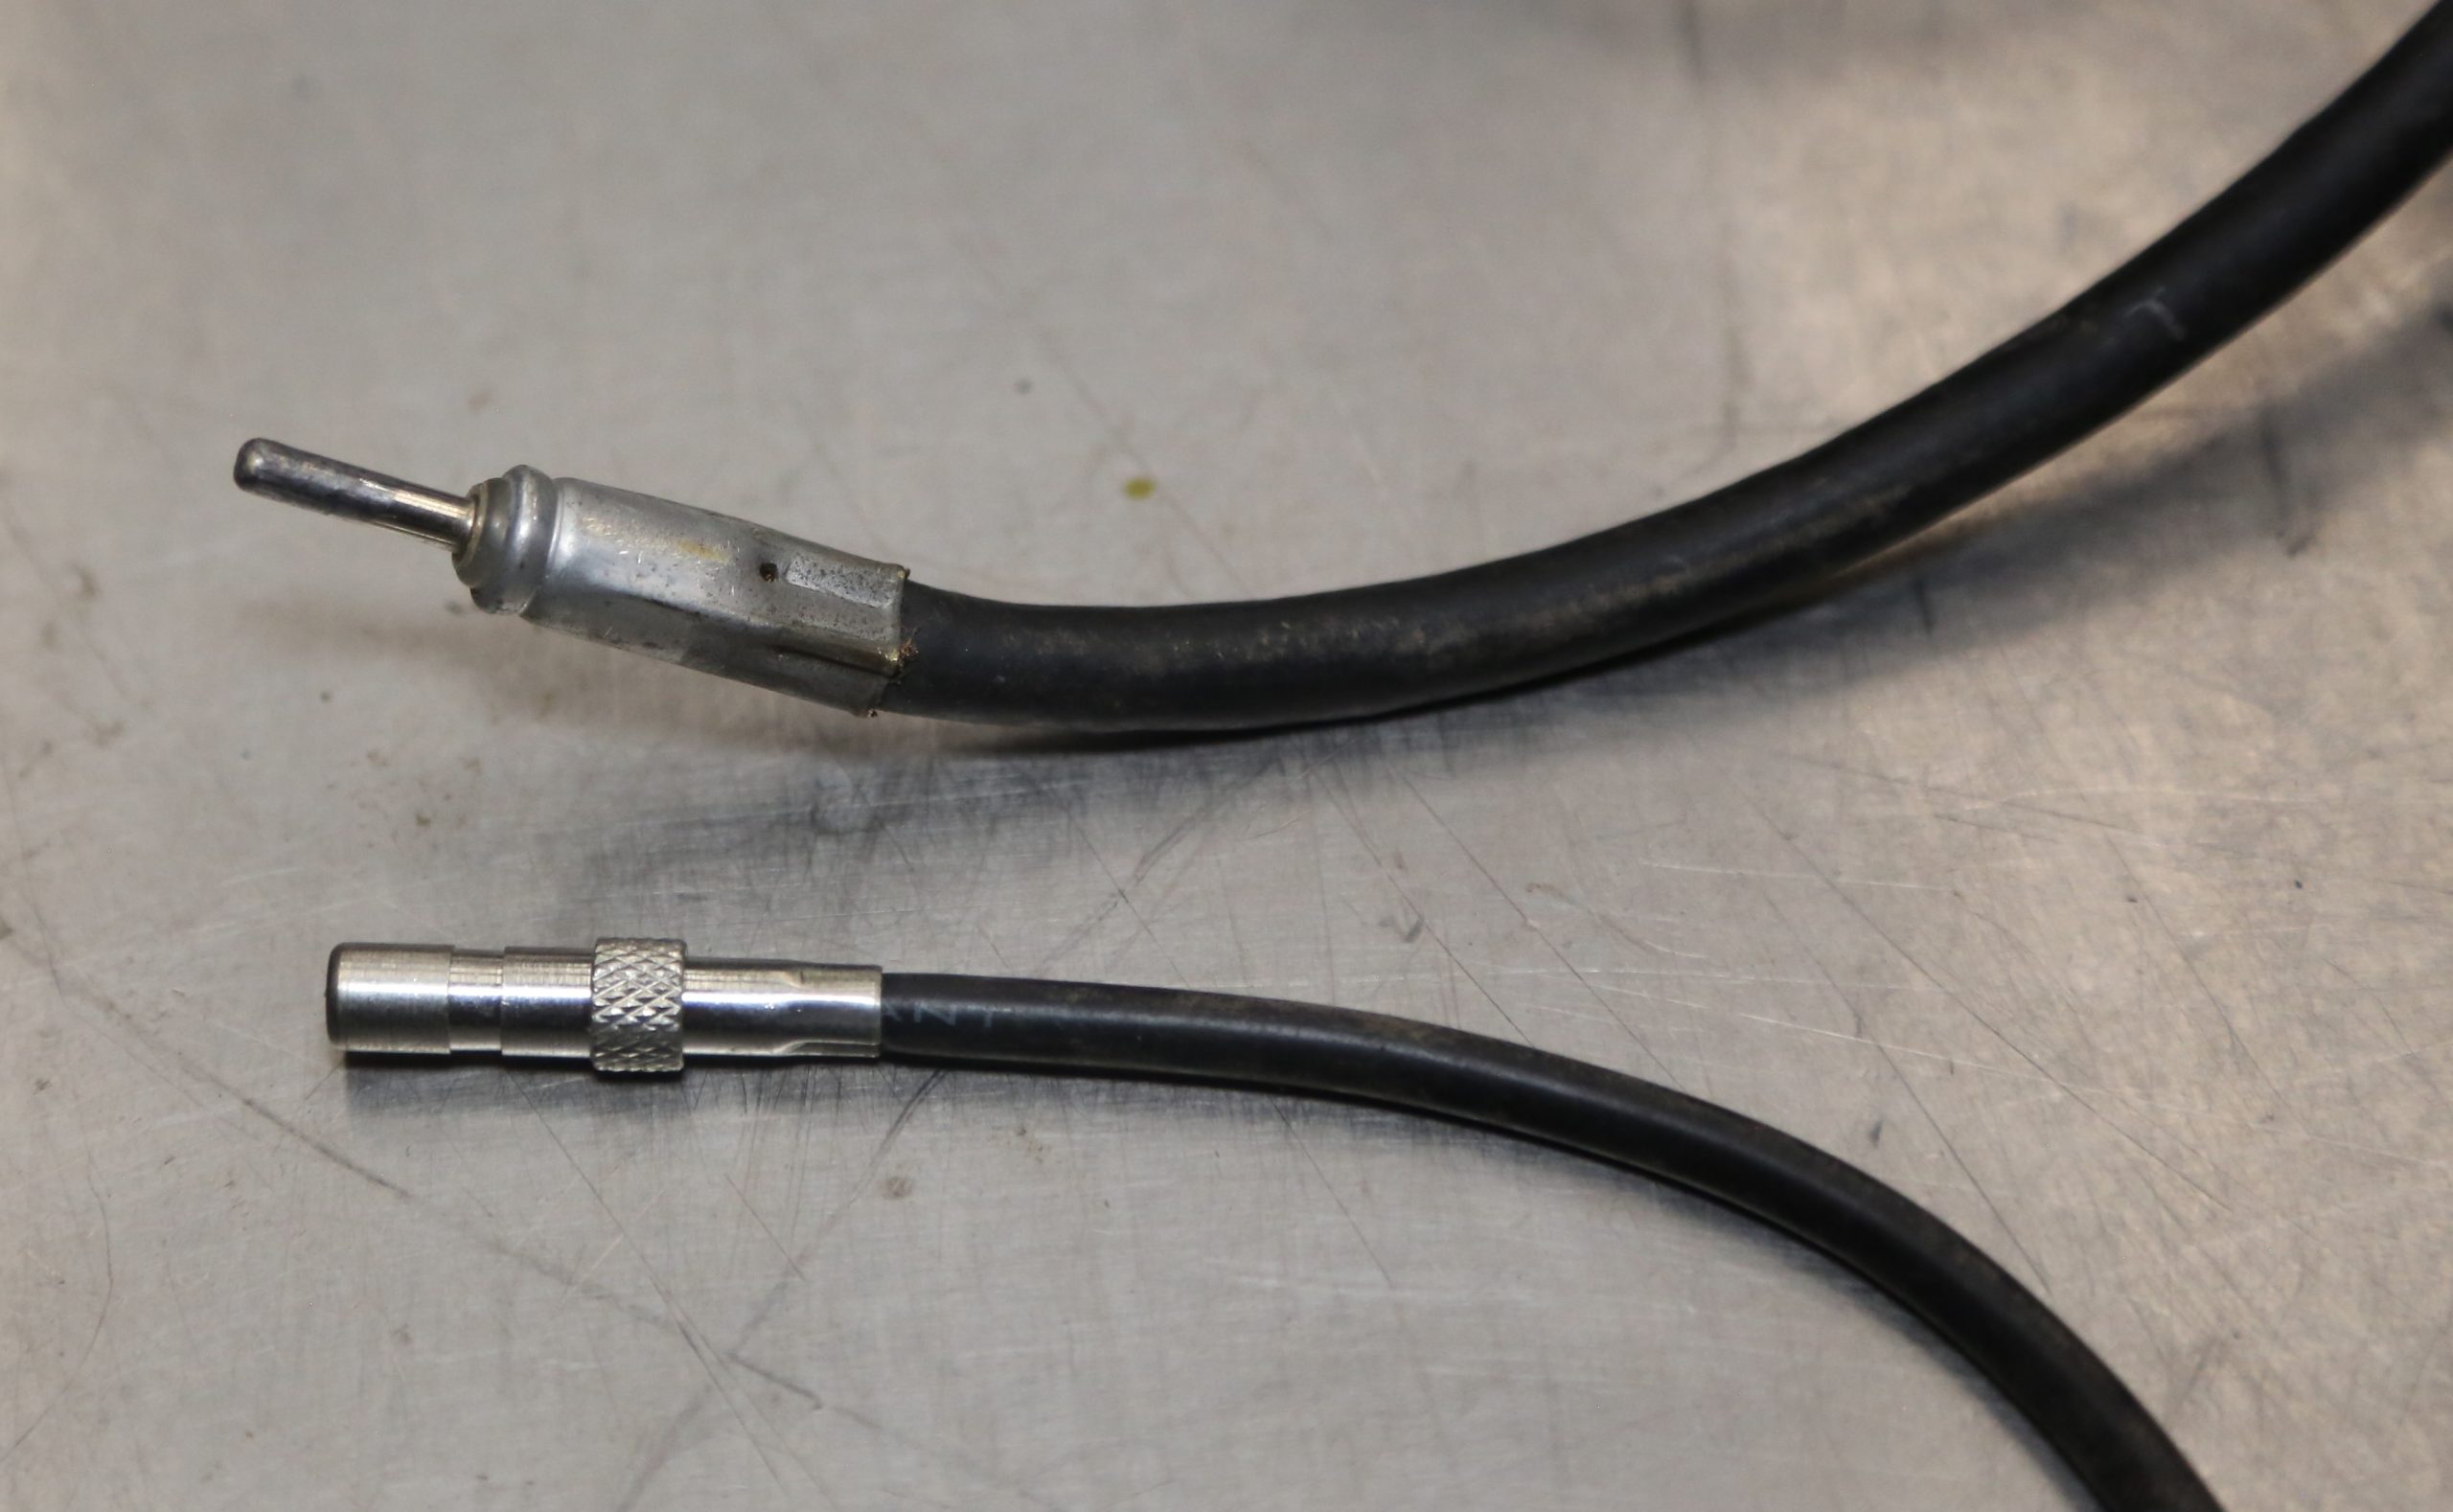
If you are swapping an aftermarket radio into your ride, you may need an antenna adapter. Most factory radios through the 1970s and all aftermarket radios are set up for antenna cable with a Motorola-style coaxial cable connector. In the 1980s the OEMs decided to make this harder by proprietary antenna cable connectors that require an adapter to connect to an aftermarket radio. Most good audio shops will have these.
Comments