If you work on cars and build engines, then you probably have an engine stand. If you’re like us, it might be one you inherited from a friend or bought at a garage sale. We’ve had an old Lakewood three-legged stand for so long that we know never to trust it with a heavy big block Chevy. (In fact, Lakewood doesn’t sell them anymore because of that.)
After one near-tumble we decided it was time to step up to a better stand and with it assemble a few Garage Hacks surrounding engine stands that might make life easier for all the weekend engine builders.
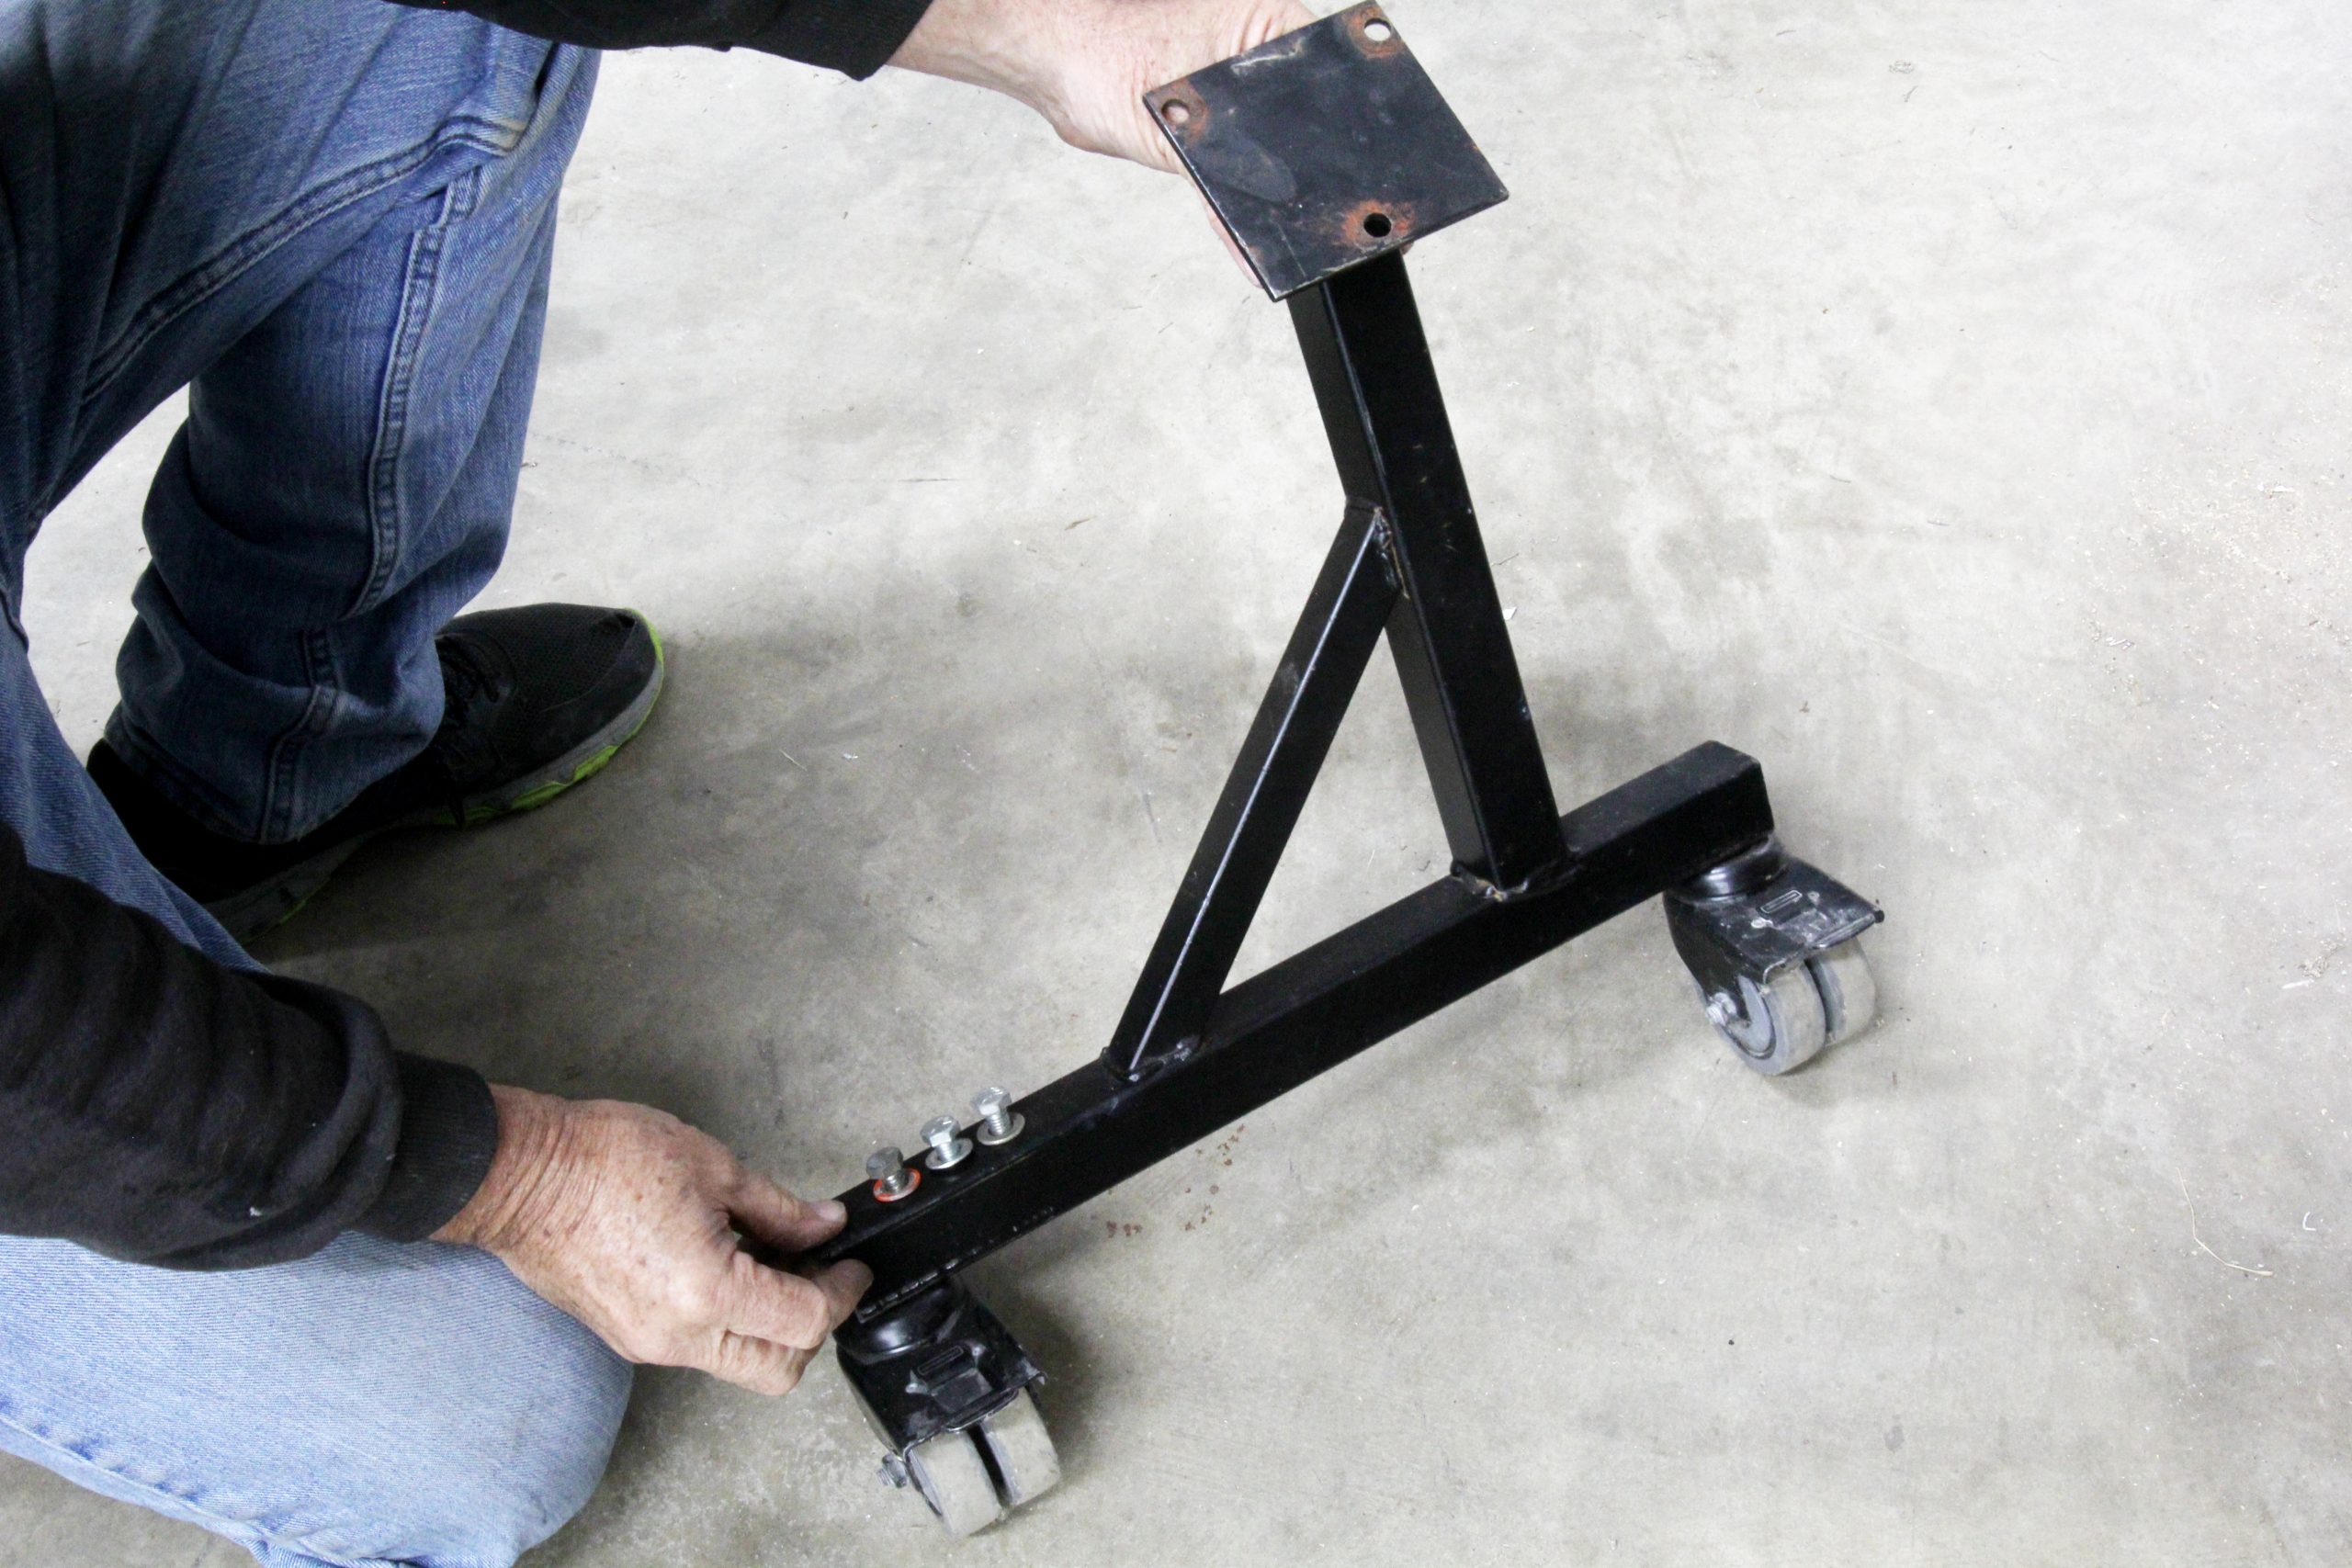
The first and best approach is to simply invest in a good, sturdy high quality engine stand. While we don’t like to cast aspersions, those budget, three-legged engine stands are still on the market with their single wheel out front. These stands have been described as using base legs with a “T” shape. Other engine stands are configured with “U” or “V” shaped bases.
The cheaper “T” leg engine stands should be avoided because, under the right conditions, they can pitch over when being moved. A measurable improvement over the “T” style is the single middle leg fitted with a front cross that supports four wheels, making it far more stable.
Other versions use a pair of splayed legs in a “V” or three legs shaped in a “U” to increase stability. While these stands offer stability, this wider stance may not fit easily inside the legs of your engine hoist. If the engine stand legs are far enough apart, it may make the transition from hoist to engine stand more challenging. An engine stand with legs that splay inward will work better than a stand with legs that angle outward.
Summit Racing sells a combination engine hoist that integrates an engine stand inside the splayed legs. This is an interesting idea that allows the engine stand to snuggle fully inside the splayed legs of the hoist. We’ve listed this shop crane part number in the Parts List at the bottom of this article.
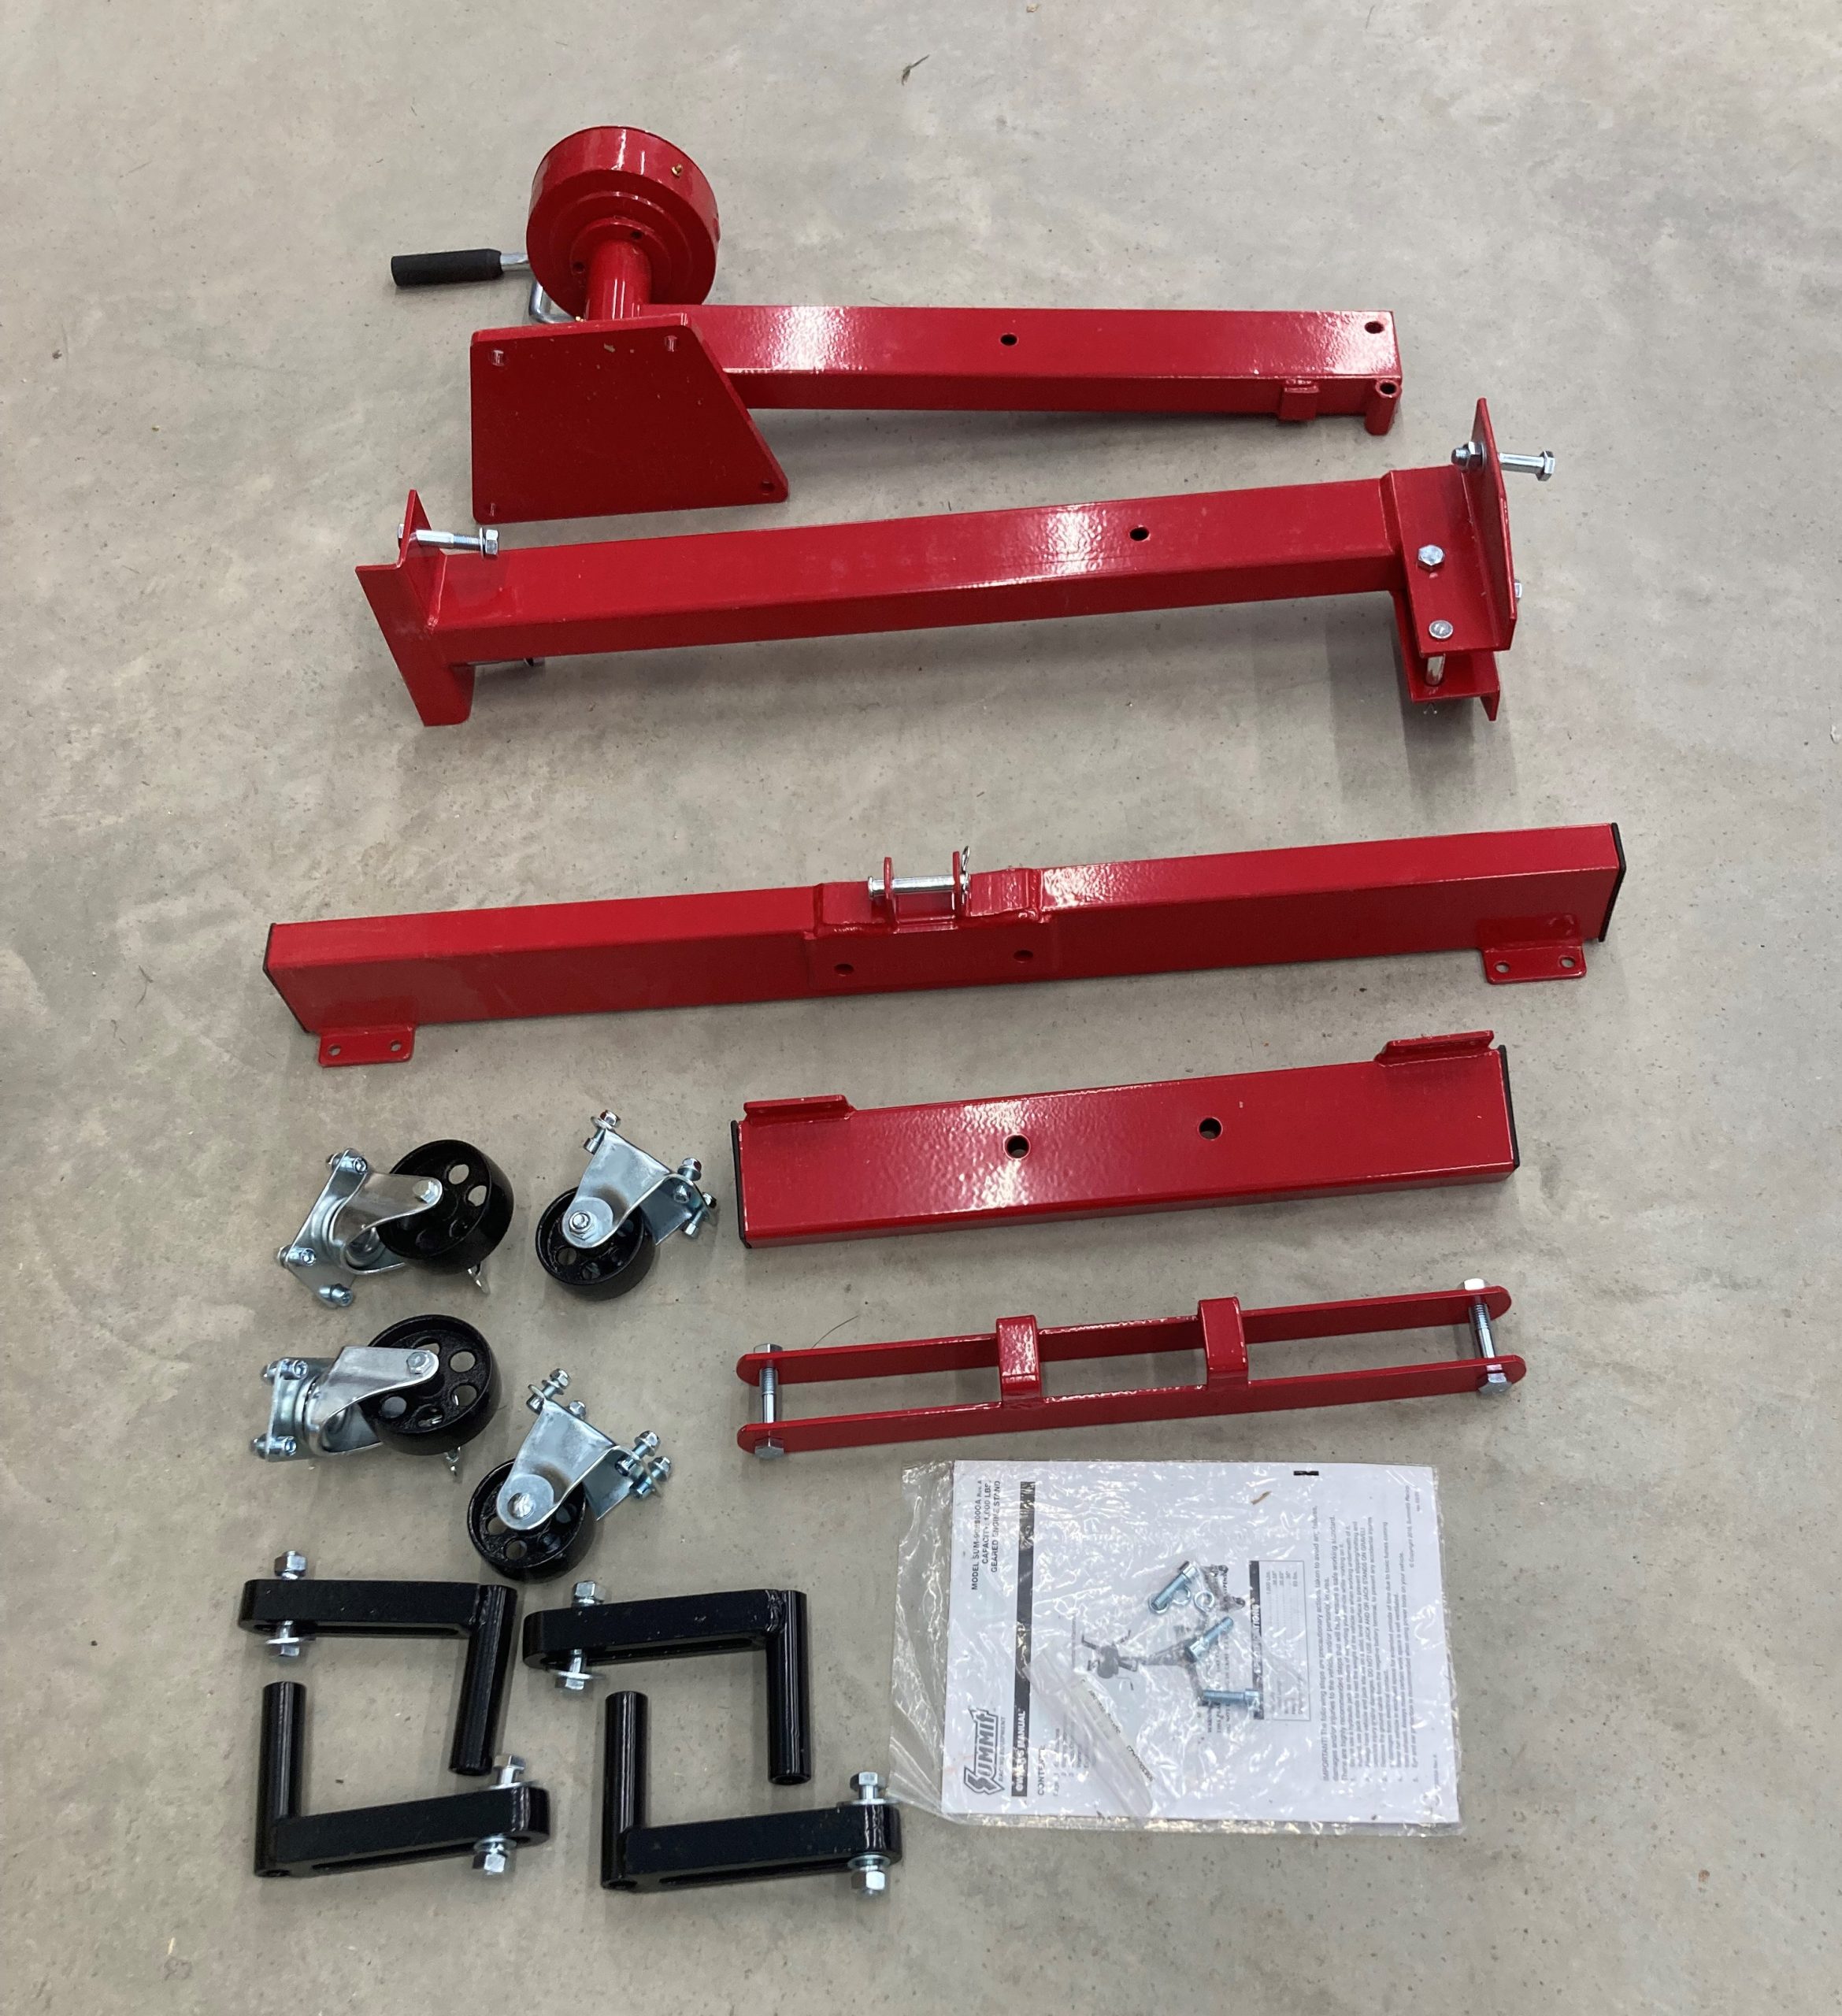
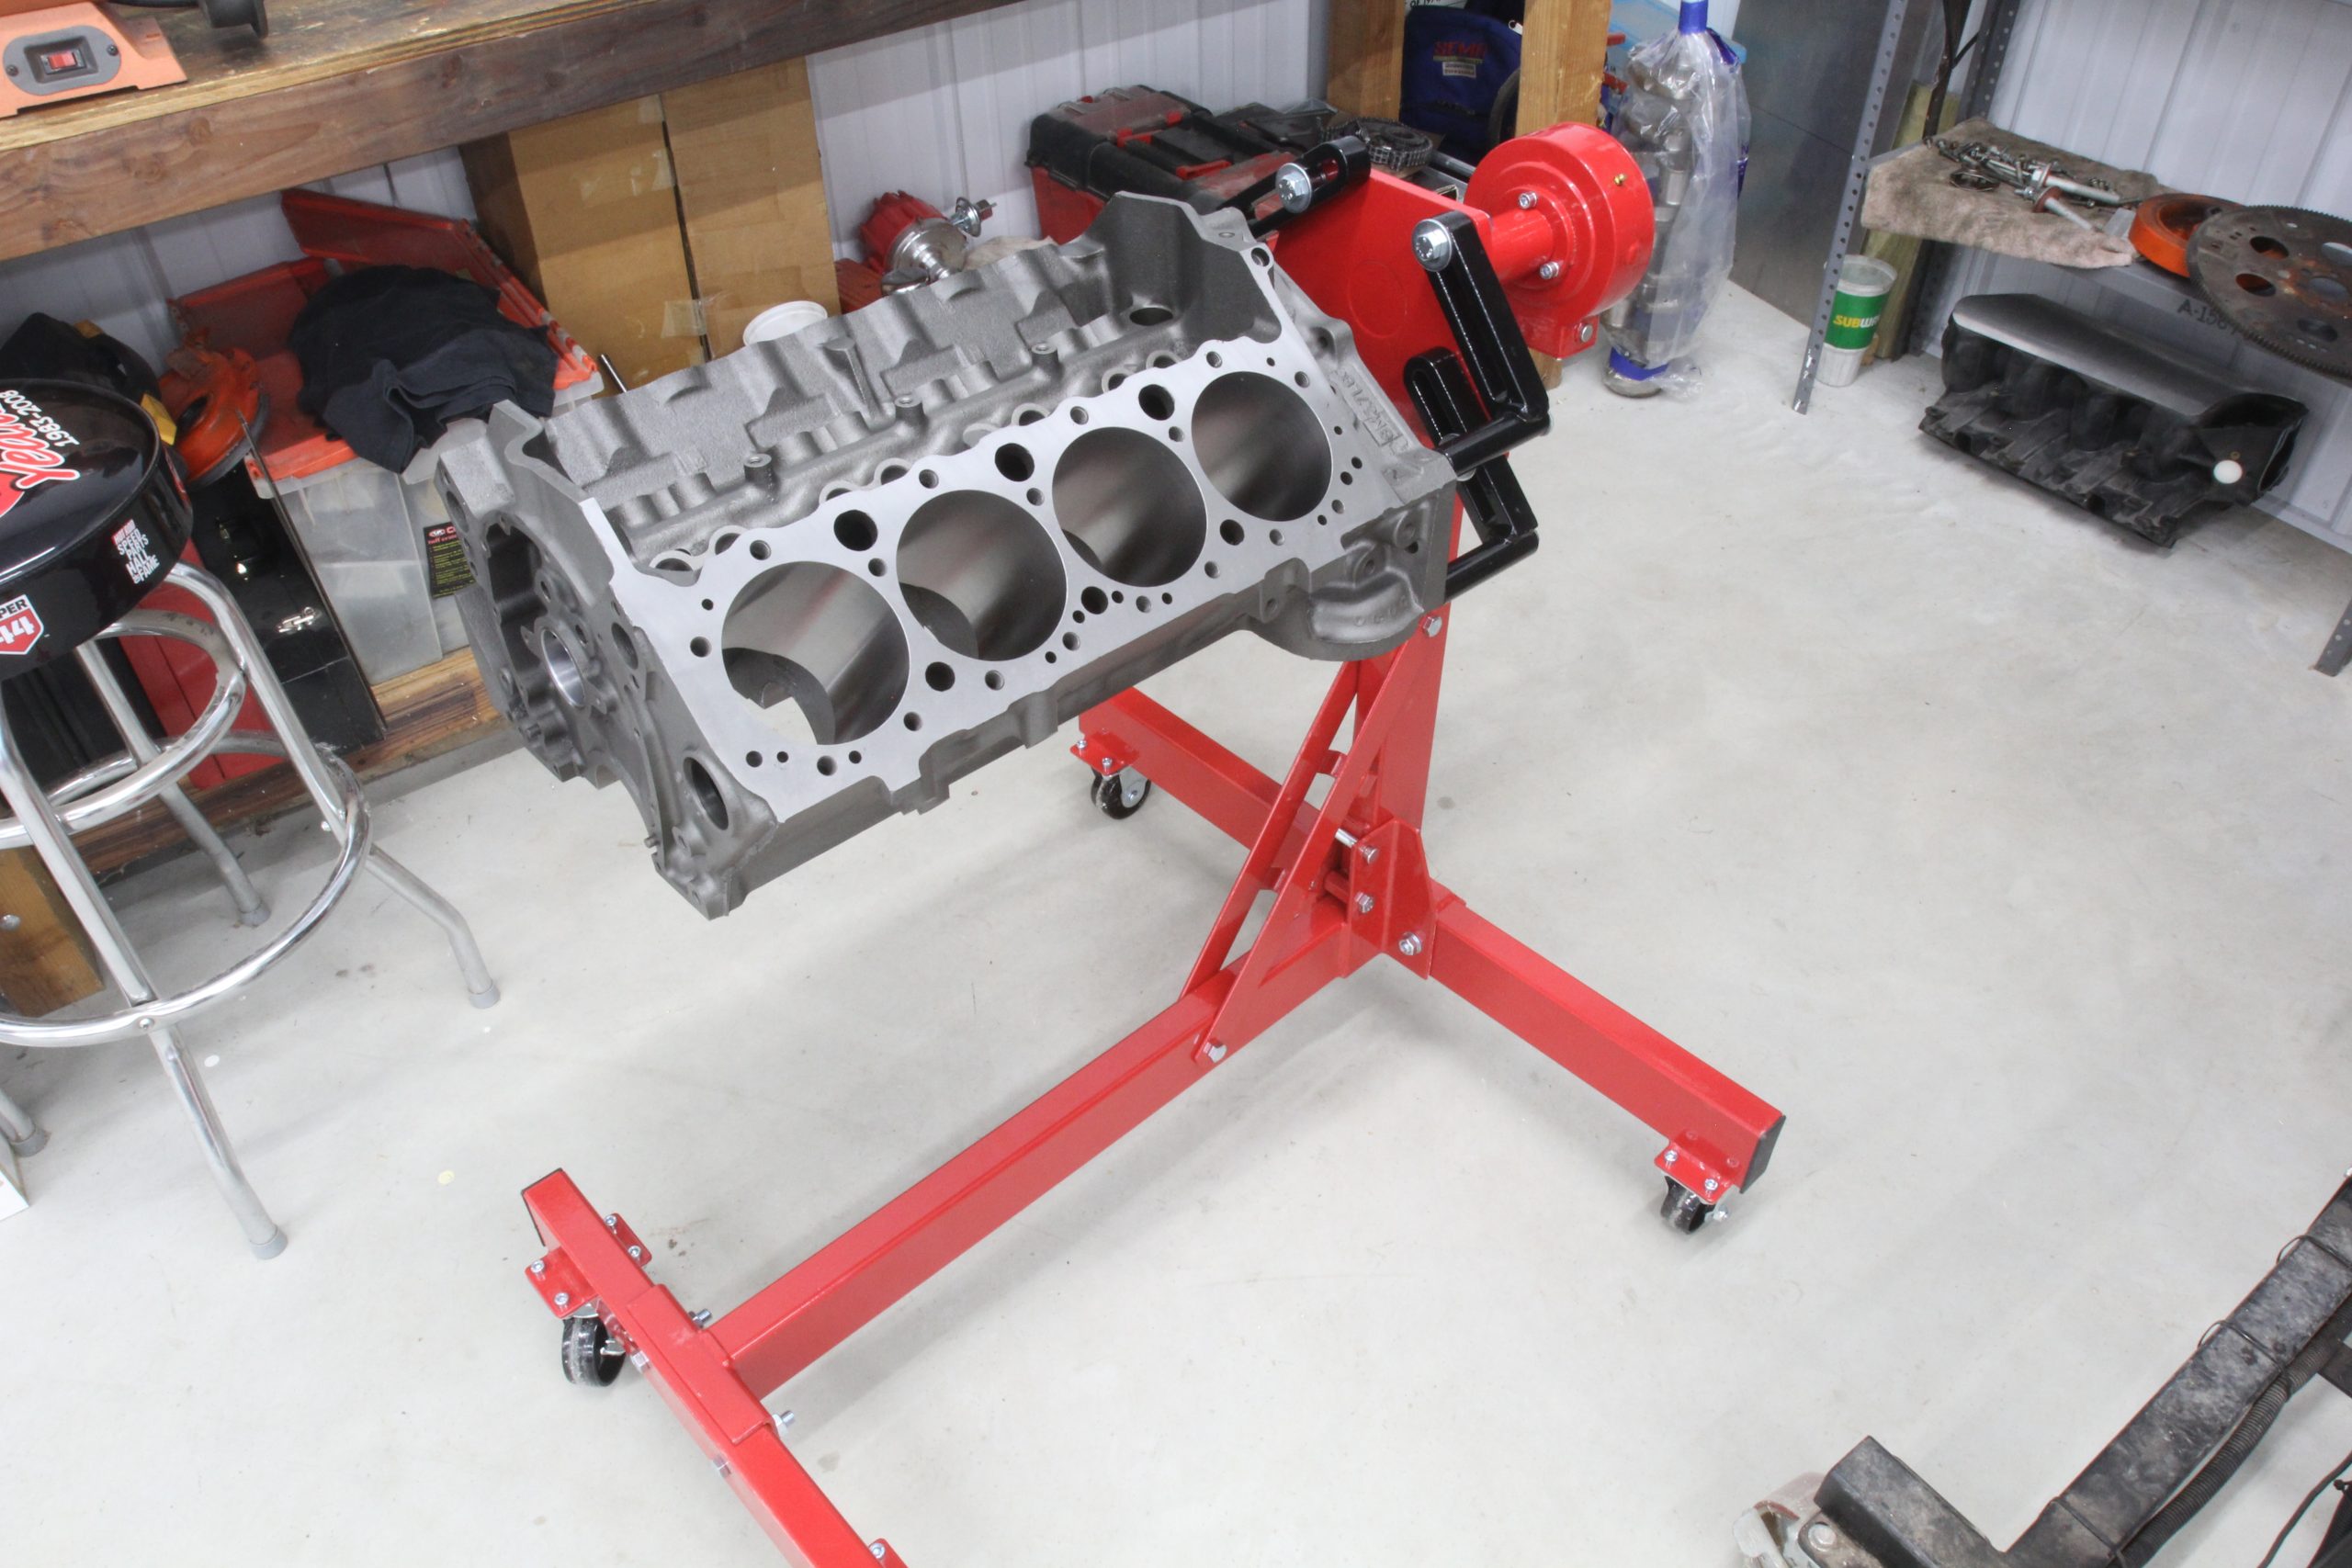
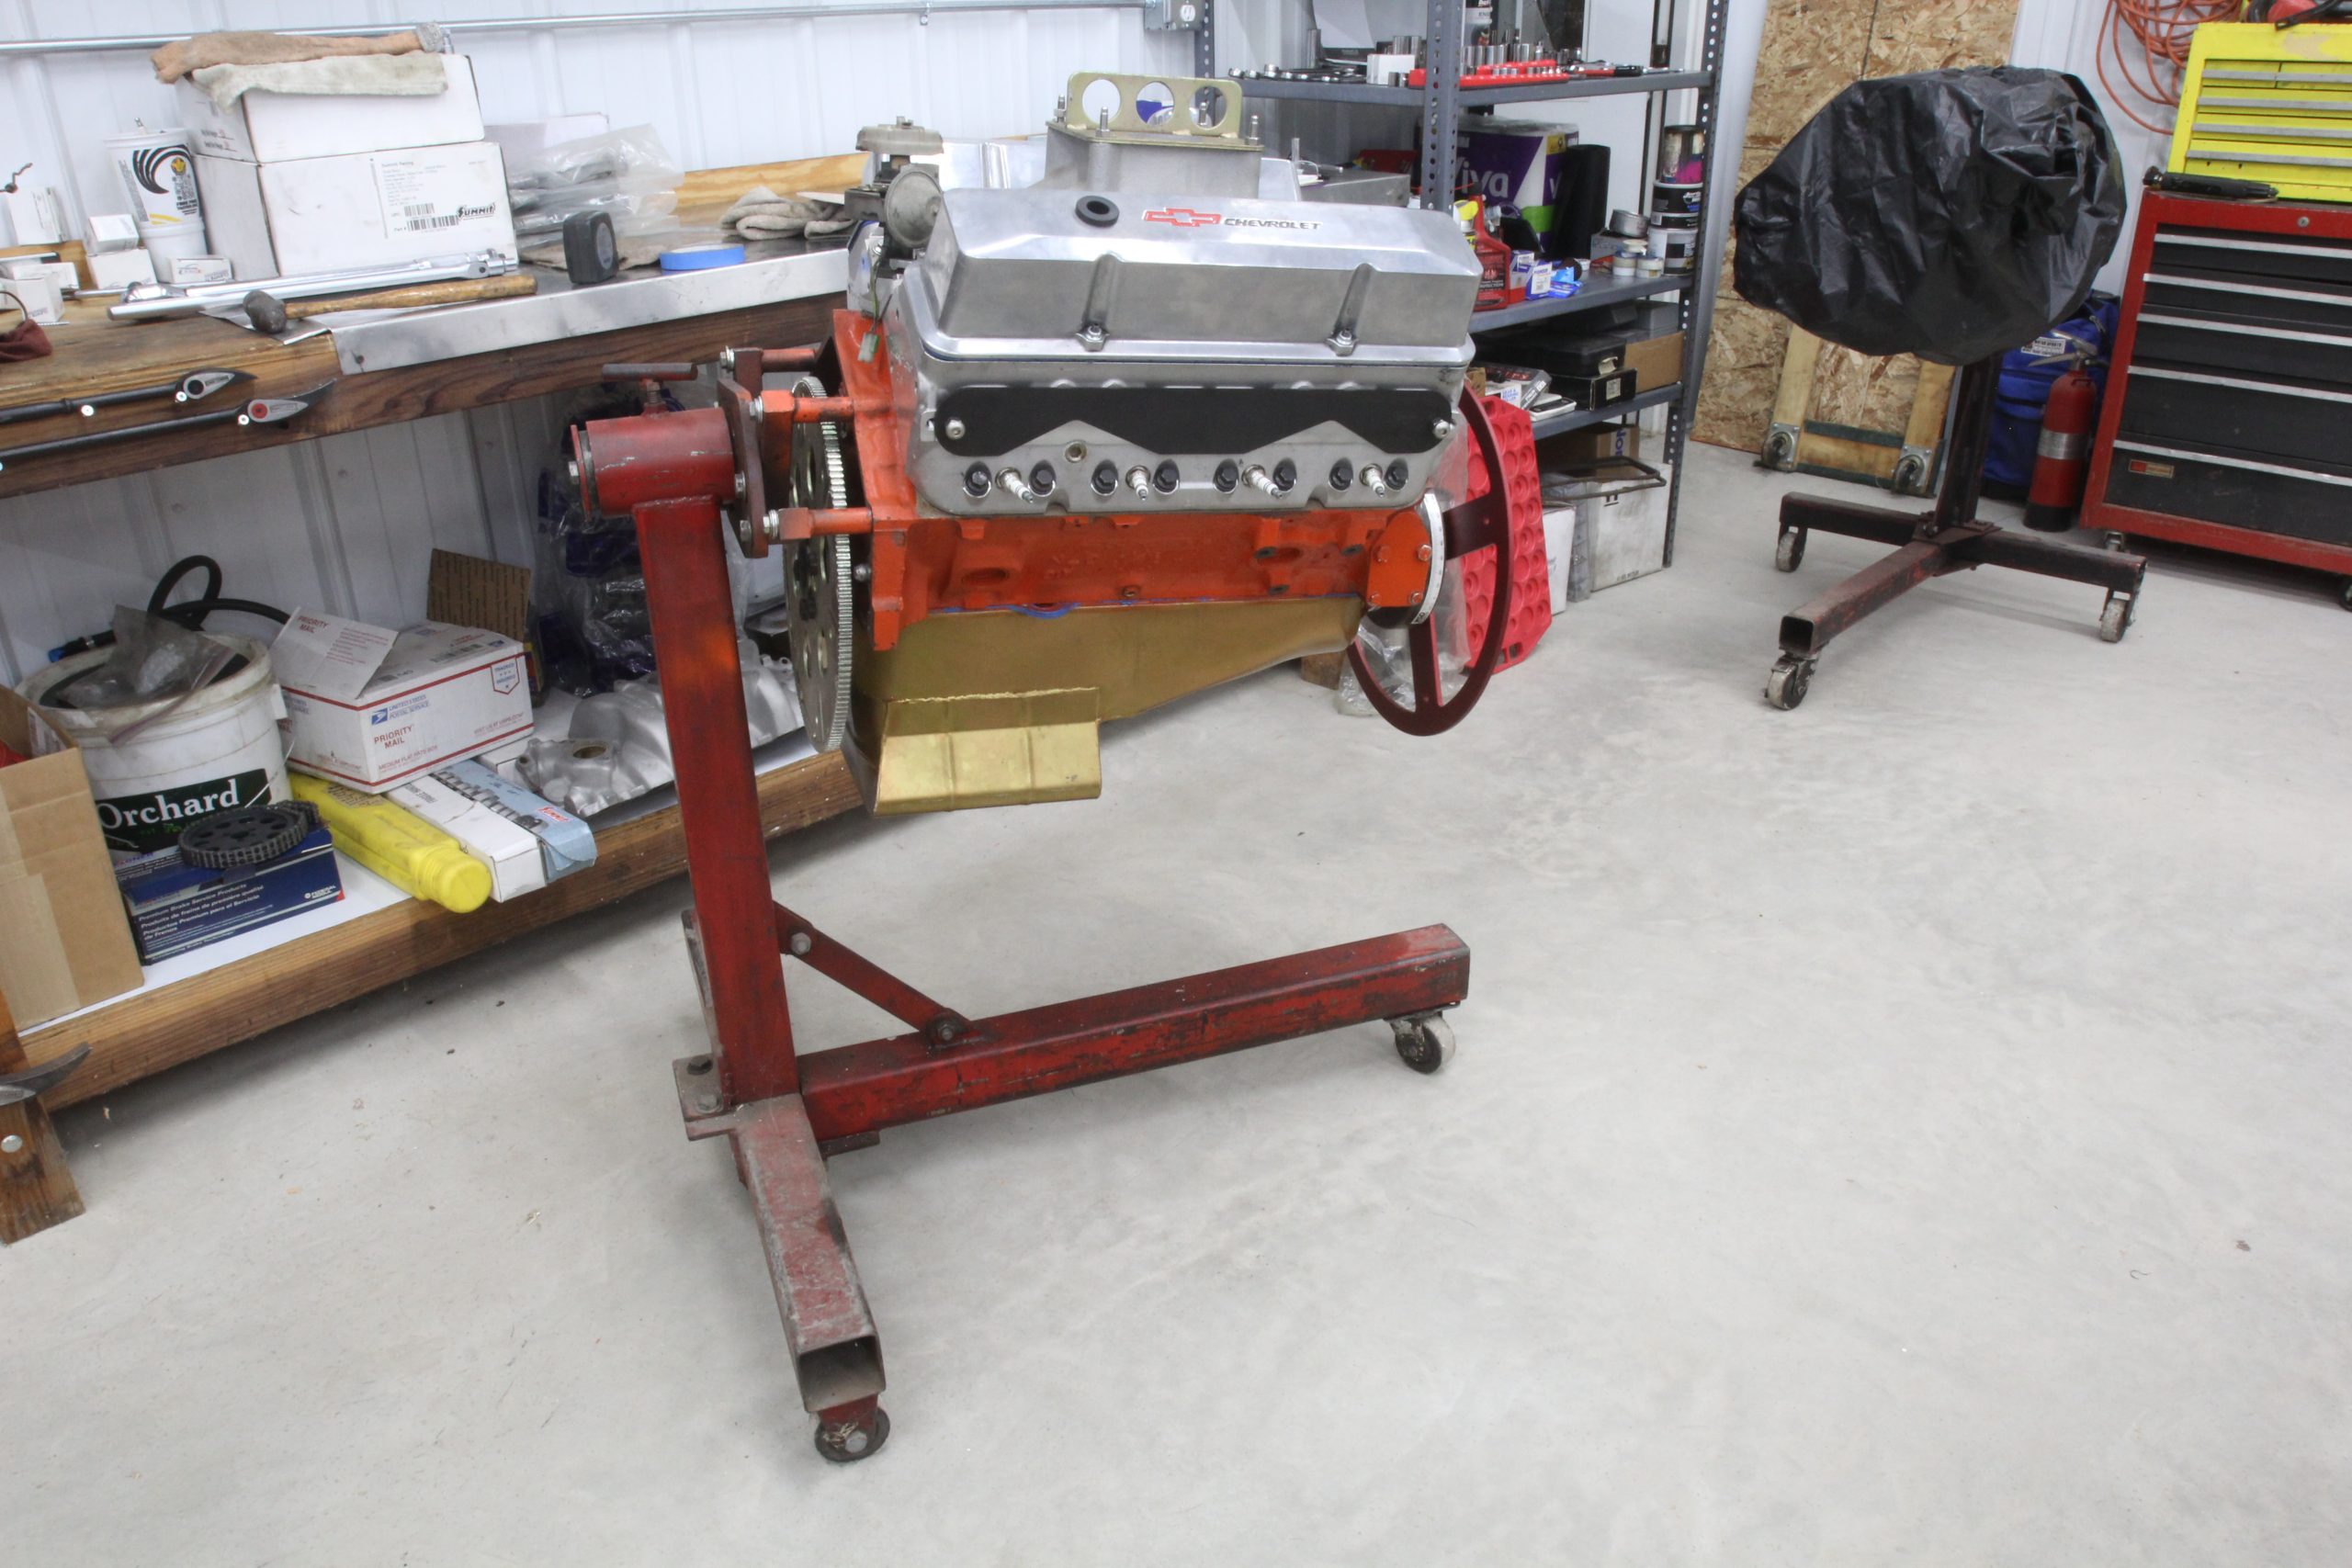
We ordered the four caster Summit Racing engine stand that also offers a hand crank to rotate the engine on the stand. After perhaps a half-hour spent assembling it, we put it to use mounting a small block Chevy engine. This stand also offers the ability to vertically fold the front leg for storage.
This cranking stand also comes with fixed casters for the rear legs and swivel casters for the front legs to make it easier to maneuver. Some may prefer to have all four wheels swivel, but we’ve found that the fixed rear wheels maintain a lateral position better than when all four legs swivel. Of course, you can lock the rear wheels to accomplish this same situation. This becomes a bit of a personal preference issue. We prefer the fixed casters in the rear because we don’t have to waste time locking and unlocking the rear swivel wheels.
A Note on Engine Stand Assembly Hardware
One minor point we discovered was that this geared stand uses adjustable block adapters that require five inch long mounting bolts. This forced us to make a trip to the hardware store because all our bolts were too short. Summit Racing offers a hardware bolt kit specifically for this engine stand with bolts that are 5-1/4 inches long in either SAE or metric sizes.
In our case, Summit Racing’s eight-bolt package was significantly less expensive than what our local hardware store wanted for only four five inch (125mm) long metric bolts. Worse yet, the hardware store didn’t stock the bolts we needed. So the smart move is to buy the Summit Racing bolt kit(s) when you order the stand and you’ll have the hardware you need to attach engines on the stand.
(We have a link to every part, tool, and piece discussed here in the Parts List at the bottom of this story.)
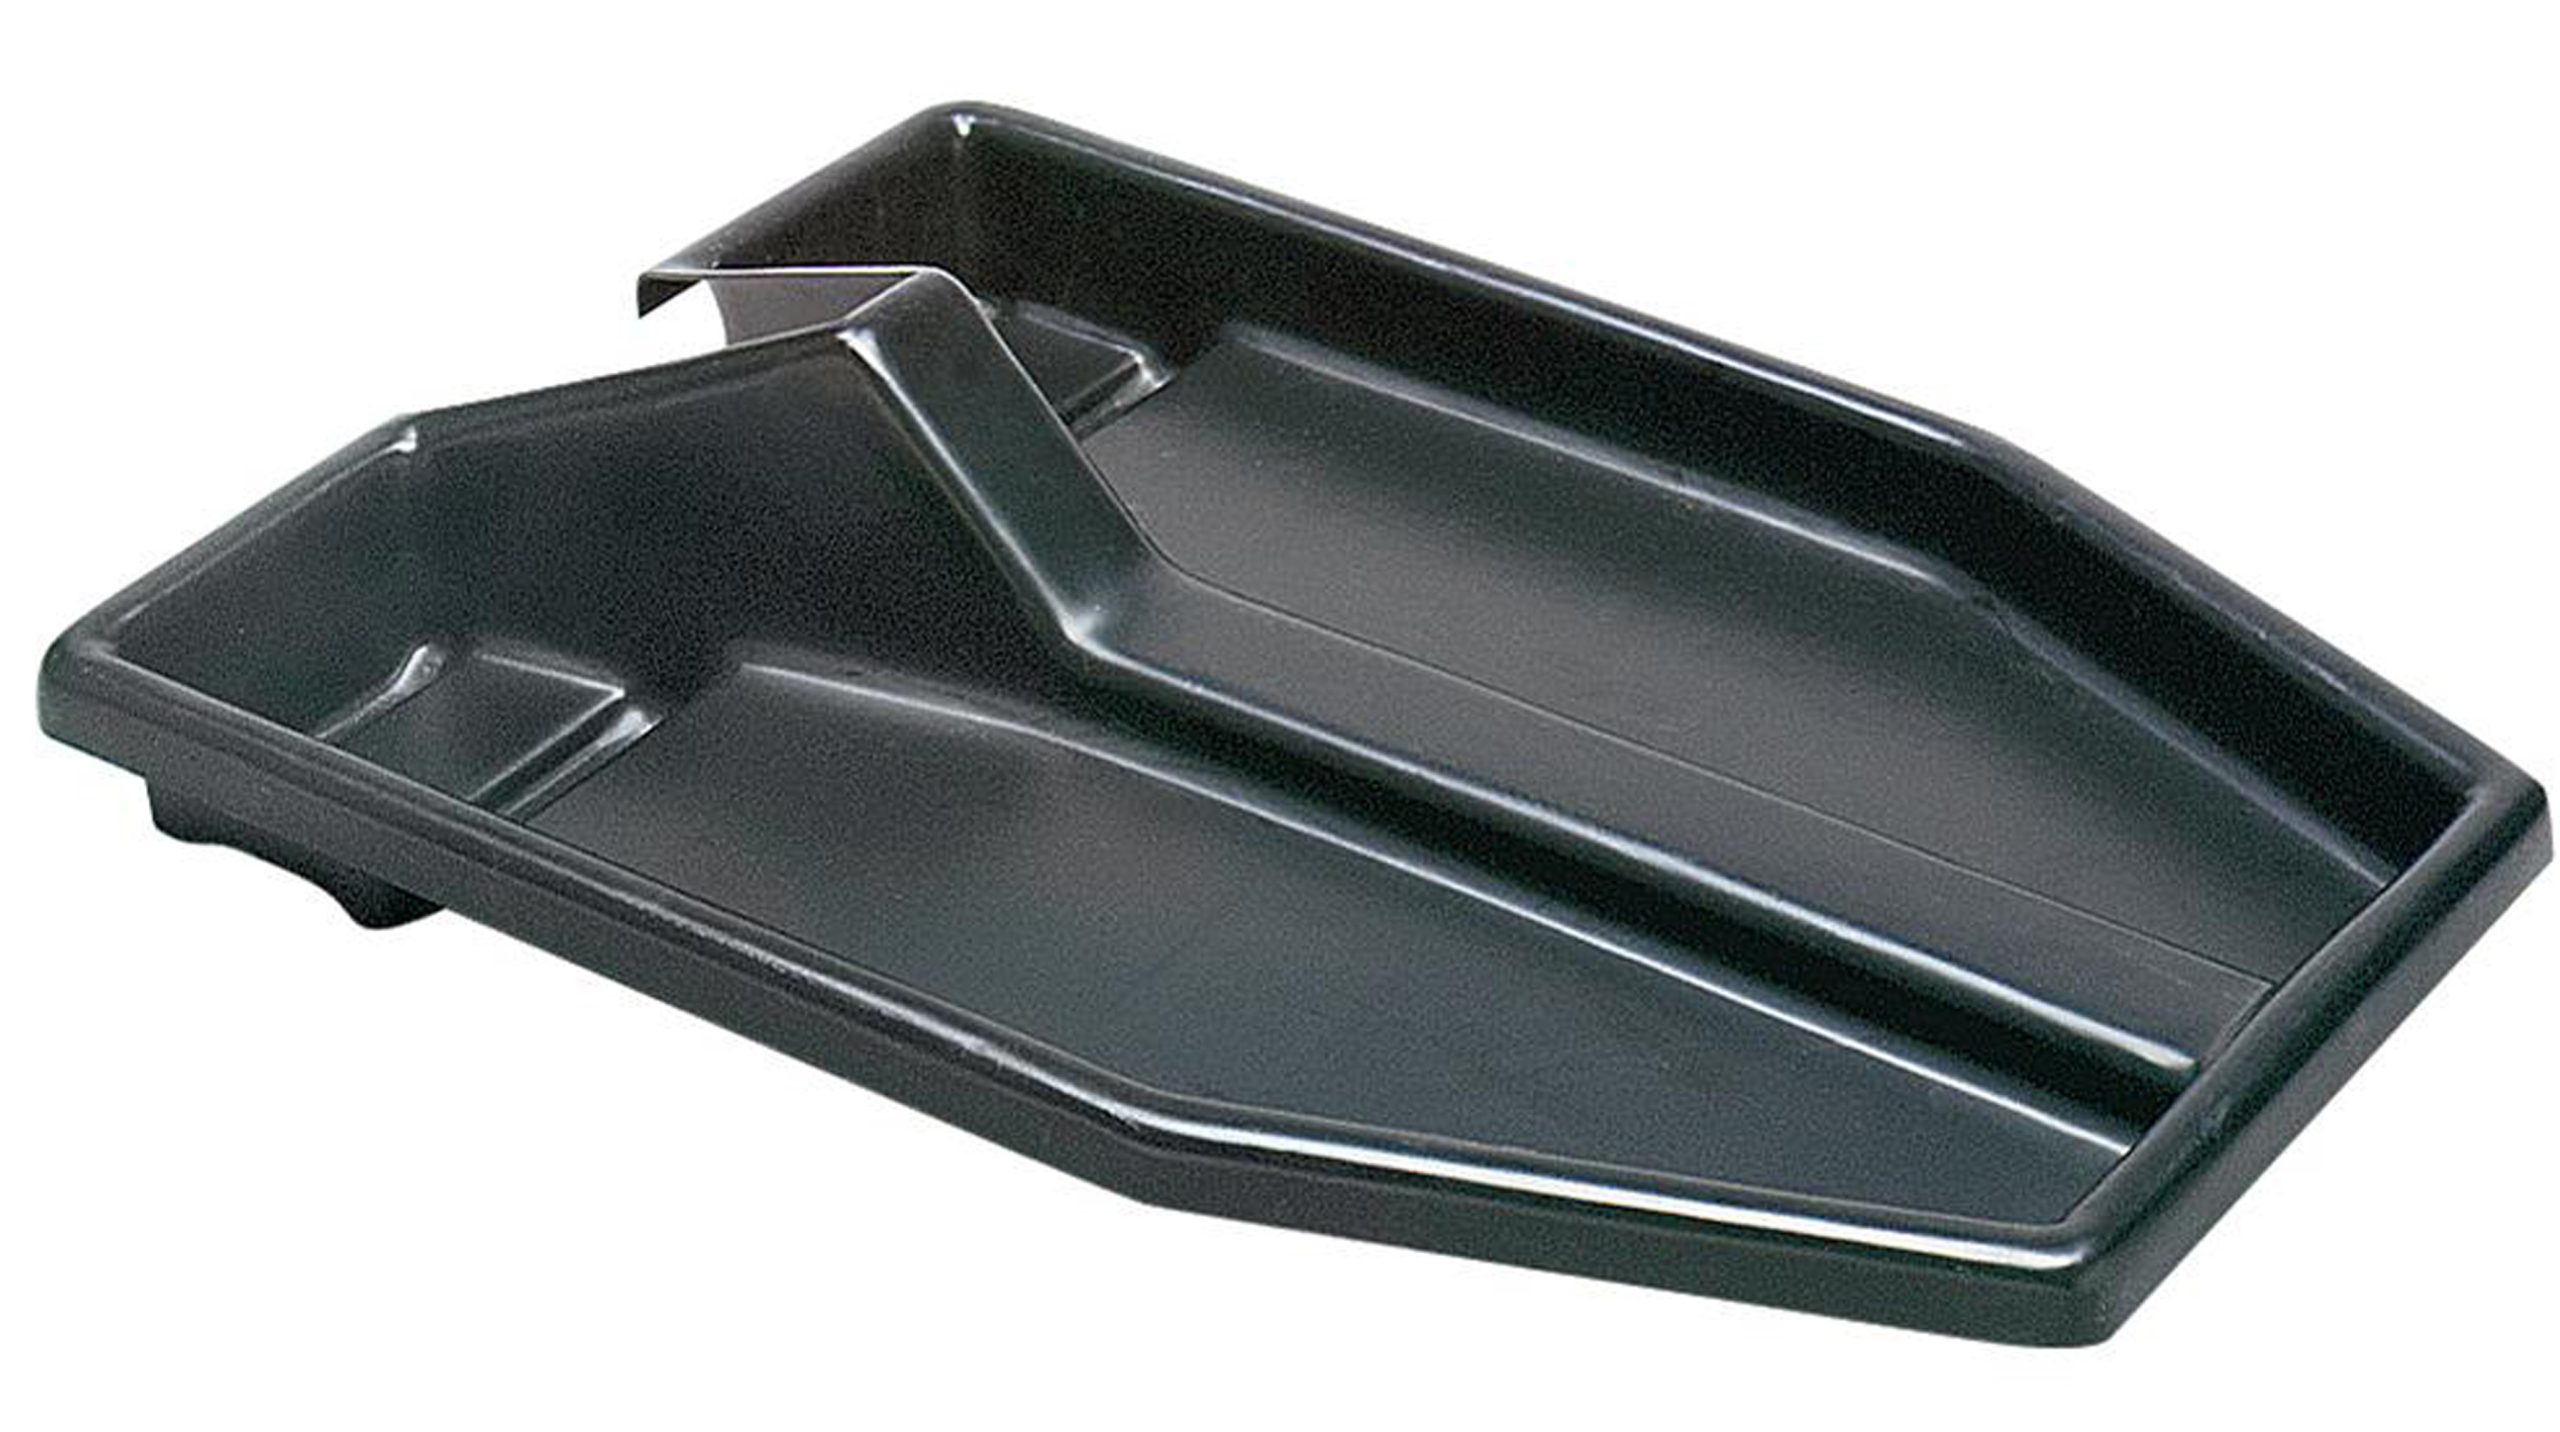
Protect Your Floor with an Engine Stand Drain Pan
Over the years, we’ve also discovered that “T” style engine stands with a center leg make it challenging to balance a drain pan on the leg to drain the oil. What usually happens when we try this is the pan slips off, spills its contents, and we waste time working a messy cleanup. A simple solution is to build a perch or mini-table out of scrap wood that straddles the center leg, offering a much sturdier perch for the drain pan that will make it more difficult (but not impossible) to spill that nasty used oil all over the floor.
Easy Bellhousing Adapter Solutions
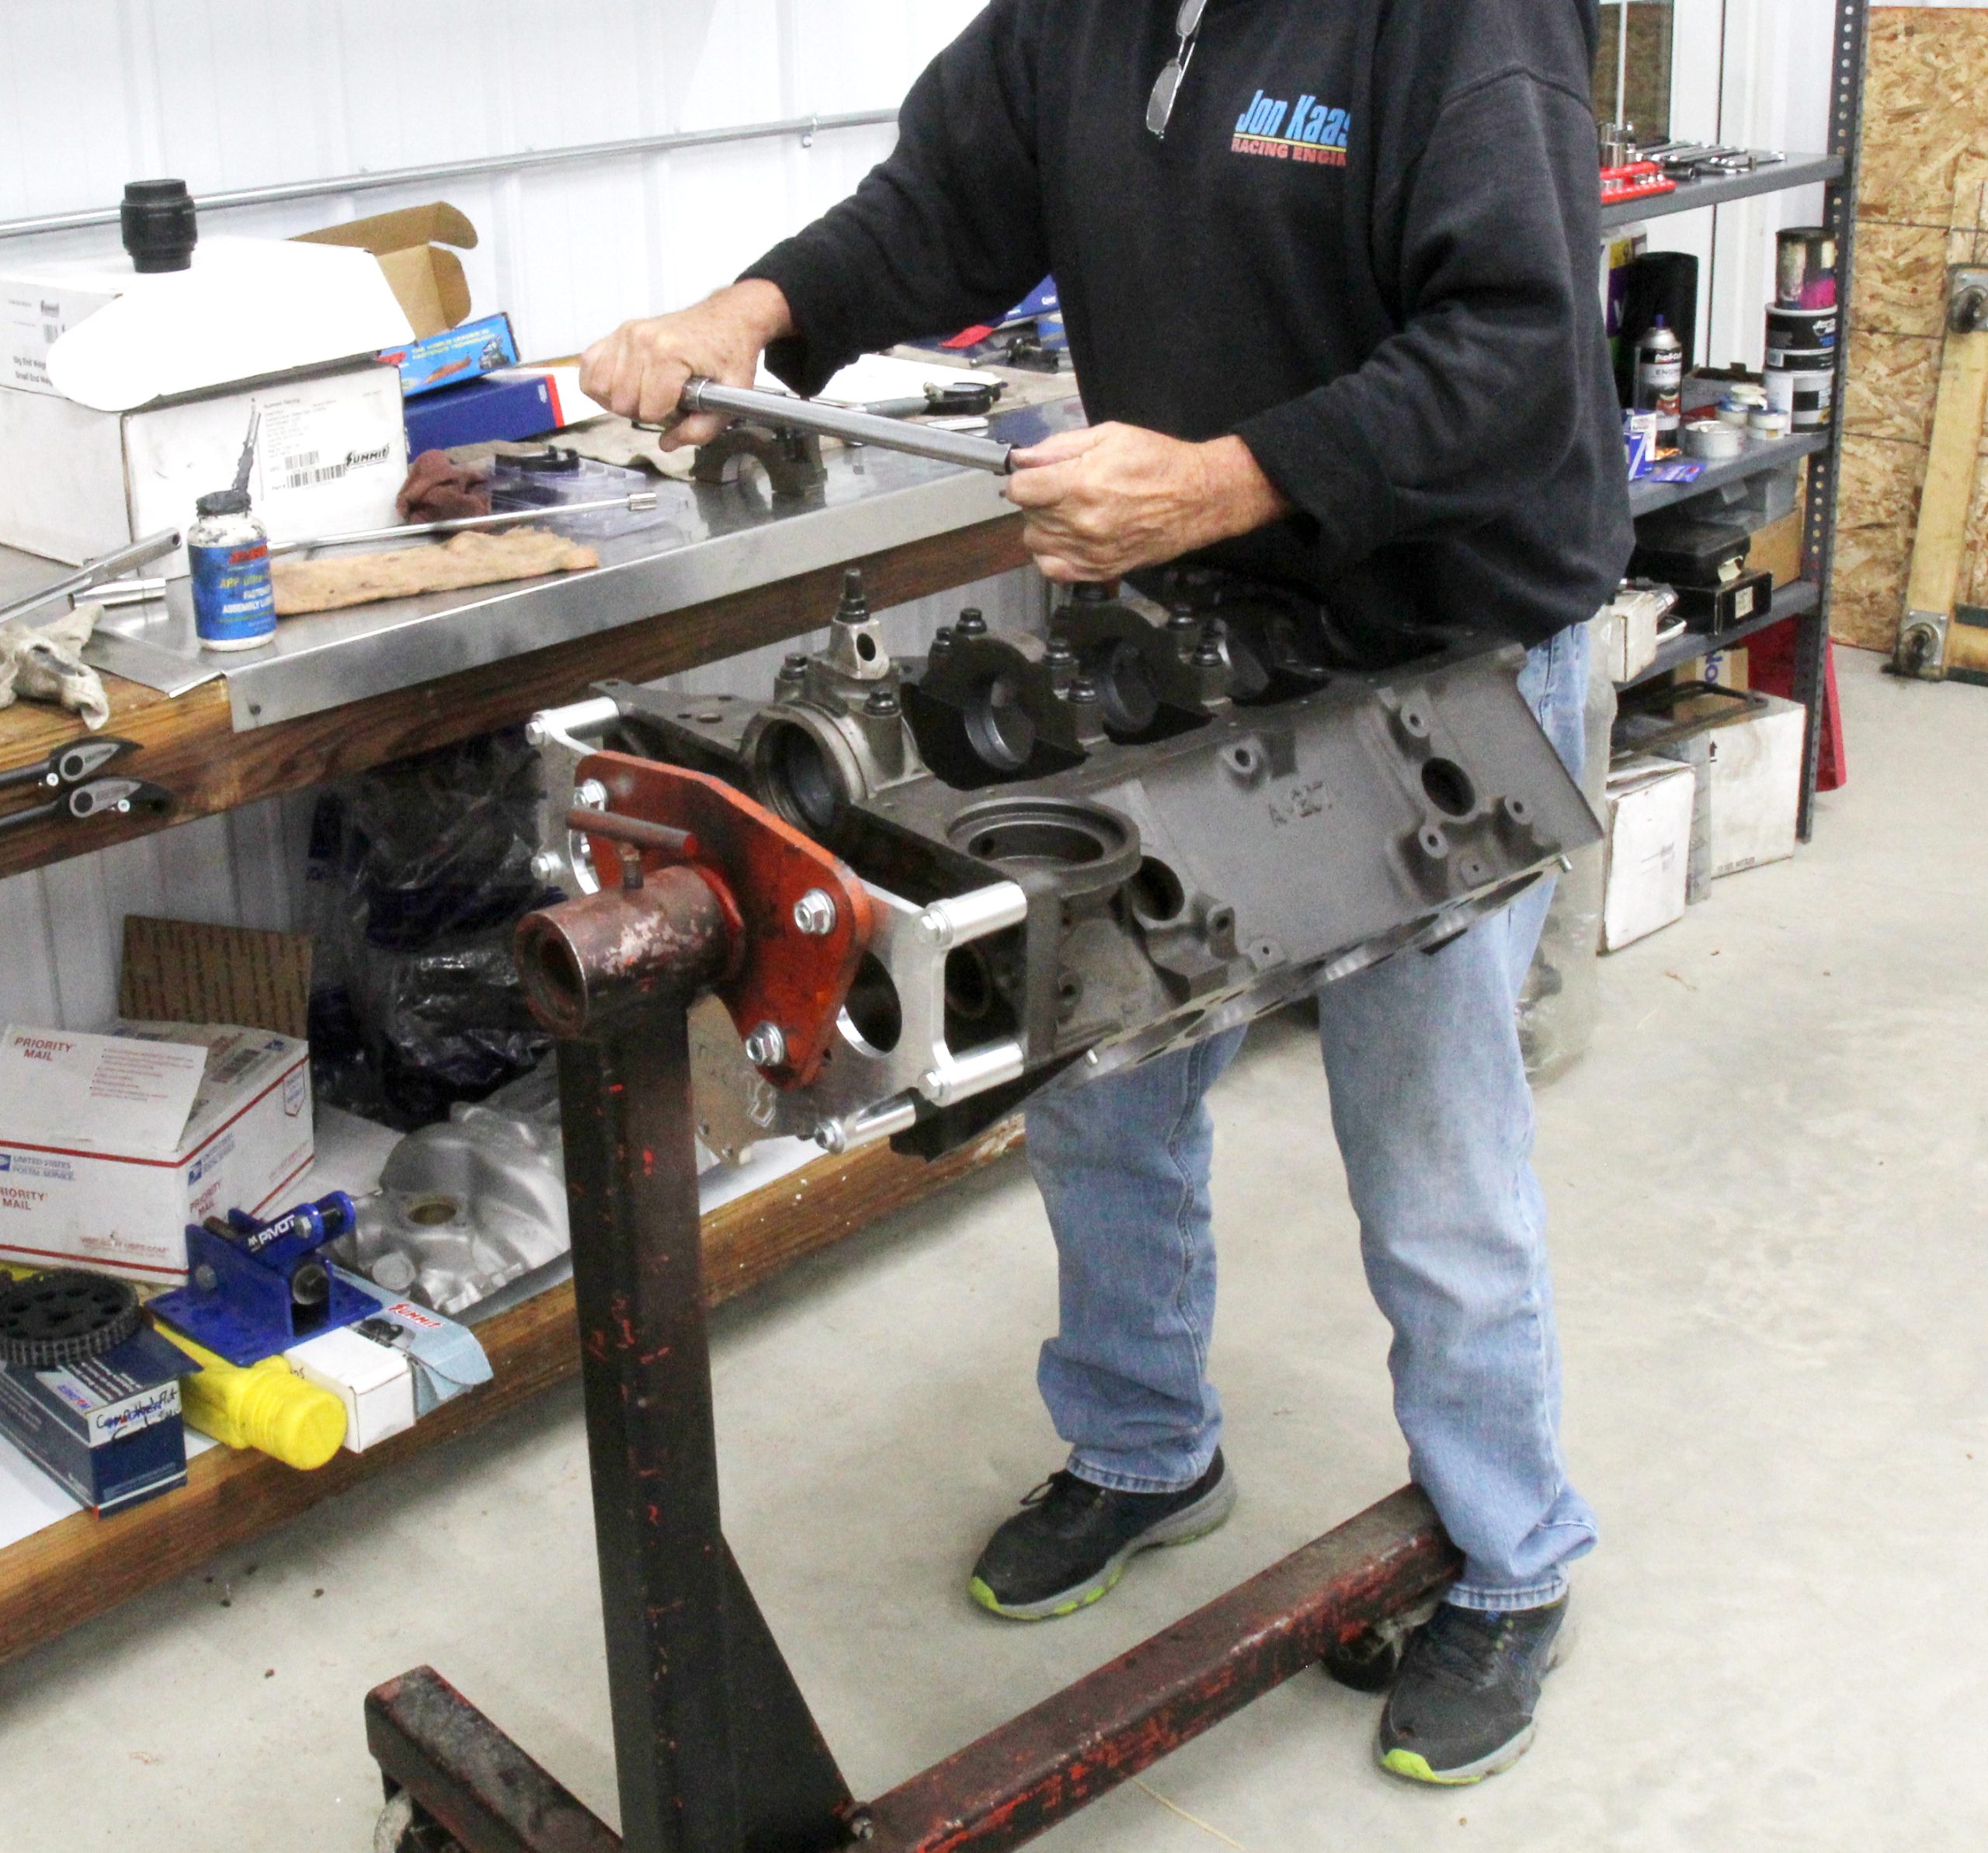
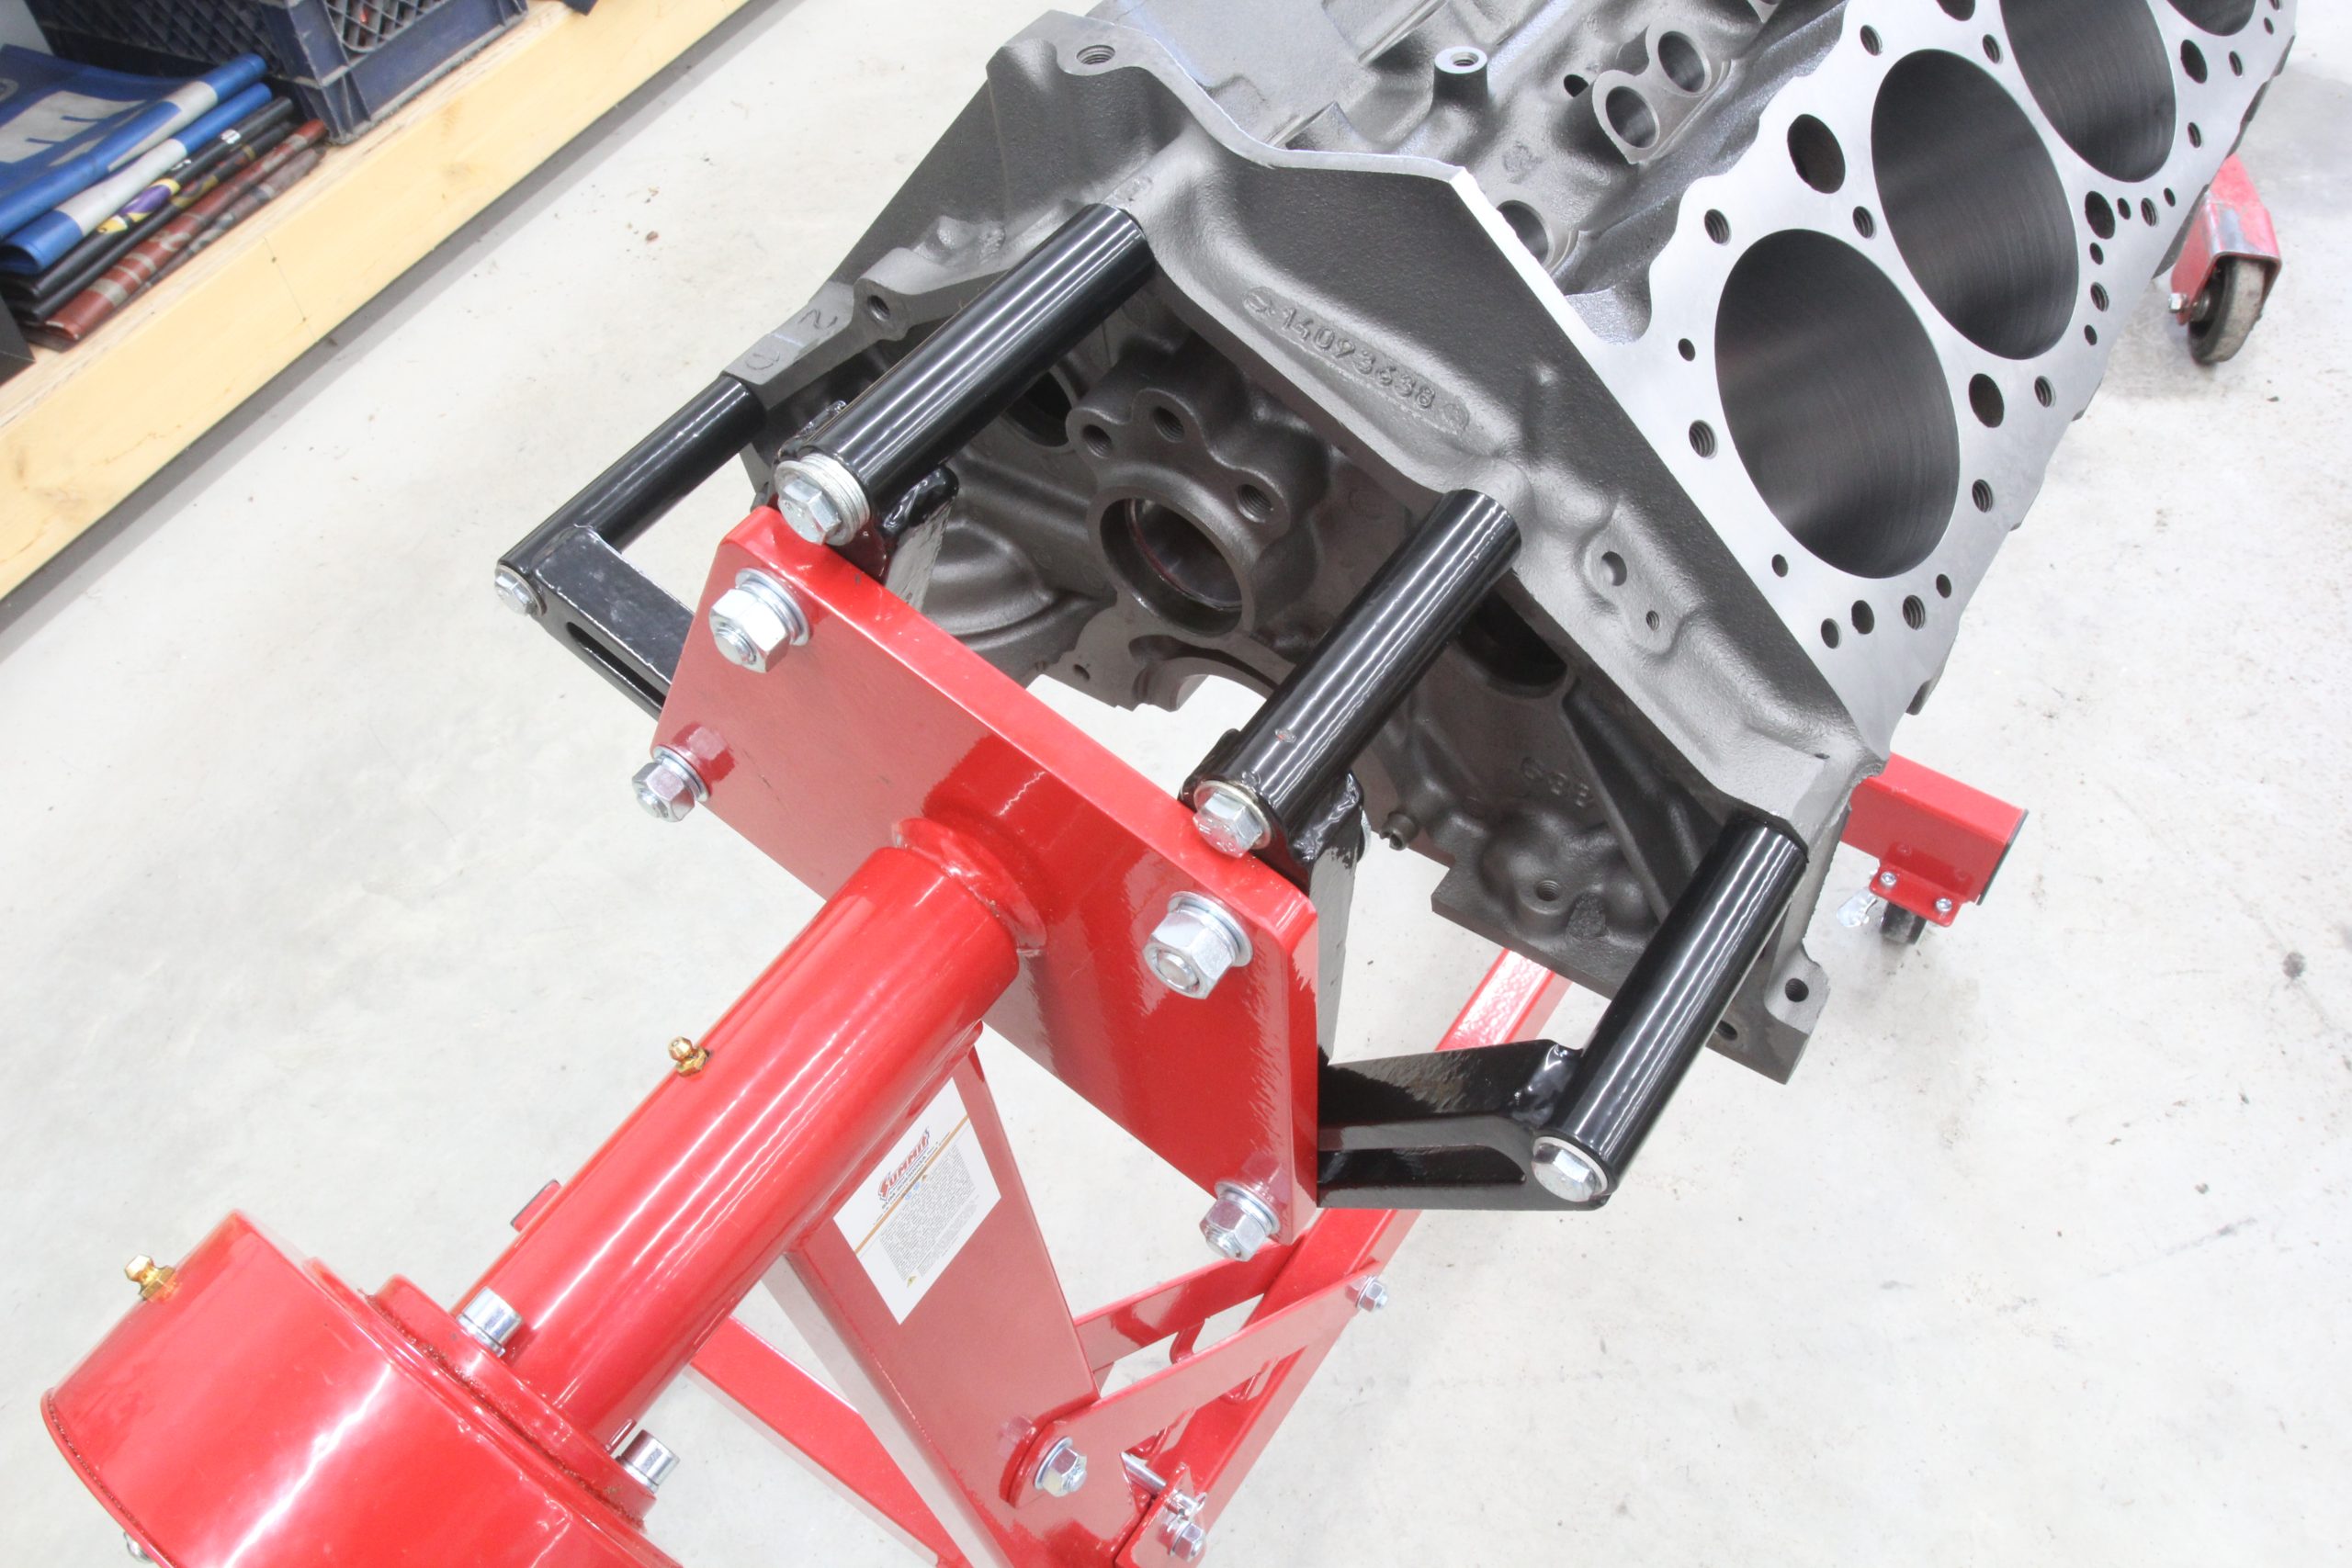
We’re guilty of quickly changing the location of the adjustable perches on an engine stand to align with the bellhousing bolt holes on the engine. Our process is a little bit different from most. We reserve the top four bolts on a small or big block Chevy for the engine stand. This leaves the two bottom bellhousing bolt holes open. We use these bolt holes for the rear mount of a homemade engine perch so we can bolt the perch on the engine before we take it off the stand.
But when we switch from a small block to an LS engine, the roughly two o’clock position bolt hole (when viewed from behind) is not used on an LS engine so we have to relocate the one adapter to the 12 o’clock bolt hole. This gets to be a hassle because we’re always switching back and forth between LS and small blocks.
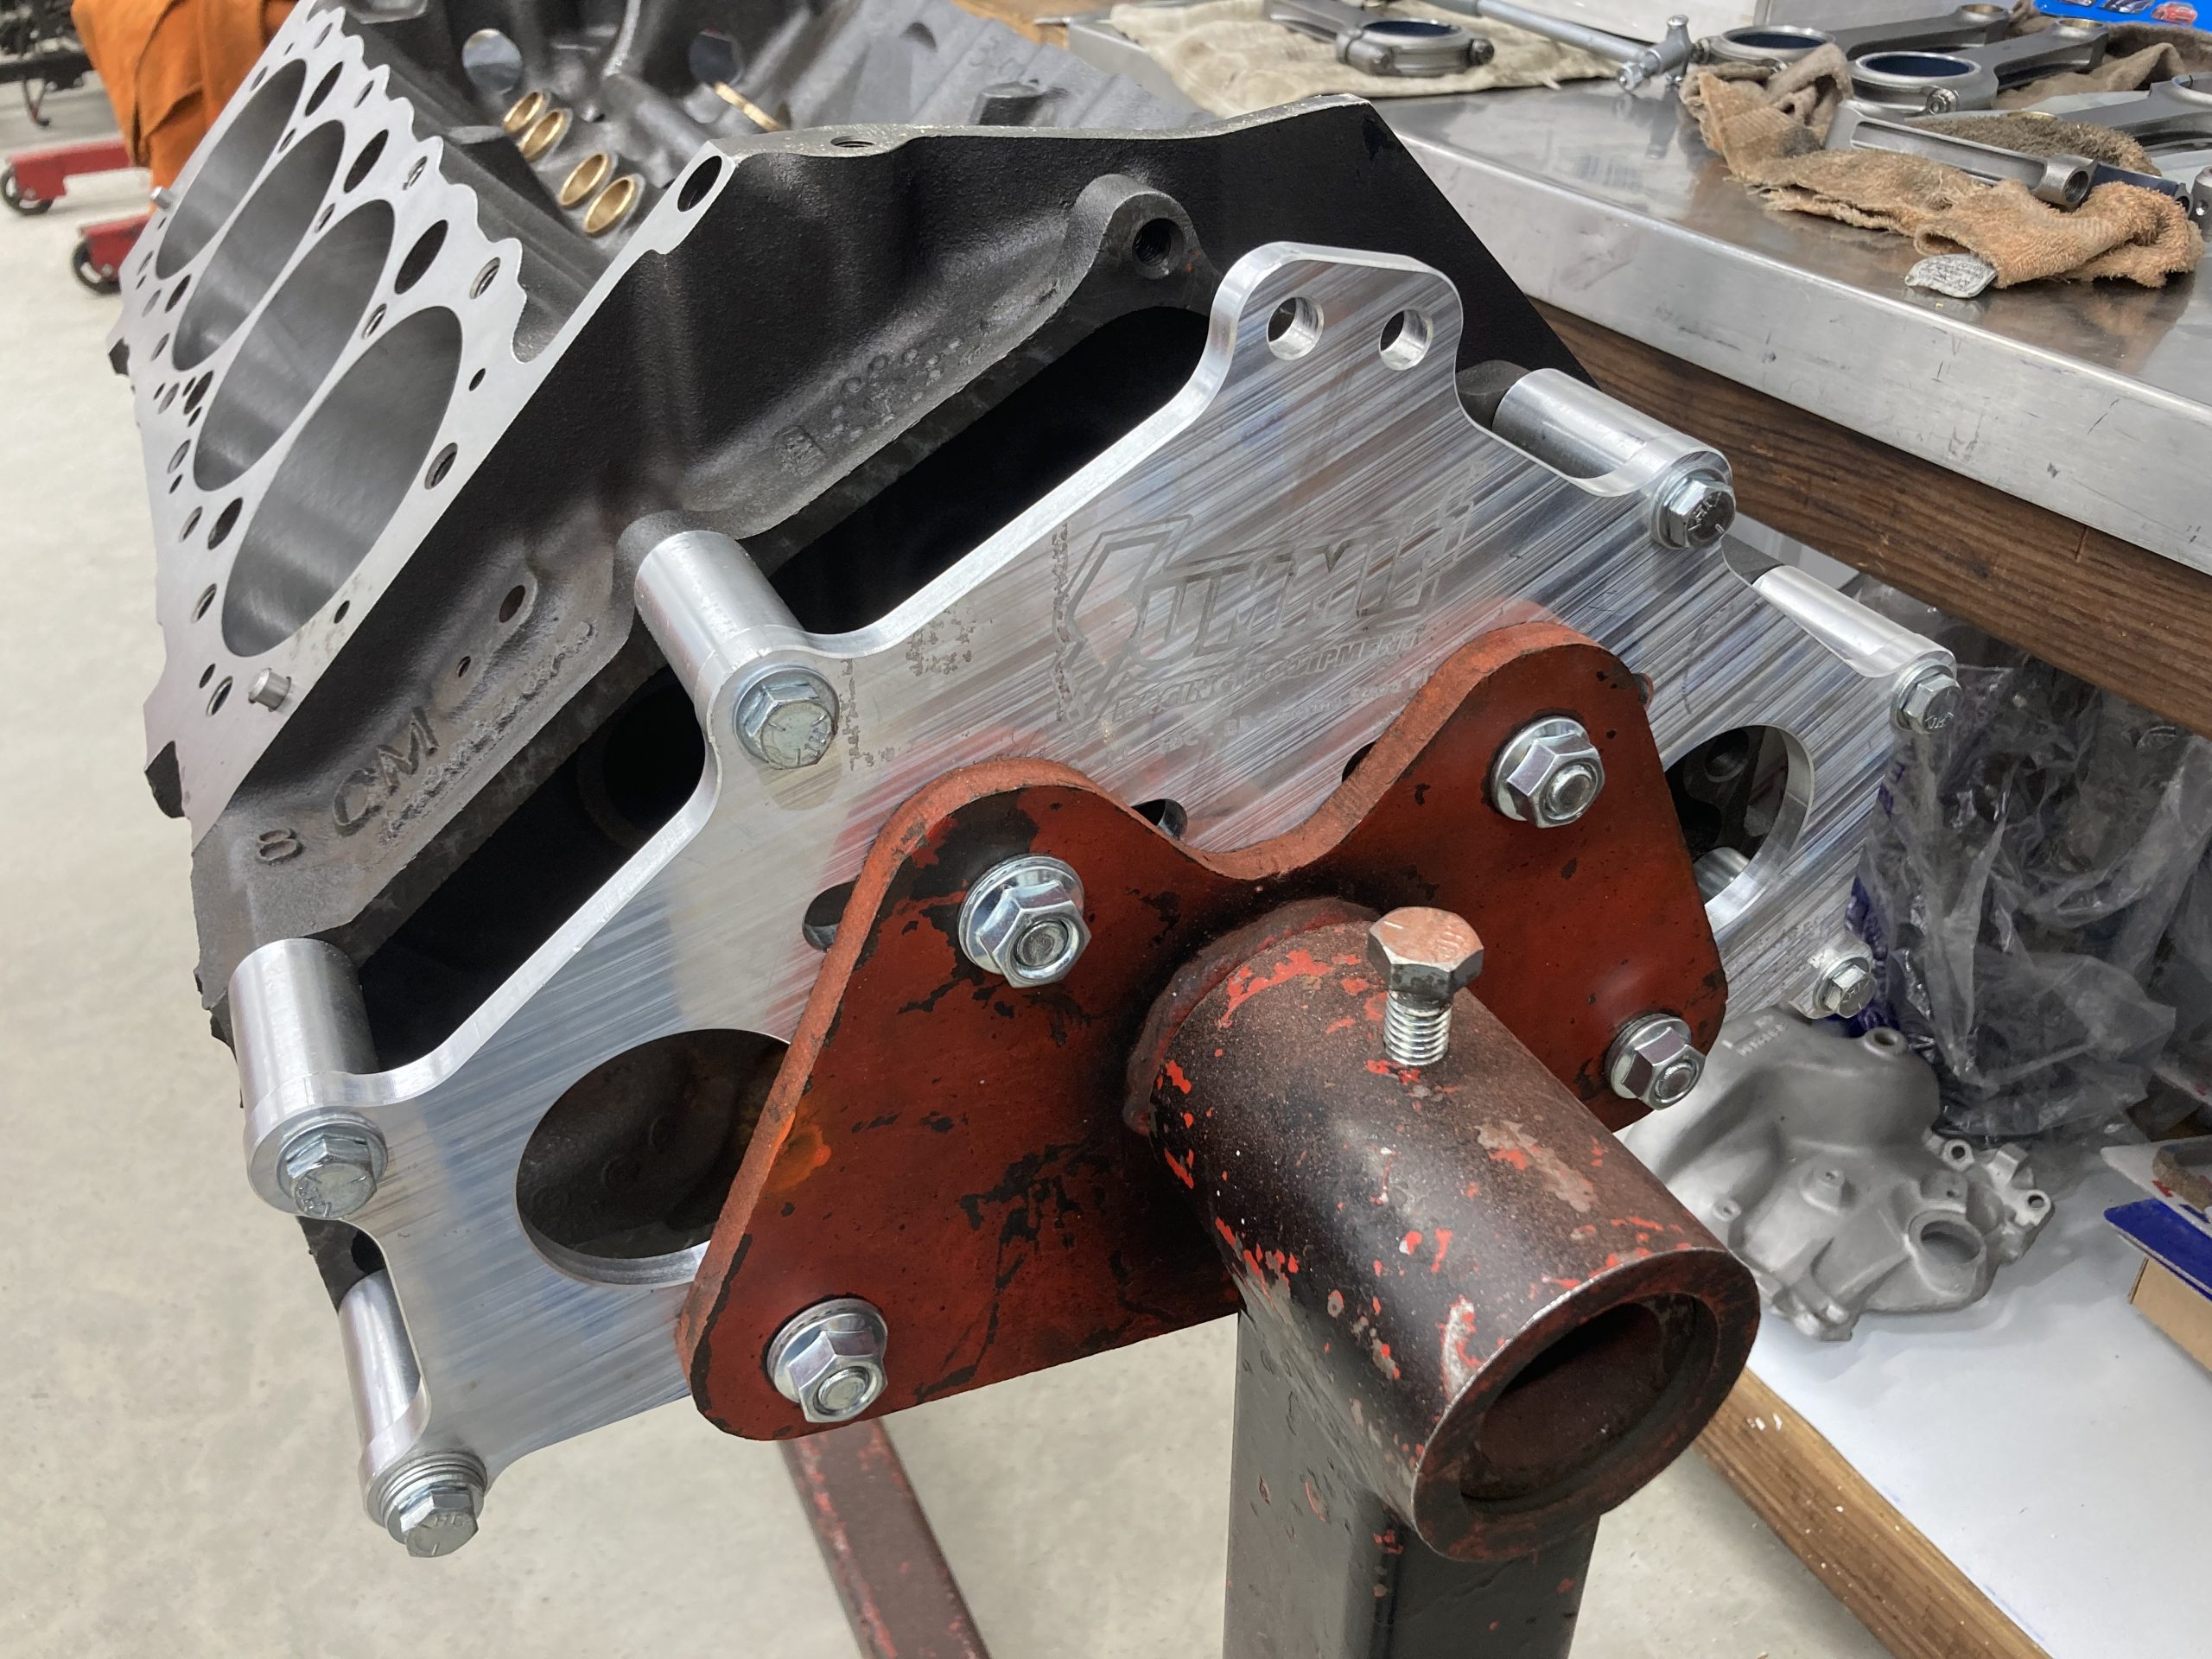
Then we noticed that Summit Racing offers an aluminum engine stand adapter plate that bolts directly to the engine stand and is drilled with both the older SBC/BBC bellhousing bolt pattern along with the altered 12 o’clock position for both Gen. IV and V LS/LT engines. This eliminates the hassle of moving the adjustable perches on most engine stands.
We ordered one of these plates but found that it was, sadly, not wide enough to fit the Summit Racing geared engine stand, but it would adapt to our other, older engine stands. We did have to do some minor grinding on the lower slots to widen them to accommodate our engine stand—but that only took about 10 minutes. The plate now allows us to quickly switch back and forth between small blocks, big blocks, and all three generations of LS/LT engines.
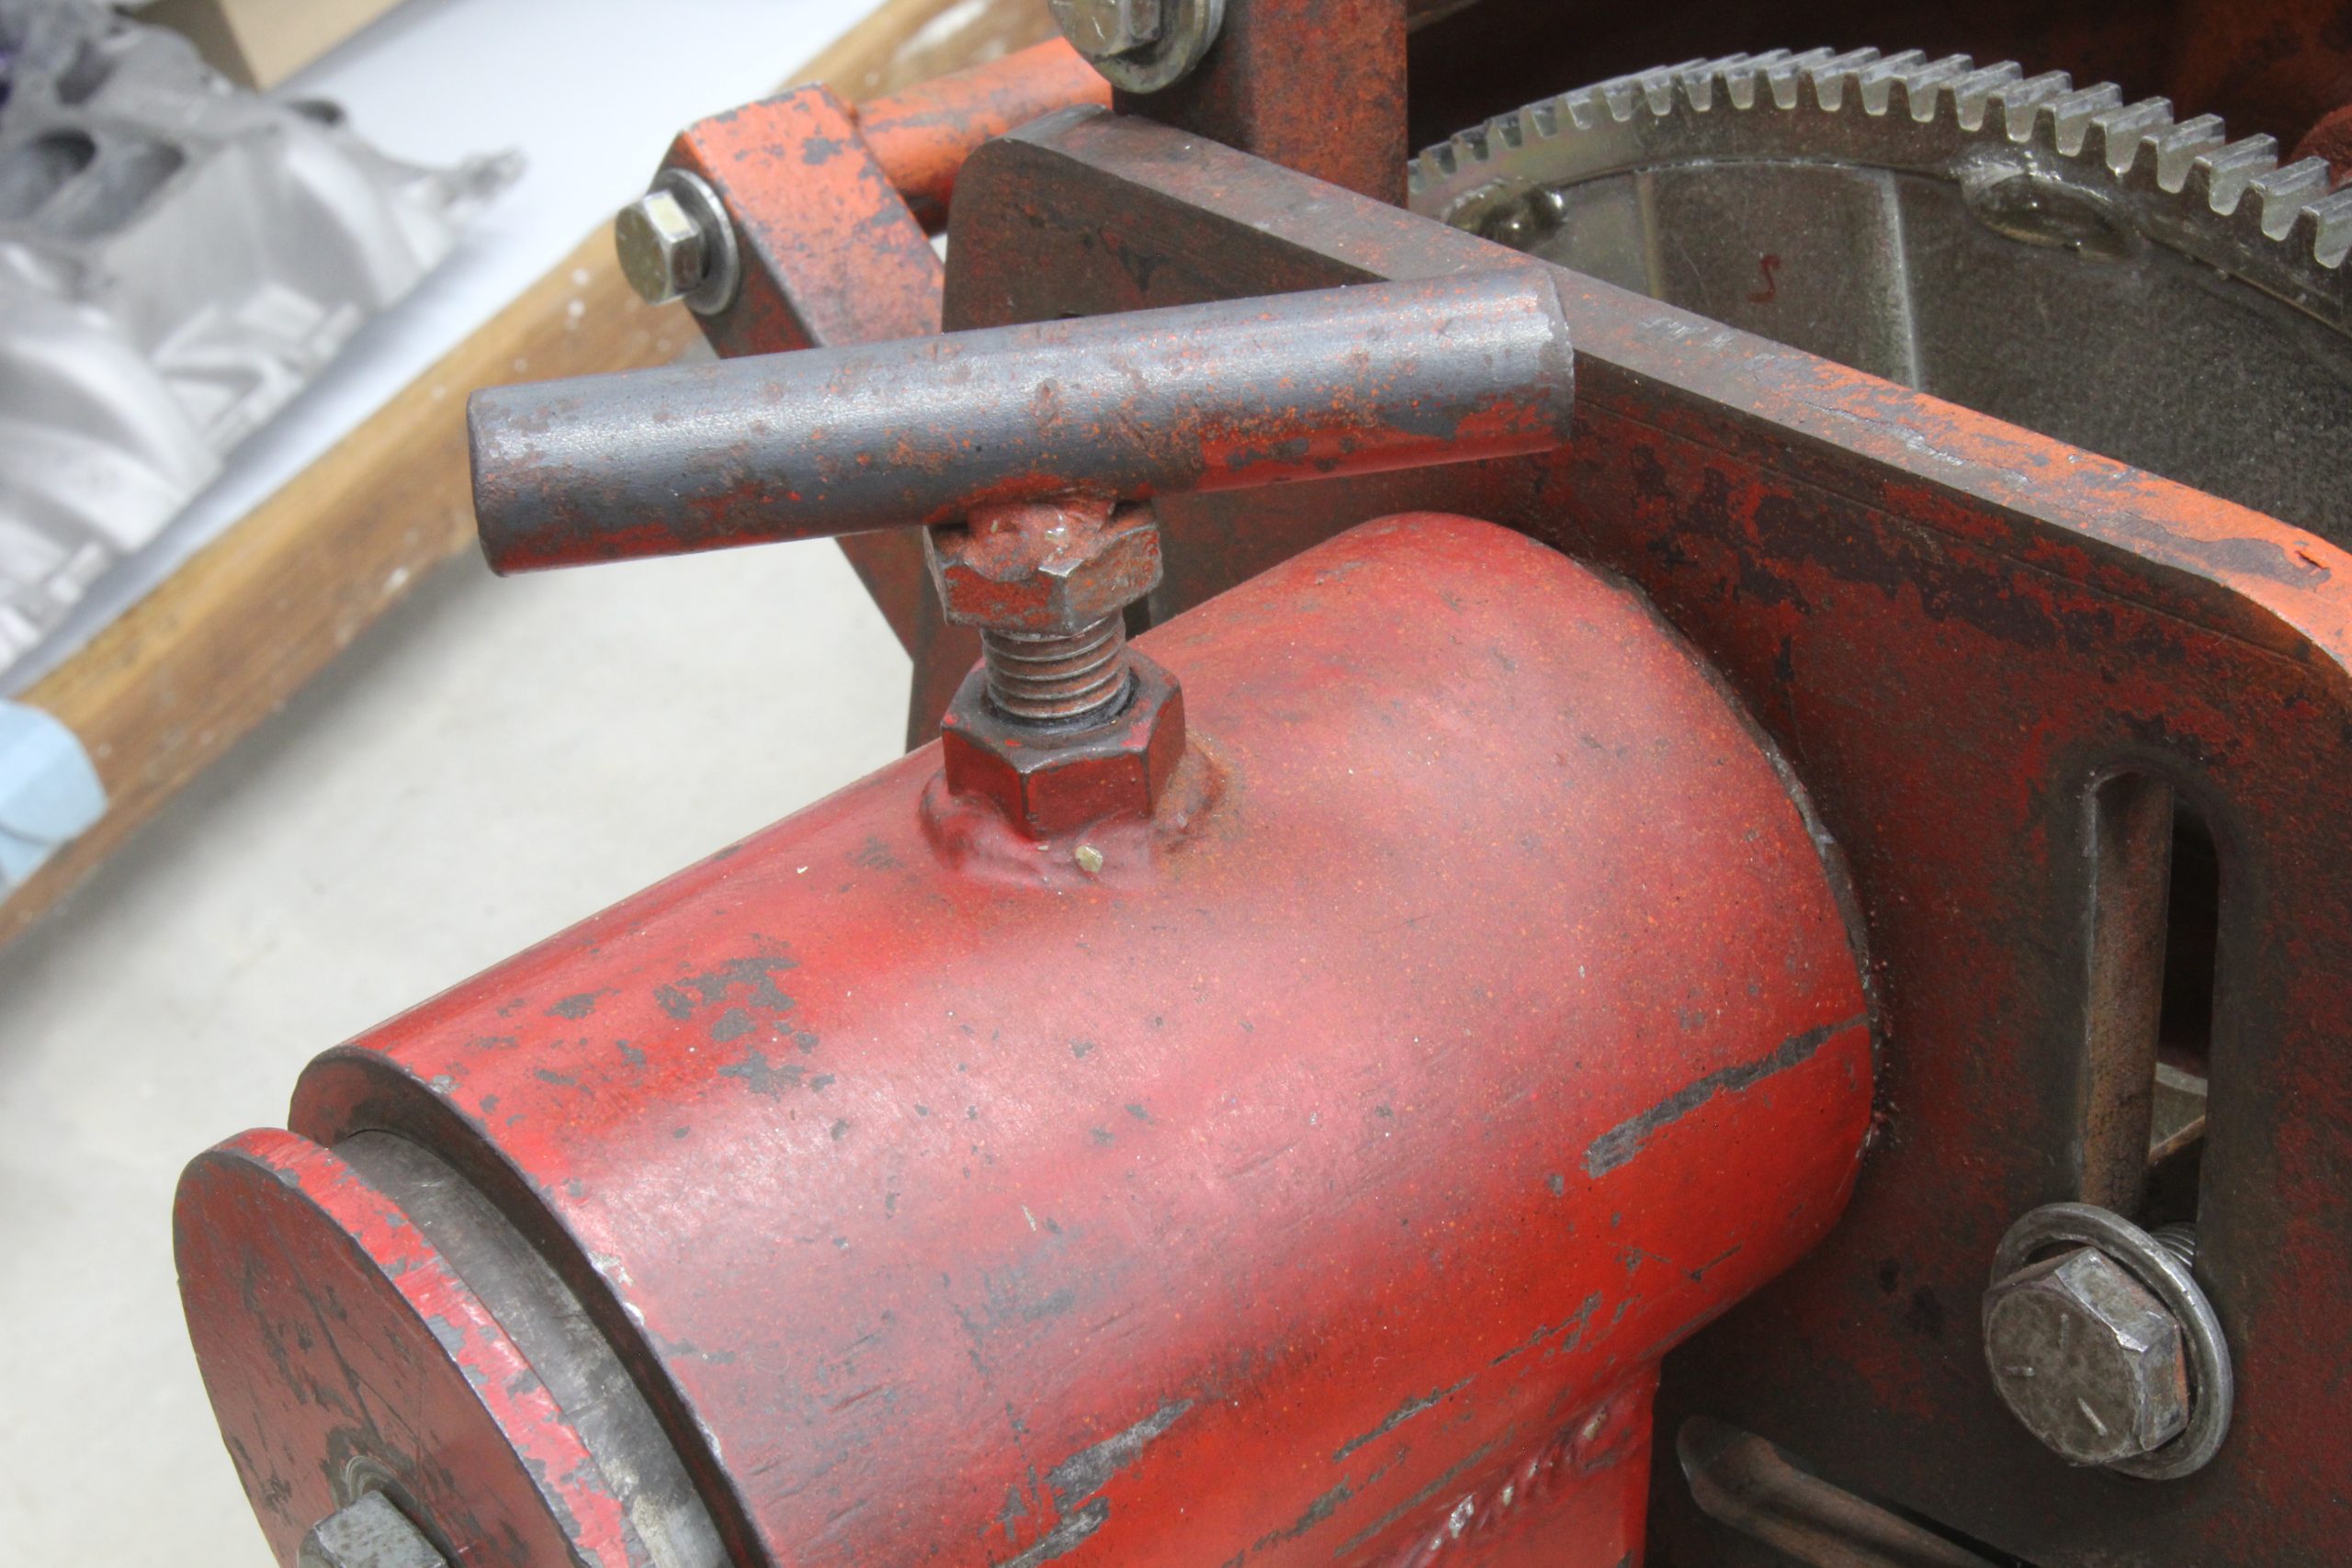
One point on engine stands that is rarely mentioned is how to adapt the adjustable perches to the bellhousing bolt holes. We’ve discovered that placing the engine stand pivot centerline near the cam centerline makes it easier to manually rotate the engine on the stand. If the engine is located too high relative to the stand’s pivot point, it will become over-centered and be difficult to rotate the engine back upright when fitted with heads and an intake.
Engine Stand Safety
This might be a good place to also mention engine stand safety. Earlier we commented on how those inexpensive “T” legged stand can tip over in the right situations—but there are also other dangers.
A friend was moving his aluminum LS3 engine on a four-legged stand in the shop into a separate room through a doorway. The threshold had a door seal on the floor that he had to pull the engine over in order to move it inside.
He forgot to pin the stand’s large pivot to the main upright and this oversight almost cost him his left foot. He yanked on the front of the engine to clear the threshold and the complete engine slipped out of the pivot and pitched forward with the harmonic balancer hitting his foot just behind his toes. A portion of the oil pan hit the floor at the same time and prevented all this massive weight from severing his toes.
He was left with nothing more than some heavy bruising and the feeling that he was extremely lucky! So pay attention when moving engines around in your shop.
***
Engine building is incredibly rewarding and even more fun when the work is easier with quality tools. You will find that spending a little more money on good tools will repay the investment multiple times over in the long run by making the job easier. The gift is in a job well done.


Engine Stand Hacks Parts List
- Summit Racing Engine Stand, Geared Rotation – SUM-908300GA
- Summit Racing Engine Stand, Bolt Together – SUM-918011
- Summit Racing Shop Crane/Engine Stand Combo – SUM-905232
- Summit Racing Engine Stand Adapter – SUM-918019
- Summit Racing Engine Stand Bolt Kit, Gear Drive, SAE – SUM-G1012GA
- Summit Racing Engine Stand Bolt Kit, Gear Drive, Metric – SUM-G1012GA-M
- Summit Racing Engine Stand Bolt Kit, SAE – SUM-G1012
- Summit Racing Engine Stand Bolt Kit, Metric – SUM-G1012M
- Summit Racing Engine Stand Drip Pan – SUM-G1016
- Performance Tool Shallow 7 Qt. Drain Pan – WMR-W4070
- Dorman 15 Qt. Drain Pan – RNB-95-1371
- Summit Racing Engine Lift Sling – SUM-G1027
- Allstar Performance Carburetor Lift Plate – AAF-ALL10123
- Summit Racing 9” Ford Axle Assembly Adapter – SUM-G7923
- Mac’s Engine Pivot Plate – MTD-701001
- FloTool Steel Drip Pan – UMI-01055
- Summit Racing Engine Storage Bag – SUM-G1009
Jeff Smith sounds like a man I need to know at 14.5 yrs old I acquired my first 66 chevelle. I have a ton of dreams and aspersions for my current chevelle that I’ve owned over 35yrs now at 53 I’d like to see the car all the way through w/o a lot of redo’s someone that knows the in and outs and newonces of these cars as well as Jeff would be a great help. Jeff if you have a moment I’d truly appreciate a chance to correspond with you ty for your time Steve Wms